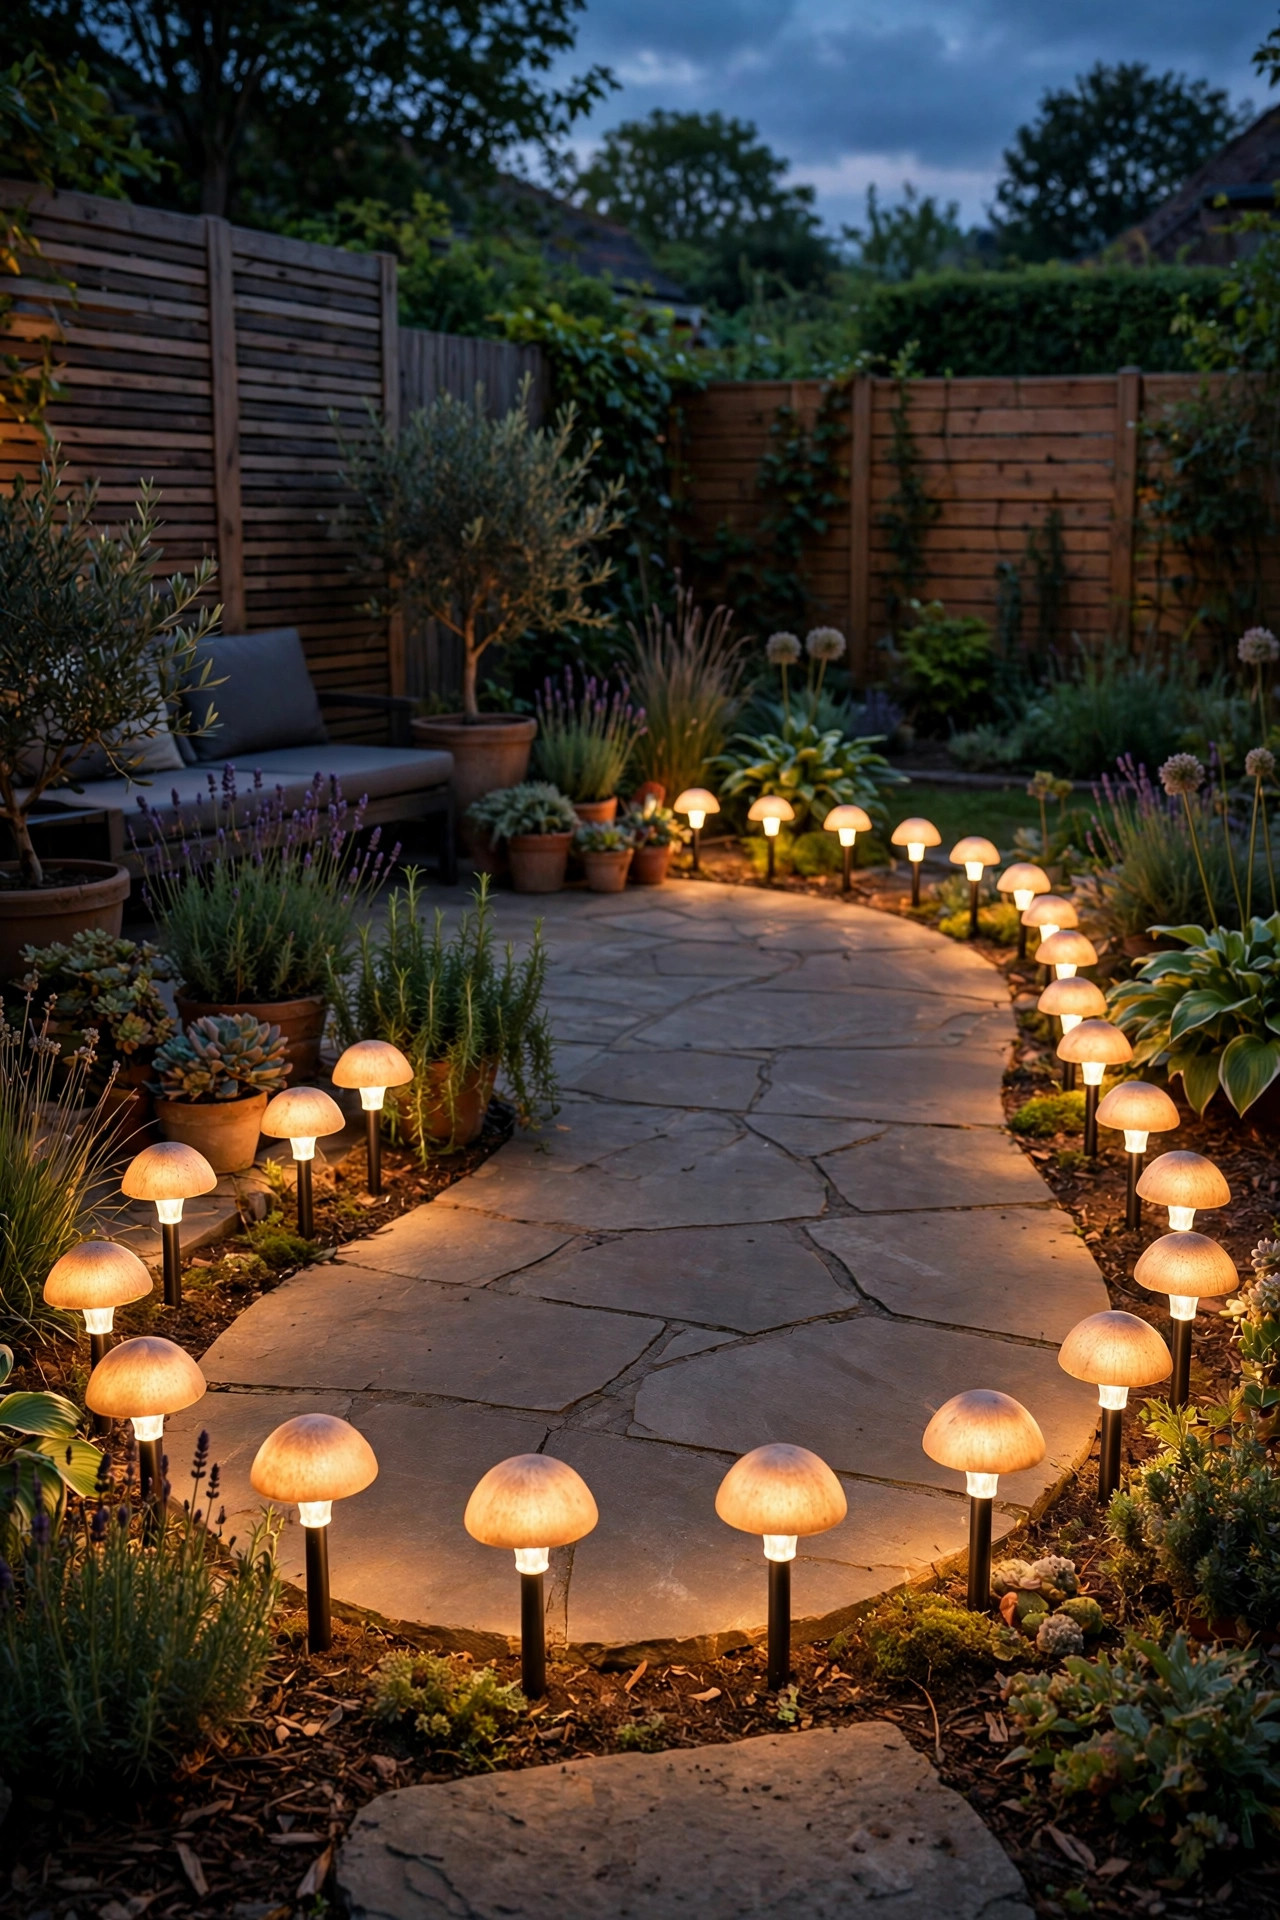
If you've ever walked a garden path lit by bare, glaring little bulbs, you know the feeling — you're squinting at the light instead of enjoying the walk. Mushroom path lights fix that in the prettiest way I know: their rounded caps shade the bulb and throw the light downward, so instead of glare you get soft, round pools of light overlapping along the path, almost like moonlight through leaves. Honestly? They're also my favorite base layer in a layered lighting plan — the gentle ground-level glow that taller accents and string lights build on. In this post I'm sharing 15 ways I use mushroom and dome path lights, from classic low-voltage rows along the front walk to solar mushrooms tucked into cottage flower beds. You'll get spacing numbers that actually work, honest notes on finishes and heights, and the placement tricks that keep the glow soft instead of spotty. Most of these are weekend-friendly, and several need no wiring at all. Pick the two or three that fit your path, and your evening walks will feel completely different by next weekend.

1. Classic Low-Voltage Mushroom Lights Along the Front Walkway
Start where mushroom lights shine brightest: the front walk. A row of classic low-voltage mushroom fixtures — a domed cap on a 12- to 18-inch stem — throws a soft circle of light about 4 to 6 feet across, so spacing them every 6 to 8 feet gives you overlapping pools with no dark gaps. Set each fixture about 6 inches back from the walk's edge so mower wheels and snow shovels pass safely, and keep the cap below eye level so you see the glow, never the bulb. I run mine on a 12-volt system with warm 2700K LEDs at 100 to 200 lumens each — plenty for a pool of light you can actually see your footing in. Bury the cable about 6 inches deep along the bed edge, and leave a small slack loop at each fixture so you can nudge it straight after the soil settles. My complete rundown of transformers, wire gauges, and connectors is in my guide to low-voltage path lights, but honestly, a basic kit goes in on a Saturday morning. This is the layout I measure every other path against — simple, glare-free, and welcoming every single night.
Suggested budget range: $20 – $45.

2. Solar Mushroom Path Lights for a Wire-Free Front Path
If trenching cable sounds like too much weekend, solar mushroom path lights give you the same soft downward glow with nothing but a stake. The solar panel hides on top of the cap, so the fixture reads clean and classic from the street. Placement is the whole game here: each light needs six or more hours of direct sun, which means no tucking them under eaves, dense shrubs, or the north side of the house and expecting much after 9 p.m. Set them 5 to 7 feet apart — solar models run dimmer than wired ones, usually 20 to 60 lumens, so tighter spacing keeps the pools connected. I line both sides of our short front path in a staggered pattern, and the effect is honestly lovely for zero wiring. Look for replaceable batteries and a warm-white setting; cool-blue solar lights are the one thing that will cheapen the look fast. Before you commit to a full set, buy one pack, stake them out, and live with them for a week. My solar path lights guide covers the brightness and battery details I check before buying. Renters, this is your section — everything lifts out clean when you leave.
Suggested budget range: $8 – $20.

3. Copper Mushroom Lights That Age Into a Soft Patina
There's a special place in my heart for copper mushroom lights, because they're the rare fixture that gets prettier every year you own it. Fresh out of the box, the cap is bright as a new penny. Within a season it deepens to a warm brown, and after a few years in the rain you'll see the faintest green patina blooming at the edges — the same living finish as a copper roof. That aged glow is perfect for brick colonials, stone cottages, and any house with traditional bones. A few honest notes from my own beds: buy solid copper or brass, not copper-colored paint over steel, which chips and rusts at the stem. Decide up front whether you want lacquered copper that stays shiny (it needs re-polishing to stay that way) or unlacquered, which ages freely — I always choose the aging; it forgives fingerprints, pollen, and hard-water spots completely. Keep the stem height modest, 12 to 15 inches, so the fixture nestles into plantings instead of towering over them. Copper pairs beautifully with warm 2700K light and dark mulch. It's the priciest finish on this list per fixture, but it's also the one you'll never replace.
Suggested budget range: $45 – $90.

4. Matte Black Mushroom Lights for a Crisp, Modern Edge
On the other end of the style spectrum, matte black mushroom lights are my go-to for modern and minimalist homes. The black dome nearly disappears by day — especially against dark mulch or gravel — and at night all you register is the pool of light itself, which feels very designed. Choose powder-coated cast aluminum rather than glossy plastic; the matte finish hides dust and water spots, and the weight keeps fixtures standing straight through storms and string-trimmer bumps. Black fixtures love pale settings: a light concrete or decomposed-granite path gives you a crisp graphic contrast that reads like a magazine photo. Keep the rest of your hardware in the same family — black door hardware, black mailbox, black-trimmed sconces — and the whole entry feels pulled together. One caution from experience: in very sunny southern yards, black caps get genuinely hot to the touch by afternoon. The light doesn't care, but if small hands explore your garden beds, the copper or bronze finishes are kinder. Space these like the classics, 6 to 8 feet apart and 6 inches off the path edge, and let the simplicity do the talking.
Suggested budget range: $25 – $55.

5. Mushroom Lights Tucked Into Flower Beds for Pools Among the Plants
Some of my favorite pools of light don't line the path at all — they're tucked into the flower beds beside it. Push mushroom lights a foot or so into the planting, right at the bed's front edge, and the stem disappears behind foliage while the cap peeks over low plants. The light washes the bed's edge and spills softly onto the walk in one move, so the path reads clearly without a single fixture standing on it. Spacing can relax here to 8 or even 10 feet, because the plants themselves carry the eye between pools. A few placement rules I swear by: keep the cap just above the height of your front-row plants — 12-inch stems for groundcovers, 18-inch for mid-height perennials — and angle nothing; mushrooms throw straight down, which is exactly what you want. Watch fast growers, though. By midsummer a happy hosta or daylily can swallow a short fixture whole, and the pool shrinks to a glow inside a leaf. I do a two-minute walk each June and trim or raise as needed. Dark mulch under the fixtures deepens the effect; pale stone mulch reflects more light upward and softens everything.
Suggested budget range: $18 – $40.

6. Layer Mushroom Lights With Tree Uplights for a Moonlit Path
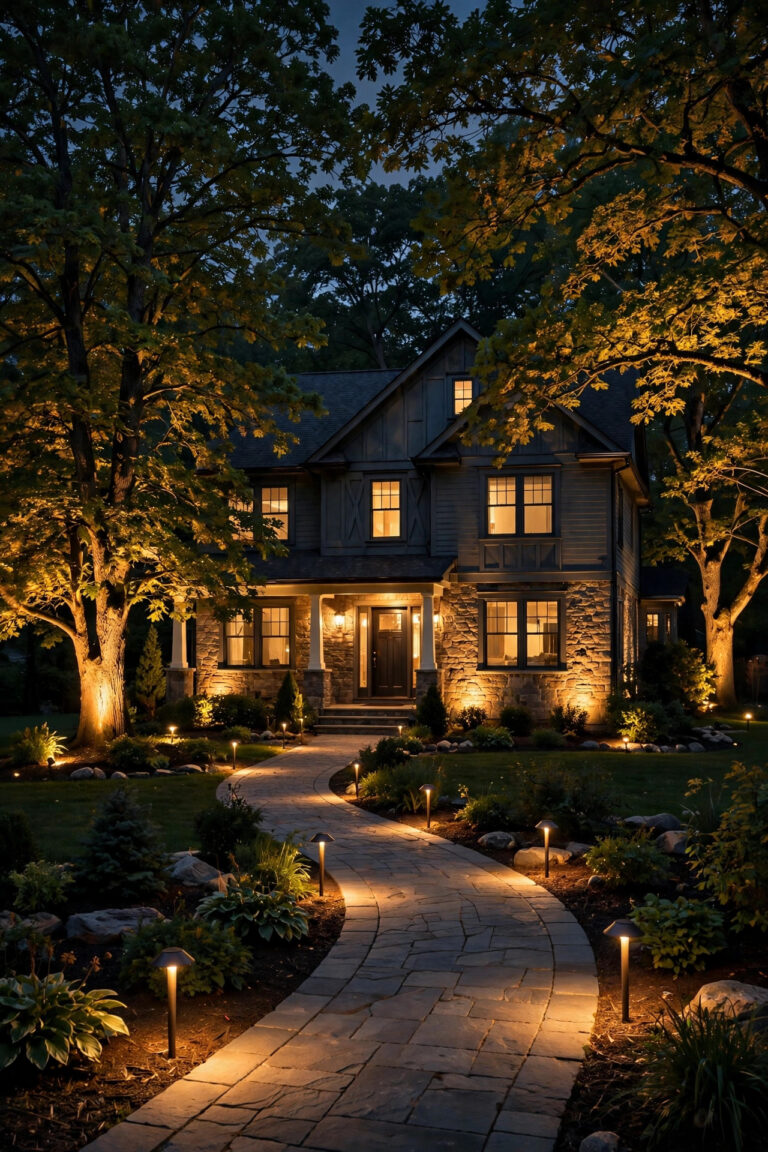
A path lit by mushrooms alone is lovely, but add one or two uplights in the trees above it and the whole scene turns to moonlight. Here's the layering I use: mushroom path lights handle the ground plane with their soft overlapping pools, while a single well-placed uplight in a tree or large shrub adds the vertical depth that keeps the yard from feeling flat. Keep the mushrooms the brighter element — they're the practical layer — and let the uplight whisper. The secret is matching color temperature exactly: 2700K mushrooms under a 4000K uplight look like two different yards stitched together, and not in a good way. I also choose a lower-lumen uplight, or aim it into the inner canopy, so the tree glows instead of glaring. Because the mushroom caps shield their bulbs, guests walking the path never catch a bare bulb from either layer, and that's what makes the effect feel like moonlight rather than machinery. If you want the bigger picture on combining fixtures along a walk, browse my walkway lighting ideas — then come back and start with this two-layer version. It's the highest compliments-per-dollar setup I own.
Suggested budget range: $40 – $90.

7. Low Frosted-Dome Lights Beside Steps and Grade Changes
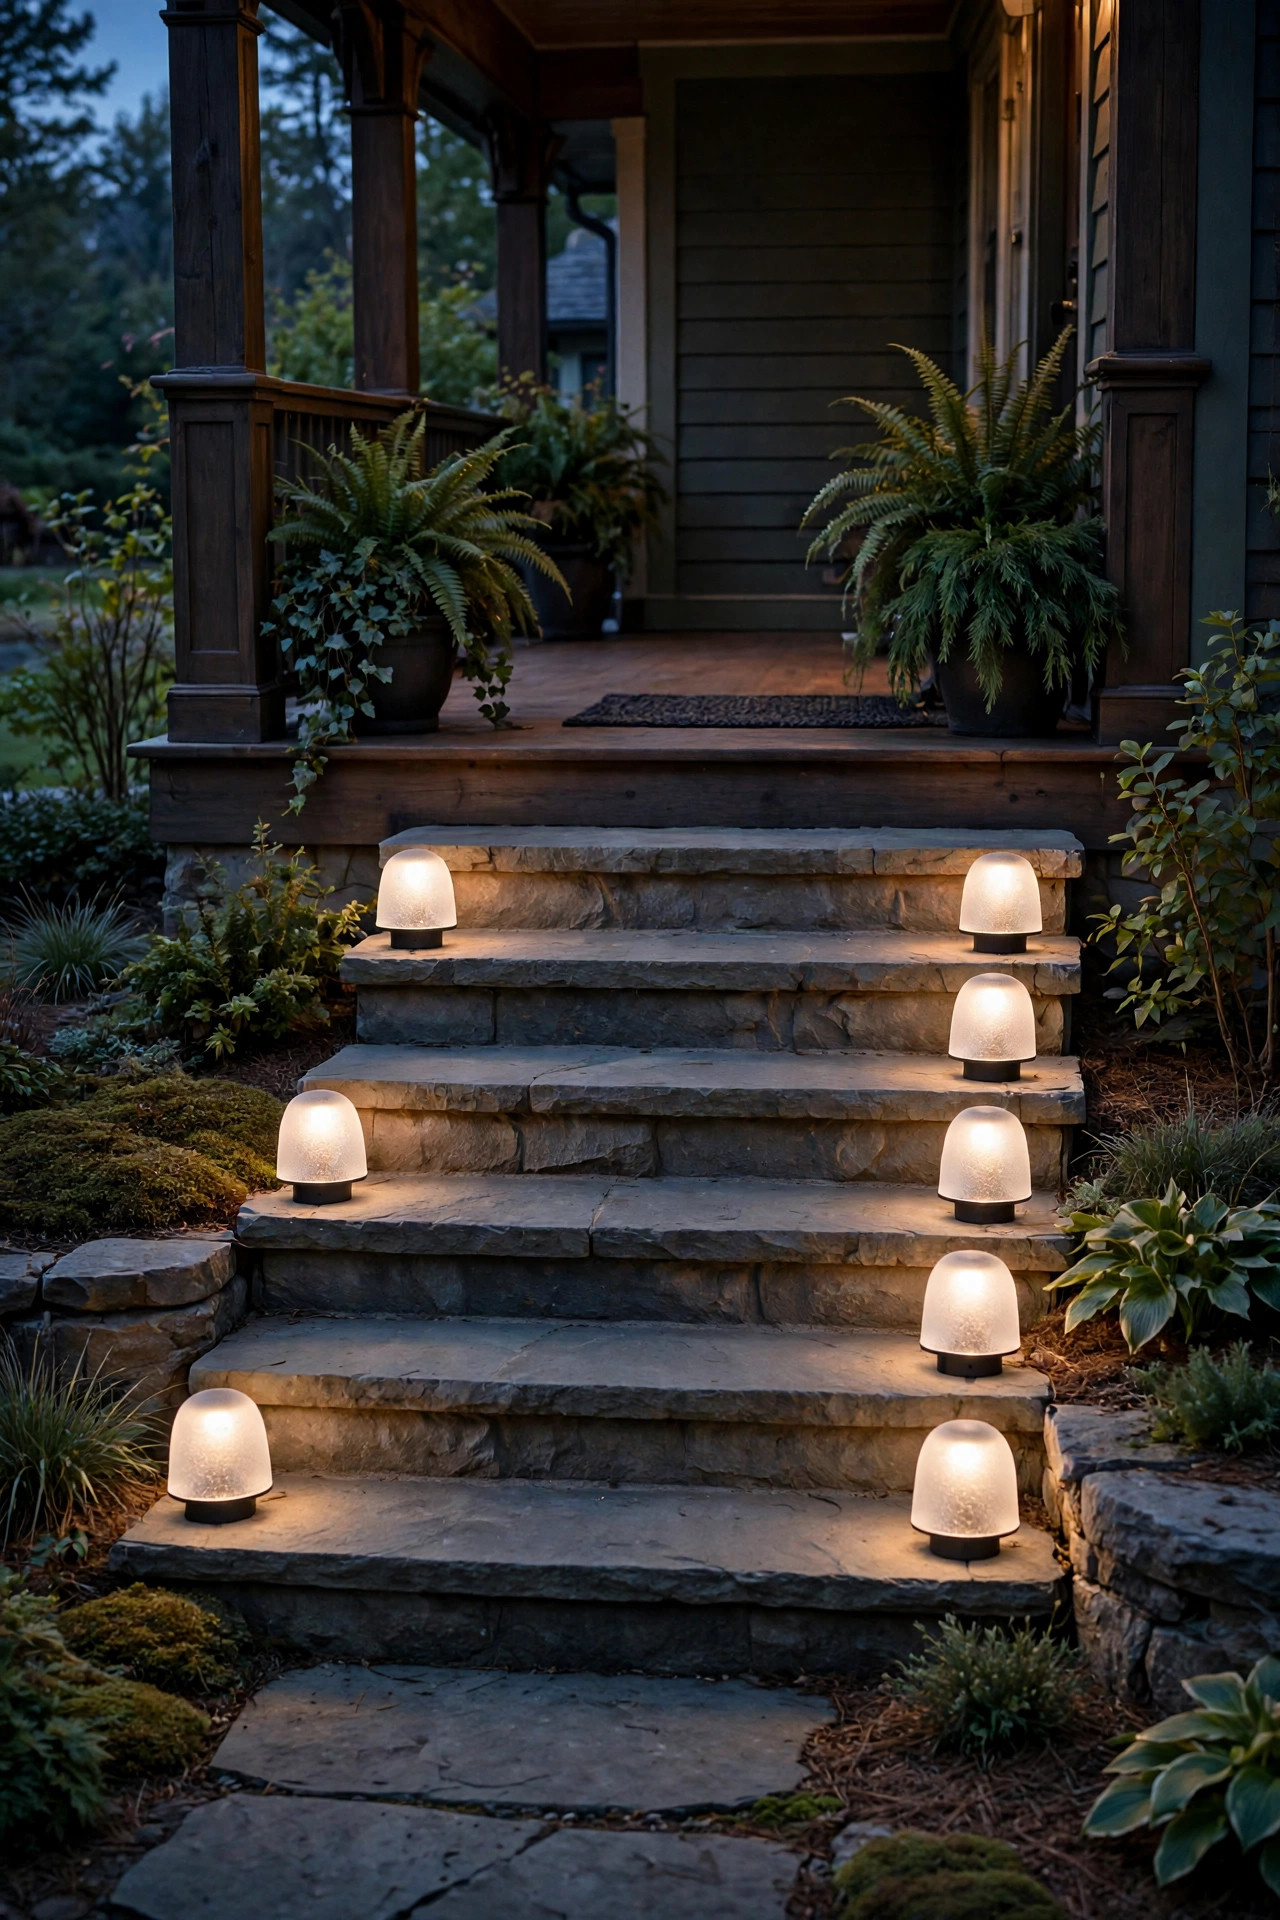
Where a path meets steps or a grade change, I trade taller mushrooms for low frosted-dome fixtures, and footing gets safer the same evening. These sit just 8 to 12 inches tall, with a frosted lens under the cap that diffuses the light into an even wash — no bright hotspot, no glare bouncing up into your eyes as you look down at the steps. Place one at the top step, one at the bottom, and one on any landing, set back about 6 inches from the tread edge so the pool covers the full step width. On a sloping path, put the fixtures on the downhill side; light thrown from above the slope reads as shadows and trips people up. These little domes don't replace true step lights on a steep staircase — for a long flight, recessed riser lights are still my recommendation — but for the two or three steps most front walks have, they're perfect, and they blend right into the mushroom family everywhere else. Keep the frosted lens wiped clean; a dusty lens dims the wash noticeably, and this is the one spot on the path where you genuinely need every lumen.
Suggested budget range: $15 – $35.
8. Oversized Dome Lights for Wide Paths and Driveway Edges
Scale is the mistake I see most: dainty fixtures on a grand path. If your walkway is 4 to 5 feet wide, or you're lighting the planting strip along a driveway, step up to oversized dome lights — caps 8 to 10 inches across on 20- to 24-inch stems. The bigger cap throws a pool roughly 8 feet wide, so spacing relaxes to 8 to 10 feet and the proportions finally match the setting. Along a driveway, set fixtures at least 18 inches back from the pavement edge; that keeps them clear of car doors, delivery vans riding the edge, and the snowplow's enthusiasm in January. These are nearly always low-voltage fixtures, and their larger LEDs run 200 to 300 lumens — bright enough that I put mine on a dimmer or a zoned transformer so a quiet evening can run them at half glow. One more sizing note I learned the hard way: match the dome diameter to your path width, not your enthusiasm. A 10-inch cap on a 3-foot garden path looks like a flying saucer landed in the petunias. Save the big domes for big gestures and they'll look intentional every time.
Suggested budget range: $40 – $85.

9. Mushroom Lights That Follow a Curved Garden Path
Straight rows are easy; curves are where mushroom lights show their charm. On a curved garden path, place fixtures on the outside of each bend — that's where the eye travels and where feet drift in the dark. Tighten the spacing to 5 or 6 feet through the curve, then relax back to 7 or 8 on the straightaways; the rhythm subtly tells walkers the path is turning before they can quite see it. Resist the urge to mirror fixtures across from each other. A gentle stagger, one side then the other, follows the path's natural swing and looks like the lights grew there. My favorite trick: lay the whole run out with inexpensive solar mushrooms first, live with it for two or three nights, and nudge fixtures a foot here or there before installing anything wired. Curves are nearly impossible to judge on paper at noon — they only make sense at dusk, from both directions. Walk it toward the house and back toward the garden, because a curve that reads beautifully one way can hide a dark pocket the other way. When both directions glow evenly, lock the positions in and plant your perennials around the stems.
Suggested budget range: $20 – $45.

10. A Storybook Cottage Garden With Mixed Mushroom Lights
For a cottage garden, mushroom lights are practically the native species. Their soft caps and downward glow suit a storybook planting of lavender, catmint, and old roses in a way that sleek modern bollards never will. I mix finishes here — mostly aged copper with a few dark bronze — but keep heights in a tight family, 12 to 18 inches, so the fixtures feel collected rather than matched. Let the spacing go a little irregular, 6 feet here, 9 there, following the planting pockets instead of a ruler. Cottage paths also reward extra-warm light: look for 2200K to 2700K bulbs, the color of late candlelight, and let plants spill right up to the stems. A mushroom half-hidden in a mound of lady's mantle, its pool catching the chartreuse flowers, is the single most-photographed corner of my yard. Skip the urge to edge everything neatly; the charm is in the tumble. Do keep one practical rule, though: leave yourself a mower or trimmer path that doesn't require dodging fixtures, or cottage romance becomes Saturday frustration. A simple mulch strip along the bed edge solves it and keeps the wild look intact.
Suggested budget range: $25 – $60.

11. Solar Mushroom Lights Around the Patio Edge
The edge of a patio is invisible after dark until someone steps off it into a flower bed — ask me how I know. A ring of solar mushroom lights pushed into the beds around the patio edge fixes that with a soft dotted boundary you can read from any chair. Space them 4 to 6 feet apart here, closer than on a path, because you're drawing a line, not lighting a route. Solar is the right call: patio-edge beds usually get good sun, the stakes pull out in seconds when you want to rearrange seating or set up a party game, and there's no cable for chair legs to snag. For the full scene, treat these as your ground layer and hang string lights or a pendant above — low pools at your feet, warm light overhead, and nothing glaring in between. I keep four spares in the garage through summer; between visiting kids, the dog, and my own clumsiness with the edger, one or two get knocked crooked every season, and a straight spare swap beats re-bending a tired stake. Wipe the little cap panels when you water the pots nearby.
Suggested budget range: $10 – $22.
12. Motion-Sensor Mushroom Lights for the Side Yard
The side yard is nobody's showpiece, but it's where the trash bins, the hose reel, and the gate live — and where you walk in the dark more than any guest path. Motion-sensor mushroom lights are the perfect compromise there. Solar models idle at a soft dim glow so the route is always readable, then brighten to full when you approach with the recycling. Because the cap shields the bulb, the brightening never blasts your eyes the way a bare motion floodlight does. Place them at the gate, at any step or hose crossing, and every 8 to 10 feet between — the dim idle glow connects the pools so you never walk into true darkness. Solar keeps this zero-effort: no switch to remember, no wiring along the fence. Two honest caveats from my own side yard: overhanging fences and the house wall can starve the panels, so pick the sunniest spots even if the spacing gets uneven; and in deep winter, expect the bright mode to shorten — the batteries recharge more slowly in cold, short days. Neither bothers me. This is utility lighting that still manages to look like it belongs in the garden.
Suggested budget range: $15 – $30.

13. Mix Mushroom Path Lights at Three Heights for a Natural Rhythm
If a perfectly even row of identical fixtures feels a little like a runway, mix your mushroom path lights at three heights and the whole run relaxes. I use 12-inch stems through low plantings, 18-inch as the standard, and one or two 24-inch fixtures where the path passes tall grasses or meets the porch. The rule that keeps it looking planned instead of random: repeat the pattern. Short, standard, tall, short, standard, tall — a rhythm every three or four fixtures that your eye catches subconsciously from the street. Taller stems throw slightly wider, softer pools and shorter ones throw tighter, brighter ones, so place the tall fixtures where the path curves or widens and the short ones through pinches and corners. All three heights should share one finish and one color temperature — that's the thread that ties the variety together. From the sidewalk, stand back and squint: you should see a gentle up-and-down rhythm of pools, like a musical phrase, not three unrelated lights. This is the layout visitors most often ask about in my front yard, and it's nothing more than the same friendly fixture in three heights, repeated with intention.
Suggested budget range: $22 – $50.

14. Sturdy Mushroom Lights That Earn Their Keep in Winter
Winter is when cheap path lights quietly die — plastic stakes snap in frozen ground, thin caps dent under the shovel — so my snowy-climate friends get this advice: buy sturdy metal mushroom lights and install them before the first hard freeze. Once they're in, mushrooms honestly shine in winter. The caps shed snow better than flat-topped fixtures, and their downward pools reflect off a snowy path like lanterns on a postcard. Buried cable doesn't care about cold, and low-voltage LEDs actually run a touch more efficiently in winter air. A few habits keep the show going: after a storm, brush the caps clear with a gloved hand — a snow-covered cap glows dimly through the drift, which is pretty but not useful. Keep fixtures out of the plow and shovel throw zone, at least a foot back from driveway and walk edges, and note their locations on your phone in fall so spring-you isn't hunting for a buried stake. Solar models struggle this season — short days and low sun can cut runtime to a couple of hours — so for a winter-critical path, wired mushrooms are the ones I trust.
Suggested budget range: $28 – $65.

15. My Go-To Mushroom Light Layout: Spacing, Count, and Transformer Math
When friends ask for my exact recipe, this is the layout I sketch on a napkin. Measure your path's length in feet and divide by 7 — that's your fixture count for standard 6- to 8-foot spacing. On a path wider than 3 feet, alternate sides in a gentle stagger; on a narrow path, run one side only — the side away from the street gives the prettiest view from the curb. Every fixture sits 6 inches back from the edge, with the cap 12 to 18 inches above the path surface. For low-voltage runs, add up your bulb wattages and size the transformer with at least 25 percent headroom: eight 3-watt LEDs come to 24 watts, so a 60-watt transformer is comfortable and leaves room to grow. Long runs over 75 feet do better on 12-gauge cable to limit voltage drop — far fixtures dimming is the classic symptom. Before you bury anything, wire the whole run above ground, wait for full dark, and walk it twice. Nudge, swap, sigh happily, then bury the cable 6 inches deep. That one dusk test is the difference between a path you love and a path you keep meaning to fix.
Suggested budget range: $150 – $400.

Frequently Asked Questions
How far apart should I space mushroom path lights?
For standard 12- to 18-inch fixtures, 6 to 8 feet apart gives you overlapping pools with no dark gaps. Tighten to 5 or 6 feet on curves and around steps, and relax to 8 to 10 feet in flower beds where the plants carry the eye. Solar models run dimmer, so keep those at 5 to 7 feet.
Are solar or low-voltage mushroom path lights better?
Low-voltage wins on brightness, consistency, and winter performance, and it's my choice for a front walk you depend on nightly. Solar wins on installation — no cable, no transformer, move them anytime — and it's perfect for garden paths, patio edges, and anywhere the sun shines six-plus hours a day. Many yards, mine included, use both.
What color temperature is best for path lights?
Warm white, 2700K to 3000K. It's the color of candlelight and late sun, it flatters brick, stone, and skin, and it keeps a garden feeling calm after dark. Save cooler temperatures for task lighting. Whatever you choose, keep every fixture on a path the same temperature — mixing warm and cool is the fastest way to make a pretty path look accidental.
How tall should mushroom path lights be?
Twelve to 18 inches suits most paths: tall enough to throw a useful pool, short enough to stay below eye level and blend into plantings. Go 20 to 24 inches for wide paths and tall grasses, and 8 to 12 inches beside steps. The cap should sit just above your front-row plants so the light clears the foliage.
Conclusion
The common thread through every one of these mushroom path lights ideas is simple: shade the bulb, aim the light down, and let soft pools do the welcoming. Start with one run — the front walk is the most satisfying — live with it for a week, and adjust before you expand. Once the rhythm of those gentle pools clicks, you'll start seeing every path, bed edge, and patio corner in your yard as another place for a little glow. Browse the rest of my lighting ideas here for the layers that pair with them, and I'd love to hear which combination your yard chooses.