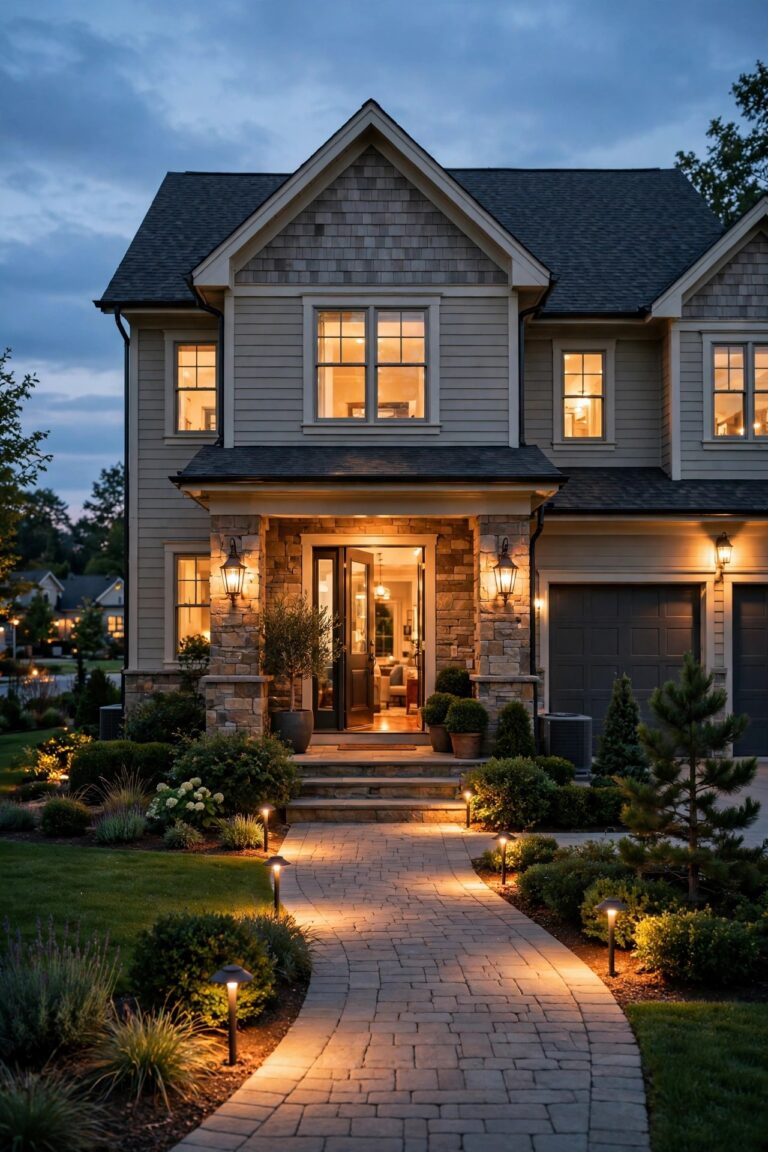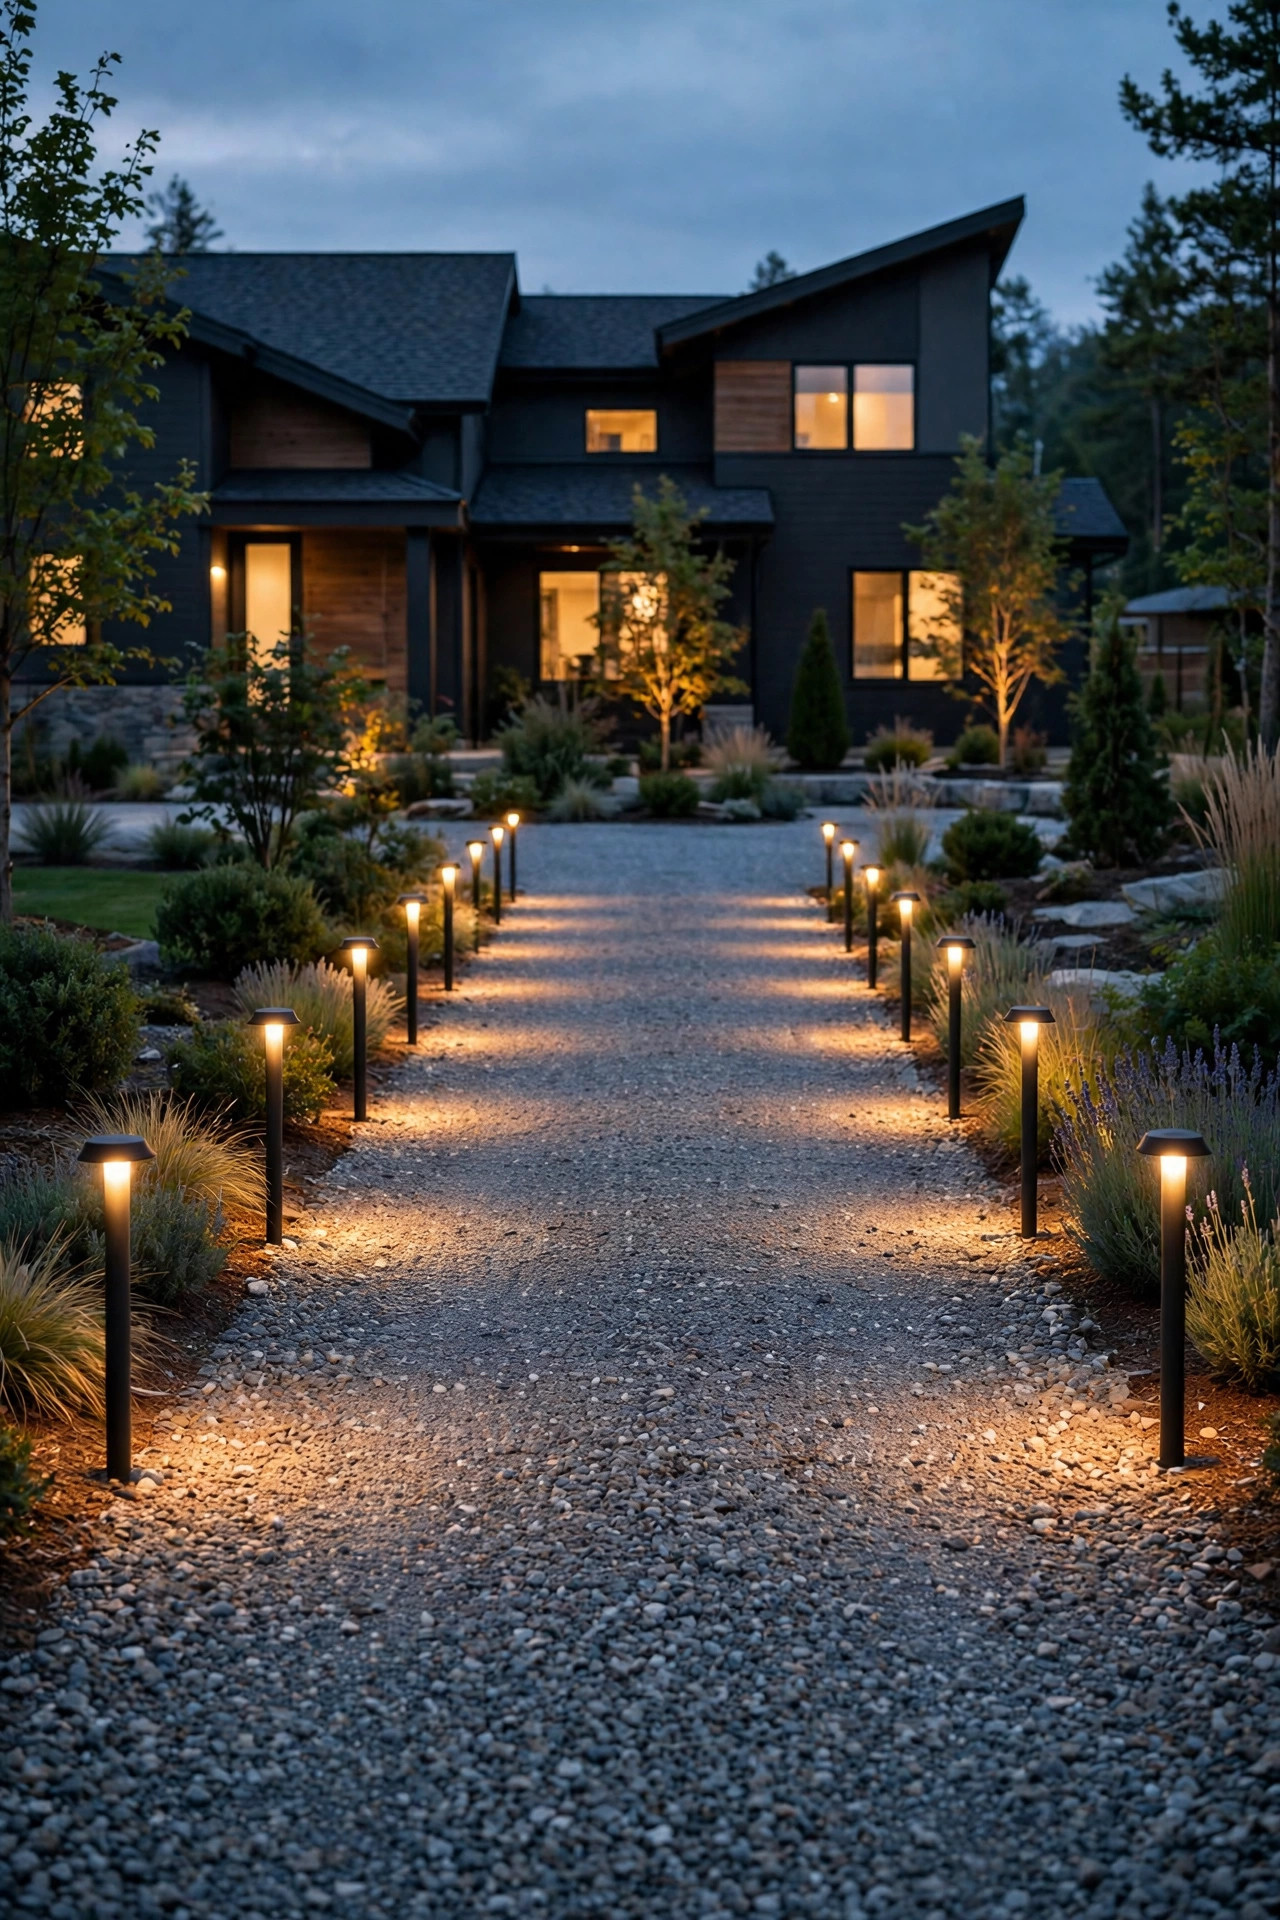
I love a gravel driveway — the crunch under your tires, the cottage charm, the price tag compared to concrete. But honestly? Lighting one used to drive me up the wall. Every spring I'd walk out and find my path lights leaning like they'd had a rough night, sunk two inches, or half-buried after the delivery truck swung wide. The problem isn't the lights; it's that gravel never stops moving. So these gravel driveway lighting ideas all start from one rule: anchor to something that doesn't move — deep soil, concrete, edging, posts, or the beds beside the drive — never to the gravel itself.
My approach is the same layering I use everywhere: define the edges first so drivers can read the drive at night, add a soft accent layer for that warm welcome, then finish with one practical safety light where people actually park and get out. Below are the fifteen setups that have genuinely stayed put at my house and at friends' places, with the install tricks that make each one hold.
1. Low-Voltage Path Lights on Extra-Long Stakes
The single biggest upgrade I ever made was throwing away the stubby 4-inch stakes that come in the box. Most path lights fail on gravel because the stake barely reaches past the loose stone into nothing. I order replacement ground stakes that are 12 to 18 inches long, push them through the gravel until they bite into the firm soil or clay base underneath, and only then mount the fixture head. That one change ended the leaning problem completely.
Run the low-voltage cable in a shallow trench in the soil at the very edge of the drive, under the gravel — not lying loose on top where tires and rakes will find it. Space fixtures 6 to 8 feet apart, alternating sides slightly so the drive reads as a gentle guide rather than a runway. Choose 2700K LED heads at 100–200 lumens; that's plenty to outline gravel without glaring into windshields. Because it's low voltage, this is a safe weekend DIY with no electrician needed, and if you want the broader menu of styles first, my roundup of driveway lighting ideas covers the looks worth copying.
Suggested budget range: $60 – $180.
2. Bollard Lights Set in Concrete Footings
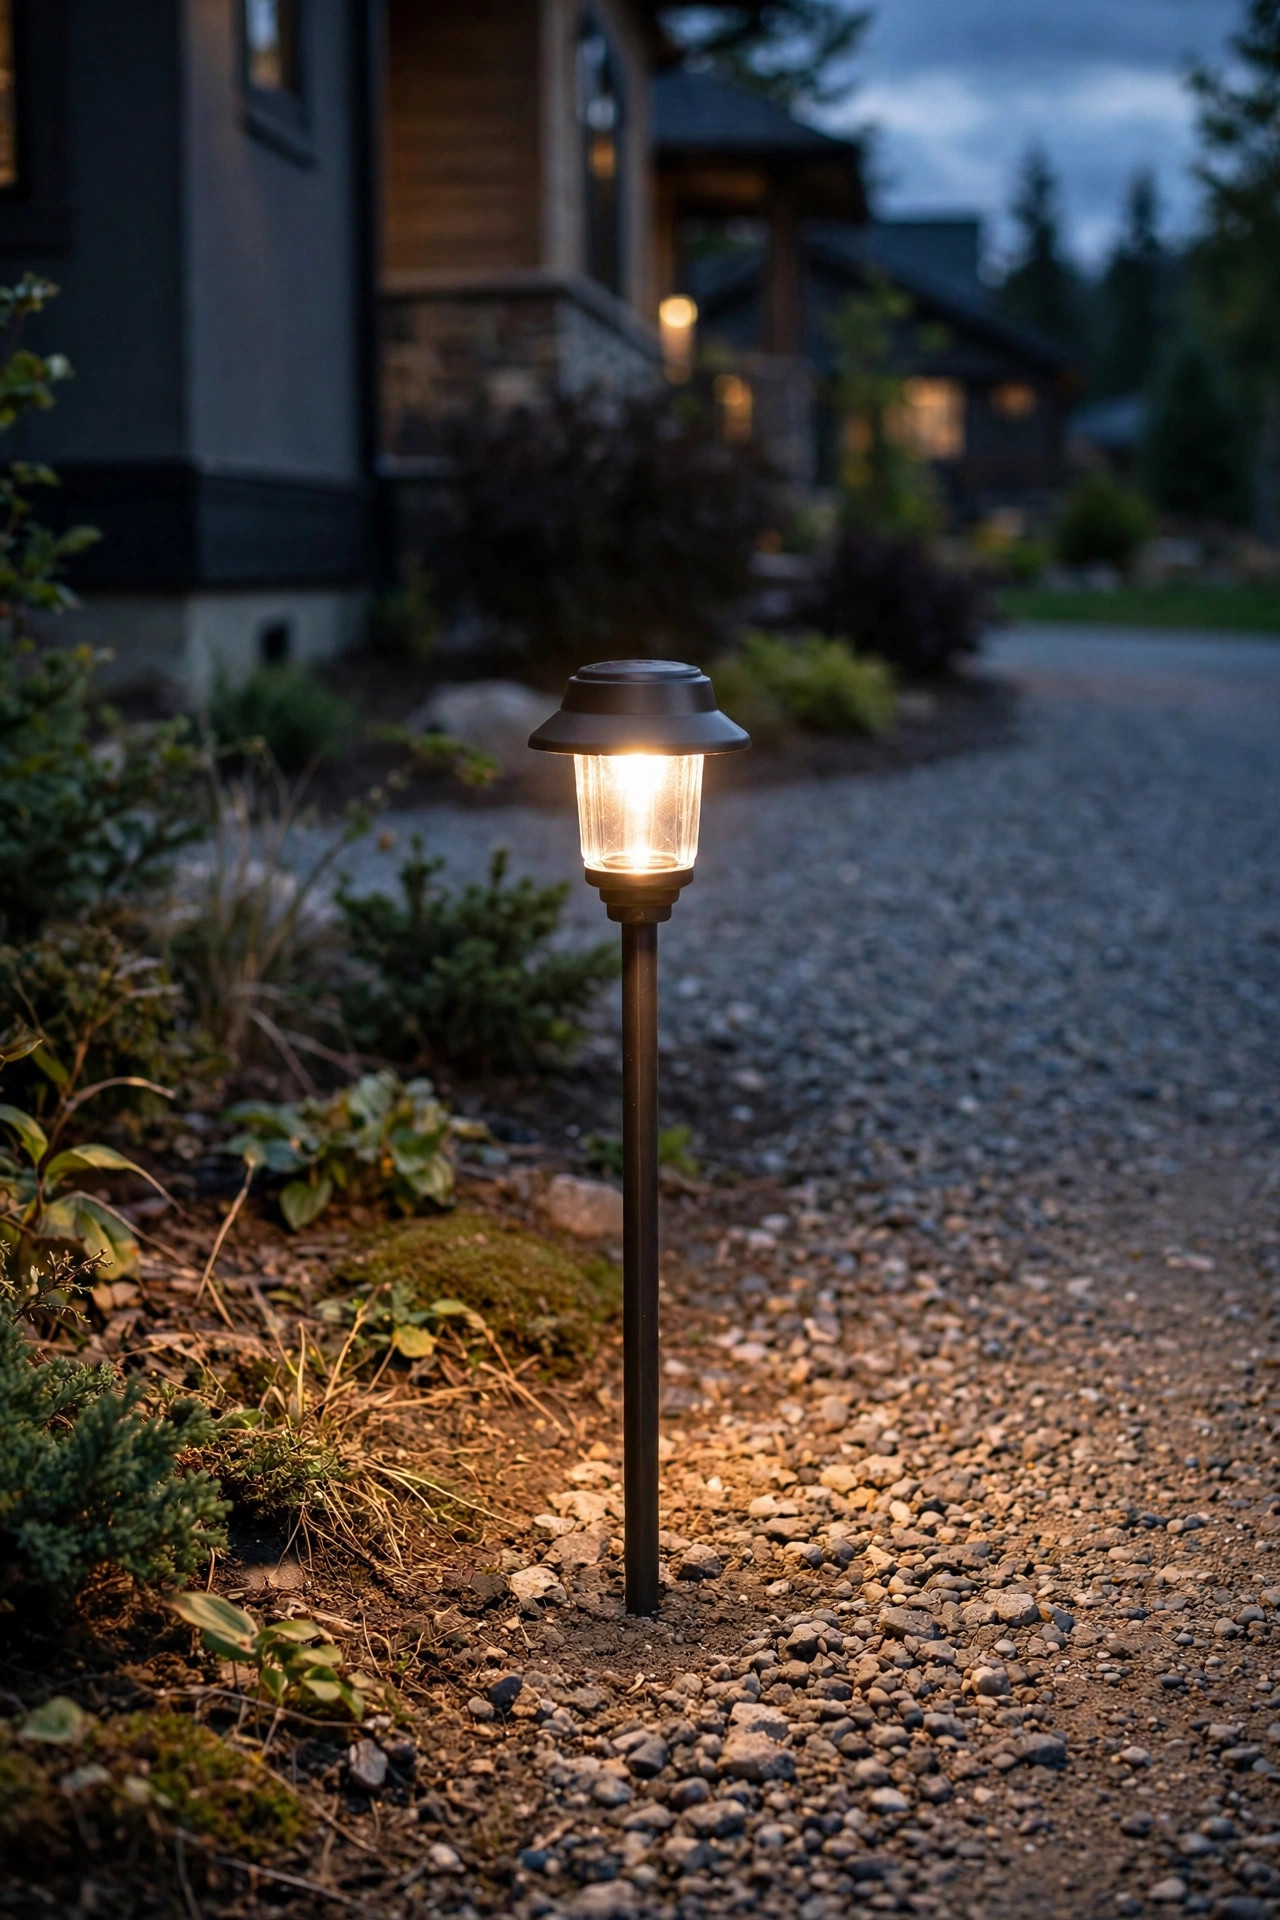
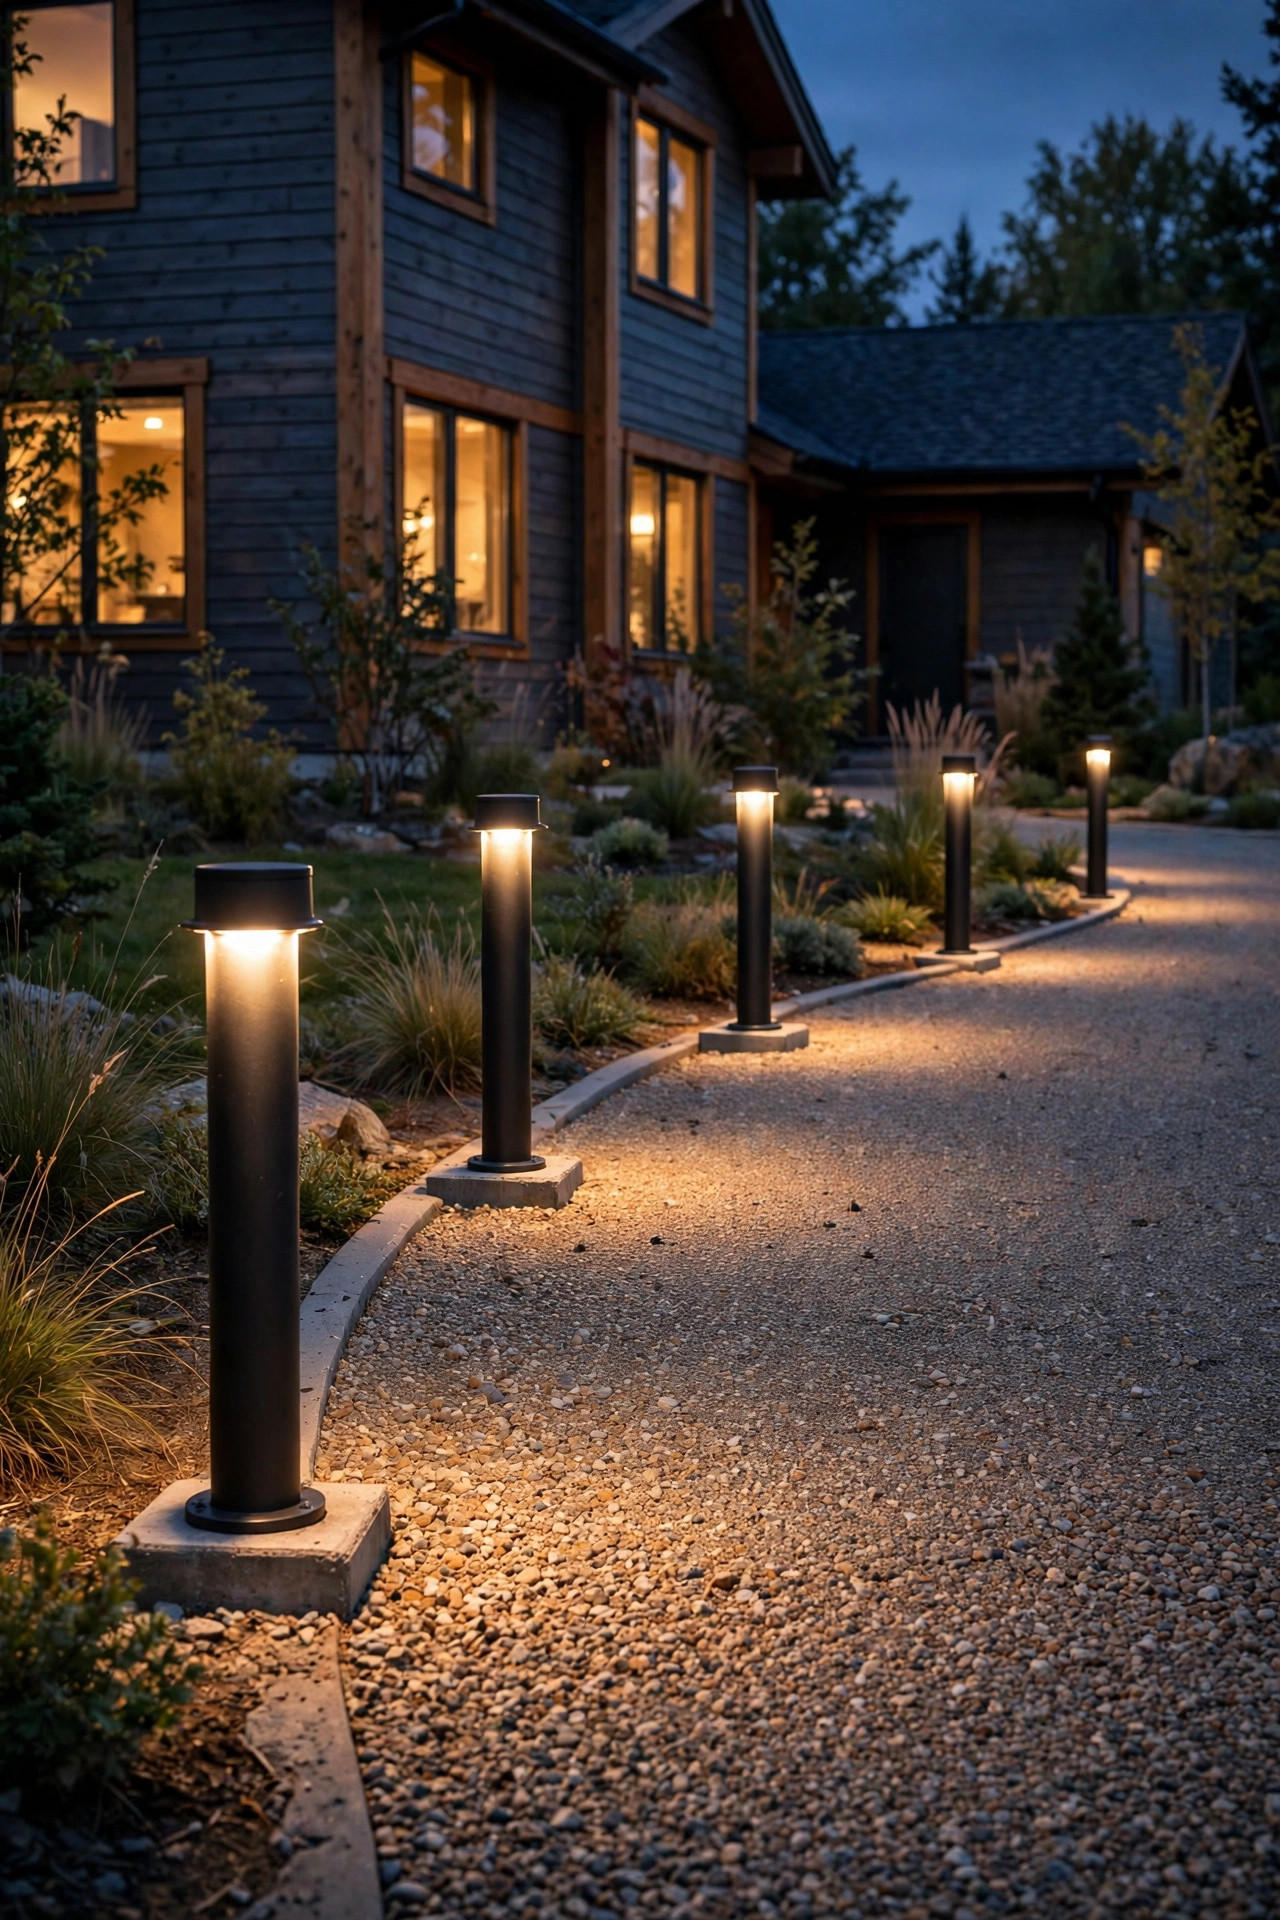
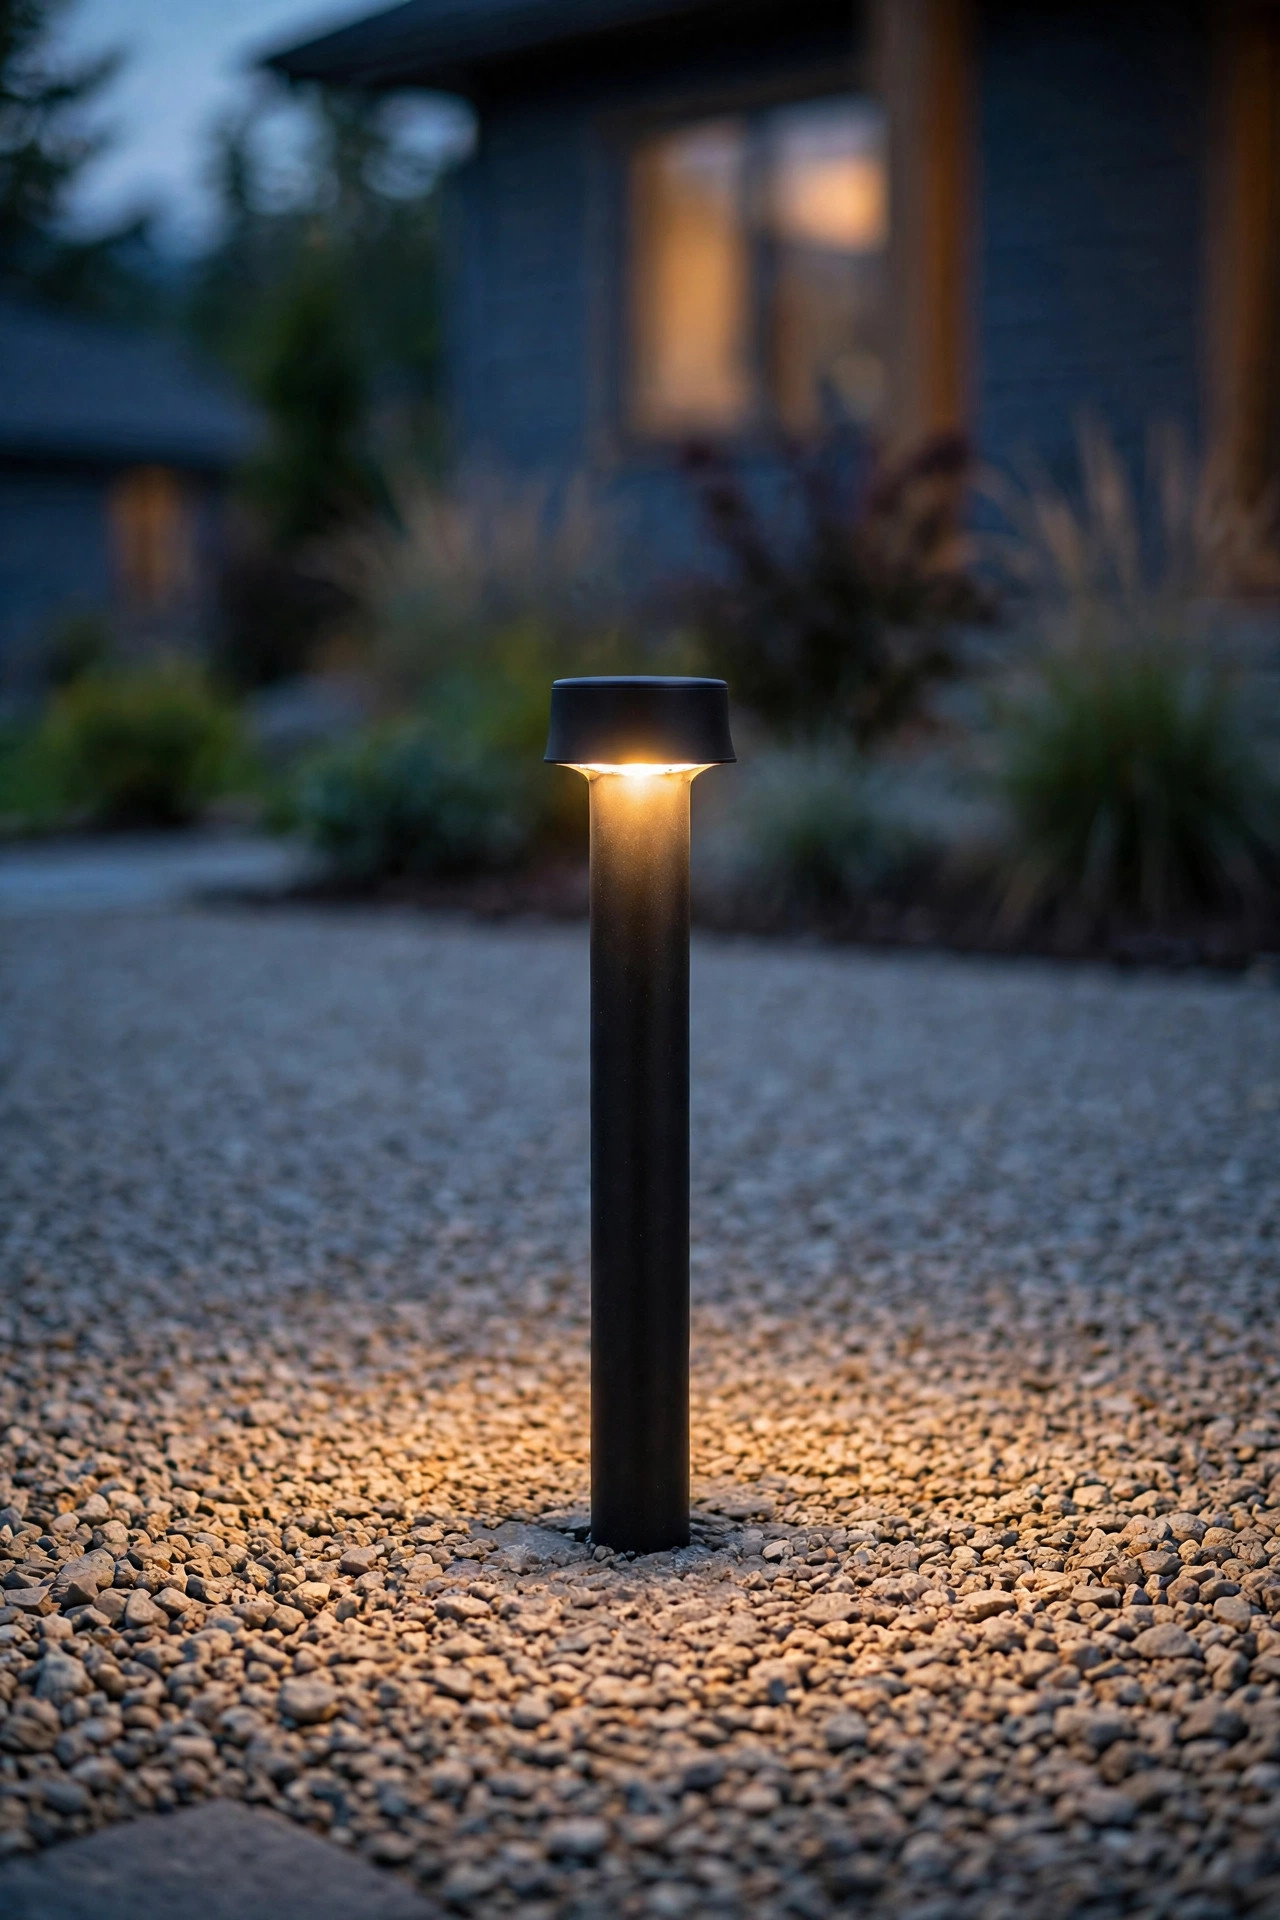
When a client asks me what will still be standing straight in ten years, I say bollards in concrete, every time. A bollard is a short post light, and on gravel the trick is to give it a footing the gravel can't argue with: dig a hole about 12 inches wide and 18 inches deep at the edge of the drive, set a short tube form, pour concrete, and bolt the bollard's base plate to the cured footing with the gravel swept back around it afterward. The stone can shift all it wants; the light never moves.
Place bollards where they earn their keep — the entrance, any curve, and the parking apron — every 10 to 15 feet is plenty since they throw light wide. Look for powder-coated aluminum or composite bodies rated for wet locations, with the LED tucked under a cap so it washes down instead of shining into eyes. If you're comparing styles and heights before committing, the dedicated guide to driveway bollard lights walks through the options. This is the priciest idea on the list per fixture, but per decade it's honestly the cheapest.
Suggested budget range: $150 – $400.
3. Flush In-Ground Well Lights
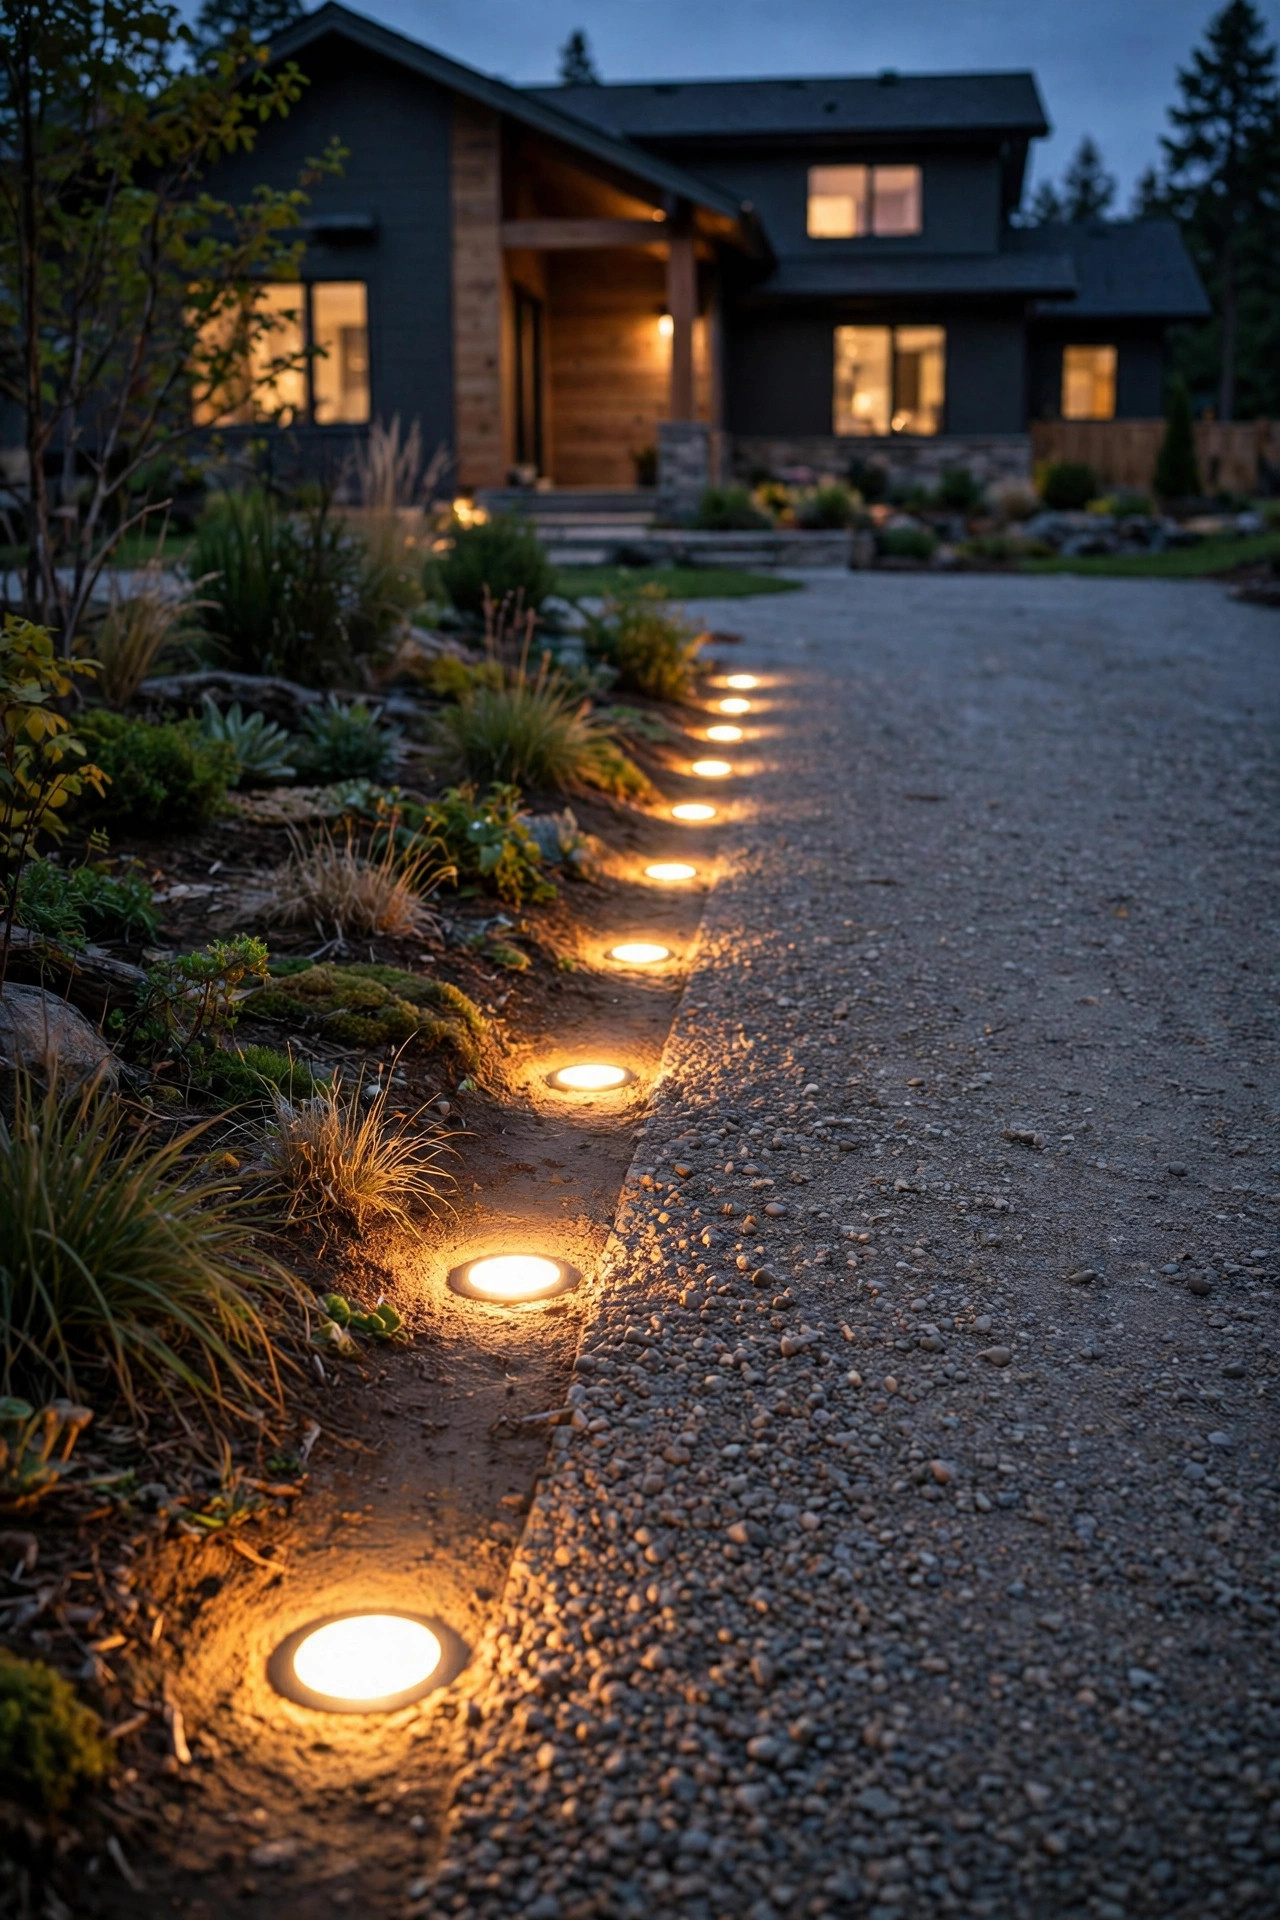
Well lights are my favorite answer for the spots where anything standing up will get clipped — the inside of a turn, the edge of a parking apron, the turnaround. A proper in-ground well light sits in a buried sleeve with its lens flush to the surface, so there's simply nothing to knock over. Gravel can't topple what isn't sticking up.
Two details matter. First, buy fixtures with a tempered glass lens and a drive-over or walk-over rating if tires might cross them, and aim for an IP67 seal so silty gravel water stays out. Second, set the sleeve in a small pocket of compacted crushed rock — not loose pea gravel — and leave the lens a hair below the surrounding stone level so tires roll over the gravel, not the glass. I use them as gentle markers, 150–300 lumens, warm white, spaced about 8 feet apart. Twice a year I brush the lenses clean with a stiff hand broom; that's the whole maintenance routine. They disappear by day and turn the drive into a soft dotted outline by night.
Suggested budget range: $120 – $350.
4. Solar Path Lights with Screw-In Ground Anchors
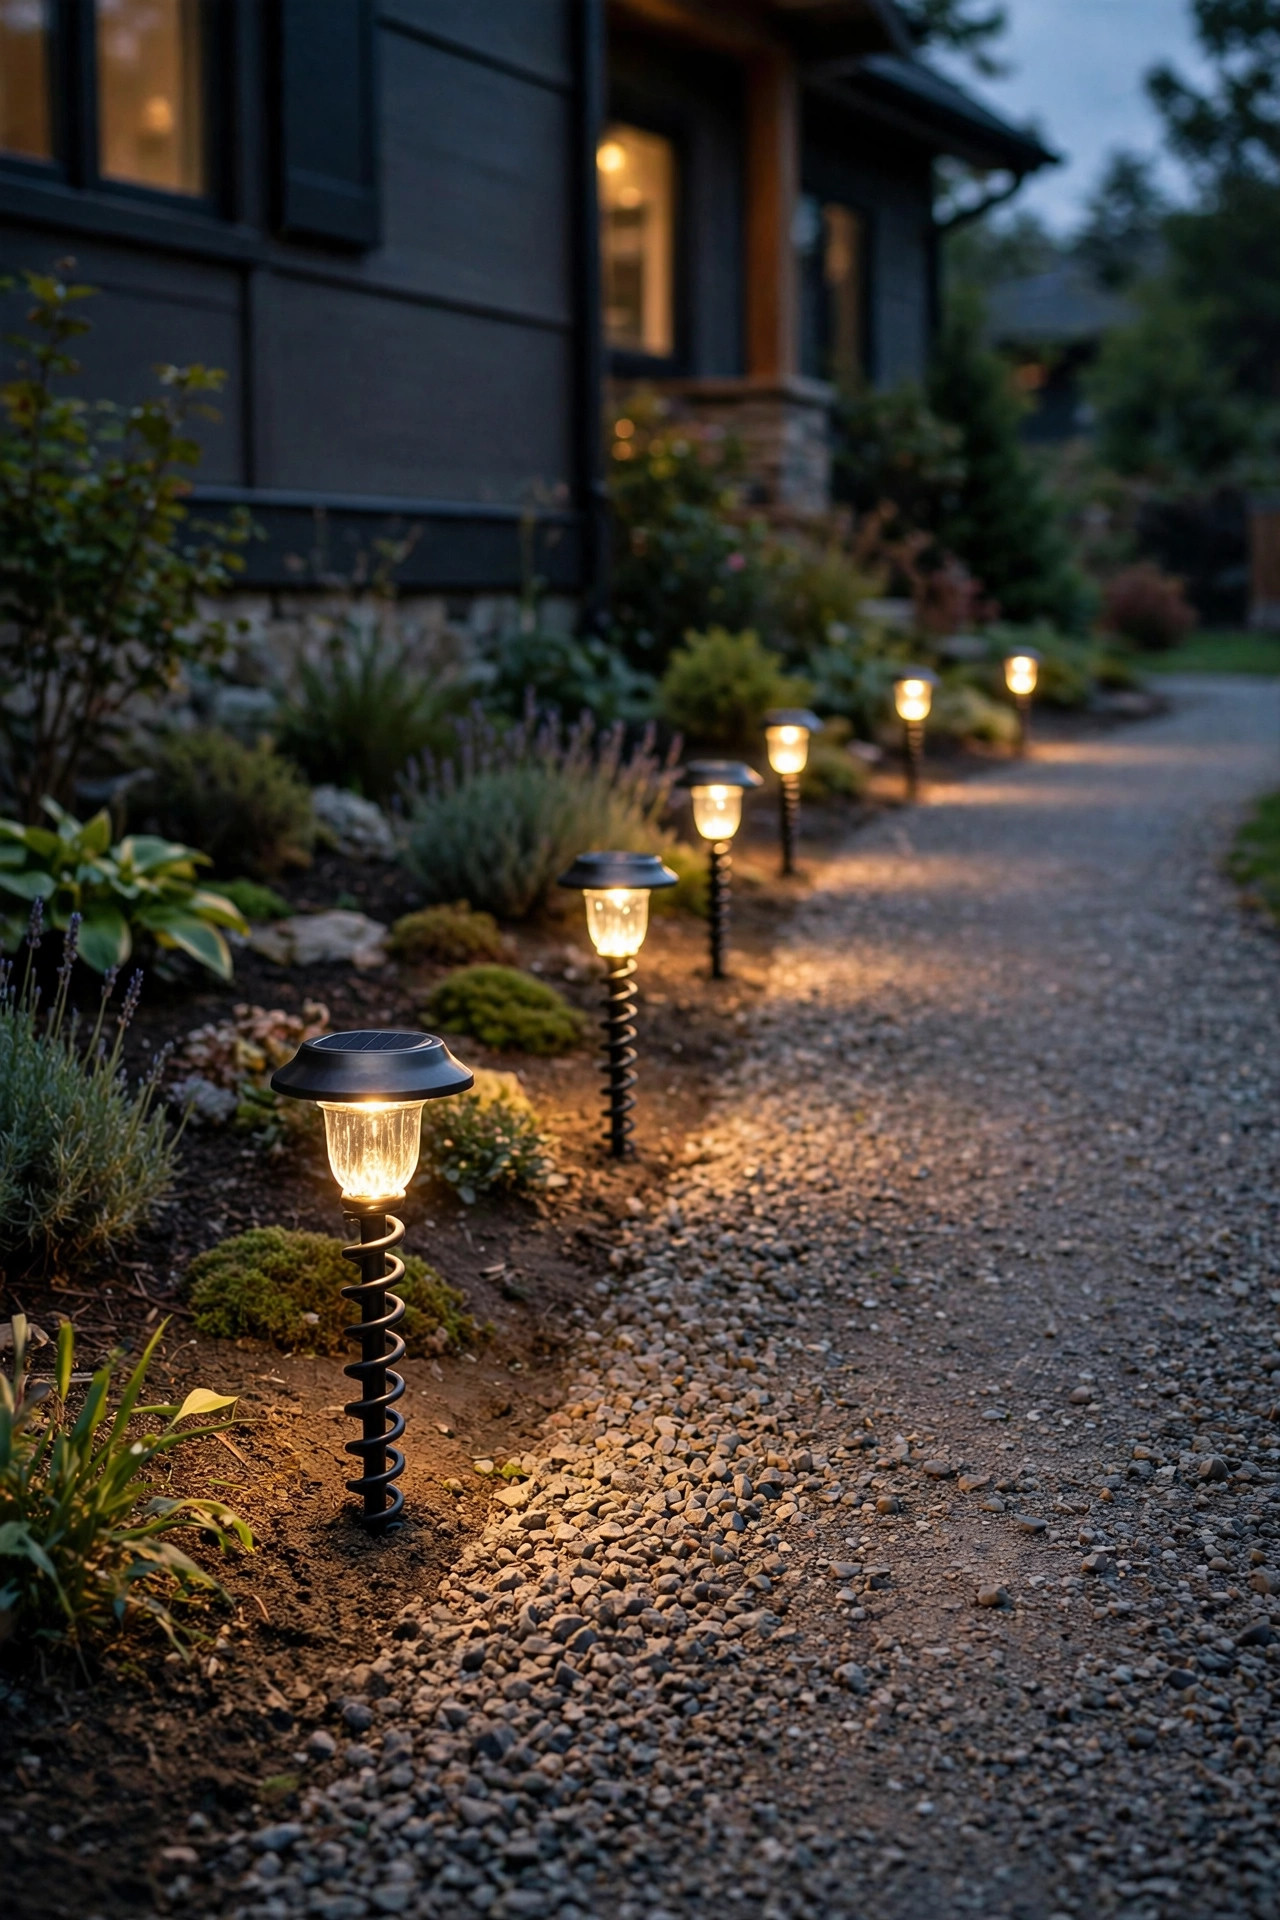
I'll be honest about solar on gravel: the cheap push-in kind are hopeless — the spike is short, the gravel is loose, and within a month they tilt. But solar lights with screw-in auger anchors are a different animal. The anchor is a spiral, like a small earth screw, that you twist down through the gravel into the soil beneath; the light then locks onto the anchor head. They hold through frost heave and bumper nudges far better than anything you simply push in.
Look for anchors at least 6 inches long, real glass or high-efficiency panels, and replaceable batteries so a tired battery doesn't mean a whole new fixture. Set them a few inches inside the edging line where tire spray of loose stone is least. Expect 8–15 lumens from decorative models — enough to mark an edge, not to read by — so treat these as the accent layer. My solar path lights guide explains the panel and battery specs that separate the good ones from the landfill. For renters or a first quick win before guests arrive, these go in with zero digging and zero wiring.
Suggested budget range: $40 – $120.
5. Fixtures Mounted to the Driveway Edging
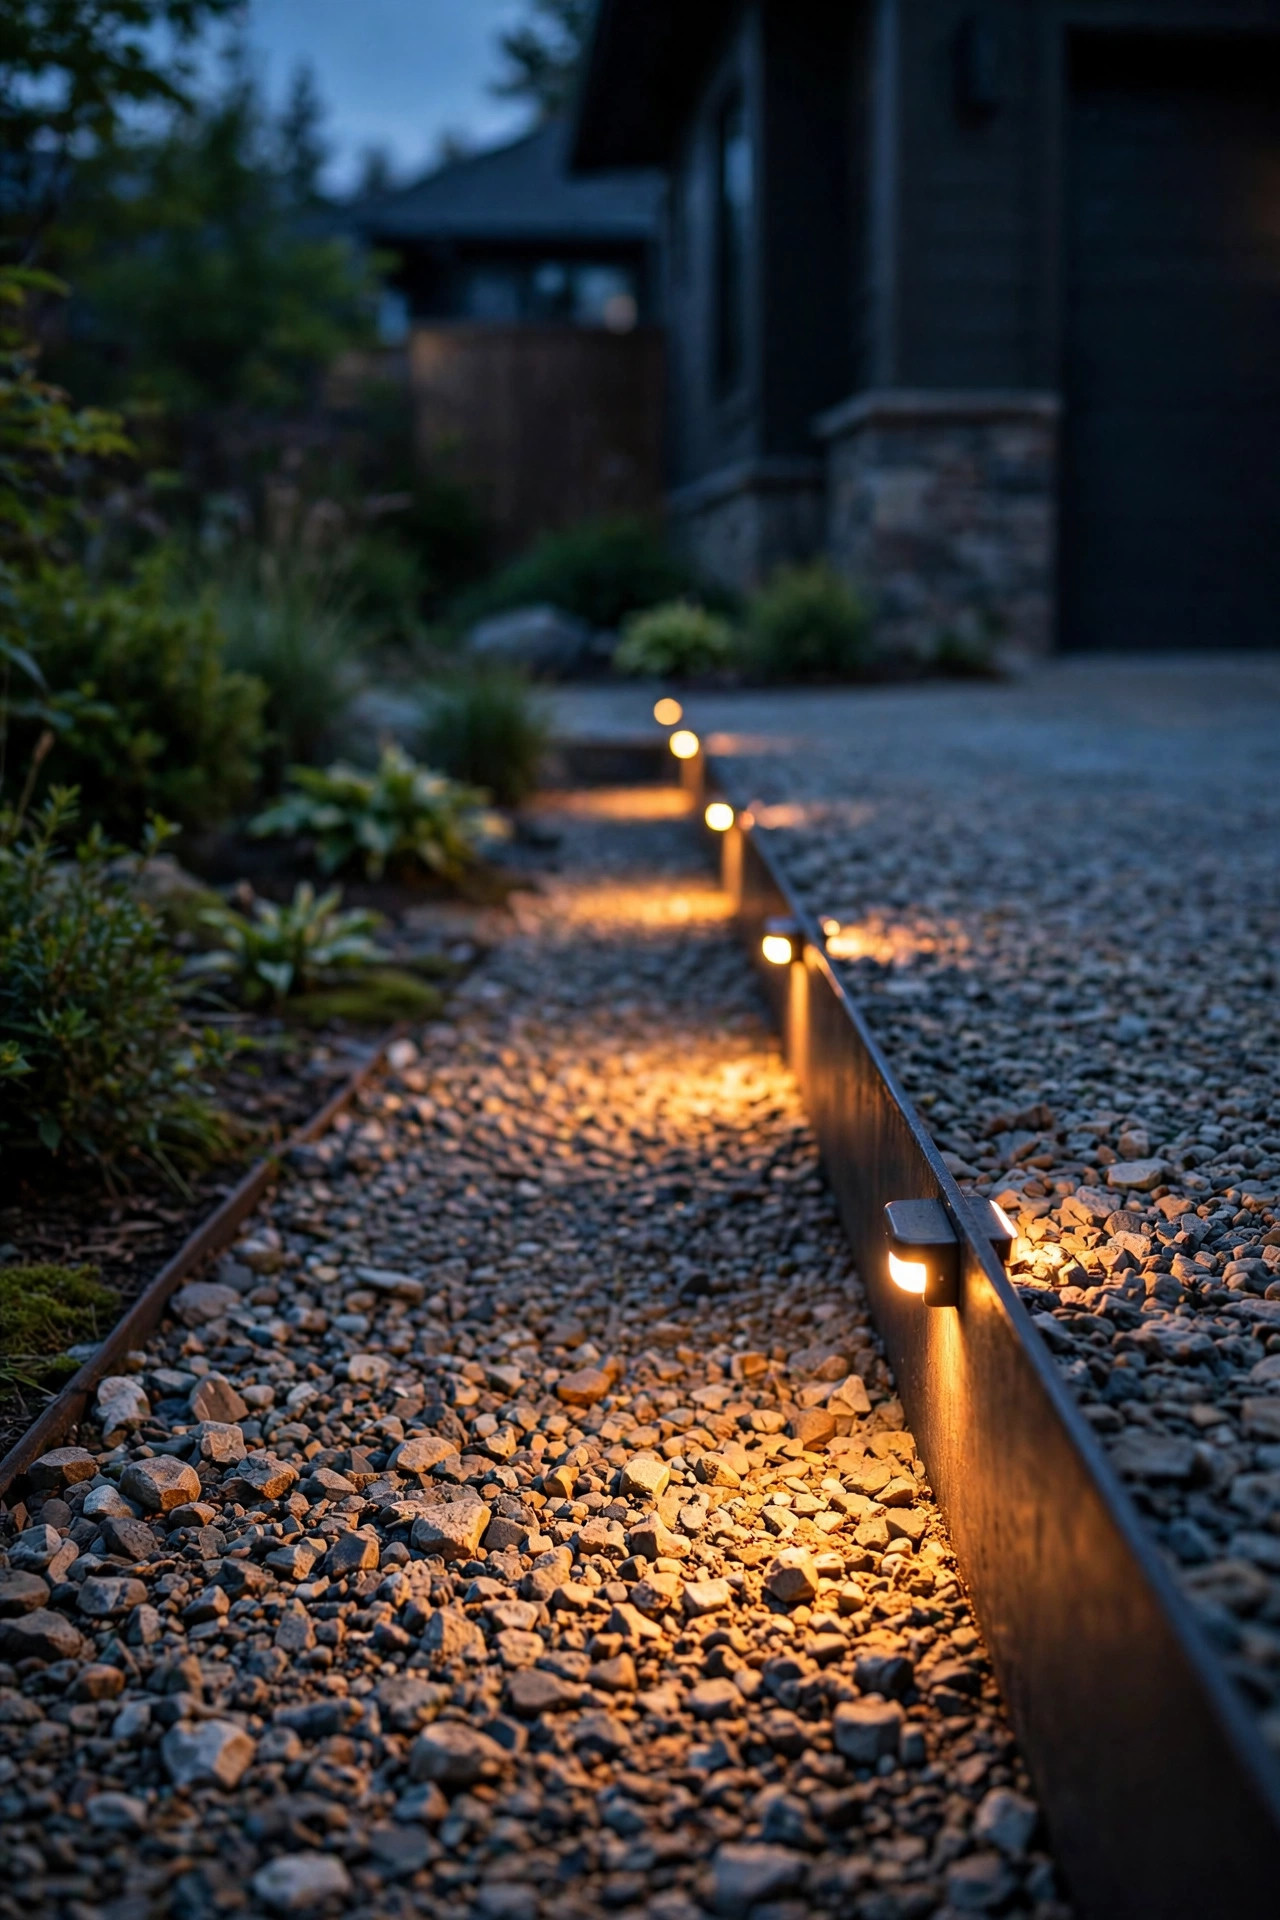
Here's the mindset shift that solved half my problems: if your gravel drive has steel, aluminum, brick, or timber edging, the edging is the most stable thing out there — so bolt the lights to it and let the gravel do whatever it wants. Small low-voltage spotlights and marker lights clamp or screw straight onto metal edging, and low-profile LED fixtures mount beautifully to the inside face of a timber edge with stainless screws.
Mount them low, lens angled slightly down and along the drive, so each fixture grazes the gravel surface and picks out the edge line without blinding anyone. Because the fixture rides the edging, frost heave moves everything together and nothing ever looks crooked relative to the border. Wiring hides neatly: run the cable in the soil trench just outside the edging where it's protected, and drill through only at each fixture. Keep fixtures at least a few inches back from where snowplow blades or shovels ride the edge in winter, and choose fully sealed wet-location fixtures since meltwater pools right there. It's a clean, architectural look that reads expensive.
Suggested budget range: $50 – $150.
6. Buried Paver Pads — the Hidden-Foundation Trick for Gravel Driveway Lighting
This is the trick I recommend most for gravel driveway lighting on a budget, because it works with almost any stake light you already own. Under each fixture location, dig down through the gravel to the base, set a flat concrete paver or patio stone — a 12-by-12-inch pad is perfect — level it on the compacted soil, then backfill the gravel over it until only a shallow layer of stone covers the top. Now push the fixture's stake through that shallow gravel and into a pre-drilled hole in the paver, or mount a small post base to the pad with masonry screws.
The fixture thinks it's anchored in a patio; the drive still looks like plain gravel. The pad spreads the load so nothing sinks, and because the stone layer above it is thin, the fixture can't develop that slow sideways lean. It also makes replacements trivial — lift, swap, reset. Use a masonry bit to drill, keep pads at least 6 inches inside the driving line, and mark their positions on a little sketch so future-you can find them after a gravel top-up.
Suggested budget range: $30 – $90.
7. Gravel-Grid Panels with Marker Lights
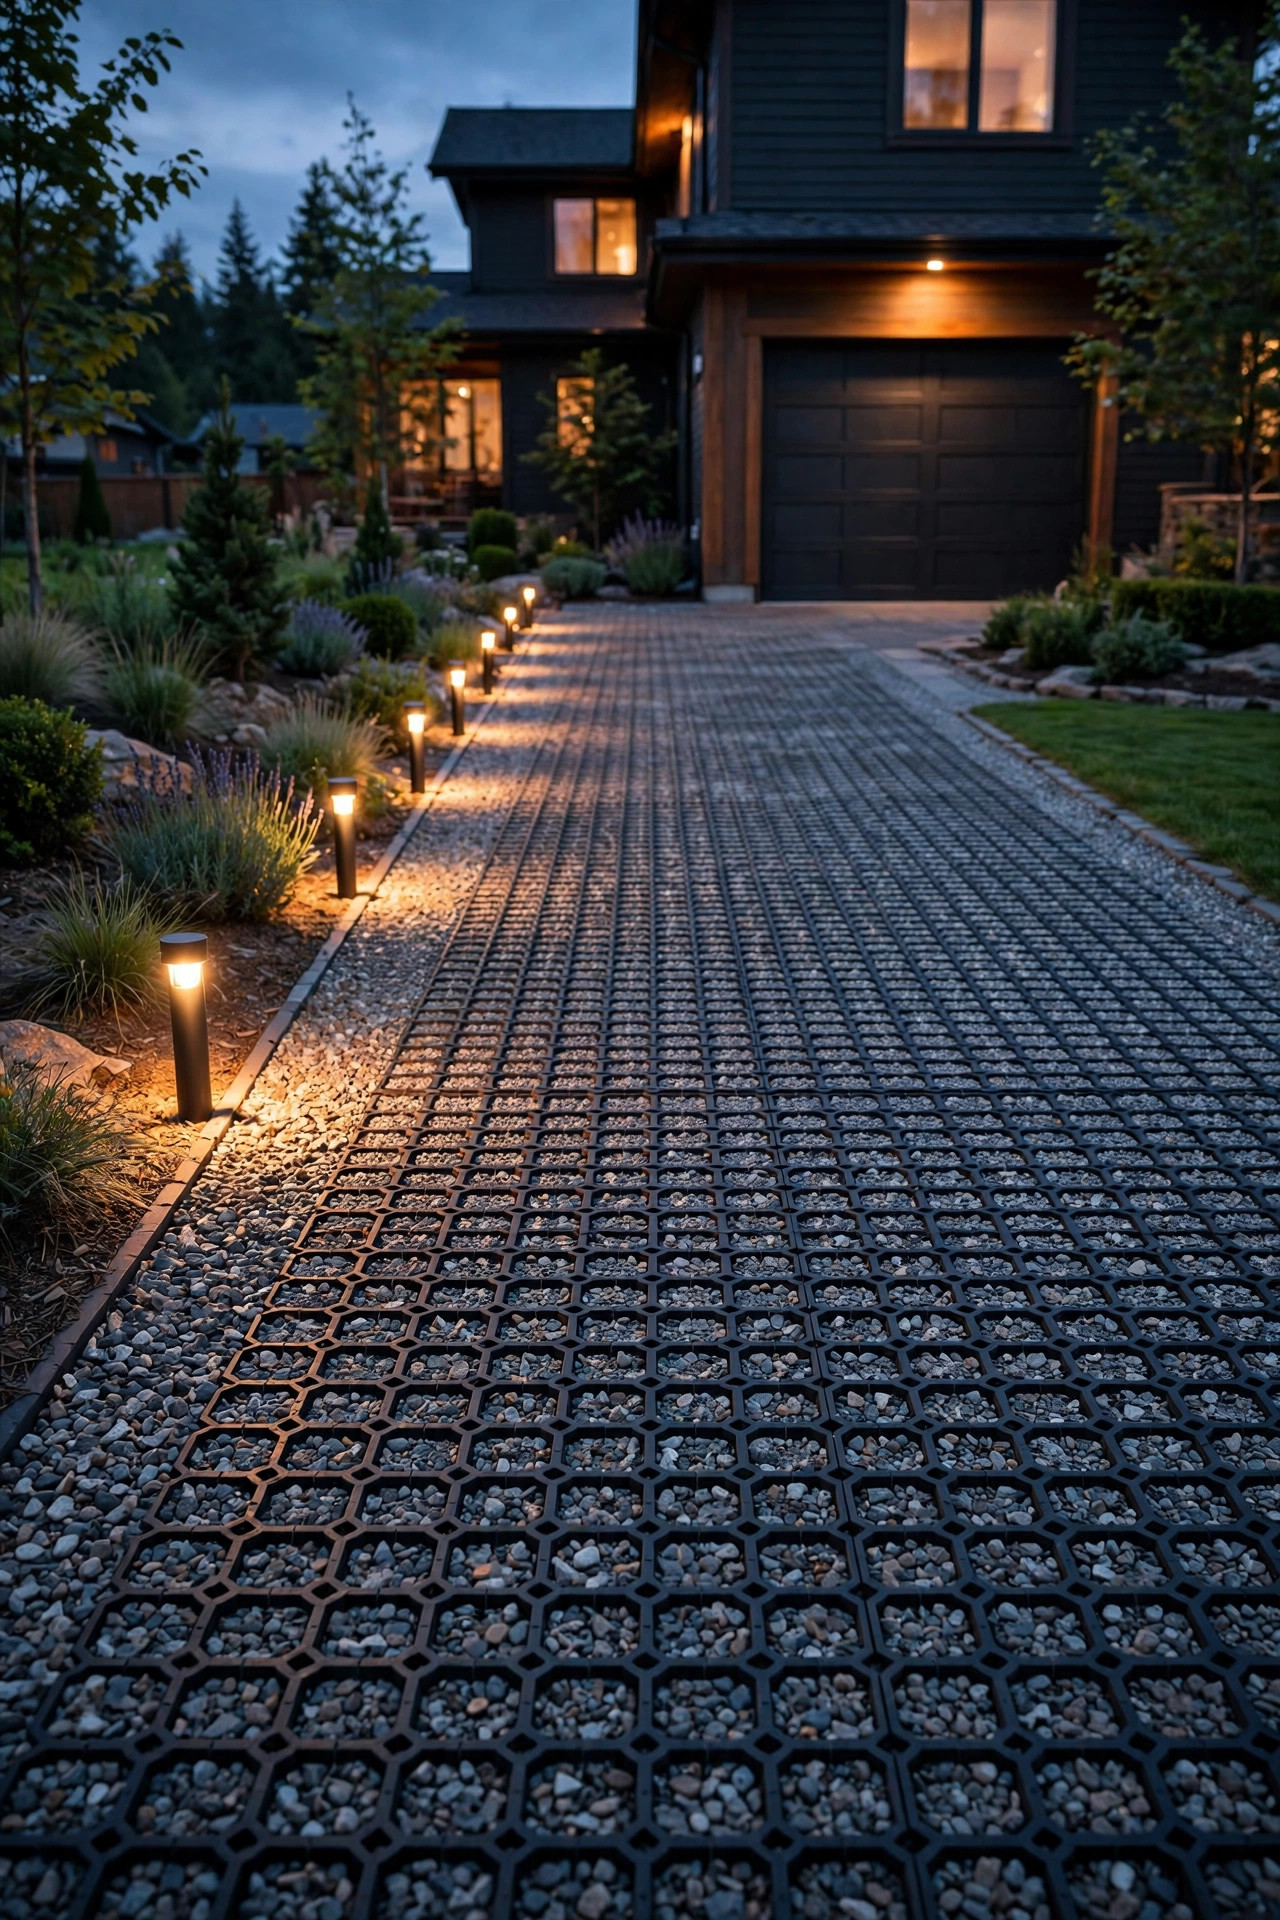
If your gravel migrates everywhere — down the slope, into the lawn, across the apron — permeable gravel-grid panels fix the root cause. These are interlocking honeycomb grids you lay over a compacted base and fill with stone; the cells lock the gravel in place so it stops traveling, rutting, and swallowing your fixtures. With the surface suddenly stable, standard low-voltage marker lights and short path lights along the grid edge stay exactly where you planted them.
Installation is a Saturday project: grade and compact the base, lay landscape fabric, snap the panels together, fill and level the stone. Then treat the now-solid edges like any normal driveway — lights every 8 feet, cable trenched just outside the grid line. I especially love grids on sloped drives and at the street apron, the two places loose gravel misbehaves most. The grids also noticeably cut down on that scattered-stone-in-the-lawn problem, which your mower will thank you for. It's the most work of any idea here, but it converts a high-maintenance drive into a stable platform for every other idea on this list.
Suggested budget range: $200 – $600.
8. Gate-Post and Fence-Post Lights
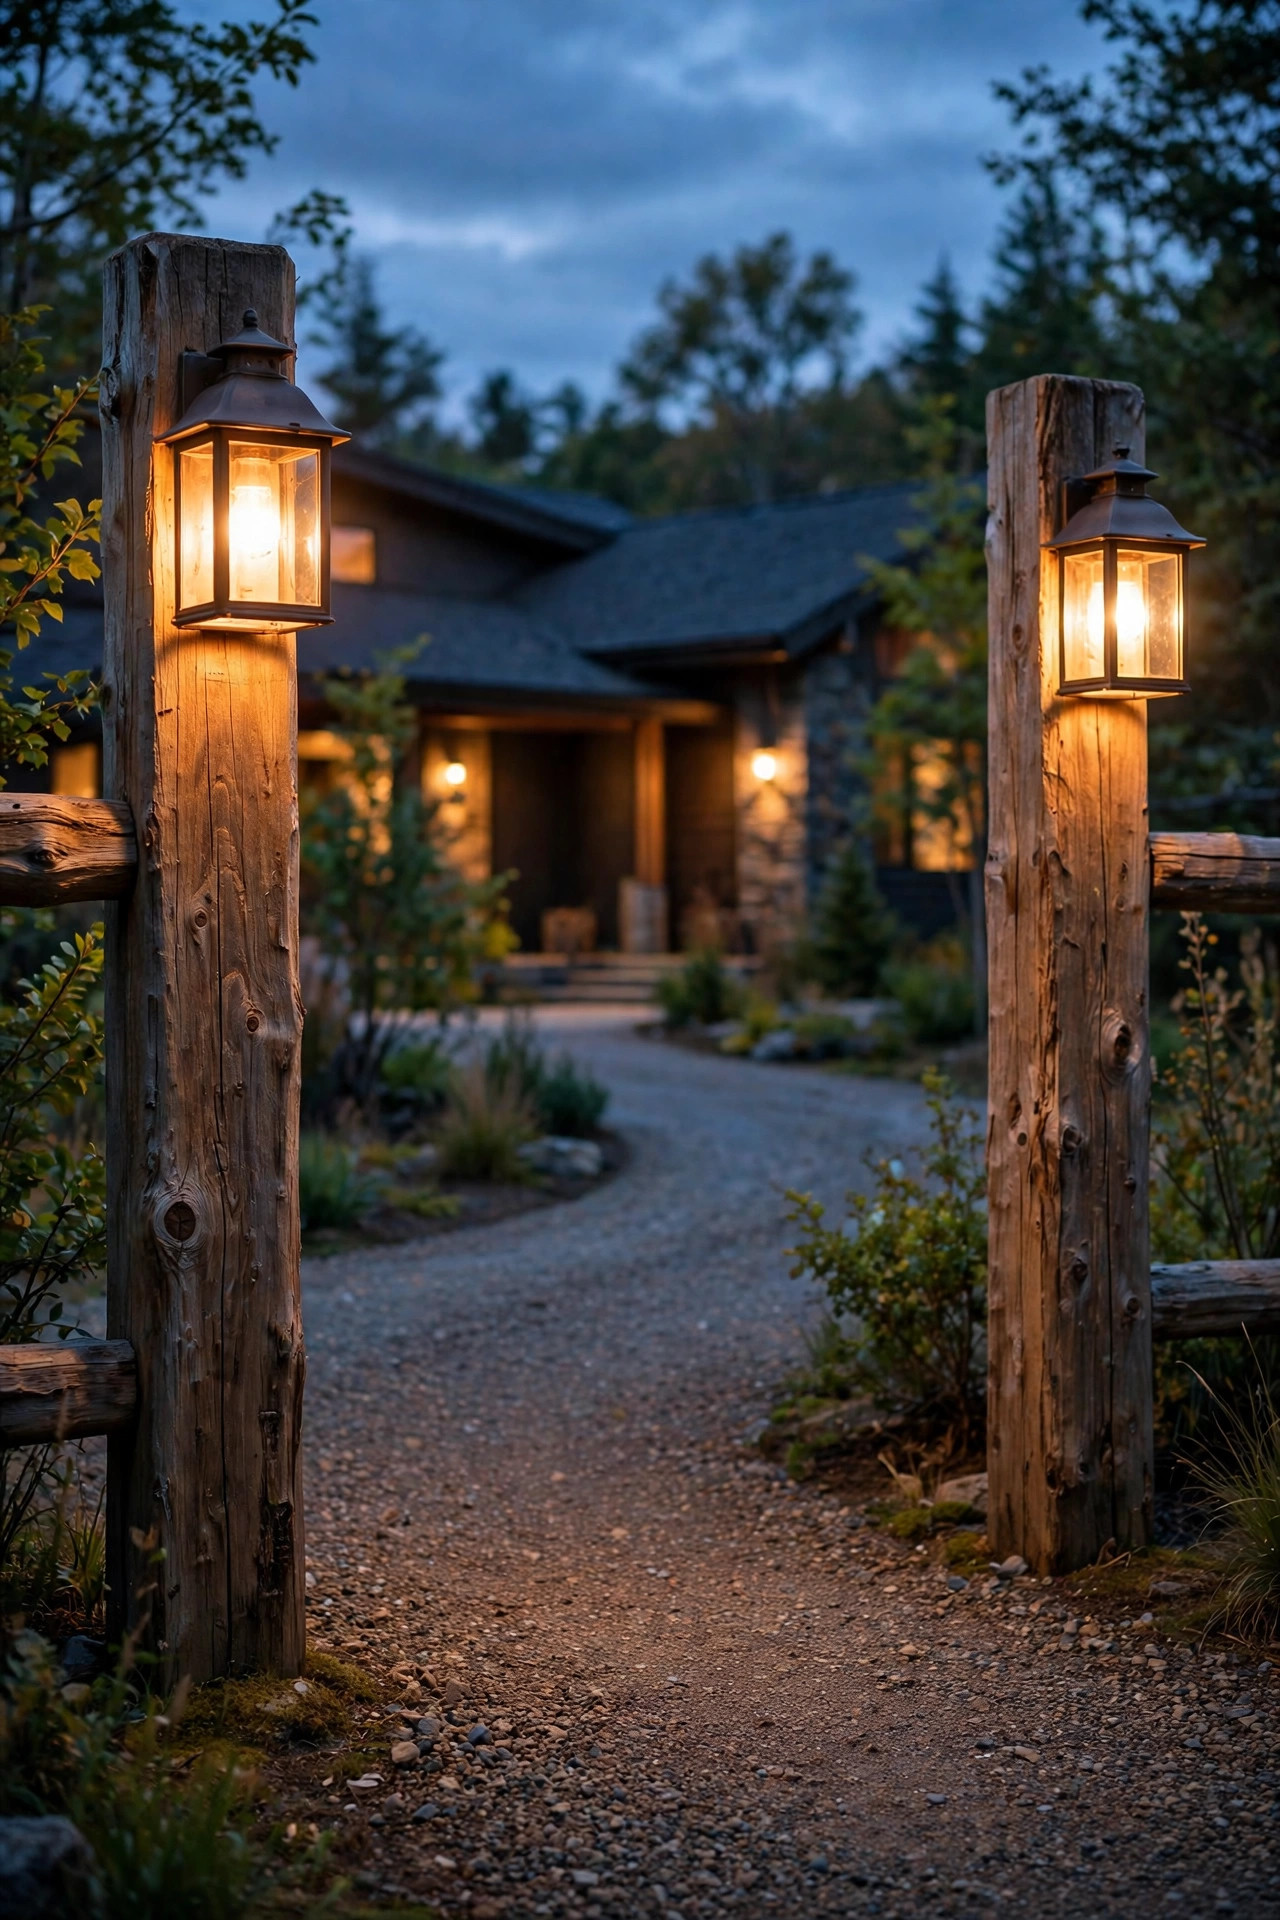
The entrance is where a gravel drive needs light most — guests hesitate there, delivery drivers hunt for the turn — and it's also where posts already exist. A lantern or cap light on a gate post or fence post is anchored to a structure that's concreted into the ground, so "staying put" is never in question. I like a warm 2700K lantern at about 5 to 6 feet high on each side of the entrance; together they frame the drive like a doorway.
If the posts are 4×4 or 6×6 wood, post-cap solar lights are a ten-minute, no-wire option, while hardwired or low-voltage lanterns give stronger, more reliable light for a main entrance. Add a small house-number plaque light here and you've solved the "nobody can find us after dark" problem in the same project. Keep the fixtures' style matched to your front-door lantern so the entrance and the house feel like one thought-out design. One caution: check that gate swing clears the fixtures, and mount on the inside face if your gate opens outward toward the road.
Suggested budget range: $80 – $250.
9. Overhead String Lights on Concreted Poles
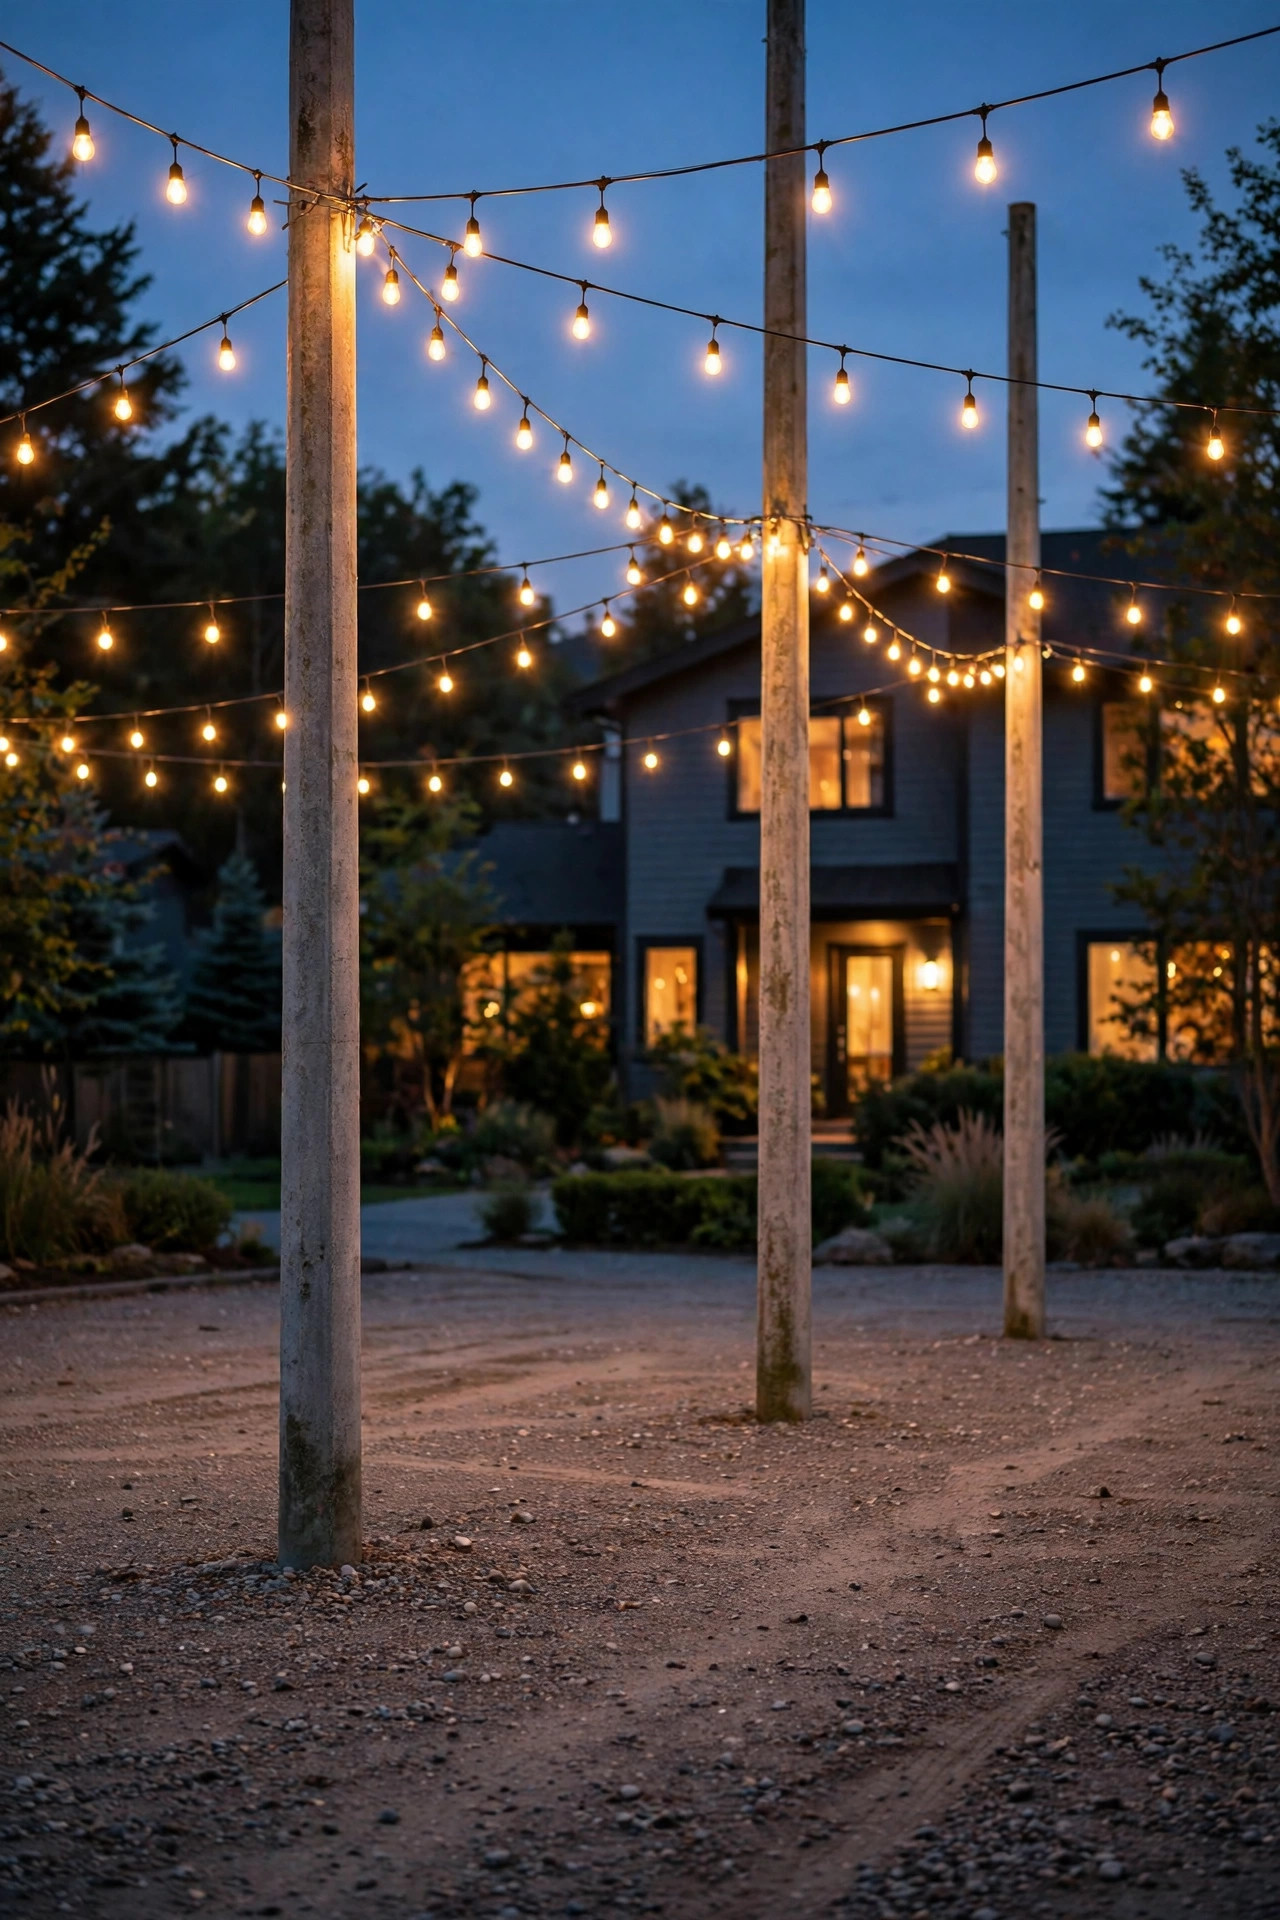
Sometimes the smartest fixture for a gravel surface is one that never touches it. String lights strung between sturdy poles turn a parking court or short gravel drive into the coziest spot on the property, and because every support is a pole set in concrete at the drive's edge, there is nothing in the gravel to shift, sink, or get run over.
Use proper support: 4×4 posts or steel poles set 24 inches deep in concrete, 10 to 12 feet tall, with the cable strung on a tensioned guide wire so the strands don't sag into truck-roof territory — keep the lowest point at least 9 feet above the drive. Outdoor-rated commercial string lights with shatterproof LED bulbs are worth the small premium here; the thin glass big-box strands don't survive storms gracefully. Run them on a timer or a smart plug so they greet you at dusk and quit at midnight. The light is soft and social rather than precise, so pair it with edge markers for the driving line — that combination of practical plus pretty is exactly the layered look I chase.
Suggested budget range: $90 – $220.
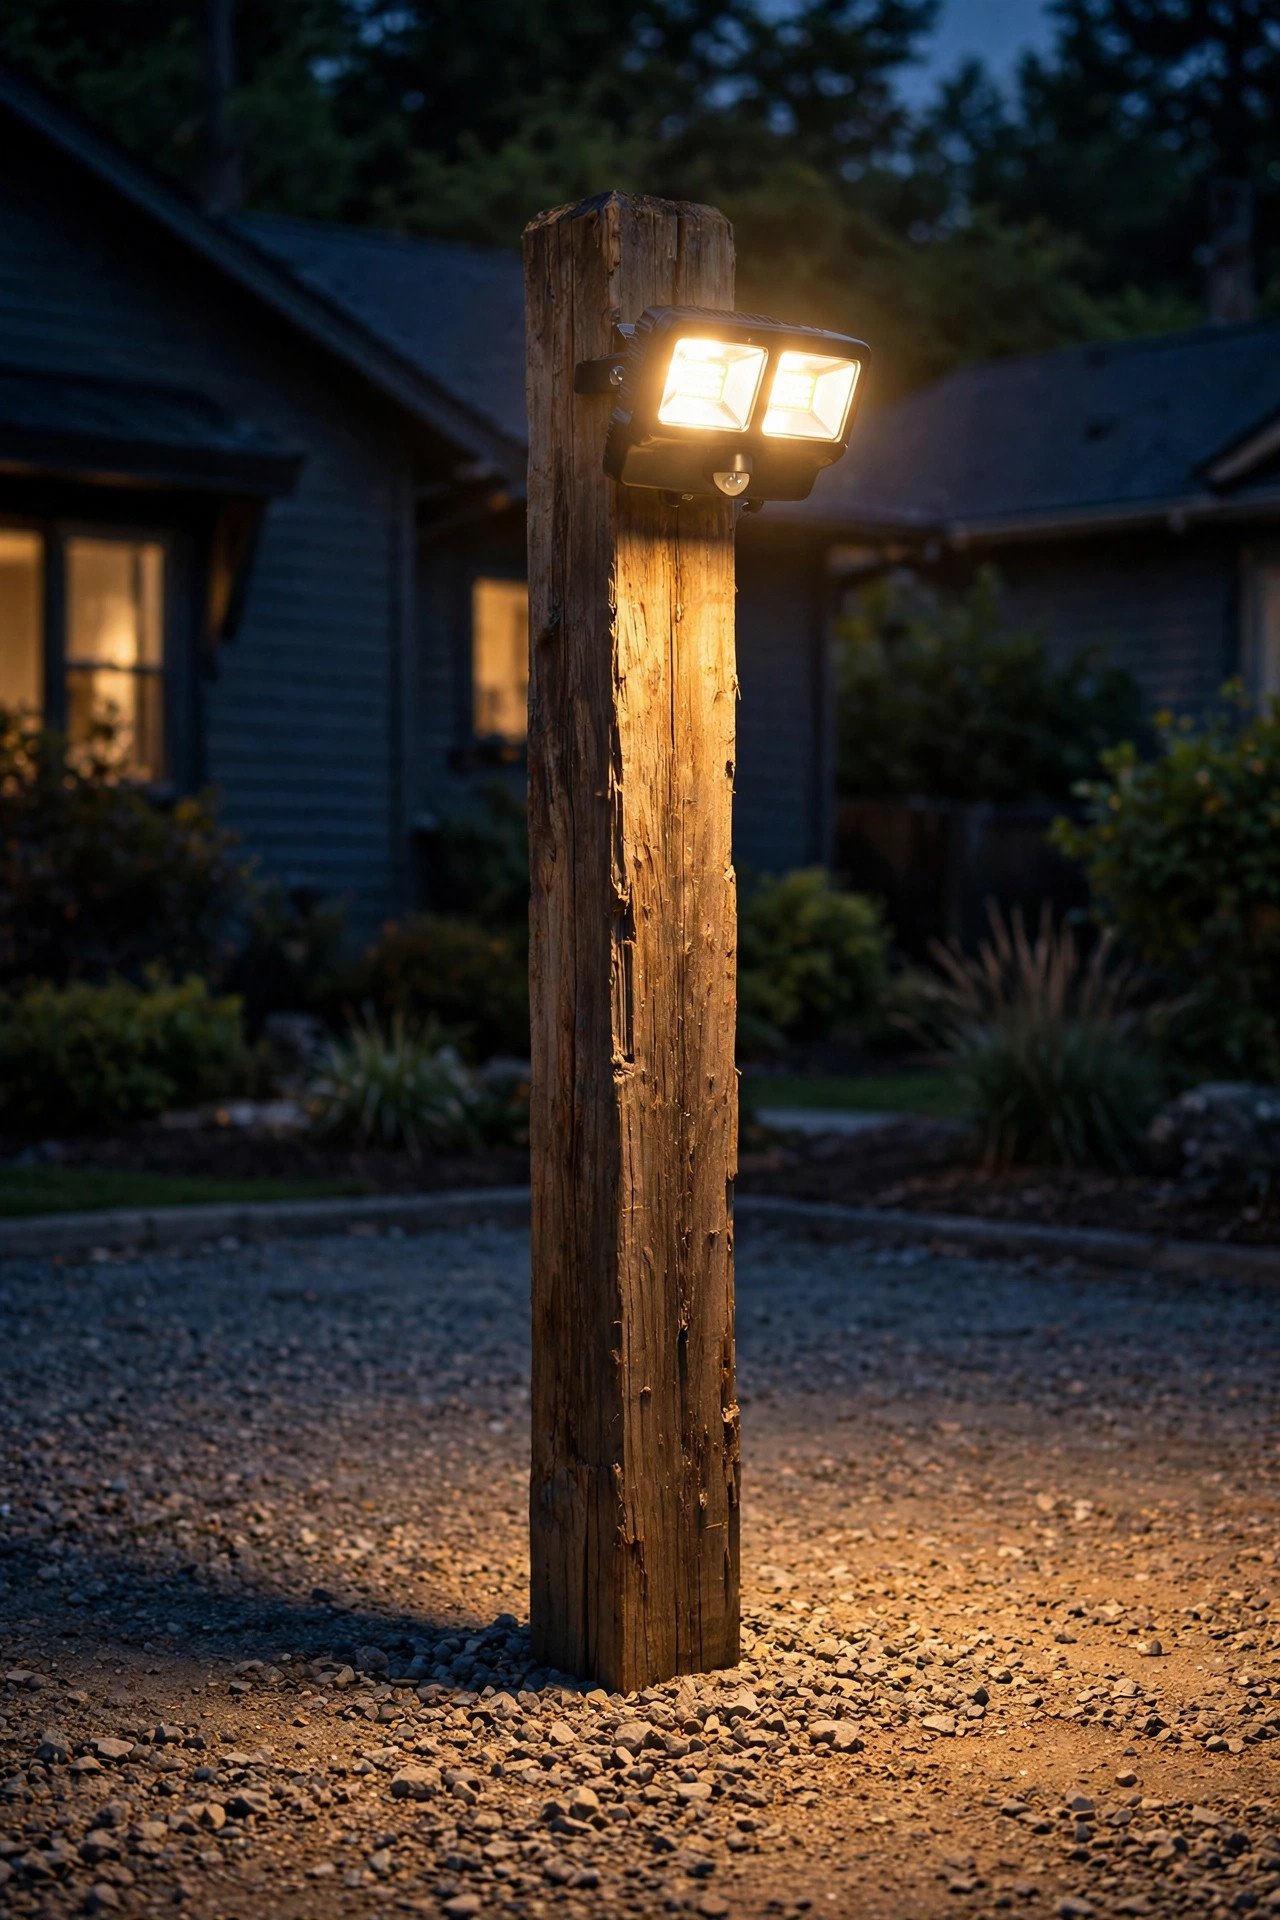
10. A Motion-Sensor Floodlight on a Solid Post
Every gravel drive needs one honest workhorse light: the one that fires up when a car pulls in or someone walks to the mailbox in the dark. Mounting a motion-sensor floodlight on a dedicated post — concreted in at the corner of the parking area — keeps it rock steady, and the vibration-free mount means the sensor doesn't false-trigger from wind wobble the way loose stake lights can.
Set the post 8 to 10 feet tall, just off the parking apron, and aim the twin LED heads to wash the area where car doors open. Choose a fixture with adjustable sensitivity and a dusk-to-dawn photocell so it only arms after dark, and keep the sensor's range dialed so passing road traffic doesn't set it off all night. Warm-white 3000K heads at 1,200–2,000 lumens are plenty for a residential apron. Wire it properly on a GFCI-protected circuit — this is the one idea on the list where I happily pay an electrician if the run is new. It pairs beautifully with gentle edge lighting: drama-free arrival, no headlight fumbling, no gravel kicked into the flowerbeds.
Suggested budget range: $70 – $200.
11. Uplights Planted in the Beds Beside the Drive
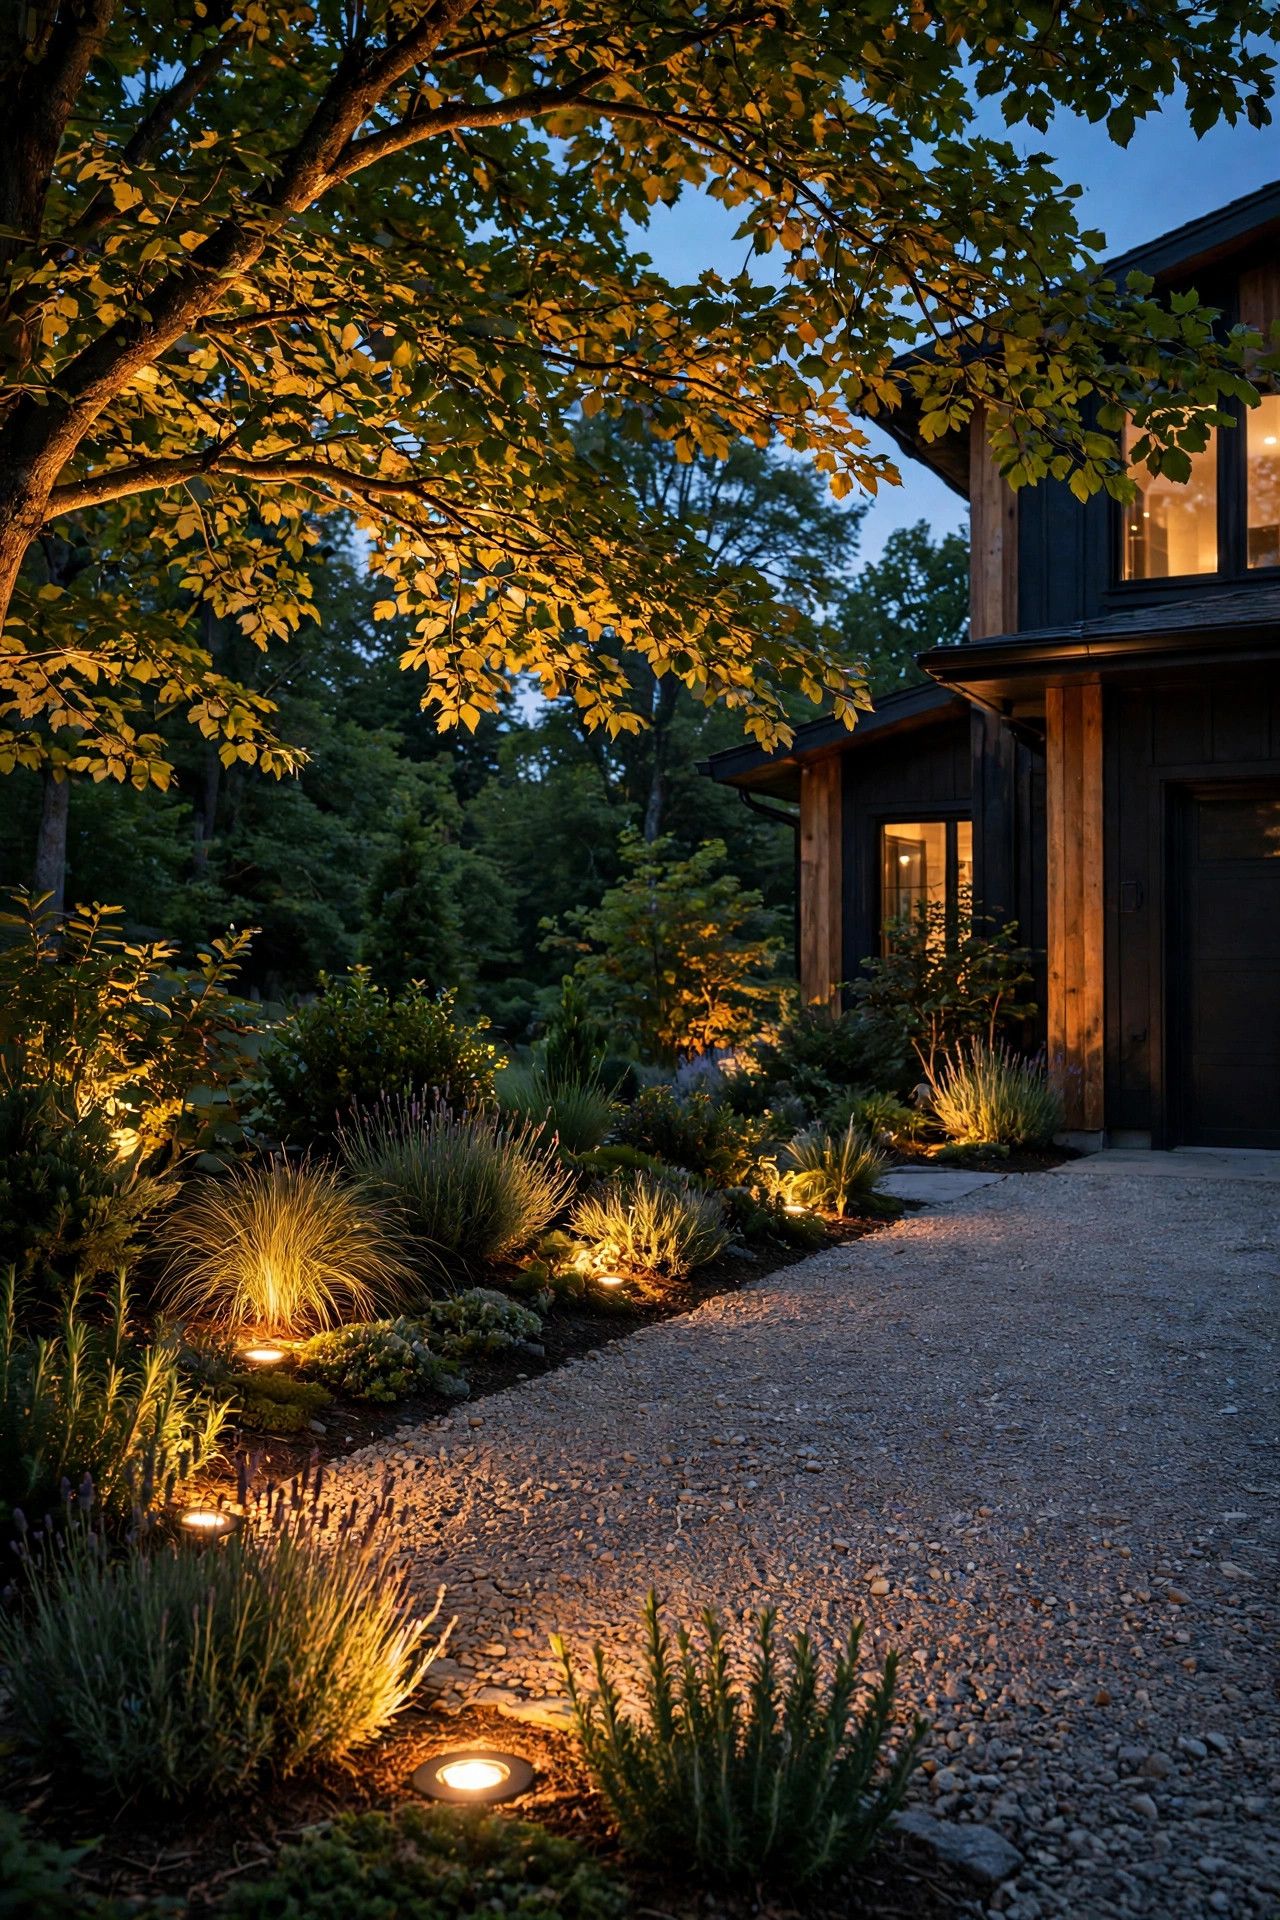
Here's a secret from my own yard: half the lights that "light my driveway" aren't in the driveway at all. They're small low-voltage uplights tucked into the planting beds and mulch borders on either side, where the soil is soft, stable, and never touched by tires. Aimed across the drive at a low angle or up into the trees that overhang it, they wash the gravel with a soft glow and give the whole approach depth.
Mulch and soil hold a stake the way gravel never will, and if a fixture does get nudged by a garden fork, it's a two-second fix with zero drama. Keep beams narrow-ish and low so you're grazing texture, not glaring across into drivers' eyes — 2700K, 200–400 lumens per fixture, spaced 10 to 12 feet apart in the beds. This is also the prettiest place to spend a little: uplighting one specimen tree at the bend of the drive does more for curb appeal than any three path lights. Cable runs stay in the beds the whole way, which makes the install fast and the wires permanently safe from tires.
Suggested budget range: $60 – $200.
12. Rope Light in a Protective Edge Channel
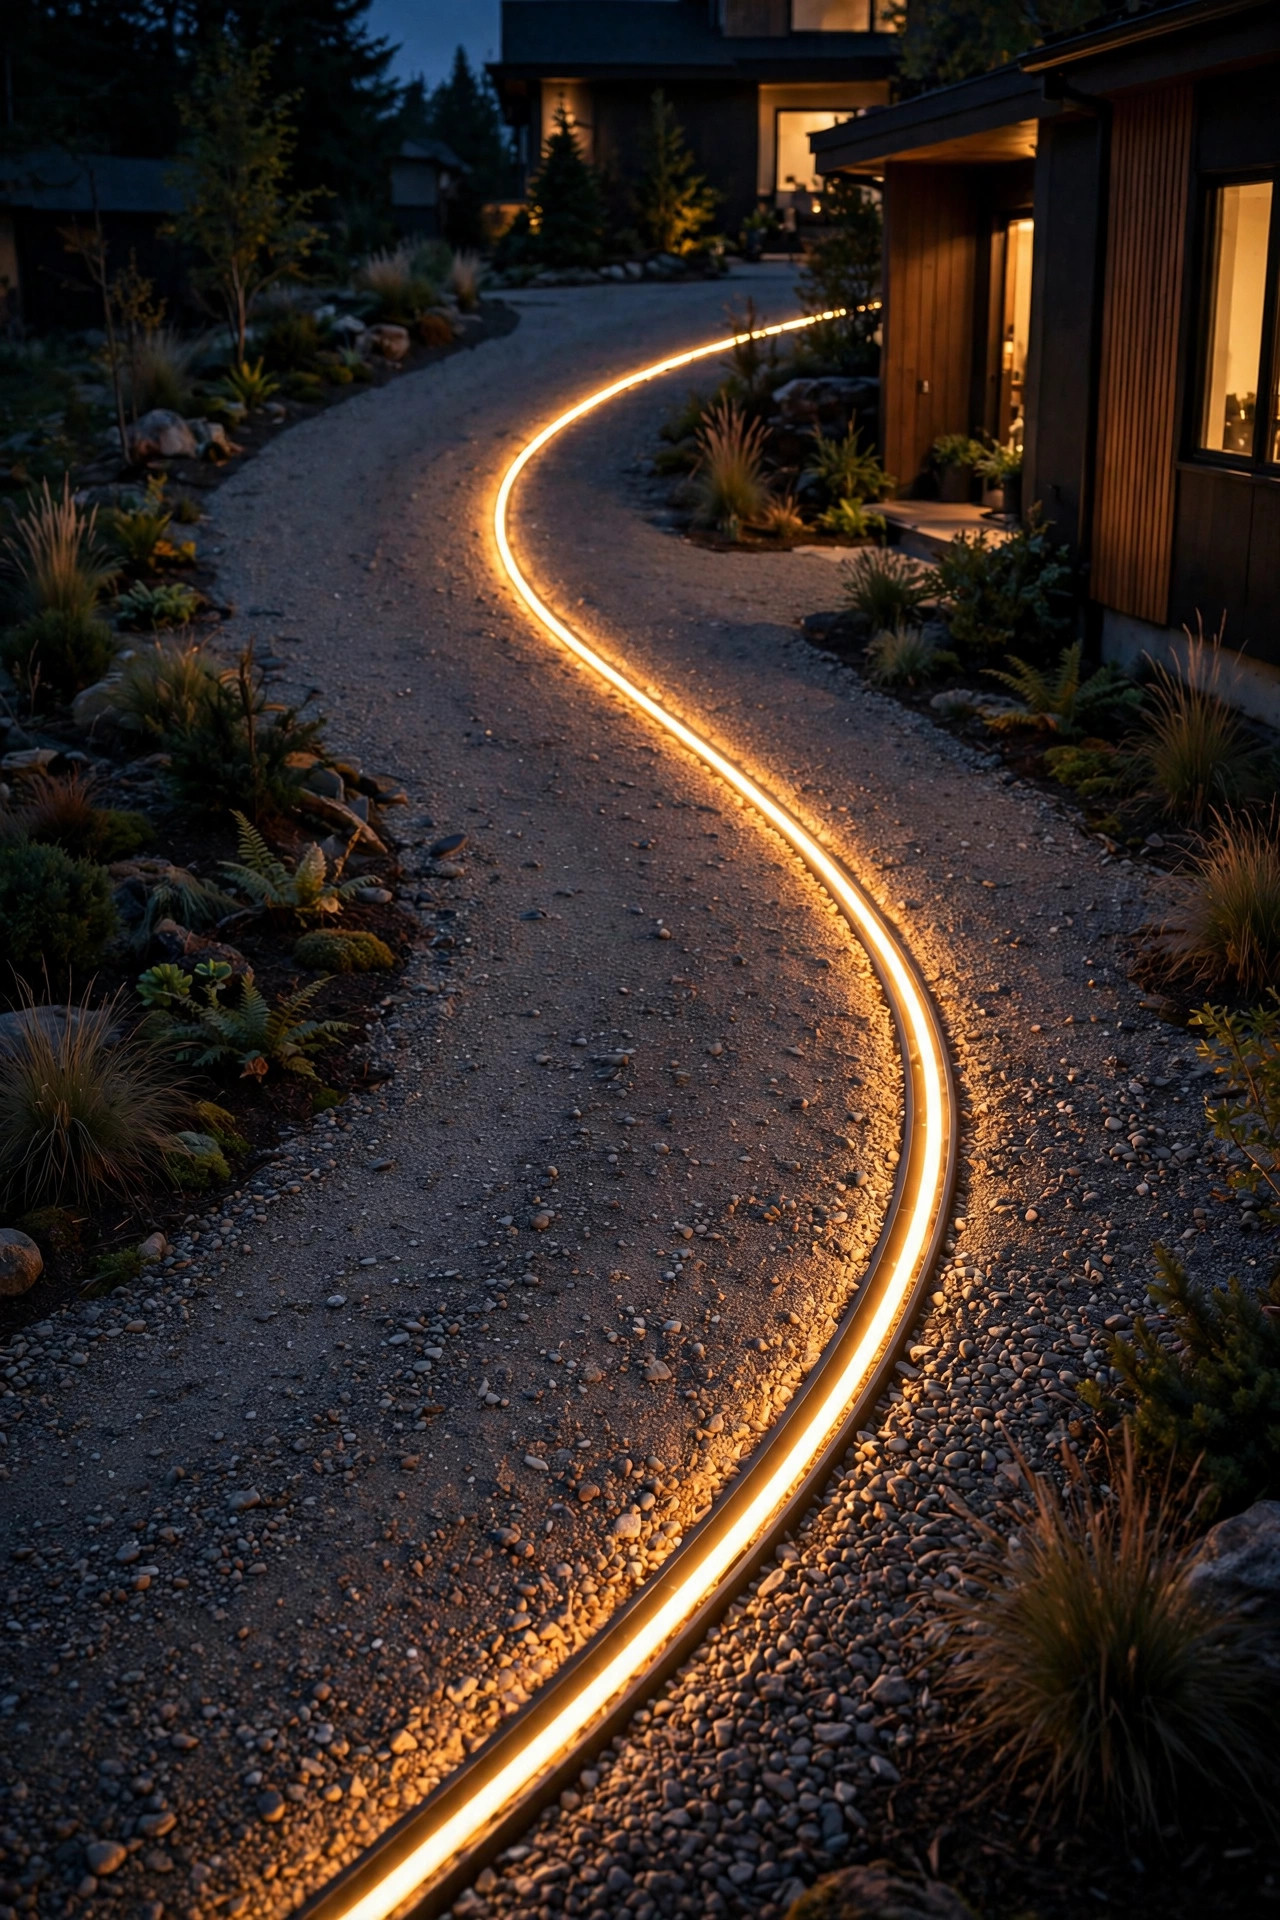
For a clean modern line, I love a low-voltage LED rope light or outdoor strip tucked into a channel along the drive's edge — think of it as a glowing seam that traces the whole driveway. The channel is the key on gravel: a slim aluminum or PVC profile sits against the edging or a treated timber border, protecting the rope from rakes, tires, and shifting stone, while the rope itself clicks into the channel and physically cannot wander.
The effect is a continuous ribbon of warm light that makes even a winding gravel drive easy to read at night, and it's gentle — no hot spots, no glare. Use only outdoor-rated, fully sealed rope with a low-voltage transformer, keep connections up off the ground in waterproof junction boxes, and choose 2700K for that candlelit feel. Leave a removable section near the apron so you can pull the rope out if it ever needs replacing. This one photographs beautifully, and guests will ask about it, but its real virtue is mundane: it's the one linear light I've owned that looked as straight in year three as the day I installed it.
Suggested budget range: $45 – $130.
13. Well Lights with Locking Gravel Guards
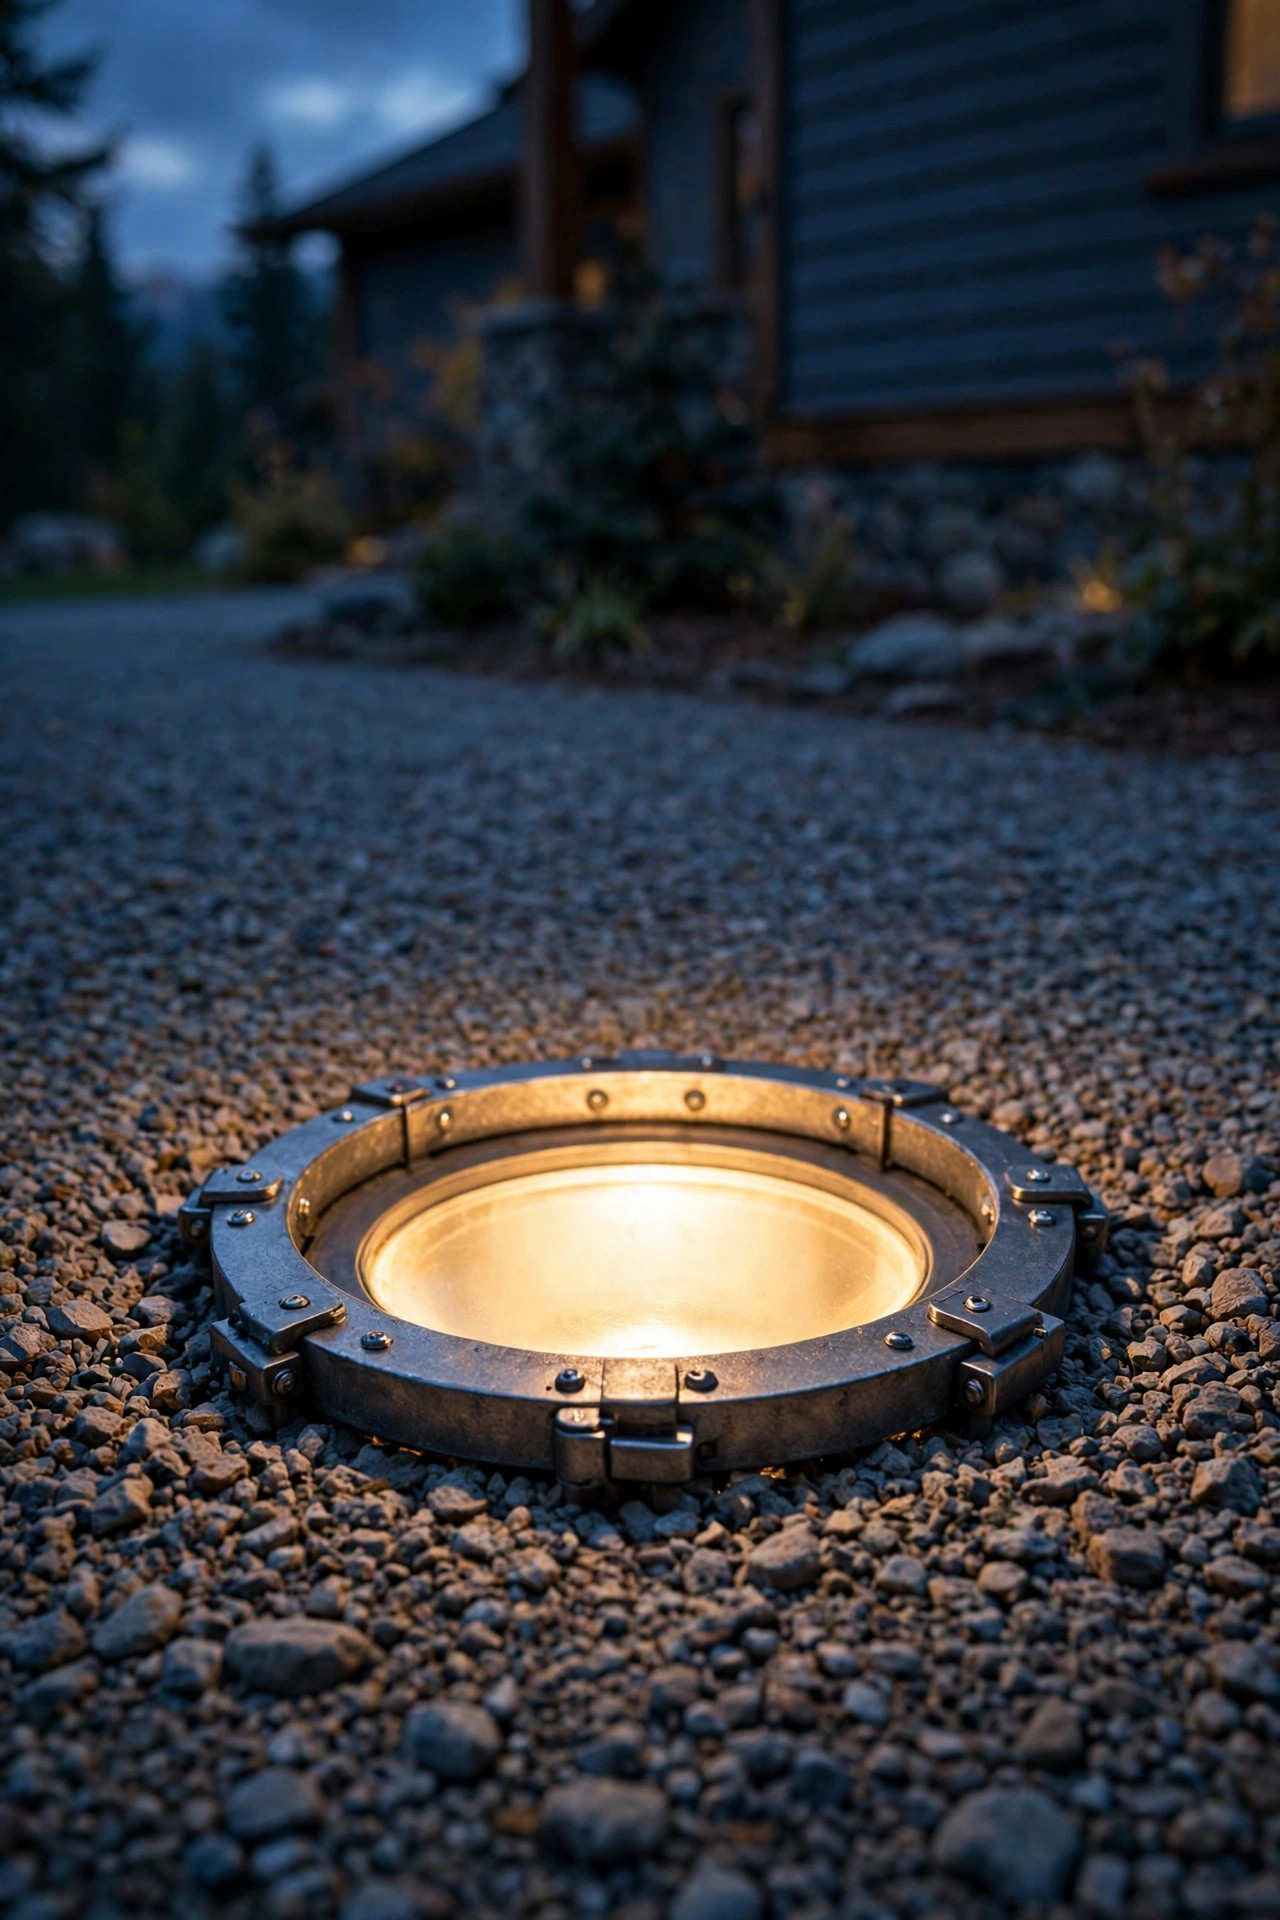
If you liked idea 3 but your gravel is deep and determined to bury everything, look for well lights with a gravel guard — a raised ring or domed grate that sits around the lens and physically holds the stone back, so the light opening stays clear instead of slowly disappearing under migrating gravel. Some guards lock or screw into the fixture sleeve, which means the whole assembly resists being kicked, raked, or frost-heaved out of level.
Installation mirrors standard well lights: sleeve buried in a compacted crushed-rock pocket, cable in conduit or a trenched run, lens just below grade with the guard ring right at the surface. The grate patterns throw a pretty starburst of light and shadow across the stones, which honestly looks intentional and designed. These are my pick for turnaround areas and the apron in front of a garage, where deep gravel and turning tires conspire against every other fixture type. Budget a few minutes each spring to pop the grates and rinse silt off the lenses — that's the trade for never re-leveling a leaning light again, and I'll take it every time.
Suggested budget range: $100 – $300.
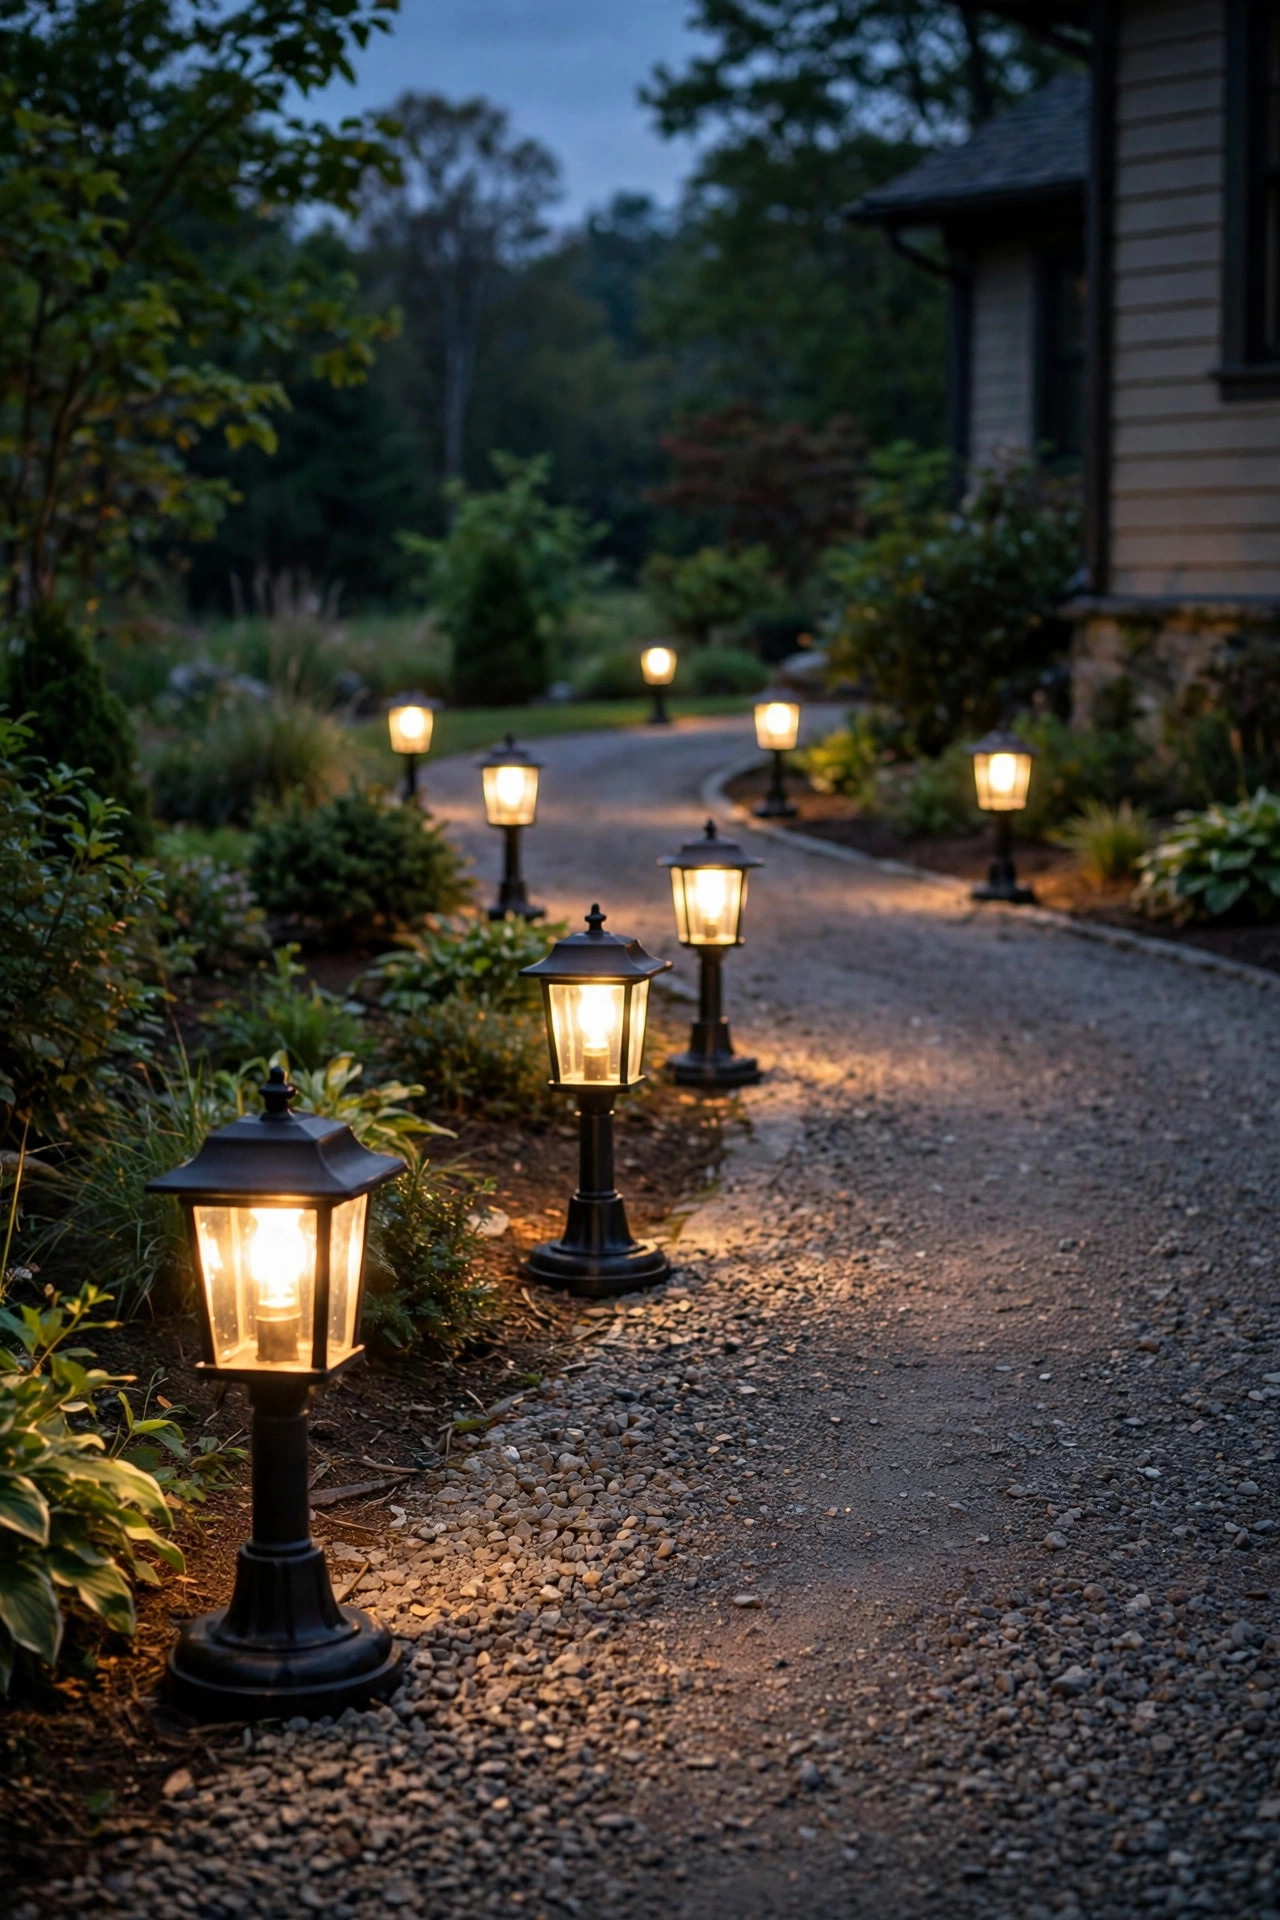
14. Weighted-Base Lantern Path Lights
Not every solution has to be permanent. For a bend in the drive, a guest-parking spur, or a spot you're still experimenting with, heavy lantern-style path lights with weighted bases are surprisingly well behaved on gravel. Look for bases you fill with sand or that are cast from stone composite — the low, wide, heavy footprint settles into the top layer of gravel and resists tipping far better than any spike, and the lantern sits a satisfying 12 to 18 inches tall.
Solar versions with decent panels are the easiest win: no cable to bury, and you can shuffle them around in five minutes when you change your mind about the layout. Nestle each lantern into the gravel by twisting it gently as you set it down, so it beds into the stone rather than perching on top. Because they sit at the drive's outer edge rather than in the tire path, they survive surprisingly well — mine have outlasted two sets of spiked lights. Grouped in pairs at a curve, they read as intentional design, like lanterns lighting a carriage path.
Suggested budget range: $50 – $160.
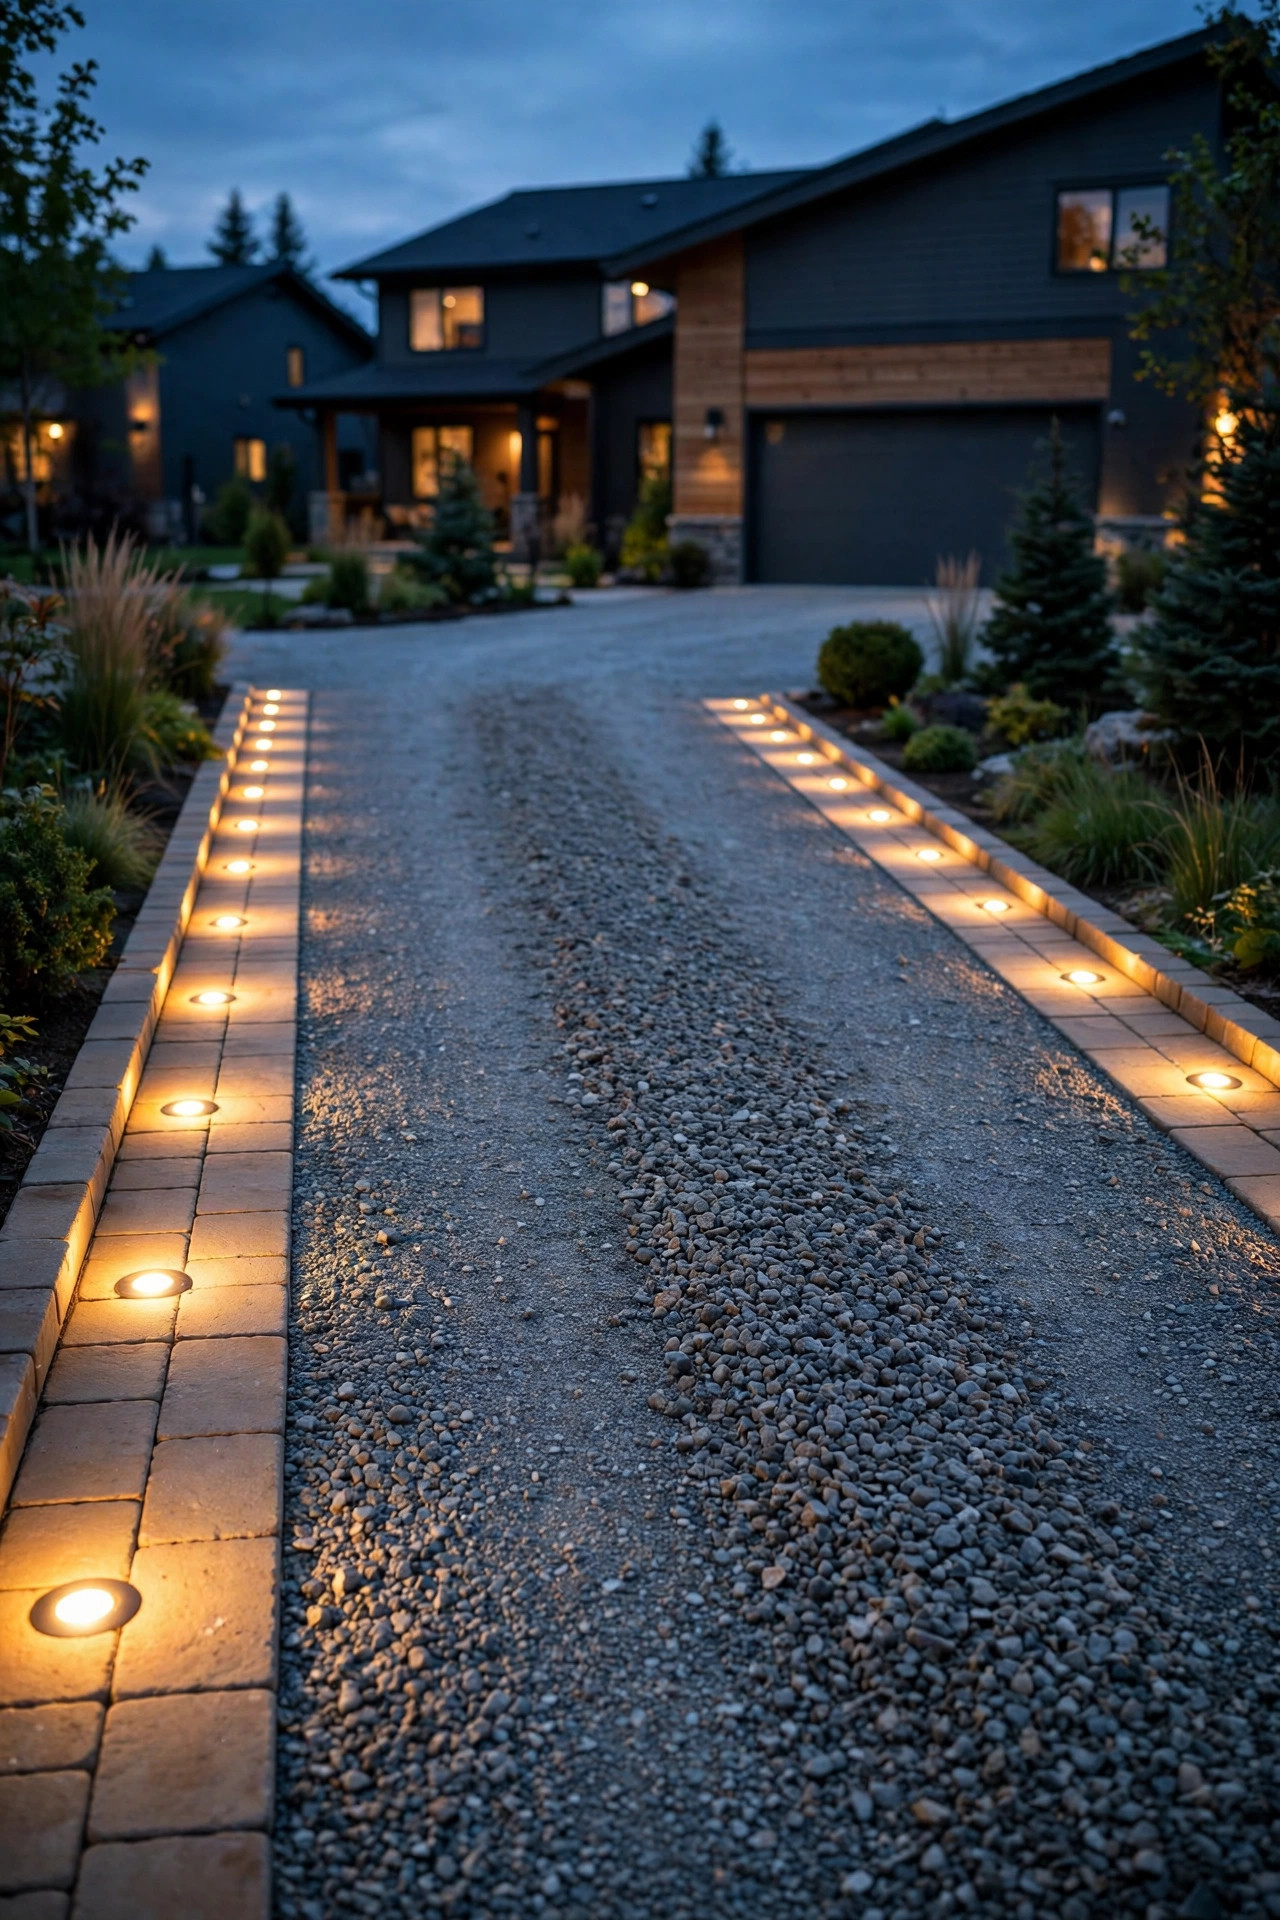
15. Recessed Puck Lights in a Paver Border Strip — a Clean Finish for Gravel Driveway Lighting
My final idea is the one that makes a gravel drive look genuinely finished: run a border strip of pavers or bricks, one stone wide, along both edges of the drive, and recess small round LED puck lights into that strip every 6 to 8 feet. The pavers sit on a compacted base like any proper edging, so they don't wander; the pucks sit inside the pavers, so the lights can't wander either. What you get is a crisp, tailored edge line with a bead of warm light running its length.
Low-voltage pucks with stainless or composite trim rings are the right spec — sealed, walk-over rated, 2700K. Drill the paver centers with a diamond hole saw before setting them; it's far easier on a workbench than in place. The cable runs in the soil beneath the strip, fully protected. This pairs especially well with one of the bed-uplight ideas for height, and it makes snow shoveling and spring raking dramatically less stressful because the border tells you exactly where the drive ends. Of all my gravel driveway lighting ideas, this is the one that most changes how the whole property feels after dark.
Suggested budget range: $180 – $450.
Frequently Asked Questions
Why do lights on a gravel driveway keep falling over?
Because gravel is a loose, shifting surface — it never compacts into a firm grip the way soil does. Short stakes end up suspended in moving stone, so tires, rakes, rain wash, and freeze-thaw cycles gradually lever fixtures sideways or let them sink. The fix is always the same: anchor the fixture to something stable — deep soil below the gravel, concrete, edging, a post, a buried pad — and let the gravel just be the pretty surface it is.
What color temperature looks best on a gravel driveway?
Warm white, 2700K to 3000K, is my pick every time. It flatters the natural tan, gray, and bluestone tones of gravel, feels welcoming rather than institutional, and matches the warm glow most of us use on our porches and front doors. Cooler 4000K-plus light tends to make gravel look flat and bluish, like a parking lot. Whatever you choose, keep every fixture on the drive the same temperature so the lighting reads as one design.
Solar or low-voltage — which stays put better on gravel?
Low-voltage, honestly, because the fixtures are usually heavier and mount to proper long stakes or hard surfaces, and the buried cable doesn't mind being driven near. Solar can work well if you choose screw-in auger anchors or weighted bases, but the classic push-in solar stake is the single worst performer on gravel. A hybrid is smart: low-voltage for the main edge lines, quality anchored solar for accents and far corners where trenching cable isn't worth it.
How do I stop gravel from burying my in-ground lights?
Three defenses, best used together: choose well lights with a gravel guard ring or grate that holds stone back from the lens, keep a defined edging along the drive so gravel migrates less overall, and top up gravel thoughtfully — spread new stone with a rake rather than dumping piles that avalanche over fixtures. A stiff broom across the lenses every month or two also keeps silt and stray stones from building up.
Conclusion
If there's one thing I hope you take from these gravel driveway lighting ideas, it's that the gravel was never the enemy — short stakes and shallow thinking were. Anchor deep, anchor to structure, or lift the light off the surface entirely, and you can have that storybook gravel approach glowing warmly and standing straight for years. Start with the edge line, since that's what drivers' eyes need most, then layer in the pretty stuff. If you'd like more inspiration for the rest of the yard, browse around — making outdoor spaces glow is rather my favorite subject, and there's plenty more where this came from.