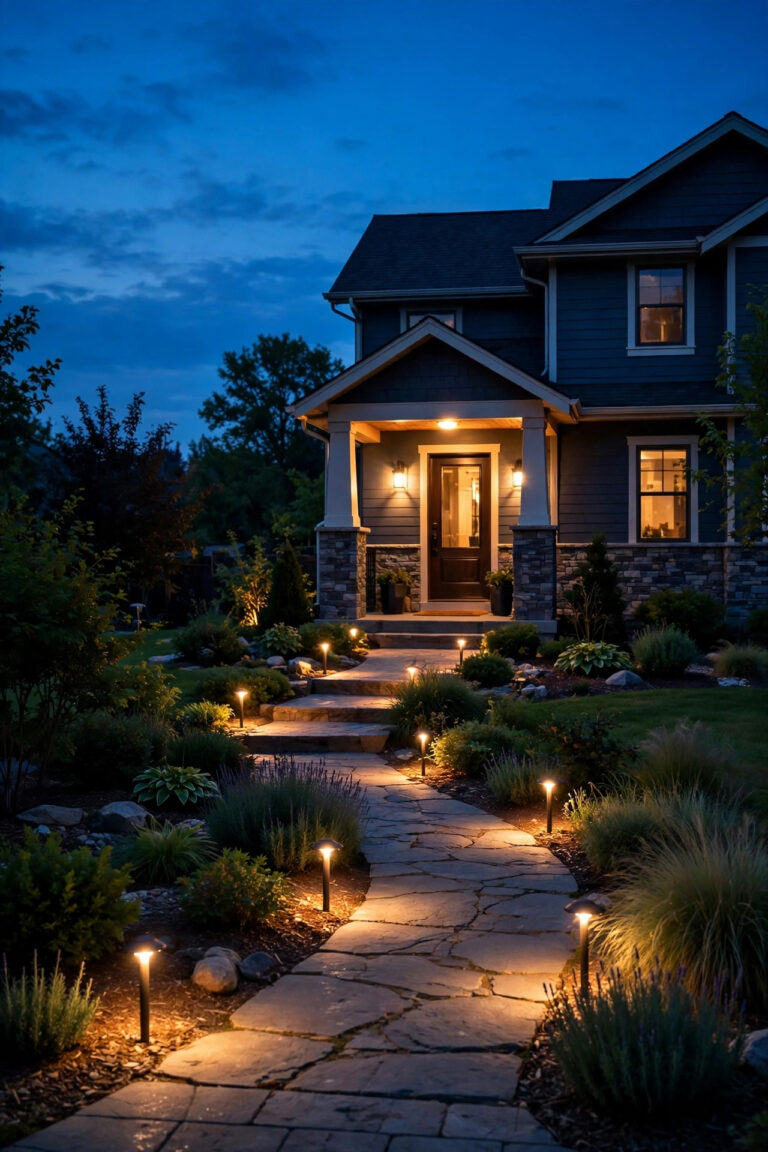
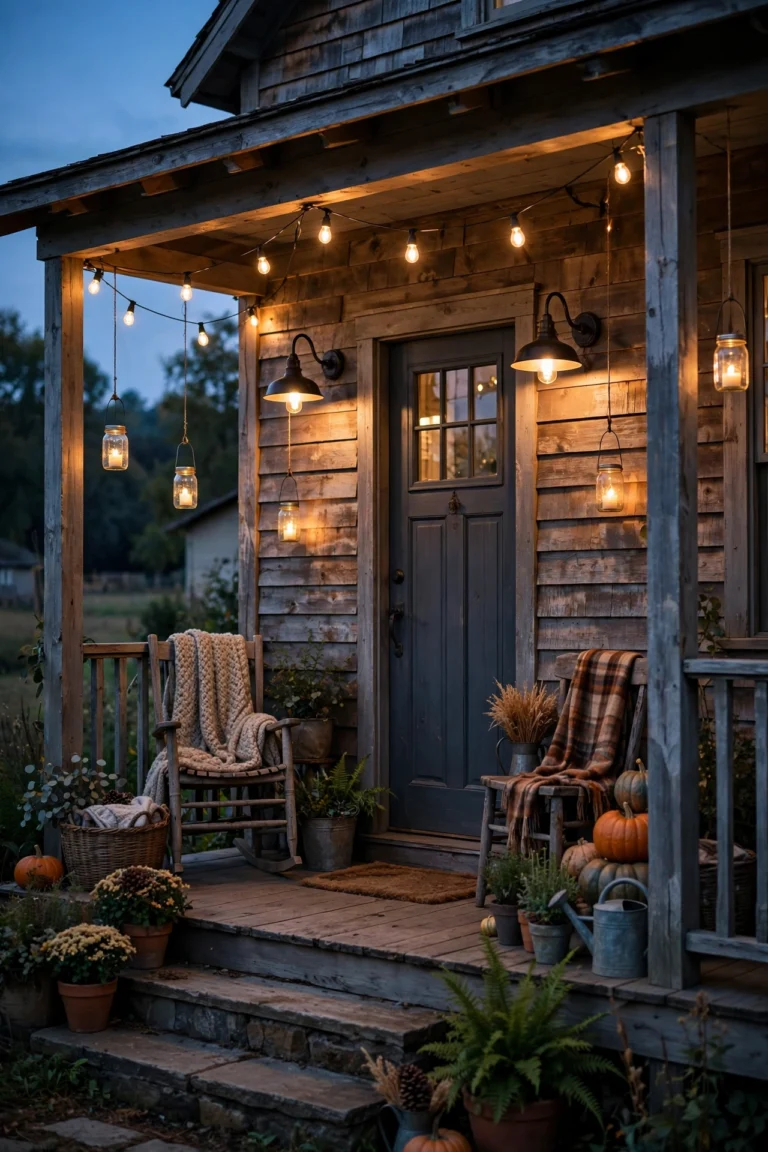
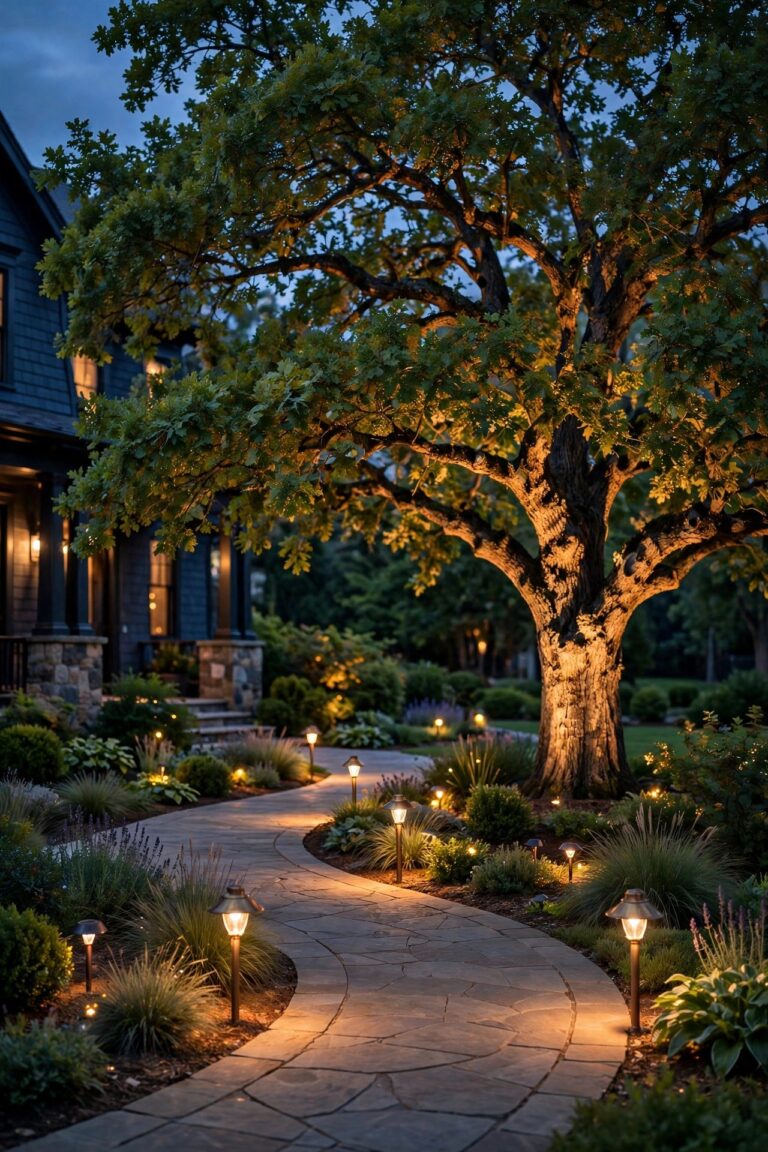
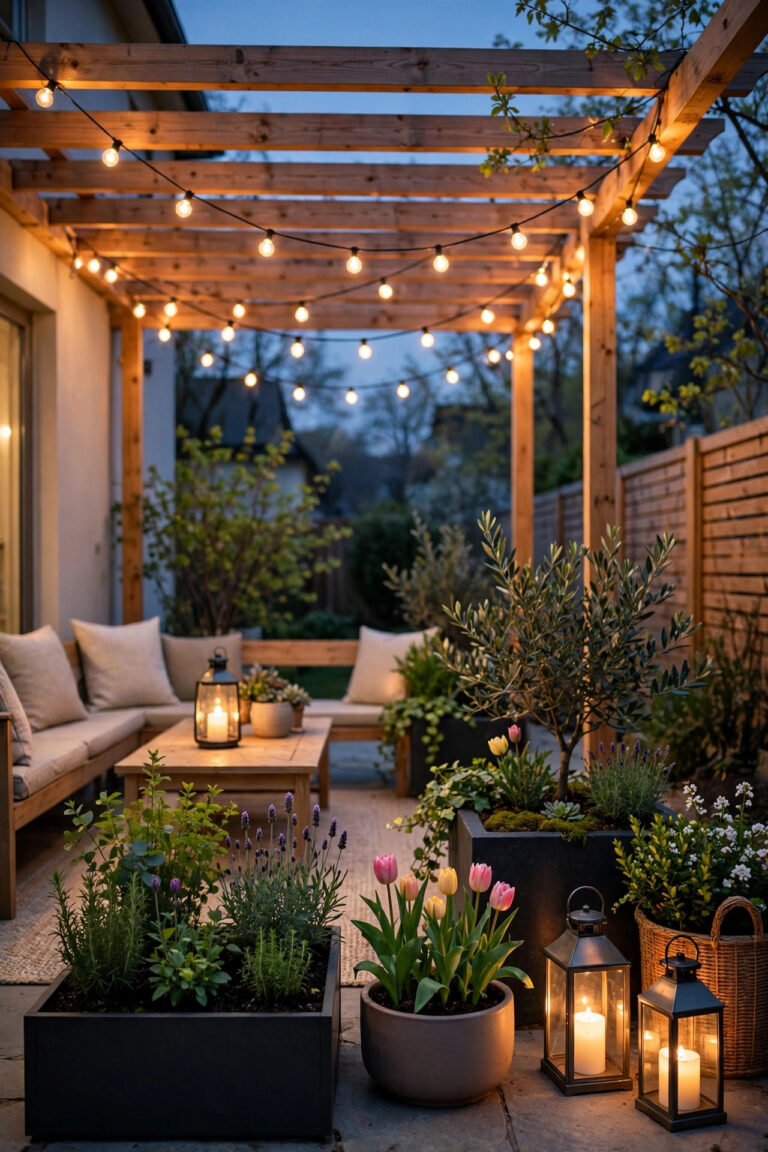
There is a moment at a shore house, right after the sun drops into the water, when the whole front yard either falls flat or starts to glow. I have spent enough summers on the coast to know the difference is never one big fixture. After testing dozens of coastal front yard lighting ideas at our little beach rental and at friends' homes up and down the shoreline, I can tell you the yards that stop traffic share one secret: layers. A soft wash at ground level, a welcoming pool of light at the door, and one or two accents that show off a palm, a shingled wall, or a dune-grass bed. In this post I am walking you through 19 ideas that layer beautifully, stand up to salt air and sideways rain, and keep the glow warm and neighbor-friendly. Every pick favors sealed, corrosion-resistant fixtures and 2700K warmth, because coastal light should feel like a lantern on the dock, not a stadium. Pick three or four to start, and your curb appeal will do the rest.
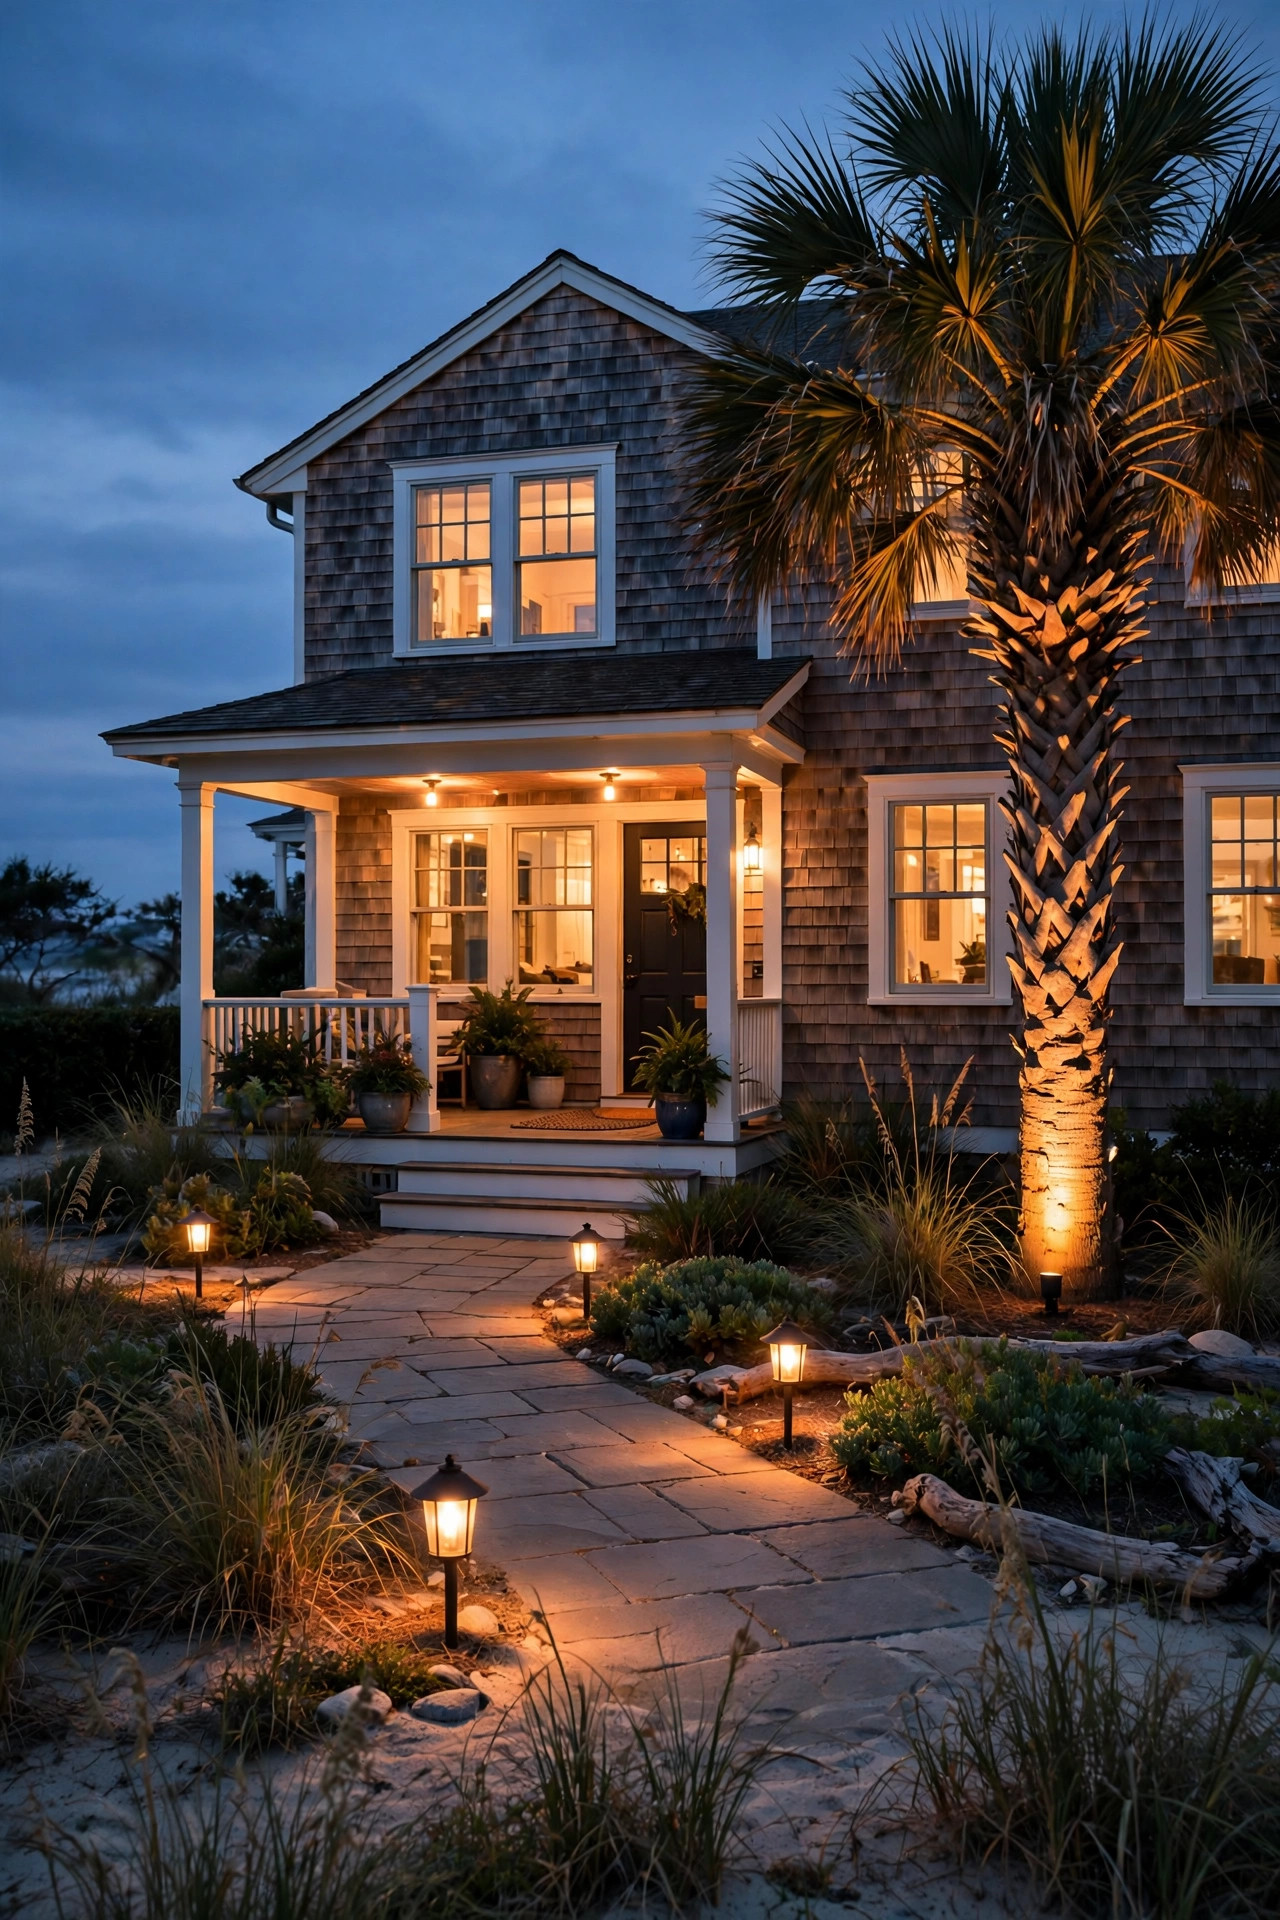
1. Layer Your Coastal Front Yard Lighting Ideas Like a Pro
Before you buy a single fixture, stand at the street at dusk and notice how your eye travels. In my experience, a great coastal yard has three layers working together: low guidance light along the walkway and driveway edge, mid-level welcome light at the door and porch, and a touch of accent light aimed at one beautiful thing, like a wind-bent palm or a cedar shake wall. Most people do the opposite and install one blazing porch light that flattens everything and blinds guests on the path. I always recommend sketching the yard on paper and assigning each fixture a single job. Keep every source shielded or aimed downward so the glow lands on plants, stone, and siding instead of the sky. This layered approach also keeps things turtle-friendly in nesting season, since low, warm, shielded light is far less disruptive than bare bulbs. Once the plan is on paper, the 18 ideas that follow simply fill in the layers, and you can add them one weekend at a time without ever rewiring the whole yard.
Suggested budget range: $25 – $150.

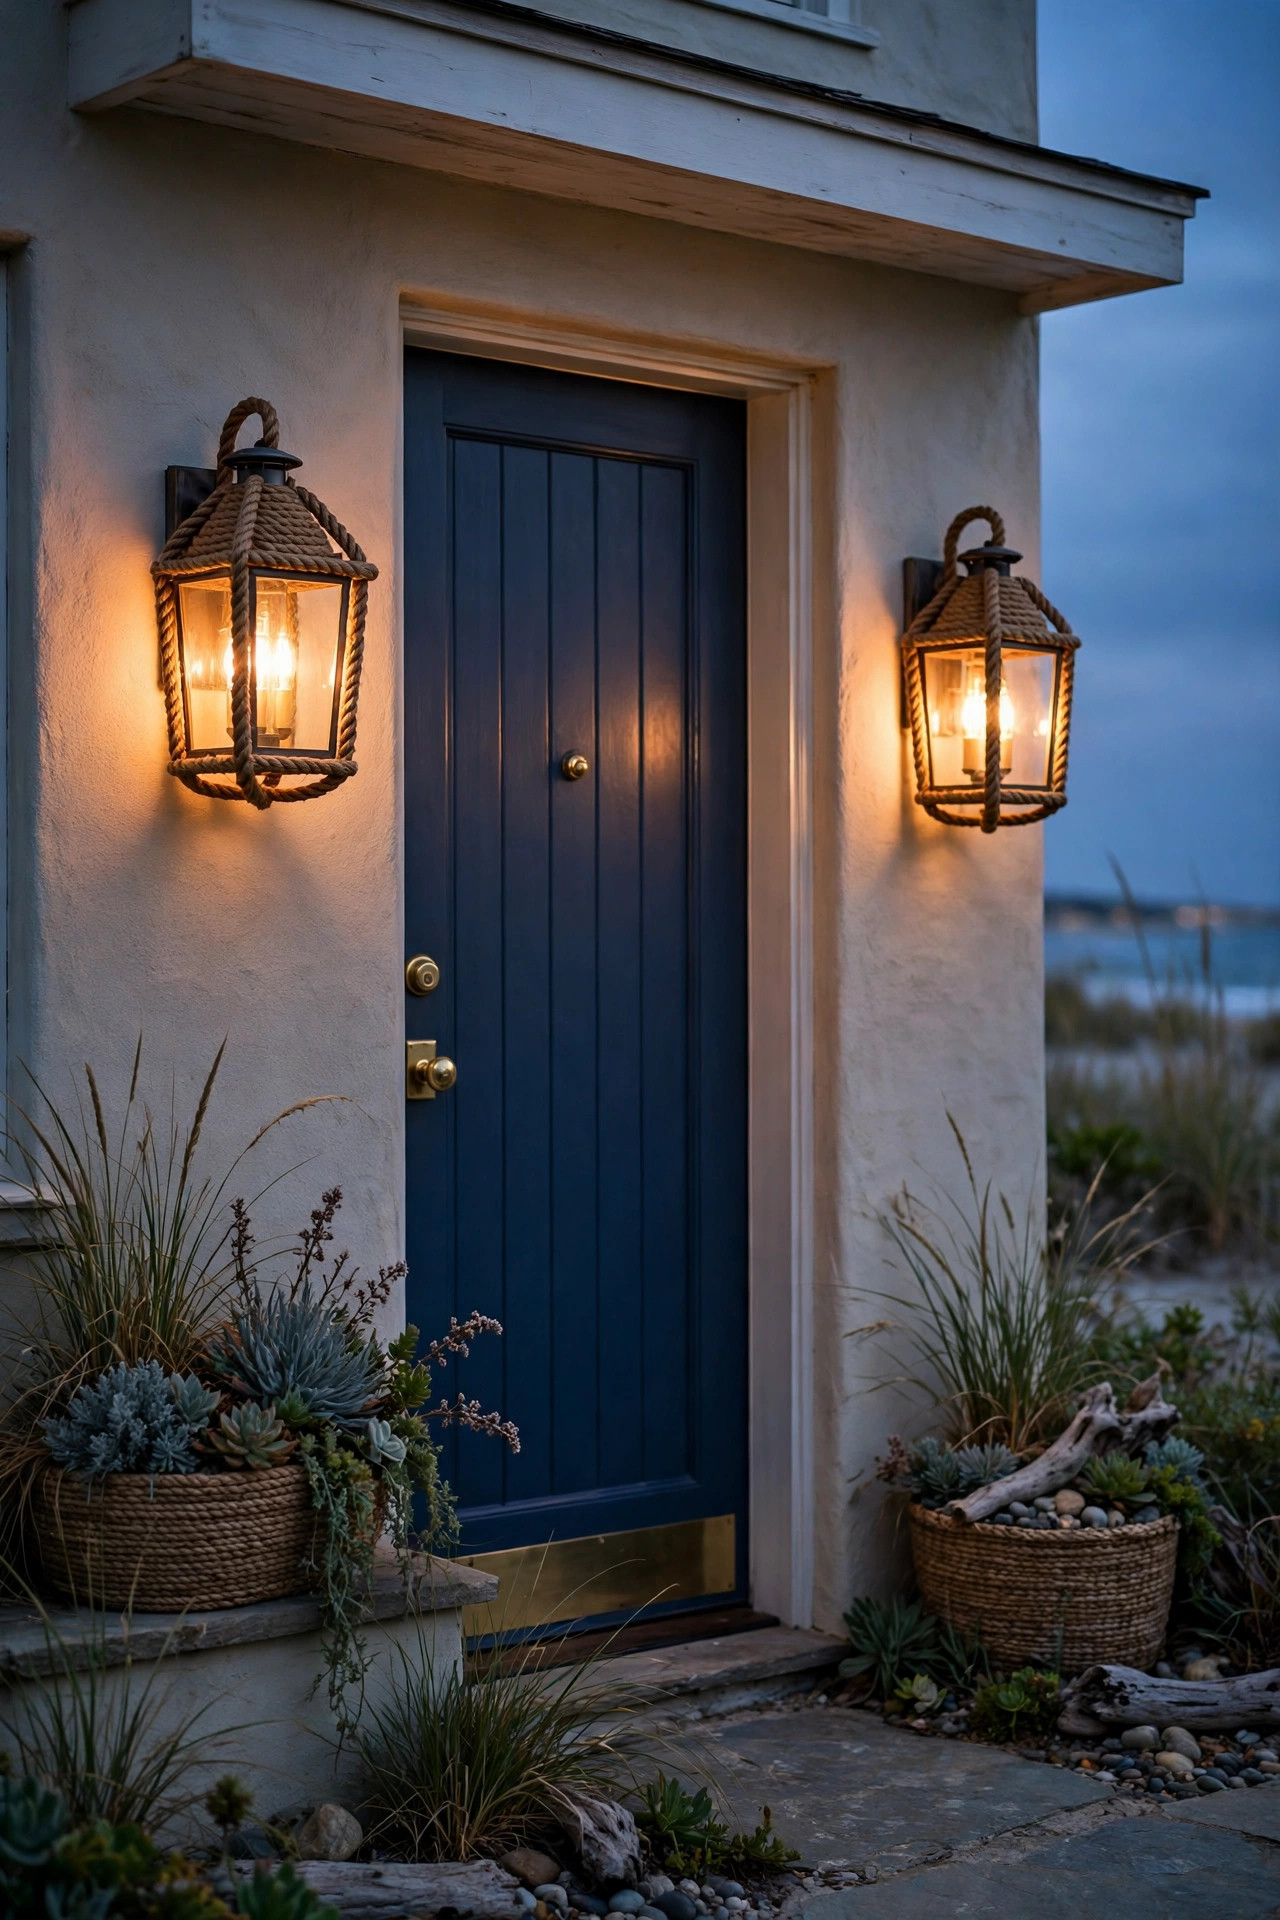
2. Hang Rope-Wrapped Lanterns Beside the Front Door
Nothing says shore house faster than a pair of rope-wrapped lanterns flanking the front door. The natural fiber softens the fixture, hides minor salt pitting, and pairs with everything from weathered teak benches to a navy door. I hang mine so the bulb center sits about 66 inches off the porch floor, roughly eye level, which keeps faces lit warmly without glare. Choose lanterns with seeded or frosted glass if your door faces the street directly, and pick sealed wet-location models so salt spray cannot creep into the socket. Inside, use LED filament-style bulbs at 2700K, around 800 lumens for a pair, on a dimmer if you entertain on the porch. Honestly, the lantern swing matters too: a loose, gently moving lantern reads charming, but a banging one in a nor'easter reads broken, so mount them snug or pick fixed sconces for wind-exposed walls. Wipe the rope and glass with fresh water once a month to keep salt film from dulling the glow.
Suggested budget range: $60 – $180.
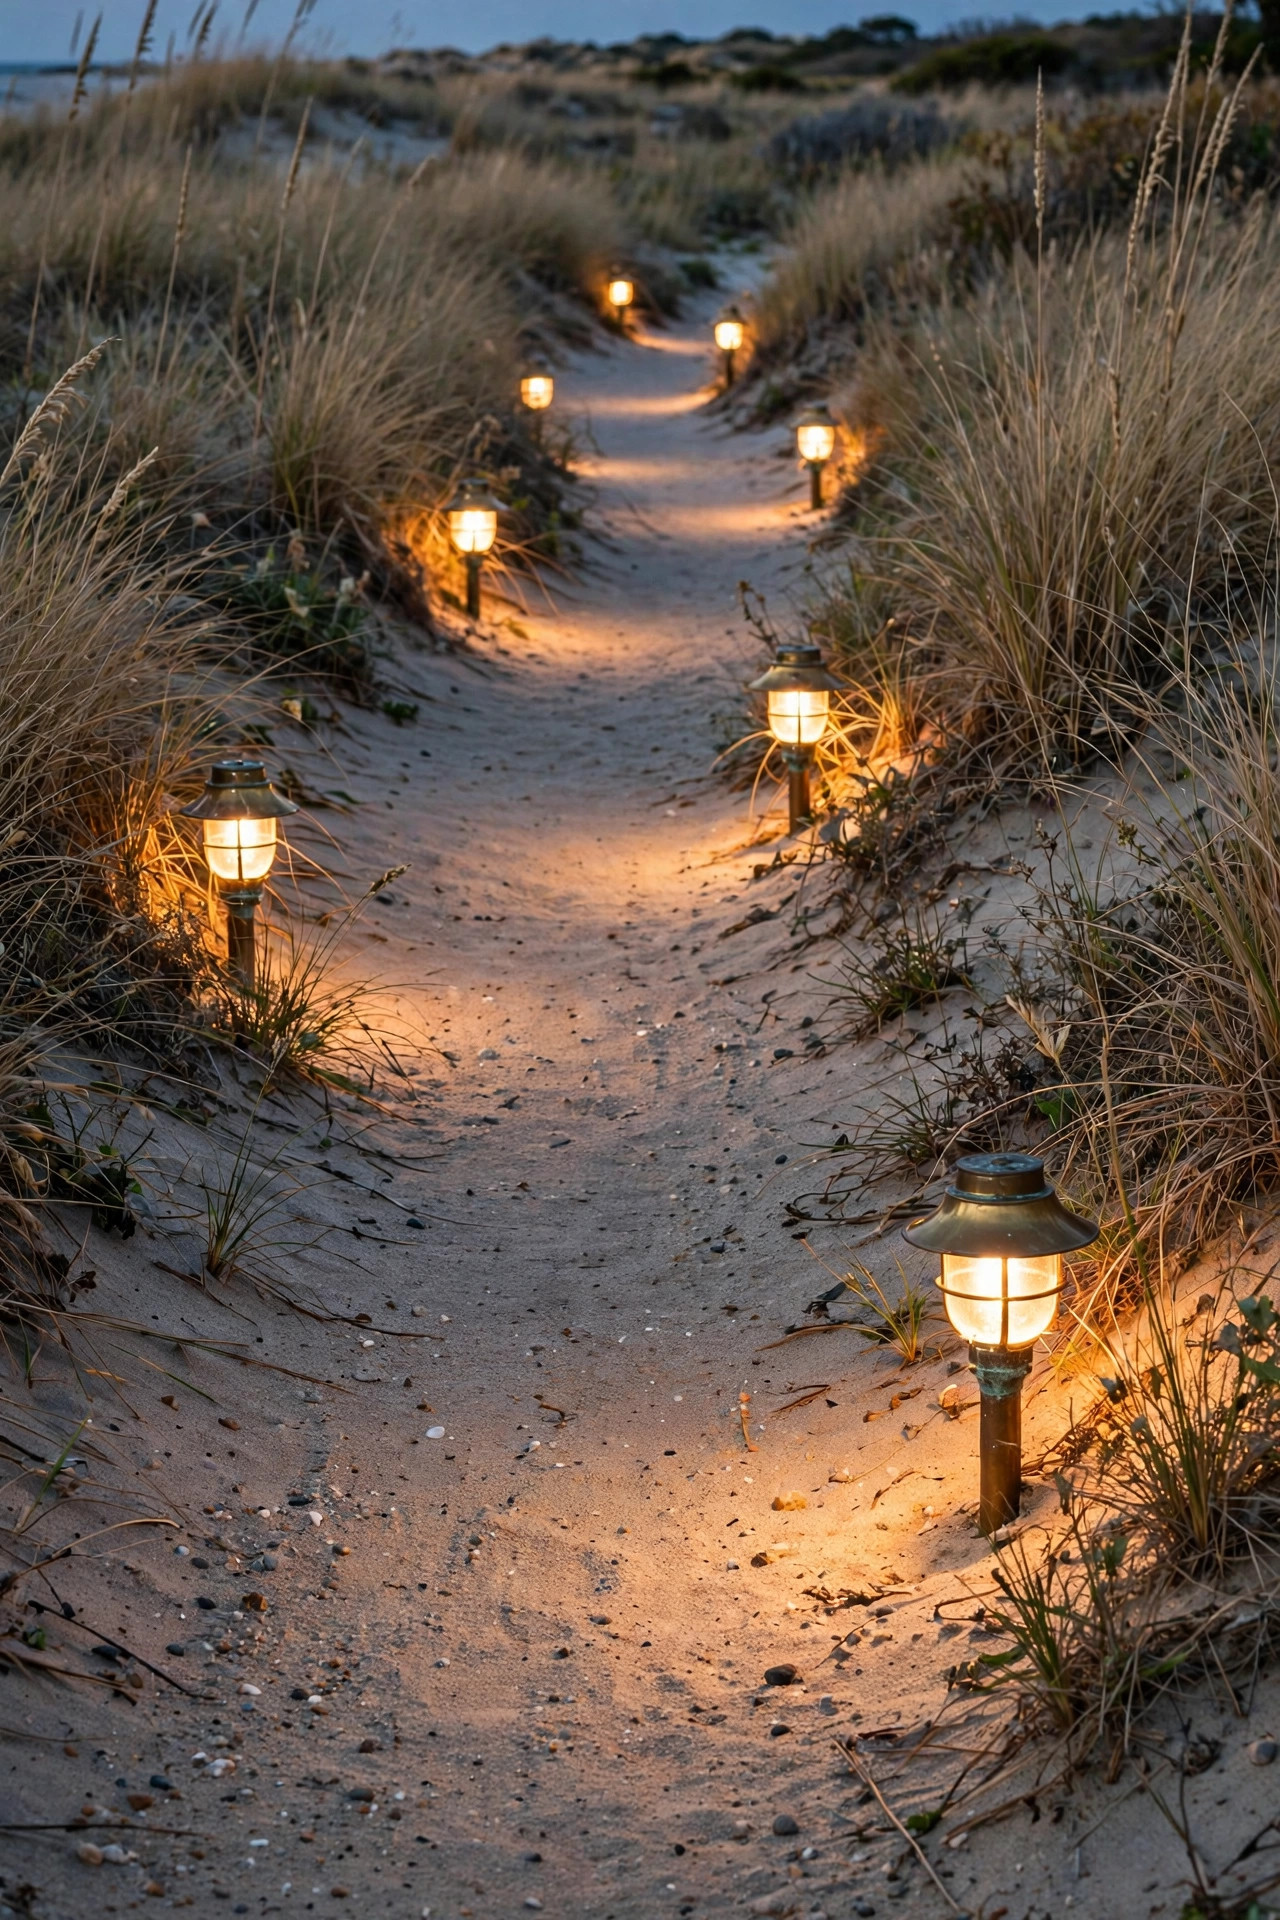
3. Choose Marine-Grade Path Lights That Laugh at Salt Air
Path lights live in the harshest spot in a coastal yard, low to the ground where salt spray, sprinkler overshoot, and sandy soil attack every finish. This is where I spend a little more, because cheap painted fixtures can pit and flake within one season near the water. Look for solid brass, copper, marine-grade 316 stainless steel, or heavy powder-coated aluminum with sealed lenses and silicone gaskets, and check for a wet-location rating. I wrote more about finishes and care in my guide to coastal outdoor lighting, and it is worth a read before you order a dozen of anything. Space path lights 6 to 8 feet apart in a staggered pattern rather than a runway line, and aim for pools of light that overlap slightly on the ground. A 12-volt low-voltage system with a small transformer is my usual recommendation near the coast because connections stay safer and bulbs are easy to swap. Rinse the fixtures with a hose every few weeks and the finishes will reward you for years.
Suggested budget range: $120 – $350.
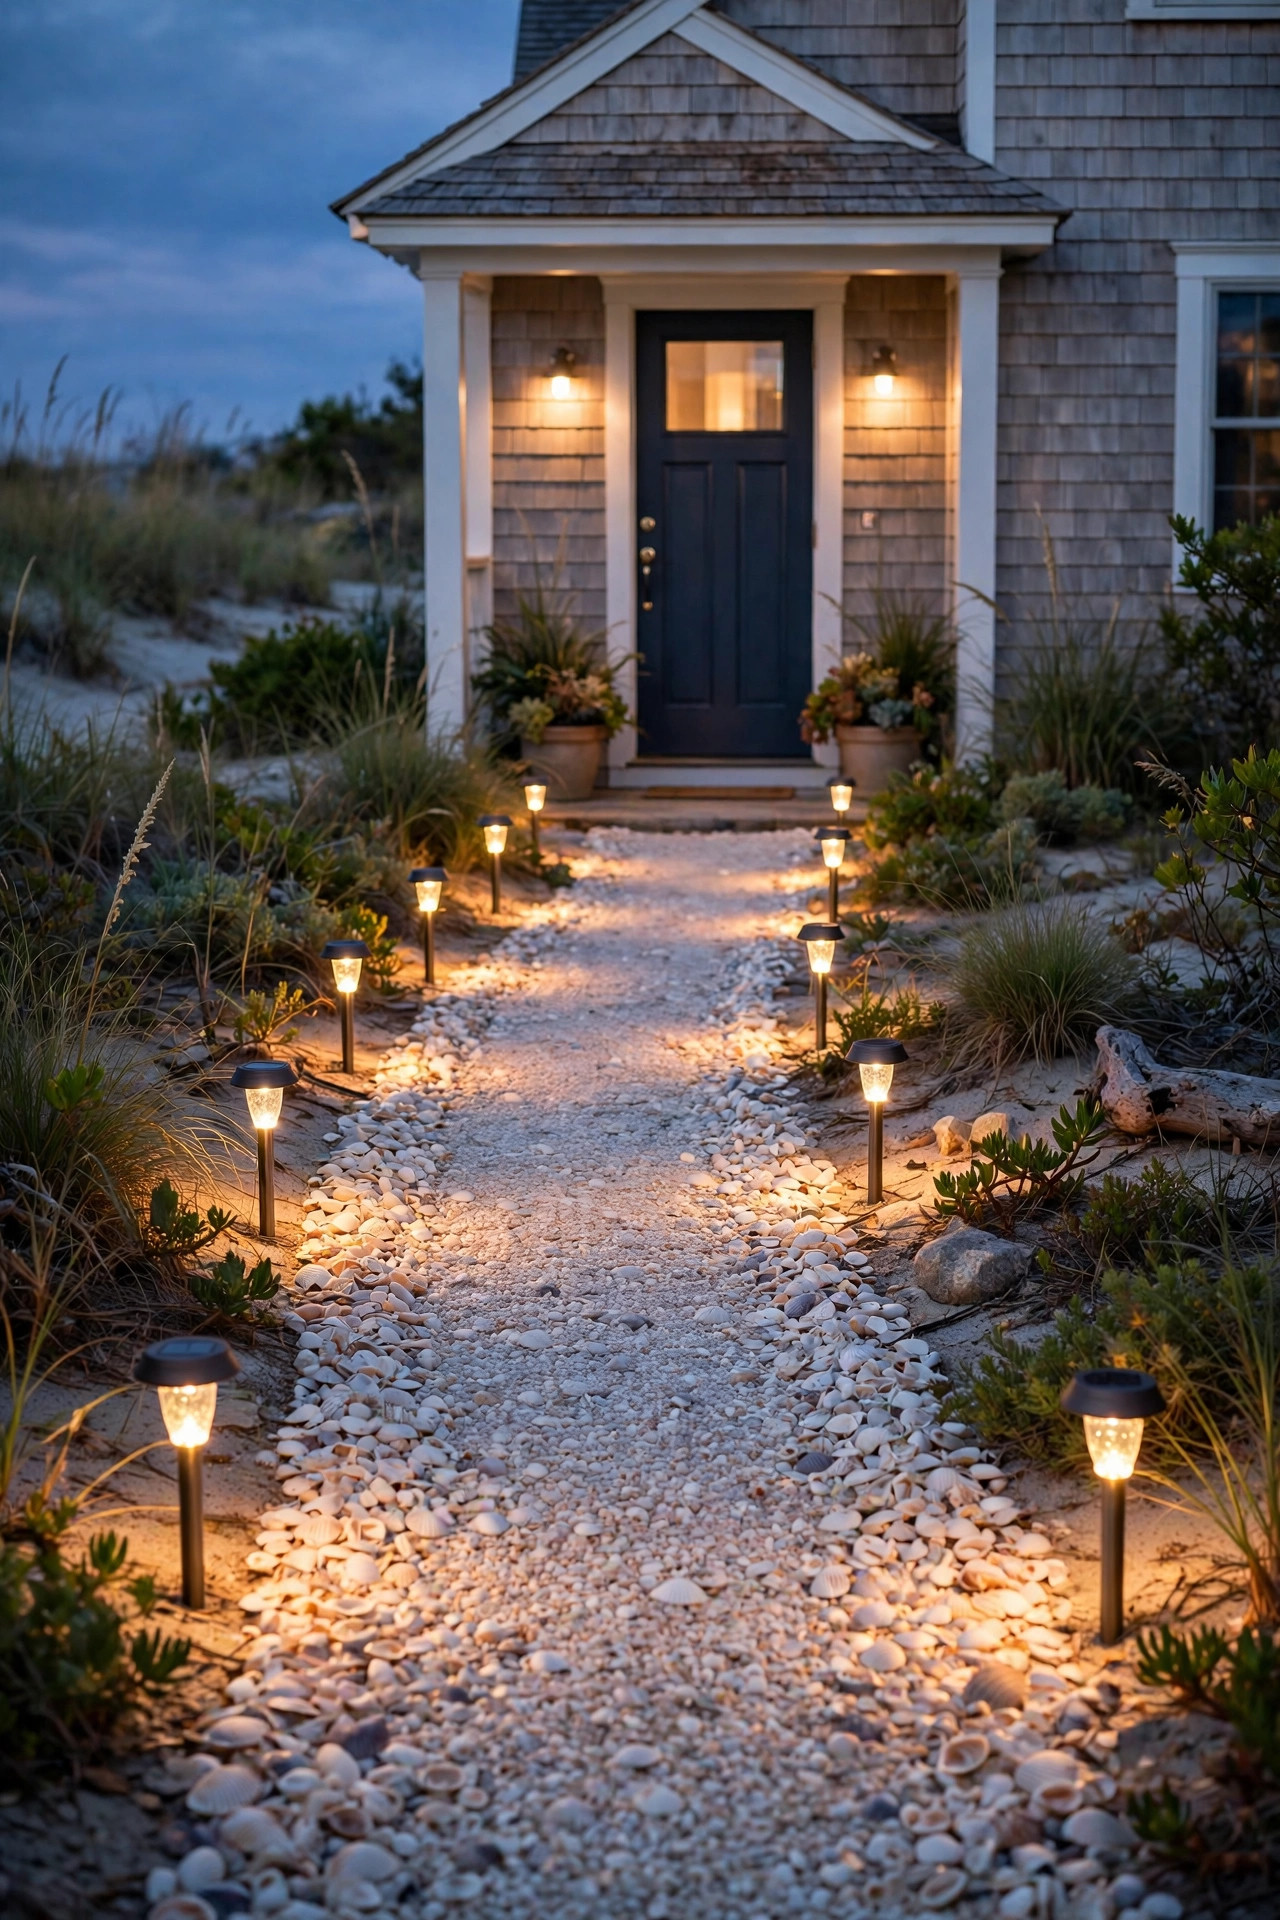
4. Line the Sandy Walkway With Solar Stakes
Some coastal walkways cross loose sand, shell paths, or rental-property lawns where trenching a cable is simply not happening. That is where good solar stakes earn their keep. Modern solar path lights with separate or top-mounted panels charge respectably even in partial sun, and the better ones run 8 to 10 hours after a full day. I always recommend pulling the little plastic battery tab, charging them a full day before guests arrive, and choosing warm-white 2700K models with a real glass or thick polycarbonate lens instead of the flimsy all-plastic kind. Push them 4 to 6 inches deep so wind and sandy soil cannot lean them over, and space them about 5 feet apart on alternating sides of the path. Solar will never match wired brightness for a focal point, but for a gentle dotted line guiding bare feet from the driveway to the door, it is honestly perfect. Keep a spare two-pack in the garage, since one stake a season tends to sacrifice itself to a lawn mower or a storm surge puddle.
Suggested budget range: $35 – $90.
5. Uplight One Wind-Bent Palm or Statement Tree
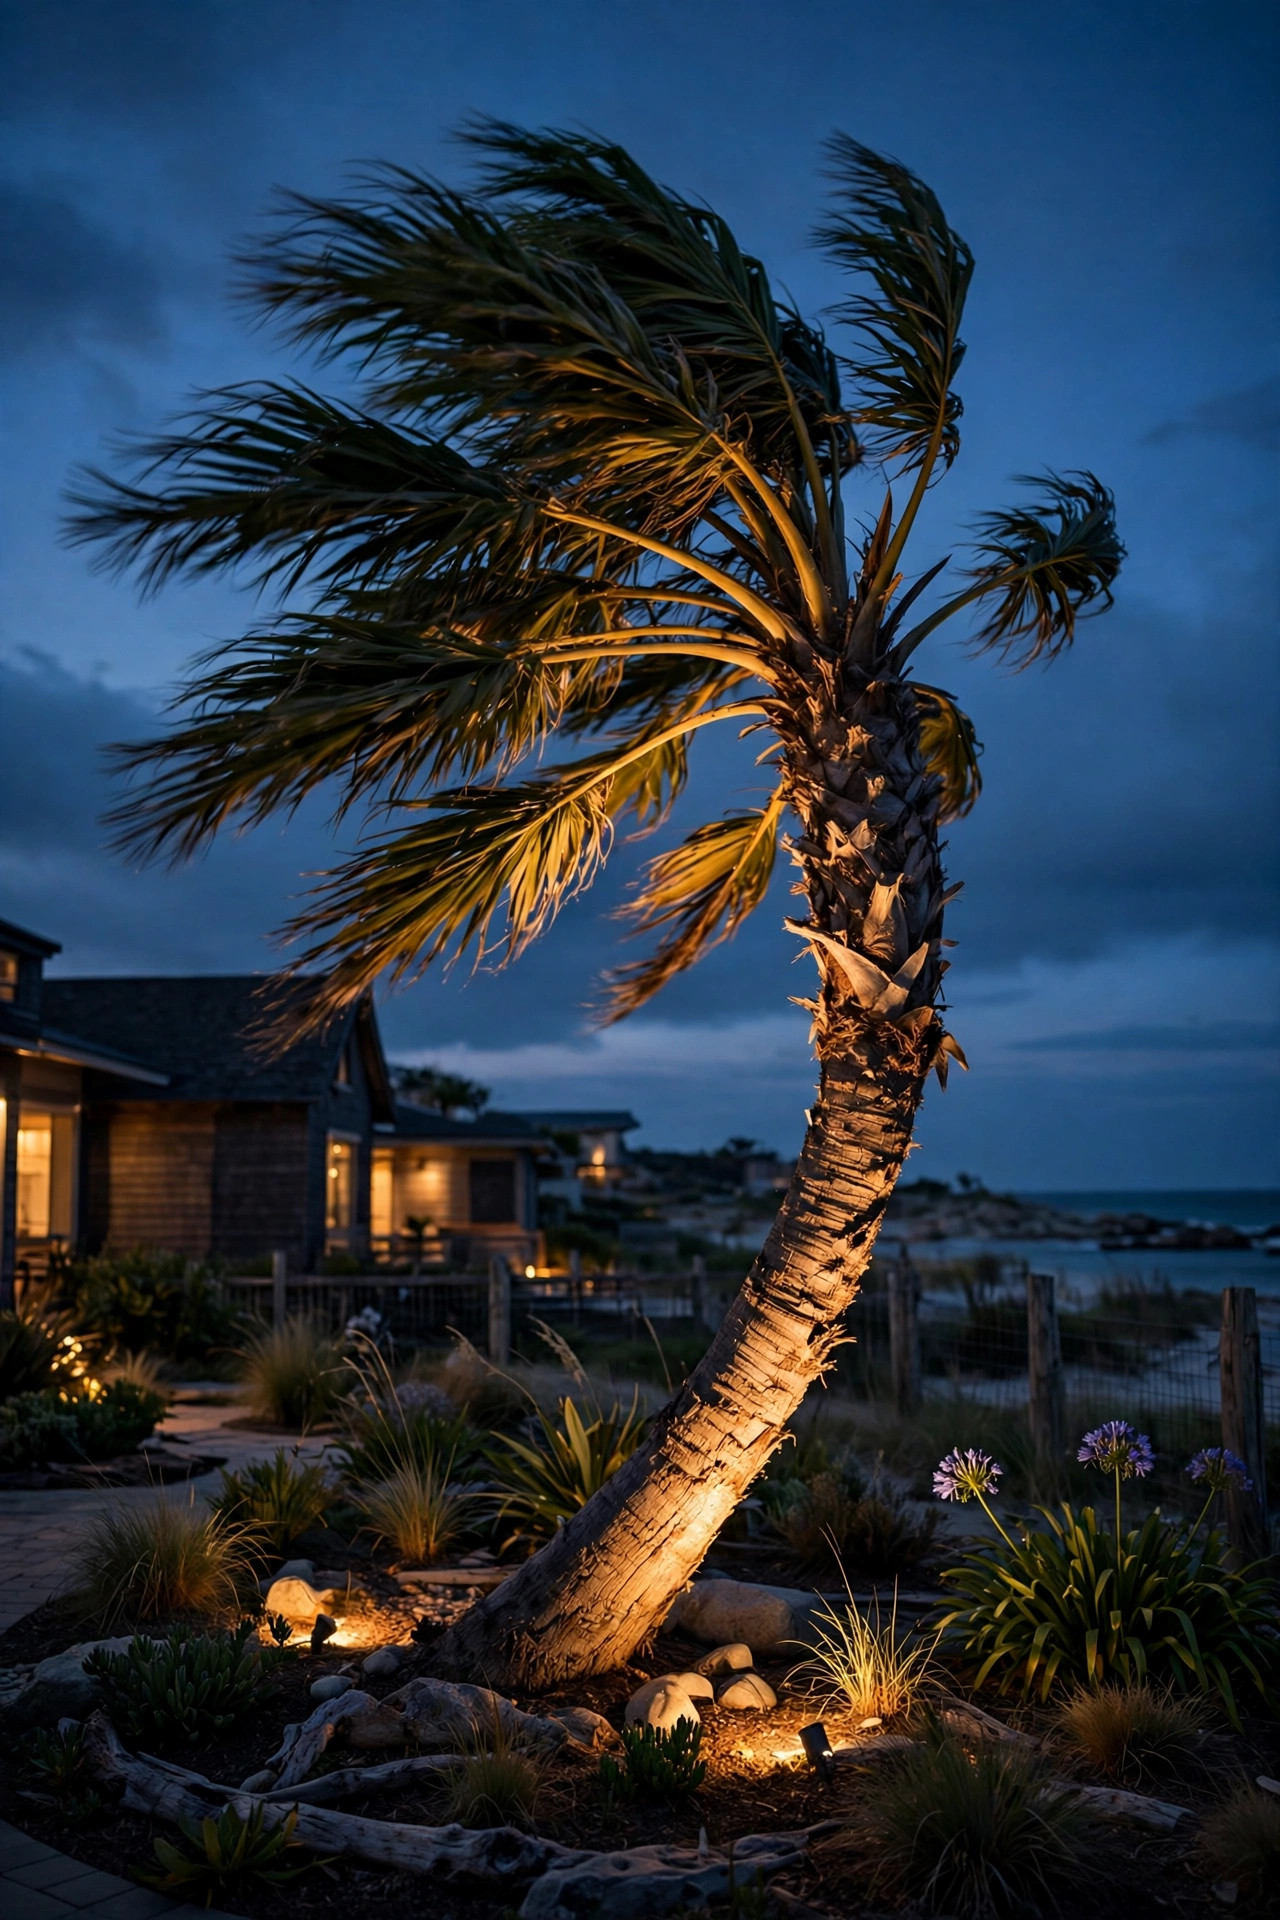
Every coastal yard has one tree with character, usually bent by years of onshore wind, and at night it deserves to be the star. A single well-placed uplight turns that silhouette into sculpture. I use a sealed well light or a bullet spotlight set 12 to 18 inches from the trunk, aimed up through the canopy at roughly a 30-degree angle so the fronds catch the light without a harsh hotspot on the bark. For palms, one fixture is usually enough; for a spreading live oak, two at different angles keep the canopy from looking lopsided. Keep the beam off neighboring windows and well below the roofline, and if you live where sea turtles nest, switch this accent off or swap to amber during nesting months. My full walkthrough of fixture angles lives in the front yard tree lighting ideas post if you want to go deeper. This single move, more than any other, is what makes drivers slow down past our rental in the evening.
Suggested budget range: $45 – $160.
6. Edge the Driveway With Low Coastal Bollards
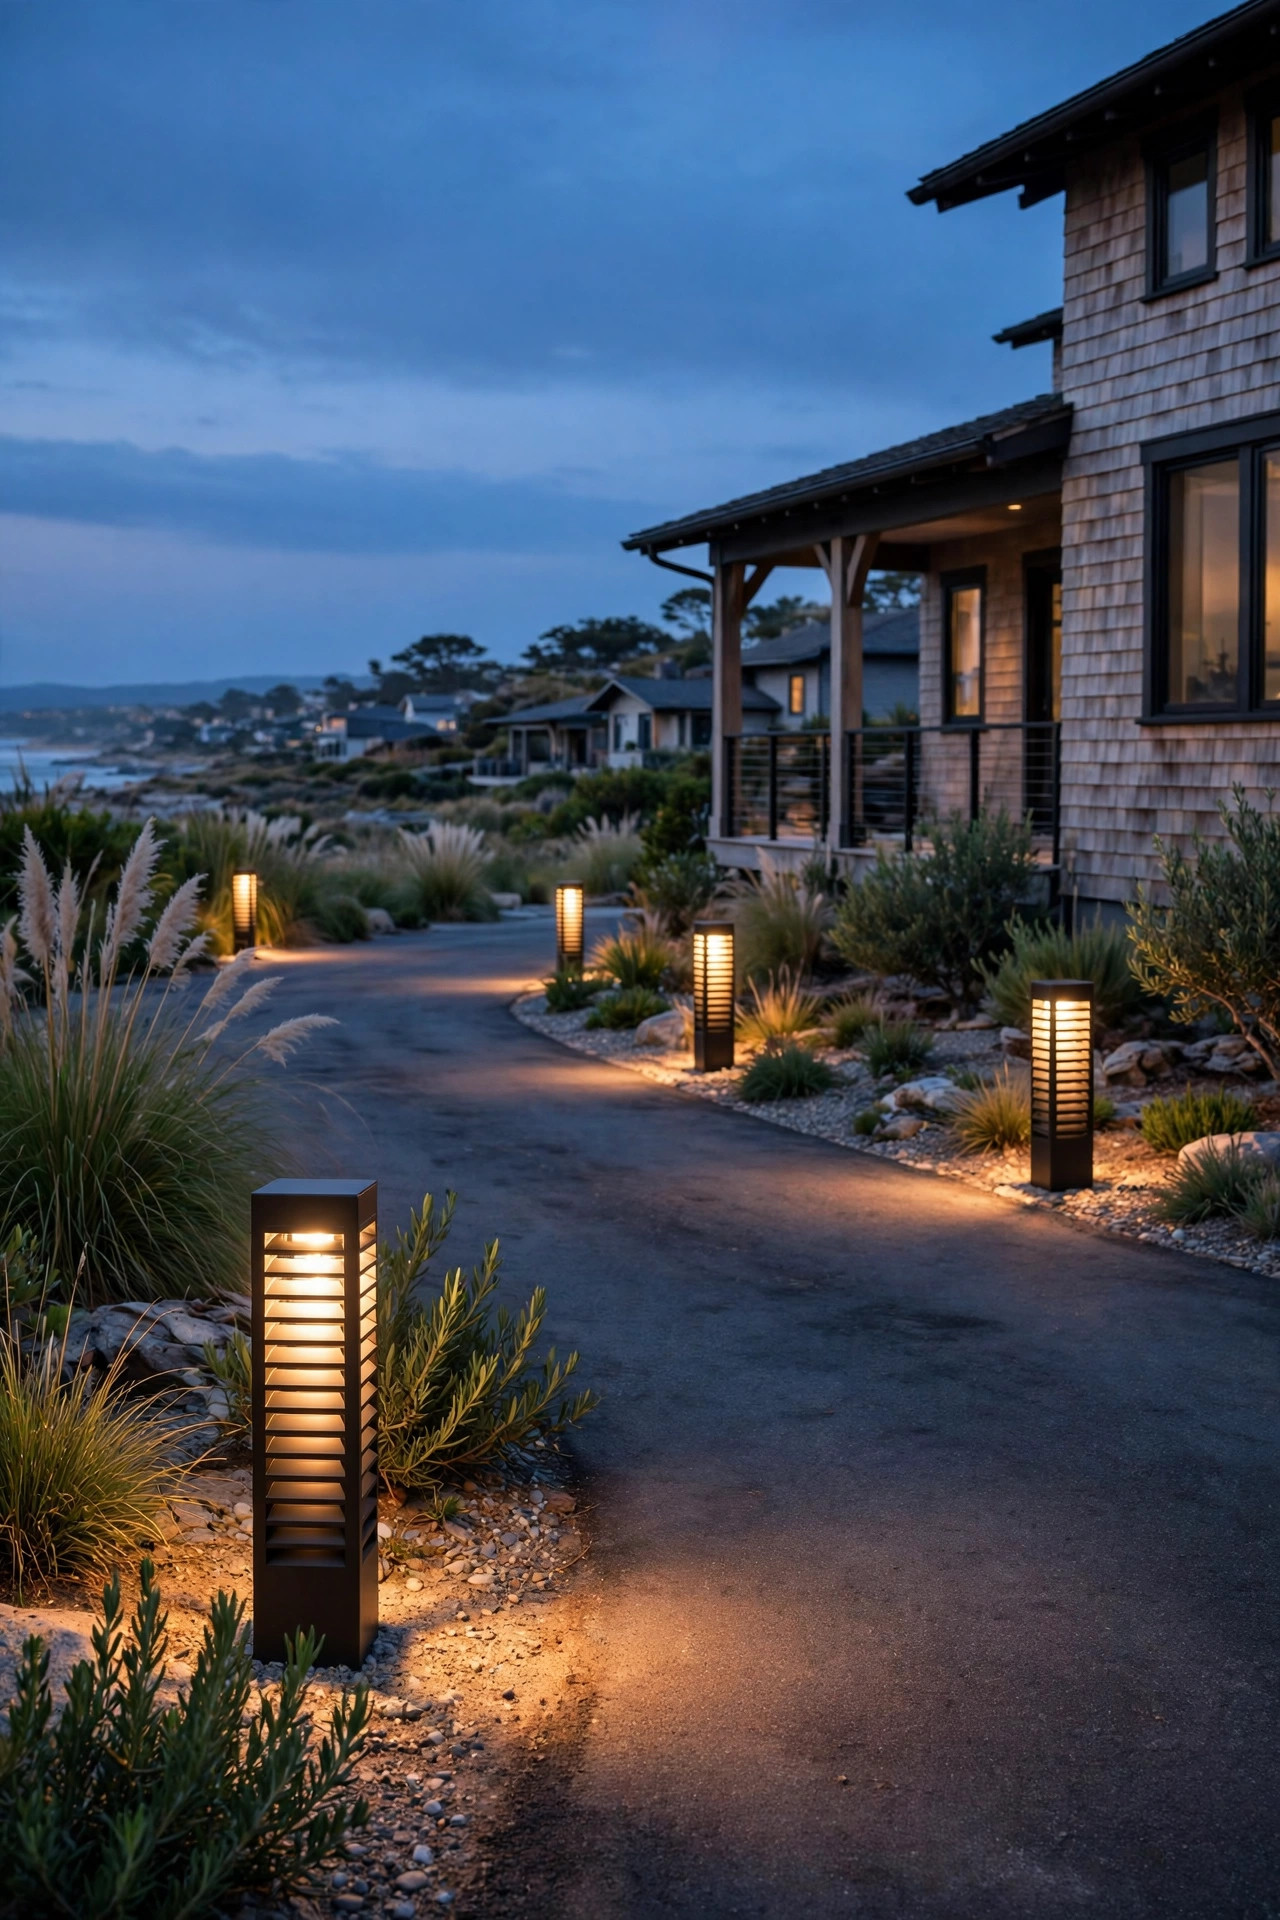
Driveways near the beach often double as parking for extra cars, golf carts, and sandy trailers, so the lighting has to guide tires without getting clipped. Low bollard lights, around 12 to 18 inches tall, are my favorite solution because they throw a wide, shielded wash across the pavement while staying below bumper height. Choose louvered or downward-firing models so drivers see the ground glow, not the bulb, and pick composite or powder-coated finishes that shrug off salt. Space them 8 to 10 feet apart along the guest side of the drive, set back at least 12 inches from the edge so doors can swing open. I wire ours on the same low-voltage run as the path lights, with a photocell so they wake up at dusk on their own. One caution: skip tall, decorative bollards on narrow drives. A friend replaced two in one summer thanks to a delivery truck, and at replacement cost that lesson sticks. Keep a gentle, even rhythm and the whole arrival sequence feels like pulling into a small seaside inn.
Suggested budget range: $150 – $400.
7. Drape String Lights Across the Front Porch
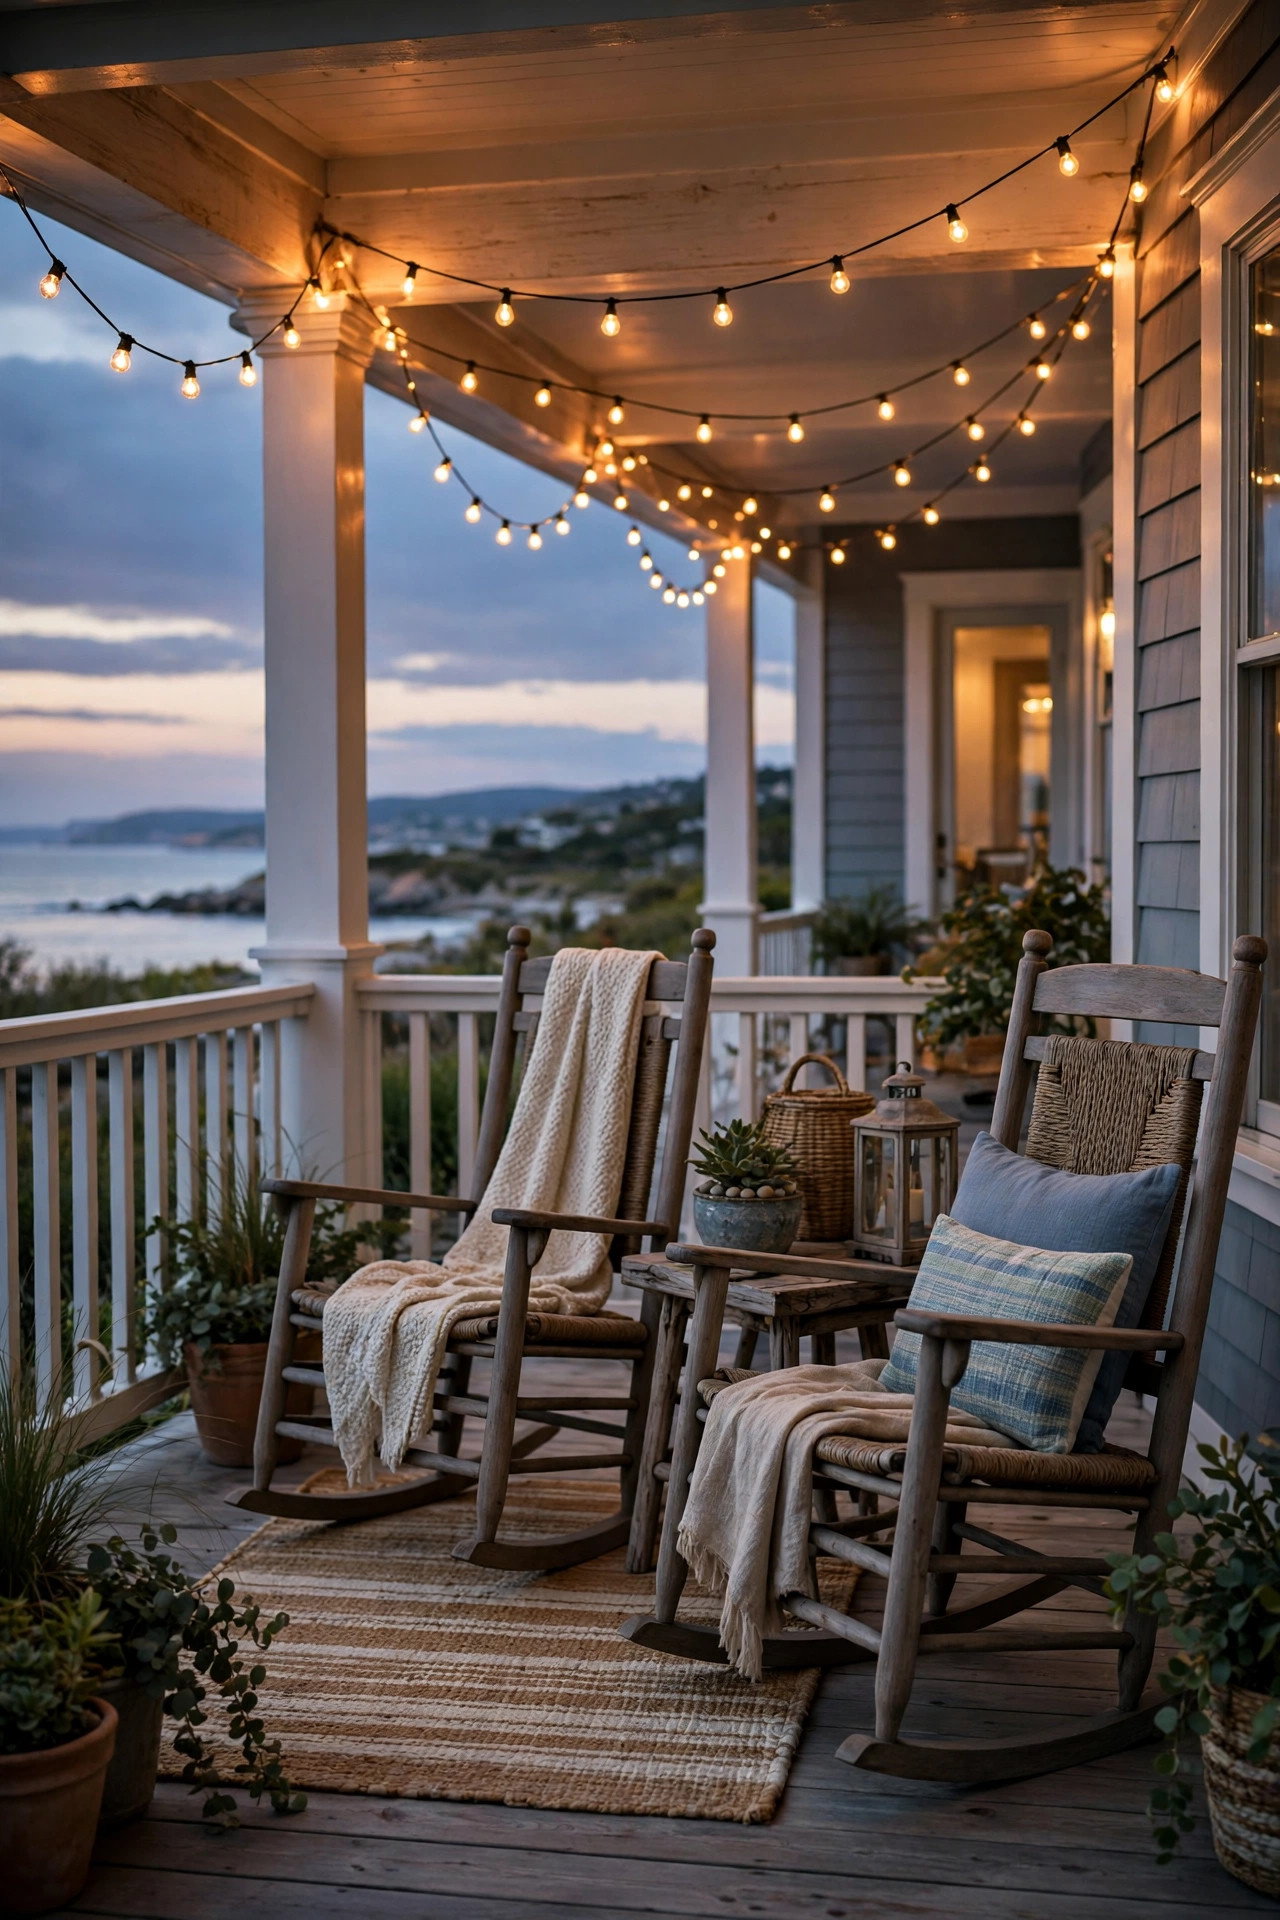
A front porch strung with warm bulbs is the coastal equivalent of a welcome mat. I drape commercial-grade string lights in a gentle swag between porch posts, keeping the lowest point at least 7 feet above the floor so tall guests and ceiling fans stay safe. Outdoor-rated strands with sealed sockets matter enormously at the coast, where a single corroded socket can kill a whole run after one foggy week. Use shatterproof LED bulbs in 2700K, and anchor the strand to screw hooks or a guide wire rather than relying on the cord itself, because sea breezes worry at connections all night long. I plug ours into a GFCI outlet on a smart plug timer, on at sunset and off at 11 p.m., so the porch glows for evening arrivals without burning all night. If your porch is small, even one 24-foot strand zigzagged overhead changes the entire mood of the entry. Renters can use removable adhesive hooks rated for outdoor use and leave no trace behind.
Suggested budget range: $40 – $120.
8. Graze Cedar Shakes and Board-and-Batten With Wall Washers
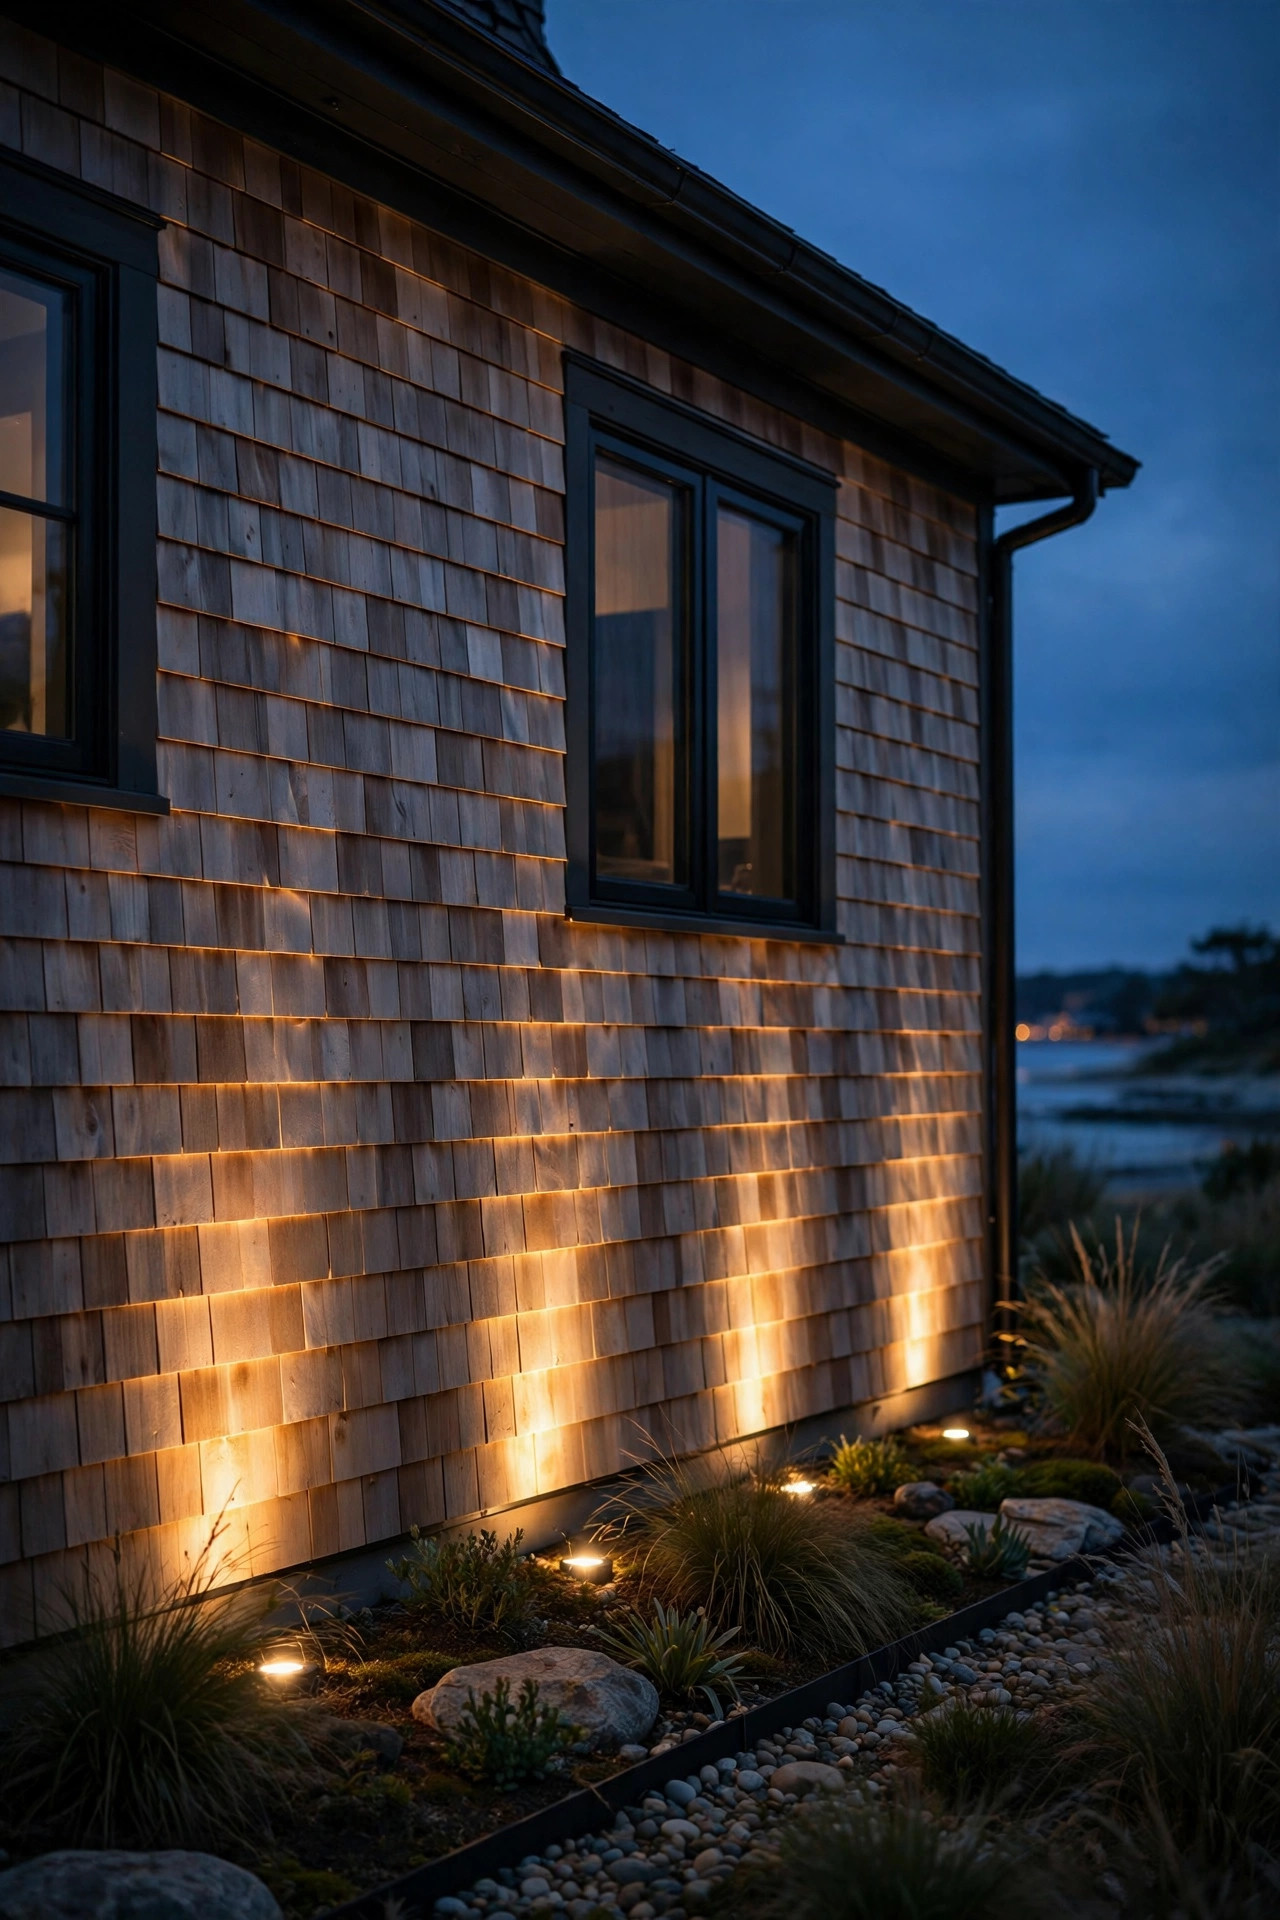
Coastal siding has texture worth showing off, and grazing light is how you do it. A compact wash light mounted 6 to 12 inches out from the foundation, aimed straight up, rakes across cedar shakes or board-and-batten and throws every shadow line into relief. The effect reads expensive and architectural, yet the fixtures themselves nearly disappear into the planting bed during the day. I space washers about 4 feet apart under a feature wall, or place just two flanking a chimney or a shingled gable for a subtler statement. Keep the beam tight to the wall; a flood that spills sideways only lights up the neighbor's yard and the night sky. Use 2700K to keep gray-weathered shingles looking warm rather than spooky, and choose fixtures with a visor or shield if your street is close. Because these sit at ground level in mulched beds, gel-filled waterproof connectors are non-negotiable at the coast. Check them each spring when you refresh the mulch and the system will run quietly for years.
Suggested budget range: $90 – $260.
9. Flank the Garage With Lantern-Style Sconces
On many coastal homes the garage, not the front door, is what the street actually sees, so it deserves the same lantern treatment. A matched pair of lantern-style sconces flanking the garage door frames the widest surface on the house and instantly makes the facade feel finished. Scale matters here: for a standard 16-foot double door, I look for fixtures 12 to 15 inches tall, mounted with the bulb center around 66 to 72 inches high. Undersized sconces are the number one mistake I see on beach houses; they read as an afterthought from the road. Choose sealed, wet-rated lanterns in a finish that ties to your door lanterns, ideally the same family, so the whole front speaks one language. LED filament bulbs at 2700K, around 800 to 1,100 lumens each, give a welcoming wash without the interrogation-room glare of old floodlights. Put them on the same timer or photocell as the porch so the whole front wakes together at dusk like it was choreographed.
Suggested budget range: $110 – $300.
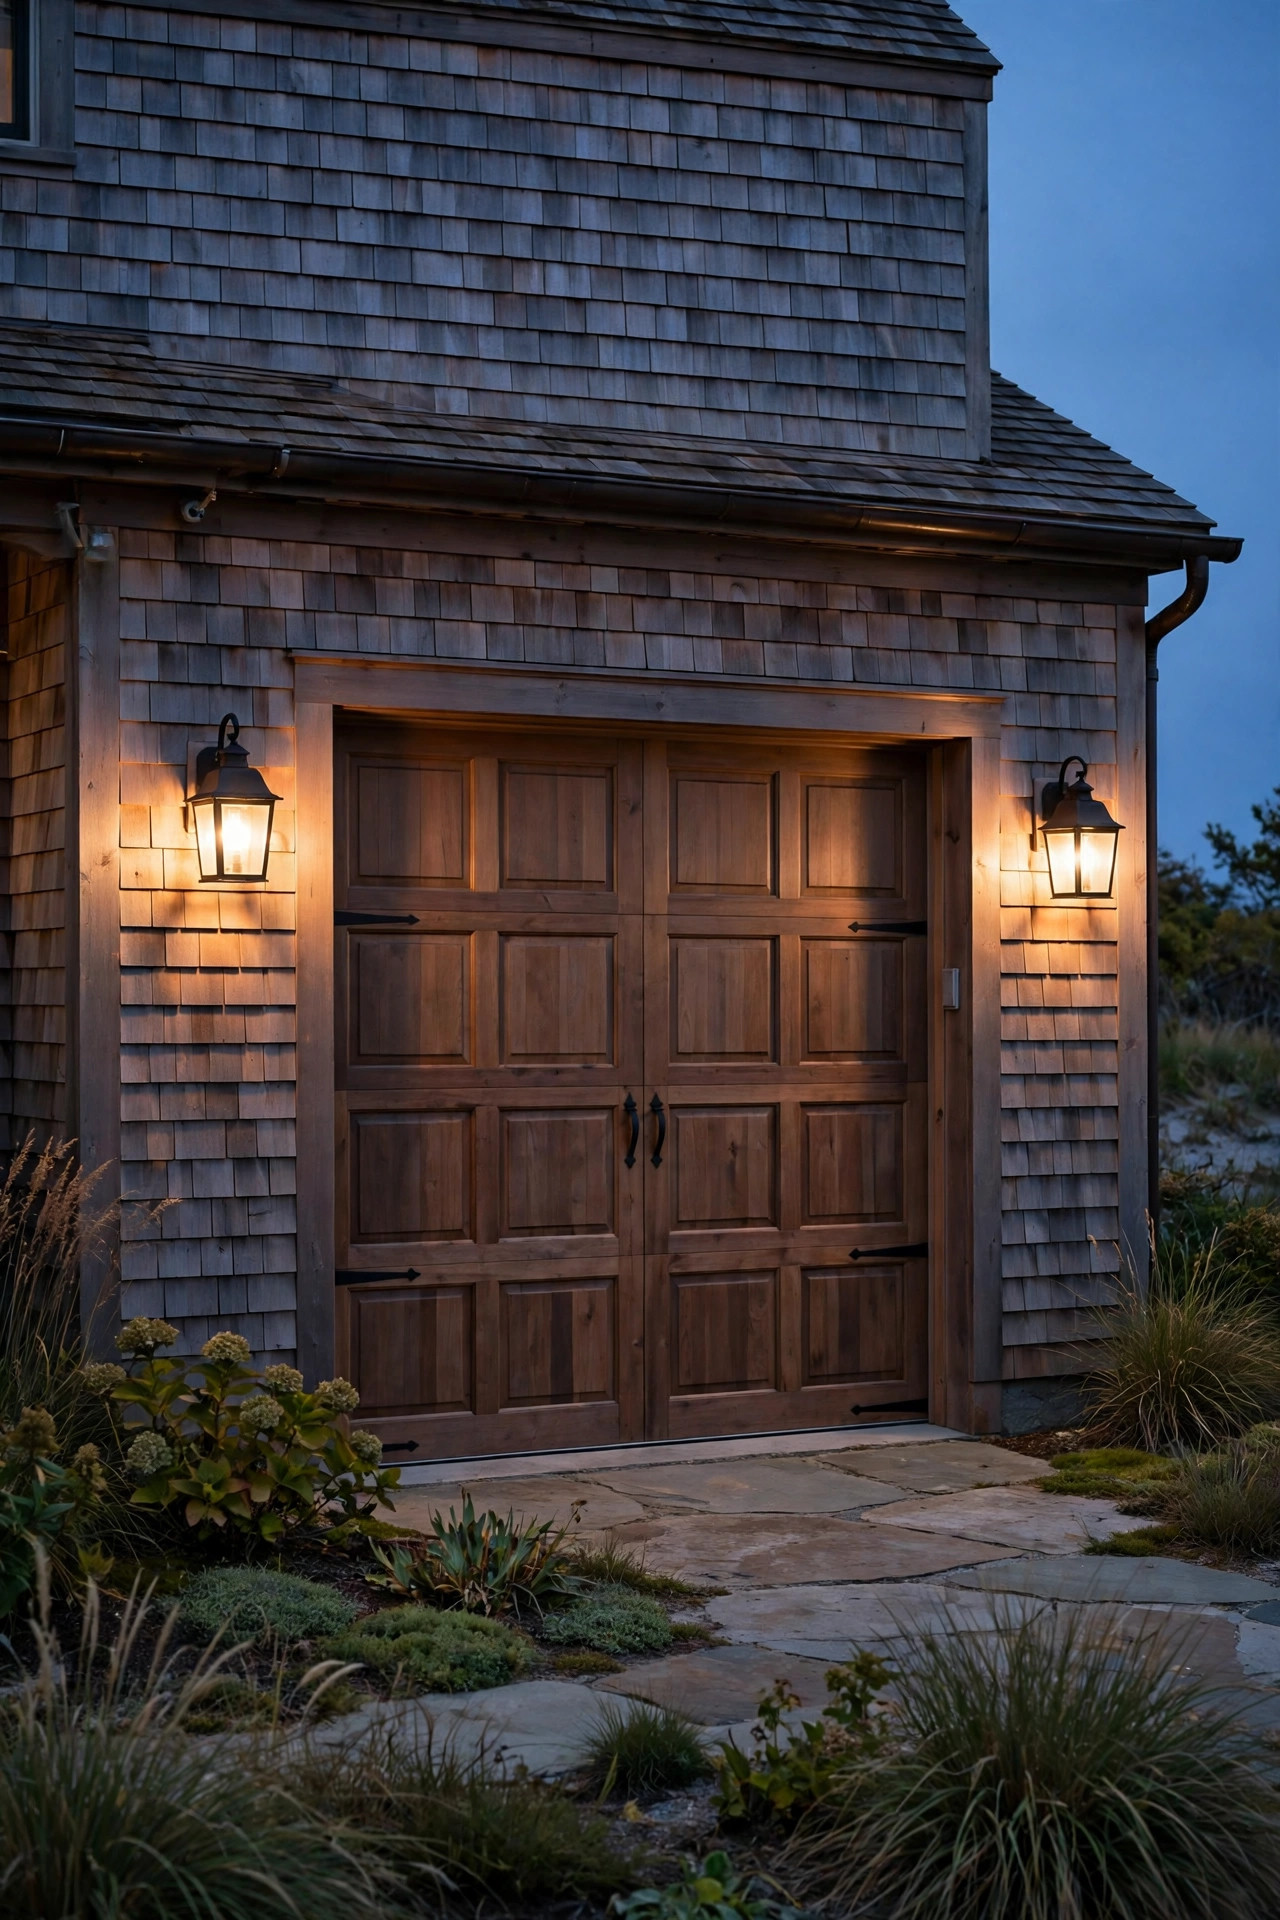
10. Spotlight Dune Grasses and Coastal Planting Beds
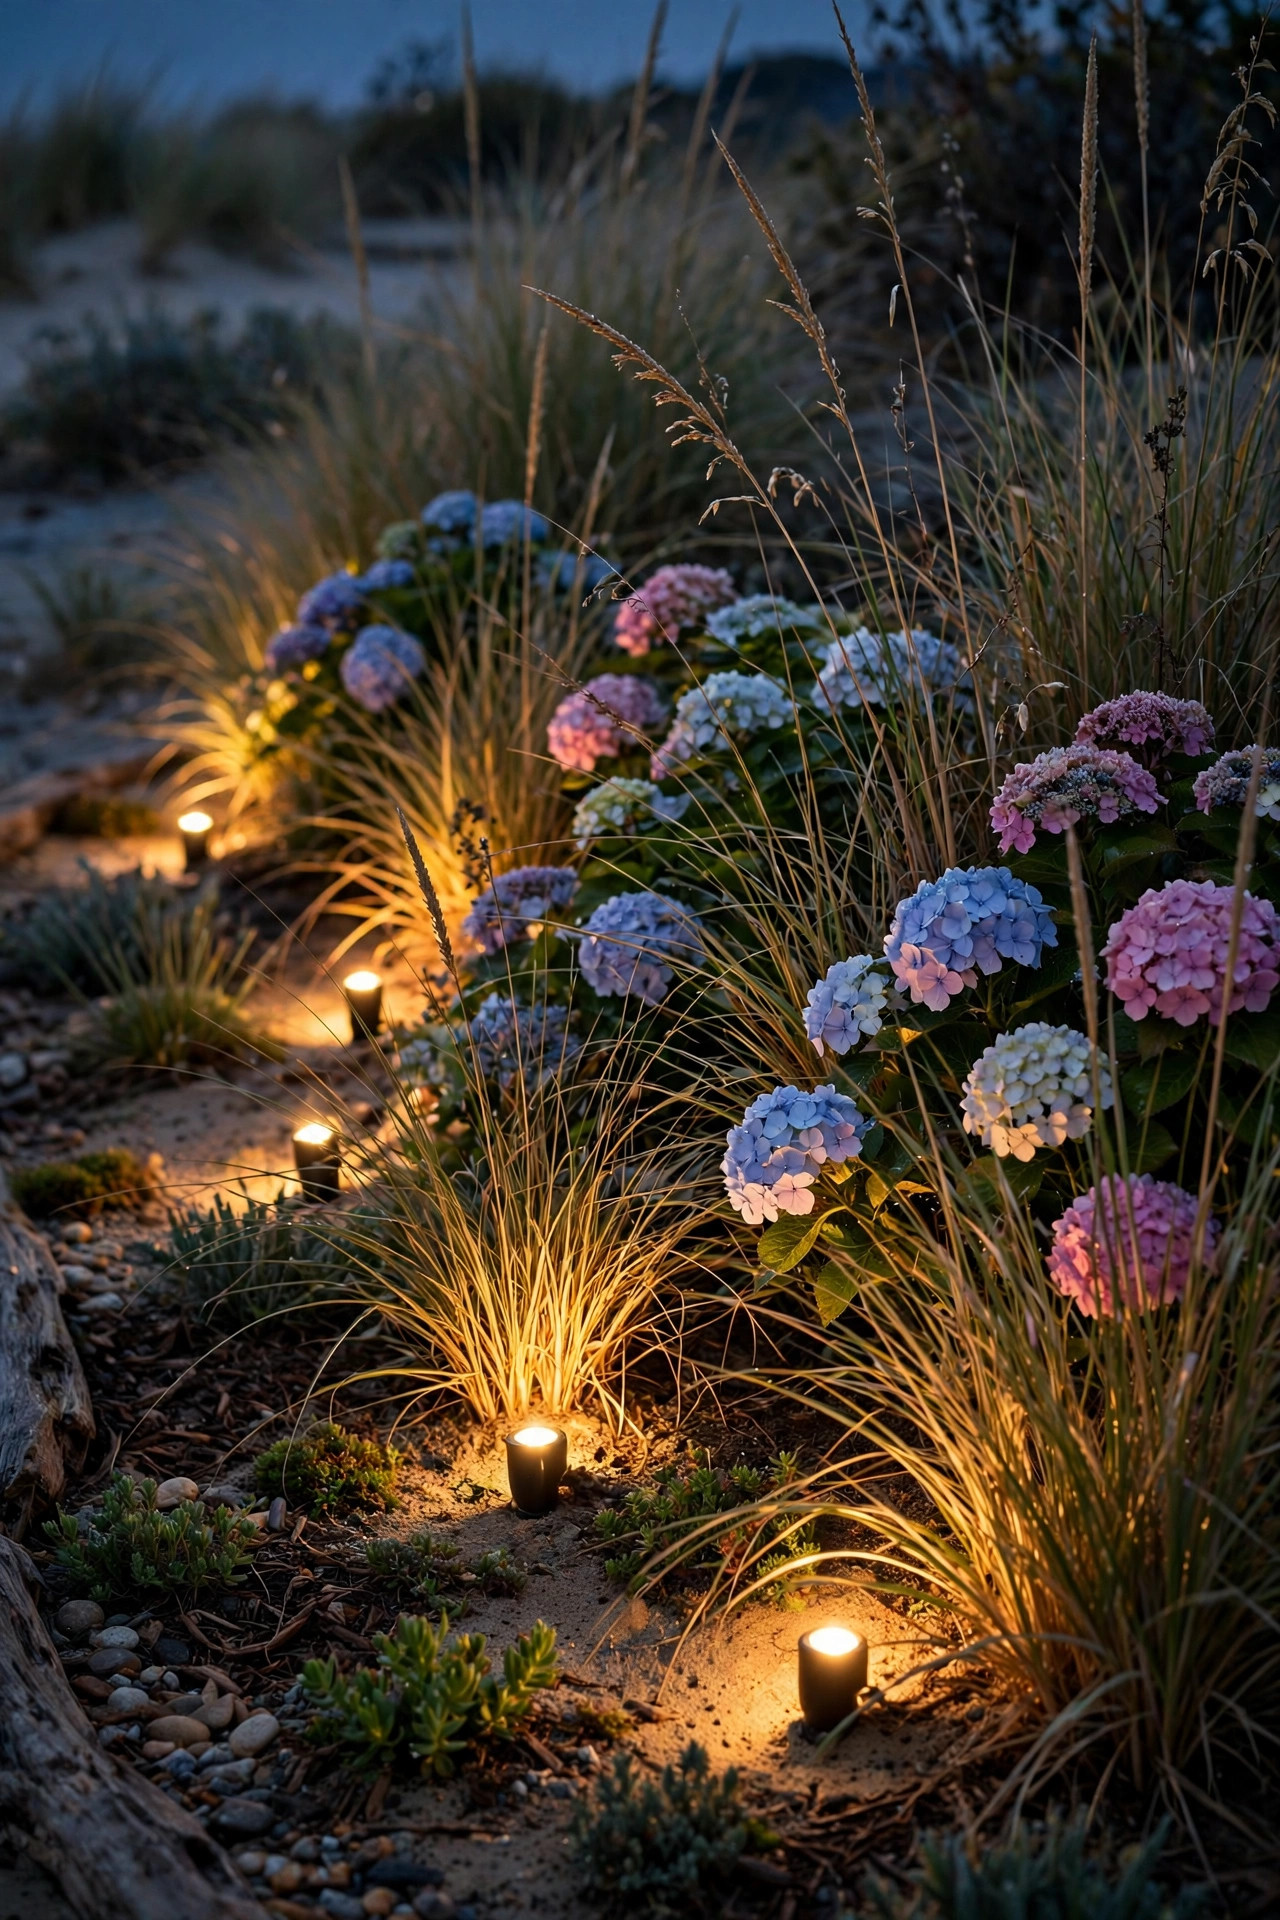
The plants that thrive at the shore, ornamental grasses, sea oats style plantings, hydrangeas, and palmettos, move in the breeze, and light makes that movement visible after dark. Small adjustable spotlights tucked into the bed, aimed up and through the grass blades, create a flickering, firefly-adjacent shimmer that guests always comment on. I use fixtures with a stake mount pushed deep into sandy soil, a 2700K bulb, and a narrow-to-medium beam so the glow stays in the planting instead of washing the whole yard flat. Two or three spots per bed is plenty; overlighting beach plantings makes them look like a garden-center display. Keep lenses wiped monthly, because salt film builds fast this close to the ground and can dim output by half. Avoid aiming any spot toward the street where it could catch a driver's eye, and in turtle-nesting areas keep bed lighting amber, low, and on a timer that shuts it down early. The result is a front yard that feels alive even on a still, quiet night.
Suggested budget range: $70 – $200.
11. Make the House Number Glow for Guests and Deliveries
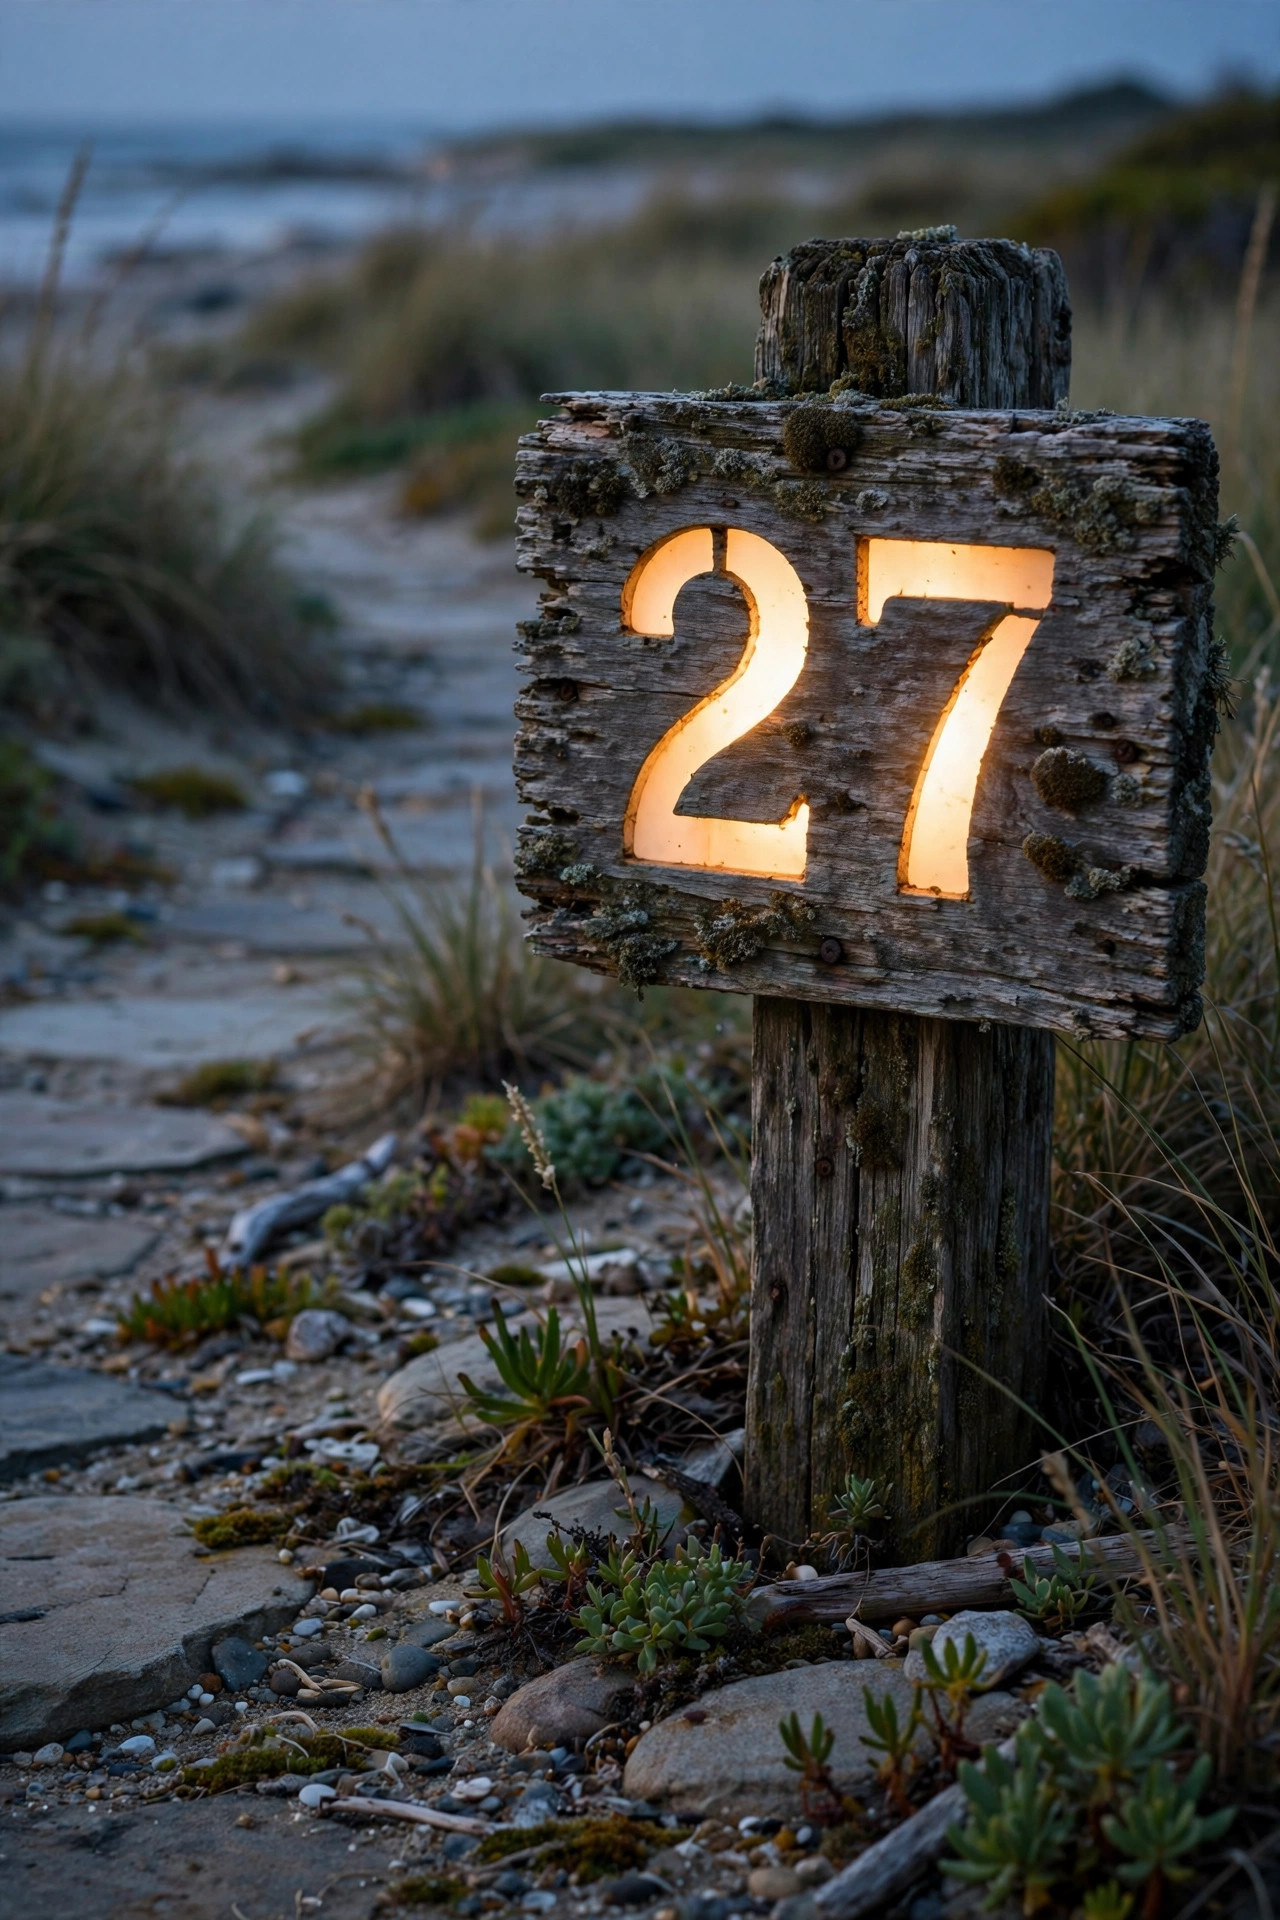
Beach rentals and shore homes live and die by evening arrivals, and a guest circling the block in the dark is a curb-appeal failure no paint color can fix. A softly backlit house number plaque or a small lantern dedicated to the address solves it elegantly. I mounted our numbers on a weathered-wood plaque with a tiny solar cap light above it, positioned so it reads clearly from a slow-moving car about 30 feet away. Backlit individual numerals look the most polished, though a plaque with a shielded downlight is the friendlier DIY route. Keep the light warm and modest, 2700K and just bright enough to read, since a blazing address can look oddly commercial. Solar models work well if the spot gets a few hours of sun; otherwise tap the low-voltage path run you already have. While you are at it, check the same sightline for your mailbox, because delivery drivers judge a house by the same first ten seconds your guests do. Small fix, outsized payoff.
Suggested budget range: $25 – $80.
12. Add a Shielded Motion Light at the Side Gate
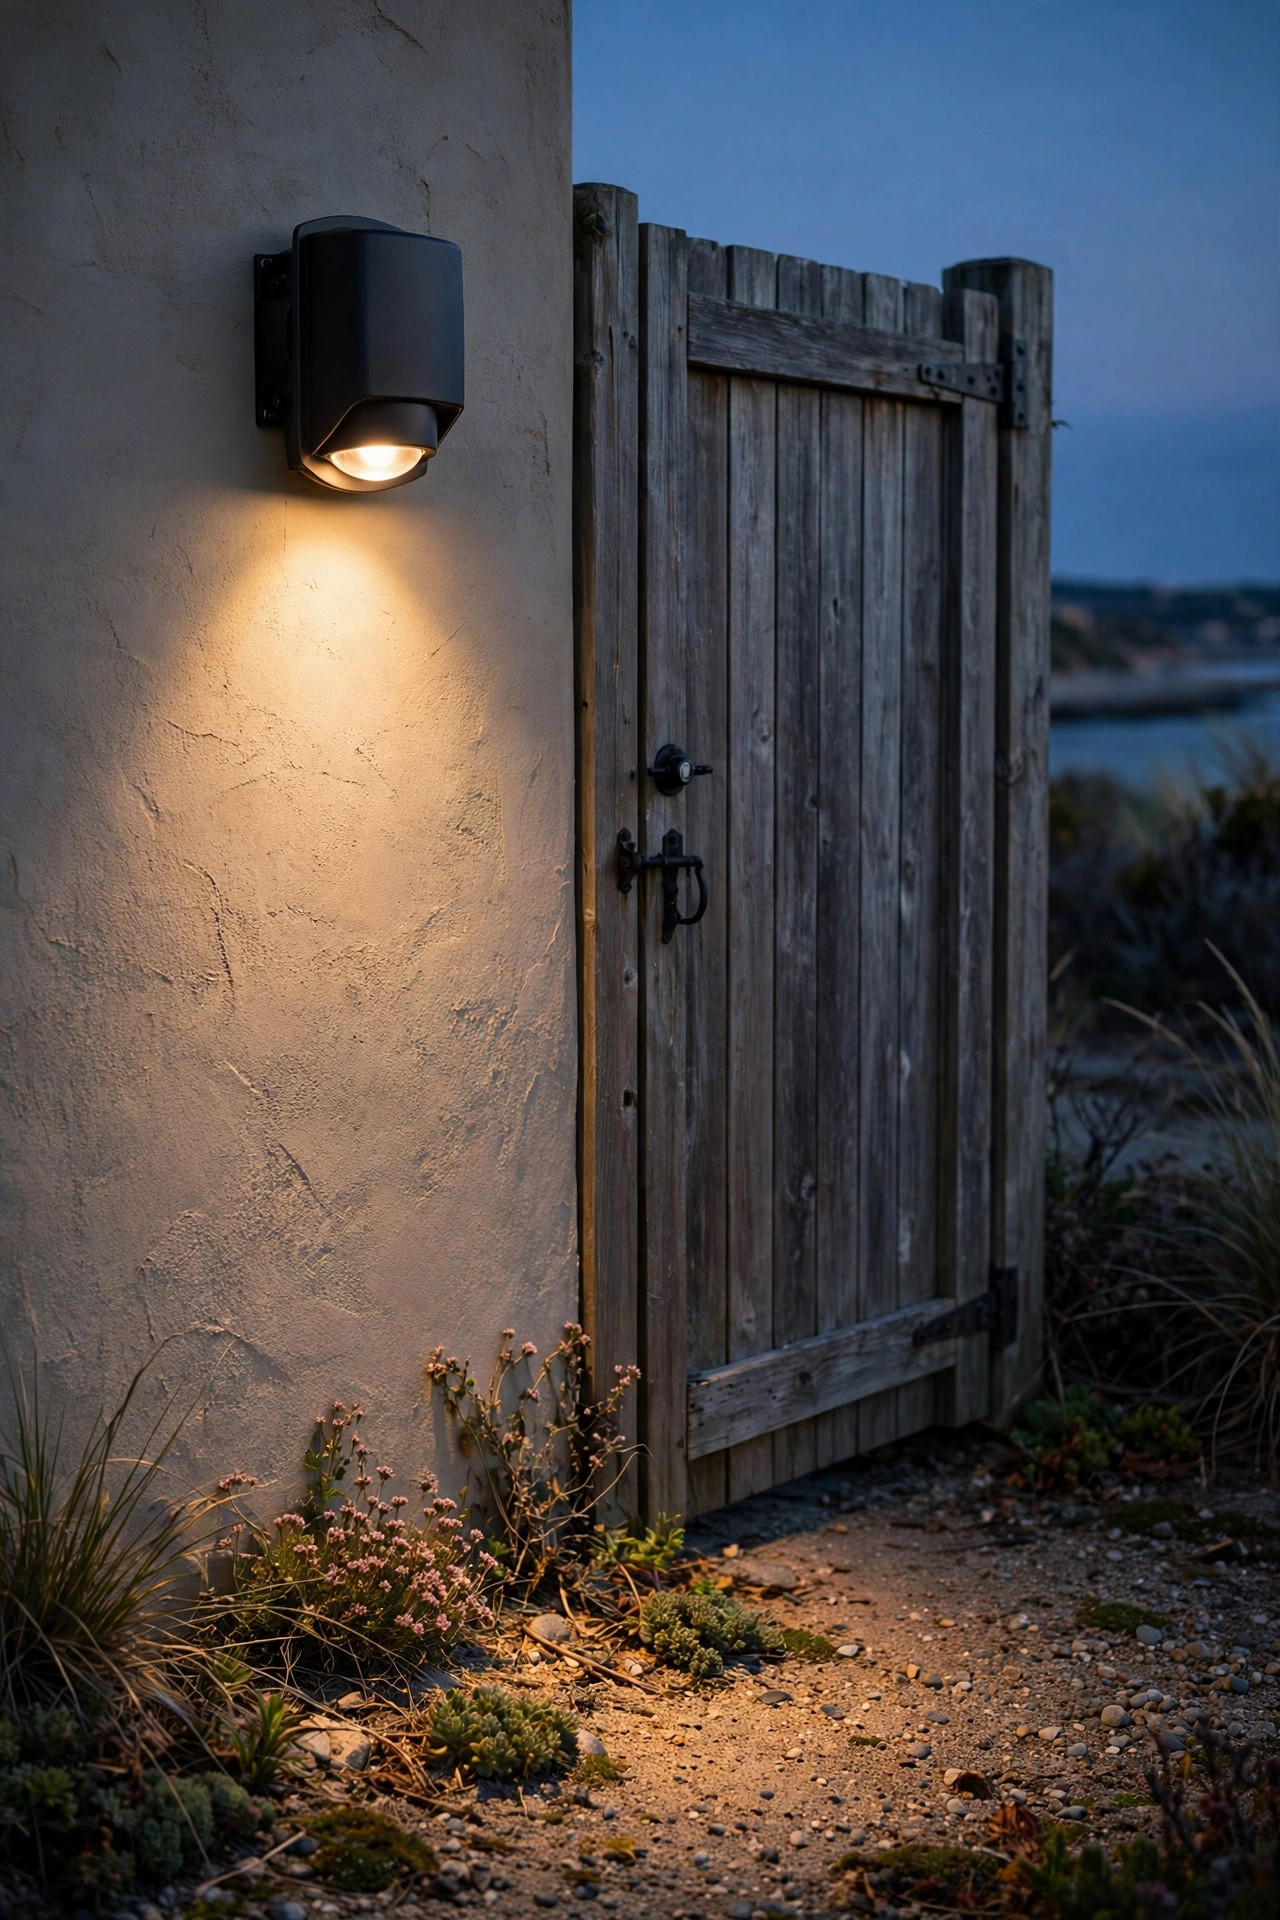
Every coastal house has a working side: the outdoor shower, the hose bib, the trash bins, the gate to the backyard. It needs light, but it does not need a bare floodlight blasting the neighbors every time a raccoon wanders past. A shielded motion-sensor fixture with an adjustable head is the grown-up answer. I mount ours about 8 feet up beside the gate, aimed steeply down so the pool of light lands inside our fence line, and set the sensitivity so it triggers at 10 to 15 feet rather than for every passerby on the sidewalk. Look for a wet-rated fixture with a dusk-to-dawn low-glow mode if you can find one; the faint standby warmth feels intentional, and full brightness arrives only when someone actually approaches with the recycling. LED models sip power and shrug off the salt air far better than old halogen units. This is a safety layer, not a style piece, but done right it quietly raises the whole property's sense of care.
Suggested budget range: $30 – $95.
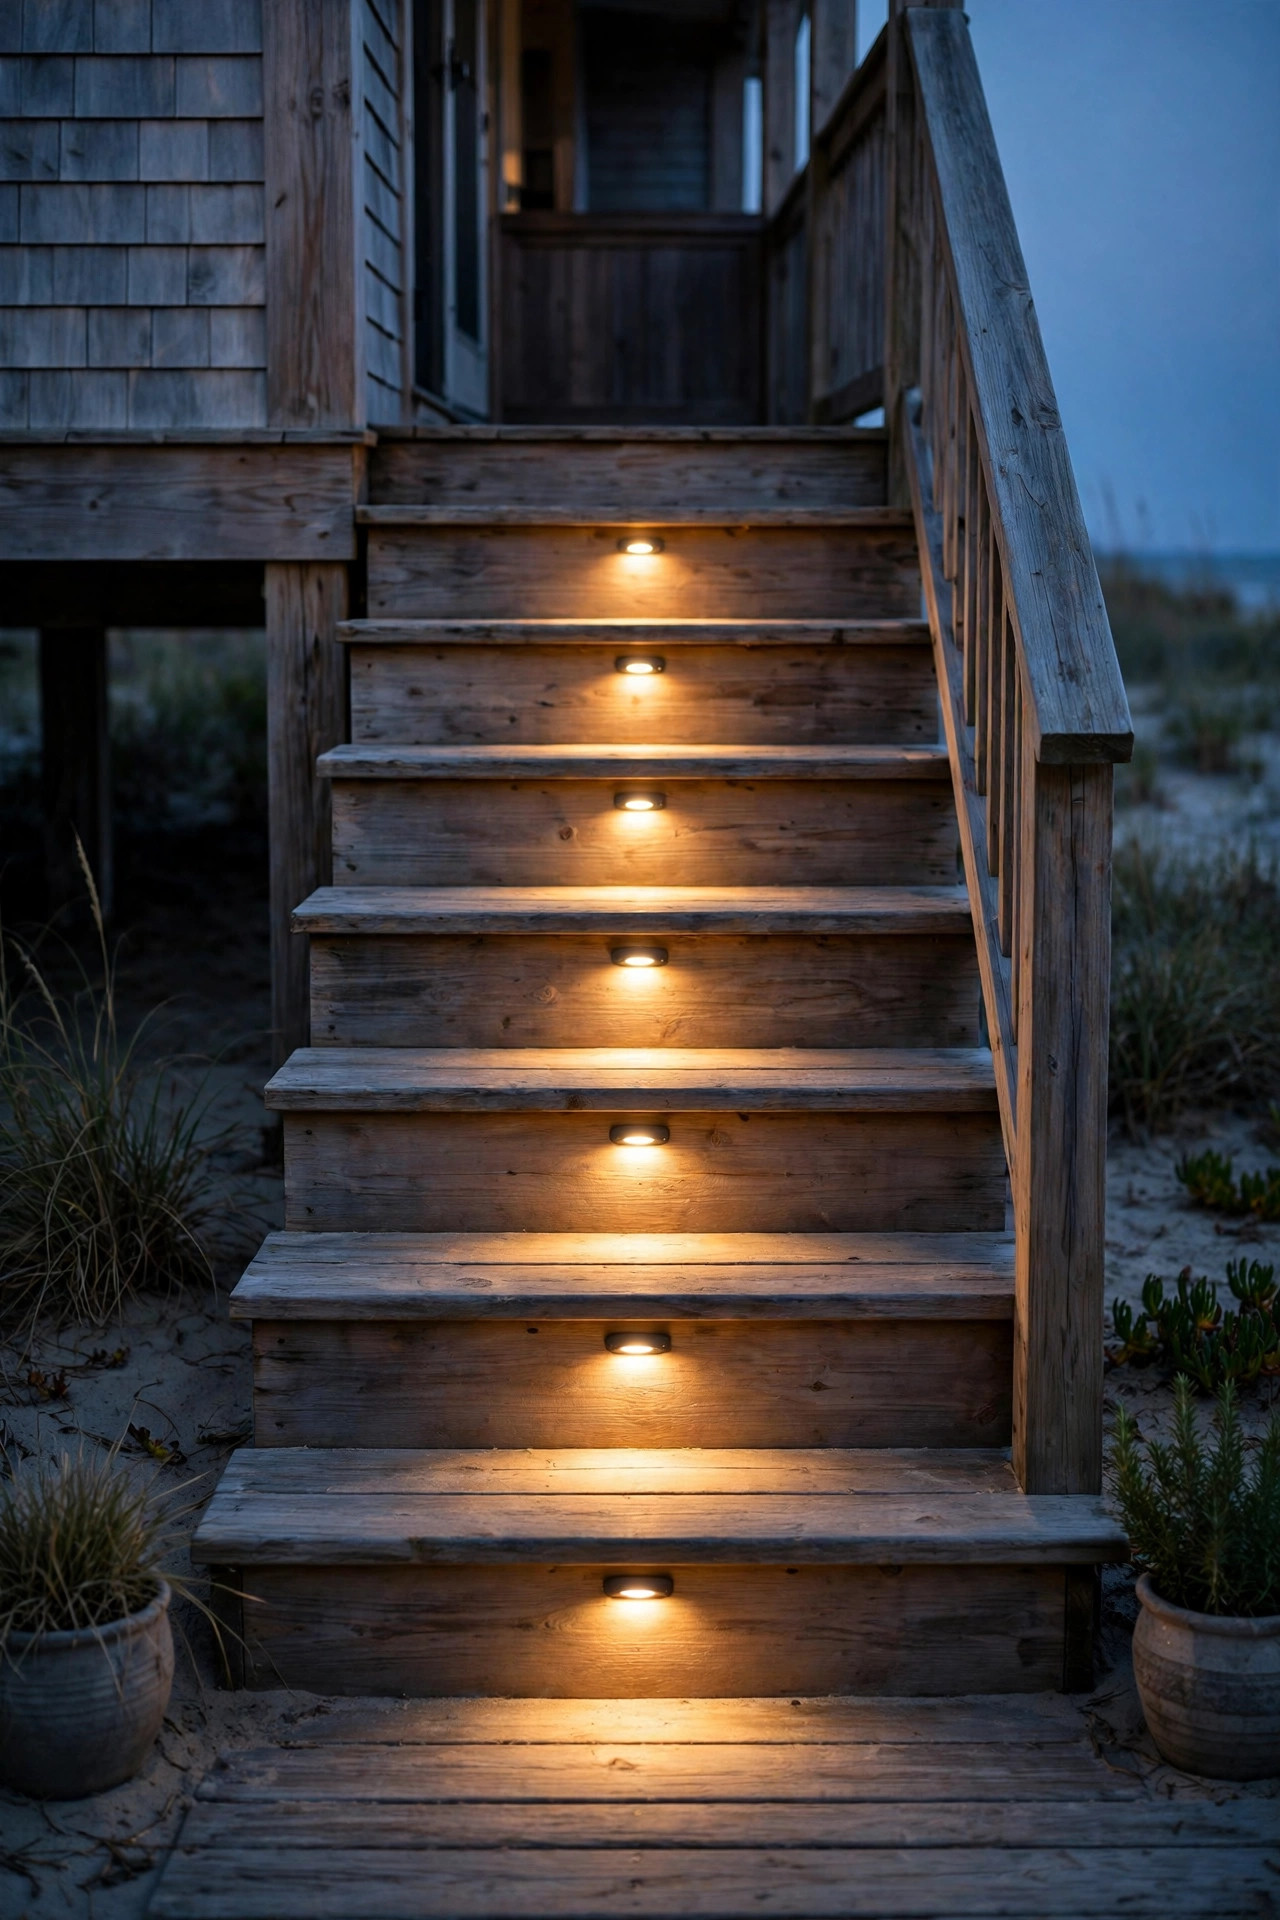
13. Tuck Step Lights Into the Porch Stairs
Porch steps at a beach house collect sand, get climbed in flip-flops, and are somehow always one tread deeper than guests expect. Recessed step lights or small louvered riser lights fix the hazard while looking quietly high-end. I install one light per two treads, mounted in the riser or the side stringer, aimed down so the tread surface glows without shining into anyone's eyes. On wooden steps, surface-mount LED step lights with a coastal-rated finish are the easier retrofit and still look built-in from the street. Wire them into the same low-voltage run as the path lights so everything shares one timer, or choose solar step lights for a no-wire weekend project, accepting a softer output. Keep the color consistent at 2700K with the rest of the yard, because one bluish step light in a sea of warm fixtures looks like a mistake every single night. Guests will never consciously notice this idea, and that is exactly the point: they will just feel that your house is easy to arrive at.
Suggested budget range: $55 – $170.
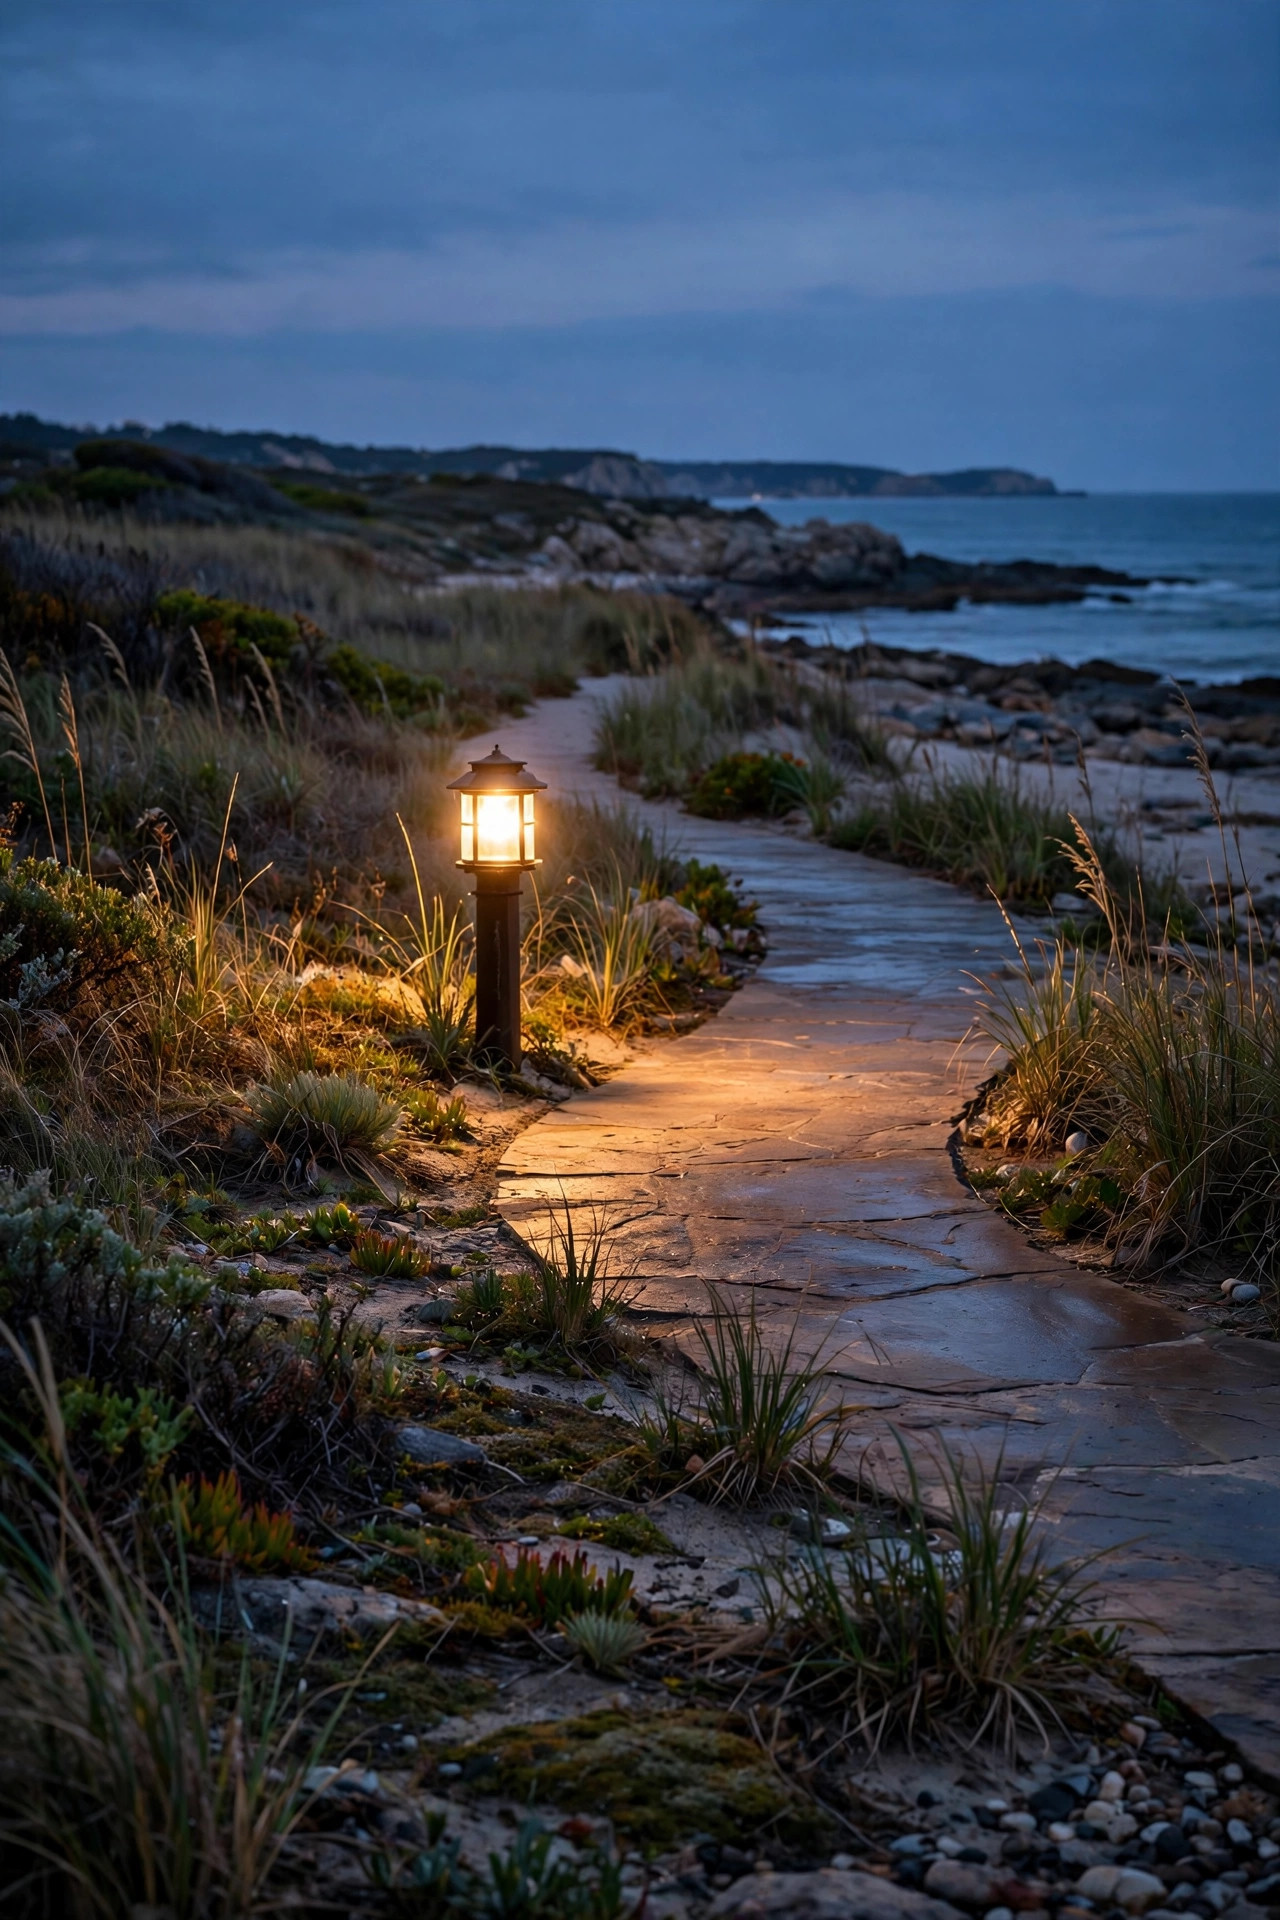
14. Anchor the Walkway Turn With a Lantern Post
Most front walks have one awkward moment, a bend, a widening, or the spot where the path meets the driveway, and a short lantern post placed right there acts like punctuation. A 3 to 4 foot post lantern with a seeded-glass shade gives the front yard a vertical element during the day and a welcoming beacon at night, echoing the door lanterns without competing with them. At the coast I choose powder-coated aluminum or composite posts, since buried wood posts in sandy, salty soil have a short and wobbly life. Set the post at least 18 inches back from the path edge so bags and beach chairs swing past without a collision, and bury the cable 6 inches deep in a sand trench with waterproof connectors. One post is nearly always enough; two start to feel like a marina entrance unless your walk is genuinely long. On a dimmer or a smart plug, it can soften to a candle-like glow for late evenings on the porch. It is the piece visitors photograph, every time.
Suggested budget range: $130 – $320.
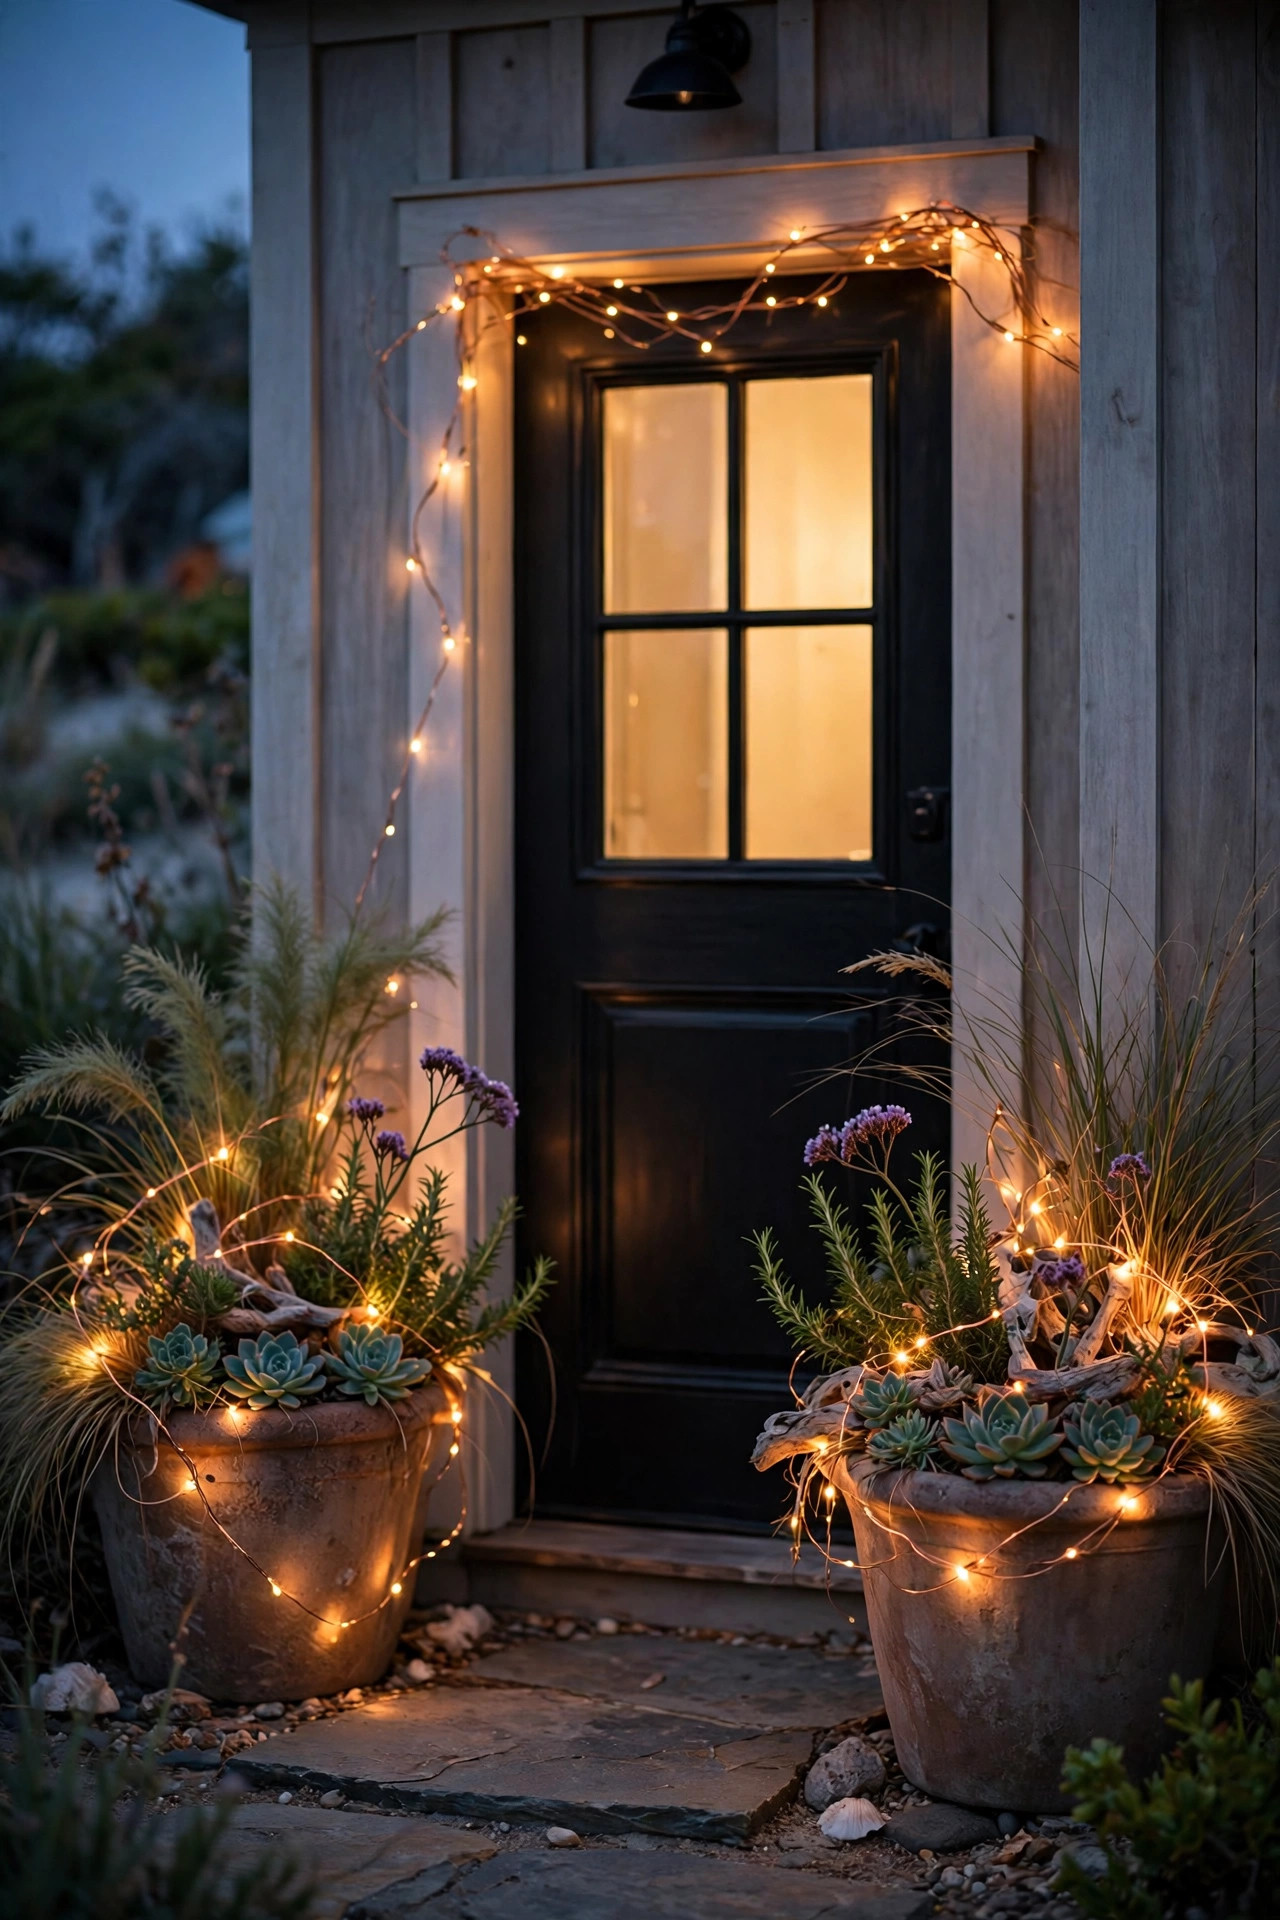
15. Twine Copper-Wire Fairy Lights Through Coastal Planters
Not every layer needs a fixture budget. Copper-wire fairy lights woven through the planters flanking your door, a window box, or a big pot of grasses by the steps add a sprinkle of sparkle that softens all the structured lighting around it. The wire all but disappears in daylight, bends around stems without damaging them, and the battery or solar versions with a built-in timer mean zero new wiring. I thread one 33-foot strand through each of our two entry planters, keeping the battery pack tucked under the rim where rain cannot pool on it, and set the six-hour timer so they are glowing when we come home from dinner. Warm-white only, please; multicolor reads holiday, and twinkle mode reads busy. At the coast, bring battery packs indoors during named storms, because wind-driven rain finds every seam. This is also the easiest idea on the list to test before committing to bigger projects: twenty dollars and ten minutes tells you whether your yard wants more sparkle or more structure.
Suggested budget range: $20 – $60.
16. Put Everything on a Photocell Timer and Forget It
The most beautiful front yard lighting fails if it depends on someone remembering a switch, especially at a second home or rental that sits empty on weekdays. A photocell on the transformer, or smart plugs on the 120-volt fixtures, turns the whole scene on at dusk and off at a civilized hour without any thought. I run our low-voltage system on an astronomical timer that tracks sunset through the seasons, set to shut down at 11 p.m. on weeknights and midnight on weekends. That schedule keeps the welcome warm for arrivals while respecting dark-sky neighbors and nesting turtles later at night. Smart plugs rated for outdoor use add per-fixture control, so the porch strings can linger an hour past the path lights during a party. Whatever you choose, buy one spare plug or timer and keep it in the utility drawer; these little devices are always the first casualty of a lightning-season surge. Five minutes of setup in spring buys you a year of the house lighting itself like it knows what it is doing.
Suggested budget range: $15 – $70.
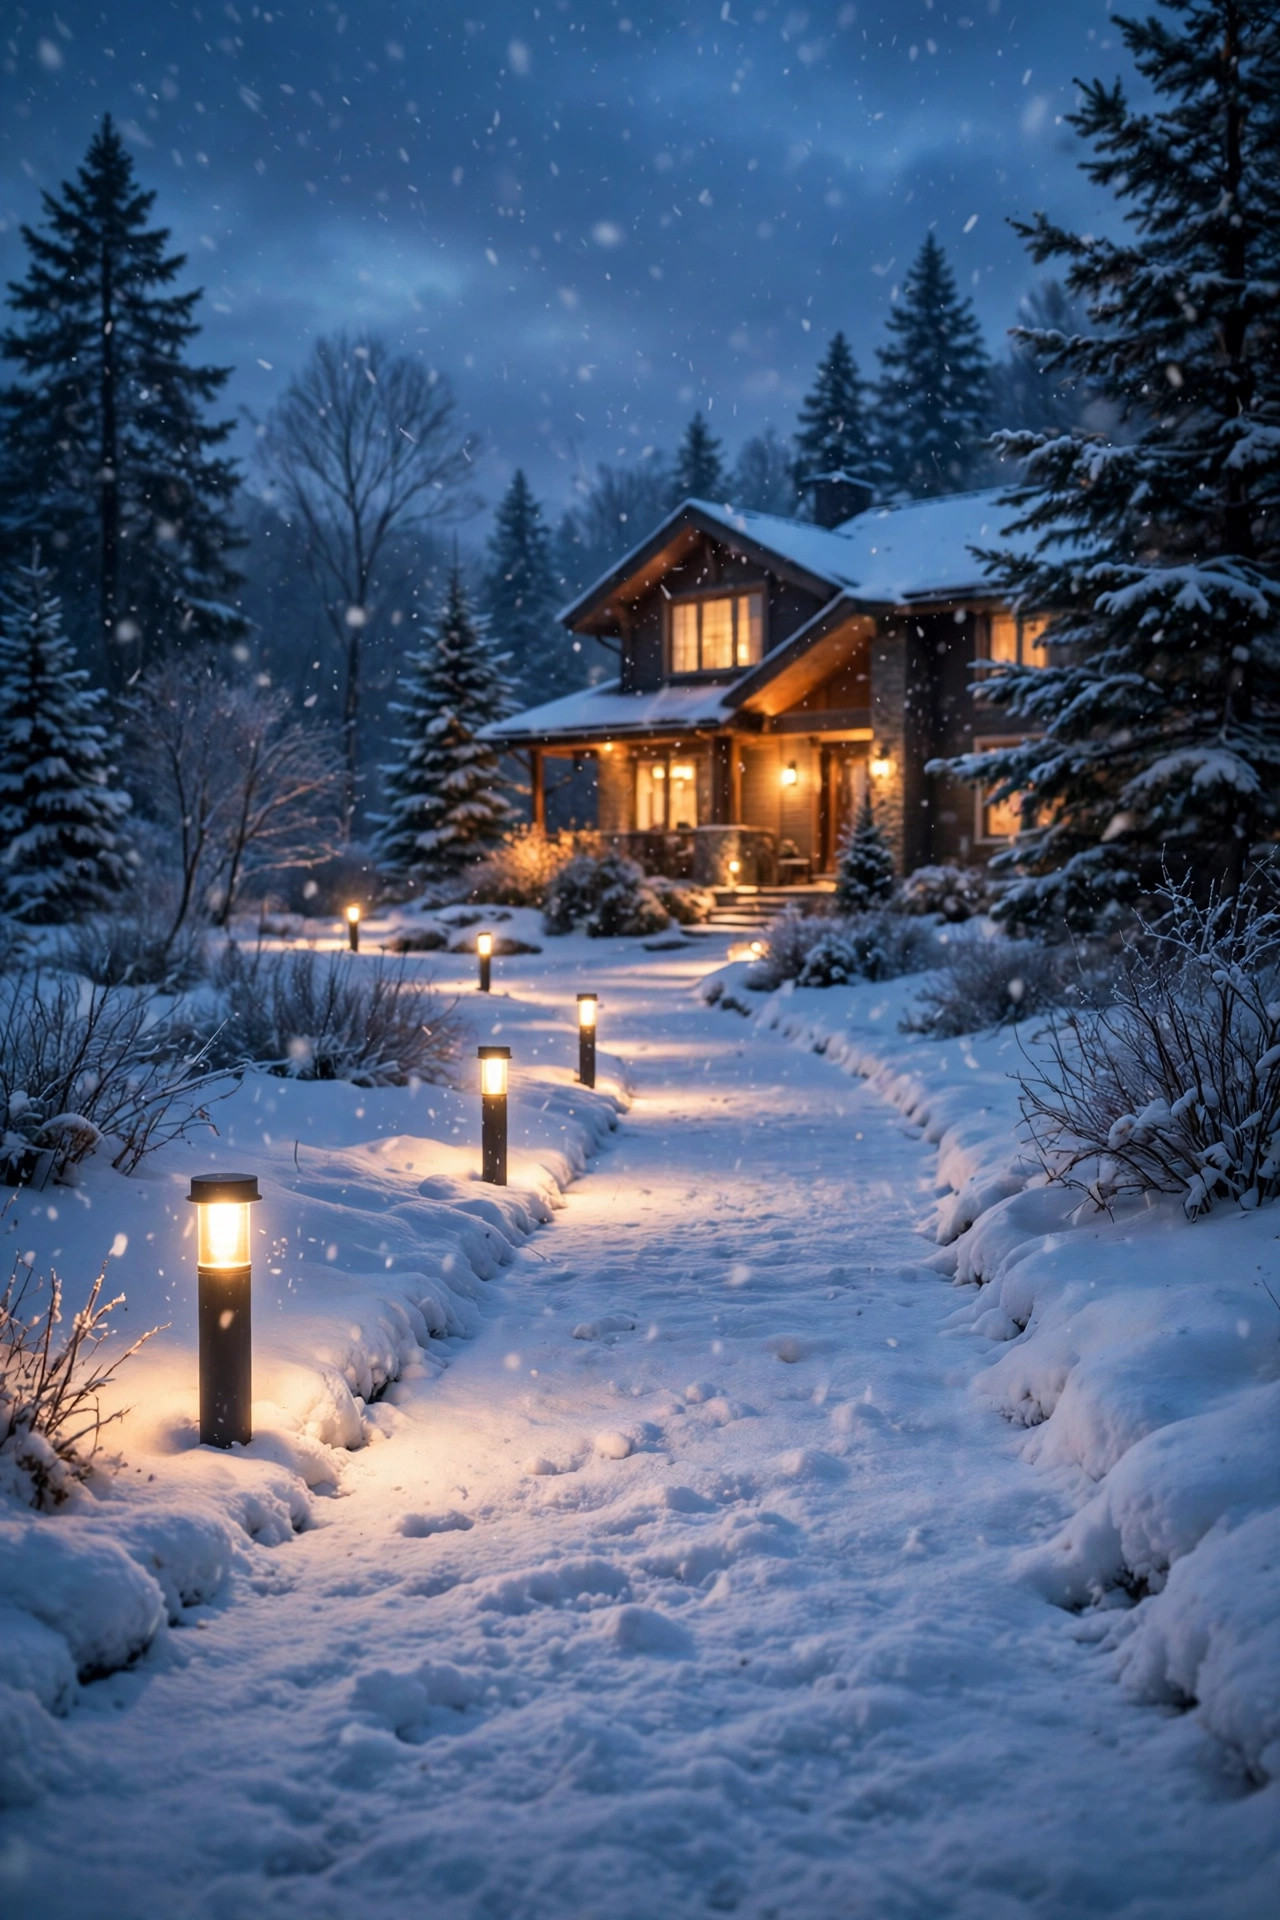
17. Keep Every Bulb at One Warm 2700K Temperature
Here is the unglamorous idea that separates polished yards from patchwork ones: every bulb in the front yard should agree on color. I use 2700K warm white everywhere, paths, porch, garage, and accents, because it flatters skin, cedar, and shell paths and reads unmistakably coastal. The moment one daylight 5000K bulb sneaks into a garage sconce, the whole facade looks like two different houses arguing. When you shop, check the Kelvin number on every box, including replacements, and keep a labeled spare of each bulb type in the house so a midnight swap never introduces a mismatch. LEDs make this easy now, and filament-style bulbs keep the warm look inside clear lantern glass. The one exception I allow: in sea turtle nesting season, swap visible-from-the-beach fixtures to long-wavelength amber bulbs, which turtles largely ignore, and switch back in the fall. Consistency sounds boring on paper, but stand across the street at dusk and you will see it instantly. It is the cheapest professional secret on this entire list.
Suggested budget range: $60 – $180.

18. Hang a Weatherproof Pendant Over the Porch Bench
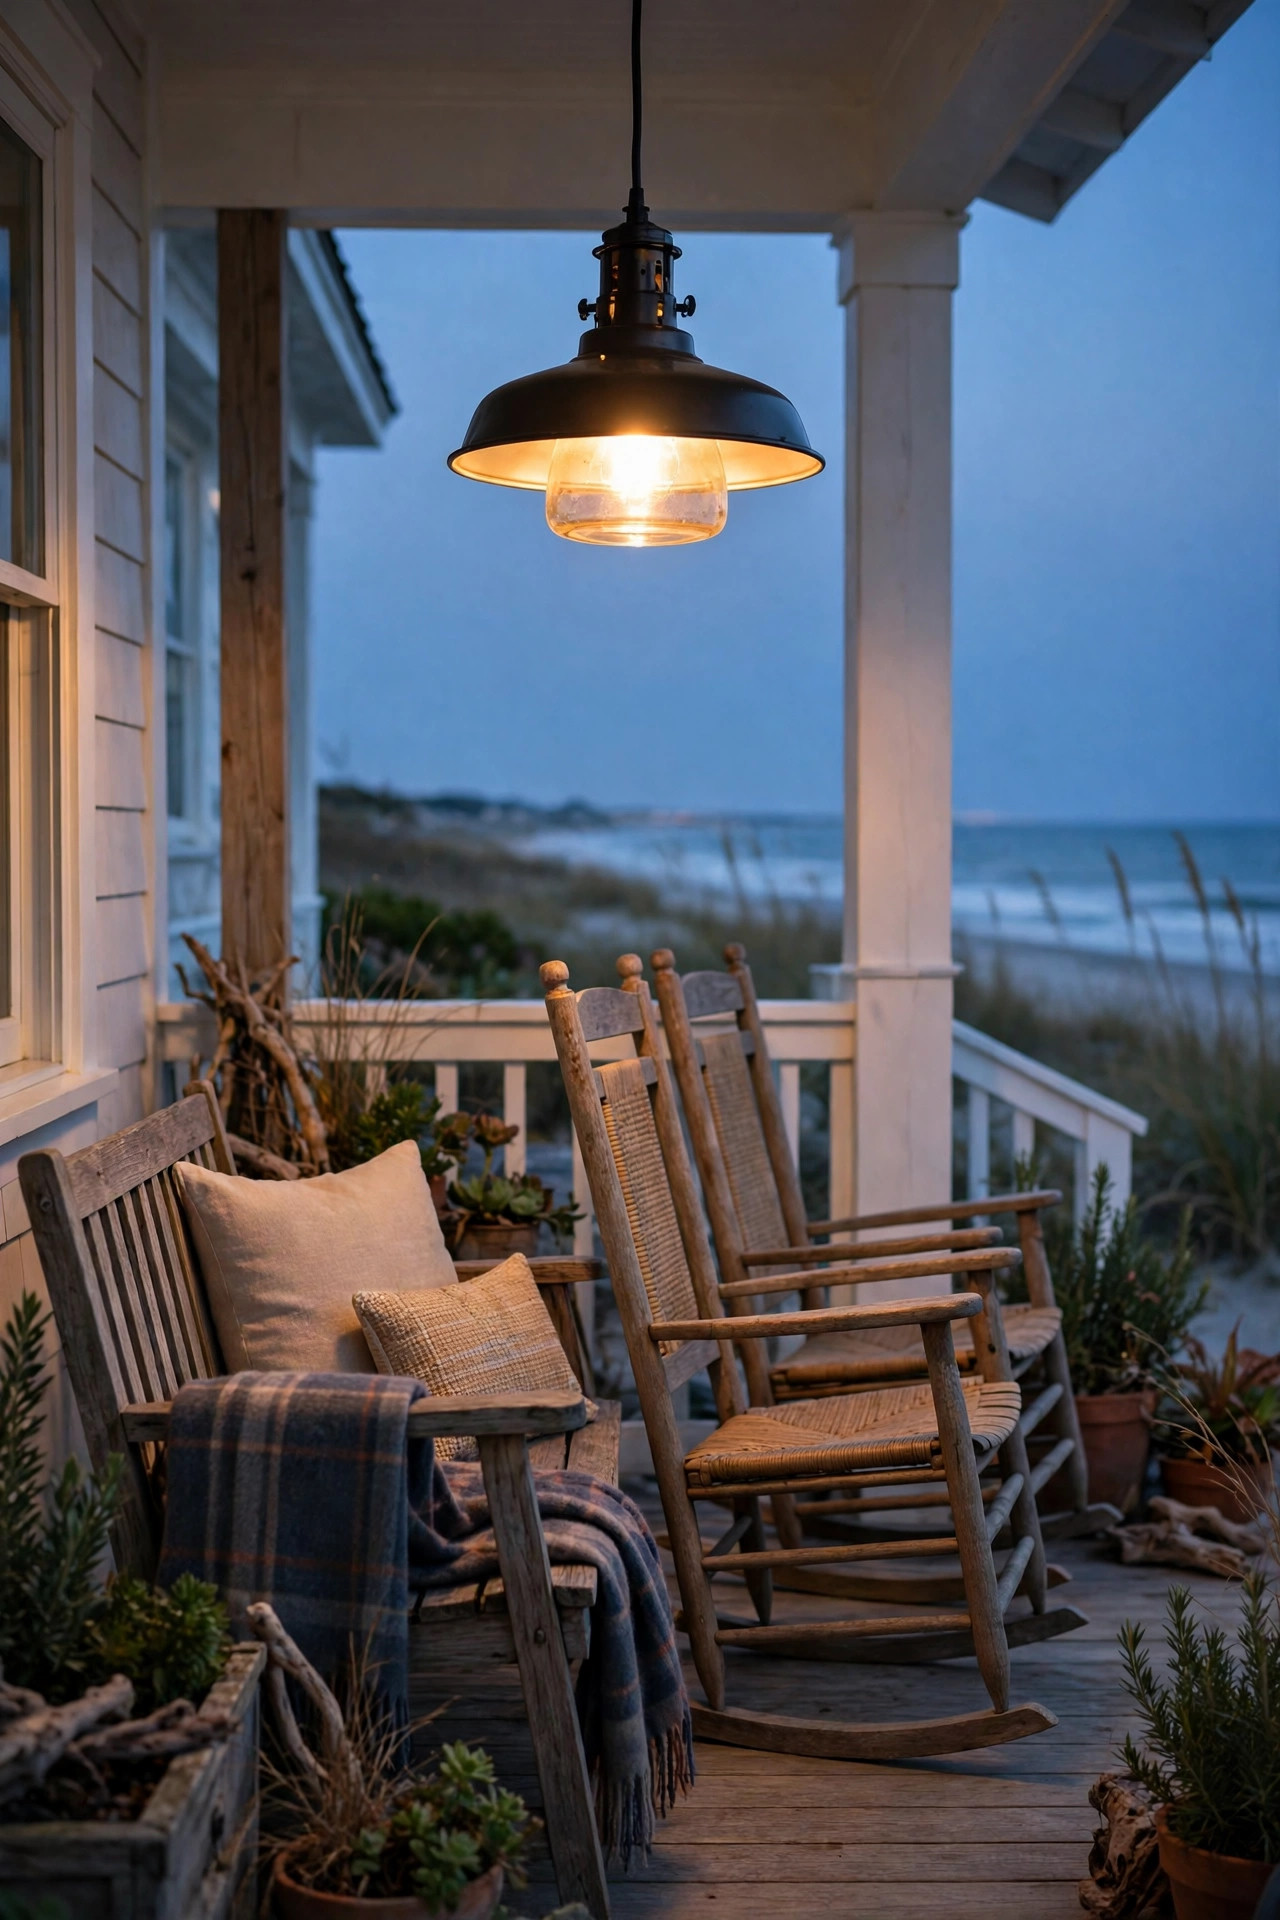
If your front porch has a bench, swing, or pair of rockers, a single pendant centered over that seating turns a pass-through space into the house's favorite room. I hang ours so the shade bottom sits about 6 feet off the porch floor, high enough for sightlines from the rocking chairs and low enough to pool light on a book or a coffee mug. Choose a wet-rated pendant with a sealed socket and a coastal finish, since porch ceilings still collect salt film and wind-blown mist. A rattan-look or white enamel shade keeps the mood beachy, while an LED filament bulb at 2700K on a dimmer lets the pendant do double duty as task light and ambience. If hardwiring a junction box is not in the cards, a plug-in pendant swagged from a ceiling hook gets you 90 percent of the look in an afternoon. Tie it into the same timer as the string lights and the whole porch scene wakes as one. Guests will migrate out here after dinner, guaranteed.
Suggested budget range: $75 – $210.
19. Combine Your Favorite Coastal Front Yard Lighting Ideas Into One Scene
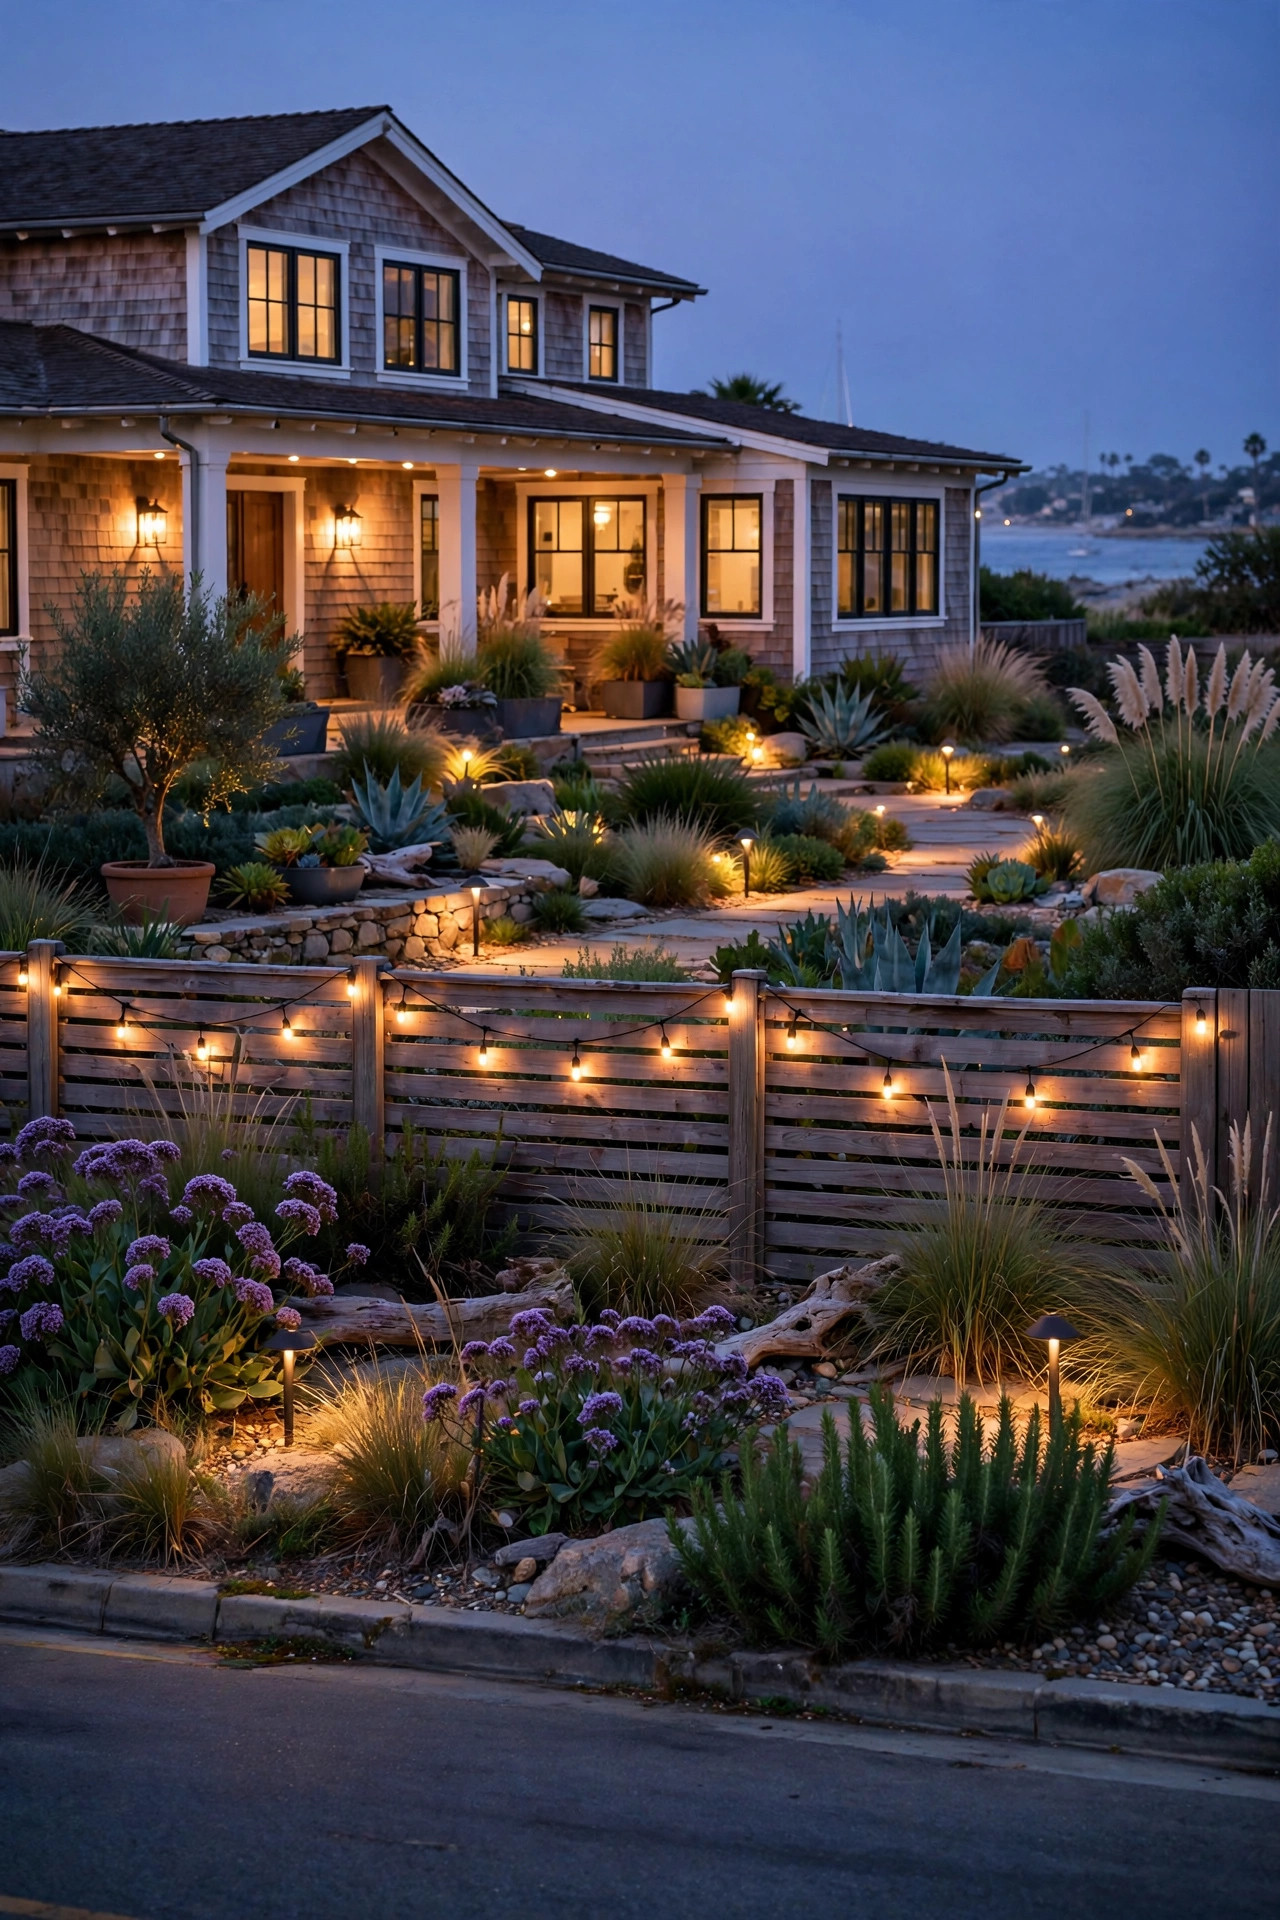
The finale is not a product at all; it is the evening you stand across the street with a cold drink and audit the whole composition. The strongest coastal front yard lighting ideas work as an ensemble: path lights drawing the route, lanterns warming the door, one tree uplighted, grasses shimmering, and the address glowing softly for late arrivals. Walk the yard slowly and fix three things I always find: one fixture aimed a few degrees too high, one bulb that does not match the others, and one corner that went completely dark and needs a single solar stake. Photograph the yard from the street, because the camera shows glare and dark holes your eyes forgive in person. Then check it from inside the house too; a beautiful yard that blinds your own living room is only half a win. This audit takes twenty minutes twice a year, ideally when you rinse the salt film off the lenses each spring and fall. It keeps a layered scheme layered, instead of slowly drifting into random.
Suggested budget range: $200 – $600.
Frequently Asked Questions
What color temperature is best for coastal front yard lighting?
Warm white at 2700K is my coastal default because it flatters cedar shingles, shell paths, and skin tones, and it feels like classic lantern light. Avoid daylight bulbs above 4000K, which read harsh and bluish against beach colors. The exception is sea turtle nesting season, when shore-facing fixtures should switch to long-wavelength amber, stay shielded and low, or turn off entirely under local ordinance.
Which fixtures actually survive salt air without corroding?
Look for solid brass, copper, marine-grade 316 stainless steel, powder-coated aluminum, or quality composite fixtures with sealed lenses and a wet-location rating. Painted steel from the bargain bin commonly pits within a season near the water. Whatever you buy, rinse fixtures with fresh water every few weeks and check connectors each spring; five minutes of rinsing is the cheapest corrosion protection there is.
Are solar lights bright enough for a front yard near the beach?
For guidance and sparkle, absolutely. Modern solar stakes and step lights marking a walkway or stairs are plenty, and they save you from trenching through sand. For jobs that sell the house, like uplighting a palm or washing a shingled wall, wired low-voltage fixtures still win on brightness and consistency, especially through cloudy stretches. Most yards I help with end up a hybrid: solar for edges, wired for focal points.
How much does it cost to light a coastal front yard?
A starter layer of solar stakes, door lanterns, and a timer can land between $150 and $300. A full low-voltage system with path lights, bollards, washers, and accents typically runs $800 to $2,500 in fixtures, plus installation if you hire it out. LEDs cost pennies a night to run. If you are staging to sell, my post on curb appeal lighting for selling a home breaks down where the money earns the most back.
Conclusion
Great seaside curb appeal after dark is never an accident; it is layers, warmth, and fixtures chosen to survive the salt. Start with a plan, light the route in, warm the door, and give one beautiful coastal feature its moment, and your coastal front yard lighting ideas will add up to a house that looks loved from the street. Browse the rest of my outdoor lighting guides here for walkway, porch, and garden ideas, and I will see you out on the porch at dusk.