The night I finished my first low-voltage lighting system, half the path lights glowed like little moons and the other half looked like tired fireflies. The fixtures were fine. The bulbs were fine. The problem was the metal box I'd screwed to the side of the house without a second thought — my landscape transformer placement was wrong, and every bulb downstream was paying for it. Where that box lives decides how evenly your lights burn, how much cable you have to buy, whether the photocell behaves, and how miserable troubleshooting feels on a cold February night. In this guide, I'll walk you through exactly how I choose the spot now: the rules I never break, the places a transformer should never go (including two I learned the hard way), mounting heights, outlet rules in plain English, and honest 2026 costs. By the end, you'll be able to stand in your yard, point at one spot, and know it's right.
The Short Answer
Mount the transformer outdoors — or in the garage — within a few feet of a GFCI outlet, as close to the center of your lighting runs as that outlet allows, upright, and at least 12 inches above the ground. Leave it somewhere you can reach in February without a machete, because you'll adjust the timer and check connections more than you think. Never bury it, never lay it on soil or mulch, and never park it in a sprinkler's direct spray or at the far end of the yard from your longest run. Central, reachable, and dry: that's the whole formula.
Why Landscape Transformer Placement Matters More Than You Think
Here's the plain-English version of the physics. Your transformer takes 120-volt house power and steps it down to 12 volts, which is safe, forgiving, and perfect for a yard — but low voltage has a weakness. As electricity travels along a cable, it loses a little voltage to resistance the whole way. The longer the run and the more lights hanging off it, the more voltage bleeds away, and the last fixture on the line gets whatever is left. That's why end-of-run lights glow amber and dim while the ones near the box look great — it's called voltage drop, and placement is your main weapon against it. (My guide to landscape lighting voltage drop walks through the actual numbers if you want them.) Put the transformer at one end of a long yard and your farthest light might sit at the end of a 120-foot run. Move the box toward the middle and that same light is now 60 feet away, on a shorter, brighter run — and so is everything else. Placement also decides your cable bill: a central box can easily save you 50 feet or more of heavy 12-gauge cable. And finally, placement decides how the system ages. The transformer is the one part you'll actually touch — resetting timers, testing the GFCI, checking connections after storms. If reaching it means crawling under a deck, maintenance quietly stops happening.
The Golden Rules of Landscape Transformer Placement
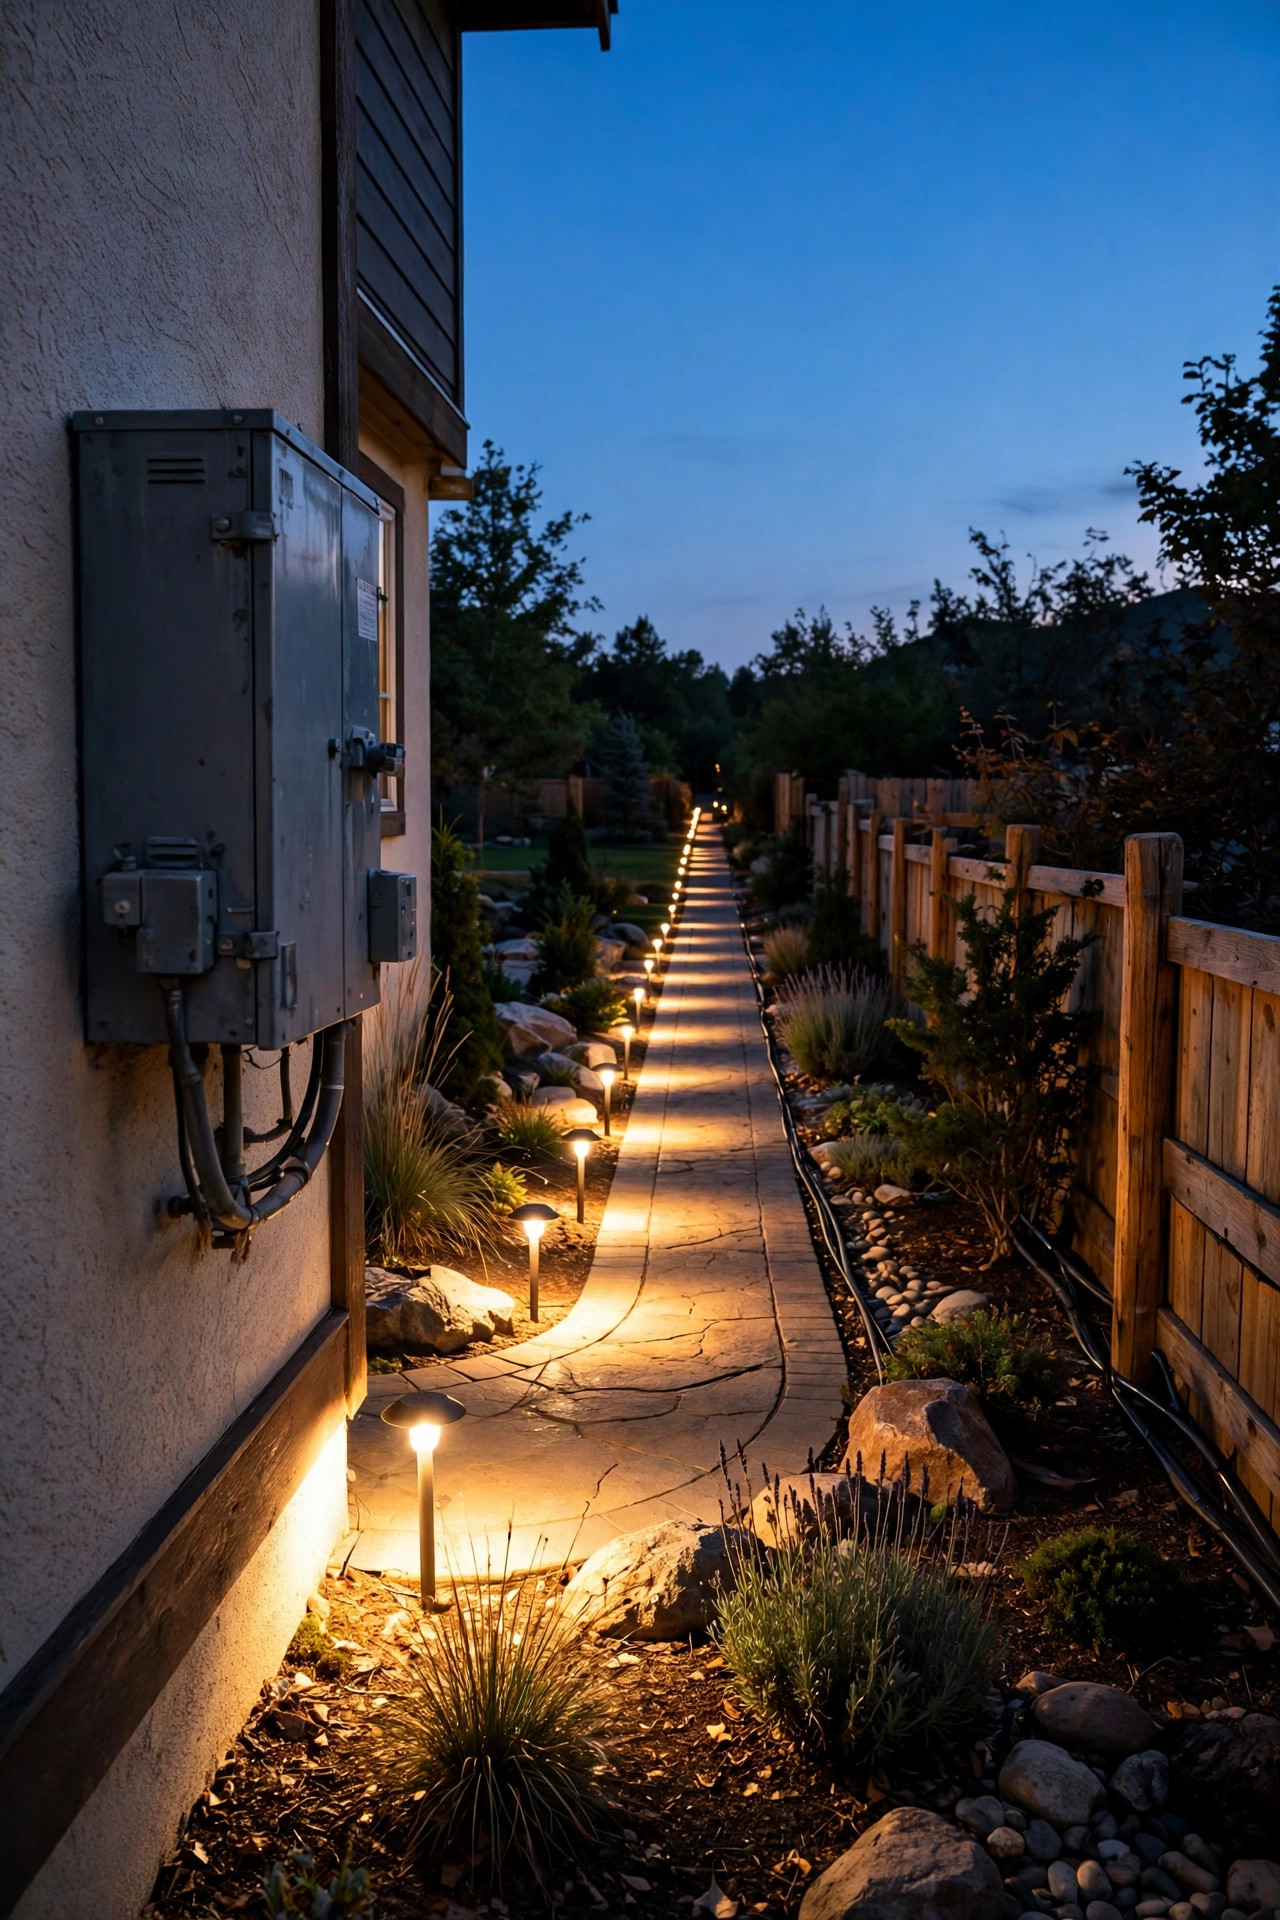
After three of my own systems and a lot of neighborly troubleshooting, my landscape transformer placement rules have boiled down to six. First, power: the transformer must sit within reach of an outdoor GFCI outlet — most units have a short cord, and permanent extension-cord setups aren't safe or code-friendly. Second, centrality: get the box as close to the middle of your combined cable runs as the outlet allows. Third, height: mount it upright, at least 12 inches above grade, so splash, mulch, and melting snow stay out of the cable entries. Fourth, access: you should be able to stand in front of it comfortably, open the door, and read the timer in daylight. Fifth, dry-ish: out of direct sprinkler spray, away from downspout splash, and never in a low spot that puddles after rain. Sixth, visibility: place it where you'll actually notice a tripped outlet or a dark indicator light — an out-of-the-way box fails silently for weeks. A quick word on "center": I mean the center of the load, not the geographic center of your lot. Sketch your fixture groups, find where the runs naturally converge — usually a wall near the middle of the house or a garage corner — and start there. The first two rules fight each other in almost every yard, because outlets live where builders put them. When they conflict, the outlet wins, and you solve the distance problem with wire gauge and layout instead — which is exactly what the next sections cover.

Start at the Outlet: GFCI Rules in Plain English
Your transformer is a low-voltage device on the output side, but it plugs into full 120-volt household power, so the outlet rules matter. Any receptacle feeding it outdoors needs GFCI protection — the kind with the little Test and Reset buttons, or protection from a GFCI breaker or an upstream outlet. That's not optional decoration; it's what keeps a nicked cord or a wet plug from becoming a shock hazard, and outdoor receptacles are required to have it. The outlet also needs a weatherproof "in-use" cover — the deep bubble kind that closes with the plug still in — because your transformer stays plugged in, in the rain, all year. Two more placement consequences follow. First, the cord rules out permanent extension cords: if the perfect wall is 15 feet from the nearest outlet, the honest fixes are a closer wall or a new outlet, not a cord buried in mulch. Second, watch the photocell. Most transformers have a light sensor that turns the system on at dusk. Mount the box where a porch light, a streetlight, or your own floodlights shine straight at that sensor, and the system may never come on — or may flick on and off all night as the sensor argues with itself. Shade from the sun is fine; direct light aimed at the eye is not. If you need a new outlet, an electrician typically charges $150 to $400 depending on the run — I've got the full breakdown in the cost section below.
Central vs. Corner: Putting the Box in the Middle of the Action
Stand at your transformer spot and picture the cable runs as spokes. Every fixture should be as few feet of cable from the box as you can reasonably arrange. In practice, that usually means a wall near the middle of the house on the side where most of your lighting lives, or the garage wall that faces the yard. What if your lights are split — front yard on one side, back patio on the other? Then "center" means the wall between the two zones, with one run heading each way, rather than one heroic run that wraps around the whole house losing voltage at every corner. It also pays to think in hubs: several shorter runs radiating from the box beat one long daisy chain almost every time, for brightness and for troubleshooting. When I'm deciding, I literally pace it off. Fixtures in mind, I walk from the candidate spot to the farthest planned light and count steps; if that walk is much past 100 feet at a normal stride, the spot is wrong or the layout needs splitting. If the only outlet is stuck in a far corner and the math just won't work, that's the one situation where I recommend a second, smaller transformer on the opposite side of the house instead of one oversized unit straining across the whole property. My guide to landscape lighting wiring methods compares the hub, daisy-chain, and T layouts in detail if you want to sketch yours before you drill anything.
Mounting Height: At Least a Foot Up, and Here's Why
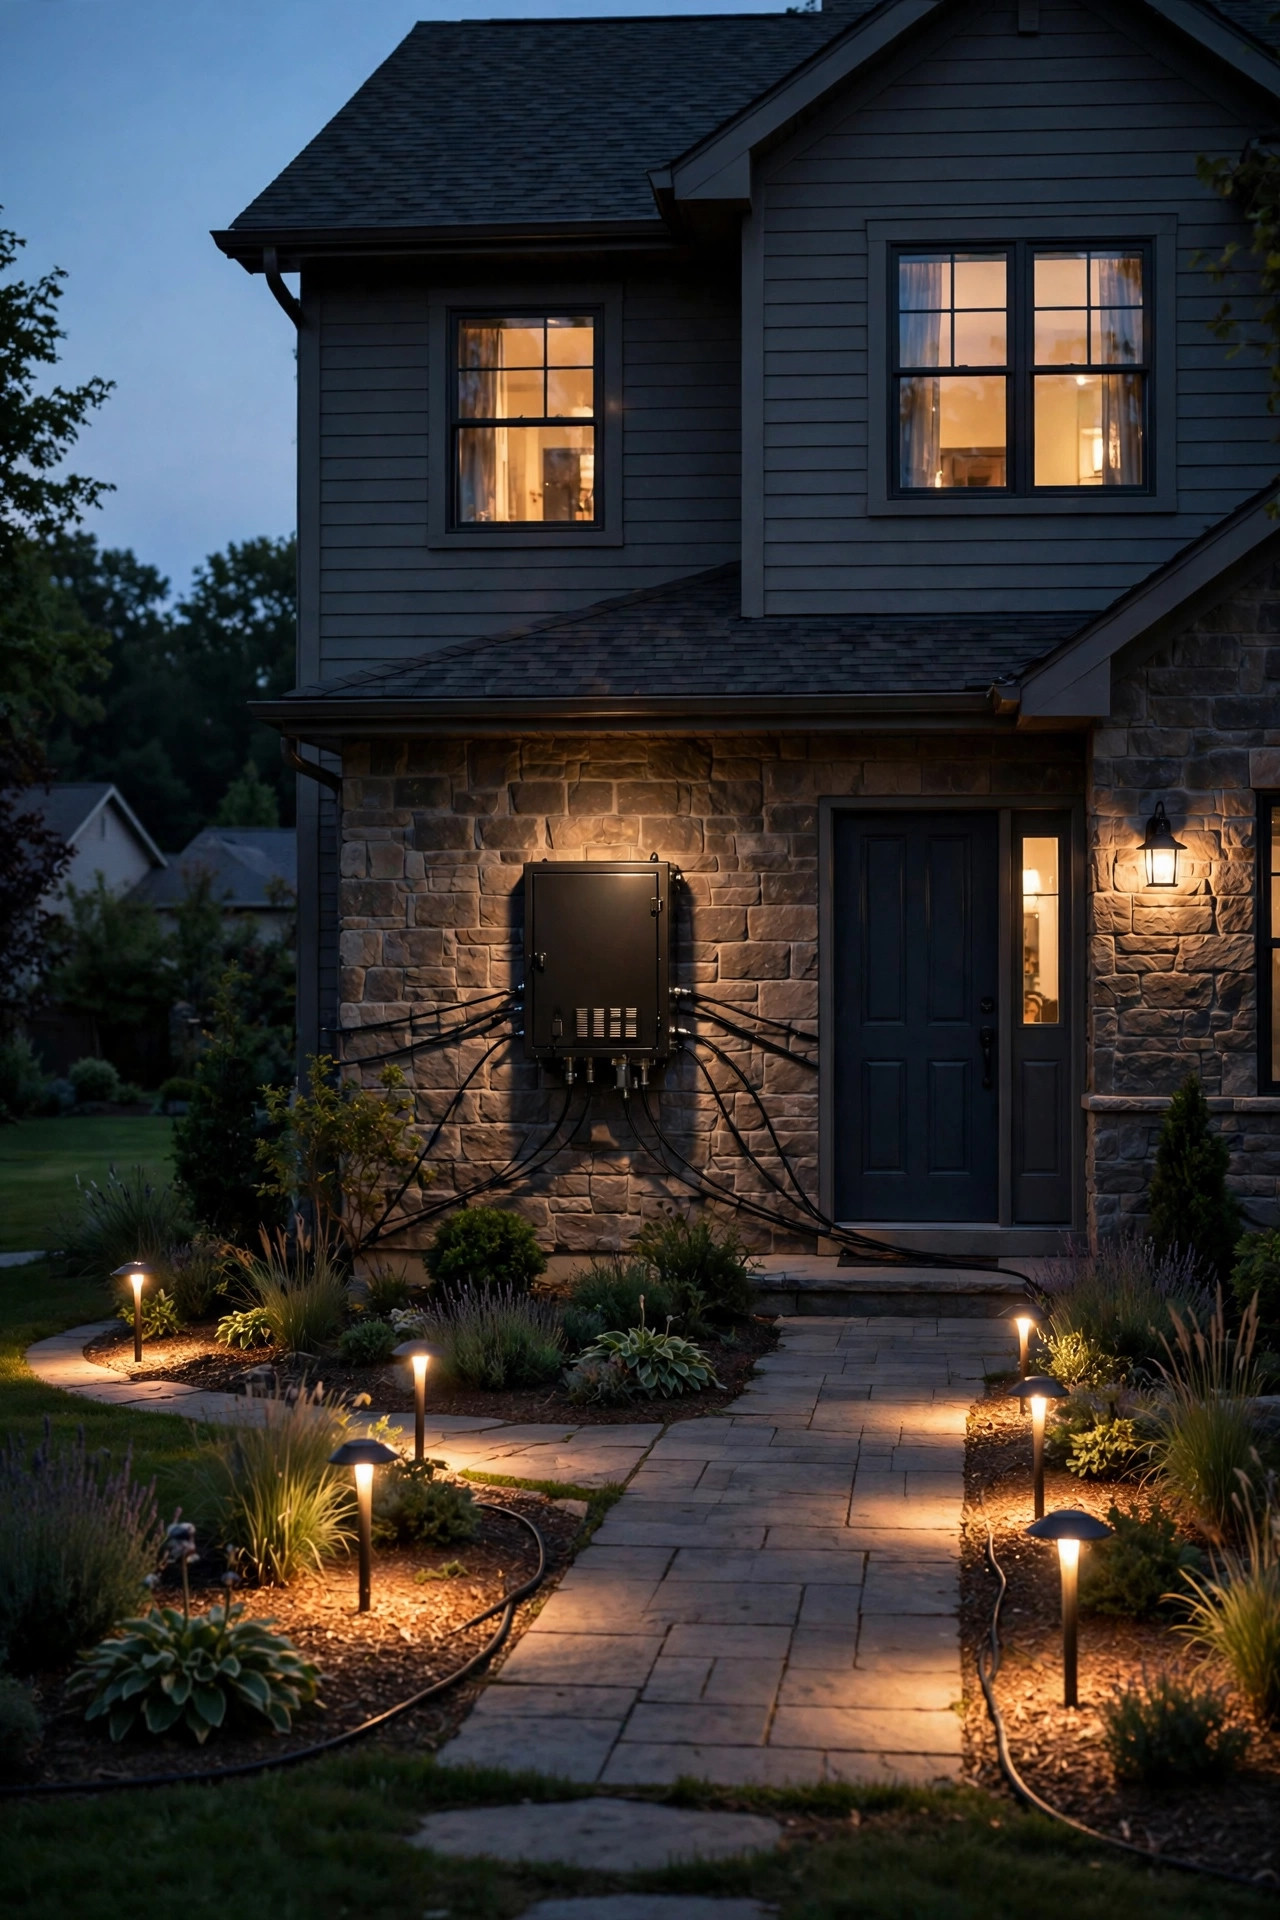
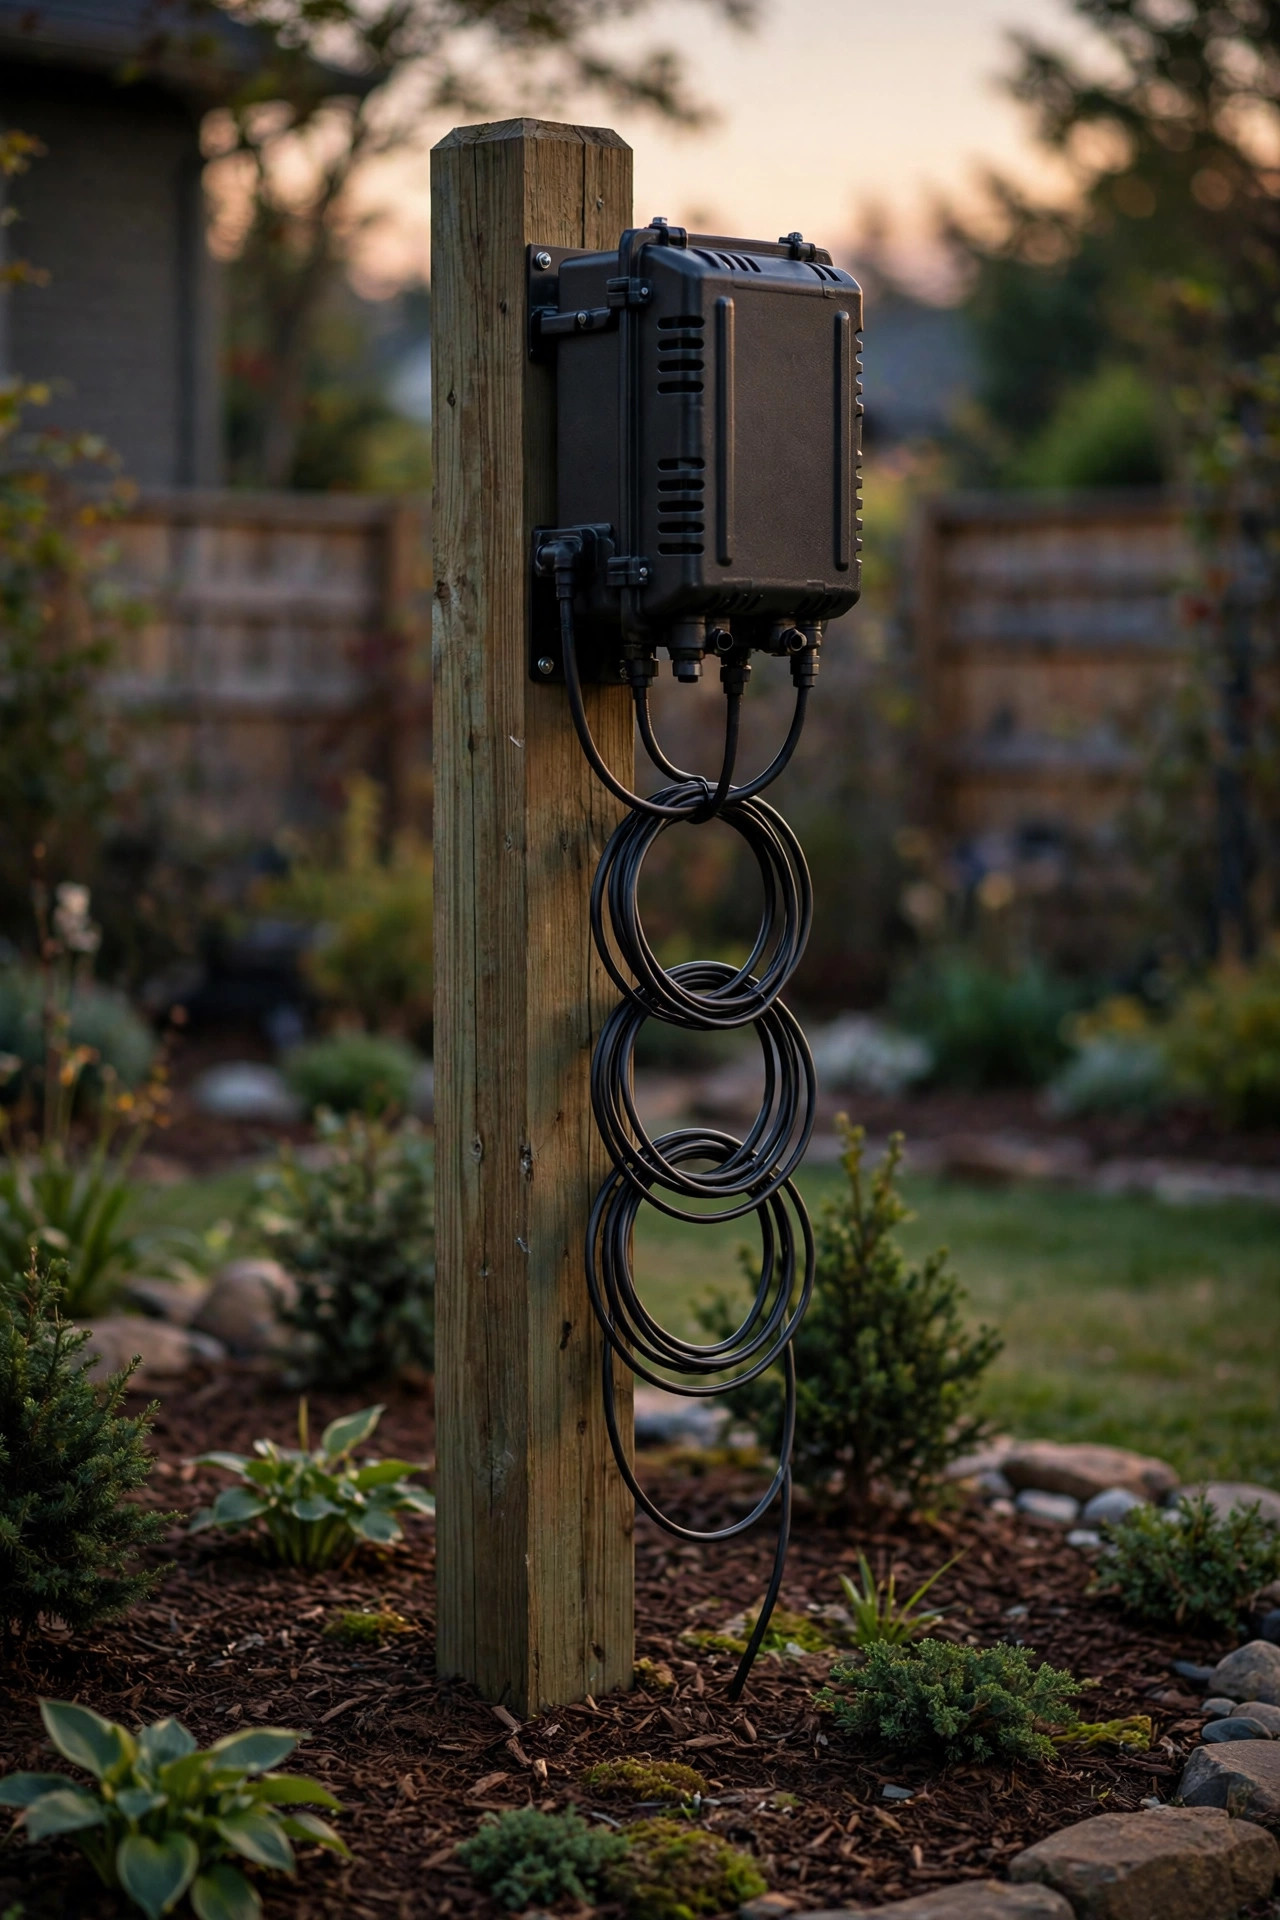
Every transformer I've installed carries the same instruction in the manual: mount it at least 12 inches above the ground, upright, with the cable entries facing down. There's real reasoning behind that foot. Rain splashes soil and water several inches up a wall; mulch beds creep higher every spring when you top them up; and melting snow sits wet against anything low for weeks. Twelve inches keeps the case and its wiring compartment above all of that. In snow country, I go further — 18 to 24 inches — because a transformer buried in a drift is a transformer breathing meltwater all March. Height also buys you working room: the low-voltage cables enter the bottom of the box, and you want space underneath to form a drip loop, that little U-shape in each cable that makes rainwater drip off instead of wicking into the terminals. Leave the front of the unit clear too — no shrubs kissing the door, no stacked firewood. And a small thing that matters: check the door swings fully open after mounting; I've seen boxes installed so tight to a corner that the lid opens only halfway, right where the timer dial hides. Finally, mount to something solid: wall studs or masonry with proper anchors, or a pressure-treated 4×4 post set in concrete if no wall works. A transformer swinging from one loose screw in vinyl siding is a service call waiting to happen.
Where Your Transformer Should Never Go
Some spots are merely inconvenient. These are the ones that actually kill transformers or systems. Never bury the box or set it directly on soil or mulch "temporarily" — ground contact wicks moisture into the case, invites ants (who genuinely love the warmth inside; ask me how I know), and buries the cable entries in mud. Never lay it on its back or side to fit a tight spot; the case is designed to shed water upright, and sideways it becomes a rain funnel. Never mount it inside a sealed plastic tote or "weatherproof" box to protect it — transformers make heat, and a sealed box cooks the electronics you're trying to save. Never put it in the direct line of a sprinkler head: weatherproof means rain, not a pressure jet hitting the seams twice a day all summer. Never choose a low corner where downspouts discharge or water puddles after storms — standing water plus electricity is the one combination I never negotiate with. Never mount it tight against an air-conditioning condenser, either; the constant hot exhaust and vibration age the case and loosen connections faster than anywhere else in the yard. And never place it somewhere you'll dread going: the far side of a locked gate, under a low deck, behind the compost bins. A transformer you can't reach is a system you won't maintain, and unmaintained systems dim, flicker, and die years early.
Indoor vs. Outdoor Mounting: Garage, Basement, and Porch Options
Out by the outlet isn't your only option — plenty of my favorite installs put the transformer just inside the garage. The advantages are real: the box stays bone dry, timers are easy to reach in any weather, smart models get a stronger Wi-Fi signal, and nobody trips over anything. The rules change slightly, though. Only mount a transformer indoors if the manufacturer lists it for indoor use or your model is rated for both — most modern units are, but check the manual or the label inside the door. The low-voltage cables then pass through the wall to the yard; drill low, sleeve the hole, and seal around it so you're not installing a mouse doorway. A basement works the same way, with one caution: runs get long fast. Every foot of cable indoors is a foot that isn't lighting your yard, so a basement mount at the far end of the house can quietly add 30 feet to every run. A covered porch or carport is the happy middle ground — still technically outdoors for rating purposes on most models, sheltered from direct rain, and usually within a few feet of an outlet. Wherever you choose, the photocell question follows you: an indoor transformer needs its sensor situation thought through, either an external photocell lead run outside or timer-only control, because a sensor in a lit garage never sees dusk.
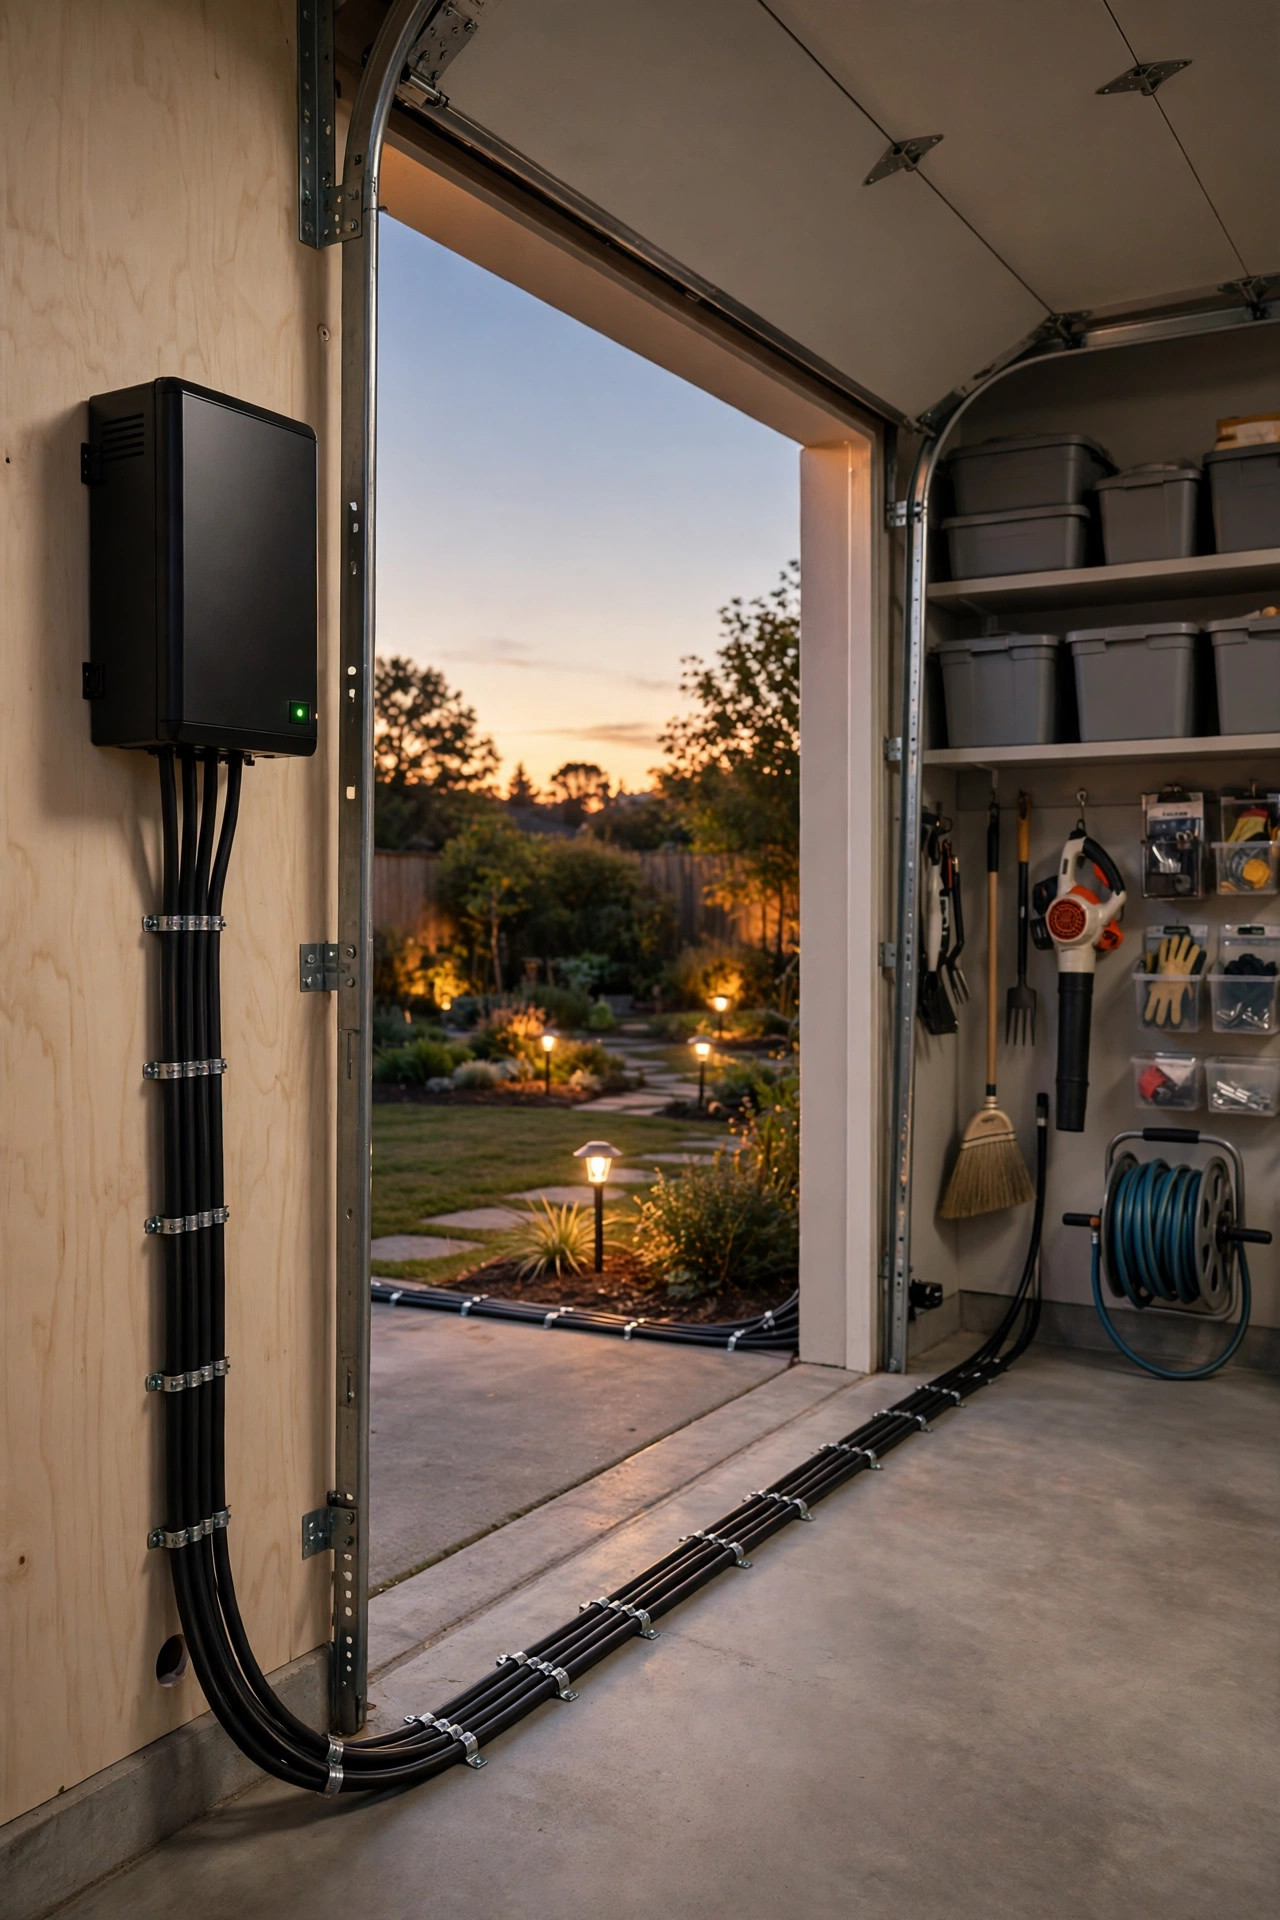
Step-by-Step: Mounting a Transformer on a Wall or Post
Once you've picked the spot, the actual mounting takes about 20 minutes. Here's the order I work in:
1. Confirm the outlet. Plug the transformer in temporarily and switch it on — verify the outlet works and the GFCI isn't already tripped before you drill anything.
2. Hold and mark. Hold the box in place at your chosen height (at least 12 inches up, higher in snow country), level it, and mark the mounting holes through the bracket or keyhole slots.
3. Drill for your surface. Wood screws into siding over a stud or backing, masonry anchors for brick and stone, or lag bolts into a 4×4 post.
4. Hang it. Drive the top screw most of the way in, hang the transformer on it, then mark and set the remaining screws so the box can't bounce loose in a storm.
5. Check the door. Snug all screws and confirm the lid swings fully open with room to reach the timer and terminals.
6. Land the cables. Bring the low-voltage cables up from below, form a drip loop in each, and connect them to the correct terminals — the 12-volt tap for most runs, a higher tap only if a long run genuinely needs it.
7. Test at dusk. Plug in, set the timer or photocell mode, and walk the yard at dusk to confirm every zone lights evenly.
If you'd like the full system install from layout to burial, my guide to how to install low-voltage landscape lighting covers the whole weekend project. One last habit: take a photo of your terminal wiring before you close the door. Future you, troubleshooting in November, will be grateful.

When One Box Isn't Enough: Zones and Second Transformers
There's a point where clever placement stops solving the problem and a second transformer starts. I'd rather see two modest units, each close to its own lights, than one giant box feeding 200-foot runs — the two-box yard is brighter, cheaper in cable, and easier to troubleshoot, because a failure darkens one zone instead of the whole property. The natural split is front yard versus back yard, since most houses have an outlet on each side anyway. Two boxes also means two schedules: the front can run dusk to 11 p.m. for curb appeal while the back patio zone stays on later for weekend evenings — or turns off entirely when you're traveling. Remember the loading rule for each unit: add up the wattage of every fixture on the box and keep the total under about 80 percent of its rating, so a 200-watt transformer should carry no more than roughly 160 watts of lights. That headroom is what lets you add one more path light next spring without redoing the math. And if you're on the fence about size, buy the next size up and mount it in a spot with room for the extra cables — transformers are the cheapest part of the system to oversize and the most annoying to replace. Placement for the second box follows the same six rules: near its own outlet, central to its own zone.

Protecting Your Chosen Spot: Sun, Sprinklers, and Splash
A good spot can still go bad if the microclimate around it is hostile, so do a final weather check before you commit. Sun: a south- or west-facing wall in full afternoon sun will bake a dark case for years; the electronics survive it, but a little shade genuinely extends their life, while deep shade keeps the photocell honest. Sprinklers: stand at the box during a watering cycle — or just look for the telltale wet arc on the siding — and confirm no head throws directly at the unit; adjusting one sprinkler's arc takes two minutes. Splash and runoff: check where the nearest downspout lands and where the grade sends storm water; the box should sit above and away from both paths, on a wall that sheds water, not one that collects it. Vegetation: leave a small air gap behind and around the unit, and commit to trimming whatever grows toward it each spring — an ivy-swallowed transformer runs hot and hides corrosion until it's advanced. Finally, think about your own habits: if the snowblower always throws its plume against that wall, or the kids' soccer goal lives there, pick the other wall. None of this takes long — it's one slow lap around the house with the transformer in your hands before the drill comes out. The best placement is the one still working, untouched, in five years.
Hiding the Transformer (Without Losing Access)
Let's be honest: a stainless or black metal box isn't the prettiest thing on the house. The good news is you can soften it a lot without breaking the access rule. My favorite trick is planting: a loose evergreen shrub or ornamental grass 12 to 18 inches in front of the unit hides it from the street while leaving air flow and a clear path for your hands. A short section of lattice or a slatted screen works the same way — just hinge or hang it rather than screwing it down permanently, so the screen lifts off in seconds. Faux boulders and hollow garden ornaments can work over a post-mounted unit, but only if they're genuinely vented and oversized; a tight plastic shell traps heat and condensation, which is the sealed-box mistake in disguise. I don't paint transformers — paint clogs vents, hides the rating label, and can flake into the cable entries — but choosing a finish that blends with your siding color at purchase time is fair game. Whatever camouflage you use, leave the photocell eye uncovered and the door swing clear. If you have to move three things to open the box, the camouflage has won and the system has lost. My rule of thumb: if a guest can't spot it from the sidewalk but you can have it open in ten seconds, you've nailed it.

What Placement Costs in 2026
Placement itself is nearly free — a handful of screws and anchors — but the decisions around it carry real numbers worth knowing. The transformer itself runs $60 to $120 for a basic 100–150 watt unit, $150 to $300 for a quality 300-watt stainless model with timer and photocell, and $250 to $450 for a smart, multi-tap 600-watt unit you can control from your phone. If your ideal wall has no outlet, budget $150 to $400 for an electrician to add a GFCI receptacle with an in-use cover — often the single best money in the whole project, because it lets you put the box where it belongs instead of where the builder happened to leave power. A post mount, if no wall works, is $25 to $60 in DIY materials: a pressure-treated 4×4, a bag of concrete, and hardware. Compare that with the cost of a bad spot: fixing end-of-yard placement later usually means a heavier cable upgrade — 12-gauge cable runs about $0.60 to $1.00 a foot — or a second transformer anyway. Running costs are small either way: a 200-watt system on six hours a night uses about 36 kilowatt-hours a month, roughly $6 at the national average rate. Spend the placement money once, at the outlet, and every other part of the system gets cheaper.

7 Placement Mistakes I See All the Time
I keep a little mental hall of fame from my own yard and from the neighbors who've asked me to look at their systems. These seven placement mistakes cause nearly every "my lights are dim" conversation I've ever had:
1. The far-corner special. The box goes wherever the outlet is, 140 feet from the farthest light, and the homeowner spends years wondering why the ends are dim. The fix is moving the box or splitting the runs — not brighter bulbs.
2. The ground hugger. A transformer set on mulch "just for now" is still there three winters later, full of ants and moisture.
3. The permanent extension cord. Unsafe, against code in most places, and the first thing to fail outdoors.
4. The blind photocell. Mounted where the porch light shines straight on it, so the system flickers, cycles, or never starts at all.
5. The plant swallow. A cute shrub becomes a hedge, and now opening the box requires pruning shears and patience.
6. The sprinkler target. Two summers of direct spray quietly corrode the case seams and terminals from the outside in.
7. No room to grow. A maxed-out 100-watt box with its cables packed tight, so the first added fixture means replacing the whole unit.
Every one of these is free to avoid at install time and annoying to fix later — that's the whole sermon.

Seasonal Checks at the Transformer
Because everything funnels back to this one box, it's the natural home for your twice-a-year lighting routine. In spring, open the door and look: wipe the photocell lens clean (a pollen film genuinely fools it), check for ant nests or wasp starts in the case corners, tighten the terminal screws a quarter turn — they loosen with thermal cycling — and confirm the cables' drip loops are still hanging free instead of buried by fresh mulch. After big storms any time of year, make the transformer your first stop: a tripped GFCI there explains a whole dark yard more often than any other cause, and the reset button answers in two seconds. In fall, adjust the timer for the earlier dusk (photocell modes handle this on their own), clear leaves away from the base, and check your snow plan — the box should sit above your typical drift line, with its door reachable without digging. While you're there, glance at the case for rust bubbles or a cracked gasket, and write the system's total wattage on a sticky note inside the door for future reference. Five minutes, twice a year, and the placement you chose so carefully keeps paying you back.

Frequently Asked Questions
Can a landscape lighting transformer stay outside in the rain?
Yes — that's what it's built for. Outdoor transformers are weather-rated to shrug off rain and sprinkler overspray as long as they're mounted upright, at least 12 inches above the ground, with the cable entries facing down. What they can't survive is standing water or submersion, so keep the unit out of low, puddly spots and never bury it. If a storm ever floods the area around the box, let everything dry out before switching the system back on.
How far can the transformer be from my lights?
For most home systems, plan on cable runs of about 100 feet or less on 12-gauge wire at typical loads — beyond that, voltage drop makes the end fixtures visibly dimmer and warmer in color. You can stretch the distance with thicker wire, a multi-tap transformer, or looped layouts, but the cheaper answer is usually placement: move the box toward the middle of the runs, or add a second transformer near the far zone.
Can I mount my transformer inside the garage?
Usually, yes — many transformers are listed for indoor or outdoor use, and a garage mount keeps the unit dry, reachable, and close to power. Check the label or manual for an indoor rating first, run the low-voltage cables through a sealed, sleeved hole in the wall, and think through the photocell: a sensor inside a lit garage never sees dusk, so plan on timer mode or an external photocell lead run outside.
Does my transformer have to plug into a GFCI outlet?
If it's plugged into an outdoor receptacle, yes — the electrical code requires GFCI protection for outdoor outlets, and it's what protects you on the 120-volt side of the system. The protection can live in the outlet itself, in the breaker panel, or in an upstream receptacle. Test it monthly with the little button; if your whole yard ever goes dark at once, a tripped GFCI at the transformer is the first thing to check.
Conclusion
Good landscape transformer placement isn't the glamorous part of a lighting project, but it's the part everything else stands on: a dry, reachable box, close to its GFCI outlet and close to the middle of your runs, will make modest fixtures look expensive — and a careless spot can make premium fixtures look tired. Walk your yard, apply the six rules, steer clear of the never-go list, and mount it once, properly. Then browse the rest of my lighting guides here for help planning the fixtures, zones, and layouts that will hang off that well-placed box.