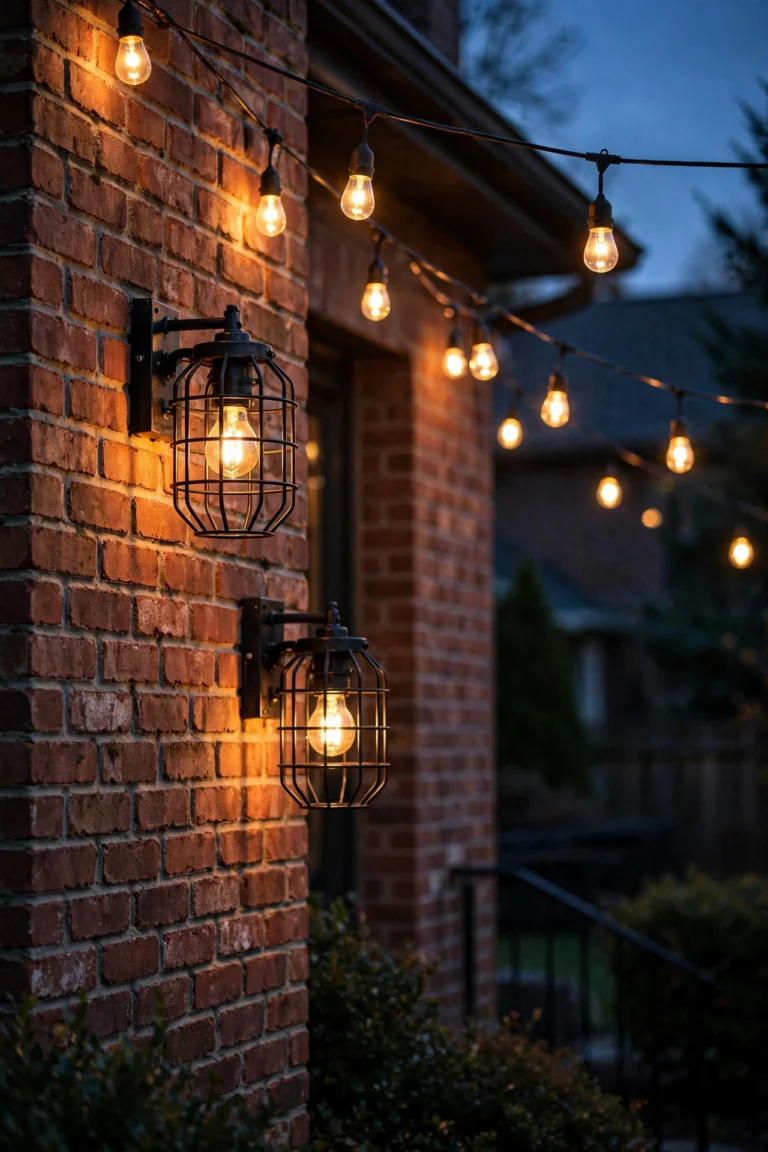
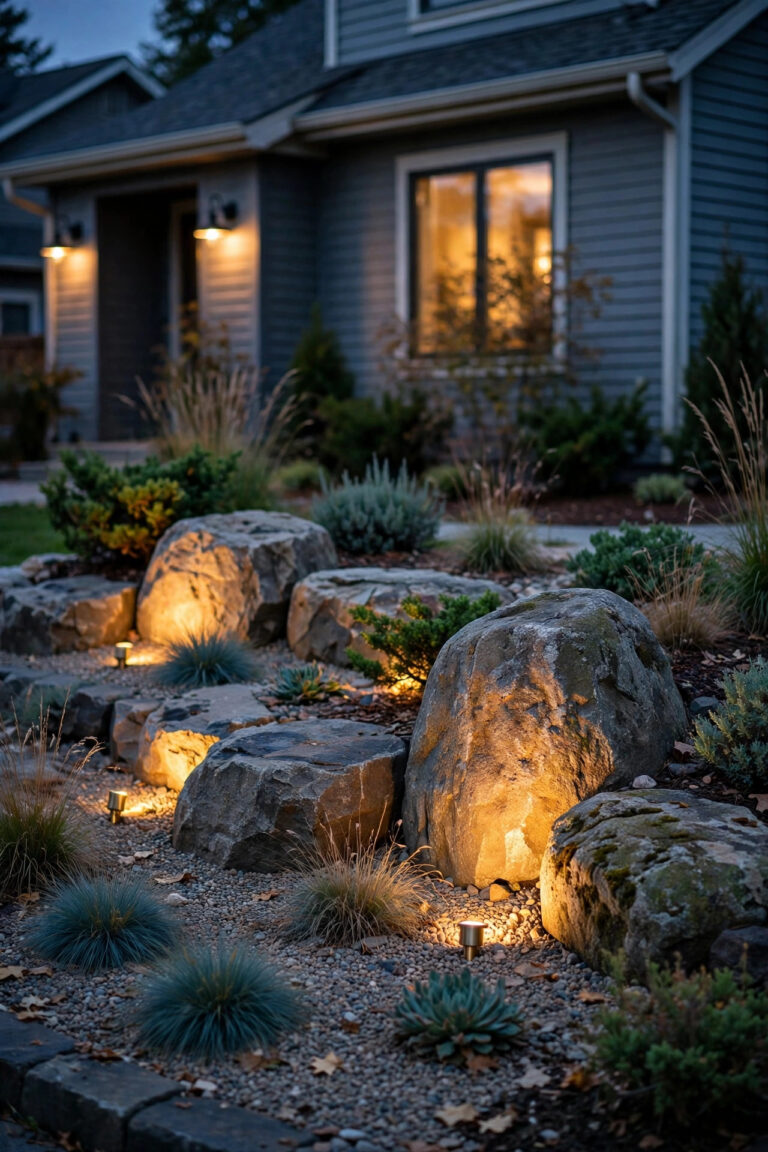
Few things sour a pretty yard faster than one stubborn light that flickers, glows half-bright, or quits altogether — while every other fixture on the run behaves perfectly. In my experience, the bulb is rarely the real culprit. Nine times out of ten, the problem is hiding where the bulb meets the fixture: corroded light sockets, quietly choking off the connection with a crust of green and white oxidation. Honestly, outdoor sockets live a hard life. They bake in summer sun, soak in sprinkler spray, and sit in damp mulch through every season, so a little corrosion isn't a defect — it's simply what weather does to metal over time. The good news? Cleaning a corroded socket is one of the cheapest, fastest fixes in all of outdoor lighting, and it needs nothing fancier than a small brush, a pencil eraser, and twenty unhurried minutes. In this guide, I'll walk you through exactly how I clean sockets and terminals, the five-minute trick that keeps corrosion from coming back, how to tell when a socket is genuinely past saving, and what the whole job costs in 2026 — which is refreshingly close to nothing.

The Short Answer
If your yard lights are flickering, dim, or dead, check the sockets before you buy new bulbs. Corroded light sockets — that green, white, or rusty crust on the metal contacts — block the flow of electricity, and a gentle cleaning usually restores full brightness in minutes. Turn the power off at the transformer, pull the bulb, scrub the contacts with a small brass brush or a pencil eraser until the metal shines, wipe everything dry, and add a tiny dab of dielectric grease before reseating the bulb. Most sockets clean up beautifully. If the metal is pitted through, cracked, or crumbling, though, replacement is the honest answer — and I'll show you how to tell the difference below.
What That Green Stuff Actually Is
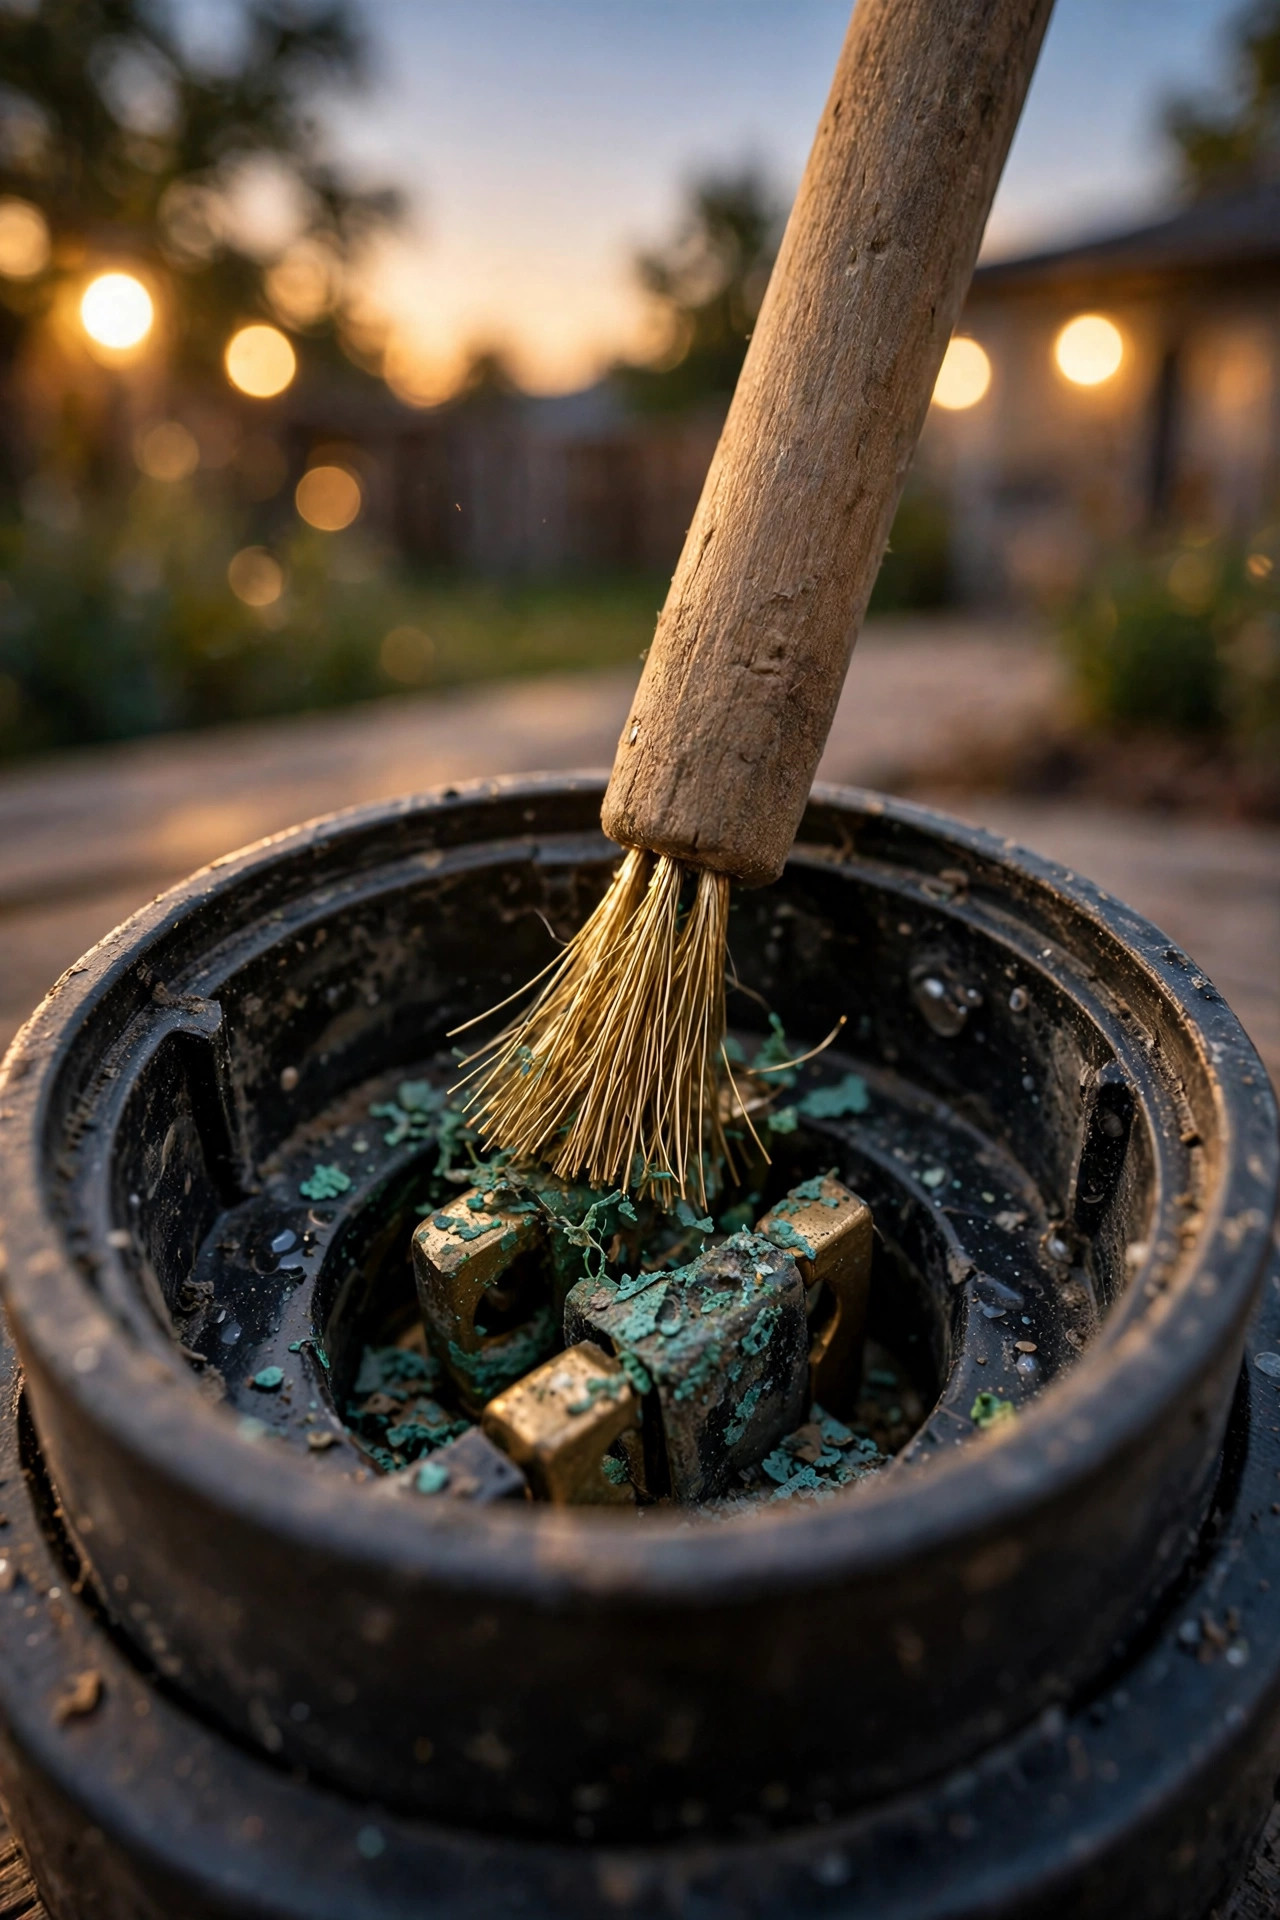
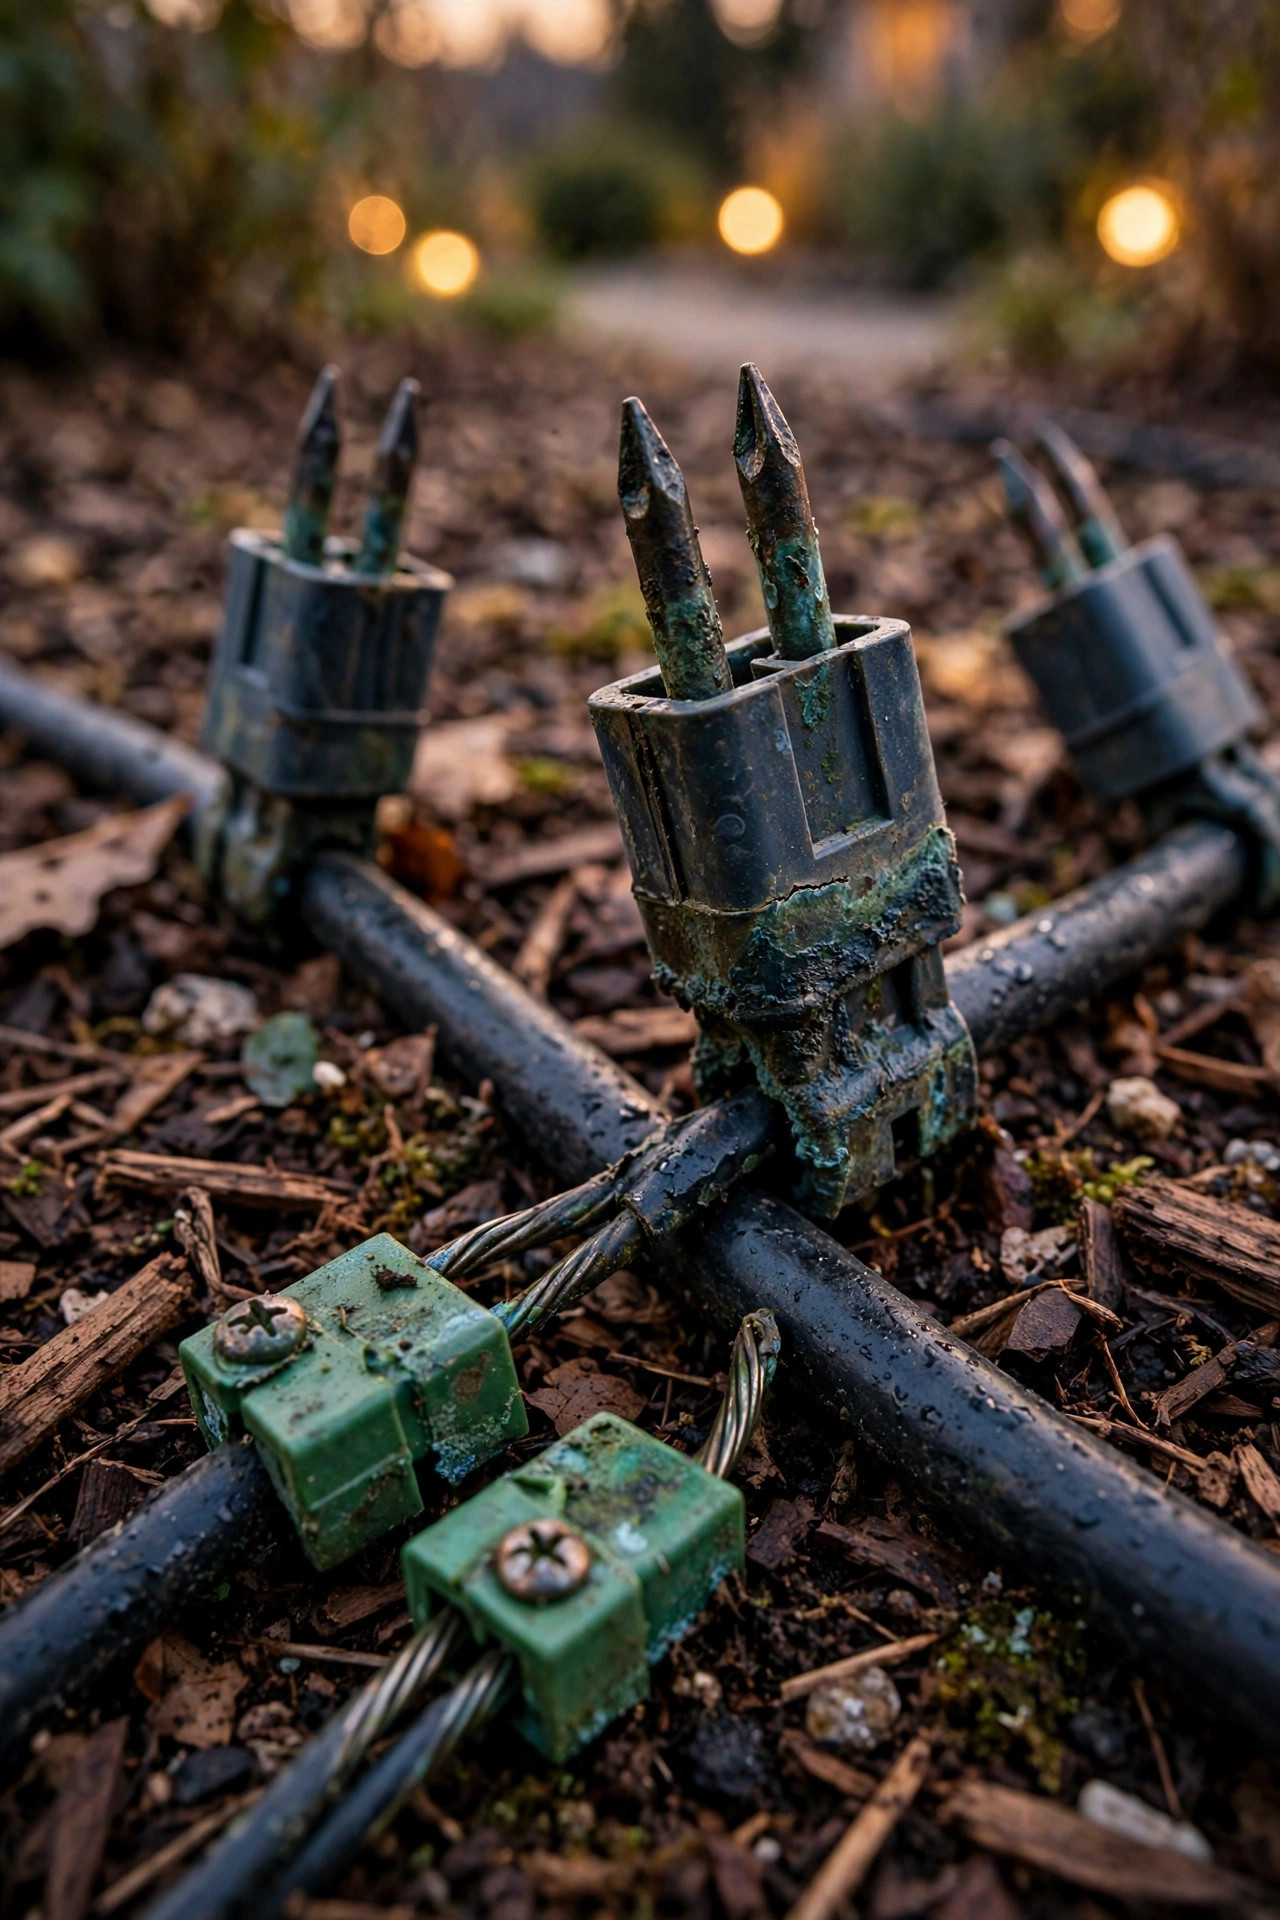
That fuzzy green crust has a name: it's oxidation, the same chemistry that turns a shiny copper penny dull and gives old copper roofs their pretty blue-green patina. When copper or brass sits in damp air, it reacts with oxygen and moisture and slowly grows this green layer, sometimes called verdigris. Aluminum fixtures corrode differently — they grow a dull white or gray powder instead. Cheap steel parts skip the subtlety and simply rust orange. All three are doing the same thing: building an insulating crust on metal that your electricity needs to touch.
Low-voltage systems are not immune just because they run at 12 volts. In fact, corrosion loves the exact conditions landscape fixtures live in: nightly dew, sprinkler overspray twice a week, mulch that holds moisture against the base, and soil splash every time it rains. If two different metals touch — say, a brass socket with a steel screw — galvanic corrosion speeds things up even more, because the metals essentially form a tiny battery in the damp. Coastal yards get the worst of it, since salt air is rocket fuel for oxidation. None of this means your fixtures are defective. It just means sockets are wear items, like brake pads, and a little maintenance keeps them working.

Why Corrosion Makes Lights Flicker, Dim, and Die
A healthy socket is a simple handshake: bare metal touches bare metal, and current flows freely. Corrosion breaks that handshake. The crust itself barely conducts electricity, so every bit of it sitting between the bulb's contacts and the socket's contacts acts like a bottleneck. Current squeezes through the few clean spots left, and those spots heat up, which grows more corrosion, which squeezes the current further. It's a slow spiral, and your light narrates every stage of it.
First comes a slight dimness you almost talk yourself out of. Then a flicker — especially with the little two-pin bulbs used in many path and spot lights, where the contact area is tiny to begin with and a whisper of crust matters. Because metal expands when warm and contracts when cool, a borderline connection often works at dusk and fails an hour later, or revives when you wiggle the bulb. Eventually the last clean point oxidizes over, and the light dies completely — with a perfectly good bulb sitting in it. This is also why one fixture fails while its neighbors shine: each socket corrodes at its own pace, depending on sprinkler aim, drainage, and shade. Before you spend a dollar on replacements, check the socket. It's the cheapest diagnosis in the yard.
Safety First: Before You Touch a Single Socket
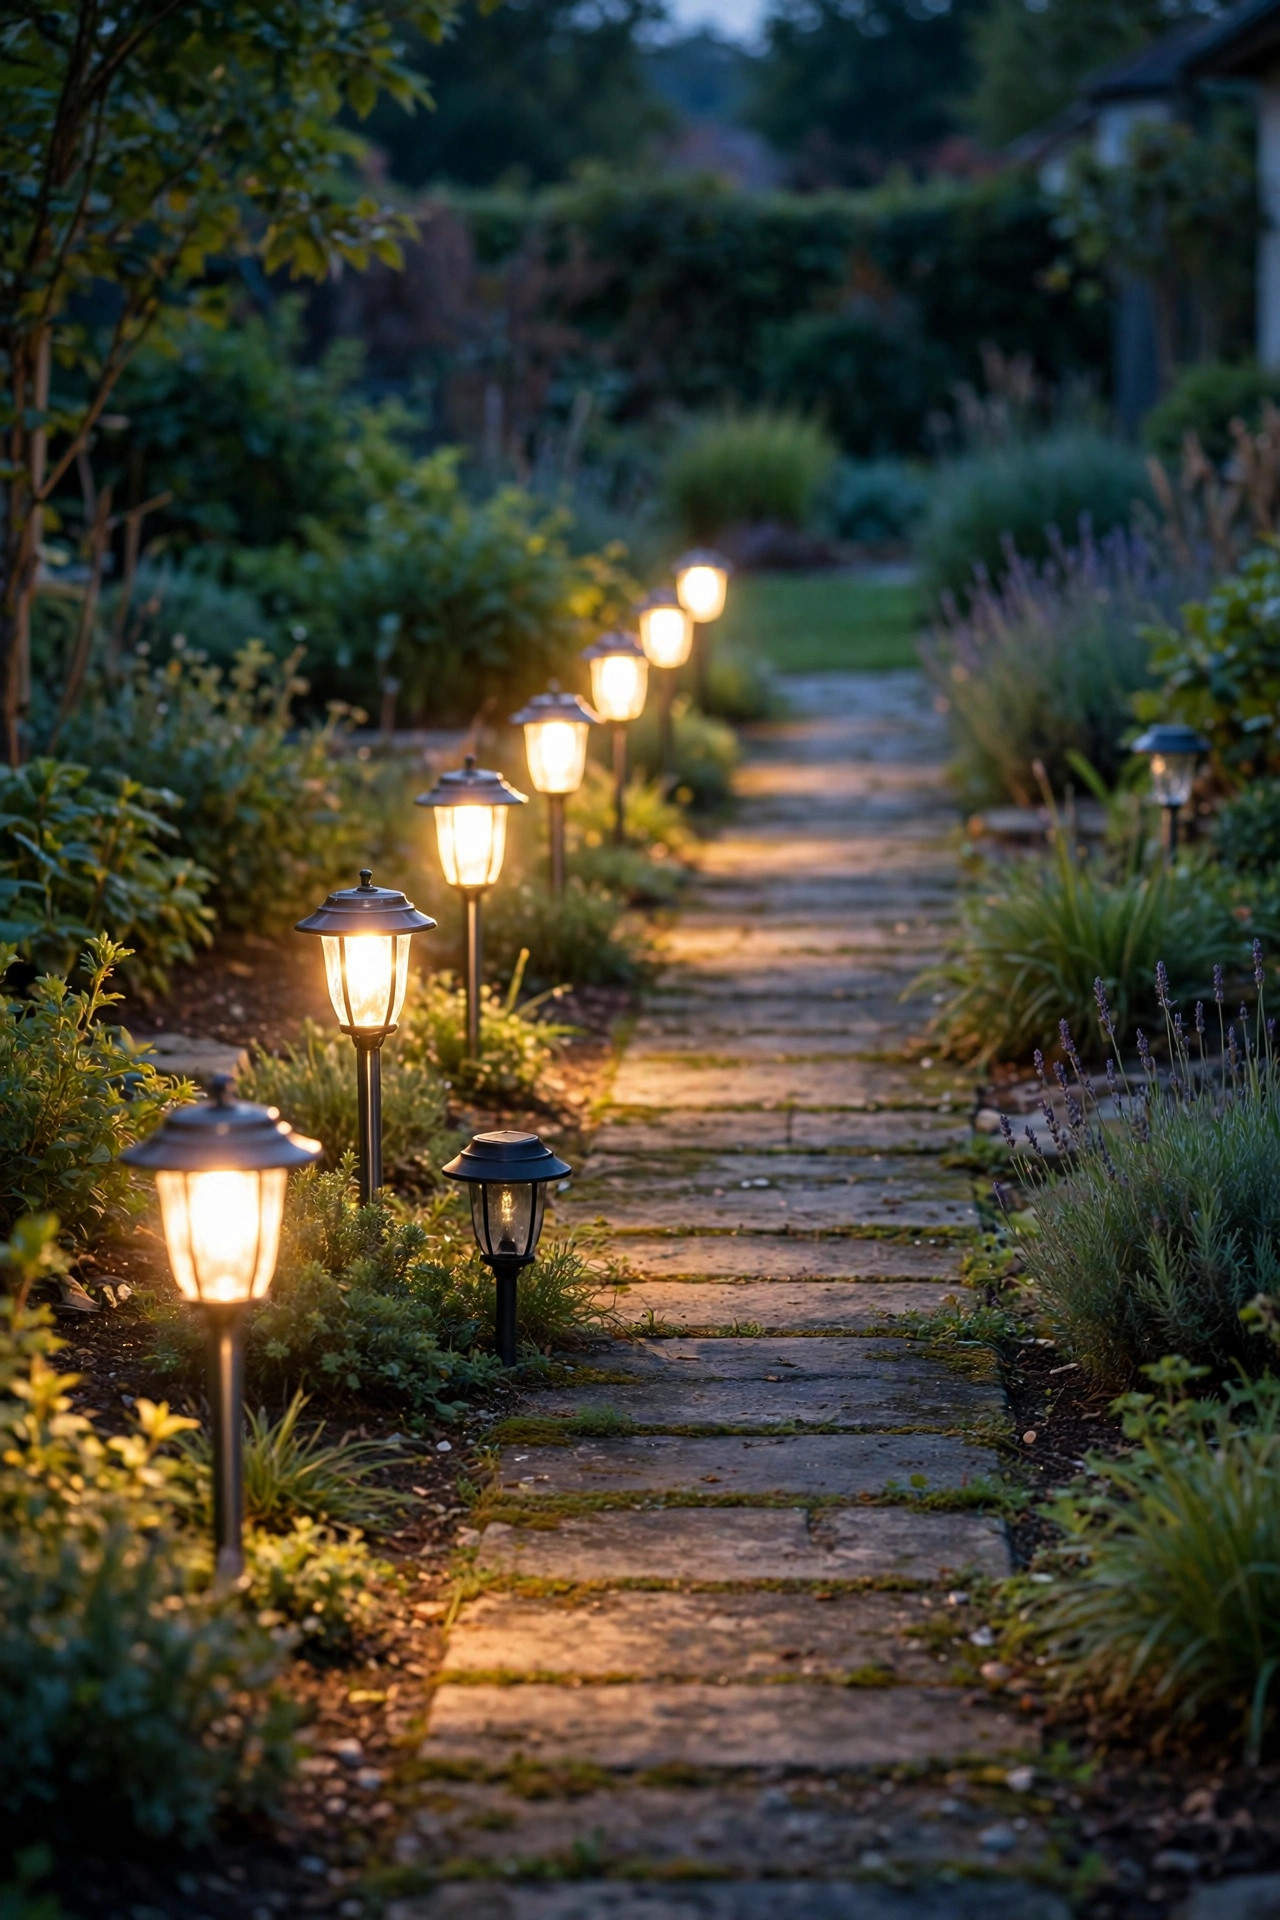
Most landscape lighting runs on 12 volts, which is genuinely gentle — you could touch the contacts and feel nothing. But "gentle" is not a license to work sloppy, so I still unplug the transformer or switch it off before I start. That one habit protects the transformer from accidental shorts while you scrub, and it means the bulb is cool when you handle it. Halogen bulbs especially can stay blister-hot for minutes after shutdown, so give everything a few minutes to cool before you reach in.
Porch sconces, lamp posts, and other hardwired fixtures are a different story: those are 120 volts, real household current. For those, switch the breaker off at the panel — not just the wall switch — and confirm the fixture is dead with a non-contact voltage tester before your fingers go anywhere near the socket. Never clean a socket in the rain, with wet hands, or standing in a puddle. Skip water entirely during cleaning; liquids inside a socket are the problem, not the solution. If you use a spray contact cleaner, remember it's flammable: no smoking, no nearby pilot lights, and let it evaporate fully before restoring power. Finally, if you find melted plastic, scorched wiring, or a socket that crumbles at a touch, stop — that fixture has left DIY territory, and an electrician or a replacement fixture is the right call.

Your Cleaning Kit: Simple Tools You Probably Own
You do not need a specialty shopping trip for this job — my whole socket kit lives in a shoebox. The star is a small brass brush, the kind sold in three-packs for a few dollars. Brass is softer than the socket's contacts, so it scrubs crust away without gouging the metal the way a steel brush can. Next, an ordinary pencil eraser, which polishes contact tabs and bulb pins to a shine with almost no abrasion. Add cotton swabs and a little isopropyl alcohol — or a dedicated electrical contact cleaner, which evaporates fast and leaves nothing behind — for the final wipe.
Beyond that: a tube of dielectric grease (the secret weapon, more below), a sheet of 220-grit sandpaper or an emery board for stubborn spots only, needle-nose pliers for fishing out reluctant bulbs, and a flashlight or headlamp, because sockets hide in shadowy little housings and you cannot clean what you cannot see. Paper towels, a small screwdriver set for fixture screws, and a zip bag for keeping screws out of the mulch round it out. If a bulb type is unfamiliar, snap a photo of it before you start; knowing whether you're dealing with a screw base, a wedge base, or two-pin landscape lighting bulb types helps when a pin snaps and you're shopping for its twin later.

Step-by-Step: How to Clean Corroded Light Sockets
Here is the exact routine I use, fixture by fixture. It takes about ten minutes for the first socket and five for each one after, once your hands remember it.
1. Kill the power and let things cool. Unplug the transformer, or flip the breaker for a hardwired fixture, then wait a few minutes.
2. Remove the bulb gently. Twist or pull straight out without rocking hard. If it resists, wiggle softly — corroded bulbs break, and broken pins stuck in a socket turn a five-minute job into a project.
3. Inspect before you scrub. Shine your light inside. Shiny metal with a light film needs only a polish; thick green or white crust needs the brush; deep pits or cracks mean skip to replacement.
4. Dry-brush the loose crust. Work the brass brush over the center contact, the socket threads or pin holes, and the bulb's own base and pins. Brush over a paper towel so the debris doesn't fall into the fixture.
5. Polish with the eraser. Rub the contacts until the metal looks bright and even. This is the step that actually restores the connection, so don't rush it.
6. Wipe with a swab and alcohol or contact cleaner. This lifts the last residue and any eraser crumbs. Let it dry completely — a minute is plenty.
7. Check the spring tab. On screw-base sockets, the little tab at the bottom flattens over time. With the power still off, you can lift it very slightly with a small screwdriver so it presses firmly against the bulb.
8. Add the grease, reseat the bulb, and test at dusk. A smear of dielectric grease (next section), bulb back in snugly, power on. Viewed at twilight, a cleaned socket should give you full, steady brightness.
Don't Forget the Other Half: Wire Terminals and Connectors
A spotless socket can't save a light if the corrosion has also taken hold where the fixture's wires meet the main cable — and in my yard, that's where it hides half the time. Those little pierce-point connectors that clamp onto the cable are notorious: the metal teeth corrode, the plastic housing cracks, and the connection goes intermittent long before it dies outright. Green or white crust on a connector is a verdict, not a cleaning candidate. Cut it out, strip back to bright, shiny copper — dull brown wire is corroded too, so keep cutting until it shines — and remake the joint with a gel-filled, waterproof connector rated for direct burial.
Give the transformer end a once-over while you're at it. The lug terminals where cables attach can grow the same green film, especially in a damp garage corner. Power off, loosen each lug, brush the wire end and terminal bright, and tighten firmly. If your run uses twist-on wire nuts anywhere outdoors, replace them; standard nuts trap moisture and practically manufacture corrosion. My full walkthrough on remaking buried joints lives in my guide to splicing landscape lighting wire — worth a read before you open anything underground, because a splice done right the first time stays done for a decade.
The Five-Minute Trick That Keeps Corrosion Away
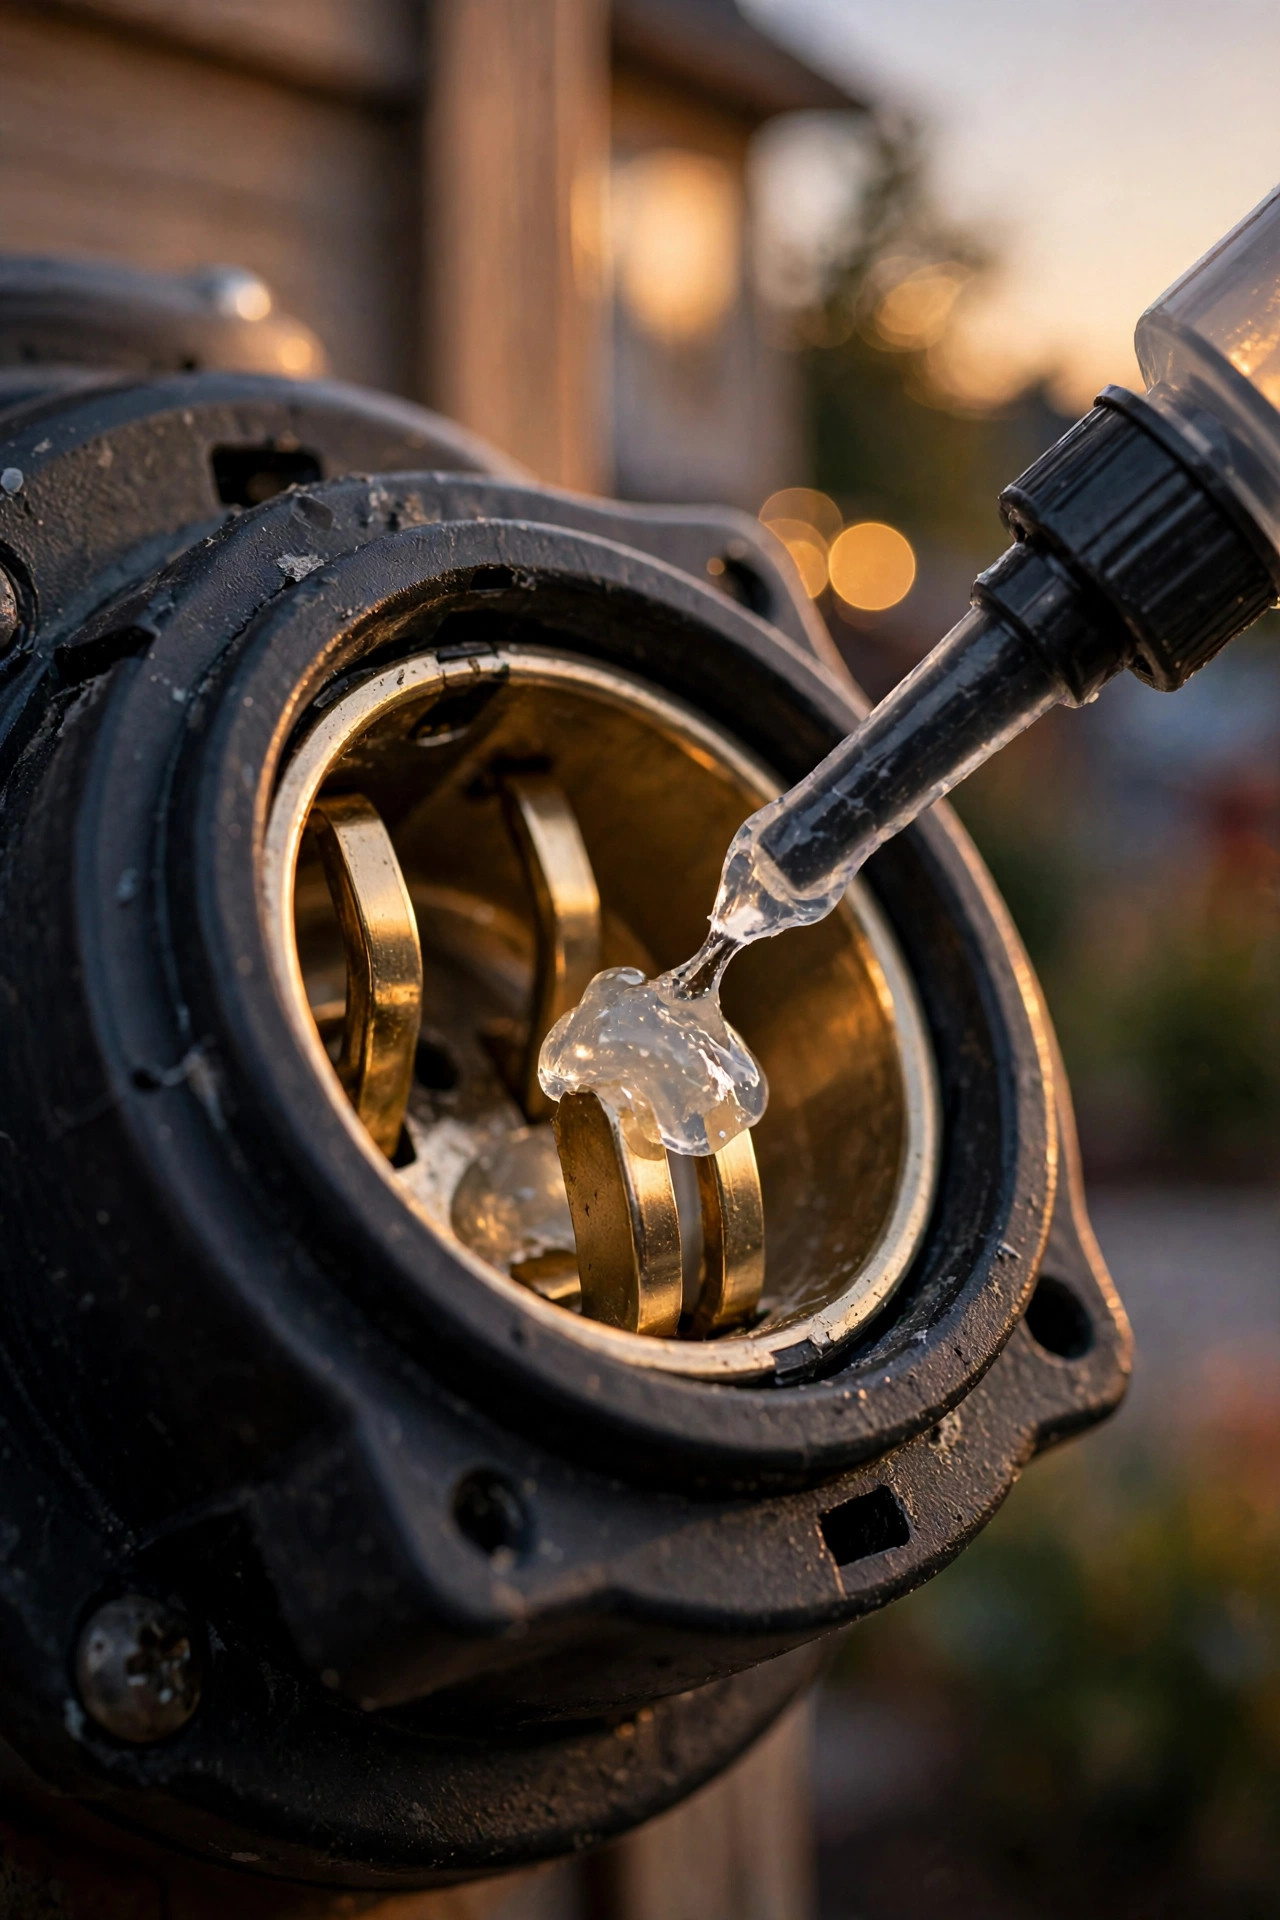
Dielectric grease is the least glamorous tube in my shoebox and the one I'd save first from a fire. It's a silicone-based grease that does not conduct electricity — and that's exactly the point. Smeared thinly over clean contacts, it seals out the two ingredients corrosion needs: moisture and air. The bulb's contact presses through the film where metal meets metal, so the connection stays strong, while everything around that contact point stays sealed and dry.
Application takes seconds. After cleaning, put a rice-grain dab on the socket's contact tab, a whisper on the bulb's base or pins, then insert the bulb with a firm twist so the grease spreads. Wipe away any squeeze-out. Don't pack the socket full — a thick blob just makes a mess and can hold grit. I also press a little into every outdoor connector I open; it dramatically slows the green creep inside. One $8 tube lasts me years across the whole yard. Reapply whenever you change a bulb or do your seasonal check, roughly once a year, and sockets that used to crust over every spring simply stop doing it. As a bonus, the bulb base never seizes or crusts itself into the socket over a wet winter, so future bulb changes stay a two-finger job instead of a wrestling match. If you buy one thing after reading this guide, buy the grease.
Preventing Corrosion Before It Starts
Cleaning is satisfying, but the real win is a yard where sockets barely corrode at all. Start with water: walk your yard while the sprinklers run and note every fixture taking a direct hit, then adjust those heads a few degrees. A fixture that stays dry-ish between rains will outlast a soaked one by years. Next, look at where fixtures sit. Path lights buried deep in damp mulch sit in a permanent sponge, so I pull the mulch back a few inches and add a shallow gravel collar around each base — it drains fast, looks tidy, and keeps the fixture's lower vents out of the wet.
Then check the fixture itself. A cracked lens or a perished rubber gasket turns the housing into a rain gauge, and the socket bathes in condensation nightly; replace gaskets when they go stiff, and make sure lenses seat fully after every bulb change. Keep drain holes at the bottom of housings clear of dirt and spider webs — they're there so incidental moisture can escape instead of pooling around the socket. Finally, don't let connections dangle at soil level where they wick moisture; tuck connectors up inside the fixture or a junction stake where they stay drier. None of this is glamorous. All of it together is the difference between cleaning sockets every spring and shrugging at them every third year.

Fixture Materials, Ranked by How They Handle Corrosion
If you're replacing fixtures anyway, the housing material decides how much corrosion you'll fight for the next decade. Solid brass and copper sit at the top of my list: they form that green patina, yes, but it's a protective skin, not a rot — the metal underneath stays sound for 20 years or more, and the socket contacts inside are usually brass too. Cast aluminum with a good powder coat is the solid middle: light, affordable, and fine until the coating chips, at which point the exposed aluminum starts powdering, so touch up chips promptly.
Stainless steel resists general rust well, though in salty coastal air it can pit in crevices, so rinse coastal fixtures with fresh water a couple of times a summer. Composite and plastic housings never corrode themselves — but their internal socket contacts are still ordinary metal, and budget plastics go brittle under UV, cracking lenses that then let water straight in. At the bottom: thin stamped steel and zinc fixtures, the bargain-bin specials. They rust fast, their sockets follow, and I consider them disposable. One last shopping tip: whatever the housing, look inside before you buy. Thick brass or nickel-plated socket contacts are a quality tell; flimsy, already-tarnished contacts in the store are a preview of your springs to come.

When Cleaning Isn't Enough: Signs a Socket Is Done
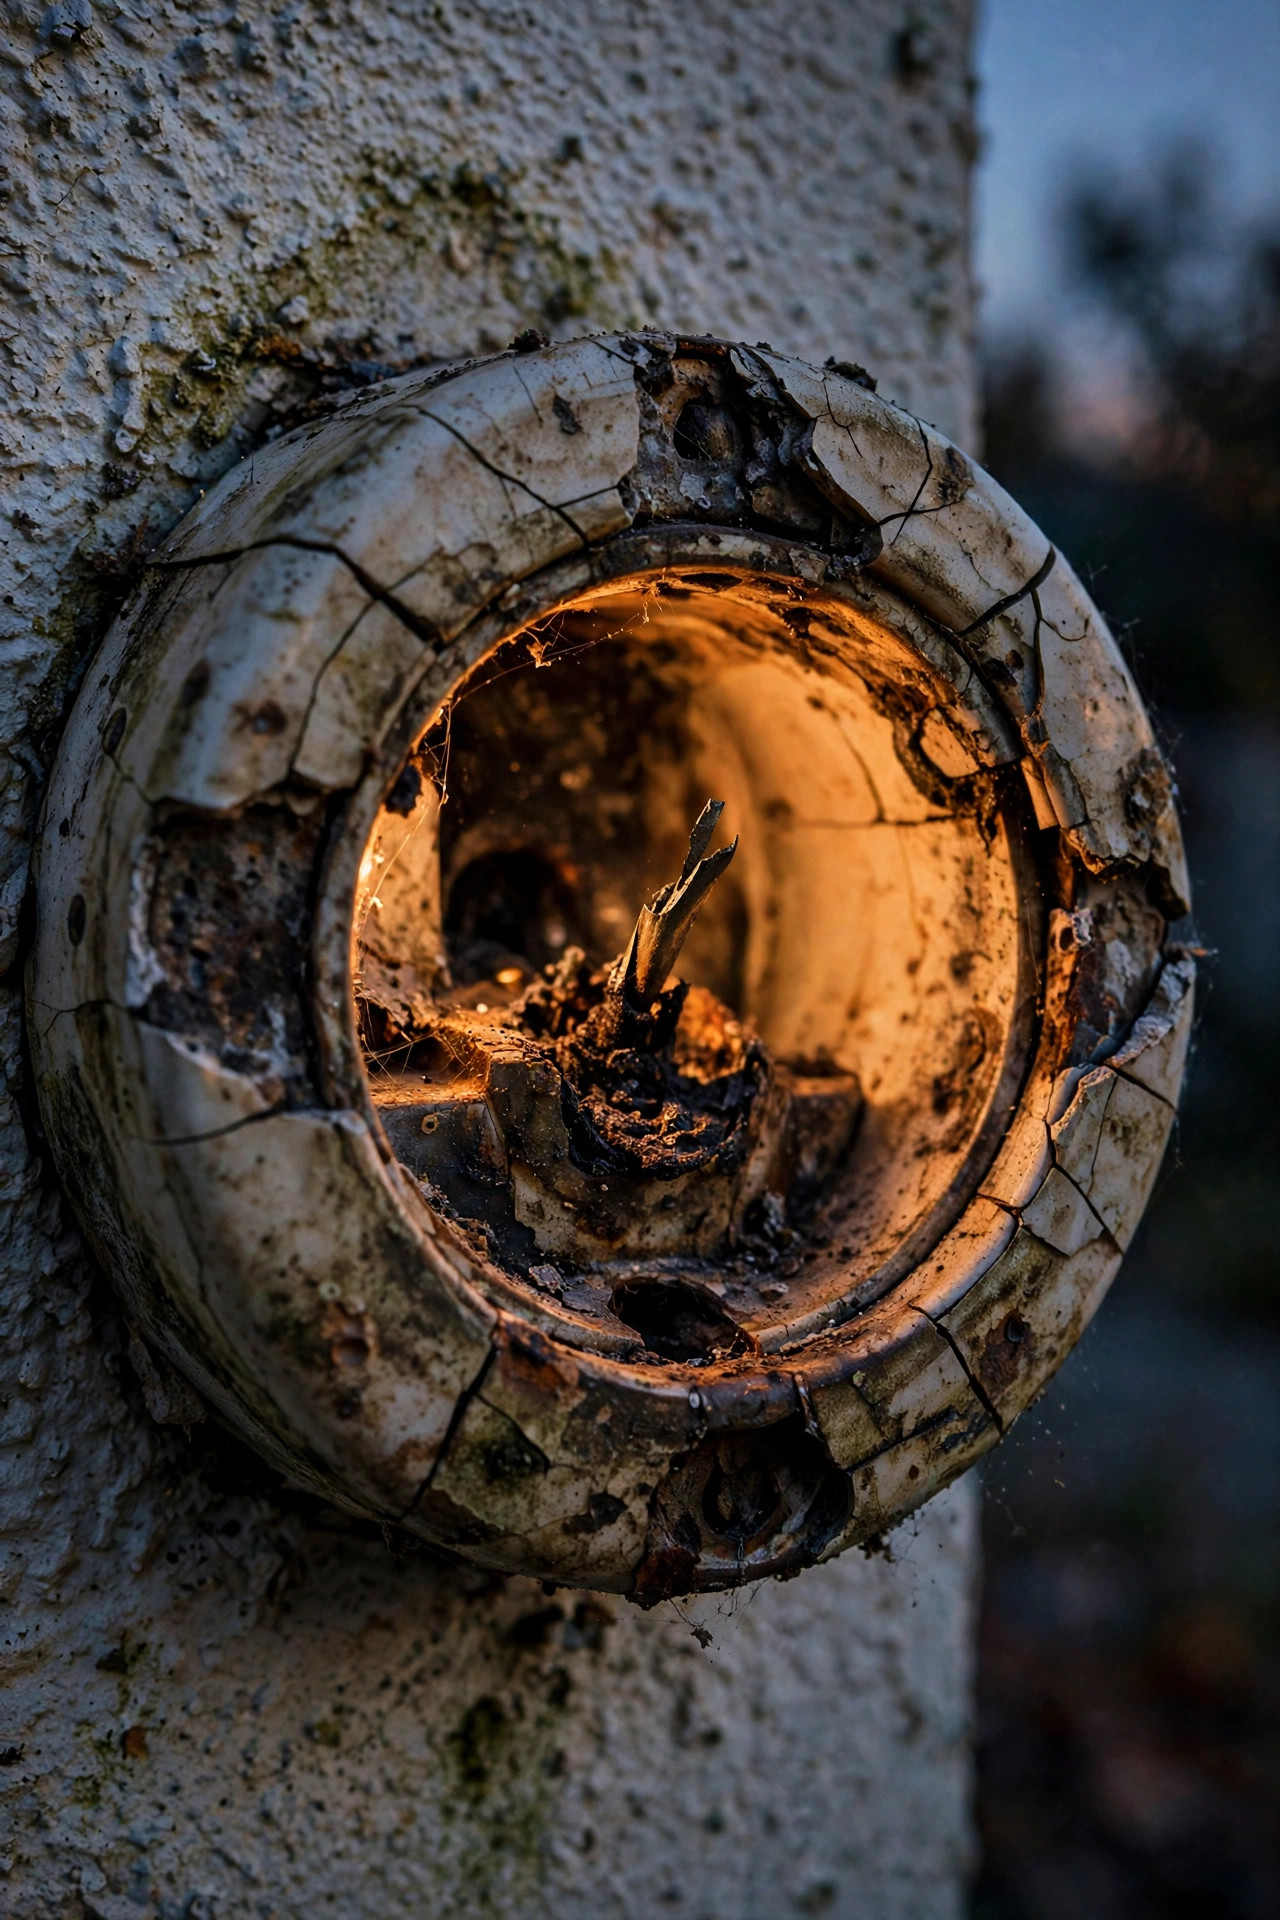
I love a resurrection story, but some sockets are genuinely finished, and polishing them is just delaying a dark light. The clearest sign is pitting: if, after brushing, the contact metal looks like the surface of the moon — cratered, thinned, eaten at the edges — there isn't enough healthy metal left to hold a reliable connection. Flicker will be back within weeks. Crumbling is the other verdict. If the contact tab snaps when you lift it, or the socket's ceramic or plastic body is cracked, heat-checked, or melted even slightly, that fixture should not carry current again.
Watch for broken bulb pins left behind in two-pin sockets, too; if you can't extract them cleanly with needle-nose pliers, the socket is done. And pay attention to speed: if a socket re-corrodes within a month of a thorough cleaning, the socket isn't the root problem — water is getting into that fixture, and until the lens, gasket, or drainage issue is fixed, every new socket will follow the old one. Sometimes the fixture itself is simply the wrong design for a wet spot, and the honest upgrade is a sealed fixture. That's one reason integrated LED versus replaceable-bulb fixtures is a real decision these days: integrated fixtures have no socket at all, so there's nothing to corrode. Where a socket is replaceable on its own, it's a cheap part; where it isn't, retire the fixture with thanks for its service.
What It Costs in 2026
Here's the happy math. If your shoebox already holds a brush and an eraser, this job can cost exactly zero. Buying the full kit new in 2026: a three-pack of small brass brushes runs about $6, a spray can of electrical contact cleaner about $8, a tube of dielectric grease about $8 (and it will last you years), and a roll of paper towels you already own. Call it $20–$25 once, then pennies per fixture forever after.
Parts, when you need them, stay modest. Replacement bulbs run $5–$15 each depending on type. Replaceable sockets, where the fixture design allows swapping just that part, are typically $8–$20. A whole new mid-quality path light is $25–$120, and solid brass fixtures start around $60 and climb past $150 — money that buys you decades, though, not seasons. Hiring it out is where the numbers jump: an electrician or lighting tech usually carries a $150–$300 minimum visit charge, which makes professional socket-cleaning poor value for a low-voltage system you can service yourself. Pros make sense when several fixtures need replacement, wiring is damaged, or the fixtures are hardwired 120-volt units. There's a tiny running-cost footnote, too: a badly corroded contact wastes a little electricity as heat, but we're talking cents a year. The real cost of corrosion isn't energy — it's your Saturday evenings, spent admiring a yard with one dark hole in it.
5 Mistakes to Avoid When Cleaning Corroded Light Sockets
1. Cleaning a live socket. Even on 12 volts, scrubbing a powered socket can short the transformer; on a 120-volt fixture, it can hurt you. Power off, every time, no exceptions for "just a quick polish."
2. Using steel wool or water. Steel wool sheds tiny conductive fibers that lodge inside the socket and invite shorts, and any water-based cleaning leaves moisture behind to restart the corrosion you just removed. Dry methods, plus alcohol or contact cleaner only.
3. Sanding like you mean it. A coarse grit or an aggressive file strips the thin protective plating off contacts, exposing raw metal that corrodes faster than the original ever did. Eraser first, 220-grit only for stubborn spots, lightest possible touch.
4. Skipping the grease. A bare, freshly polished contact is at its most vulnerable — you've just exposed pristine metal to damp air. Without dielectric grease sealing it, expect the crust back within a season.
5. Muscling a stuck bulb. Twisting harder is how pins snap off in the socket and glass ends up in your palm. Gentle wiggle, patience, and pliers on the base only once the glass is safely out of the way. A stuck bulb is a symptom, remember — it's the socket asking for attention, not a contest of grip strength.
A Simple Seasonal Socket Check That Takes 20 Minutes
Corrosion never sleeps, but it moves slowly — which means a twice-a-year look is all it takes to stay ahead of it. I do mine in early spring, when I'm waking the beds up anyway, and again in fall before the long dark evenings arrive. At dusk, I walk the whole yard with the lights on and a phone in hand, noting every fixture that's dim, flickering, or a slightly different color from its neighbors; color shift is often the first whisper of a struggling connection. While I'm out there I also glance at the transformer timer, since fall sunsets creep earlier every week and the schedule usually wants nudging.
The next afternoon, power off, I work only the flagged fixtures: bulb out, eraser polish, grease, bulb in, plus a peek at each connector sitting at ground level. While the lenses are off I wipe them inside and out — a clean lens can look like a free brightness upgrade. Then a dusk test walk to confirm everyone is shining evenly. This little ritual folds neatly into the bigger twice-yearly routine in my outdoor lighting maintenance checklist, and between the two, my sockets have honestly become the least of my yard worries. Twenty minutes, twice a year, no dark holes in the garden. That's the whole secret.

Frequently Asked Questions
Can corroded light sockets be dangerous?
On a low-voltage landscape system, almost never — 12 volts can't shock you, and the worst realistic outcome is a blown transformer fuse from a short. On hardwired 120-volt porch or lamp-post fixtures, heavy corrosion can cause arcing and heat buildup inside the socket, which is a genuine fire risk over time. If a 120-volt socket shows scorch marks, melted plastic, or a burning smell, stop using that fixture and have an electrician look at it rather than cleaning it yourself.
What is the green stuff on my socket, and is it safe to touch?
It's verdigris — copper oxide that forms when copper or brass sits in moisture and air. In the small amounts on a light socket it's a low hazard: handle it freely, then wash your hands afterward and don't touch your face mid-job, the same common sense you'd use with any garden chemical or fertilizer. Wipe the debris onto a paper towel and into the trash rather than brushing it into the soil of a vegetable bed.
How often should I clean outdoor light sockets?
Once or twice a year is plenty for most yards, ideally folded into a spring and fall maintenance walk. Yards with heavy sprinkler overspray, dense shade that keeps fixtures damp, or salty coastal air should lean toward twice a year plus a mid-summer glance. If you use dielectric grease after each cleaning, you'll likely find most sockets need nothing more than a quick eraser polish — and many will need nothing at all.
Why does my light work again when I wiggle the bulb?
Because the wiggle scrapes the bulb's contacts across the socket's, momentarily breaking through the corrosion crust to a clean spot of metal — a handshake through a wall of chalk. It always feels like a fix and never is: the crust is still there, still growing, and the contact spot you scratched clean will oxidize over within days or weeks. Take the five minutes to clean and grease it properly and the wiggle trick can retire for good.
Conclusion
Almost every "dead" outdoor light I've ever rescued turned out to be a good bulb sitting in a dirty socket, and that's why corroded light sockets are my favorite kind of problem: the fix is free, fast, and weirdly satisfying. Brush the crust away, polish the contacts bright, seal them with grease, and keep water off the fixtures going forward — that's the entire discipline. Do it twice a year and your yard stays evenly lit, bulb after bulb, season after season. Now go rescue that one dark light you've been ignoring, and when it's glowing again, browse the rest of my lighting guides for your next evening project.