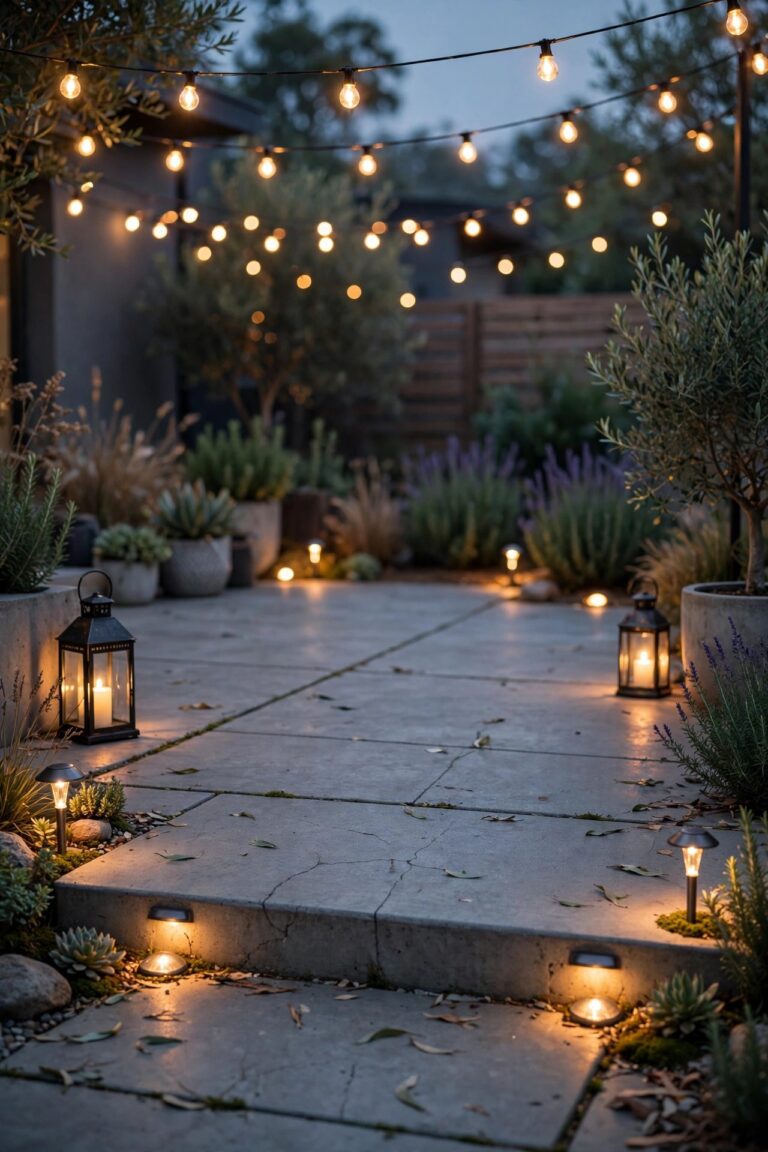
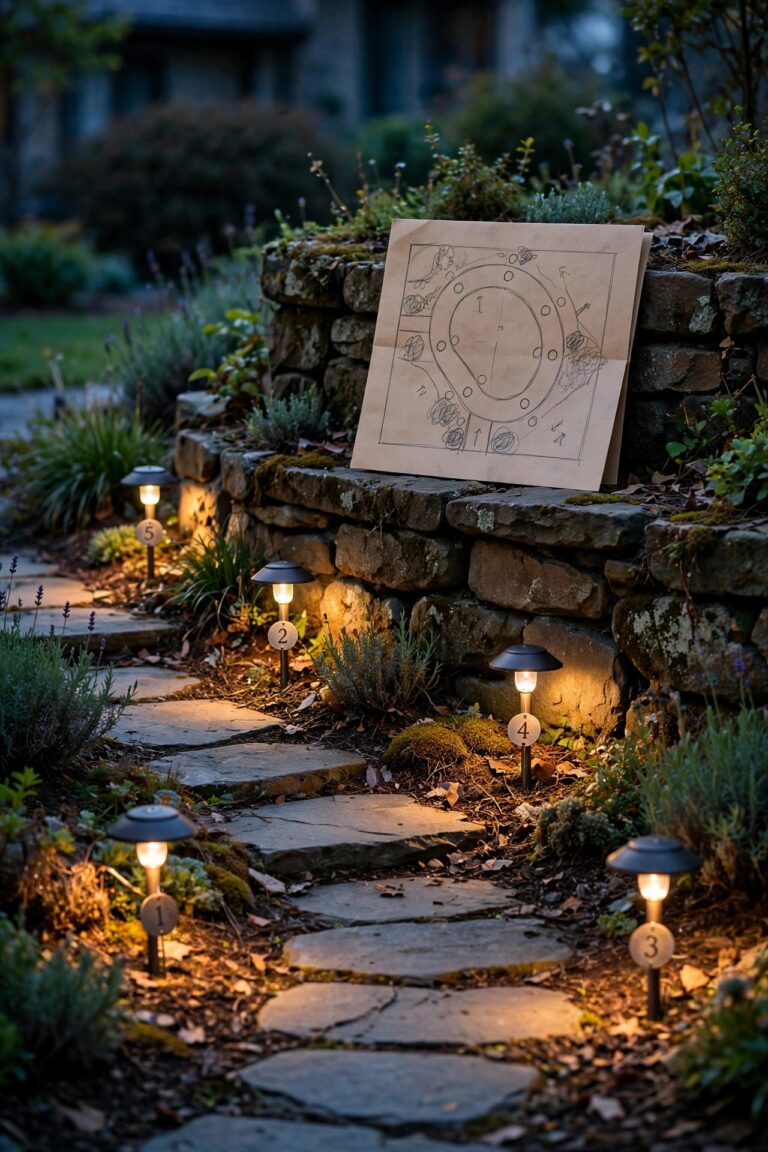
Every backyard has one: the far corner where the two fences meet, catch light from nothing, and quietly collect the leaf blower, the forgotten pots, and all the darkness. For years my own back corner was exactly that — a black hole I mowed around and ignored. Then I started testing corner backyard lighting ideas back there, and honestly? It became my favorite part of the yard after dark. Corners are actually a gift. Two fences give you mounting surfaces on both sides, the angle creates a natural focal point, and light placed in a corner washes outward across the whole lawn instead of getting lost. The trick is layering: one hero light for height, something warm at sitting level, and a little sparkle low among the plants. In this post I'm sharing the 19 setups that worked best in real corners — sharp 90-degree angles, deep shady triangles, weird slivers behind sheds — with honest spacing, bulb, and timer notes for each. Pick two or three, and that dead angle turns into the spot everyone drifts toward at dusk.

1. Uplight the Corner Tree
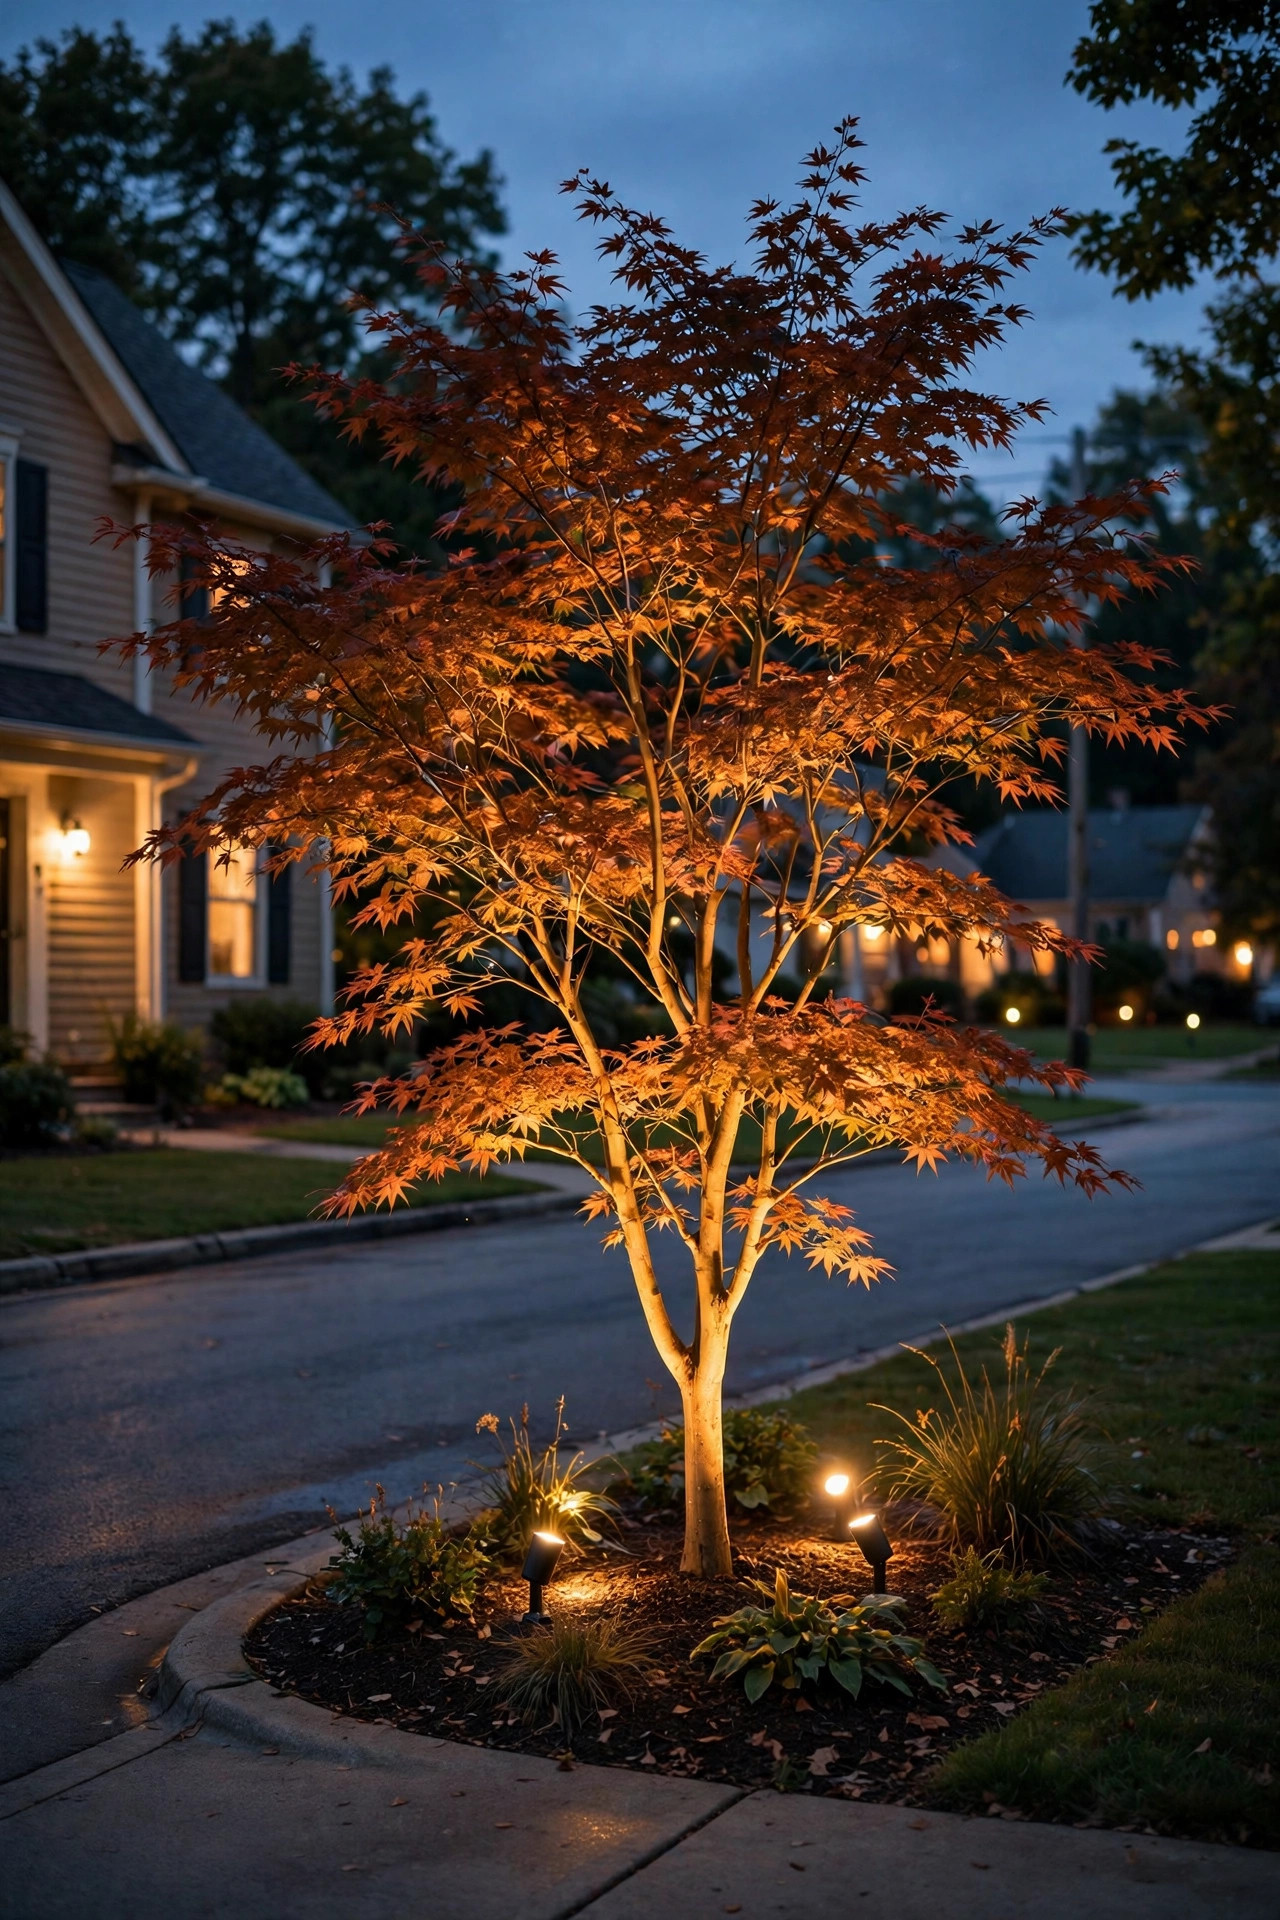
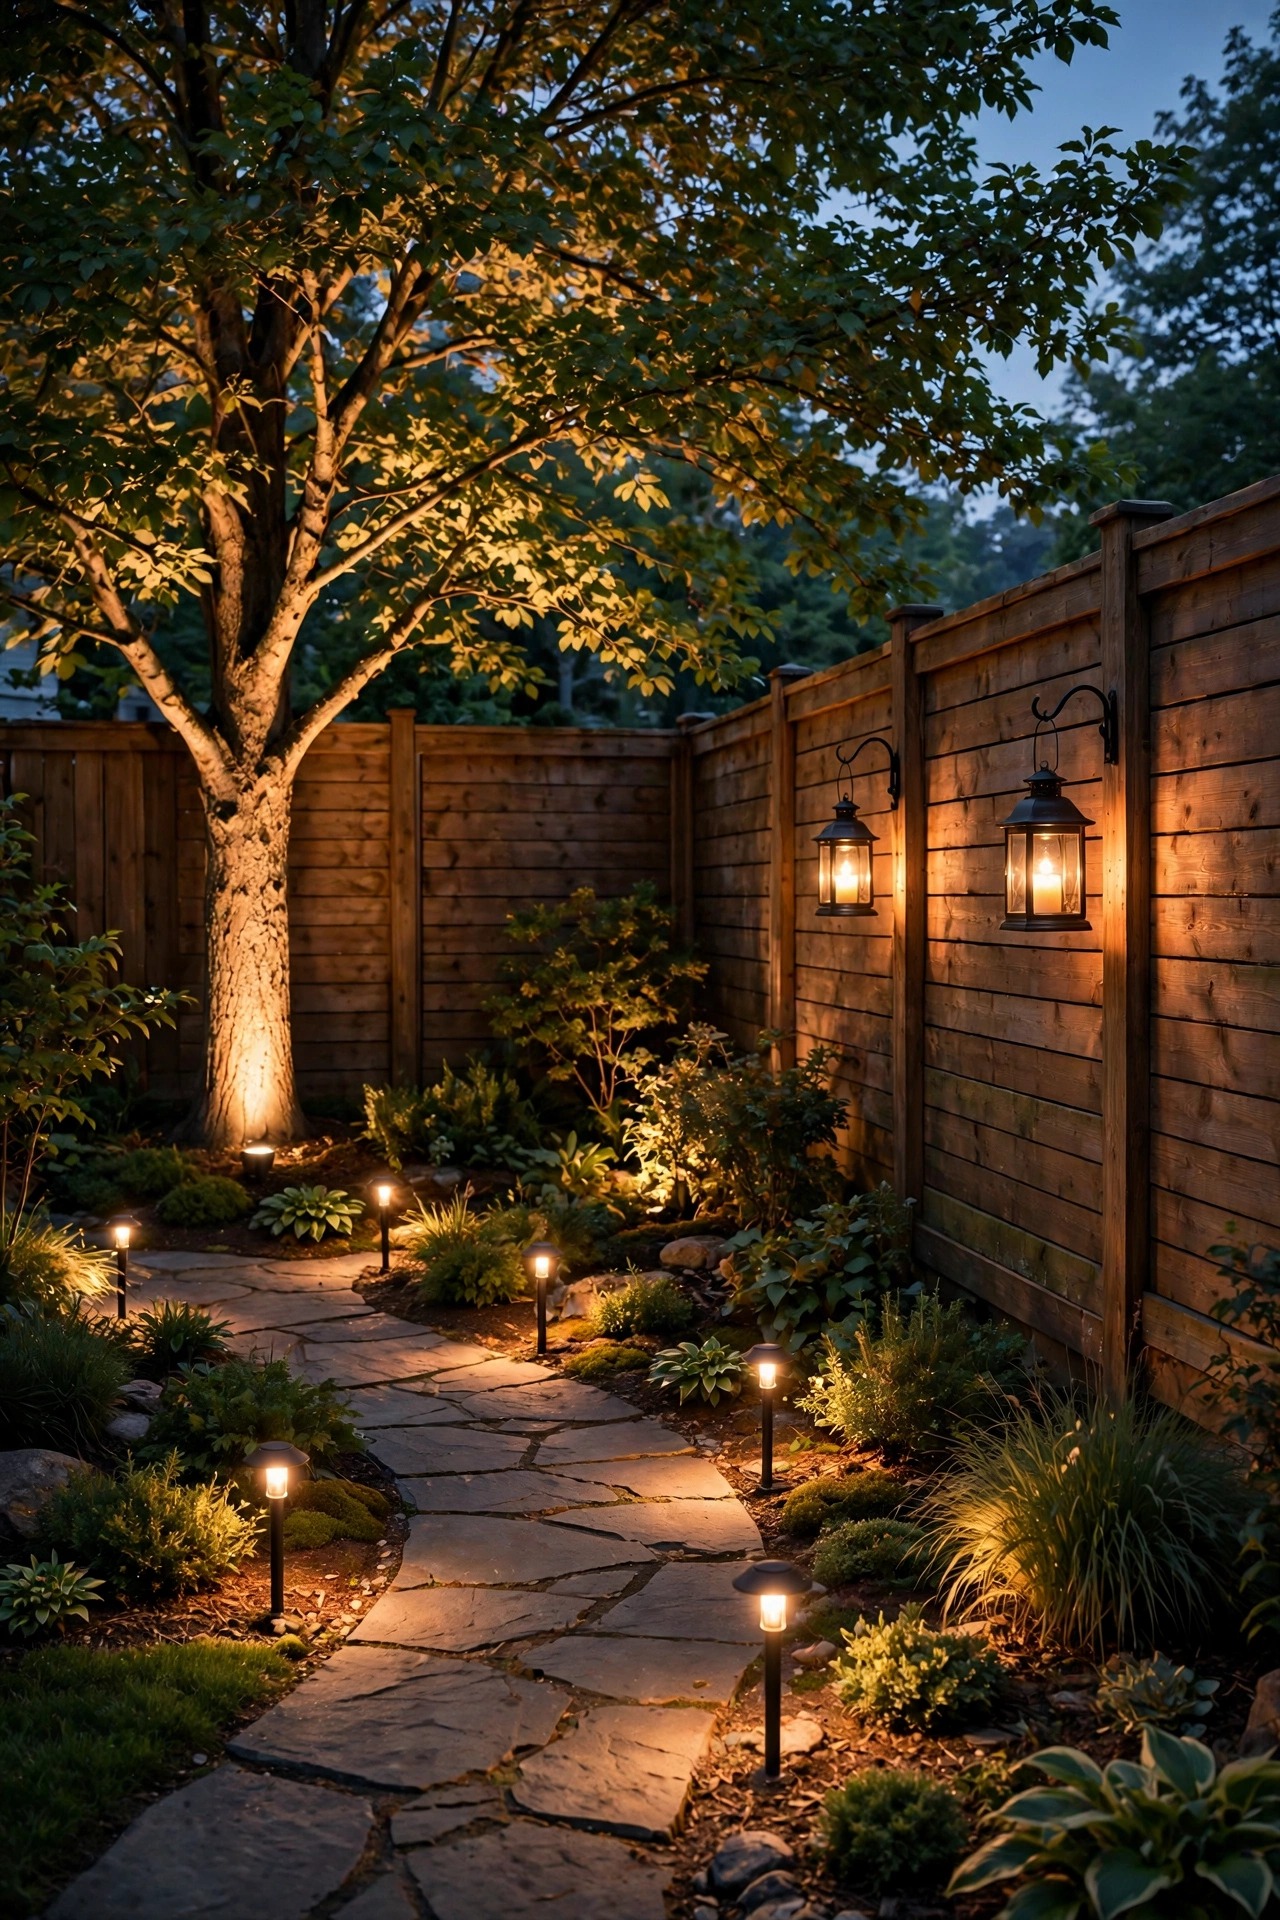
If your corner has a tree — and most awkward corners do — you already own the best light fixture in the yard. I set a single low-voltage well light or stake spotlight 12 to 18 inches from the trunk, aimed up at a slight angle so the beam rakes through the branches instead of blasting straight up. A 36-degree beam spread is my sweet spot for a medium tree; go narrower, around 15 to 24 degrees, for a tall, skinny trunk you want to dramatize. Warm 2700K LED, about 300 to 500 lumens, is plenty — corners shrink visually under harsh light. Bury the fixture in a mulch ring so the mower never finds it, and run the cable along the fence line where nobody digs. In my yard this one light does triple duty: it gives the corner height, throws dappled shadows across both fences, and makes the whole lawn feel deeper because your eye reads the lit canopy as distance. Add a second, dimmer uplight only if the tree is huge. One honest note: aim carefully so the beam stays in the canopy and off your neighbor's windows.
Suggested budget range: $25 – $60.
2. Hang a Lantern Trio Where the Fences Meet
Two fences meeting at a right angle are a lantern gallery waiting to happen. I screw sturdy hooks into both fence posts about a foot out from the corner, then hang three metal lanterns at staggered heights — roughly 5, 6, and 7 feet — so the glow steps down like a staircase. Inside each one goes a flameless LED candle on a timer, set to flicker on at dusk for five hours. Real candles near a wooden fence and dry vines make me nervous; the LED versions give the same amber wobble with zero worry, and the timer means the corner lights itself even when I forget. Choose lanterns with real glass panels and a weatherproof finish, and hang the tallest one deepest in the corner so the light reads as depth, not a lineup. On breezy nights the gentle sway throws moving shadows across both fence faces, which makes a small corner feel alive instead of boxed in. If your fence is vinyl, use clamp-on hooks instead of screws. This is the setup guests photograph most in my yard, and it took me twenty minutes.
Suggested budget range: $30 – $75.

3. Swag String Lights Across the Angle
A corner is the natural anchor point for string lights because both fence lines already meet there. I run two strands from the corner post outward along each fence top, then add one diagonal strand straight across the angle — that diagonal is what turns a dark triangle into a ceiling of light. Use eye bolts or cup hooks rated for outdoor use, and keep the sag gentle: about a foot of dip for every 10 feet of run looks relaxed without drooping onto heads. For any span longer than 15 feet, thread a thin guide wire first and clip the strand to it, so summer storms strain the wire, not the sockets. Warm-white 2700K bulbs, roughly one every 12 inches, give that bistro glow; space them wider and the corner reads sparse. Plug everything into a GFCI outlet through an outdoor timer and set the strands to quit at 11 p.m. — corners bounce light into neighboring windows more than you'd expect. Stand back at the property line and check the glare before you call it done.
Suggested budget range: $20 – $50.

4. Anchor the Corner With a Fire Bowl
Nothing pulls people toward a corner like firelight, so I treat the far angle of my yard as the fire zone. A compact steel fire bowl or a short chiminea sits on a small pad of pavers pushed into the corner, with a crescent of chairs facing back into the yard — suddenly the corner is the destination, not the leftover. Around the seating I keep light deliberately low: two lanterns on the ground and one short path light at the pad's edge, just enough to find your chair and your drink. The fire itself does the lighting work, so resist adding bright fixtures that fight it. Safety, honestly, is the whole game here: check your local fire code, keep the bowl at the manufacturer's recommended distance from fences and overhangs — often 10 feet, which may mean pulling it out of the very corner — and never leave it burning unattended. A spark screen is non-negotiable near wooden fences. If open flame is banned or your corner is too tight, flameless LED fire bowls and clusters of pillar candles in tall hurricanes fake the glow convincingly.
Suggested budget range: $60 – $180.

5. Plant Solar Stakes in a Triangle
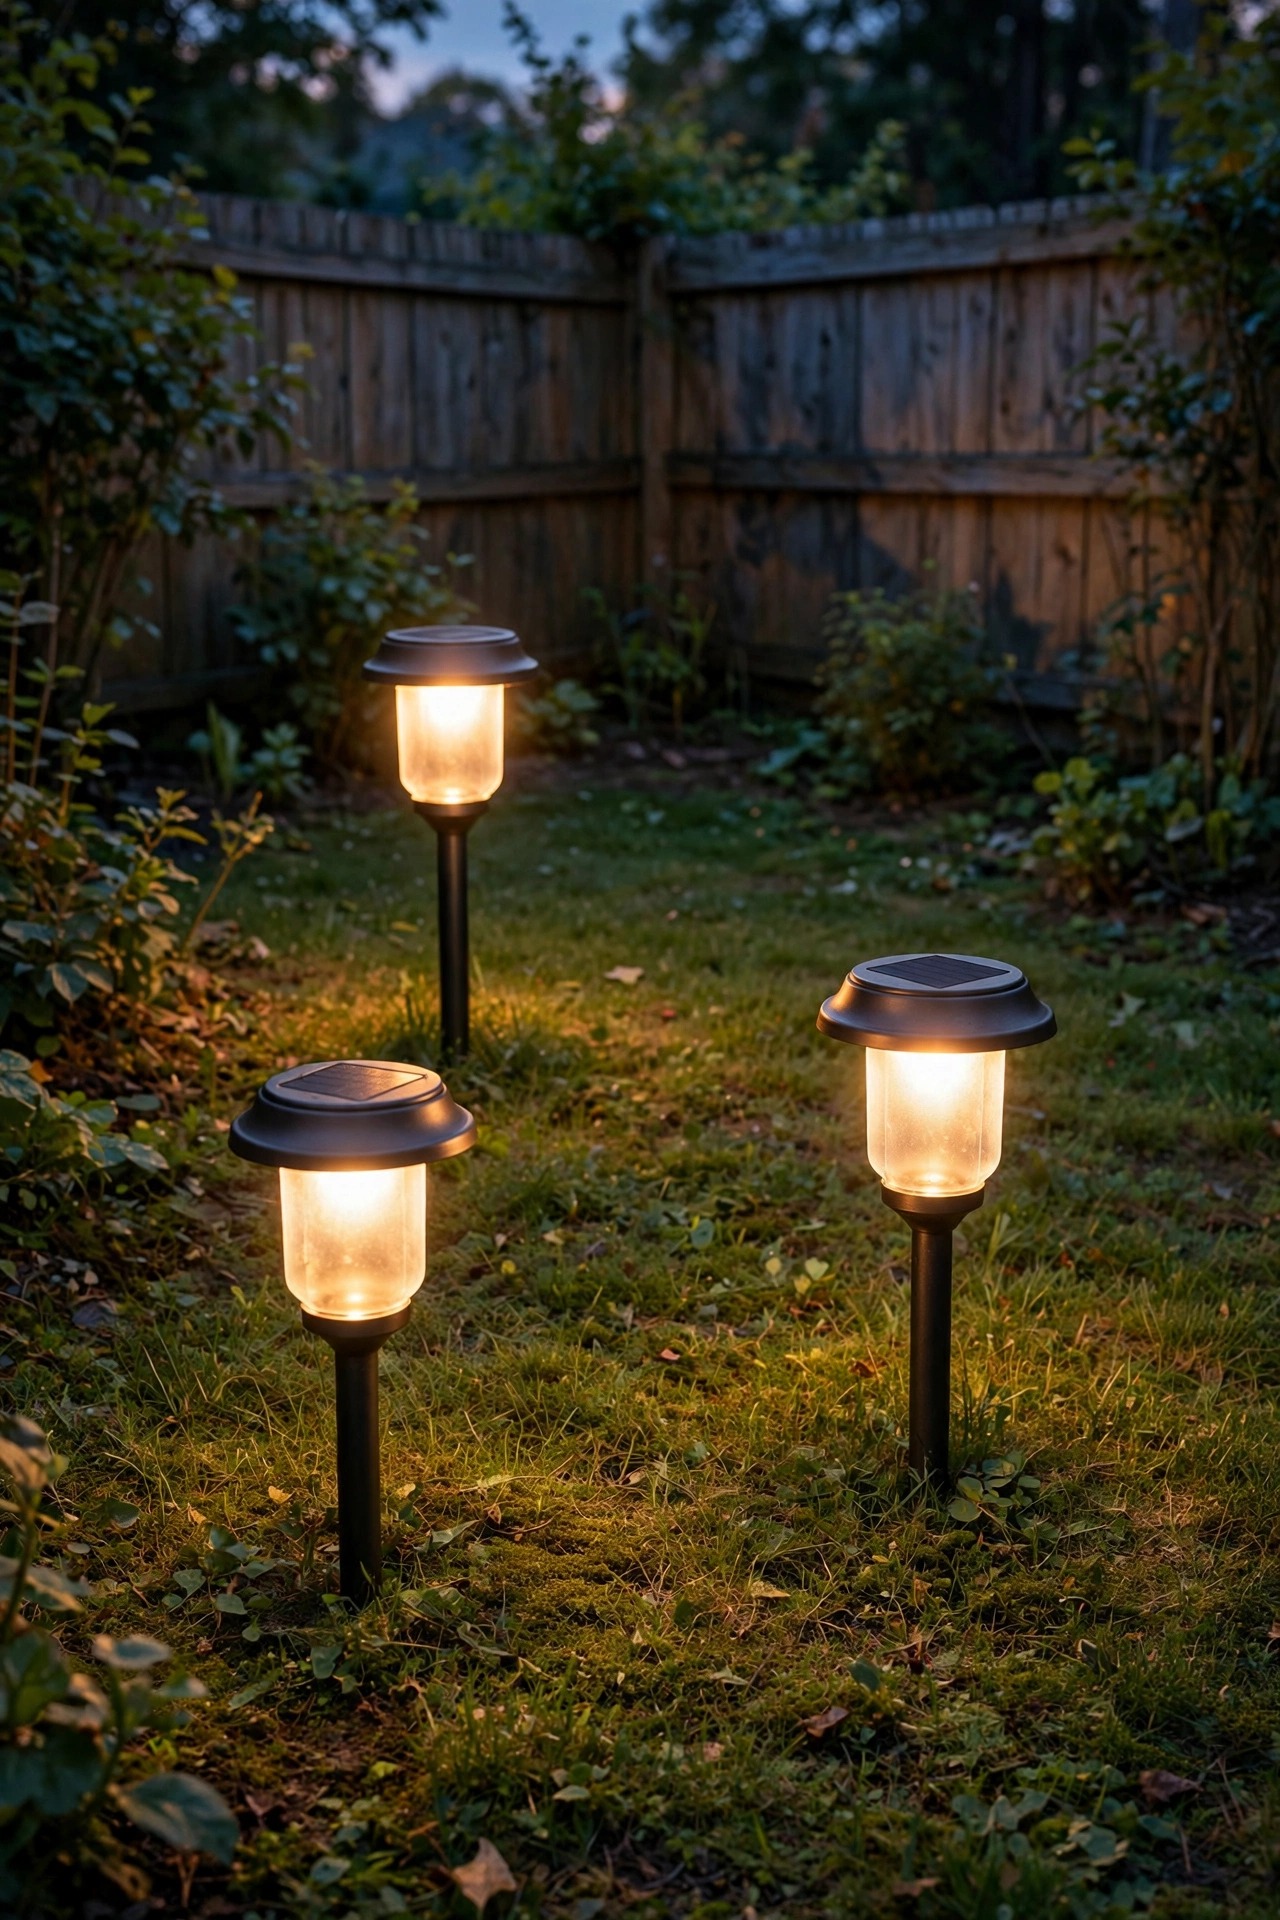
When a corner has no tree and no structure, I fake a focal point with geometry: three solar path lights planted in a loose triangle, points facing into the yard. The triangle reads as intentional design — your eye connects the dots — and it pulls the corner forward visually instead of letting it sag into shadow. Space the stakes 4 to 6 feet apart, keep them 12 to 18 inches out from the fences so mowing stays easy, and stagger heights if your set allows it. Warm-white models around 2700K to 3000K blend with the rest of your lighting; avoid the blue-white solar stakes that make everything look like a runway. One honest warning: fence corners are shade magnets, and solar panels in a corner may only see four or five hours of direct sun. Choose lights with a separate panel you can mount up on the fence in the sun while the fixtures sit below, or accept a shorter runtime in winter. In my yard the triangle runs a solid six hours after dusk in summer, which is all the corner really needs.
Suggested budget range: $15 – $40.
6. Graze Both Fences With Wall-Wash Light
A fence corner has two long faces of wood or vinyl that just sit there, flat and dark. Grazing light fixes that. I place one low well light or wall-wash fixture 6 to 12 inches out from each fence, aimed straight up its face, so the beam rakes across the boards and every knot and grain line pops in warm relief. The two washes meeting in the corner create a bright vertical seam that makes the whole yard feel taller. Fixtures in the 200 to 400 lumen range are plenty — grazing exaggerates brightness — and a 60-degree or wider spread softens the hotspot at the base. If your fence is pale vinyl, dim it further or step back another foot; white surfaces bounce hard. This trick flatters weathered cedar most, which is why I borrowed it from our fence lighting ideas playbook. Keep fixtures tucked against the fence line so they disappear into the planting bed, and angle them a few degrees away from the house to keep the shine off your own windows.
Suggested budget range: $35 – $90.
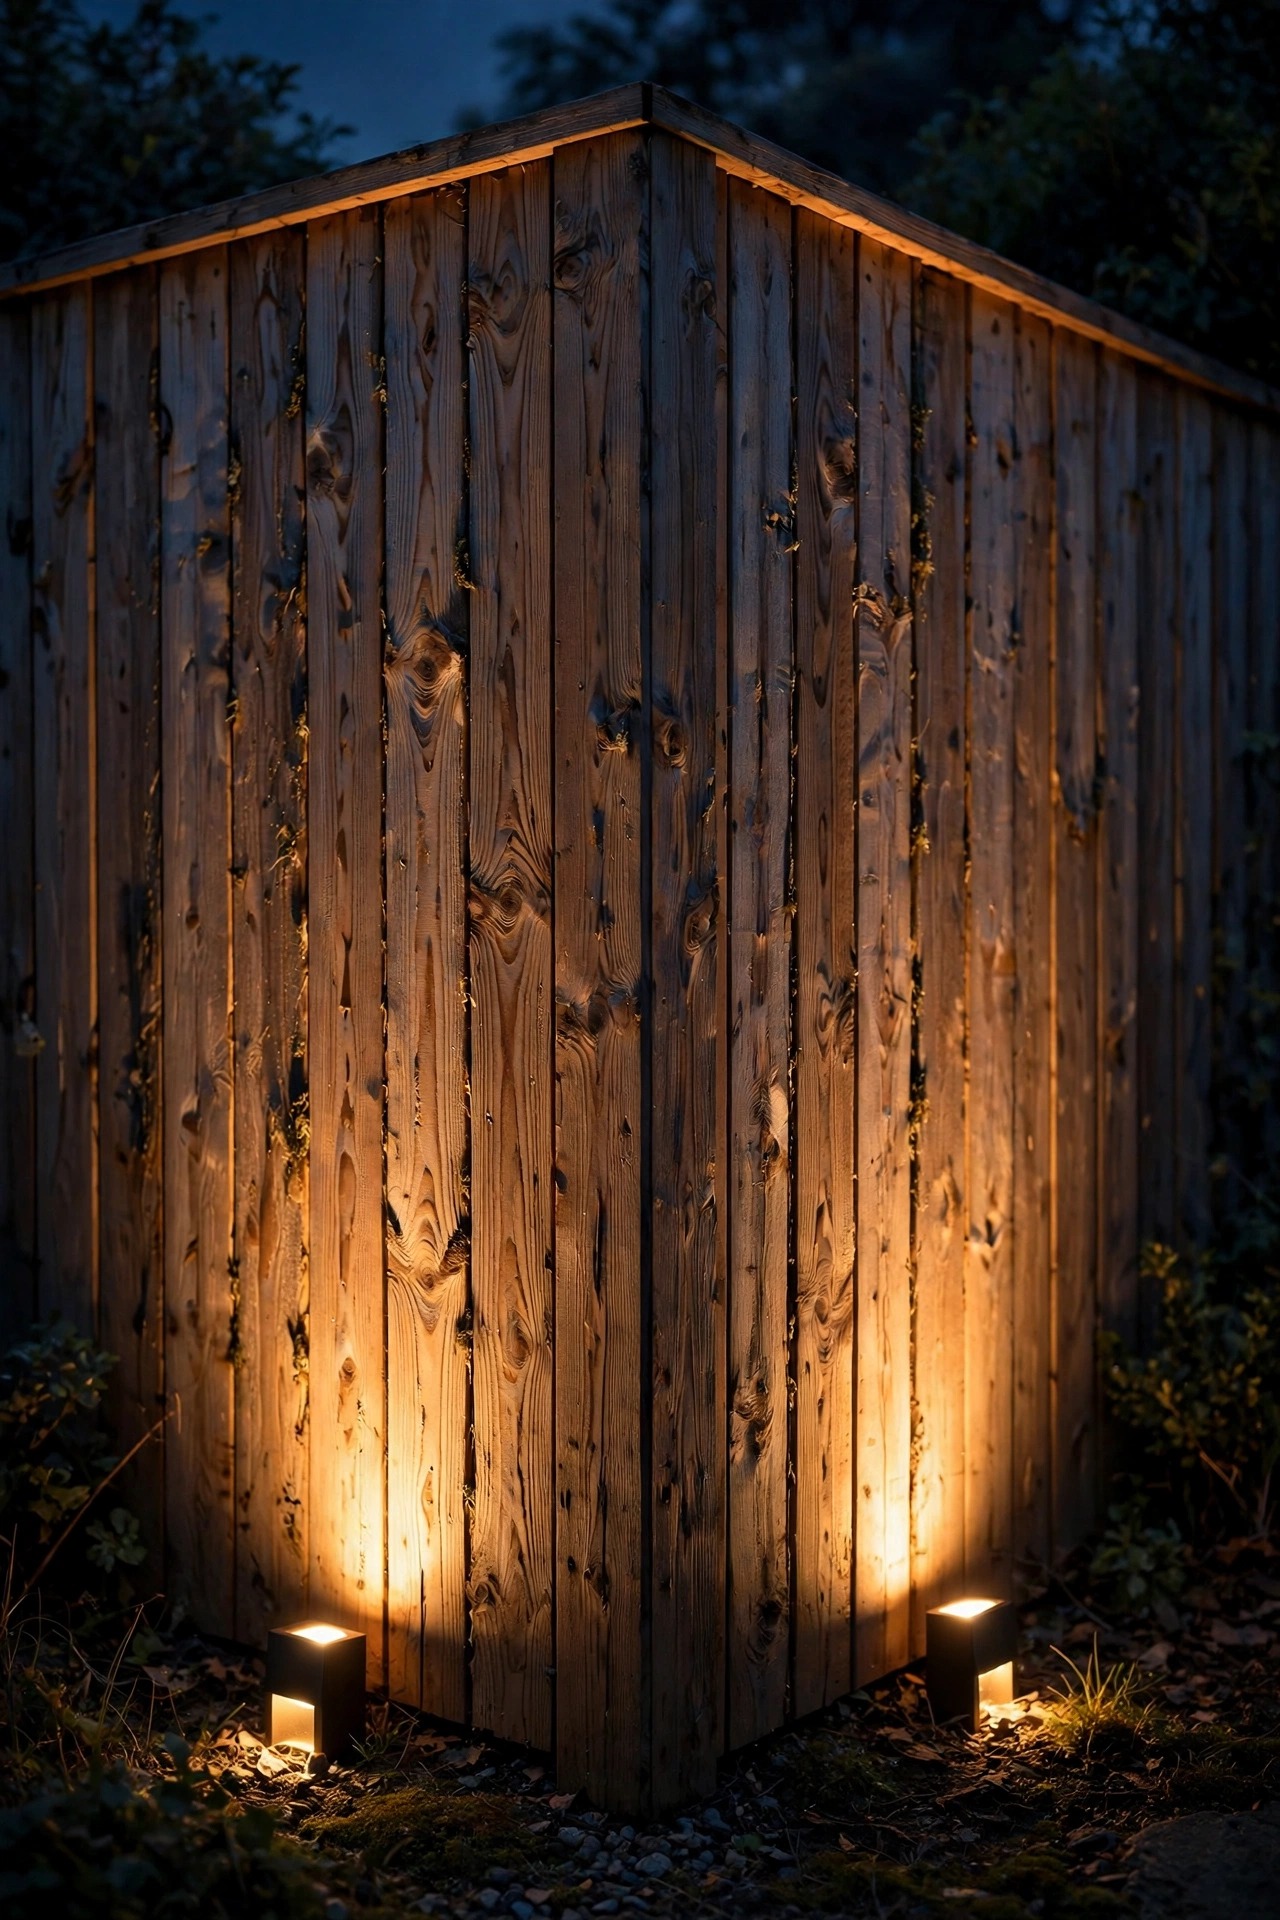
7. Corner Backyard Lighting Ideas With Moonlighting for a Dreamy Glow
Moonlighting is the softest trick in this whole list, and corners are made for it. The fixture mounts high — 15 to 20 feet up in the corner tree — and shines down through the branches, so the corner fills with dappled pools of light that shift a little in the breeze, exactly like a full moon. Because the source hides in the canopy, guests see the effect and never the hardware. I use a 3000K LED here rather than my usual 2700K; the slightly cooler tone reads as moonlight instead of lamplight, and it makes green foliage look lush. One fixture usually covers a corner generously, since the light falls in a wide cone; a second, dimmer head aimed into the fence angle kills any leftover black wedge. The honest catch: getting a fixture safely 18 feet up a tree is pro territory for most of us, or at least tall-ladder-and-a-helper territory. Budget for the mounting hardware and a long cable run down the trunk, strapped loosely so the tree can grow. Once it's up, you'll use this corner every single night.
Suggested budget range: $45 – $120.

8. Build a Corner Reading Nook
Give a corner a job and it stops being awkward. Mine is a reading nook: a small bench tucked into the angle, a side table, and one shepherd's-hook lantern post standing just behind my shoulder. The lantern hangs about 4 feet off the ground — reading height — with a warm 2700K bulb around 400 lumens, bright enough for a paperback and dim enough to stay cozy. Frosted or seeded glass matters here; a bare bulb at eye level will glare you right out of the seat. If a post feels like too much project, hang the lantern from a fence hook on the shadier side and let the fence act as the backrest of the scene. Add a second, ground-level lantern by your feet to separate the nook from the dark lawn beyond — that little pool of light at ground level is what makes the space feel like a room. Outdoor cushions in a light color bounce a touch of glow back up, and a small solar lantern on the table covers nights when you forget the main one. Twenty minutes out here is my favorite part of summer.
Suggested budget range: $40 – $110.
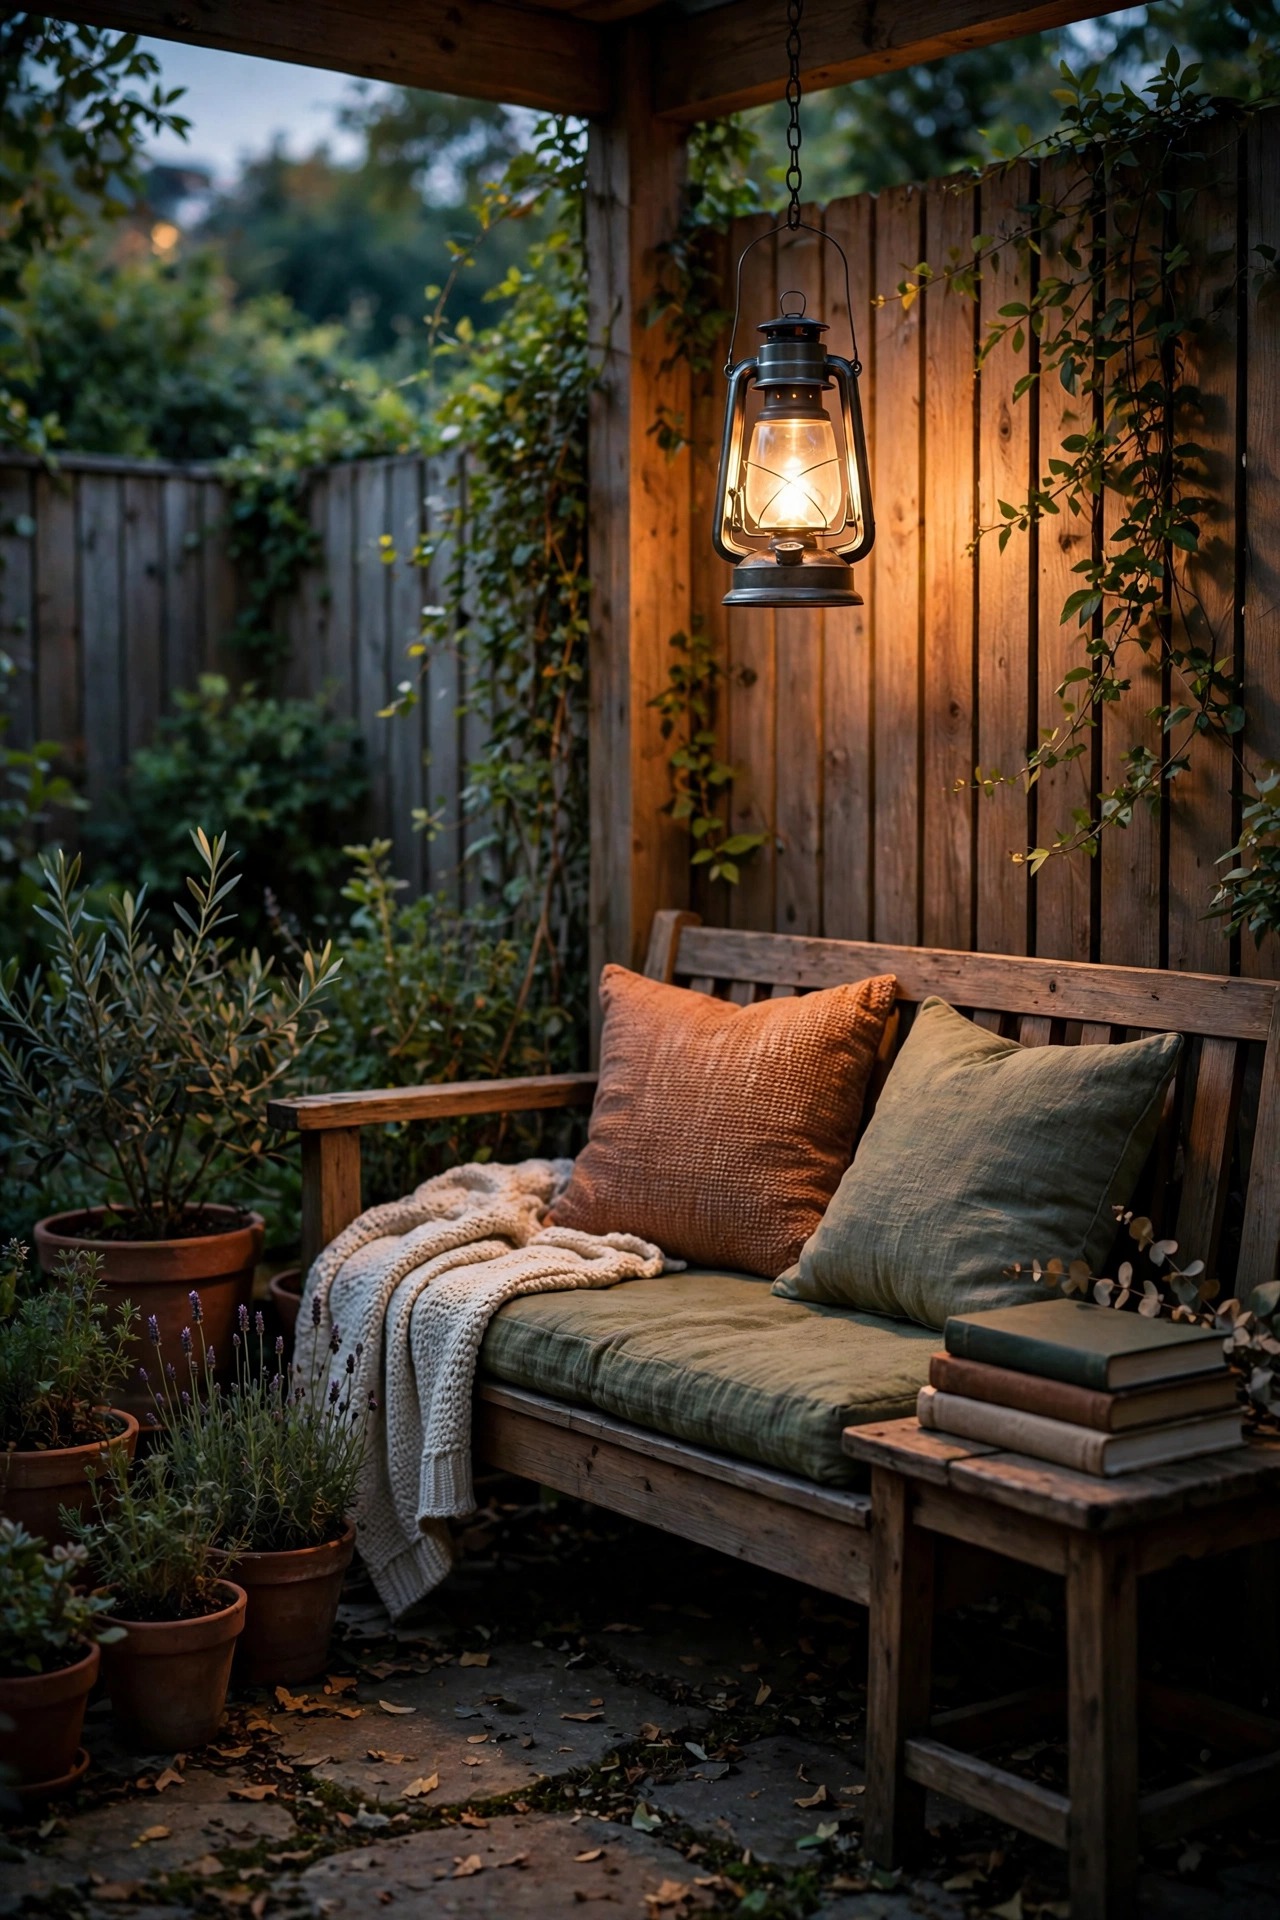
9. Light the Bend Where the Path Turns
Most backyard paths don't run straight — they bend, and the bend usually happens at a corner. That turn is exactly where someone trips on a sprinkler head, so I always give it deliberate light. A pair of low bollards or shielded path lights flanking the turn works best: one just before the bend, one just after, spaced about 5 to 6 feet apart along the walking line. Shielded fixtures that throw light down and out — never up into eyes — keep the path readable without runway glare. Keep them 12 inches off the path edge so feet and mower wheels clear them, and match the finish to your other path lights so the corner ties into the route instead of looking like an afterthought. If the turn is tight, a single taller bollard, around 24 inches, on the outside of the bend throws the widest pool. Solar versions survive here only if the bend gets real sun; a shaded corner bend deserves a wired fixture on the same low-voltage run as the rest of the path. Test it barefoot at dusk — that's the honest review.
Suggested budget range: $30 – $80.
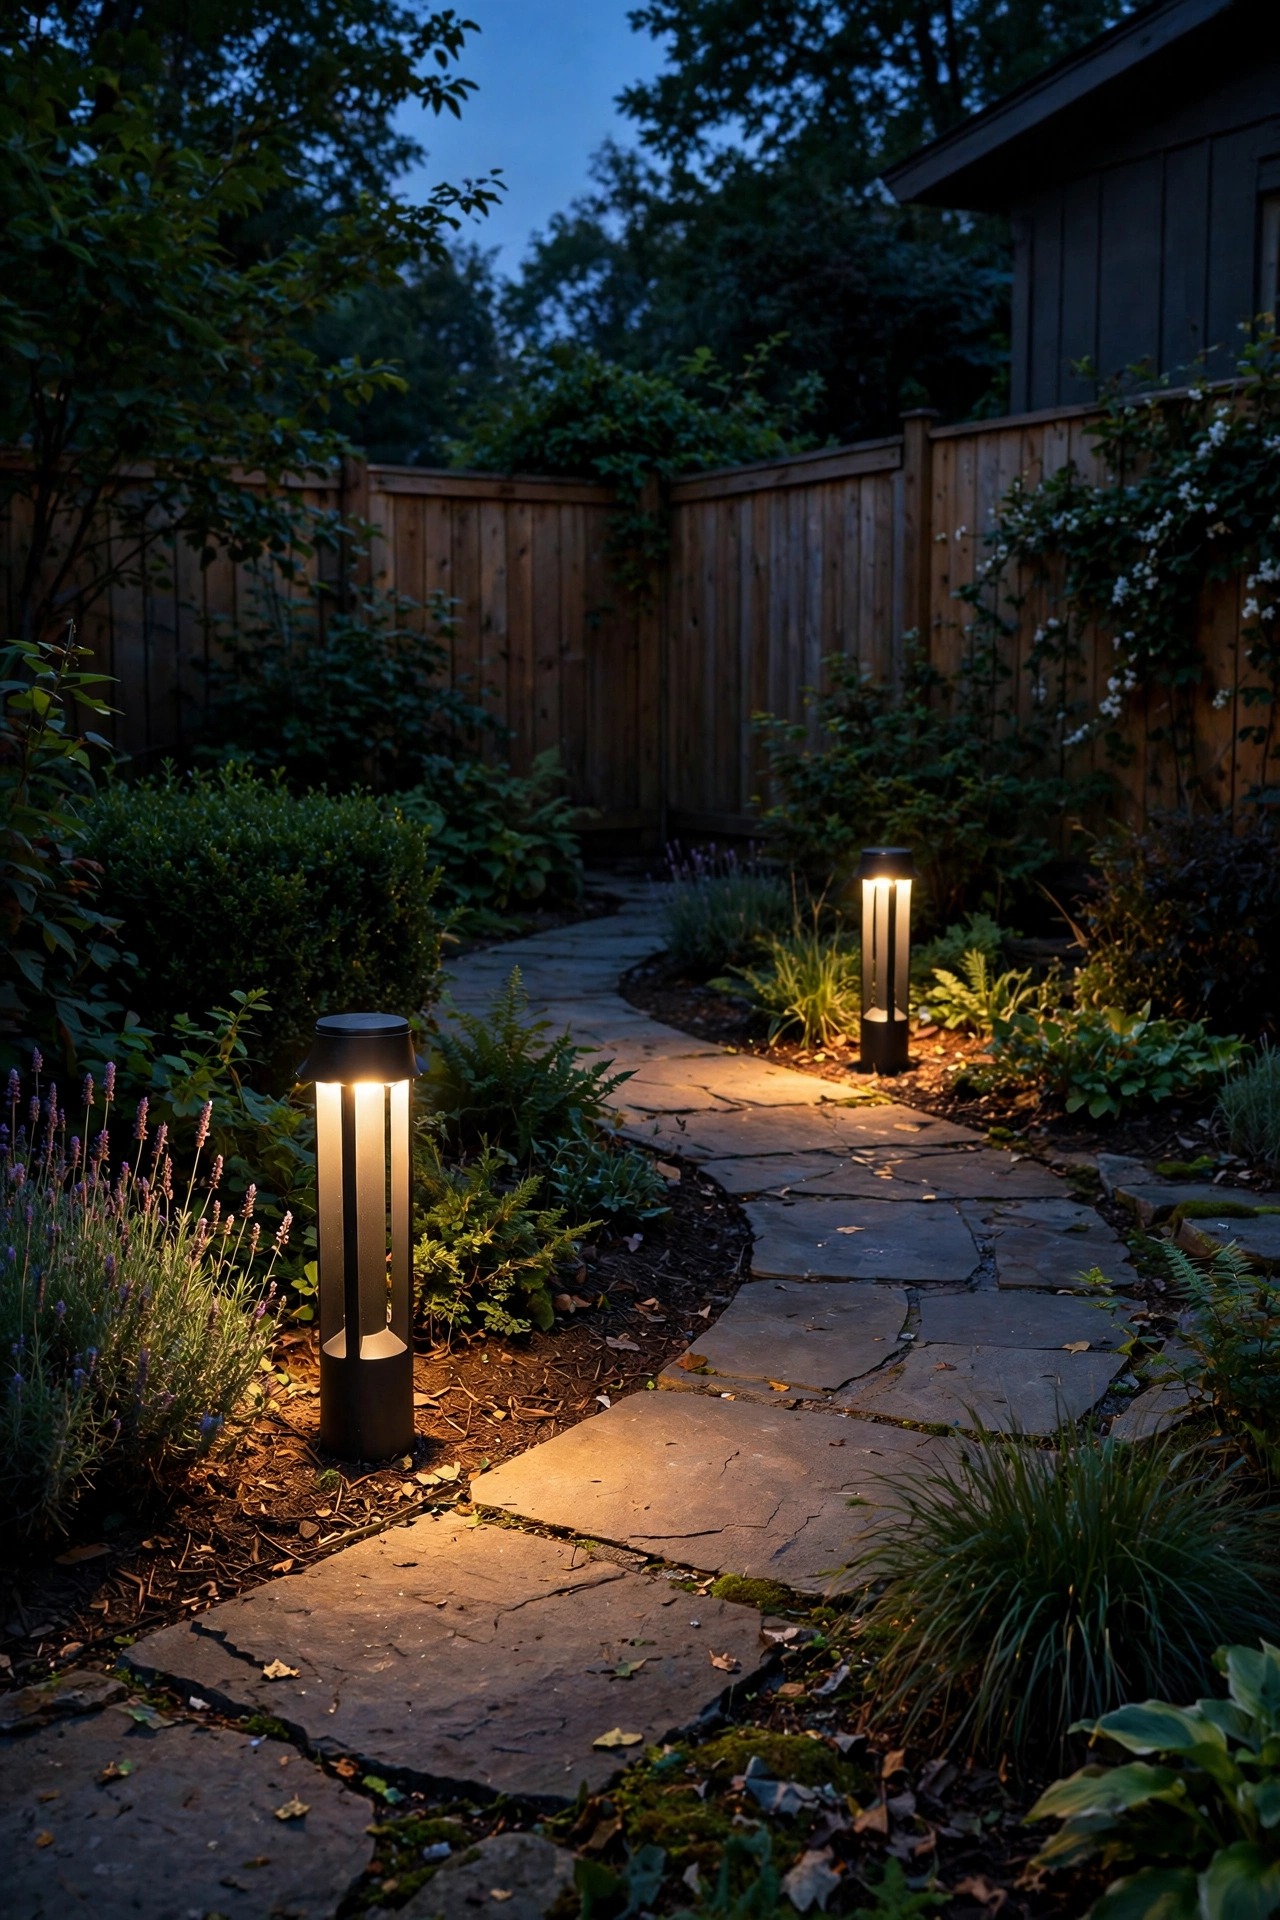
10. Tuck Fairy Lights Into the Corner Shrub
The corner shrub — you know the one, planted to hide the fence junction and now vaguely enormous — is a fairy-light canvas. I weave two strands of copper-wire fairy lights through the outer branches, working from the trunk outward and keeping the density loose, about 100 lights for a medium shrub. The wires disappear against bark, so after dark the shrub looks dusted with fireflies instead of decorated. Battery packs tuck into a small weatherproof box at the base, hidden under mulch; solar versions work if the top of the shrub catches afternoon sun above the fence line. Set the timer for dusk plus six hours and forget it. Warm-white, always — multicolor reads holiday, and this is an all-summer look. Evergreens carry it best because the foliage gives the lights depth, but a lilac or hydrangea in leaf works beautifully too. One caution: wind works strands loose over a season, so weave rather than drape, and give the shrub a gentle shake test after you finish. When the rest of the yard goes dark, this corner still twinkles, and it costs less than a pizza.
Suggested budget range: $10 – $25.
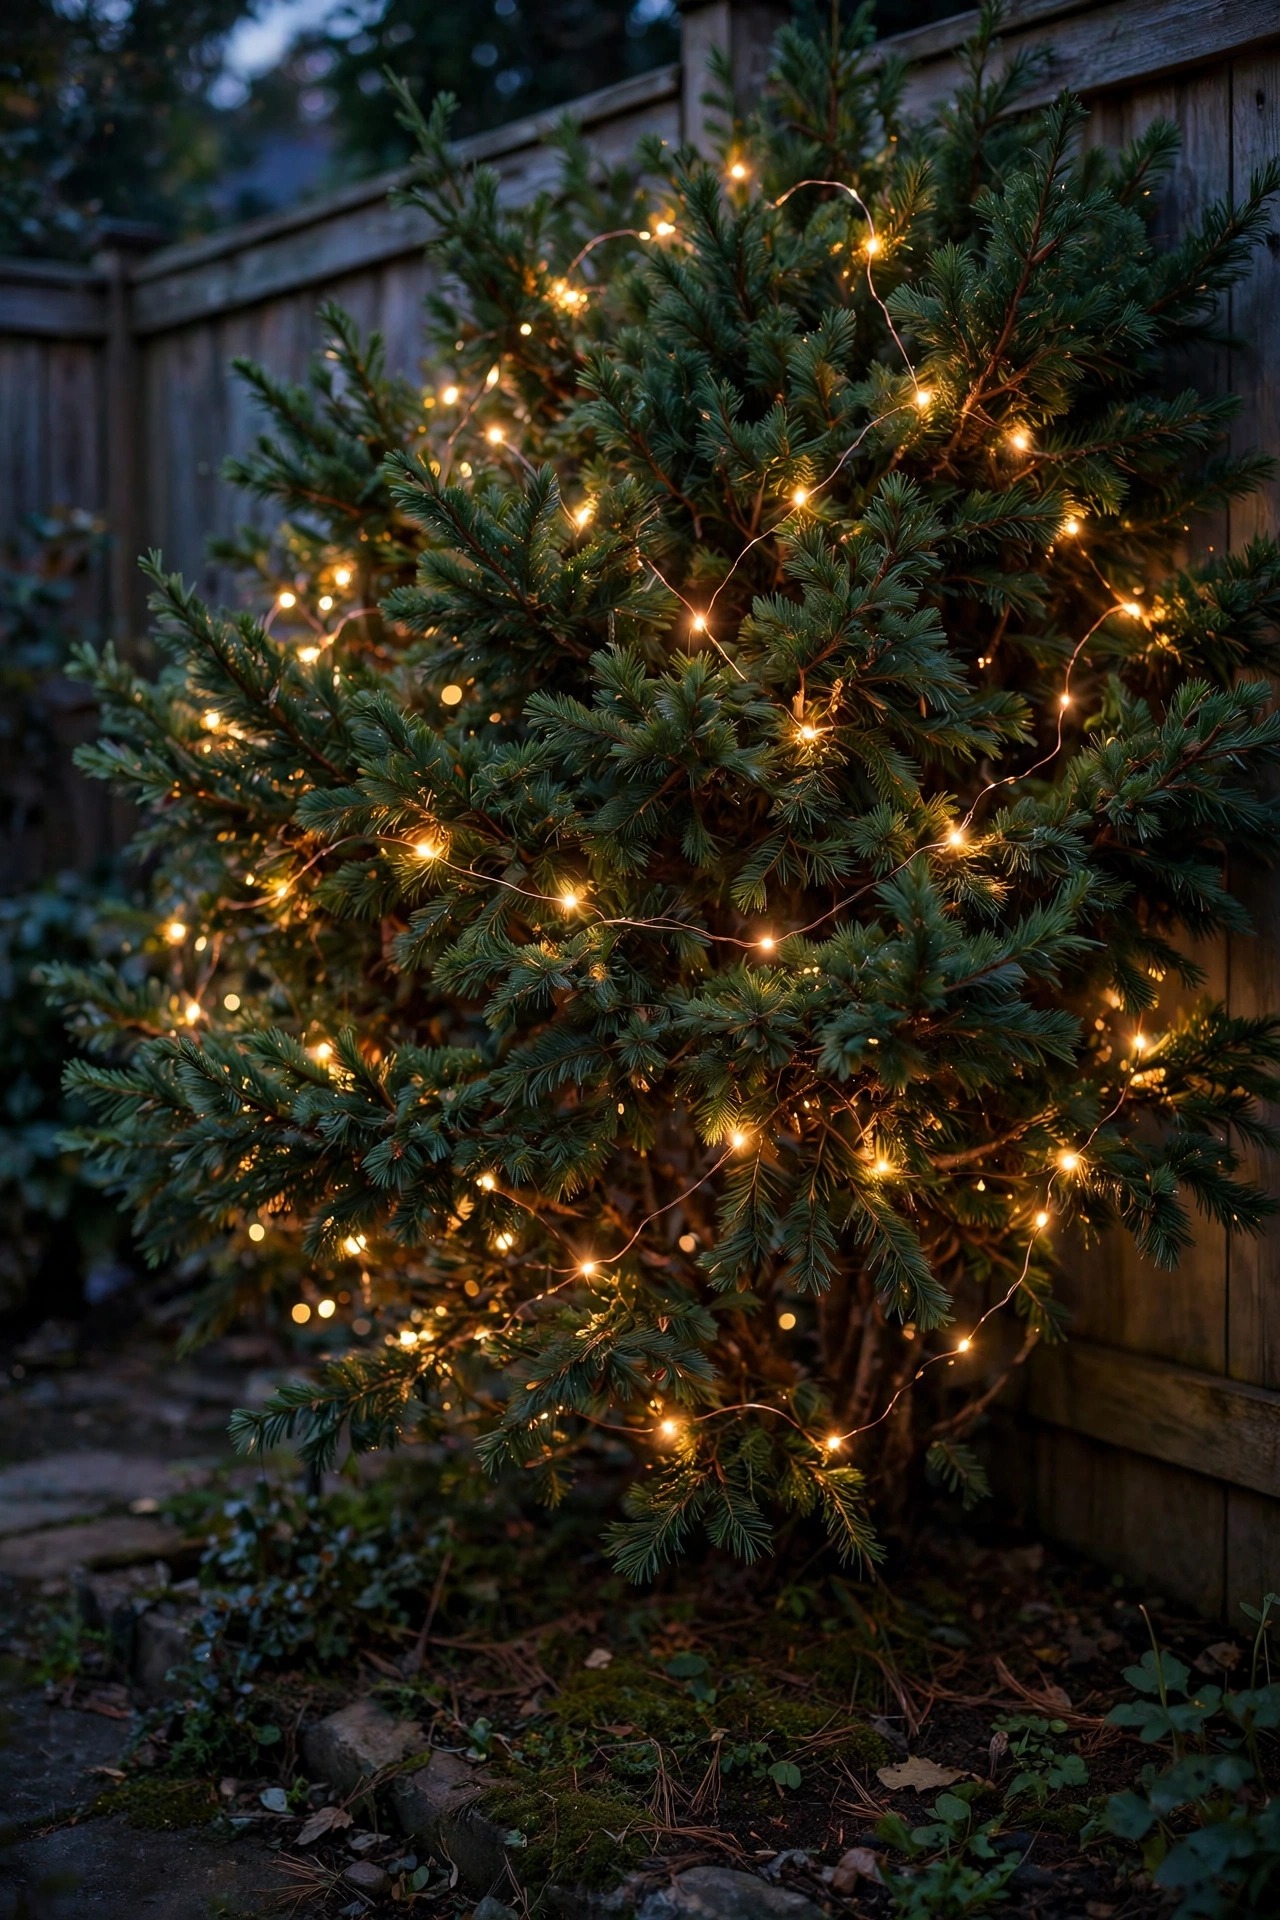
11. Add a Corner Water Feature With Submersible LEDs
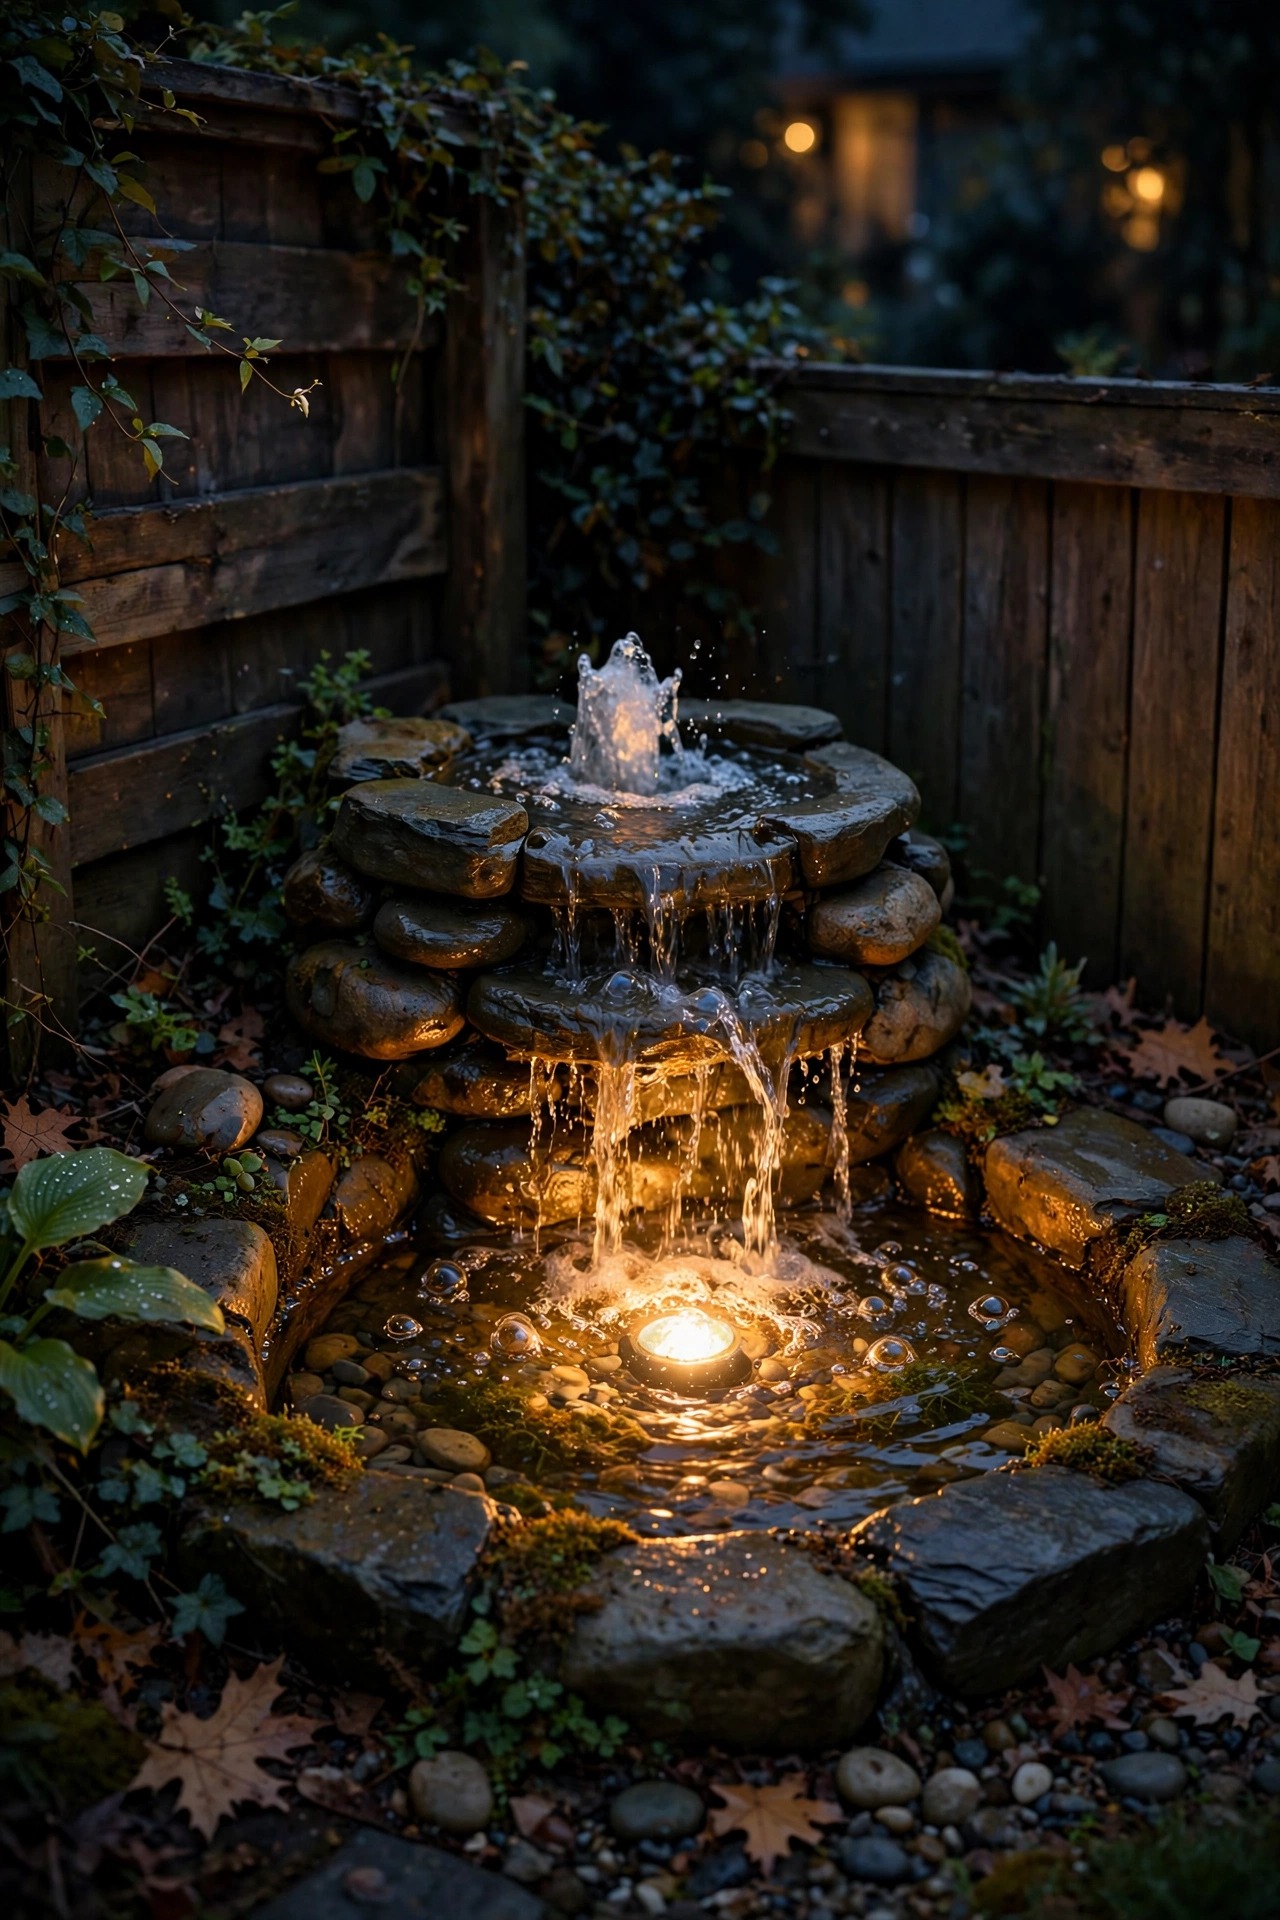
A corner is the perfect home for a small water feature, because the two fences bounce the sound back into the yard and make a tiny fountain sound twice its size. I use a simple bubbling urn or a small tiered fountain pushed into the angle, with one submersible LED tucked into the basin pointed up through the water column. Moving water over warm light shimmers on the fence boards behind it — free animation, no extra fixtures. Keep the light modest, 100 to 200 lumens; the sparkle does the work, not the wattage. Run the cord along the fence base in a shallow conduit or under mulch, and plug it into a GFCI outlet without exception — water and electricity share an address here. A few flat stones around the base hide the cord and give frogs and birds a perch, which is its own evening entertainment. In freezing climates, drain and store the pump before the first hard freeze, and the light lifts out with it. Sit anywhere in the yard and you'll hear this corner before you see it, and that layered effect — sound plus shimmer — makes the smallest corner feel designed.
Suggested budget range: $70 – $200.
12. Graze a Stone Corner or Retaining Wall
Where a retaining wall or stone edging turns a corner, grazing light turns flat masonry into sculpture. I set a narrow-beam spotlight just 6 inches from the wall's base, aimed almost straight up, so the light skims the surface and every stone edge throws a tiny shadow. The tighter the beam — 15 to 24 degrees — the more dramatic the texture. At the corner itself, angle the fixture on the diagonal so it washes a little of both wall faces; the lit seam becomes a vertical ribbon that anchors the whole bed. Warm 2700K makes limestone and fieldstone look honeyed; cooler light turns the same wall gray and chilly, so stay warm. Because grazing exaggerates everything, dust and cobwebs included, give the wall a brush-down before install day. Solar grazing lights rarely have the punch for this — a wired low-voltage fixture earns its keep here. If your stone corner is a raised bed, echo the trick with one small light at the bed's outer corner so the levels rhyme. It's the most complimented light in my yard, and it's a single fixture.
Suggested budget range: $30 – $75.

13. Rustic Corner Backyard Lighting Ideas With Mason Jar Sconces
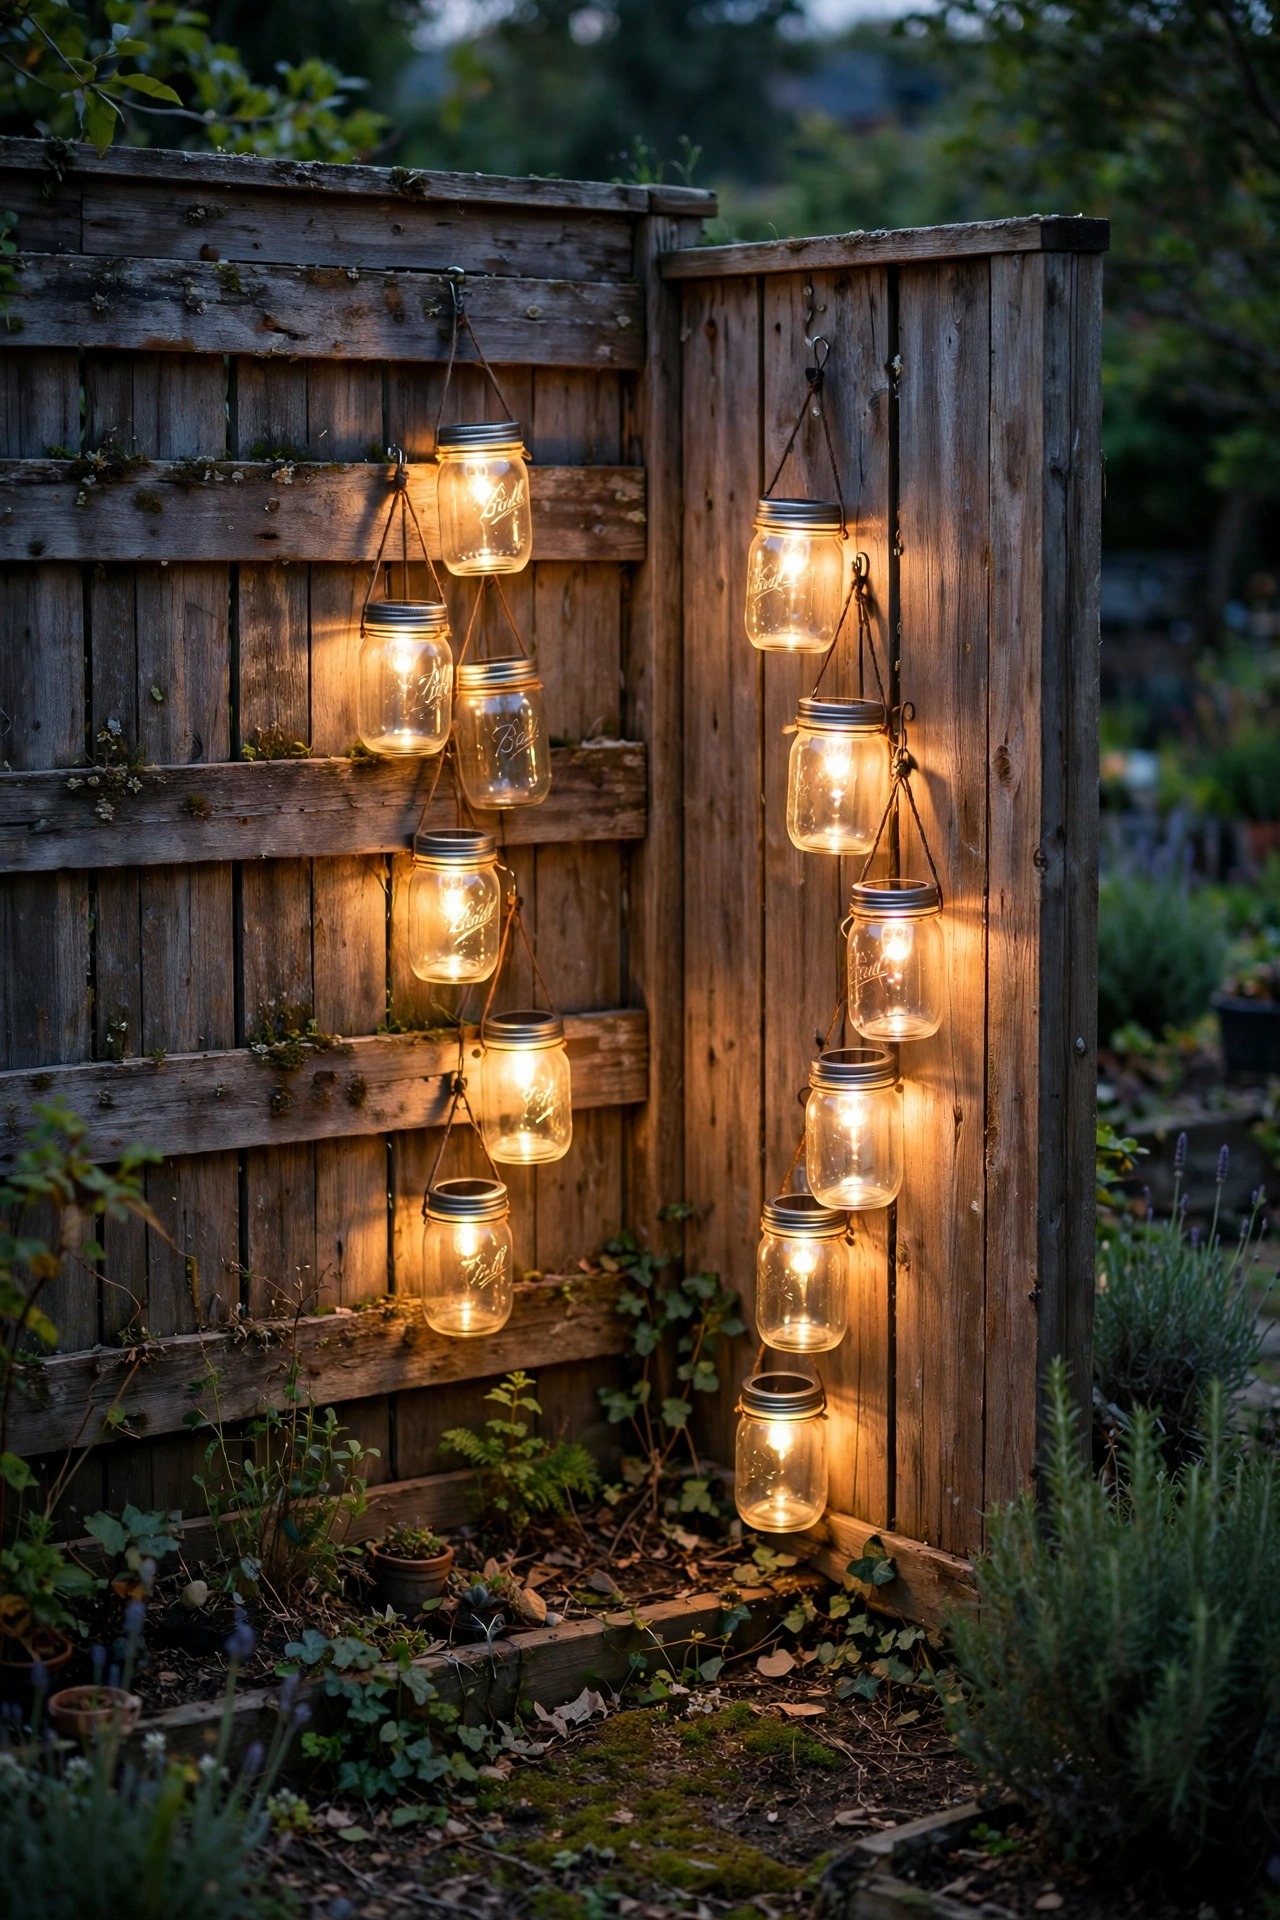
For a corner that leans farmhouse, mason jar sconces are the sweetest cheap trick I know. Solar lids with built-in LEDs screw onto standard jars, and the whole thing hangs from a simple hook or a short wooden bracket mounted on the fence. I cluster three jars on each fence face, stepping down from about 6 feet to 4 and a half, so the corner glows in a little descending arc. Frost the glass with a light spray if the bare LED dot feels too sharp — the jar becomes a soft lantern instead of a bulb in a bottle. Because each jar is its own solar unit, there's no wiring at all, which makes this the renter-friendliest idea on the list; hooks come off without a trace. The honest limits: output is gentle, more mood than illumination, and cheap solar lids last a season or two before the batteries tire. Pair the jars with one stronger light nearby — a path light at the corner's base — and the combination reads as a designed vignette. Total install time in my yard: under an hour, including lemonade.
Suggested budget range: $15 – $45.
14. Spotlight a Corner Focal Piece
Every yard has one object that deserves a portrait: a statue, a birdbath, a sculptural planter. Moving it to the corner and lighting it properly turns dead space into a gallery. I set one narrow spotlight 24 to 36 inches in front of the piece, angled up about 30 degrees, and offset it slightly to the side so the light models the shape instead of flattening it — the rule from portrait photography works outdoors too. From the main seating area, you should see the lit object and never the fixture, so sink the light into the planting bed and let a fern or grass clump screen it. A second, much dimmer light behind the piece, aimed at the fence, separates it from the background with a halo; that backlight is the difference between nice and wow. Keep the main beam in the 200 to 300 lumen range — objects in dark corners need less light than you think, because your eyes adjust to the darkness around them. Swap the featured object seasonally if you like: pumpkins in fall, a lantern cluster in winter. The light stays; the exhibit rotates.
Suggested budget range: $25 – $70.

15. Add Step Lights to a Corner Deck Stair
Decks love to end in a corner staircase, and that last dark step is where ankles get negotiated. I add recessed or surface-mount LED step lights to the risers — one light for every two steps, centered or hugging the outer edge where feet actually land. Warm 2700K keeps the deck glow consistent with the yard, and each tiny fixture uses barely a watt, so a whole staircase sips power. Surface-mount versions are the weekend-friendly route: two screws, a low-voltage connection, done in an afternoon without cutting into the riser. Recessed versions look cleaner but mean drilling, so plan them during a deck build or repair. Light every step evenly; a pattern of lit-dark-lit reads as decoration and confuses feet at night, which defeats the purpose. If the staircase turns a landing — many corner stairs do — put one light on the landing riser too, aimed across the turn. Tie them into the same transformer and timer as the path lights so the whole route from door to lawn lights as one system. Guests will never notice these lights, and that's the compliment.
Suggested budget range: $35 – $95.

16. Plant a Glow Garden in the Corner Bed
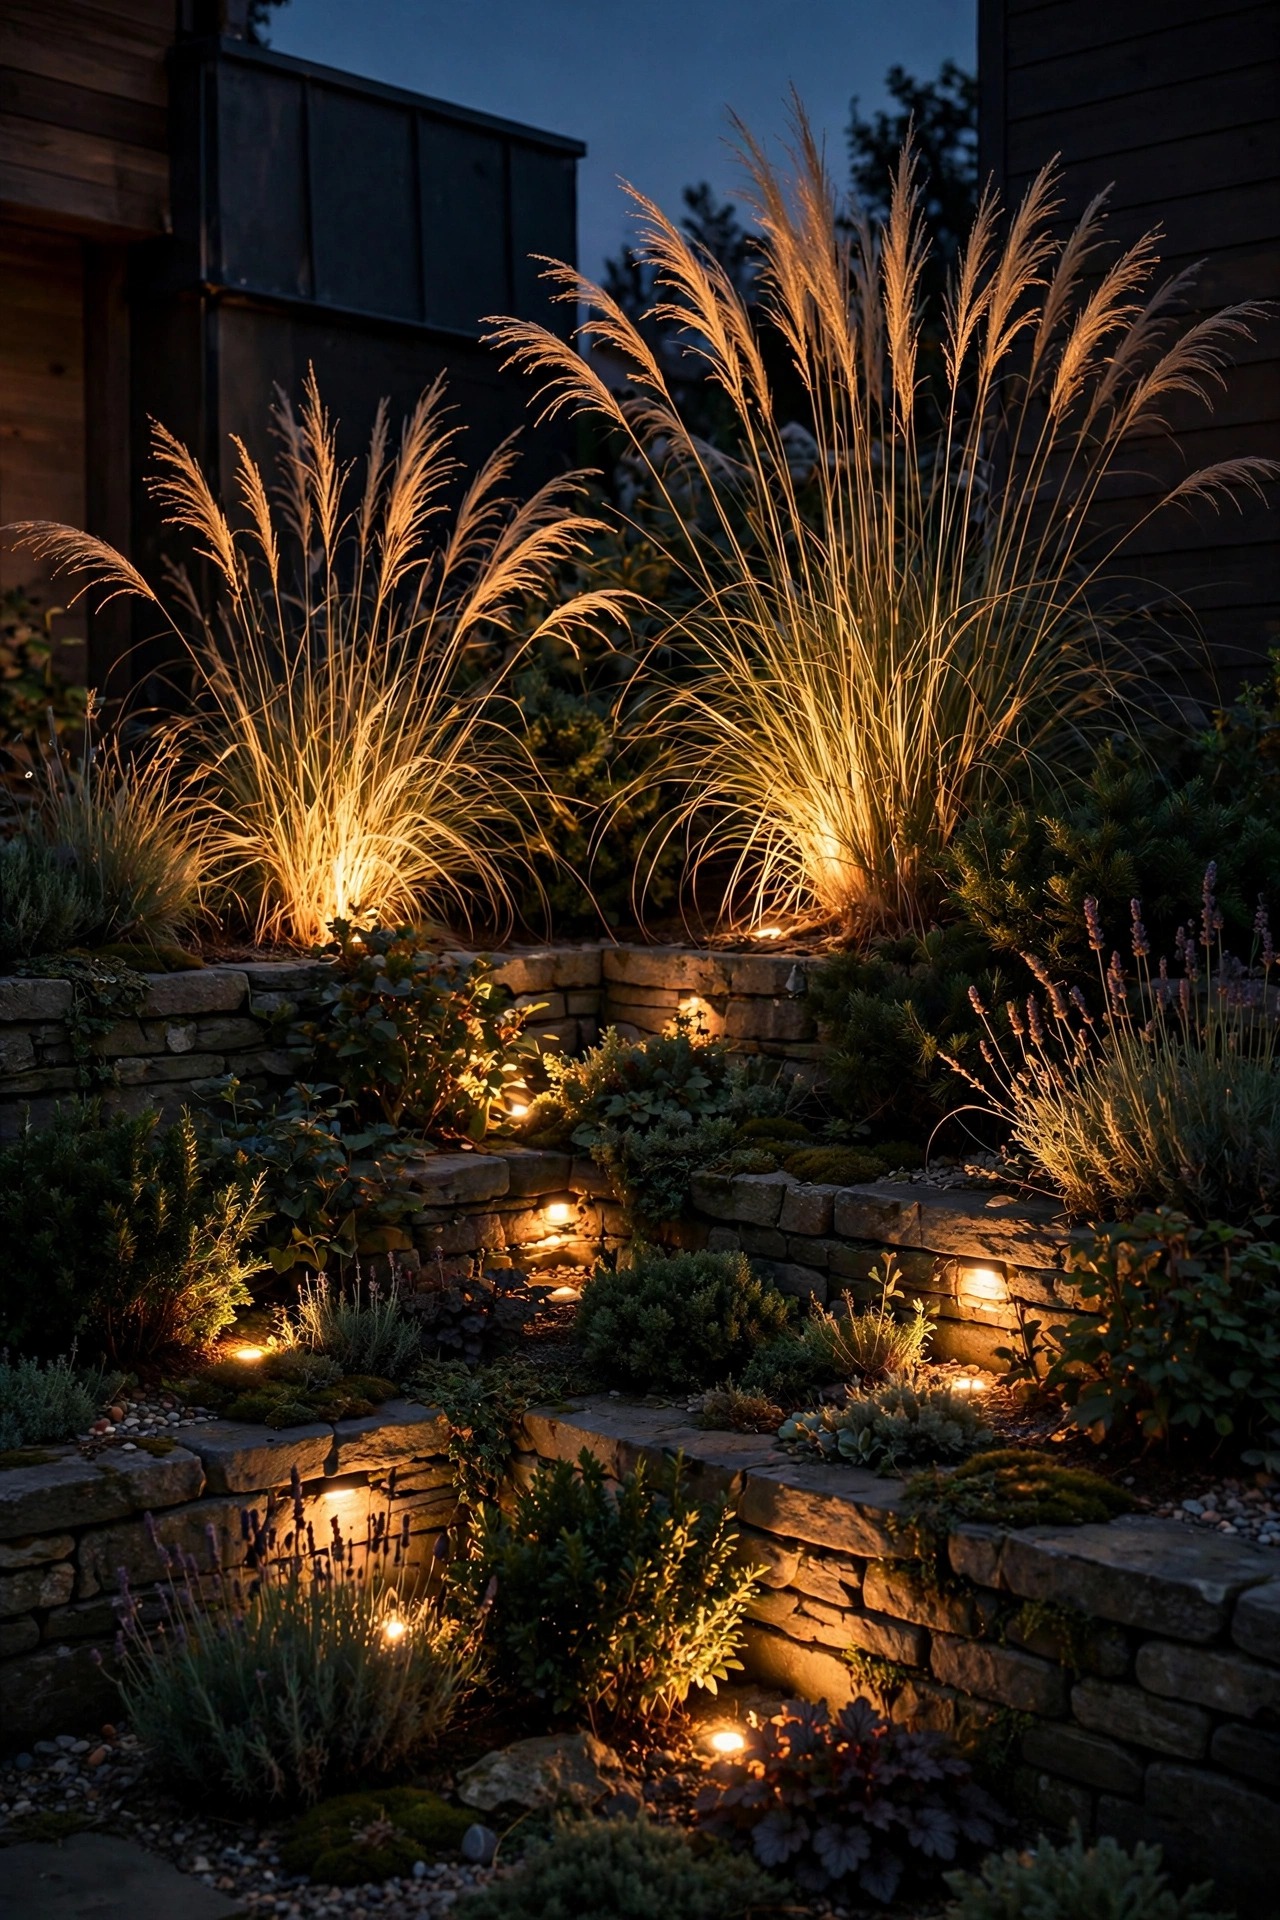
When in doubt, plant the corner and light the planting. I built a layered bed in my worst corner — tall grasses at the back against the fences, mid-height shrubs in front, and a skirt of low perennials — then tucked three small uplights into the mulch at staggered depths. Backlighting ornamental grass is the move: the blades glow like fiber optics and throw soft shadows on the fence, doubling the bed's visual size. Space the lights 3 to 4 feet apart and aim the back pair at the fences rather than the plants themselves, so the corner fills with bounced light and nothing looks spotlit or staged. Fixtures disappear completely under mulch and foliage, which keeps the daytime view clean. Choose plants that hold winter structure — grasses, small evergreens — so the corner earns its light in January too. This is also the most forgiving setup for renters and beginners, because moving a light means raking aside mulch, not re-wiring. Water deeply the first season, prune the grasses in early spring, and the corner basically maintains itself while looking like a magazine spread every single night.
Suggested budget range: $40 – $100.
17. Hang a Pendant From a Corner Arbor
A small arbor or a single pergola post planted in the corner gives you something priceless: a ceiling. From its crossbeam I hang one outdoor pendant lantern centered over a café table or a bench, about 6 and a half to 7 feet above the ground — high enough to clear heads, low enough to pool light where people sit. Plug-in pendant lights rated for damp or wet locations are the easy route; run the cord neatly down the post with cable clips and into a GFCI outlet on a timer. A seeded-glass shade softens the bulb's glare and throws a pretty pattern on the tabletop. The structure also gives climbing vines a job, and a rose or jasmine scrambling up the post makes the corner smell as good as it looks. If building an arbor is too much project, a tall shepherd's hook with a hanging lantern borrows the same idea for a tenth of the effort. Either way, overhead light at sitting height is the layer most corners are missing, and it changes the space from decorated to furnished. Dinner for two out here feels like a restaurant patio.
Suggested budget range: $50 – $130.

18. Give the Working Corner a Motion-Sensor Flood
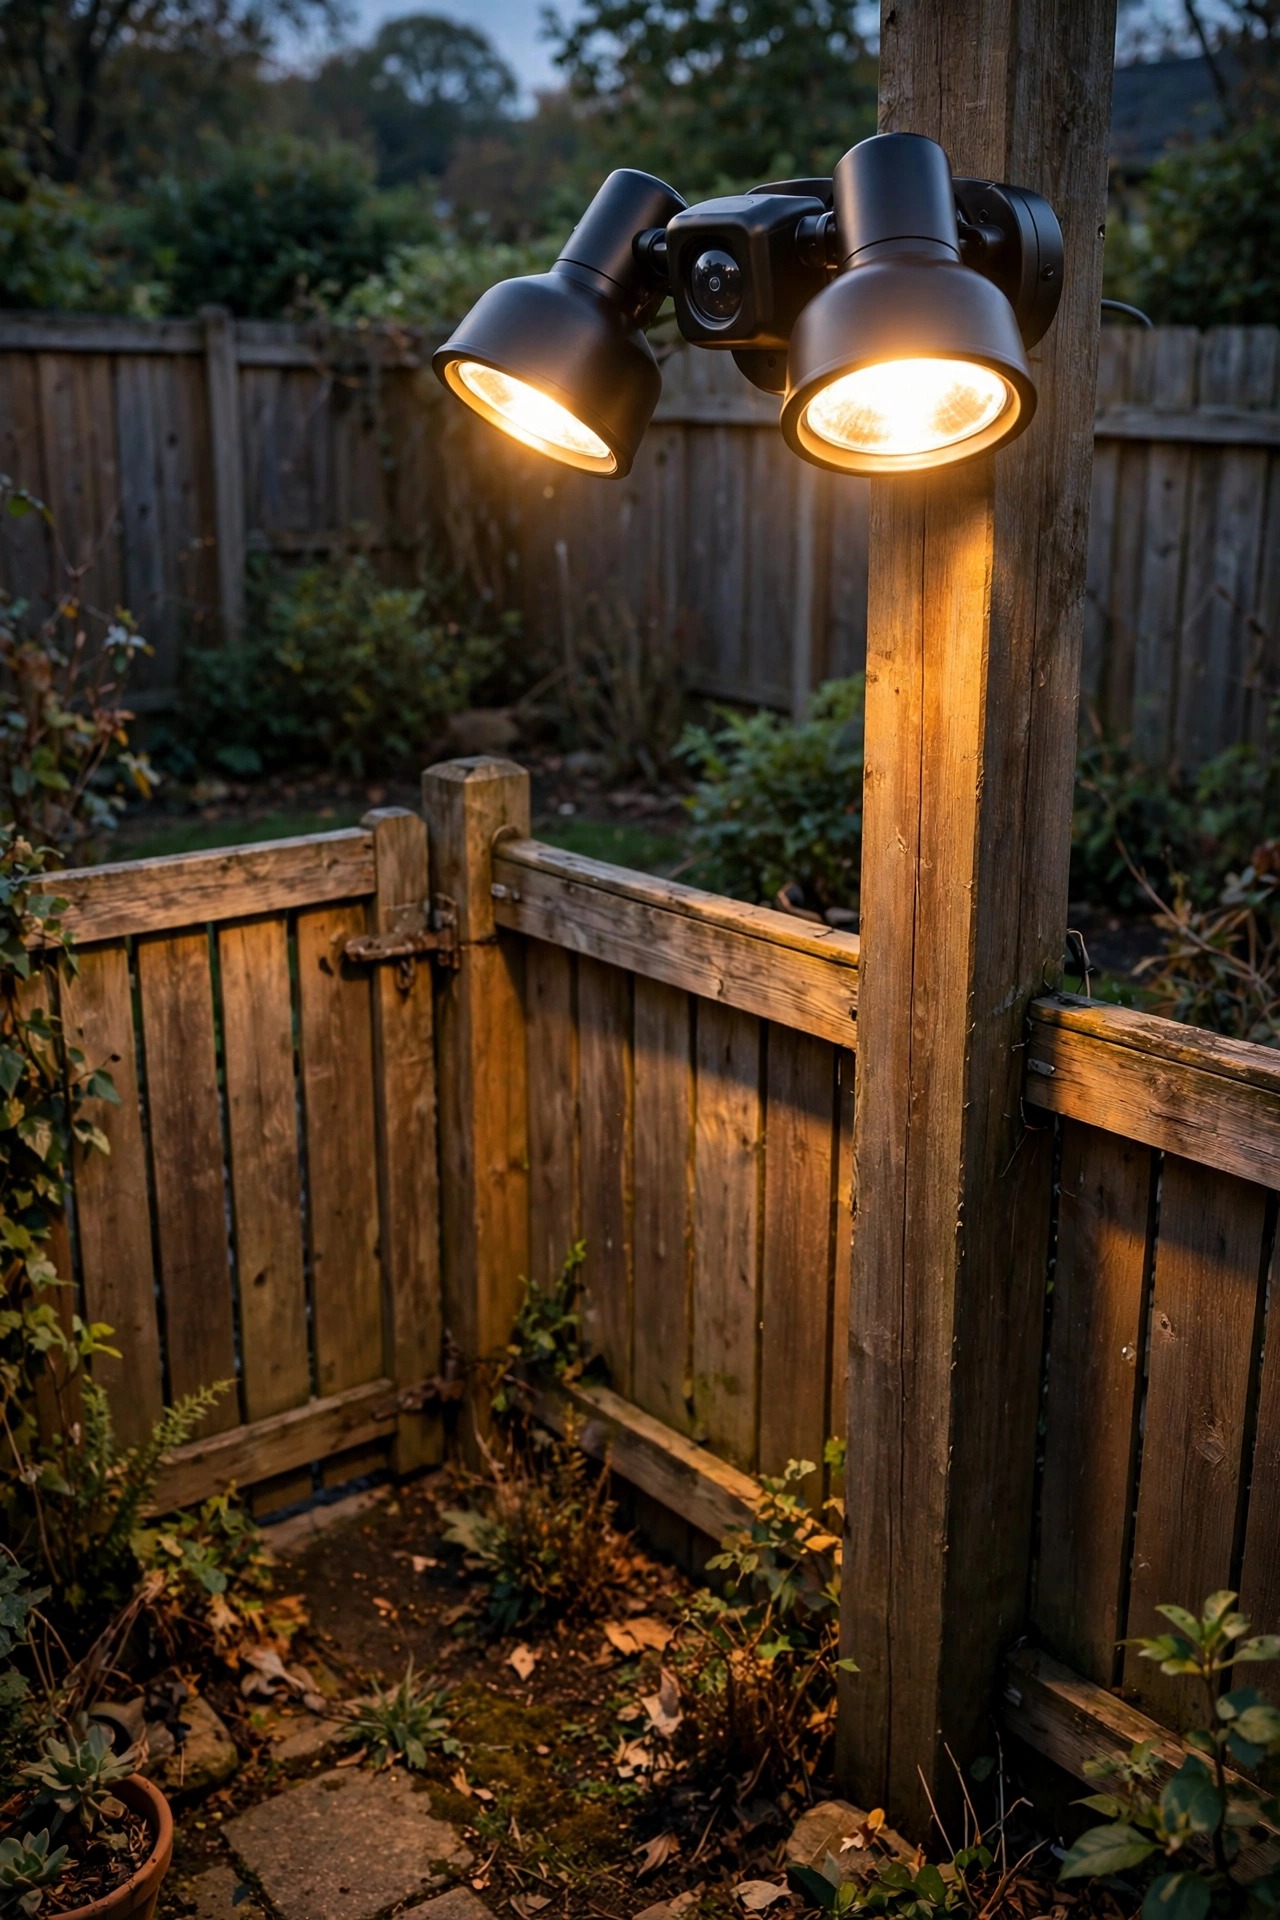
Some corners work for a living — the gate corner, the bin corner, the one the dog patrols. Those deserve honest security light, but done politely. I mount a dual-head motion-sensor flood on the fence post or the house wall facing into the corner, heads aimed down at about 45 degrees so the light lands inside your yard instead of over the fence into a neighbor's bedroom. Set sensitivity to medium and the range to 20 feet or so; a sensor that fires for every passing cat trains everyone to ignore it. Many models offer a gentle dusk-to-dawn low mode with a bright burst on motion, which is the best of both worlds — a soft marker glow plus a real deterrent. LED heads around 1,200 to 2,000 lumens are plenty for a corner; more just bounces off the fences and blinds the camera, if you have one. Pair it with a small solar path light at the gate latch so the everyday trip to the bins doesn't need the full stadium effect. Security lighting that respects the dark is a feature, not a nuisance.
Suggested budget range: $25 – $65.
19. Zone the Whole Corner on Its Own Timer
Here's how I finish every corner project: I put the whole corner on its own zone and its own schedule. Whether it's a separate low-voltage run, a smart plug, or one outlet on a timer, the corner lights together — on at dusk, off at 11 — while the rest of the yard does its own thing. Stagger the drama: set the corner to come on 15 minutes before the path lights, and it glows like a destination the whole evening points toward. Zoning also makes troubleshooting painless, because a dark corner means one run to check, not the whole system. This is the same trick pros use in small yard lighting tricks — treat each zone as a room with its own switch. Review the corner from inside the house, too; a lit corner framed in a window extends your living room visually all winter. Once a season, walk out with fresh eyes and adjust one thing: an angle, a dimmer setting, a plant that's swallowing a fixture. Corners aren't leftover space. On their own timer, layered and aimed with intention, they become the exclamation point at the end of the yard.
Suggested budget range: $15 – $55.
Frequently Asked Questions
How do I light a backyard corner with no outlet nearby?
You have two good routes. Solar and battery fixtures need no wiring at all, and several ideas above — the solar triangle, fairy lights, mason jar sconces — run entirely on them. For stronger light, run a low-voltage cable along the base of the fence from your nearest transformer; 12-volt cable is safe to bury shallow by hand, and a run of 75 to 100 feet is fine with the right wire gauge. Corners at the end of a run may need a slightly thicker cable to avoid dimming from voltage drop.
What color temperature looks best in a backyard corner?
Warm white, 2700K, wins almost every time. Corners read as cozy nooks, and warm light makes wood fences, stone, and foliage look rich instead of interrogated. The one exception is moonlighting, where 3000K mimics real moonlight beautifully. Whatever you choose, match every fixture in the corner to the same temperature — a single cool bulb in a warm corner looks like a mistake, because it is one.
How many lights does one corner actually need?
Fewer than you think. Three layers do the job: one hero light for height (a tree uplight or moonlight fixture), one warm light at sitting level (a lantern or pendant), and one low sparkle (path lights, fairy lights, or a grazed fence). That's three to five fixtures total. Odd numbers group more naturally than pairs, and in a small corner, restraint is what makes it feel designed rather than decorated.
Will corner lighting bother my neighbors?
Not if you aim like a good neighbor. Keep beams pointed down or inward, shield any fixture visible from the property line, and let timers shut the corner down around 11 p.m. Corners bounce light off two fences, so they need fewer lumens than open lawn to look bright. A quick walk to the sidewalk after dark tells you everything — if you can see a bare bulb from the street, your neighbors can too, so adjust the angle.
Conclusion
Every idea here comes back to the same principle: a corner isn't leftover space, it's a room without a ceiling. Give it height, give it warmth at sitting level, give it one little sparkle low to the ground, and the angle that used to swallow your yard becomes the place everyone ends up. Start with two or three of these corner backyard lighting ideas, live with them for a week, then layer in more only if the corner asks for it. And when you're ready to carry the same layered approach to the rest of the yard, browse the other lighting ideas here on the site — your front path and patio are waiting for the same treatment.