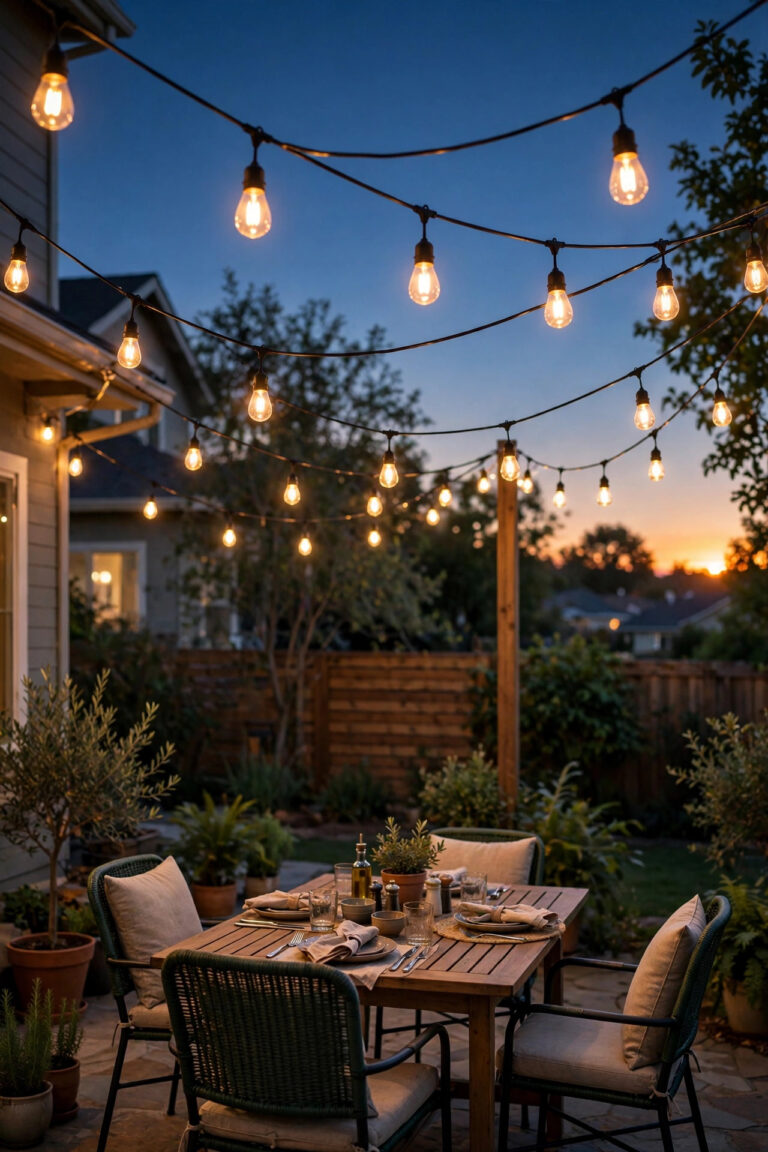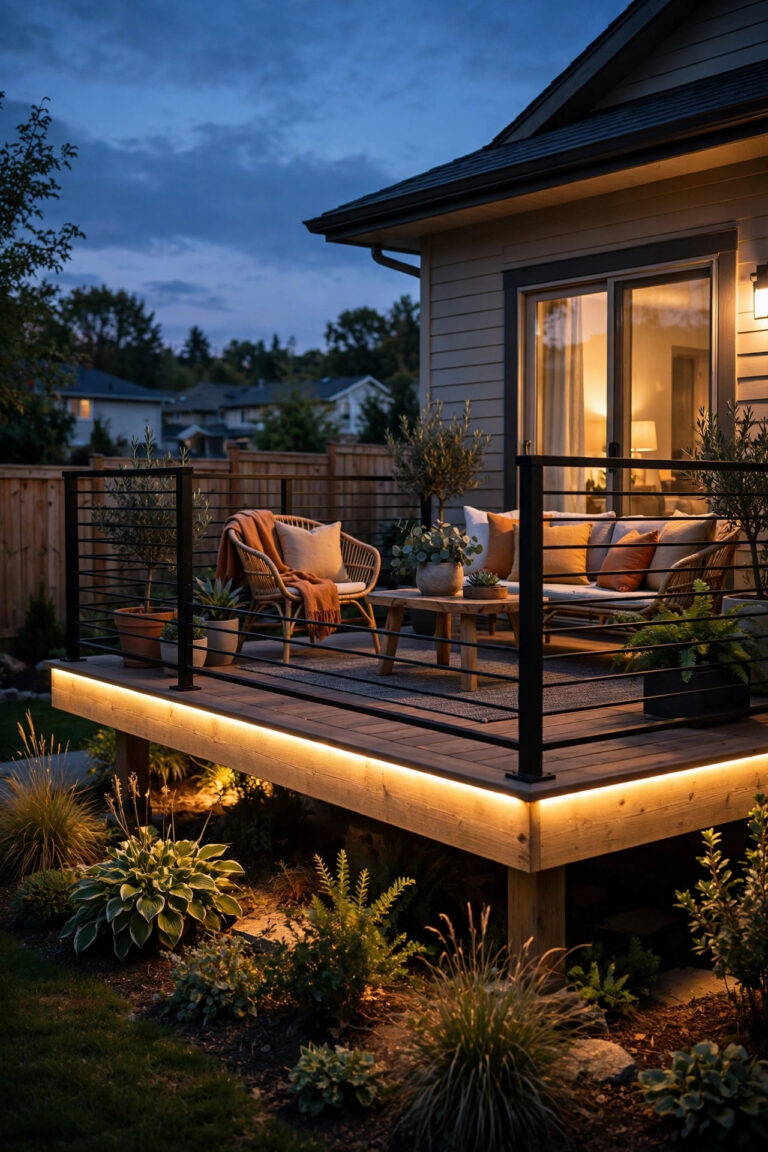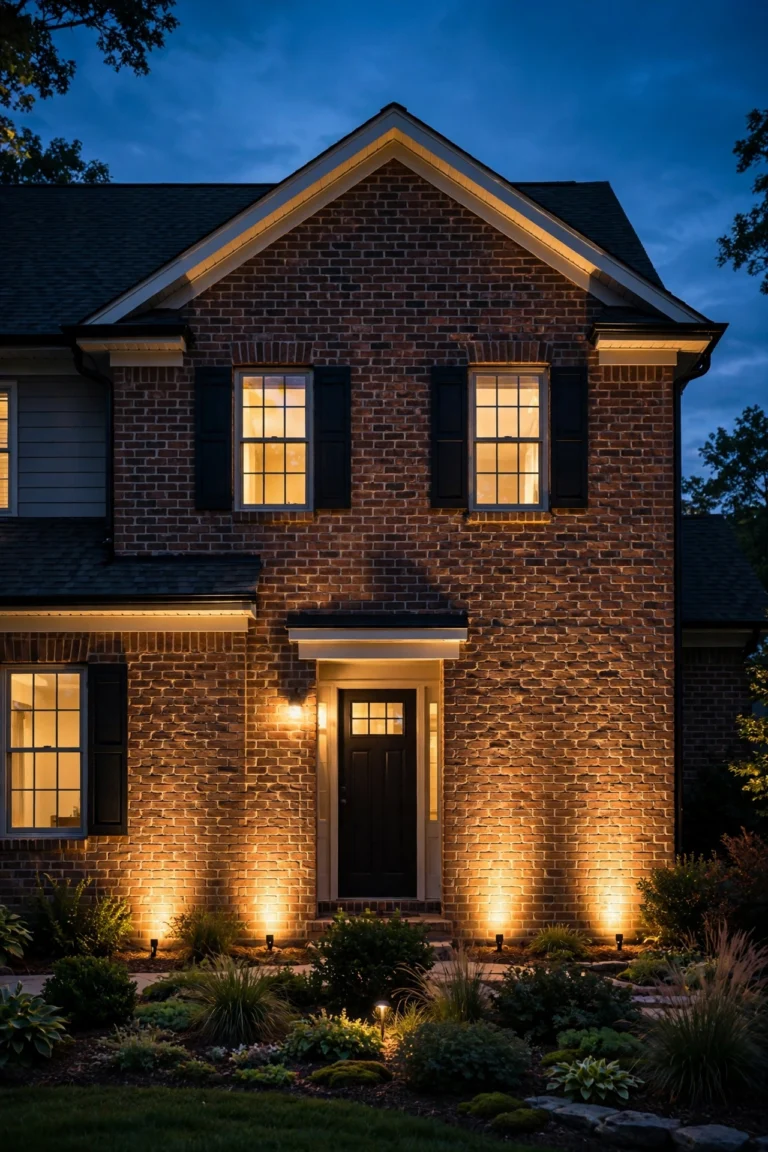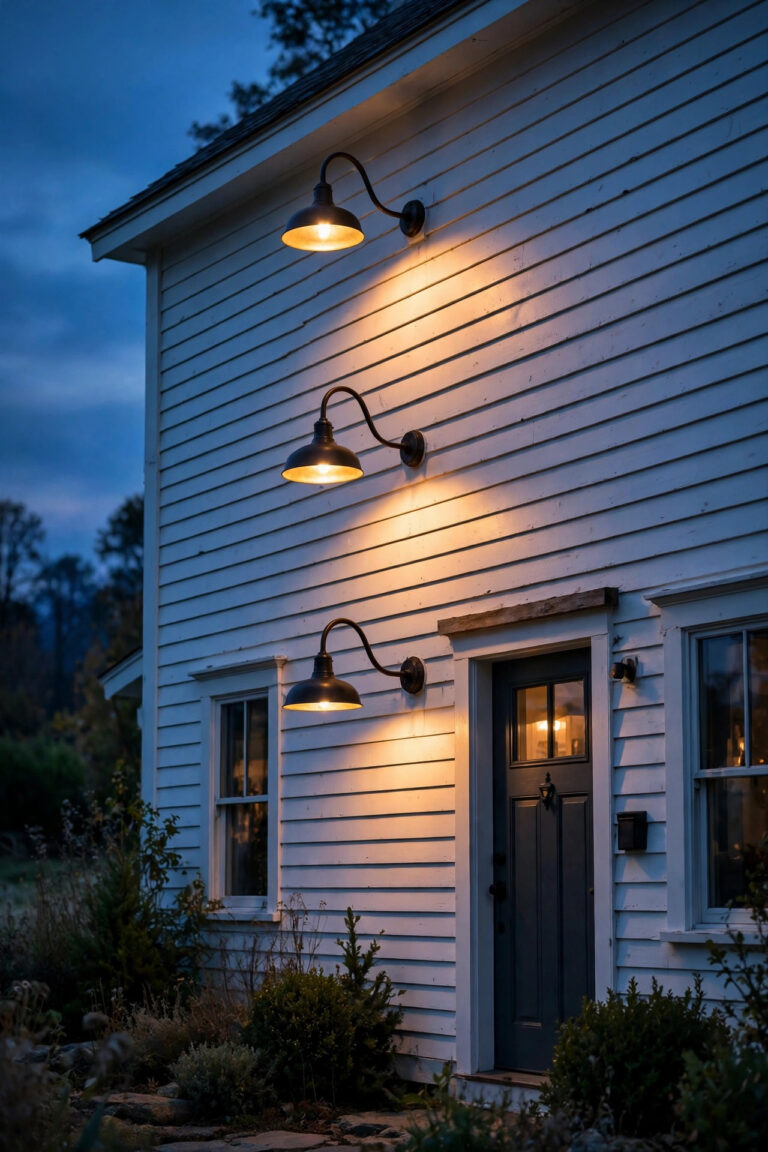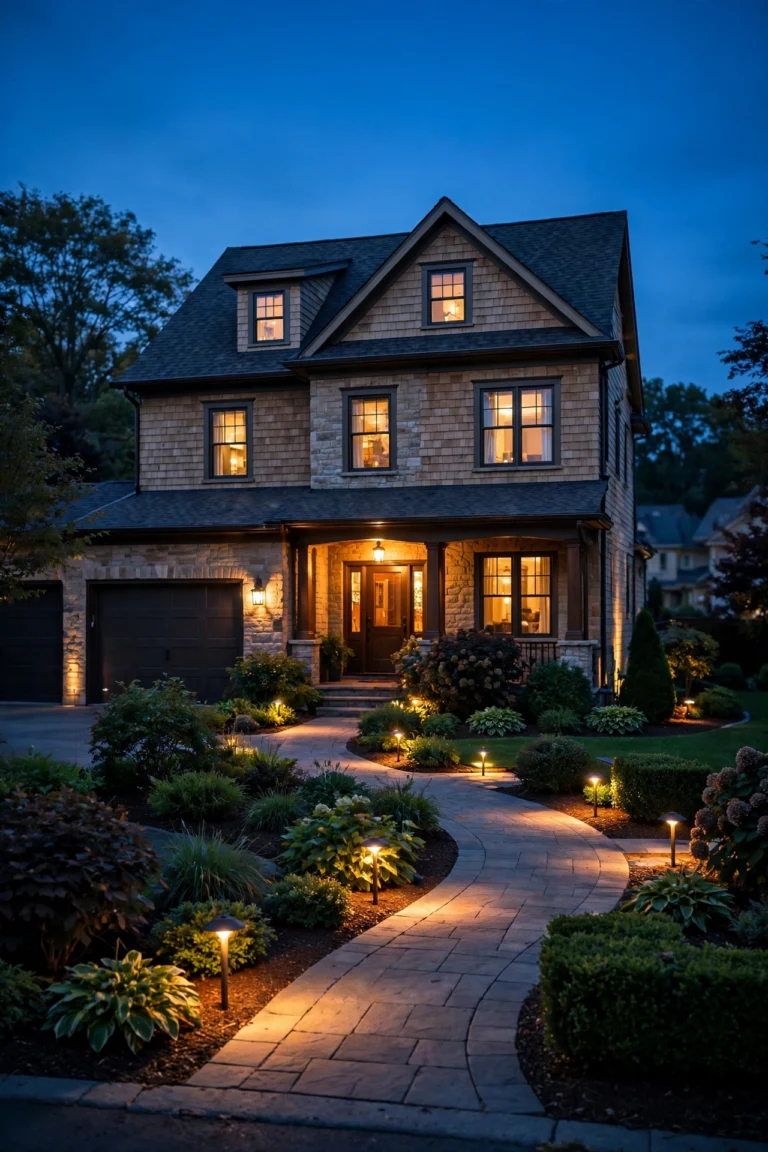
There's a kind of yard I see all the time in my neighborhood, and honestly? It breaks my heart a little. One porch light blazing over the door, maybe a single floodlight over the garage, and the rest of the property just… disappears into the dark. The landscaping is gorgeous by day, but by night it might as well not exist.
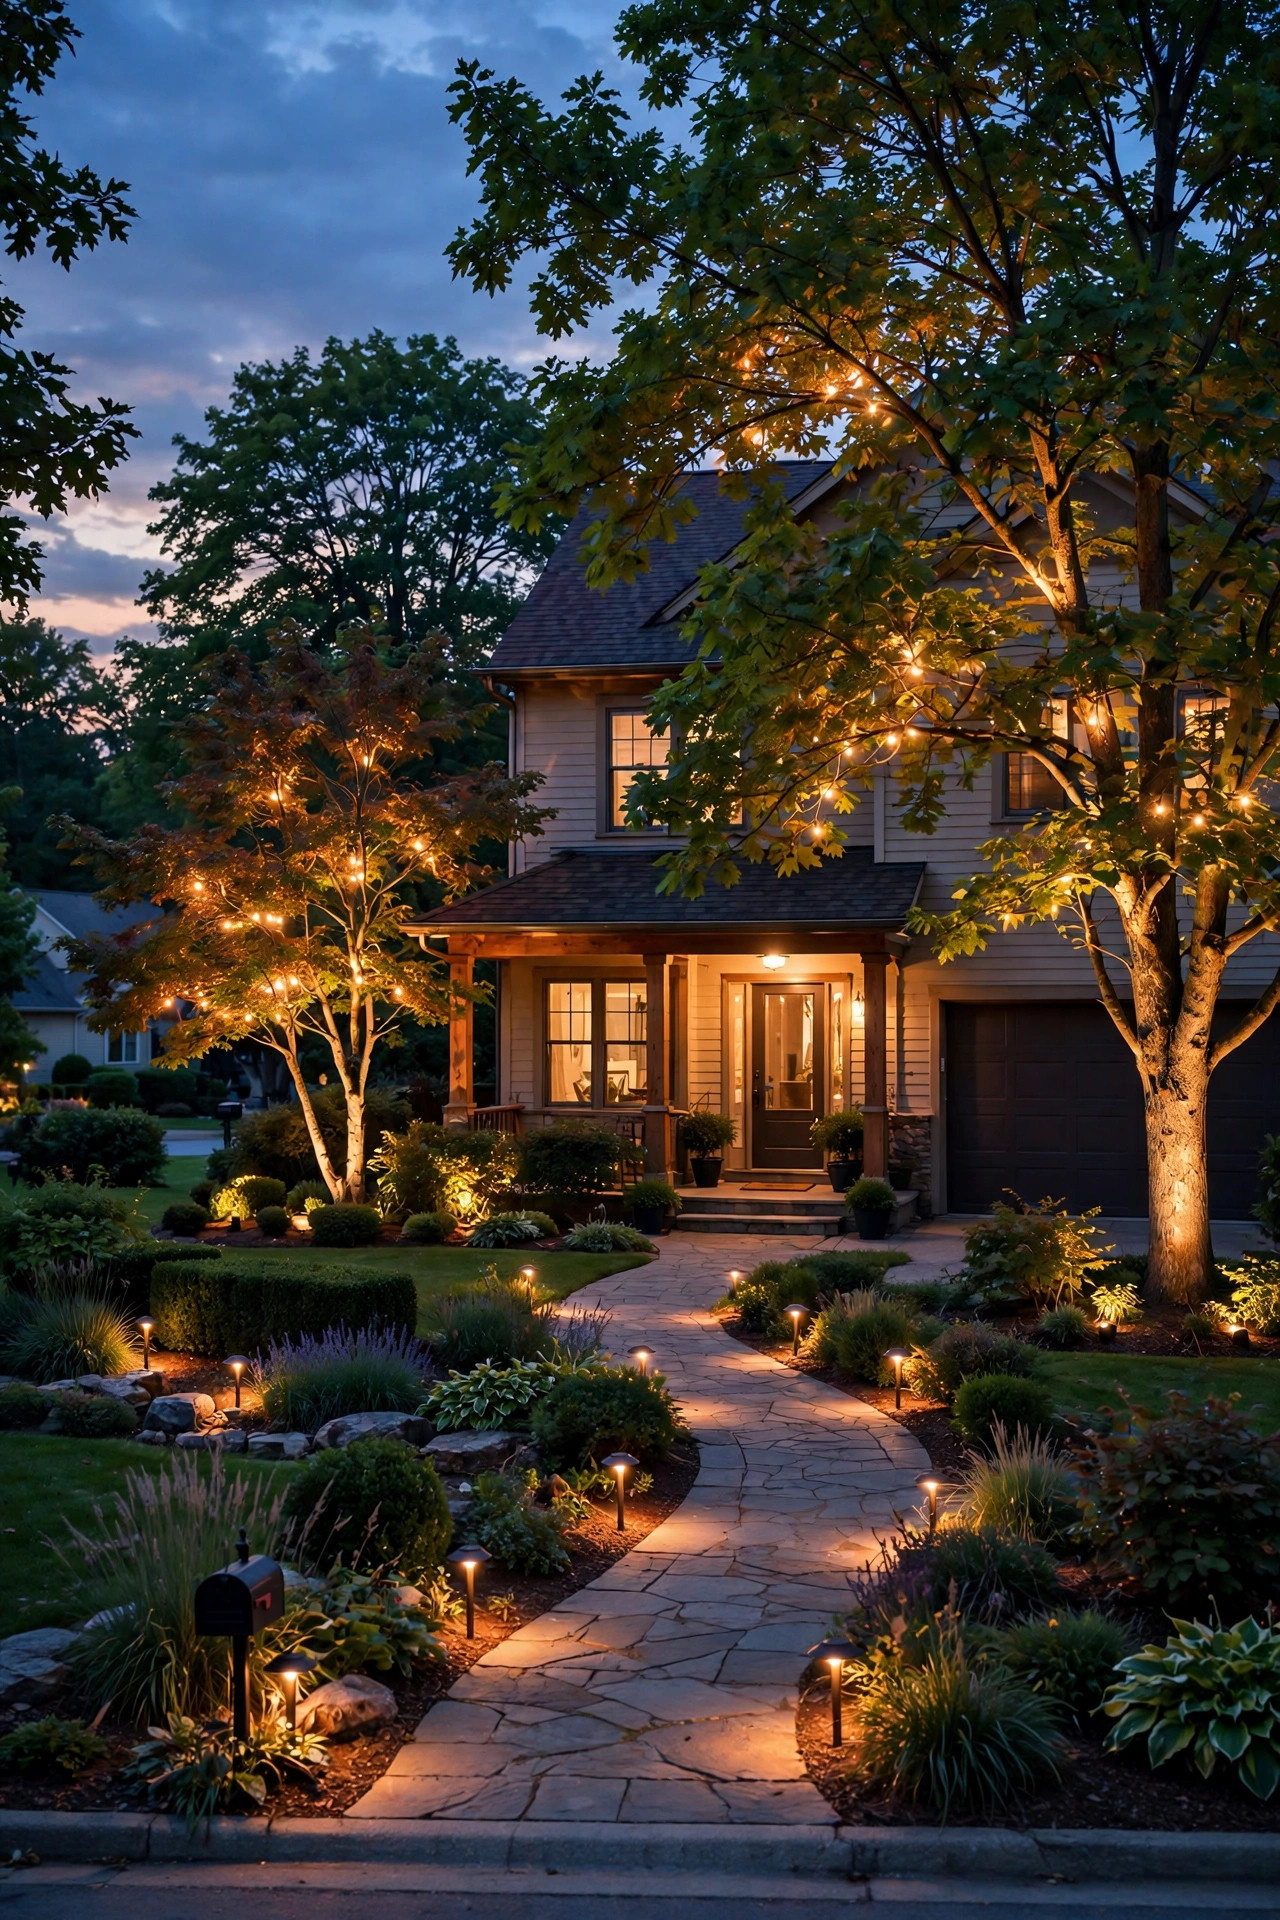
I used to think layered landscape lighting was one of those fancy designer phrases — the kind of thing you'd hear on a TV makeover show and never actually do. Then I stood across the street from my own house one evening last summer, squinting at my single lonely porch light, and realized my yard had that exact problem: flat, one-dimensional, zero depth. So I learned how the pros do it, rebuilt my setup layer by layer, and now my little suburban front yard looks like a boutique hotel garden after sunset.
By the end of this guide, you'll know what the three lighting layers are, which fixtures do what, where to put them, what it costs in 2026, and how to avoid the mistakes that make DIY landscape lighting look cheap. Let's build your glow-up.
The Short Answer
Layered landscape lighting is the practice of combining three types of light in your yard — ambient/path lighting for safe, general illumination; accent lighting (like uplights and wall washers) to highlight architecture and plants; and focal lighting such as moonlighting to create drama and depth. One layer looks flat because it lights a single plane with no contrast; three layers give your brain the highlights and shadows it needs to read a scene as beautiful. You can layer a typical front yard for roughly $700–$1,200 DIY or $2,500–$5,000 professionally installed.
How Layered Landscape Lighting Actually Works
Here's the plain-English version. Professional lighting designers think in three layers, borrowed from interior design, because your brain reads outdoor space the same way it reads a living room.
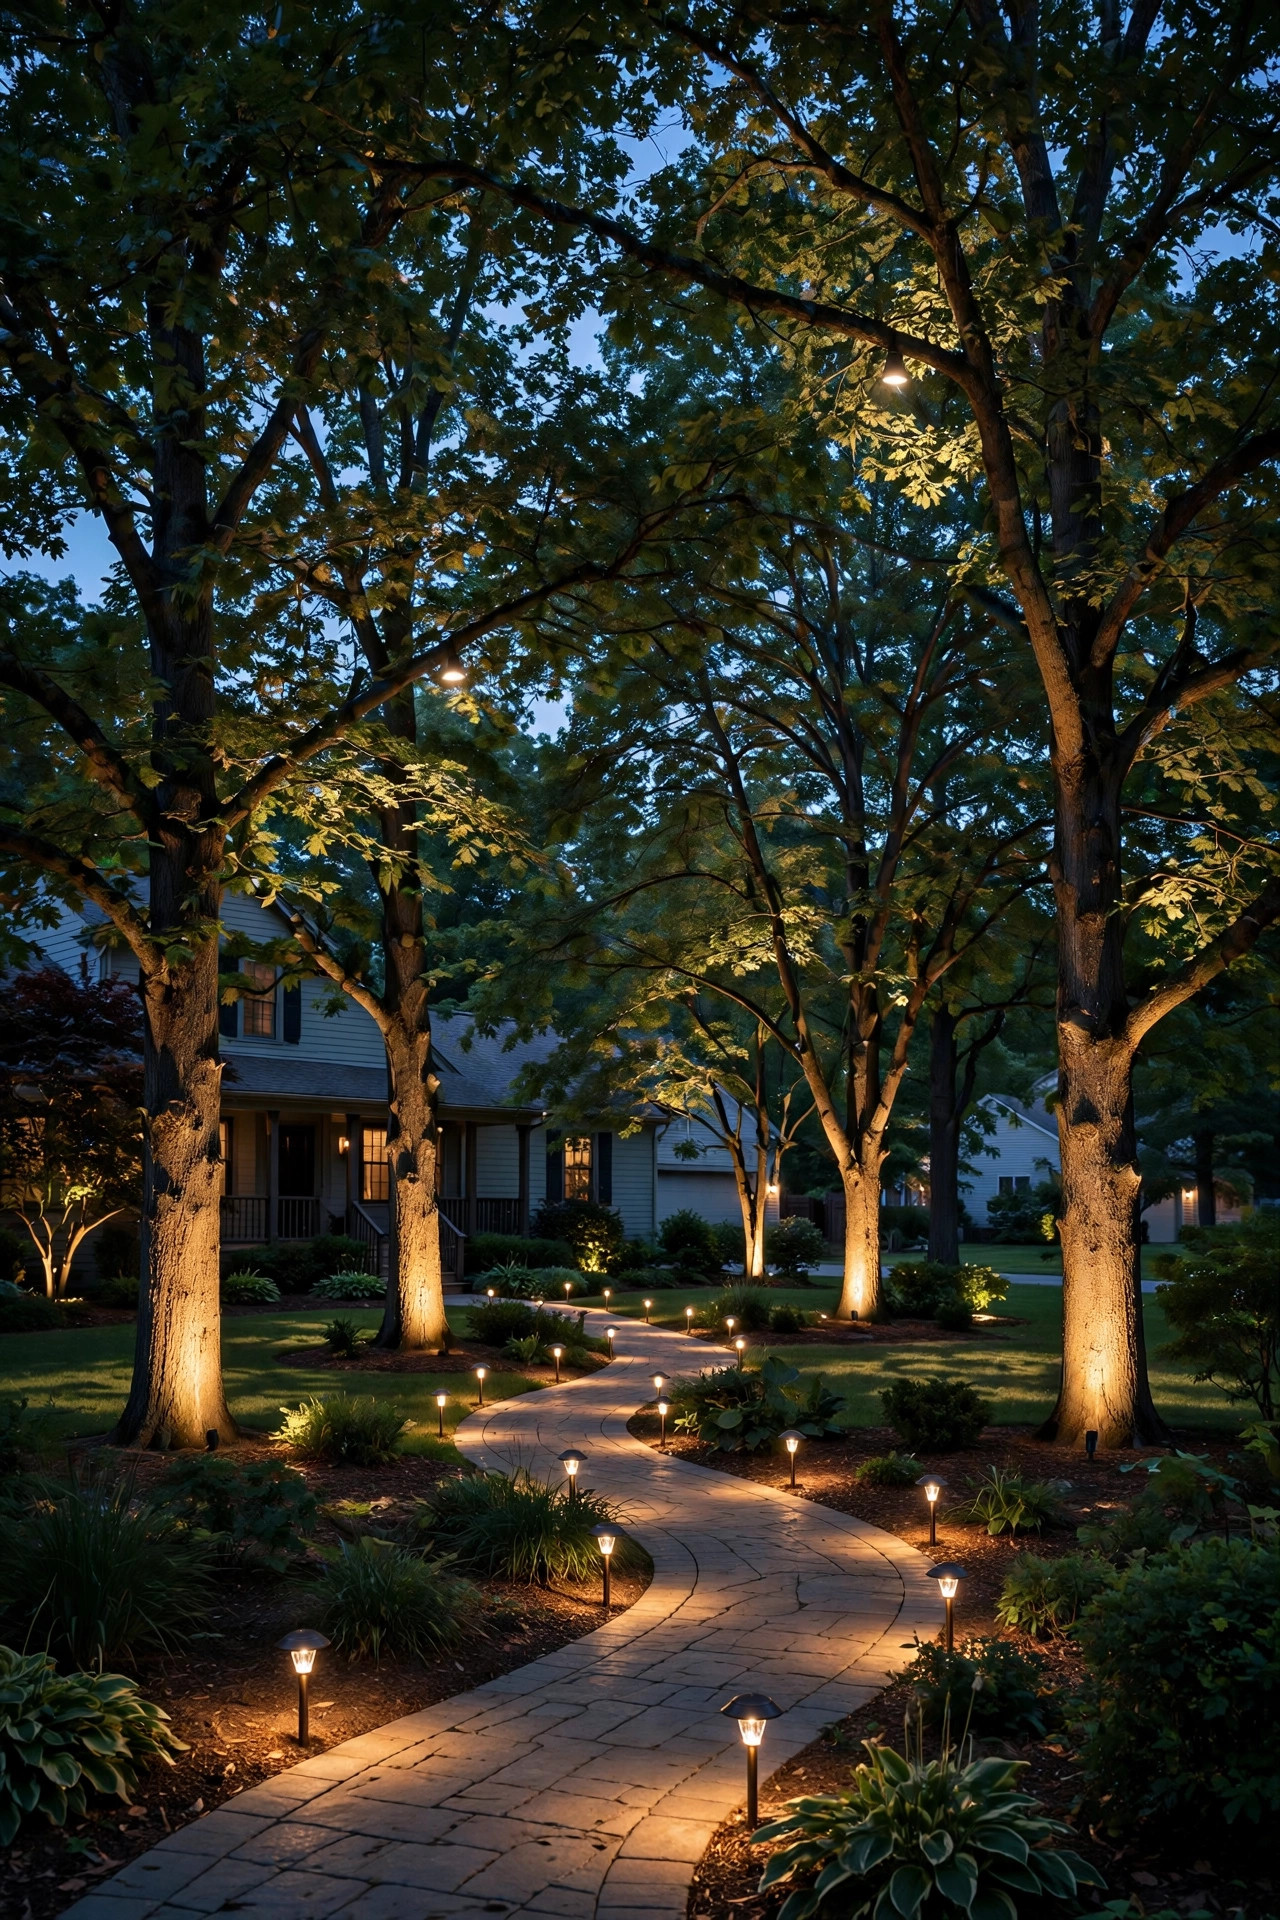
Layer 1: Ambient/path. This is your base coat — low, wide pools of light that make the yard navigable and welcoming. Path lights, step lights, and deck post lights live here. In my experience, this is the layer most homeowners actually buy, and it's why so many yards look like airport runways: a neat row of identical path lights with nothing else happening.
Layer 2: Accent/task. This is where the magic starts. Accent lights pick out the interesting things — the bark of a Japanese maple, the stone on your chimney, the curve of a retaining wall. Uplights, spotlights, and wall washers work here. The key detail: accent lights should be noticeably brighter than the ambient layer, roughly three to five times as bright at the focal point, because contrast is what creates depth.
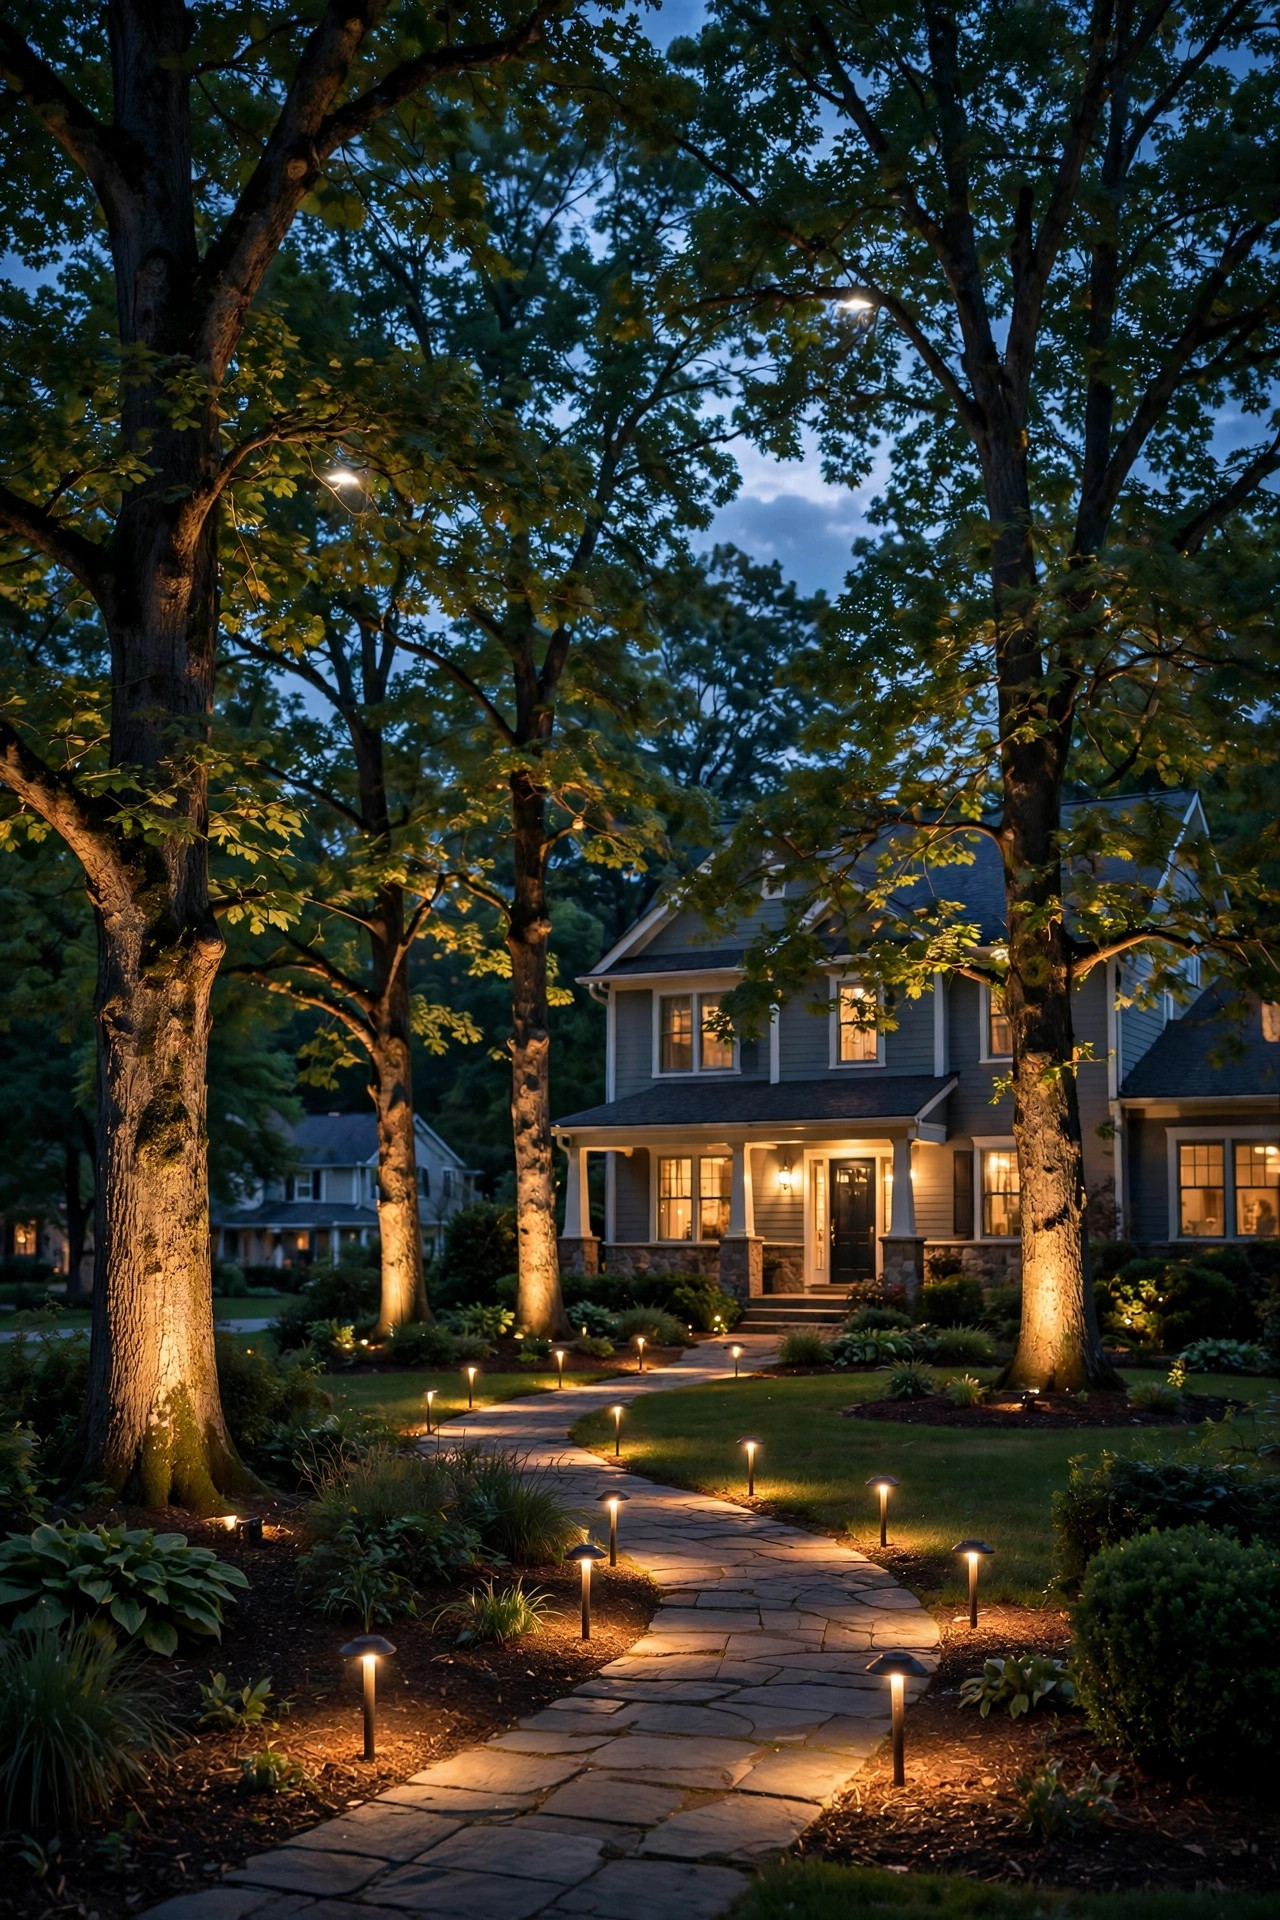
Layer 3: Focal/moonlight. This is the drama layer. Moonlighting (fixtures mounted high in a tree, shining down through the branches so the canopy throws dappled shadows on the lawn) or a single silhouetted specimen tree against a lit wall. One or two focal moments per yard is plenty — they're the exclamation points, not the paragraph.
The honest truth is that 90% of the "wow" comes from layers 2 and 3. Layer 1 keeps you from tripping; layers 2 and 3 make the neighbors slow down.
One more thing I've learned: the layers don't have to run at the same time. On a quiet Tuesday, I run only my path layer — just enough to get the mail without stumbling. On a Saturday with friends over, all three layers fire up and the backyard looks like a venue. That flexibility is the real reason layered beats flat: you're not stuck with one mood every night.

The Main Fixture Types for Layered Landscape Lighting, Compared Honestly
Every fixture below does one job well and shouldn't be asked to do another. Mixing them up — like using a path light to uplight a tree — is the number-one reason DIY jobs look wrong.
| Fixture | Cost per fixture | Effort | Best for |
|---|---|---|---|
| Well lights | $35–$80 | Low–medium (bury in soil) | Layer 2: discreet uplighting of trees, columns, statues |
| Path lights | $30–$70 | Low (stake in ground) | Layer 1: walkways, garden bed edges, driveways |
| Spotlights / uplights | $40–$90 | Low (stake or surface mount) | Layer 2: dramatic uplighting of architecture and specimen plants |
| Downlights / moonlights | $50–$100 | Medium (mount 15–25 ft up in a tree) | Layer 3: moonlighting through canopies, pergola downlighting |
| Wall washers | $50–$120 | Medium (precise aiming) | Layer 2: even washes over brick, stone, hedges, retaining walls |
A few honest notes from my own yard. Well lights are my favorite because they vanish into the mulch — nobody sees the fixture, only the glow. Spotlights give you the most punch per dollar for tall trees. Moonlights are the trickiest to install (you'll be climbing a ladder with a drill), but nothing else produces that moon-dappled shadow pattern on a lawn. Wall washers are fussy about aim — six inches too close and you get a harsh hotspot; start 2–3 feet from the wall and adjust at night.
For all of these, buy LED with warm white 2700K–3000K color temperature, and keep every fixture in the yard the same temperature. Mixing 2700K and 5000K lights is instant "cheap motel parking lot" energy.
How Many You Need and Where to Put Them
This is the section that separates a thoughtful design from a box of fixtures stabbed into the lawn. In my experience, most people buy too many path lights and not nearly enough accent lights.
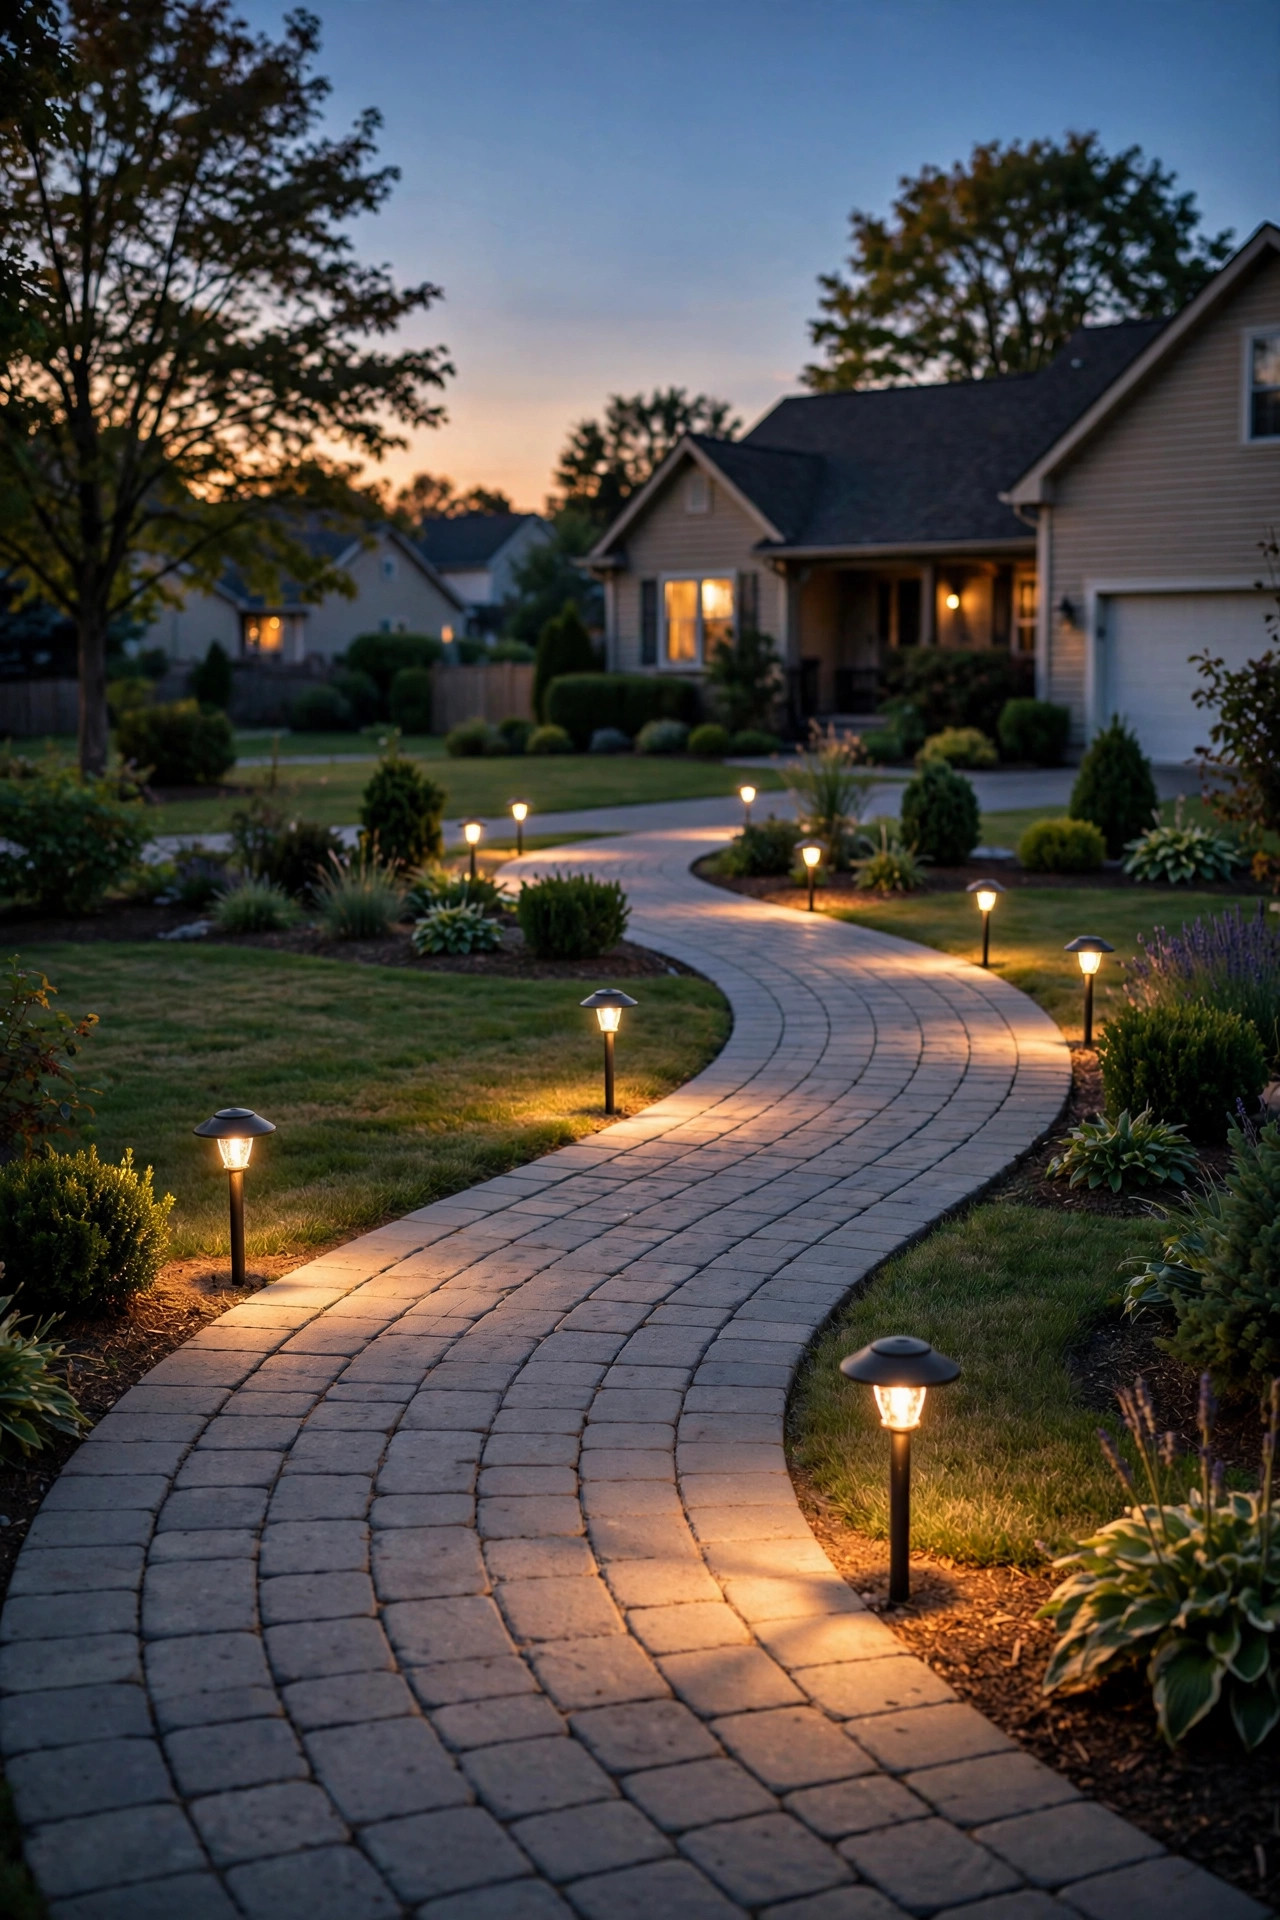
The path spacing rule. Space path lights 6–8 feet apart, and stagger them (one on each side, alternating) rather than marching them down both sides in pairs. A 40-foot walkway needs 5–6 path lights, not 12. Staggered spacing reads as inviting; paired rows read as a runway.
The triangle rule. For any focal point — a tree, a fountain, a handsome corner of the house — light it from two or three directions, forming a rough triangle around the object. One uplight on a tree gives you a hot spot and a big shadow; two uplights at 120 degrees apart wrap the canopy in dimension. Three is for your one true showpiece.
Focal point ratios. Pick one hero feature per viewing angle (from the street, from the porch, from the deck). Light that hero at 3–5× the brightness of its surroundings. If your street-facing oak gets 15 watts of uplighting, the hedge beside it gets a gentle 3-watt wash, not another 15.
Start from the house outward. Fixtures closest to the house (wall washers, downlights under eaves) set the tone; path lights fill the middle ground; moonlights and tree uplights add the far background. A typical quarter-acre front yard needs about 10–14 fixtures total: 4–6 path lights, 3–4 accent spots, 1–2 wall washers, 1 moonlight. That sounds like a lot until you realize it's the whole recipe.
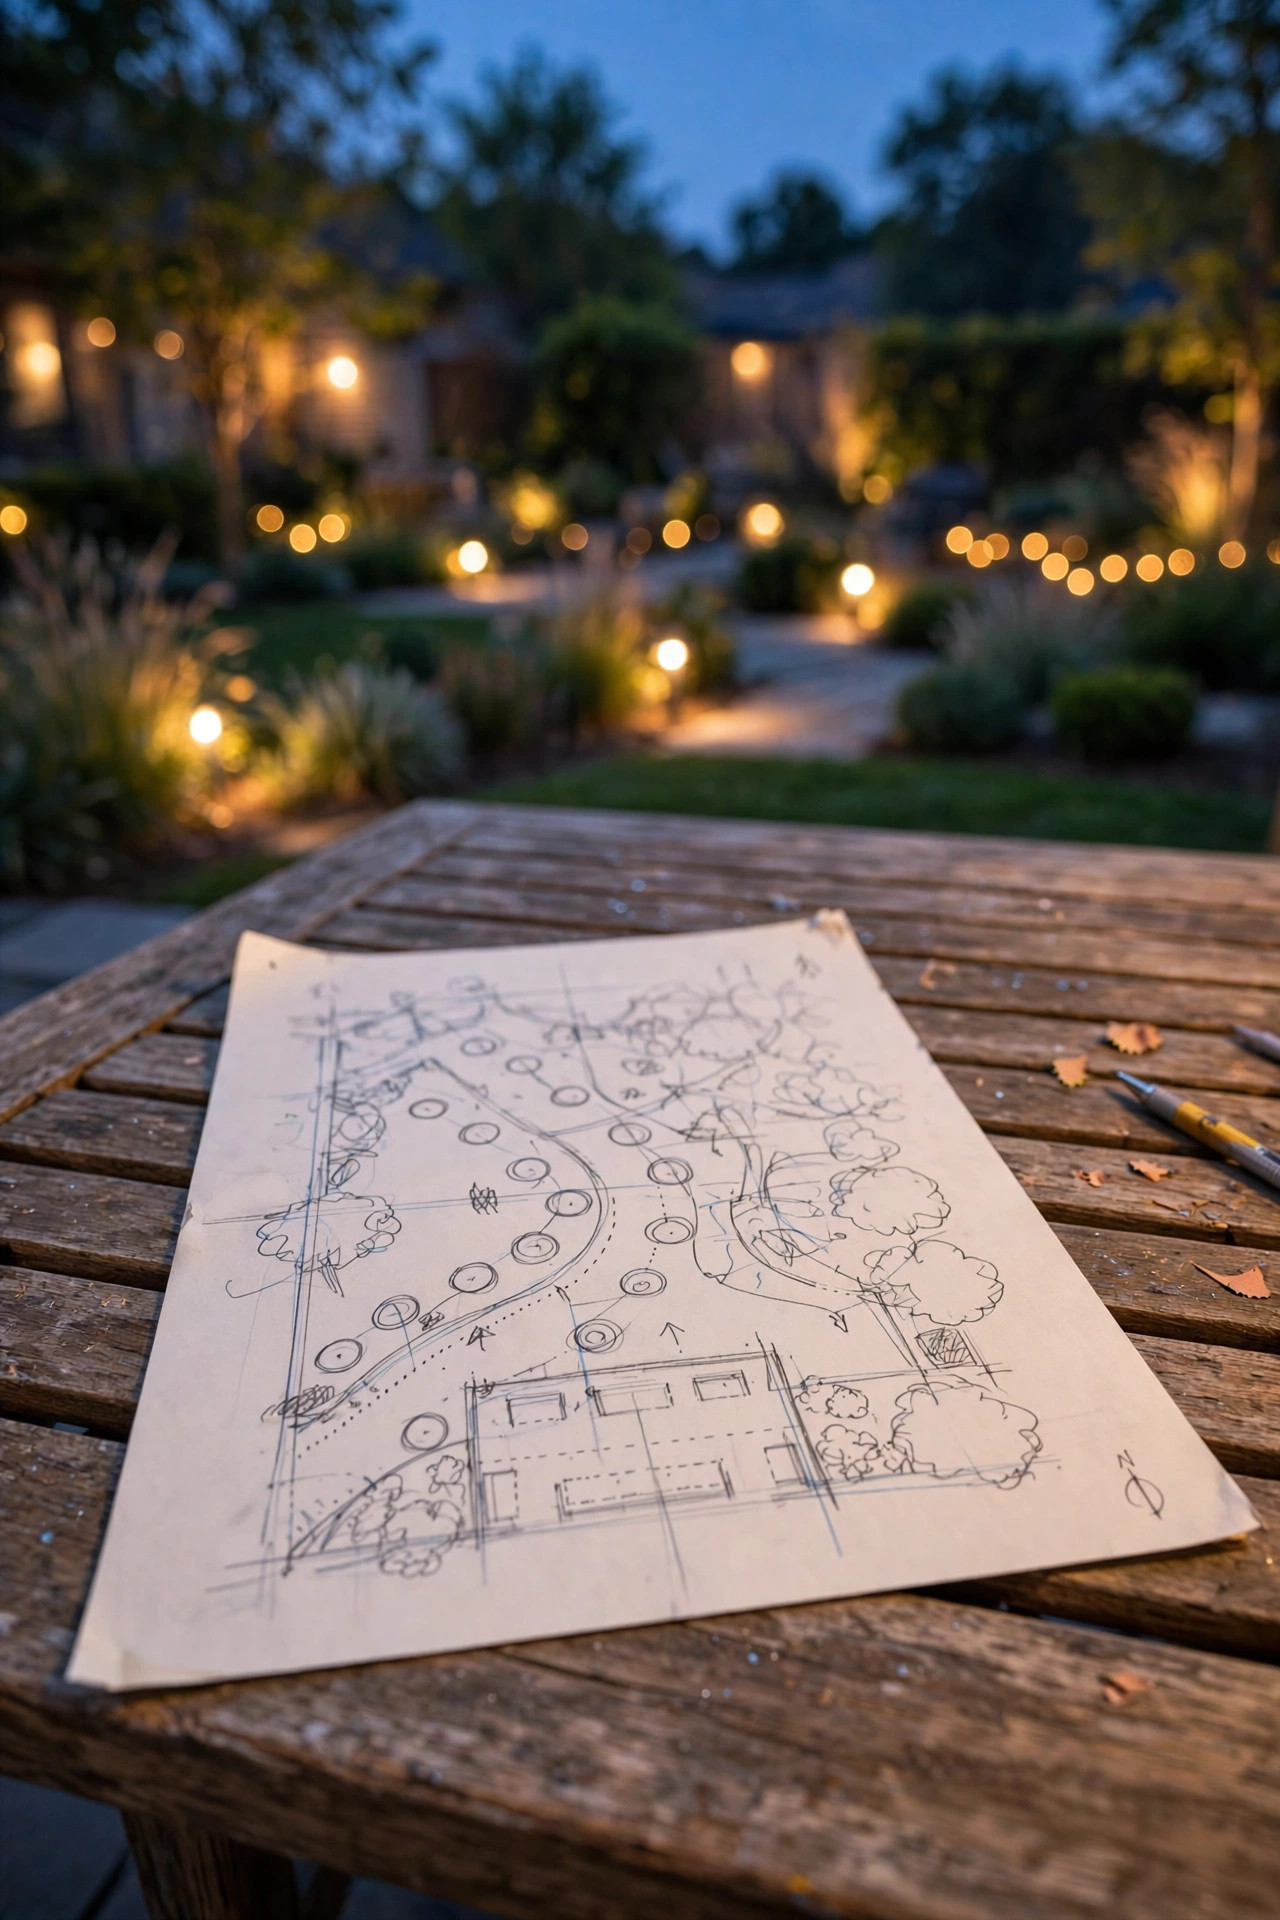
Step-by-Step: Building Your Layered Landscape Lighting Plan
Don't buy a single fixture until you've done this on paper. Honestly? An hour of planning saves you a return trip to the store every time.
1. Walk your yard at night. Seriously — go outside after dark with a flashlight and a notepad. Stand at the street and note what you see: the black hole where the maple should be, the glare of the porch light, the invisible walkway. The flashlight, shone from ground level up at a tree, is a shockingly good preview of what an uplight will do.
2. Mark your focal points. Choose one hero per view: the biggest tree from the street, the front door from the walkway, the prettiest bed from the porch. Circle them on your sketch.
3. Assign the three layers. Start with Layer 1 (paths, steps, anything someone walks on), then Layer 2 accents on your focal points, then one or two Layer 3 moments. If the list is getting long, cut Layer 1 — you need fewer of those than you think.
4. Draw the triangle around each focal point. Mark where each uplight goes — 1–2 feet from the base of a tree or wall, angled up — so you're buying pairs, not singles.
5. Total the wattage and pick a transformer. Add up all fixture wattages, then choose a transformer rated at least 25% higher. Twelve 5-watt LED fixtures = 60 watts → buy a 100-watt transformer. This headroom matters; I'll say more in the wiring section.
6. Aim at night, not at noon. Install in the afternoon, but don't finalize a single angle until it's dark. Every pro I've talked to says aiming is 40% of the job. Walk the street view, the porch view, and the neighbor's view (yes, check for glare into their windows).
If you're pairing this with entryway lighting, a well-planned front door sconce pair guide helps you balance the porch layer against the yard layers so one doesn't outshine the other.
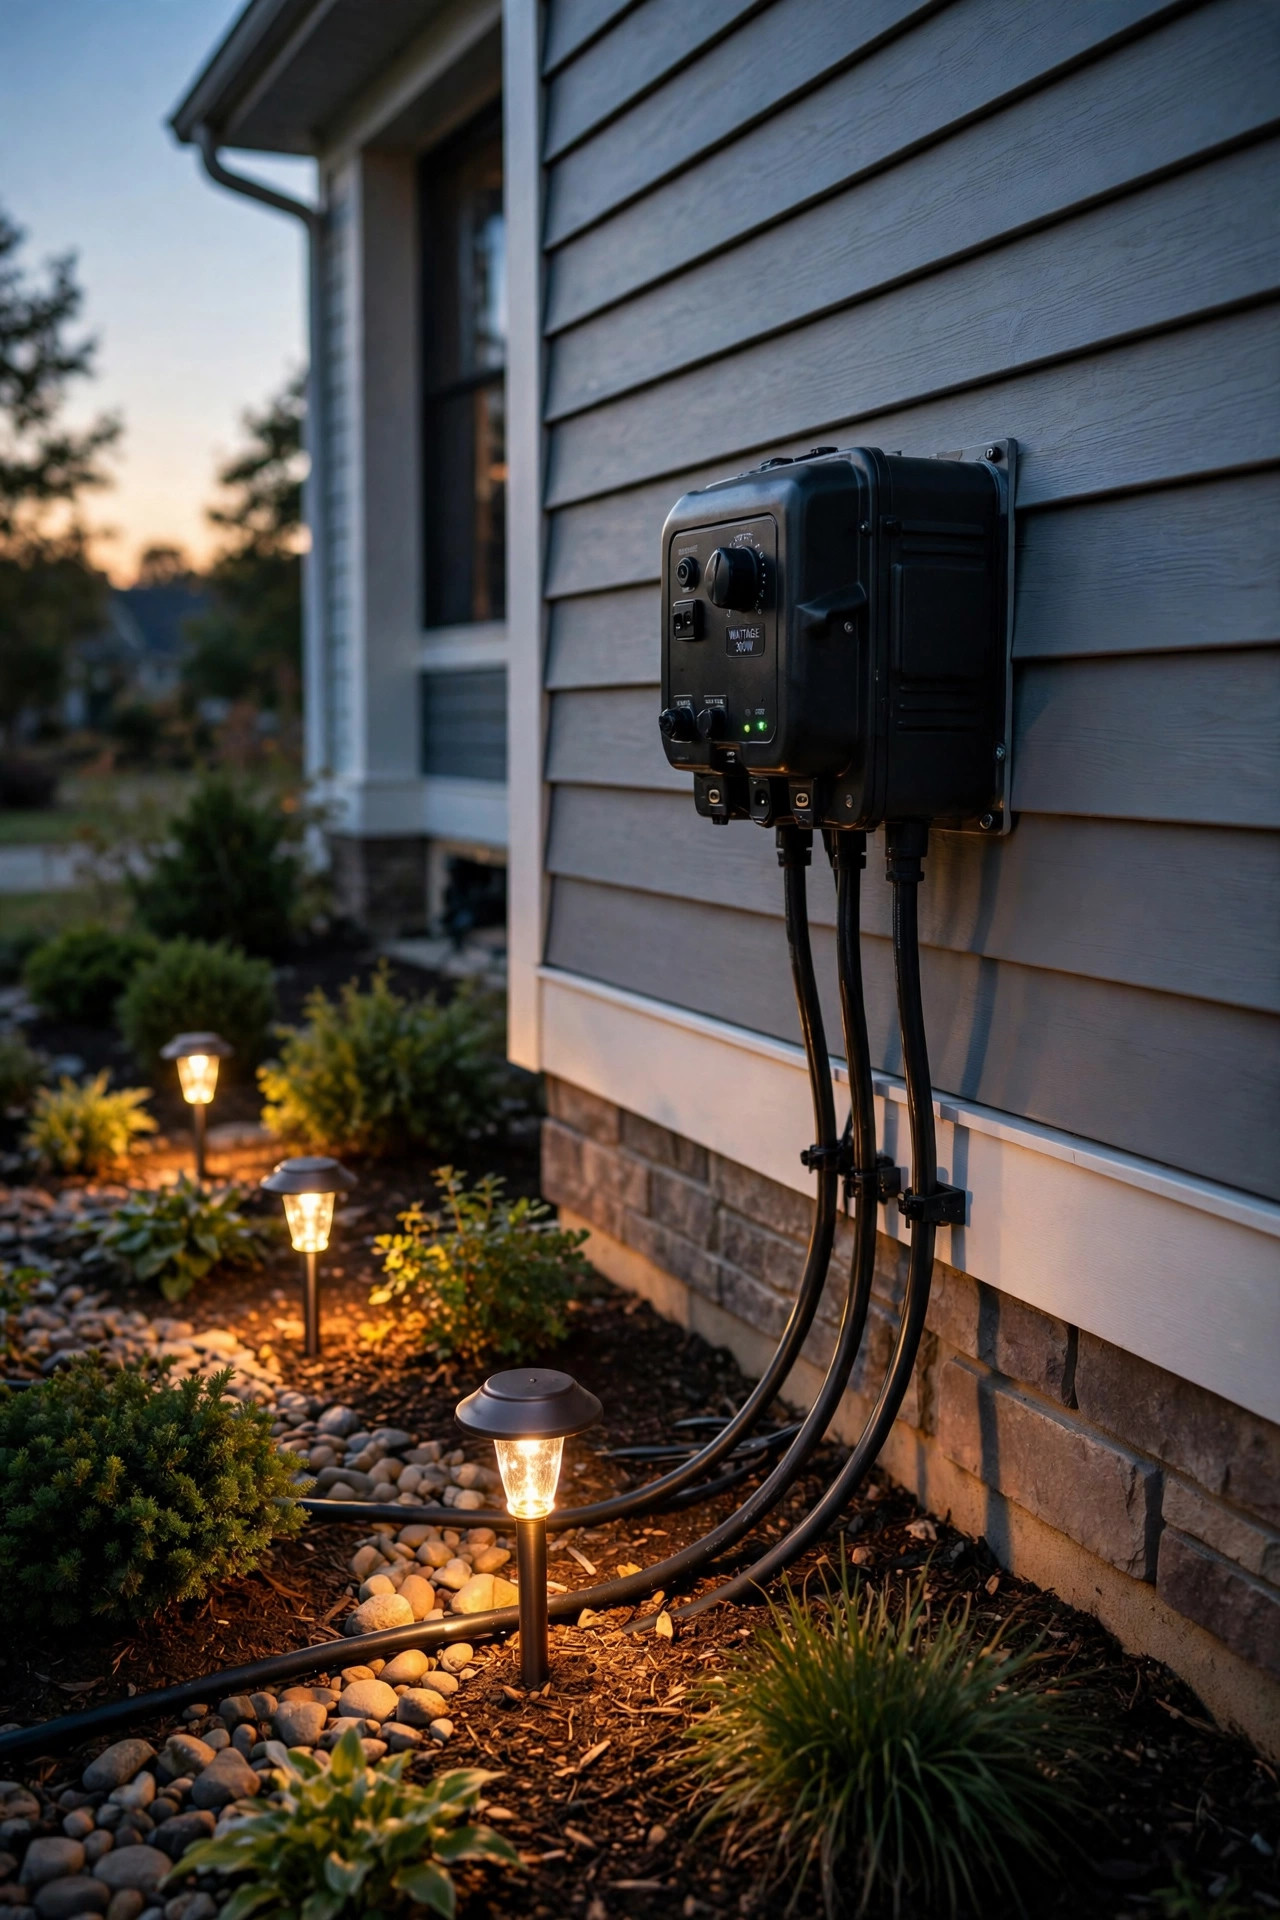
Wiring It All Together: Transformers, Zones, and Timers
The electrical part of low-voltage landscape lighting is genuinely beginner-friendly — it's 12 volts, which won't hurt you — but sloppy wiring is what makes systems fail in year two.
The transformer. This box mounts near an outdoor outlet and steps household current down to 12 volts. Size it at your total wattage × 1.25, as above, and buy one with multiple taps or at least two terminals. In my experience, a 100–150 watt transformer covers most front yards; bigger backyards might need 300 watts or two transformers.
Zones (also called runs). Don't daisy-chain 14 fixtures on one long wire. Split the system into two or three cable runs radiating from the transformer, each carrying a similar wattage. The reason is voltage drop: a fixture 100 feet down a thin cable will glow dimmer than one 10 feet away. Keep runs balanced and under 100 feet where possible, and use 12-gauge low-voltage cable for long runs, 14-gauge for short ones. If the far end of a run looks noticeably dimmer, that's voltage drop talking — move a fixture or shorten the run.
Timers and controls. At minimum, use a transformer with a built-in photocell plus timer — on at dusk, off at a set hour (I run mine dusk to 11 p.m., then a second "security window" of just the path lights from 11 to 5). Smart transformers that connect to your phone are worth the extra $50–$80 in my experience; you can dim layers independently, which is the whole point of layering. Imagine the full show for dinner parties and just the path layer on quiet weeknights.
Connections. Use waterproof twist connectors or grease-filled wire nuts made for direct burial — never indoor wire nuts wrapped in tape. They corrode, and corrosion means a dead zone you get to debug with a shovel in November. For a deeper dive on the fixtures themselves, my low-voltage path lights guide covers cable and connector choices in detail.
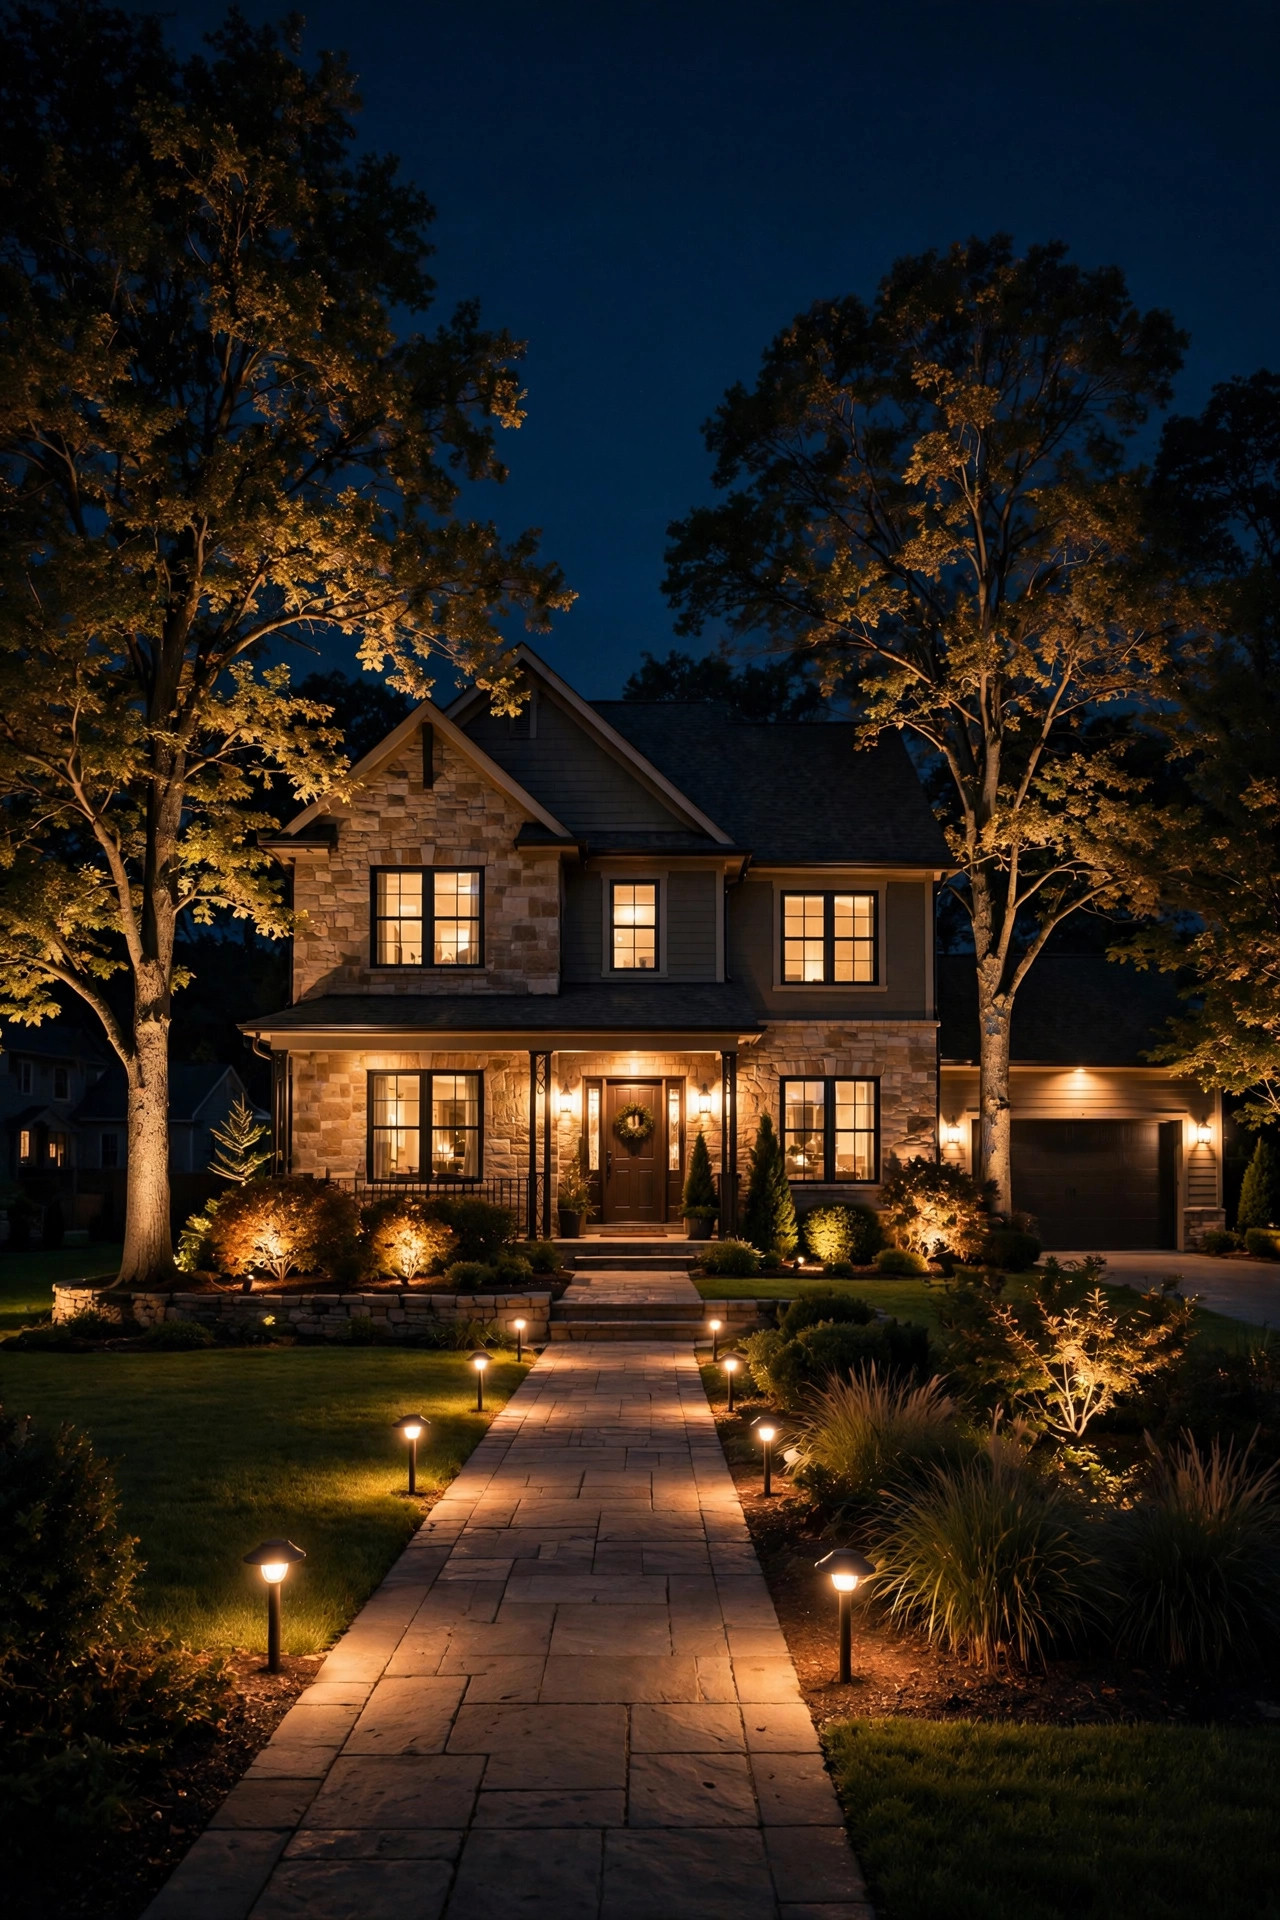
What It Costs in 2026
Let's talk real numbers, because the range online is absurd — I've seen everything from "a few hundred bucks" to "ten grand" with no context.
DIY, typical front yard (12 fixtures): fixtures $400–$750, a 150-watt transformer with photocell $150–$250, cable and connectors $80–$150, miscellaneous (stakes, tools, an outdoor timer) $50. All-in: roughly $700–$1,200. That's your weekend, a shovel, and a borrowed ladder for the moonlight.
Professionally installed: $2,500–$5,000 for the same 12-fixture design, with most pros charging $150–$250 per fixture in labor plus materials. A full front-and-backyard showpiece with 25+ fixtures can hit $8,000–$12,000. You're paying for design judgment and the ladder work, honestly.
Running costs — this is where LED wins the argument. A 4-watt LED path light running 8 hours a night uses about 12 kWh per year; at around $0.18/kWh, that's roughly $2.10 per fixture per year — call it $25 a year for the whole 12-fixture yard. An old 35-watt halogen doing the same job costs about $18.40 per fixture per year, or $220+ for the yard. LED also lasts 40,000–50,000 hours (10+ years of nightly use) versus 2,000–5,000 for halogen. If you're still on halogen, the fixtures pay for their own replacement in under two years.
The honest verdict: this is one of the highest-ROI curb appeal upgrades I know. A $1,000 DIY layered system makes a $400,000 house photograph like a $500,000 house at dusk.
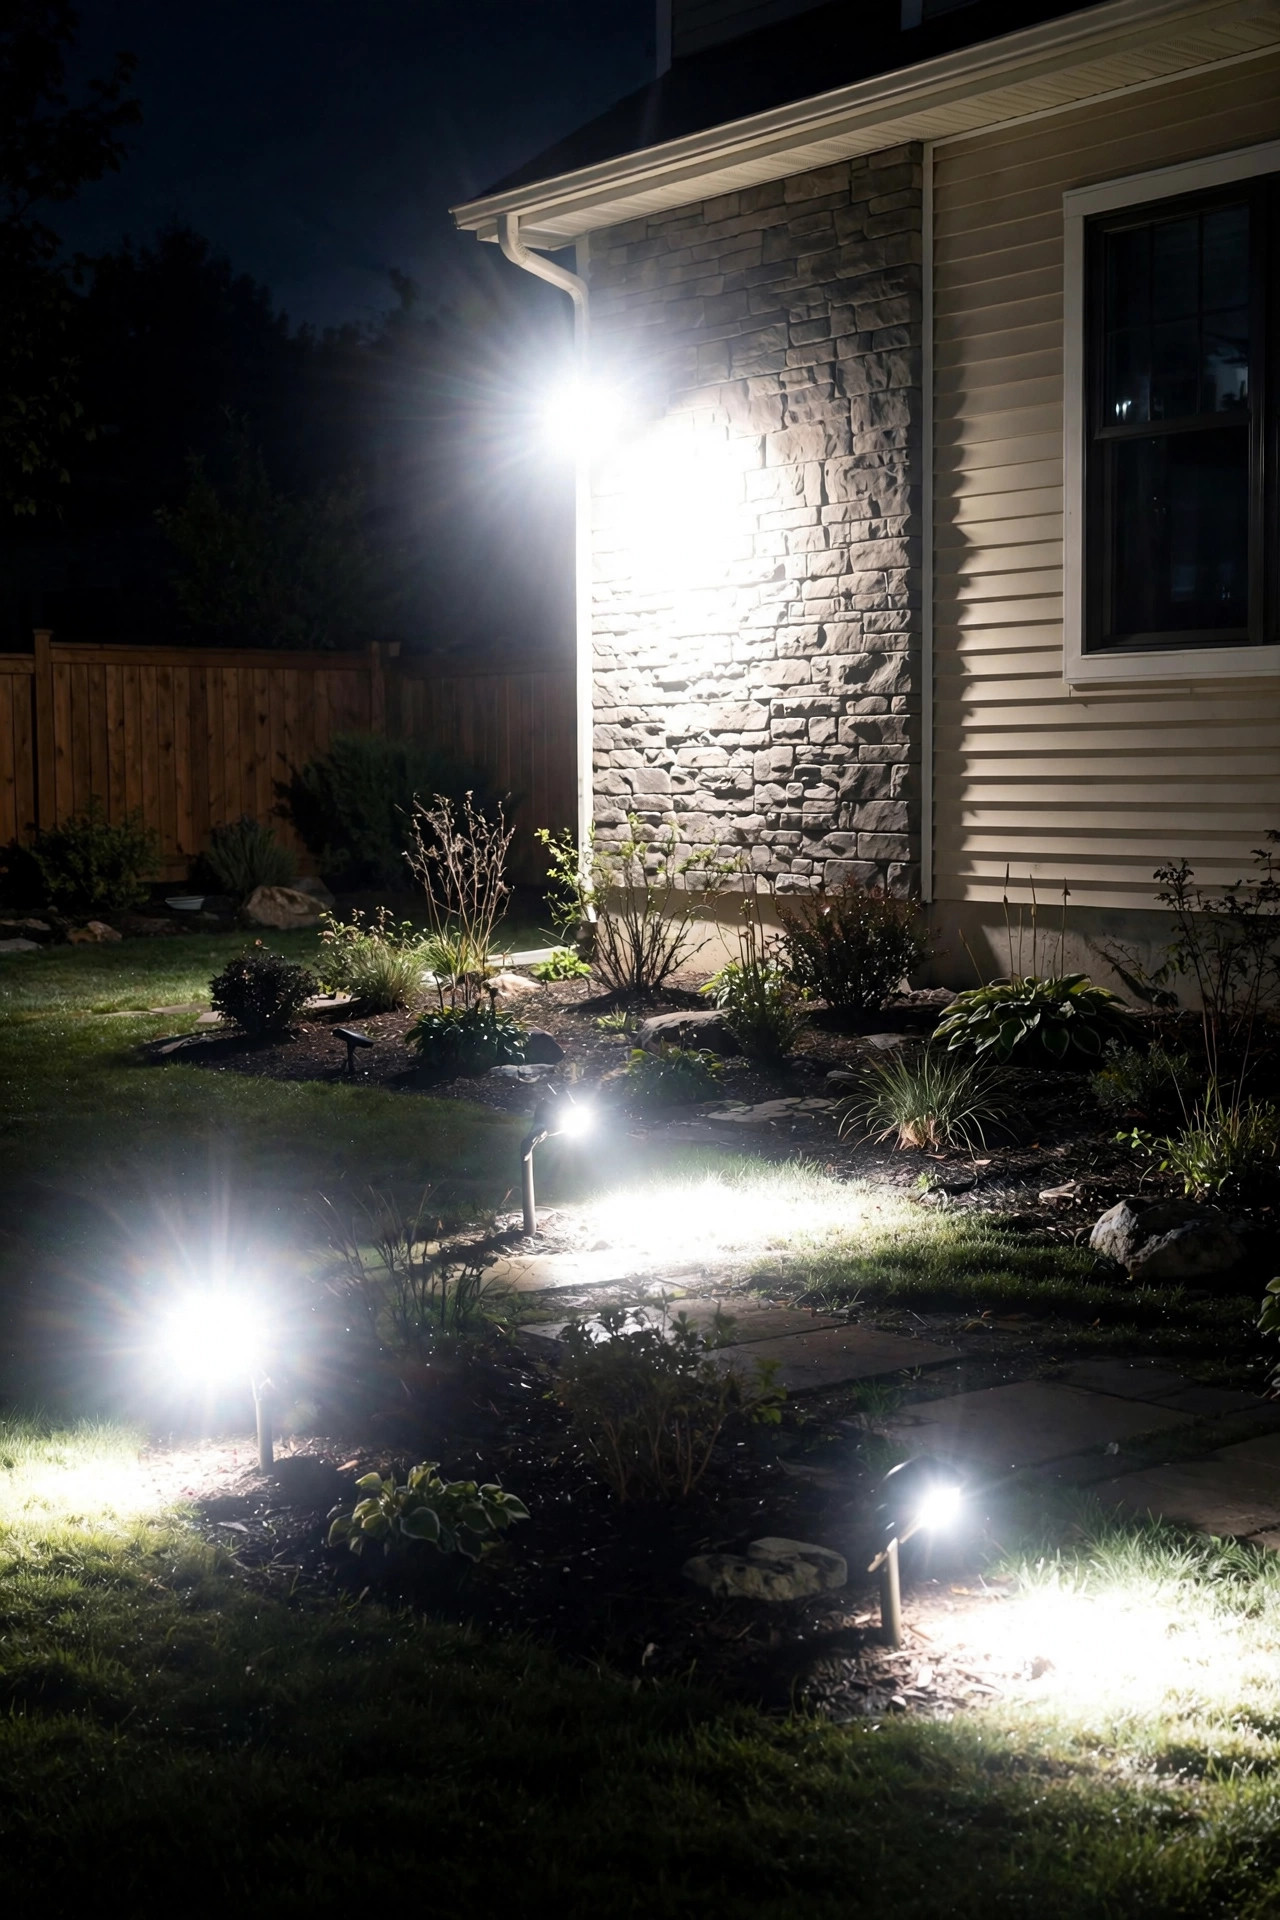
5 Mistakes That Ruin the Effect
I've made three of these myself, so no judgment — but each one is the difference between "stunning" and "something's off and I can't say what."
1. Over-lighting. The most common sin. Every fixture at full brightness turns your yard into a used-car lot. Moonlighting should feel like moonlight — if you can read a book by it, it's too bright. Use the dimmest fixture that does the job, and dim everything 20% from where you think it should be. Your eyes adjust; trust the darkness to do half the work.
2. Mixing color temperatures. A 2700K path light next to a 5000K flood is jarring in a way that's hard to diagnose but impossible to unsee. Standardize on 2700K–3000K everywhere — warm white, like candlelight — and if you're adding to an existing setup, check the Kelvin rating before you buy. This is a five-second check at the store that saves a season of regret.
3. Aiming at the street or windows. An uplight pointed across the sidewalk blinds drivers and annoys neighbors. Always aim away from the street, shield the fixture's lens from direct sightlines, and after dark, walk to the curb and check what a passerby actually sees. You want to see the glow, never the bulb.
4. Runway spacing. Evenly spaced identical fixtures marching in a straight line is the telltale of a rushed install. Vary the spacing, stagger sides, cluster a path light near a bend or a step where it's actually needed. Light the features, not the grid.
5. Skipping the night-time aim. Installing at 2 p.m. and calling it done is how you get a spotlight blasting the neighbor's bedroom window. Every single fixture needs to be adjusted after dark, then re-checked a week later once your eyes have fresh perspective. I re-aim mine every spring after the mulch gets refreshed.
Safety and Electrical Basics
Low-voltage landscape lighting is one of the safest electrical projects a homeowner can take on, but "low voltage" doesn't mean "no rules."
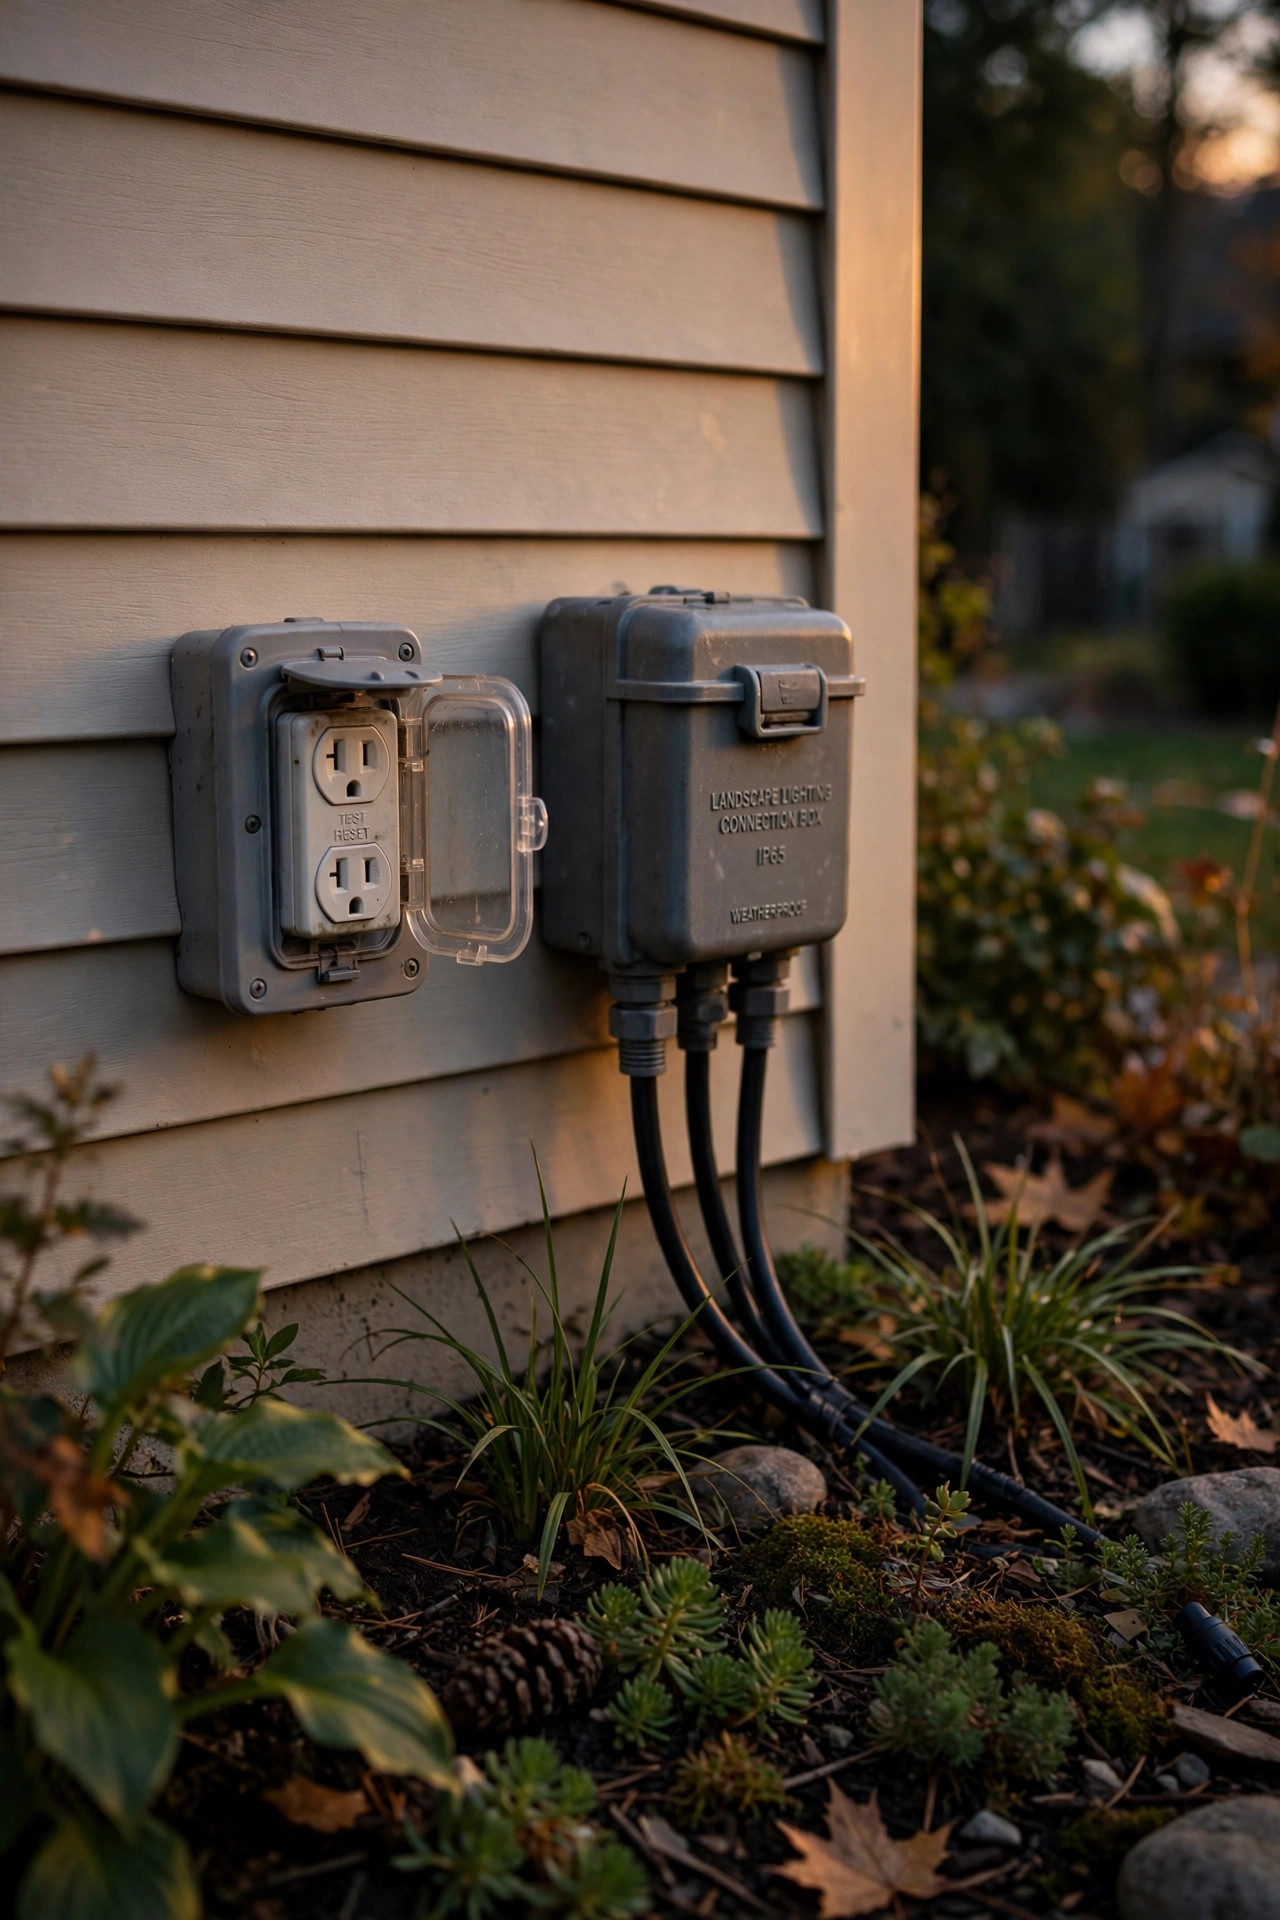
The transformer plugs into a GFCI-protected outdoor outlet. This is non-negotiable. The GFCI (ground-fault circuit interrupter) trips in milliseconds if current leaks somewhere it shouldn't — like into wet soil. If your nearest outdoor outlet isn't GFCI, replace it or plug the transformer into a GFCI adapter. Mount the transformer at least 12 inches off the ground and keep it out of direct sprinkler spray.
Buy fixtures rated for wet locations. Look for IP65 or higher on the box — that means dust-tight and protected against water jets. "Damp rated" isn't enough for a fixture sitting in mulch under a sprinkler. Sealed LED fixtures with integrated LEDs are more weatherproof than ones with replaceable bulbs, and there's no bulb socket to corrode.
Bury cables 4–6 inches deep. You don't need conduit for 12-volt cable in most jurisdictions, but burying protects the wire from lawn mowers, edgers, and curious raccoons. Call 811 before you dig deeper than a few inches — it's free, and hitting a gas line is not the lighting project you signed up for. Where cable crosses walkways, either tunnel under (a piece of PVC pipe driven under the path works) or run it along the edge in a shallow mulch trench.
LEDs near plants and mulch are safe. Unlike halogens, which run hot enough to scorch leaves and dry mulch (a real fire consideration), LEDs stay cool to the touch. Still, keep any fixture — and especially the transformer — clear of direct sprinkler heads, and never submerge connections; "waterproof connector" means it resists rain, not a pond.
When to call an electrician: if you need a new outdoor outlet run, if anything in the plan is line voltage (120V) rather than 12V, or if your breaker panel is full and you're adding a dedicated circuit. The 12-volt part is DIY-friendly; the 120-volt supply side deserves a pro.
Seasonal Adjustments and Maintenance
A layered system isn't install-and-forget — but the maintenance is honestly about an hour a year if you stay on top of it.
Spring: Walk the system after the first mow. Re-aim anything the landscaper nudged, clear mulch that's drifted over well lights, and wipe lenses — one season of grime can dim output by 20% or more. Check every connection for winter corrosion. This is also when you notice how much the plants grew: that cute little shrub you uplighted last year may now be swallowing the fixture whole. Move the light out 6–12 inches as the plant matures.
Summer: Trim back anything shadowing your fixtures. Adjust timers for later sunsets, or better yet, let the photocell handle it. If you have a smart transformer, this is the season to play with dimming scenes — full drama on weekends, just path lights on weeknights.
Fall: Leaves are the enemy. A well light buried under six inches of wet leaves is a well light doing nothing. Blow or rake around fixtures when you do the yard. Re-check aim once the deciduous trees drop — a maple that's gorgeous uplighted in July can look skeletal and weird in November, and you may want to shift that accent to an evergreen.
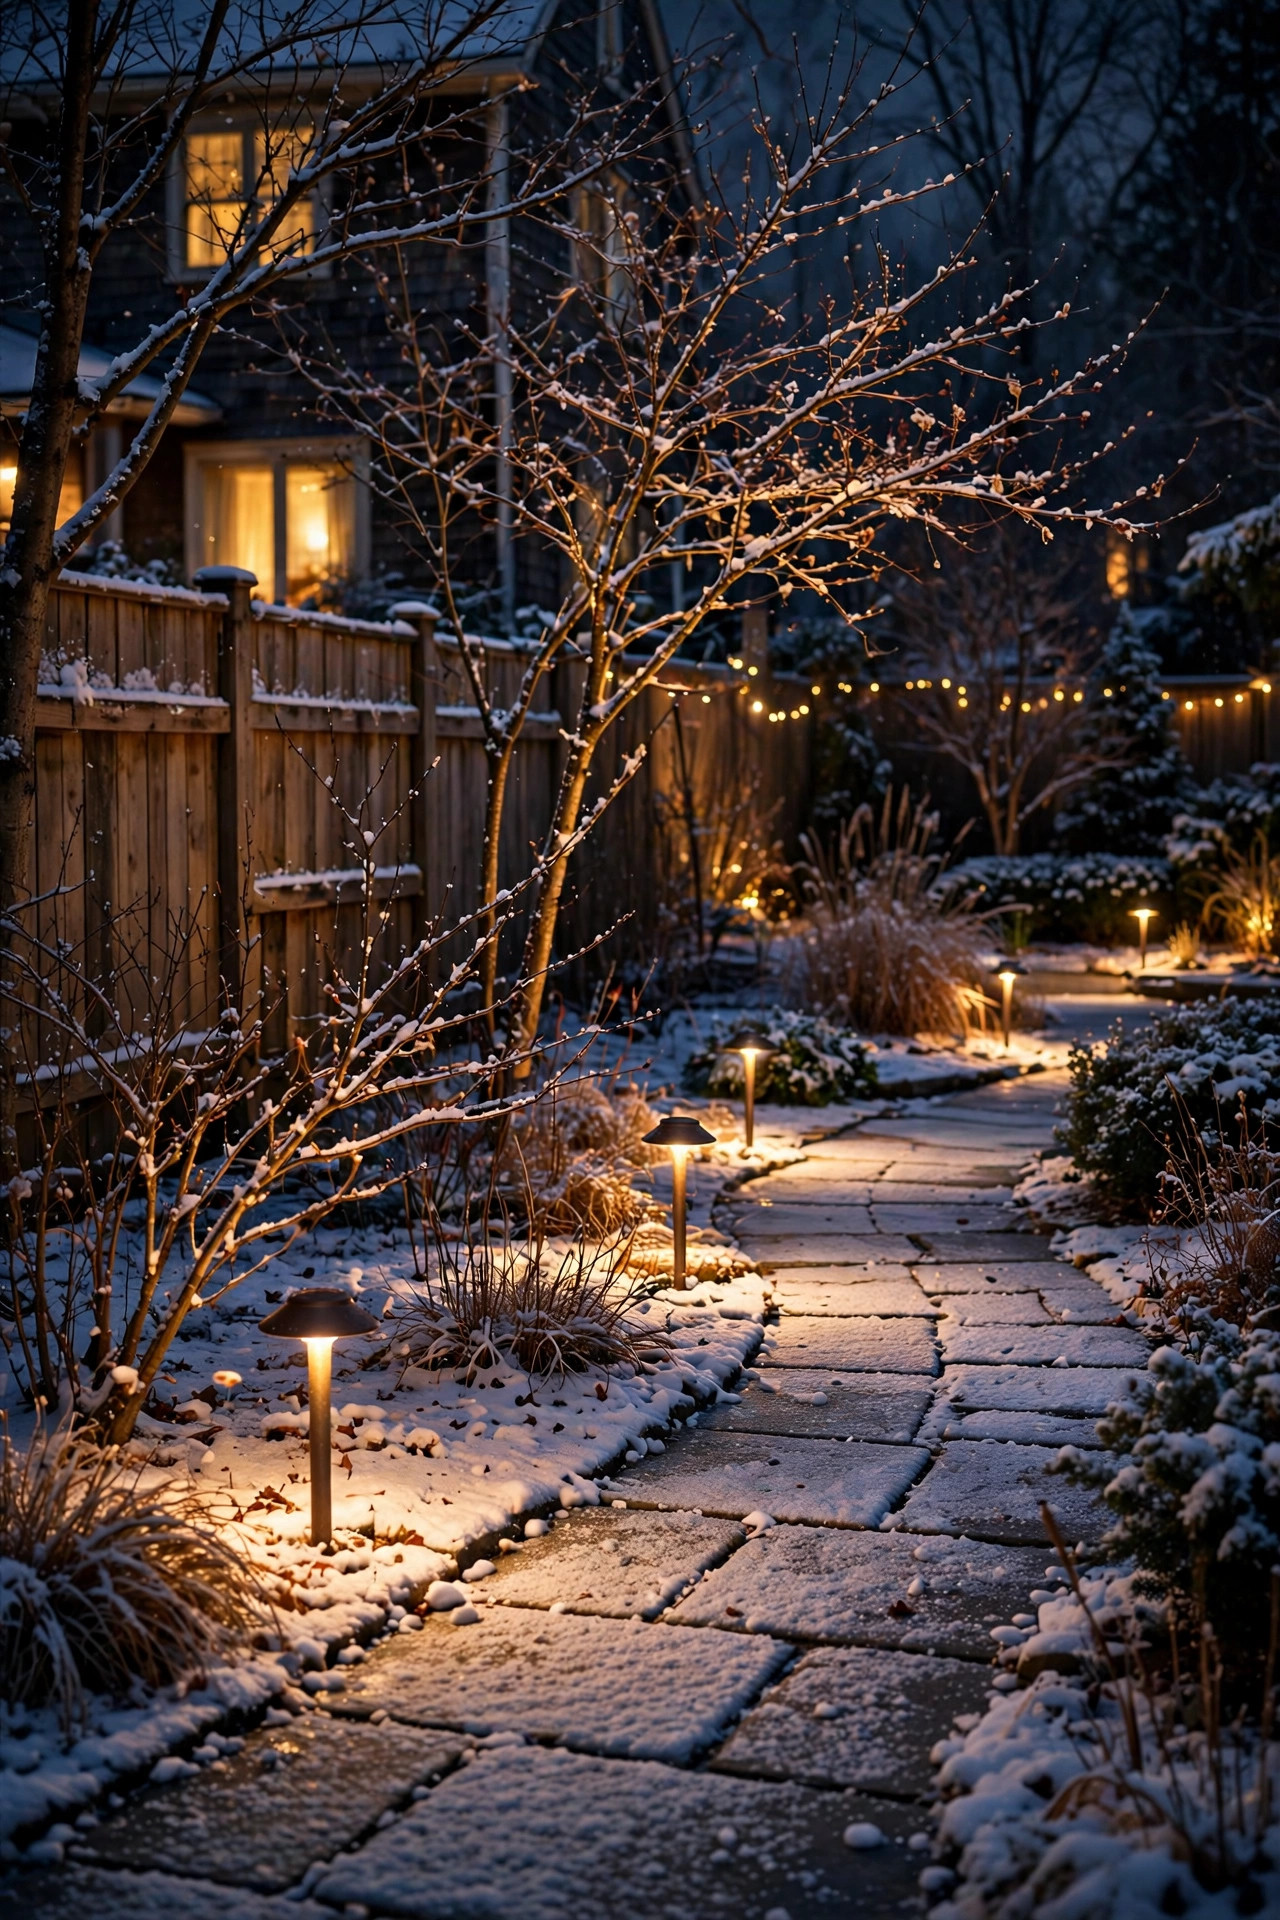
Winter: This is secretly the best season for landscape lighting, especially up north. Bare branches make incredible moonlighting subjects, and snow reflects light beautifully — your system will look brighter in January than July. If you get heavy snow, mark fixture locations with small stakes so the snowblower doesn't eat them. For cold-climate inspiration, my winter landscape lighting ideas show how layering shines when the garden is bare.
Every year: One fixture at a time, check that each still works, lenses are clean, and cables are buried. A 15-minute walk in October catches 90% of problems before the holidays.
Composing the View From the Street (Curb Appeal Tricks)
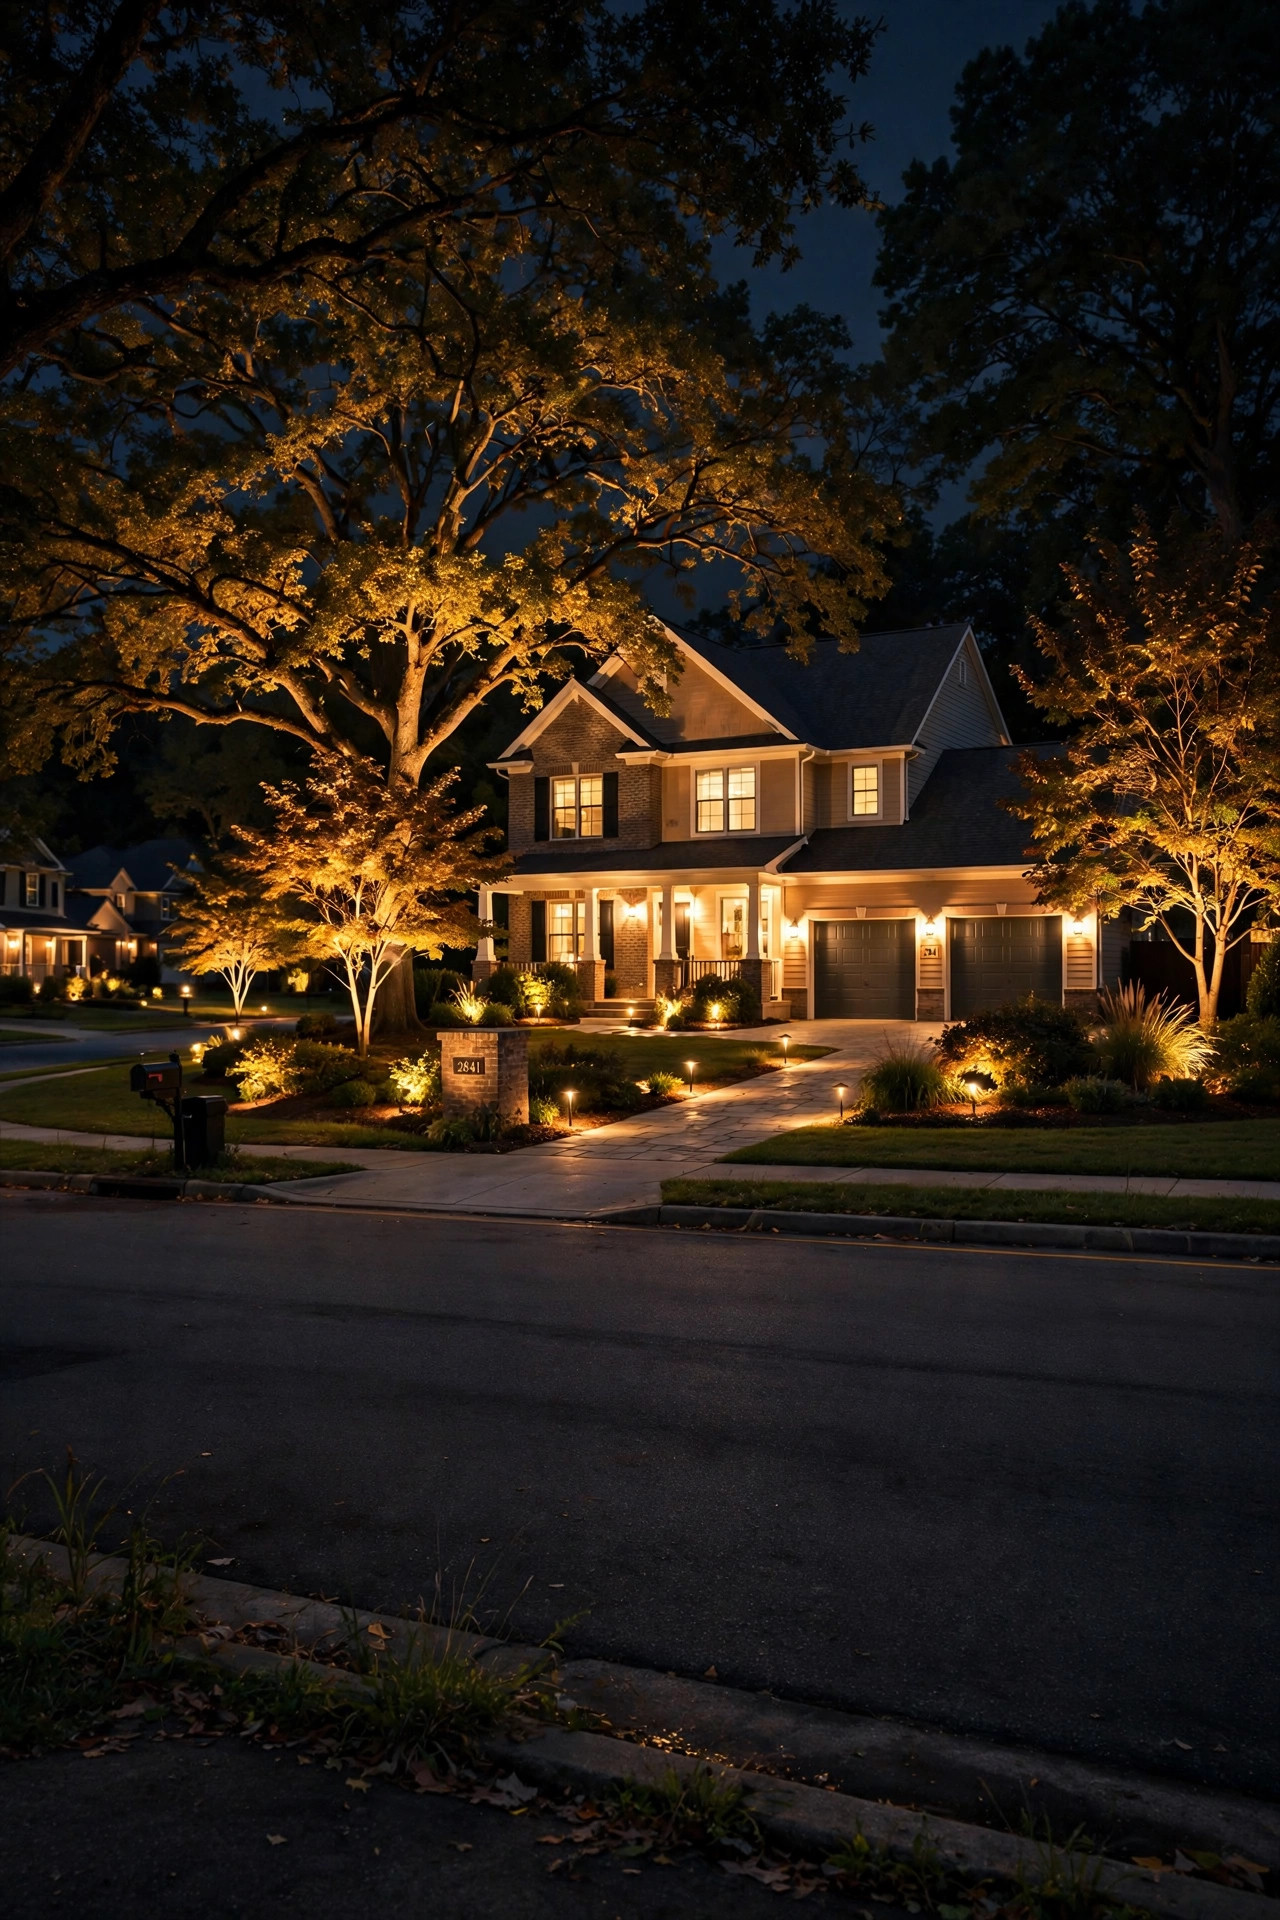
Since the whole point is curb appeal, design for the audience that matters: someone driving or walking past at 20 miles an hour. That means big, readable gestures, not subtle details.
Frame the house, don't flood it. Two or three well-placed uplights washing the front facade between the windows gives the house presence; a dozen fixtures makes it look like it's under interrogation. Leave some darkness — the lit areas look brighter by contrast, and shadows give the architecture dimension.
Lead the eye to the door. Your brightest Layer 2 moment near the entry (sconces, a lit wreath in season, an uplighted column) tells visitors exactly where to go. For holiday season, permanent outdoor Christmas lights can double as a year-round accent layer if you choose warm white — they tuck under eaves and read as architectural lighting until December, when they earn their keep.
Depth beats width. A yard lit only across the front reads as a flat billboard. Pull the eye deep: a moonlit tree 40 feet back, a path light glowing around the side gate. Layers at three distances — house, mid-yard, back tree line — is what makes a property look twice as big at night.
The 10-second test. Stand at the curb, look at your house for 10 seconds, then look away. What do you remember? If it's "a glowing rectangle," rebalance. If it's "that beautiful tree, the warm doorway, the path winding up" — you nailed it.
Frequently Asked Questions
How much does layered landscape lighting cost?
For a typical front yard, expect $700–$1,200 doing it yourself (12 fixtures, transformer, cable) or $2,500–$5,000 professionally installed. Full front-and-back showpiece systems run $8,000–$12,000 with a pro. Running costs are tiny with LED — roughly $25 a year for a 12-fixture system.
Can I install layered landscape lighting myself, or do I need a pro?
The 12-volt system itself is very DIY-friendly — no conduit, no permits in most areas, no shock hazard. Homeowners typically succeed with path lights, uplights, and well lights. Hire a pro for moonlighting in tall trees (ladder work), any new 120-volt outlet or circuit, complex designs, or if you simply want the design eye. A middle path works well: design it yourself, hire an electrician for the supply side.
How many layers does a small yard need?
All three — the layers aren't about square footage, they're about contrast. A tiny townhouse front can do it with 6–8 fixtures: two path lights, two uplights on the best plant or the facade, and one moonlight or focal spot. Small yards actually benefit the most from layering because depth is what makes them feel bigger.
How long do LED landscape lights last?
Quality sealed LED fixtures are rated 40,000–50,000 hours — at 8 hours a night, that's 13+ years before the diode fades. The weak points are connections and housings, not the LED itself. Buy solid brass or copper housings over plastic if your budget allows; they'll outlive the technology inside them.
Why does my yard look flat with just one layer of lighting?
Because a single layer lights one plane at one brightness, and your brain reads depth from contrast — bright against dark, lit texture against shadow. One row of path lights gives you brightness with nothing to compare it to, so everything flattens out. Adding even two or three accent lights at higher brightness on a tree or wall introduces the highlight-shadow pattern your eyes need, and the whole yard suddenly has dimension.
The Verdict: Start With Three Layers, Thank Yourself Every Night
Layered landscape lighting isn't a trend so much as a correction — the industry's way of admitting that one lonely porch light was never enough. Start with your paths, add accents on whatever you love most about your yard, finish with one dramatic focal moment, and aim everything after dark. Do that, and your house won't just look lit — it'll look designed.
If you're ready to keep going, browse more lighting ideas on the site and start sketching your plan tonight.