Intro
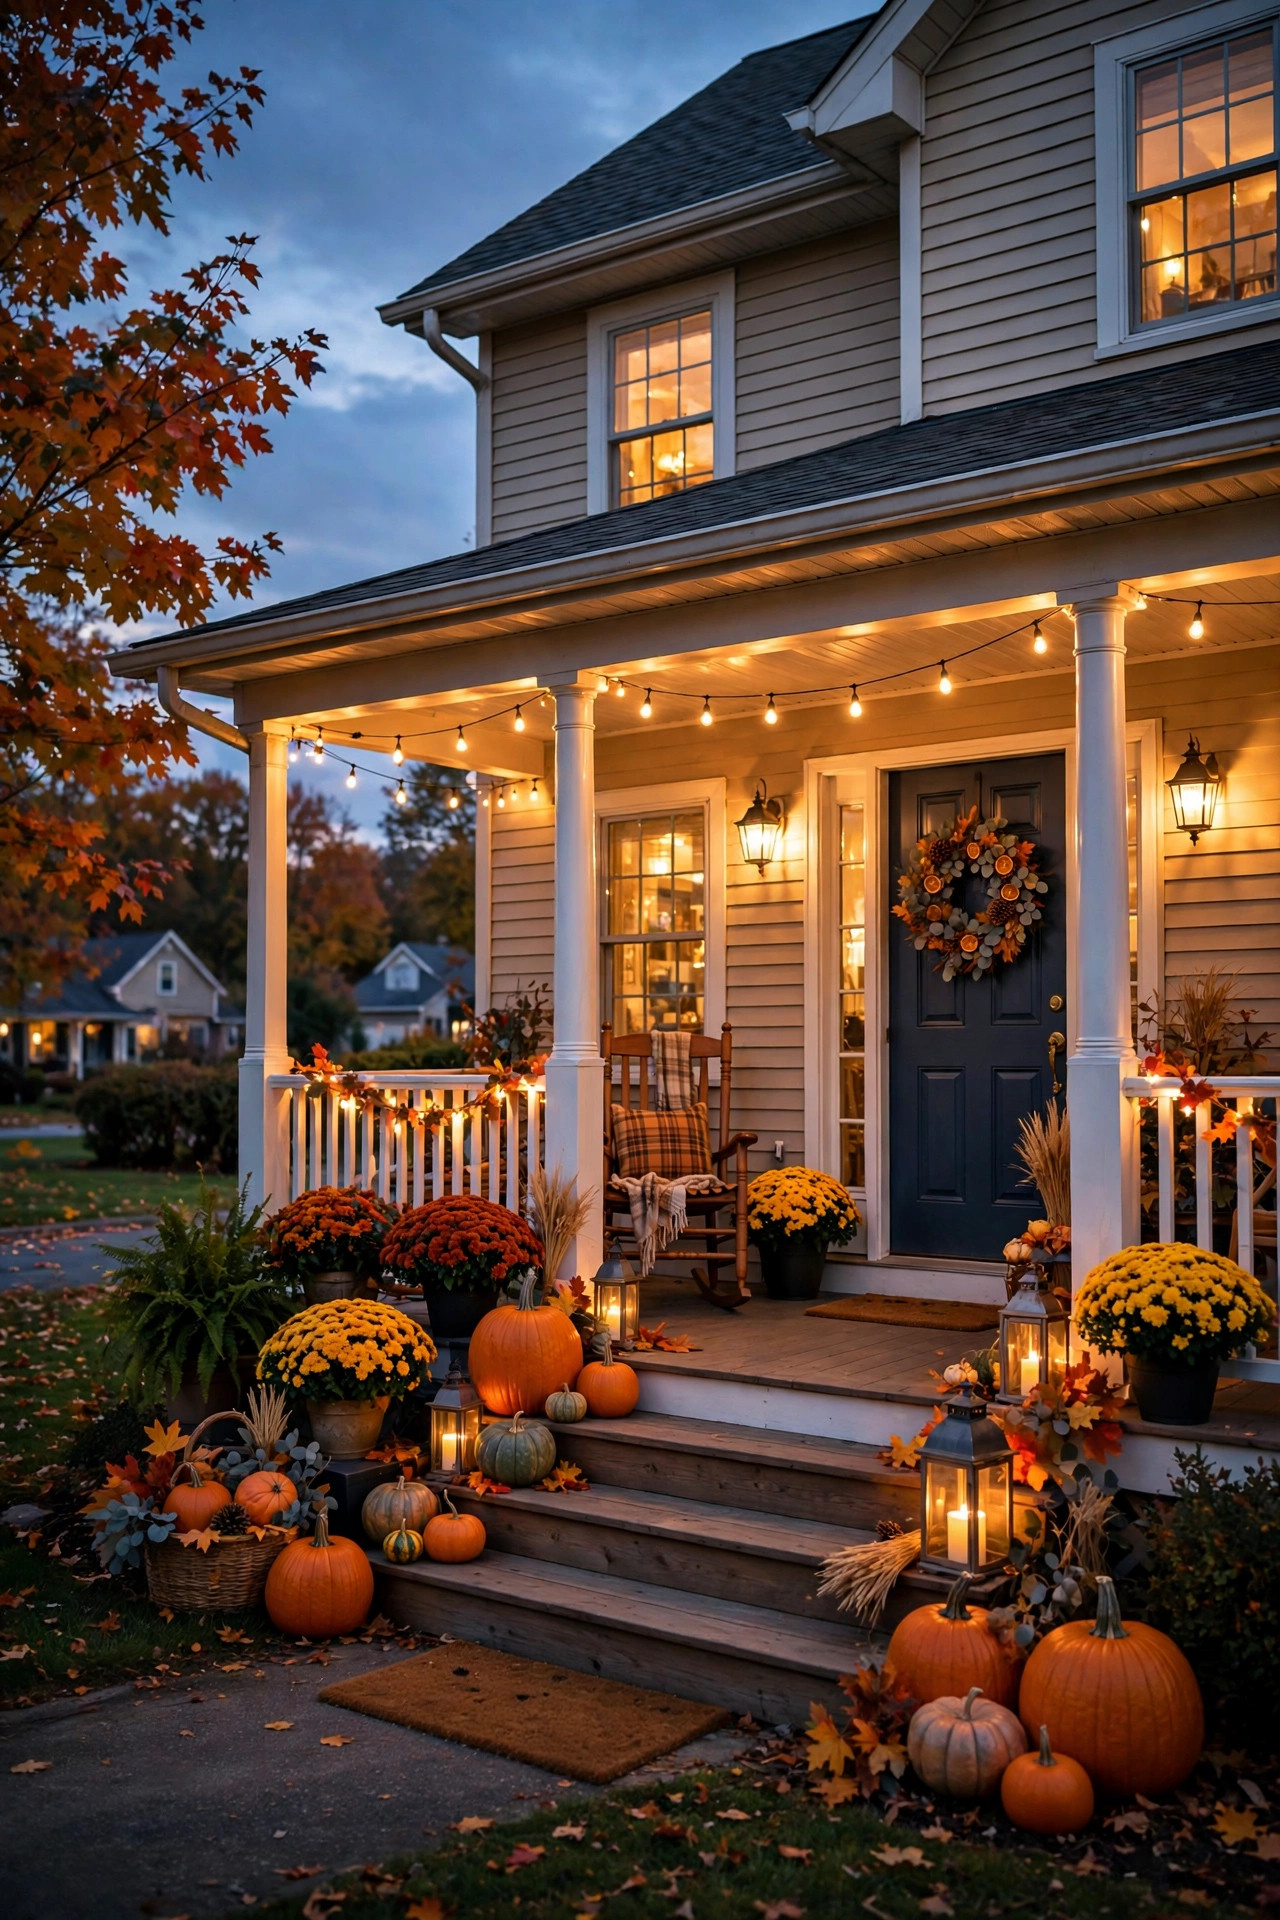
There's a particular magic to October evenings — that crisp snap in the air, woodsmoke drifting from a neighbor's chimney, leaves skittering across the sidewalk. And honestly? Nothing makes a home feel more welcoming on dusky fall evenings than a porch glowing with warm, thoughtful light. If you've been searching for fall porch lighting ideas that go beyond tossing a pumpkin on the steps, you're in the right place.
In my experience, the porches that stop people mid-walk aren't the ones with the most stuff — they're the ones where the lighting tells a story. Warm pools of light on the steps. A wreath that glows softly against the front door. Little lanterns that seem to flicker just for you. I always recommend layering at least three light sources: something high, something at eye level, and something low along the ground. That triangle of light is what makes an entry feel deep, cozy, and expensive — even when the whole setup cost less than a dinner out.
Below are 21 of my favorite ideas, each one tested in my own home or a friend's over the years. Grab a cup of cider and let's make your entry glow all season.
1. Fairy Lights Woven Into Fall Planters
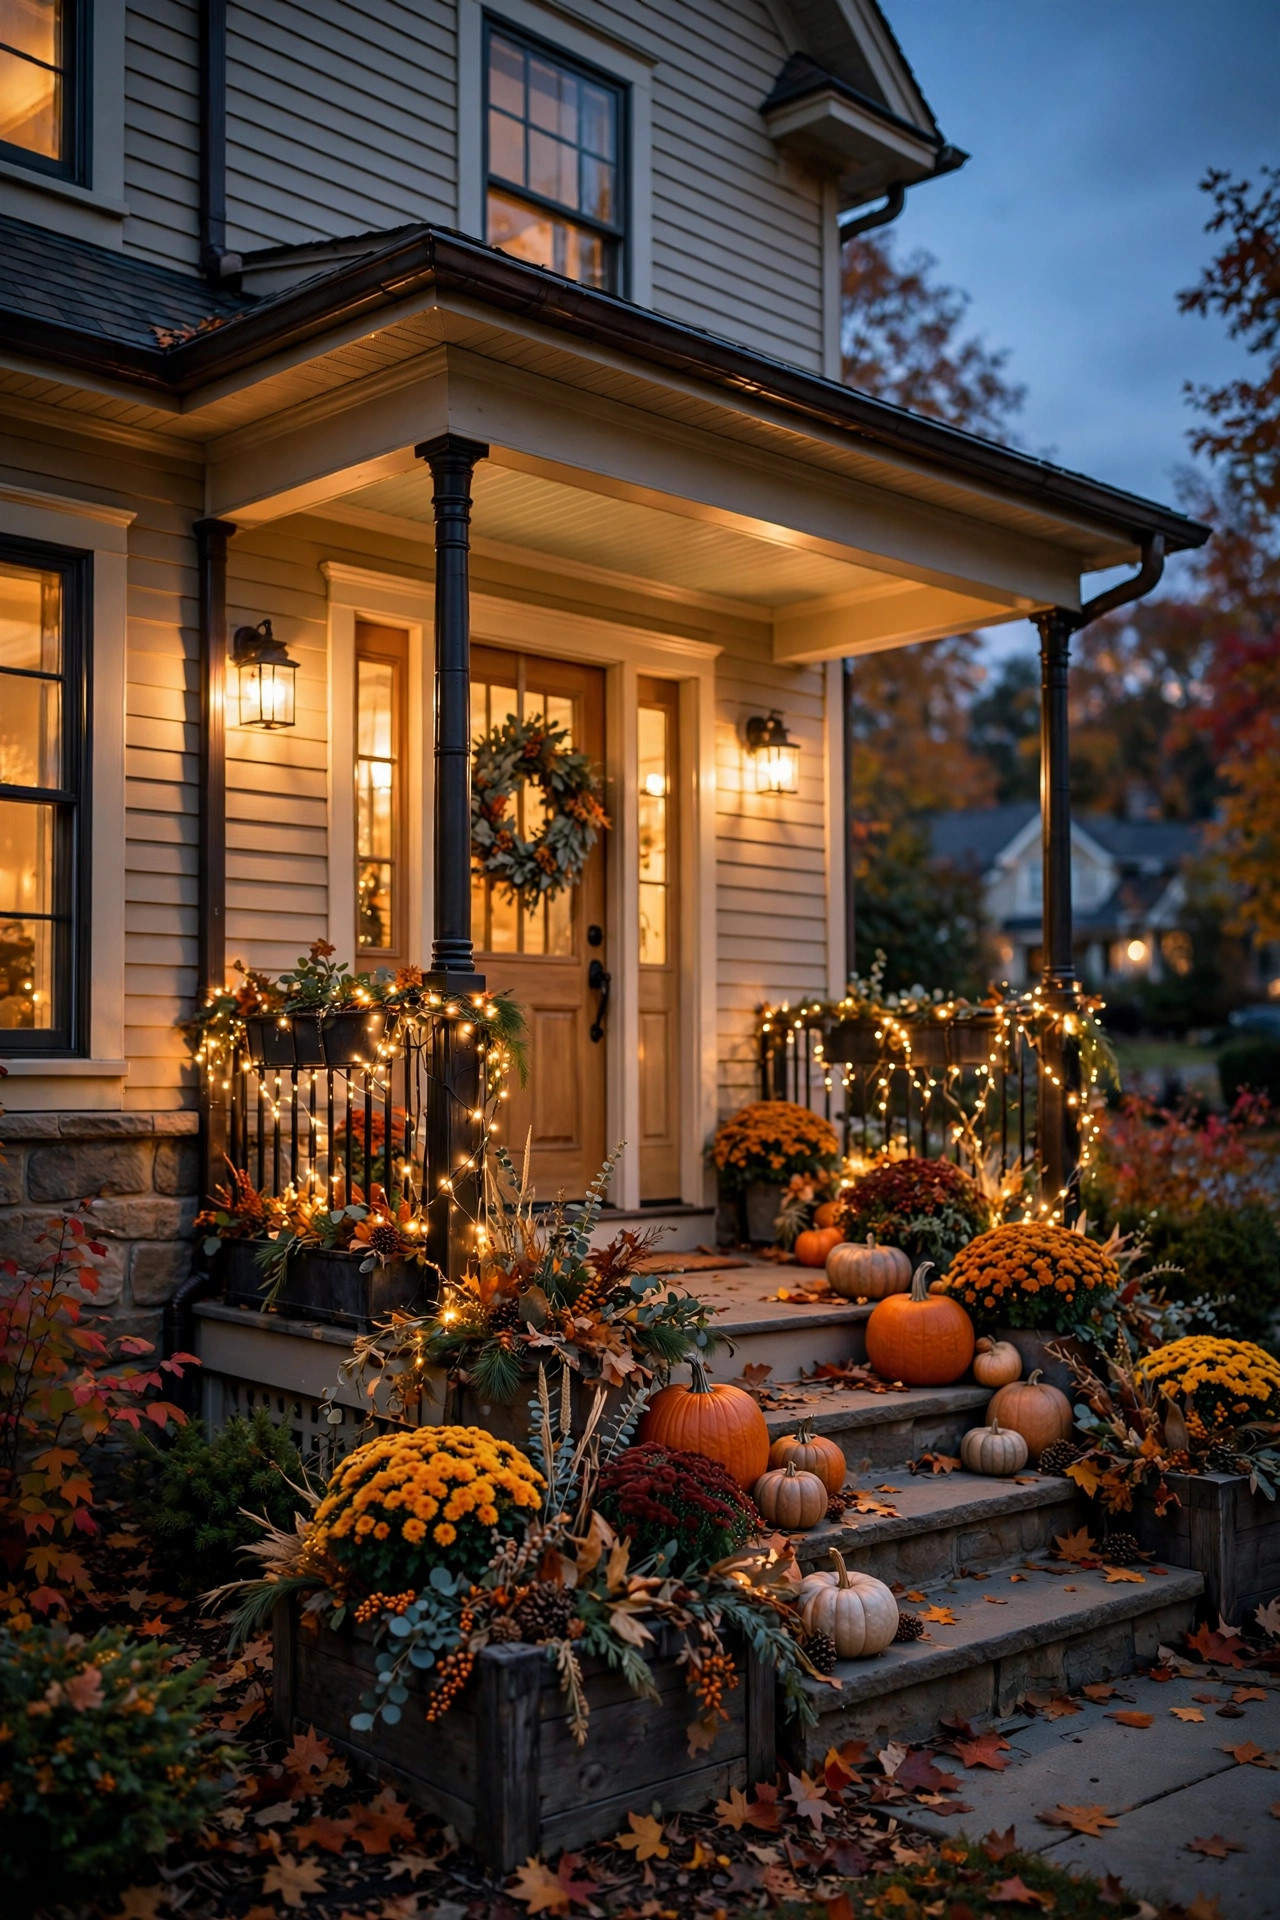
This is my number-one recommendation for instant impact on a budget, and I do it every single year. Take a set of copper-wire fairy lights — I like the 33-foot strands with 100 warm-white LEDs, they're the sweet spot for brightness without looking harsh — and weave them right through your fall planters. Thread them in and out of mums, ornamental kale, trailing ivy, even the stems of decorative peppers. The tiny lights catch on the foliage and make the whole planter look like it's glowing from within.
In my experience, the trick is layering: start the strand at the back of the planter near the soil, work it upward in a loose spiral, and let a few tendrils drape over the rim. Tuck the battery pack down behind the pot so it's invisible from the street. Look for strands with a built-in 6-hour timer — set it once and your planters light up at dusk and switch off at midnight, no remembering required. Make sure the lights are rated IP44 or better for outdoor use, and give the battery pack a little shelter under the pot's lip so rain doesn't pool on it.
Style-wise, this looks best in odd-numbered groupings — three planters flanking a door, or five marching down the steps. Pair with a few small pumpkins tucked at the base of each pot and you've got a vignette that photographs beautifully.
Suggested budget range: $15 – $40.
2. Illuminated Pumpkins With Flickering LED Candles
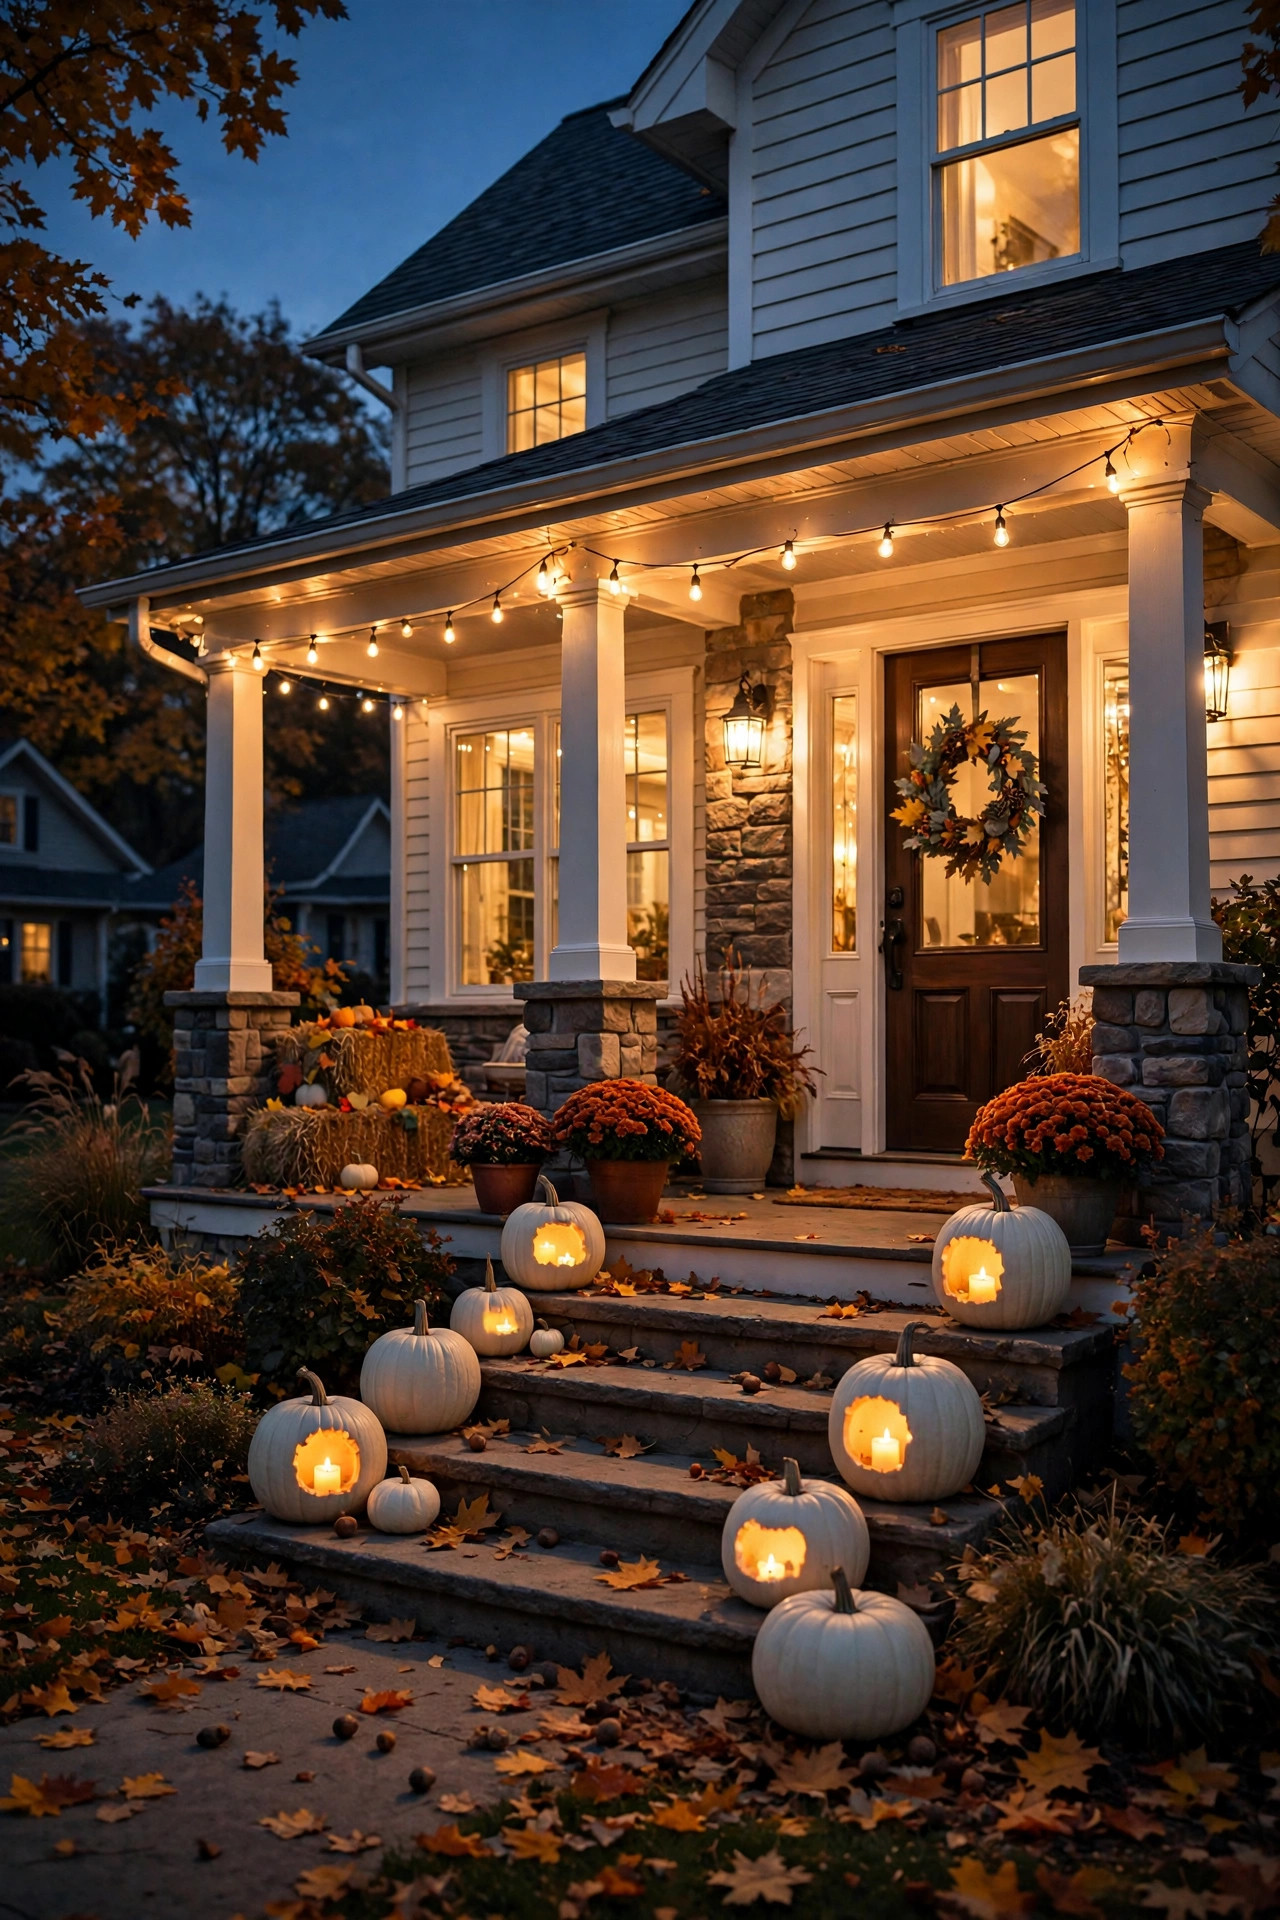
Real carved pumpkins with real candles are romantic for exactly one night — then the wind blows them out, or worse. I've fully converted to the LED life, and white Lumina pumpkins are my favorite canvas. Their pale skin glows almost translucent when lit from inside, like a paper lantern, and they photograph like a dream against dark siding or brick.
Here's my method: carve your design a little bolder than you think you need — LED light is softer than candle flame, so fine details can disappear. Pop two or three flickering LED tea lights (the kind with the warm amber "flame" tip) inside each pumpkin, and for larger ones add a battery-operated pillar candle for extra glow. For a truly stunning effect, drill small holes in a scattered pattern across the pumpkin's face with a 1/4-inch bit; each hole becomes a pinpoint of light, like stars. Just be sure to scrape the interior walls to about a half-inch thick so light passes through more easily.
Safety note that matters: real pumpkins plus real candles plus a dry porch equals a risk I don't take anymore. LEDs stay cool to the touch, so you can cluster pumpkins close together or nestle them into dried corn husks and hay without a second thought. Bring carved pumpkins under cover during heavy rain and they'll last a week or more.
Suggested budget range: $20 – $50.
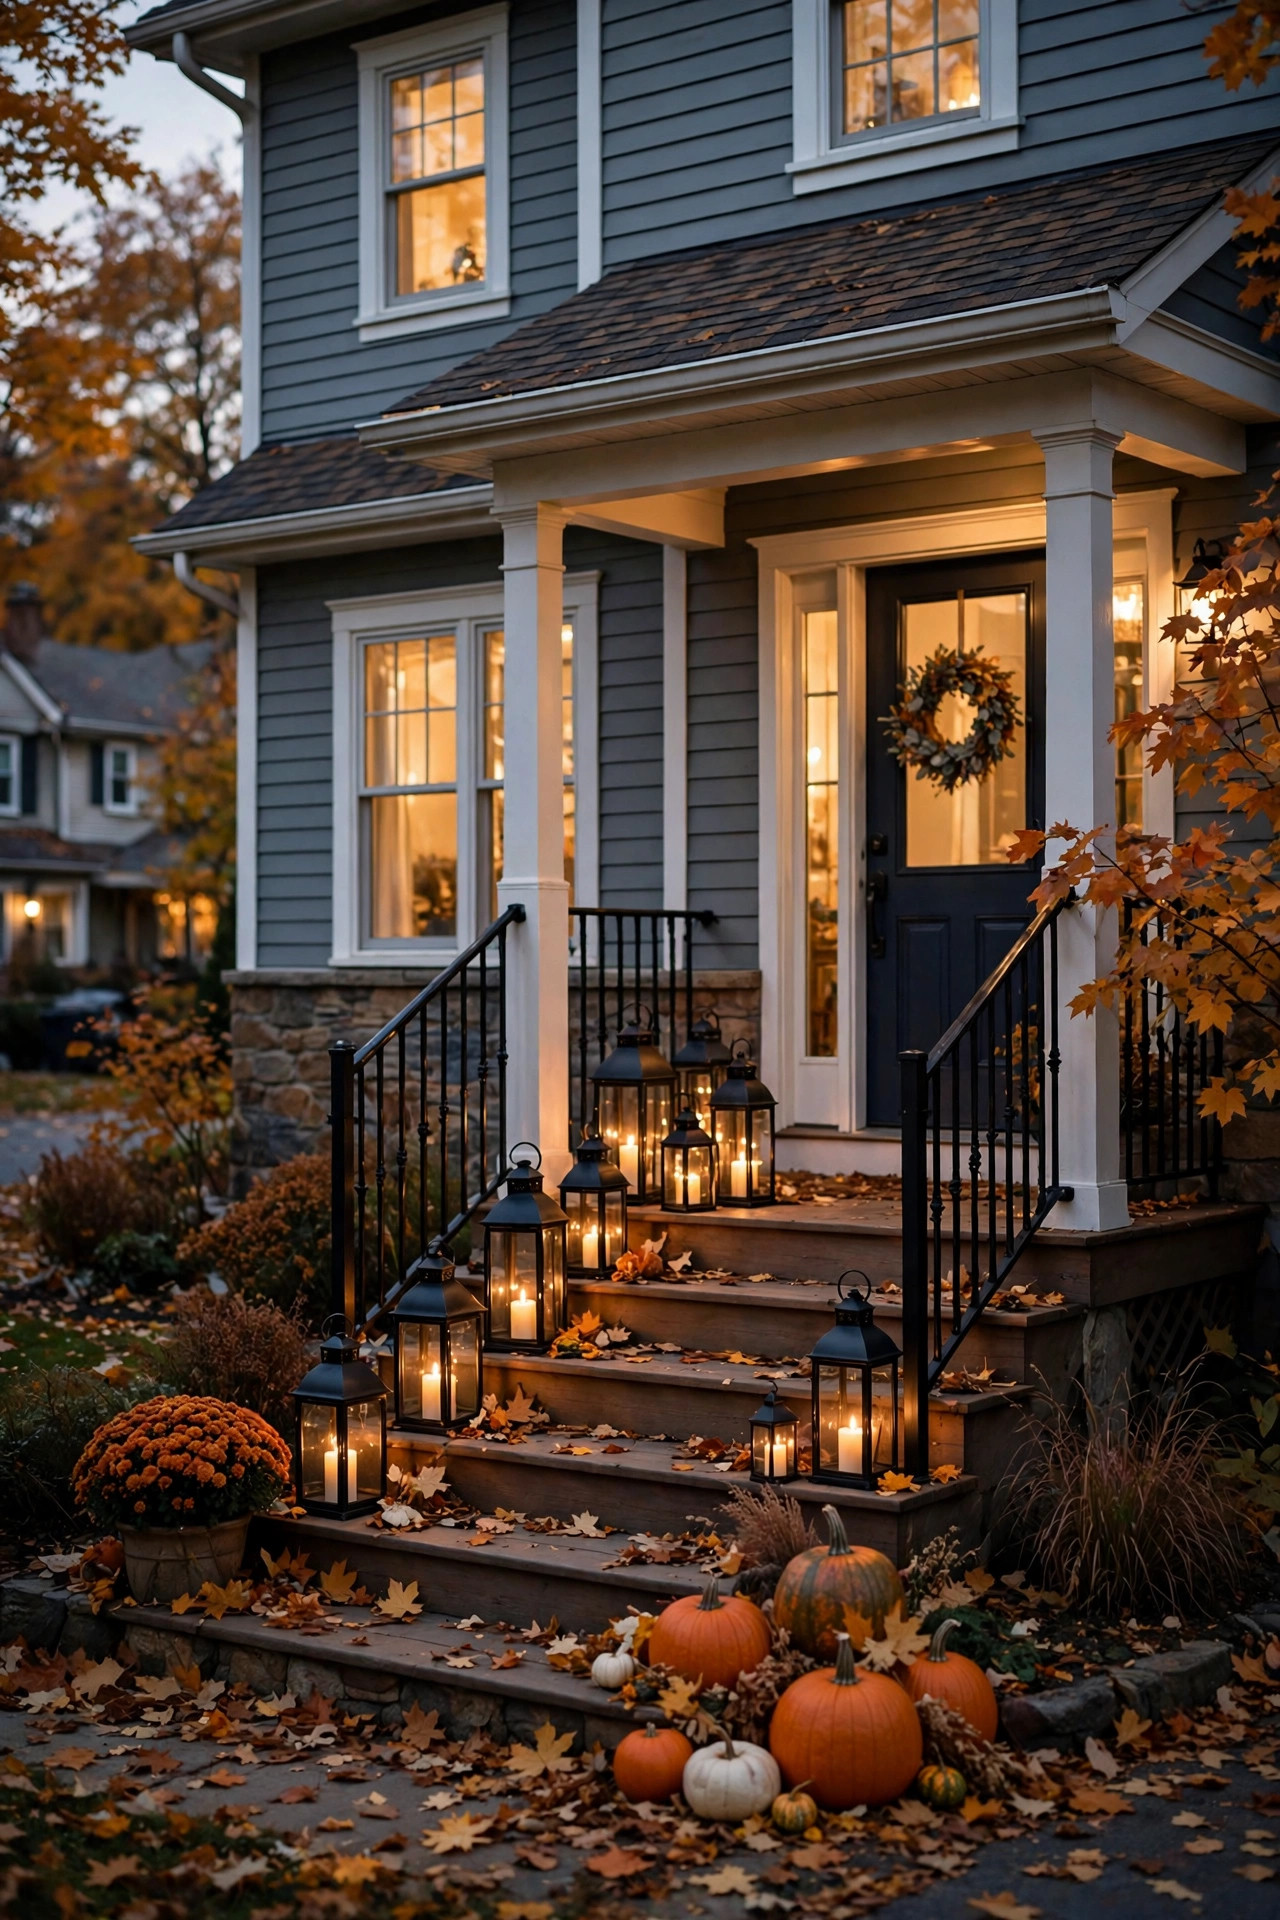
3. Lantern Clusters on Porch Steps
There's something about a cluster of lanterns that reads "someone who loves their home lives here." I always recommend grouping lanterns in threes on porch steps — varying heights is the whole secret. A 20-inch tall lantern on the top step, a 14-incher mid-step, and a squat 10-inch one at the bottom creates a little waterfall of light that draws the eye right up to your front door.
Fill each lantern with a flameless LED pillar candle (the 3×4 and 3×6 sizes look most realistic), and choose the flickering-flame style rather than steady glow — the movement is what sells it. Black metal lanterns with glass panels are my go-to for fall; they look sharp against orange mums and weathered wood, and they read clearly from the street. If your steps are narrow, line the cluster along one side only so you keep a clear walking path — safety first, always.
For windy porches, look for lanterns with a latch or weighted base, and set the LED candles on a small square of museum putty so they don't rattle around. I leave mine out from late September through Thanksgiving, swapping the pillar candles' batteries once — most run 200+ hours on a timer mode.
Suggested budget range: $40 – $90.
4. Pre-Lit Autumn Wreath on the Front Door
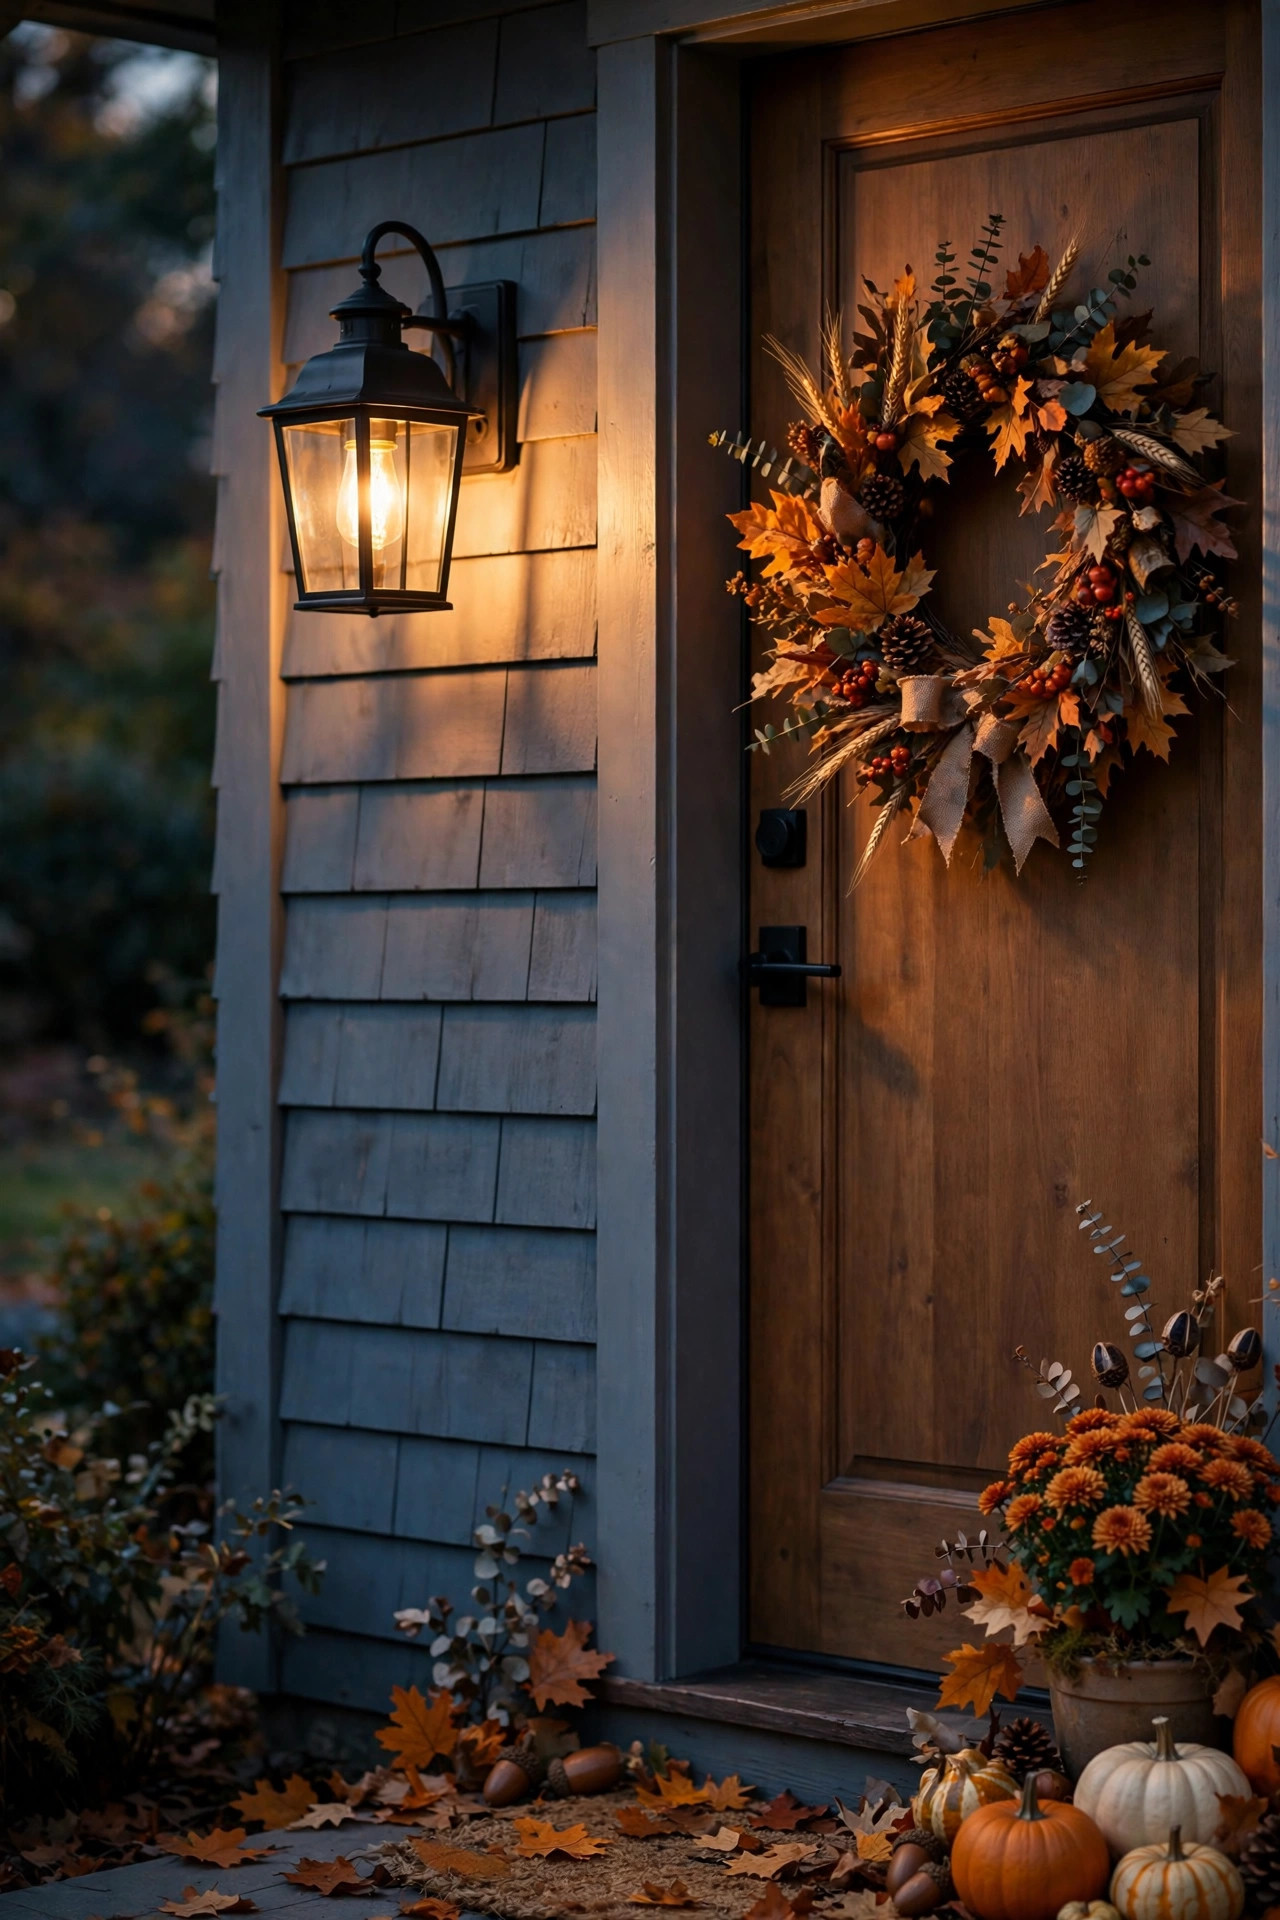
Your front door is the focal point of the whole porch, and a pre-lit wreath turns it into the star of the show. I hang a 26- to 28-inch autumn wreath — grapevine base, faux maple leaves in burnt orange and gold, little pinecones and berries — with 50 or so warm-white LEDs already woven through it. At dusk, the door glows like the entrance to somewhere wonderful.
A few practical notes from years of hanging these: measure your door clearance first. If you have a storm door, you need a slim-profile wreath (under 6 inches deep) or the LEDs will get crushed every time the door opens. Hang it with an over-the-door wreath hanger rather than a nail — no holes, no damage, and it sits at the perfect eye-level height. Most pre-lit wreaths run on 3 AA batteries with a timer function; set the timer when you hang it and forget it for the season.
In my experience, the wreath looks best when its light temperature matches the rest of your porch — aim for 2700K warm white across everything so nothing clashes. And here's a little styling trick: tuck two or three battery fairy-light strands deeper into a plain wreath to double its glow on extra-dark evenings.
Suggested budget range: $35 – $75.
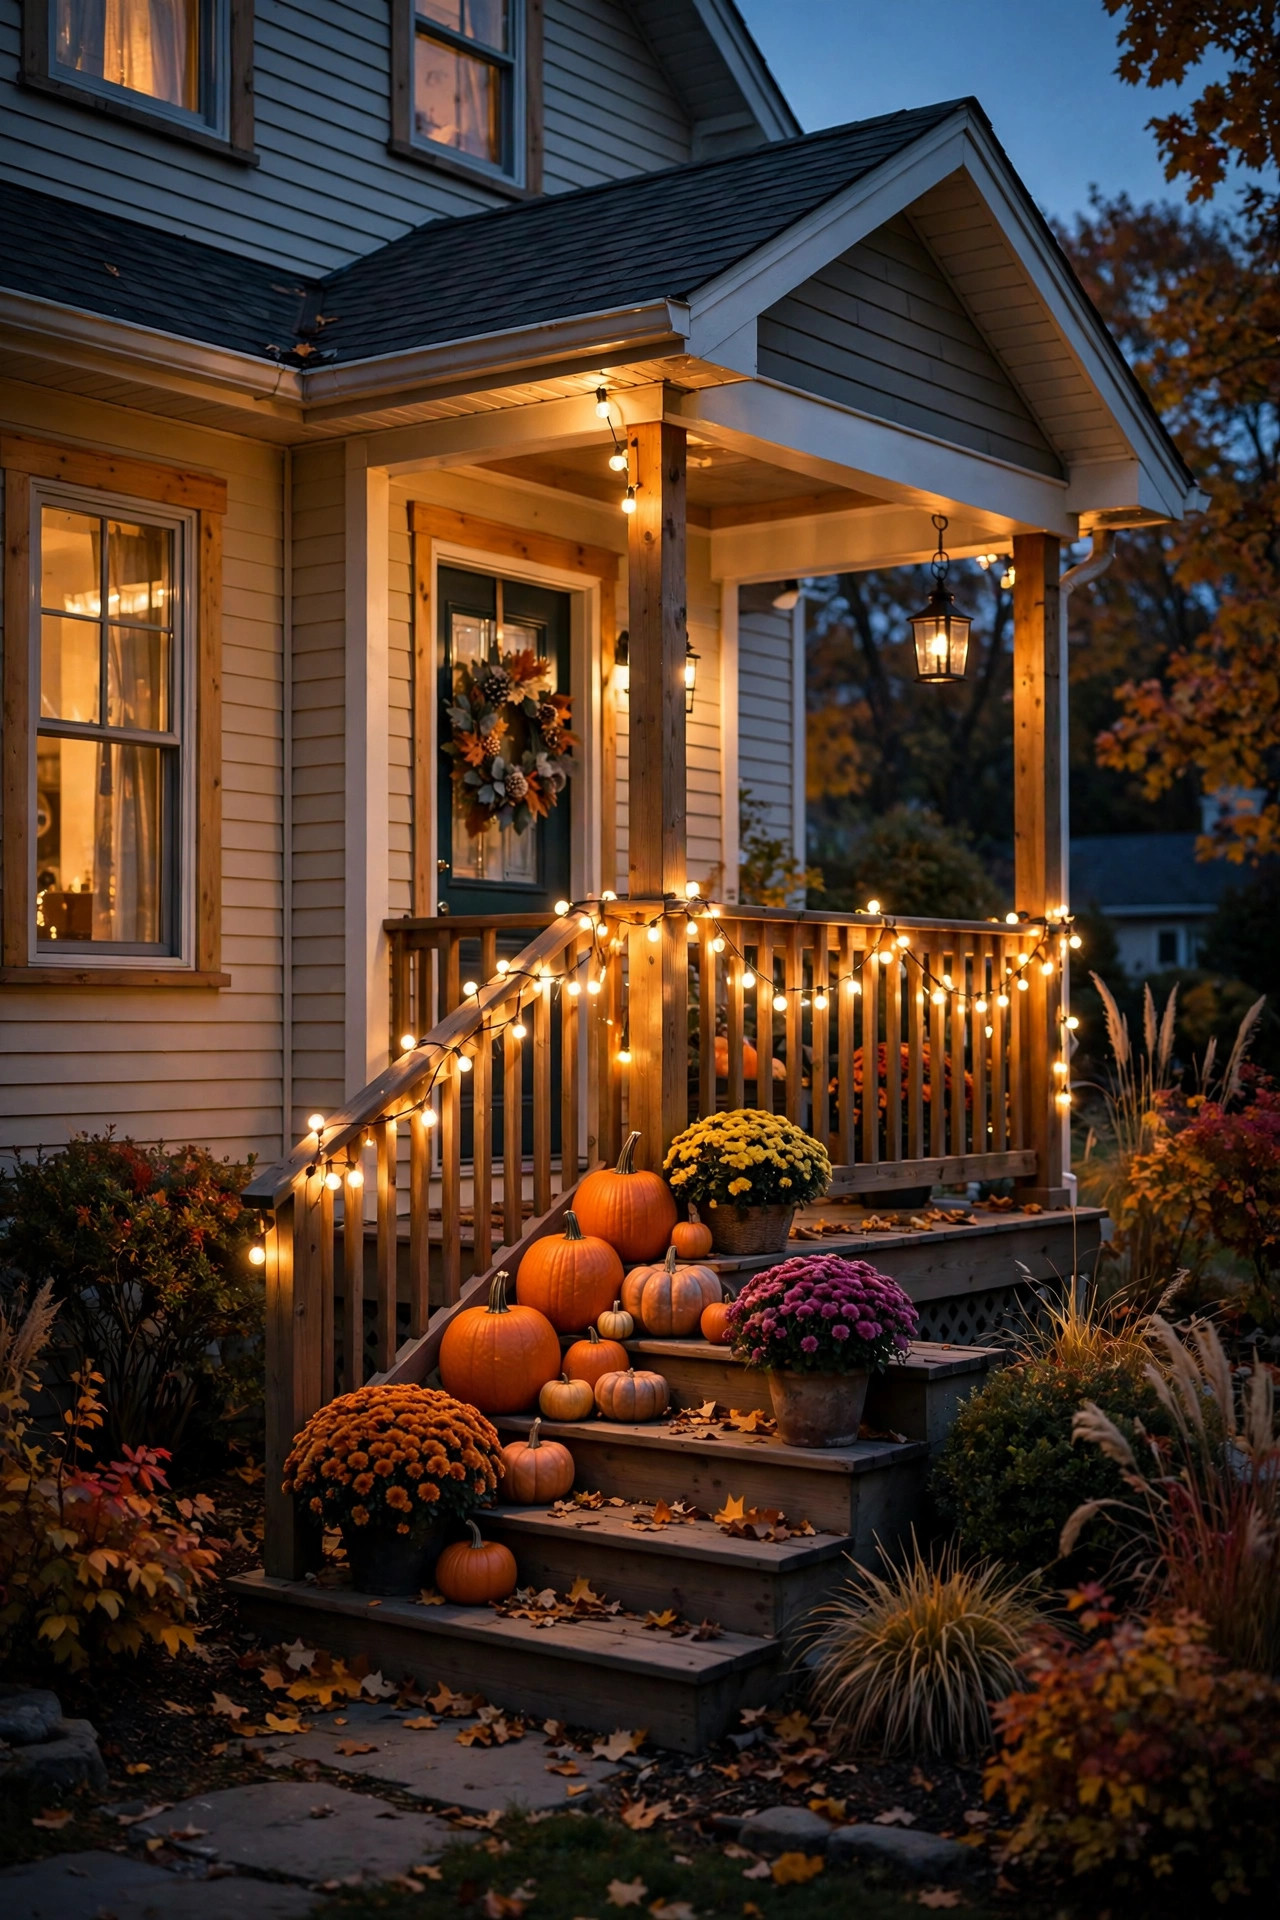
5. Warm-White String Lights Along the Porch Railing — The Fall Porch Lighting Idea I'd Do First
If you do exactly one thing from this list, make it this one. A single 25- or 50-foot strand of warm-white string lights swagged along your porch railing transforms the entire space for the price of a pizza. I drape mine in gentle swags — attach at each post with small clear zip ties or cup hooks, letting the strand dip about 8 to 10 inches between posts. That scalloped line of light is pure coziness.
Bulb choice matters more than people think. Skip the cool-white or multicolor strands for fall; you want 2700K warm white, which flatters wood tones, brick, and foliage alike. The faceted C6 strawberry-style bulbs give a lovely sparkle, while larger G40 globe bulbs read more modern. Either way, choose an outdoor-rated strand (look for the UL listing for wet locations on the tag) and plug it into an outdoor timer or smart plug so it clicks on at sunset.
One safety note: never run indoor-only lights outside, even "just for a few weeks" — fall rain and morning dew will find every weakness. And keep strands away from dried decorative grasses or corn husks; LEDs run cool, but keep clearances anyway as good habit.
Suggested budget range: $25 – $60.
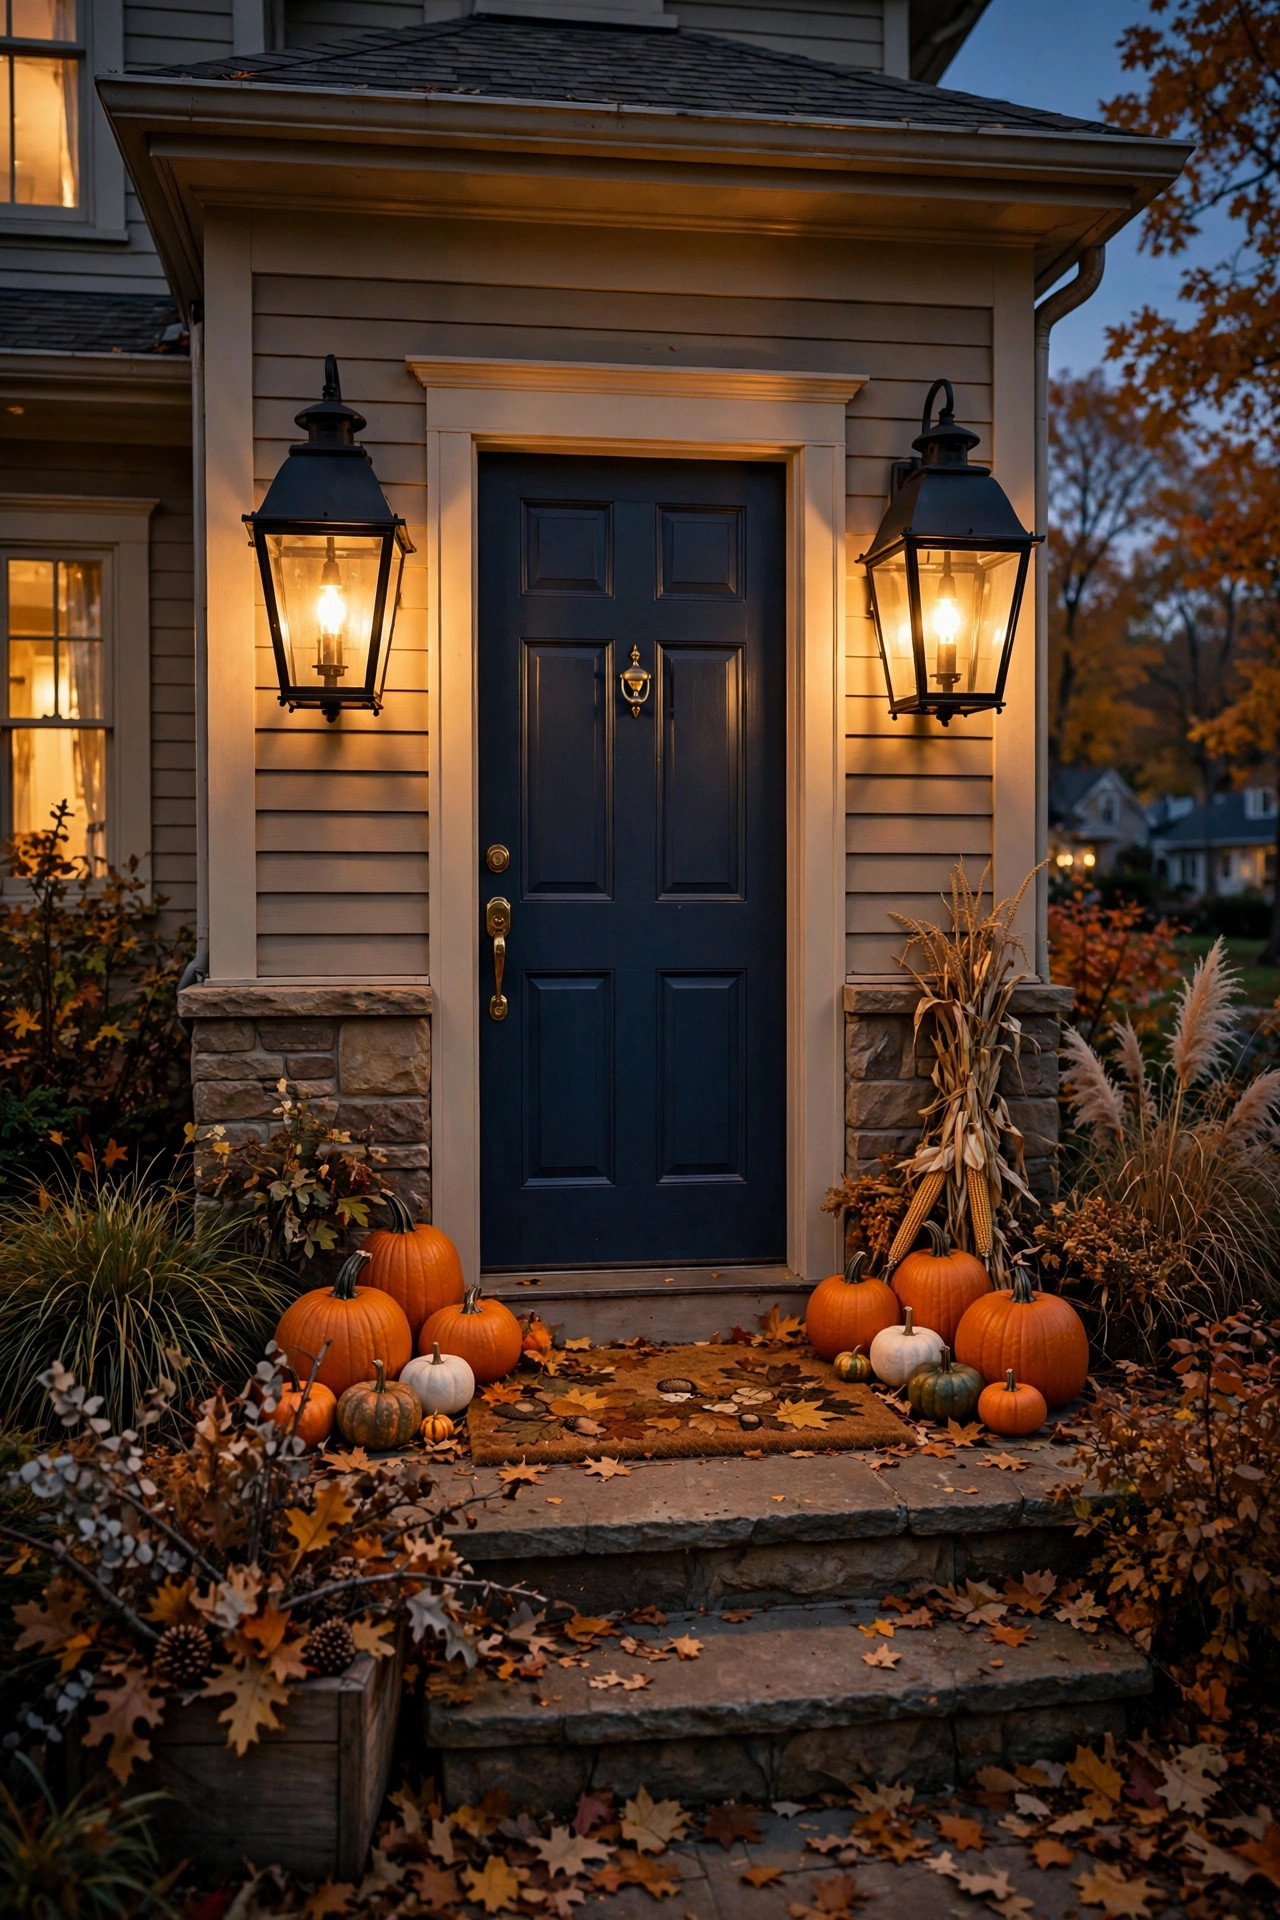
6. Oversized Lanterns Flanking the Front Door
Symmetry is powerful. Two oversized lanterns — I'm talking 24 to 30 inches tall — standing like sentries on either side of your front door instantly make an entry feel grand and intentional. This is the look I recommend when someone tells me their porch feels "a little bare" but they don't want clutter.
Placement is everything: set each lantern about 18 inches out from the door frame and a foot forward from the wall, so they frame the doorway without blocking the swing of the door or the path. Inside each, place a chunky LED pillar candle (4×6 inches fills a big lantern nicely) or a cluster of three smaller ones at staggered heights. The glass panels will magnify the glow beautifully.
For fall styling, I like to set each lantern on a low stack — a wooden crate, an overturned bushel basket, or even a fat slice of log — which adds height variation and a rustic touch. Tuck dried hydrangeas or wheat stems into the top of the lantern (outside the glass, never near a real flame) for that harvest feel. Choose lanterns with a top handle and you'll be able to move them inside in seconds when a storm rolls through.
Suggested budget range: $60 – $140.
7. Flameless Candle Pathway Lining the Walkway
Guide your guests (and the trick-or-treaters) right to your door with a pathway of flameless candles. I line both edges of my walkway with small glass hurricane holders or simple white paper-style luminaries, each holding a flickering LED tea light, spaced about 2 to 3 feet apart. From the street, it reads as a river of warm light leading straight to your porch — honestly one of the most magical cheap tricks I know.
For a sturdy setup that survives October weather, skip actual paper bags (one rainstorm and they're pulp). Instead, use weighted plastic or glass luminaries, or LED candles with built-in stakes that push right into the soil along the path's edge. The stake-style path candles are my favorite because they sit a foot off the ground — high enough to read clearly, low enough to feel intimate. Most come with dusk-to-dawn sensors, so they light themselves every evening.
Spacing tip from experience: measure your walkway and divide evenly rather than eyeballing it — uneven spacing is the number one thing that makes a pathway look DIY in the wrong way. And keep the candles at least 6 inches back from the walking surface so nobody kicks them. On Halloween night, I double the density for extra drama, then thin it back out for the rest of the season.
Suggested budget range: $30 – $70.
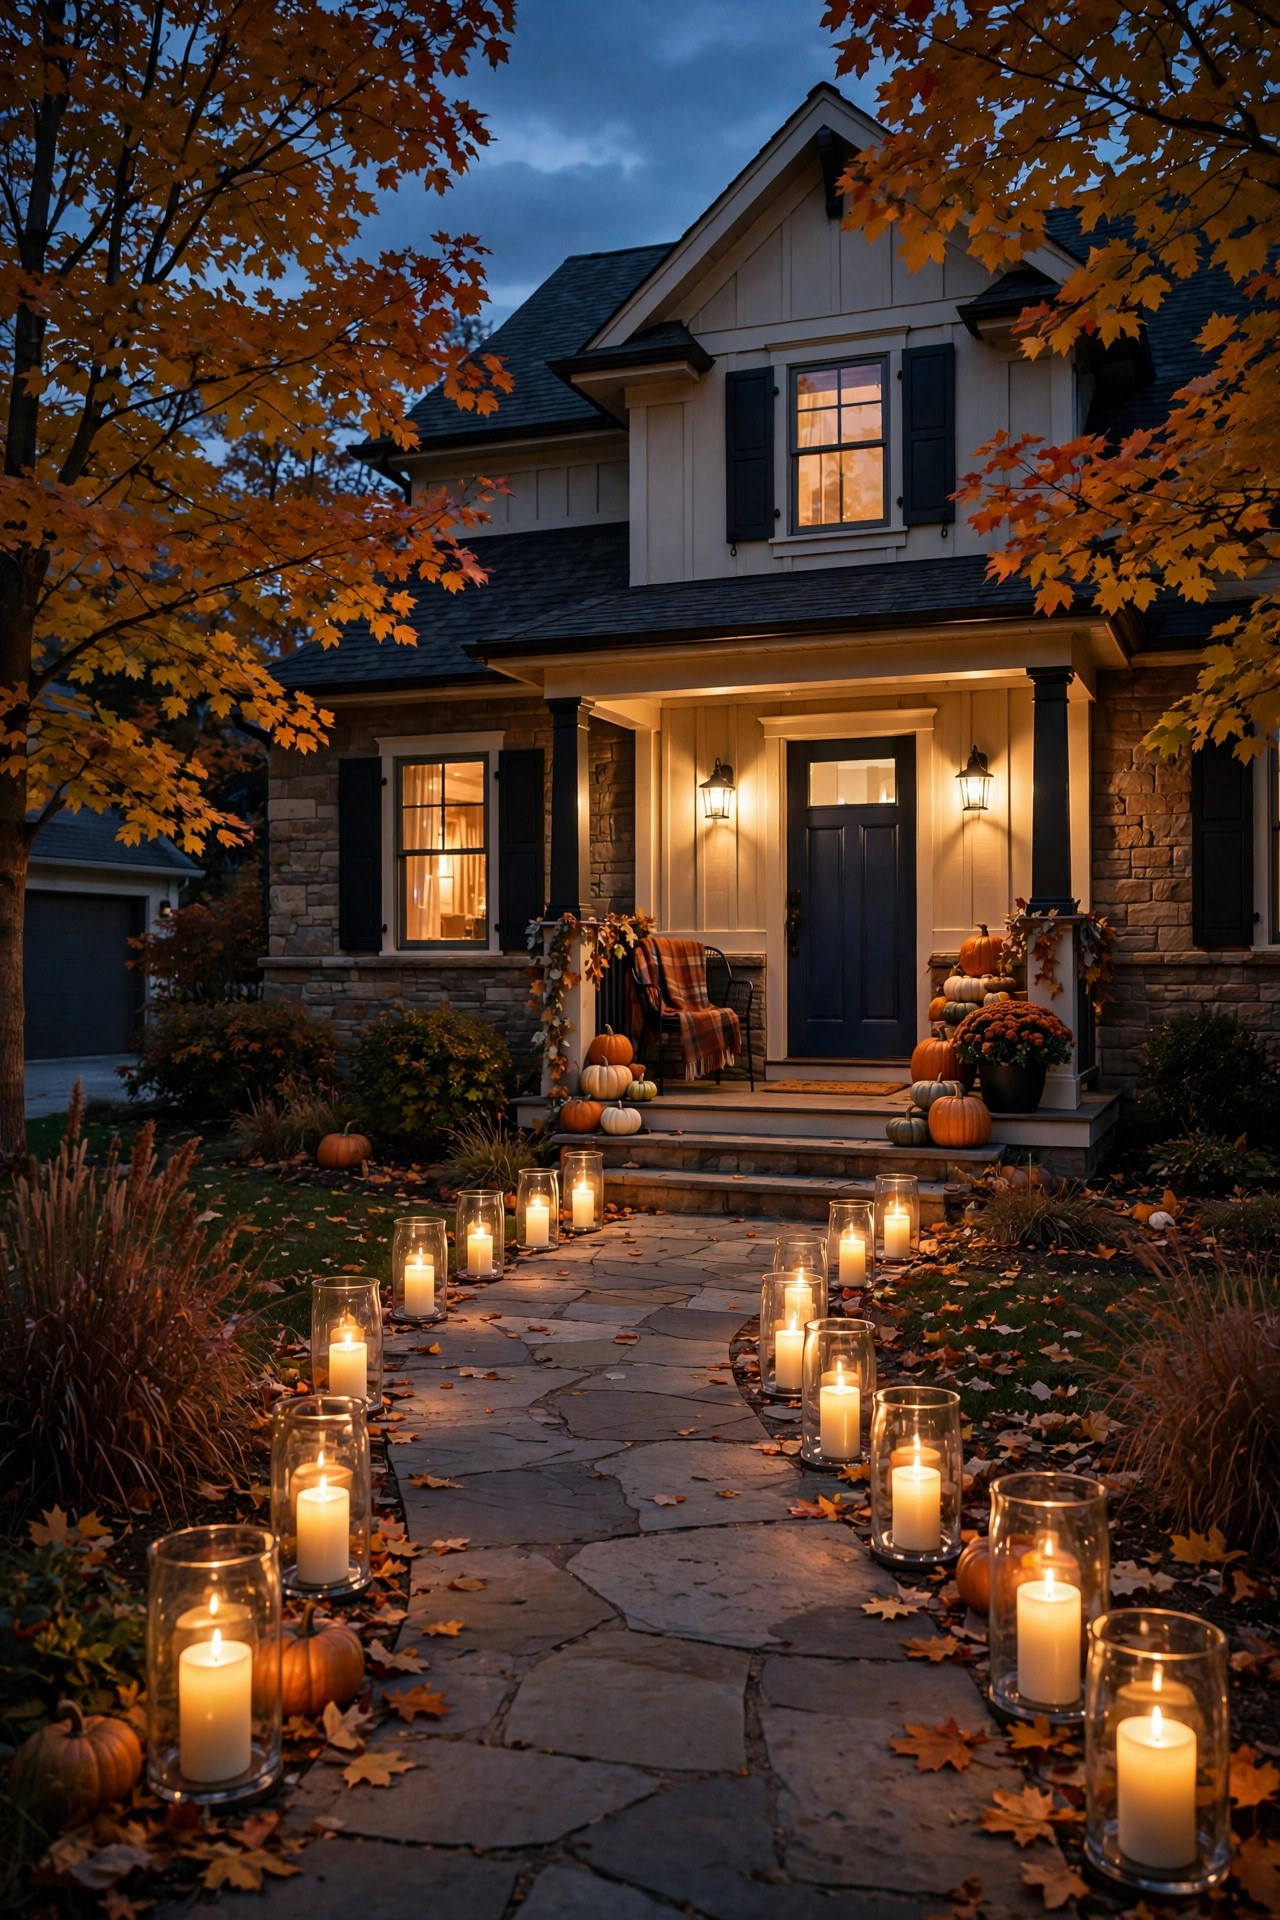
8. Lighted Corn Stalk and Harvest Bundles by the Entry
Nothing says "fall" like corn stalks — and wrapping them in lights takes them from farmhouse cliché to absolute showstopper. Bundle 6 to 8 dried stalks together with jute twine at two points (mid-stalk and near the base), fan the tops outward, and spiral a 20-foot strand of warm-white fairy lights from top to bottom. The lights catch on the papery husks and the whole bundle glows like a torch.
I flank my front door with two bundles, each about 5 to 6 feet tall, tied to the porch posts so October winds can't topple them. Tuck a few small gourds and a plaid ribbon bow at the base of each bundle and you've got a complete vignette. For extra texture, mix in a bundle of dried wheat or broom corn on one side — asymmetry in the details keeps it from looking too staged.
A word on sourcing: dried corn stalks are cheapest at farm stands and pumpkin patches in late September, usually a few dollars a bundle. Buy them early before they dry out and shatter. And keep the light strands LED-only here — dried husks and hot incandescent bulbs are a combination I won't risk, even though modern LEDs stay cool. Store the bundles in a dry garage and they'll last the whole season.
Suggested budget range: $25 – $55.
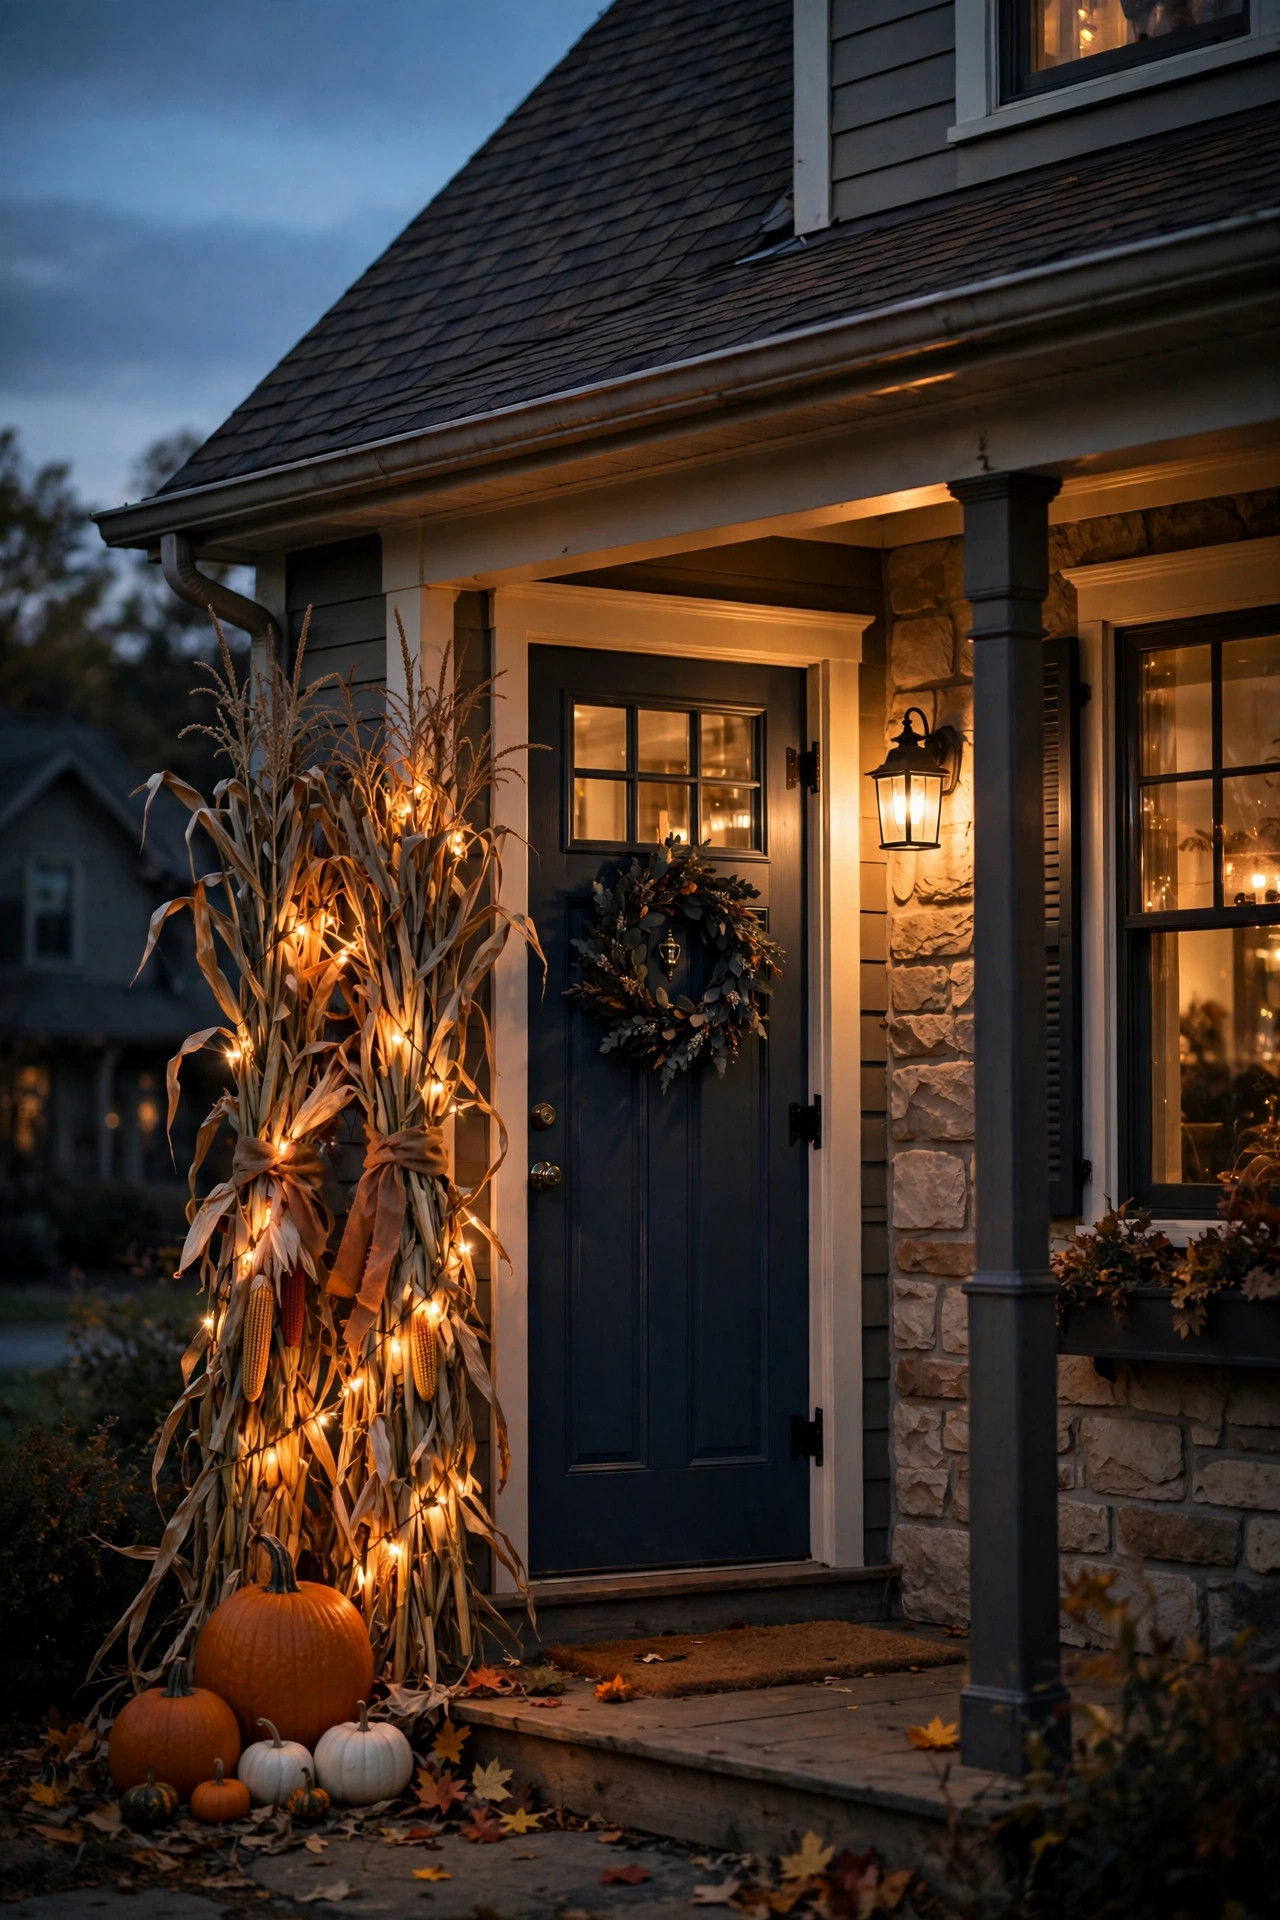
9. Solar Path Lights Along the Walkway
If the thought of running extension cords across your yard makes you tired, solar path lights are your answer — zero wiring, zero electrician, zero electric bill. Modern solar stakes have come a long way; the good ones now throw a genuinely warm 2700K pool of light instead of that sad blue flicker the old ones had.
Placement is the whole game. Space them 6 to 8 feet apart along your walkway, alternating sides in a gentle zigzag rather than a rigid straight line — it looks more natural and lights the path more evenly. Push each stake in so the solar panel sits fully above the grass line, and make sure each one gets at least 6 hours of direct sun during the day. That means keeping them clear of the shadow your house throws in the afternoon; I walk my yard at 3 p.m. in September to check sun lines before I commit to spots.
Look for lights with a metal (not plastic) stake and a replaceable rechargeable battery — the cheap all-plastic ones snap off in the first frost heave. Wipe the solar panels with a damp cloth every few weeks; a film of dust and fallen leaves can cut charging by half. And set expectations honestly: on short, cloudy November days they'll dim earlier, which is why I pair them with a wired or battery backup near the door itself.
Suggested budget range: $35 – $80.
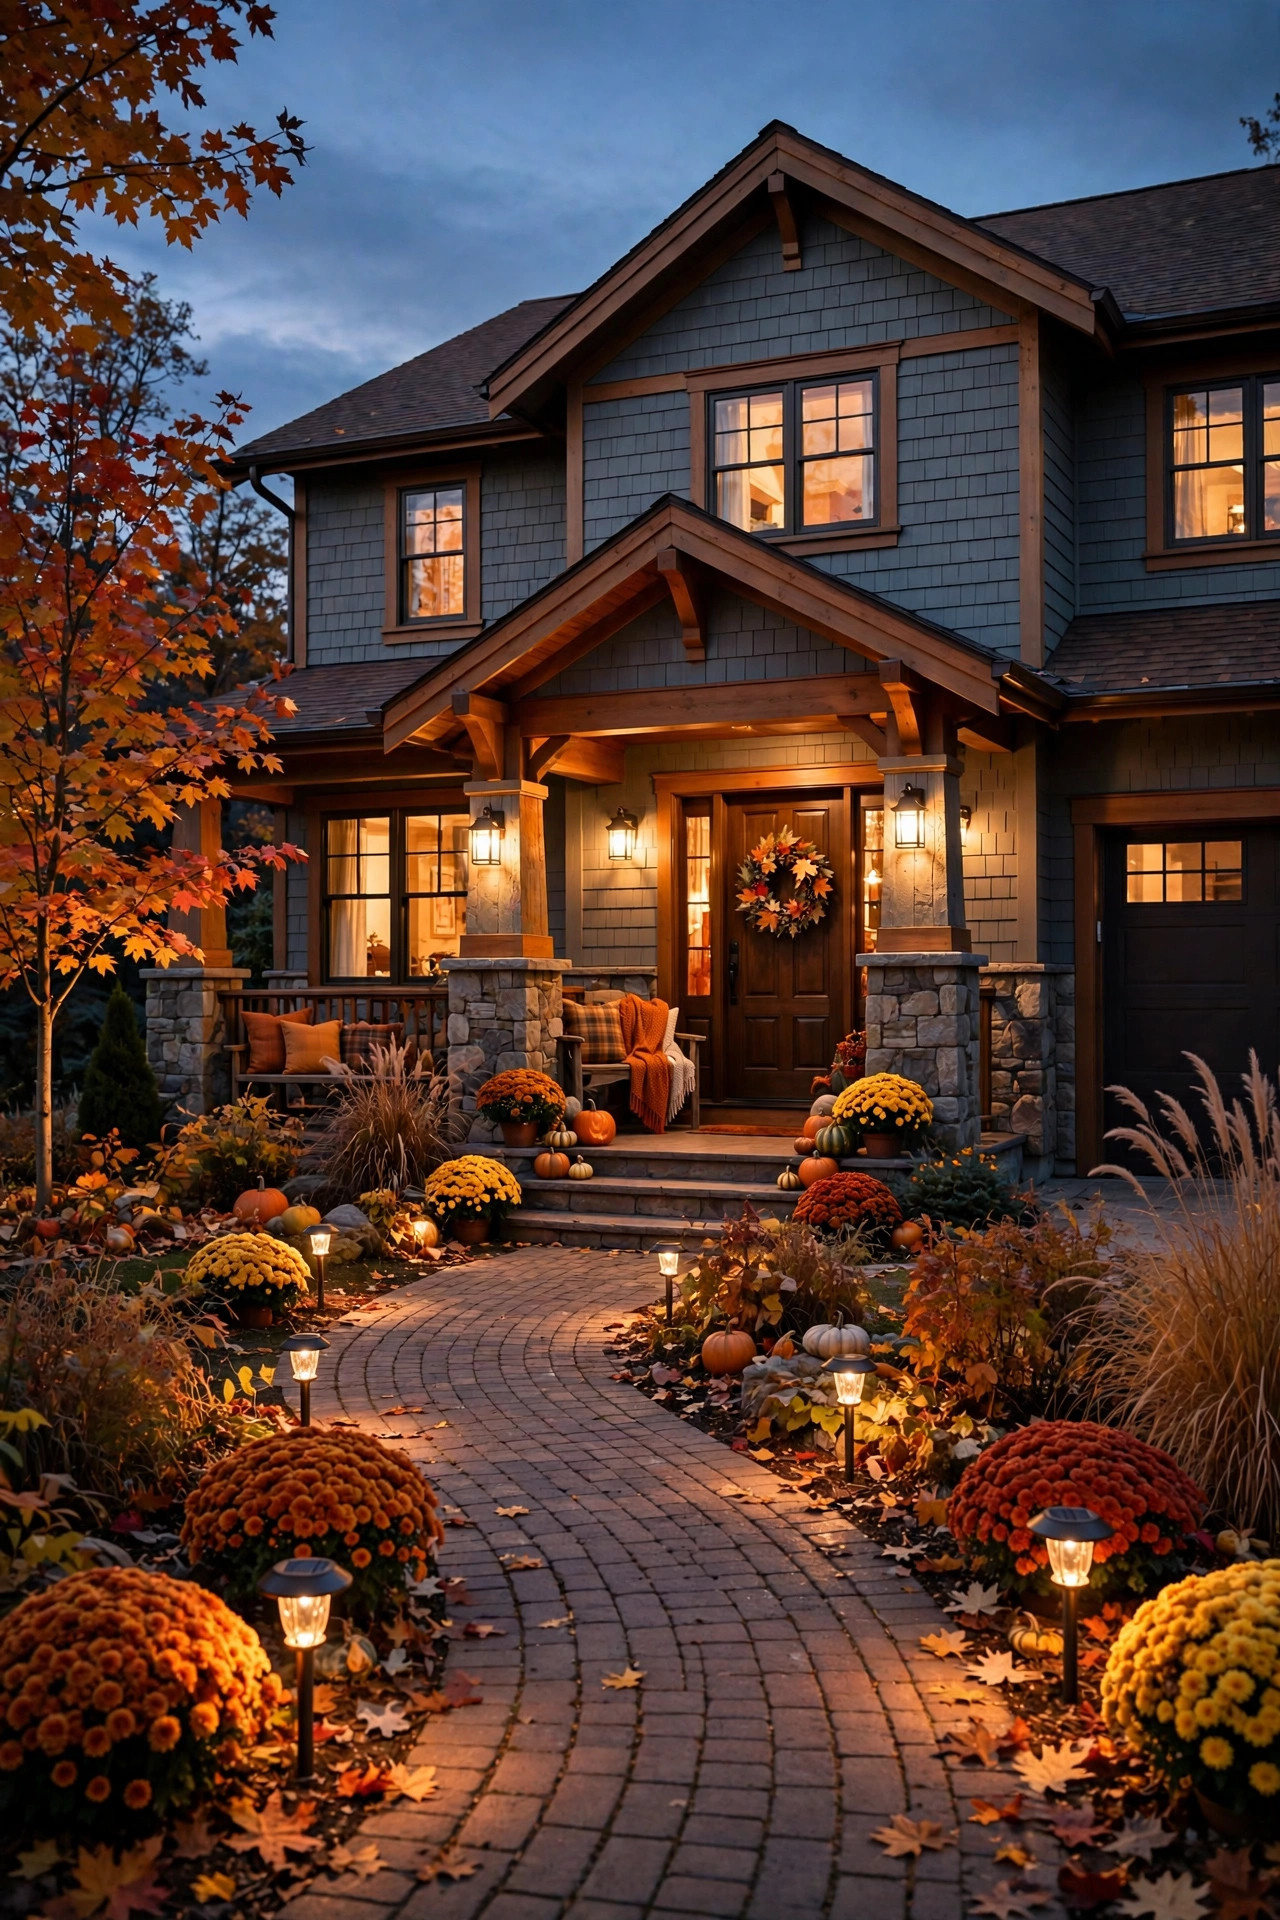
10. Edison Bulb Canopy Over a Porch Swing — My Favorite Fall Porch Lighting Idea
This is the idea that makes people gasp. Stringing Edison-style bulbs in a zigzag canopy over your porch swing or seating area creates a ceiling of warm light that feels like dining under the stars — except you're on your own porch, in your pajamas, with hot cider. It's the single most romantic thing you can do with a porch.
Here's how I do it: use two or three 15-foot outdoor Edison string light strands (the LED filament style — they look identical to vintage incandescent but sip power and stay cool). Anchor one end high on the house wall with a screw-in cup hook, zigzag across to the porch beam or railing, and repeat. Keep the strands 12 to 18 inches apart for even coverage, and let them hang with a gentle 4- to 6-inch droop between anchor points — that soft curve is what makes it feel like a canopy instead of a clothesline.
Plug everything into a single outdoor-rated smart plug so the whole canopy clicks on at sunset with your phone or voice assistant. Check your porch's weight limits if you're hanging from gutters — strands are light, but three of them plus wind load adds up, so anchor to structure, not trim. In my experience, 2700K filament bulbs at about 40-watt equivalent each give the perfect golden glow without attracting every moth in the county.
Suggested budget range: $40 – $90.
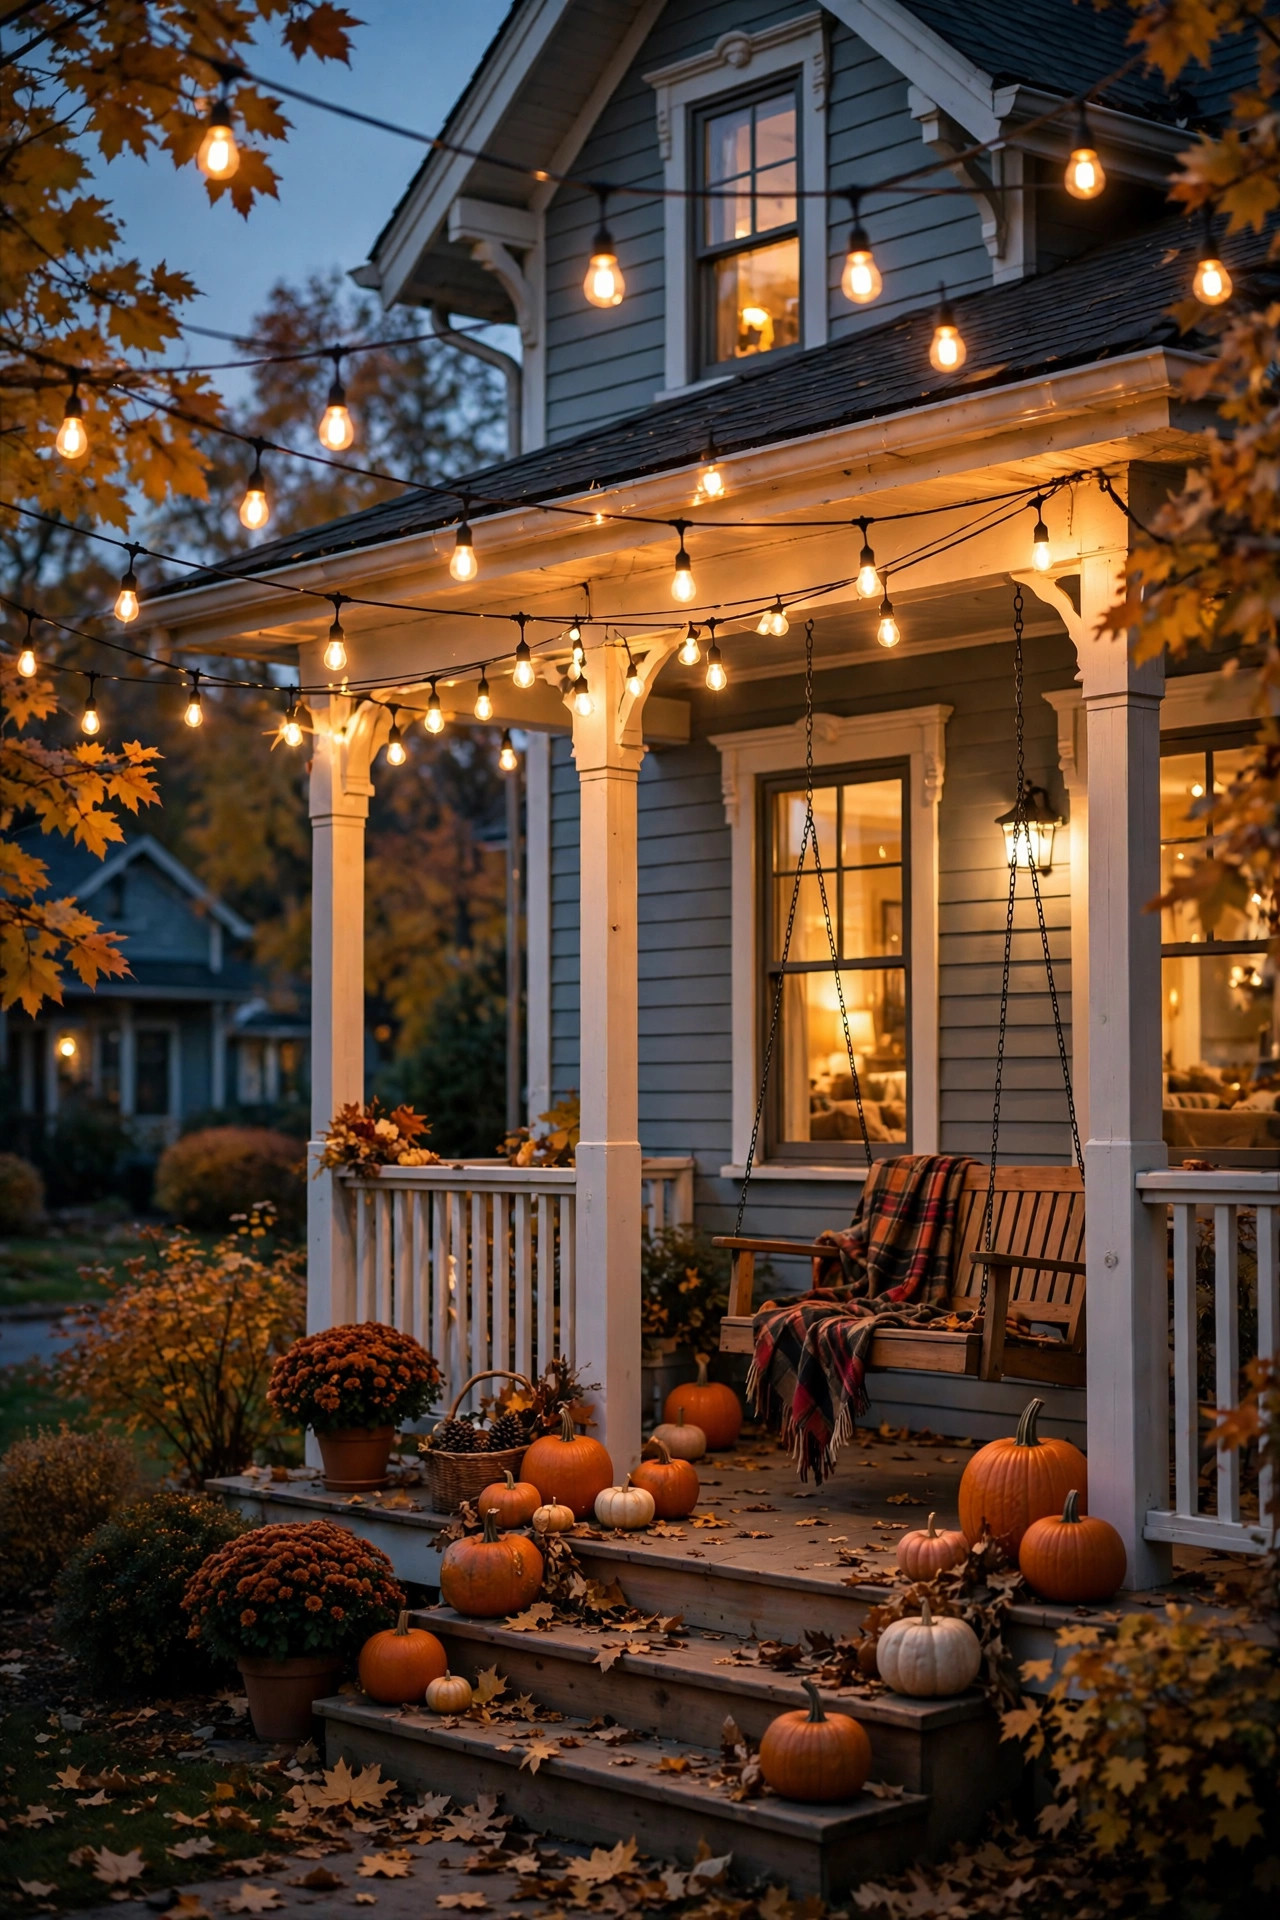
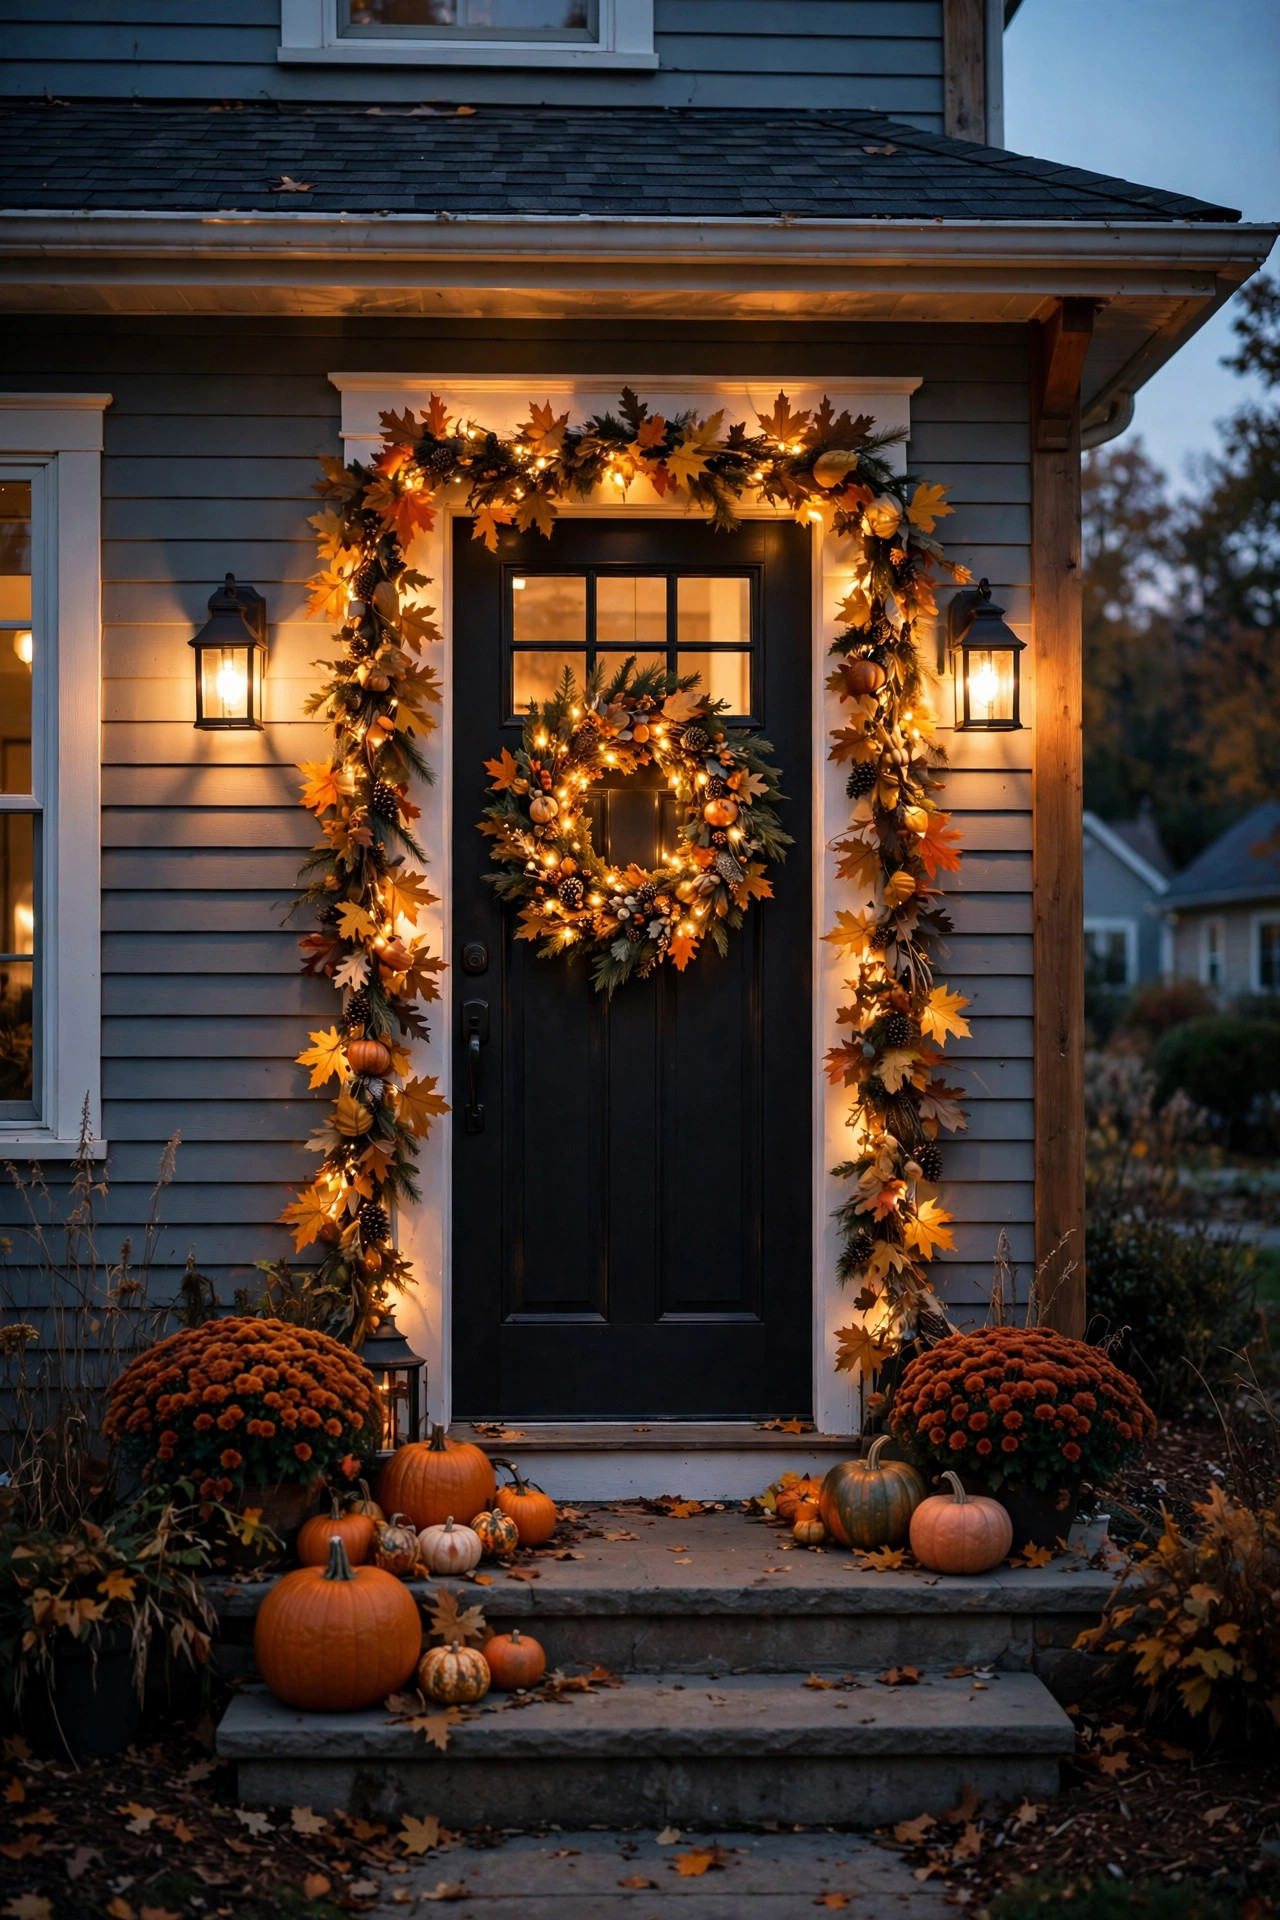
11. Pre-Lit Fall Garland Draped on Stair Railings
Stair railings are prime real estate that most people forget to decorate — and a pre-lit fall garland turns them into a glowing banister of autumn color. I use 9-foot garlands (two for a standard staircase, joined in the middle) with mixed faux foliage: maple leaves, oak sprigs, little berries and pinecones, with warm-white LEDs woven throughout.
The draping technique matters. Don't just lay it flat along the rail — create soft swags by securing the garland at each newel post and letting it dip 10 to 12 inches between them, fastening with green floral wire or clear zip ties. That wave pattern catches the light and looks professionally done. Start from the top of the stairs and work down so the fuller end sits at the bottom newel, where the eye naturally lands.
Most pre-lit garlands are battery-operated with a 6-hour timer — perfect for railings, since there's rarely an outlet nearby. Tuck the battery box into the foliage near a post where it's hidden but still reachable for the mid-season battery swap. If your stairs are exposed to weather, choose a garland labeled for outdoor or covered-porch use; the "indoor only" ones shed leaves and short out after the first real rain. Fluff the branches outward when you hang it — a flat garland reads sparse, a fluffed one reads lush.
Suggested budget range: $30 – $65.
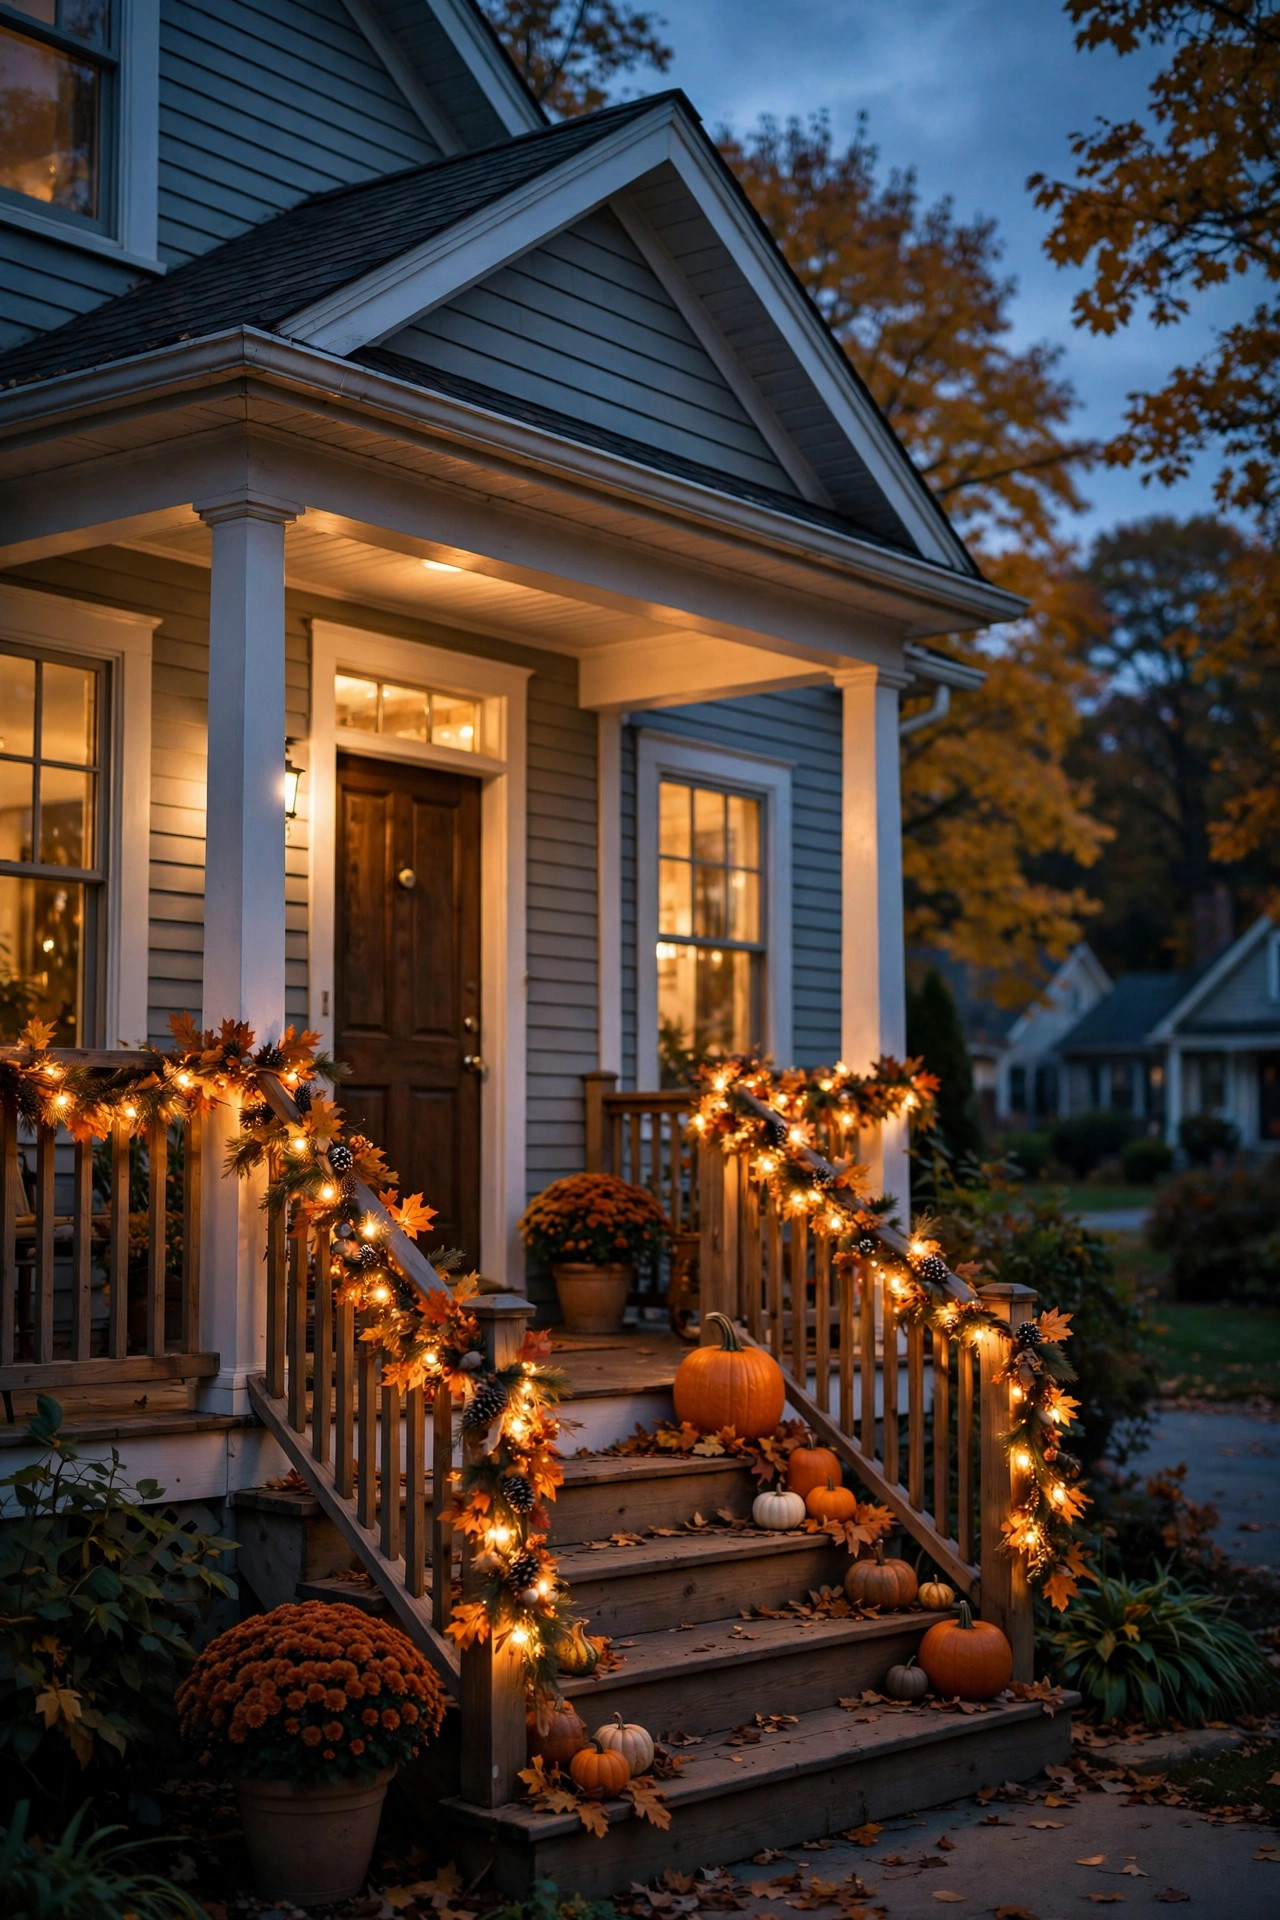
12. Uplighting a Front-Yard Tree in Warm Amber Tones
Want your whole front yard to feel like a movie set? Uplight a tree. A single well-placed spotlight aimed up into the branches of a front-yard maple or oak turns it into a towering sculpture of amber light — and it makes your entire property look intentional and expensive from the street.
The setup is simple: one or two outdoor stake spotlights (LED, 2700K or with an amber lens filter for that true harvest glow), placed 2 to 3 feet back from the trunk and angled up at about 30 degrees into the canopy. The sweet spot is lighting the underside of the branches — you want to see the branch structure silhouetted, not blast the trunk like a prison yard. If your tree still has fall color, the amber light will make red and orange leaves absolutely incandescent. It's breathtaking, honestly.
Choose IP65-rated spotlights with a ground stake and a decent cord length so you can reach an outdoor outlet without an extension cord spiderweb. Solar spotlights exist and work fine for this if the tree gets good daytime sun, but wired low-voltage kits give you consistent brightness all evening. Keep the fixture aimed away from neighbors' windows and the street — you're going for ambiance, not a nuisance. I put mine on the same dusk-to-dawn timer as the porch so the whole scene comes alive together.
Suggested budget range: $45 – $100.
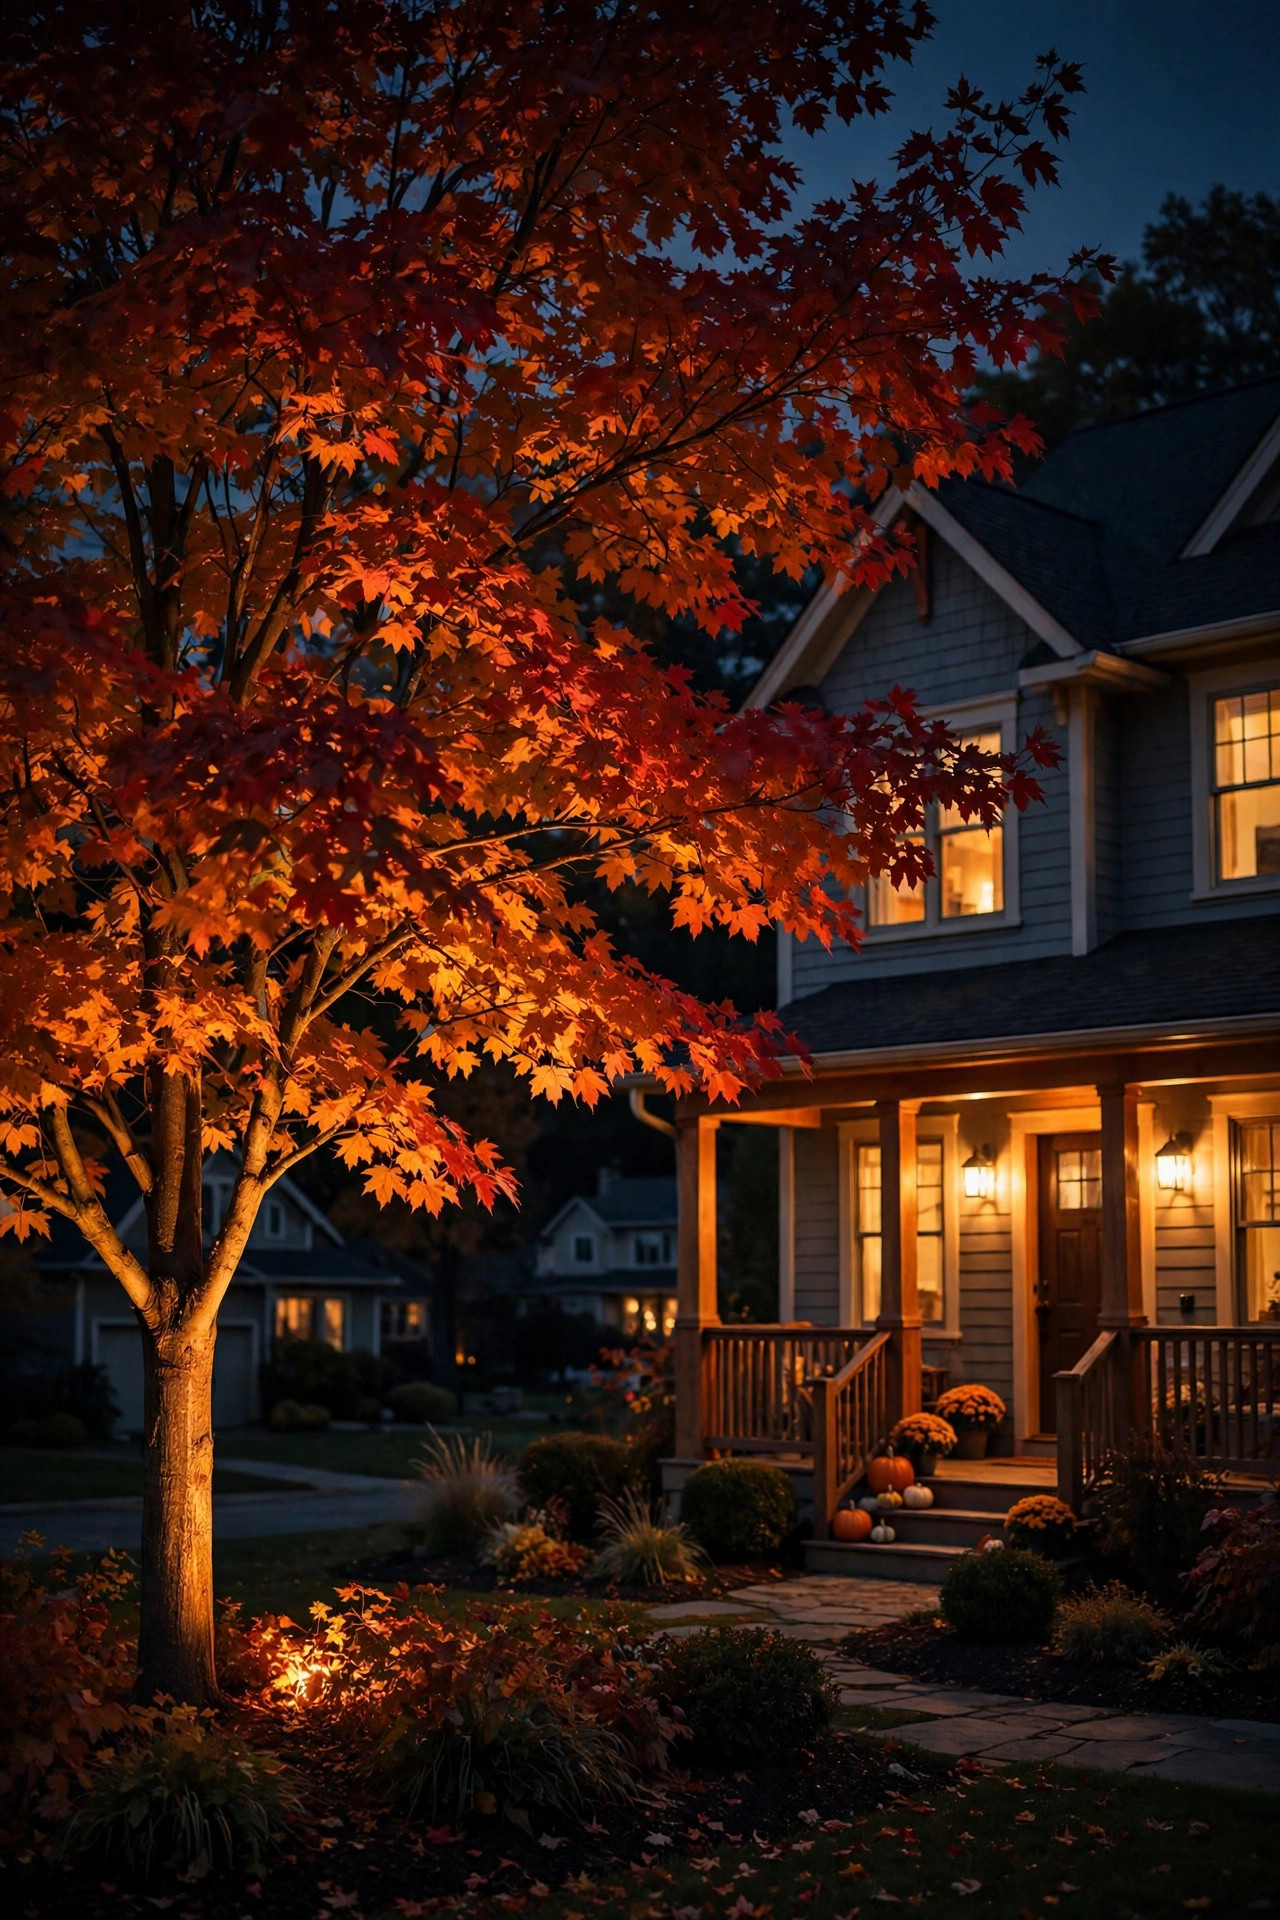
13. Electric Window Candles in Every Front-Facing Window
This is the oldest trick in the book, and it still works beautifully — there's a reason you see it in every charming small town in America. A single electric candle in each front-facing window creates a rhythm of warm light across your home's facade that reads as pure welcome from the street. For fall, I swap my plain candles for ones with a flickering flame effect and set them in windows framed by simple autumn touches — a small pumpkin on the sill outside, or a sprig of faux berries inside.
The details that make it look right: use the same candle style and the same bulb temperature (2700K, always) in every window — mixed candles look accidental. Set each candle centered on the sill, about 4 to 6 inches back from the glass so the glow diffuses softly. Battery-operated candles with a built-in dusk sensor are worth every penny here; they light themselves at twilight and you'll never climb up to flip switches. The best ones have a realistic melted-wax edge and a warm amber flame tip.
In my experience, the magic number is consistency — one candle per window, every window on the front of the house, all the same height. Skip the temptation to add them to side windows too; the effect is about the face your house shows the street. Replace batteries once mid-season and they'll glow straight through Thanksgiving.
Suggested budget range: $25 – $60.
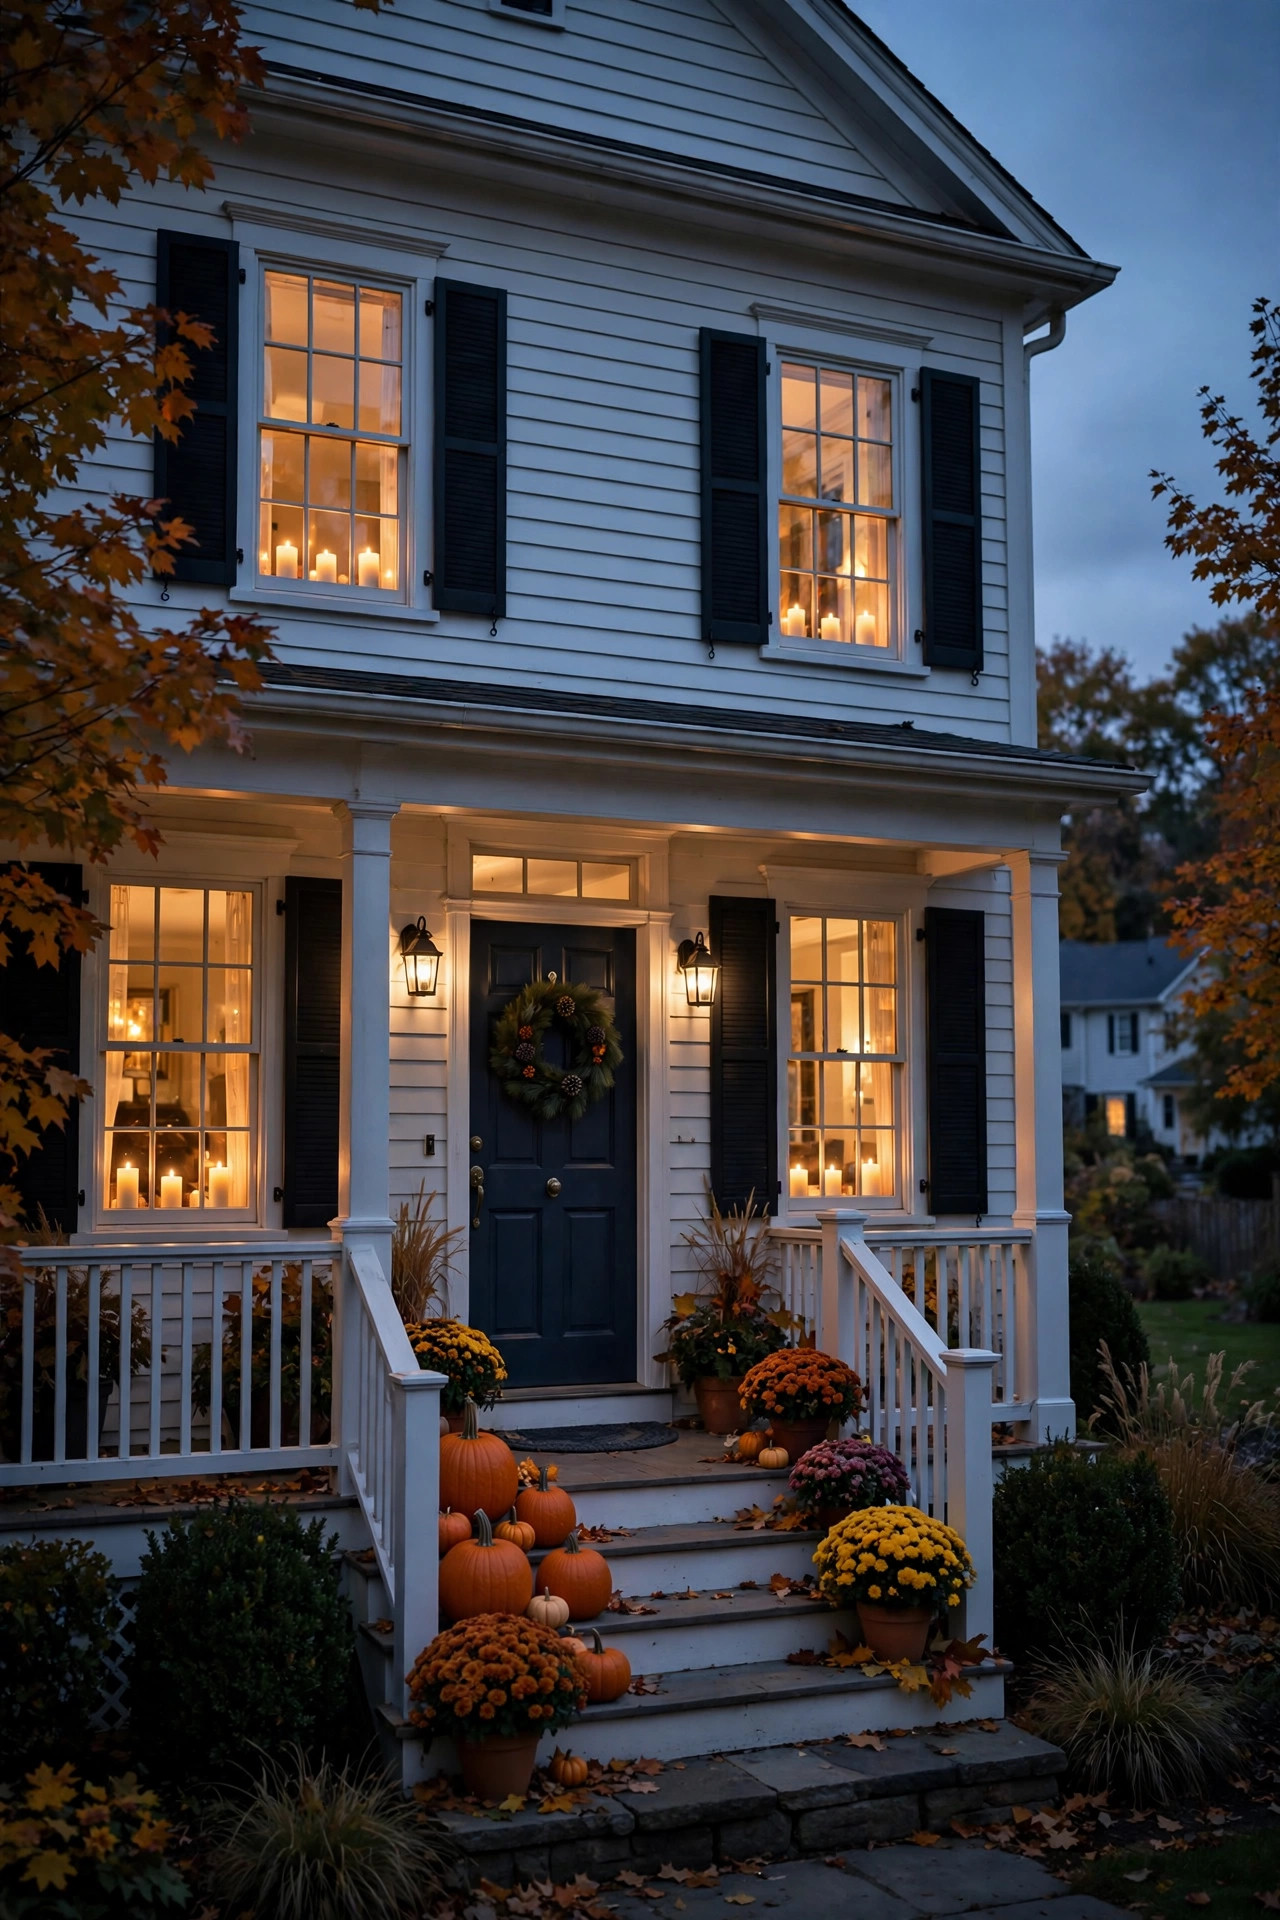
14. Lighted Hay Bale Display With Spotlights
A hay bale is basically a blank canvas for fall decorating — and lighting it properly is what separates a cute display from a forgettable one. I set a standard two-string straw bale (about 36 x 18 x 14 inches) near the porch or at the end of the walkway, then light it two ways: a strand of warm fairy lights loosely wrapped around it, plus one small outdoor spotlight staked in front and aimed up at it.
The spotlight is the secret weapon. Fairy lights alone can look a little sparse on something as big as a hay bale, but a 2700K spotlight washing over the golden straw makes it glow like it's lit from within. Top the bale with pumpkins, gourds, and a plaid throw or burlap runner for texture, and tuck a few battery-operated mini pumpkins (the craft-store kind with built-in LEDs) into the arrangement for extra sparkle points.
Safety note I'm firm about: straw is extremely flammable, so this display is LEDs-only, always — no real candles, no incandescent bulbs, no exceptions. Keep the bale under a porch overhang or cover it with a tarp during heavy rain; a soaked bale gets heavy and starts to smell. At the end of the season, an intact bale makes excellent garden mulch, so nothing goes to waste.
Suggested budget range: $35 – $80.
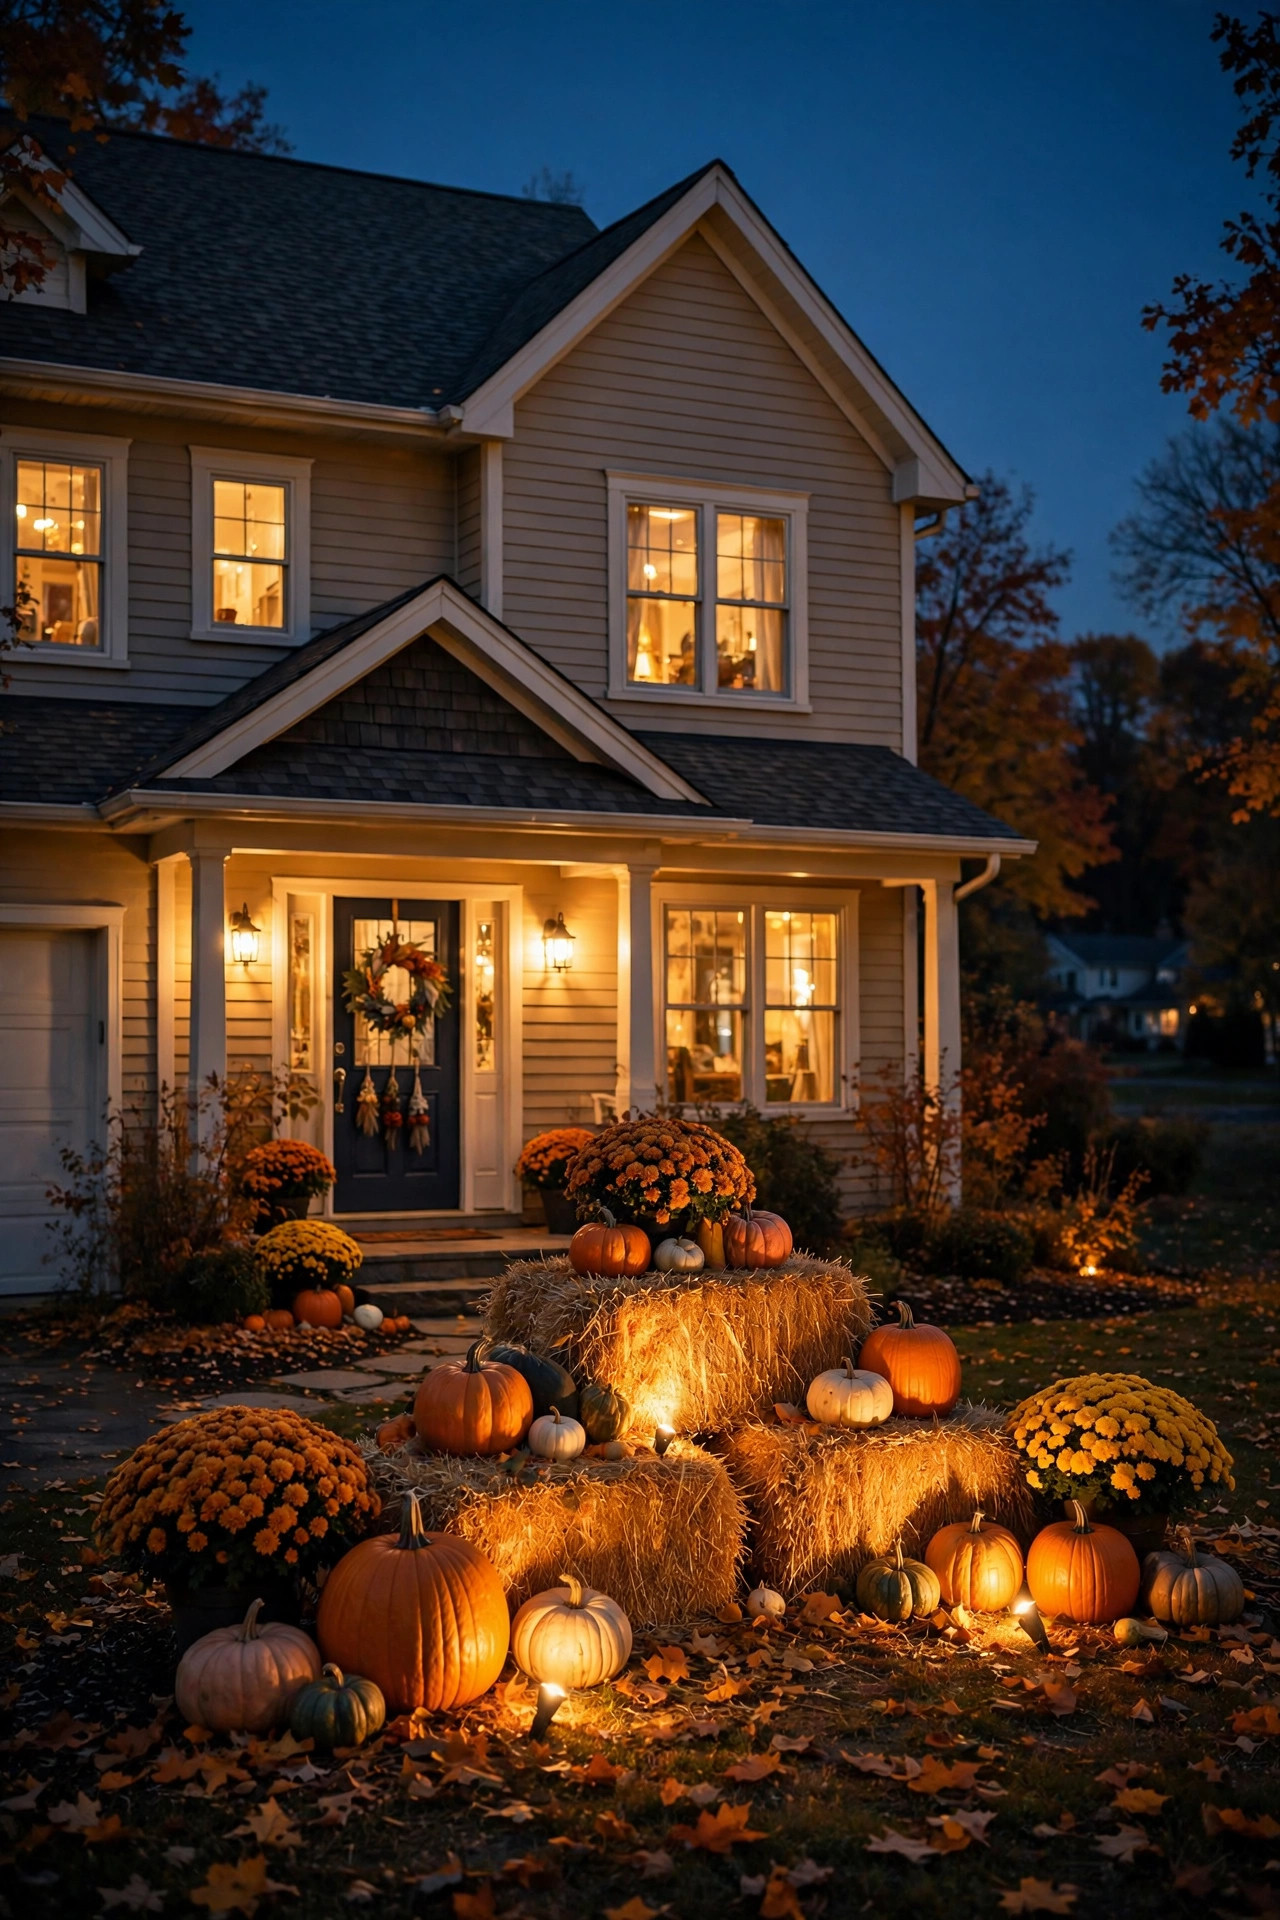
15. Swapping Porch Sconce Bulbs to Warm 2700K — The Cheapest Fall Porch Lighting Idea
Sometimes the best fall porch lighting idea isn't adding anything — it's fixing what's already there. If your porch sconces are still running the cool, bluish bulbs the builder installed, swapping them for warm 2700K LEDs is a five-minute change that transforms the whole entry. Cool white light makes fall decor look washed out and clinical; warm light makes it look like honey.
Here's exactly what to buy: standard A19 LED bulbs, 2700K color temperature, around 800 lumens (that's the 60-watt equivalent) for most sconces. If your sconces are dimmable — and many are — make sure the bulbs say "dimmable" on the box or they'll buzz and flicker. For enclosed sconces, look for bulbs rated for enclosed fixtures so heat doesn't shorten their life. I keep a little stash of these in my junk drawer because I swap every bulb in the house to 2700K — bathrooms, bedrooms, porch, all of it.
The difference is honestly startling. The same wreath, the same pumpkins, the same mums — but suddenly everything looks richer, warmer, more expensive. It's the cheapest idea on this entire list and the one I recommend first to anyone who says their porch "just doesn't feel cozy." Do this one tonight; it takes longer to find the step stool than to change the bulbs.
Suggested budget range: $10 – $25.
16. Mason Jar Solar Lights Hanging From Shepherd's Hooks
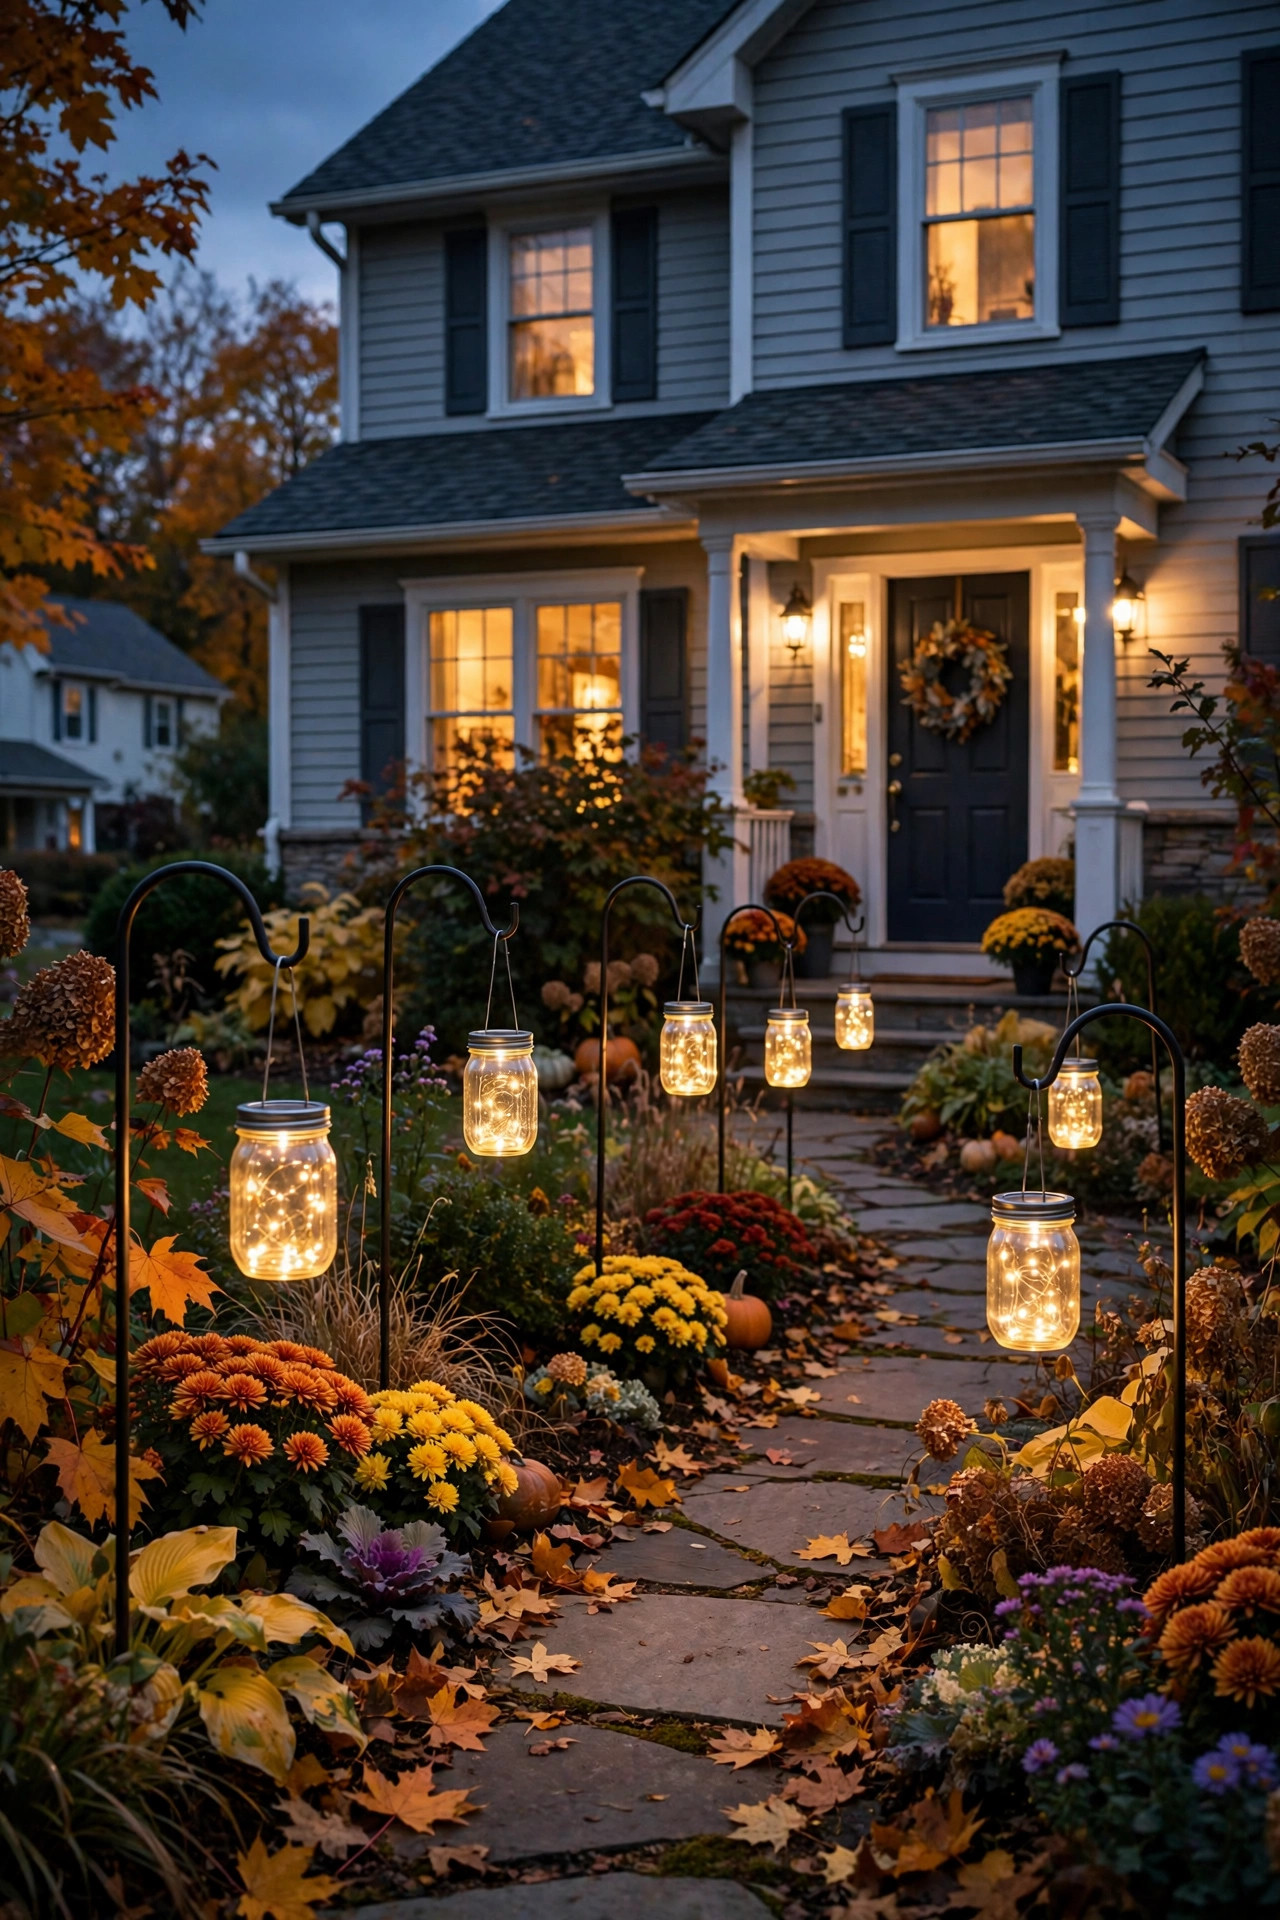
This one has pure storybook charm. Fill mason jars with a coil of copper-wire fairy lights, top each jar with a solar lid (they screw right onto standard mason jar threads and cost just a few dollars each), and hang them from shepherd's hooks staked along your walkway or flanking the porch. By day they're sweet rustic decor; by night they're floating orbs of golden light.
Assembly is delightfully simple: coil a 10-foot fairy light strand loosely inside a quart-size mason jar, feed the battery-free wire through, and screw on the solar lid — the panel charges by day and the lights click on automatically at dusk. Hang each jar from a 36- to 48-inch shepherd's hook using the jar's own wire handle or a loop of twine. I stagger my hooks at slightly different depths along the path — some closer to the walkway, some set back in the planting beds — so the lights feel scattered like fireflies rather than lined up like soldiers.
A few tips from experience: use wide-mouth jars for easier coiling, and choose hooks with a sturdy single-prong stake that you can push a full 8 inches into the soil — the double-prong "garden" style wobbles in wind. In late fall when daylight shrinks, wipe the little solar panels weekly; they soil fast and dim noticeably when dirty. Bring the jars inside during hard freezes to protect the glass.
Suggested budget range: $30 – $65.
17. Backlit or Spotlighted House Numbers for Dark Evenings
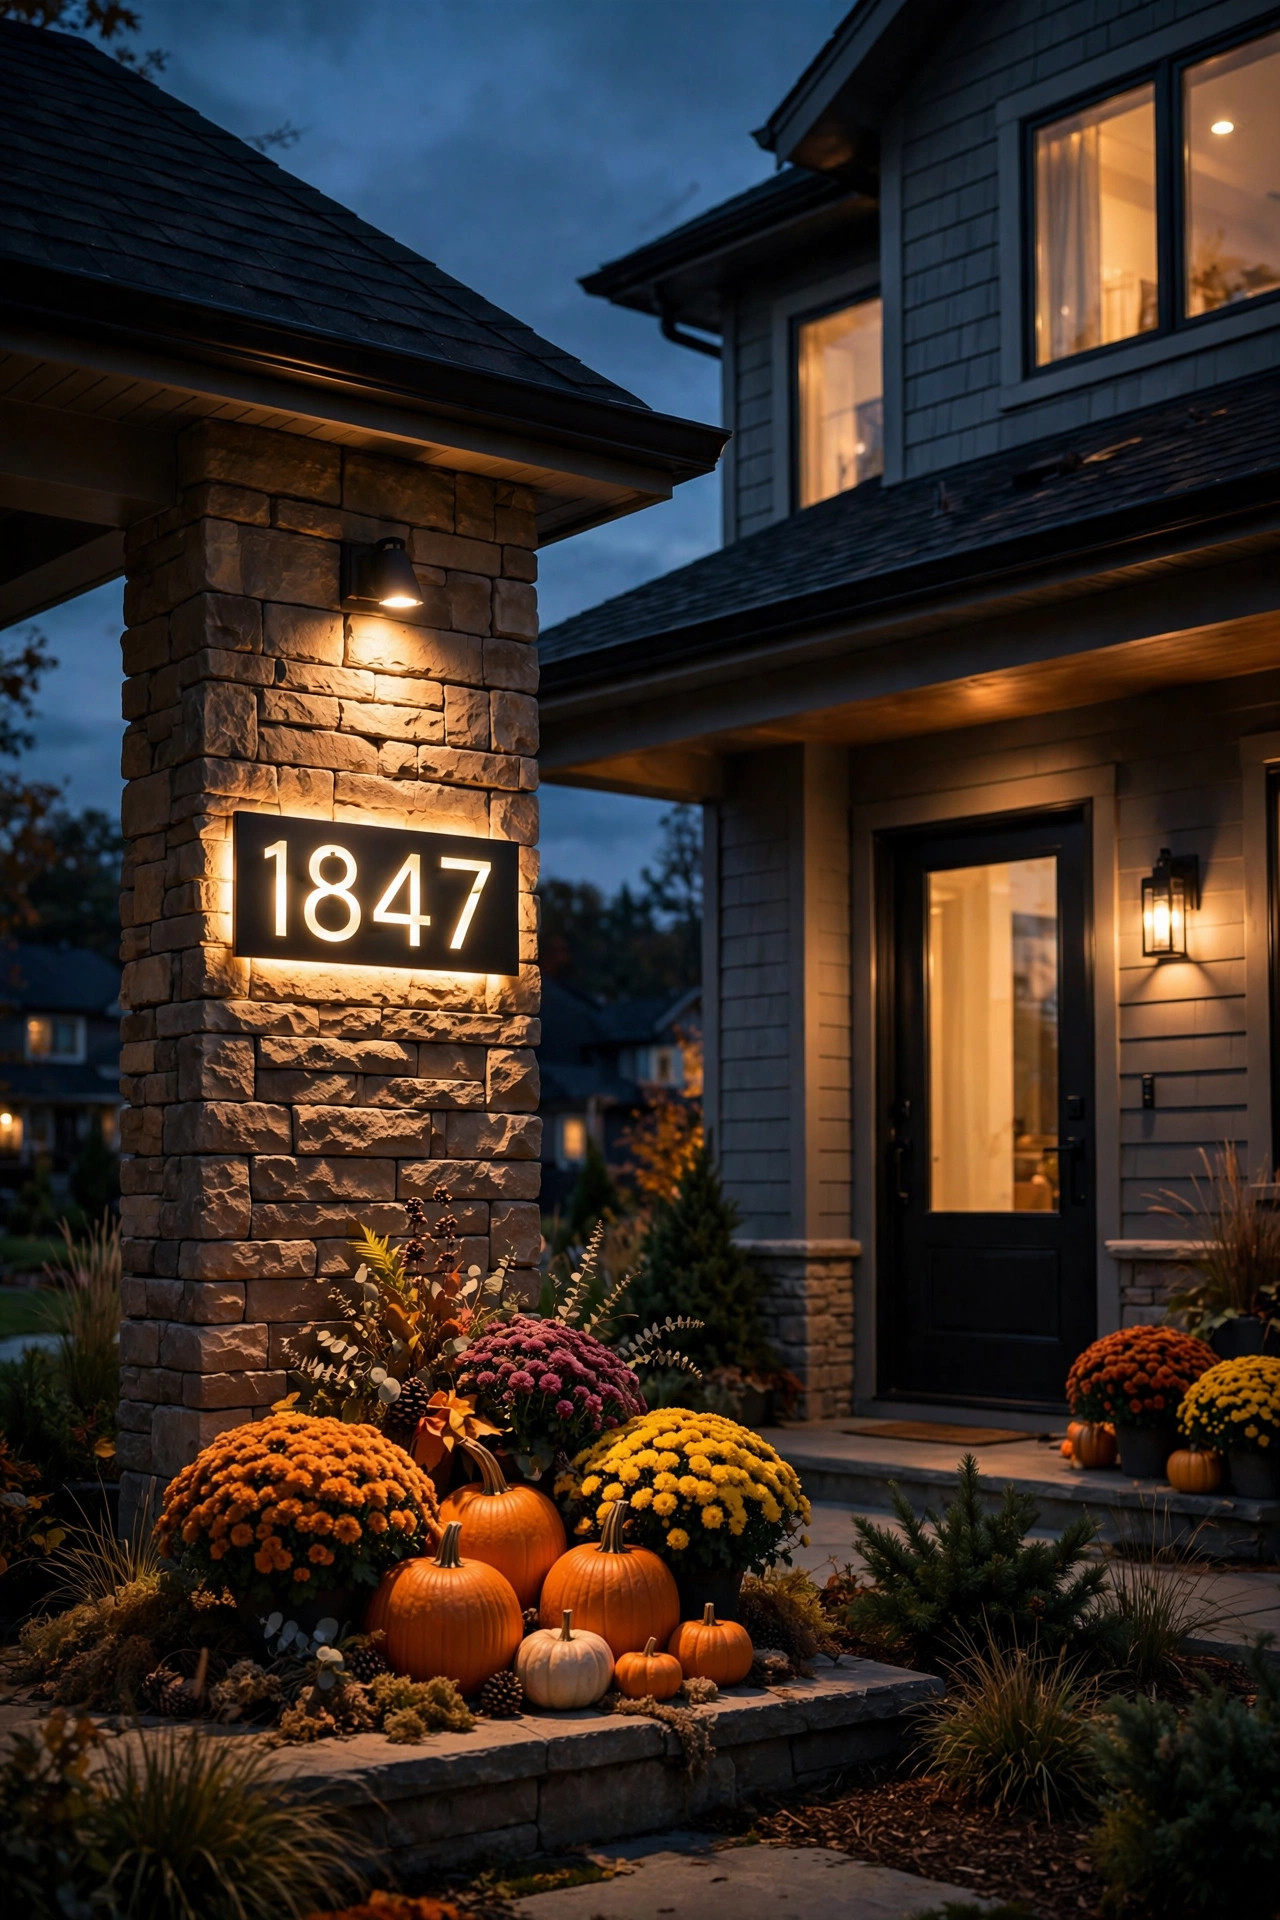
Here's a practical one that doubles as decor: making your house numbers visible after dark. In my experience, delivery drivers, guests, and — most importantly — emergency responders need to find your house quickly on dark October evenings, and beautifully lit house numbers solve that while looking sharp.
You've got two good options. The simplest: a small outdoor LED spotlight staked in the planting bed and aimed up at your existing numbers — a $25 fixture on a dusk-to-dawn timer does the job perfectly. The fancier route: backlit LED house number plaques, where each number glows from within a slim modern housing. They come in brushed nickel, matte black, and bronze finishes to match your other fixtures, and most are solar or low-voltage with no electrician needed.
Whichever you choose, the styling rules are the same: numbers should be at least 4 inches tall, in a clean sans-serif font, with strong contrast against the mounting surface — dark numbers on light siding, or light numbers on dark brick. Mount them near the front door or on a porch post at eye level, well within the glow of your porch light. It's a small detail, but a lit, legible house number is one of those things that makes a home feel truly finished.
Suggested budget range: $25 – $70.
18. String-Light Curtain as a Backdrop Behind Porch Seating
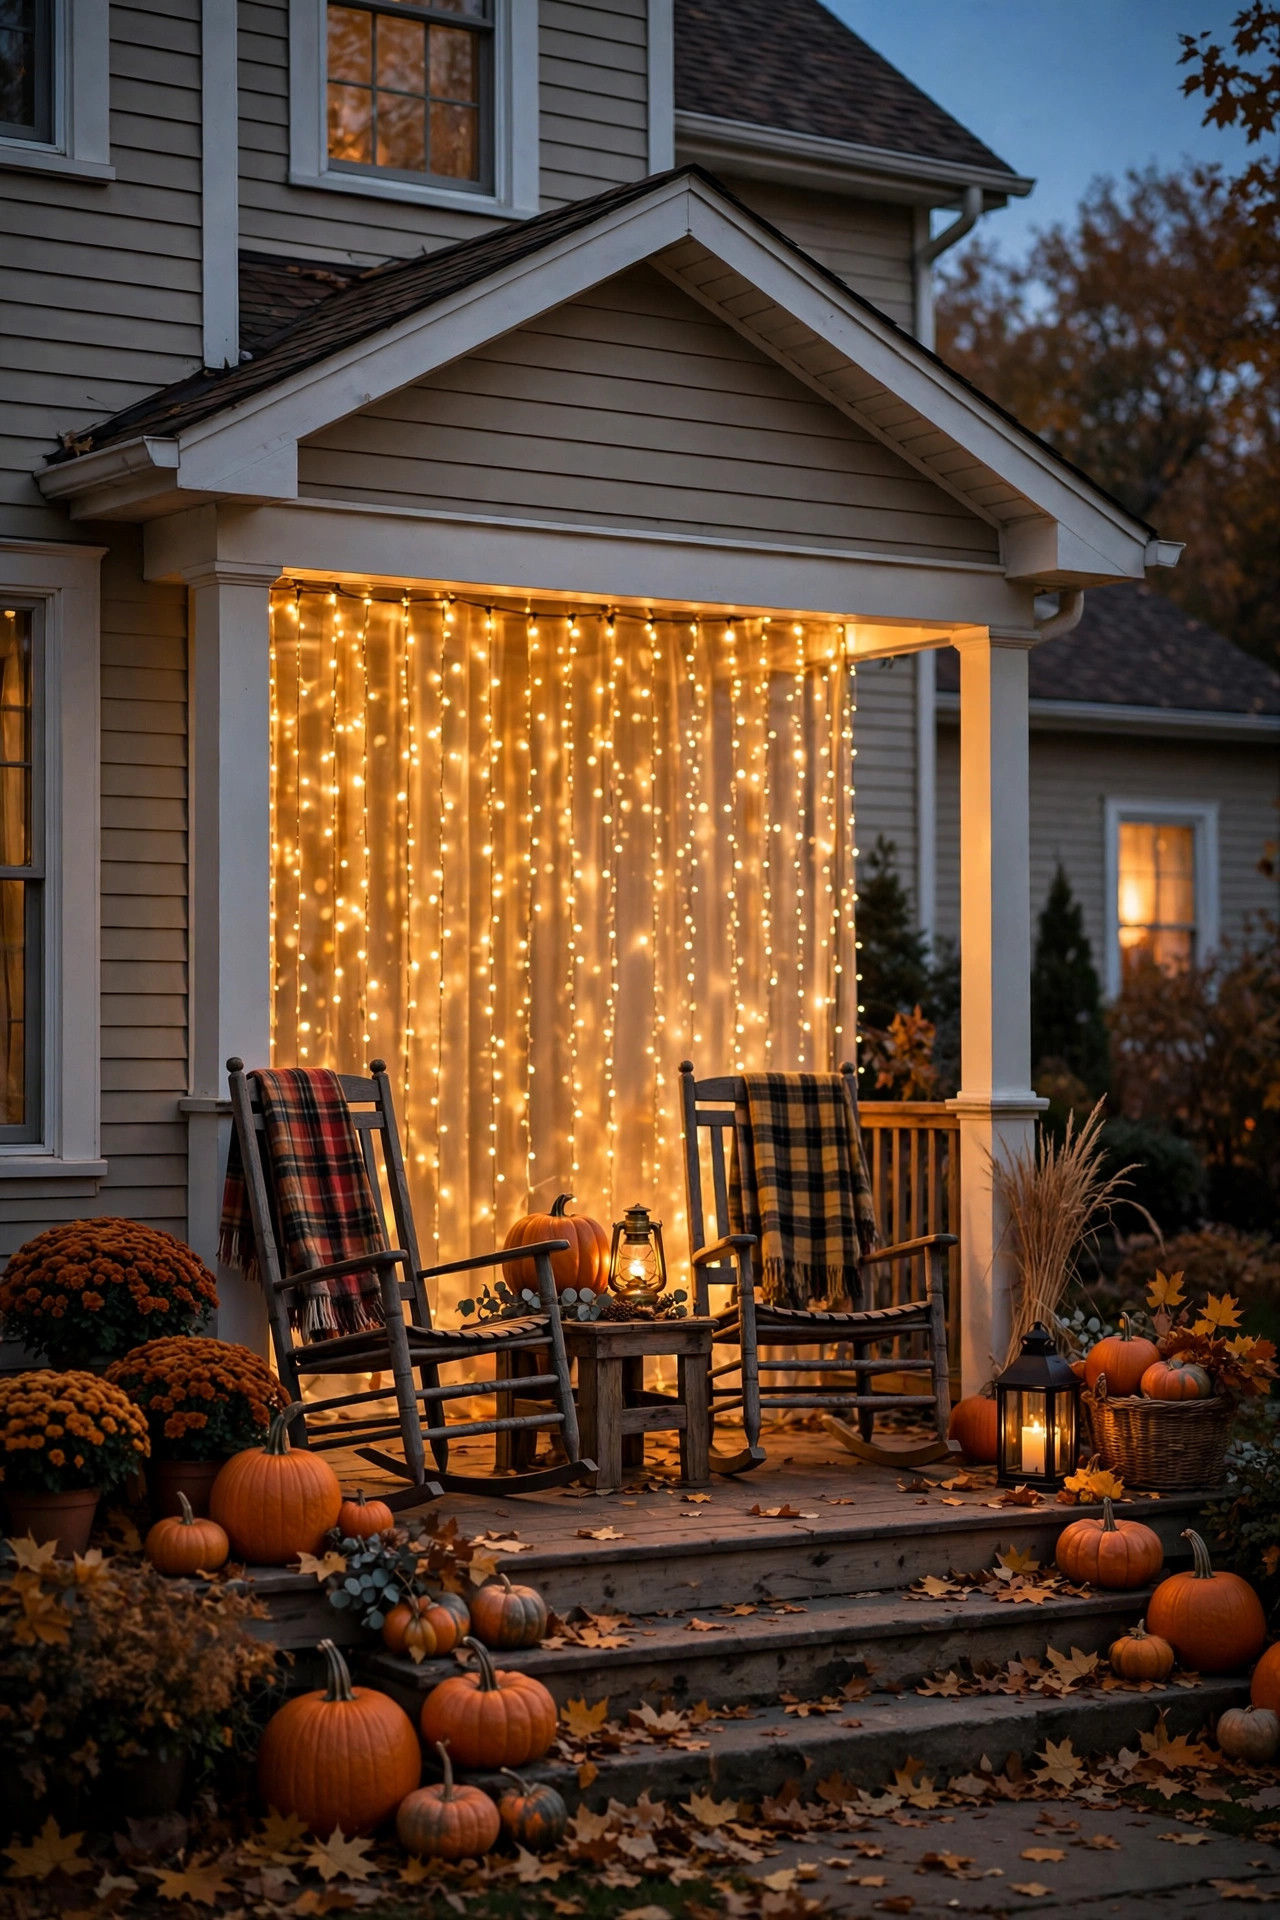
If you have a bench, a couple of rocking chairs, or even just a cozy corner on your porch, a curtain of string lights behind the seating turns it into the spot everyone gravitates to. I'm talking about those 10 x 10-foot curtain light panels — 300 tiny warm-white LEDs dropping in vertical strands — hung from the porch ceiling or beam directly behind where you sit. The effect is a shimmering wall of light that makes the whole seating area feel wrapped in warmth.
Hanging is straightforward: use small screw-in cup hooks every 12 inches along the beam, and let the curtain's top edge rest on them. Most panels have a clear top wire that disappears against the ceiling in daylight. Plug into an outdoor smart plug on a sunset schedule so it greets you every evening. For fall, I layer the curtain behind a plaid throw draped over the bench and a couple of harvest-toned pillows — the lights twinkling through the fabric layers is pure hygge.
One caution: curtain lights are delicate, with fine wires that tangle if you look at them wrong. Hang the panel once and leave it for the season; don't take it down and re-hang it weekly. And keep it clear of foot traffic — behind seating only, never across a walkway where someone could catch it. On still, crisp evenings, this corner of the porch will be the best seat in the house.
Suggested budget range: $30 – $65.
19. Spotlit Mums and Fall Flowers in Planters
You've already bought the mums — now show them off after dark. A small stake spotlight aimed up into each fall planter turns your daytime color into a nighttime showpiece. Those deep rust, gold, and burgundy blooms absolutely ignite under warm light; it's like the flowers get a second shift.
Use compact LED stake spotlights in 2700K, one per large planter or one between two smaller ones, pushed into the soil at the planter's edge and angled up at about 45 degrees into the foliage. You're aiming for a wash of light across the blooms, not a harsh beam — if you can see the individual LED points from the street, angle the fixture down slightly or move it deeper into the planting. Solar versions work well here since planters usually sit in open sun during the day; just make sure the little panel isn't shaded by the very foliage it's meant to light.
In my experience, this looks best when the spotlights share the same warm temperature as everything else on the porch — mixed color temperatures are the fastest way to make a display look unintentional. I run my planter spots on the same timer as the porch sconces so the whole scene rises and falls together. Come November, pull the fixtures, wipe them down, and they'll be ready to spotlight your winter greens.
Suggested budget range: $40 – $85.
20. Motion-Sensor Welcome Light by the Door
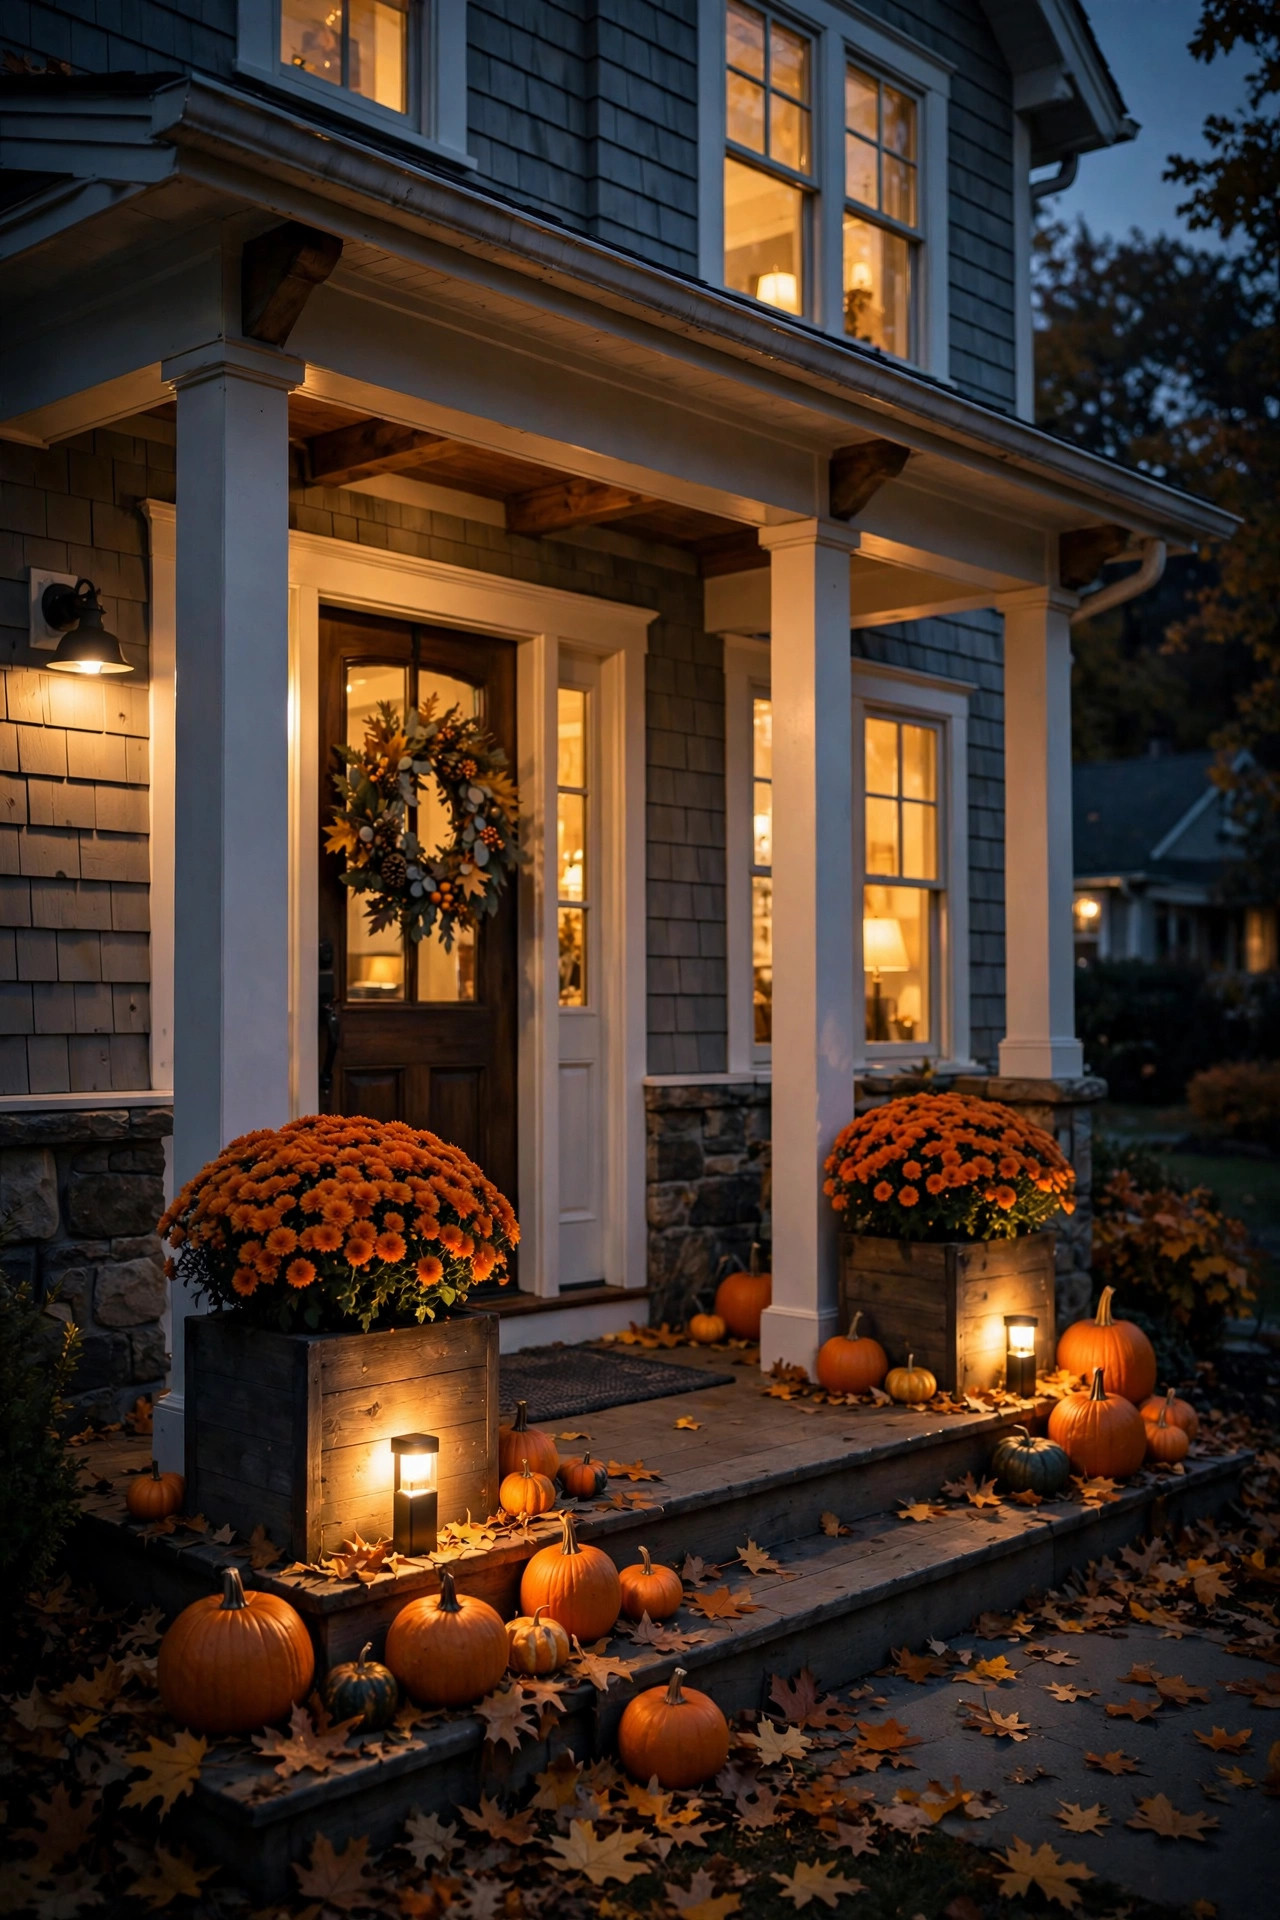
Part security, part hospitality — a motion-sensor light by the front door is one of those upgrades you'll wonder why you waited on. Guests get a bright, welcoming pool of light the moment they step onto the porch, and you get the peace of mind of knowing exactly when someone's at the door on dark fall evenings.
Installation is easier than most people expect. Battery-operated motion sensor lights mount with two screws or heavy-duty outdoor adhesive strips — no wiring, no electrician — and the good ones throw 300+ lumens in warm white. Mount it 6 to 8 feet high, just to the side of the door (not directly above, which creates harsh downward shadows on visitors' faces). Angle the sensor to cover the walkway approach and the top step, with about a 180-degree field of view.
The settings matter: set the sensitivity to medium so passing cars don't trigger it, and the duration to 60–90 seconds — long enough to find your keys, short enough to save battery. Look for models with a dusk-only mode so the sensor sleeps during daylight and your batteries last the whole season. And a styling tip: choose a fixture finish that matches your existing sconces — mixed metals around one doorway always look accidental.
Suggested budget range: $20 – $50.
21. Dusk-to-Dawn Timer Setup Automating the Whole Porch
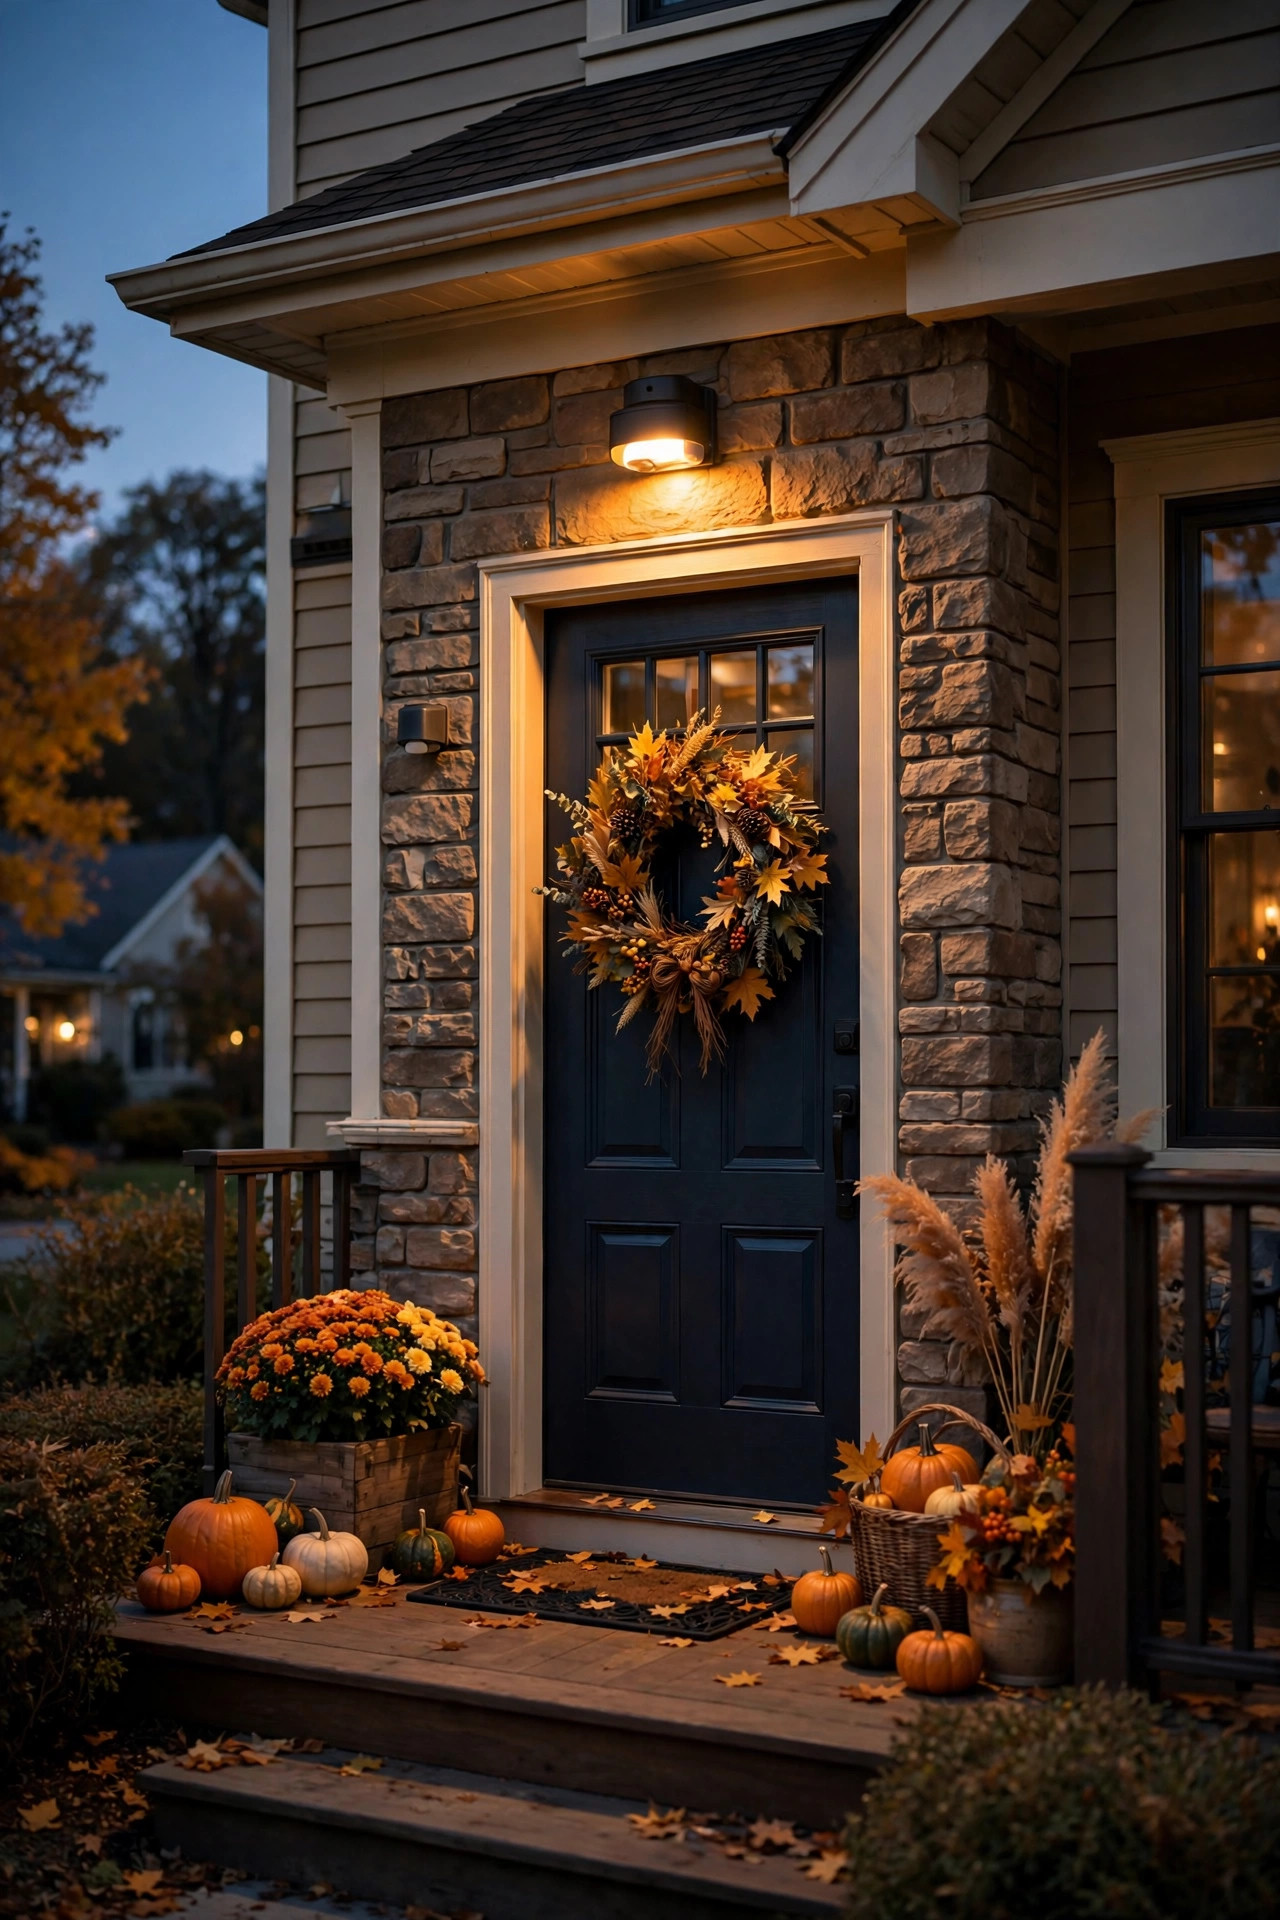
Here's my final idea, and honestly it underpins all twenty before it: automate everything. A porch where every light — the string lights, the lanterns, the spotlights, the wreath — clicks on together at sunset and off at bedtime feels magical precisely because you never touch a switch. And in fall, when sunset slides earlier every single week, a timer means your porch is always lit at dusk even when you're not home to flip switches.
The simplest path is an outdoor smart plug with a sunset schedule — plug your string lights and any plug-in fixtures into it, set your location once in the app, and it tracks sunset automatically all season. For battery-operated pieces (wreaths, garlands, fairy lights), the built-in 6-hour timers most of them include are perfect: activate them all on the same evening around 6 p.m., and they'll stay synchronized for weeks. Solar lights, of course, handle themselves with their dusk sensors.
My recommended schedule: everything on at sunset, everything off at 11 p.m. on weeknights — late enough for evening strollers to enjoy, early enough to be a good neighbor and save energy. If you're expecting guests or it's Halloween night, override to stay on later with one tap. Do a five-minute walk-around once a week to check that timers are still synced and no strand has come unplugged — fall winds are sneaky. Automate it once, and your porch glows effortlessly all season long.
Suggested budget range: $15 – $35.
Frequently Asked Questions
What's the best color temperature for fall porch lights?
Warm white at 2700K, every time. It's the color temperature of old-fashioned incandescent bulbs and candlelight, and it flatters everything fall decorating is made of — wood, brick, pumpkins, dried foliage, plaid textiles. Anything cooler (3000K and up) starts to look bluish and clinical against autumn colors. When you're shopping, check the bulb or packaging for "2700K" or "warm white" — and keep every light on your porch at the same temperature so nothing clashes.
How do I waterproof outdoor string lights?
Start by buying lights actually rated for outdoor use — look for a UL listing for wet locations on the tag or product page, and an IP44 rating or better. Hang strands with a slight sag so water drips off the low points instead of running into the sockets, and keep all plug connections off the ground (a foot up on a post is plenty). For extra protection, wrap connection points with outdoor-rated electrical tape or slip them into inexpensive cord connection boxes. At the end of the season, coil strands loosely and store them indoors — sunlight and freeze-thaw cycles are what kill outdoor lights over time.
Should I use solar or wired lights for fall decor?
Honestly, I use both — they solve different problems. Solar lights are unbeatable for spots far from an outlet: pathway edges, yard trees, shepherd's hooks in the planting beds. They're free to run and install in seconds. But they're dimmer and depend on daytime sun, which gets scarce in late fall. Wired or plug-in lights (on a timer or smart plug) give you consistent, brighter light exactly where you want it — string lights, Edison canopies, spotlights. My rule: solar for accents and pathways, wired for the main event pieces near the porch.
When should I put up fall porch lighting?
Late September to the first week of October is the sweet spot — right as evenings start getting dark early and the fall decorating urge hits. Putting lights up with your early-fall decor (mums, pumpkins, wreaths) means you get six-plus weeks of enjoyment through Thanksgiving. I always recommend doing the install on a dry weekend afternoon so you're not fumbling with timers and extension cords in the dark. And take five minutes to photograph your setup at dusk once it's done — you'll thank yourself next year when you're trying to remember what went where.
Conclusion
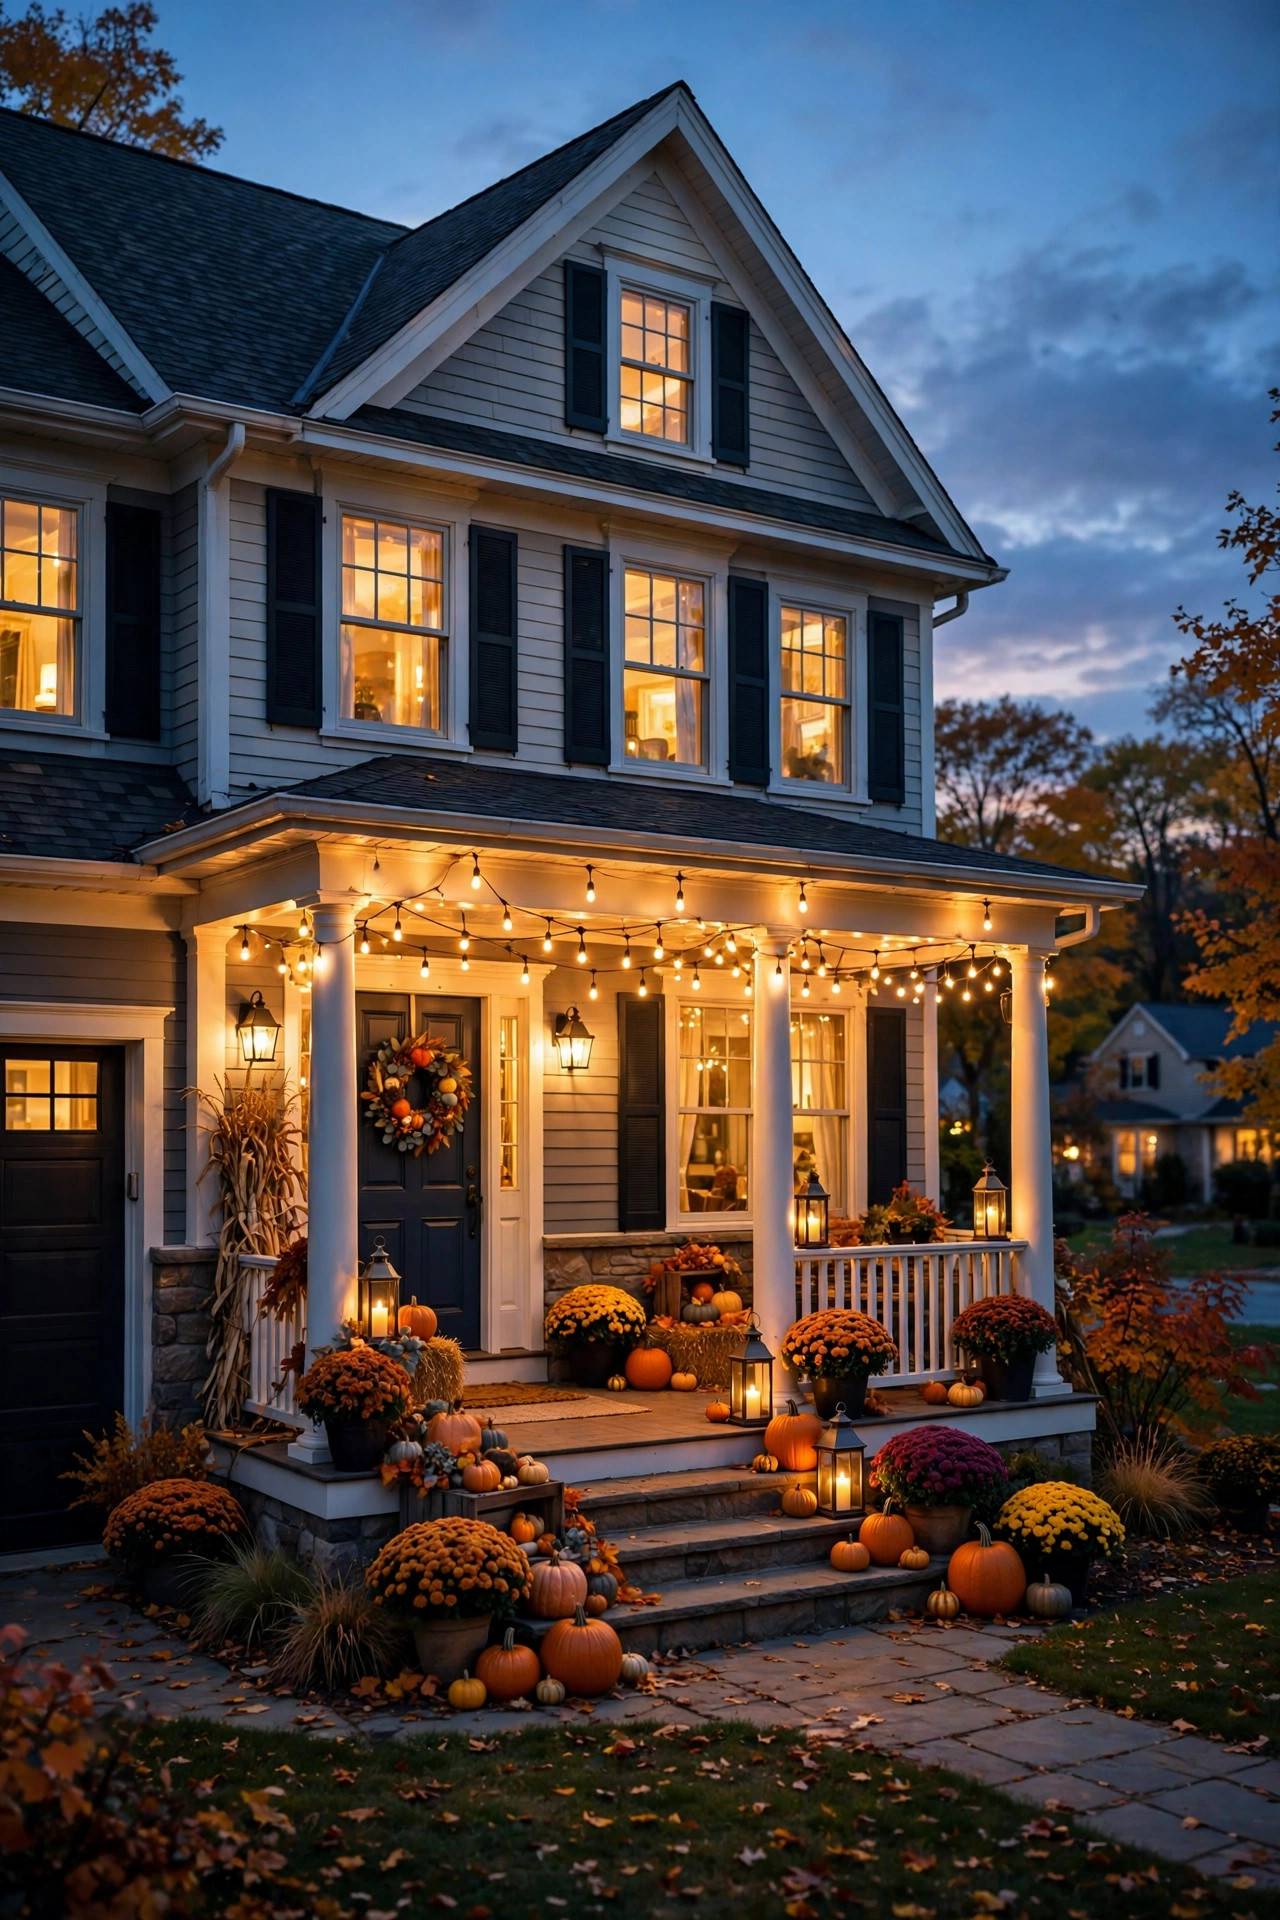
There you have it — 21 fall porch lighting ideas to carry your entry from the first crisp evening of October all the way through Thanksgiving. In my experience, you don't need all 21 (though I won't stop you). Pick three that speak to you — maybe the fairy-light planters, a glowing wreath, and that warm 2700K bulb swap — and you'll be amazed how different your porch feels tonight.
The real secret to fall porch lighting ideas that work isn't any single product; it's the layering. High, middle, low. Warm, warm, warm. And a timer so the magic happens whether you're home or not. Your porch is the first thing guests see and the last thing the neighborhood sees at night — make it glow.
If this got your wheels turning, browse our other lighting ideas for more inspiration — from year-round porch glow-ups to holiday showstoppers, there's always another corner of your home waiting for the right light. Happy decorating, and enjoy every golden evening of the season.