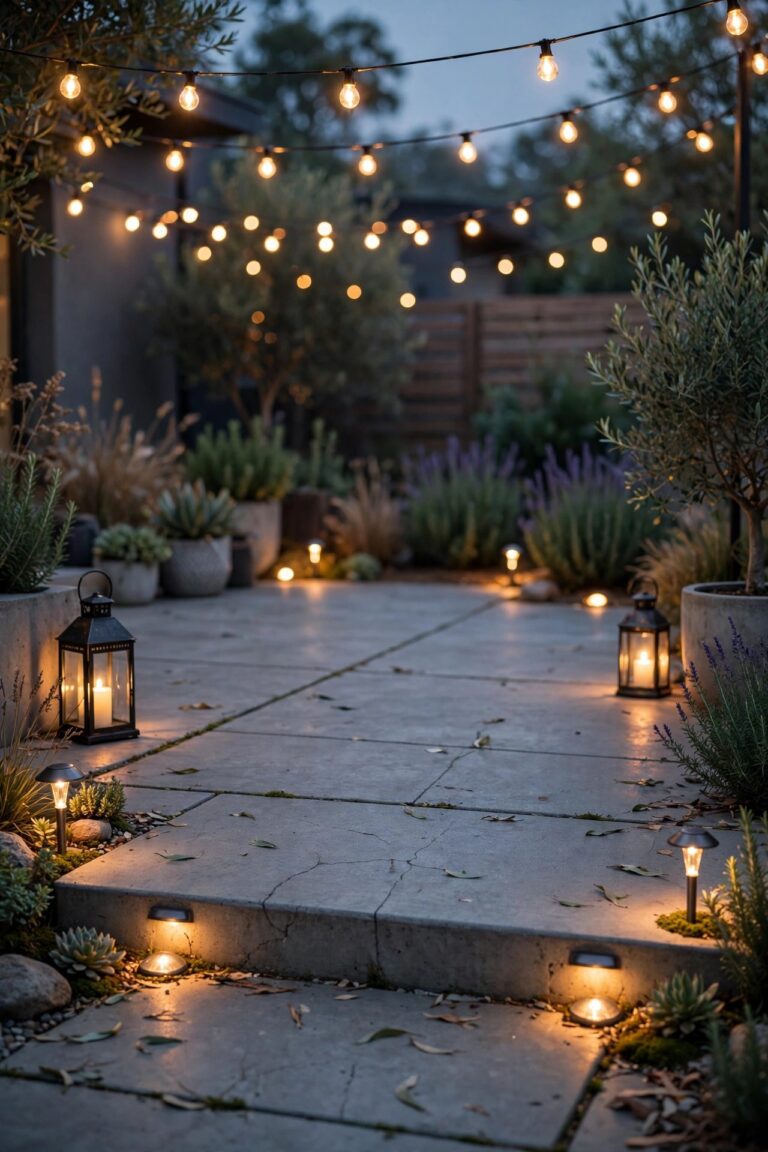
Every garden has that one piece you can't stop looking at — the stone heron standing guard over the hostas, Grandma's concrete birdbath, the little iron bench you rescued from a flea market. In daylight, those pieces anchor the whole yard. After dark, they simply vanish. That's exactly what garden focal point spotlights fix: one well-aimed beam turns your favorite statue, birdbath, or piece of garden art into the star of the evening garden. Honestly, this is my favorite kind of lighting, because it follows the layering philosophy I use everywhere — low path lights to guide the way, a soft wash across the beds, and then one confident spotlight that says "look here." In this post I'm sharing 15 ways to light statues, birdbaths, and focal points of every size, from silhouetting a sculpture against a hedge to tucking a tiny uplight under a birdbath so the water sparkles. You'll get beam angles, distances, lumens, and honest budgets for each idea, so you can start with a single fixture this weekend.

1. Give Your Statue a Single Front Spotlight
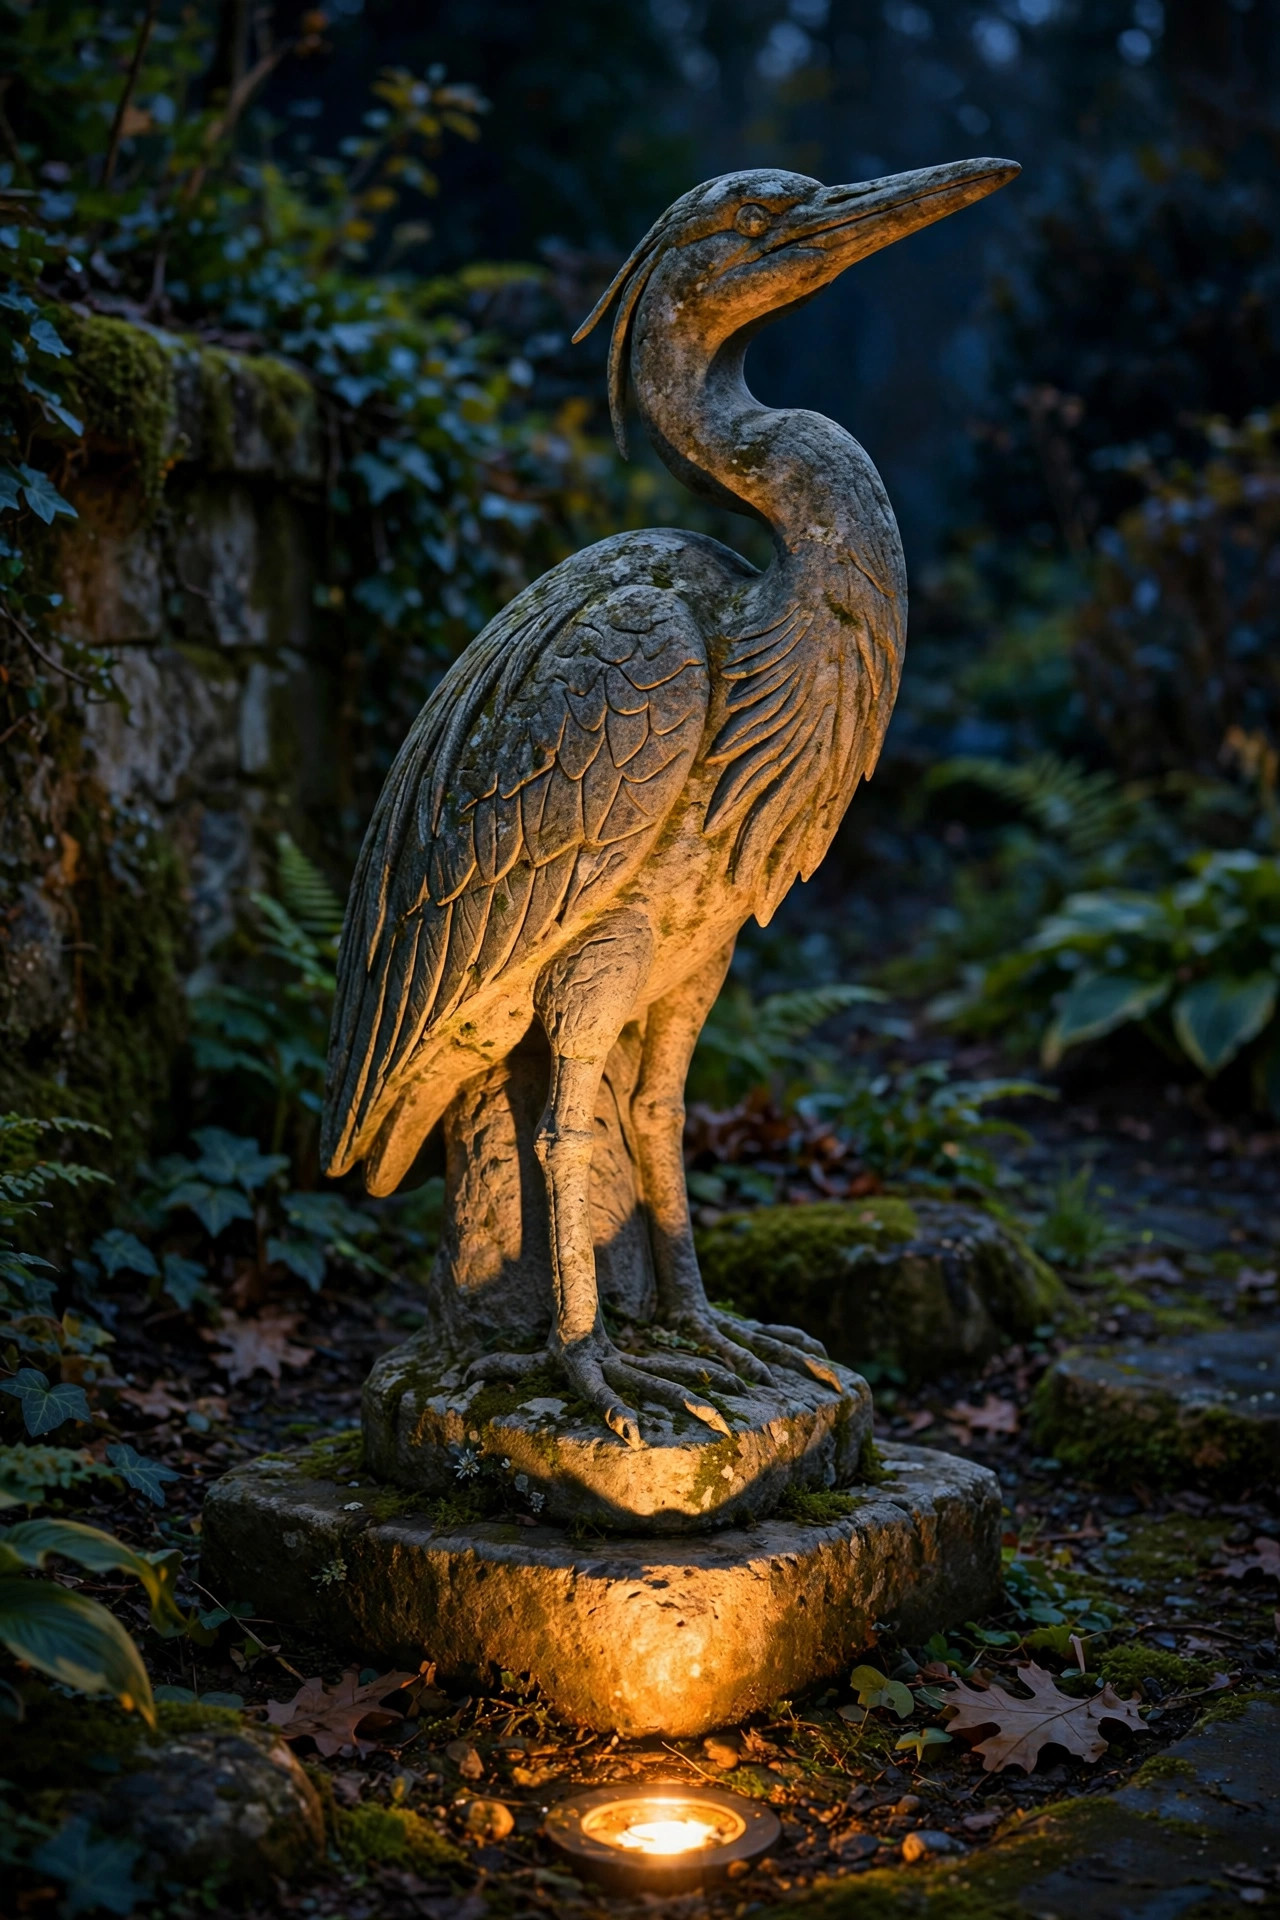
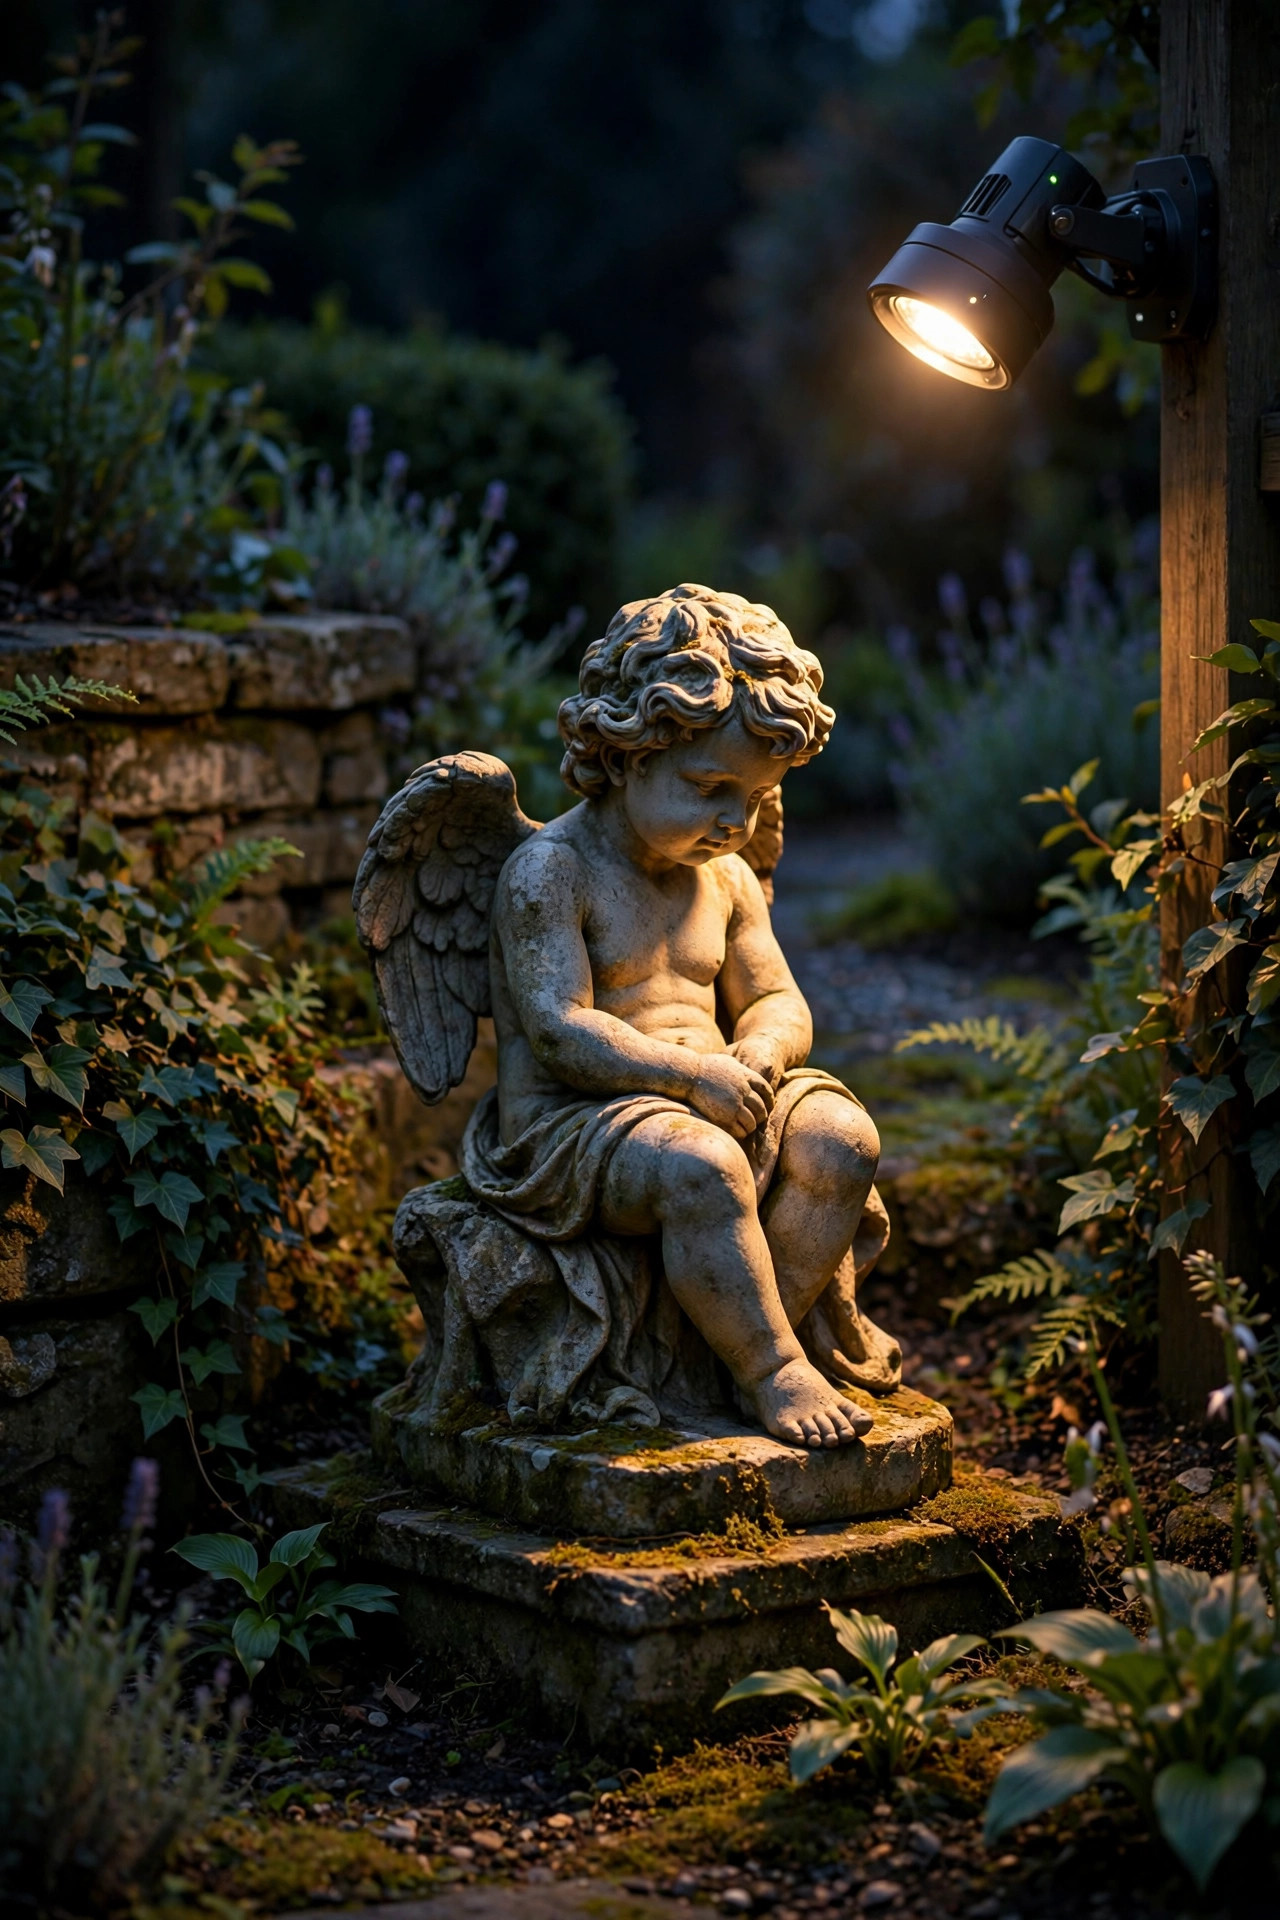
Start with the classic: one spotlight, placed low in the bed in front of your statue, aimed up at a gentle angle. Set the fixture 3 to 5 feet in front of the piece and offset it about 30 degrees to one side rather than dead center — that slight angle is what carves shadows into the folds of a dress, the feathers of an owl, or the curls on a cherub's head, so the statue looks sculpted instead of flattened. A narrow-to-medium beam, 24 to 36 degrees, in the 200–400 lumen range is plenty for a piece up to about 3 feet tall; step up to 600 lumens for something taller or cast in dark bronze, which swallows light. I like adjustable stake-mount fixtures here because statues get moved — mine migrate around the yard embarrassingly often — and a stake lets you re-aim in seconds. Bury the cable 3 to 6 inches under the mulch, tilt the lens so rain sheets off instead of pooling, and always do your final aiming at dusk from wherever you actually sit. The patio-chair view is the one that matters.
Suggested budget range: $25 – $60.
2. Backlight a Statue Against a Hedge for Pure Drama
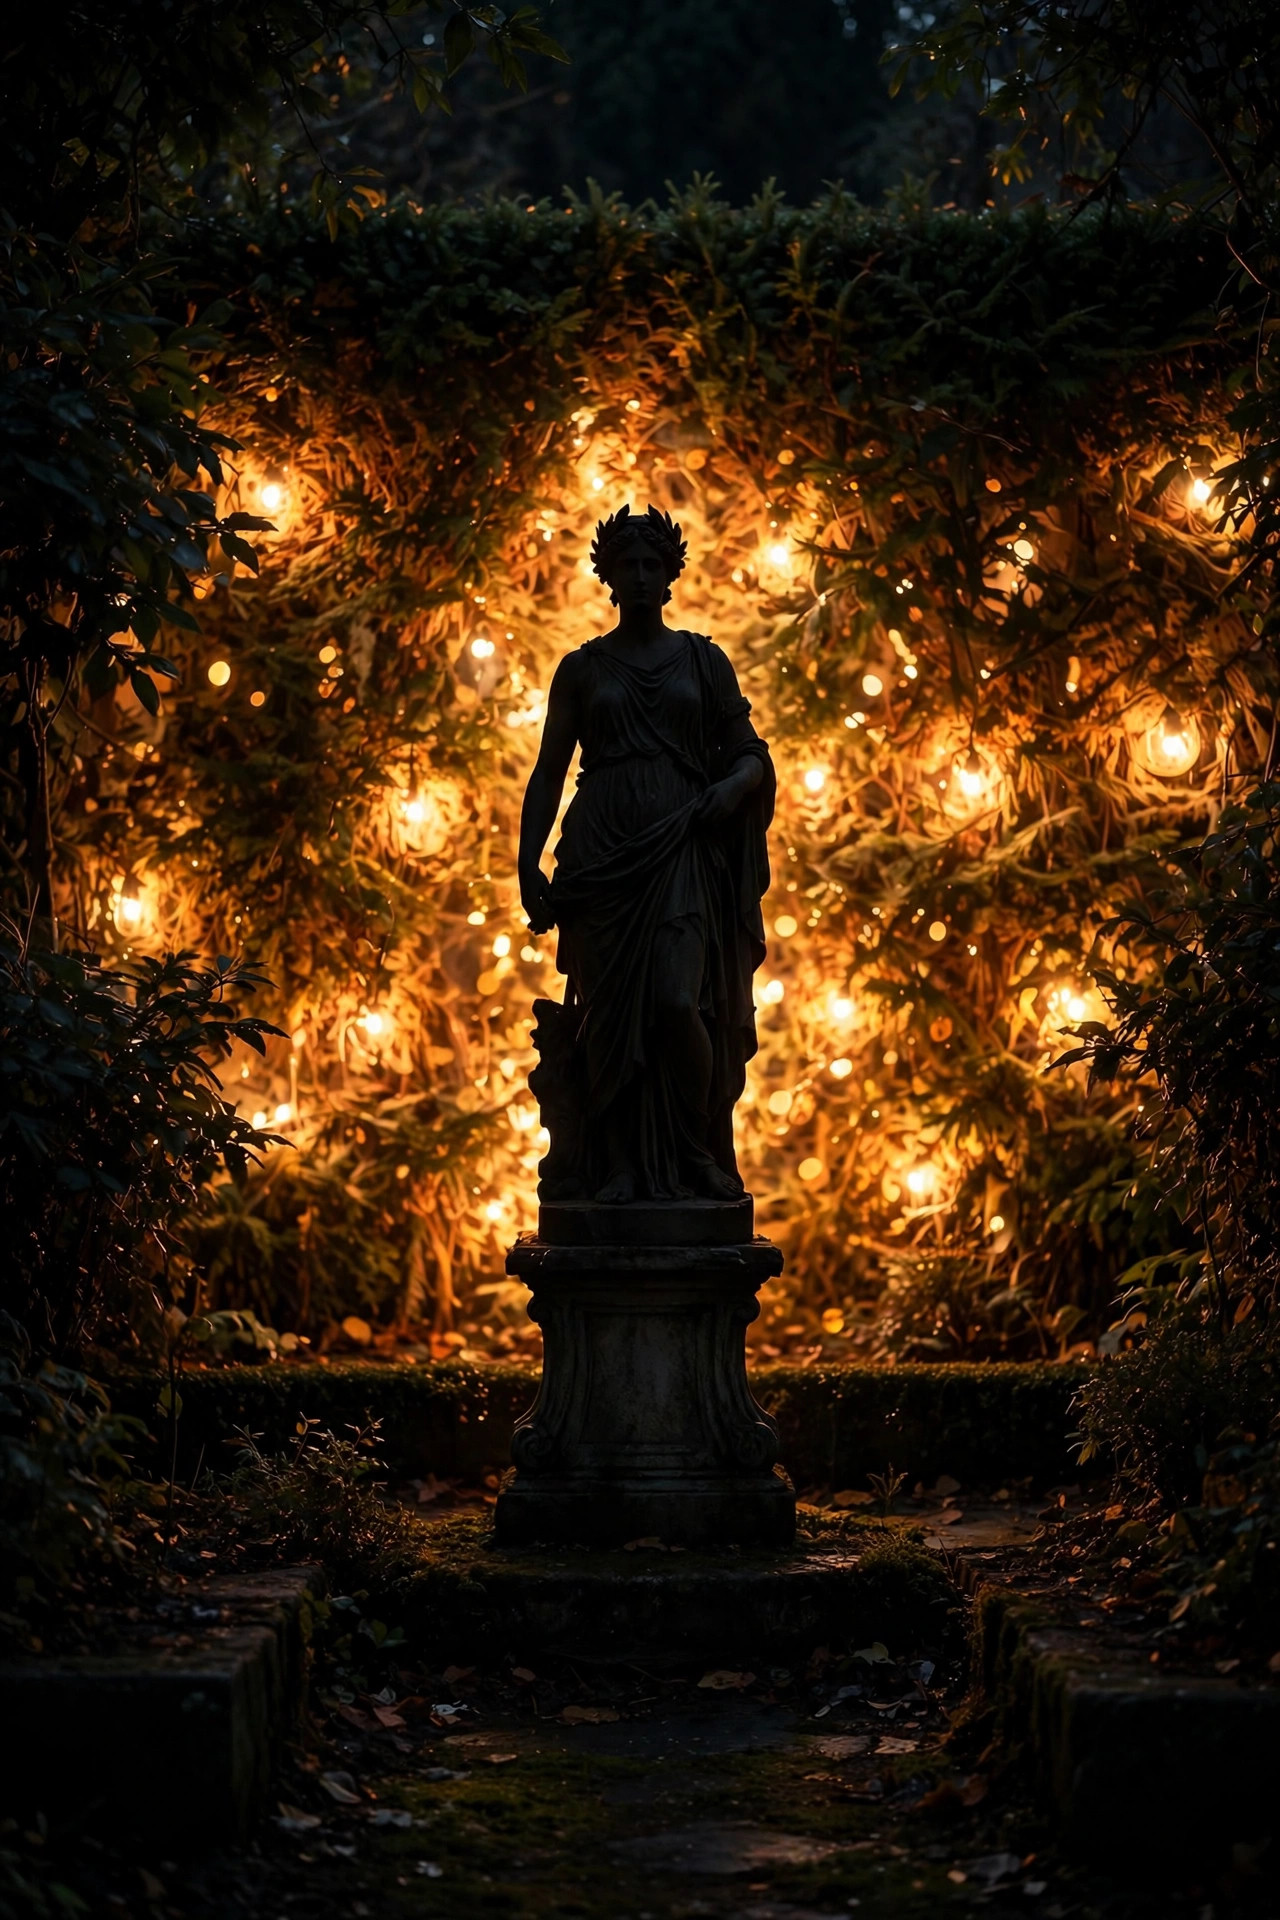
If front-lighting is a portrait, backlighting is pure theater. Hide the spotlight behind the statue, low to the ground, and aim it at a hedge, fence, or wall 2 to 4 feet behind the piece — never at the statue itself. The backdrop catches a halo of warm light and your statue stands in front of it as a bold, dark silhouette. This is the trick I reach for with pieces whose shape is stronger than their detail: a heron mid-strike, an abstract metal spiral, a pair of dancing cranes. Because the fixture never shines toward the viewer, there's zero glare, and even a modest 150–300 lumen LED does the job, since it's lighting the backdrop, not the object. A wide-ish 45–60 degree beam paints the hedge evenly without hot spots. One caution: keep the hidden fixture a few inches clear of dry mulch and leaves, and choose an LED, which runs cool — that's a rule everywhere in the garden, but especially for fixtures tucked out of sight. Check the composition from the street, too. A good silhouette reads from a surprising distance and adds real nighttime curb appeal.
Suggested budget range: $25 – $55.
3. Cross-Light a Birdbath With Two Low Spotlights
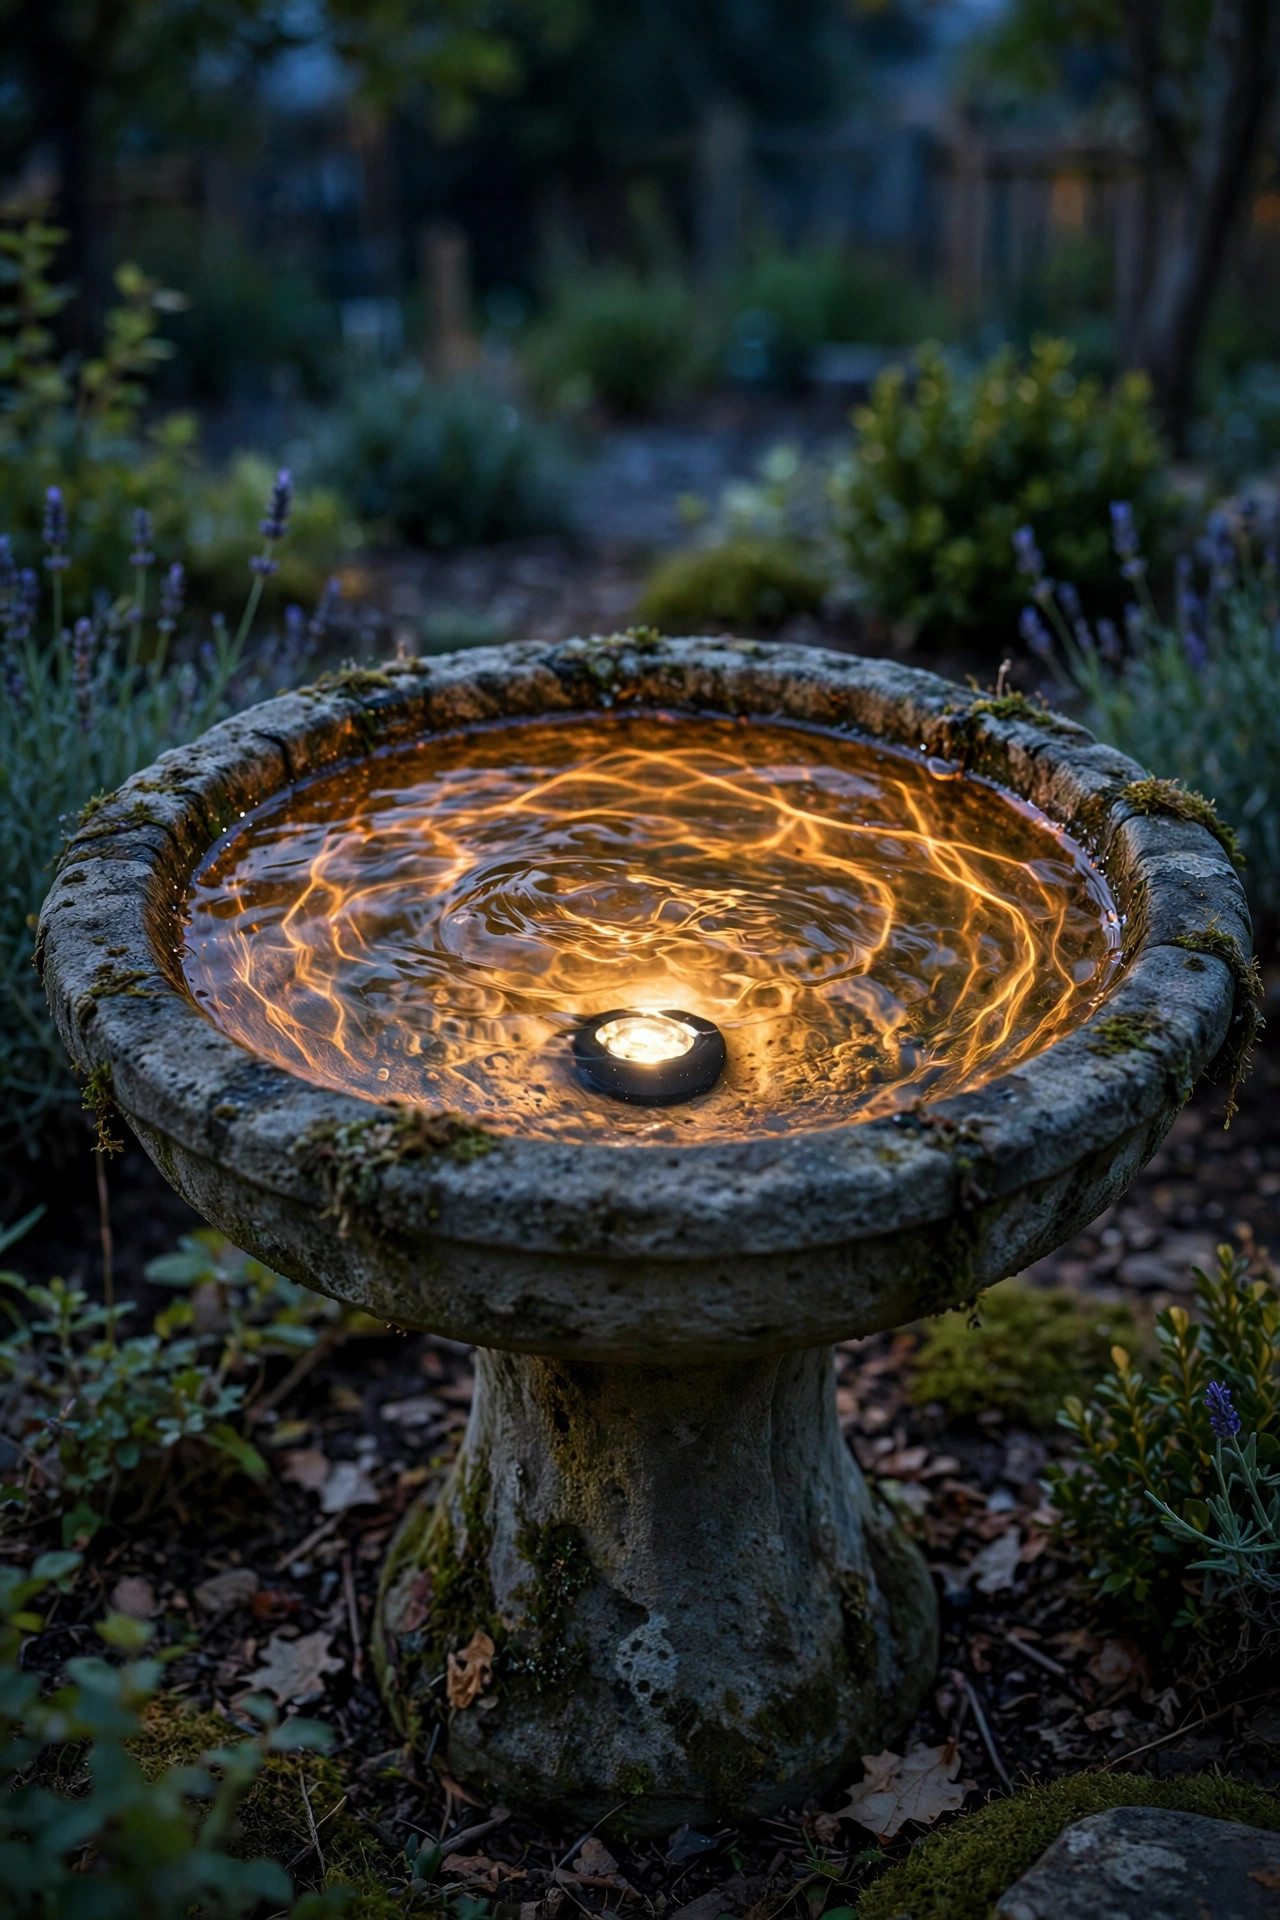
A birdbath is really two focal points in one — the pedestal and the water — and a single beam rarely flatters both. My favorite setup uses two small spotlights cross-lighting from opposite front corners, each staked 2 to 3 feet out and angled about 45 degrees across the bowl. Crossing beams soften the harsh shadows a single light throws, model the pedestal's curves, and — here's the magic part — set the water's surface shimmering whenever a breeze or a late-arriving bird ripples it. Keep each fixture modest, 150–250 lumens, with a 36-degree beam; two gentle lights beat one bright one here. Match both fixtures to the same 2700K color temperature, because a warm-and-cool mismatch across one little birdbath looks like a mistake, not a design. Angle the beams slightly upward into the underside of the bowl so the rim glows like a halo, and stake the fixtures just outside the splash zone so the lenses stay cleaner longer. If your birdbath sits in a planted bed, tuck the fixtures behind low mounding plants — sedum or creeping thyme work beautifully — so the sources disappear and only the glow shows.
Suggested budget range: $45 – $90.

4. Sink a Submersible Spotlight in the Birdbath Basin
For the most jewel-like effect of all, put the light in the water. Small submersible LED spotlights — fully sealed, IP68-rated units made to live underwater — rest right in the birdbath basin or at the bottom of a small fountain, shining up through the moving water. The ripples break the beam into dancing patterns that play across the pedestal and the plants around it, and on a still night the lit basin glows like a little moon. Choose a warm-white 2700K submersible with a weighted base or suction cup so it stays put, and run its low-voltage cable over the back rim, hidden behind the pedestal. My fountain lighting ideas go deeper on lighting moving water if you have a bigger feature to tackle. Two honest notes: algae and mineral film cloud a submersible lens fast, so plan on a quick wipe every couple of weeks when you refresh the water — which you should be doing for the birds anyway. And if a fixture is a 120V product, it belongs on a GFCI-protected circuit; the low-voltage versions are the safer, simpler pick for a birdbath.
Suggested budget range: $20 – $50.
5. Use Solar Garden Focal Point Spotlights You Can Move With the Seasons
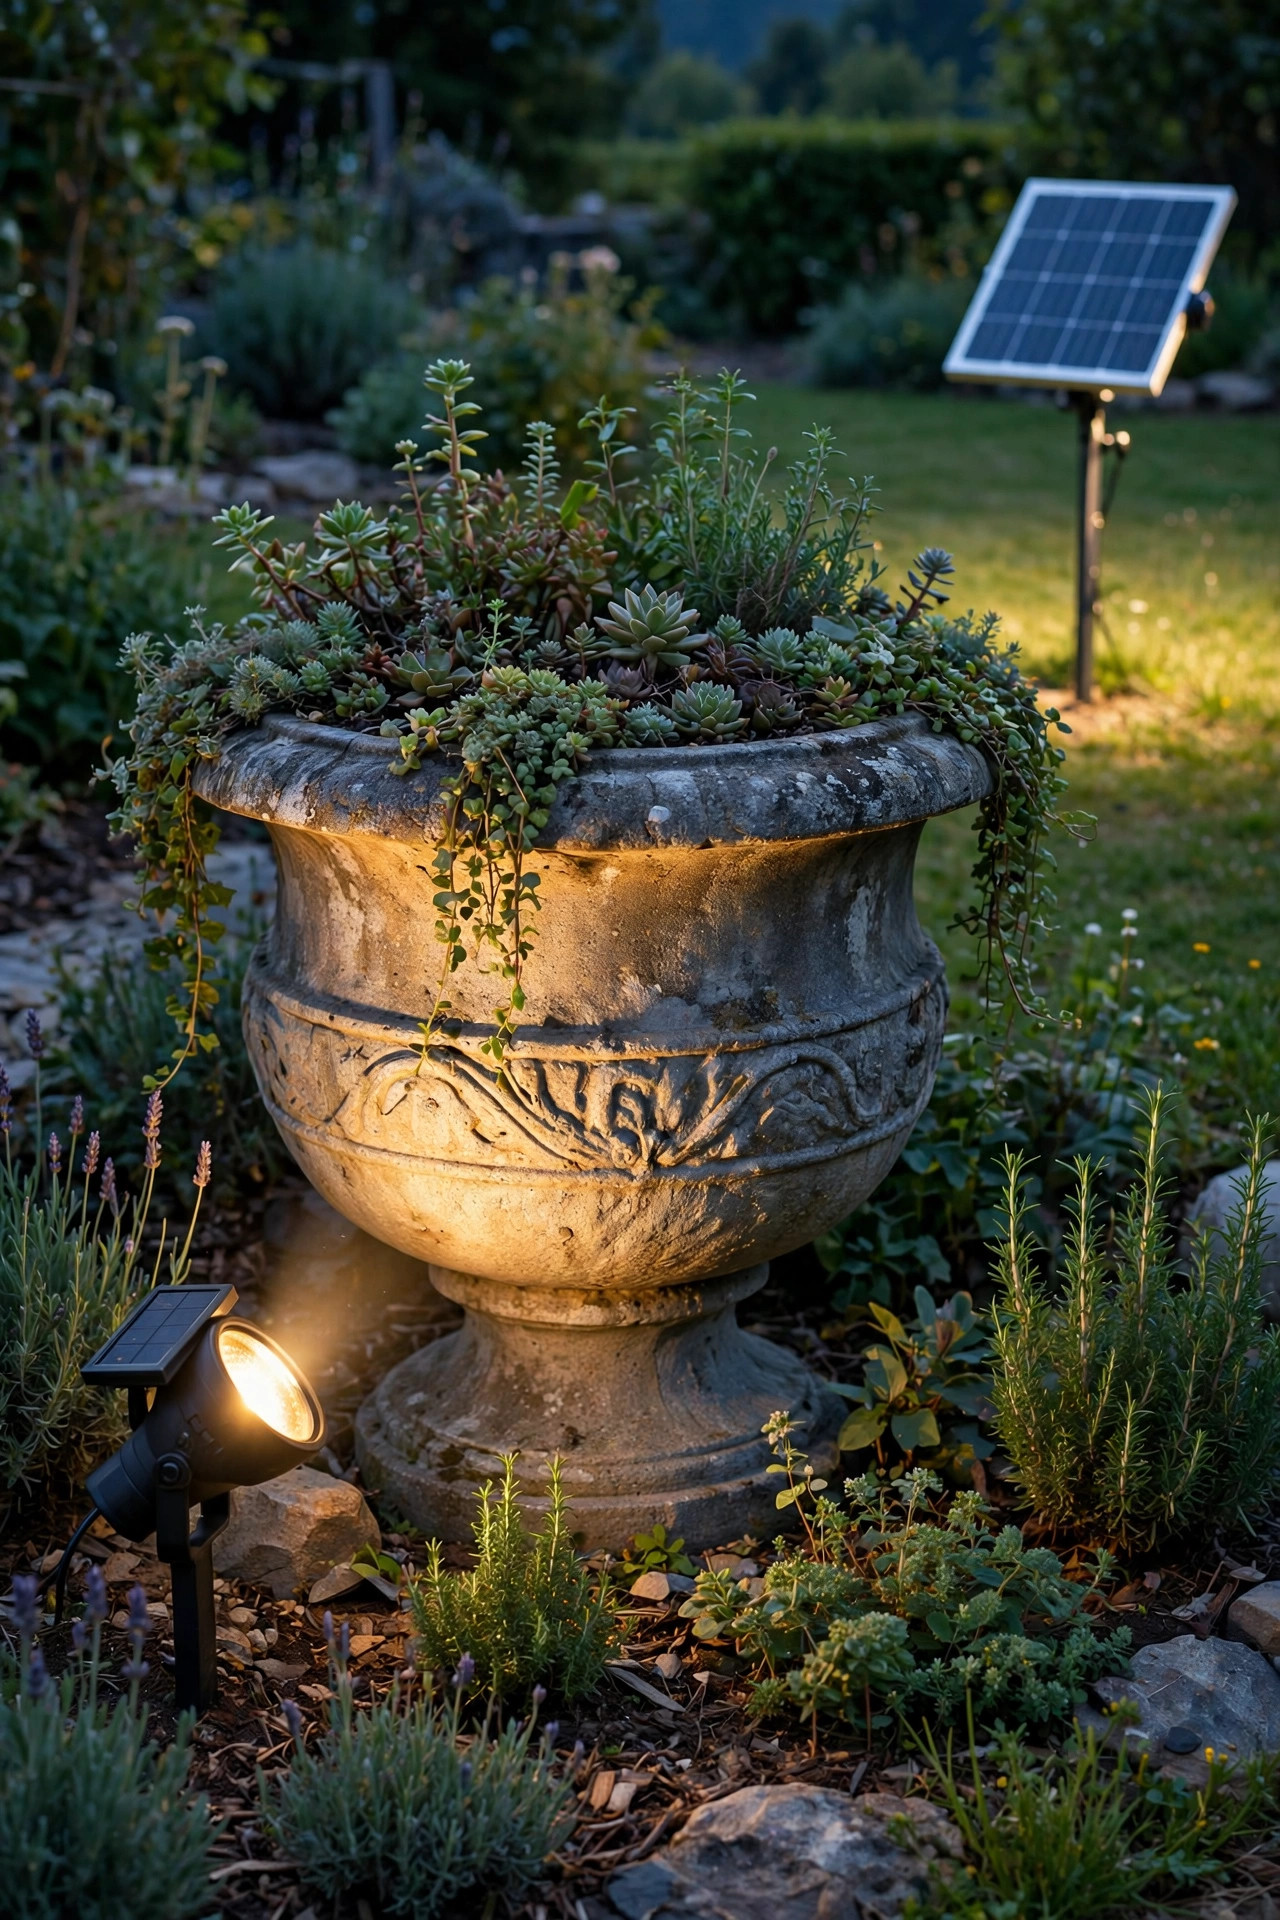
Focal points change with the garden — spring belongs to the birdbath, midsummer to the big stone urn, fall to the pumpkin-topped garden bench — and solar fixtures let the lighting follow right along. Modern solar spotlights with a separate or oversized panel genuinely work for accent duty: look for one rated at 200 lumens or more, with an adjustable head and a panel you can stake into a sunny patch up to 6 to 10 feet away from the shady bed where the statue lives. That remote panel matters more than any other spec, because a spotlight tucked under a hydrangea with a small attached panel will starve by July. Expect 6 to 8 hours of light on a good charge, dimming toward dawn, which is honestly fine for accent work. Solar is also my go-to for renters, and for anyone testing a layout before committing to cable runs: live with the beam for a week, nudge it nightly, and once the angle is perfect you've learned exactly where a wired fixture should eventually go. Just keep expectations honest — solar accents glow; they don't blaze.
Suggested budget range: $30 – $70.
6. Bury an In-Ground Well Light in Front of a Sculpture
When you want the light source itself to completely disappear, a well light is the answer. These can-shaped fixtures sink into a sleeve buried in the soil or gravel, so the lens sits flush with the ground and shoots a column of light straight up the front of a sculpture. Set the well 12 to 18 inches in front of the piece, and choose a model with a glare shield or honeycomb louver — flush uplights are the worst glare offenders when you walk past them, and a louver cuts that sting while barely touching the effect on the statue. A 24–36 degree beam at 300–500 lumens handles most garden pieces comfortably. In-ground fixtures live a hard life, so buy once: look for a sealed IP67 rating, a brass or heavy composite housing, and a slightly domed lens so water sheets off instead of pooling on top. Dig the hole a few inches deeper than the sleeve and add a gravel bed underneath for drainage. A well light sitting in a puddle of its own making is the number one failure I see, and it's entirely preventable with ten extra minutes and a bag of pea gravel.
Suggested budget range: $40 – $110.
7. Graze a Sundial or Armillary Sphere to Reveal the Detail
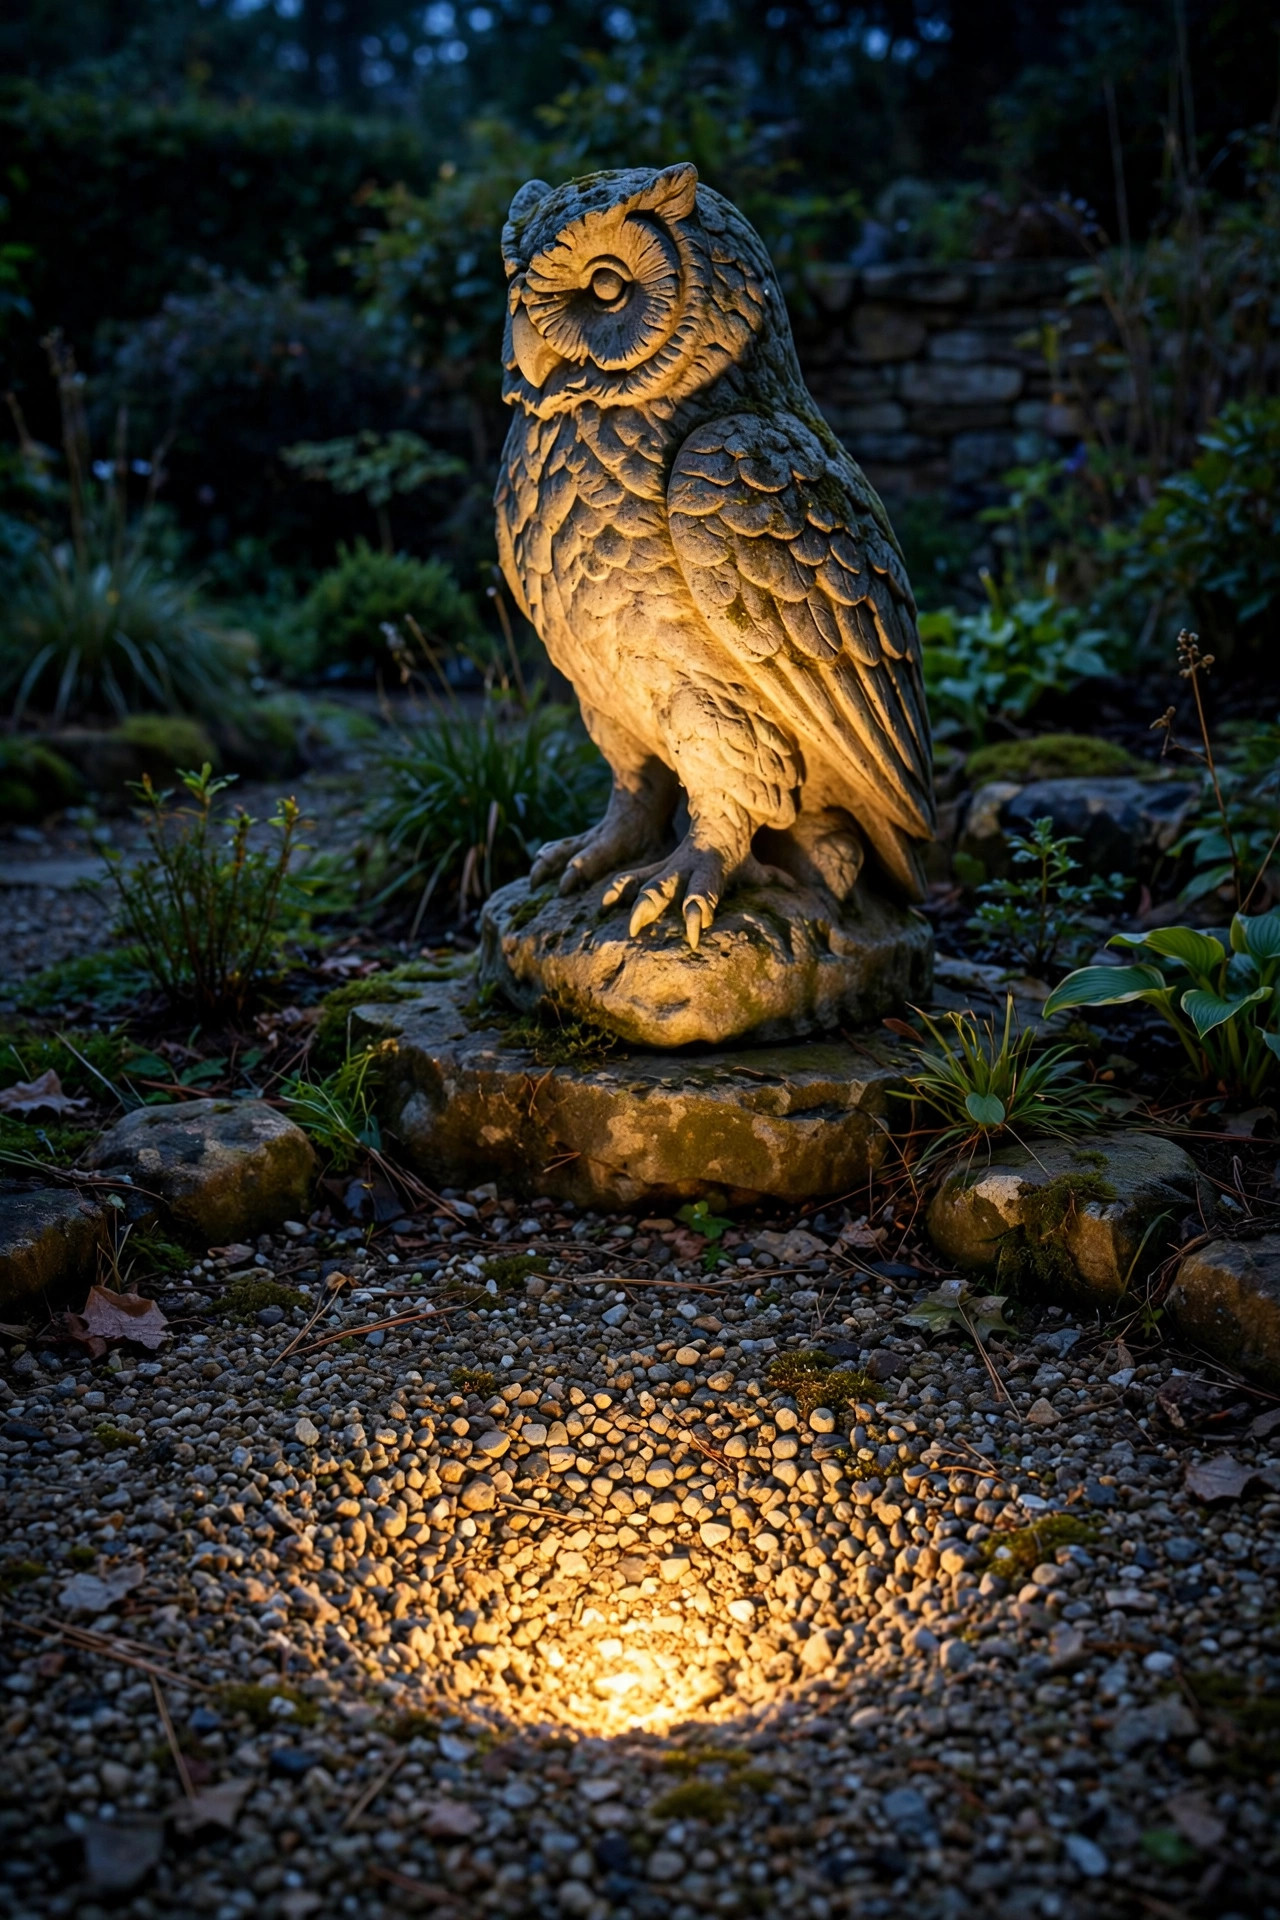
Flat, detailed pieces like sundials, armillary spheres, and engraved memorial stones need grazing light, not a head-on blast. Place the spotlight almost level with the piece and off to one side, just 18 to 24 inches away, so the beam skims across the surface at a shallow angle. Every engraved letter and etched hour line throws a tiny shadow, and suddenly the detail you can barely make out at noon is crisp and readable at nine o'clock. A narrow 15–24 degree beam keeps the skim tight, and 150–300 lumens is plenty at that distance — more just blows out the highlights. For an armillary sphere on a pedestal, I aim from low and front-left so the rings cast layered shadows down the column behind it. It's the single most complimented light in my garden, and it's one small fixture. Bronze and brass pieces warm up beautifully under 2700K light, while grey stone can take a slightly cooler 3000K if you prefer a moonlit feel. Whatever you choose, test at dusk before you bury any cable — metal is unforgiving about color and angle, and a five-minute preview saves a season of squinting.
Suggested budget range: $25 – $60.
8. Light a Matched Pair of Urns Flanking Your Steps
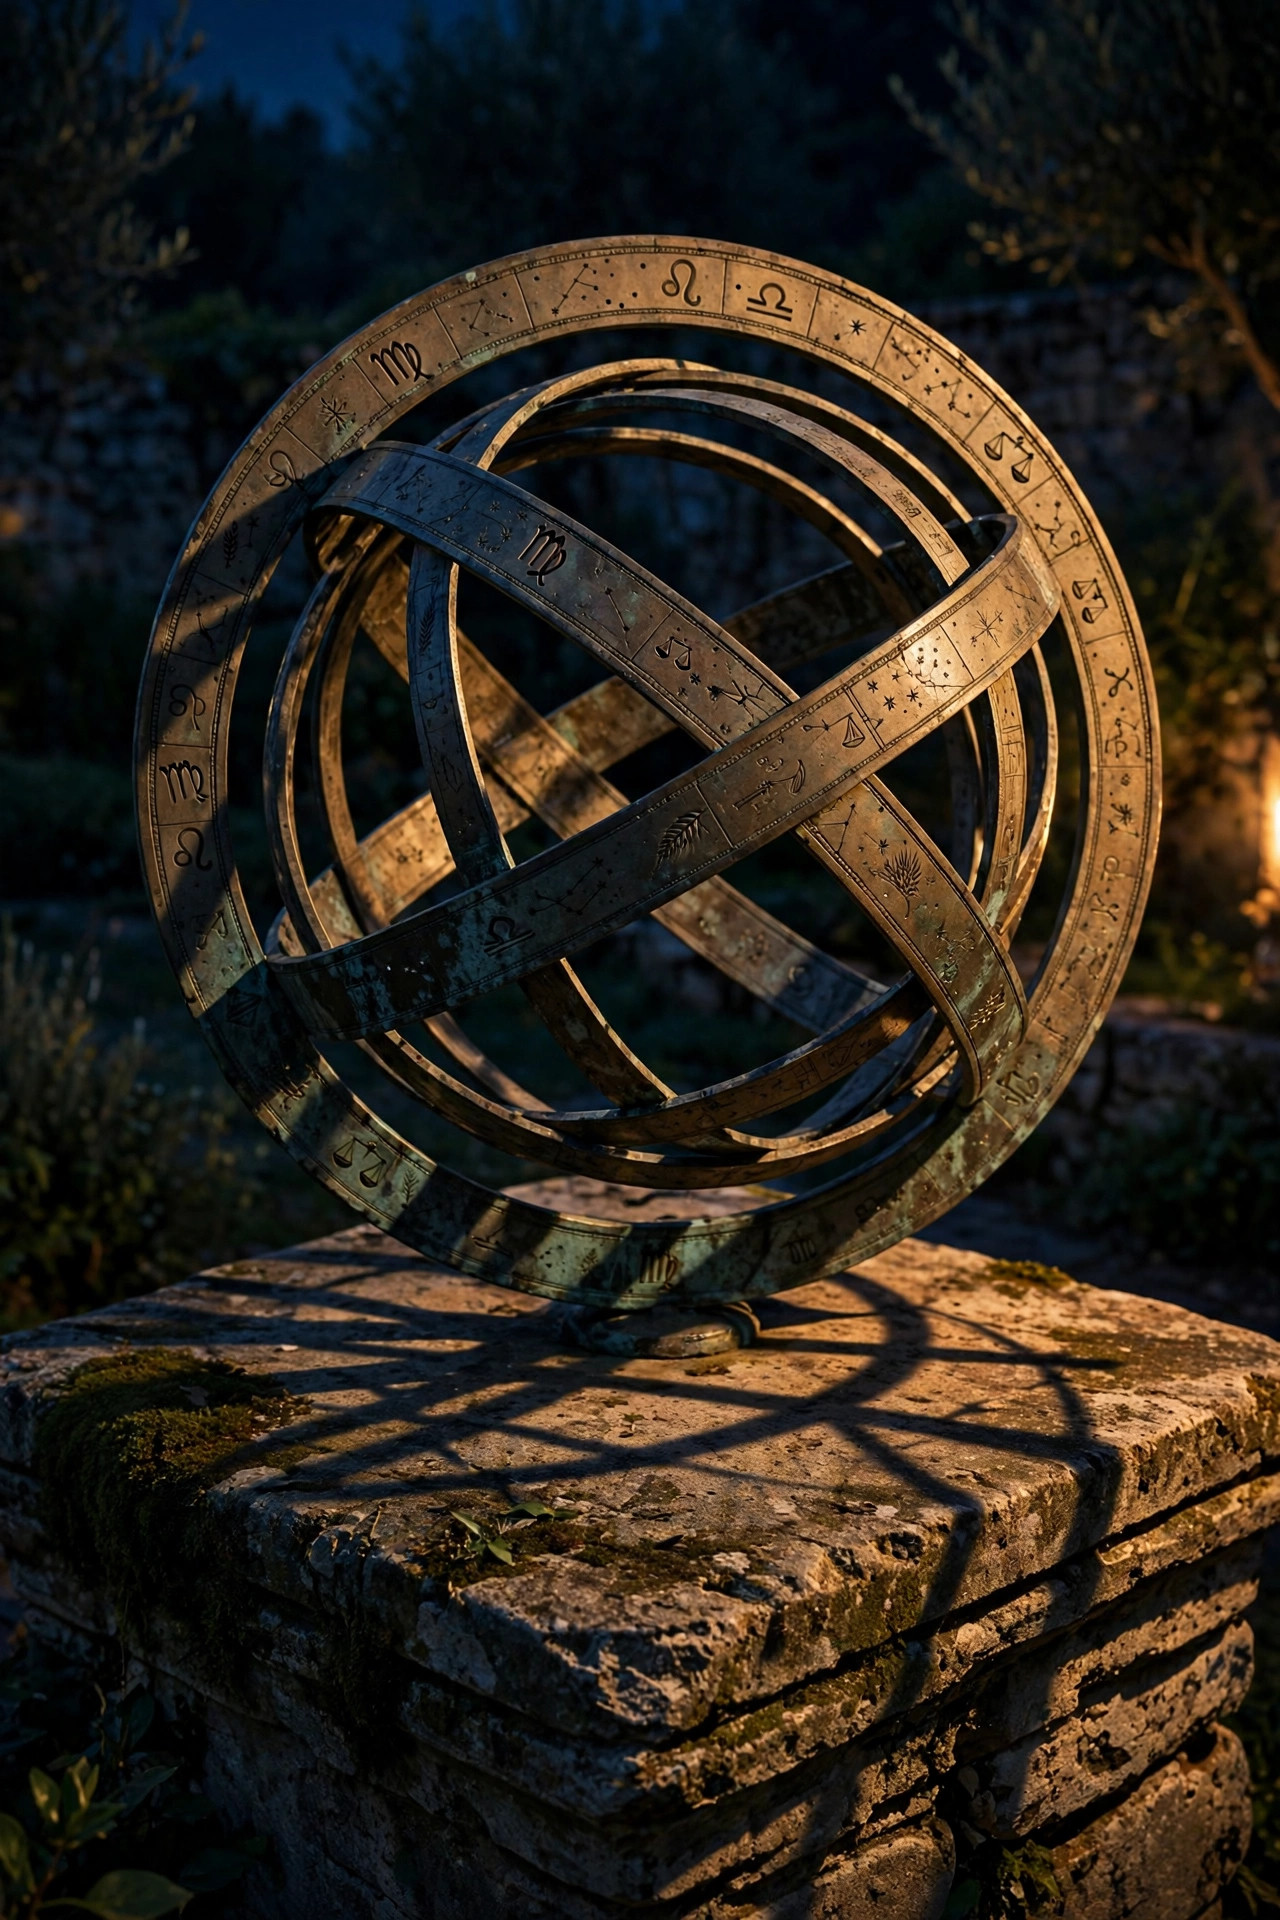
Symmetry is the easiest focal point to light, because the recipe is simply: whatever you do, do it twice. A pair of planted urns, obelisks, or small statues flanking steps or a gate looks intentional by day, and two matching spotlights make them glow like sentinels by night. Use identical fixtures with identical 36-degree beams, and — this is the part people skip — set them at identical distances and angles, usually 2 to 3 feet in front of each urn, so the twin beams mirror perfectly. Wire both to the same transformer run and the same timer so they always switch on together; a pair where one side sits dark reads as broken, not moody. Around 200–300 lumens each is enough for urns up to about 30 inches tall, and uplighting up through trailing plants like ivy or sweet potato vine throws leafy shadows that soften the formality beautifully. If your pair flanks a path or steps, angle the beams slightly outward so guests walking between them aren't staring into the lenses. Honestly? This is the highest-impact, lowest-effort setup on the whole list.
Suggested budget range: $50 – $100.

9. Moonlight a Birdbath or Statue From the Tree Above
Most spotlighting aims up, but some focal points — a birdbath tucked under a maple, a statue in a woodland corner — look far more natural lit from above, the way moonlight finds them. Mount a small downlight fixture 12 to 20 feet up in the tree canopy, fixed to the trunk side facing your piece, and aim it down through the branches. Leaves break the beam into dappled patches that shift gently in the breeze, and your focal point sits in a soft pool of light that feels discovered rather than staged. A wide 60-degree beam at 300–500 lumens works well, and many gardeners choose a slightly cooler 3000–3500K up high to mimic moonlight while keeping 2700K at ground level. The wiring runs up the back of the trunk on stainless clips, and it will grow with the tree if you leave a little slack — check it every spring. If the whole up-versus-down question intrigues you, my tree uplighting guide covers mounting heights and hardware in detail. One firm rule: only attempt the install from a secure ladder position, or hire it out. No lighting effect is worth a fall.
Suggested budget range: $60 – $150.

10. Climb a Tall Obelisk With a Narrow-Beam Spotlight
Tall, skinny focal points — garden obelisks, tuteurs, spiral topiary frames, a climbing rose tower — need a tall, skinny beam to match. A narrow 10–15 degree spotlight placed 4 to 6 feet back throws a column of light that climbs the full height without spilling all over the bed around it. This is the one place in focal-point lighting where more lumens genuinely help: reach for 400–700 lumens so the top of a 6-foot obelisk doesn't fade into darkness halfway up, since light falls off with distance. In my experience, the prettiest version lights the structure and lets the plant glow from within — aim so the beam grazes the climbing stems and the foliage catches scattered highlights all the way up. When the roses or clematis are in bloom, the effect is honestly spectacular. Stake the fixture firmly and re-check the aim after storms; narrow beams show every nudge, and a column that has drifted ten degrees looks like it's lighting the neighbor's yard. A locking tilt head is worth the small upgrade here, precisely because it holds that hard-won angle.
Suggested budget range: $30 – $75.

11. Match Color Temperature to the Material
Here's the styling secret hiding inside focal-point lighting: the right color temperature depends on what your piece is made of. Warm 2700K light is my default — it flatters terracotta, rusty iron, bronze, warm-toned stone, and anything painted in creams or reds, making them look sun-kissed after sunset. Cool-cast materials are the exception. White marble, pale concrete, silver galvanized metal, and blue-grey slate can turn muddy and yellow under very warm light; a neutral 3000–3500K keeps them looking crisp and moonlit instead. Black pieces — a cast-iron heron, a dark bronze figure — barely reflect light at all, so either light the background behind them, silhouette-style, or give them a stronger 500-plus-lumen graze so their edges read against the dark garden. Glass and glazed ceramic gazing balls are the wildcards: they mirror whatever you aim at them, so use a soft, wide beam from a little farther back and simply enjoy the sparkle. The golden rule, whatever the material: every spotlight visible in the same view should share one temperature, because your eye reads a mismatch as a mistake instantly.
Suggested budget range: $25 – $65.

12. Light a Whole Cluster of Small Treasures With One Beam
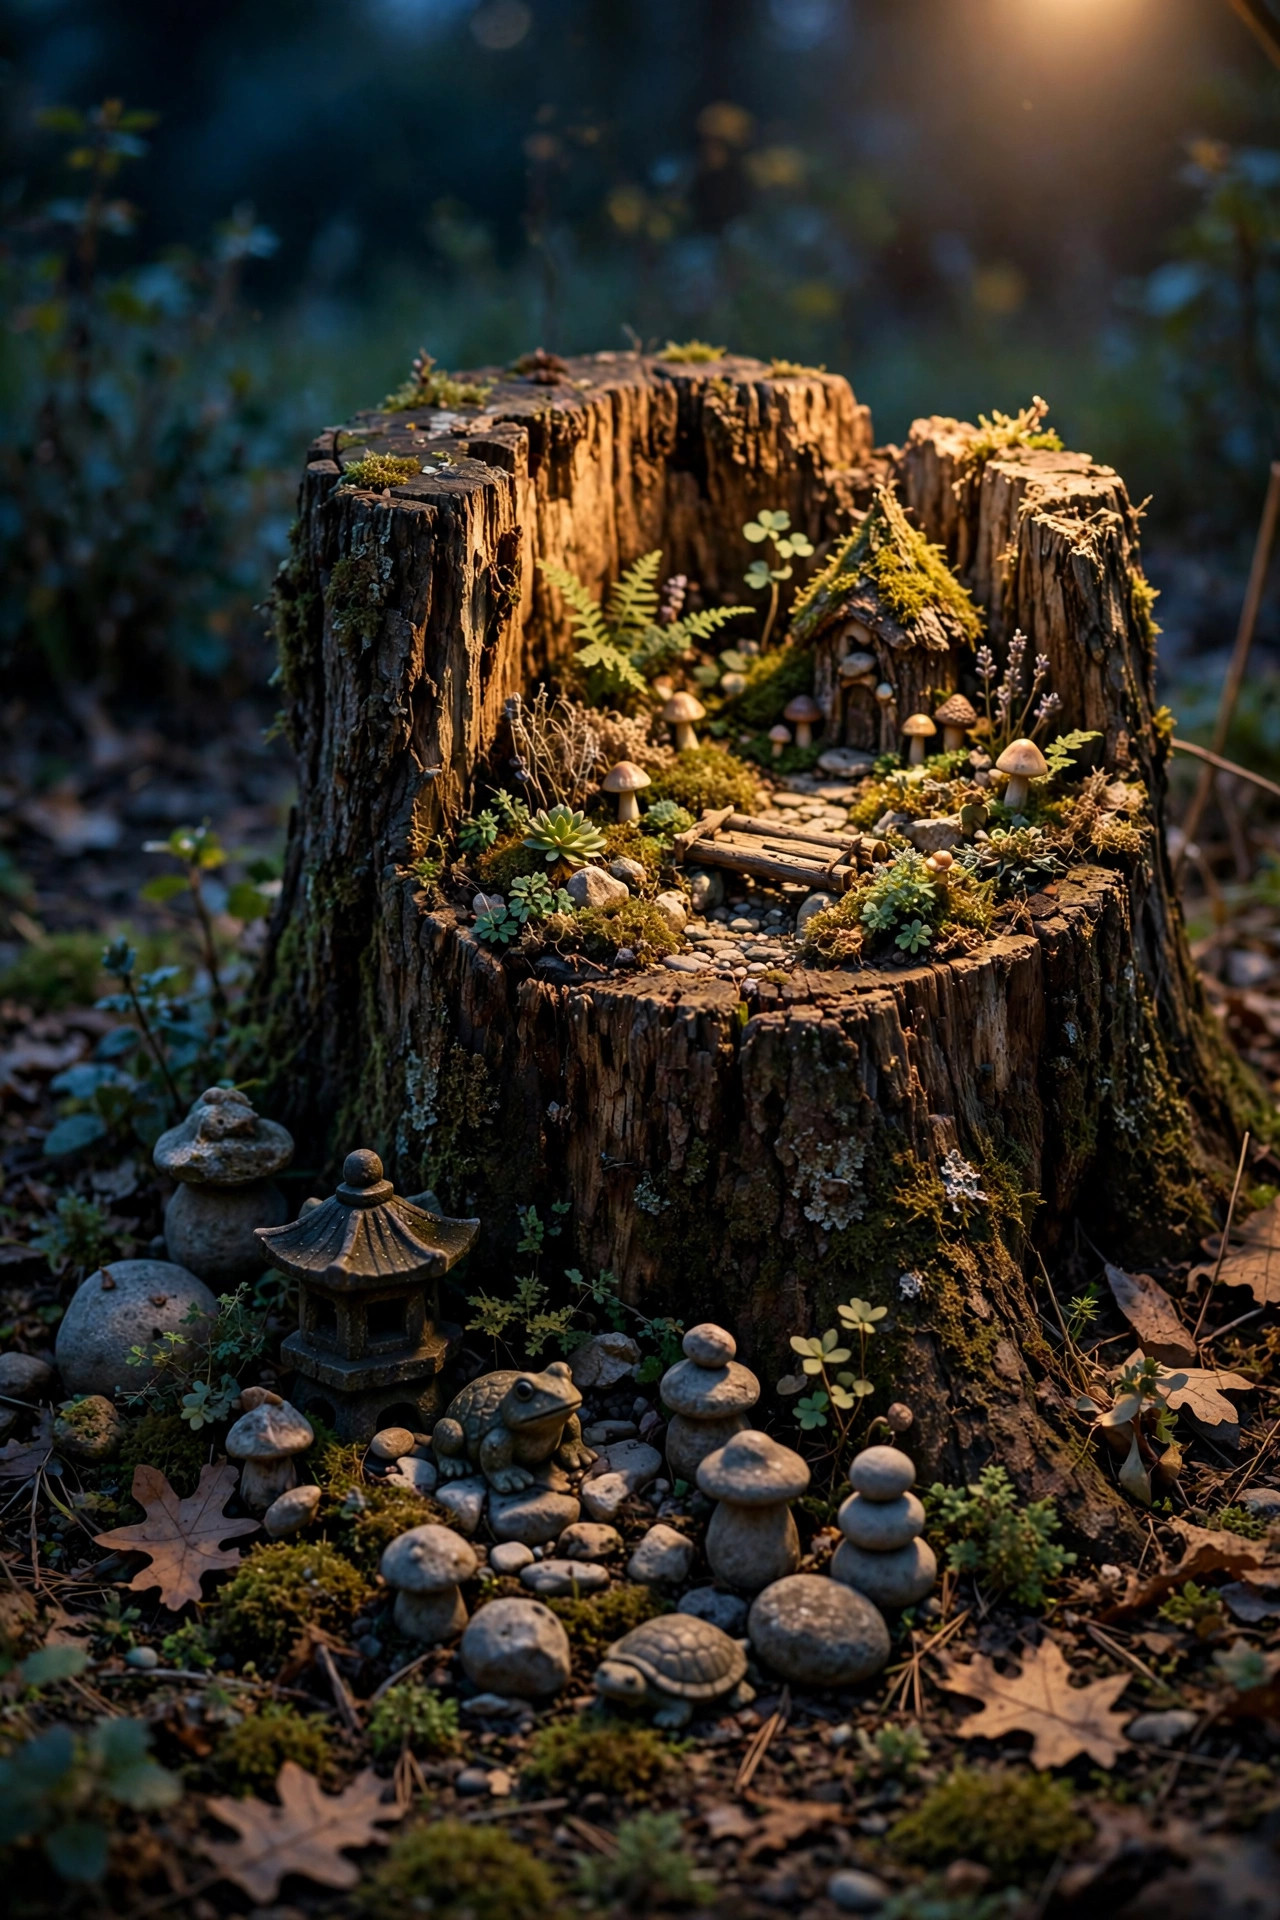
Not every focal point is one big statue. Some of my favorite corners are clusters — three small stone mushrooms, a fairy-garden village tucked into a hollow stump, a stack of painted pots, the little family of concrete hedgehogs my kids gave me. Trying to spotlight each piece individually turns fussy fast, so instead, light the cluster as if it were a single sculpture. One wide 60-degree beam from 4 to 5 feet back, at 200–300 lumens, washes the whole group in a shared pool of light, and the pieces relate to each other in light and shadow the same way they do by day. For a more spread-out arrangement, swap the single fixture for a set of mini spotlights on one low-voltage run — tiny 100-lumen heads you can aim almost like track lighting. Keep the light low and warm; small whimsical pieces tip into theme-park territory under anything bright or cool. And hide the fixture behind the front piece of the grouping, so visitors see the glow, not the hardware. Cluster lighting is forgiving, affordable, and endlessly rearrangeable — a perfect first project if you're new to all this.
Suggested budget range: $35 – $85.
13. Put Focal Spotlights on a Dimmer and Timer
Focal points compete with everything else glowing in your yard, and a fixture that looked perfect alone can feel shouty once the path lights and porch sconces join in. Dimmable spotlights solve that balance problem. Choose LED fixtures with stepped or app-based dimming, wire them on their own zone, and set your statue or birdbath a touch brighter than the path lights but never blazing — focal points should lead the eye, not win a shouting match. A smart transformer or plug-in timer with an astronomic dusk sensor means the scene assembles itself every evening and adjusts with the seasons, so there are no 6 p.m. winter-darkness surprises. Dimming has a second gift: drop a backlight to half power on quiet weeknights, then bring everything to full glow when you're entertaining on the patio. My whole setup runs on one transformer with two zones, and honestly, the dimmer is the feature I reach for weekly. Just confirm your transformer and fixtures are dimmer-compatible before you buy — mismatched pairs can flicker or buzz, and that's a headache nobody needs.
Suggested budget range: $70 – $160.
14. Build One Spotlight Station You Re-Aim With the Seasons
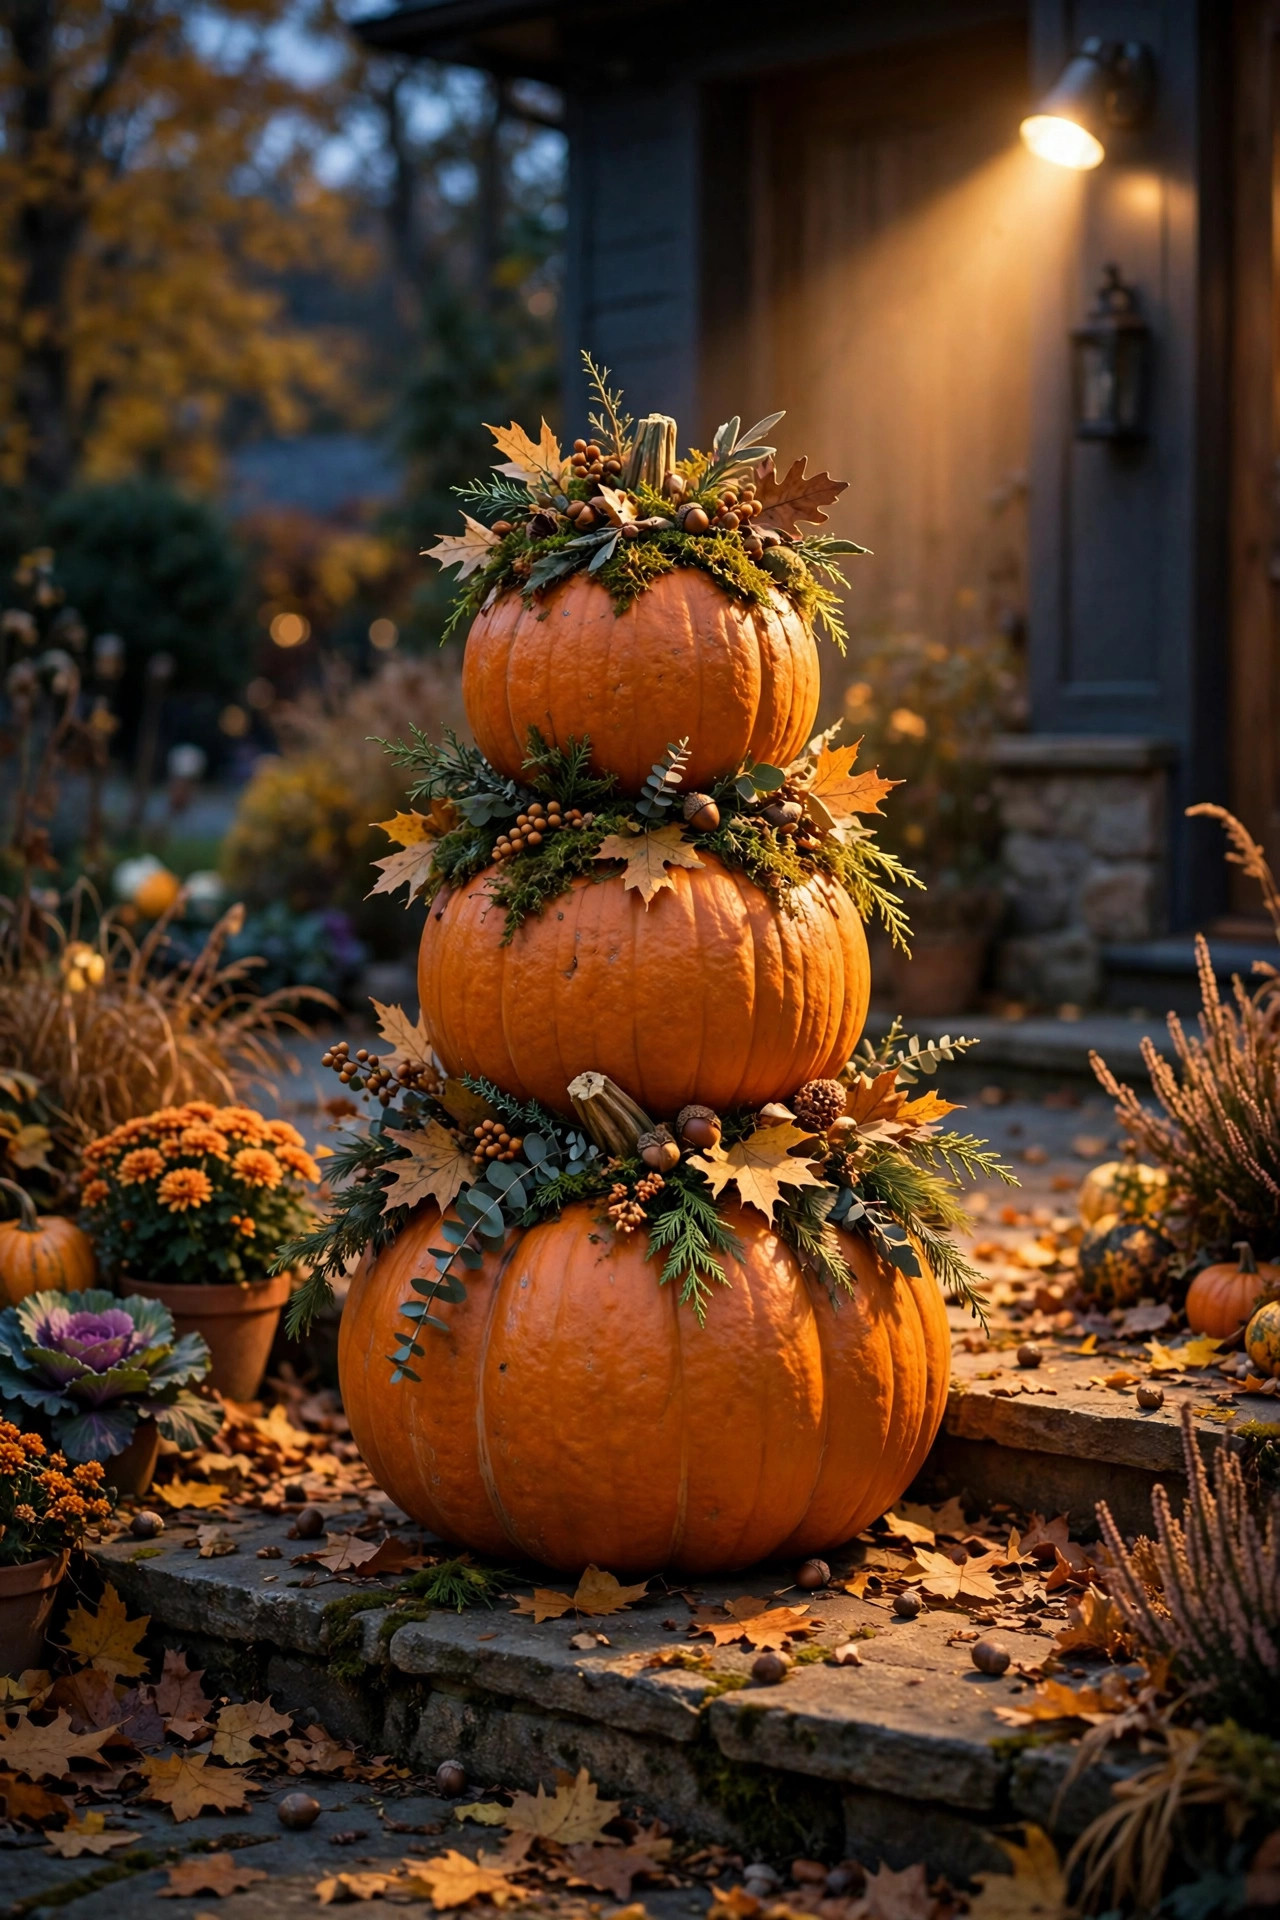
Your spotlight infrastructure can outlast any single focal point if you plan for seasonal swaps. I keep what I call a spotlight station at my front bed: one wired fixture on a flexible stake that gets re-aimed four times a year. In spring it lights the birdbath surrounded by tulips. In summer it swings over to the big fern urn. In fall it grazes a stacked pumpkin topiary by the steps — a narrow beam raking across pumpkins is pure October charm — and in winter it uplights an evergreen-filled urn with red berries while everything else sleeps. The trick is choosing a fixture with a tool-free adjustable head and a little cable slack, about 2 extra feet coiled neatly at the base, so re-aiming is a two-minute job instead of a rewiring project. Mark your favorite angles with a tiny dot of paint on the stake if you like; I just eyeball it at dusk, cup of tea in hand. Seasonal re-aiming keeps the garden feeling freshly designed all year long, and after that first fixture, it costs exactly nothing.
Suggested budget range: $30 – $70.
15. Layer Garden Focal Point Spotlights Into a Whole-Yard Plan
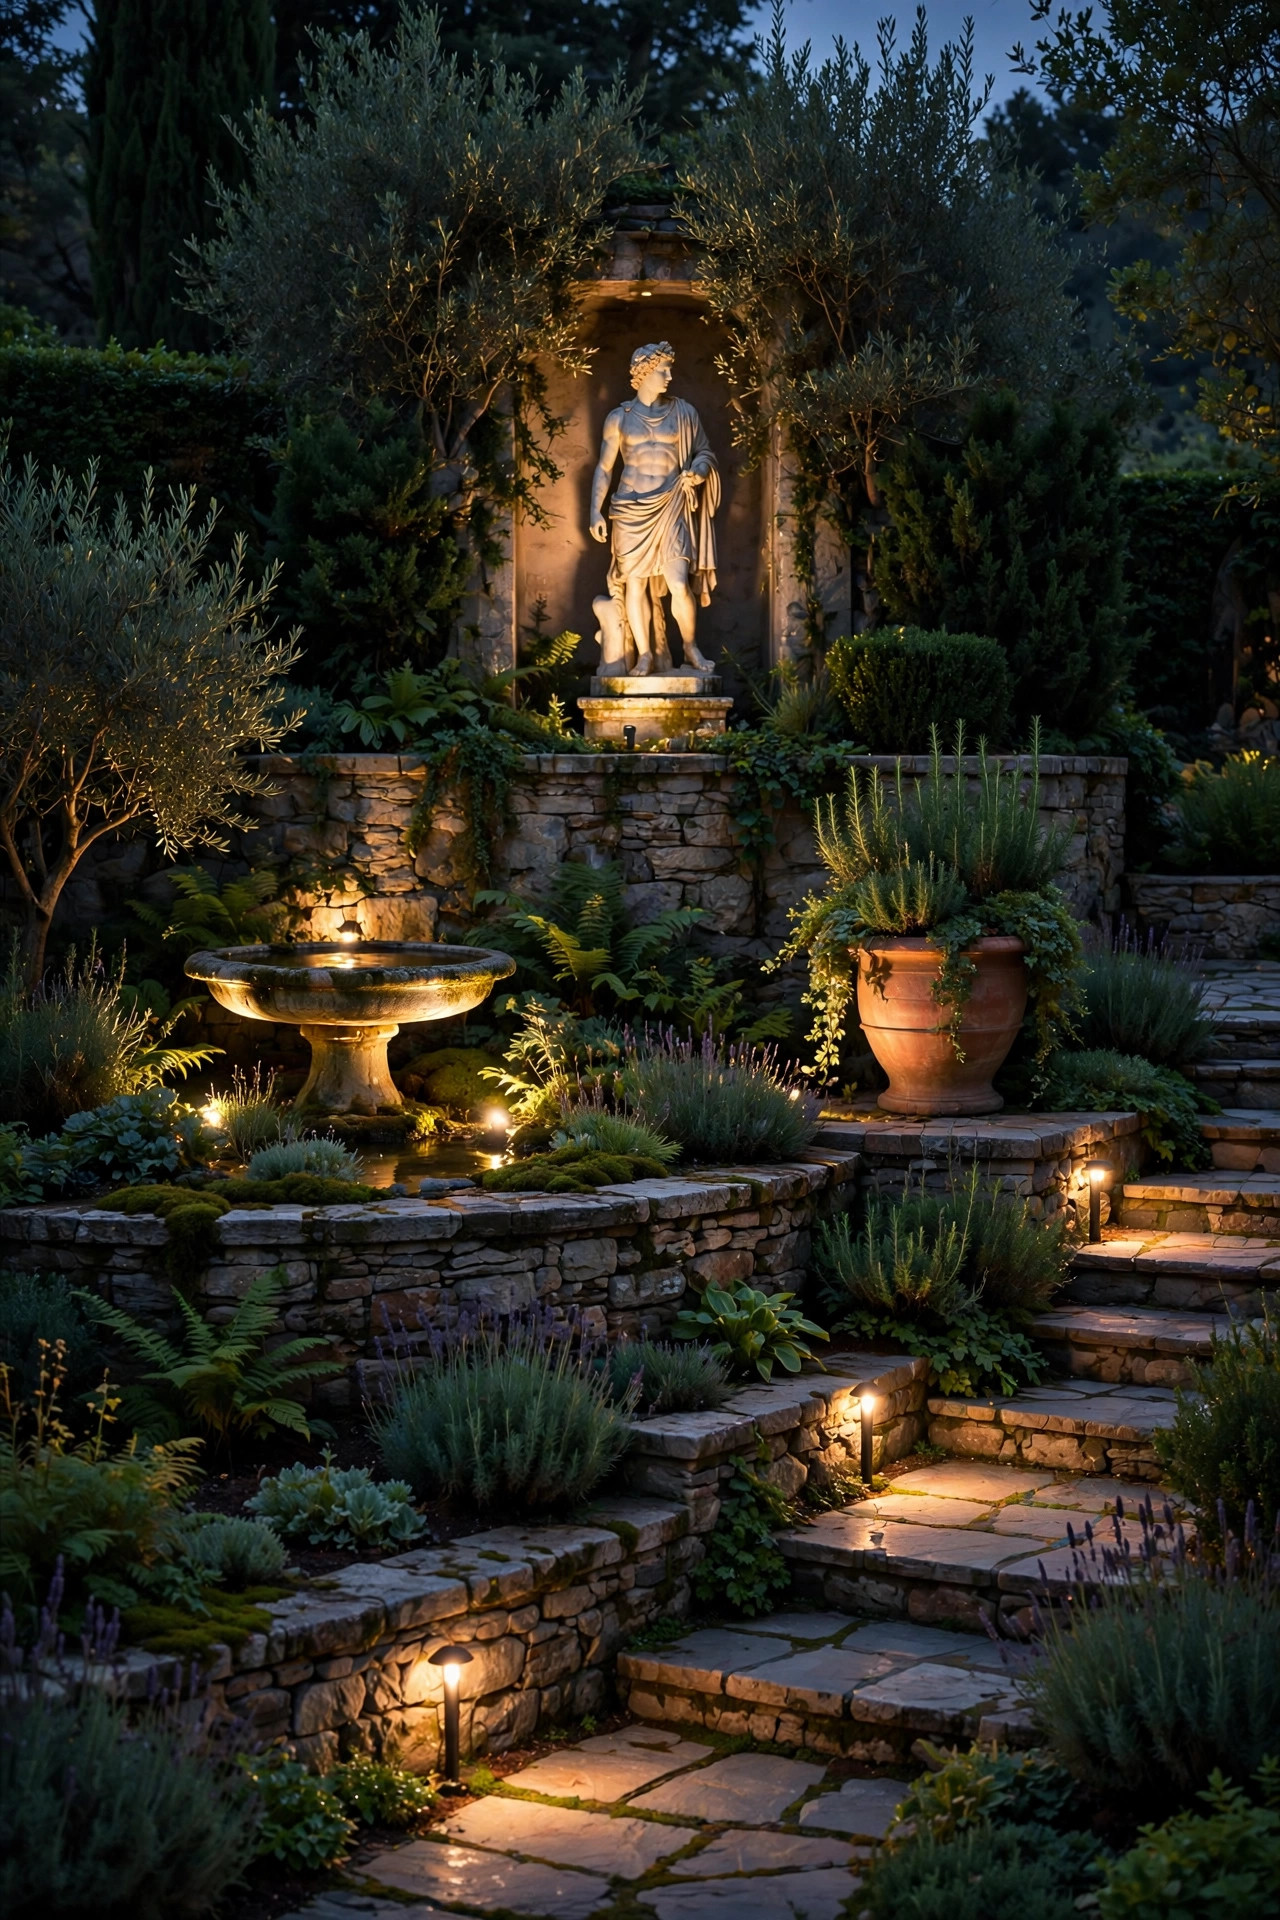
When you're ready to go beyond one beloved piece, plan your focal points the way you'd hang art in a gallery: one hero, a couple of supporting pieces, and plenty of breathing room between them. Walk your yard at dusk and pick the hero first — usually the largest statue, or the birdbath everyone sees from the street — and give it the strongest, warmest beam. Supporting pieces get dimmer, narrower treatments, and nothing else in the same sightline gets a spotlight at all, because three competing heroes means none of them reads as special. Move between viewpoints as you aim: the curb, the front door, the patio chair, the kitchen window. A beam that's perfect from the street can glare straight into the window where you eat breakfast, and five minutes of walking around saves weeks of annoyance. Wire all your focal spotlights on one zone with its own timer, separate from the path lights, so you can run the sparkle without the runway. If you'd like the full framework I use, my garden lighting ideas walk through layering every zone of the yard, step by step. Start with one hero this weekend — the plan can grow a fixture at a time.
Suggested budget range: $100 – $300.
Frequently Asked Questions
How many lumens does a garden statue spotlight need?
For a statue or birdbath up to about 3 feet tall, 200–400 lumens is the sweet spot — enough to model the form without turning it into a searchlight target. Go to 400–700 lumens for taller pieces over 5 feet, and for dark bronze or cast iron, which absorb light instead of reflecting it. When in doubt, buy dimmable and start low; you can always turn it up.
Are solar spotlights bright enough for garden focal points?
For accent duty, yes. A quality solar spotlight rated at 200 lumens or more, with the panel placed in real sun, gives a statue or birdbath a lovely glow for 6 to 8 hours. Solar struggles with tall pieces and deep-shade heroes, though, so I use solar for supporting focal points and wire the one big hero piece on a low-voltage run for dependable brightness.
What color temperature looks best on stone and bronze statues?
Warm 2700K is the safe, flattering default for bronze, terracotta, and warm-toned stone — it reads like candlelight and blends with most other landscape lighting. For white marble, pale concrete, and blue-grey slate, step up to 3000–3500K so the material stays crisp instead of turning yellow. Whatever you pick, keep every light in the same view the same temperature.
How far from the statue should I place the spotlight?
A good starting point is 2 to 5 feet in front of the piece, offset slightly to one side, aimed up at roughly 30 degrees. Move closer — 6 to 12 inches — for a dramatic grazing effect on textured stone, and farther back with a narrow beam for tall pieces like obelisks. Always fine-tune the aim at dusk from where you'll actually view it, and keep fixtures out of the mower's path and the birdbath's splash zone.
Conclusion
A yard full of path lights can guide your guests safely and still feel like it's missing something — and that something is a star. Garden focal point spotlights give your garden its stars: the heron, the birdbath, the sundial you've loved for years, finally visible after dark. You don't need all fifteen ideas, or even three. Pick your one favorite piece, give it one well-aimed warm beam, and live with it for a week. I promise you'll start seeing the whole garden differently, and you'll know exactly which focal point deserves the next light. When you're ready to keep going, browse the rest of my outdoor lighting ideas here on the site for path, porch, and patio inspiration to layer around your new star.