The first time I installed path lights in my own front yard, I did what a lot of people do: I tucked the cable under the mulch, pushed a few stones on top, and called it done. It looked fine for exactly one season. Then came spring cleanup, one enthusiastic pass with an edger, and a very dead run of lights. Learning how to bury landscape lighting cable properly fixed all of that in a single weekend. A shallow, snug trench protects the wire from lawn tools, curious dogs, freeze-and-thaw heaving, and your own future gardening. It also makes the whole yard look intentional, because nothing ruins a pretty evening glow like a black cable snaking across the lawn. In this guide I'll walk you through the correct depths, the code basics in plain English, the tools that make trenching almost easy, and the exact steps I use on every install.

The Short Answer
For standard 12-volt landscape lighting, bury direct-burial cable at least 6 inches deep in lawns and beds — that is the minimum cover the National Electrical Code asks for on circuits under 30 volts. Go 8 to 12 inches deep in beds you dig in often, and sleeve the cable in conduit anywhere it crosses under a sidewalk or driveway. Call 811 before you dig, keep every splice in a waterproof gel-filled connector, and leave a little slack at each fixture so you can lift it out for bulb changes later.
Why Burying Beats Tucking Cable Under Mulch
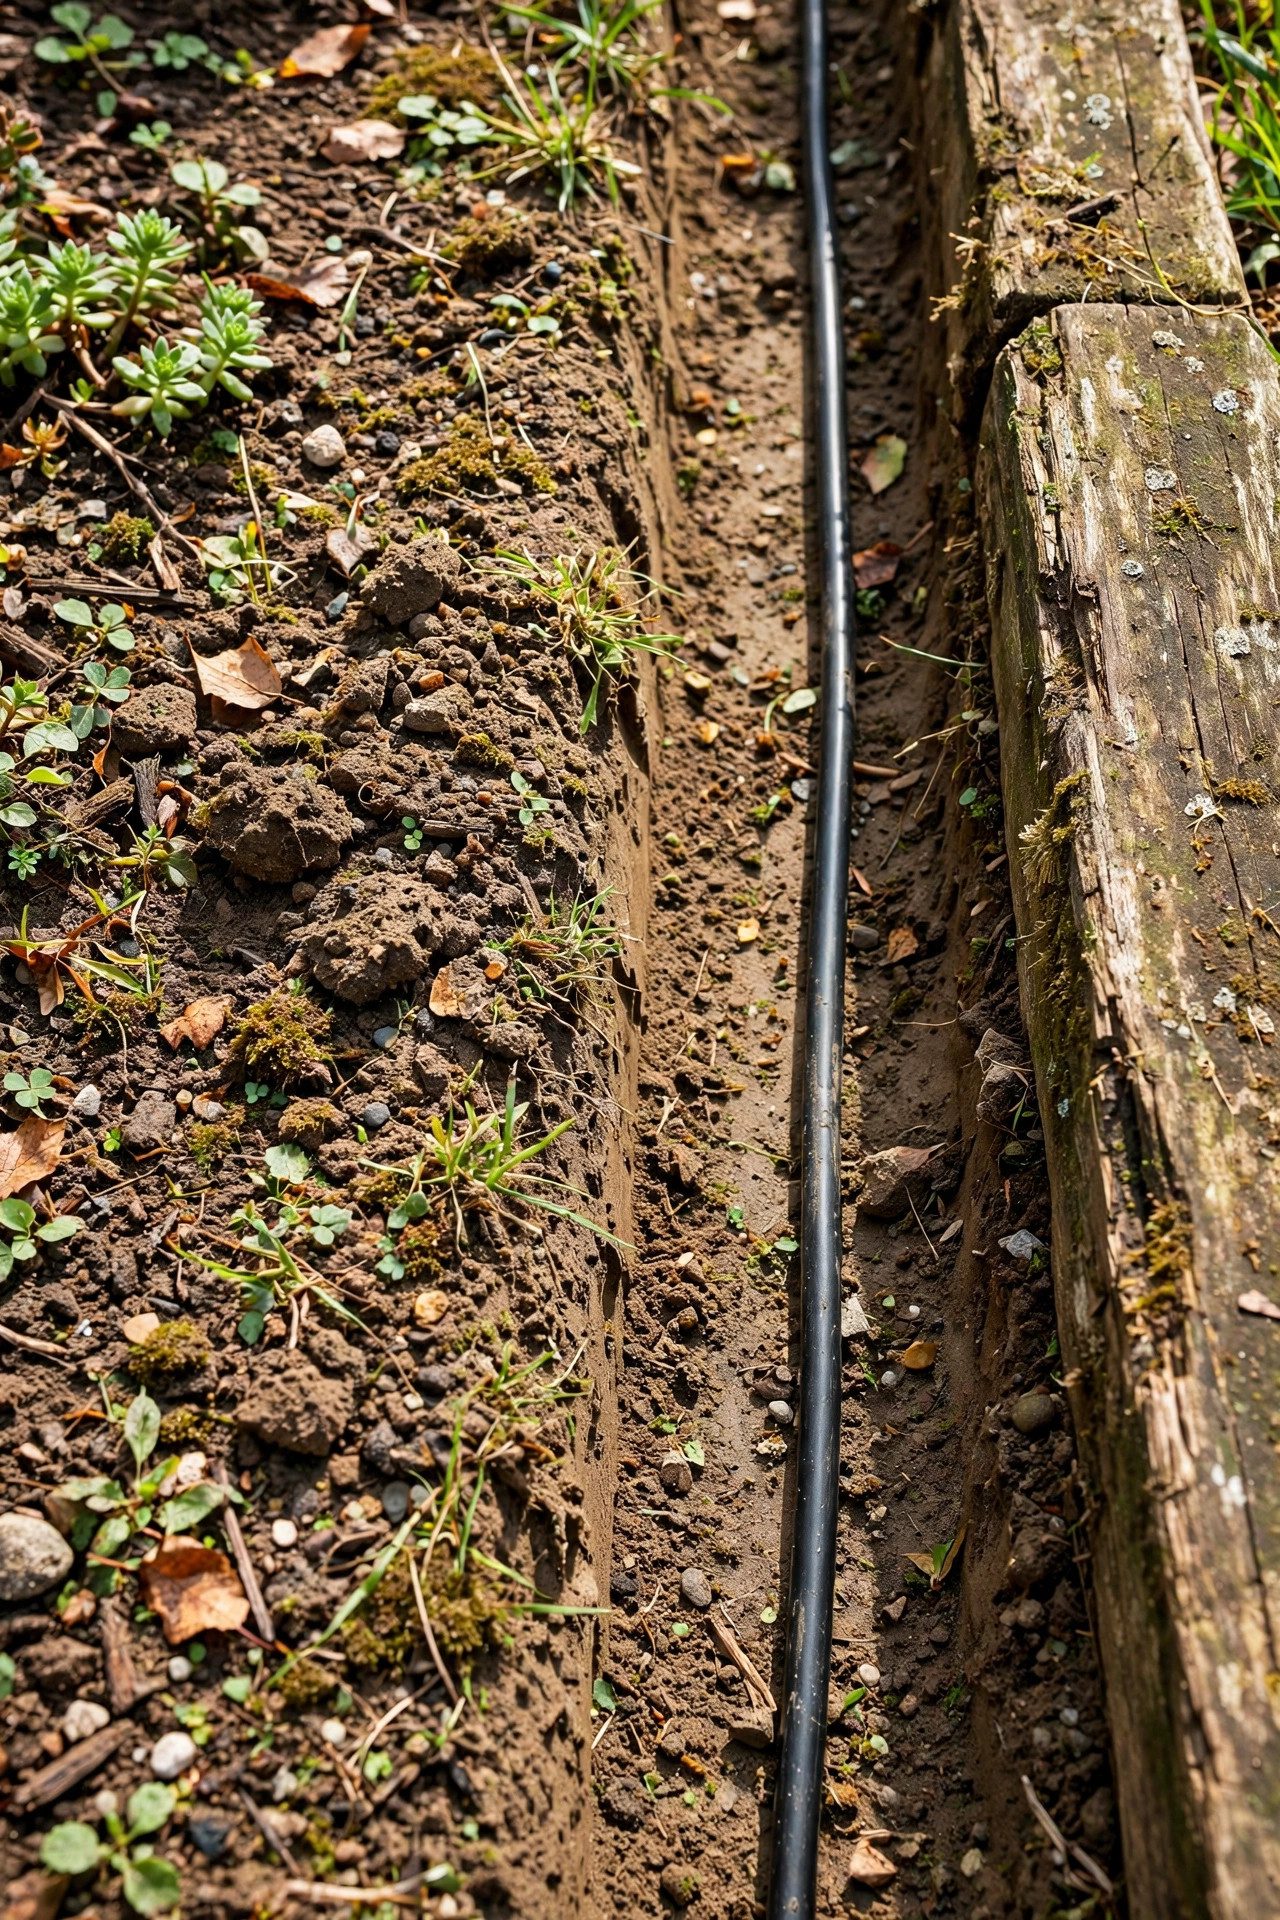
Surface-laid cable fails in predictable ways, and I've personally collected most of them. Mulch shifts and washes, so within a few months the wire peeks out and trips people. String trimmers and edgers nick the jacket, and once moisture gets into a nick, corrosion creeps along the copper until a whole section of lights dims or dies. Exposed cable also bakes in summer sun, which makes the jacket brittle years before it should be.
Buried cable avoids all of it. Six inches down, the wire sits below trimmer blades, aerator tines, and most hand weeding. Soil temperature is stable, so the jacket ages slowly and the cable stays flexible. It is also far kinder to bare feet and mower wheels on the Fourth of July, when the yard fills with people who have no idea a cable is even there. Honestly, the biggest surprise for me was aesthetic: a buried run disappears completely, so at dusk you see only light, never infrastructure. If you have ever admired a neighbor's yard and couldn't figure out why it looked "finished," this invisible detail is usually why. The trench work takes an afternoon; the payoff lasts the life of the system.

How Deep to Bury Landscape Lighting Cable
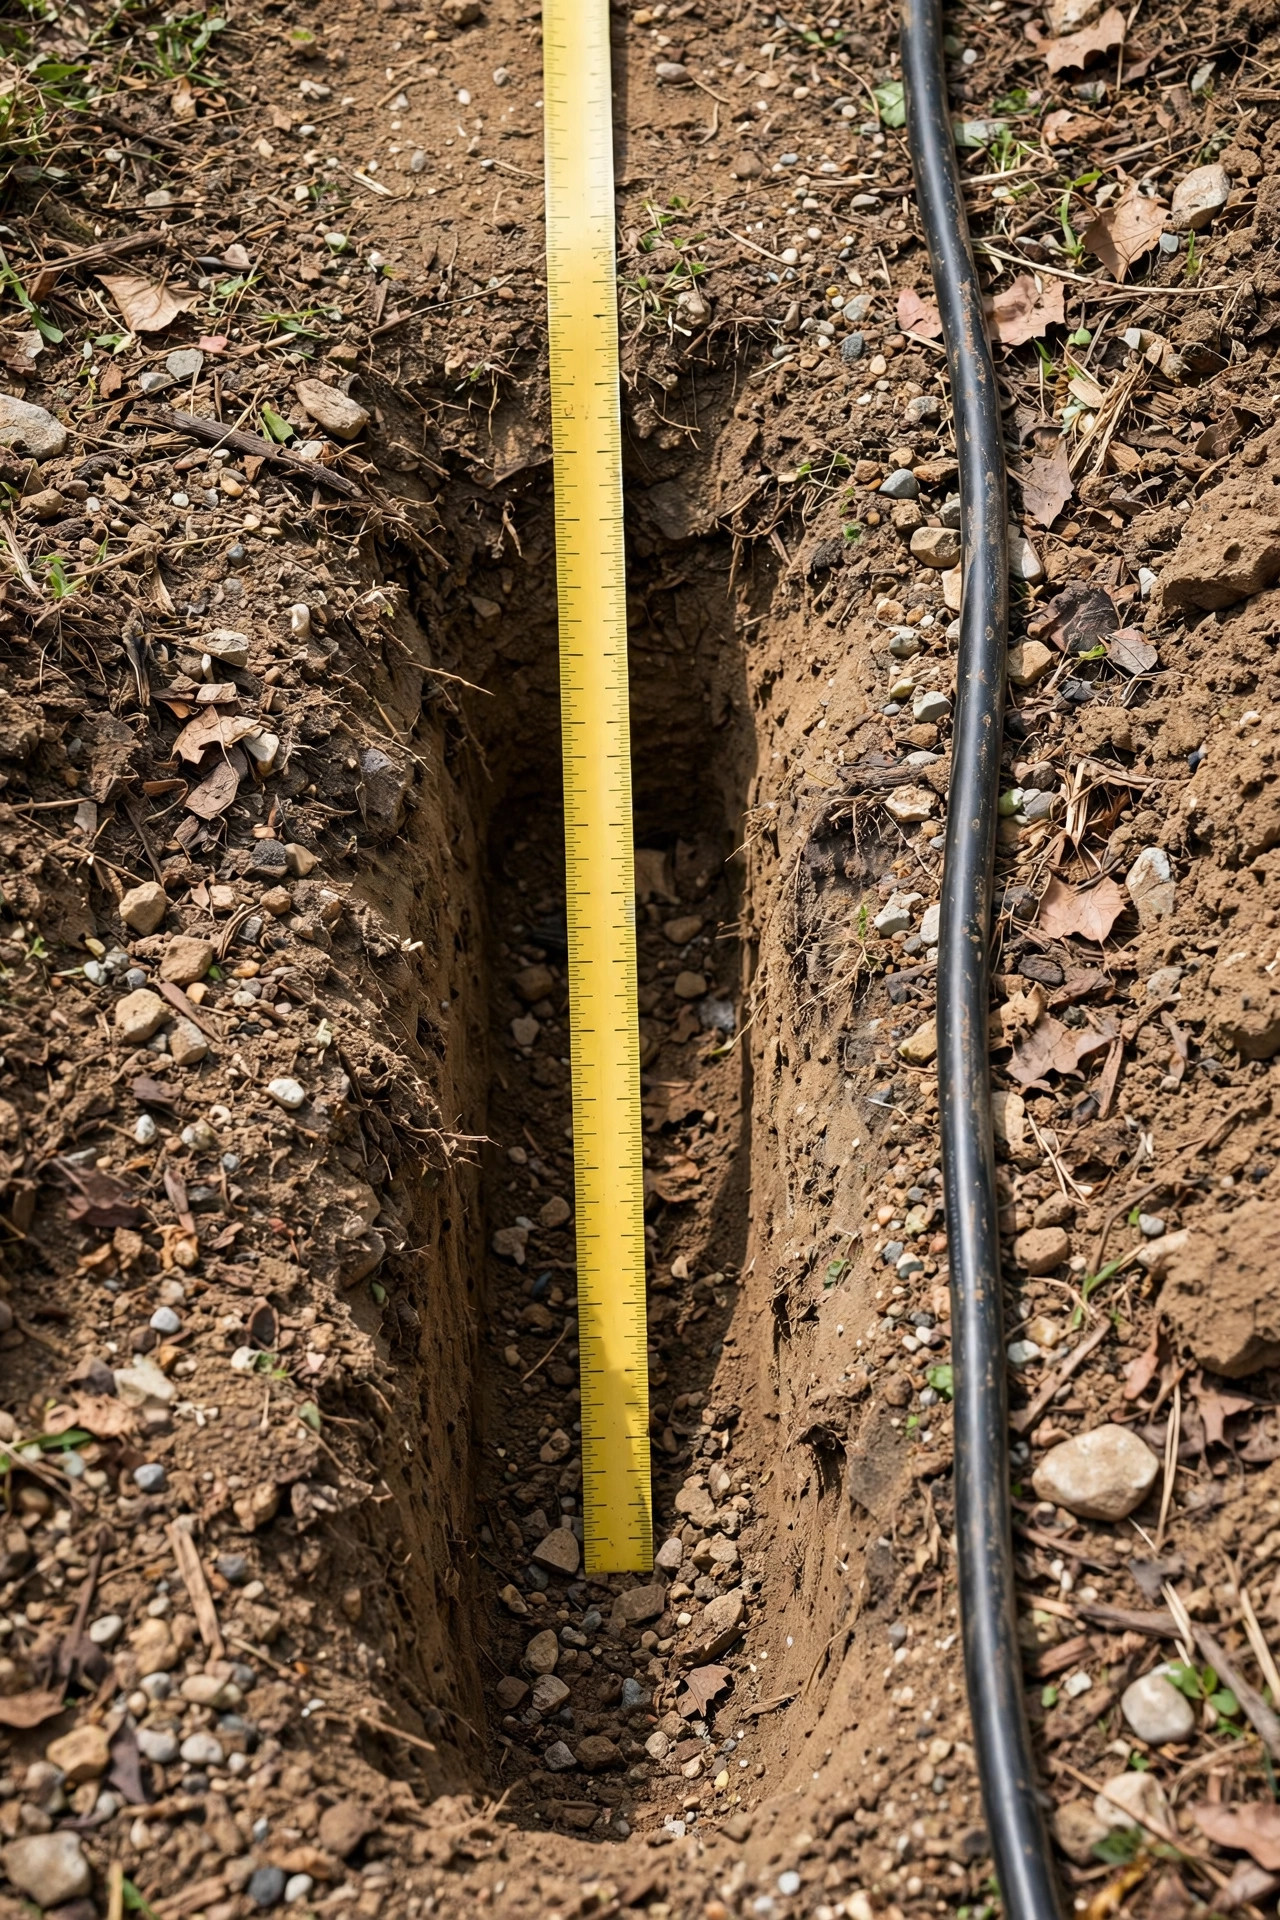
Depth is the question everyone asks first, and the answer depends on where the cable runs. The code minimum for low-voltage cable (30 volts or less) buried directly in soil is 6 inches of cover — that's measured from the top of the cable to the finished surface, not the bottom of your trench. In a quiet lawn, 6 inches is genuinely enough.
In flower beds, I go deeper: 8 to 12 inches. Beds get dug. Bulbs get divided, annuals get swapped, and a trowel reaches 6 inches without trying. That extra depth is cheap insurance, and it costs you nothing but a slightly deeper pass with the trenching tool. Under a driveway or concrete walk, depth alone isn't the answer — the cable needs a conduit sleeve, which I'll cover below; plan for the sleeve to sit 12 to 18 inches down where vehicles pass.
One more depth factor: frost heave. In cold climates, shallow cable can slowly ride up as soil freezes and thaws. Burying at the deeper end of the range, and tamping the backfill firmly, keeps the run where you left it. When in doubt, deeper is always safer than shallower — nobody has ever regretted an extra two inches of trench.
The Code Basics, in Plain English
You do not need an electrician's license to bury low-voltage cable, but a few rules are worth knowing. Landscape lighting at 12 or 15 volts falls under Article 411 of the National Electrical Code, which covers lighting systems operating at 30 volts or less. Because the voltage is low, the shock risk is minimal, which is exactly why the code allows the shallow 6-inch burial instead of the 24 inches required for standard direct-buried household wiring.
Three practical takeaways matter most. First, use cable that is actually rated for direct burial outdoors — it will be marked as low-voltage landscape lighting cable or UF-type, with a thick, sunlight-resistant jacket. Indoor wire and cheap speaker cable are not rated for soil contact and will fail early. Second, the transformer plugs into a GFCI-protected outdoor outlet with an in-use cover; that protection lives at the outlet, and it is not optional in my book. Third, call 811 before you dig — it's free, takes a few minutes, and utility locators will mark buried gas, water, and electric lines within a few business days. Even a 6-inch trench can find a shallow sprinkler or cable-TV line, so the call is cheap peace of mind. Local rules vary a little, so if your town requires a permit for the transformer outlet itself, that's a quick check with the building department.
Tools and Materials You'll Need
The tool list is short, and you probably own half of it. A flat spade or an edging tool cuts a clean narrow trench in most soils; for longer runs, a rented power trencher or a sod cutter makes fast work of it. I also keep a garden trowel for tight spots near roots, a tape measure for depth checks, and a pair of wire strippers for the fixture connections.
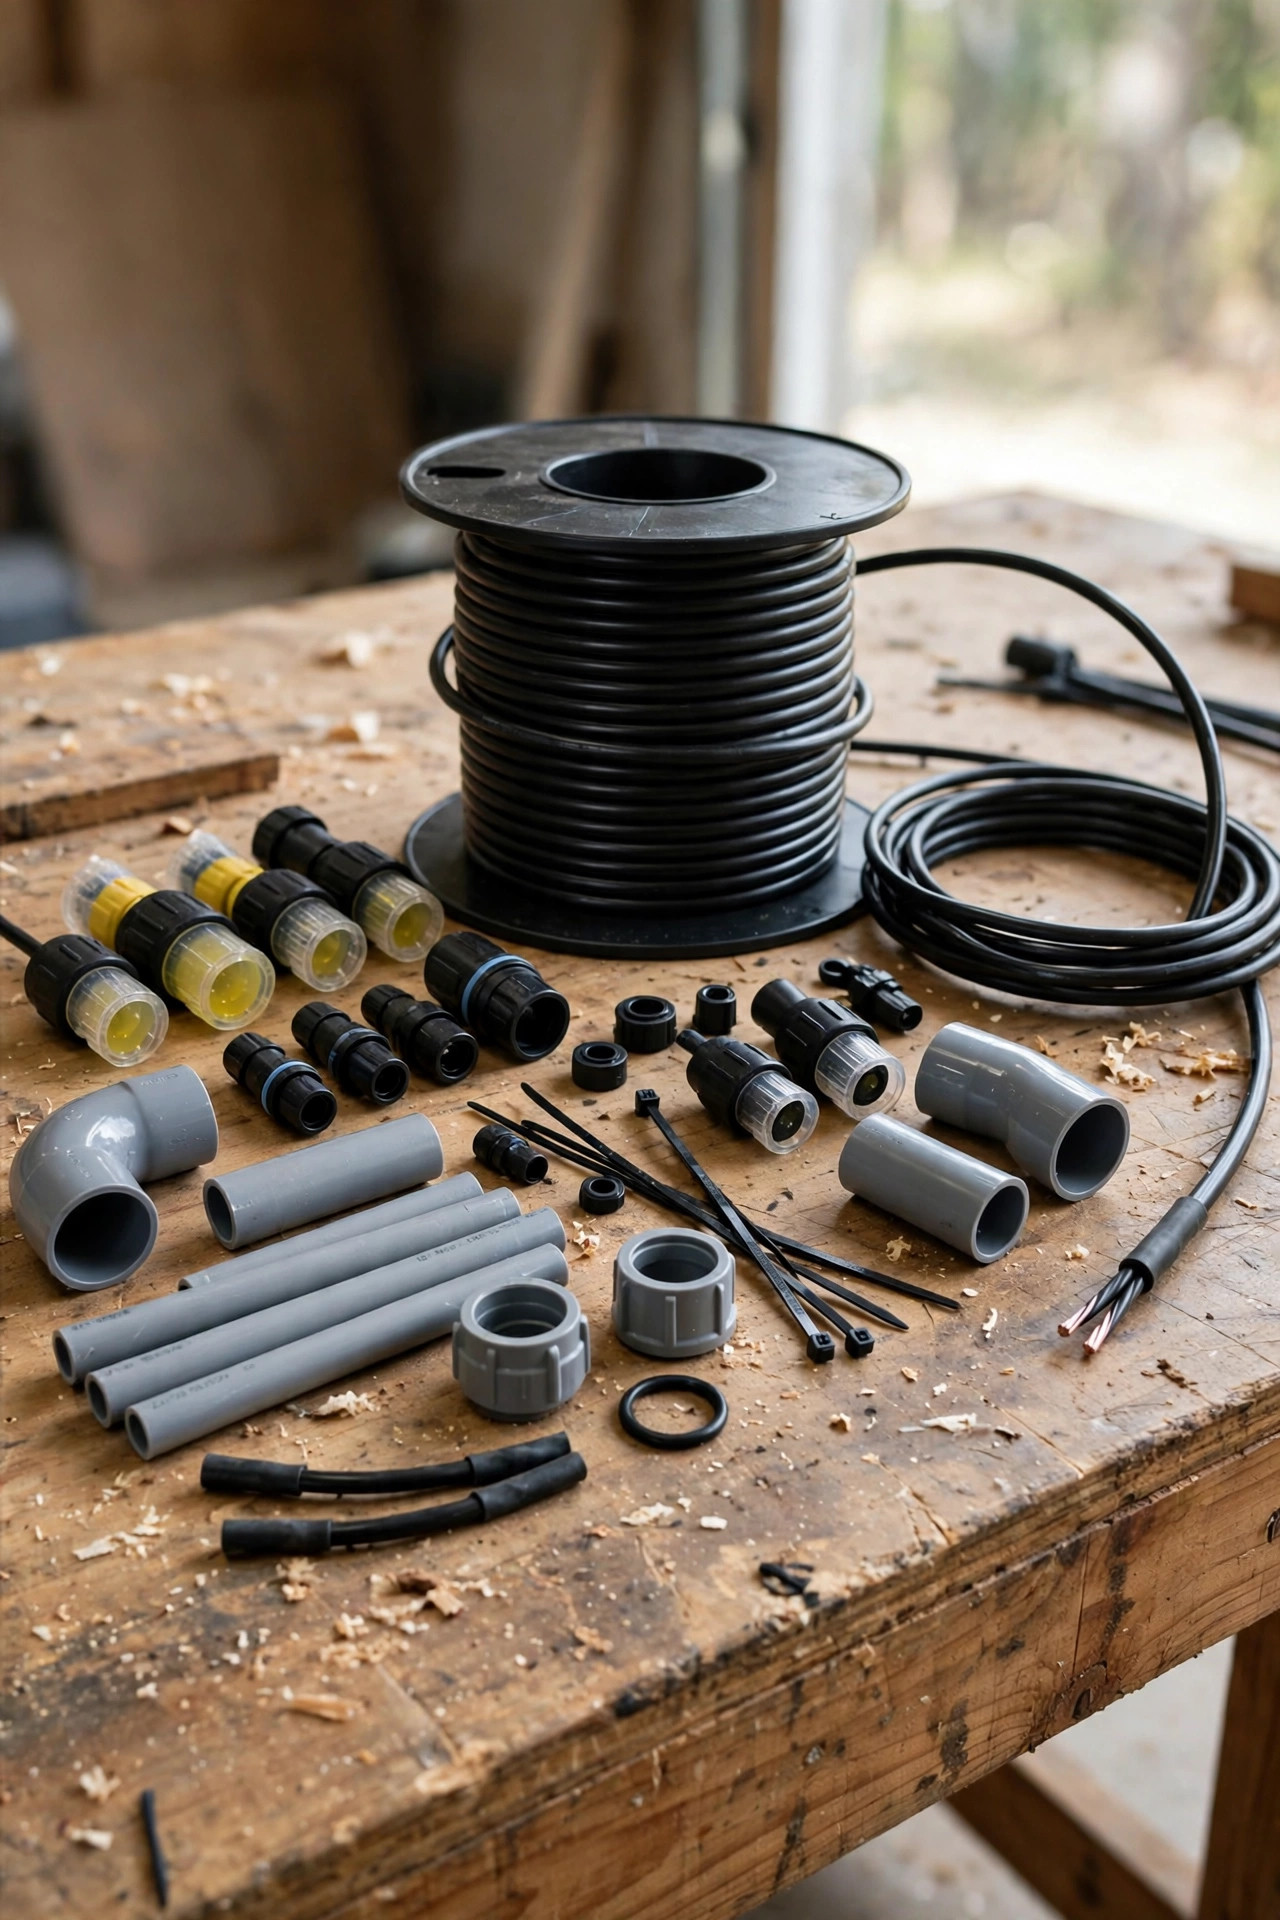
For materials, you need direct-burial low-voltage cable in the right gauge for your run length (12-gauge for long runs, 14 or 16 for short ones — when in doubt, go thicker), gel-filled waterproof wire connectors, and a short length of PVC conduit or flexible sleeve for every walkway or driveway crossing. Electrical tape is fine as an extra wrap, but never as your only waterproofing. A bag of sand is a nice extra in rocky soil: a thin sand bed under and over the cable cushions it against sharp stones. Add work gloves, a wheelbarrow for spoil, and a few landscape staples if you want to pin the cable flat in the trench before backfilling. Total materials for a typical front-yard run usually land between $40 and $120, depending mostly on cable length and gauge.

Step-by-Step: How to Bury Landscape Lighting Cable
Here is the exact sequence I use, start to finish:
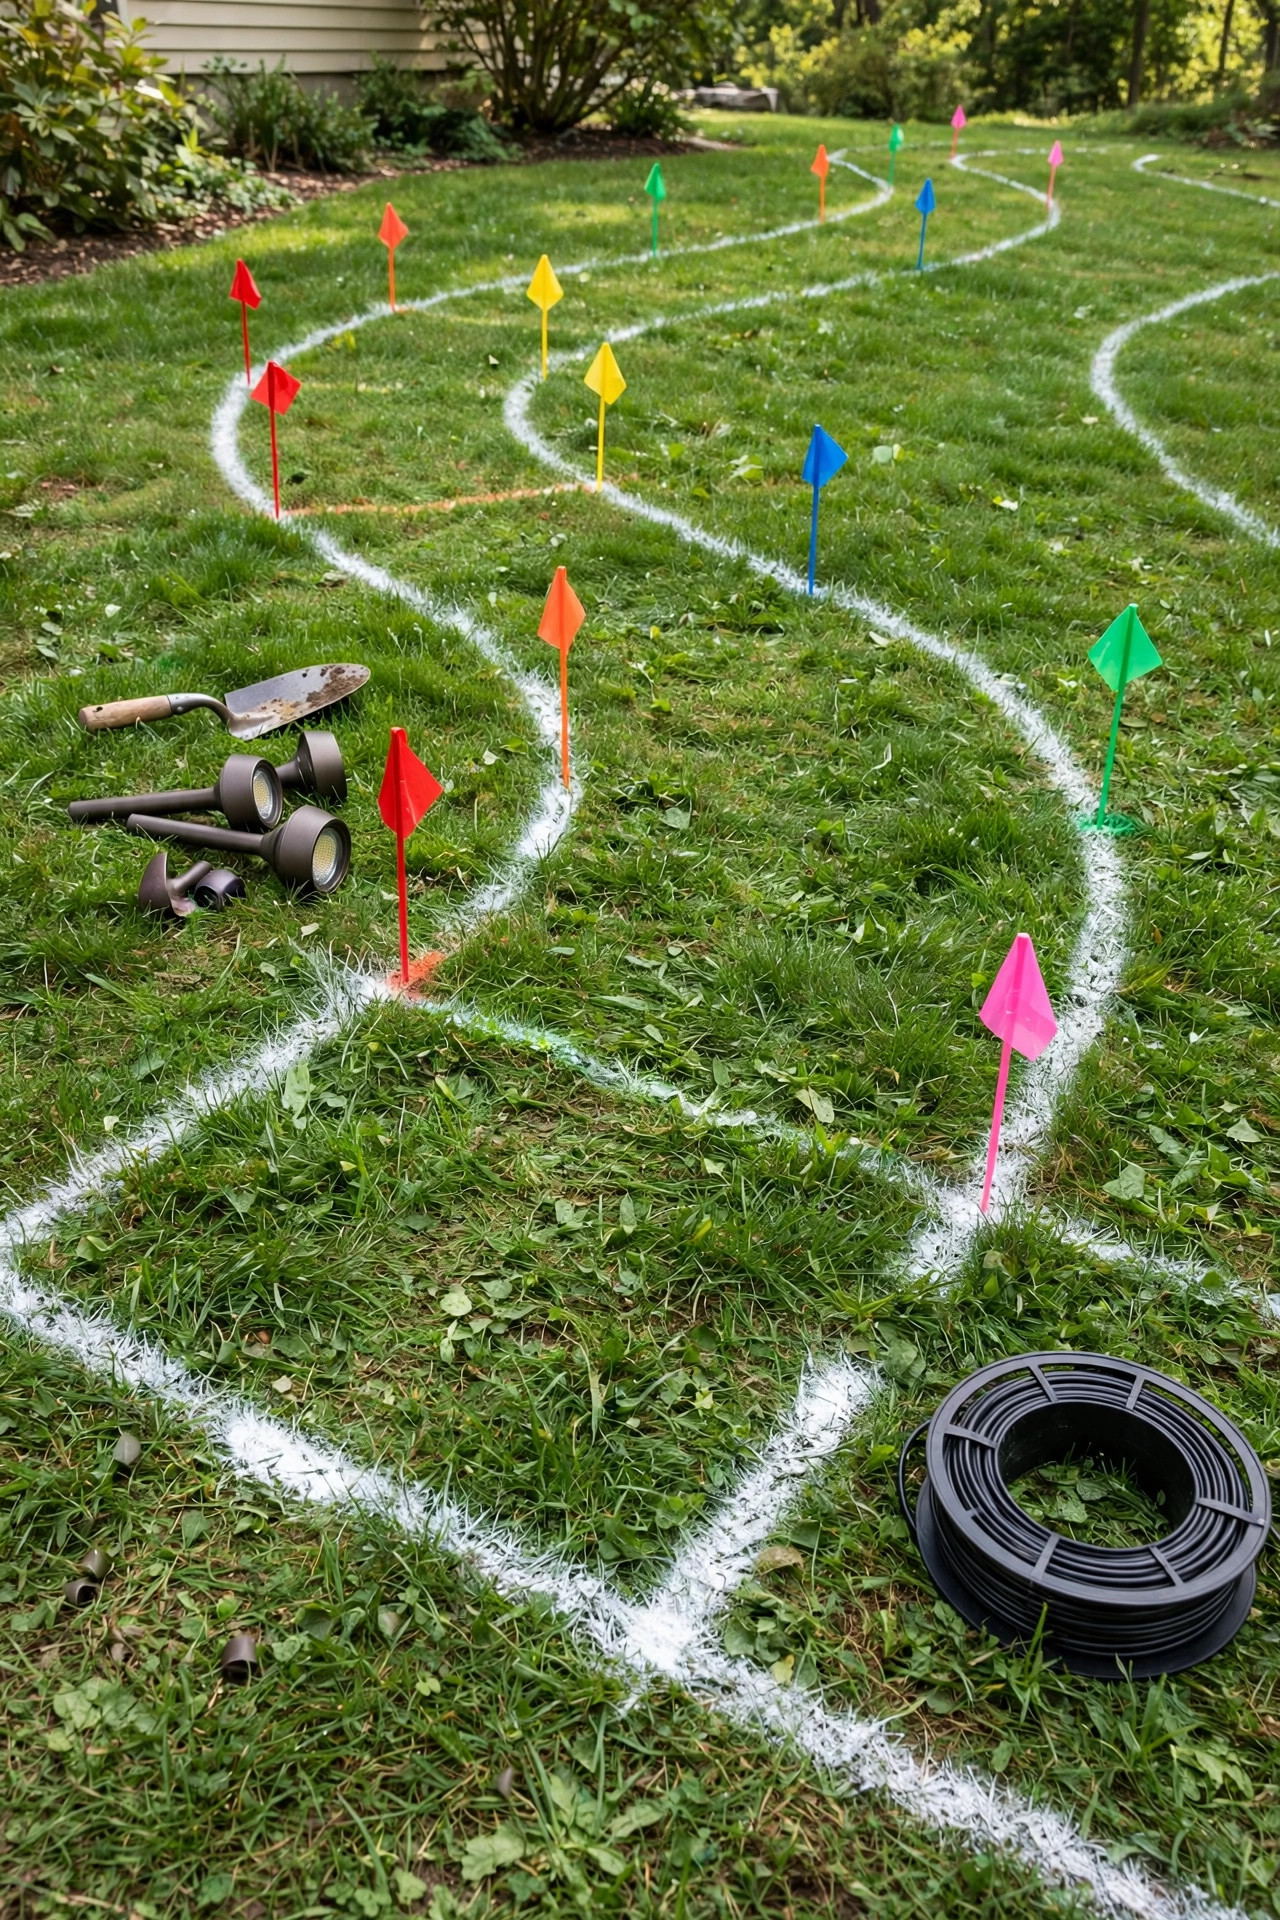
1. Lay out the system above ground first. Place every fixture, run the cable along the surface, plug in the transformer, and test the whole system at dusk. Adjust positions and confirm every light works before a single shovel of dirt moves.
2. Mark the route. Use spray paint or a garden hose to trace the cable path, steering around tree roots, sprinkler heads, and known utility lines.
3. Call 811 and wait for the flags. Never skip this, even for a shallow trench.
4. Cut the trench. Slice a narrow slot 6 to 12 inches deep with your spade or edger. In lawn, peel the sod back in one strip so you can roll it back into place afterward.
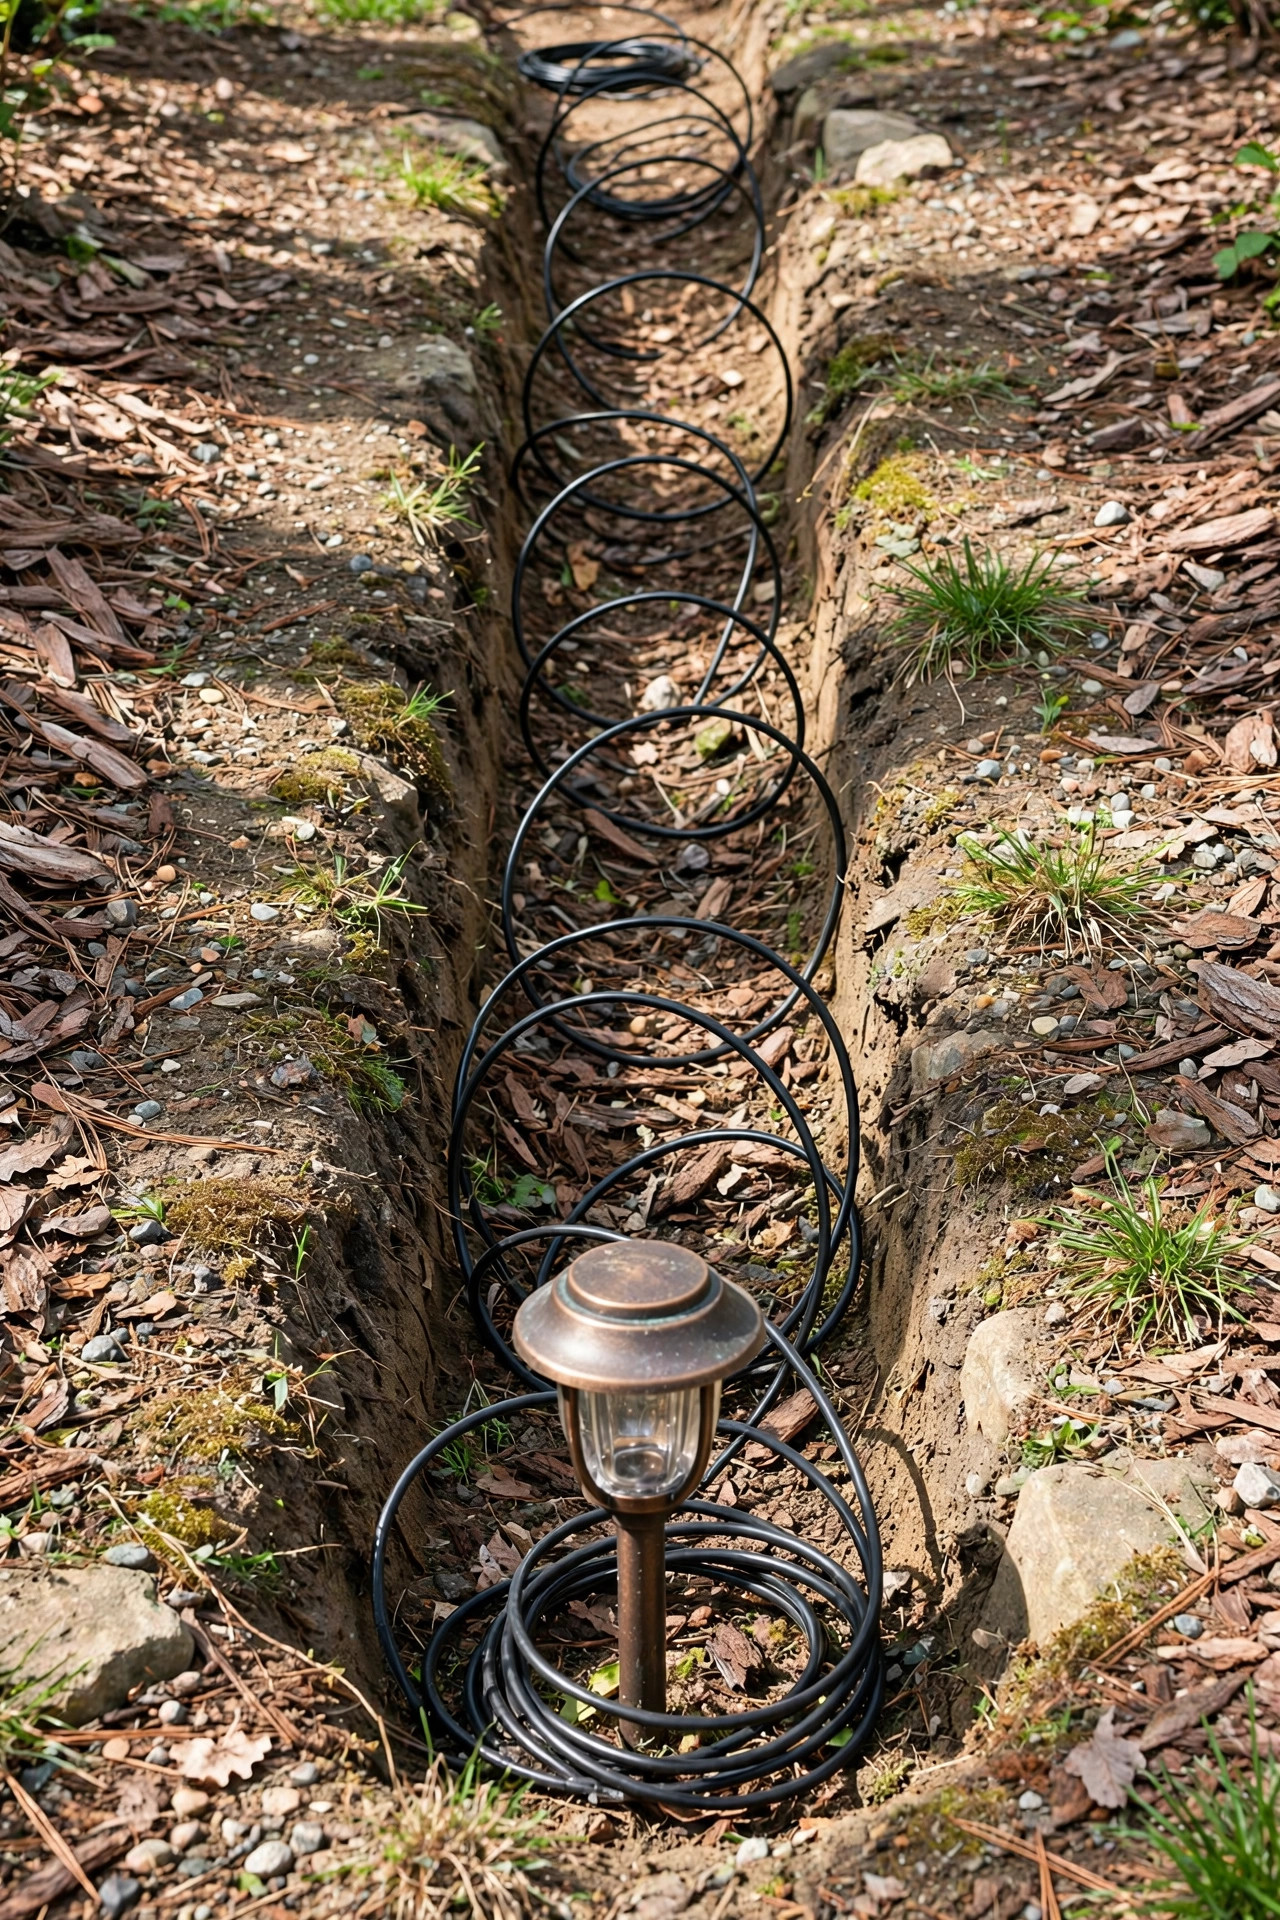
5. Lay the cable with slack. Drop the cable in loose, not stretched tight, with a gentle loop of extra wire at each fixture location.
6. Connect and test again. Make your gel-connector splices, power up, and confirm every fixture lights before backfilling. Fixing a bad splice now takes two minutes; after backfill it takes an hour.
7. Backfill and tamp. Push the soil back in layers, tamping firmly with your foot so the trench doesn't settle into a ditch later. Replace the sod strip and water it in.
That above-ground test in step one is the step everyone wants to skip, and it's the one that saves the most grief.
Crossing Sidewalks, Driveways and Roots
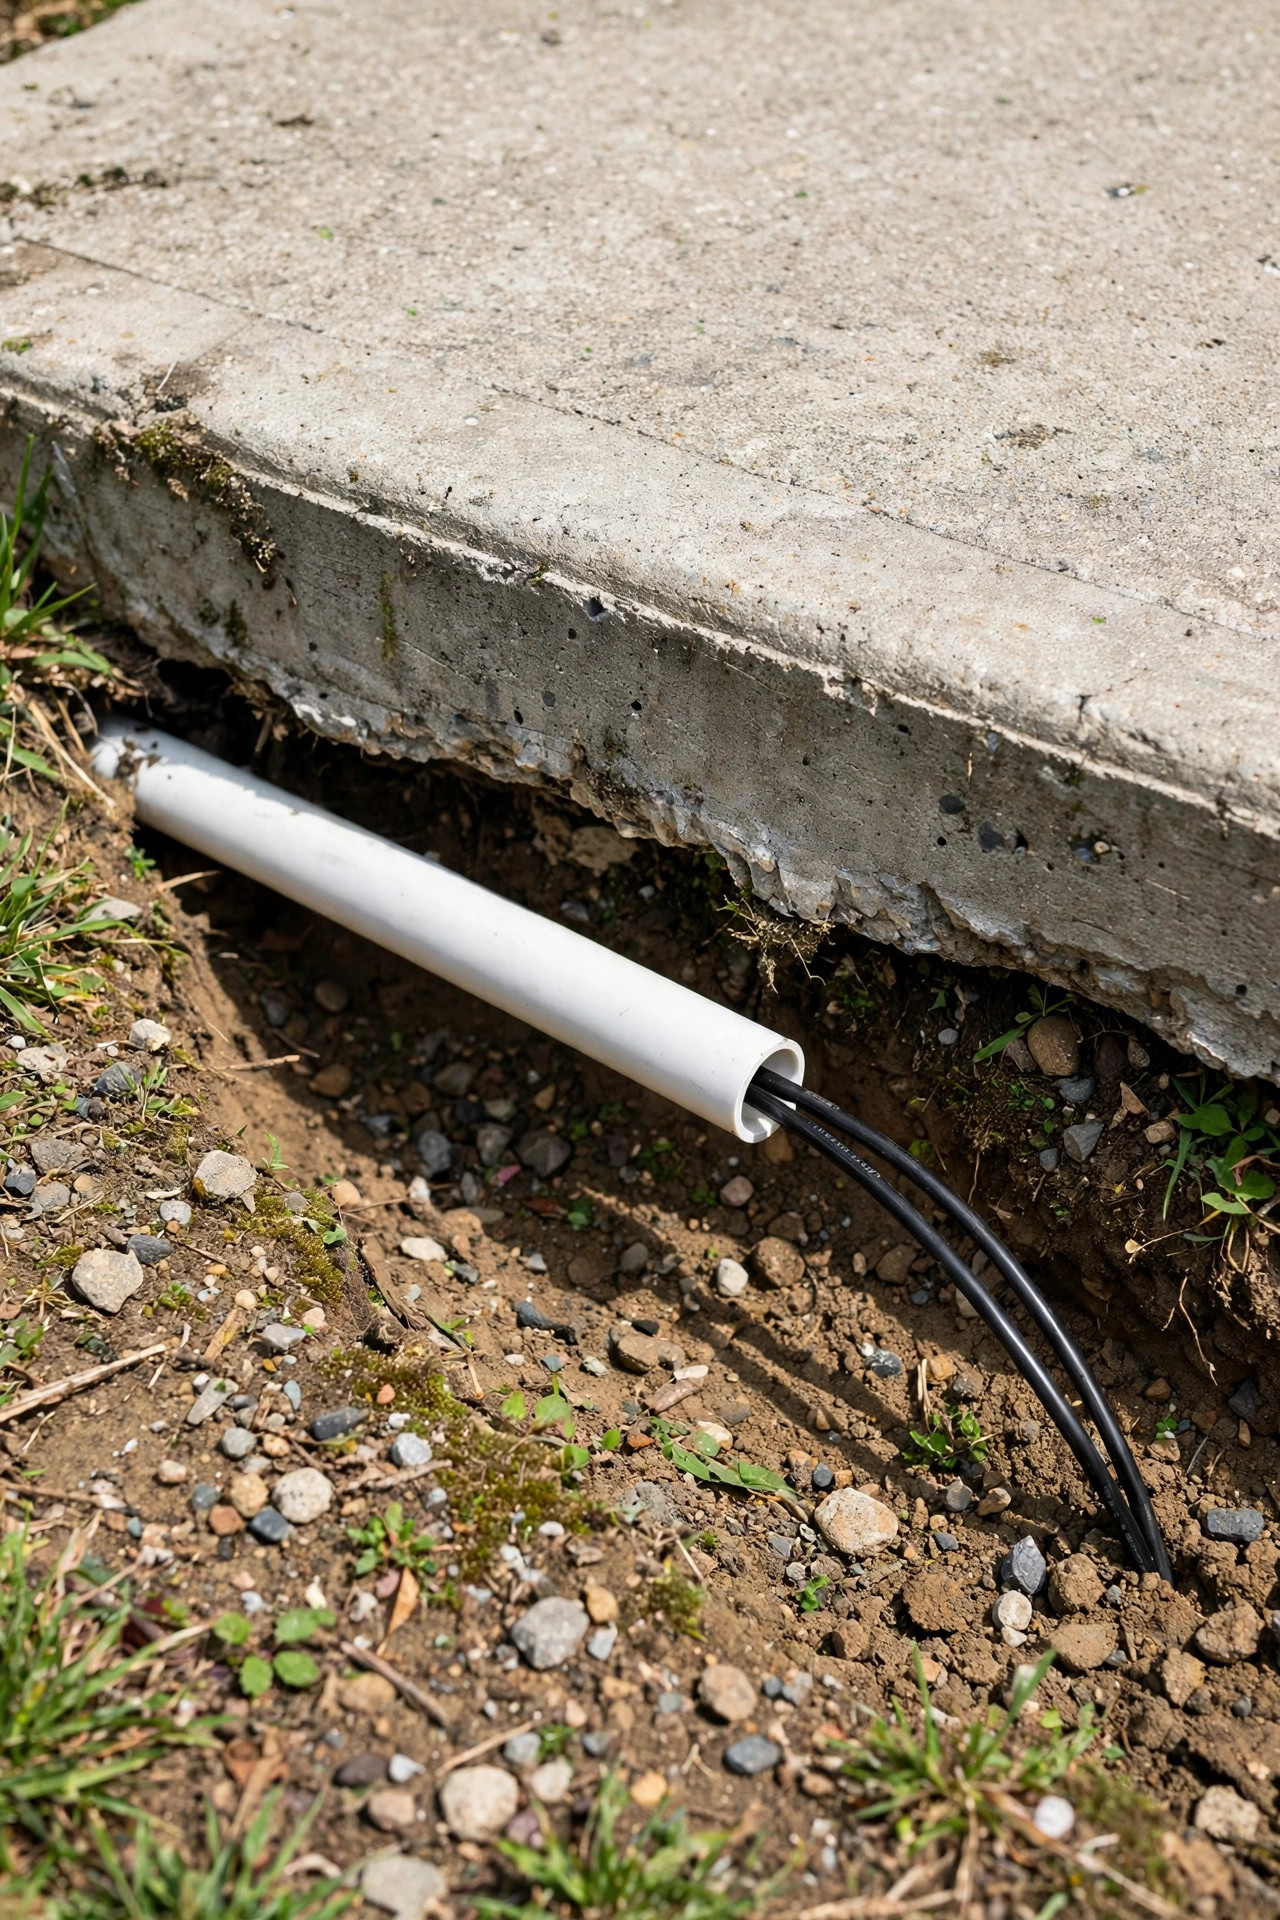
Every yard has obstacles, and crossings are where cable gets damaged most often. Under a sidewalk, the clean method is to bore beneath it: dig a small pit on both sides, then drive a length of PVC pipe under the slab with a hose-and-nozzle water jet or by tapping a capped pipe through with a mallet. Slide the cable through that sleeve and it will be protected for decades, plus you can pull a replacement cable through later without touching the concrete.
Driveways deserve the same sleeve treatment — vehicle weight can crush an unsleeved cable over time, especially in gravel or paver drives where the surface flexes. If your driveway is gravel, you often can trench straight across at 12 inches and sleeve just the wheel tracks; for concrete or asphalt, boring a sleeve is the only tidy option.
Tree roots are the third obstacle. Never trench straight through a major root — you'll hurt the tree and dull your tools. Instead, curve the trench in a gentle arc outside the root flare, or tunnel under surface roots by hand with a trowel. Cable is flexible; let it take the long way around. Your future self, admiring a healthy tree over a working light run, will approve.
Making Splices That Survive Underground
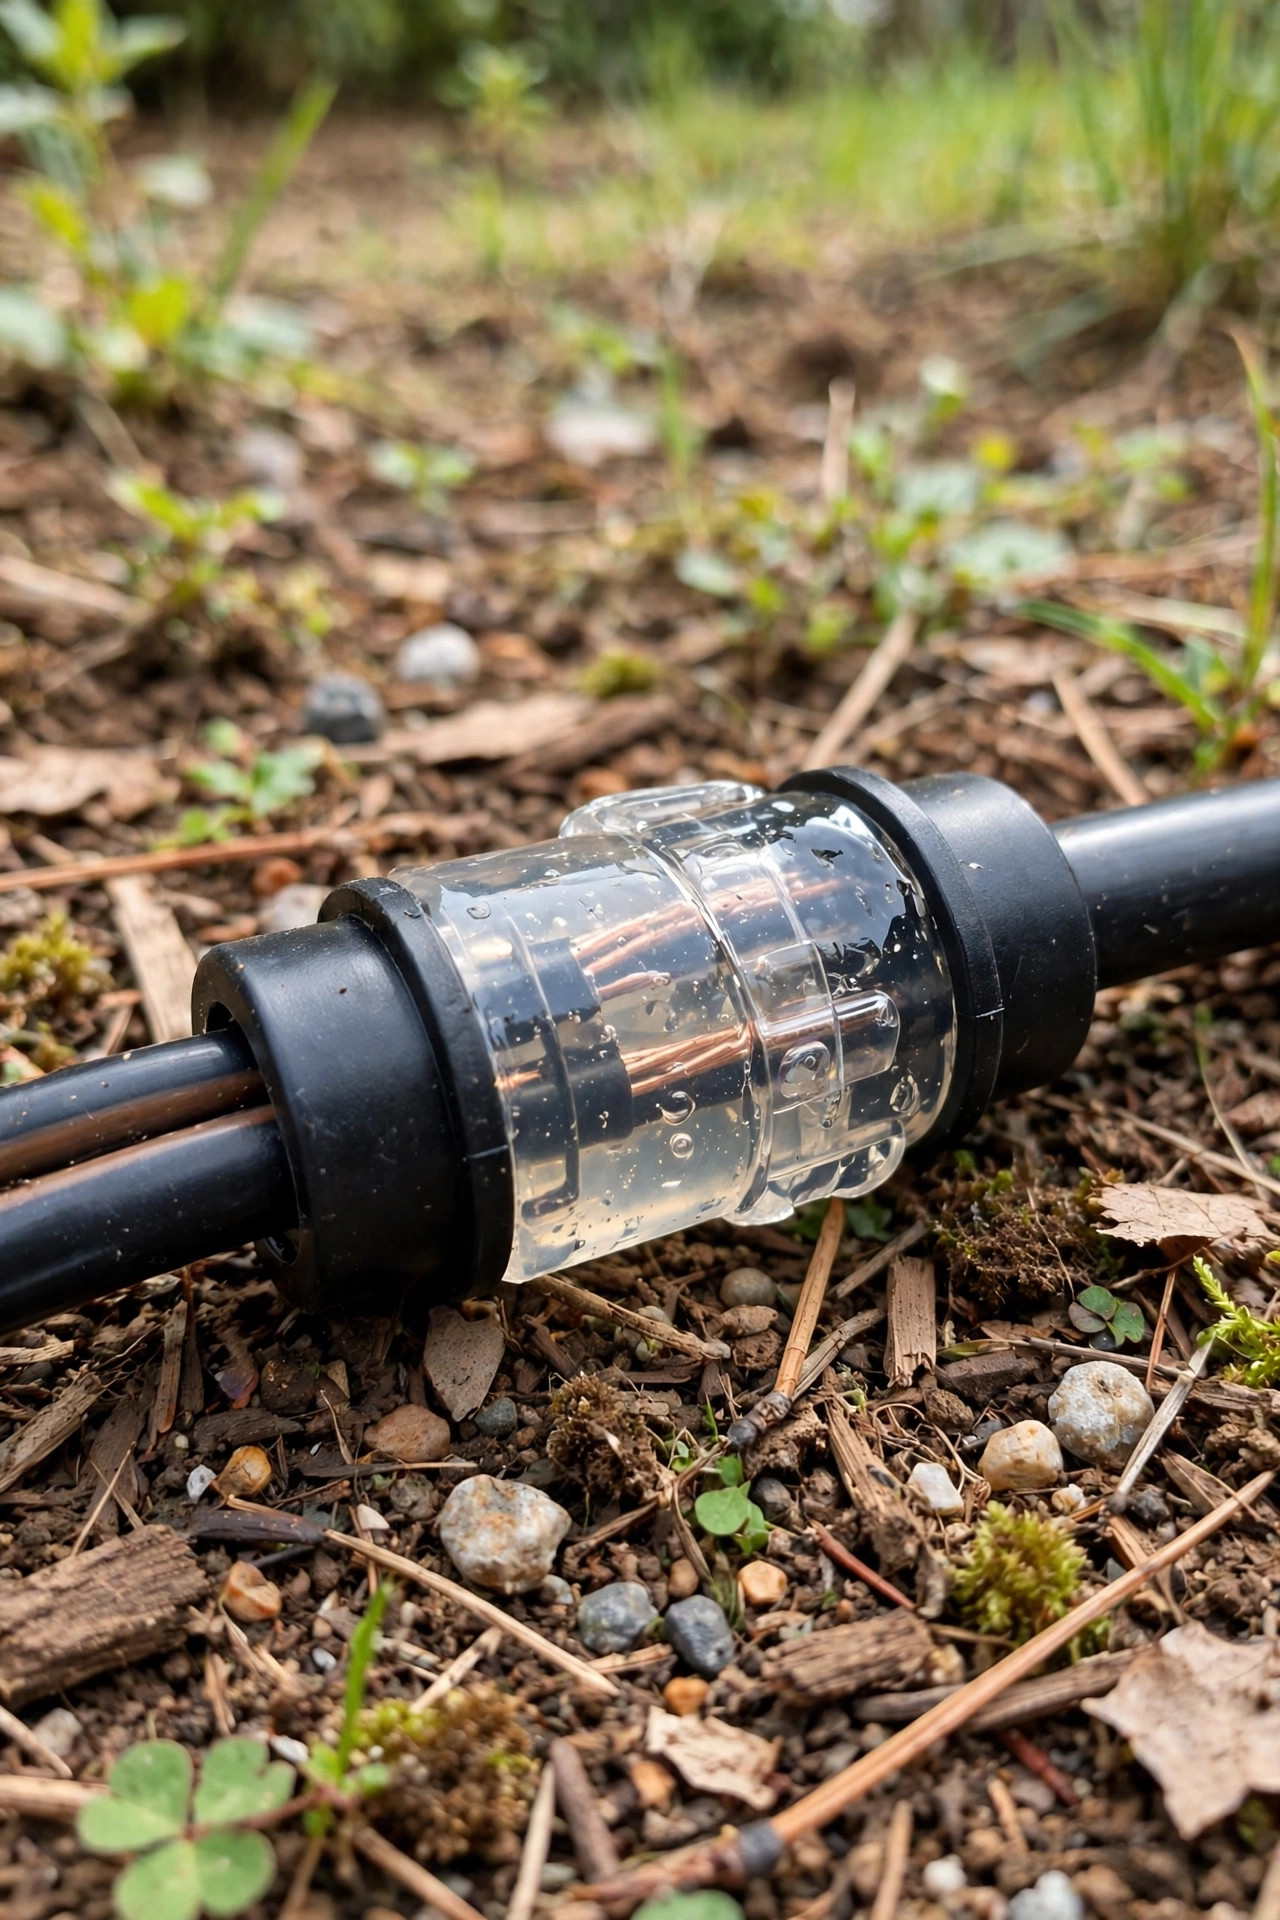
More landscape lighting systems die at the connections than anywhere else. A twisted-wire-and-tape splice buried in damp soil corrodes within a season or two, and the failure is maddening because the lights just get dimmer and dimmer.
The fix is simple: use gel-filled waterproof connectors made for direct burial. The silicone gel inside seals out moisture the moment you close the connector, and the connection stays clean for years. Strip about half an inch of insulation, make sure the copper is bright, twist the conductors together firmly, and seat them fully in the connector. Give each finished splice a gentle tug test before it goes in the ground.
Two habits help enormously. First, make your splices at fixture locations rather than mid-run wherever possible, so you can find them again. Second, leave that slack loop I mentioned — a foot or so of extra cable coiled loosely at each fixture — so a future repair never requires digging up the whole run. And sketch a quick map of your cable route and splice points on paper or your phone before backfilling. It feels fussy in the moment; it feels brilliant two years later when one light goes out.
What It Costs to Bury Landscape Lighting Cable in 2026
If you already own the lights, burying the cable is one of the cheapest upgrades in the whole yard. Here's the honest math from my last install:
– Cable: 100 feet of 12-gauge direct-burial cable runs about $45–$70; 14-gauge is closer to $30–$50. Longer or thicker runs cost more.
– Connectors: a pack of 20 gel-filled connectors is $12–$20.
– Conduit and sleeves: PVC pipe and fittings for a couple of crossings, $10–$25.
– Tool rental (optional): a power trencher rents for roughly $60–$90 for four hours, and it turns a long run into a quick job.
DIY total for a typical front yard: Suggested budget range: $40 – $150.
Hiring it out, a landscaper or lighting pro usually charges $1.50–$3.00 per linear foot just for trenching and burial labor, so a 100-foot run lands at $150–$300 plus materials. Suggested budget range: $200 – $450. Either way, compare that with the cost of replacing a chewed-up, corroded surface run every few years, and the trench pays for itself quickly. If you're comparing full-system quotes, my breakdown of what landscape lighting costs in 2026 shows how cable and labor fit into the total.
6 Mistakes That Ruin a Buried Cable Run
1. Burying before testing. Covered above, but it bears repeating — always test the full system above ground, and again after splicing, before backfill.
2. Going too shallow in beds. Six inches is the lawn standard; in a dug-over flower bed it's an invitation to a severed cable. Go 8 to 12 inches there.
3. Stretching the cable tight. Soil settles and shifts. A taut cable pulls at connectors and can work splices loose. Always lay it in with gentle slack.
4. Using indoor wire or speaker cable. It's not rated for soil or sunlight, and it will rot. Direct-burial cable only.
5. Skipping the sleeve under pavement. Crushed cable under a driveway means a dead run and no easy repair. Sleeve every crossing.
6. Tape-only splices. Electrical tape is not waterproofing. Gel-filled connectors, every time.
Avoid those six and your cable will quietly outlast the fixtures it feeds. For a broader look at design-level errors, the site's guide to hiding landscape lighting wires covers the visible-wire mistakes that make even a buried system look unfinished above ground.

Maintenance: Keeping a Buried Run Healthy
Buried cable is close to maintenance-free, but a few seasonal habits keep it that way. Once a year, walk the route and look for soil settling or erosion that has thinned the cover — a trench that has sunk is easy to top up with a bag of soil or mulch before the cable gets close to the surface. If a section of lights ever dims, check the splice at the first dim fixture before you assume the cable itself failed; nine times out of ten it's a connector, not the run.
When you aerate the lawn, mark the cable route first — core aerators pull plugs 2 to 3 inches deep, which is safely above a 6-inch burial, but it's worth knowing where the line runs anyway. The same goes for planting: keep your route map handy, and dig gently within a foot of the marked line. Finally, if you ever add fixtures to the run, remember the transformer has a wattage budget; my notes on low-voltage landscape lighting design walk through sizing so new lights don't overload the old cable. Treat the system kindly and it will repay you with a decade or more of zero drama.
Frequently Asked Questions
How deep does landscape lighting cable need to be buried by code?
For low-voltage systems of 30 volts or less, the National Electrical Code's minimum cover for direct-buried cable is 6 inches. That is a minimum, not a target — I recommend 8 to 12 inches in flower beds and anywhere the soil gets dug regularly, plus a conduit sleeve under sidewalks and driveways.
Can I bury landscape lighting cable without conduit?
Yes, in open soil you can. Cable rated for direct burial is designed to go straight into the ground at 6 inches or deeper, no conduit required. Conduit becomes important at crossings — under pavement, through gravel driveways, or anywhere the cable could be crushed or dug into — because the sleeve protects it and lets you pull a replacement later.
Do I need to call 811 before burying cable only 6 inches deep?
Yes. The call is free and the locate service marks underground utilities so you don't nick a gas line, water pipe, or a neighbor's buried cable with your trenching tool. Shallow utility lines absolutely exist. Call a few business days before you plan to dig and wait for all the flags to appear.
How long does buried low-voltage cable last?
Quality direct-burial cable typically lasts 15 to 25 years or more underground, and it usually outlives the fixtures and even the transformer. Failures almost always trace back to a bad splice, a nicked jacket, or cable that was buried too shallow — all avoidable with gel-filled connectors and proper depth.
Conclusion
If you remember one thing from this guide, make it this: knowing how to bury landscape lighting cable is mostly about respecting six inches of soil. Test before you dig, call 811, keep beds at 8 to 12 inches, sleeve every crossing, and seal every splice in gel — do those things and your cable disappears for decades while the lights above it do all the showing off. It's the least glamorous part of landscape lighting and, honestly, the part that makes everything else possible. Once your own run is buried and glowing, browse the rest of the lighting ideas here for your next layer — a couple of uplights on that tree you've been meaning to show off, perhaps.