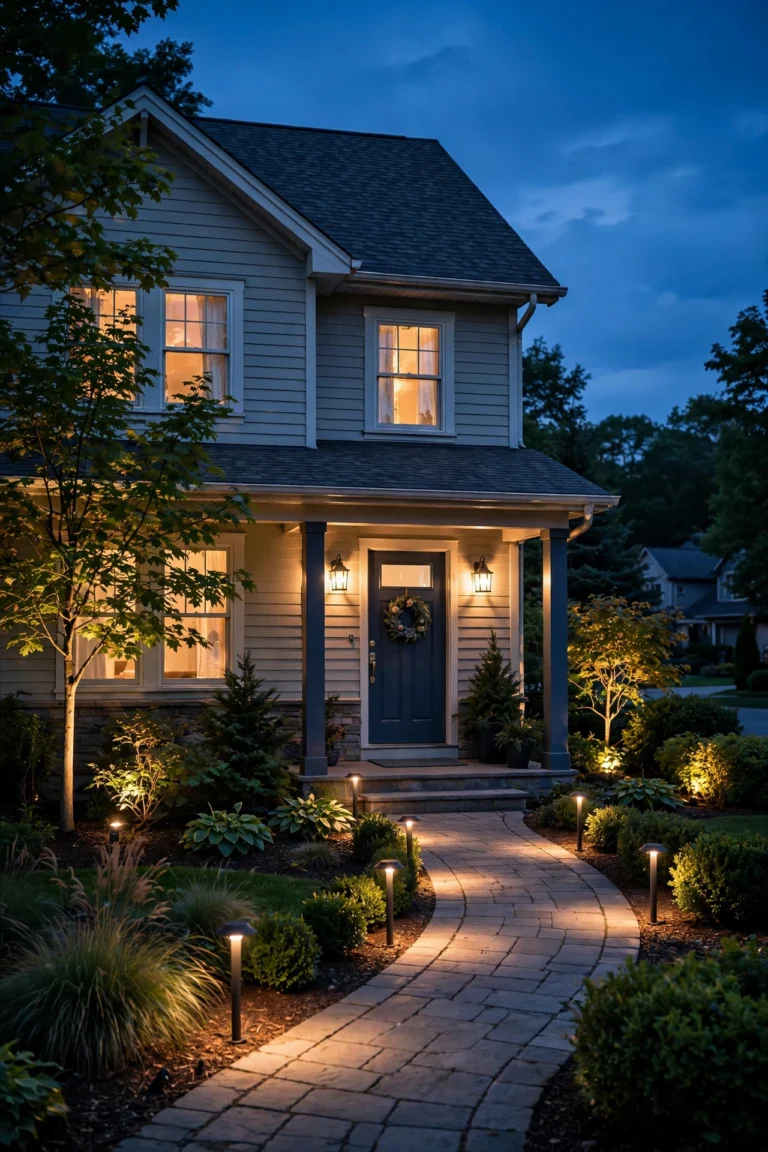
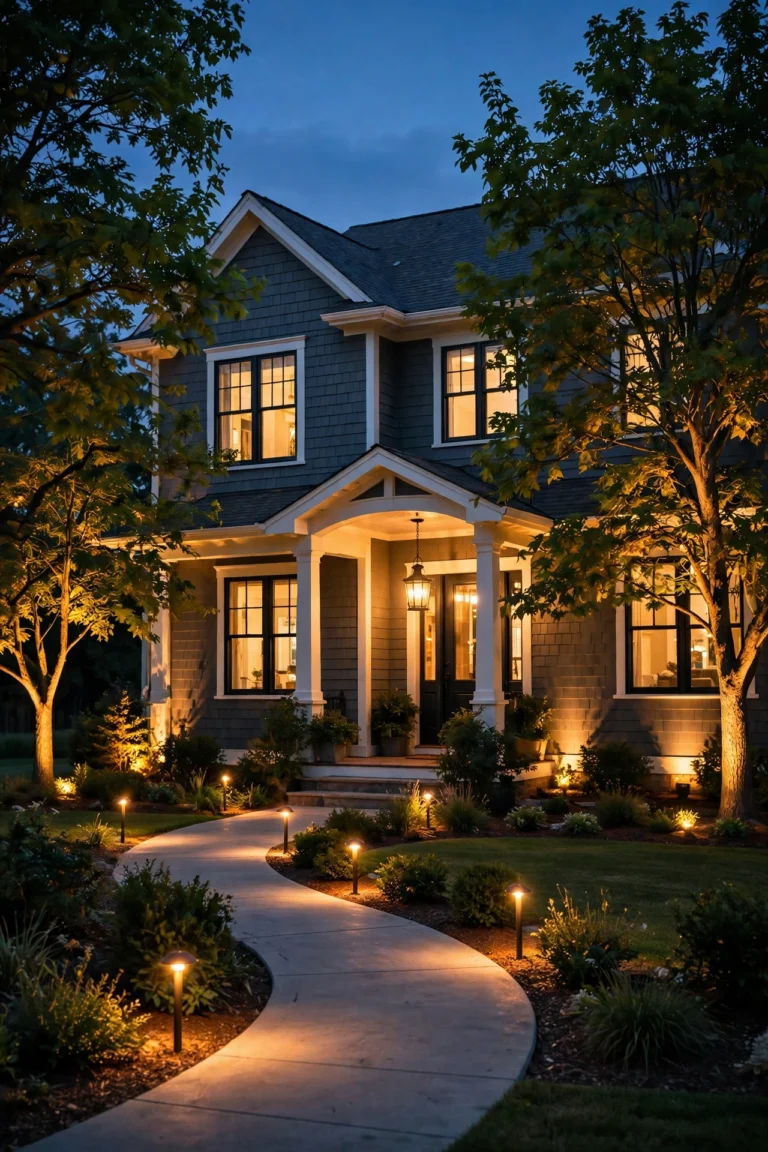
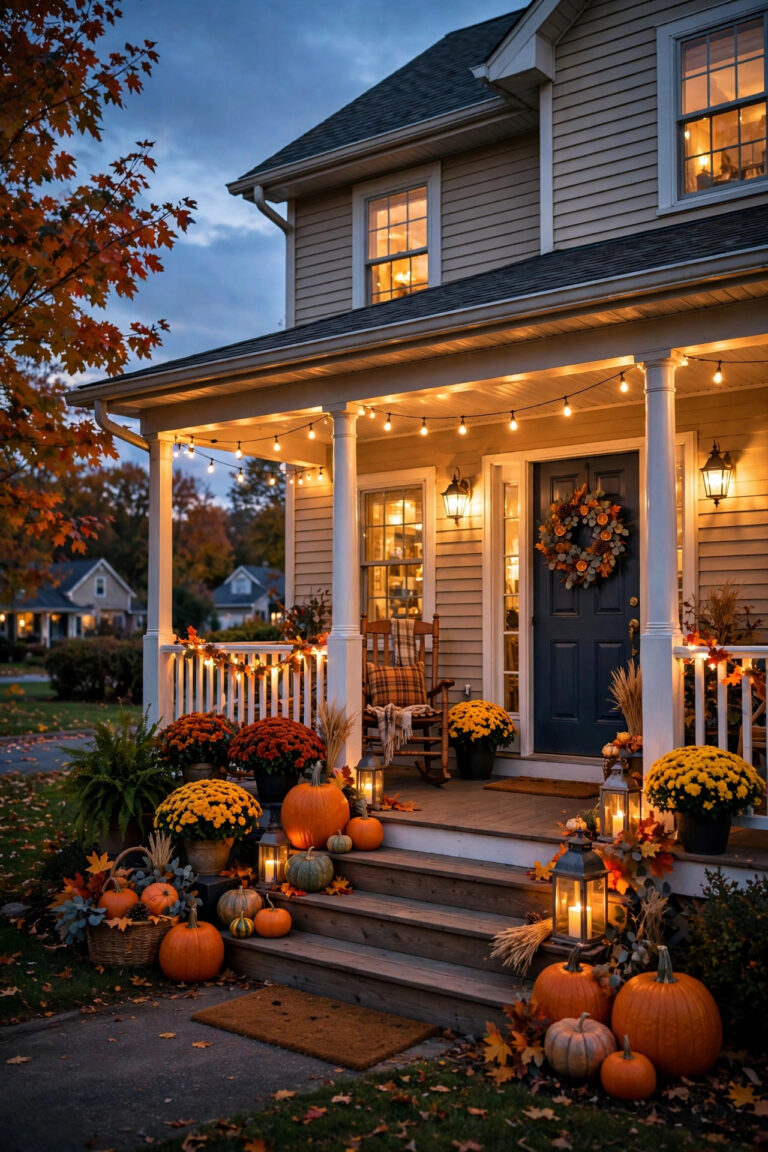
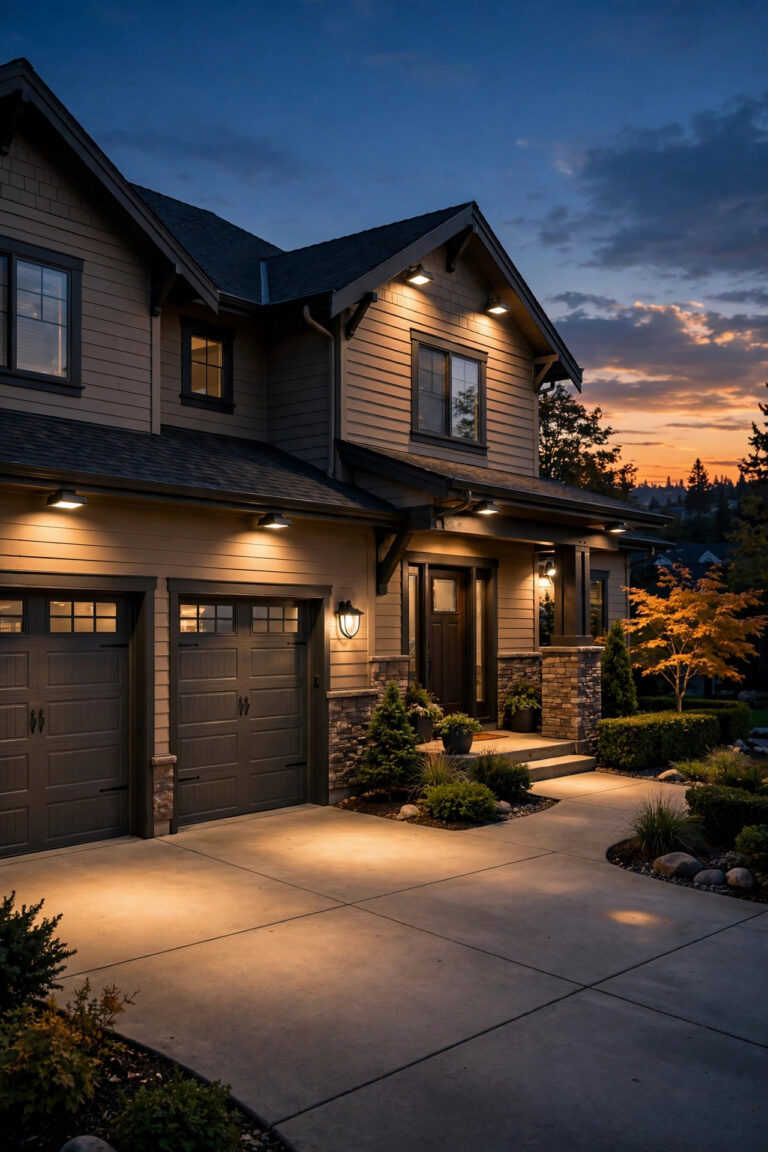
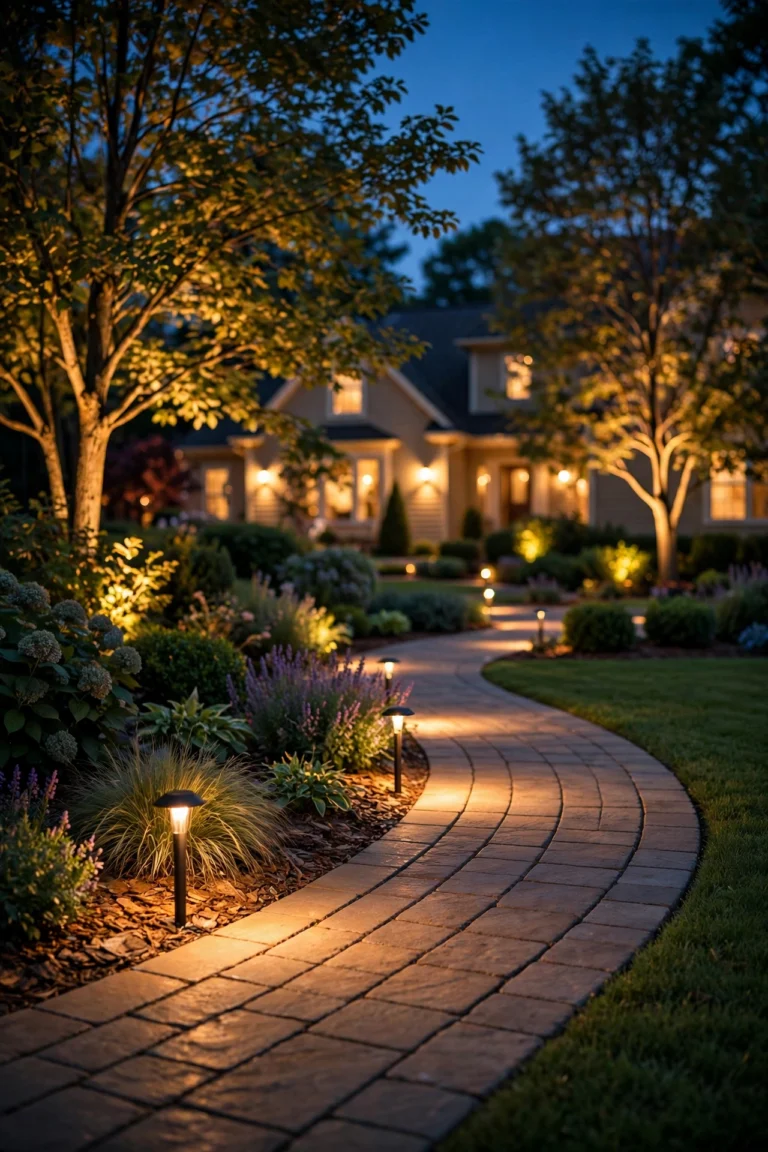
Here's the scene I've seen play out in a hundred front yards: somebody buys a grab bag of cheap path lights at a big-box store, stabs them into the lawn in a perfect little row, and steps back expecting magic. What they get is a yard that glows dimly in patches, dies out halfway down the driveway, and looks worse than no lights at all. Sound familiar?
The problem was never the lights. It was the low voltage landscape lighting design — or rather, the complete lack of one. A good system isn't a pile of fixtures; it's a small electrical system with a plan: a transformer sized to the load, wire thick enough for the distance, fixtures grouped into sensible zones, and wiring so the last light shines as bright as the first.
By the end, you'll know how a low-voltage system works, how to size a transformer without guessing, which wire gauge your runs need, how to sketch a layout that flatters your house, and how to install it all over a weekend. No electrician required in most areas, no mystery math — just honest know-how from years of lighting my own yard.
The Short Answer
A great low-voltage system needs four things: a transformer sized to about 80 percent of its rating (add up your fixture wattages and multiply by 1.25), 12-gauge cable for long runs so voltage drop doesn't dim your farthest fixtures, a hub-style wiring layout so every light gets equal power, and a zone plan sketched before you buy anything. Most single-family yards run happily on a 300-watt transformer, and the whole project is a one-weekend DIY job. Get those four decisions right and the rest is details.
How Low-Voltage Lighting Actually Works
Everything in a low-voltage system starts at your outdoor outlet. Household current arrives at 120 volts — powerful enough to be dangerous — and your transformer's job is to step that down to a gentle 12 volts, roughly the same as a car battery. At 12 volts, the cable running through your mulch beds is safe to handle, safe around pets and kids, and safe to bury in a shallow trench.
From the transformer, a single low-voltage cable (called "direct burial" cable because it's rated to go straight into the ground) runs out into the yard. Along that cable, you tap in your fixtures: path lights, spotlights for trees, well lights for the facade, deck lights, whatever your plan calls for. Each fixture sips a tiny amount of power — most LED landscape fixtures draw between 3 and 9 watts, about the same as a nightlight.
Here's the part most beginners miss: the system is only as good as its weakest decision. An undersized transformer makes everything dim. Too-thin wire makes the far fixtures dimmer than the near ones (a phenomenon called voltage drop, which I'll make painless in a bit). And fixtures scattered without a plan make the whole yard look random. The beauty of low voltage is that all of these are easy to get right once you know what to look for — and that's exactly what the rest of this guide is for.

12V vs Line Voltage: Why Low-Voltage Wins for Most Homes
Line-voltage landscape lighting (the 120-volt kind) exists, and pros use it for big commercial jobs. But for a home yard, low voltage wins on nearly every count that matters.
Safety is the big one. Twelve volts won't shock you, your dog, or the neighborhood kid who digs up a cable with a plastic shovel. Line voltage buried in a yard has to go deep, inside conduit, installed by a licensed electrician, because 120 volts in wet soil is genuinely dangerous. Low-voltage cable just needs a shallow 6-inch trench and some common sense.
Cost follows safety. Because you don't need an electrician, permits are rarely required (always check your local code, but most municipalities exempt low-voltage landscape lighting), and the components are inexpensive. A full DIY low-voltage system typically costs a fraction of a line-voltage install, and you can expand it later one fixture at a time without calling anyone.
Flexibility is the quiet advantage nobody talks about enough. Want to move a spotlight from the maple to the new flower bed next spring? Pull the stake, re-splice, done. With line voltage, every change is a project. Low-voltage systems are forgiving in a way that suits real life — your yard changes, and your lighting can change with it.
The one honest exception: if you're lighting a very large property with runs over 150 feet from the power source, line voltage (or multiple low-voltage transformers) starts to make sense. For the typical quarter-acre lot, though, 12 volts does everything beautifully. And if you're weighing wired versus solar before you commit, my LED vs solar breakdown walks through running costs and brightness honestly — short version: low-voltage wired wins on reliability and glow, every time.
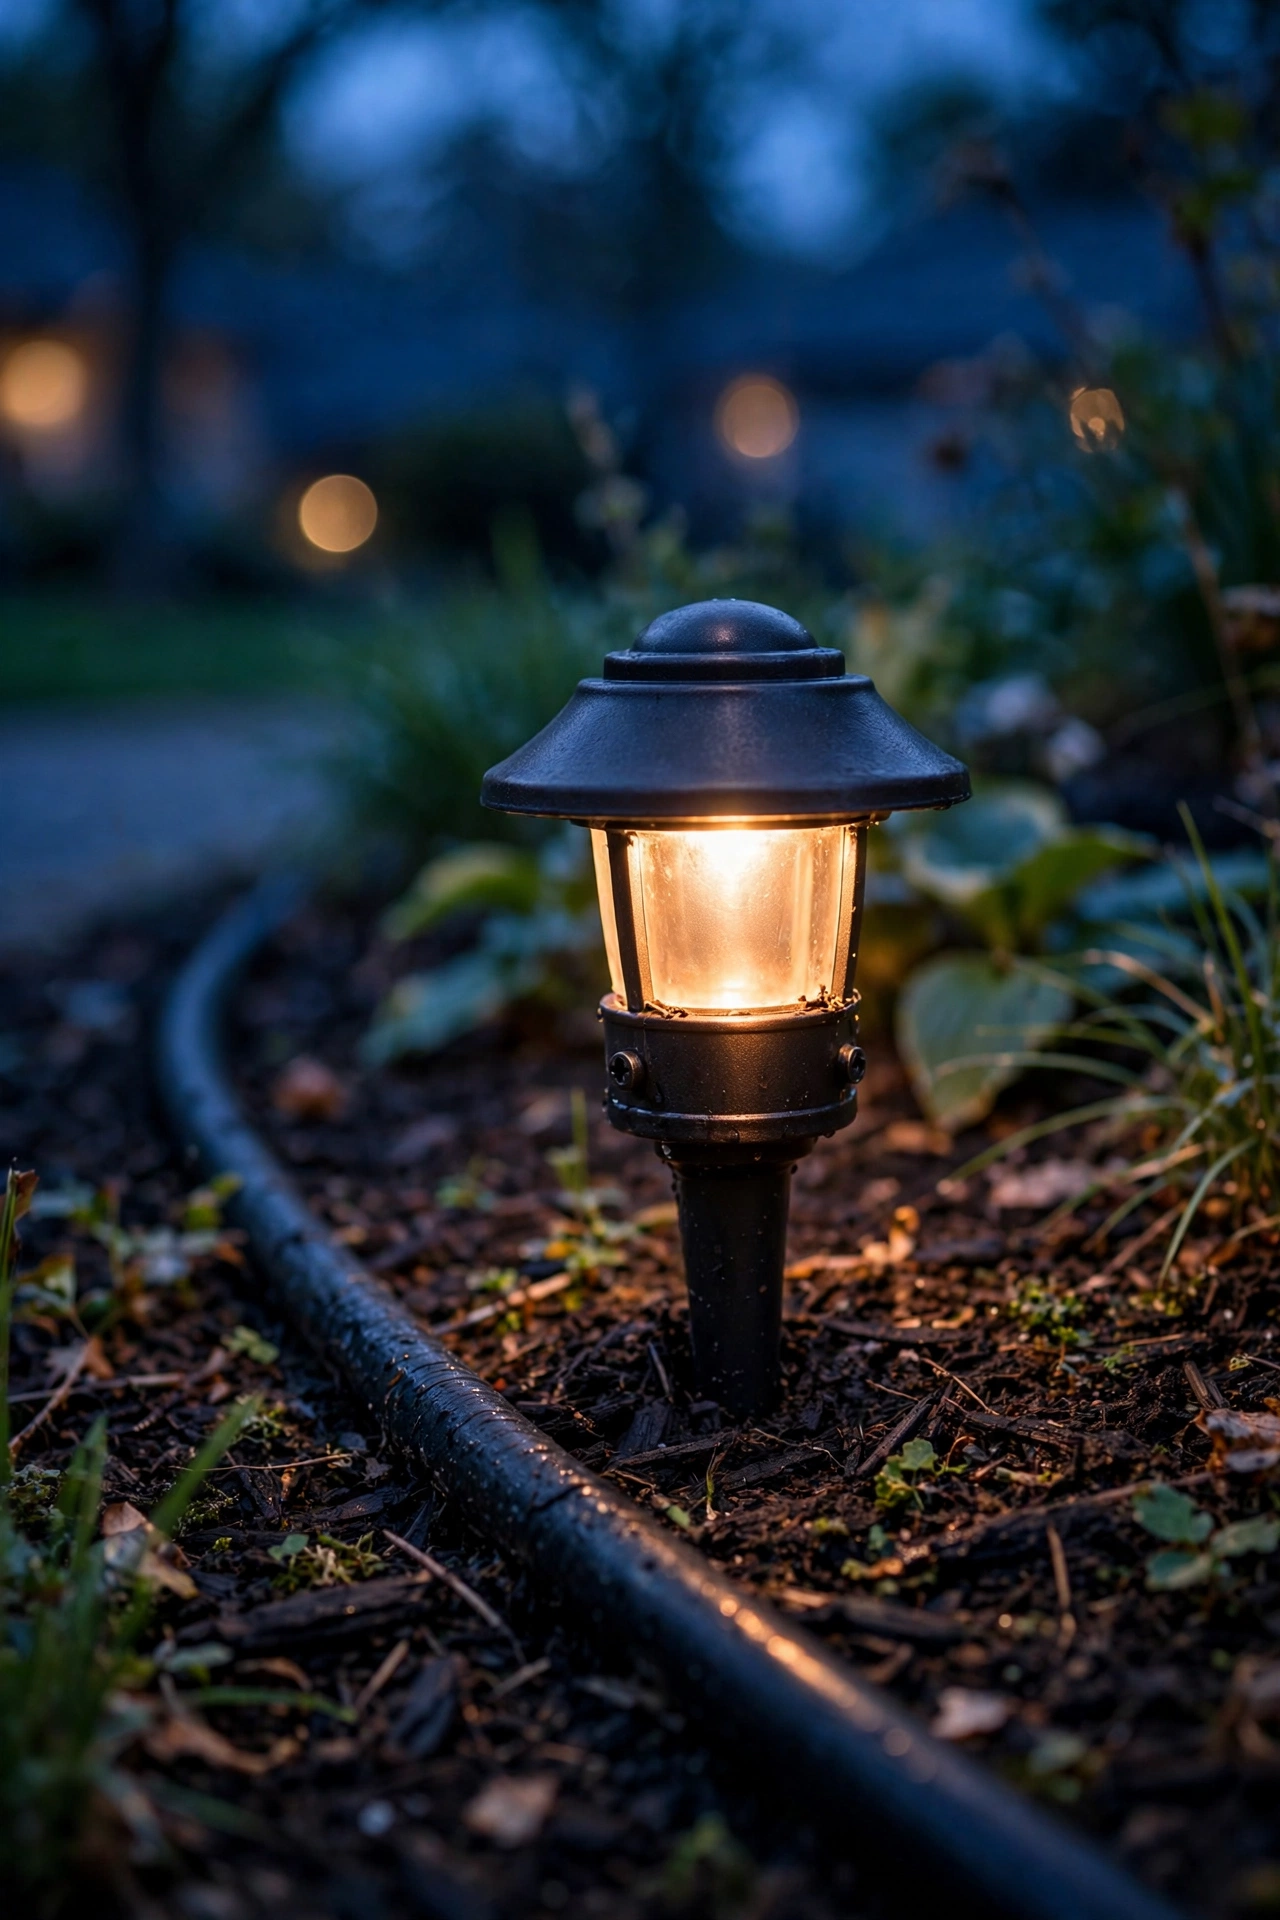
The Main Components, Explained Simply
A low-voltage system has exactly four parts, and once you can name what each one does, the whole thing stops feeling mysterious.
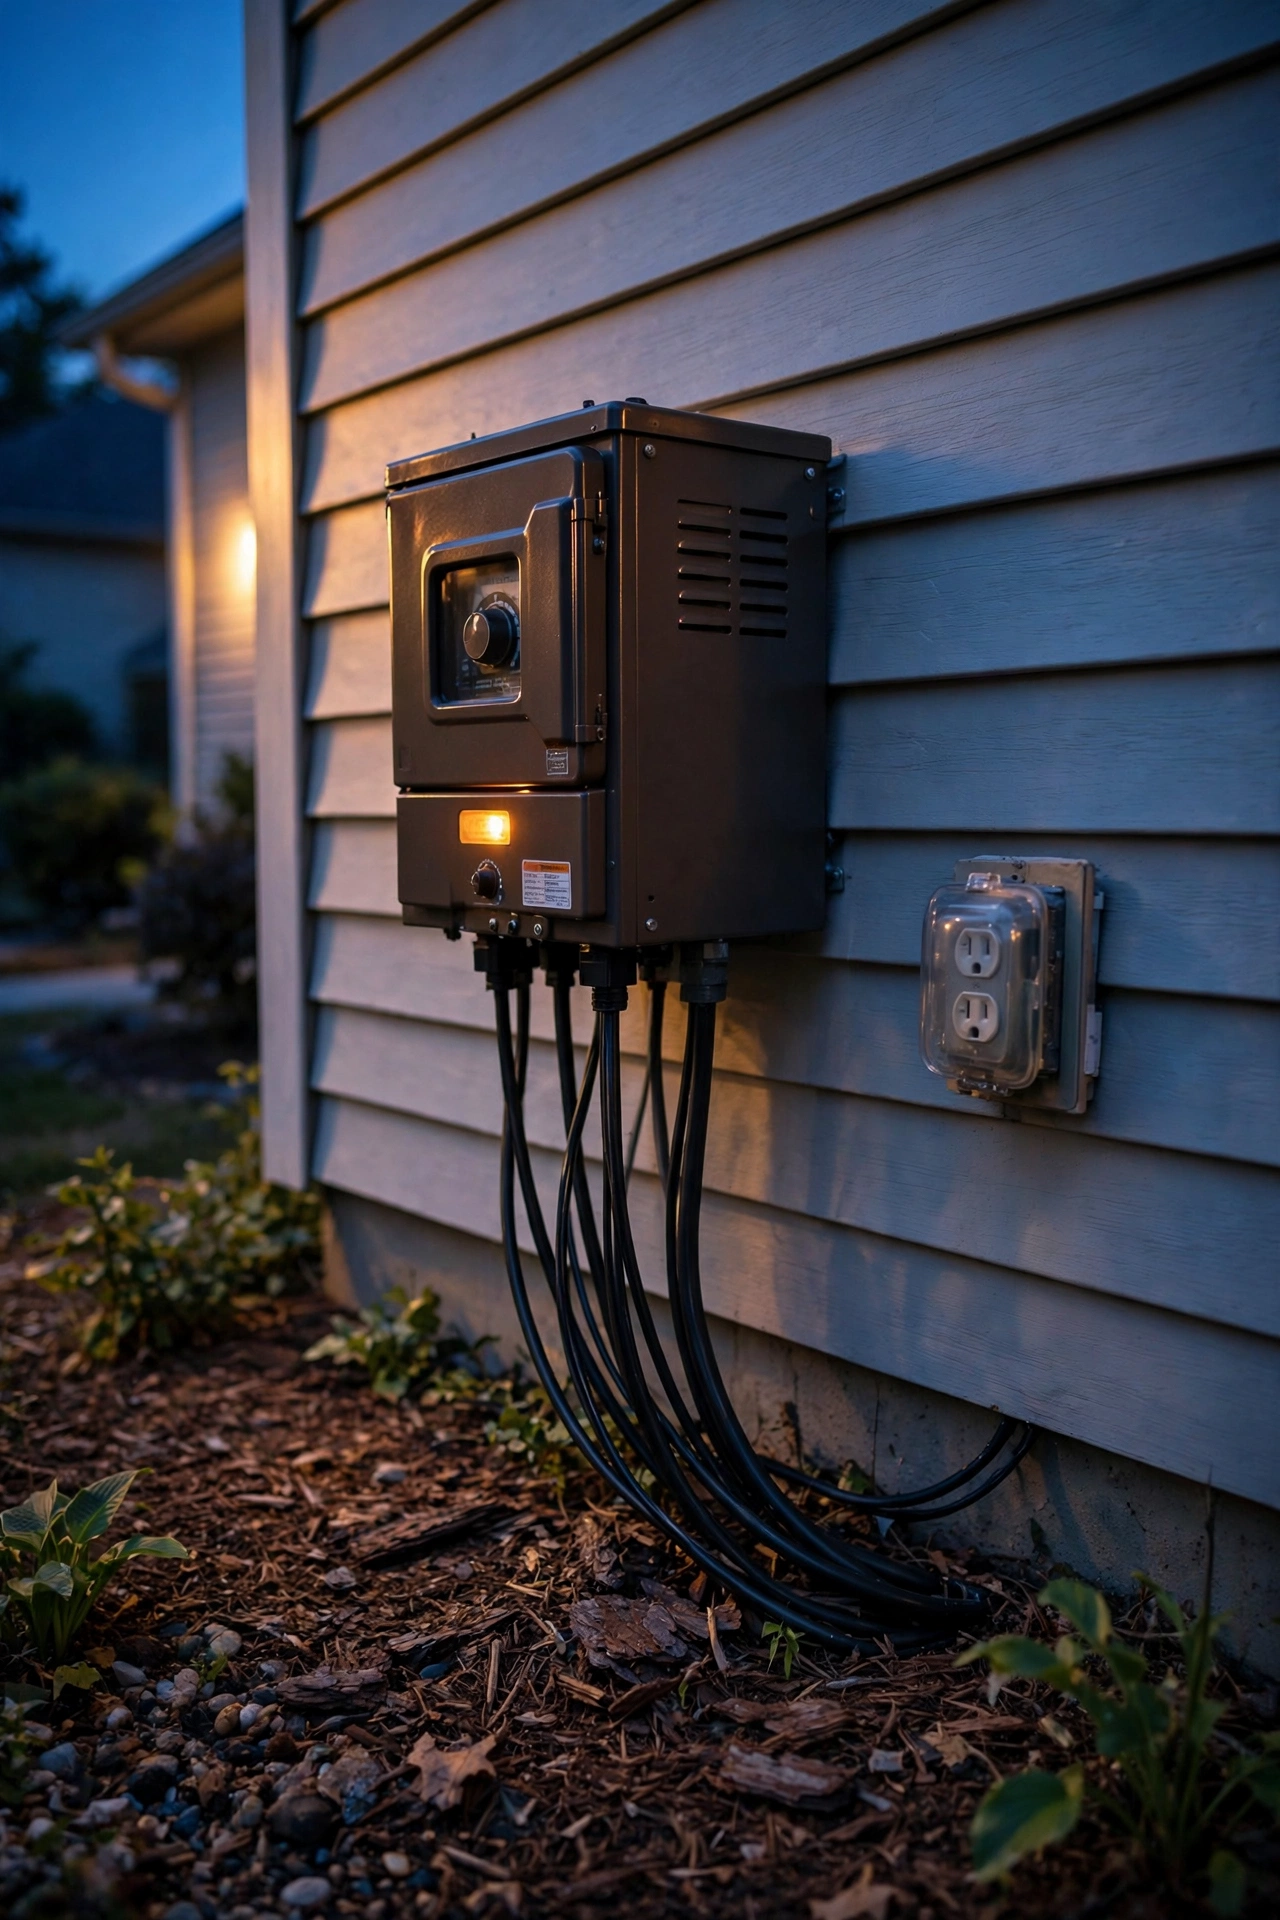
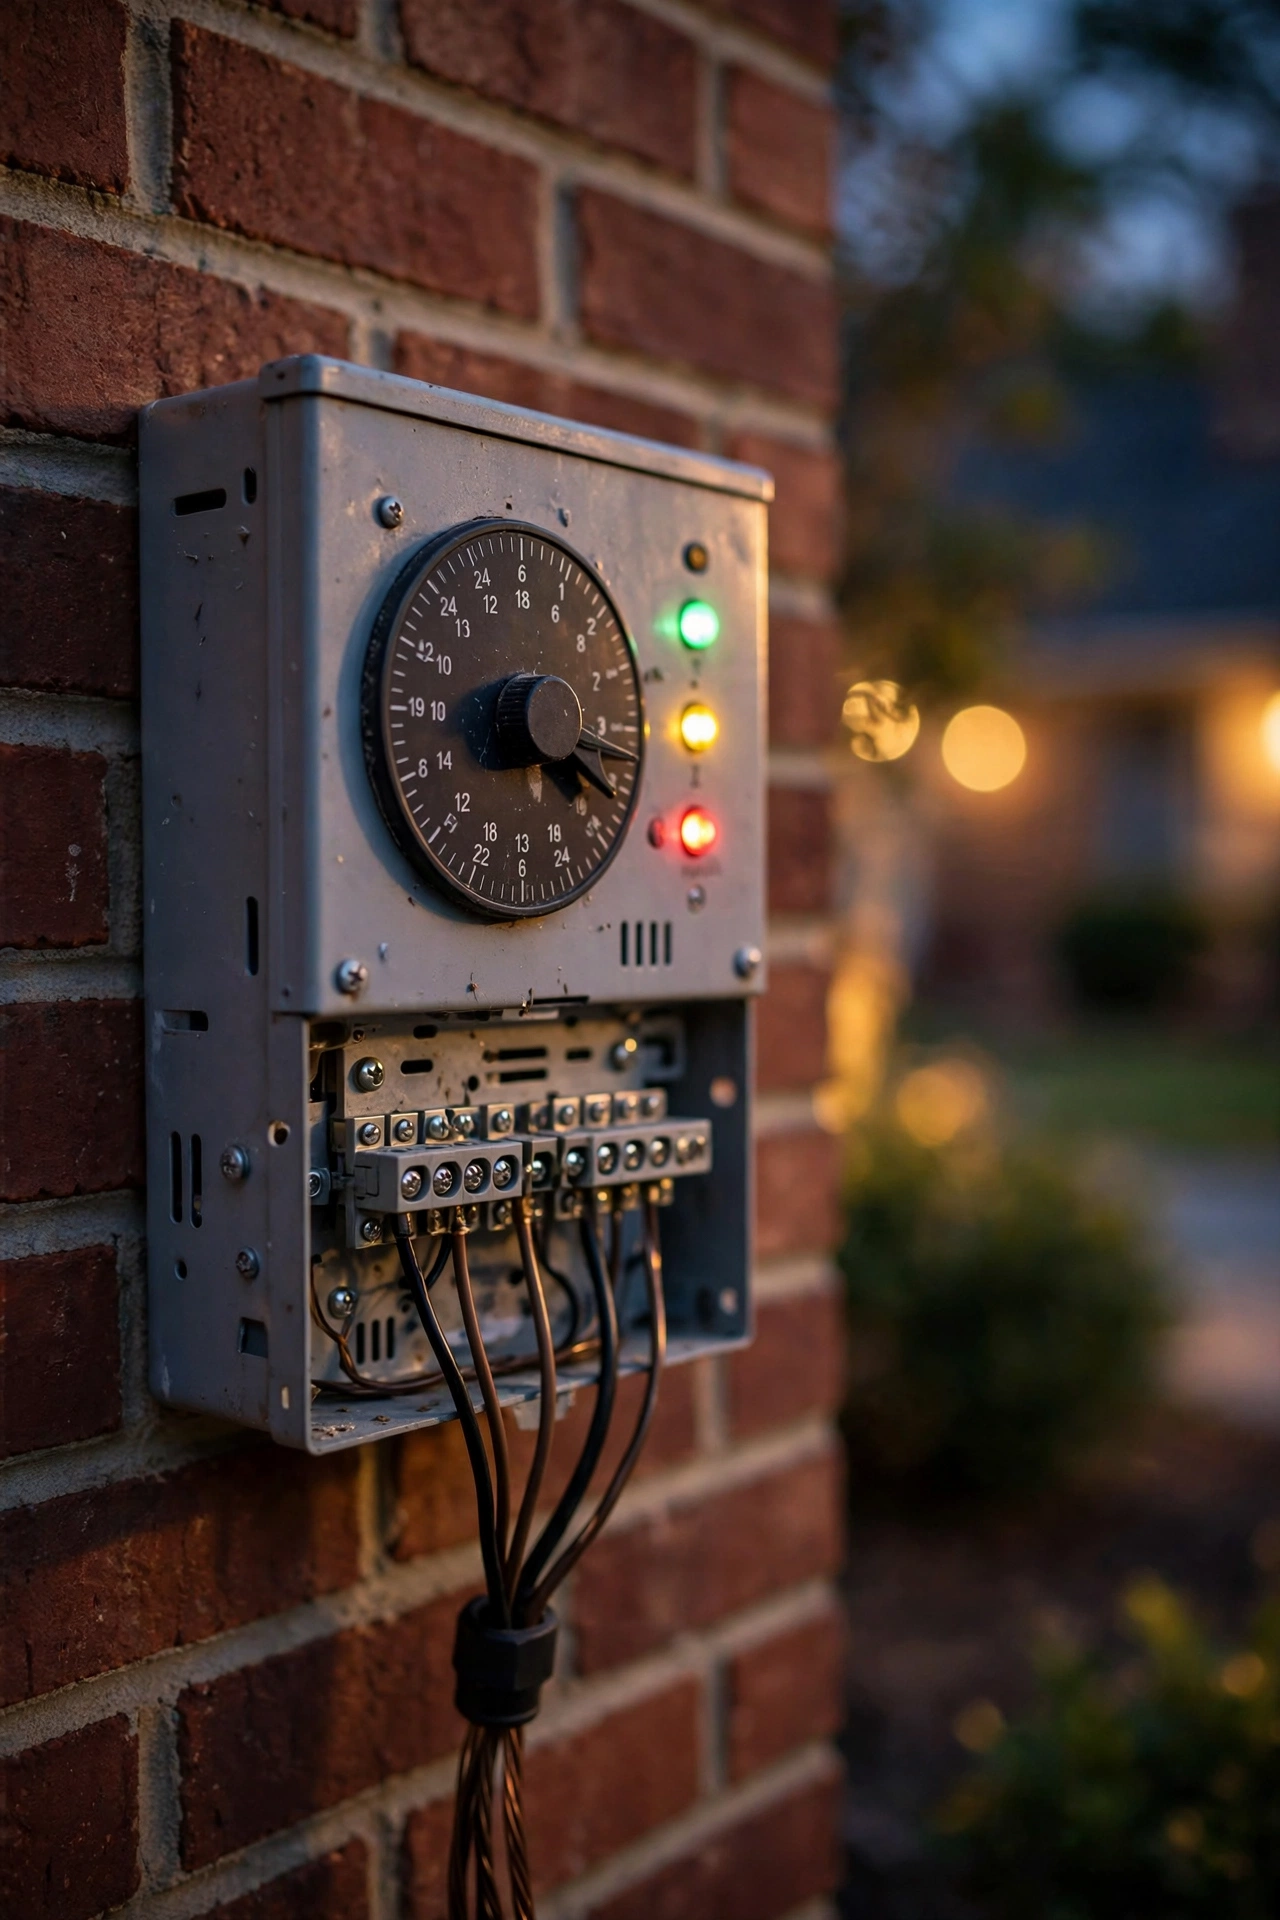
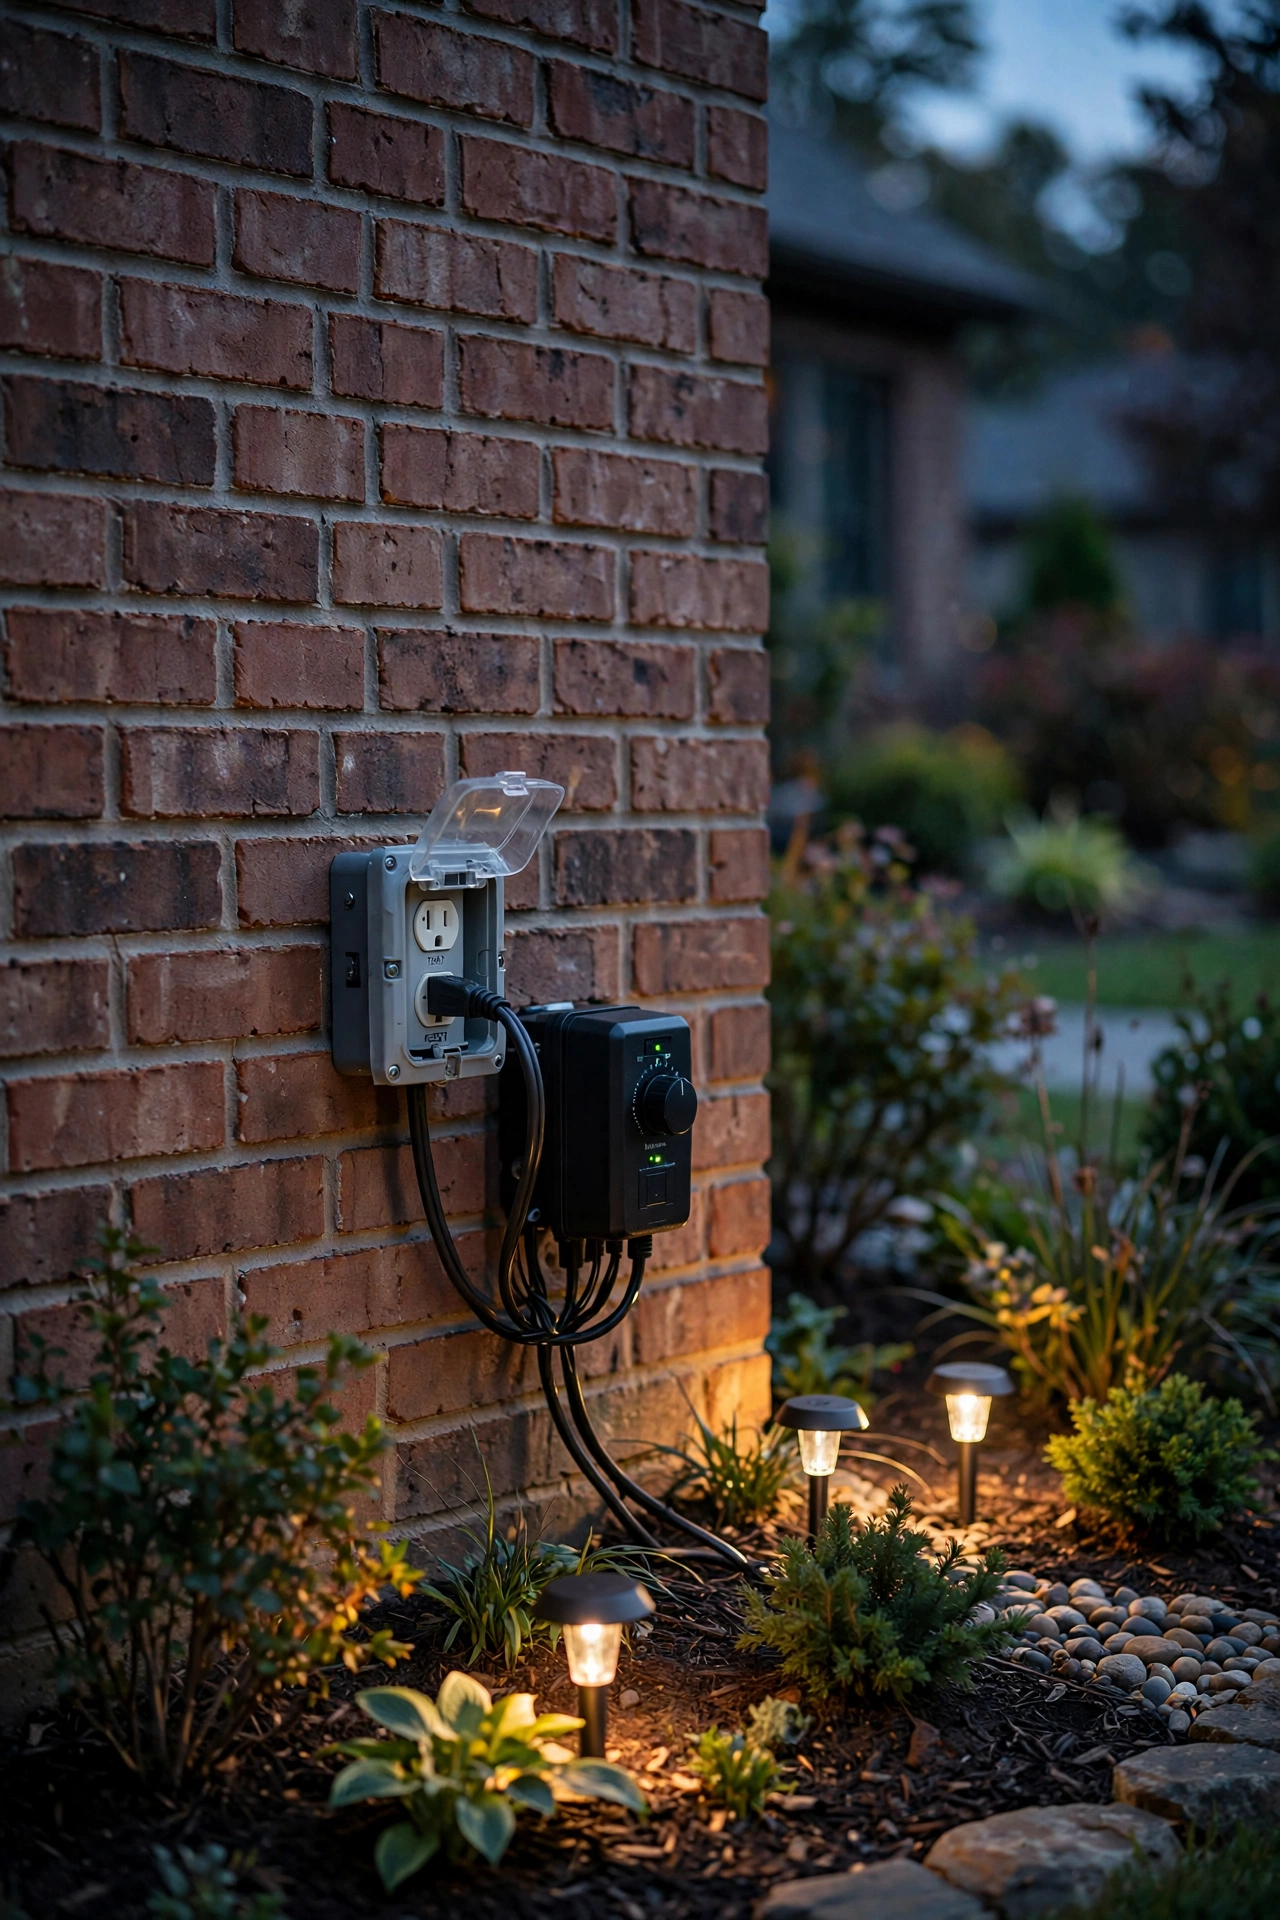
The transformer is the heart. It plugs into a GFCI-protected outdoor outlet, steps 120 volts down to 12, and sends power out to the yard. It also houses the timer or photocell that turns your lights on at dusk and off at dawn (or on a schedule you set). Transformers are rated in watts — 150, 300, 600 are the common sizes — and sizing one correctly is the single most important math in this guide. I'll show you exactly how below.
The cable is the circulatory system: two-conductor wire (12, 14, or 16 gauge) with thick insulation rated for direct burial. The gauge number is backwards from what you'd expect — lower number, thicker wire, farther it carries power without dimming the far end. This is where most DIY systems quietly fail, so there's a whole section on it coming up.
The fixtures are what you actually see: path lights, spotlights, well lights, deck lights, and flood lights. Modern ones are almost all LED — a fixture that used to draw 50 watts now draws 5, so your transformer and wire can do ten times more than in the halogen days. Always buy fixtures rated for outdoor use (look for "wet location" or an IP65 rating or better).
The connectors are the unsung heroes — the little waterproof wire nuts or gel-filled splices that join fixture wires to the main cable. In my experience, cheap connectors cause more system failures than anything else: water creeps in, corrosion builds, and a whole run goes dark. Spend the extra dollar or two per connector. Your future self, troubleshooting at 9 p.m. with a flashlight, will thank you.
That's the whole system: a box on the wall, a cable in the ground, lights in the yard, and waterproof joints between them. Simple enough that a careful homeowner can install it — and simple enough that when something goes wrong, you can usually find it yourself.
Sizing Your Transformer the Right Way
This is the math that intimidates everyone, and honestly? It's two steps and you can do it on a napkin.
Step one: add up your fixture wattages. Walk your planned layout and total the watts of every fixture. Ten path lights at 4 watts each is 40 watts. Four tree spotlights at 7 watts each is 28 watts. Three well lights at 5 watts is 15 watts. Total: 83 watts. With LEDs, real-world totals are almost always smaller than people expect.
Step two: multiply by 1.25. That gives you the transformer size you need. An 83-watt load times 1.25 is about 104 watts — so a 150-watt transformer handles it with room to spare. This 1.25 multiplier (the same as not loading past 80 percent) matters because transformers run cooler, hum less, and last longer when they're not maxed out. It also leaves headroom for the three extra fixtures you'll inevitably add next year.
Let me give you a more typical full-yard example. Say you're lighting a facade (6 well lights at 5W = 30W), a walkway (8 path lights at 4W = 32W), and two specimen trees (2 spotlights at 9W = 18W). Total load: 80 watts. Times 1.25: 100 watts. A 150-watt transformer is your pick — and you'd still have 70 watts of headroom for future additions.
For bigger yards: a 300-watt transformer at 80 percent load handles 240 watts — roughly 40 to 50 LED fixtures, which covers most single-family homes easily. Over 600 watts, I recommend splitting the yard into two zones with two smaller transformers instead. Two 300-watt units at opposite ends of a big yard mean shorter wire runs, less voltage drop, and if one ever fails, half your yard still glows.
One more sizing truth: buy a transformer with a built-in timer and photocell, and make sure it has multiple voltage taps (12, 13, 14, 15 volts). Those higher taps are your secret weapon against voltage drop on long runs — more on that next.
Wire Gauge and Run Length: Voltage-Drop Made Easy
Voltage drop is the villain of every bad low-voltage install, but the concept is simple: as electricity travels down a wire, a little bit gets lost along the way. The longer the run and the thinner the wire, the more you lose — and the fixtures at the far end end up noticeably dimmer than the ones near the transformer. With LEDs, anything below about 10.8 volts at the fixture starts to look off.
The fix is embarrassingly straightforward: use thicker wire for longer runs. Here's my rule of thumb, and it covers 95 percent of residential jobs:
– 16-gauge: short runs only — under 50 feet, light loads (a handful of path lights). Cheap, but limited.
– 14-gauge: the versatile middle — runs up to about 75–100 feet with moderate loads. Fine for most zone runs.
– 12-gauge: the workhorse — runs of 100 feet or more, or any run feeding a lot of fixtures. When in doubt, I always recommend going 12-gauge. The price difference over a 100-foot spool is maybe fifteen dollars, and it buys you insurance against dim far-end fixtures forever.
Here's why it matters: on a 100-foot run of 16-gauge cable feeding 50 watts, you lose roughly 2 volts — the last fixtures get 10 volts instead of 12, and the dimming is visible. Swap in 12-gauge and you lose about half a volt. The last light looks identical to the first.
Two more tricks from the trenches. First, if you have a very long run and already-buried 14-gauge wire, you can use one of the transformer's higher voltage taps (13V or 14V) to compensate — you're just starting with a little extra to account for the loss. Second, hub wiring (covered below) shrinks the effective run length for every fixture — another reason it's my favorite.
And honestly? The simplest advice: buy 12-gauge cable for your main runs and stop worrying. The cost premium is tiny, the performance headroom is huge, and you'll never lie awake wondering if you should have gone thicker.

Planning Your Low Voltage Landscape Lighting Design: Zones That Make Sense
Before you buy a single fixture, sketch your yard on paper. Ten minutes here saves hundreds of dollars in wrong guesses — and a yard that looks accidentally lit instead of designed.
Divide your yard into zones, and think of each zone as its own little lighting project with its own purpose:
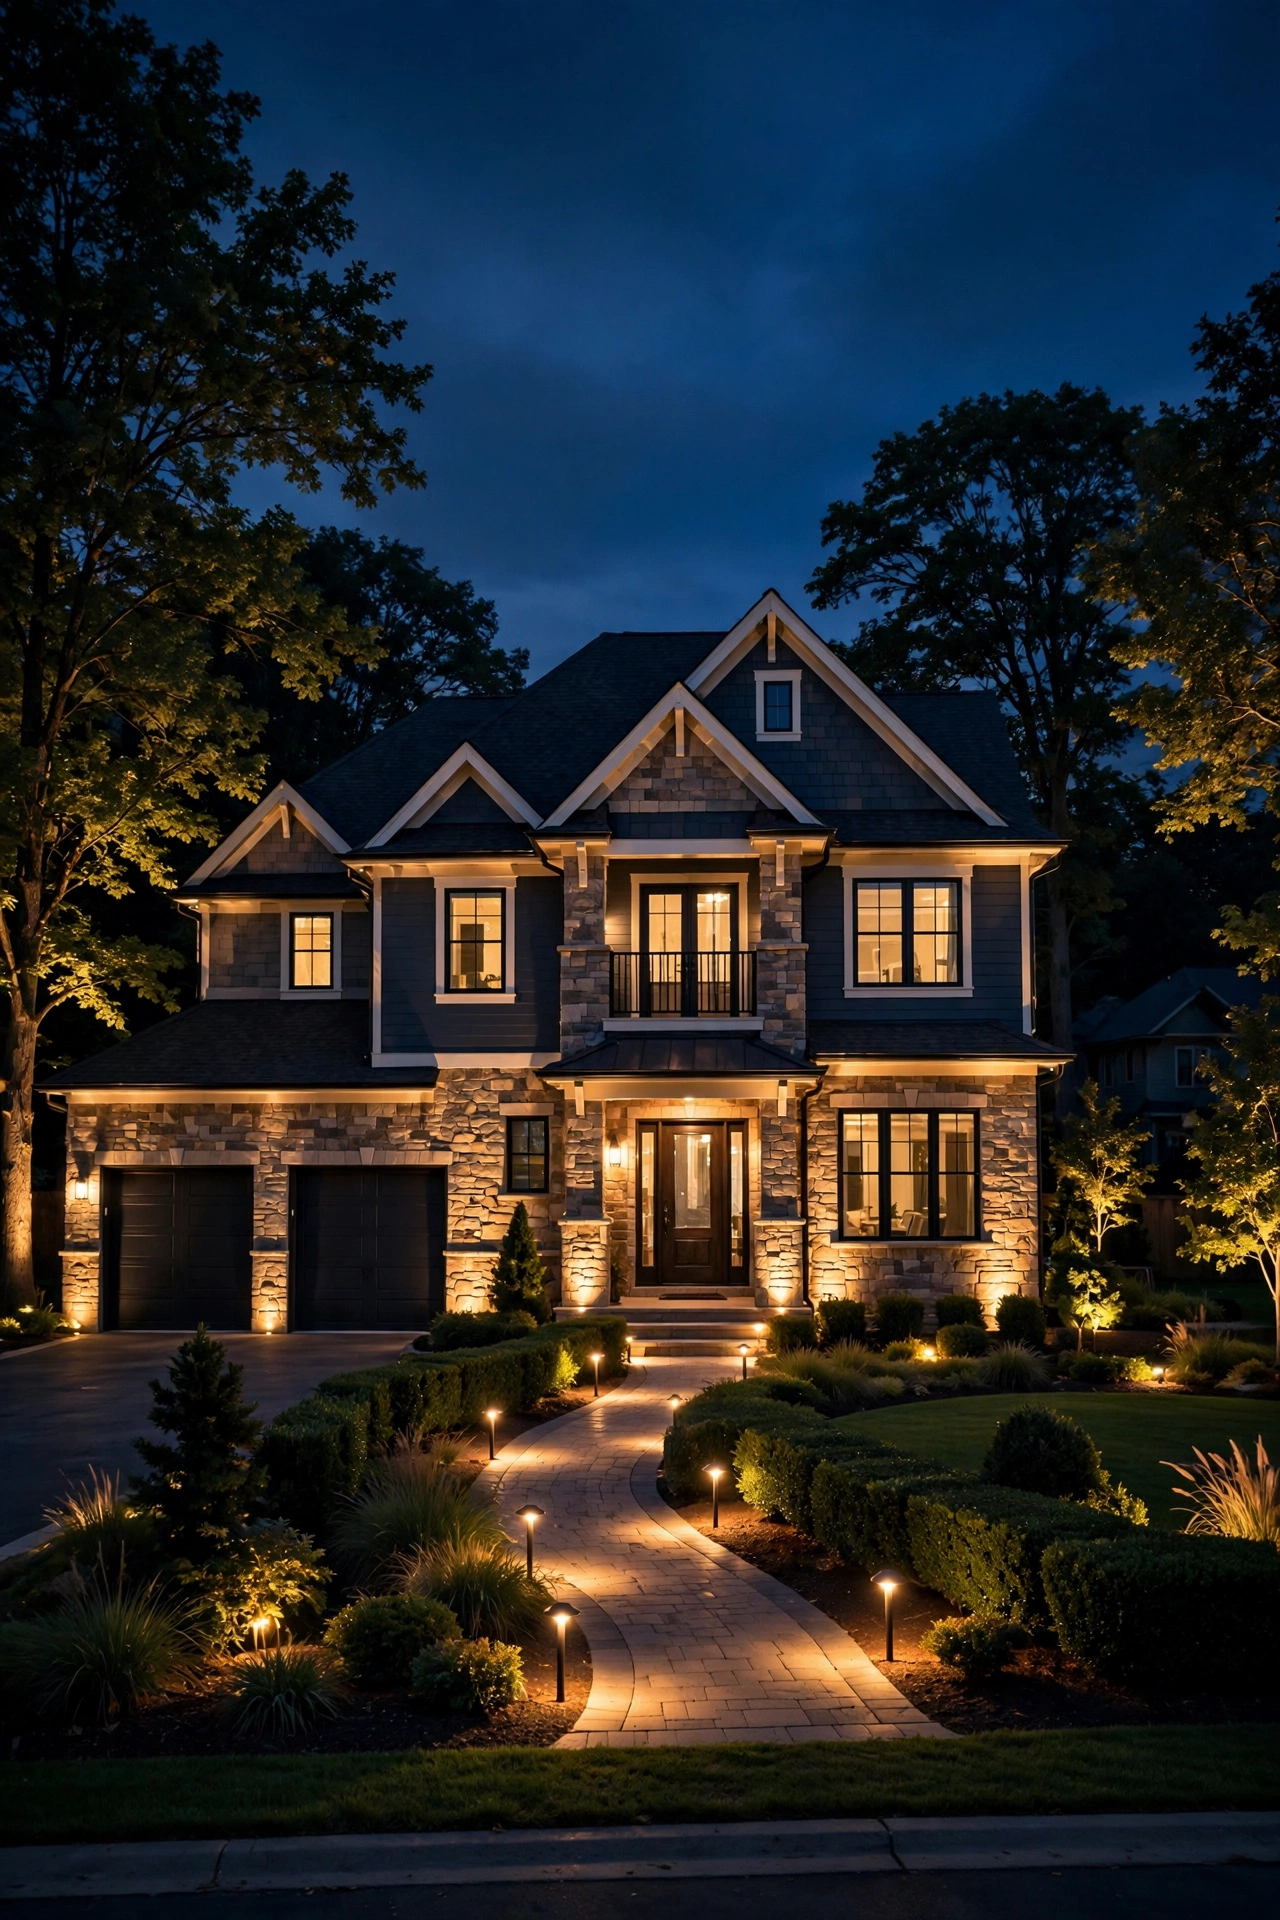
The facade zone is your money shot — the front of the house as seen from the street. Well lights or spotlights aimed up at the house wash the siding or brick in warm light and make the whole property look finished. Space them 8 to 12 feet apart and 2 to 3 feet out from the wall, aiming for a gentle wash rather than harsh hot spots.
The path zone covers walkways, driveways, and steps — anywhere people walk after dark. Stagger path lights 6 to 8 feet apart on alternating sides (never in a perfect double row, which reads as an airport runway). If your walkway setup needs more detail, my low-voltage path light placement guide goes deep on spacing, height, and beam angles.
The tree zone is where the magic lives. One well-placed spotlight aimed up into a mature canopy creates that jaw-dropping magazine-yard glow; two lights per large tree (from different angles) looks even better. This is the zone most beginners skip and the one that delivers the most drama per dollar.
The bed and accent zone covers flower beds, sculptures, water features, and anything else worth a little evening attention. Small spotlights and well lights tucked into plantings create layers of depth — this is what separates a "lit yard" from a "designed yard."
Plan your transformer location first (near a GFCI outlet, ideally central to the zones), then draw each zone's cable run on your sketch with rough lengths. That sketch becomes your shopping list: fixture counts, cable length, and total wattage for transformer sizing. For more inspiration on how zones layer across a whole property, browse my lighting design ideas.

Wiring Methods Compared
Once your zones are sketched, decide how the cable connects everything. Three methods exist, and they're not equal — this choice decides whether far fixtures shine as bright as near ones.
| Wiring Method | How It Works | Voltage Drop | Best For |
|---|---|---|---|
| Daisy chain | One cable runs from the transformer past each fixture in sequence, tapping in along the way | Highest — every fixture downstream gets less voltage than the one before it | Short runs with few fixtures, where the total run stays under 50 feet |
| T-method | The transformer connects to the middle of the run, and fixtures branch off in both directions | Medium — each side of the run behaves like a shorter daisy chain, so drop is roughly halved | Medium runs where the transformer can sit near the center of the zone |
| Hub (spider) splice | A single heavy cable runs to a central waterproof hub, and each fixture gets its own equal-length home run back to the hub | Lowest — every fixture sees the same cable length, so all receive equal voltage | Longer runs, many fixtures, and any layout where even brightness matters most |
In my experience, the hub method wins for most homeowners. Yes, it uses more cable, but every light gets the same voltage — no dim tail end, no compensating with higher taps. The fixtures just match.
The daisy chain is what most DIY kits assume — fine for a half-dozen path lights along a short walkway. But twelve fixtures down a 120-foot run leaves the last three looking tired. The fix: split the run in two or rewire as a hub.
The T-method is the underrated middle child: if the transformer sits mid-zone — a patio with beds on both sides — running cable both ways halves the effective run length for free. No extra hardware, just smarter routing.
Whichever you choose, leave slack: coil an extra 2 to 3 feet of cable at every fixture and the transformer. You'll reposition things and add fixtures — future-you will be grateful.

Step-by-Step: Installing Your System
Got the plan and the parts? Installation is a satisfying weekend project — about a day per zone. Here's the process:
1. Mount the transformer. Hang it on the house wall or a post near your GFCI outlet, at least 12 inches off the ground and accessible for seasonal timer tweaks. Don't plug it in yet.
2. Lay out everything above ground first. Set fixtures in place (unstaked) and run cable loosely along your routes. At dusk, plug in the transformer and study the composition. Move anything that looks wrong — this dry run is the highest-value hour of the project.
3. Make your connections. Splice each fixture's lead wire to the main cable with waterproof gel-filled connectors. Strip carefully, twist firmly, seal completely — then tug-test every joint. If it pulls apart in your hands, it would have failed underground within a year.
4. Test at full dark before burying. Turn the system on after sunset and walk every zone. Check for dim fixtures, glare into windows or neighbors' eyes, and fixtures close enough to a walkway to get kicked. Adjust, reposition, re-test — only bury cable you're happy with.
5. Dig and bury. Cut a narrow 6-inch trench along your routes — a flat spade or lawn edger makes quick work of it. Lay the cable in, backfill, and tamp down. In lawns, slice the sod and tuck the cable under; it heals in a week or two. And yes: call 811 before you dig. It's free, it's the law in most states, and hitting a gas line would ruin your weekend.
6. Stake the fixtures and aim them. Push stakes firmly in (pre-dig with a screwdriver in hard soil), then aim: path lights straight down, spots up at 30 to 45 degrees, well lights flush against the facade. Walk the yard once more at night and fine-tune.
7. Set the timer and walk away. Program the photocell/timer for dusk-to-dawn or your preferred hours, then enjoy the best part: coming home to a glowing yard you designed yourself.

What It Costs in 2026
Let's talk real numbers, because "it depends" helps nobody. I've grouped this the way people actually buy: the starter kit, the full DIY system, and the pro install.
DIY starter kit ($150–$400): Big-box starter kits bundle a small transformer (usually 100–150 watts), 6 to 8 fixtures, and cable. They're the cheapest way to light one zone — say, a walkway or a small bed. Quality varies wildly; the fixtures are fine, but I usually tell people to budget an extra $30 for better waterproof connectors, because the ones in the box are the first thing to fail.
Full DIY system ($500–$1,500): This is the sweet spot for most homeowners. A quality 300-watt transformer ($120–$250), 15 to 25 LED fixtures at $25–$60 each, a couple hundred feet of 12-gauge cable ($60–$120), connectors, and a weekend of your time. A typical 20-fixture system lands around $800–$1,000 in materials and covers facade, paths, and two or three trees — a genuinely designed yard.
Professional install ($2,000–$5,000+): Pros bring design expertise, commercial-grade fixtures, and clean trenching. A typical 12-fixture pro job runs $2,500–$3,500; larger or more complex properties go higher. Worth it if you want a flawless result with zero weekends spent, or if your yard has drainage, hardscape, or mature trees that complicate trenching.
Running costs are the pleasant surprise. Let's do the math: 20 fixtures averaging 5 watts is 100 watts total. Run them 6 hours a night: 100W × 6h = 600 watt-hours, or 0.6 kWh per day. At the US average of about $0.17 per kWh, that's roughly 10 cents a night — about $37 a year. The old halogen equivalent would have cost ten times that. LED efficiency is the reason low-voltage lighting went from luxury to no-brainer, and it's why I never hesitate to recommend adding "just one more zone."
7 Mistakes That Ruin a Low Voltage Landscape Lighting Design
I've made most of these myself over the years, so learn from my tuition payments:
1. Undersizing the transformer. The classic. Someone totals 280 watts of fixtures and buys a 300-watt transformer "because it fits." At 93 percent load, it runs hot, hums, and dies early. Always size to 80 percent — multiply your load by 1.25 and buy that.
2. Running everything on 16-gauge wire. Thin wire is fine for a short path-light run and terrible for everything else. If your far fixtures are dim, this is almost always why. Default to 12-gauge for main runs and the problem disappears.
3. Daisy-chaining a dozen fixtures down one long run. Each fixture downstream gets less voltage than the last. Split long runs, use the T-method, or go hub-style — your last fixture will thank you with actual brightness.
4. Skipping the sketch. Buying fixtures before planning zones is how you end up with eight path lights and nowhere sensible to put them. Paper first, shopping cart second.
5. Mixing color temperatures. Half your fixtures at warm 2700K and half at cool 4000K makes the yard look like two different projects. Pick one temperature — I always recommend 2700K to 3000K for that cozy residential glow — and buy all fixtures to match.
6. Using the cheap connectors from the kit. Water intrusion at a splice is the number one cause of "half my lights went out" service calls. Gel-filled waterproof connectors cost a couple of dollars each and eliminate the problem.
7. Aiming lights into windows (yours and the neighbors'). A spotlight aimed at the facade from too close throws glare straight through the glass, and an uplight near the property line can flood the neighbor's bedroom. Test everything at night before you bury, and adjust any fixture that creates glare.
Safety and Electrical Basics
Low voltage is forgiving, but "forgiving" isn't "rule-free." These are the non-negotiables I give every homeowner before they start.
Outdoor-rated everything. Every fixture, connector, and the transformer itself must be rated for outdoor/wet locations. Indoor-rated components in a mulch bed are a short circuit waiting for a rainstorm. Look for IP65 or higher on fixtures, and "direct burial" printed on your cable jacket.
GFCI protection is mandatory. Your transformer must plug into a GFCI-protected outlet — the kind with the little test/reset buttons. If your outdoor outlet isn't GFCI, replace it or have it replaced before you start. This is the one place where 120 volts enters the picture, and GFCI is what keeps a wet transformer from becoming dangerous.
Bury cable 6 inches deep. That's the standard depth for low-voltage landscape cable — deep enough to survive aerators, edgers, and casual digging, shallow enough to find later. In lawn areas, slice the sod and tuck it under; in beds, the mulch usually covers it with room to spare.
Call 811 before you dig. This is free, it's available in every state, and utility companies will mark buried lines within a few days. Your 6-inch trench won't hit most utilities, but "most" isn't "all," and the call takes five minutes. I treat it as part of the project, not an optional extra.
Don't overload outdoor circuits. A 300-watt transformer draws about 2.5 amps at 120 volts — trivial for a standard 15-amp outdoor circuit. But if that same circuit also feeds a pond pump, holiday lights, and a bug zapper, do the math and make sure you're under 80 percent of the circuit rating.
Respect the transformer. Mount it where it can breathe (not sealed in a box), keep it off the ground, and never bypass its internal circuit protection. If a breaker in the transformer keeps tripping, that's it telling you something is wrong — find the short, don't defeat the safety.
Maintenance and Seasonal Tips
The good news: a well-installed low-voltage system is nearly maintenance-free. The realistic news: "nearly" still means a little attention twice a year, and ten minutes of it prevents 90 percent of problems.
Spring checkup: Walk the system at night and look for dim or dead fixtures — winter frost heave can loosen stakes and connections. Clean the lenses (a damp cloth; mineral deposits and mulch dust cut light output more than you'd think), trim back any plant growth blocking the beams, and check that the timer schedule still matches the longer days.
Fall checkup: Clear fallen leaves off well lights and path-light lenses — a lens buried under wet leaves is a lens doing nothing. Re-aim any spotlights that got bumped by mowers or kids over the summer. If you're in a snow zone, mark fixture locations before the first snowfall so the snowblower doesn't find them the hard way.
Every couple of years: Check connector splices for corrosion (especially in the cheapest connectors — see mistake #6), and inspect cable runs where mulch has thinned out. LED fixtures themselves last 25,000 to 50,000 hours — at 6 hours a night, that's 11 to 20 years — so when a fixture dies young, it's almost always the connection, not the LED.
Seasonal decorating bonus: Because your system is already wired, low-voltage outlets and cable runs make holiday lighting dramatically easier. A spare run to the front beds means your Christmas spotlights plug into the existing system instead of extension cords snaking across the lawn. Plan one "holiday" run during your initial install and future-December-you will be delighted.

Frequently Asked Questions
How much does low-voltage landscape lighting cost?
A DIY starter kit covering one zone runs $150–$400. A full DIY system — a quality 300-watt transformer, 15 to 25 LED fixtures, cable, and connectors for a typical single-family yard — lands around $500–$1,500 in materials. Professional installation typically costs $2,000–$5,000 depending on fixture count and yard complexity. Running costs are tiny: a 20-fixture LED system running 6 hours a night costs roughly $35–$40 a year in electricity.
Can I install low-voltage landscape lighting myself, or do I need an electrician?
Most homeowners can DIY it. Because the yard-side wiring is only 12 volts, no electrician or permit is required in most areas — you're essentially plugging in an appliance and running safe low-voltage cable. The one electrical task that matters is making sure your transformer plugs into a GFCI-protected outdoor outlet. Call a pro if you don't have an outdoor outlet at all, if your yard is very large with runs over 150 feet, or if you simply want a designer-level result without the weekends.
How deep do I need to bury low-voltage landscape wire?
Six inches is the standard depth — deep enough to protect the cable from aerators, edgers, and casual digging, but shallow enough to find if you ever need to. In lawn areas you can slice the sod, tuck the cable underneath, and press the sod back into place. In mulch beds, the mulch itself often provides most of the coverage. And always call 811 before digging, even for a shallow trench — it's free and it's the law in most states.
How many fixtures can I put on one transformer?
It depends on wattage, not fixture count. Take the transformer's rating, multiply by 0.8 (the safe-load rule), and divide by your fixtures' average wattage. Example: a 300-watt transformer gives you 240 usable watts; with 5-watt LED fixtures, that's 48 fixtures. Most single-family yards fit comfortably on one 300-watt transformer. If your math says you need more, split the yard into two zones with two smaller transformers — shorter wire runs and built-in redundancy.
How long do LED landscape lights last?
LED landscape fixtures are typically rated for 25,000 to 50,000 hours. At 6 hours of use per night, that's roughly 11 to 22 years of service. In practice, the LED itself almost never dies first — what fails is usually a corroded wire connection or a fixture damaged by a mower or snowblower. That's why waterproof connectors and a little seasonal maintenance matter more than the brand of fixture you buy.
Conclusion
Low voltage landscape lighting design isn't really about electricity — it's about decisions. Size the transformer to 80 percent of its rating, run 12-gauge cable on your long runs, wire in hubs so every fixture gets equal power, and sketch your zones before you spend a dollar. Get those four right and the installation itself is the easy part: a weekend, a trench six inches deep, and the deeply satisfying moment when you flip the timer and your whole yard glows.
Start small if you want — one zone, one weekend, one transformer — and expand from there. Your yard will tell you what it needs next. And when you're ready for more inspiration, browse the rest of the lighting ideas on the site; there's a whole library of placement guides and design tricks waiting for your next project.