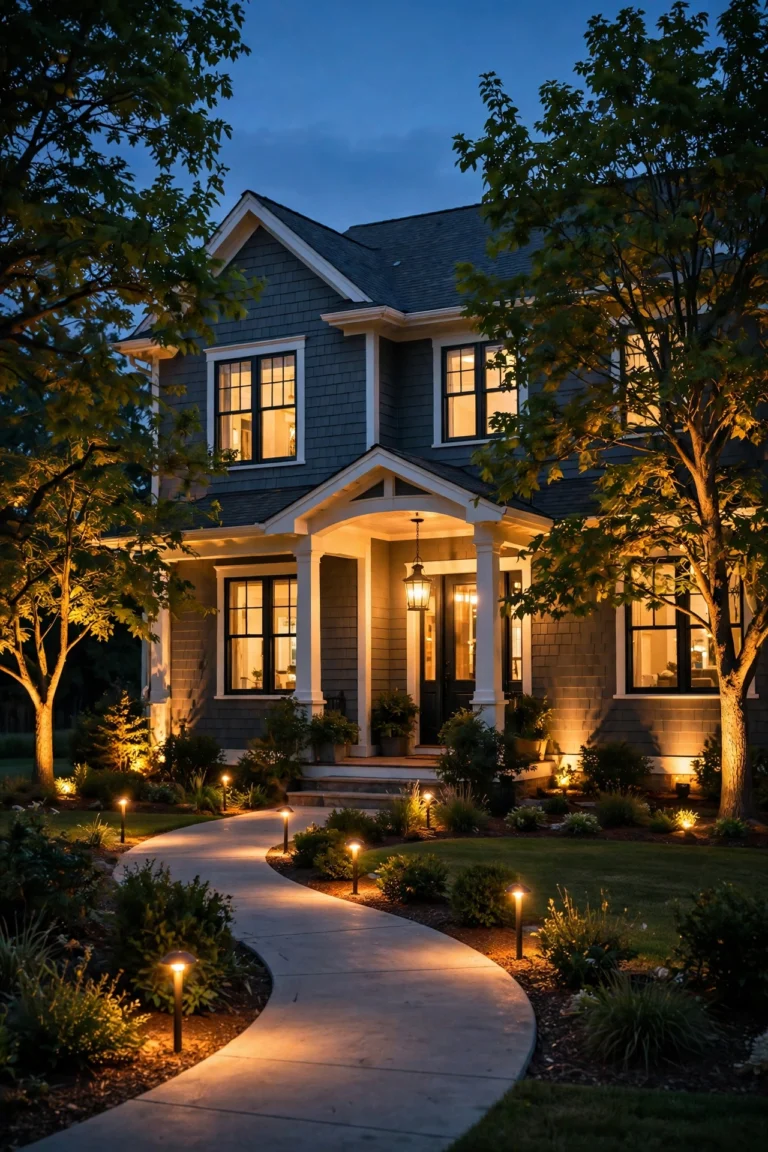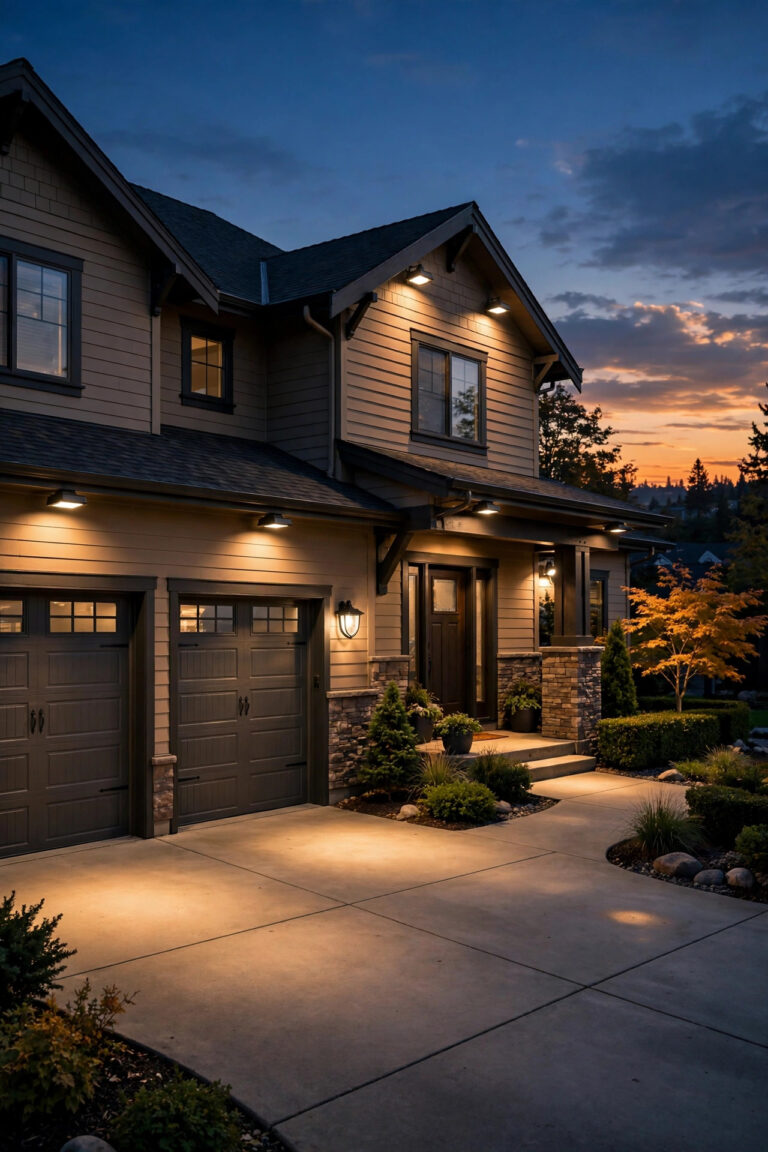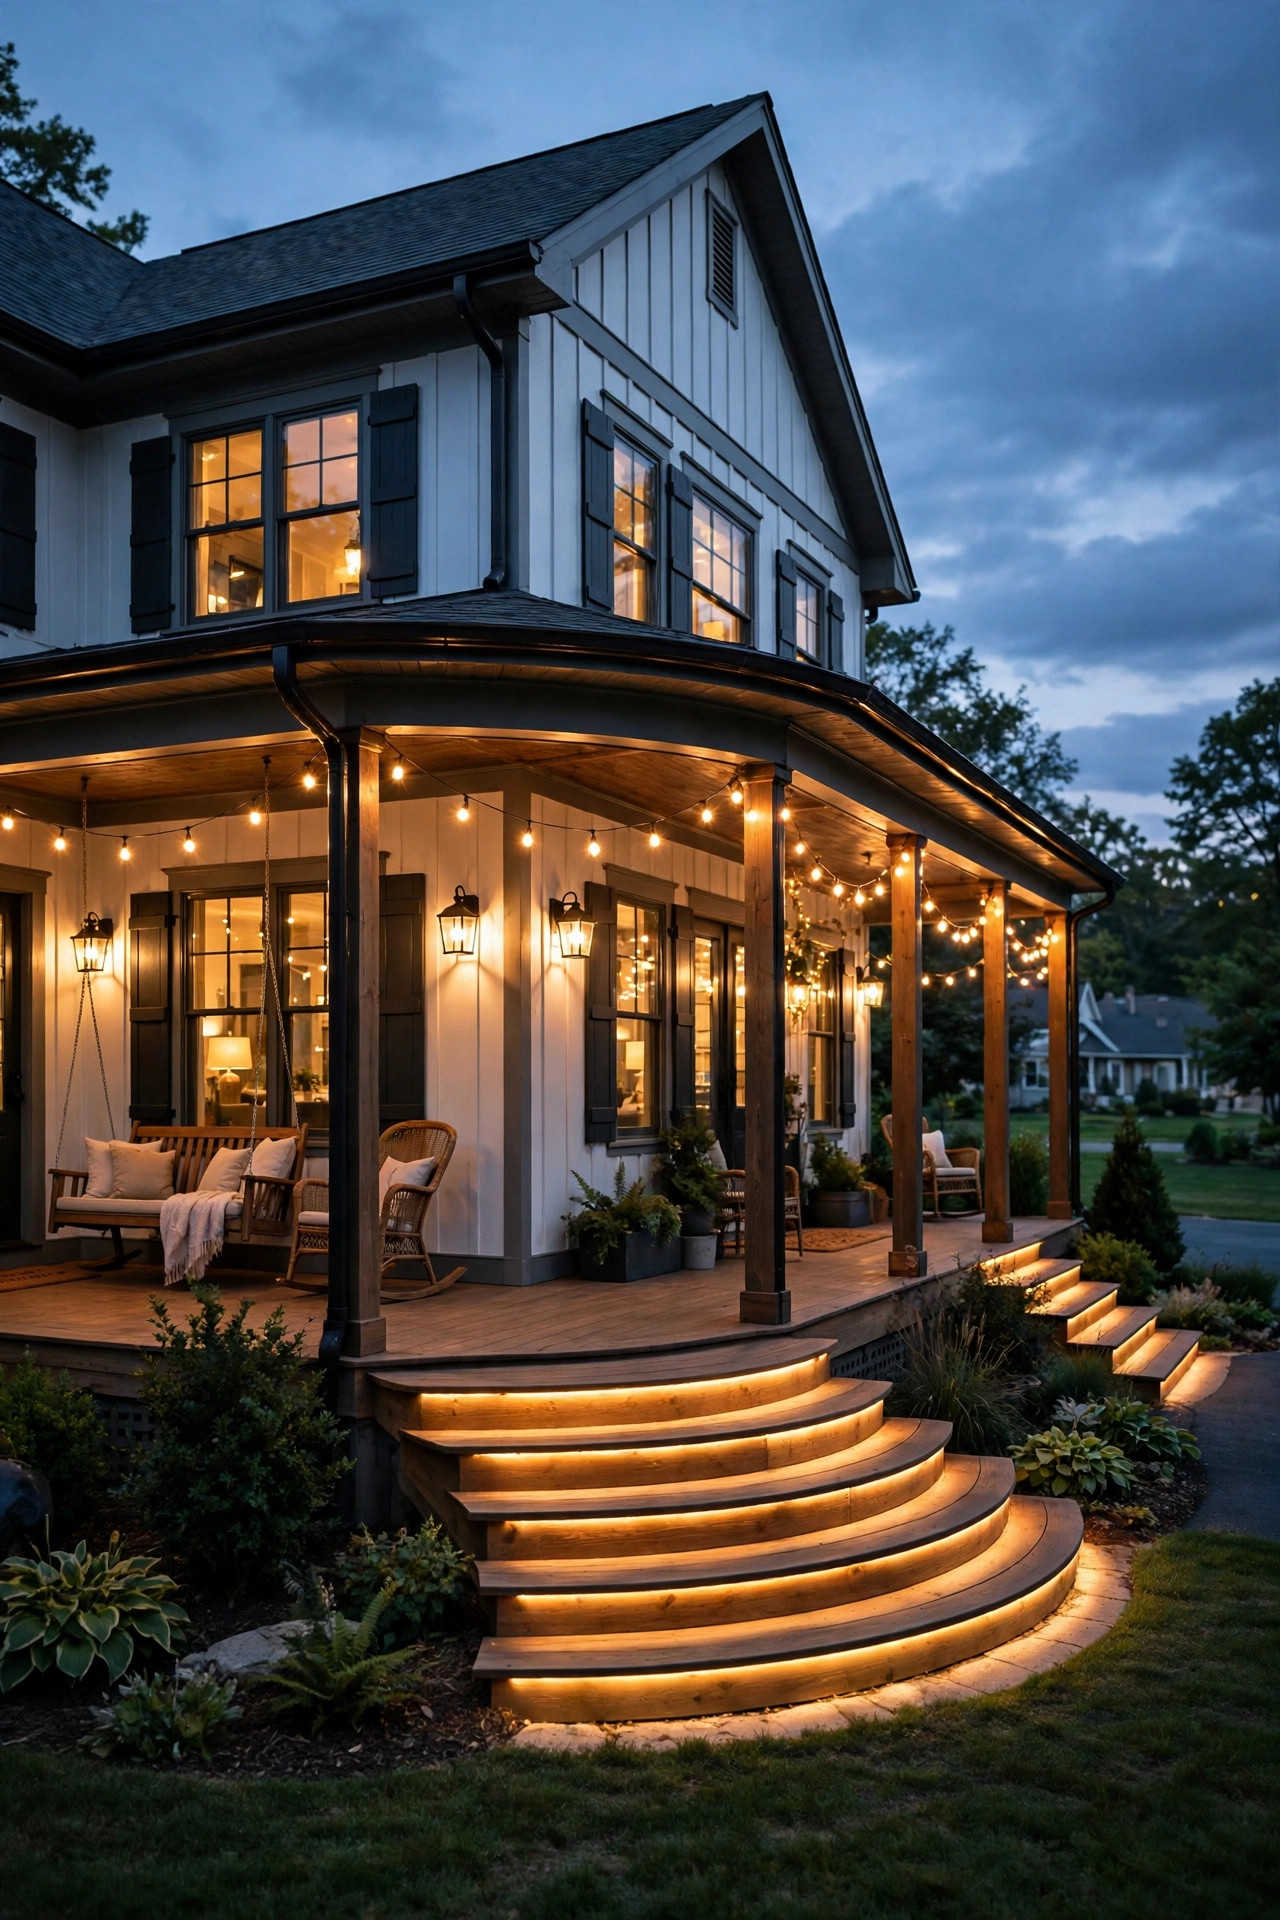
A wraparound porch is really three or four outdoor rooms stitched together — the front welcome, the shady side lounge, the workhorse door by the driveway — and it deserves lighting that treats it that way. The best wraparound porch lighting ideas plan the whole loop as one connected space instead of lighting the front door and forgetting the rest. In my experience, the secret is layering with a rhythm: one main light source repeated at a steady spacing, a softer glow for steps and rails, and a few accents where the porch turns a corner or meets the garden. Keep every bulb in the same warm family, 2700K to 3000K, and the whole house reads as one calm, golden exhale after dark. Below are 19 ways to light every side of the house, front steps to side gate, each with the placement details and honest budget I'd want before drilling a hole. If your front span is still bare, my front porch lighting ideas primer covers the entry basics this plan builds on.
1. Plan Wraparound Porch Lighting Ideas as One Loop, Not Three Porches
Before you buy anything, walk the full loop at dusk with a flashlight and a notepad, because a wraparound fails when each side gets lit in a different style, brightness, and color temperature. Pick one lighting recipe and repeat it: same fixture finish, same bulb temperature, same mounting height, marching around the house every 8 to 10 feet. That repetition is what makes a long porch feel designed instead of accumulated. I always recommend sketching the loop and marking three things per side — the doors, the stairs, and the corners — because those are the spots that need light; everything between them is ambience you can add cheaply later. Buy one sample fixture and one bulb first, live with it for two evenings, then order the full set once you love the color. This planning pass also reveals practical problems early: the side with no outlet, the low ceiling over the back stretch, the corner where a bright light would blast a neighbor's bedroom window. An hour of planning saves a season of mismatched returns. Suggested budget range: $120 – $300.
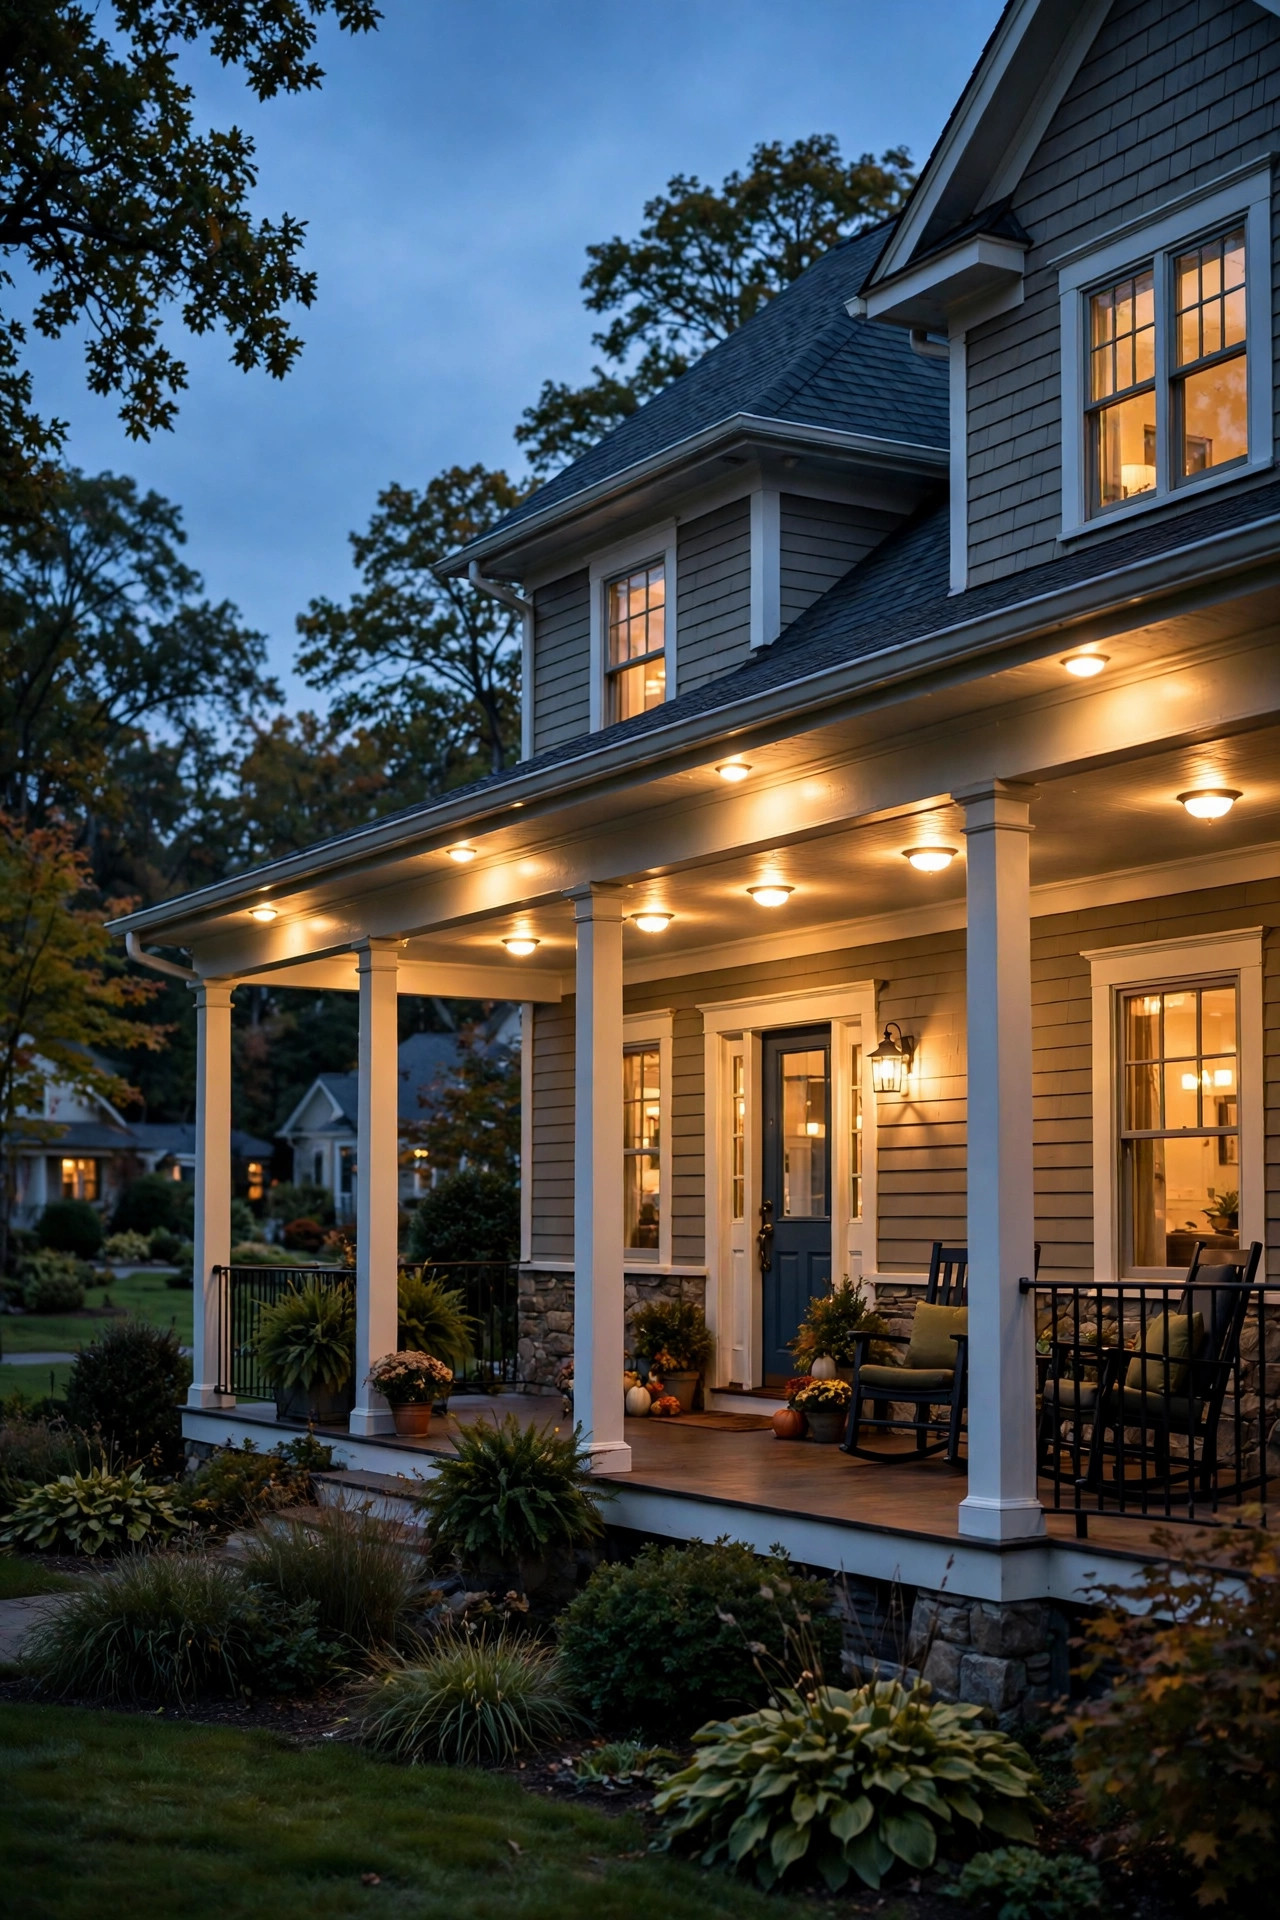
2. Run Ceiling Lights Down the Front Span for the Main Glow
The front span carries the welcome, so give it the primary layer: ceiling-mounted lights spaced evenly down its length. On a porch ceiling 8 to 10 feet high, flush mounts or shallow semi-flush fixtures every 6 to 8 feet give even, shadow-free light without the hotspots a single central fixture creates. Choose wet-location-rated fixtures — porch ceilings still catch wind-driven rain — and frosted or seeded glass to soften glare for anyone sitting below. Warm 2700K LED bulbs around 800 lumens each are plenty; a porch should glow, not interrogate. If your ceiling has beadboard, center each fixture on a panel seam or a beam bay so the rhythm looks intentional from the street. Renters and low-ceiling porches can fake this layer with two or three plug-in swag pendants on hooks, cords run neatly along the beams. My porch ceiling light ideas guide compares flush, semi-flush, and recessed options if you're choosing fixtures. This is the layer you'll switch on every single evening, so spend here first. Suggested budget range: $180 – $520.
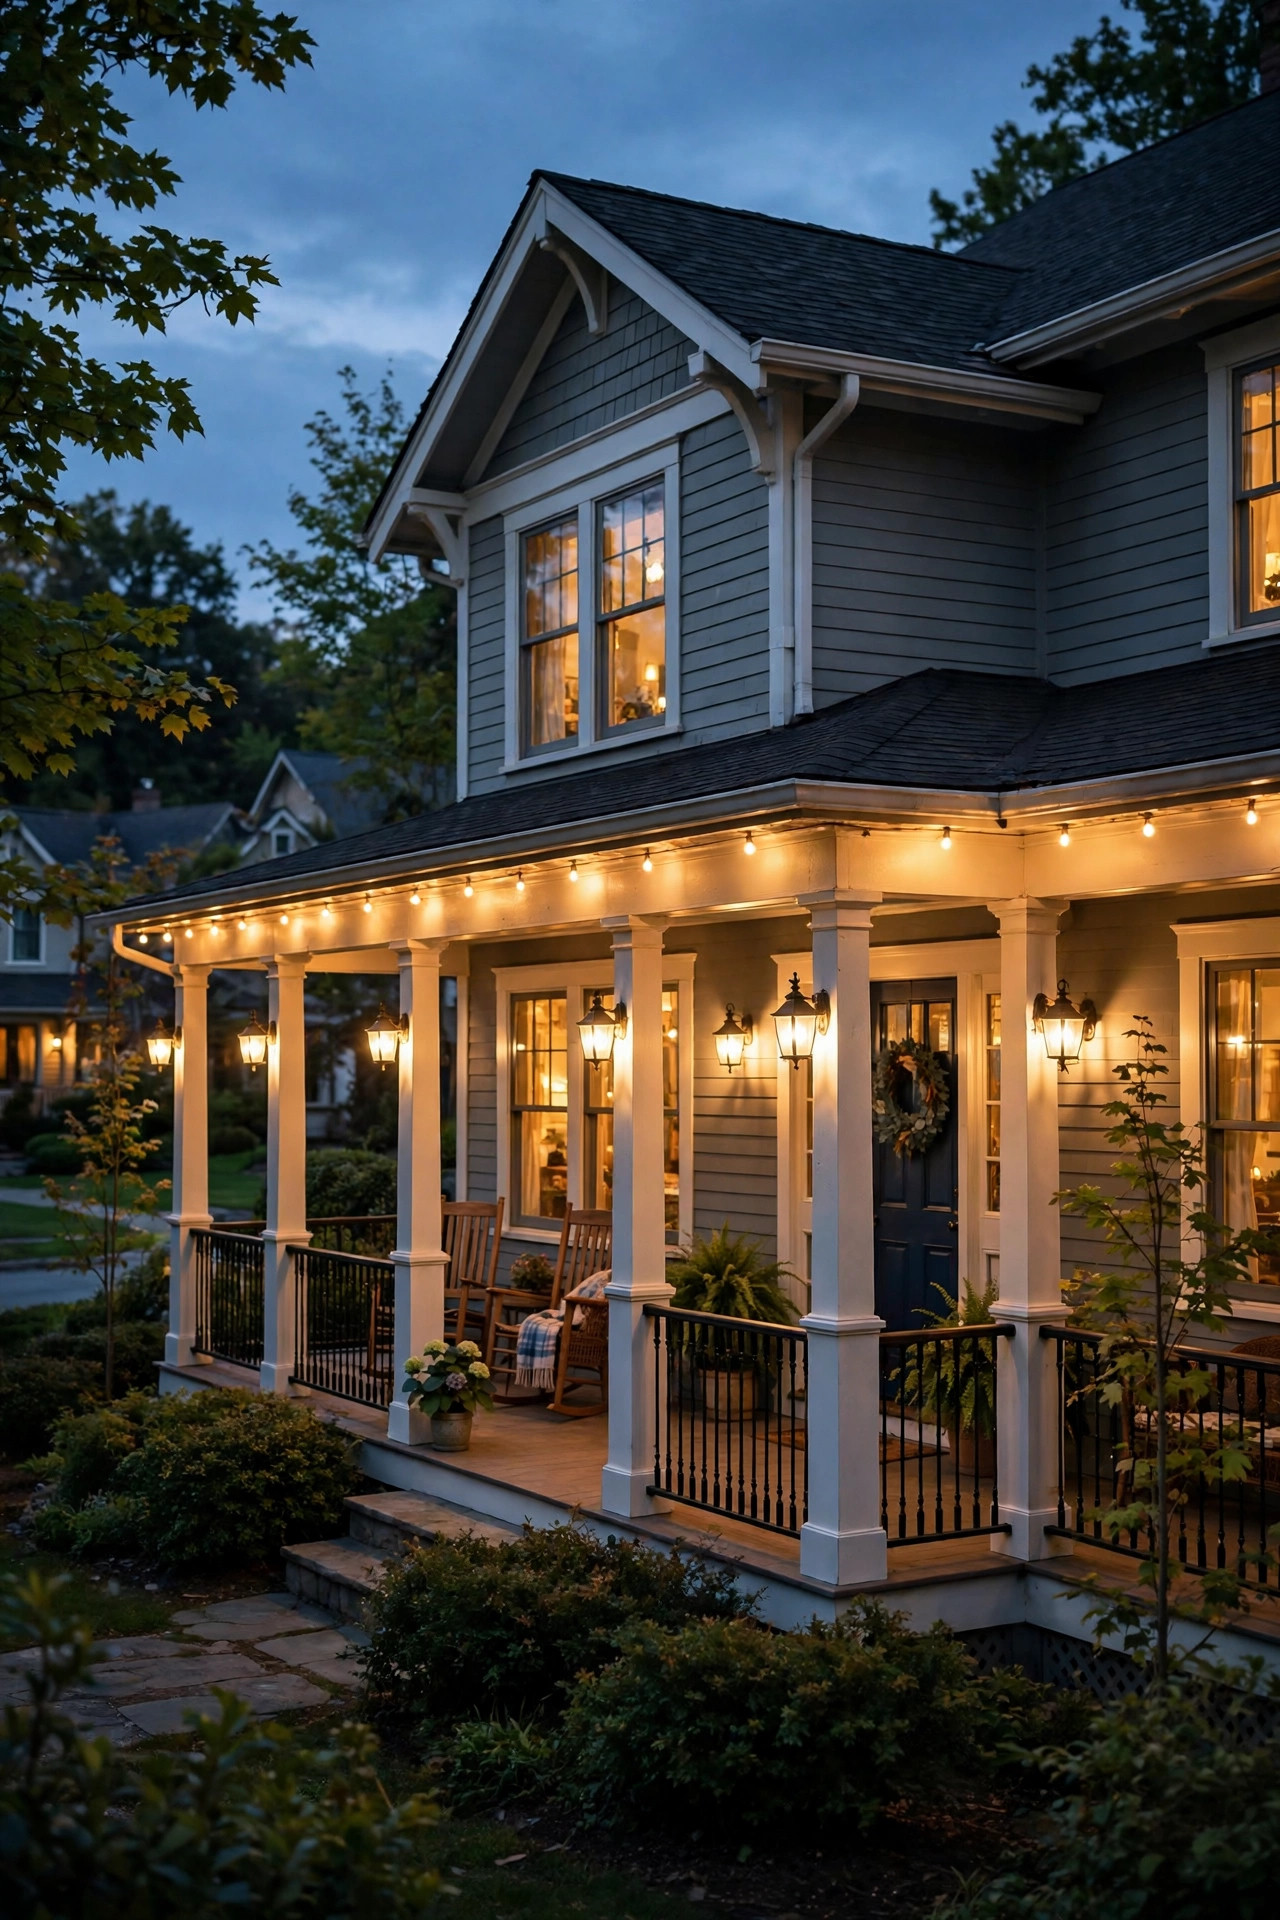
3. Carry Matching Sconces Around Every Door and Corner
Ceiling light washes the floor, but sconces are what make a porch feel furnished — and on a wraparound, they are the repeating beat that ties the sides together. Mount the same sconce style beside every exterior door the porch touches: front door, side door, kitchen door, even the mudroom entry around back. Keep the mounting height consistent, with the bulb center about 66 to 72 inches above the porch floor, so your eye reads one calm line as it travels around the house. Matching finish matters more than matching size; a slightly smaller version of the same lantern on the side door still reads as family. Use 2700K bulbs at 450 to 800 lumens, and choose fixtures with the bulb shielded or shaded downward if the sconce sits near seating, because bare bulbs at eye level are the number-one porch glare complaint I hear. Around corners, a sconce on the last post of each run quietly announces the turn and keeps that hinge point from going dark. Suggested budget range: $90 – $260.
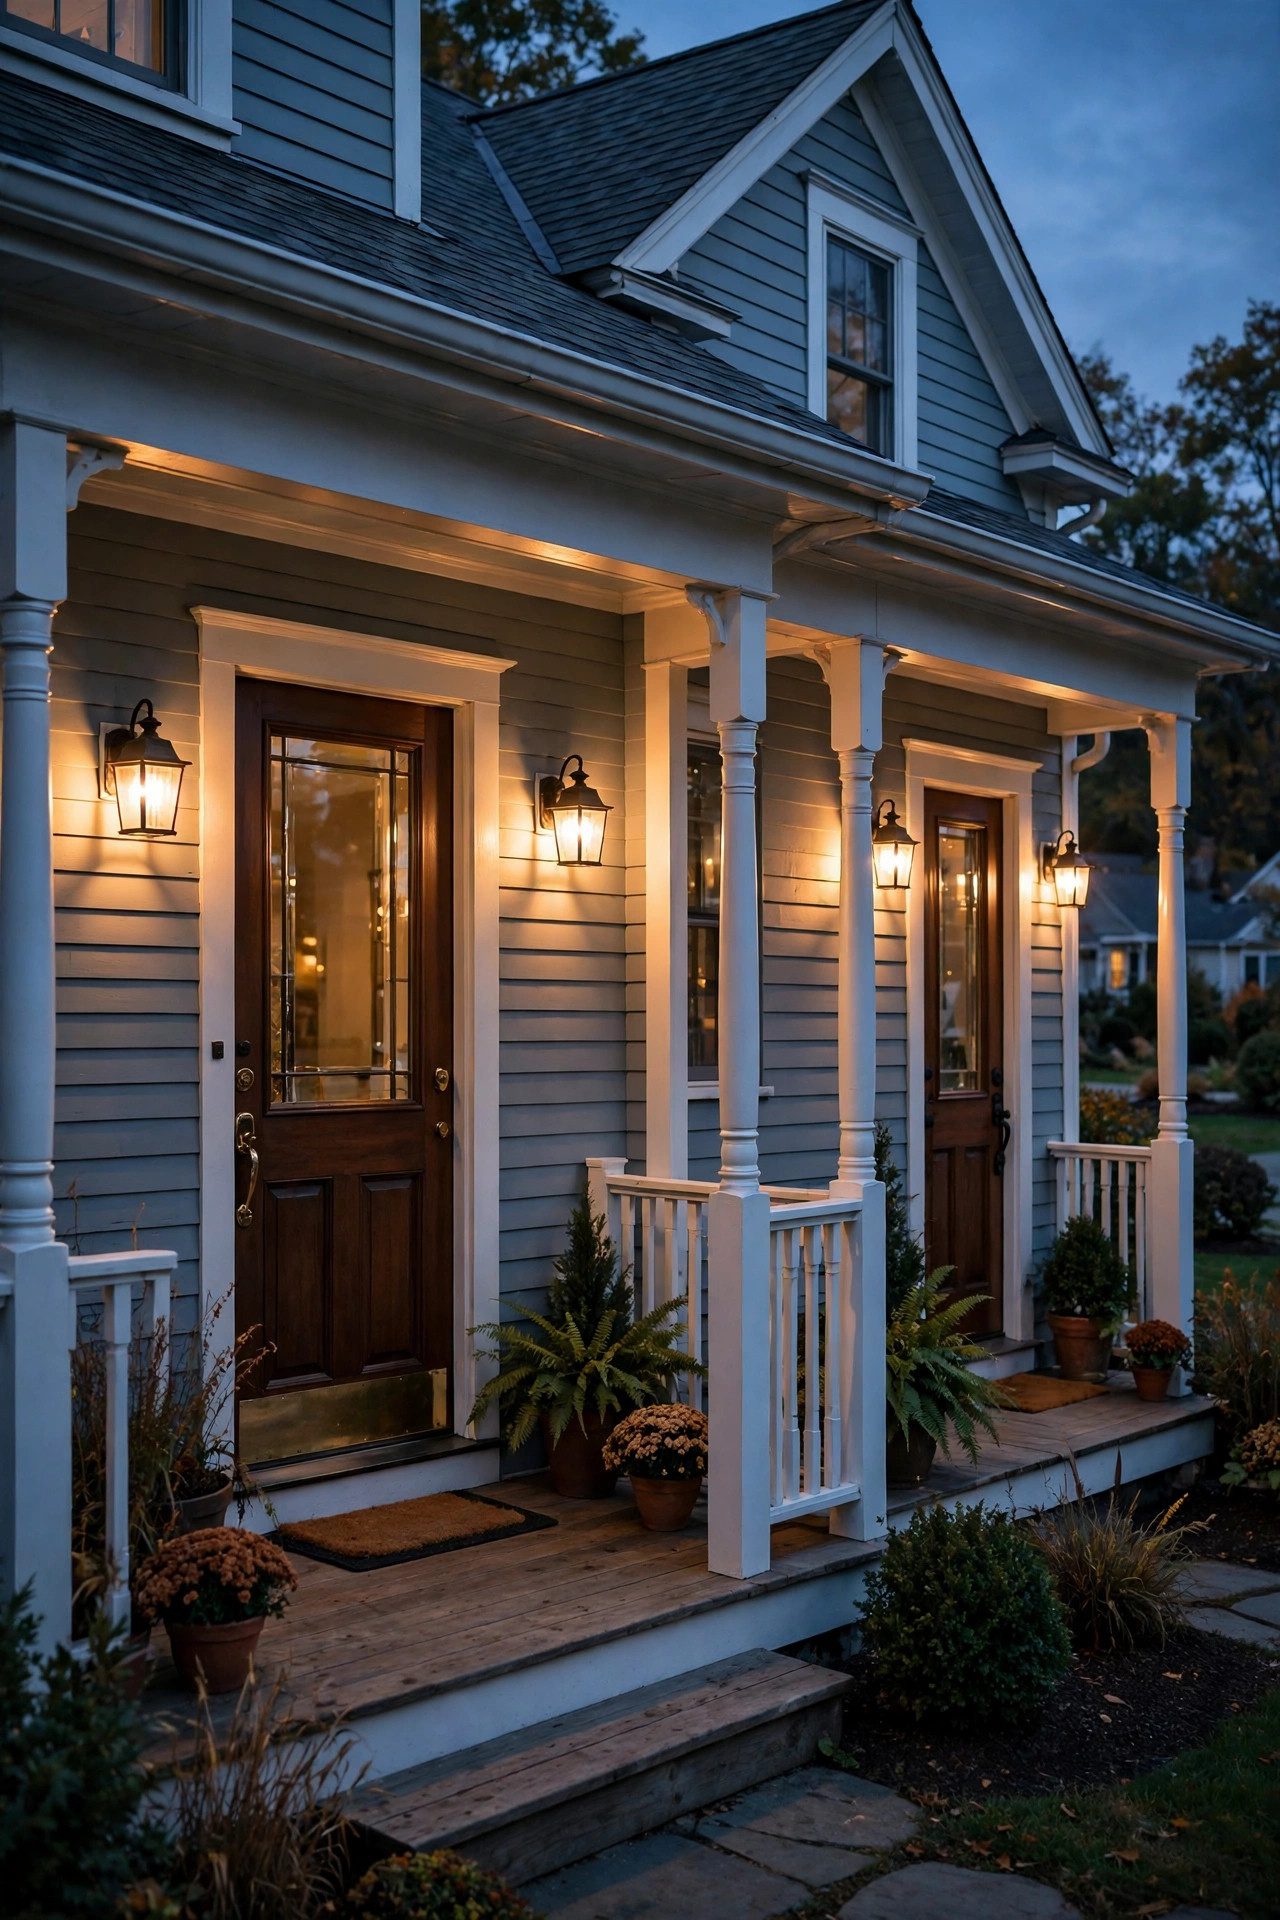
4. Hang Lantern Pendants Where the Porch Turns
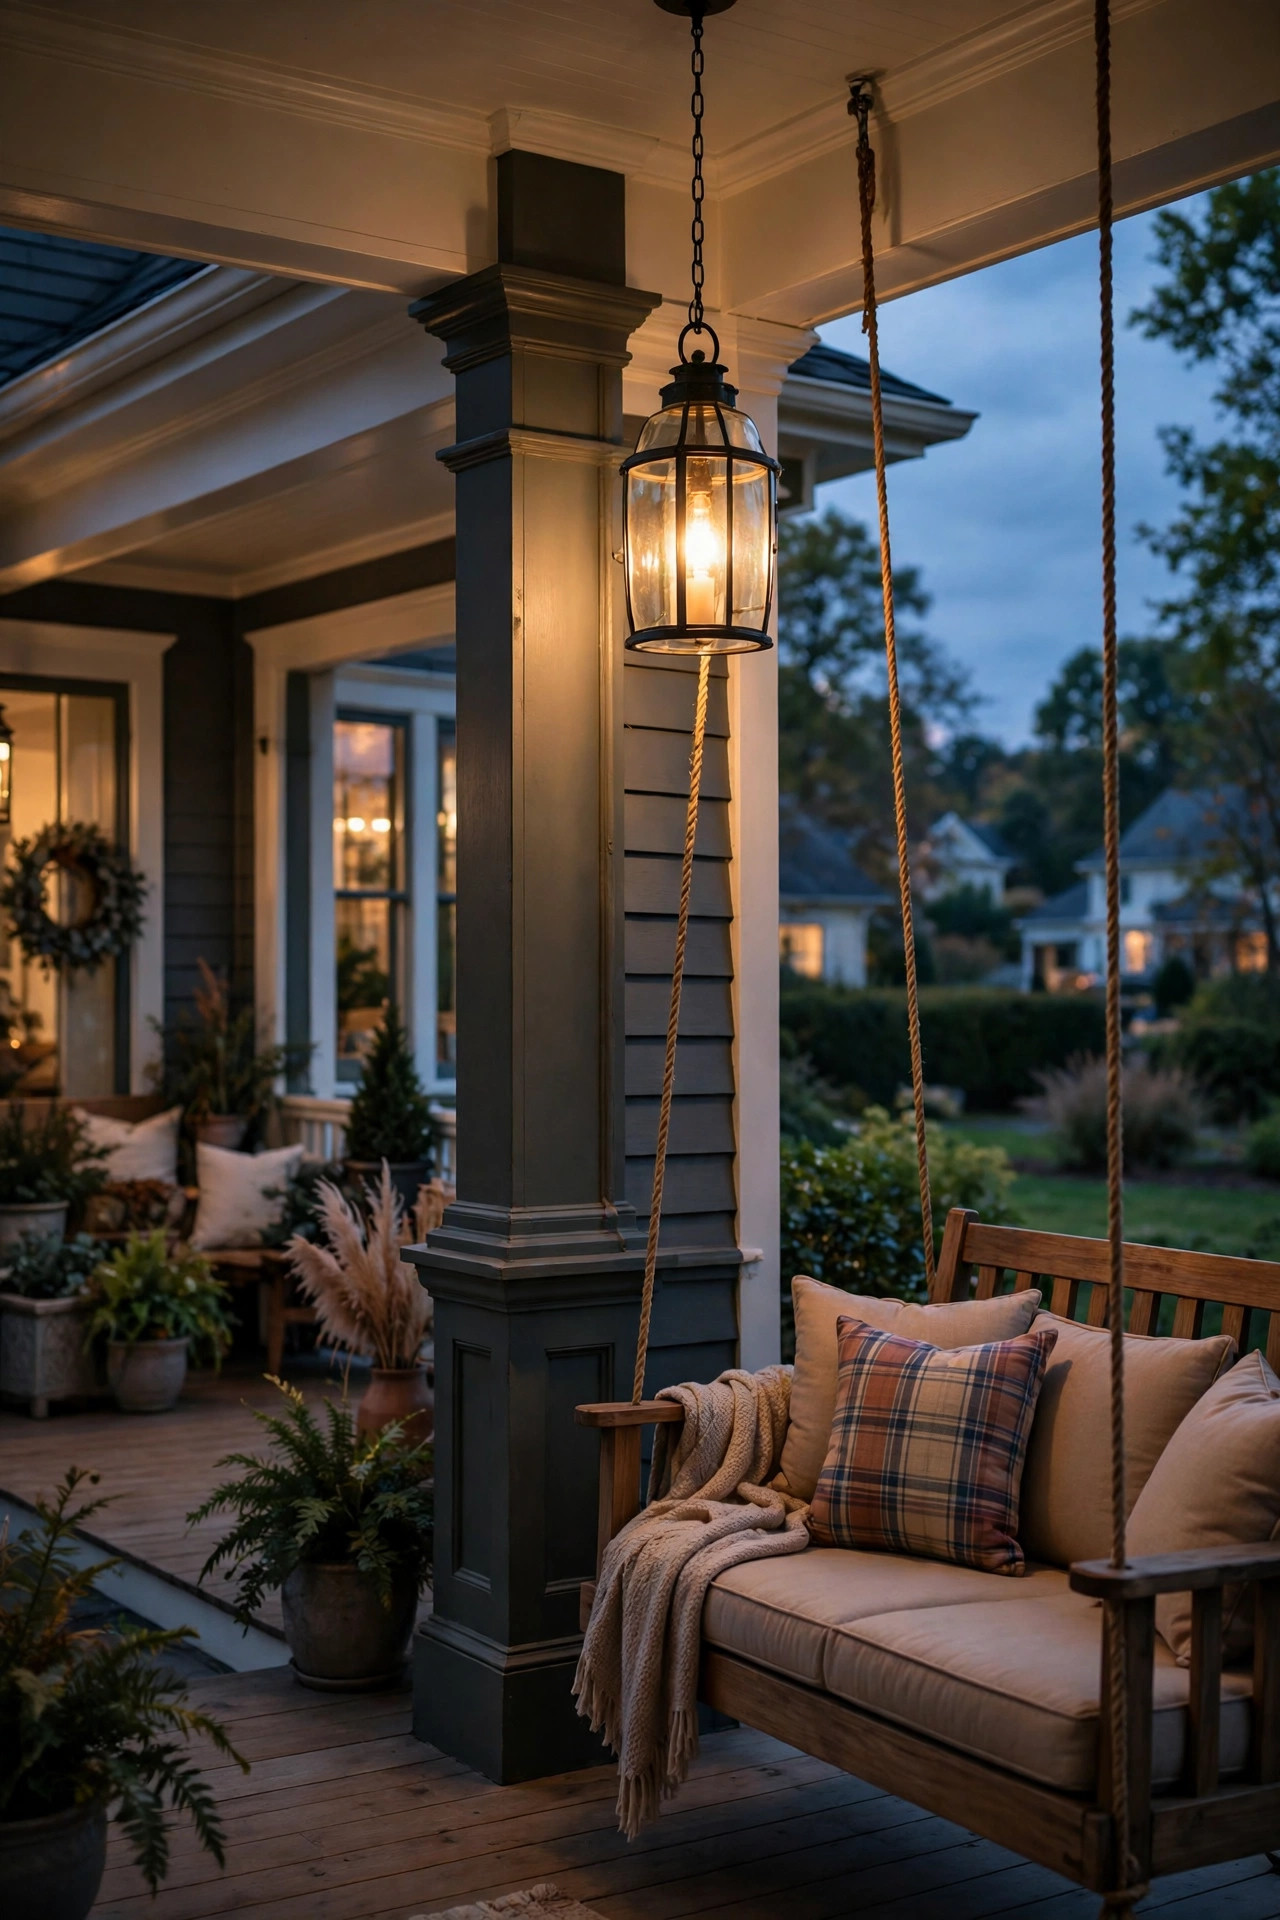
Corners are where wraparound porches earn their charm — the swing turns toward the side yard, the view opens up — and a hanging lantern marks that moment beautifully. Suspend one pendant or lantern from the ceiling at each major turn, centered over the corner seating or the swing rather than over the walking path. Hang it so the bottom of the fixture sits at least 6 feet 8 inches above the floor where people pass, and a little lower, around 6 feet, over a stationary swing or chair grouping where nobody walks beneath. A short chain and a ceiling hook rated for the fixture's weight do the job; add a swag hook if the junction box isn't where you want the light. Glass lantern styles with LED filament bulbs give that candlelit flicker of warmth without a real flame near wood and cushions. On windy stretches, choose a heavier fixture or a semi-flush look-alike, because a light lantern on a long chain will tap the post all night. Suggested budget range: $140 – $380.
5. Swag String Lights Along the Whole Perimeter
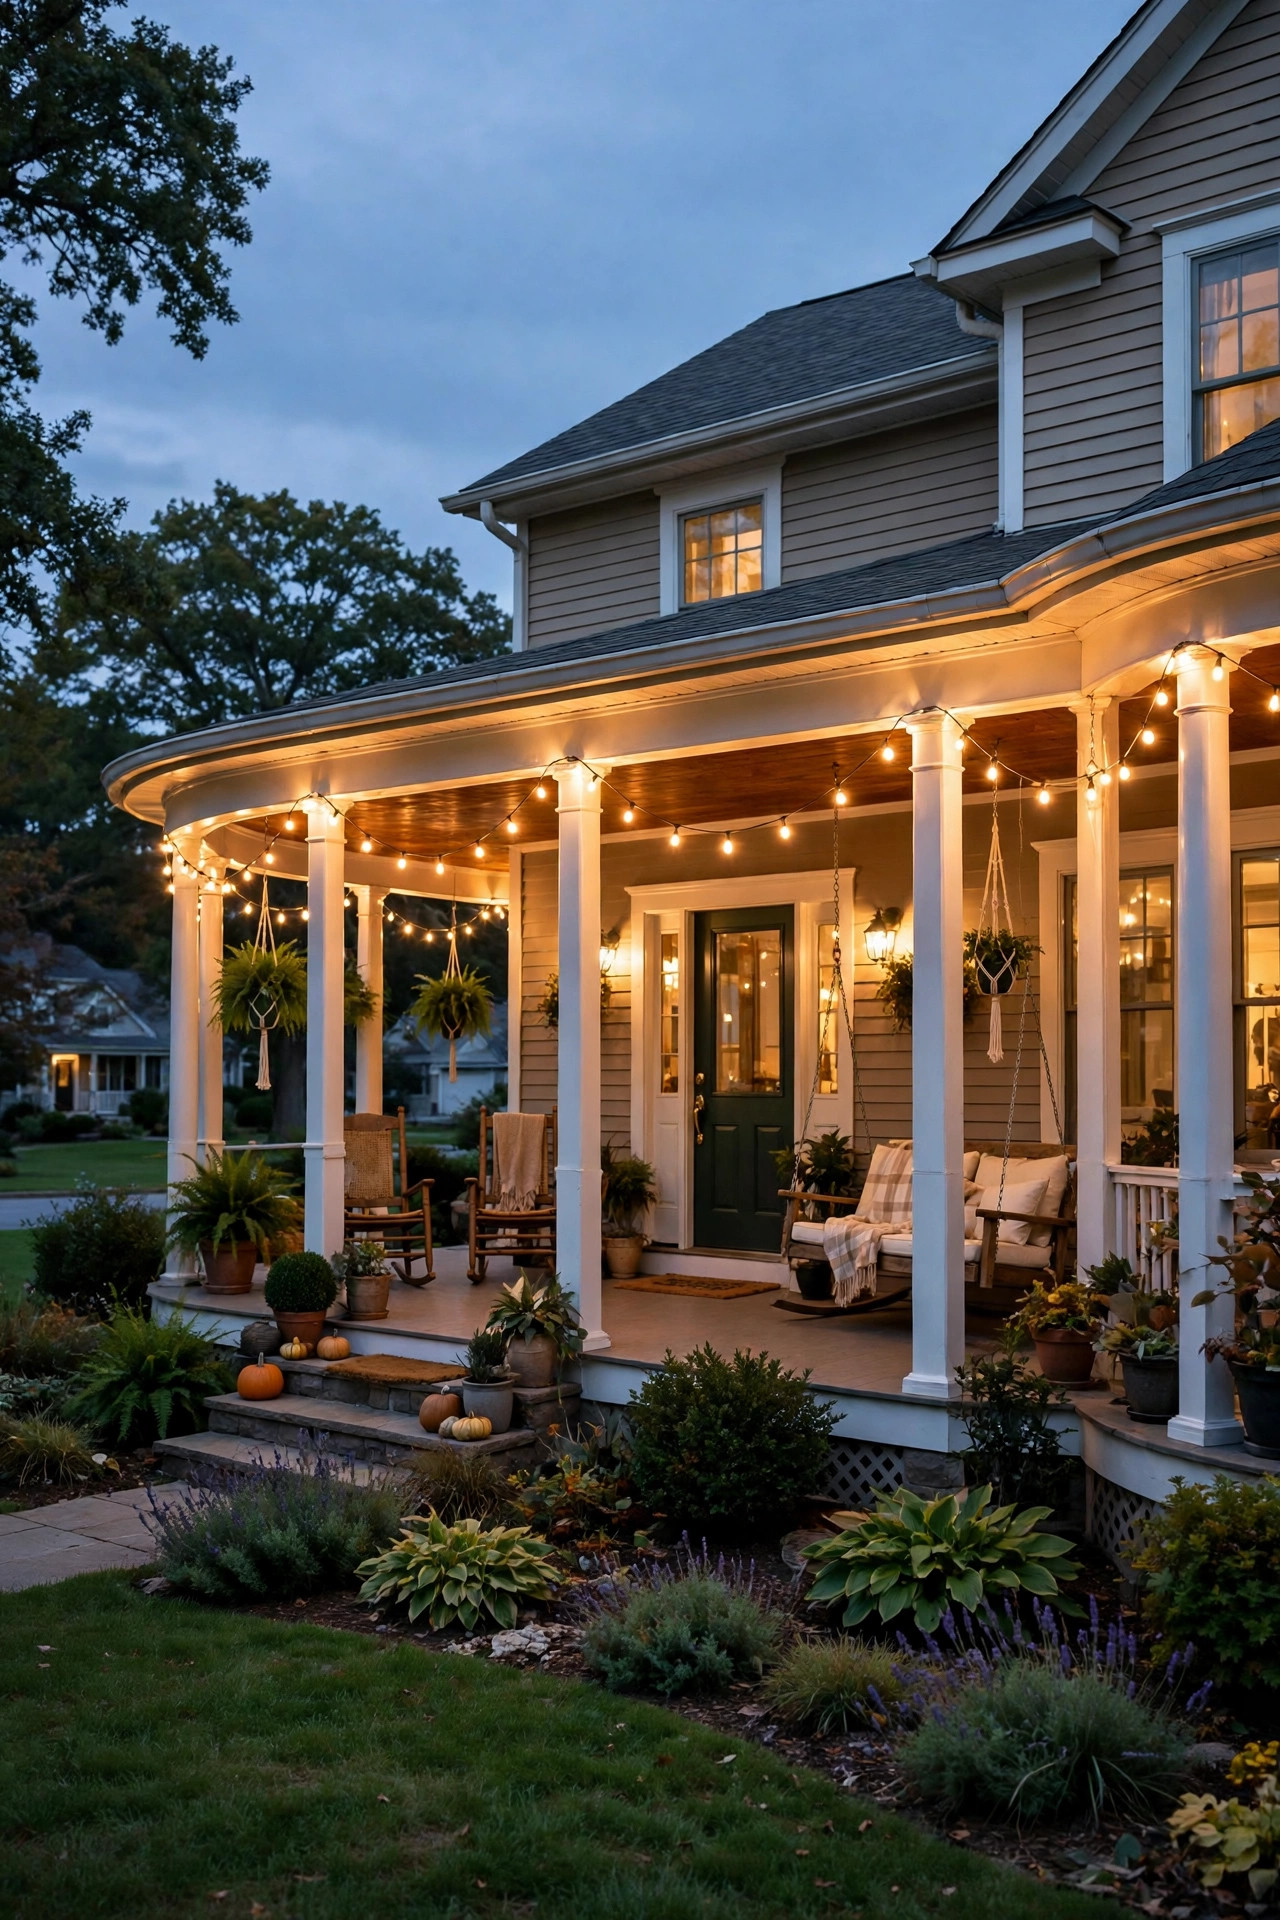
Nothing says "stay a little longer" like string lights, and a wraparound gives you a glorious long run to play with — front beam, around the corner, and down the side in one continuous swag. Use commercial-grade, outdoor-rated strands with replaceable LED bulbs; the cheap indoor sets yellow and crack within a season. Support long spans with a guide wire or cable and clips every few feet so the weight never hangs on the sockets alone, and keep swags sagging a gentle 12 to 18 inches between attachment points for that relaxed bistro curve. Plug into a GFCI-protected outlet only, and put the strand on a timer so it wakes up at dusk without you. Keep bulbs at least a few inches from vinyl siding and never drape strands over a grill or fire pit on the side stretch. My outdoor string lights guide covers strand lengths and hanging hardware in detail. This is the cheapest way to make all four sides feel like one party. Suggested budget range: $80 – $220.
6. Light Every Stair Run, Not Just the Front Steps
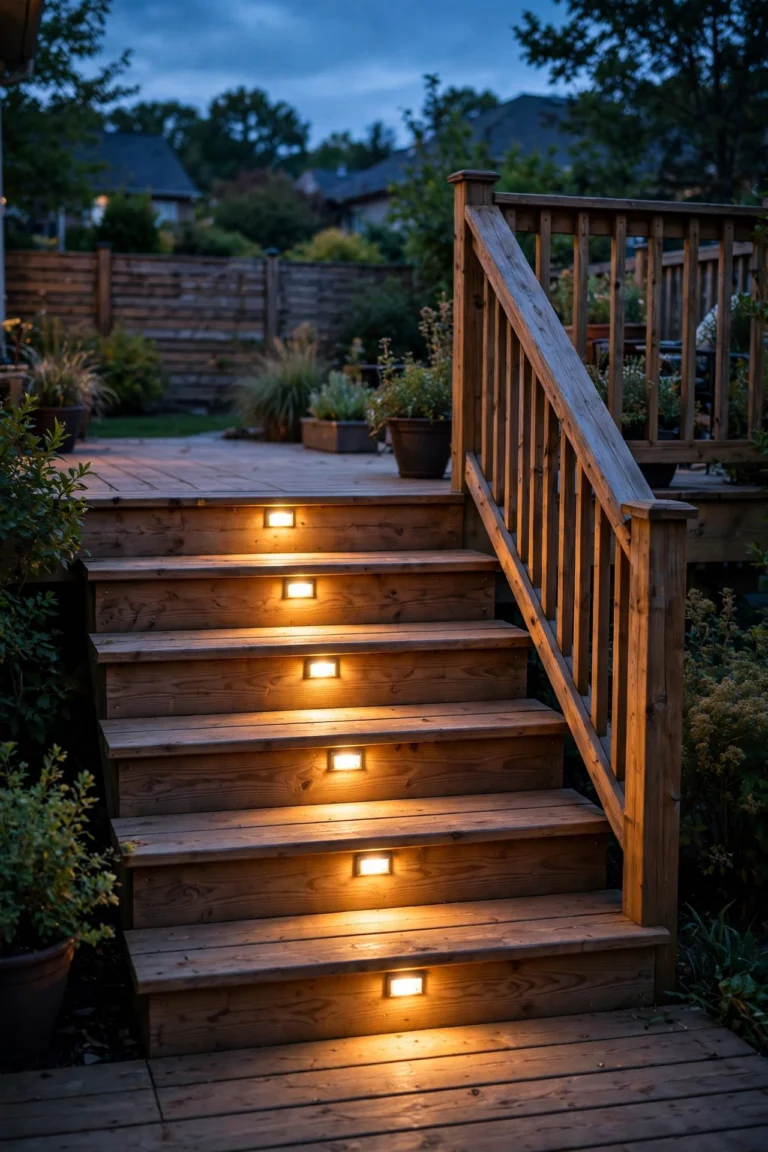
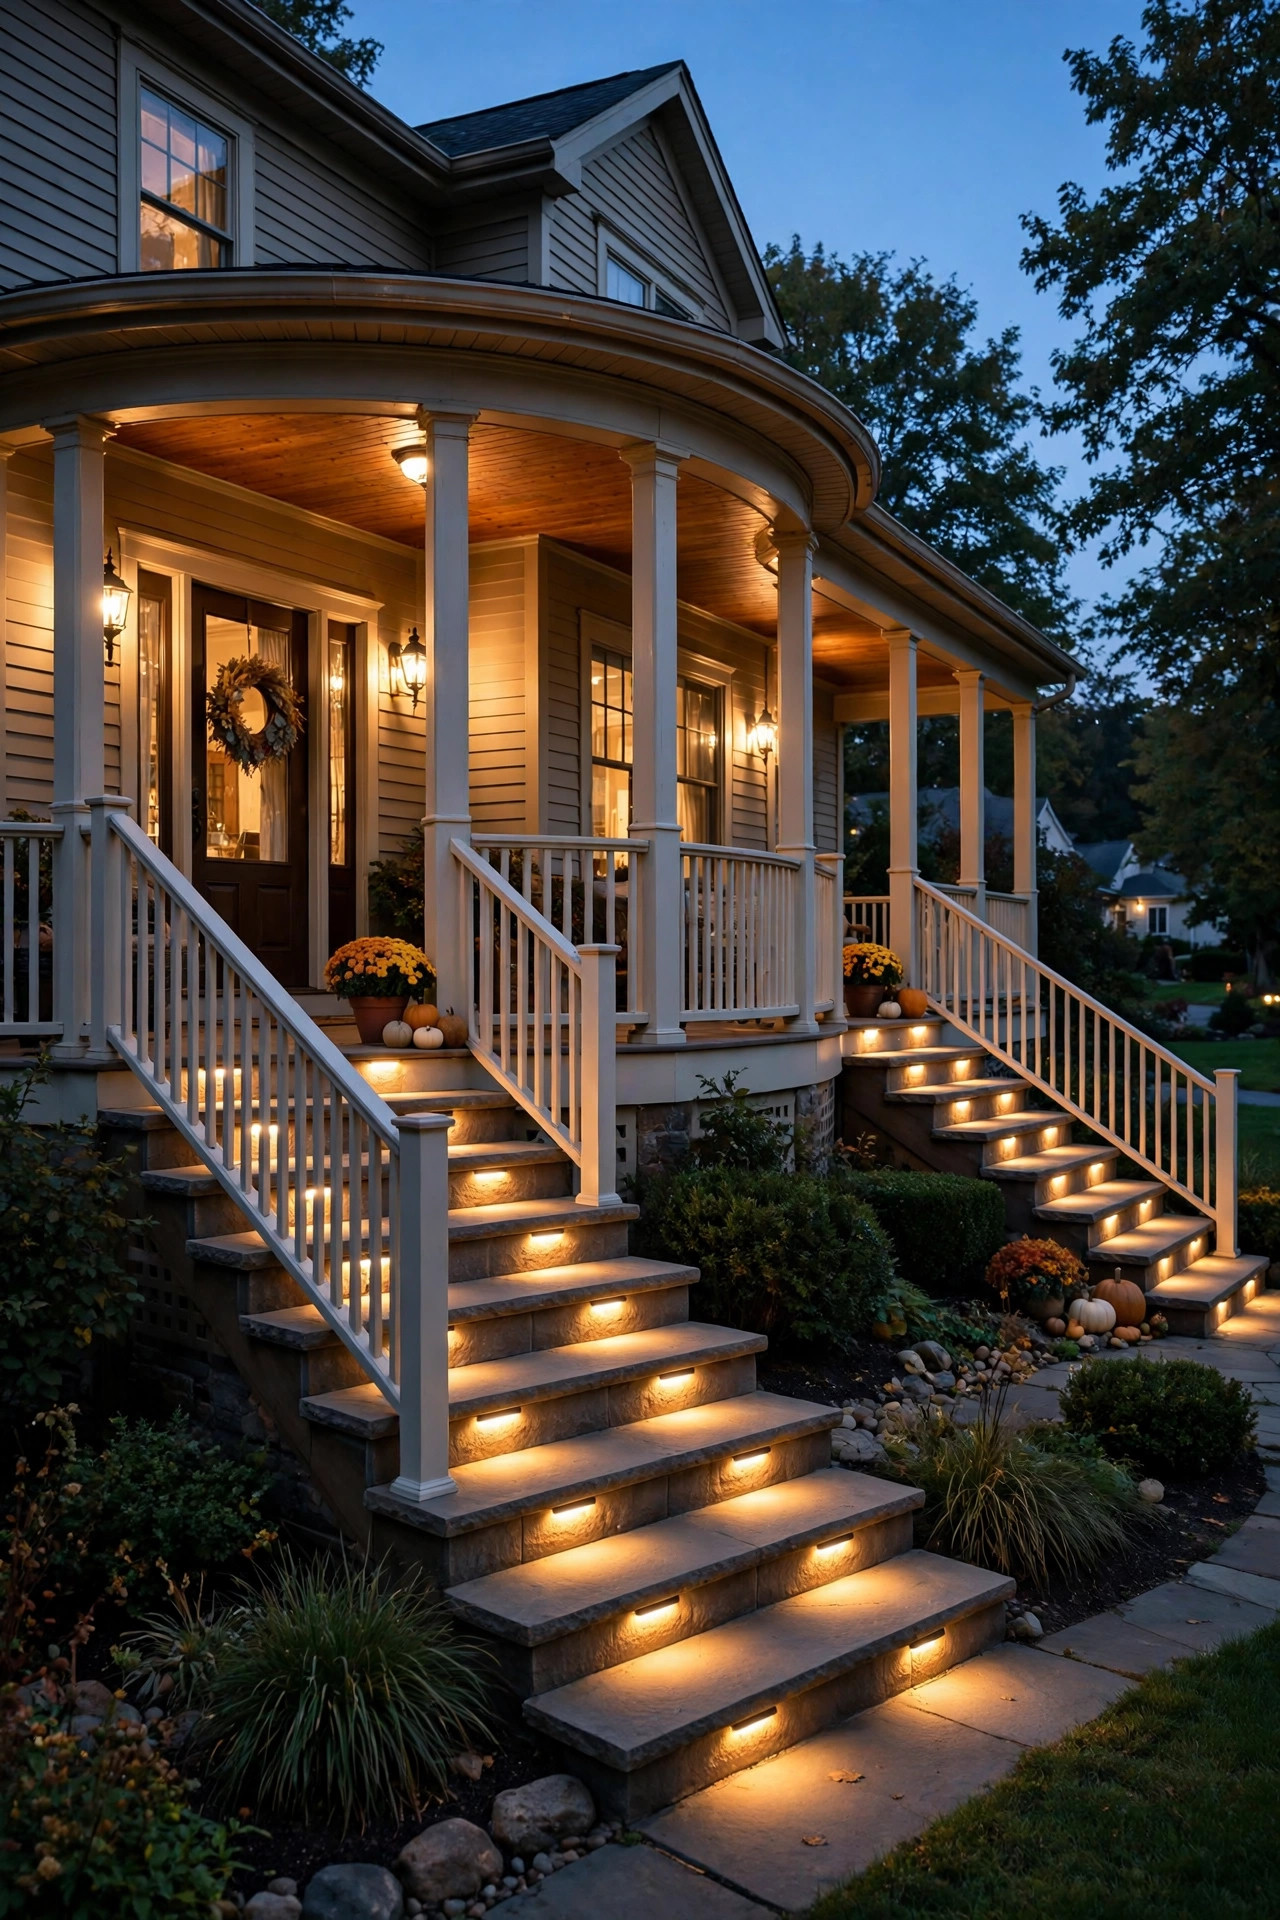
A wraparound usually has two or three stair runs — grand front steps, a short side flight to the driveway, maybe two steps down to the garden — and every single one needs its own light, because guests always find the unlit set in the dark. Small LED step lights recessed into the riser, mounted in the stringer, or tucked under the handrail wash each tread in a soft pool that shows where the edge is. For most residential steps, one fixture per stair run aimed across the treads beats a light on every step; on wide front steps, use two, one near each rail. Keep them low and shielded — the goal is lit treads, not lit eyeballs — and match the 2700K temperature of the rest of the loop. Solar step lights are a fair budget option on sunny side stairs, but hardwired or low-voltage versions are far more reliable on shaded north runs. Honestly, this is the least glamorous idea on the list and the one your ankles will thank you for nightly. Suggested budget range: $70 – $240.
7. Add Under-Rail Glow for a Continuous Safe Edge
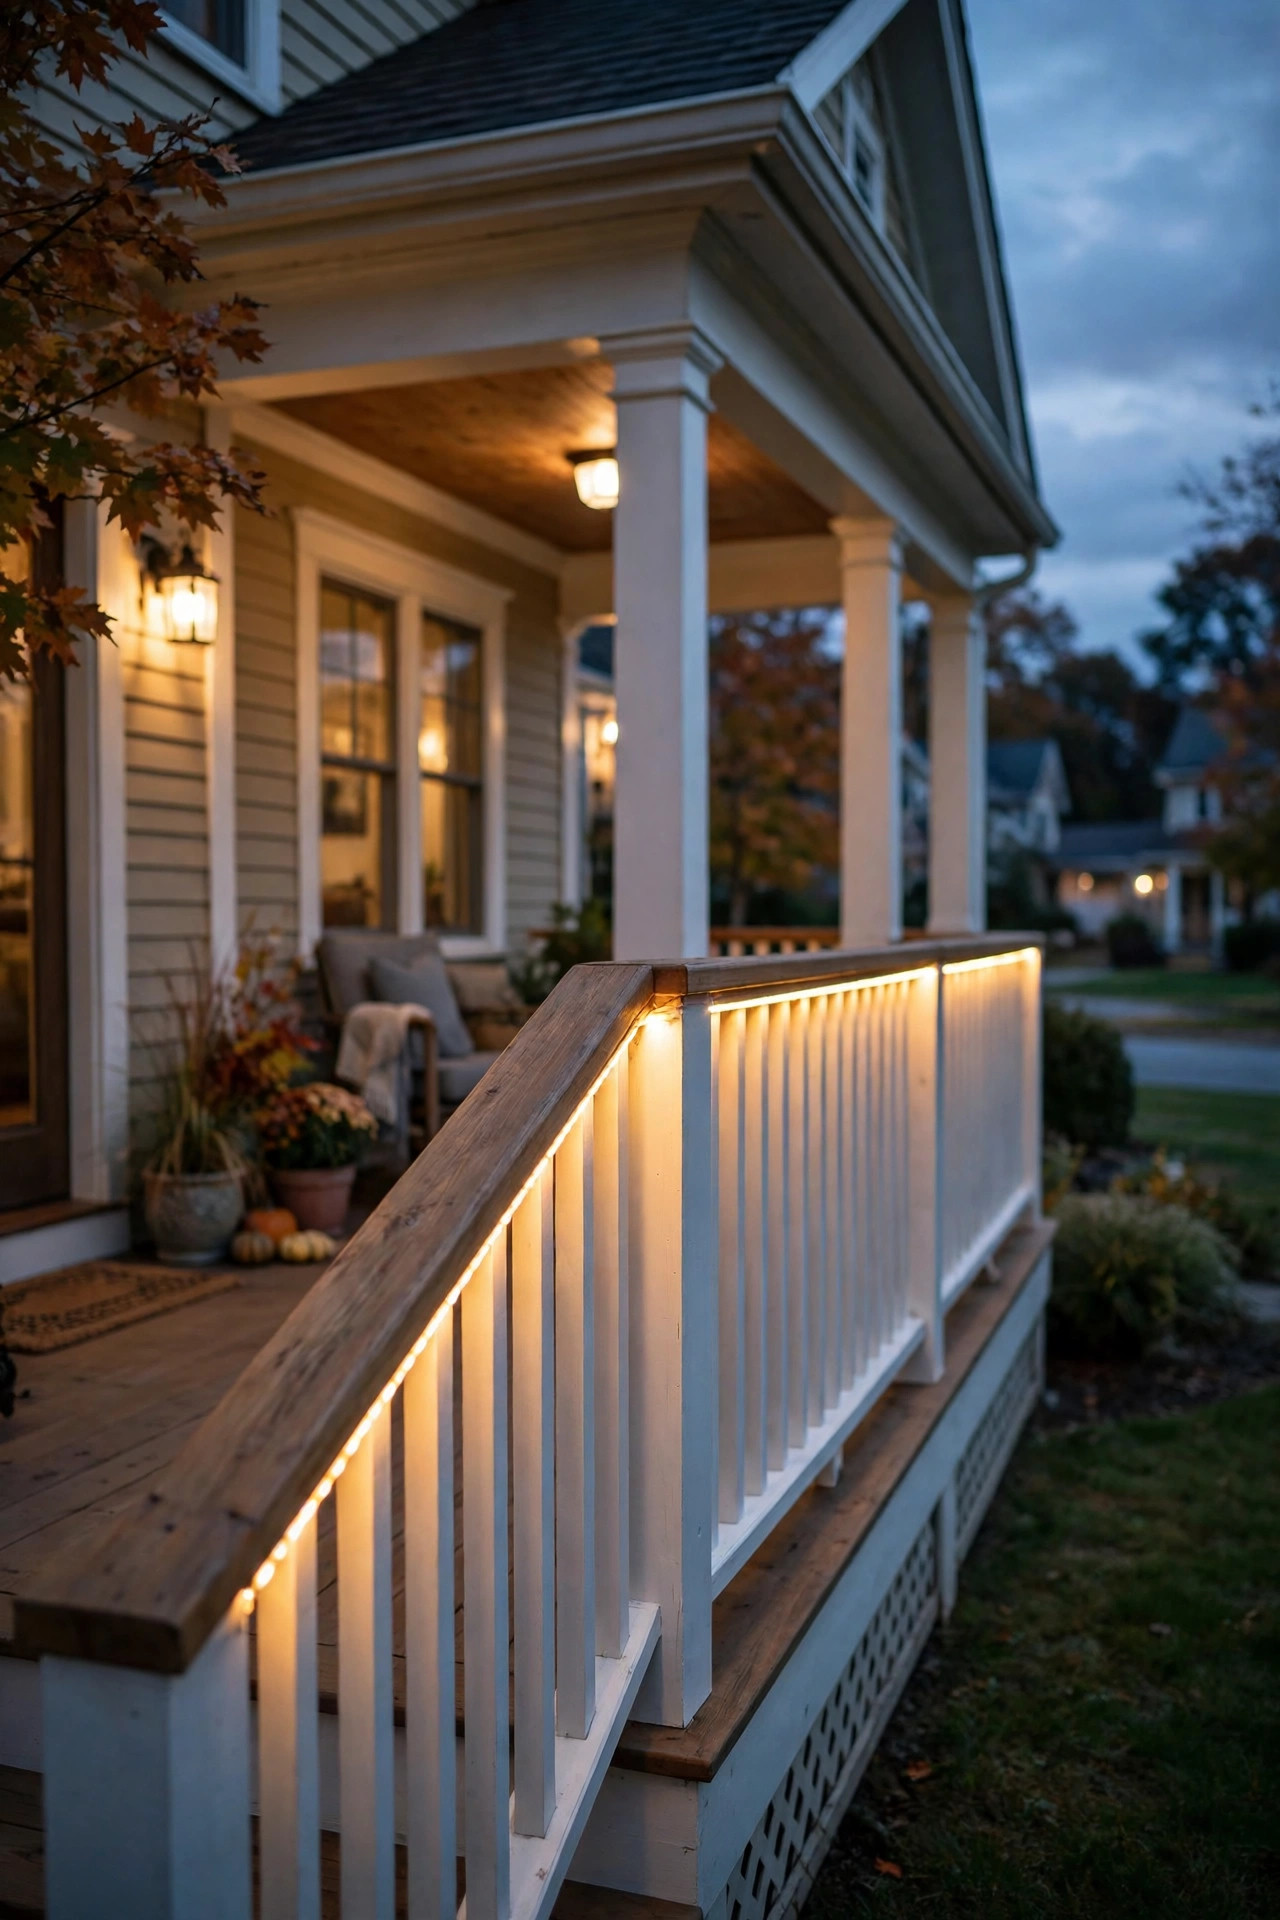
Here is my favorite quiet luxury on a long porch: a warm LED strip or rope light hidden under the handrail, running the full length of the railing. It throws a gentle ribbon of light down onto the floorboards and the steps, defines the porch edge from the yard, and makes the whole wrap look custom-built after dark. Mount the strip in an aluminum channel with a frosted diffuser — the channel protects it outdoors and the diffuser erases the dotted diode look. Choose an IP65 or better rating, 2700K, and a low-voltage setup with the transformer tucked near an outlet; long wraparound runs may need power fed from both ends to avoid the far side dimming. Keep the strip on the underside of the rail, never on top where weather and hands punish it. Because the light source stays hidden, this layer flatters everything: floorboards look richer, planters get a soft rim, and nobody trips on the dog's water bowl at midnight. Suggested budget range: $90 – $260.
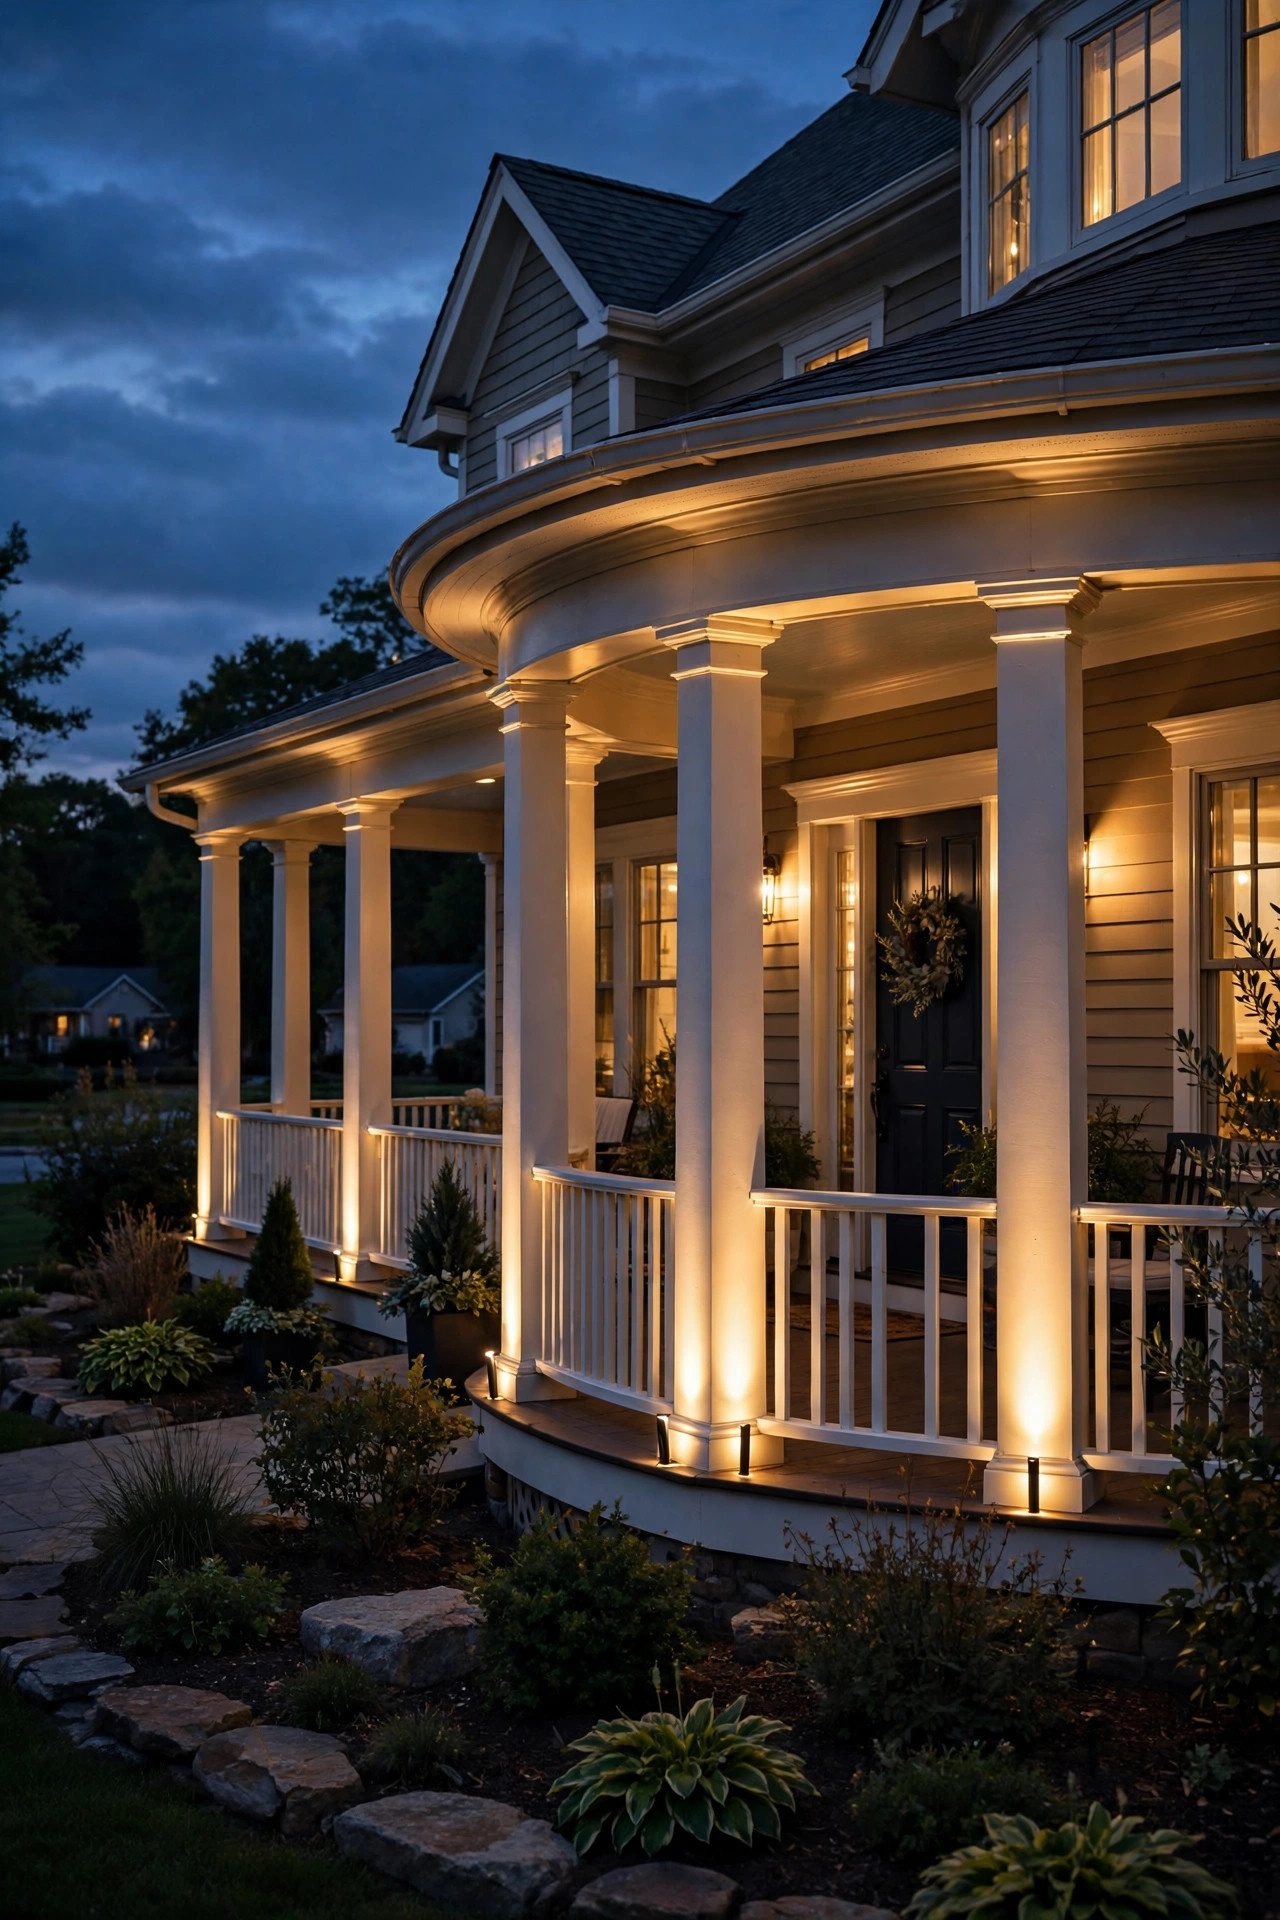
8. Uplight the Columns So the Architecture Shows at Night
Wraparound porches stand on a rhythm of columns or posts, and at night those uprights usually vanish — which flattens the whole facade. A small uplight at the base of key columns brings the architecture back. You don't need one per post; light every second or third column, favoring the corners and the pair flanking the front steps. A low-voltage well light or a compact bullet on a short stake, aimed straight up the column from 6 to 10 inches out, grazes the surface and throws a slim beam onto the ceiling, doubling the effect. Keep wattage modest — 3 to 5 watts of LED is plenty for a painted column — and angle brick or stone columns slightly wider to show off the texture. From the street, the lit columns read like the bones of the house glowing, and the porch suddenly looks twice as deep. Shield any fixture near the walkway so passersby see the column, not the bulb. Suggested budget range: $110 – $320.
9. Split the Loop Into Zones With Dimmers and Separate Switches
One switch for forty feet of porch is a rookie mistake I made myself: the whole wrap blazes when all you wanted was a soft light by the side door. Wire or program the loop in zones instead — front span on one control, side porch on another, steps and security on a third. Dimmers on the front and side zones let you run the ceiling lights at 40 percent for conversation and full brightness for a porch-cleaning Saturday. Plug-in accent layers like string lights and rail strips can live on smart plugs or a simple outdoor timer, no rewiring required, so renters can zone too. Label the switches inside the door; future-you, carrying groceries in the rain, will be grateful. Zoning also saves real money and bulb life, because the driveway-side lights don't need to burn all evening just because you're rocking on the front. Think of it as lighting scenes for one long room: welcome, unwind, and see-the-steps. Suggested budget range: $60 – $280.
10. Use Solar Accents Where Wraparound Porch Lighting Ideas Meet No Outlets
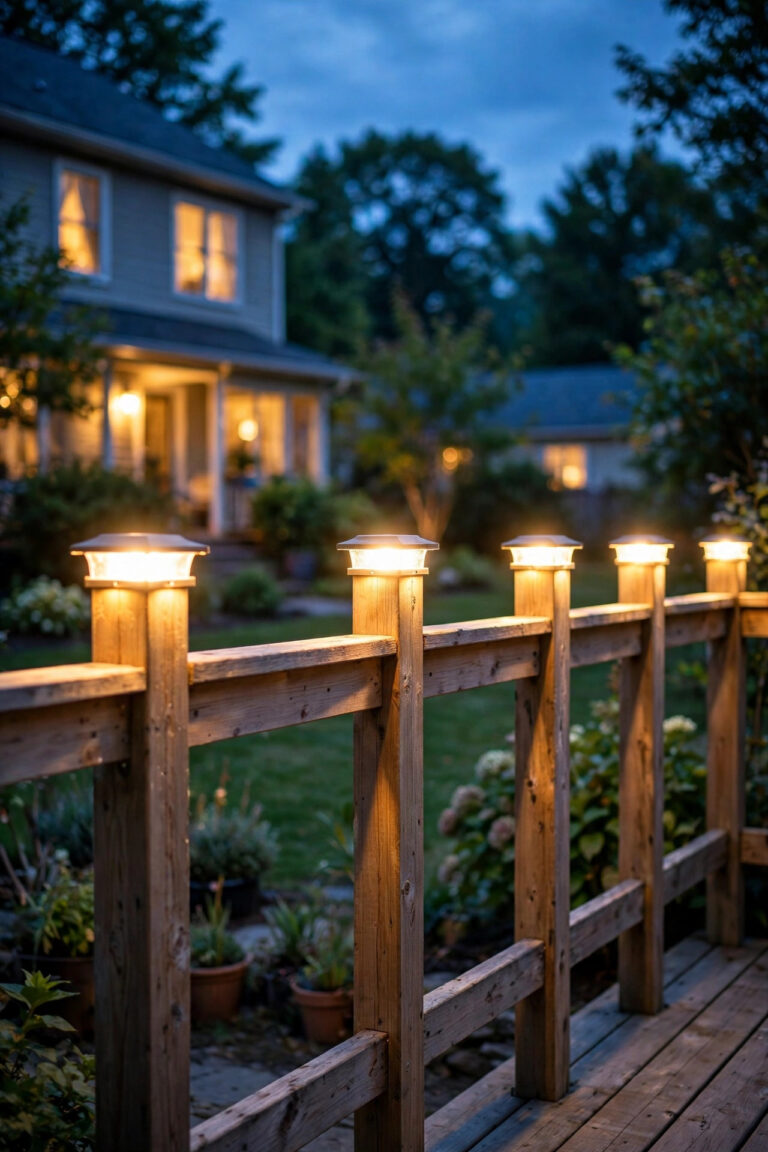
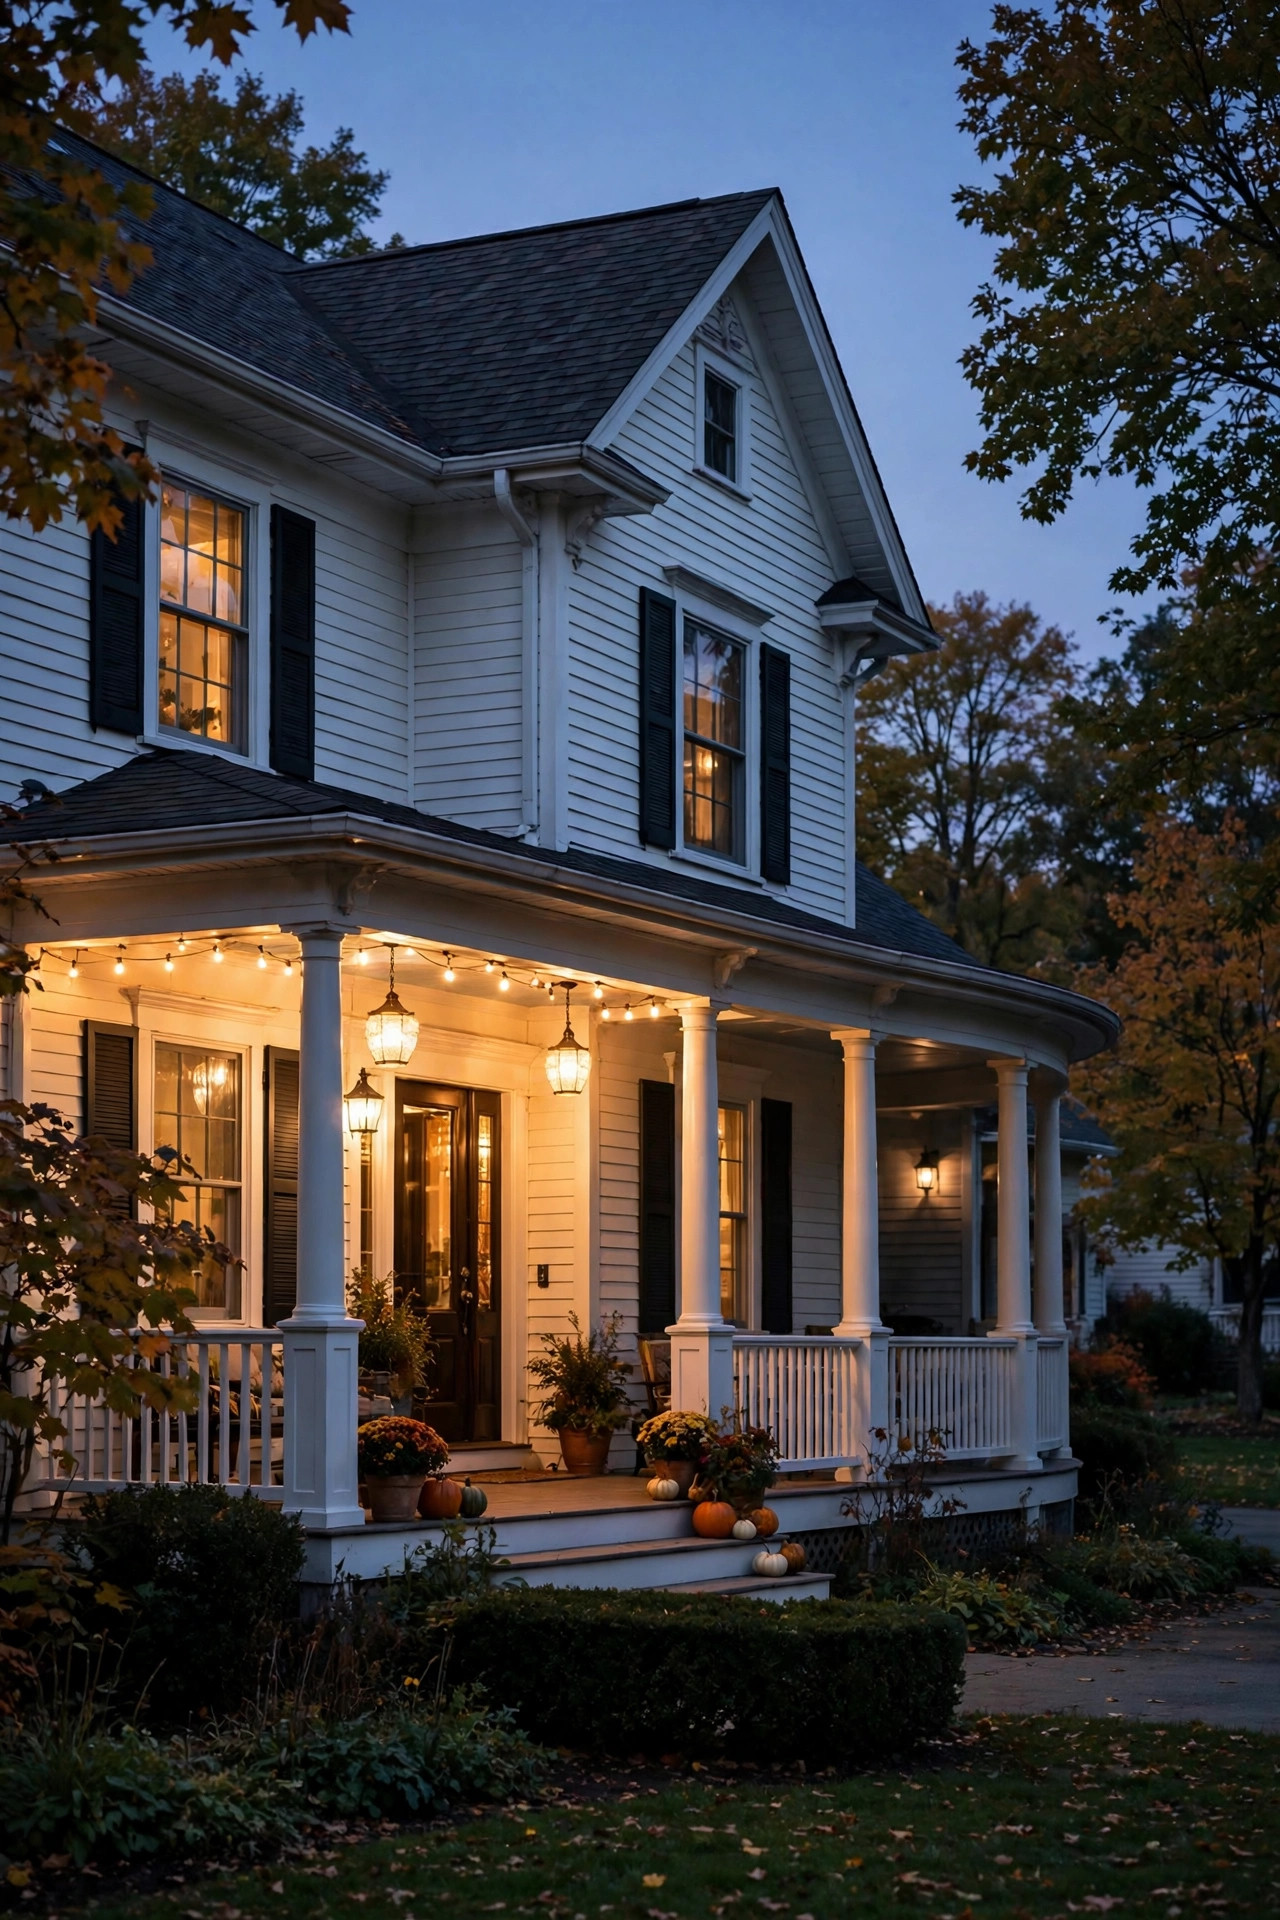
Every wraparound has a forgotten stretch — usually the far side — with no outlet, no junction box, and a quote from an electrician that makes your eyes water. That is exactly where solar earns its keep. Solar post-cap lights drop onto railing posts and stitch a dotted line of glow around the dark side; solar lanterns can hang from shepherd's hooks along the side railing or sit on the wide rail itself. Be honest about sun exposure: panels need roughly six hours of direct sun, so solar works beautifully on south and west stretches and struggles under deep shade trees, where a low-voltage run is worth the trench after all. Look for caps and lanterns with replaceable batteries and a warm 2700K tone to match the wired loop — mismatched blue-white solar is what makes solar look cheap. Start with the posts nearest the corner so the lit rhythm from the front visibly continues around the turn. Suggested budget range: $50 – $180.
11. Connect the Porch to the Side Gate and Driveway With Path Lights
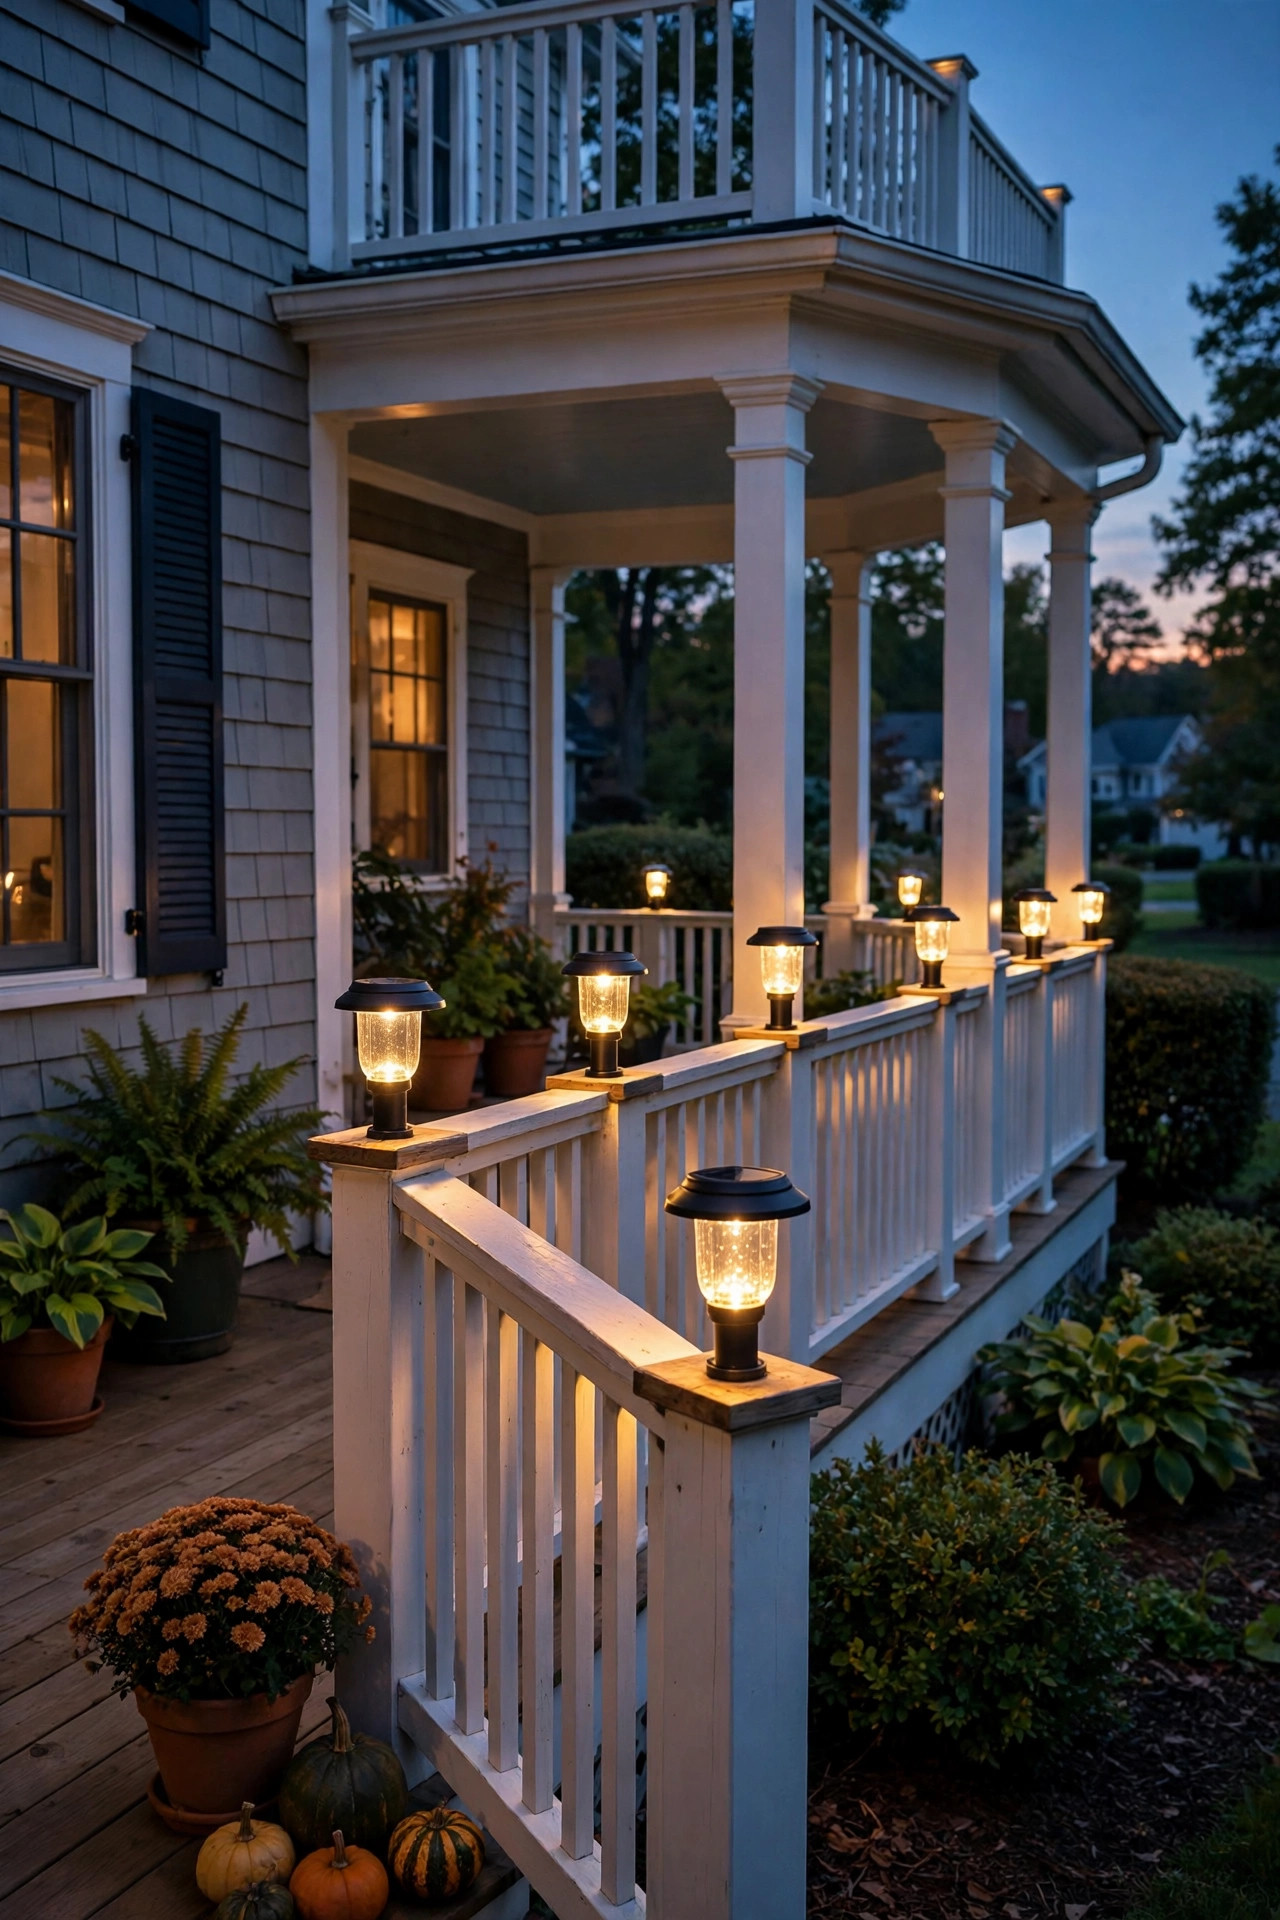
A wraparound porch usually serves the driveway and side gate as much as the front walk, so extend the glow off the porch and into the yard with a short run of path lights. Place them along the route people actually walk — porch steps to gate, gate to driveway — spaced about 6 to 8 feet apart and staggered rather than lined up like a runway. Low, shielded fixtures that throw light downward in a 3- to 4-foot pool keep feet sure without lighting up the whole neighborhood. Tying these into the same low-voltage system as the column uplights keeps the color temperature identical and the controls simple. In my experience, three to five path lights transform the side of the house from the spooky route to the preferred one, which matters when the side door is your real everyday entrance. Keep fixtures a few inches back from the mower's path and out of the gate's swing, and push the stakes in straight — a leaning path light reads as neglect from the street. Suggested budget range: $120 – $360.
12. Put Shielded Motion Lights at the Far Corners
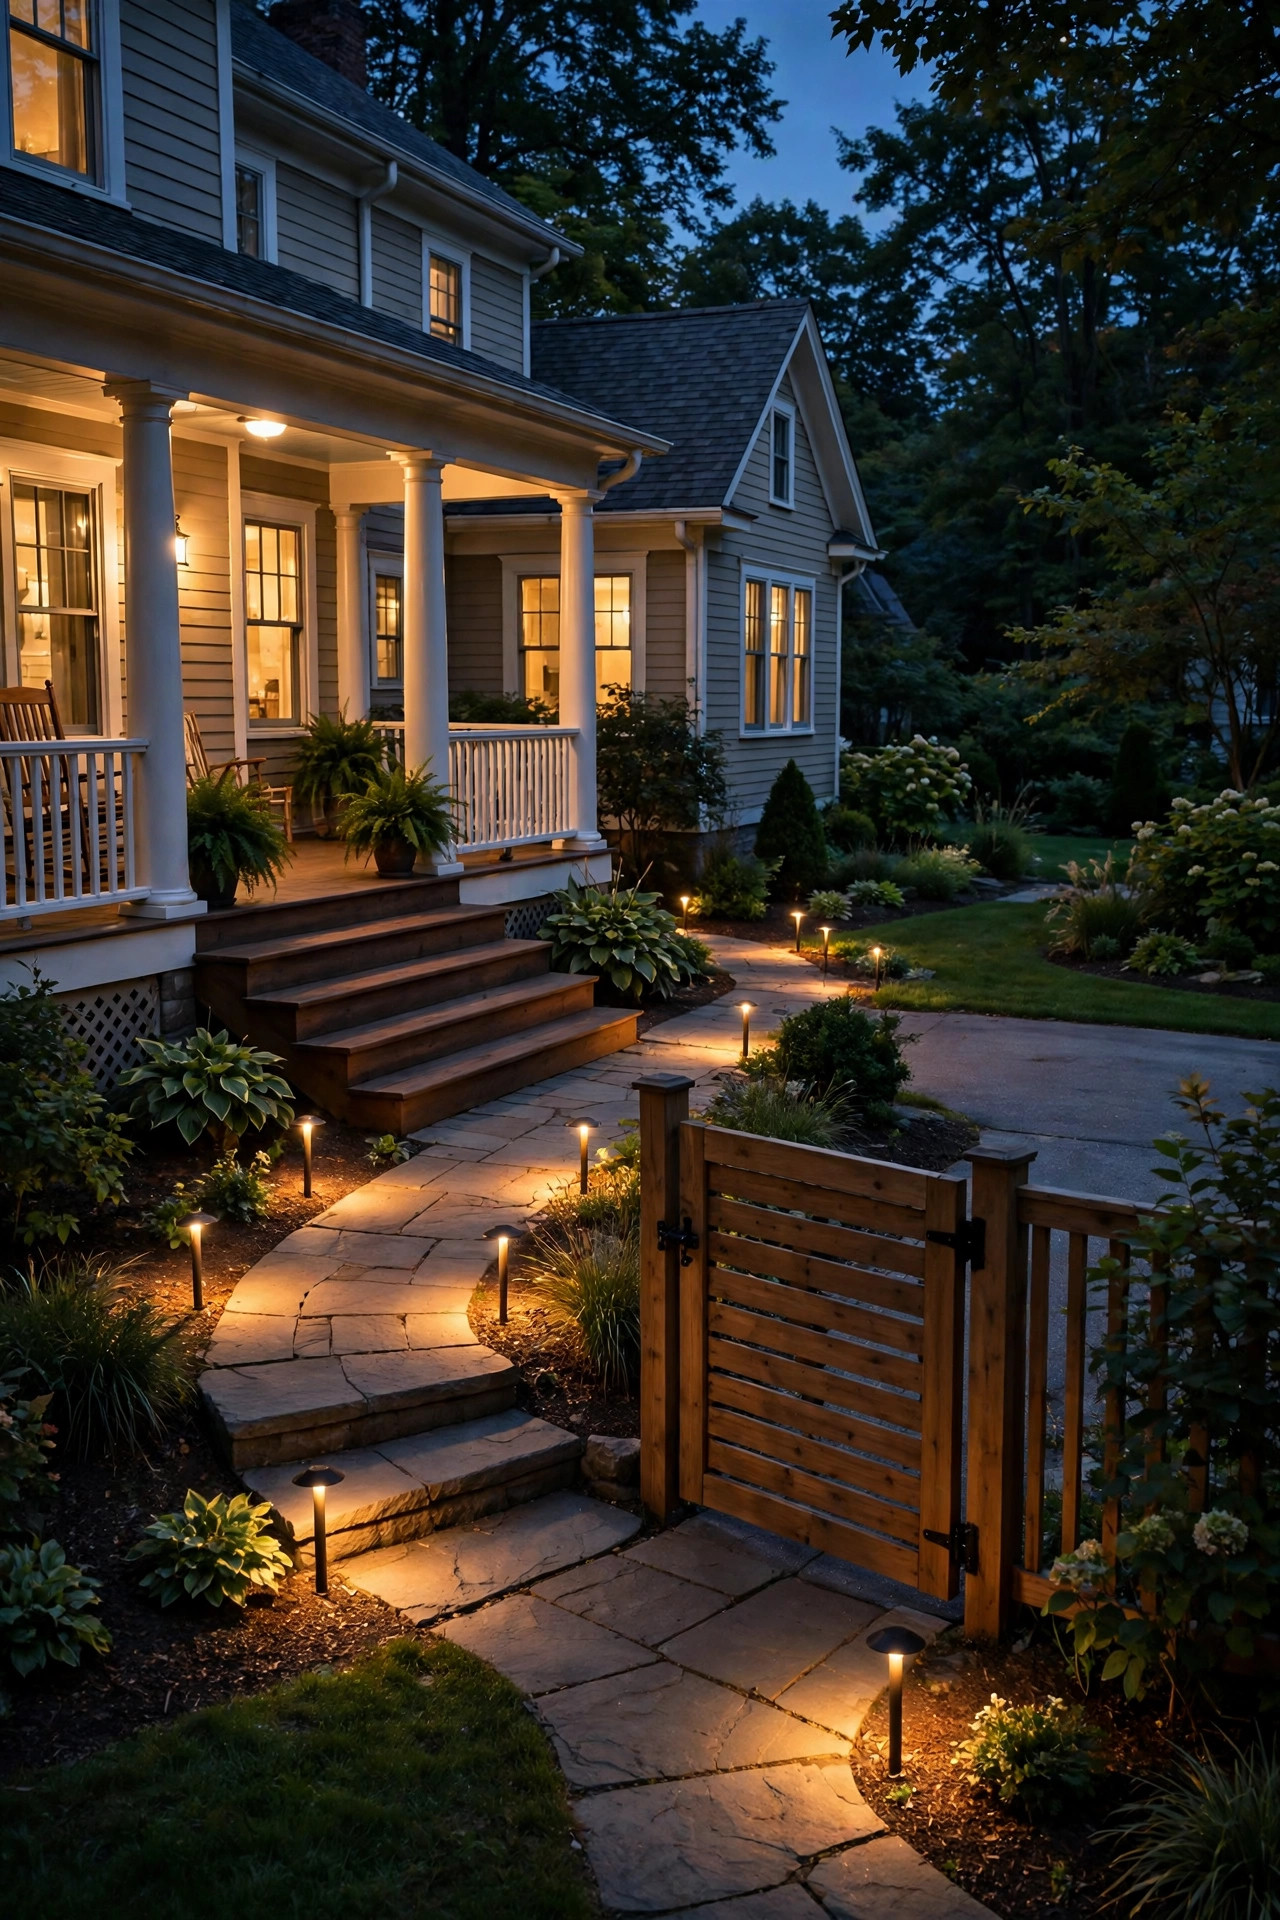
The far corners of a wraparound are where charm lighting ends and practical security begins. A motion-activated light at each far corner — the side nobody sits on, the back turn by the utility door — gives you safe passage with a grill pan or a trash bin and quietly discourages anyone wandering where they shouldn't. Choose shielded, downward-aimed fixtures in warm 3000K rather than the blue-white floodlight glare that makes a home look like a loading dock, and set the sensitivity so a passing cat doesn't trigger a light show. Aim the sensor along the path of travel, not across the street, and keep the beam off neighbors' windows. A 10- to 15-foot detection range with a one- to five-minute shutoff suits most side yards. On its own dim photocell setting, many fixtures can also hold a faint dusk-to-dawn glow and only brighten when motion appears — the best of both worlds for a corner that is both a walkway and a boundary. Suggested budget range: $45 – $160.
13. Wash the Side Walls So the Long Stretch Isn't a Dark Tunnel
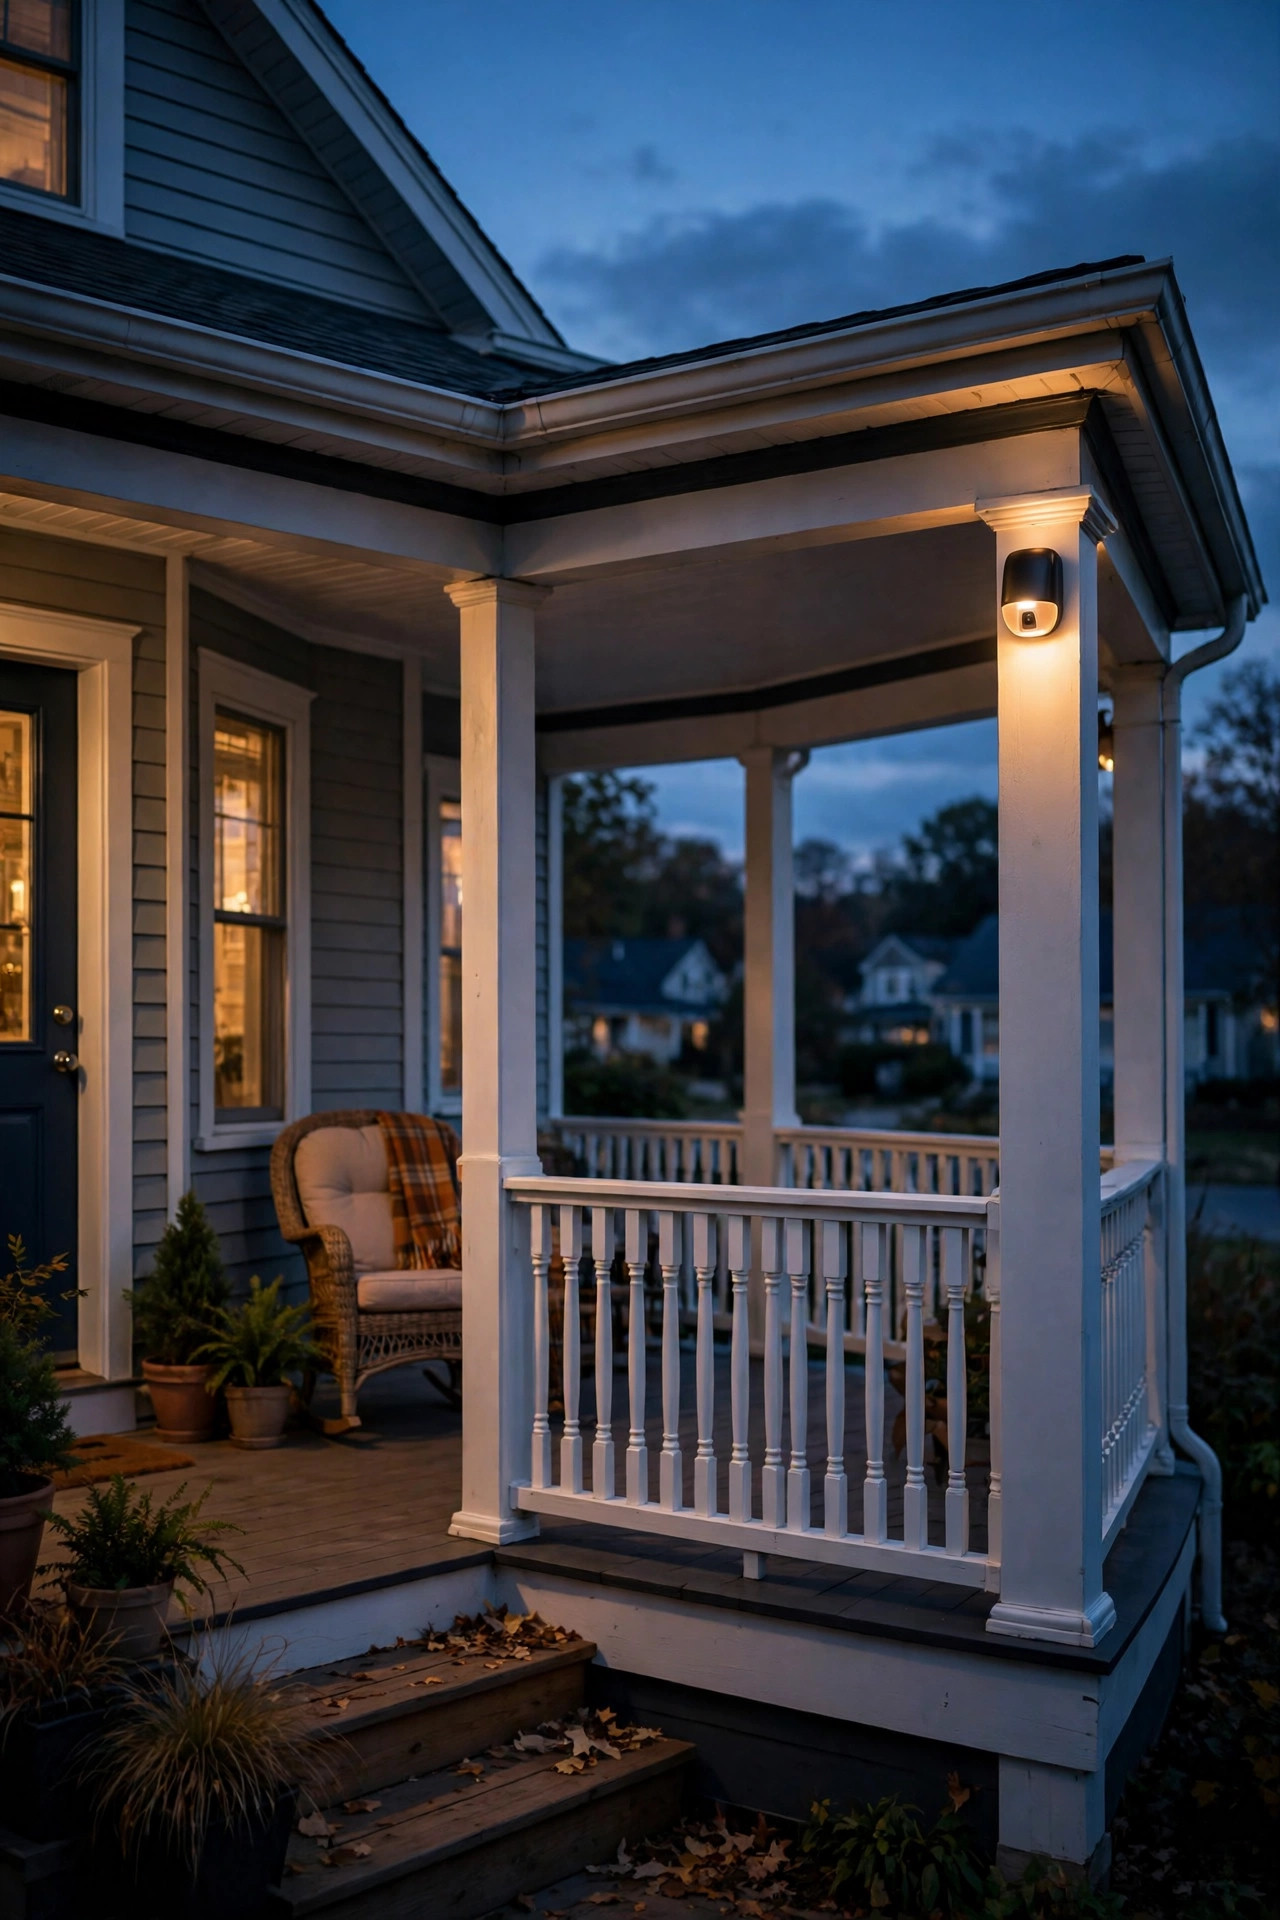
The side run of a wraparound is often the longest and the gloomiest — a corridor between railing and siding that ceiling lights alone leave flat. A gentle wall wash fixes it: small downlights tucked under the eave or soffit, or sconce-style washers aimed at the siding, spaced about 8 feet apart, so the wall itself becomes a warm backdrop. This is where textured siding, brick, or board-and-batten genuinely shines; the grazing light doubles the texture and makes the whole side feel wider. Keep the wash subtle — you're lighting a background, not a billboard — and let the furniture and lanterns stay the foreground stars. If the side porch is your dining stretch, wall wash plus string lights is honestly all you need; skip the ceiling fixtures there entirely. Match the mounting rhythm to the front sconces so a guest walking the loop feels one continuous design. Pull mulch and tall plantings a little back from the wall base so the lowest part of the wash stays clean and bright. Suggested budget range: $160 – $480.

14. Layer Lanterns on Tables and the Side-Porch Sitting Nook
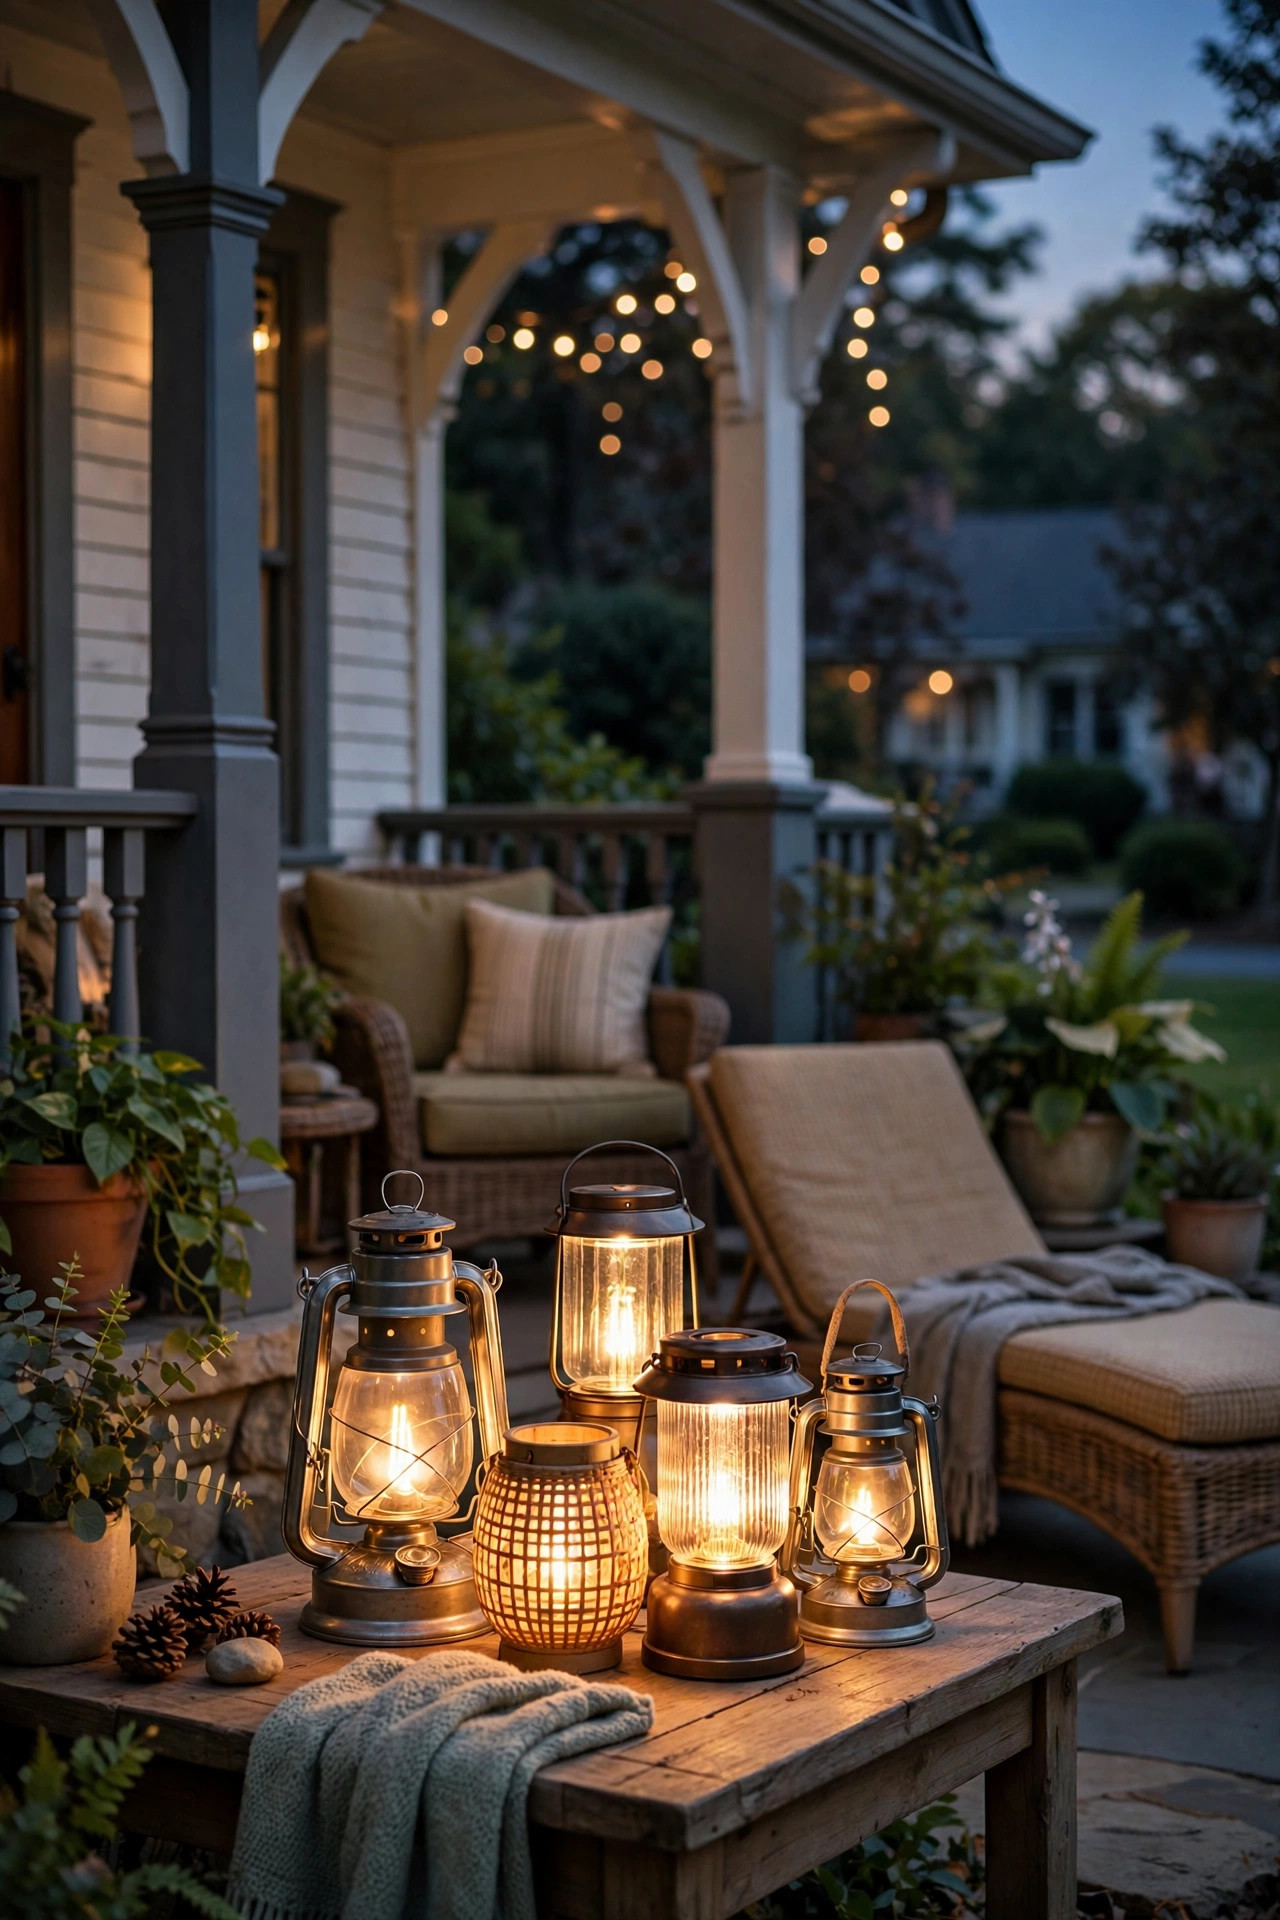
Overhead light gets people onto the porch; table-level light is what keeps them there past nine. Scatter rechargeable LED lanterns and hurricane-style candle lanterns — LED candles only, never real flames near cushions and wood — on side tables, the swing's end table, and the little reading nook around the side. The low, flickering-height glow flatters faces, keeps drinks visible, and lets you switch the ceiling lights off entirely for a firefly feel. Group lanterns in odd numbers and vary the heights slightly; a cluster of three on the coffee table looks styled, one lonely lantern looks forgotten. Rechargeable models with a warm setting and a dimmer earn their keep here — charge them indoors weekly and they never leave you dark mid-conversation. Because this layer is portable, it also migrates: carry two lanterns to the front steps for Halloween pumpkins or to the side gate when guests arrive after dark. It's the most flexible money on this whole list. Suggested budget range: $40 – $140.
15. Light the House Numbers and Keep the Front the Brightest
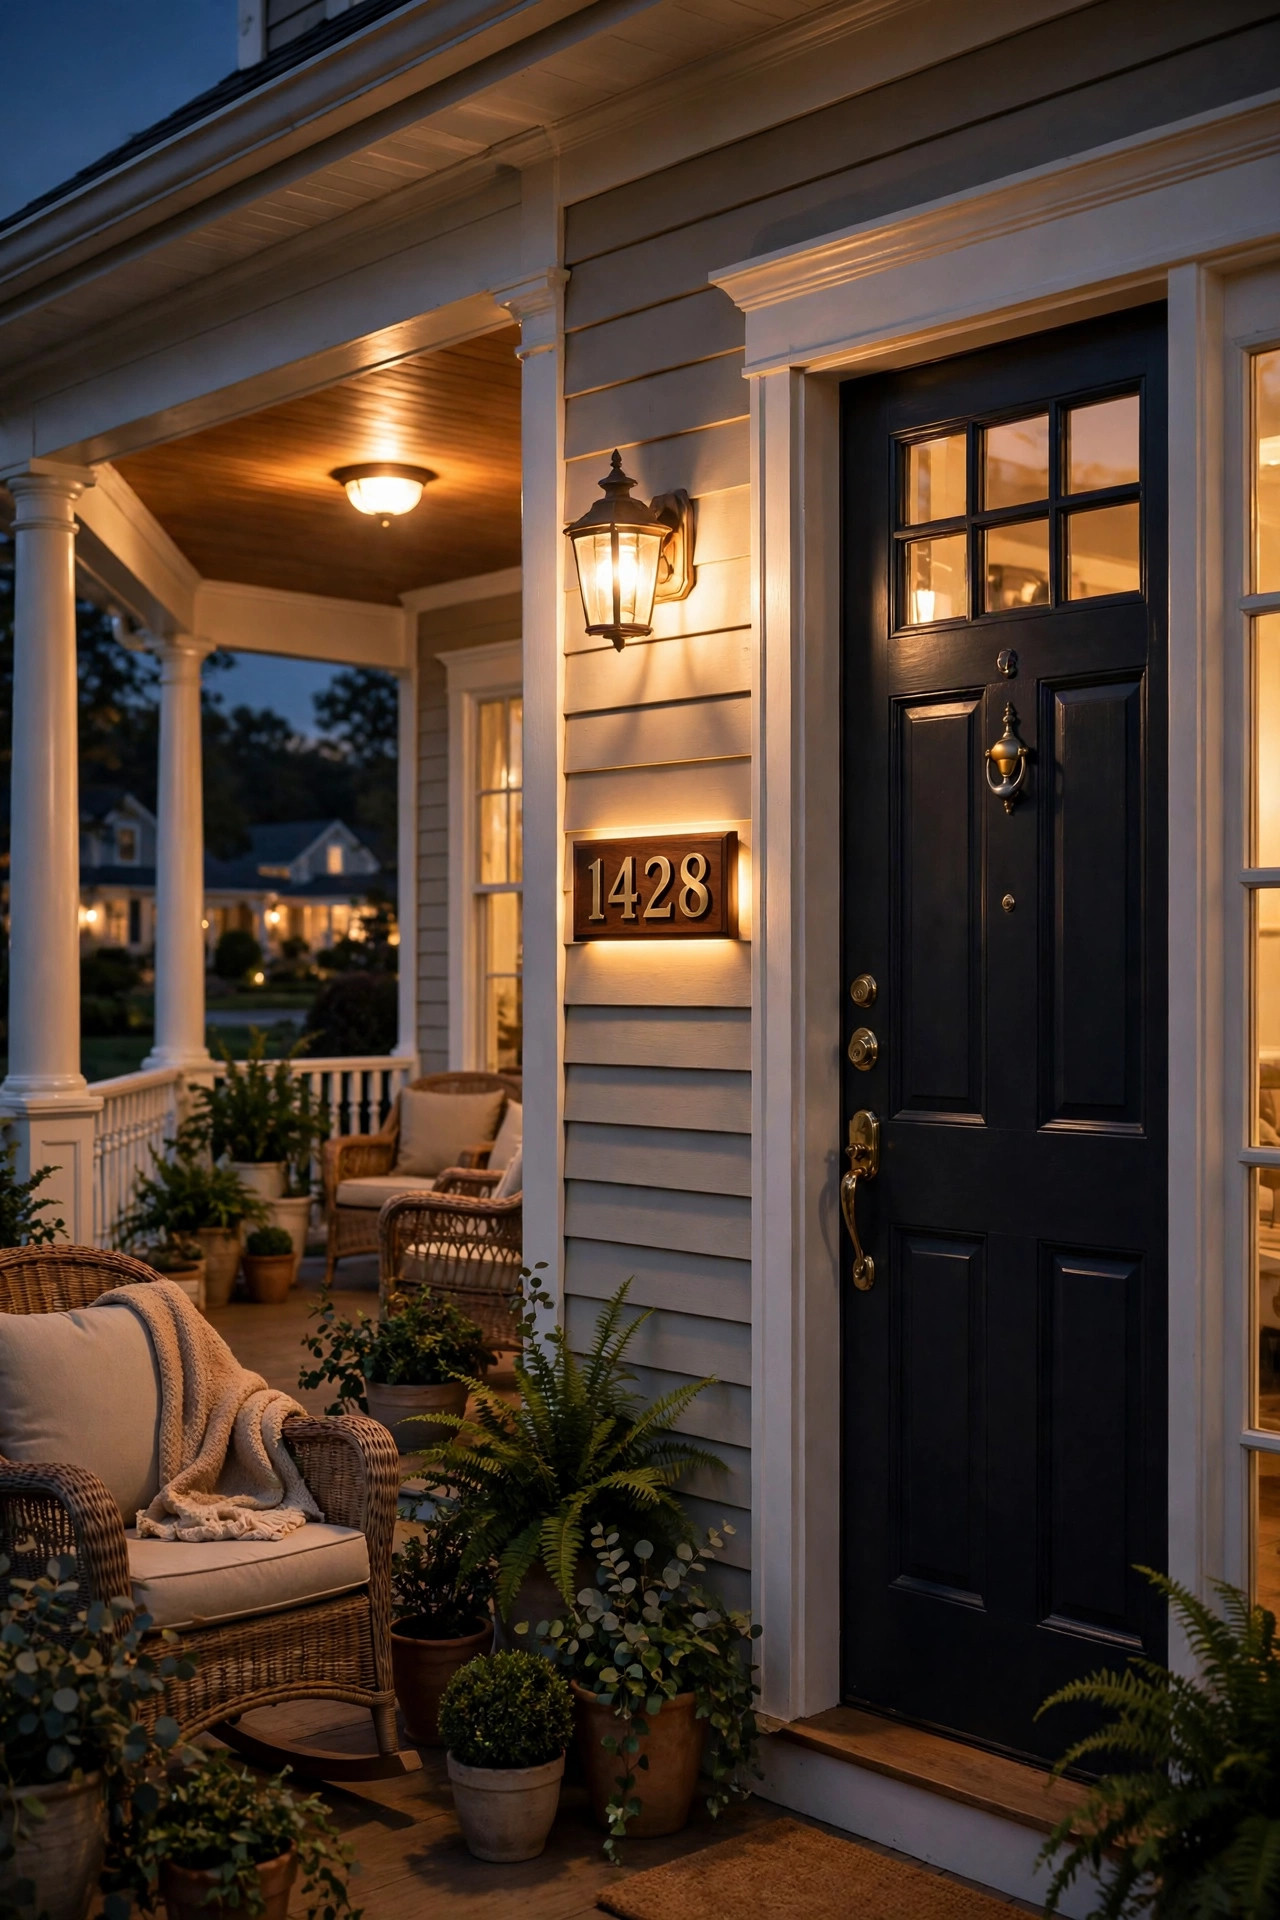
Every loop needs a hierarchy, and on a wraparound the front entry should win — brightest at the door, gentler around the sides, softest at the back. A small, dedicated light for the house numbers is the finishing touch of that hierarchy: a slim fixture above or beside the numbers, or backlit numbers themselves, so delivery drivers and guests find you without a porch-light flare in their eyes. Mount numbers where the front sconce already throws light if you'd rather skip a new fixture, and check legibility from the street at night — 4- to 6-inch numbers in a finish that contrasts with the siding read best. Then deliberately dim the side layers a notch: if the front runs at full brightness, let the side porch sit around two-thirds, which saves energy and makes the front door's welcome unmistakable. Visitors navigate by that gradient without ever noticing it. It's a small idea, but it's the one that makes the whole plan feel professionally thought through. Suggested budget range: $35 – $120.
16. Automate the Whole Loop With Timers and Photocells
Forty feet of porch light is only romantic if you don't have to walk forty feet flipping switches. Put the main layers on an astronomical timer or photocell controls so the loop wakes at dusk, softens late, and sleeps on schedule — mine run full glow until about 11 p.m., then drop to just the step and rail lights overnight. An astronomical timer is worth the small premium over a basic one because it tracks sunset through the seasons instead of leaving your porch dark at 5 p.m. in December. If you're powering low-voltage accents, size the transformer with headroom: add up the fixture wattages and choose a unit rated at least 25 percent higher, because a long wraparound run is exactly where undersized transformers cause dim far ends. For runs over about 100 feet of cable, step up to 12-gauge wire to fight voltage drop. Automation also makes the house look lived-in when you travel, which is a security feature no app can fake. Suggested budget range: $50 – $220.
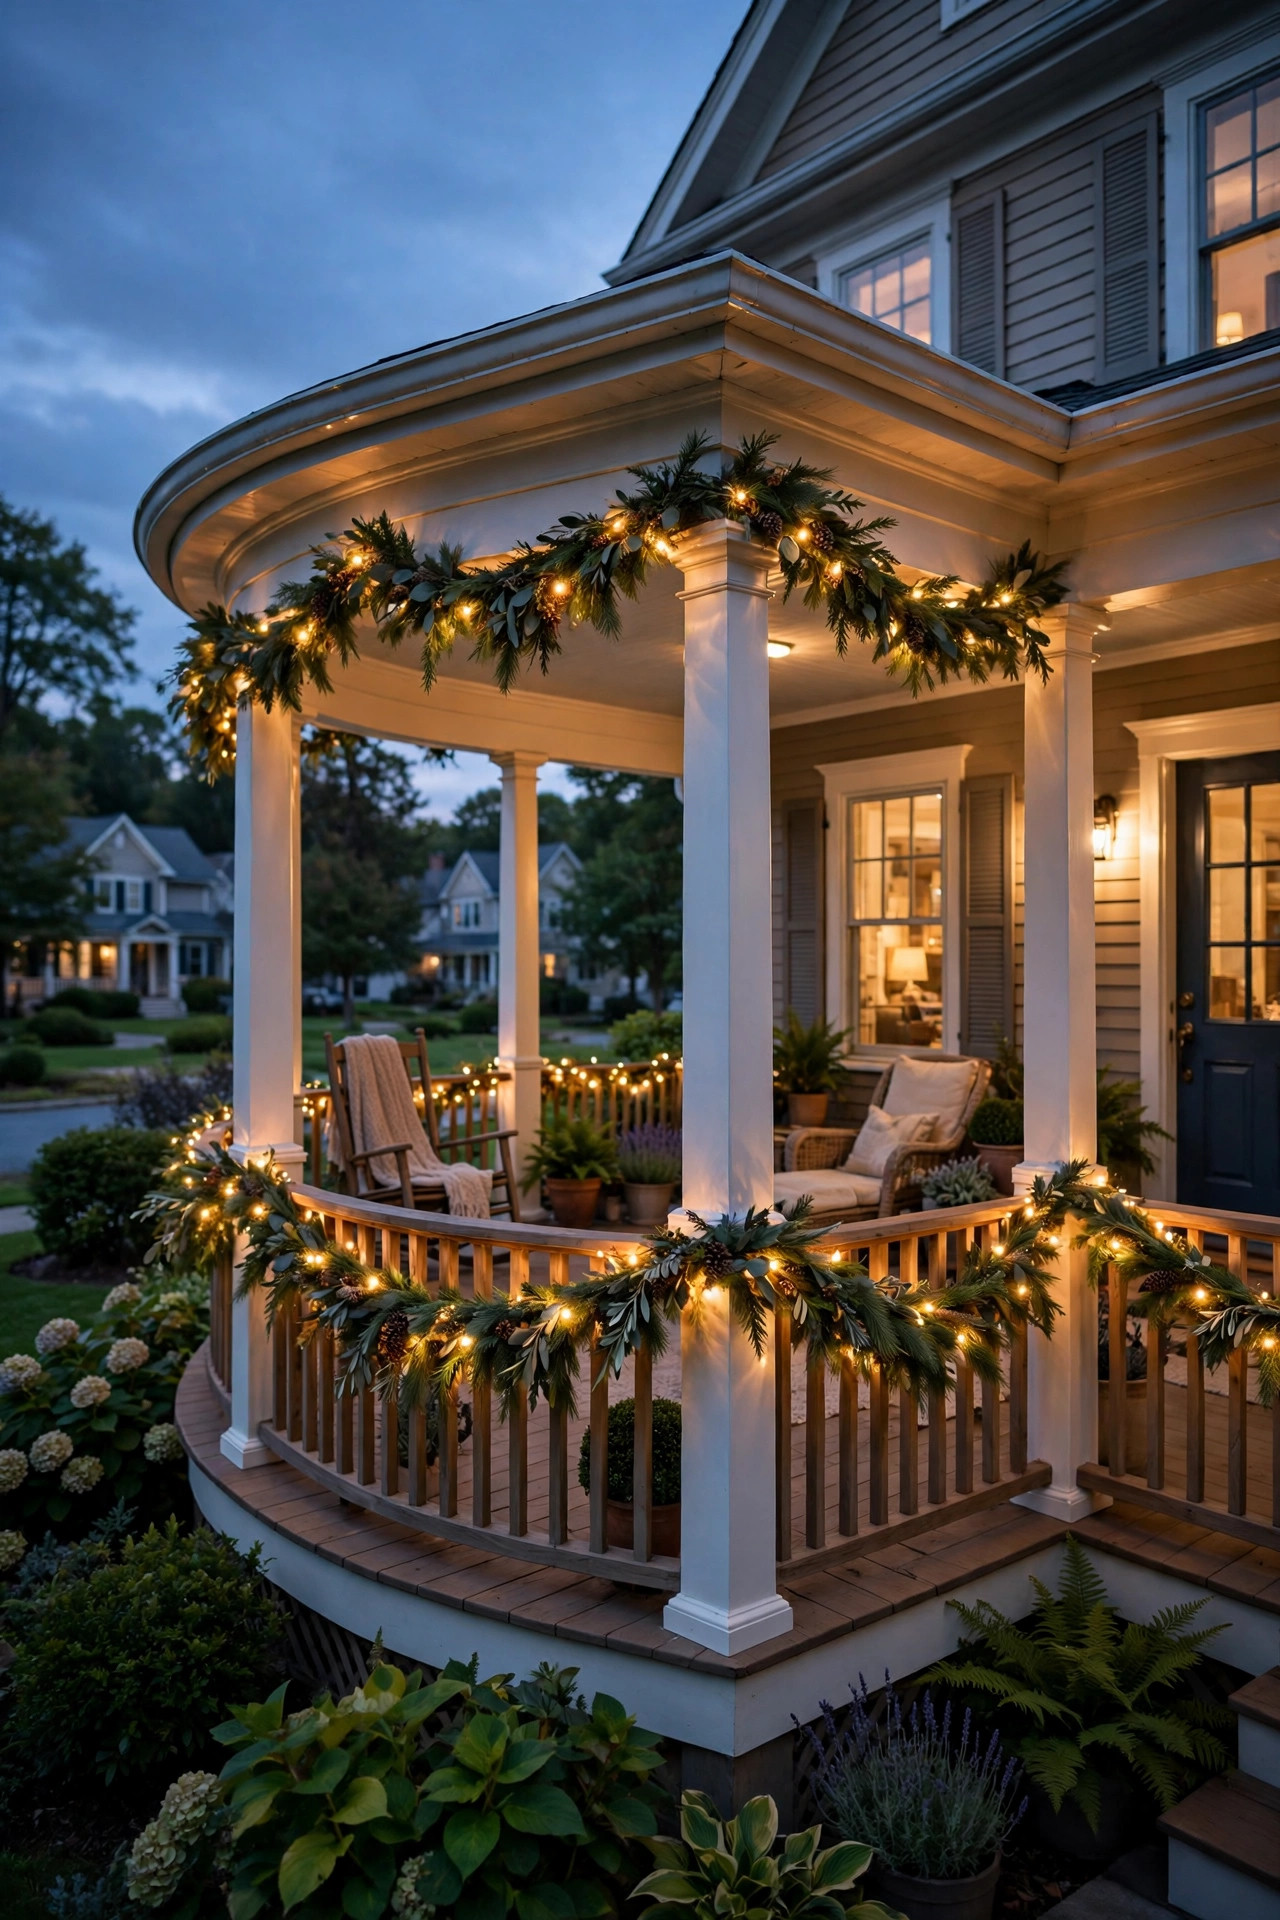
17. Dress the Rails With Seasonal Greenery and Fairy Lights
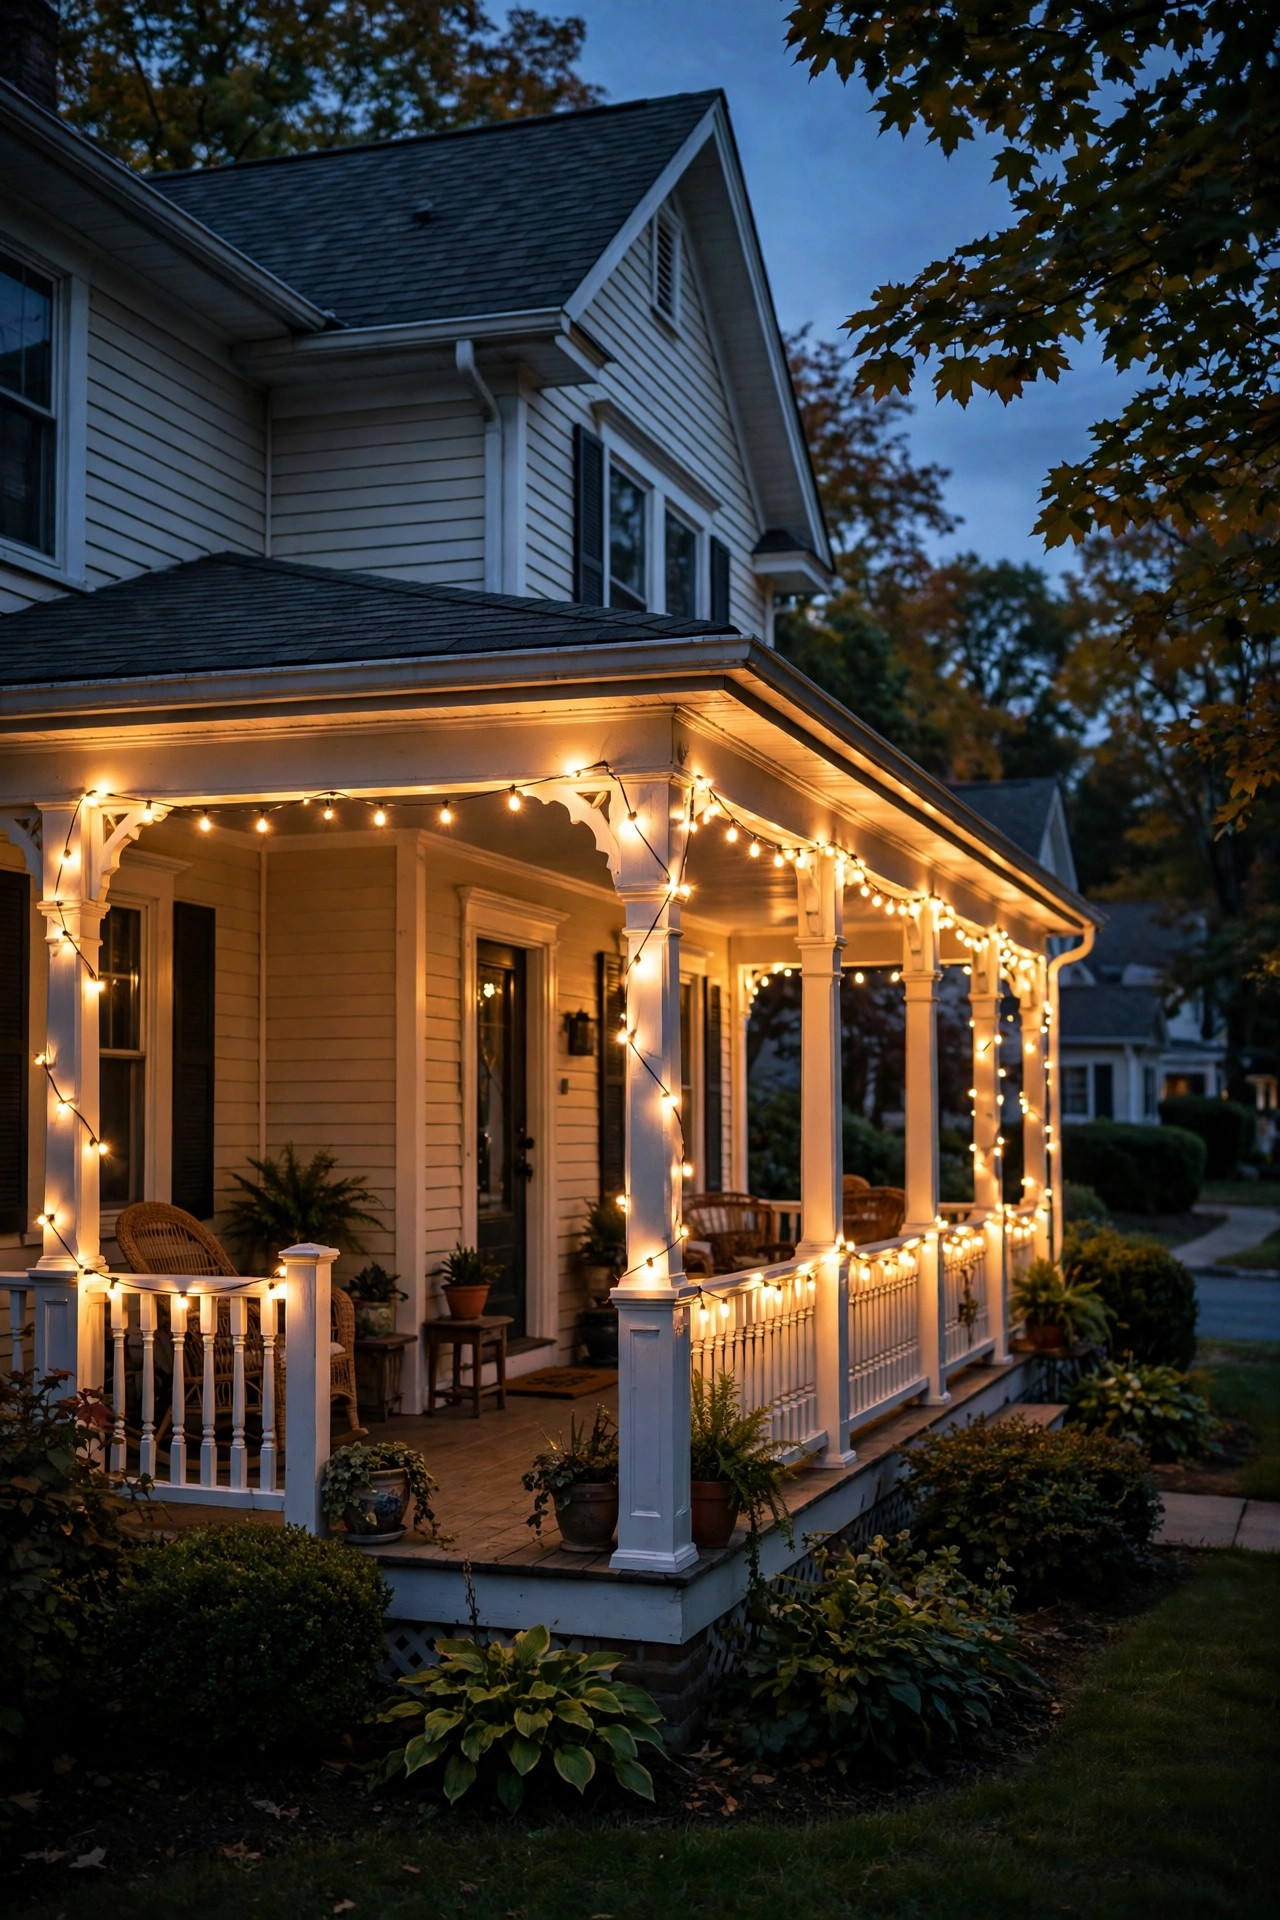
The railing of a wraparound is a long, ready-made stage for the seasons, and a strand of warm fairy lights woven through greenery garland turns the whole loop festive without a single new fixture. In fall, weave copper-wire LED strands through a faux or fresh garland along the front rail; in spring, swap to soft greenery and let the tiny lights peek through like fireflies. Use battery or plug-in LED only — they stay cool against leaves and fabric — and attach garland with soft ties or removable clips rather than staples that scar the rail. Keep the fairy layer front-and-side only, leaving the back stretch plain, so the effect reads as a welcome rather than a carnival. A 16- to 20-foot garland run with two fairy strands is the sweet spot for most front spans. Honestly, this is the idea neighbors stop to photograph, and it costs less than one sconce. Store the strands loosely coiled, not wadded, and they'll survive many seasons. Suggested budget range: $45 – $150.
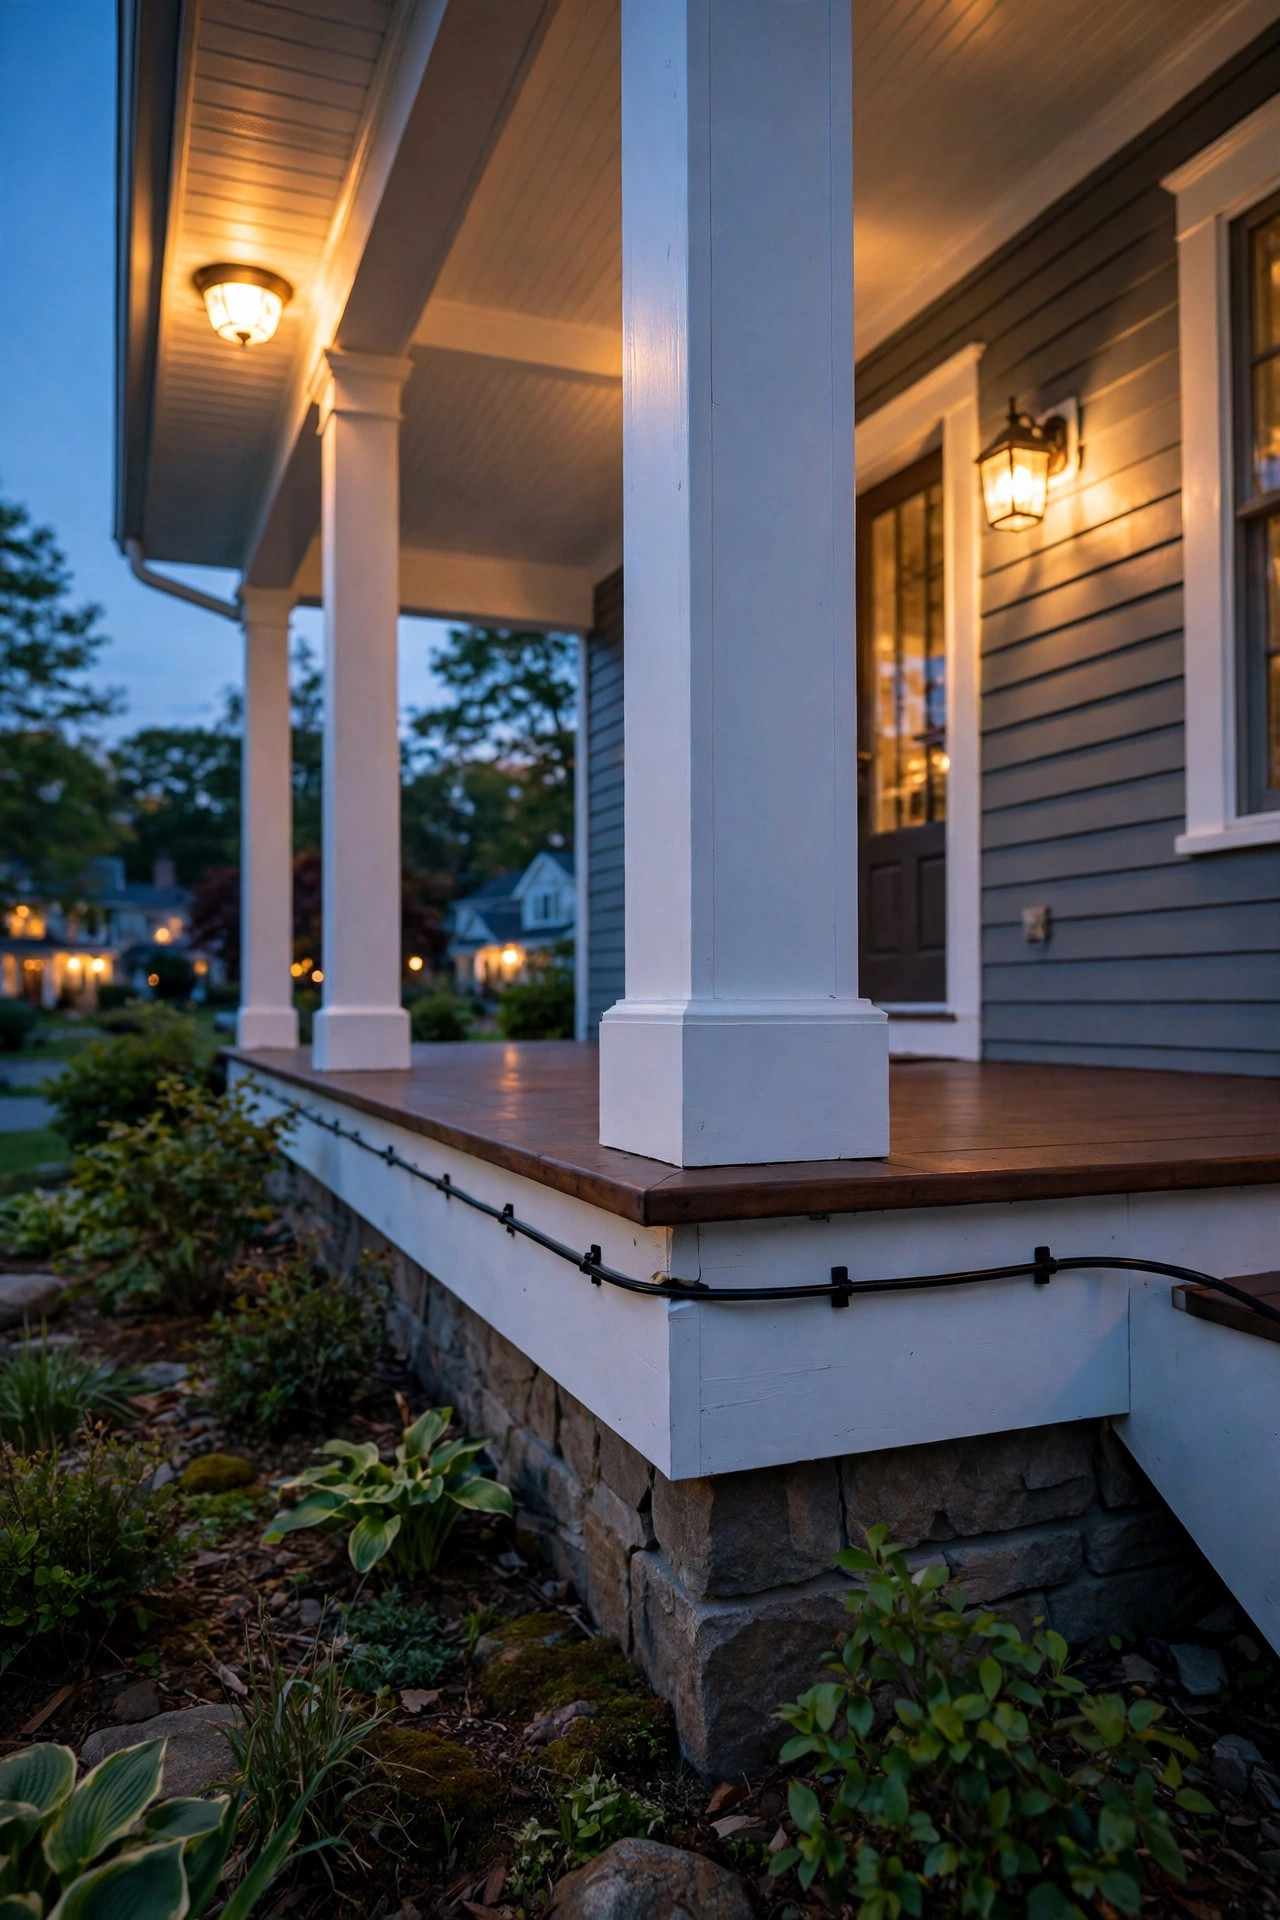
18. Hide the Wiring Like a Pro So the Loop Looks Built-In
A wraparound means long cable runs, and the difference between a DIY look and a built-in look is almost entirely where the wires go. Route low-voltage cable under the porch edge, along the underside of the deck band, or in shallow mulch channels against the foundation — never draped across floorboards or hanging in loops between posts. Where cable must cross a walkway or driveway edge, protect it in conduit; everywhere else, bury low-voltage line a few inches down or pin it flat with landscape staples so mowers and feet pass safely. Bring all runs back to one tidy hub near the transformer with labeled tags — front, side, steps — and you'll troubleshoot a dark section in minutes instead of an afternoon. Keep junction boxes accessible, not entombed under decking. Weatherproof wire nuts or gel-filled connectors are non-negotiable outdoors; plain indoor connectors corrode by the second season. Ten extra minutes per run with a staple gun is the cheapest polish on this entire list. Suggested budget range: $70 – $250.
19. Do a Nighttime Test Lap and Tune Every Corner
The last idea is the one that separates a good porch from a great one: after everything is installed, walk the full loop — and the street, and the side yard — at night with fresh eyes and adjust. You'll spot the sconce glaring into the swing, the corner that's still five percent too dark, the uplight that's drifting off the column. Shift fixtures while the impressions are fresh, add a glare shield where needed, and swap any bulb that reads cooler than its neighbors, because one 4000K bulb in a 2700K loop sticks out like a wrong note. Photograph each side from the street; the camera finds hotspots your eyes forgive. This is also the moment to set your timers and dimmer levels for real life rather than guessing. In my experience, a single honest test lap improves the result more than another $200 of fixtures would. Then pour something cold, take the long way around your own porch, and enjoy the fact that every side of your house now glows on purpose. Suggested budget range: $25 – $100.
Frequently Asked Questions
How many lights does a wraparound porch actually need?
As a working rule, plan one main fixture every 6 to 10 feet of porch length, then add step lights at each stair run and one accent at each corner. A typical three-sided wrap ends up with 12 to 20 fixtures total.
What color temperature is best for porch lighting?
Warm white, 2700K to 3000K, flatters wood, brick, and skin tones and gives that golden evening feel. The critical rule on a wraparound is consistency: every bulb in the loop should share the same temperature, because a single cool bulb breaks the spell instantly.
Can I light a wraparound porch without an electrician?
Much of it, yes. Low-voltage systems, solar post caps, plug-in string lights on GFCI outlets, and rechargeable lanterns are all DIY-friendly. Hardwired ceiling fixtures, new circuits, and new outlets should go to a licensed electrician — porch ceilings and weather exposure are not the place to learn wiring.
How do I keep the far side of the porch from going dim?
Dim far ends usually mean voltage drop on a long low-voltage run or an undersized transformer. Size the transformer at least 25 percent above your total fixture wattage, use 12-gauge cable on runs over about 100 feet, or feed the loop from both ends so no fixture sits at the tail of a long line.
Conclusion
The whole secret of great wraparound porch lighting ideas is rhythm: one warm temperature, one fixture family, and layers that repeat calmly around every corner, with the front door glowing brightest and the steps always safe. Start with ceiling lights and sconces, add the cheap magic — string lights, rail glow, lanterns — and let timers run the show. Browse more outdoor lighting ideas here on the site, pick your first side, and light it this weekend.