Intro
We've all seen it: the backyard where someone clearly tried. There's a tangle of string lights drooping from a gutter, one strand sagging so low it grazes foreheads, another pulled so tight it looks like a clothesline. The intention was a magical bistro patio. The result looks like a dorm room after a storm. If you're searching for how to hang outdoor string lights and actually make them look good, I promise the gap between amateur and professional is smaller than you think — it's just a handful of decisions about spacing, tension, and anchors.
In my experience, the string-light setups that make people gasp at dusk all share the same bones: a taut guide wire doing the heavy lifting, even graceful dips between support points, one warm color temperature throughout, and hardware that doesn't quit in the first windstorm. None of that requires an electrician or a big budget. Just a plan.
By the end of this guide, you'll know exactly which type of string lights to buy, how many feet you need (including the swag-dip math nobody tells you about), two complete step-by-step hanging methods for patios and open yards, what the whole project costs in 2026, the 5 mistakes that ruin the effect, and how to keep everything safe and automated with timers.
The Short Answer
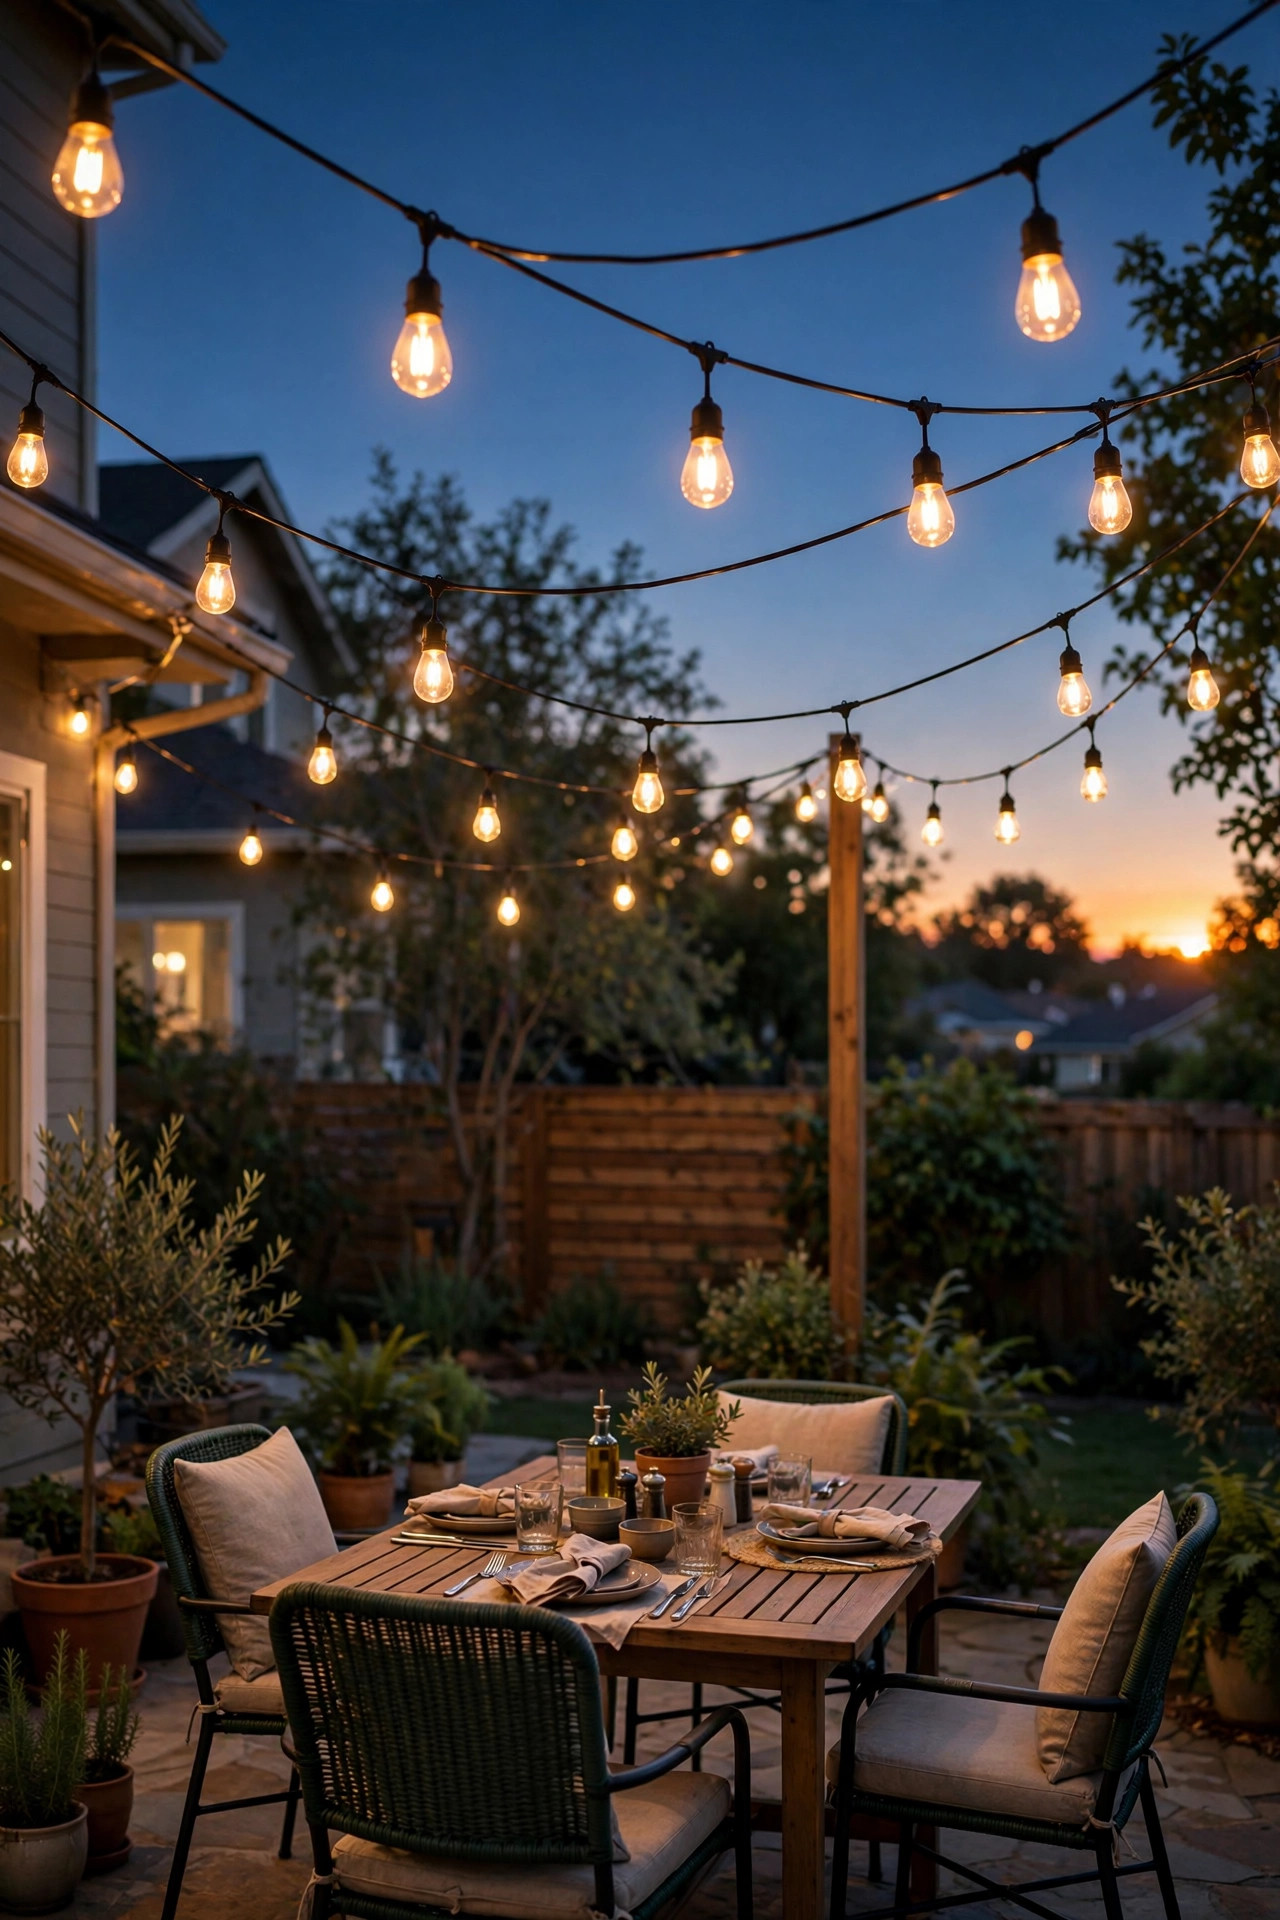
Hang a taut steel guide wire between sturdy anchors, attach your strands to it with small hooks or zip ties every 2–3 feet, and let each span dip gracefully — about 2–3 feet of swag for every 12–15 feet of span. Hang lights 9–10 feet high (never below 7 feet over walkways), stick to one warm color temperature around 2700K, and use outdoor-rated LED strands plugged into a GFCI outlet with a timer. That's the entire professional formula: the wire carries the weight, the dip creates the magic, and the timer makes it effortless.
How String Lights Actually Work
Before you buy a single strand, it helps to understand what you're actually working with, because not all string lights are built the same — and the differences matter more than the price tag suggests.
A standard strand is a length of insulated wire with sockets spaced along it (usually every 12 to 24 inches), a male plug on one end, and a female "end-to-end" connector on the other so you can daisy-chain multiple strands. Here's the catch most people miss: there is a maximum number of strands you can safely connect, and it depends entirely on the bulb type. LED strands are so low-draw you can often link 20 or more; incandescent strands might max out at 3. Exceed it and you're flirting with melted wire and tripped breakers.
The biggest decision is LED versus incandescent. Honestly? For outdoor use, LED wins on almost every front now. A typical LED bulb draws about 1 watt; an old-school incandescent mini bulb draws 5 to 7 watts, and the larger C9-style bulbs can draw 7 to 10 watts each. That difference compounds fast when you're running 50 bulbs for six hours a night. LEDs also stay cool to the touch, which matters if your lights brush against dried vines, fabric canopies, or wooden pergola beams.
Next, decide between shatterproof plastic and glass bulbs. Shatterproof (usually a tough polycarbonate) is my default recommendation for anything hanging over a dining table, a walkway, or a play area — because glass bulbs over a dinner table is a bad idea waiting for a windstorm. Glass does have a slightly crisper sparkle, so if you love that look, reserve glass for high, hard-to-reach spans over garden beds where nothing falls on anyone.
Finally, color temperature. This is measured in Kelvins (K), and it's the single biggest factor in whether your yard looks like a cozy bistro or a hospital parking lot. Warm white at 2200K–2700K gives you that golden, candlelit glow. Cool white at 4000K–5000K looks bluish and harsh outdoors. I always recommend 2700K as the sweet spot — warm enough to feel magical, bright enough to actually see your food.
The Main Types, Compared Honestly
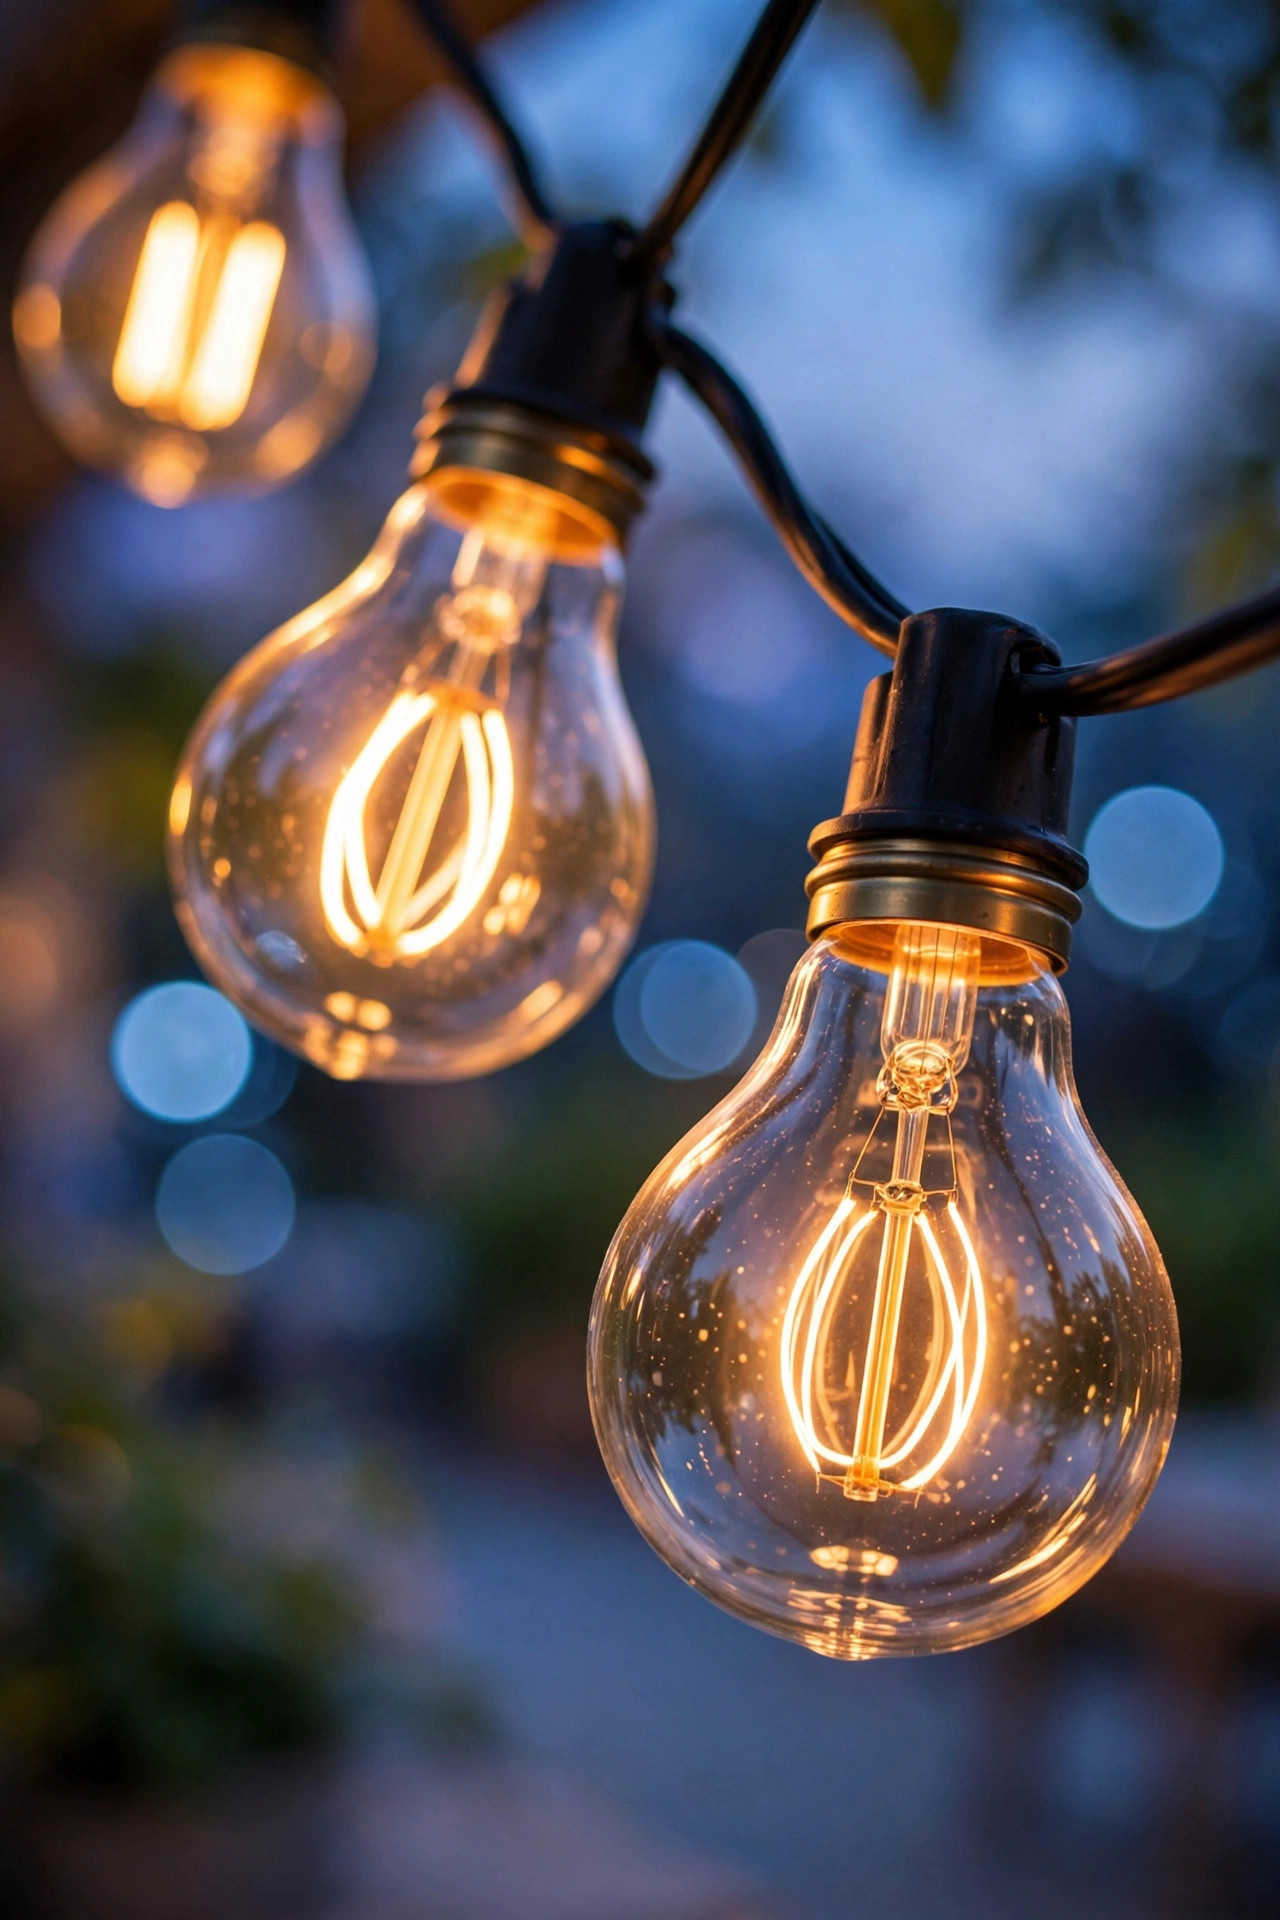
Walk into any home improvement store in spring and you'll face a wall of string lights. Here's my honest breakdown of the five types worth knowing about, because each one is genuinely the right answer for a different situation.
Edison-style LED strands are the classic bistro look — larger teardrop or tubular bulbs with visible filaments, spaced 12–24 inches apart. They're the workhorse of patio lighting and what most people picture when they dream of string lights. Cost: $25–$45 for a 48-foot strand. Effort: medium — you'll want a guide wire and an afternoon. Best for: patios, pergolas, and everyday ambience.
Mini fairy lights use tiny LEDs on thin copper or green wire. They're delicate, twinkly, and perfect for weaving through plants, wrapping railings, or layering inside other decor. The downside: the thin wire can't support its own weight across long spans, so these are for short runs and wrapping, not for spanning a yard. Cost: $12–$20 for 33 feet. Effort: low — drape, wrap, and plug in. Best for: railings, plants, and layered accents.
Globe/bistro lights are the round, golf-ball-sized bulbs (often labeled G40). They give a softer, more diffused glow than Edison filaments and read a little more modern and festive. Cost: $20–$35 for 48 feet. Effort: medium — same hanging method as Edison strands. Best for: parties, pool areas, and festive looks.
Solar string lights have a small panel that charges by day and runs the lights at dusk. No outlet needed, which is genuinely liberating for far corners of the yard. But — and this is the honest part — they're dimmer, they fade as the battery drains, and in cloudy weeks or short winter days they may barely light at all. I treat them as accent lighting, never as the main event. Cost: $15–$30. Effort: very low — stake the panel and hang. Best for: far corners with no outlet, as accents.
Smart color-changing strands connect to your phone or voice assistant and can shift colors, dim, and run schedules. Fun for holidays and parties, overkill for everyday ambience, and noticeably pricier. One caution: some cheaper smart strands have poor waterproofing at the controller box, so check the rating. Cost: $40–$80. Effort: medium, plus app setup. Best for: holidays, parties, and app control.
| Type | Typical cost | Hanging effort | Best for |
|---|---|---|---|
| Edison-style LED strands | $25–$45 for 48 feet | Medium — guide wire and an afternoon | Patios, pergolas, everyday ambience |
| Mini fairy lights | $12–$20 for 33 feet | Low — drape, wrap, and plug in | Railings, plants, layered accents |
| Globe/bistro lights | $20–$35 for 48 feet | Medium — same hanging method as Edison strands | Parties, pool areas, festive looks |
| Solar string lights | $15–$30 | Very low — stake the panel and hang | Far corners with no outlet, as accents |
| Smart color-changing strands | $40–$80 | Medium, plus app setup | Holidays, parties, app control |
How Many Feet You Need (and the Swag-Dip Math)
This is where most people either buy half what they need or end up with a sad leftover coil. Measuring correctly takes ten minutes and saves a return trip.
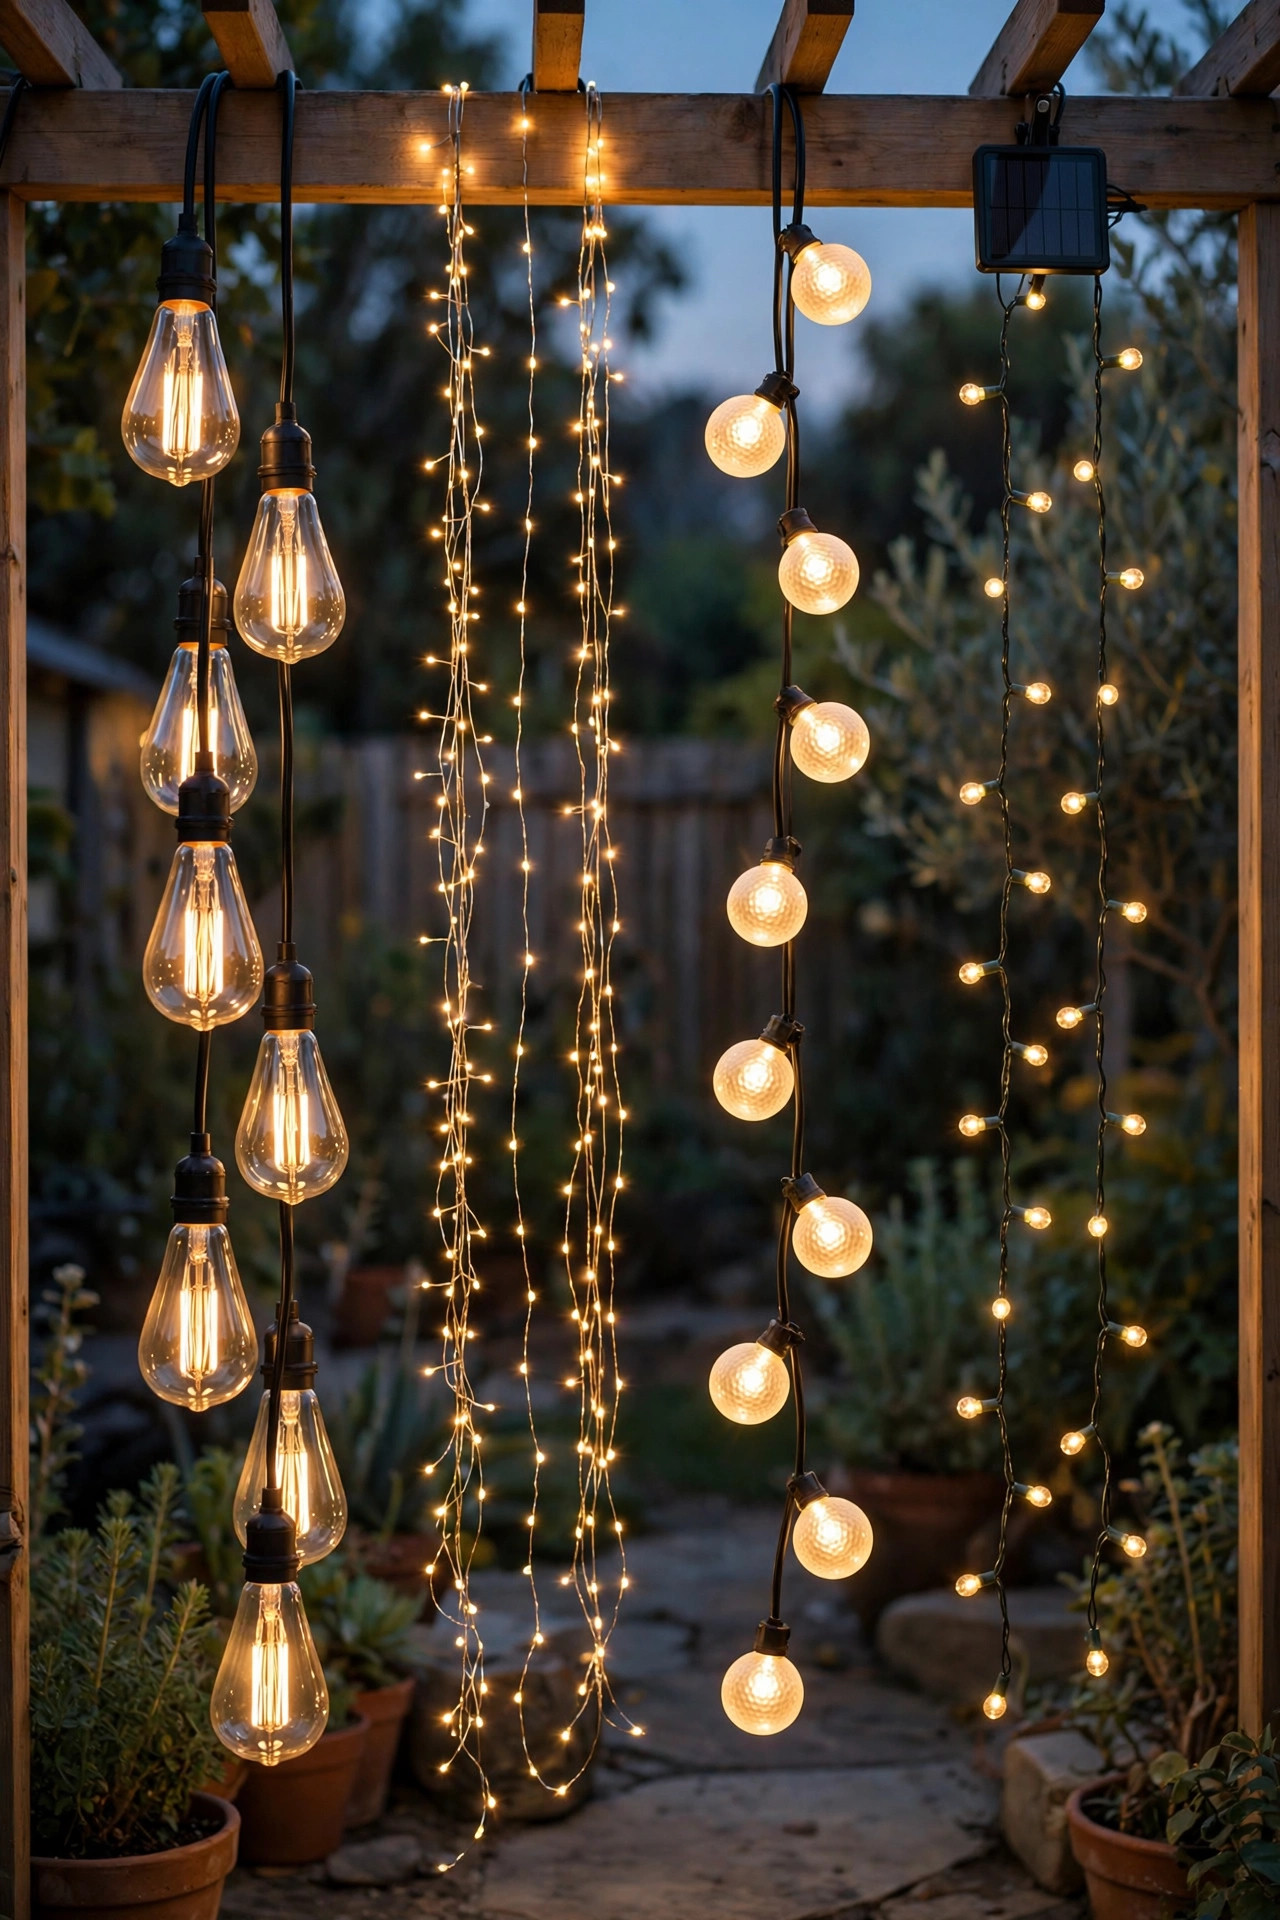
Start by measuring your actual runs — the straight-line distance between each pair of anchor points. For a patio, that might be house-to-pergola-post. For a yard, pole to pole. I use a 25-foot tape measure, but honestly, laying a garden hose along your planned path and then measuring the hose works just as well.
Now the part nobody tells you: the strand needs to be longer than the straight-line distance, because of the swag dip. A span that dips gracefully in the middle uses roughly 10–15% more strand than the straight measurement. My rule of thumb: multiply each straight-line span by 1.15. So a 12-foot span needs about 14 feet of lights; a 20-foot span needs about 23 feet.
Then add your lead-in — the distance from your last anchor point to the outlet. Measure that too, and add it to your total. Outdoor extension cords are fine for this, but buy a proper outdoor-rated one and keep the connection off the ground.
Finally, buy 10% extra. Strands come in fixed lengths (commonly 24, 48, or 100 feet), and you'll almost never land exactly on your number. Having a little slack is infinitely better than coming up 3 feet short. And here's the thing — if you're planning a pattern like a V, an X, or a fan of parallel runs, sketch it on paper first and measure each run separately. I once freehanded a "simple" zigzag across a deck and ended up 40 feet short. Learn from my mistakes.
One more planning tip: count your bulbs, not just your feet. If you're spanning a wide area, strands with 12-inch bulb spacing look noticeably fuller than 24-inch spacing. Fullness is what reads as "professional."
How to Hang Outdoor String Lights on a Patio or Deck
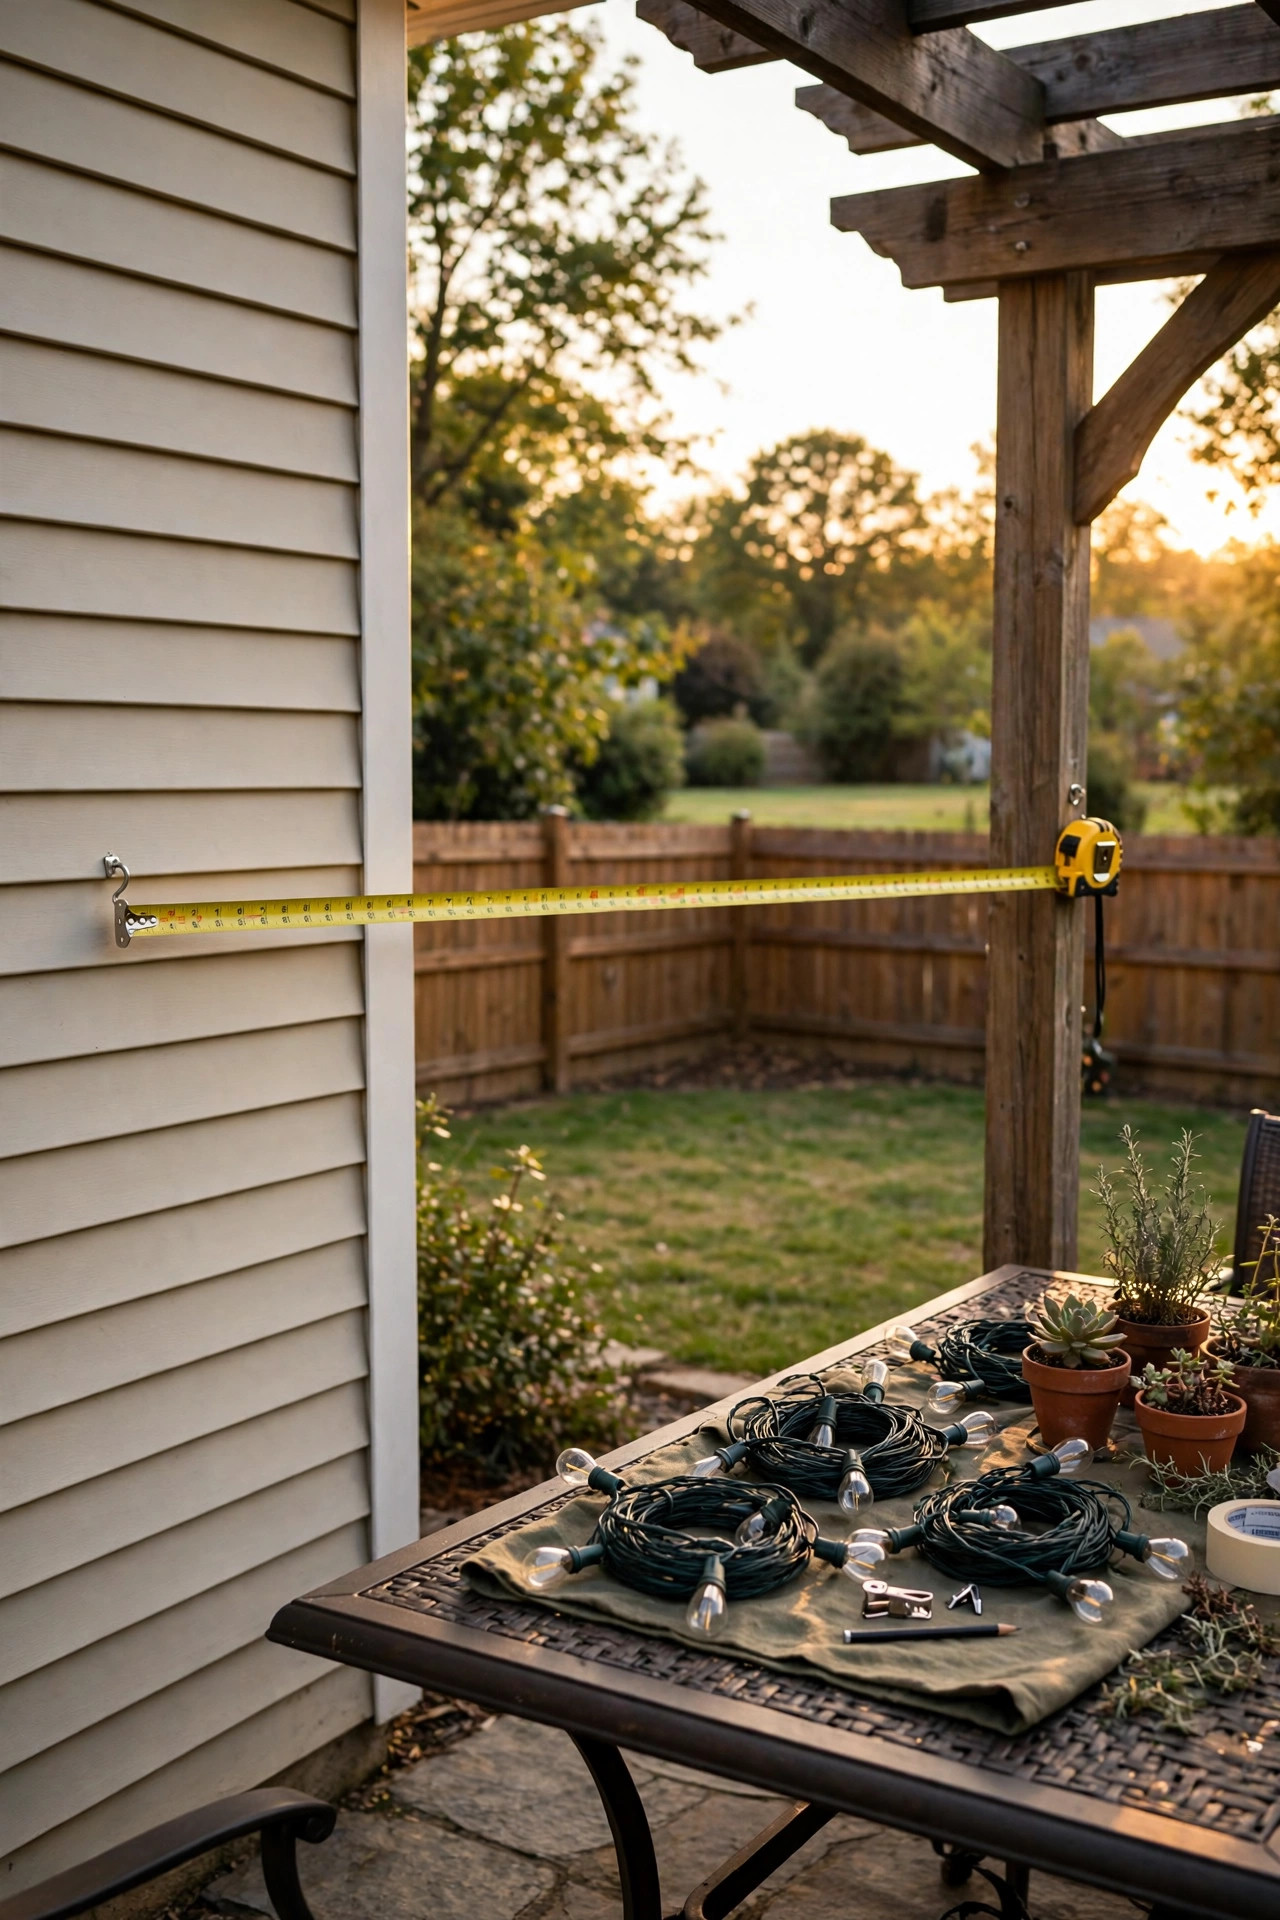
This is the most common setup — house on one side, deck posts or a pergola on the other. Here's my exact process, refined over many summers:
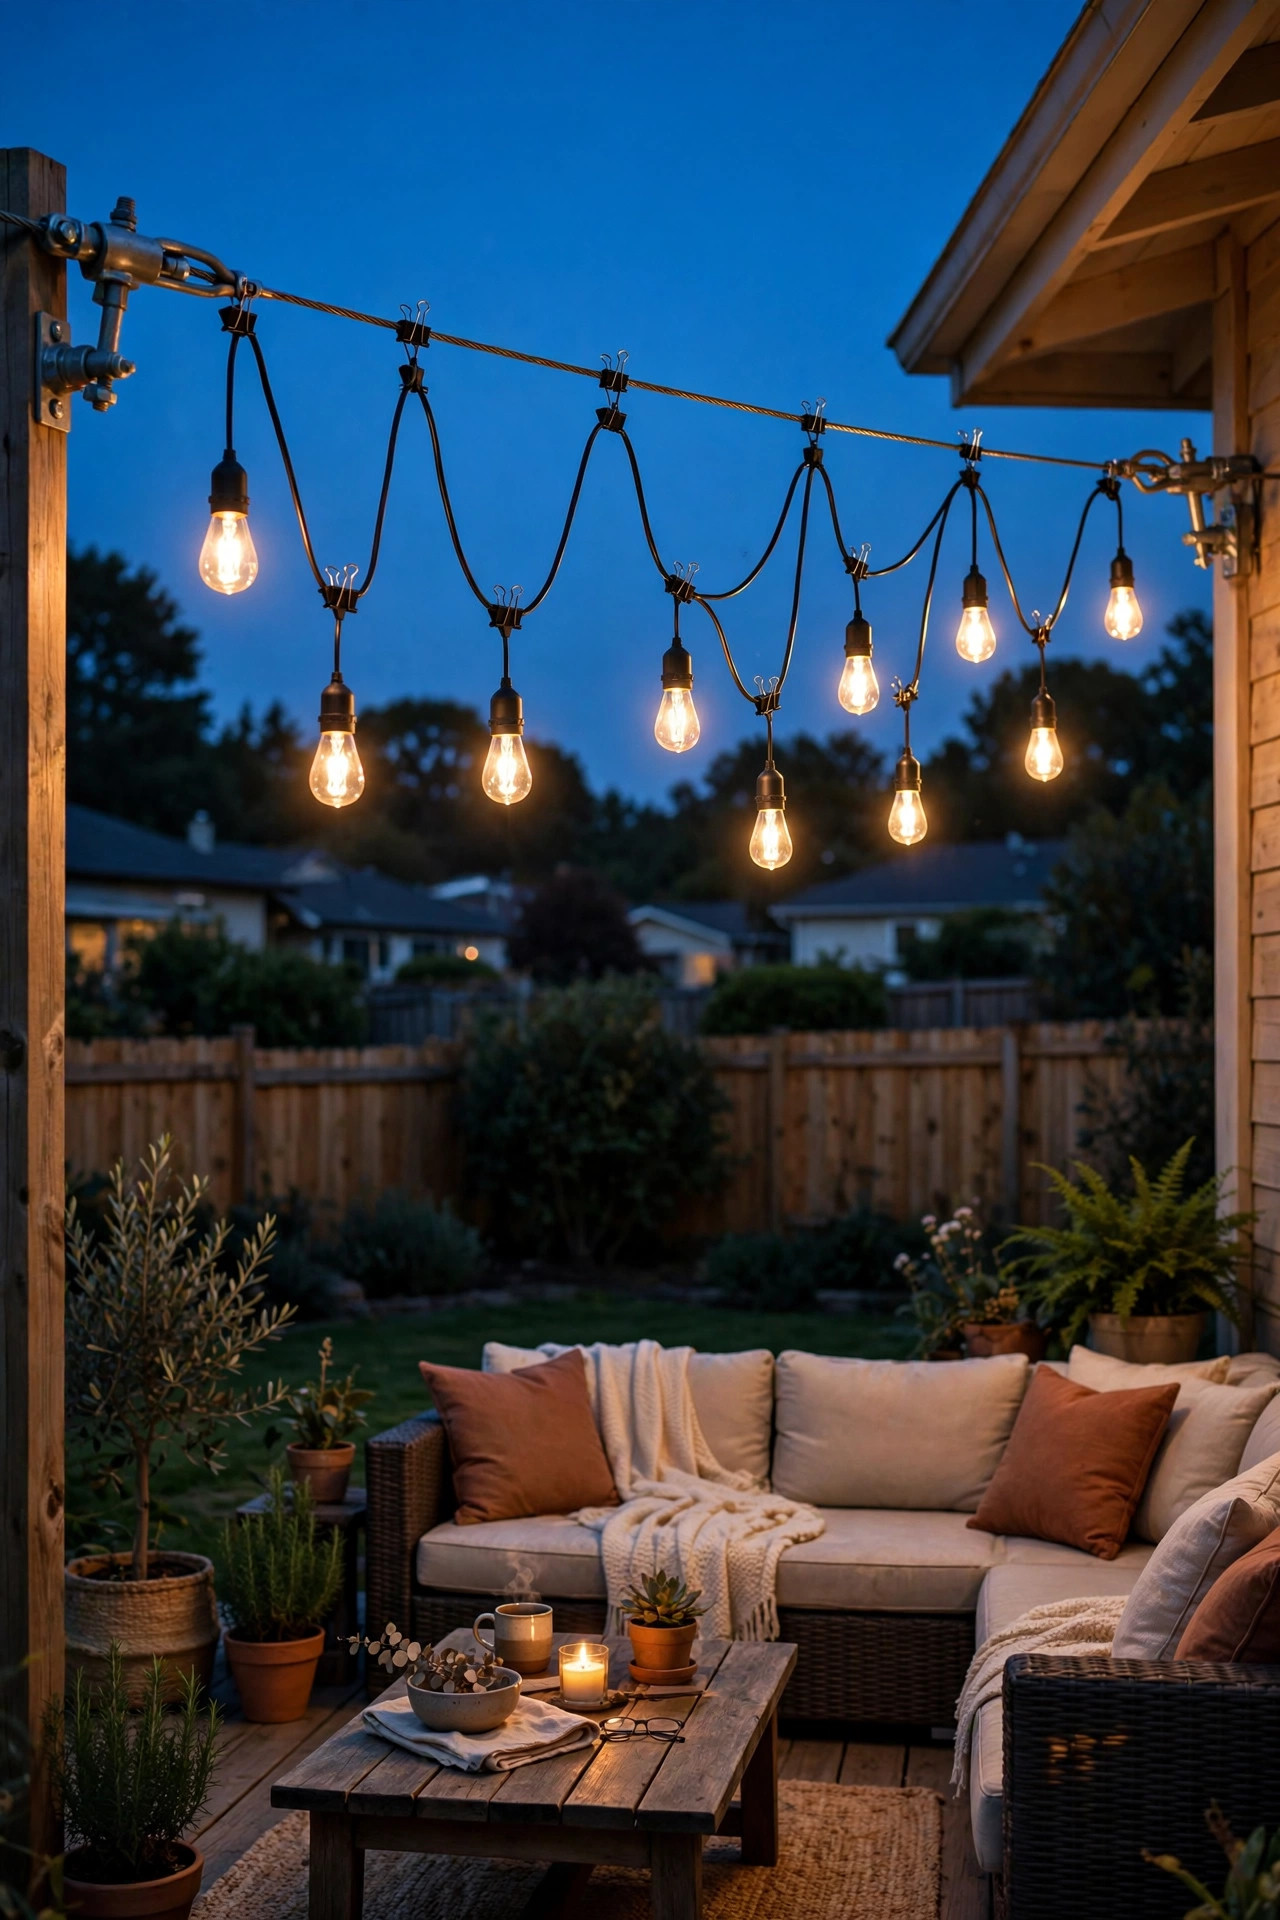
1. Choose your anchor points. On the house side, screw-in hooks driven into studs, the fascia board, or a solid soffit work best. On the deck side, use the posts themselves — screw eyes or cup hooks driven into the post at 9–10 feet high. If your deck has a pergola, the beams are ideal anchors.
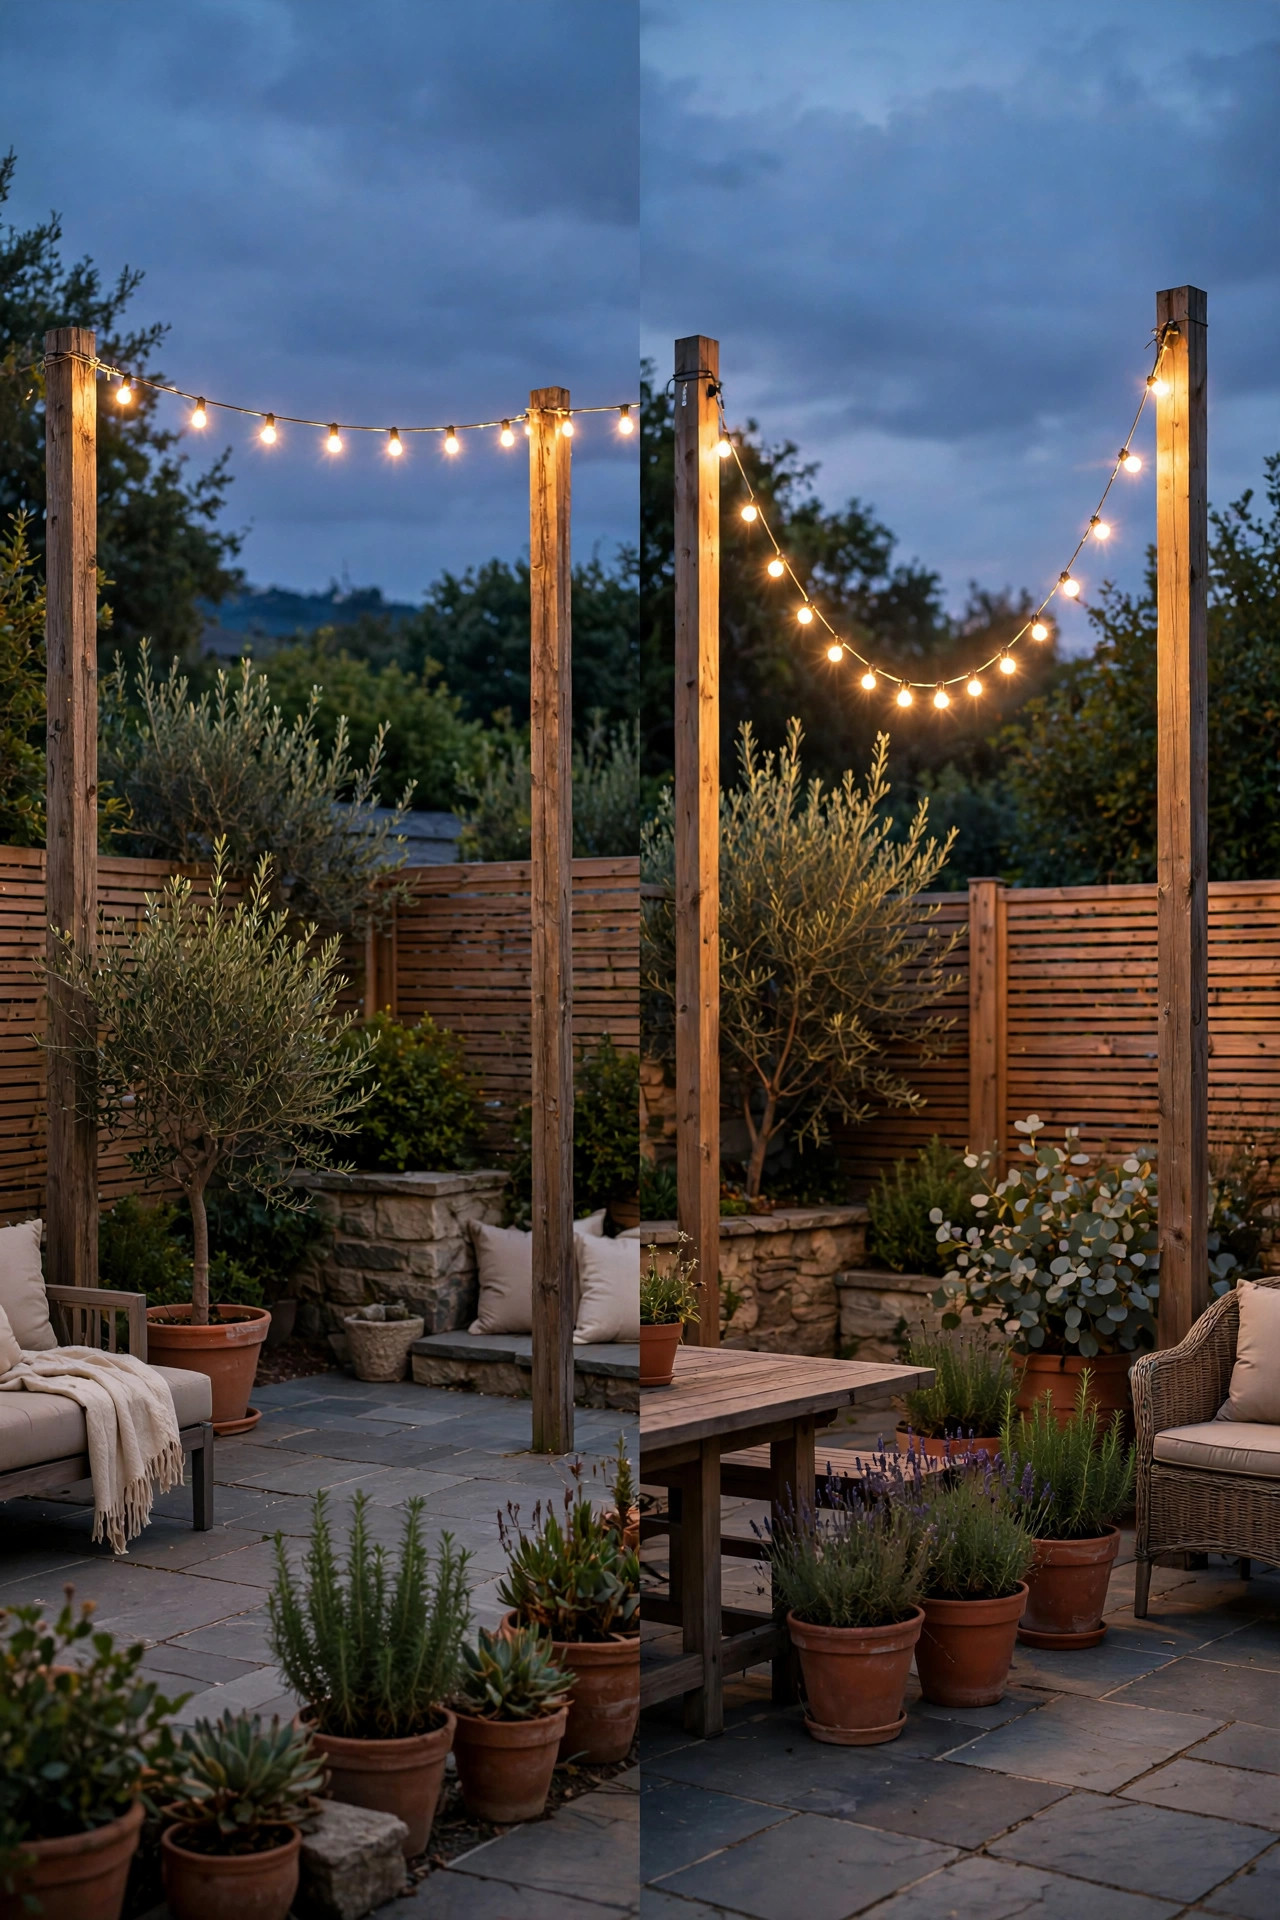
2. Install a steel guide wire. This is the pro secret. Run a thin galvanized steel cable (1/16-inch aircraft cable is perfect) between your anchor points, pulled snug with a turnbuckle at one end. The cable — not the light strand — carries the weight. Your lights will hang from it, which means no stretched wire, no uneven sagging, and no strain on the electrical connections.
3. Drape the strand with the swag you want. Starting from the outlet end (always plan from the plug backward), lay the strand along the cable with your planned dip. For a 12-foot patio span, let the middle hang 2–3 feet lower than the ends. Eyeball it at dusk if you can — everything looks different in the dark.
4. Attach every 2–3 feet. Use small S-hooks, zip ties, or purpose-made light clips to fasten the strand to the cable. Don't attach at every bulb — every few feet is plenty, and it lets the strand relax into a natural curve between fasteners.
5. Connect strands end-to-end. Plug the next strand into the female connector of the first. Remember your maximum: count your total connected length against the manufacturer's limit printed on the box.
6. Run the lead to the outlet. Use an outdoor-rated extension cord if needed, route it where nobody trips, and plug into a GFCI-protected outlet (I'll cover why in the safety section).
7. Test at night, then set a timer. Step back, look at it in the dark, adjust any dips that look uneven. Then plug everything into a timer so the magic happens automatically. If you want to see these techniques dressed up for autumn, my fall porch lighting ideas roundup shows string lights woven into planters and along railings.
How to Hang Outdoor String Lights Across a Yard
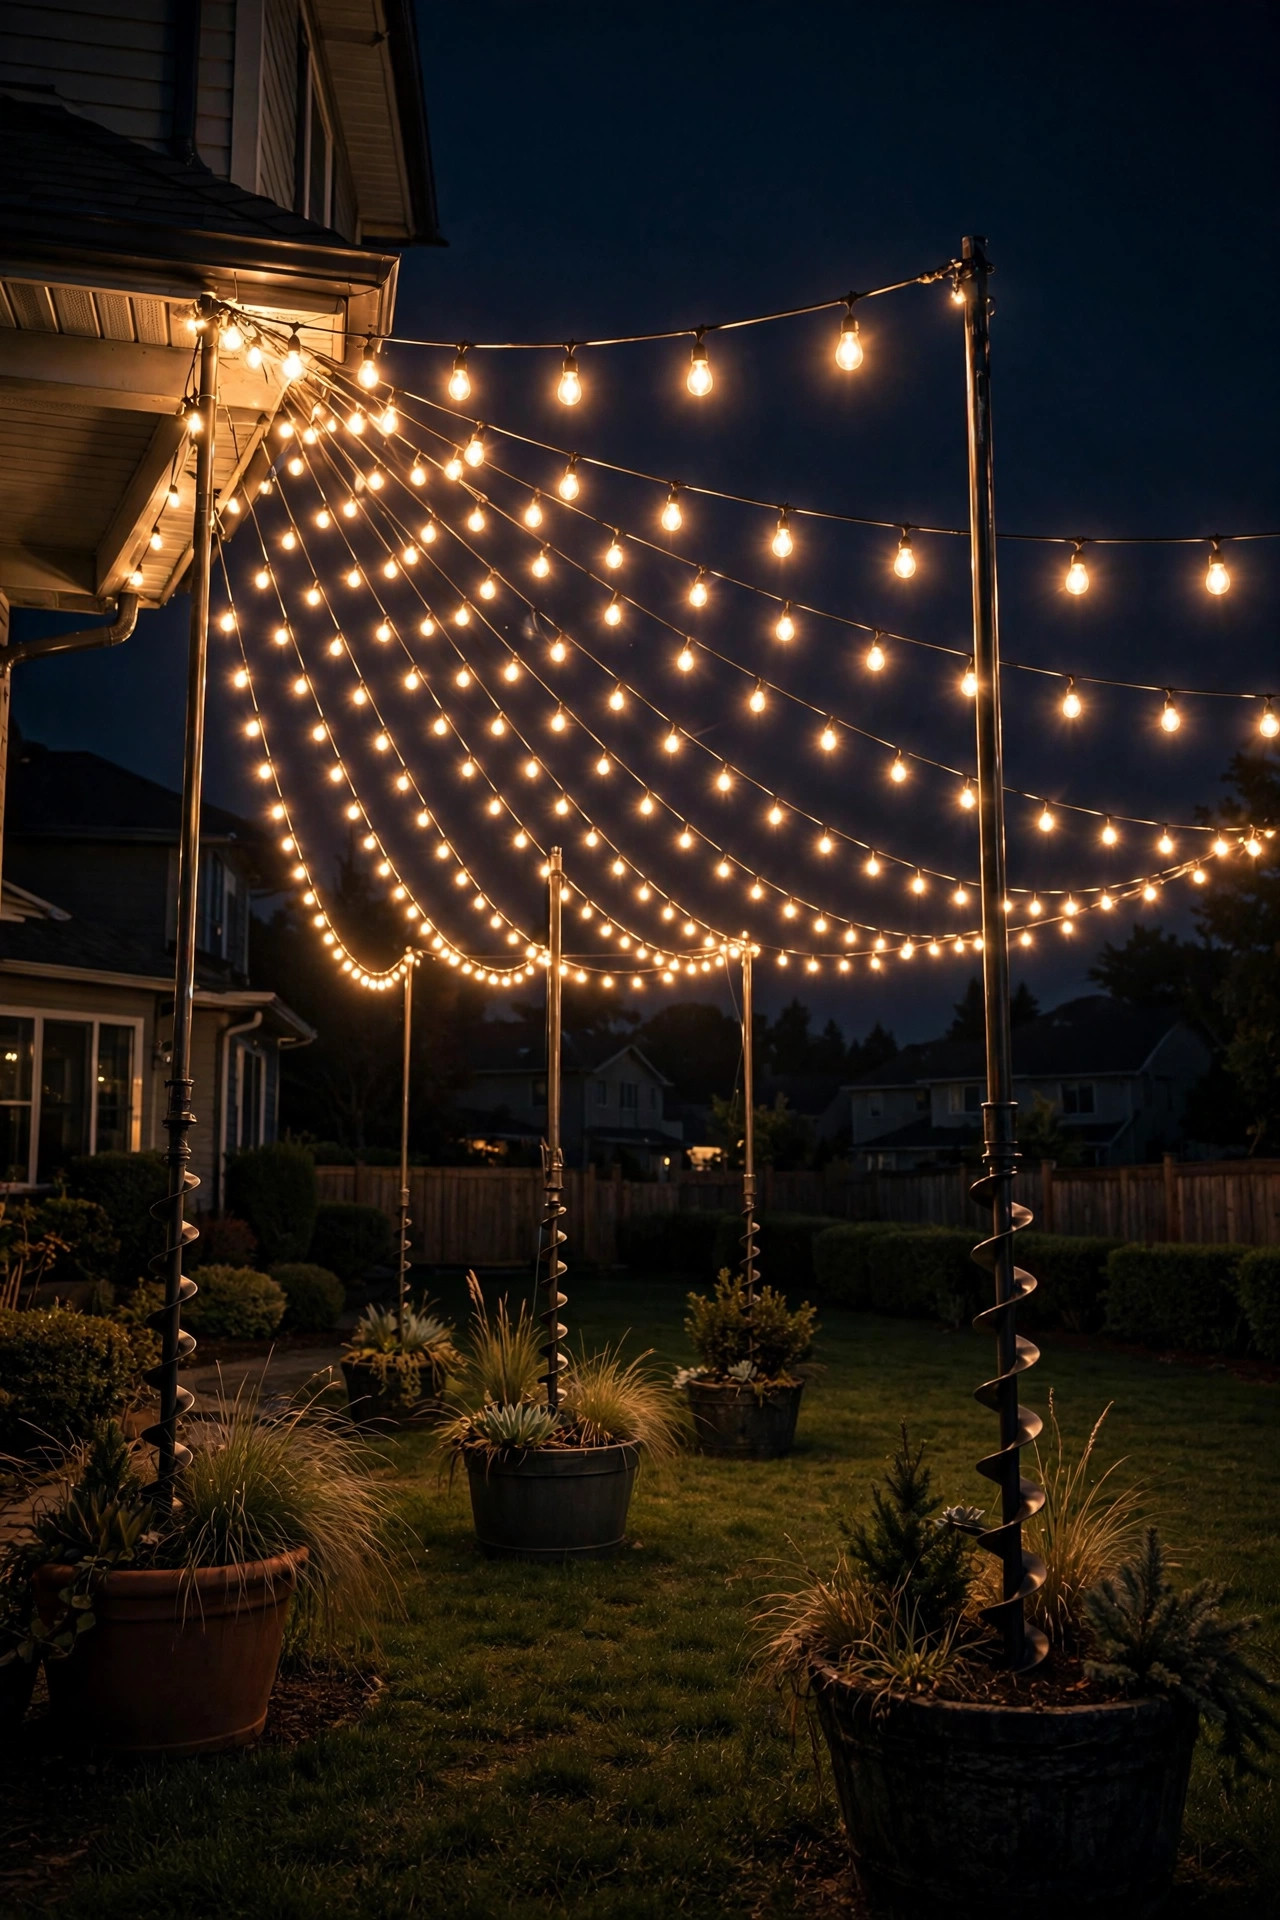
No patio roof? No problem. Spanning an open yard just means you create your own support points — and the result, a canopy of lights floating over the lawn, is honestly the most dramatic look of all.
1. Set your poles. The classic DIY method is the pole planter: a half whiskey barrel or large planter filled with a bag of concrete mix, with a 10-foot metal pole or 4×4 post set into it. Give the concrete 48 hours to cure. For a 20×20-foot area, four corner planters work beautifully. Alternatively, purpose-made string-light poles with auger or stake bases cost $25–$40 each and go in faster.
2. Consider trees — carefully. Trees make gorgeous anchor points, but never drive screws or nails into a living tree. Use wide, tree-friendly straps or wrap the trunk with a section of old garden hose first, then attach to the hose. Hang from a sturdy limb at least 4 inches thick.
3. Run the catenary wire. "Catenary" is just the fancy word for the natural curve a cable makes between two points. Run your steel cable from pole to pole (or pole to house), tensioning each run with a turnbuckle. Keep individual spans to 20–25 feet max without a middle support — beyond that, even cable starts to sag too much.
4. Plan your pattern. The crowd-pleasers: parallel runs (clean and modern), a V or fan radiating from one high point on the house (dramatic and great for parties), or a zigzag. For a fan pattern, the house anchor should be the high point and the poles slightly lower — that slope is what makes it look intentional.
5. Hang and attach the strands. Same as the patio method: drape with planned swag, fasten every 2–3 feet with hooks or zip ties, connect end-to-end within the rated limit.
6. Secure your power. You'll likely need a long outdoor extension cord. Run it along the ground (never buried unless it's burial-rated), keep connections in weatherproof cord boxes, and plug into a GFCI outlet. For a big party setup, a second outlet on a different circuit is smart.
7. Walk the perimeter at night. Check every dip from multiple angles, make sure nothing hangs below 7 feet over paths, and confirm no strand is pulling hard against its neighbors. For party inspiration, my boho garden party decoration ideas show how a light canopy transforms an outdoor gathering.
The Swag Secret: Getting That Perfect Dip
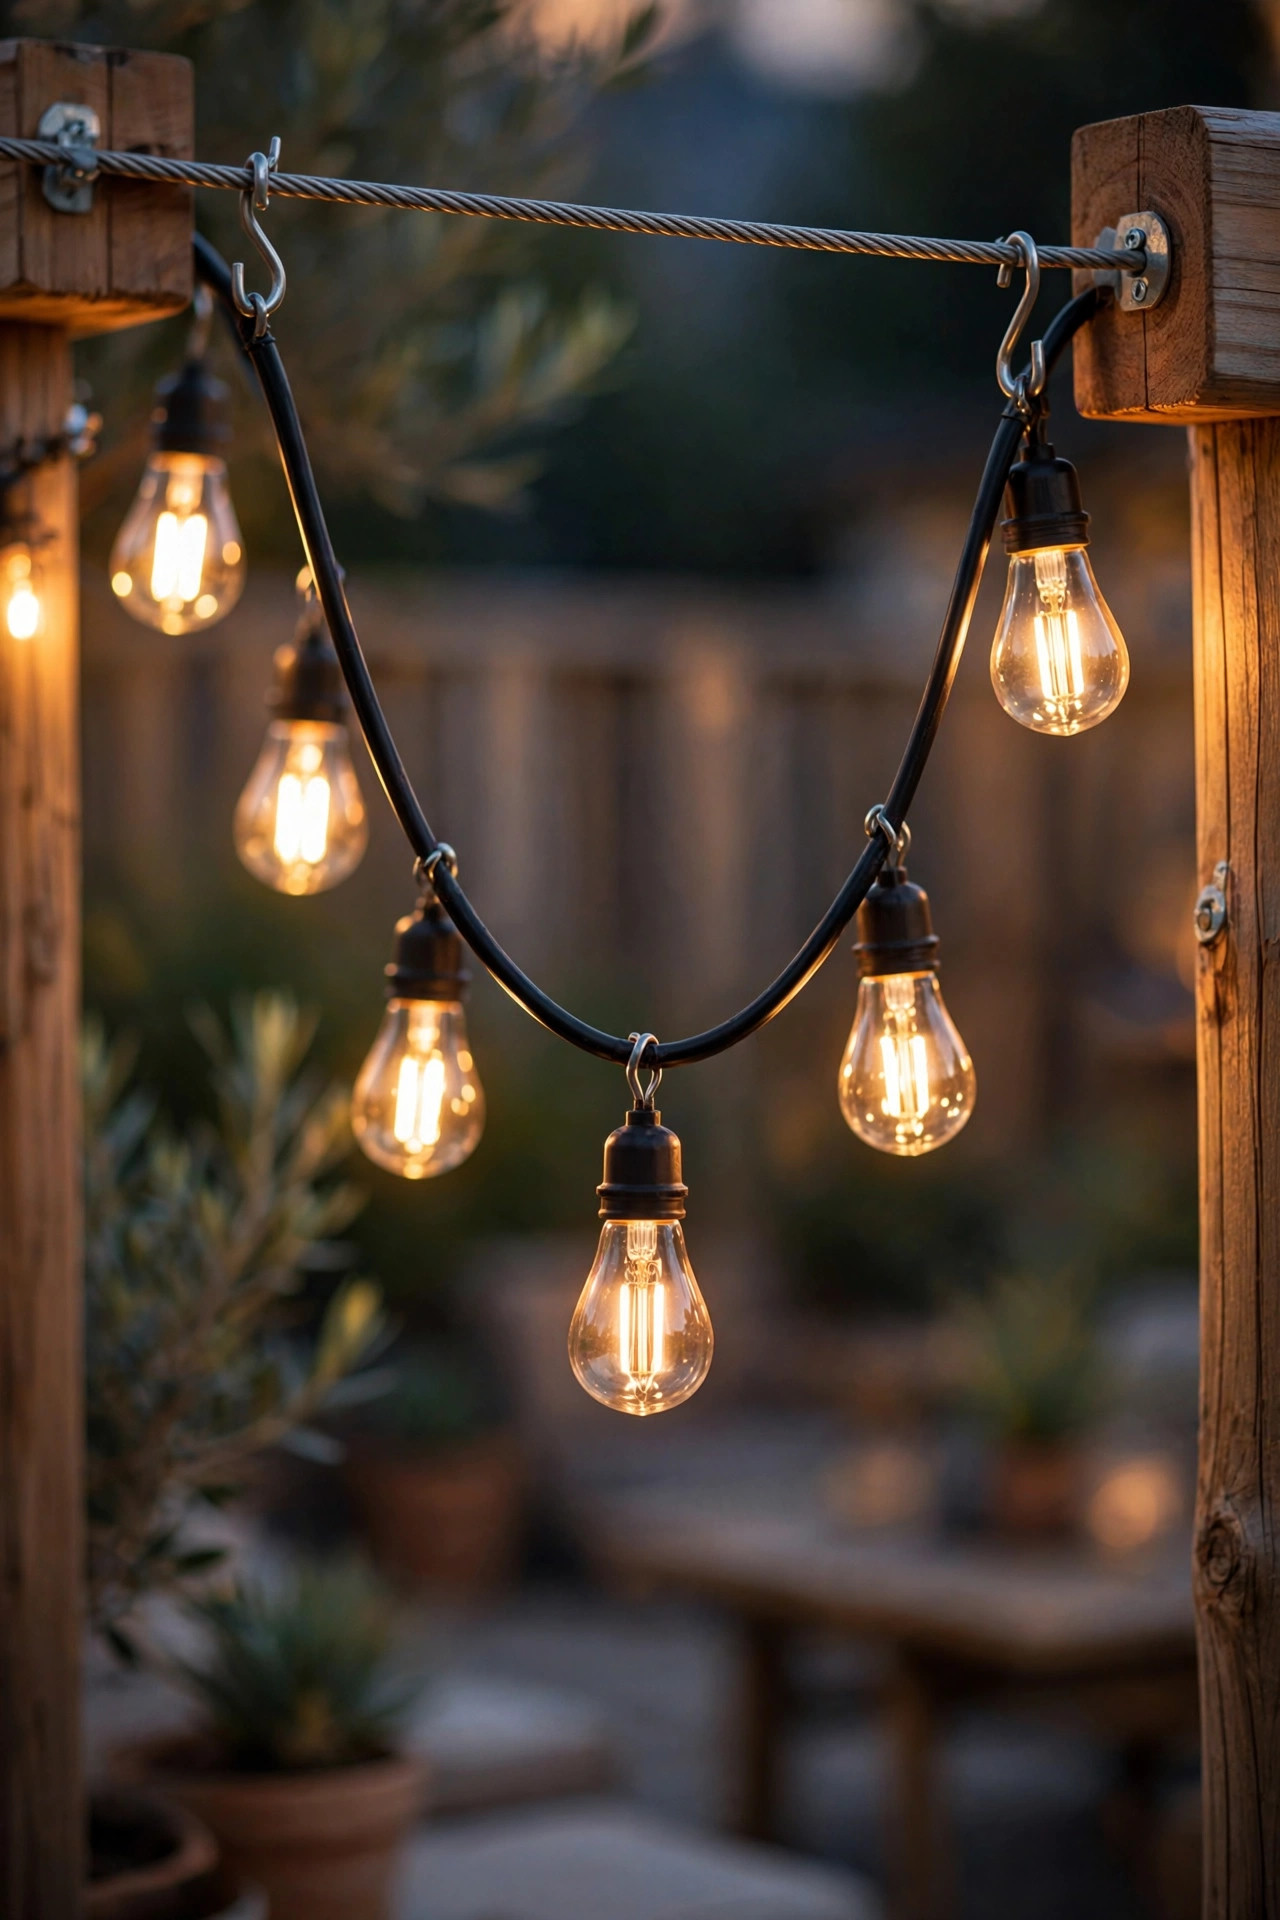
If there's one detail that separates "pro" from "I tried," it's the swag — that graceful downward curve between support points. Too tight and it looks like a clothesline. Too loose and it looks like a spiderweb. Here's the math I use.
The ratio: aim for a dip of roughly one-fifth to one-quarter of the span length. In plain numbers: a 10–12 foot span wants 2–2.5 feet of dip; a 15-foot span wants about 3 feet; a 20-foot span wants 4–5 feet. Measure from the anchor height to the lowest point of the curve. I keep a tape measure in my pocket during every install because eyeballing this in daylight lies to you — always do your final check at dusk.
Keep spans even. Whatever dip you choose, repeat it consistently across every span. Five spans with matching dips look intentional and rhythmic; five spans with random dips look accidental. If one span is much longer than the others, add a middle support point rather than letting it droop deeper.
Mind your bulb spacing. Strands with bulbs every 12 inches look lush in a swag; 24-inch spacing can look sparse on long dips. If your strand's bulbs land awkwardly — say, a bulb right at the lowest point looks great, but a dark gap there looks like a missing tooth — shift the whole strand a few inches along the cable until the pattern pleases your eye.
Tension the cable, not the lights. The guide wire should be taut (that's what the turnbuckle is for); the light strand itself should hang relaxed from it. If you pull the strand tight to "fix" a sag, you've just made a clothesline. The strand is decoration; the cable is structure. Let each do its job.
Mind the ends. The last 2–3 feet near each anchor should rise smoothly to the hook — no abrupt kinks, no strand doubling back on itself. A clean attachment at each end is the difference between "installed" and "hung up."
Anchors That Actually Hold
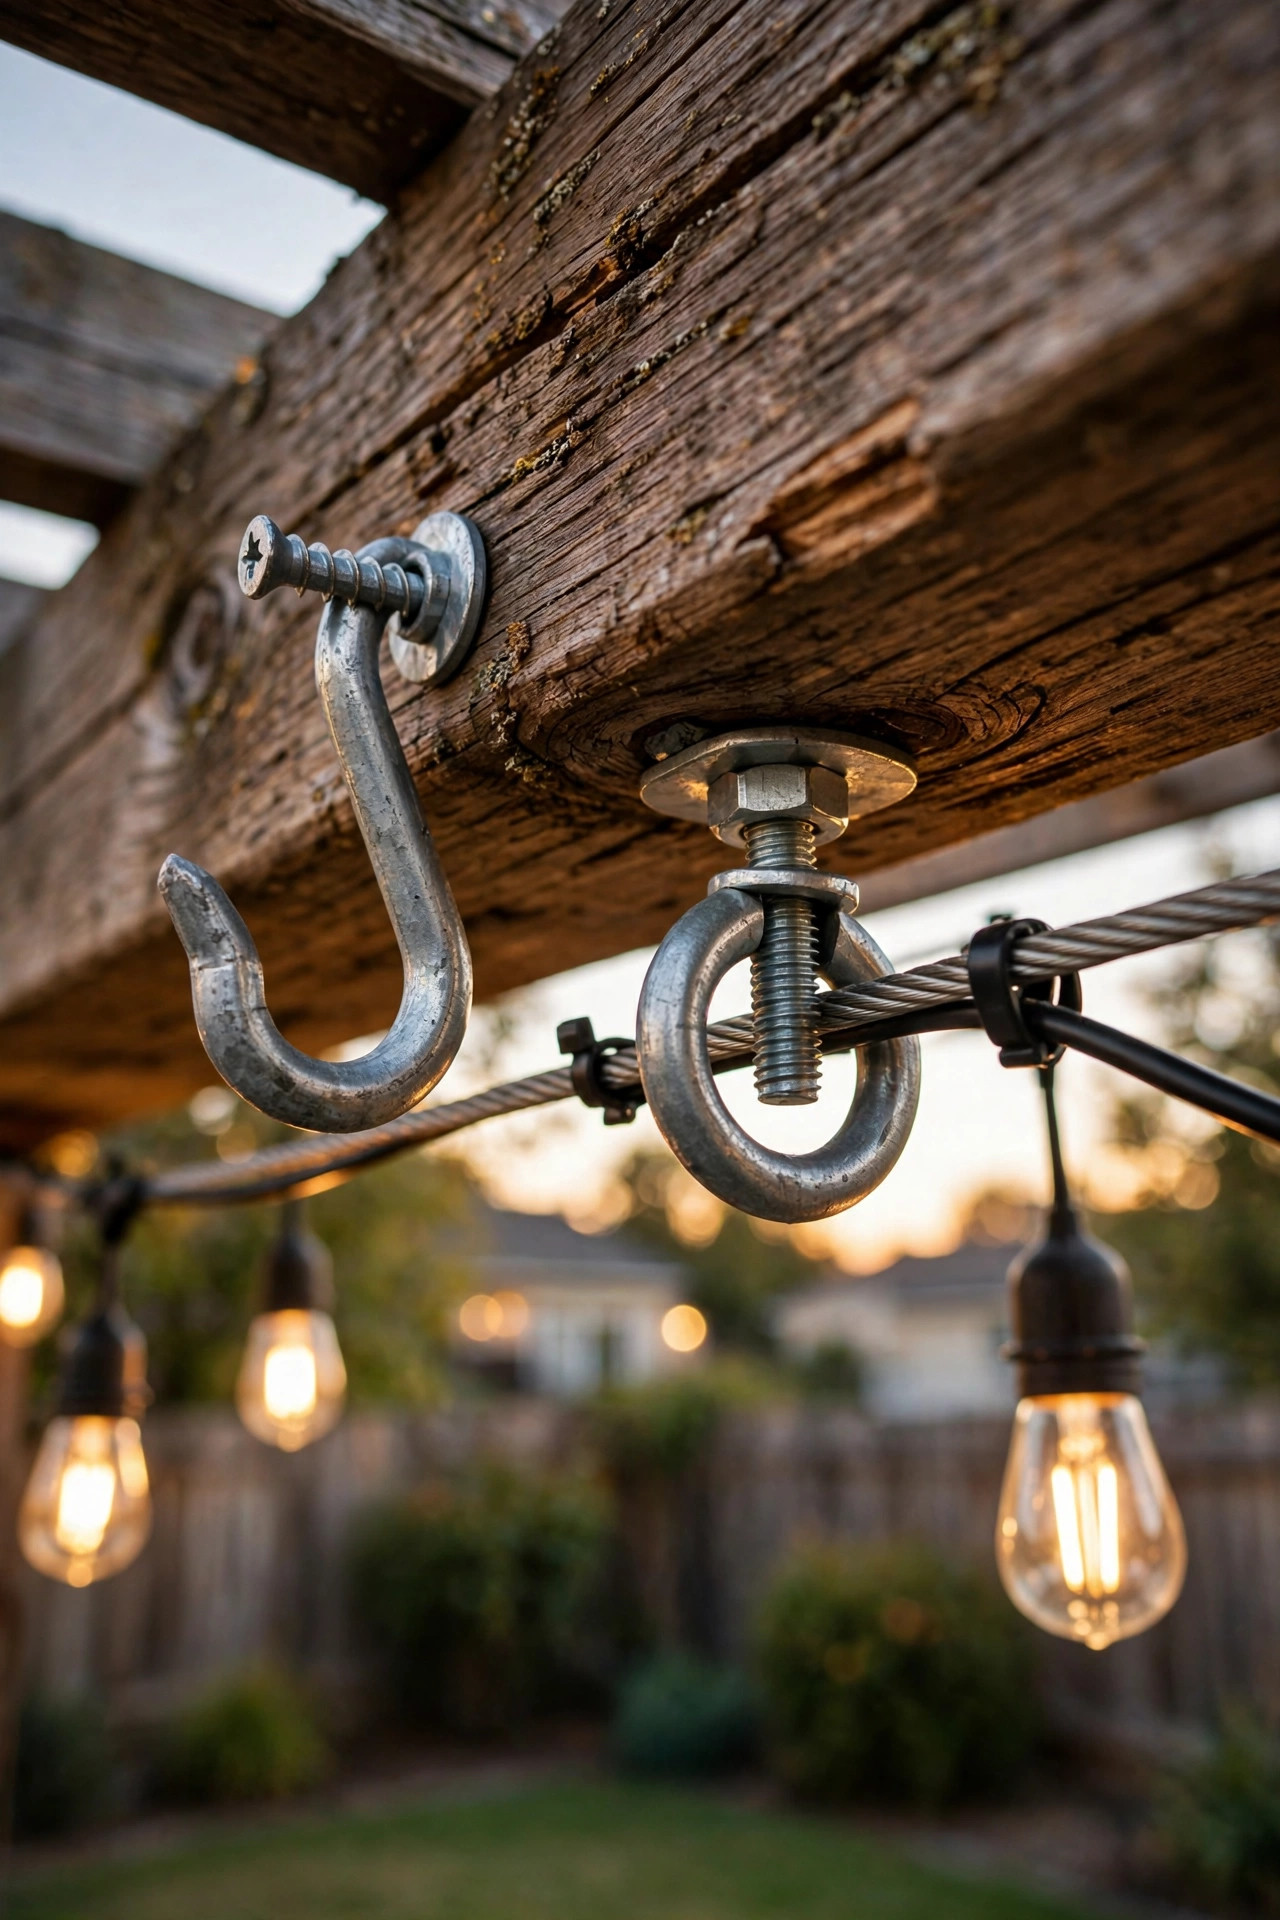
Your lights are only as good as what's holding them up. I've seen beautiful strands ruined by anchors that pulled out in the first storm. Here's what actually works, surface by surface.
House siding and trim: Screw-in cup hooks or eye hooks driven into a stud, the fascia board, or solid window trim. For vinyl siding, use siding clips that slide under the siding panels — no holes, no damage, and they hold surprisingly well. For brick or stucco, drill a pilot hole and use a masonry anchor with a hook; a 1/4-inch sleeve anchor holds far more weight than any string light will ever apply.
Gutters: Gutter hooks and shingle clips are renter-friendly gold. They hook over the gutter lip or slide under shingles with zero drilling. They're best for lighter fairy-light strands or single runs — I wouldn't hang a heavy multi-strand canopy from gutters alone.
Decks and pergolas: Screw eyes directly into 4×4 posts or pergola beams. Pre-drill a small pilot hole to prevent splitting, and drive the eye in at least an inch deep. For composite decking posts with hollow cores, through-bolt instead of screwing.
Pole planters: The workhorse for open yards. A half whiskey barrel, one 60-pound bag of concrete mix, and a 10-foot pole (metal conduit or pressure-treated 4×4). Set the pole plumb, let the concrete cure a full 48 hours, and add a screw eye at the top. These will stand through serious wind.
What to avoid: suction cups (they fail, always, usually at 2 a.m.), staples or nails driven through the wire (damages insulation — a real fire risk), adhesive hooks outdoors (heat and humidity defeat them), and tying strands directly to tree branches with thin wire that girdles the bark. When in doubt, overbuild the anchor. The lights are the cheap part; a falling pole is the expensive part.
What It Costs in 2026
Let's talk real numbers, because "string lights are cheap" is only half true — the strands are cheap; doing it right costs a bit more. Here's what I see as honest 2026 ranges.
The strands themselves: A 48-foot Edison-style LED strand runs $25–$45. Mini fairy lights (33 feet) are $12–$20. Globe/bistro strands run $20–$35 for 48 feet. Solar strands are $15–$30. Smart color-changing strands are $40–$80. For a typical patio needing two 48-foot strands, budget $50–$90 for lights alone.
The hardware: A steel guide-wire kit with turnbuckles and cable runs $10–$20 and covers most patios. Hooks, clips, and zip ties: $1–$2 each, maybe $10–$15 total. DIY pole planters run $40–$70 each all-in (barrel, concrete, pole); purpose-made metal light poles are $25–$40 each. A weatherproof outdoor timer is $10–$20; a smart plug is $15–$30.
Total project ranges: A simple house-to-deck setup with two strands, cable, and hardware: $60–$120. A yard canopy with four pole planters, cable, four strands, and a timer: $200–$400. A big party-scale install with smart strands and automation: $300–$500+.
Running costs — LED vs. incandescent: This is where LED pays for itself. A 48-foot LED strand with 24 bulbs draws about 24 watts total. Run it 6 hours a night for 30 days: that's roughly 4.3 kilowatt-hours, or about $0.75 per month at average US electricity rates. An equivalent incandescent strand drawing 120 watts costs about $3.70 per month for the same schedule. Multiply by 4 strands over a 6-month season and LED saves you roughly $70 a year — plus you replace bulbs approximately never.
5 Mistakes That Ruin the Effect
The title promised these, so here they are — the five mistakes I see over and over, and exactly how to avoid each one.
1. Pulling spans drum-tight. The number-one amateur tell. A perfectly straight, taut strand of lights looks like a clothesline, not a bistro. The whole romance of string lights is in the curve. Let every span dip — 2 to 4 feet depending on length — and suddenly the same lights look like they belong in a restaurant courtyard.
2. Mixing color temperatures. One strand of warm 2700K next to a cool 5000K strand, and your yard looks like a lighting-aisle display. This happens most often when people add a second strand months later and grab "whatever's on sale." Check the Kelvin rating on the box every time, and when in doubt, buy all your strands at once from the same product line.
3. Overloading one outlet. LED strands are low-draw, which makes people careless. But daisy-chaining 10 strands into one indoor-rated extension cord run under a rug is how you get melted insulation. Respect the manufacturer's max-connect limit, use outdoor-rated cords, and if your total wattage is climbing, split across two outlets on different circuits.
4. Skipping the guide wire. Hanging the strand itself as the structural span seems fine on day one. By month two, the wire has stretched, the dips are uneven, and wind whips the whole thing around. A $15 steel cable eliminates all of it. This is the single highest-ROI step in this entire guide.
5. Hanging too low. Strands at 6 feet over a walkway mean tall guests duck, and the whole space feels cramped rather than airy. Keep lights at 9–10 feet where possible, never below 7 feet over any path people walk. Over a dining table you can go a touch lower — 7.5 to 8 feet — for intimacy, but measure twice. Low lights also put bulbs within reach of curious kids and enthusiastic dogs.
Safety and Electrical Basics
Pretty lights still run on electricity, and outdoors that deserves respect. None of this is complicated — it's just the stuff that keeps a beautiful setup from becoming a hazard.
Buy the right rating. Outdoor string lights should be listed for wet or at least damp locations (look for "suitable for wet locations" and a UL or ETL listing mark on the box). Indoor-only strands have thinner insulation and unsealed sockets — fine for a covered porch deep under a roof, risky everywhere else. When a box says "outdoor," believe the certification, not the pictures.
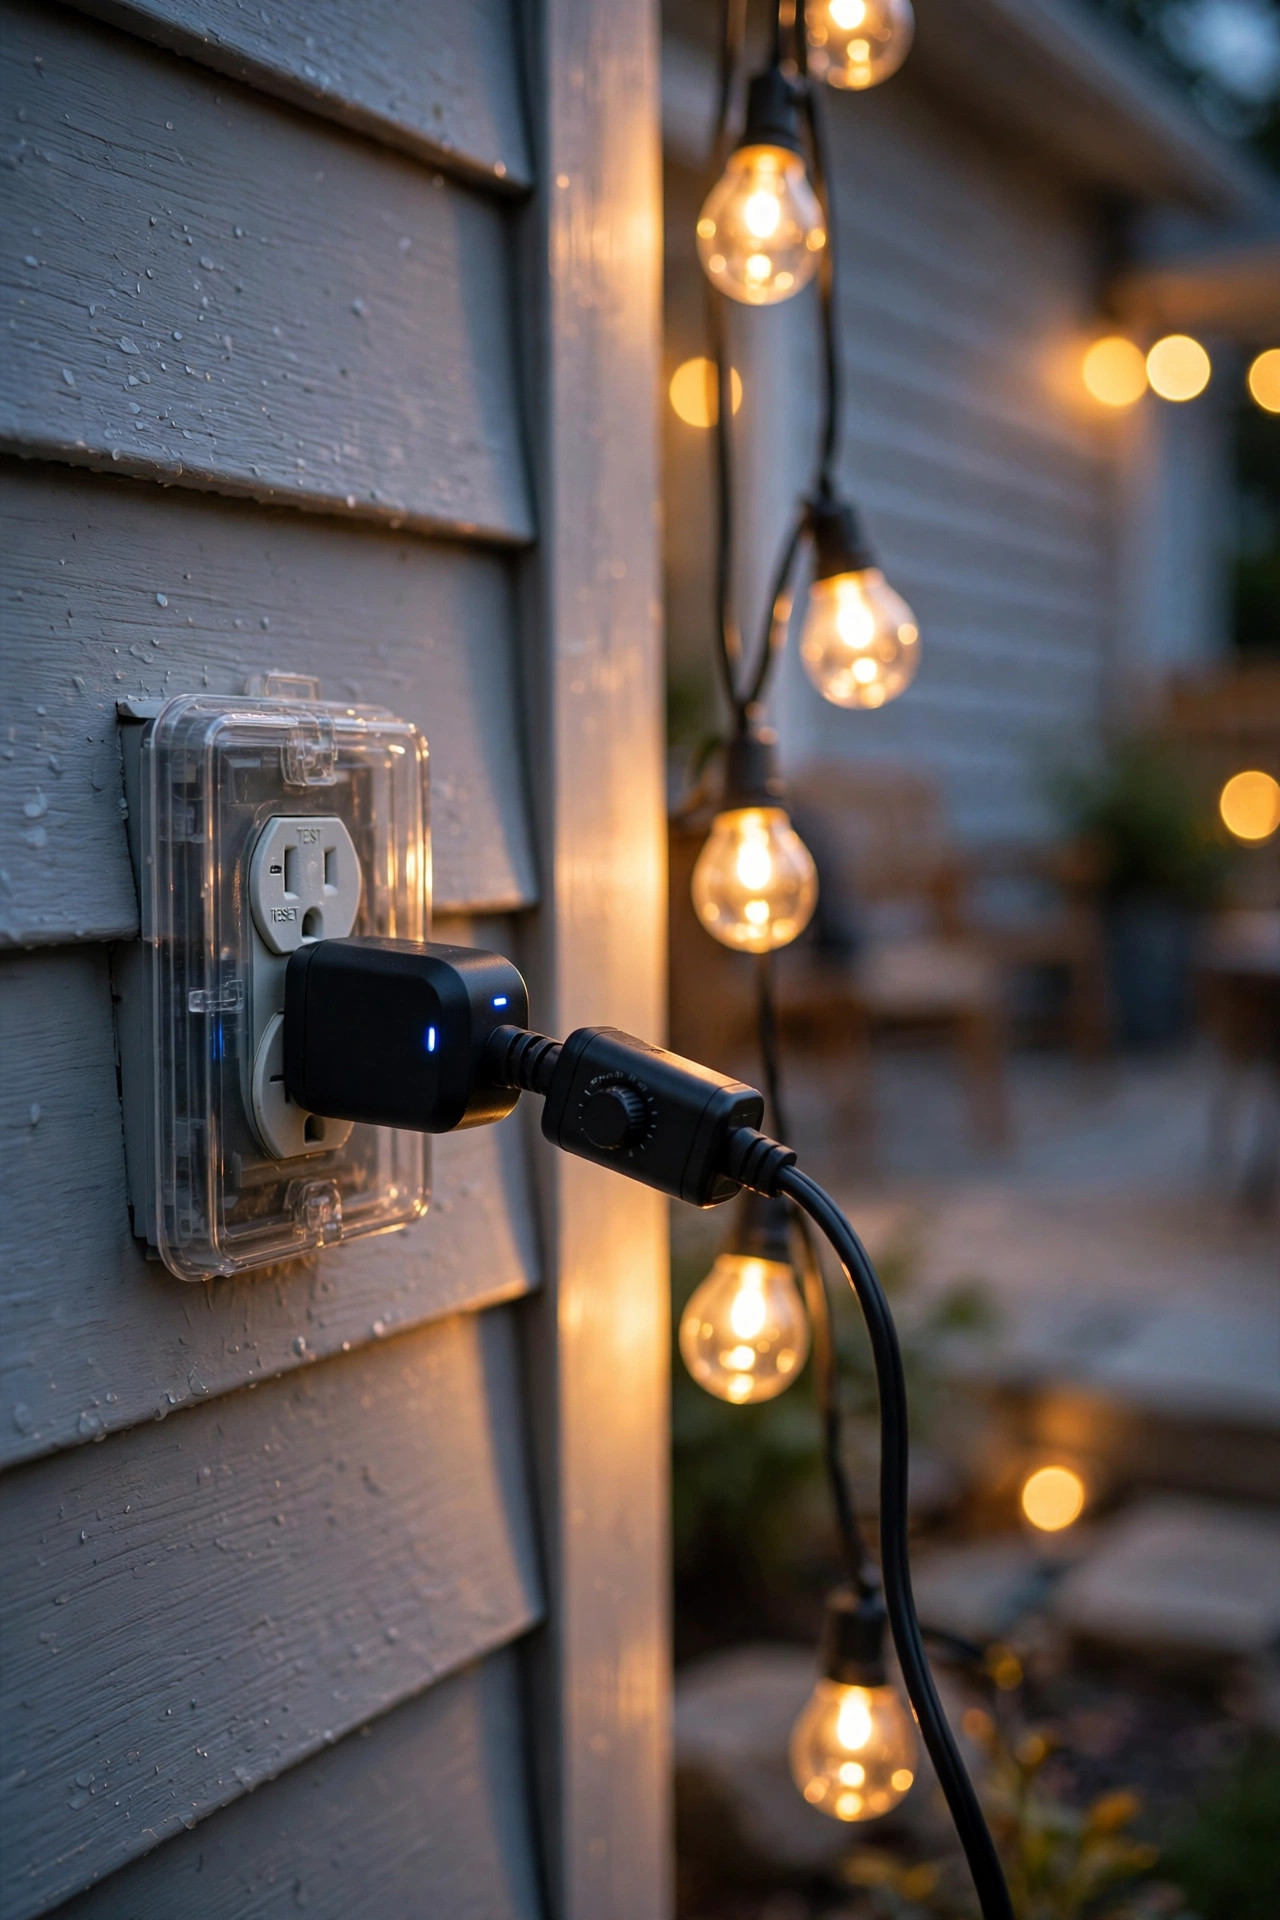
Use GFCI protection. Outdoors, always plug into a GFCI-protected outlet — the kind with the little test/reset buttons. It's required by electrical code for outdoor receptacles for a reason: it cuts power in a fraction of a second if electricity starts leaking through water or a person. If your outdoor outlet isn't GFCI, a portable GFCI adapter costs about $15 and takes ten seconds to add.
Respect connection limits. Every strand lists a maximum number of connectable strands. For LED strands it's generous; for incandescent it's small. Also keep total load under 80% of your extension cord's and circuit's rating. A standard 15-amp household circuit handles 1,440 watts at 80% — LED string lights will never trouble it, but incandescent multi-strand runs plus a space heater on the same circuit absolutely can.
LED-only near flammables. If your lights touch or drape near dried foliage, fabric shade sails, curtains, or wooden structures, use LED only. Incandescent bulbs get genuinely hot — hot enough to scorch dry leaves over time. LEDs stay cool enough to touch.
Plan for weather. In high-wind areas, take strands down before major storms or make sure every attachment point is storm-grade. Keep all plug connections off the ground and inside weatherproof cord connection boxes — a plug sitting in a puddle is asking for a tripped GFCI at best. And don't run extension cords through windows or doors that pinch them, or under rugs where heat builds up.
Ladder safety, briefly. Most installs need a step ladder. Keep three points of contact, never overreach, and have someone foot the ladder for anything above 8 feet. Every year people get hurt falling off ladders while doing something as joyful as hanging lights — don't be a statistic.
Timers and Smart Plugs for Set-and-Forget Lighting
The difference between lights you enjoy and lights you forget about is automation. Manually plugging and unplugging gets old by week two; a timer makes your yard glow every single evening without a thought.
Mechanical timers ($10–$15) are the simplest: set the little pins for on/off times and plug in. They're dumb but bulletproof. Digital timers add multiple programs and a battery backup so a power blip doesn't erase your schedule.
Photocell dusk-to-dawn sensors are my personal favorite for string lights. They switch on automatically at sunset and off at sunrise (or after a set number of hours on fancier models). No programming, no seasonal adjusting as days shorten — the sensor just handles it. If your lights live up year-round, this is the move.
Smart plugs ($15–$30) connect to your WiFi and give you app control, voice control, schedules, and "away mode" randomization that makes the house look occupied. Two practical notes: the smart plug itself usually isn't weatherproof, so plug it into an indoor outlet or house it in a weatherproof outdoor box; and put the plug as close to the start of your light run as practical to keep things tidy.
Whatever you choose, I always recommend setting lights to switch off by midnight or 1 a.m. — it saves energy, it's kinder to neighbors and nocturnal wildlife, and honestly, nobody's admiring your patio at 3 a.m. Many of these same automation tricks carry over beautifully to the holidays, as you'll see in my outdoor Christmas light ideas roundup.
Taking Them Down and Storing Them Right
Whether you take lights down for winter or just rearrange seasonally, how you store them determines whether next year's install takes twenty minutes or two hours of untangling.
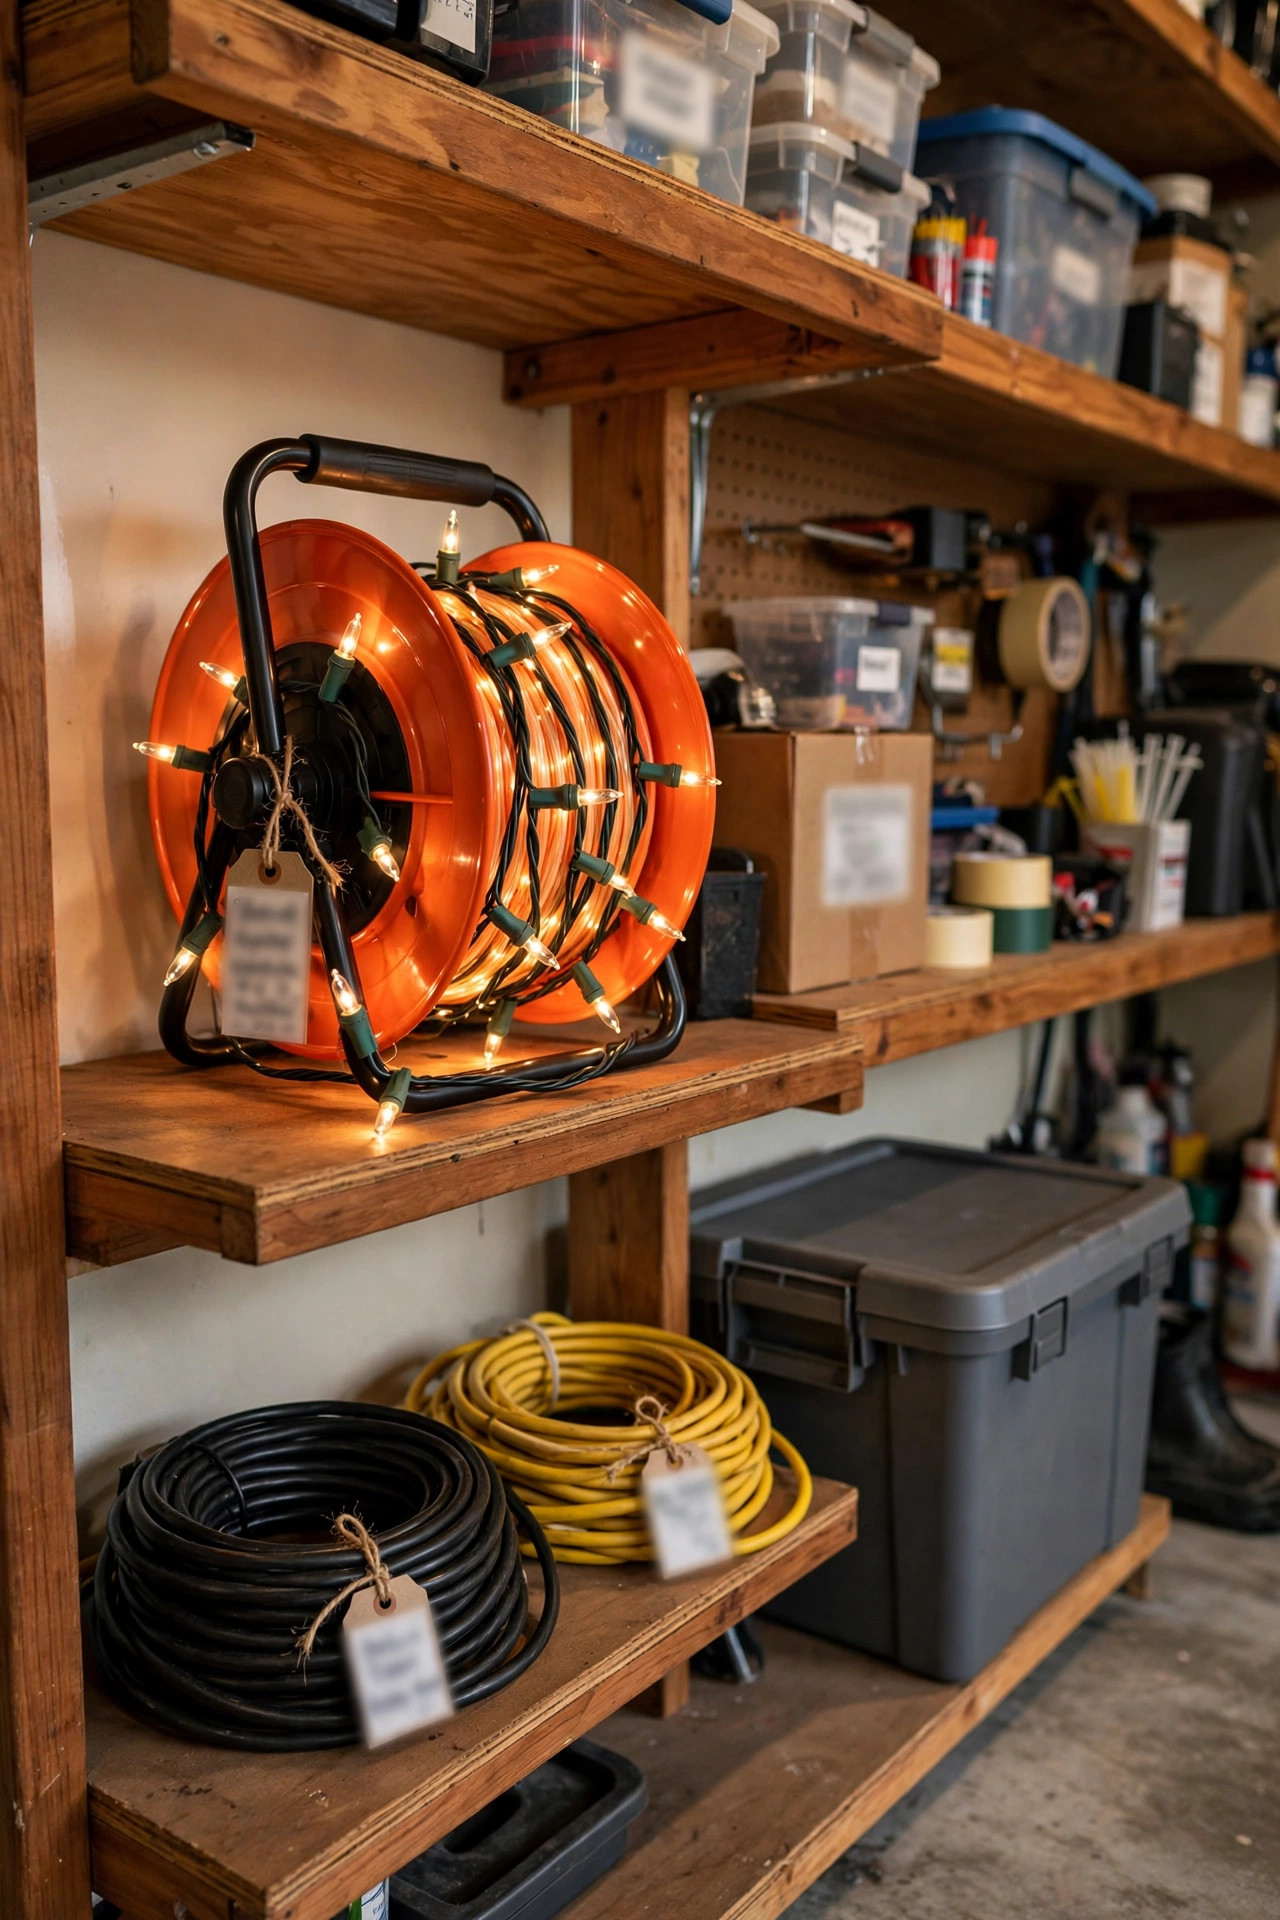
Coil, don't wad. The over-under coiling method (alternate the direction of each loop) prevents the twists that cause tangles. If that sounds fussy, a simple extension-cord reel ($15–$25) does the same job with zero technique — wind the strand on, and it pays out tangle-free next time.
Label everything. A strip of painter's tape on each coil noting the length and where it hung ("48 ft — deck, house to pergola") saves enormous guesswork. Future you will be grateful.
Leave the bulbs on. For shatterproof LED strands, there's no need to remove bulbs — just coil carefully. For glass-bulb strands, either remove the bulbs into a padded container or wrap the coiled strand in an old towel before boxing. One shattered bulb in storage becomes ten scratched ones.
Store indoors and dry. A garage shelf or basement beats a damp shed. Moisture corrodes sockets over winter, and mice find wire insulation delicious. A sealed plastic tote is ideal.
Inspect every spring. Before rehanging, plug each strand in and check every bulb, look for cracked insulation or corroded sockets, and replace individual bulbs (most LED strands include a few spares in the box). Five minutes of inspection beats discovering a dead strand after you've hung it.
Frequently Asked Questions
How far apart should the support points be?
For most residential installs, 10–15 feet between support points is the sweet spot — it gives you a graceful swag without excessive dip. You can stretch to 20–25 feet if you're using a steel guide wire with a turnbuckle, but add a middle support beyond that. Spans under 8 feet look choppy unless you're deliberately going for a dense canopy effect.
How high should I hang outdoor string lights?
Aim for 9–10 feet at the anchor points, which lets the swag dip to about 7–8 feet in the middle. Never hang lights lower than 7 feet over any walkway or path — that's head-bump territory for taller guests. Over a dining table, 7.5–8 feet at the lowest point feels intimate without anyone eating in the glow of a bulb.
Can string lights stay up year-round?
Quality LED strands rated for wet locations can absolutely stay up year-round — many people (myself included) leave patio lights up permanently. The enemies are UV degradation of the wire insulation and storm damage, so inspect annually. In regions with heavy ice or snow, taking them down for winter extends their life significantly. Solar strands have the shortest outdoor lifespan, typically 2–3 seasons.
Do outdoor string lights work in rain and snow?
Wet-rated LED strands are designed to get rained on — that's exactly what the rating means. Snow is fine too, though heavy wet snow can weigh down long spans (another argument for the guide wire). What you must protect are the plug connections: keep them off the ground in weatherproof boxes. And always use a GFCI outlet, which protects you if water ever does get where it shouldn't.
Are LED string lights really cheaper to run than incandescent?
Dramatically. A 48-foot LED strand draws about 24 watts versus roughly 120 watts for an equivalent incandescent strand. At 6 hours a night, that's about $0.75/month for LED versus $3.70/month for incandescent at average US rates. Over a full season with multiple strands, LED typically saves $50–$70 — and LED bulbs last tens of thousands of hours versus about 1,000–2,000 for incandescent, so you stop buying replacements too.
Conclusion
Learning how to hang outdoor string lights like a pro really comes down to the formula in this guide: a taut steel guide wire carrying the weight, even graceful swags between supports, one warm 2700K color temperature, sturdy anchors, and a timer to make it all effortless. Get those five things right and skip the five mistakes, and your $100–$300 project will look like you hired a lighting designer.
My verdict? Start with your patio or deck — it's the easiest win — and once you've nailed the swag there, the yard canopy is just the same technique on poles. If this guide got you excited about outdoor lighting, browse my fall porch lighting ideas for seasonal ways to layer these techniques, or check the outdoor Christmas light ideas roundup when the holidays roll around. Now grab a ladder, wait for dusk, and go make your backyard glow.