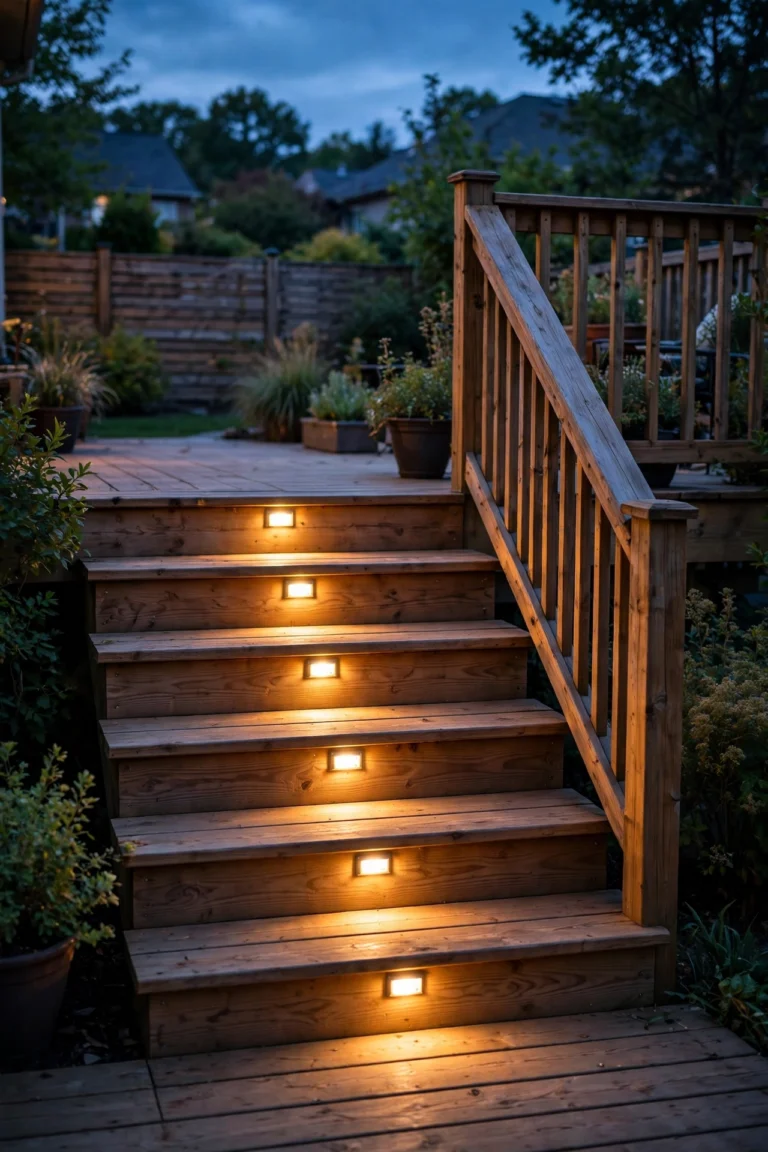
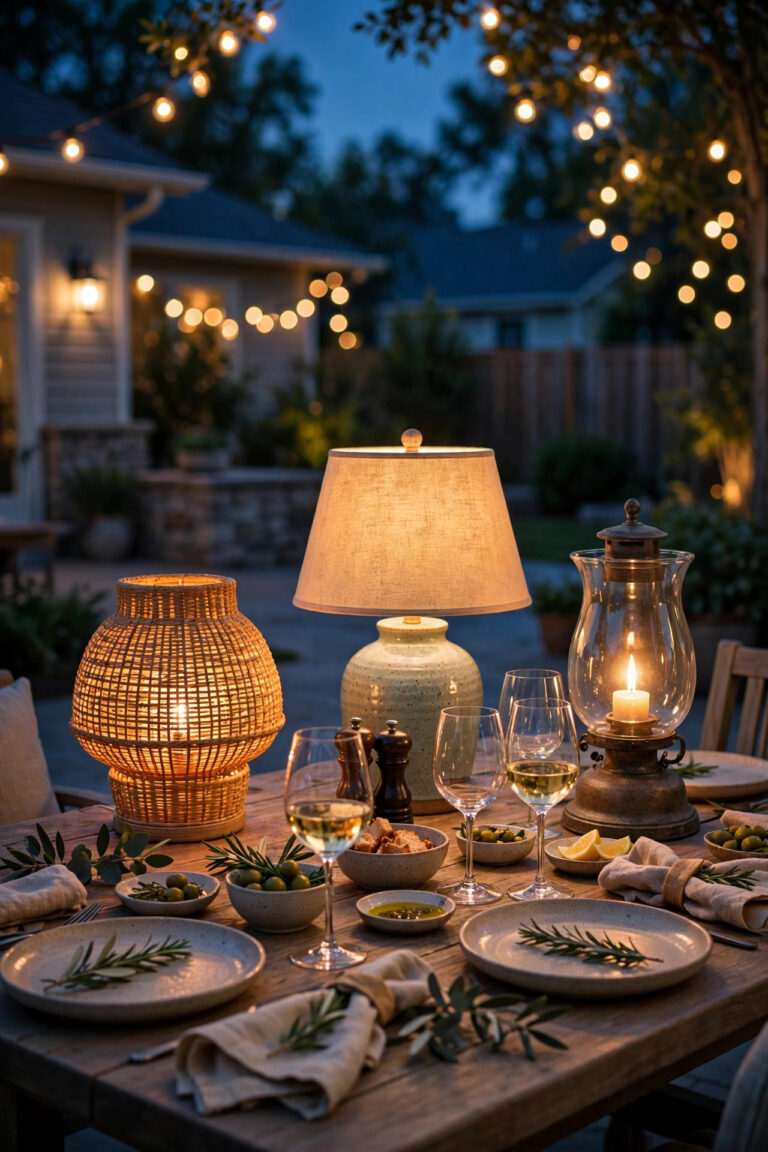
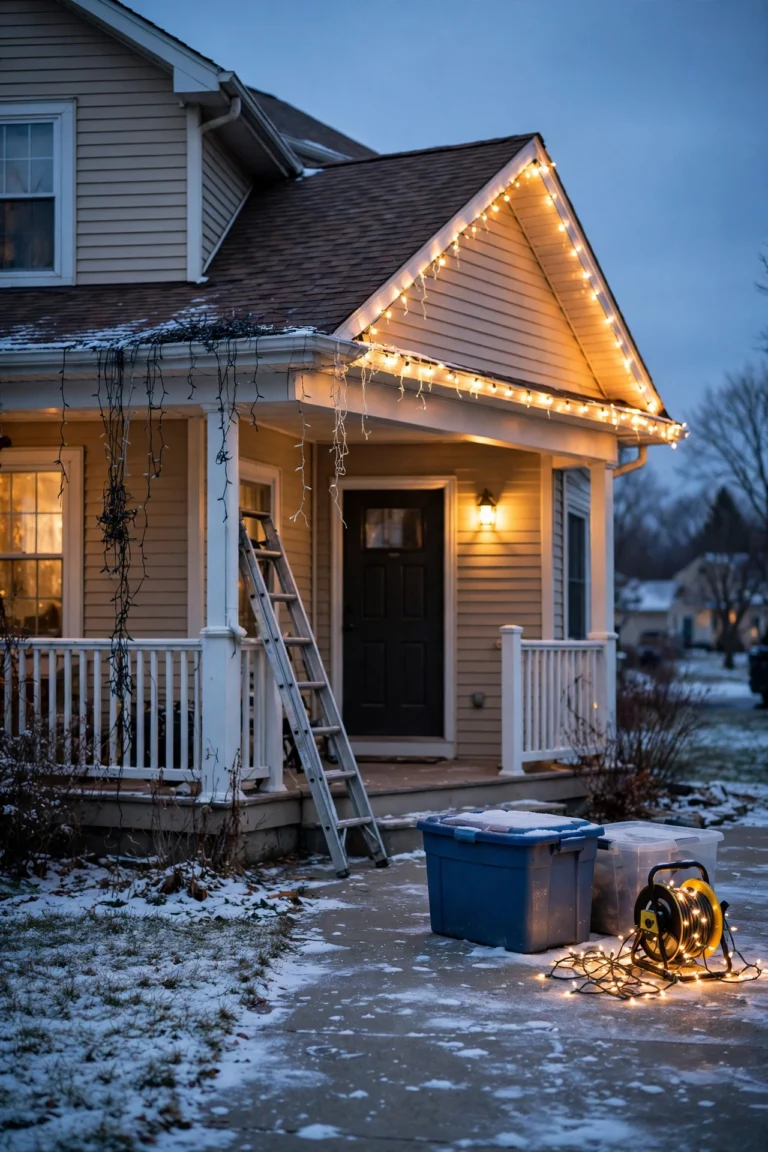
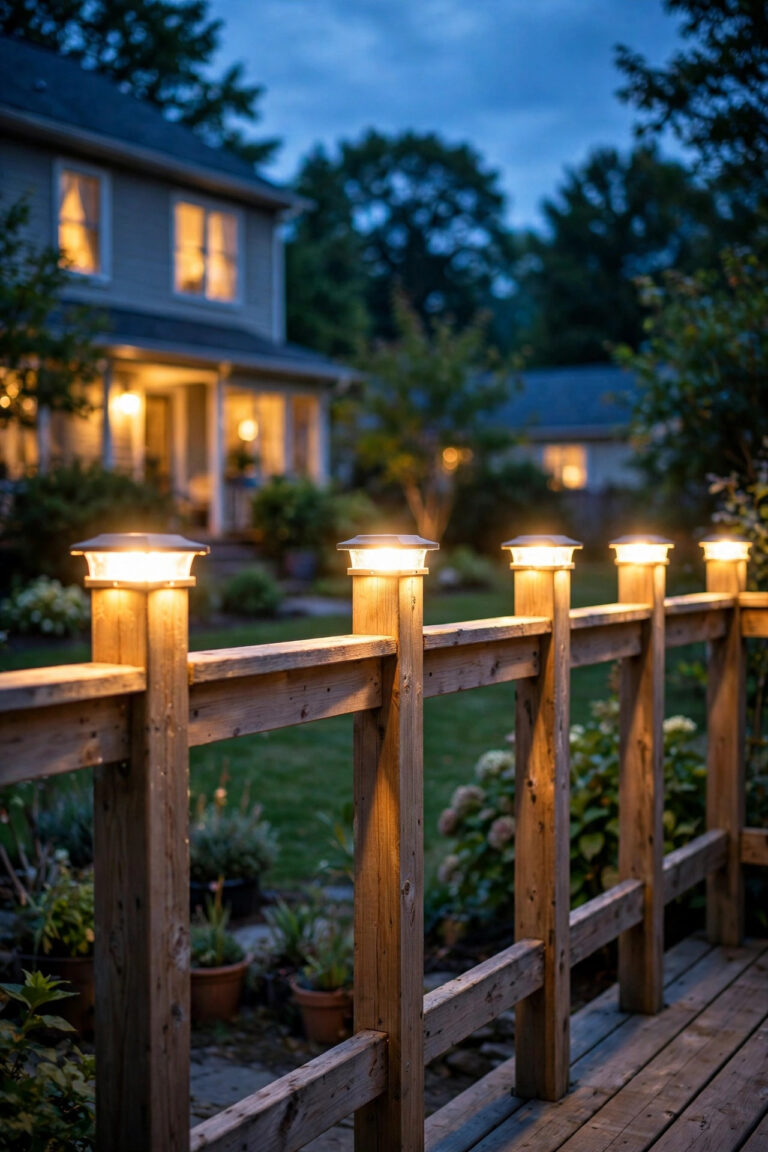
There's something about a chandelier glowing over a porch at dusk that makes the whole house feel like it's giving you a hug. Honestly? It's the single fastest way to make an outdoor space feel finished. These outdoor chandelier ideas work because they follow the layering philosophy I use for every space I style: one statement overhead light to anchor the room, softer accent lights (lanterns, string lights, candles) to fill in the edges, and a little task light where you actually need to see what you're doing. The chandelier is layer one — the star — and everything else plays a supporting role.
In this post, I'm sharing 19 real, doable ways to hang a chandelier outside — from a classic candle-style fixture over the front porch to a solar-powered beauty for that far corner of the yard with no outlet in sight. You'll get sizing rules, hanging heights, bulb picks, weatherproofing must-knows, and the safety basics, all in plain English. Whether you're working with a cozy apartment balcony or a sprawling wraparound porch, there's a look here for you.
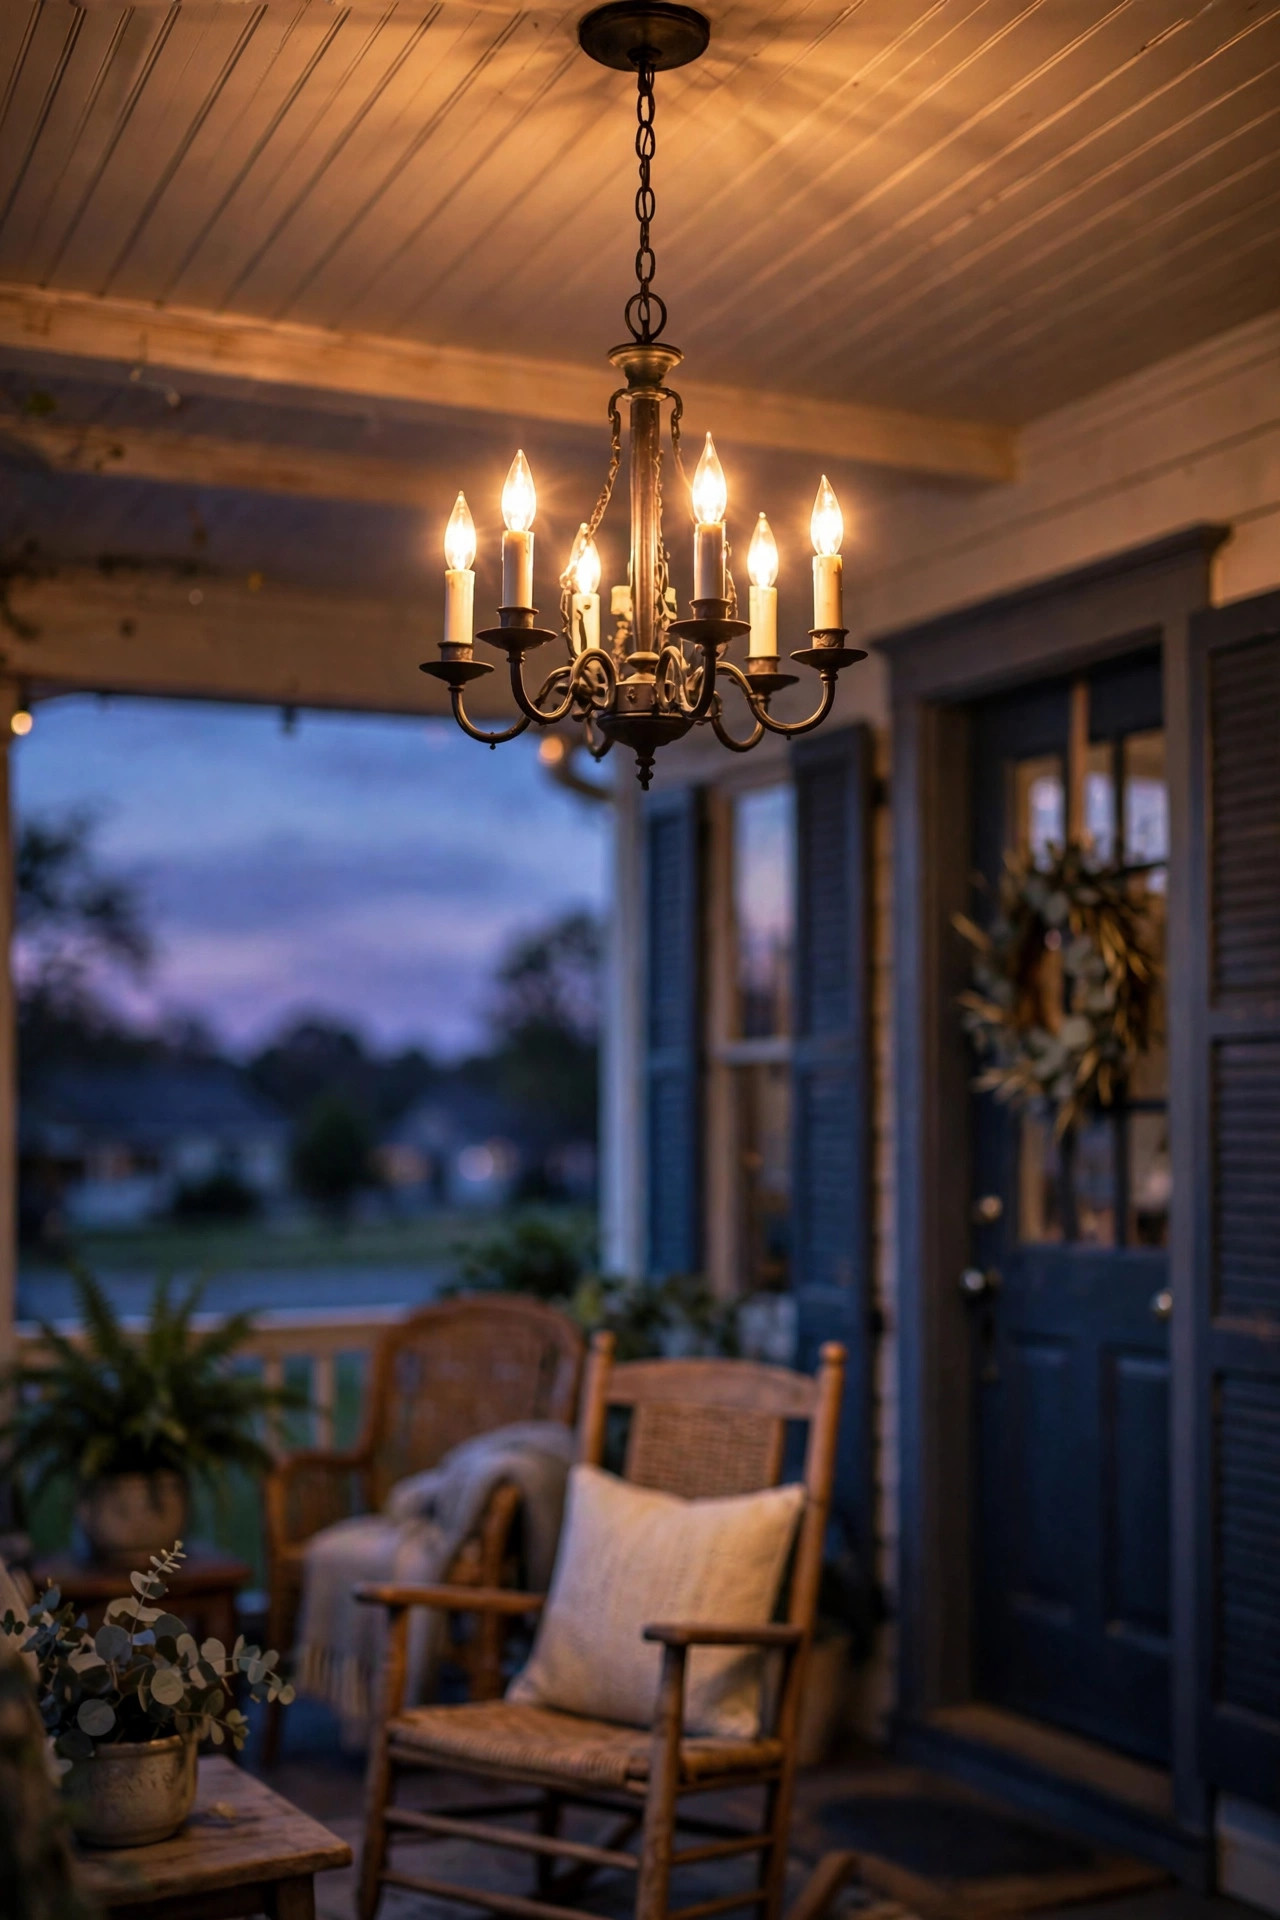
1. The Classic Candle-Style Chandelier for a Traditional Porch
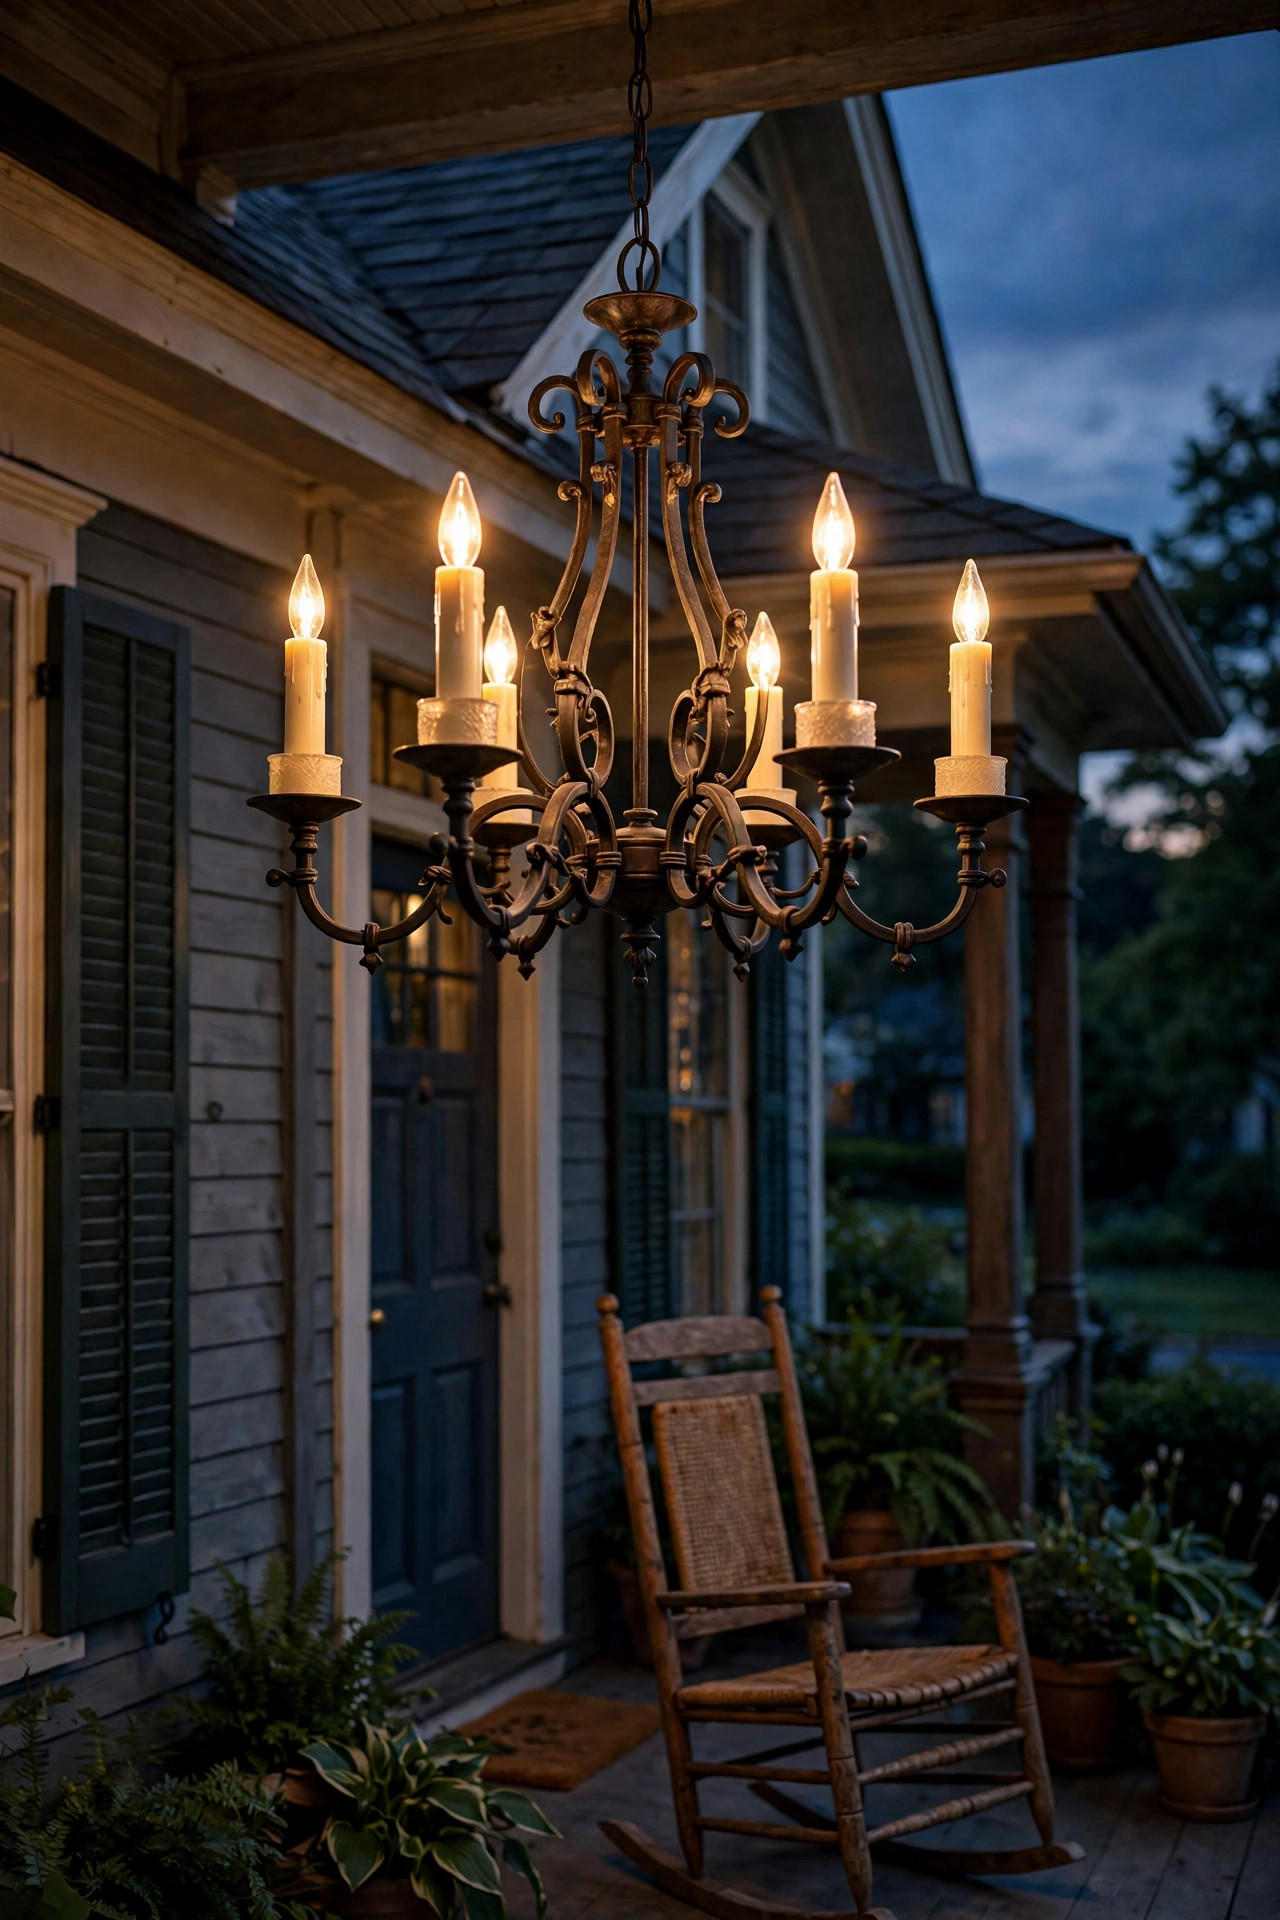
If your home has shutters, a gabled roof, or a rocking chair that gets daily use, a candle-style chandelier is your soulmate fixture. Look for the classic carriage-house silhouette: a dark bronze or matte black frame with curved arms, each one holding a faux candle sleeve in ivory. In my experience, six arms is the sweet spot for an average 8-to-10-foot-wide porch — enough presence without overwhelming the entry.
Sizing rule to remember: add the porch's length and width in feet, and that number in inches is roughly your ideal chandelier diameter. A 10-by-8-foot porch calls for about an 18-inch-wide fixture. Hang it so the bottom of the fixture sits at least 7 feet above the porch floor — you never want guests ducking under it.
Use warm white LED candelabra bulbs (2700K, E12 base) for that authentic candle flicker look without the fire risk or the bug-attracting brightness of daylight bulbs. Make sure the fixture is rated for damp locations at minimum — covered porches qualify as damp, not dry. If rain can blow in sideways, step up to a wet-rated fixture. Wire it to a dimmer switch rated for LED loads so you can take it from bright welcome to soft evening glow.
Suggested budget range: $180 – $450.
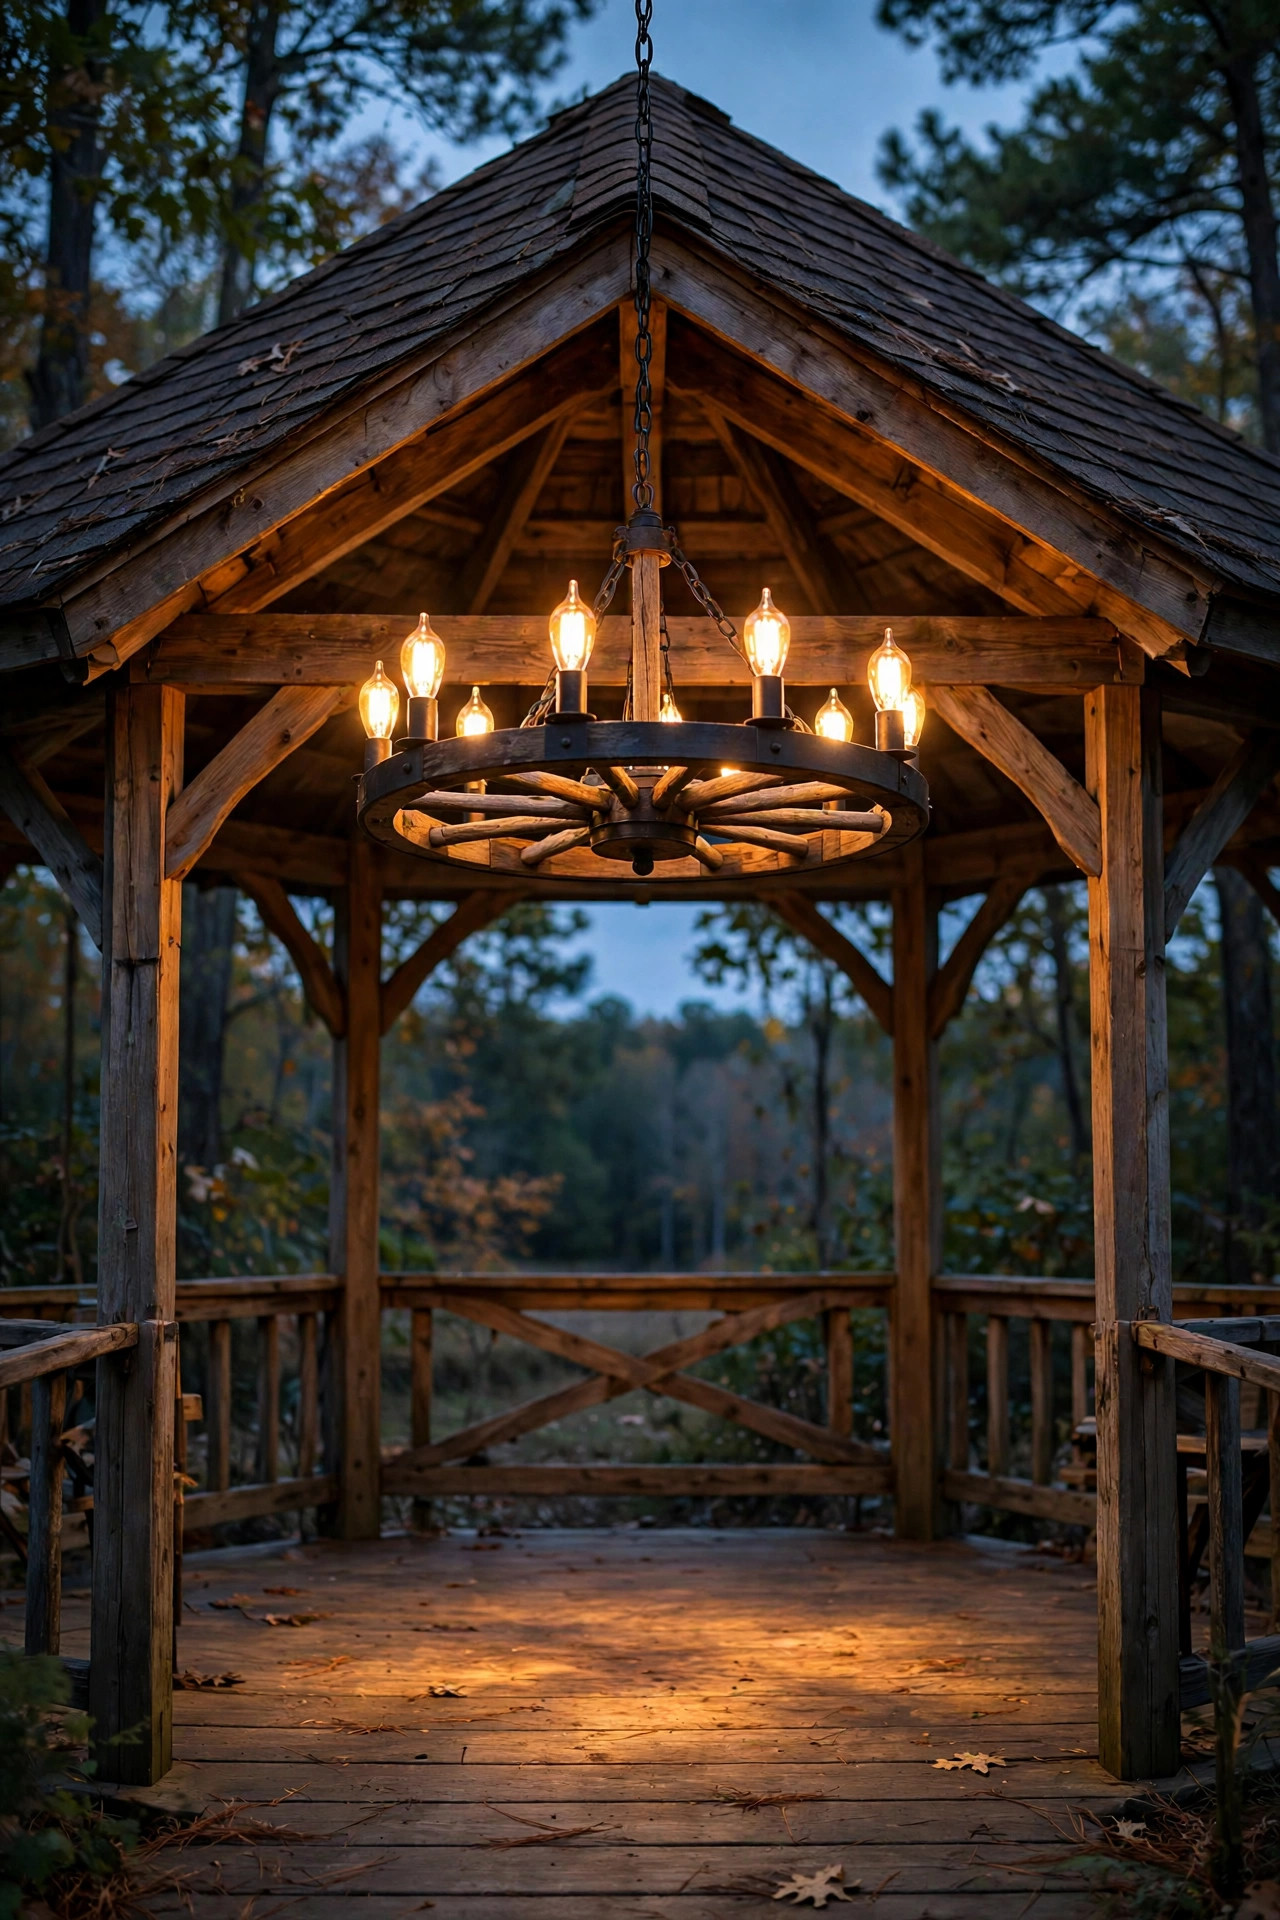
2. A Wagon-Wheel Chandelier for Your Gazebo
Gazebos were practically made for wagon-wheel chandeliers. The round shape mirrors the gazebo's footprint, and the rustic wood-and-metal look feels right at home under a shingled roof. Hang it dead center from the gazebo's peak — most gazebos have a center post or king post that's perfect for mounting.
For an 8-to-10-foot gazebo, choose a wheel 24 to 30 inches across; for a 12-footer, you can go up to 36 inches. These fixtures are heavy — solid wood and metal wheels often weigh 20 to 40 pounds — so this is the one place where the mounting box really matters. A standard ceiling box is rated for 50 pounds max, which is fine, but if your wheel pushes past that, have an electrician install a fan-rated brace box. Safety first, always.
Bulb choice makes or breaks this look: amber-tinted LED filament bulbs (2200–2700K) tucked inside the wheel's ring give you that old-lantern warmth. Since gazebos are usually roofed but open-sided, buy a damp-rated fixture and check that the chain and canopy hardware are powder-coated or stainless so they won't rust after one rainy season. I always recommend a quick bead of exterior silicone around the canopy where it meets the ceiling to keep driving rain out of the wiring.
Suggested budget range: $220 – $600.
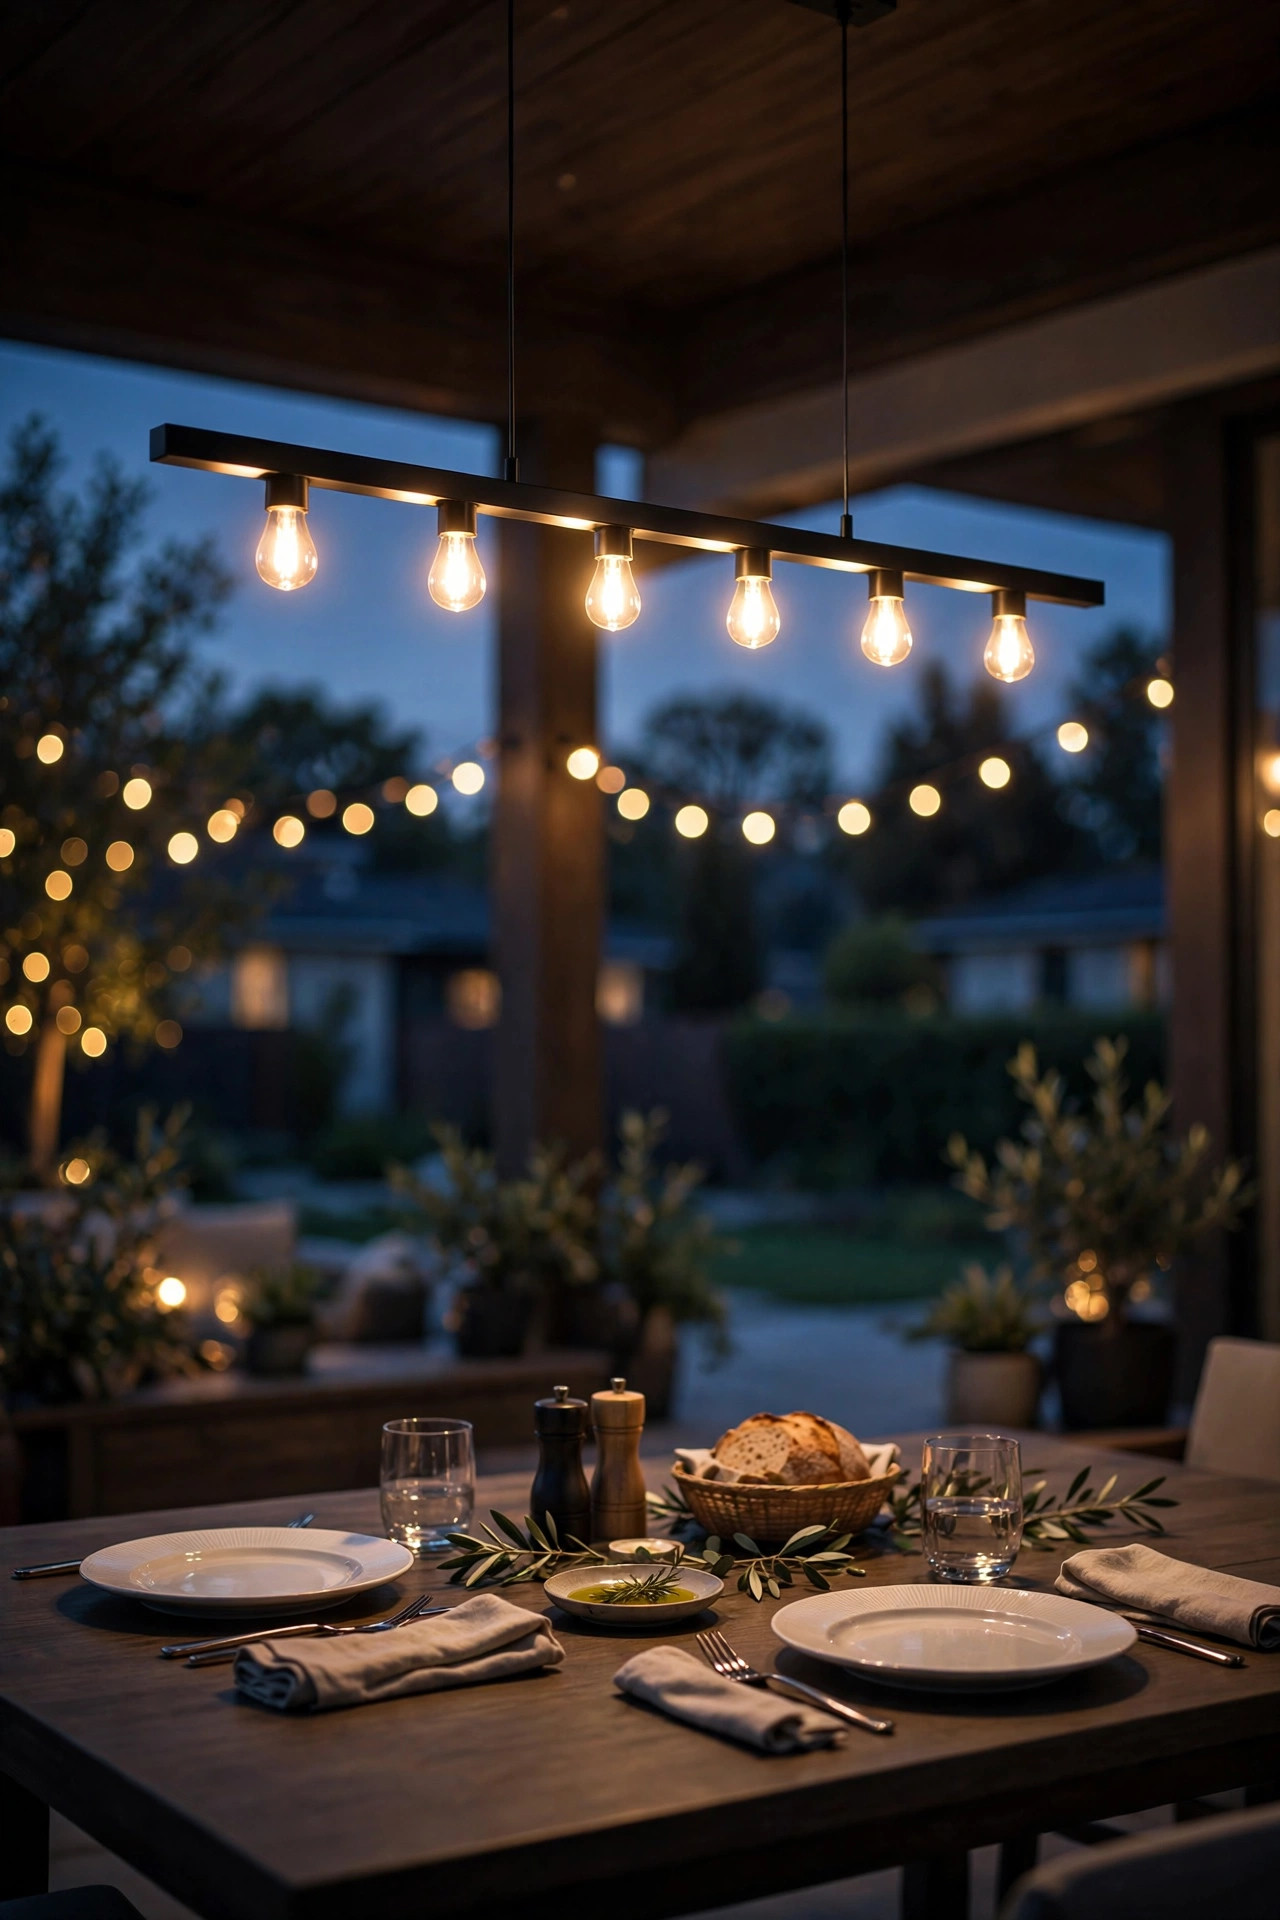
3. A Sleek Linear Chandelier Over the Patio Dining Table
Long rectangular dining table? A round chandelier will look lost above it. A linear chandelier — a slim bar or rectangular frame with bulbs in a row — is the modern answer, and it throws beautifully even light across the whole table so nobody's eating in shadow.
The rule here is simple: the fixture should be about one-half to two-thirds the length of your table. A 6-foot table pairs with a 36-to-44-inch linear fixture. Hang it 30 to 36 inches above the tabletop — low enough to feel intimate, high enough that nobody conks their head standing up.
Look for a fixture with an integrated LED strip or one that takes G9 or T5-style LED capsules; either way, insist on 2700K warm white and full dimmability. Because this hangs over food, I like fixtures with a simple wipeable metal or glass surface — no fabric shades that collect pollen and grease. If your patio is uncovered, you need a wet-rated fixture, full stop. Covered patio? Damp-rated is fine. Mount it on the patio's structural beam (not just the soffit panel) and keep the junction box accessible for future bulb or driver swaps.
Suggested budget range: $250 – $700.
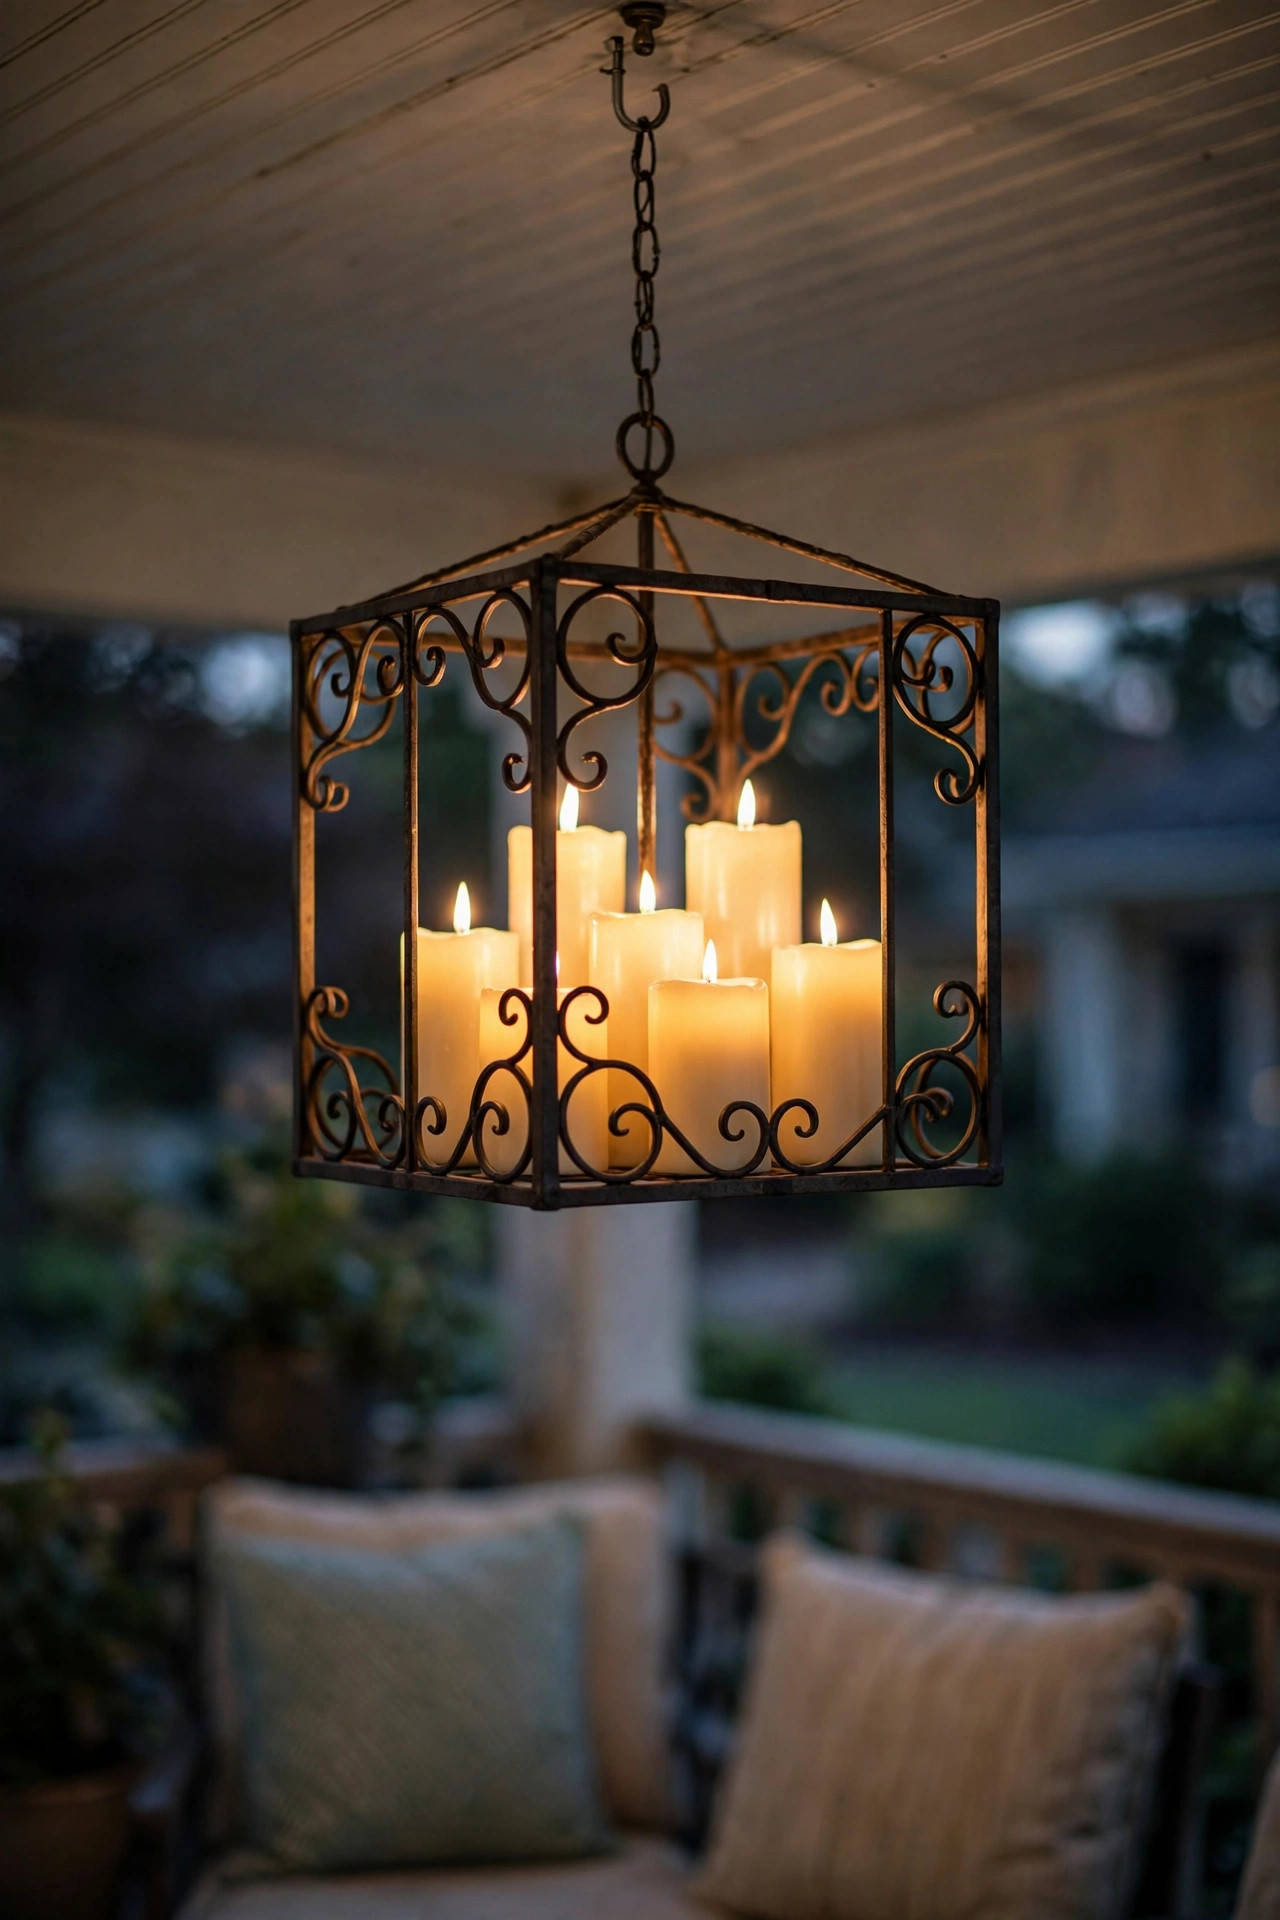
4. The No-Wiring Faux-Candle Chandelier With Timer Candles
No junction box on your porch ceiling? No problem. This is my favorite renter-friendly trick: hang a decorative open-frame chandelier (no wiring at all) and fill the candle cups with battery-operated flameless candles on built-in timers. Set them once and they glow every evening from dusk for six hours, then switch themselves off.
Choose a lightweight frame — wrought-iron-look resin or thin metal — under 10 pounds so you can hang it from a sturdy adhesive-free ceiling hook rated for the weight, or better, a screw-in swag hook into a joist. Use a short length of decorative chain to get the hanging height right: bottom of the fixture at least 7 feet off the floor.
The magic is in the candles: pick warm white (not cool white) flameless pillars with a realistic flicker, sized to the cups — usually 3/4-inch diameter tapers or 2-inch pillars. Honestly, guests will not be able to tell they aren't real from more than a few feet away. Since there's zero electrical work, there are zero wiring worries — but do keep it under a covered area, because the candle electronics aren't weatherproof even if the frame is. When the seasons change, the whole thing lifts down in two minutes for storage.
Suggested budget range: $60 – $180.
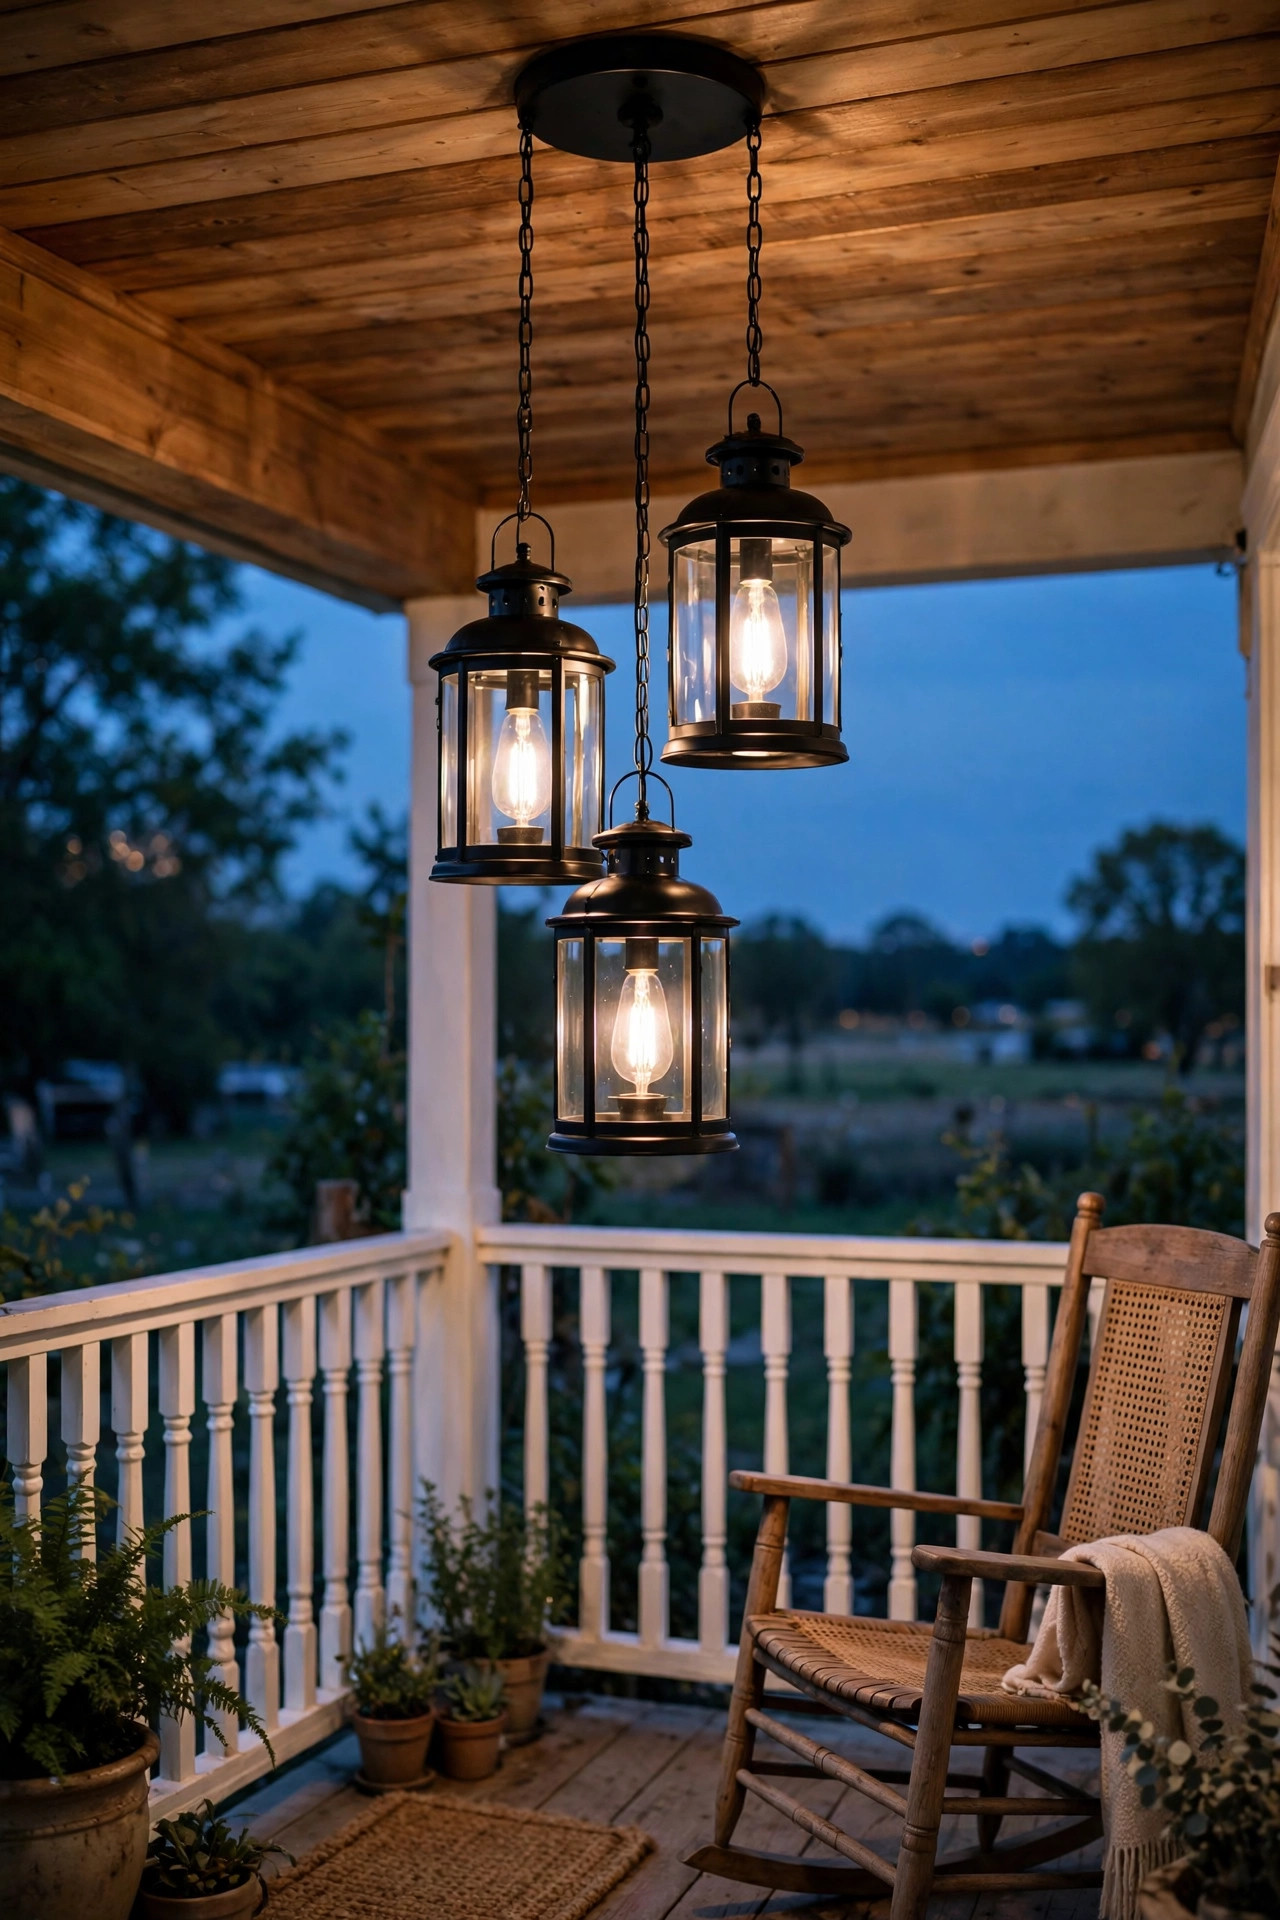
5. A Tiered Lantern Chandelier for Farmhouse Charm
Two or three graduated lanterns hanging at staggered heights from a single canopy — that's a tiered lantern chandelier, and it's pure farmhouse magic. The staggered heights add that layered look I always talk about, all inside one fixture. It works beautifully on porches with 9-foot-plus ceilings, where a single flat fixture would get lost.
When you're shopping, check whether the tiers are adjustable — most good ones let you set each lantern's drop with its own cord or chain, usually adjustable between 12 and 36 inches. Aim for the lowest lantern's glass to sit about 7 feet off the floor and let the others float 6 to 12 inches above it. Keep each lantern's glass panels intact and seated; they're what protect the bulbs from rain splash and curious insects.
Use one warm white LED per lantern — 40-watt-equivalent filament bulbs (around 450 lumens each) give you plenty of combined light without glare. Buy damp-rated for a covered porch, wet-rated if any tier could catch wind-driven rain. And here's a farmhouse-specific tip: black metal frames show every speck of pollen in spring, so wipe them down monthly with a damp cloth, or choose an oil-rubbed bronze finish that hides dust better.
Suggested budget range: $150 – $400.
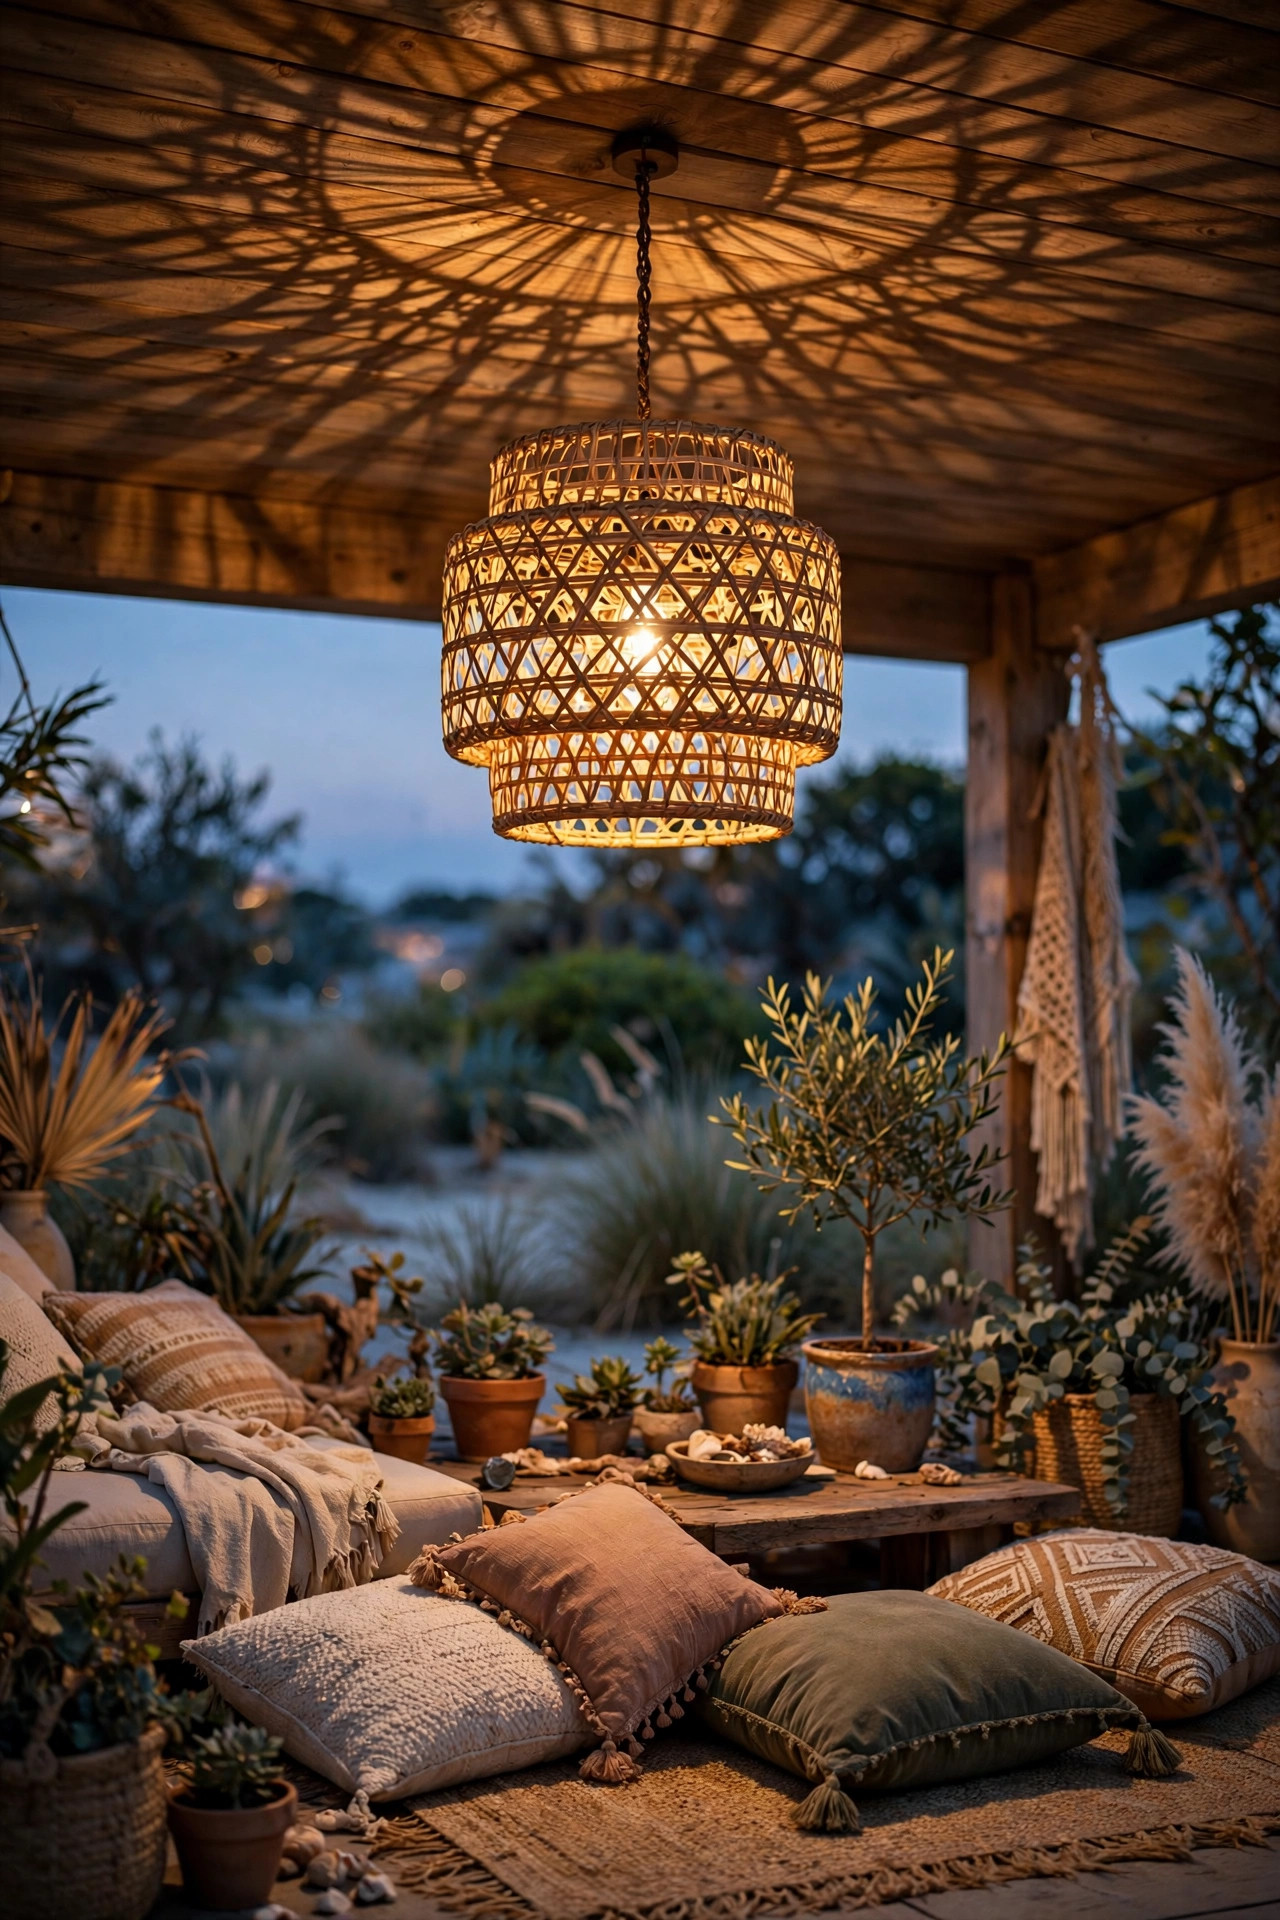
6. A Woven Rattan Chandelier for Coastal-Boho Patios
A rattan or wicker basket chandelier instantly says vacation — even if your patio overlooks a parking lot. The woven texture throws the prettiest patterned shadows on the ceiling when it's lit, which is half the reason to choose it. This is a damp-location-only fixture in most cases: natural fibers and driving rain are not friends, so keep it under a solid roof.
Safety note, and I mean this one: use LED bulbs ONLY with woven shades. Incandescent or halogen bulbs get hot enough to scorch natural fibers over time. A single LED filament bulb (2700K, 800 lumens) in the center is usually plenty, since the open weave lets light spill everywhere. Check that the bulb doesn't touch the rattan — keep at least 2 inches of clearance all around.
These fixtures are featherlight (usually under 8 pounds), so mounting is easy, but the flip side is they swing in the breeze. Add a small clear stabilizer — a discreet fishing-line tether from the frame to a side beam — on windy patios. Size-wise, go bold: a 20-to-24-inch basket over a seating area reads intentional; a tiny one reads like an afterthought. Pair it with floor cushions and a jute rug and you've got the whole look.
Suggested budget range: $120 – $350.
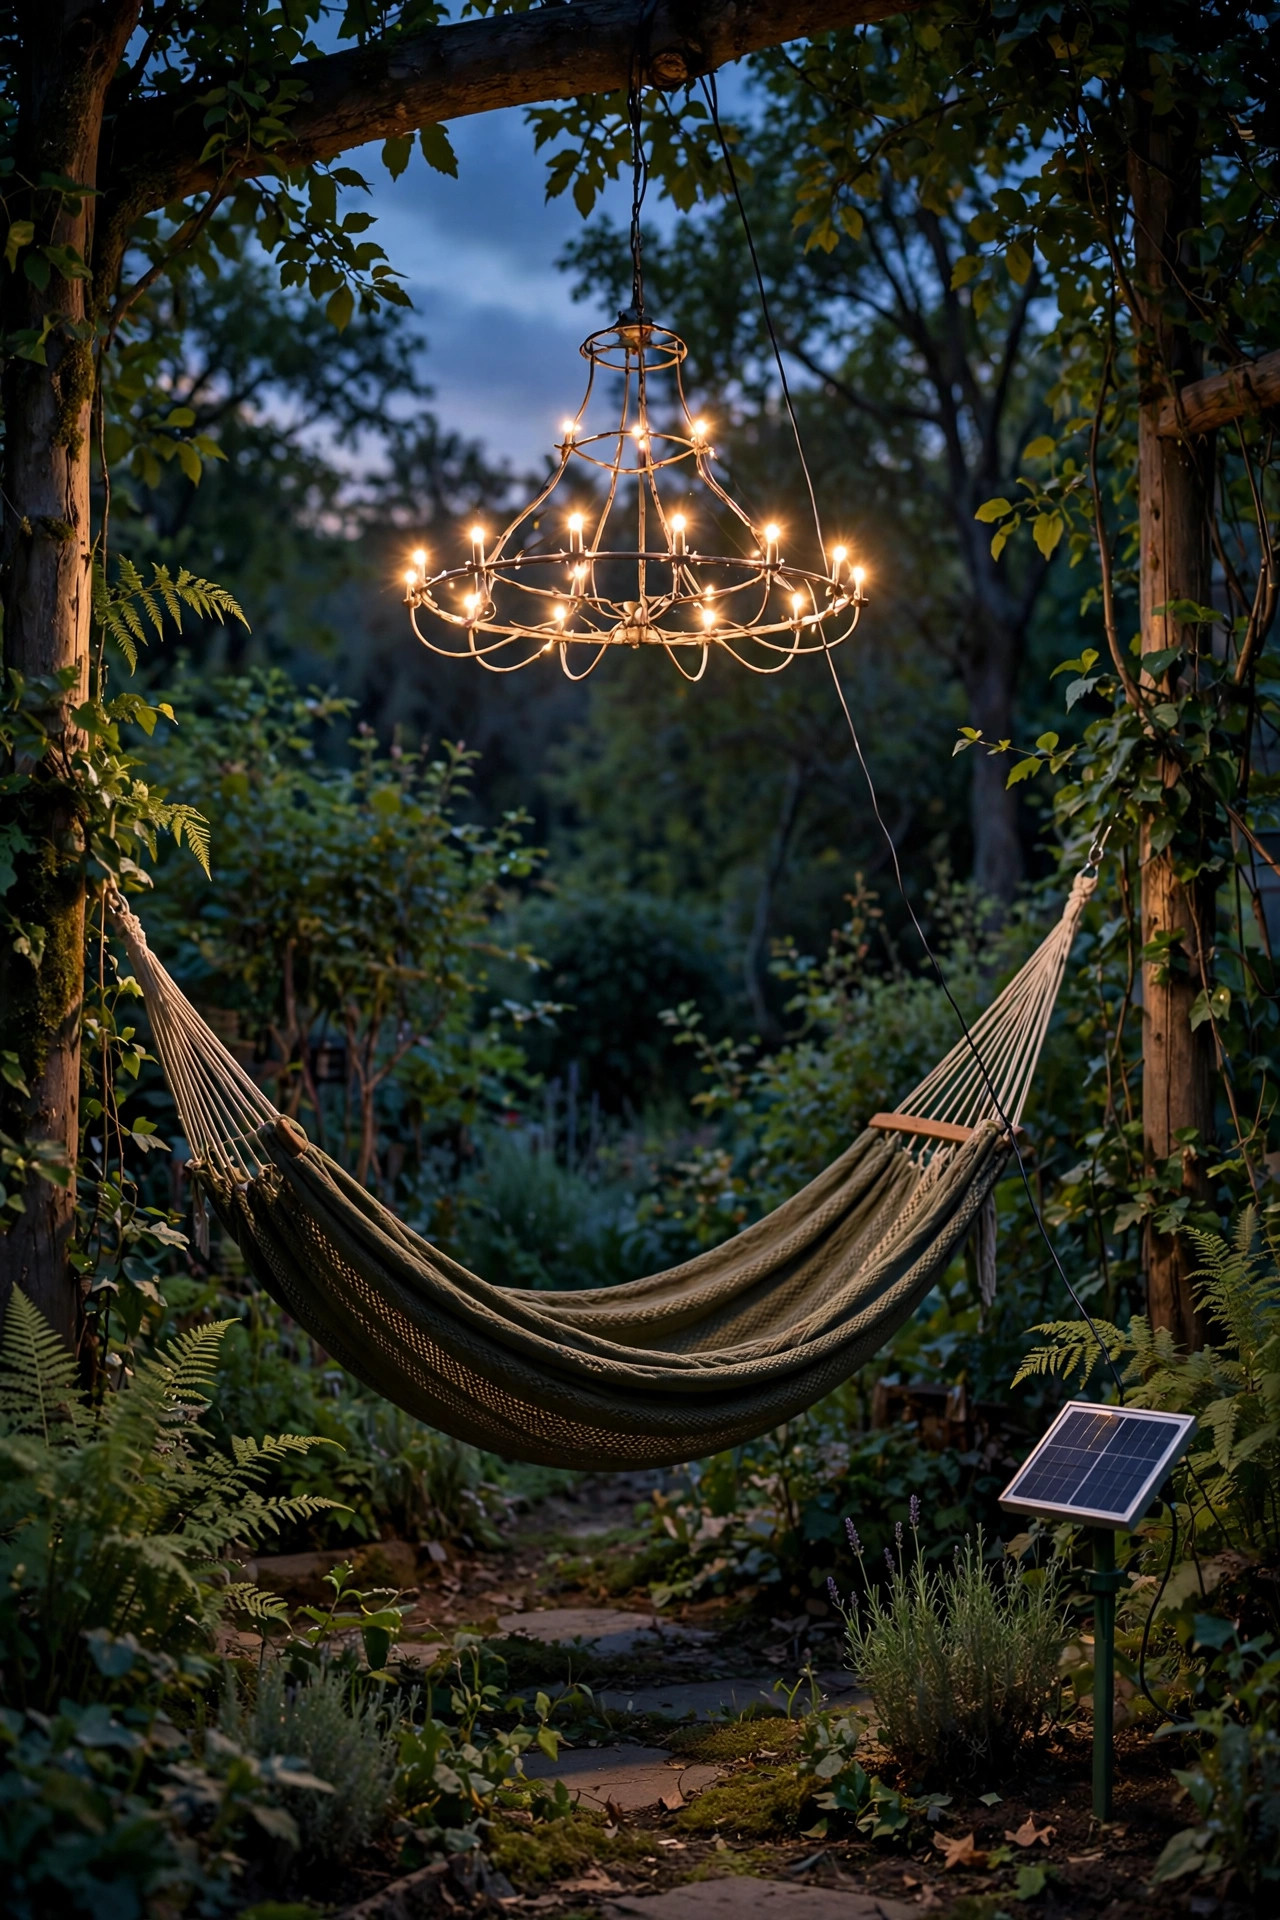
7. A Solar Chandelier for Truly Off-Grid Spots
That far corner of the yard with the hammock and zero outlets? A solar chandelier was made for it. These fixtures have a small solar panel (usually built into the top or on a short tether cord) that charges by day and lights the chandelier after dark — no wiring, no electrician, no extension cords snaking across the lawn.
Placement is everything: the panel needs 6 to 8 hours of direct sun daily, so hang the chandelier where the panel — not necessarily the fixture — can see the sky. Many designs let you mount the panel up to 10 feet away on a stake or fence top, with a thin wire running to the fixture. That's the setup I always recommend, because it frees you to hang the chandelier under a tree canopy or pergola where it's shady.
Expect 6 to 8 hours of glow on a full charge in summer, less in winter — that's just physics. Choose warm white LEDs (solar cool-white can look harsh and clinical) and look for a fixture with at least 30 individual LED points for real presence. They're lightweight and hang from a simple hook or shepherd's crook. Bring the whole fixture inside for winter in freezing climates and the battery will thank you with extra years of life.
Suggested budget range: $80 – $220.
8. An Industrial Cage Chandelier Over the Outdoor Kitchen
Grill stations and outdoor bars deserve better than a bare bulb. An industrial cage chandelier — metal framework, exposed filament bulbs behind wire guards — brings that cool gastropub energy and, more importantly, gives you serious task light where you're chopping and flipping.
Because this is a work zone, think lumens first, looks second. Aim for 300 to 500 lumens per bulb across 3 to 5 bulbs, all 3000K (a touch crisper than the 2700K I'd use for lounging, so you can actually see what you're doing). Hang it 36 to 40 inches above the counter or bar top — higher than a dining chandelier, because you're standing and moving underneath it. If the grill is directly below, shift the fixture slightly off-center so rising heat and grease don't cook the fixture's finish and wiring.
The cage design is practical, not just stylish: the guards protect bulbs from stray elbows and flying bottle caps. Choose a fixture with a powder-coated finish (matte black or galvanized steel look) for corrosion resistance, and make sure it's damp-rated minimum — kitchens generate steam and splash. Wire it on its own switch, separate from the ambient patio lights, so you can blast the work zone while keeping the dining area moody.
Suggested budget range: $140 – $380.
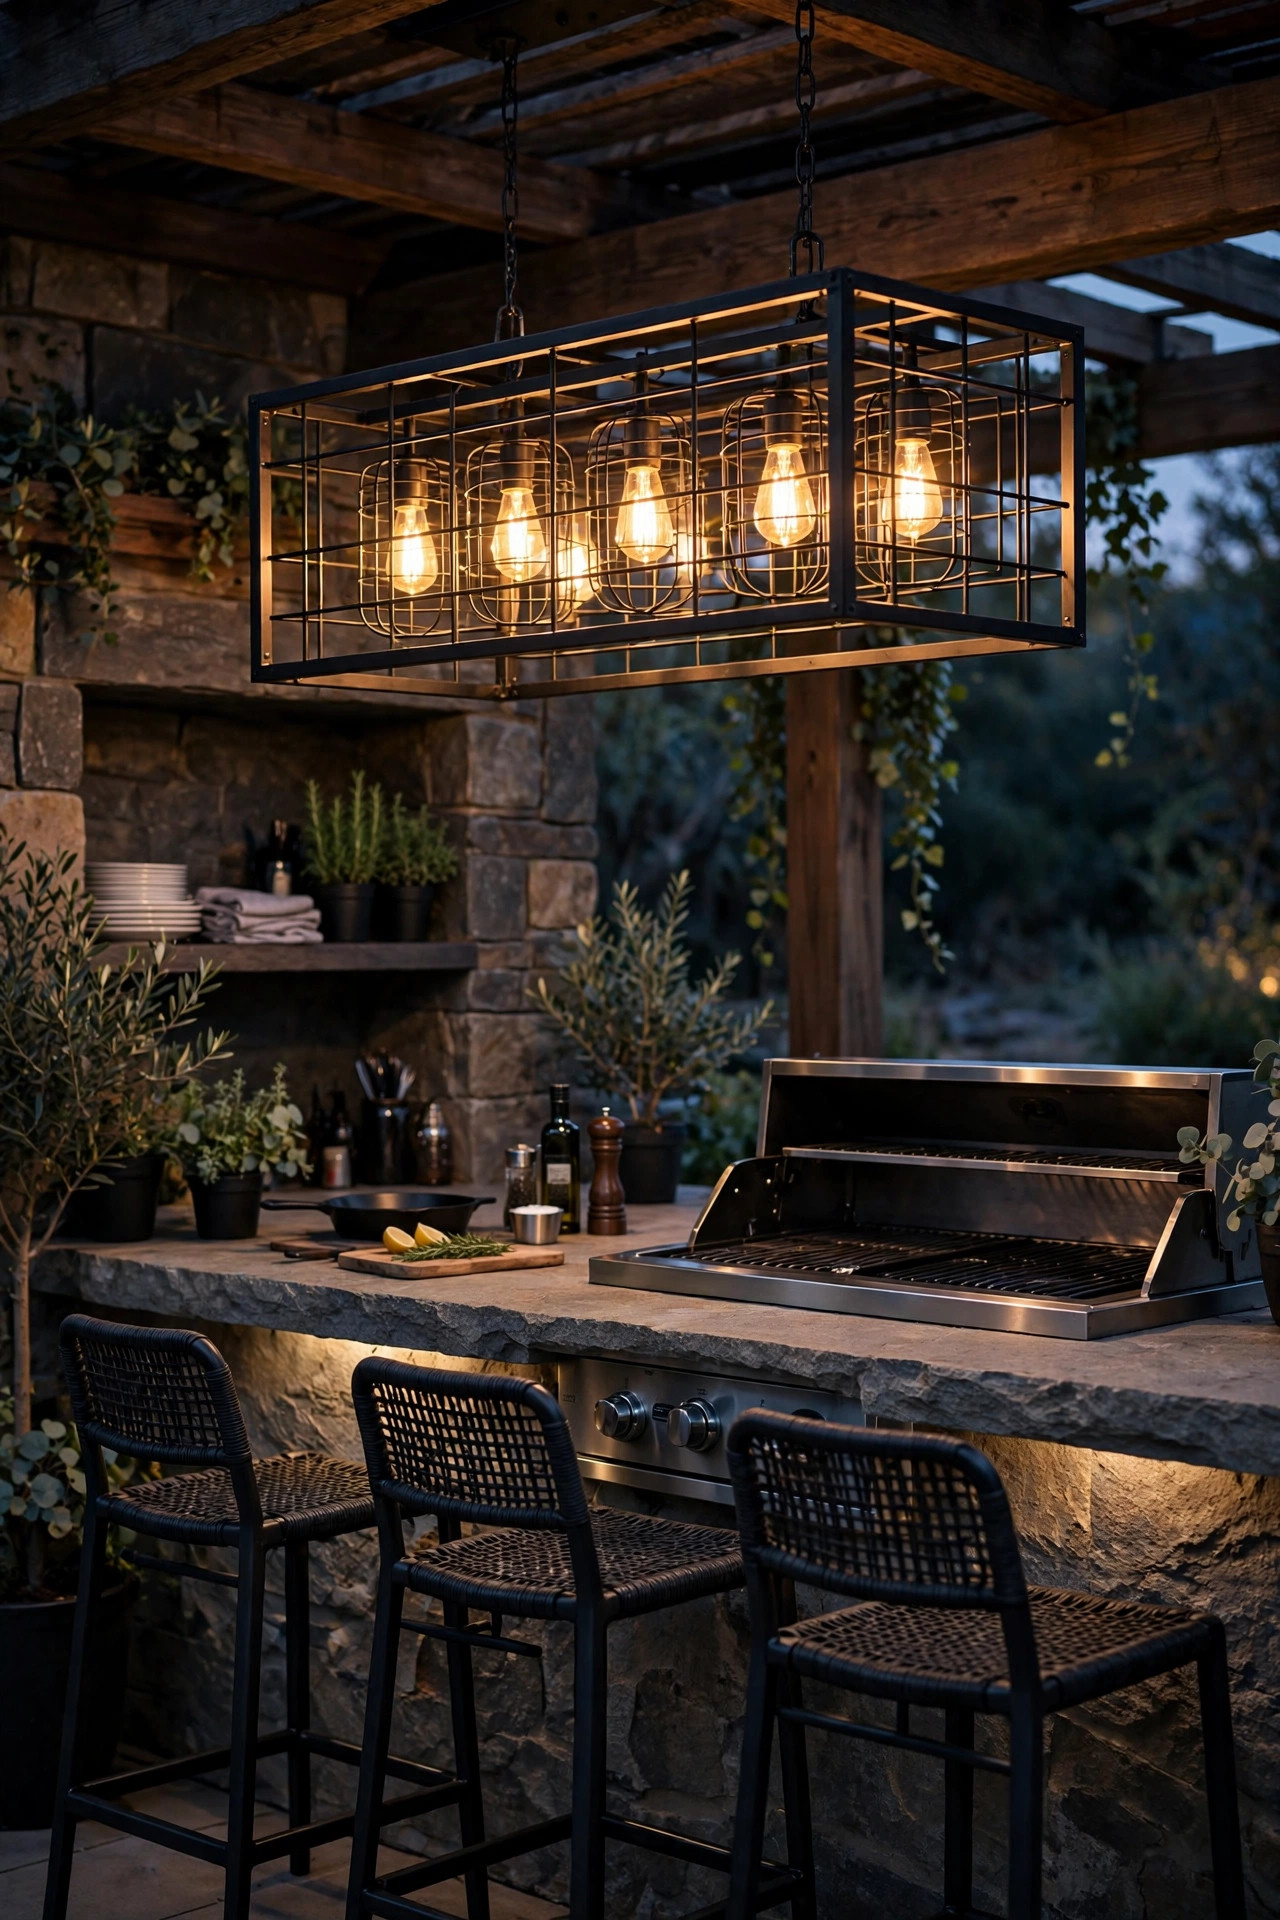
9. A Mini Chandelier Pair Flanking the Front Door
Who says the front door only gets sconces? A pair of petite chandeliers — one on each side of the door, hung from the porch ceiling — frames the entry like jewelry. This works best on porches at least 6 feet deep with 8-foot-plus ceilings, where there's room for the fixtures to hang without crowding the walkway.
Scale is the whole game here: each chandelier should be 12 to 16 inches wide, max. Anything bigger will fight the door for attention. Hang them centered on each side of the door (or centered on the windows flanking the door, if you have them), with the bottom of each fixture about 7 feet off the porch floor. Keep both fixtures on the same switch so they always match — mismatched entry lighting looks accidental, not charming.
Because they're near the door — the highest-traffic, most weather-exposed spot on the porch — go wet-rated if your porch roof is shallow or the fixtures sit near the roof's edge. Two-bulb minis with warm LED filament bulbs (G25 globes look adorable at this scale) give you a welcoming pool of light right where guests stand. If your door area already has sconces, move this idea to flank a wide garage or a pair of French doors instead. And for more ways to style the whole entry, my fall porch lighting ideas pair beautifully with this look as the seasons turn.
Suggested budget range: $90 – $260.
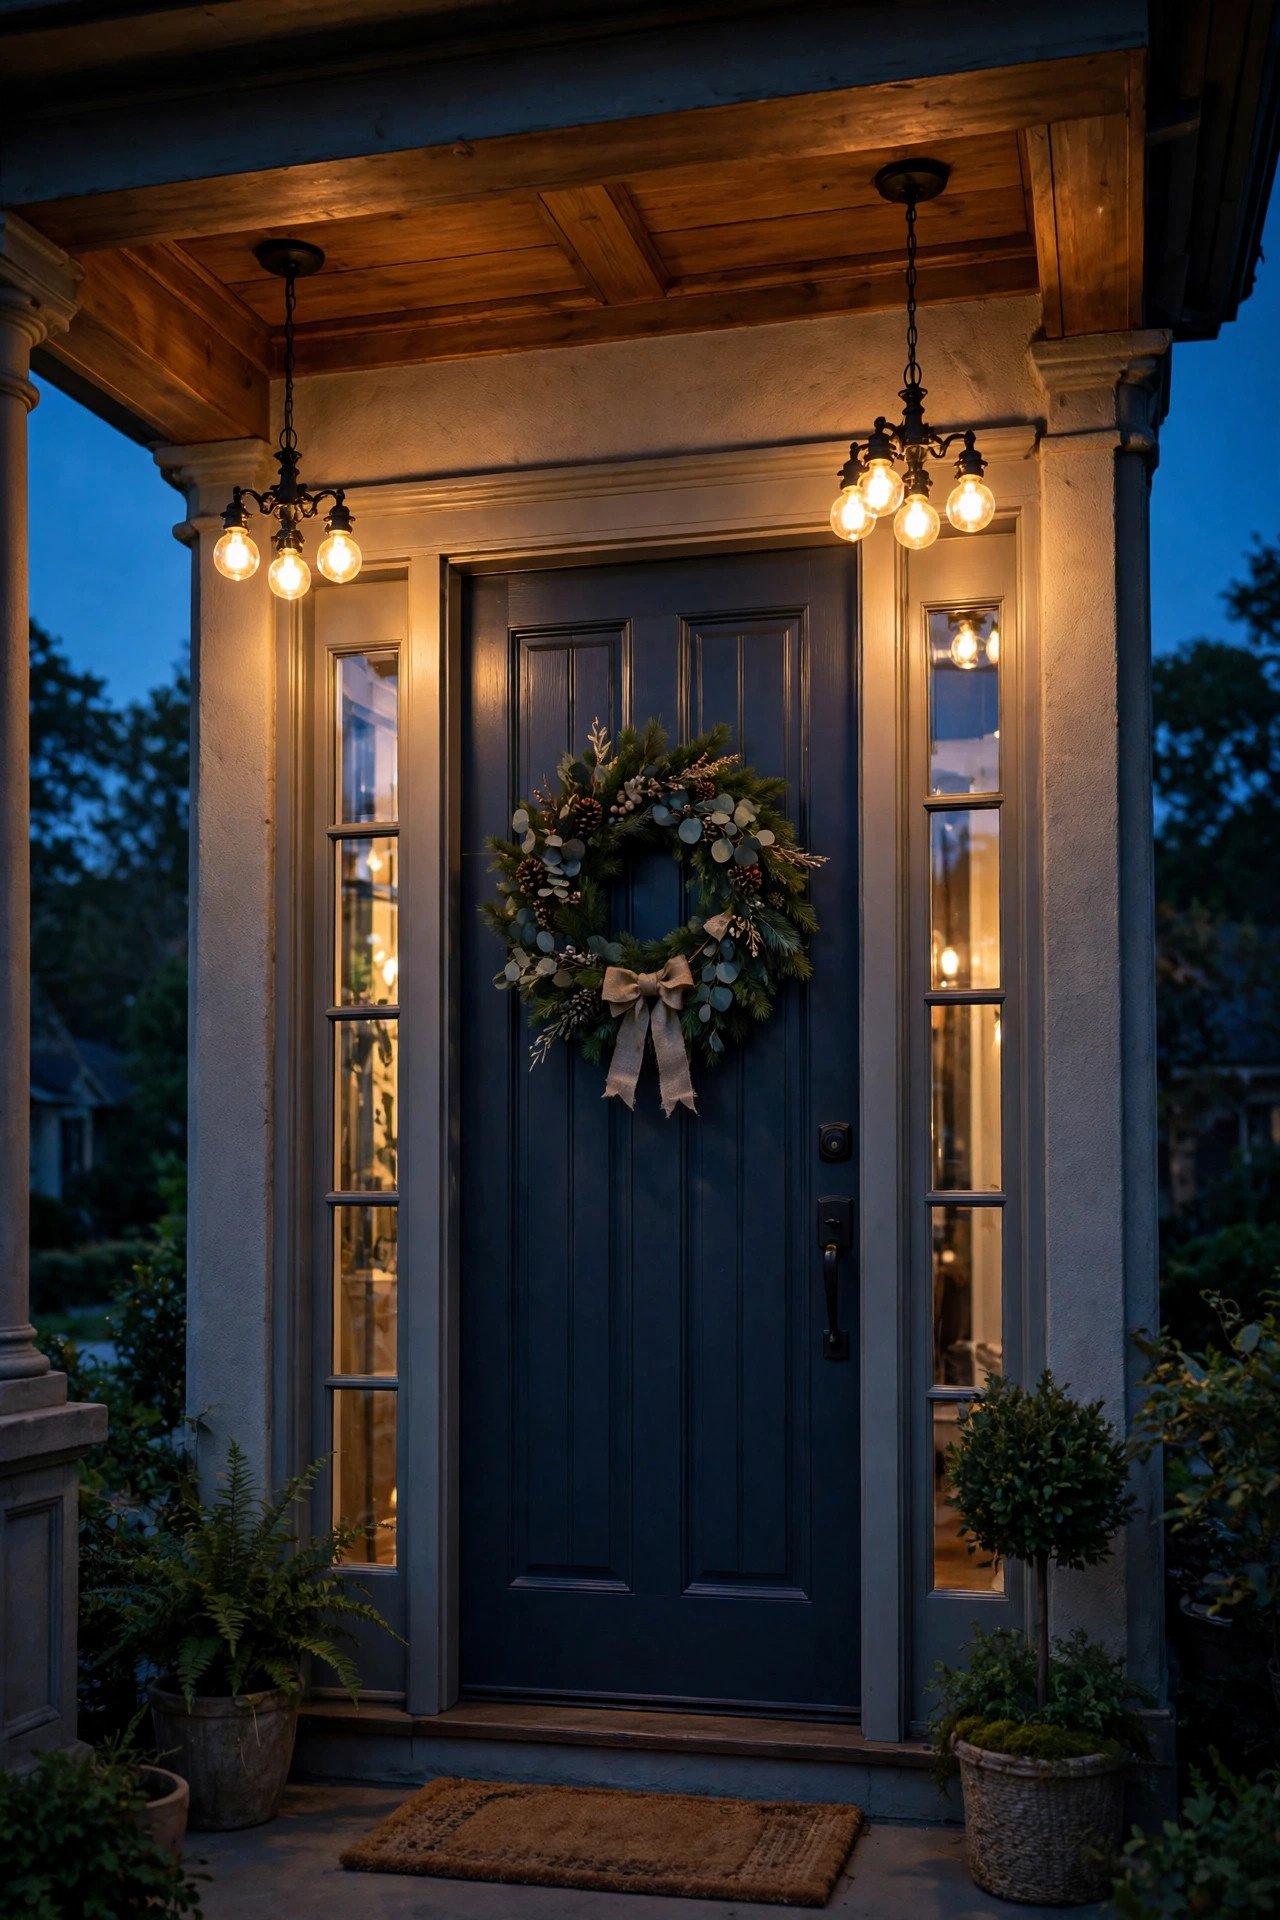
10. A Wood-Bead Chandelier for a Cozy Covered Patio
Wooden beads strung into a chandelier frame give you texture, warmth, and a handmade feel that big-box fixtures just can't fake. This is the fixture for the patio that already has the outdoor rug, the throw pillows, the whole cozy setup — it completes the "outdoor living room" illusion.
Beaded chandeliers are almost always damp-rated and meant for covered spaces, since unfinished wood beads can swell or mildew in direct rain. Hang yours under a solid patio cover, at least 7 feet clearance below, and give the beads a yearly wipe with a dry cloth — skip the oils and polishes, which attract dust outdoors.
Bulb strategy: because beads diffuse and soften light, you can go a little brighter than you think — an 800-to-1000-lumen warm white LED in the center keeps the seating area genuinely usable after dark. If the fixture has multiple arms, use smaller 400-lumen filament bulbs per arm for even glow. Check the frame's weight before buying; beaded fixtures run 10 to 20 pounds, well within a standard ceiling box's 50-pound limit, but confirm the canopy covers the junction box fully so no wiring peeks out. In my experience, natural wood tones pair best with warm 2700K light — anything cooler makes the beads look gray and flat.
Suggested budget range: $130 – $320.
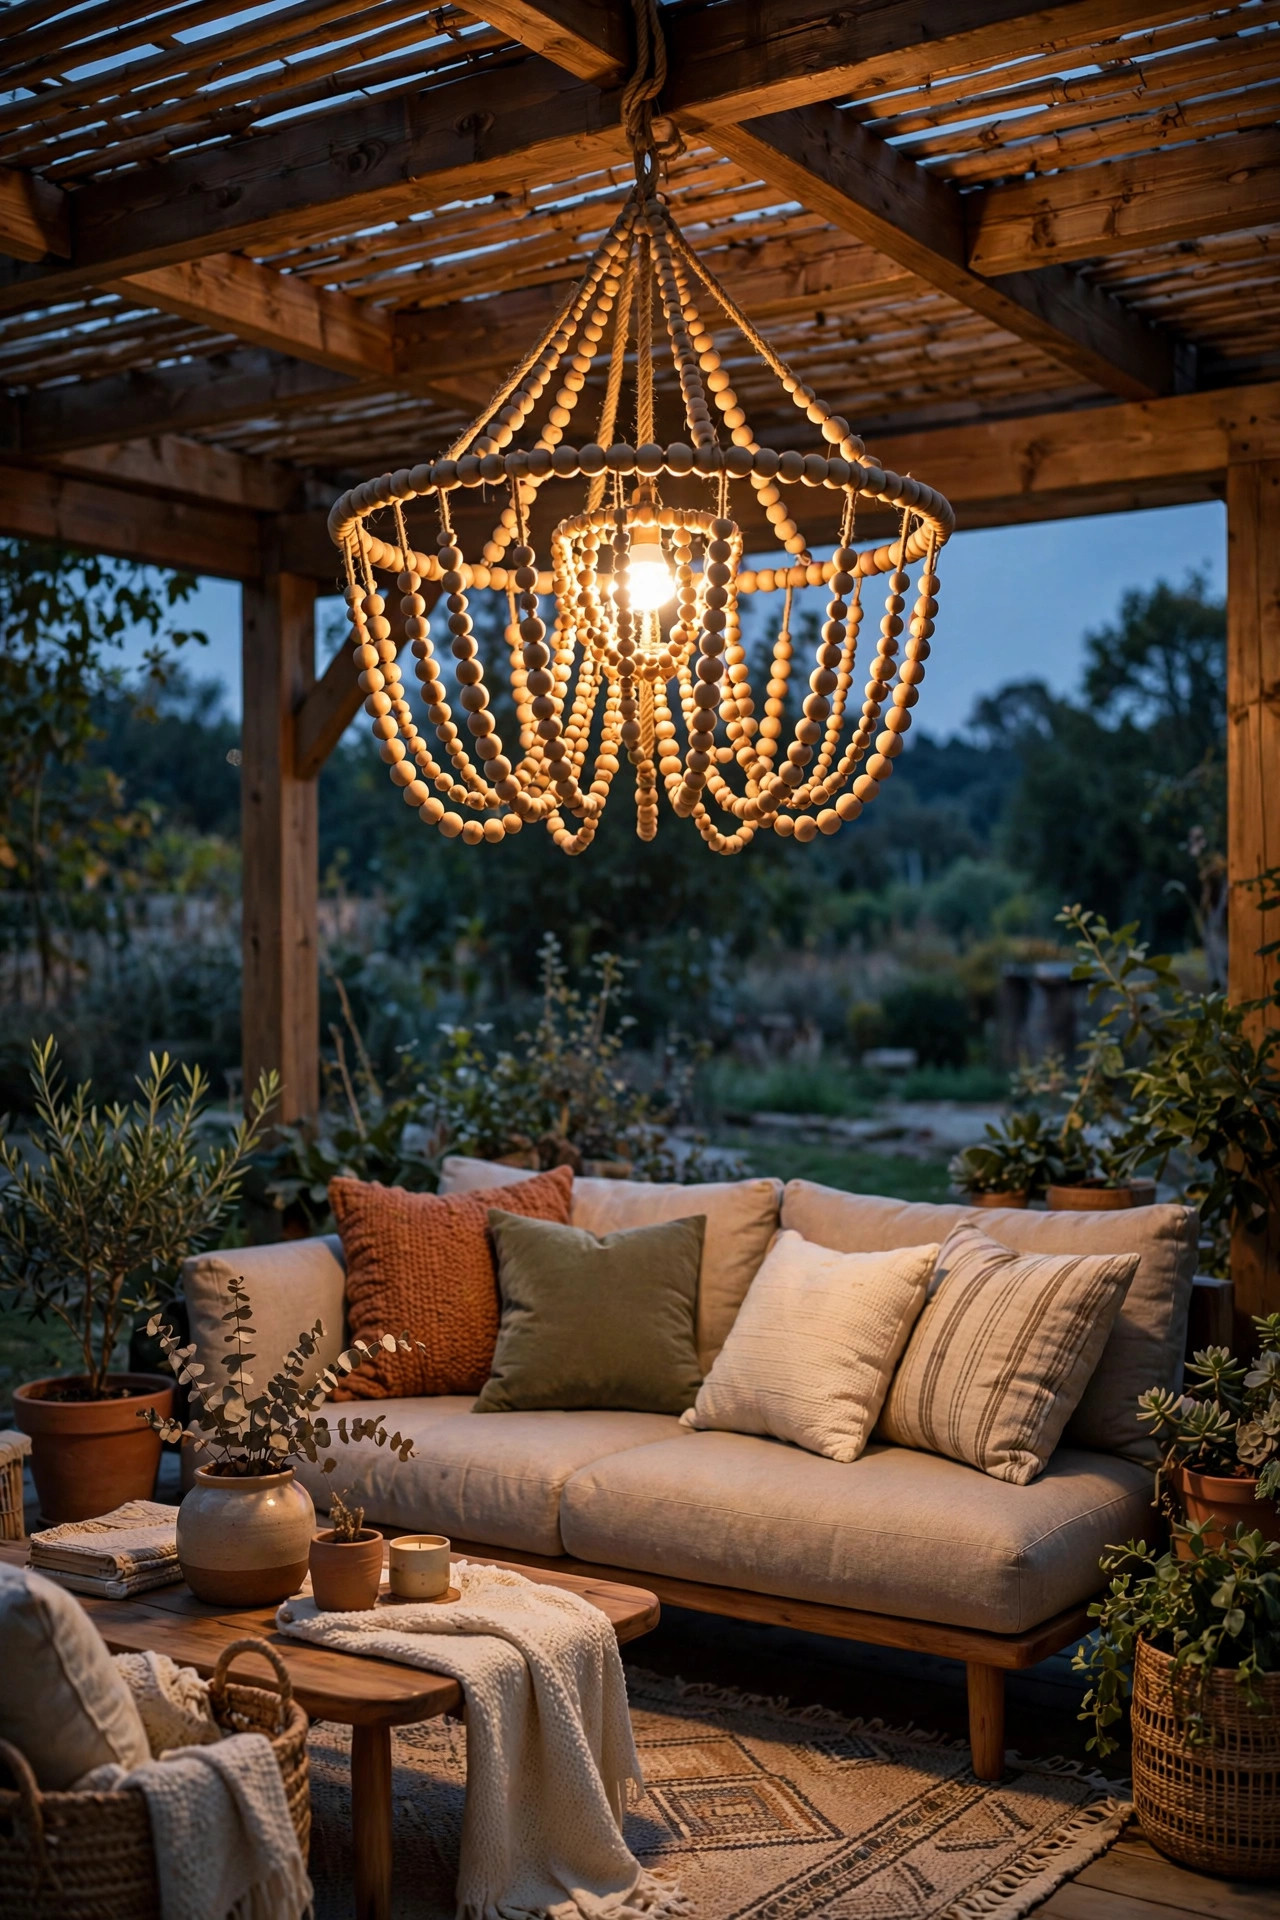
11. Sparkle-Proof Outdoor Chandelier Ideas: Crystal-Look Acrylic
Real crystal and the outdoors are a bad marriage — glass prisms chip, cloud, and turn into a cleaning nightmare. Acrylic "crystal" strands give you 90 percent of the sparkle with none of the heartbreak: they're shatter-resistant, lightweight, and won't discolor in sun. From six feet away at dusk, honestly, no one can tell the difference.
Because acrylic is light, these fixtures often weigh under 15 pounds even at a generous 24-inch width, which makes mounting simple. The trade-off is heat: keep LED bulbs (which run cool) and never halogen — sustained heat can warp acrylic over time. Choose a fixture explicitly rated for outdoor or at least damp locations; indoor-only acrylic chandeliers often use glues and coatings that fail in humidity.
Style it over a patio dining set or a covered hot-tub area for instant glam. The faceted strands catch and scatter the LED light beautifully, so use clear (not frosted) filament bulbs to maximize the twinkle. Rinse the strands with a garden hose on a gentle setting once a season to wash off pollen and dust — that's the entire maintenance routine. If you love this look but want it bigger, look for two-tier acrylic designs that read formal without the weight of real glass.
Suggested budget range: $200 – $550.
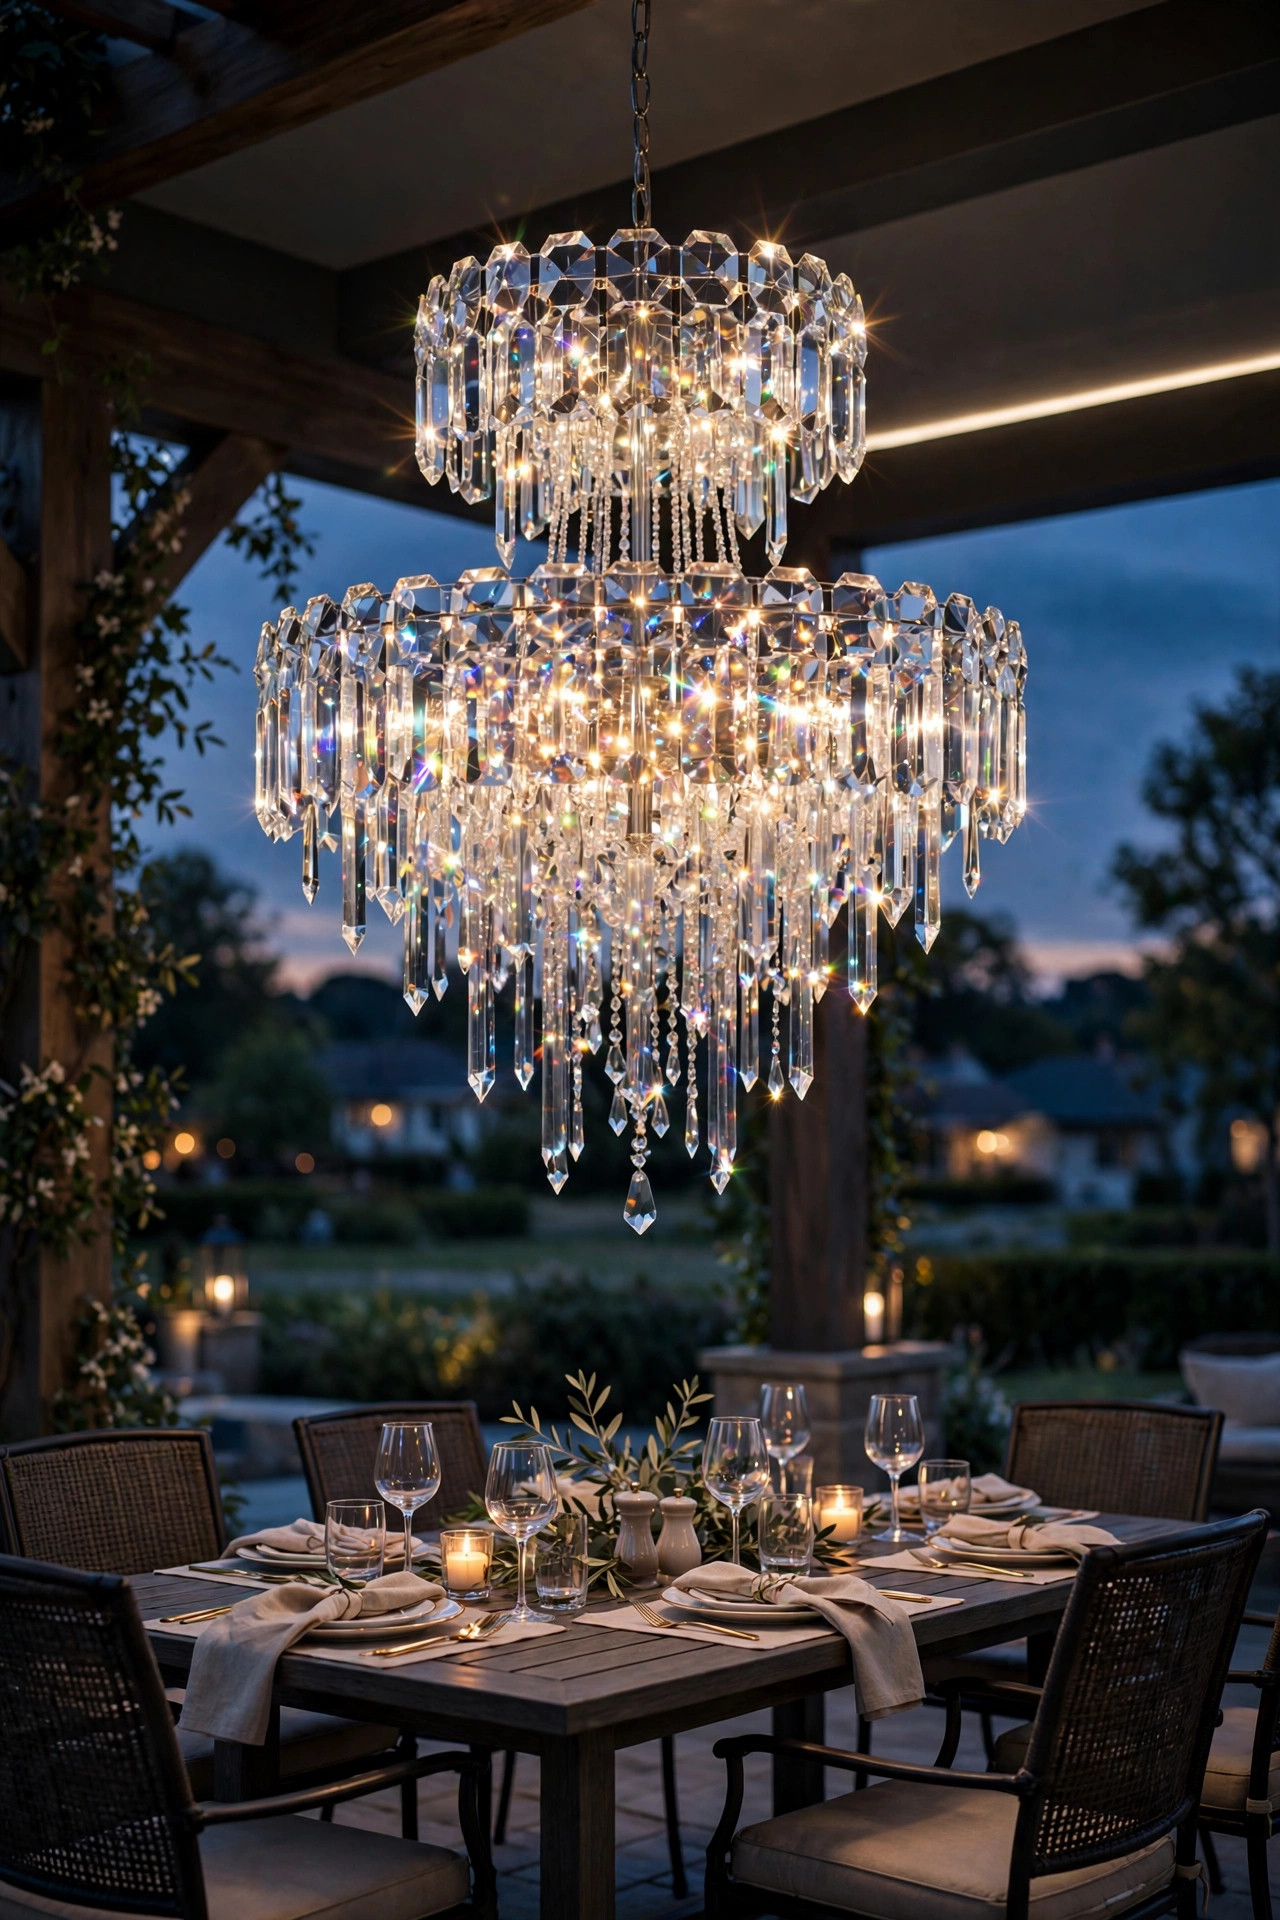
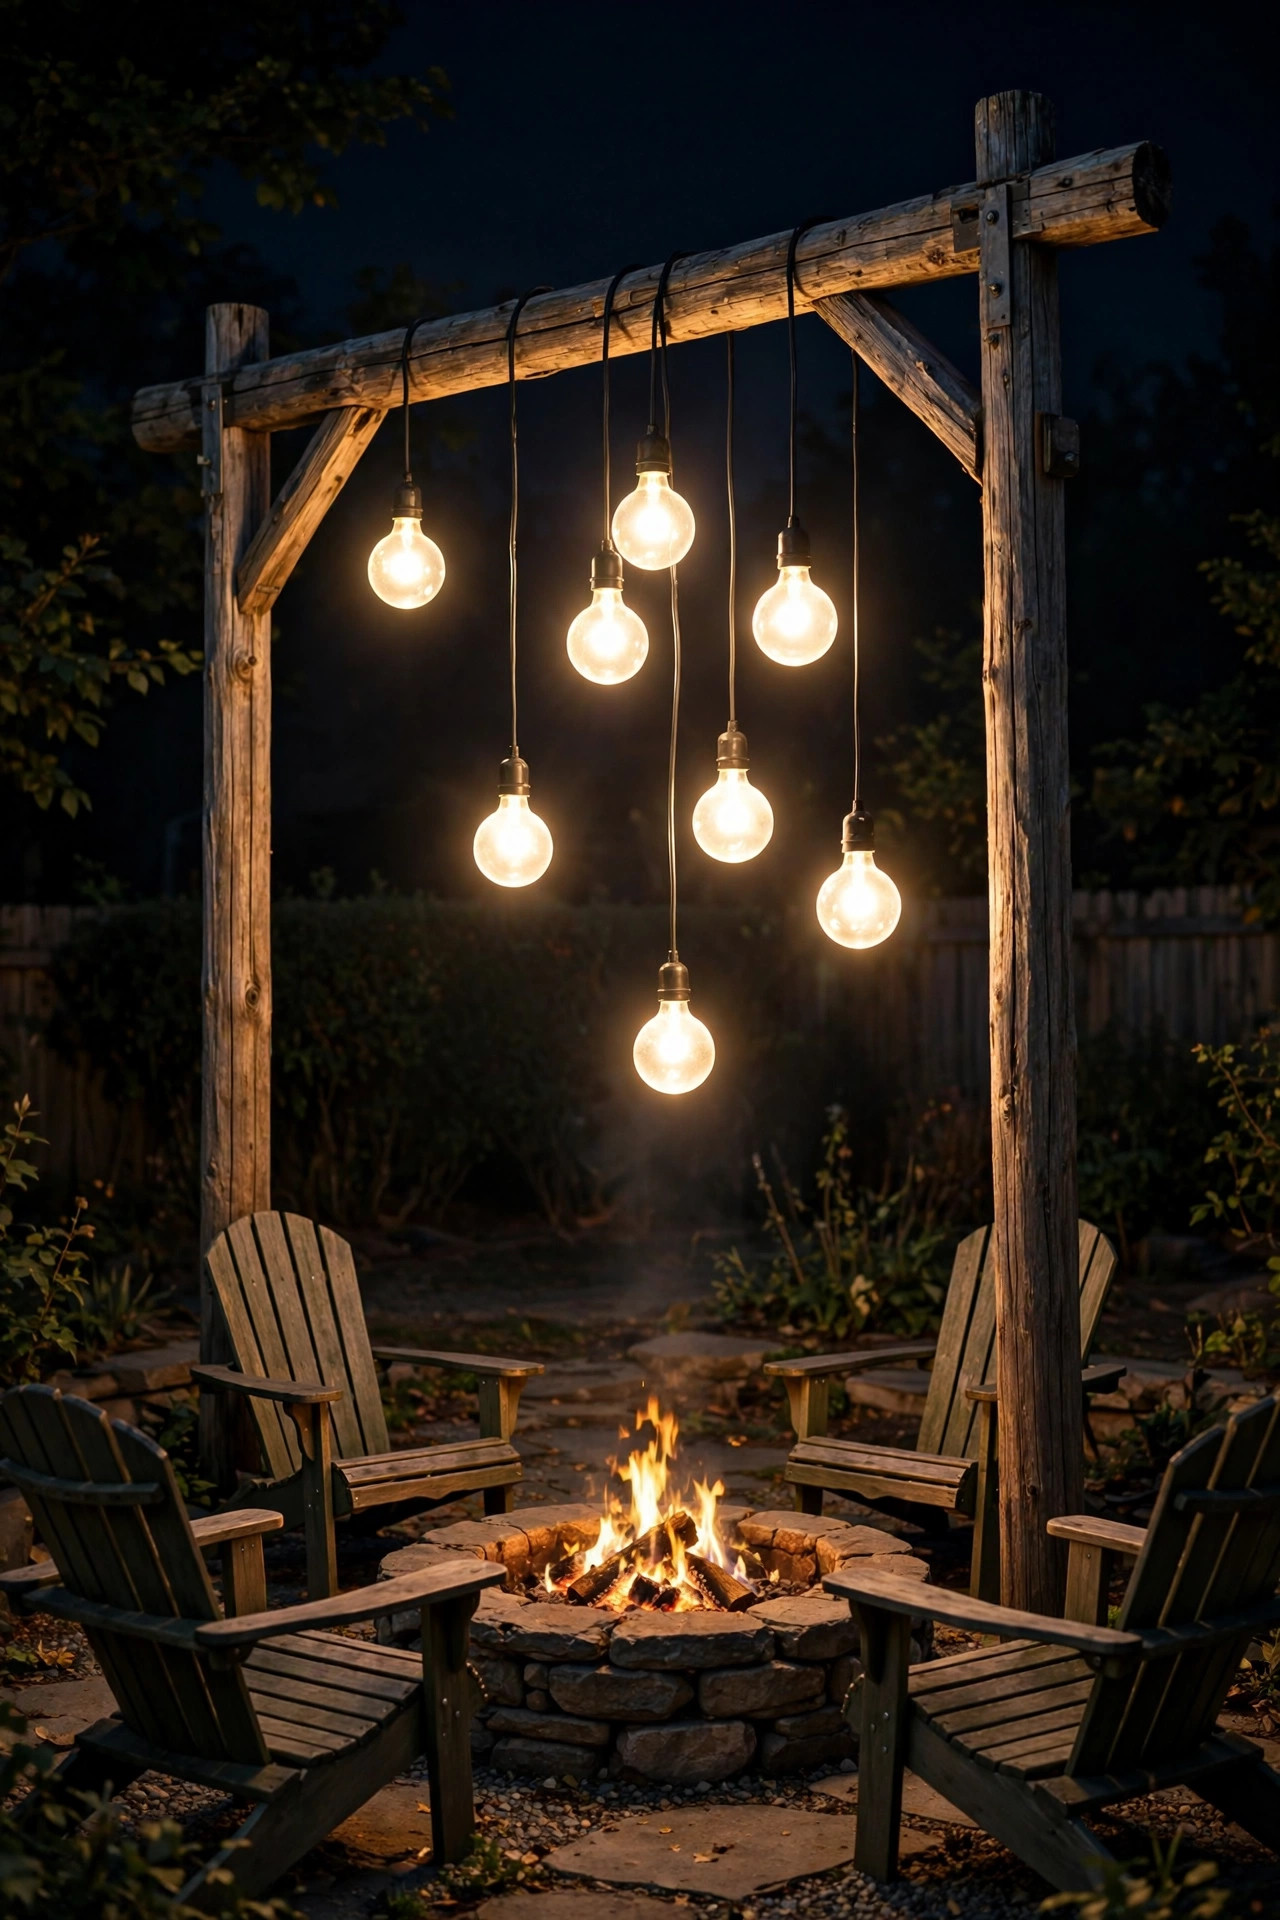
12. A Cluster of Globe Bulbs Over the Fire-Pit Lounge
A fire pit already gives you flickering light — what it doesn't give you is enough light to see your drink. A loose cluster of globe bulbs hung at varying heights above or beside the seating area fills that gap and looks effortlessly cool doing it. Think of it as a chandelier that forgot to be formal.
Use outdoor-rated string light strands or a purpose-built cluster pendant with 5 to 9 G40-size LED globe bulbs, hung from a shepherd's hook arm, a pergola beam, or a simple tee-post frame you build from 4×4 lumber. Stagger the drops between 12 and 30 inches so the cluster has that organic, floating feel. Keep the lowest bulb at least 7 feet above the ground where people walk — over the seating itself you can go a touch lower, but never within arm's reach of the fire pit's heat column. Heat rises, so give the fixture at least 6 feet of horizontal clearance from open flames.
Warm white 2700K LEDs are non-negotiable here — cool white plus firelight looks bizarre. Put the cluster on a dimmer or a smart plug so you can fade it down once the fire's roaring and let the flames take over. For broader yard lighting strategy beyond the fire pit, layering path, accent, and overhead light across the whole space is what makes a backyard feel finished after dark.
Suggested budget range: $100 – $300.
13. Modern Outdoor Chandelier Ideas for Pergolas: The Ring Light
Pergolas with their open-slat roofs are made for ring chandeliers — a slim circle of light floating under the beams. The round shape echoes the gathering space below, and because it's a single slim ring, it doesn't block the sky view that makes a pergola lovely in the first place.
Mounting is straightforward: most pergolas have a center crossbeam you can anchor to. If your ring is wider than 24 inches, span a mounting board across two beams to spread the load — most rings weigh 10 to 18 pounds, so a standard box is fine, but the board keeps it rock-steady in wind. Center the ring over the seating or dining zone, with the bottom of the ring 7 to 7.5 feet off the deck.
Choose an integrated-LED ring (they're slimmer and more weather-sealed than bulb-based rings) in 2700K to 3000K, and confirm it's dimmable — a ring at full blast over dinner is interrogation lighting; dimmed to 40 percent it's pure romance. Because pergola slats let rain straight through, this fixture must be wet-rated, no exceptions. I always recommend running the wiring through the beam in UV-rated conduit rather than draping a cord, which looks sloppy and degrades in sun within a couple of seasons.
Suggested budget range: $180 – $500.

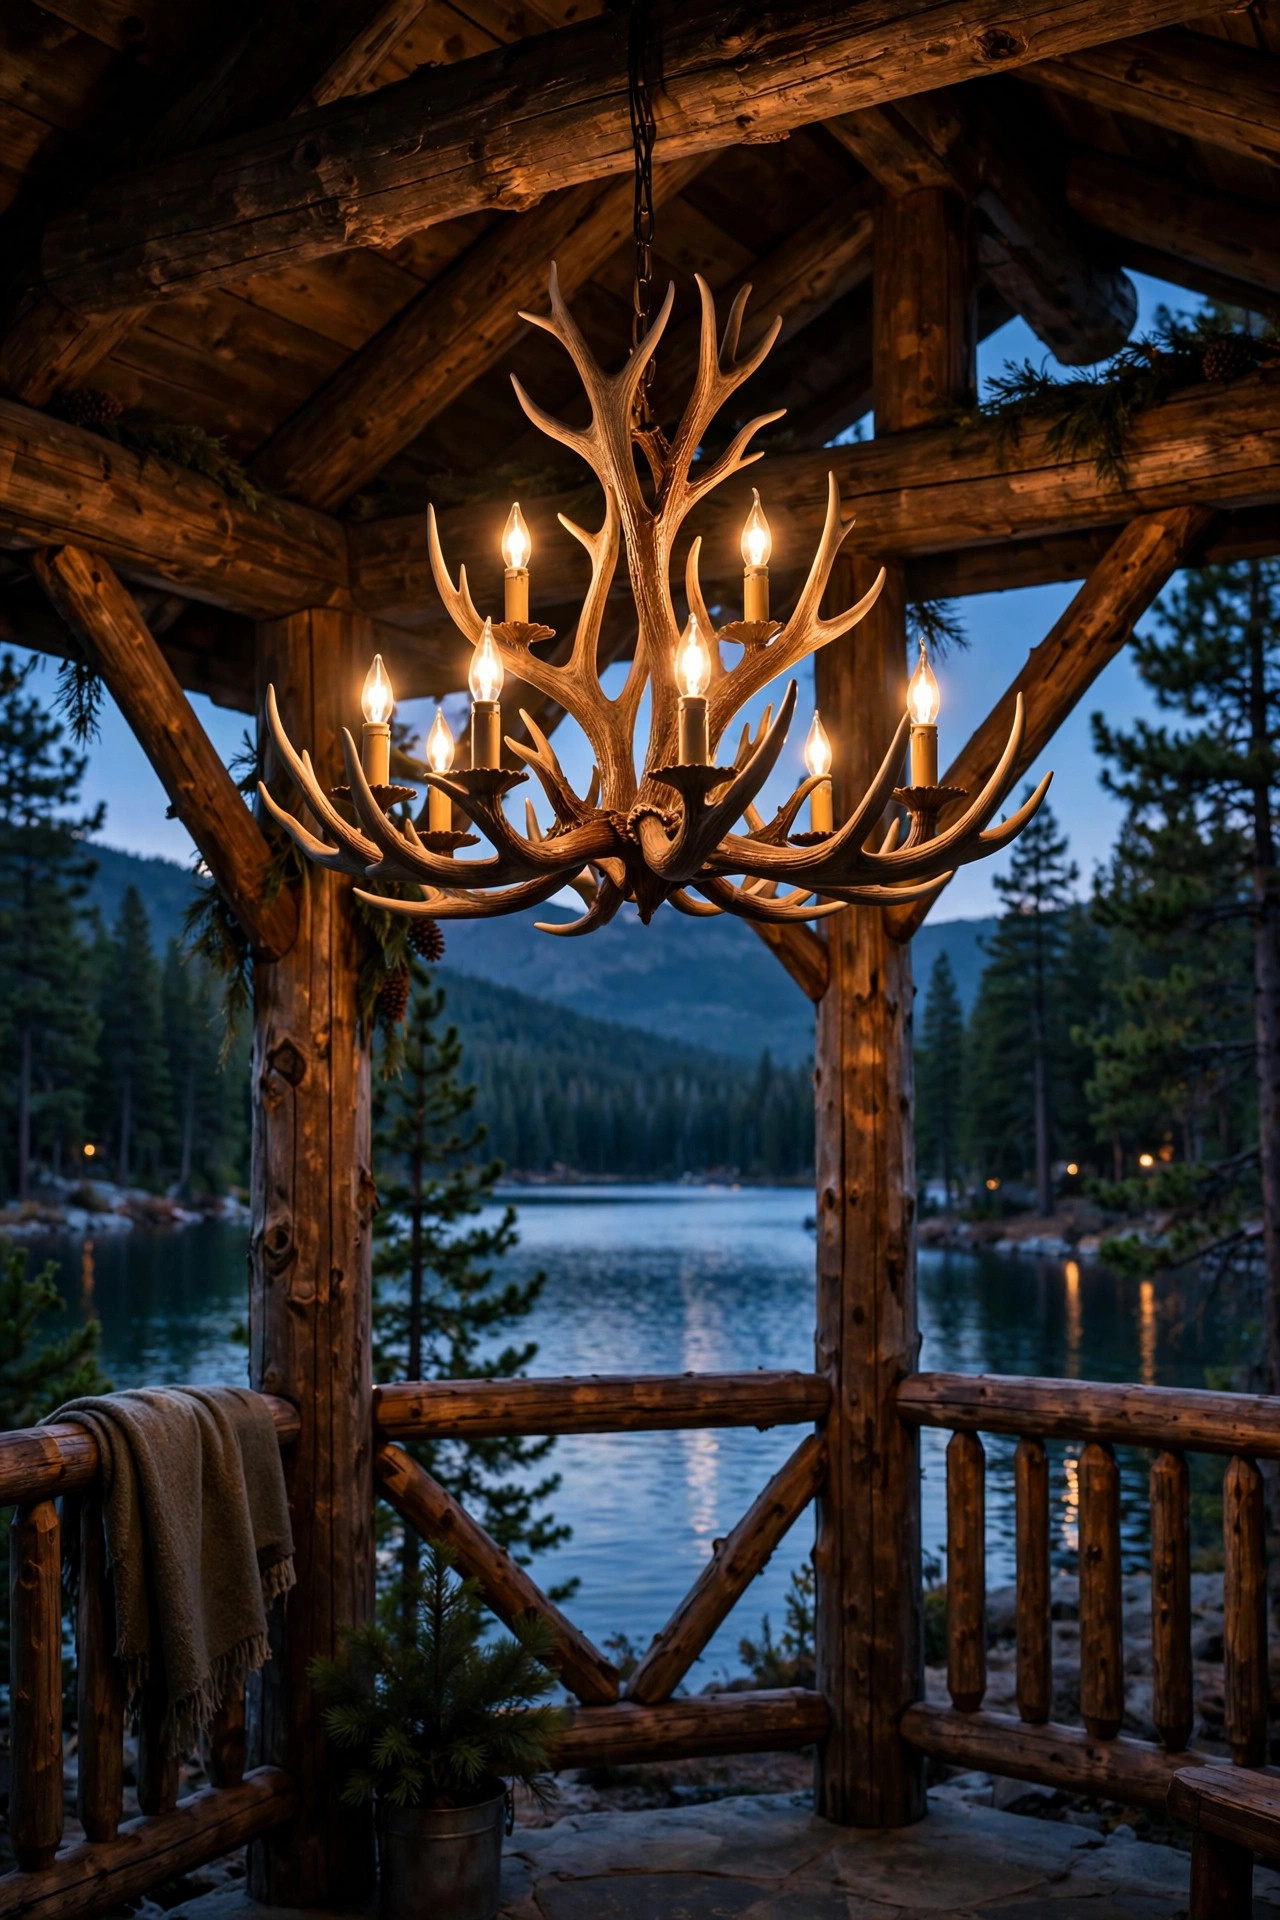
14. A Faux-Antler Chandelier for the Lodge-Style Gazebo
For the cabin, the lake house, or anyone whose style leans "lodge," a faux-antler chandelier is the statement piece. Real antlers are heavy, expensive, and ethically murky; molded resin replicas nail the look at a fraction of the weight — usually 15 to 25 pounds — and no two guests will ever guess.
These fixtures are wide by nature — 30 to 40 inches across is typical — so they need space. They shine in gazebos and covered pavilions with 10-foot-plus ceilings and at least a 12-foot footprint. Hang from the center peak with a sturdy chain, bottom of the fixture no lower than 7.5 feet off the floor, since the tines reach outward and downward.
Bulb choice: candelabra-style LED filament bulbs in warm amber tones, one per tine tip, usually 6 to 9 bulbs at 300 lumens each. That sounds like a lot of light, but the open design scatters it gently. Because lodge settings often mean real weather exposure at the gazebo's open sides, buy damp-rated minimum and check that the resin is UV-stabilized so it won't chalk and fade after two summers. Put it on a dimmer — full brightness for game night, low glow for stargazing from the hot tub.
Suggested budget range: $250 – $700.
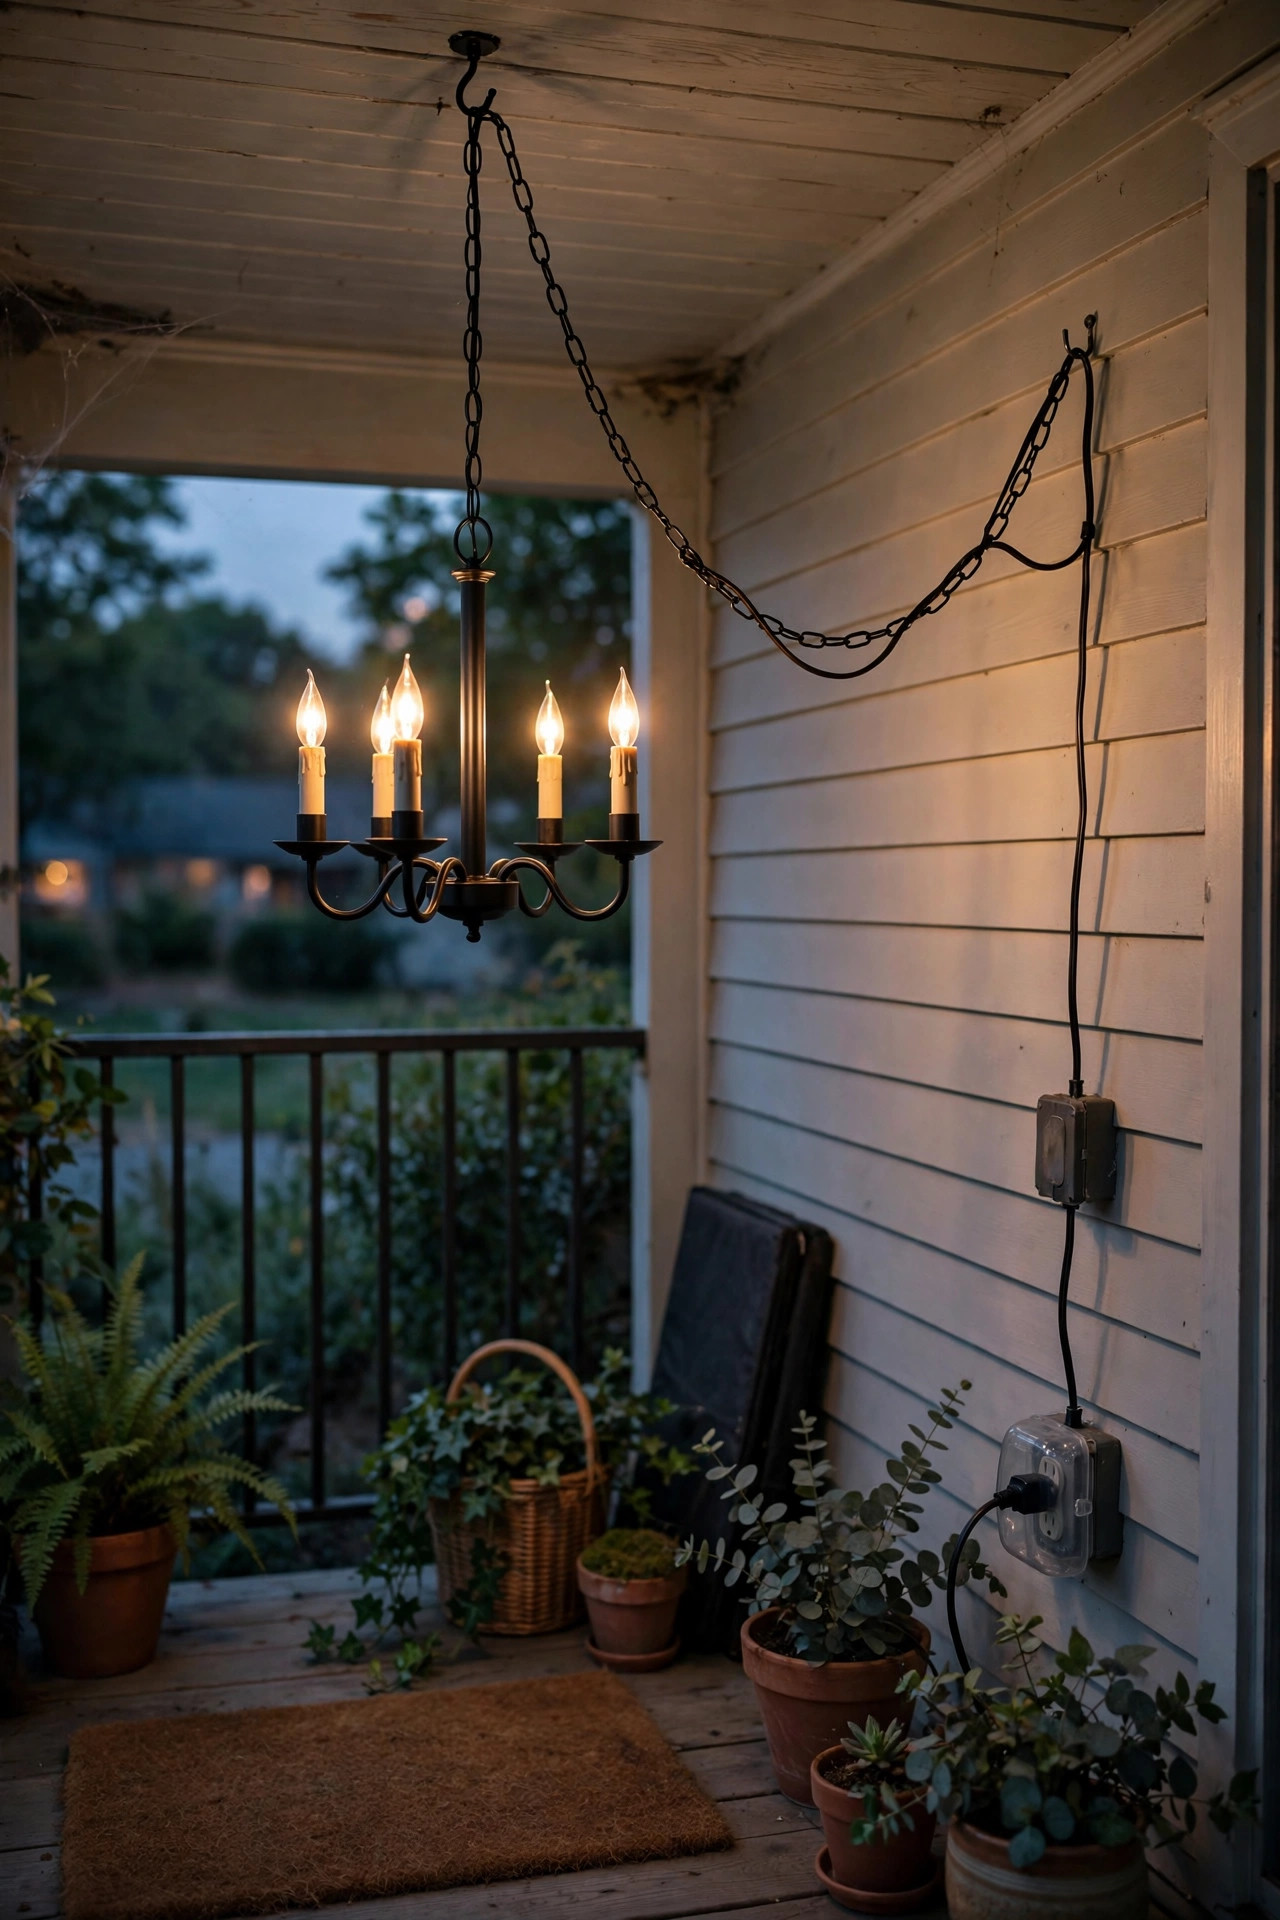
15. The Swag-Chain Trick: A Plug-In Chandelier, No Electrician Needed
Here's the secret the lighting world doesn't advertise enough: any hardwired chandelier can become a plug-in with a swag kit. You hang the fixture from a ceiling hook (screwed into a joist, not just drywall), drape the cord along a decorative chain swagged to the wall, and plug it into an outdoor outlet. No junction box, no electrician, fully reversible.
This is ideal for renters and for porches where the existing light is in the wrong spot. Buy a swag kit with at least 15 feet of cord and chain — measure your route (ceiling hook → wall → down to outlet) and add 3 feet of slack. Use only outdoor-rated extension-style cord, and plug into a GFCI-protected outlet (all exterior outlets should be GFCI by code). Secure the swag to the wall with insulated staples or small hooks every 18 inches so wind can't whip it around.
Choose a lighter fixture for swagging — under 15 pounds — since a hook carries the load differently than a box. And keep the plug connection itself sheltered: a simple in-use outlet cover (the bubble type) keeps rain off the plug. When you move, the whole thing comes down with two screws and zero patching. I've done this in three rentals and landlords never blinked.
Suggested budget range: $70 – $200.
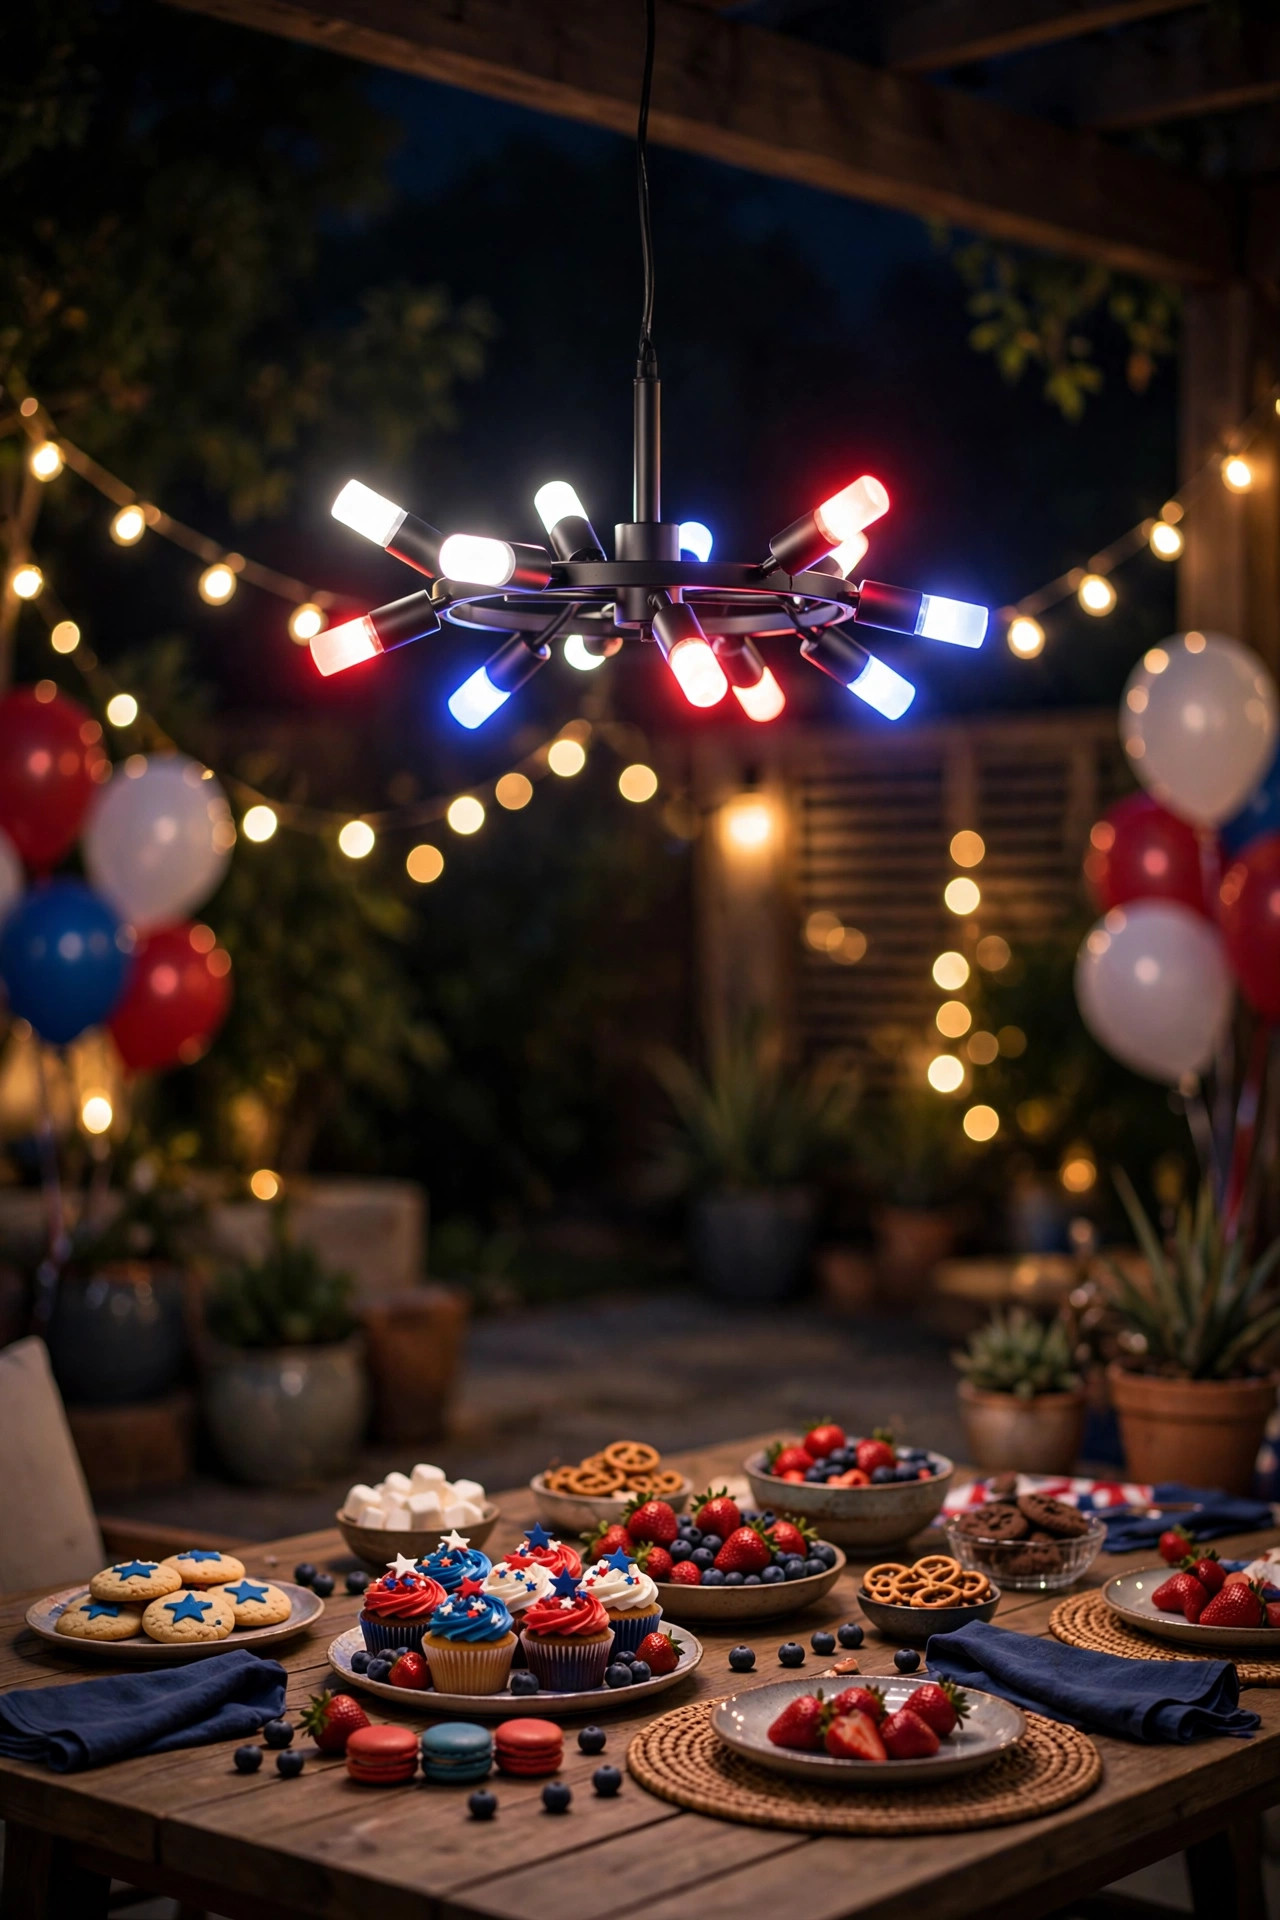
16. A Smart Color-Changing Chandelier for Party Nights
Most nights you want warm white. But for the Fourth of July, Halloween, or your kid's birthday party? A smart RGB chandelier that shifts color from your phone is pure fun. Look for outdoor-rated smart fixtures (or convert a standard fixture with smart LED bulbs in E26 or E12 bases) that offer both tunable white and full color.
The practical setup: use the app to save scenes — "Everyday Warm" at 2700K and 80 percent, "Party" cycling colors, "Late Night" at 10 percent amber. Set schedules so the everyday scene runs automatically at dusk; you only open the app for special occasions. If you're using smart bulbs in a multi-arm fixture, buy them as a matched set so the colors actually match — mixing brands in one chandelier is how you end up with five slightly different reds.
Two cautions from experience: first, smart bulbs are bigger and heavier than standard LEDs, so confirm they fit the shades and don't exceed the fixture's max wattage-equivalent guidance. Second, the fixture still needs its outdoor rating (damp or wet) — "smart" doesn't mean "weatherproof." Keep the Wi-Fi hub or bridge indoors within range, and if your patio is far from the router, add an outdoor-rated range extender before party day, not during it.
Suggested budget range: $150 – $400.
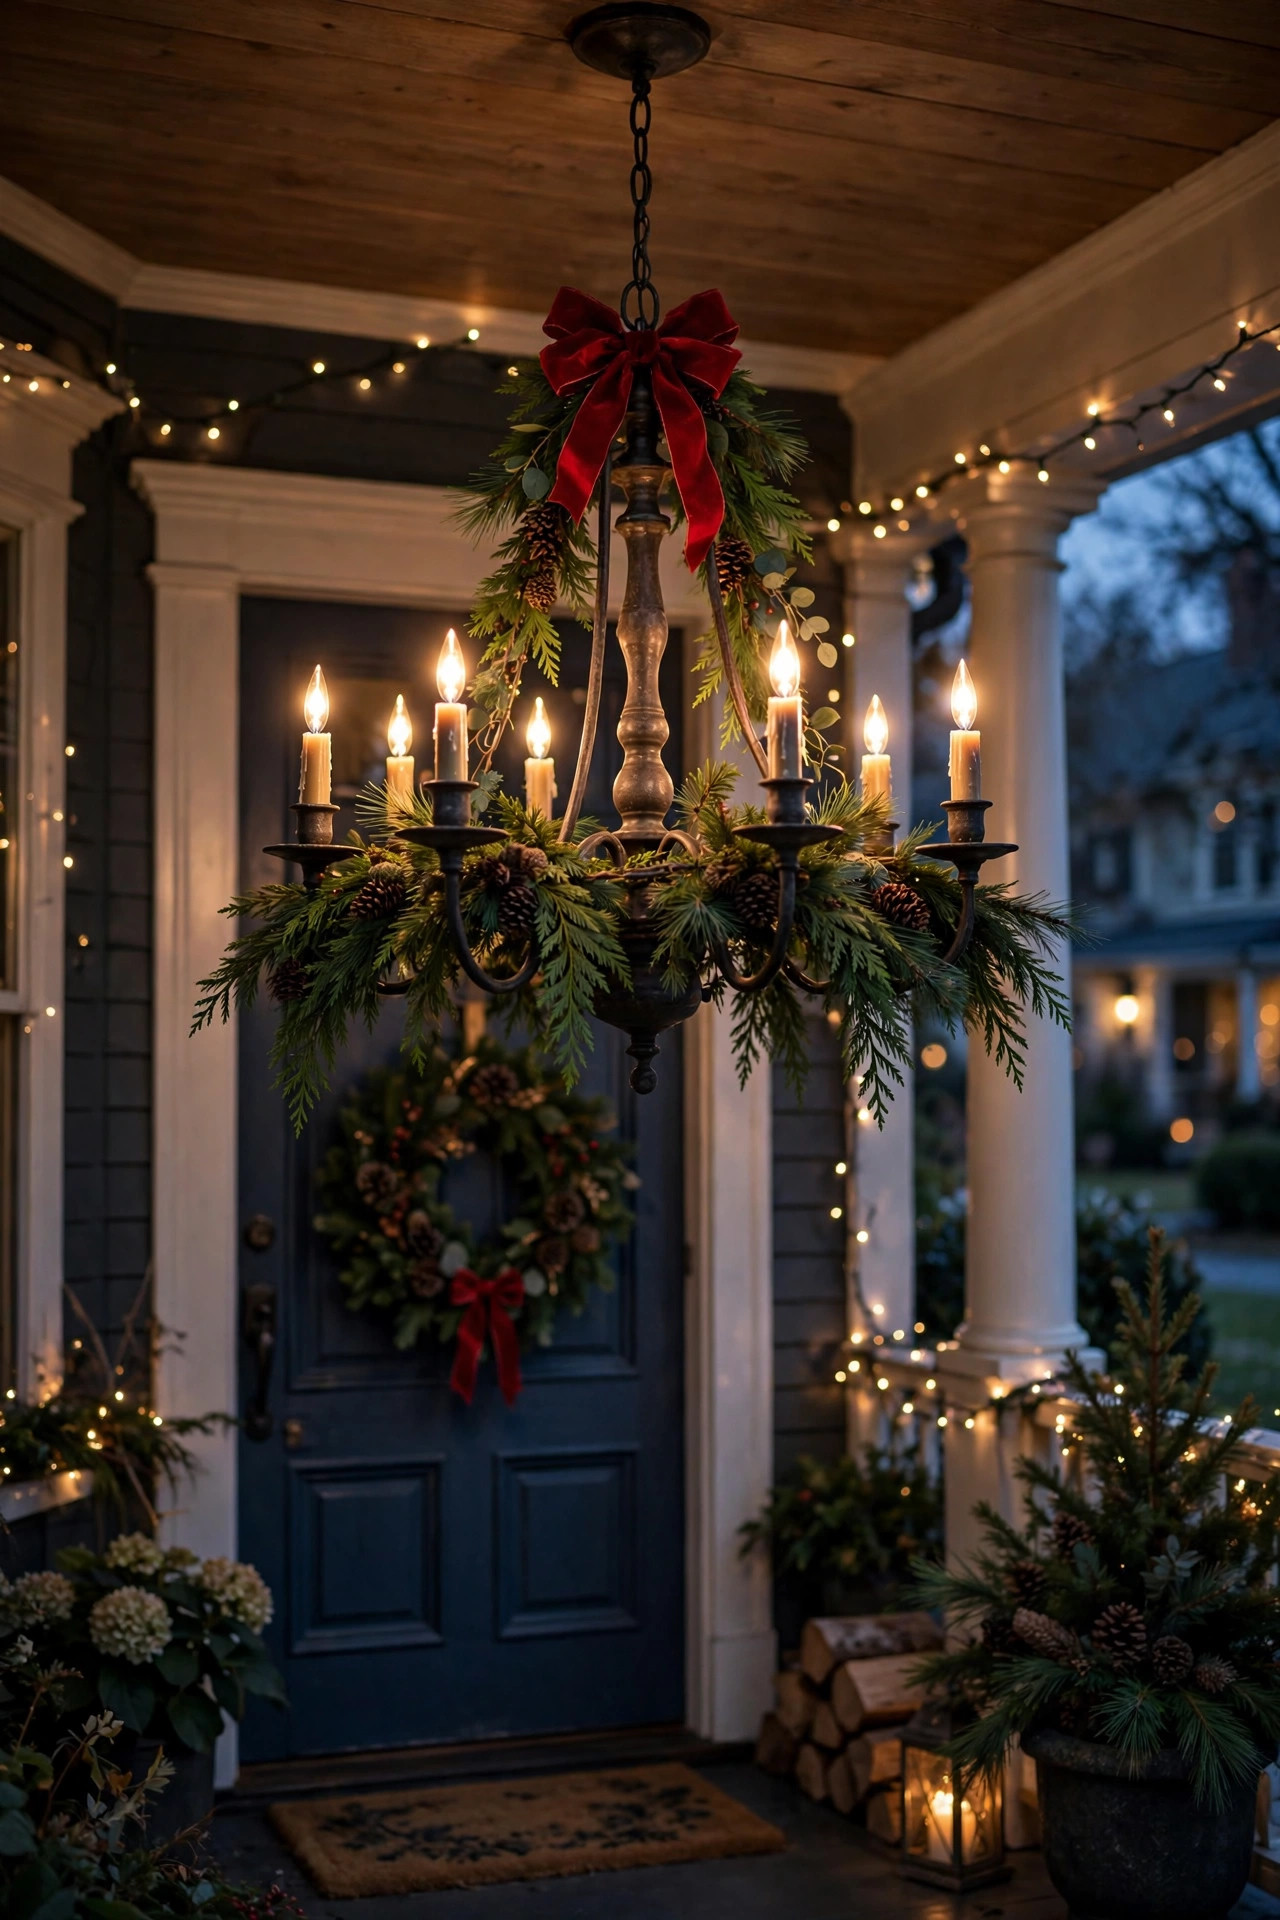
17. Holiday Outdoor Chandelier Ideas: Dress It in Greenery
Your chandelier doesn't have to sit out the holidays — dress it. A plain metal or candle-style chandelier becomes a showpiece with fresh cedar or pine garland woven loosely through the arms, a few pinecones tucked in, and a red ribbon bow at the canopy. It takes twenty minutes and photographs like a magazine spread.
Safety rules for this one, and they're non-negotiable: use LED bulbs only (they run cool), keep all greenery at least 3 inches from any bulb, and never use real candles near dried or fresh greens. Fresh greenery dries out fast in winter wind — mist it every few days or switch to high-quality faux garland, which honestly looks just as good at night. Remove the real stuff before it gets crispy; dry evergreens near electrical fixtures are a fire risk I never mess around with.
Hang the garland with floral wire, not zip ties (easier to remove without scratching the finish), and keep the total added weight under 5 pounds so you don't stress the mount. Time this project for early December and pair it with the rest of your holiday setup — my outdoor Christmas light ideas will help you coordinate the whole yard around your newly dressed centerpiece. Come January, the greenery comes down and your everyday chandelier is back.
Suggested budget range: $40 – $120.
18. Add a Dimmer and Unlock Four Moods From One Fixture
The chandelier is only half the purchase — the dimmer is the other half. A dimmable outdoor chandelier on a quality LED-compatible dimmer gives you four distinct moods from a single fixture: full bright for arrivals and tasks, 70 percent for dinner, 40 percent for conversation, and 15 percent for that barely-there late-night glow. It's the cheapest upgrade with the biggest payoff in this entire post.
The catch: the dimmer, the bulbs, and the fixture must all agree. Buy bulbs labeled "dimmable" (not all LEDs are), and pair them with a dimmer specifically rated for LED loads — old incandescent dimmers will make LEDs flicker, buzz, or refuse to dim below 30 percent. If the dimmer switch itself sits outdoors or in a damp spot, use a weatherproof cover plate rated for the location.
Installation is a 20-minute job if you're comfortable swapping a switch (power OFF at the breaker, always), but if the switch box isn't already wired for a dimmer or you're unsure, call an electrician — this is a small, inexpensive service call. For a full rundown of the electrical basics, my electrical safety tips cover GFCI protection, breaker safety, and when to DIY versus when to call a pro. Once it's in, you'll wonder how you lived with a single-brightness porch.
Suggested budget range: $25 – $150.
19. Go Big: One Oversized Chandelier as the Front-Entry Showpiece
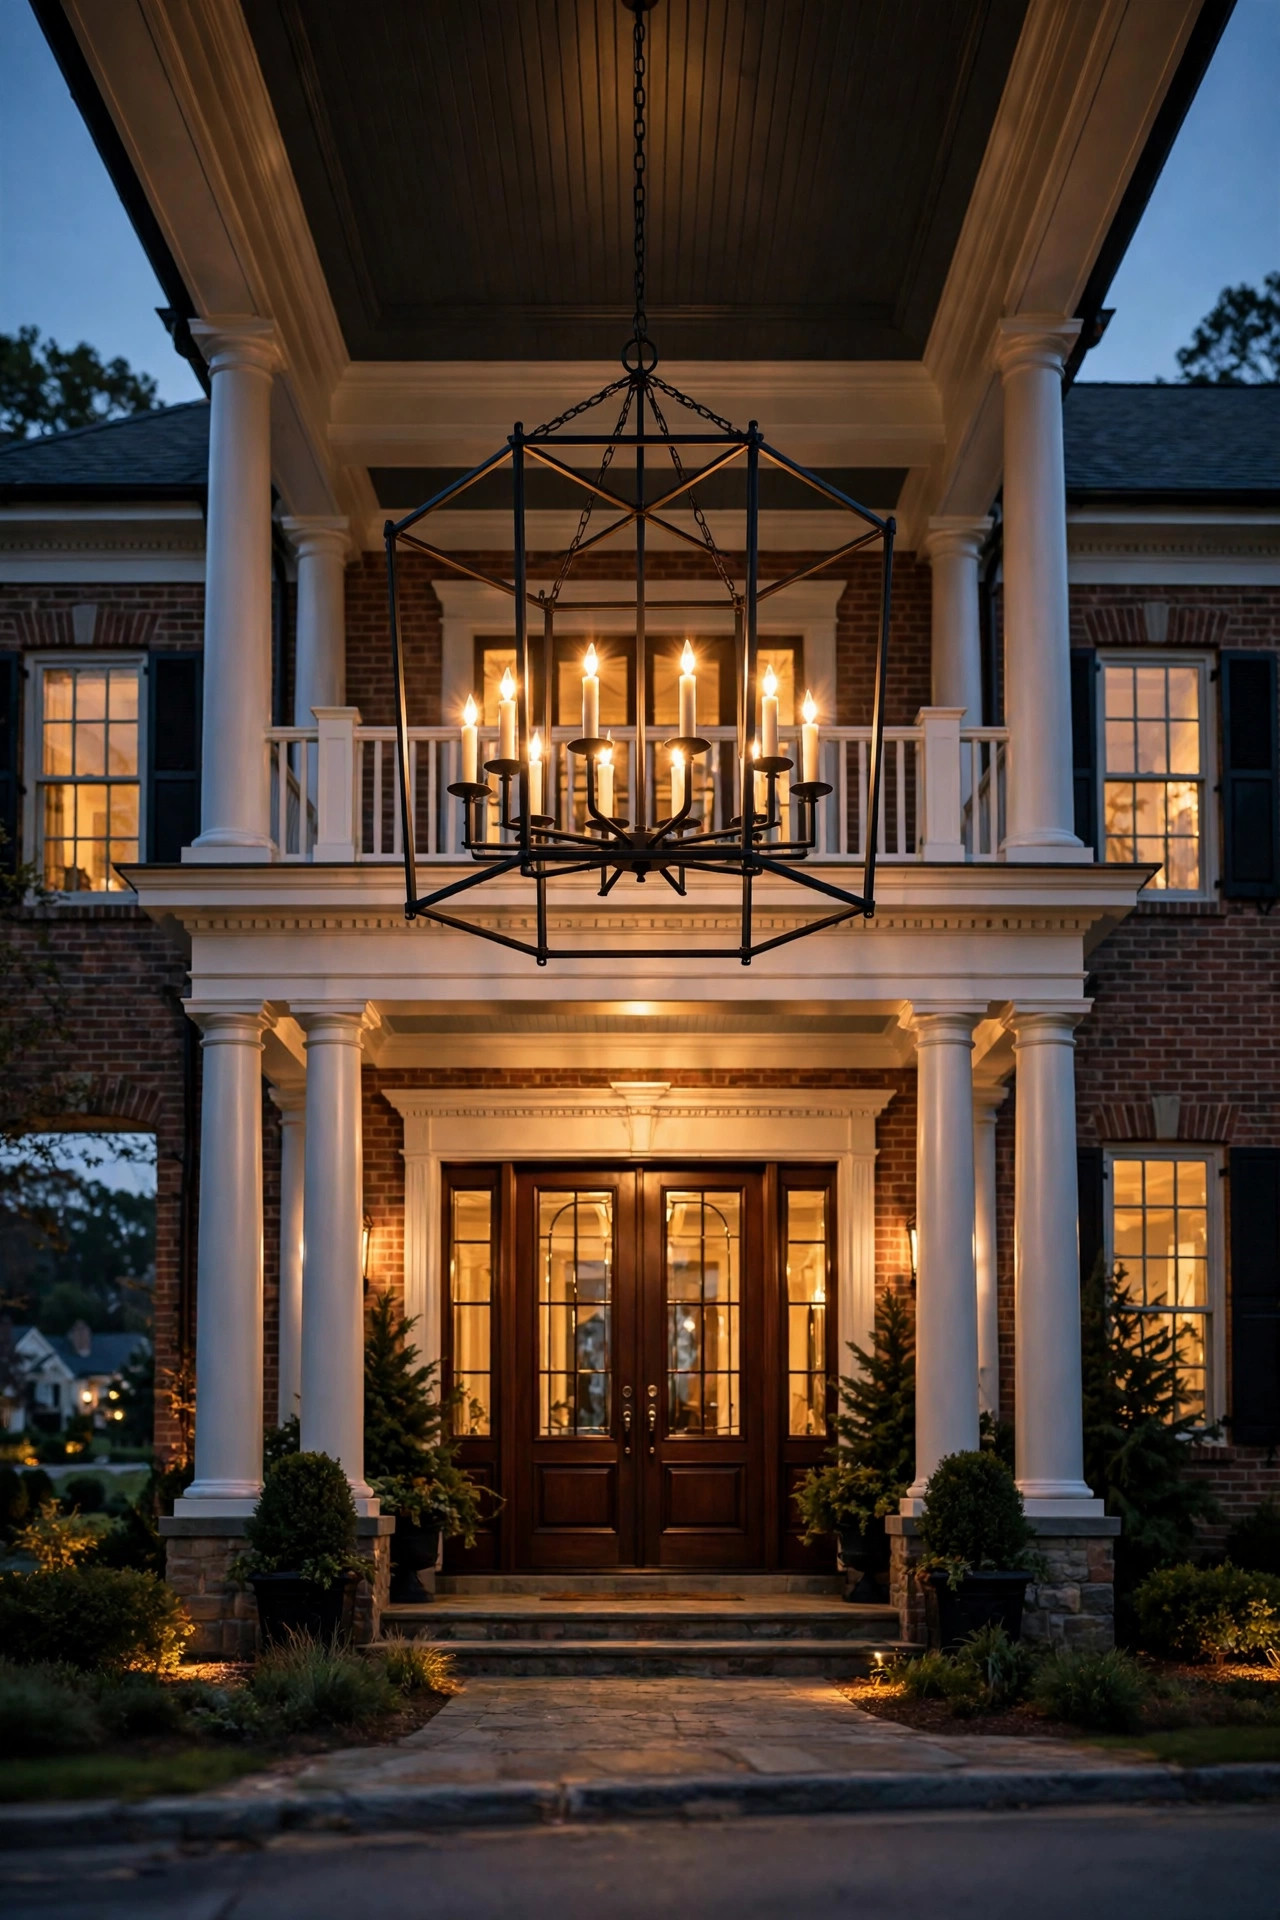
When in doubt, go bigger than you think. An oversized chandelier — 30 inches or more — over a front entry or a grand covered porch creates a focal point visible from the street, and it makes the whole house look more expensive. This is the jewelry-on-the-house move, and it works on surprisingly modest homes as long as the porch has the ceiling height to carry it.
The sizing math changes at this scale: for a two-story entry or a porch with 10-to-12-foot ceilings, take the porch width in feet, double it, and use that as your fixture diameter in inches — a 14-foot-wide porch can carry a 28-inch chandelier. Hang it so the bottom clears 7.5 to 8 feet, and if the entry is two stories, center the fixture in the upper third of the space so it's visible through the transom or upper windows.
Weight is the real consideration here: oversized fixtures run 35 to 60 pounds. Anything over 50 pounds requires a fan-rated mounting box and brace by code — this is electrician territory, not a Saturday DIY. Choose a wet-rated fixture if the entry is even partially exposed, and pick a design with an open frame rather than a solid drum, so wind can pass through instead of turning your showpiece into a sail. Done right, this is the fixture neighbors ask about.
Suggested budget range: $300 – $900.
Frequently Asked Questions
How do I size a chandelier for my porch?
Add your porch's length and width in feet — that total in inches is a good starting diameter. A 12-by-8-foot porch suggests roughly a 20-inch-wide fixture. For dining areas, size to the table instead: the chandelier should span one-half to two-thirds of the table's length. When the porch is narrow (under 8 feet wide), err smaller and consider a pair of mini chandeliers rather than one wide fixture. And always check ceiling height first — you need at least 7 feet of clearance under the fixture's lowest point, which rules out deep chandeliers on standard 8-foot porch ceilings.
What's the difference between damp-rated and wet-rated fixtures?
Damp-rated fixtures are built for covered areas where moisture is in the air but water never directly hits the fixture — think a porch with a deep roof overhang. Wet-rated fixtures are sealed against direct rain, snow, and hose spray, and they're required anywhere the fixture is exposed to the elements: uncovered patios, pergolas with open slats, and the outer edges of porches where wind drives rain sideways. When in doubt, buy wet-rated — it costs a little more but works everywhere. Never hang an indoor-only (dry-rated) fixture outside, even under cover; humidity alone will corrode its wiring over time.
How high should I hang an outdoor chandelier?
Two rules cover nearly every situation. Over a dining table, hang the chandelier 30 to 36 inches above the tabletop. Everywhere else — porches, gazebos, entries — the bottom of the fixture must clear at least 7 feet above the floor so people walk under it comfortably. On tall two-story entries, you can hang higher for visual balance, but never lower than 7 feet in any walkway. Most chandeliers come with extra chain you can remove link by link, so buy long and trim to fit rather than discovering your fixture hangs too high.
Can I install an outdoor chandelier myself?
If you're simply swapping an existing fixture on an existing junction box — and the new fixture weighs under 50 pounds — that's a comfortable DIY for anyone handy: power off at the breaker, match wire to wire (black to black, white to white, ground to ground), and mount per the instructions. Call an electrician when there's no existing box, when the fixture exceeds 50 pounds (code requires a fan-rated brace), when you need a new circuit or a dimmer wired in, or when anything about the wiring looks unfamiliar. Exterior work should always land on a GFCI-protected circuit, and that's worth having a pro verify if you're unsure.
Conclusion
The best outdoor chandelier ideas all come back to one principle: layer your light, and let the chandelier be the star of the show. Pick the right size for your space, hang it at the right height, choose warm dimmable LEDs, and make sure the fixture's weather rating matches its real exposure — do those four things and the rest is just personal style. Whether you go rustic wagon wheel or modern ring, your porch, gazebo, or patio is about to become everyone's favorite room of the house. If you're hungry for more ways to make your exterior glow, browse the rest of our outdoor lighting ideas and keep layering — your evenings will thank you.