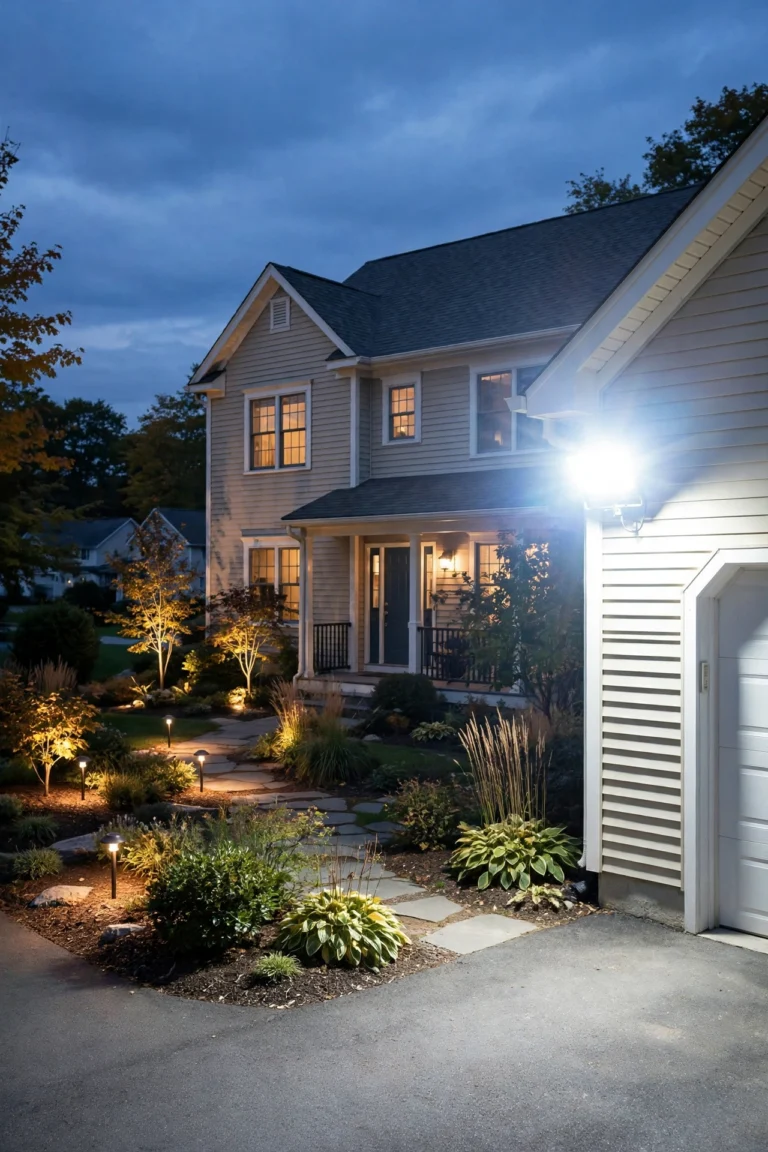
There is a special kind of magic in a backyard that glows without a single extension cord snaking across the lawn. I have been hanging solar string lights outdoor around my own yard for years — along fences, over the patio, wrapped around the maple by the fire pit — and I want to be straight with you before we get to the pretty part. Solar strands are not as bright as plug-in lights, and where you put that little panel matters more than anything else on this list. A strand fed by a sun-drunk panel glows until midnight; the same strand with a shaded panel fizzles out by ten.
But here is why I keep coming back. My decorating philosophy is layering: you never rely on one lonely source of light. You combine a low ambient glow with a few focused accents, and suddenly the eye reads the whole yard as warm and finished instead of flat and dark. Solar strings are the easiest layer you can add — no electrician, no trenching, no outdoor outlet scavenger hunt. Below are 17 ideas that actually work, with the honest caveats I wish someone had given me before my first online order.
1. The Fence-Line Run — Solar String Lights Outdoor at Their Simplest
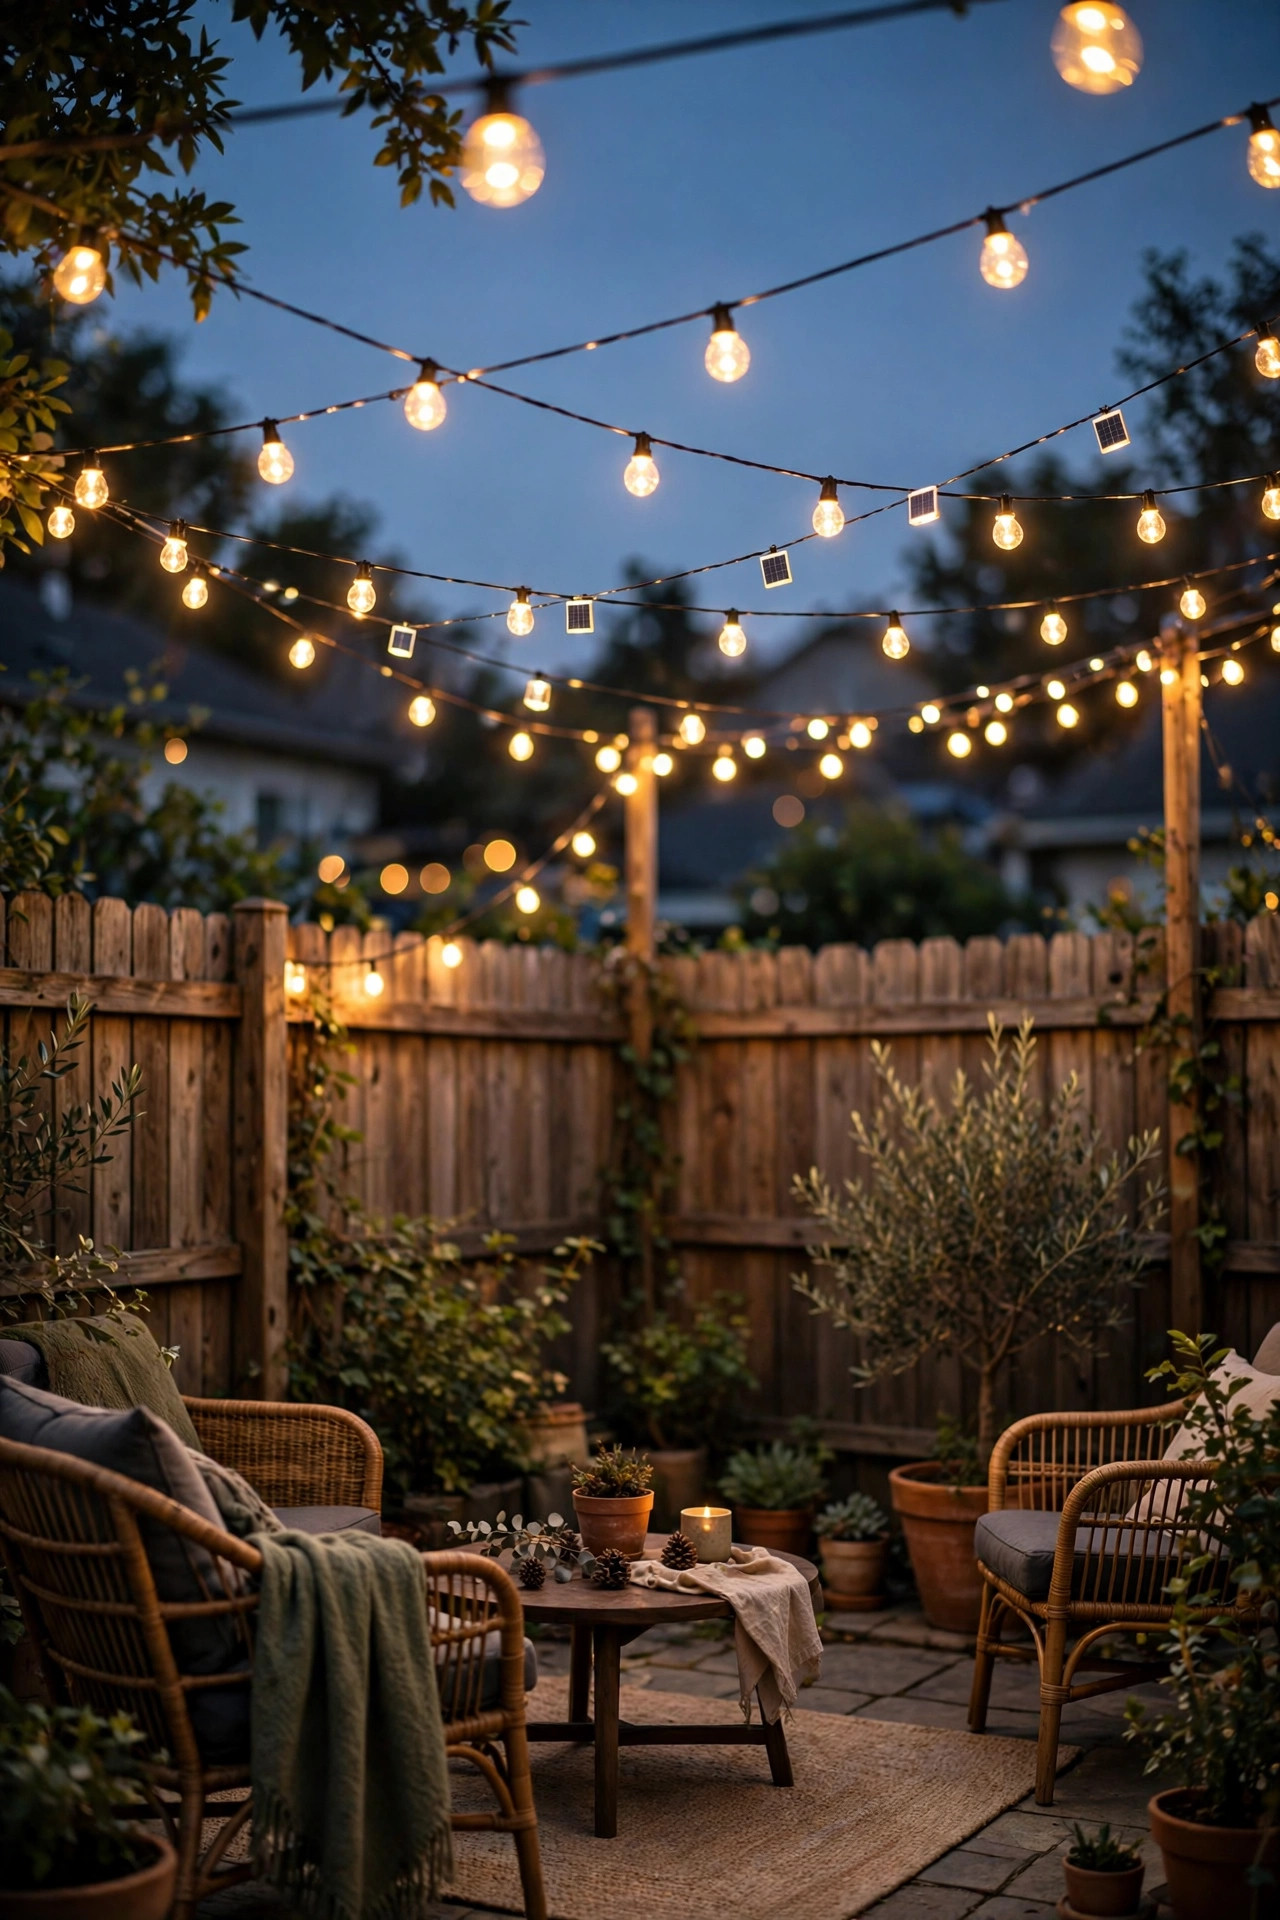
If you do exactly one thing from this list, make it this. A single strand of solar string lights outdoor along the back fence is the highest-impact, lowest-effort glow-up I know. Here is how I hang mine: screw small cup hooks into the top of each fence post, about every 6 to 8 feet, and let the strand drape in gentle swags about 18 inches deep between them. That swag is the whole secret — a pulled-tight strand looks like a wire; a draped one looks like a party.
Panel placement is everything here. Mount the panel on top of a fence post or on a stake right beside the fence, tilted to face south (we are in the northern hemisphere, so south gets the most hours). It needs 6 to 8 hours of direct sun to earn you a full evening. In my experience, one 33-foot strand of warm-white LEDs covers about 25 feet of fence with nice swags. Expect a soft ambiance glow, not security lighting — solar bulbs run roughly 1 to 5 lumens each, which is candlelight territory, and that is exactly the point.
Suggested budget range: $18 – $35.
2. The Classic Patio Canopy Zigzag
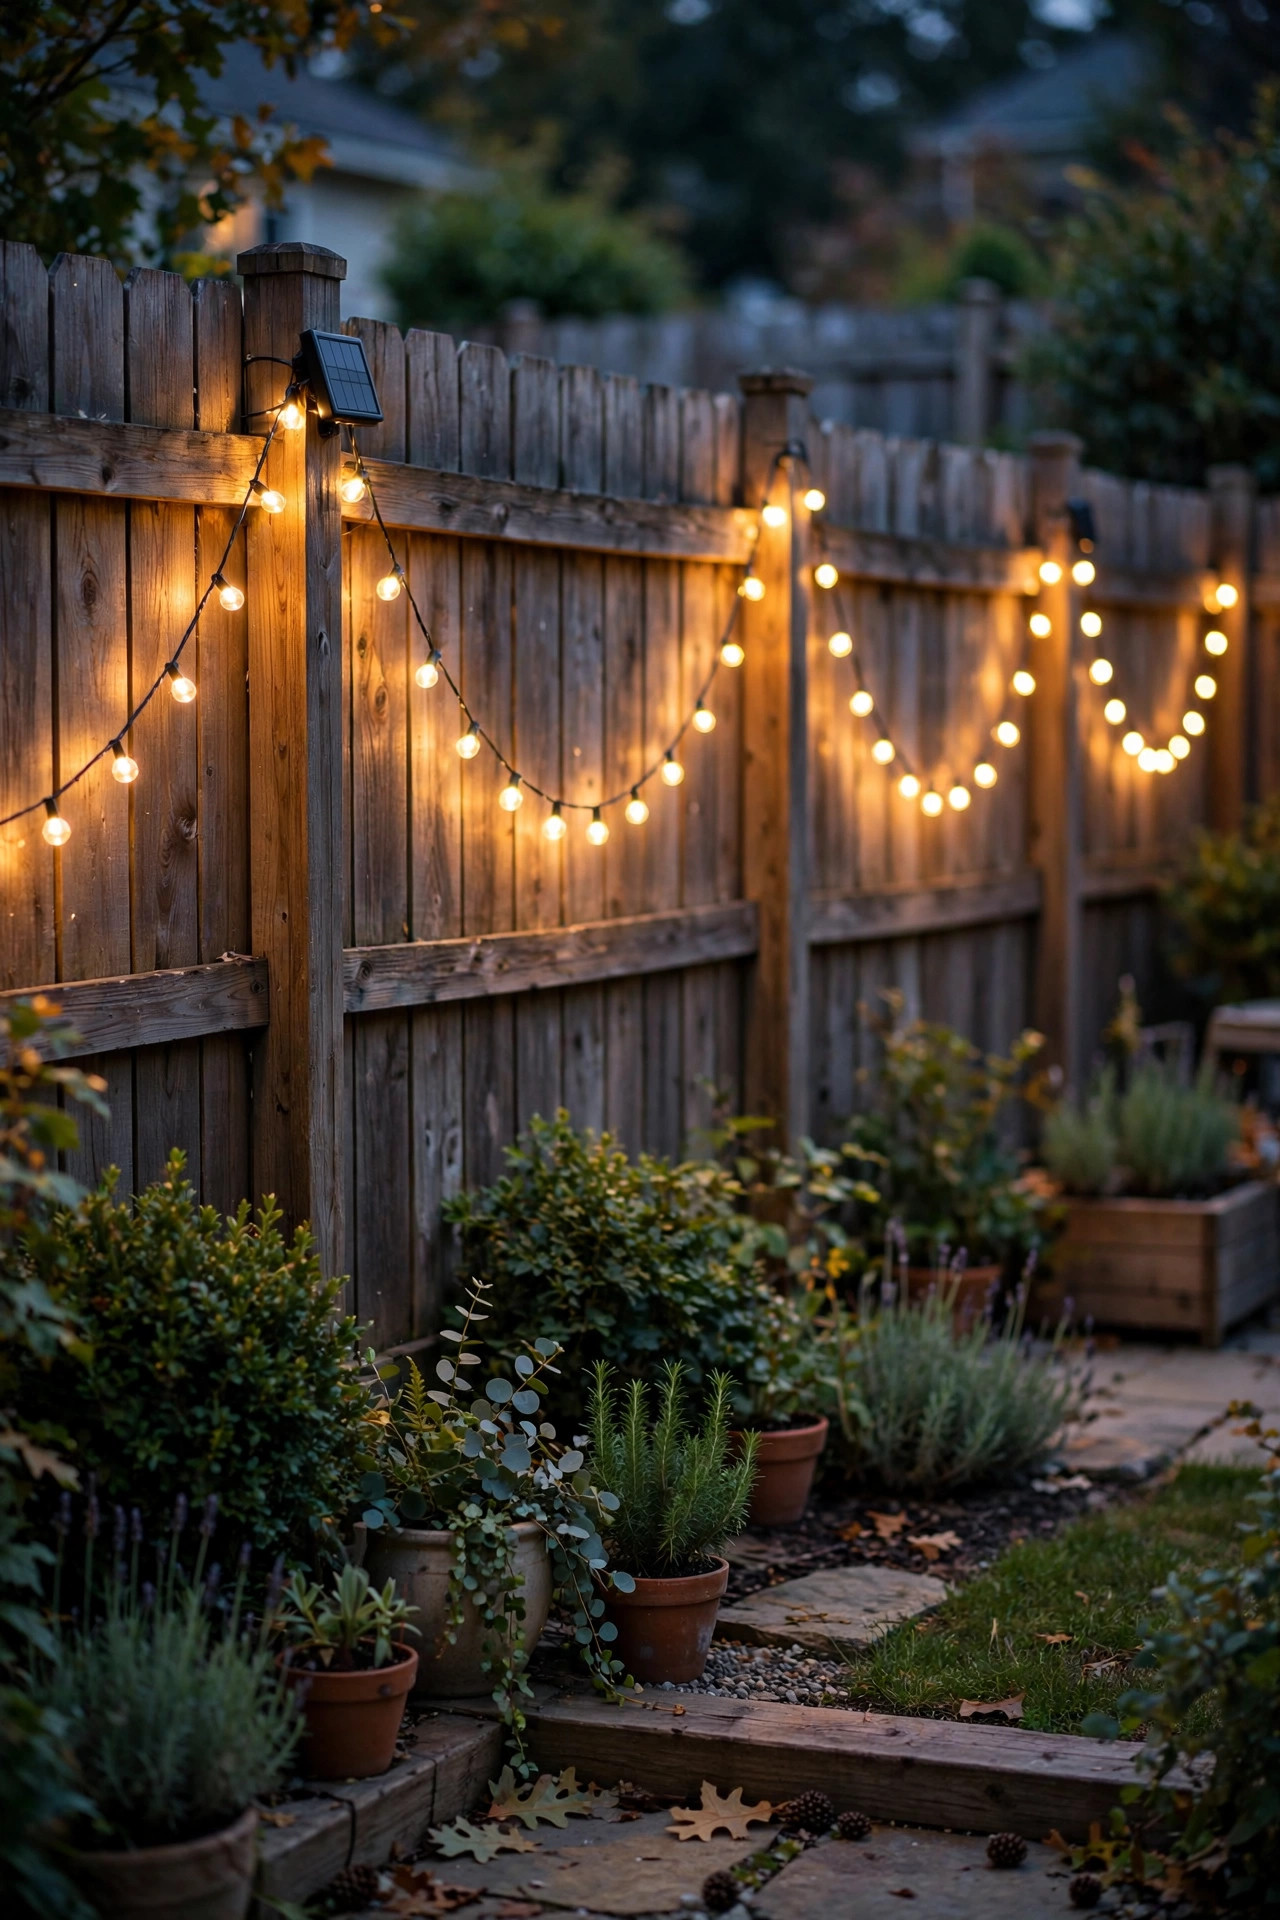
This is the look everyone pictures: strings crisscrossing overhead in a loose zigzag, turning an ordinary concrete patio into somewhere you actually want to sit after dinner. Measure your space first. For a 12-by-14-foot patio, two 33-foot strands run in a zigzag pattern will do it. Anchor one end to the house (under the eave, with a cup hook) and the other to a post, a tree, or a freestanding shepherd's pole.
Do not hang solar strands from the strands themselves — that is how they end up tangled in the first good wind. Run a length of thin galvanized guide wire first, let it sag about 6 to 8 inches per 10 feet of span, then zip-tie the light strand to it every couple of feet. Stake the solar panel at the sunniest edge of the patio, ideally facing south, and wipe it with a damp cloth once a month. Dust is the silent killer of charge time; honestly, half the "my solar lights died" stories I hear are just dirty panels.
Suggested budget range: $35 – $70.

3. Porch Railing Drape for Instant Welcome
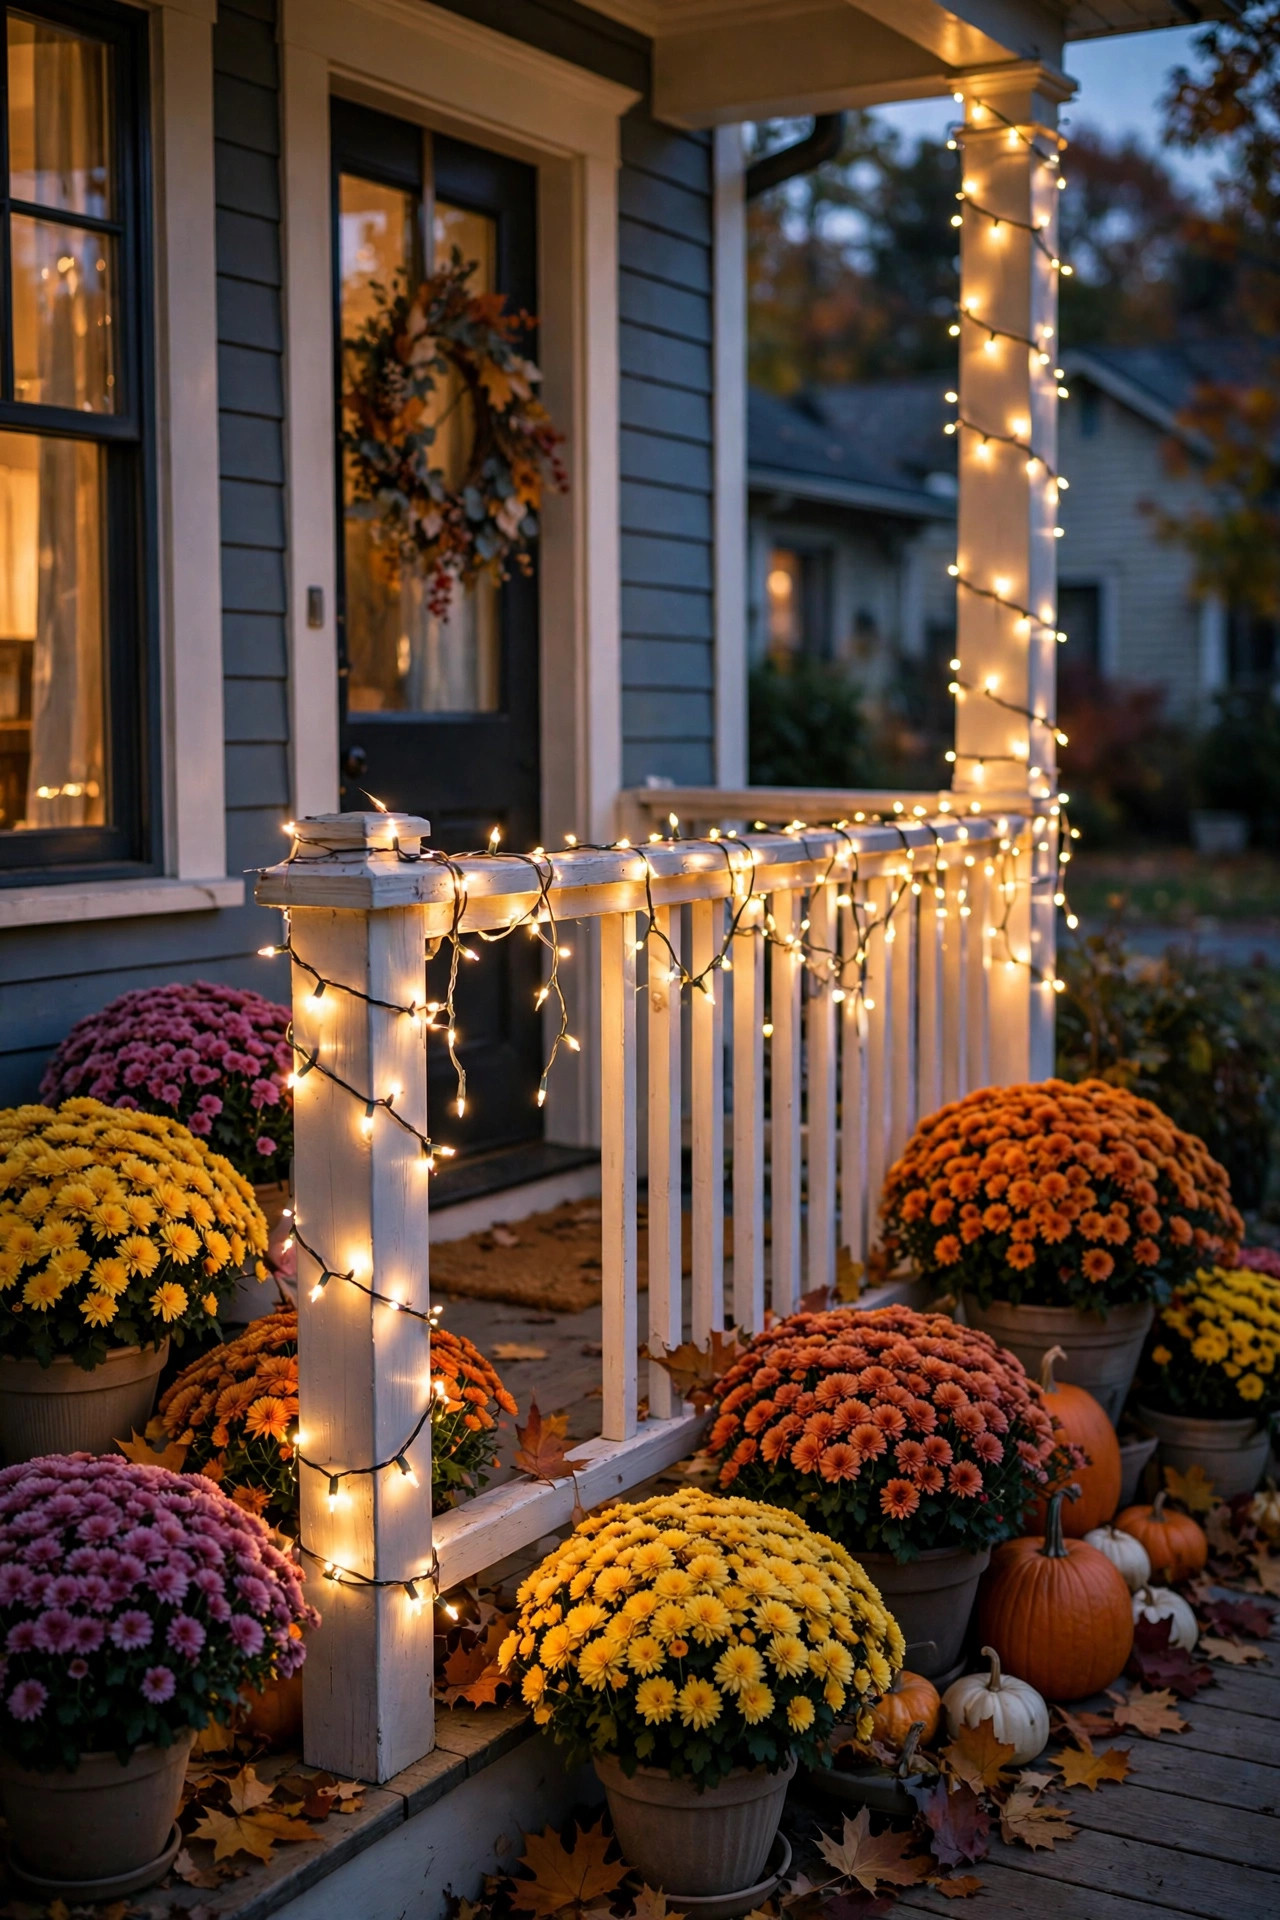
Your porch railing is begging for this. Take a 33-foot copper-wire fairy strand — the kind with 100 tiny warm-white LEDs — and loosely wrap it around the top rail, letting a little spill down between the balusters. It takes ten minutes, and it makes the whole front of the house look cared-for after dark.
Clip the solar panel to a baluster or the newel post where it catches direct sun, and angle it outward rather than flat against the house. Here is my honest caveat: copper fairy wire is delicate. Do not yank it tight around rough-sawn wood or it will kink and short a section. Use small zip ties at intervals instead of pulling, and give the wire a little slack. I always recommend warm white (around 2700K to 3000K) for porches — it flatters wood tones and faces, while cool white can make a porch feel like a parking lot. Pair it with mums and a lantern or two and you have fall magic; my fall porch lighting ideas show how I layer exactly this look for the season.
Suggested budget range: $15 – $30.
4. Tree Trunk and Canopy Wrap
Wrapping a tree is pure storybook. Start at the base and spiral a 66- or 100-foot solar strand upward around the trunk, spacing your wraps 8 to 12 inches apart, then let a few lengths wander out along the lowest branches. The effect at dusk — warm dots of light floating among the leaves — genuinely looks like fireflies decided to stay.
The panel is the puzzle here, because tree canopies are shade factories. Do not tuck the panel under the branches. Stake it out in the open on the sunny side of the tree; most solar strands give you a 10-foot lead wire between panel and first bulb, which is usually enough to reach clear sky. Look for an IP44 rating or better on the strand, since this one lives out in all weather. And a quick safety note I repeat a lot: LEDs stay cool to the touch, so bulbs resting against bark are completely fine — this is one place you would never want old-style hot bulbs. If you love this look, you will love taking it further in December with my solar-powered Christmas tree lighting ideas.
Suggested budget range: $25 – $55.
5. Mason Jar Lanterns on Shepherd's Hooks
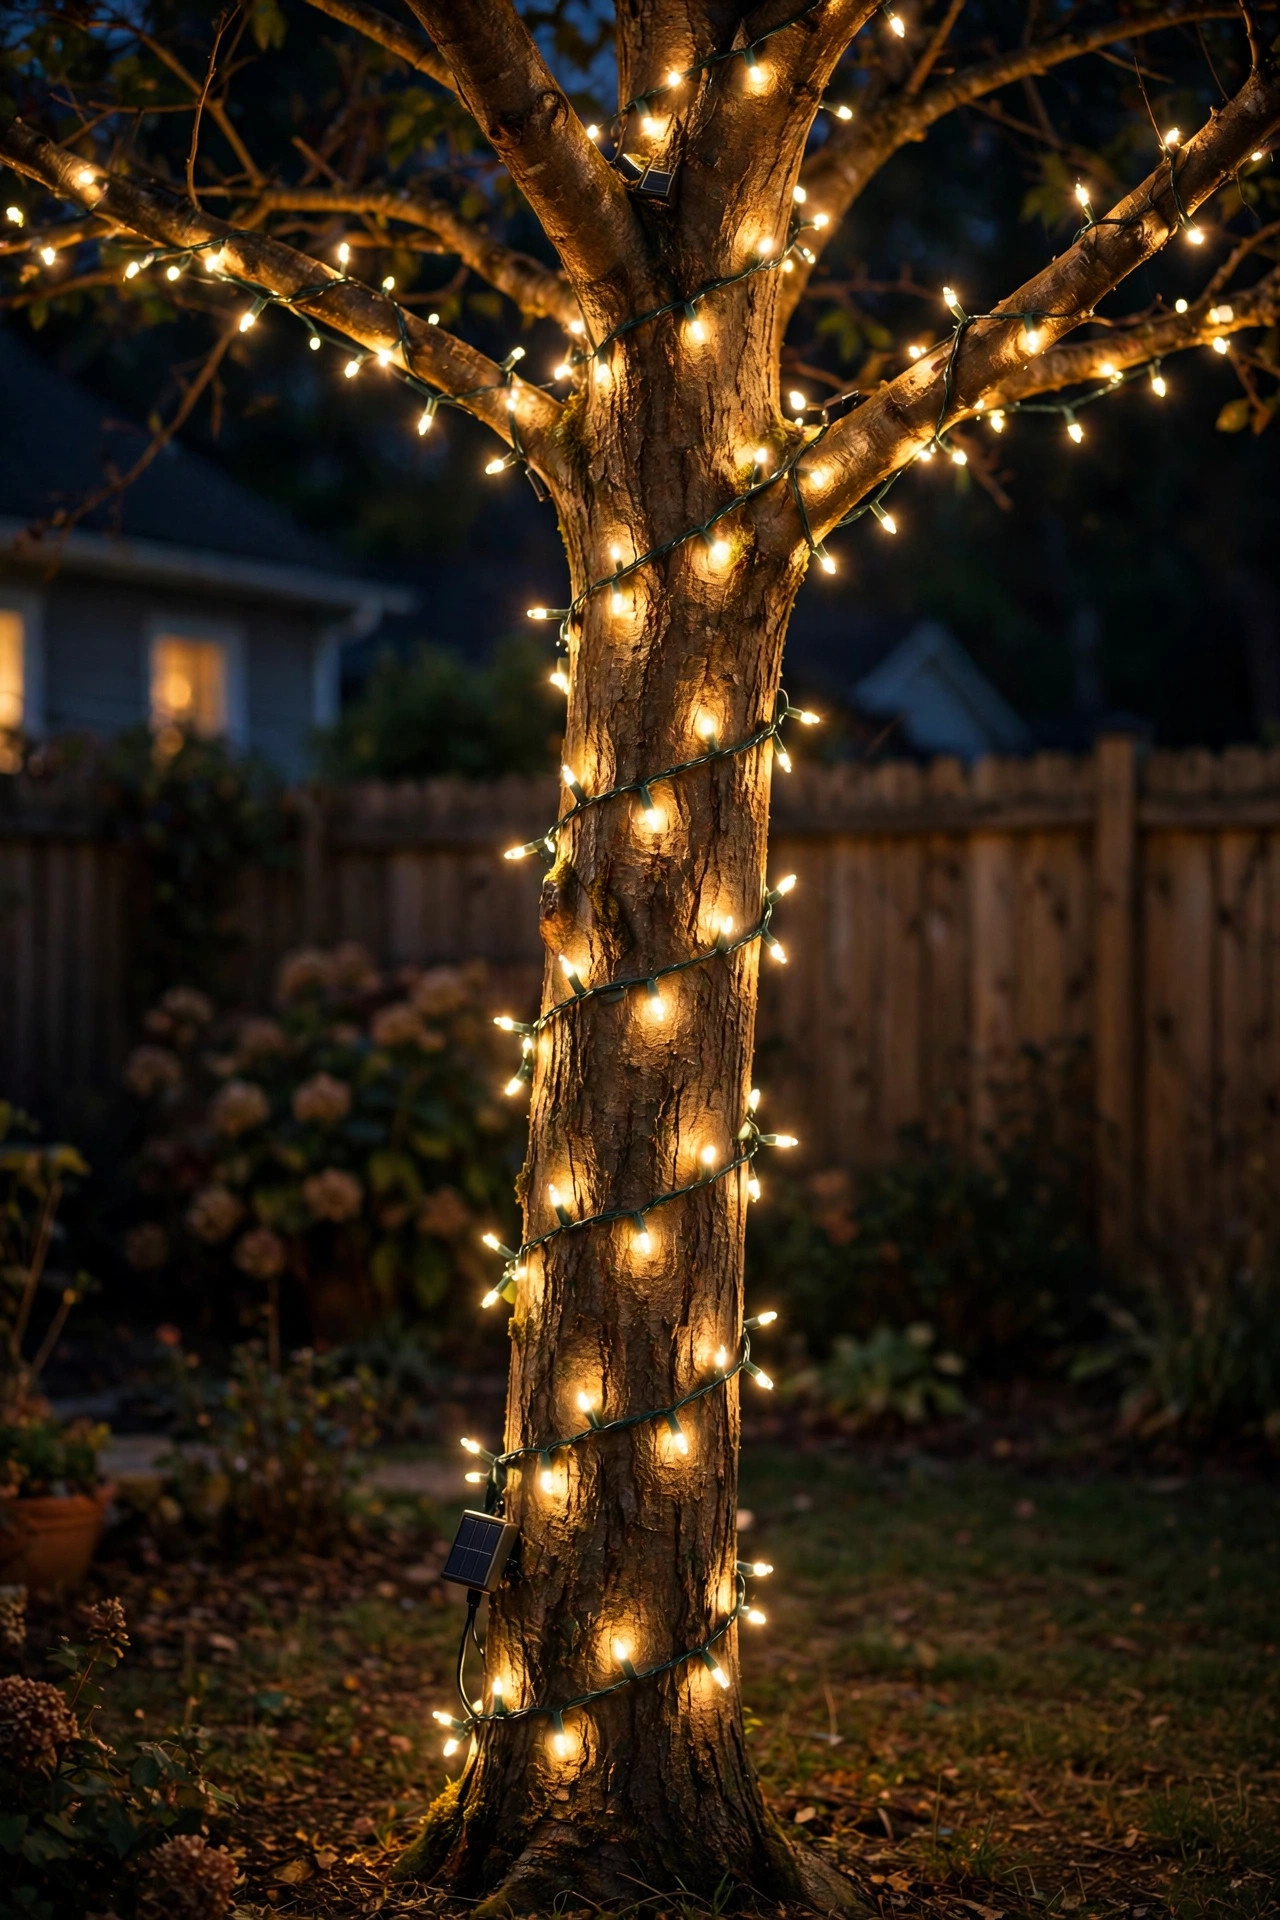
This is my favorite budget trick in the entire post. Drop a short solar fairy strand into a quart-size mason jar, screw on the lid ring (or leave it open), and hang the jar from a 32- to 48-inch shepherd's hook along a path or garden bed. Cluster them in odd numbers — threes and fives always look better than pairs — and space the hooks 6 to 8 feet apart.
Most of these little fairy strands run on a single 1.2-volt rechargeable AA battery tucked in the panel housing, usually NiMH. In my experience that battery lasts one to two seasons before it stops holding a full charge; when your jars start dying by 9 p.m., swap the battery before you blame the whole strand. Replacement rechargeables cost a few dollars. One more honest tip: sealed jars collect condensation and rain. I leave my lids off or punch a few vent holes, because a jar half full of water is a jar that is not glowing.
Suggested budget range: $20 – $45.
6. Pergola Beam Run with Dusk-to-Dawn Ease
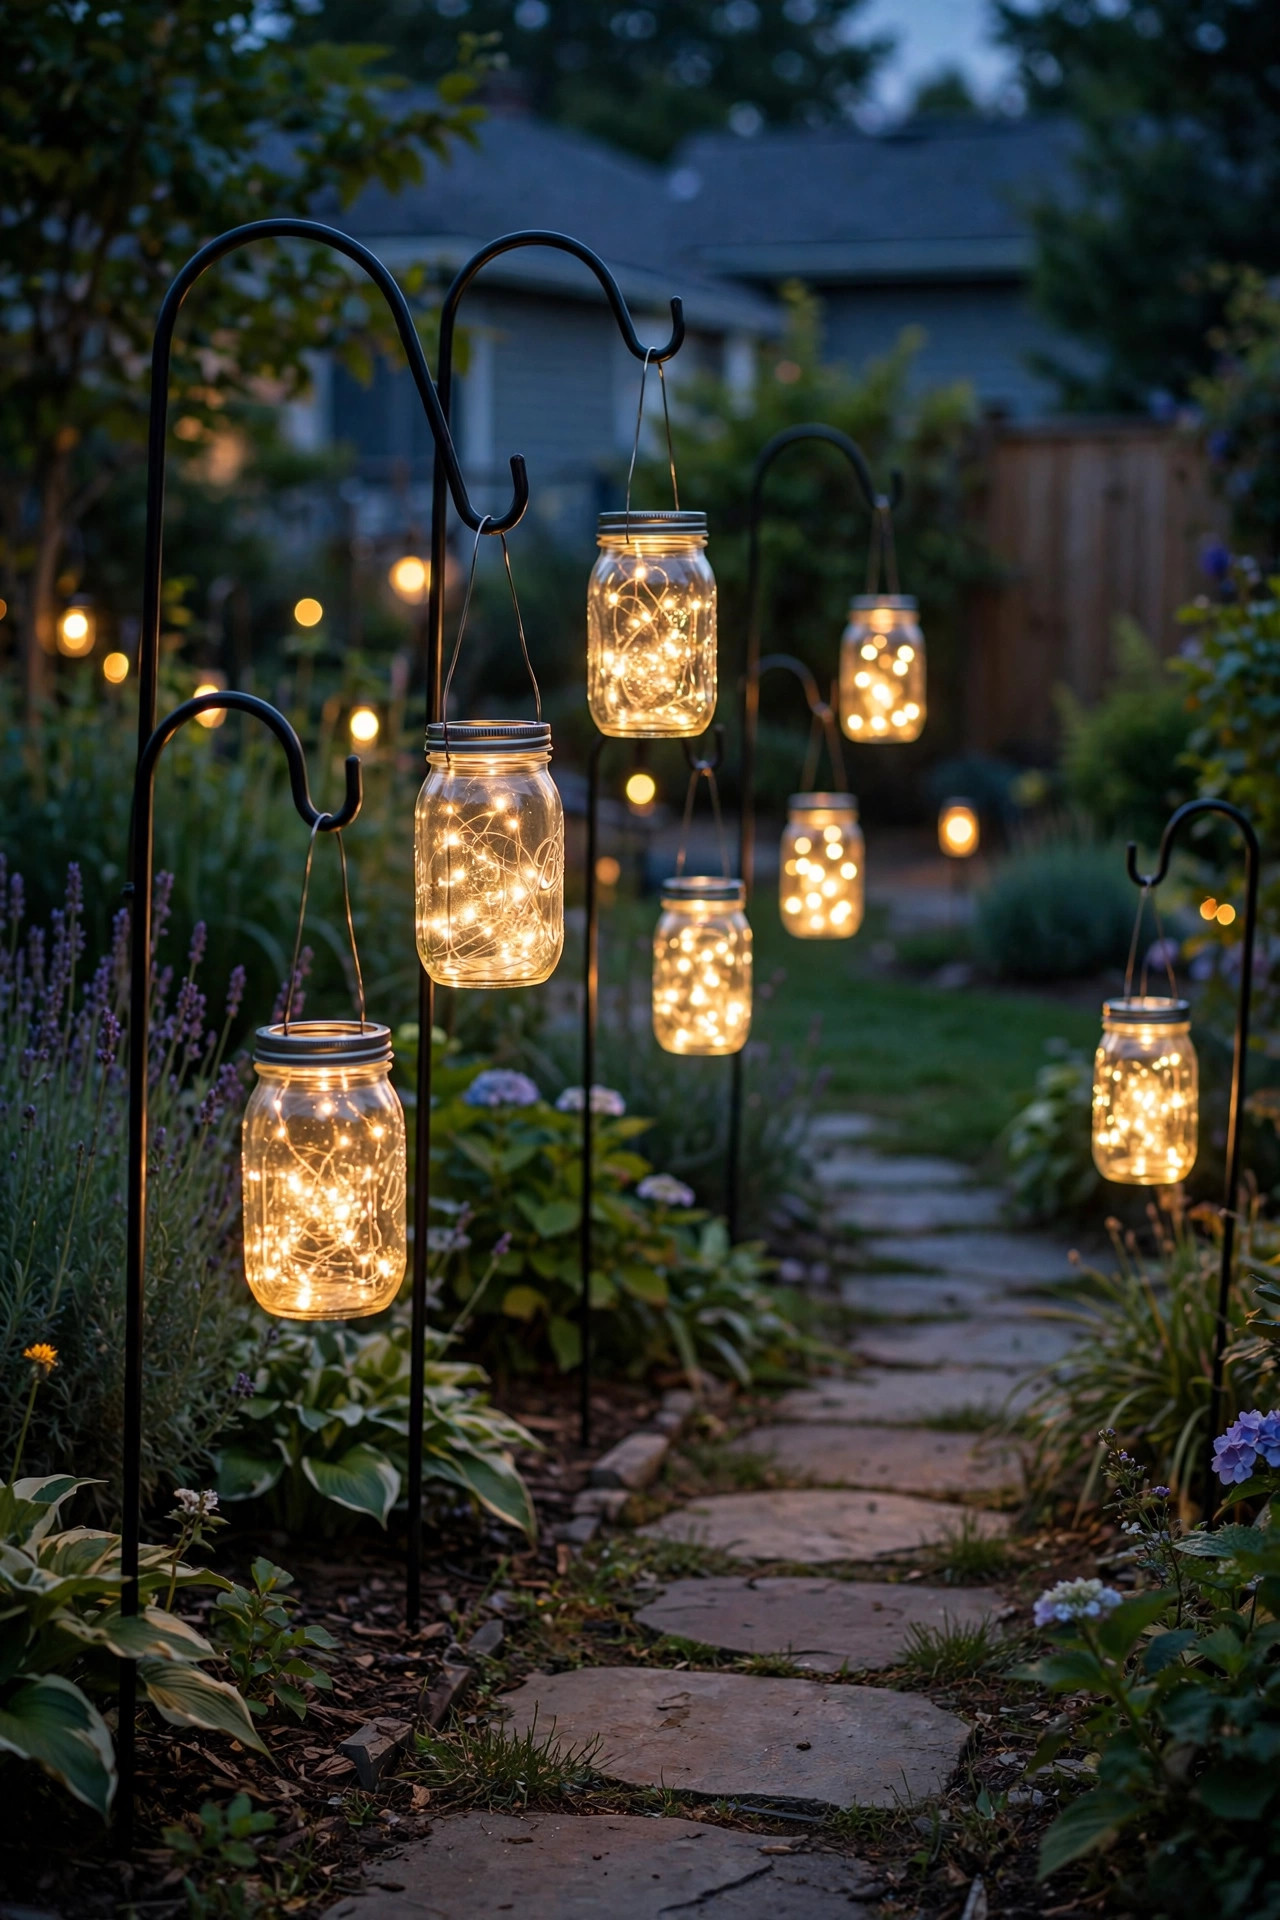
A pergola is basically a lighting frame that happens to hold up vines, so treat it like one. Run your solar strand along the inside of the main beams, wrapping once around each beam as you cross it, and let the bulbs hang just below beam level. Screw cup hooks into the beam every 2 feet first — it takes twenty minutes and saves you from the world's saddest drooping strand by August.
This is the perfect place to appreciate the dusk-to-dawn sensor, that little photocell on the panel that turns the lights on at twilight and off at sunrise automatically. Most strands also have a mode button: steady, slow fade, or twinkle. I leave mine on steady — twinkle modes drain the battery faster and, honestly, read a little theme-park. One placement warning: the sensor is fooled by other light sources. If your pergola sits under a bright porch light, the panel may never register "dark" and the strand will never switch on. Keep the sensor side of the panel facing away from house lights.
Suggested budget range: $25 – $60.
## 7. The Patio Umbrella Light Ring
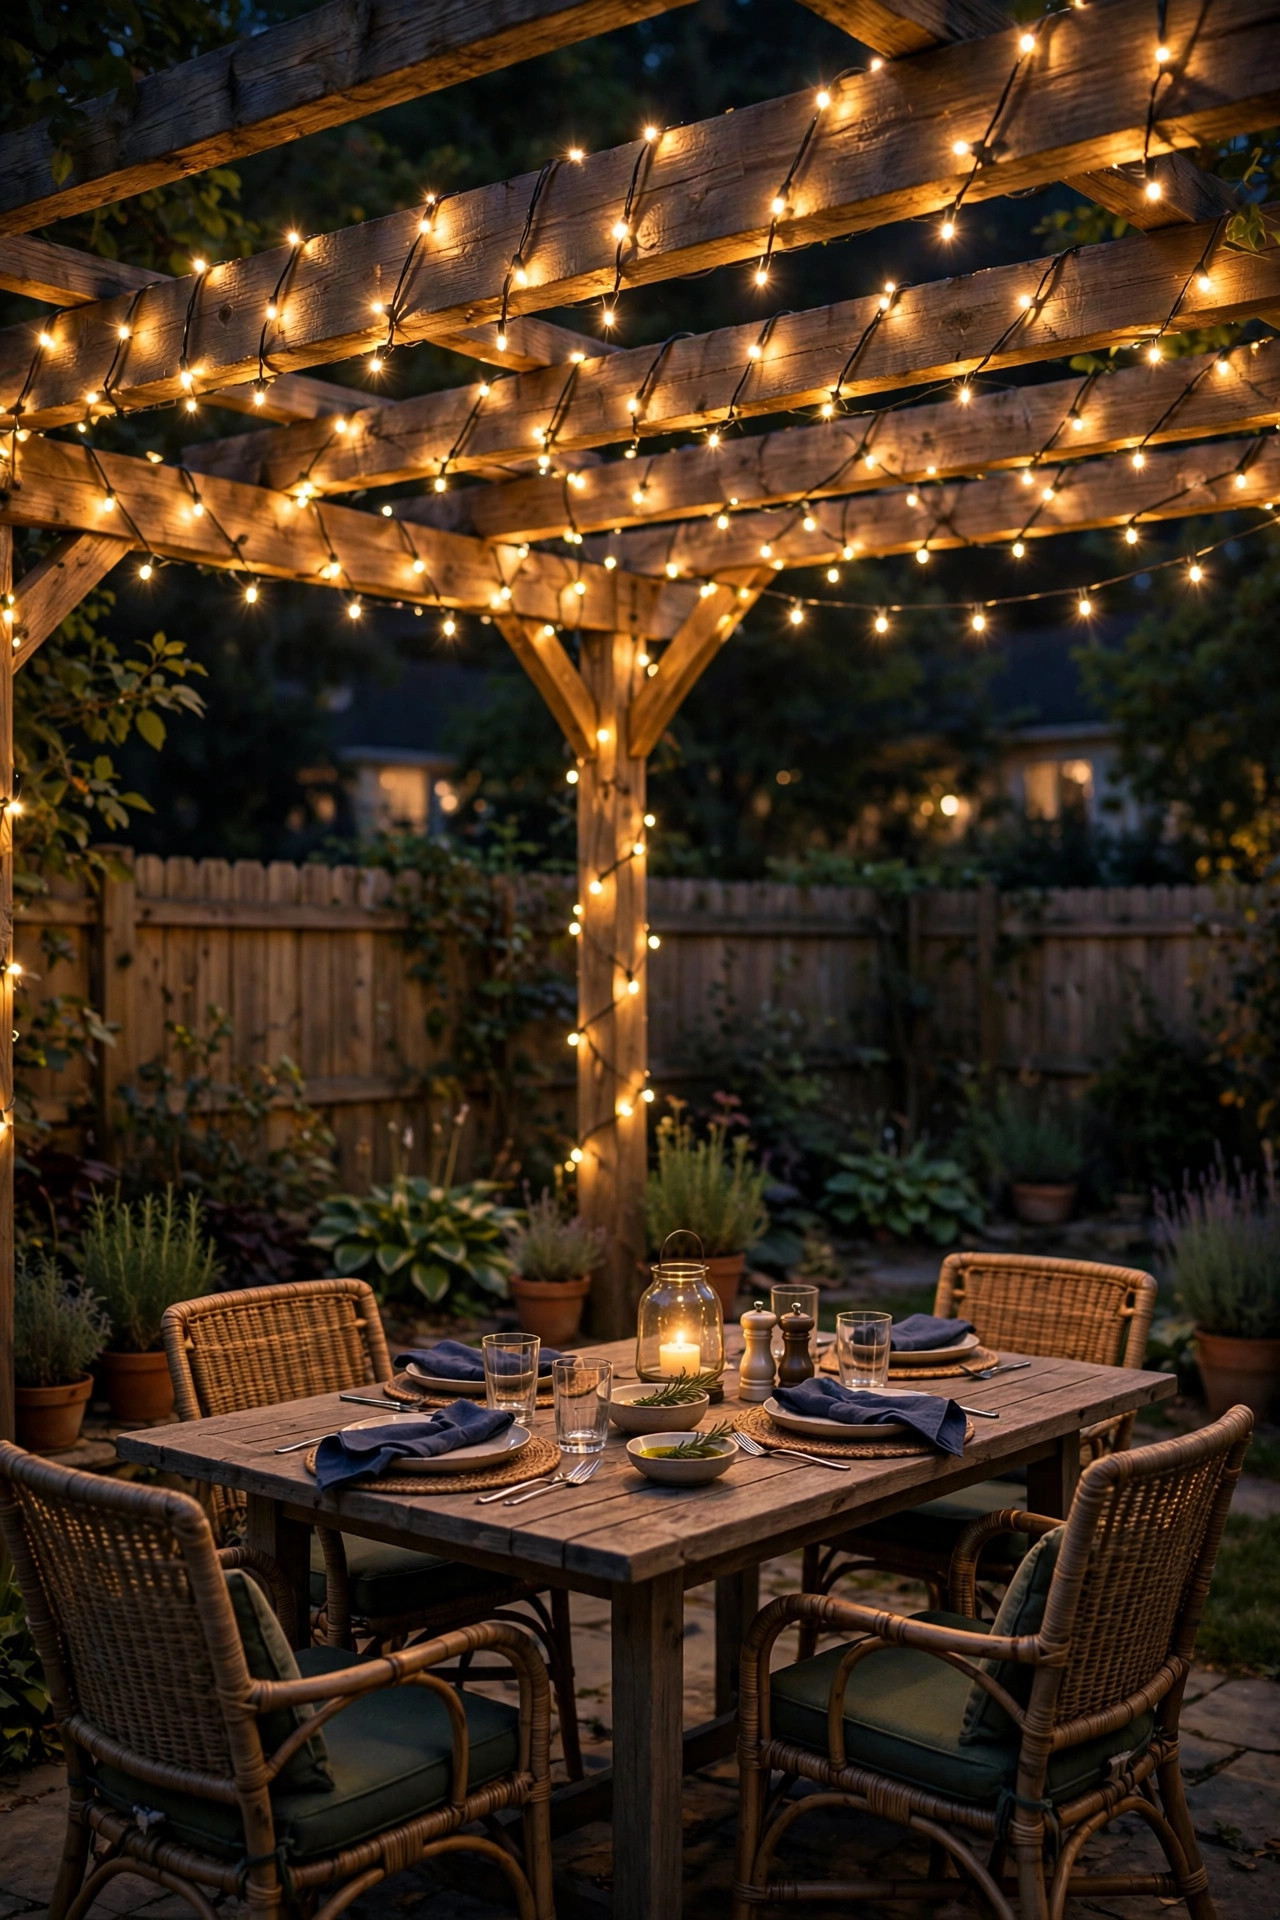
Your patio umbrella is an untapped chandelier. Take a 20- to 33-foot solar fairy strand, start at the top of the pole, spiral down it with wraps every 6 inches, then fan the remaining length outward along the underside of the canopy ribs. When you flip it on, the whole underside of the umbrella glows like a lantern, and everyone at the table looks fantastic in that warm light.
Clip the solar panel to the very top of the umbrella or to the tilt mechanism housing where it gets unobstructed sun all day. Now the honest caveat: you have to open and close the umbrella gently from now on, because cranking it shut will crush bulbs and tangle wire in the ribs. I take thirty seconds to guide the fabric as it closes. And in a real storm, pop the strand off entirely or at least tie the umbrella closed — a flogging umbrella will destroy any light strand, solar or not.
Suggested budget range: $15 – $35.
8. Deck Post and Stair Accents
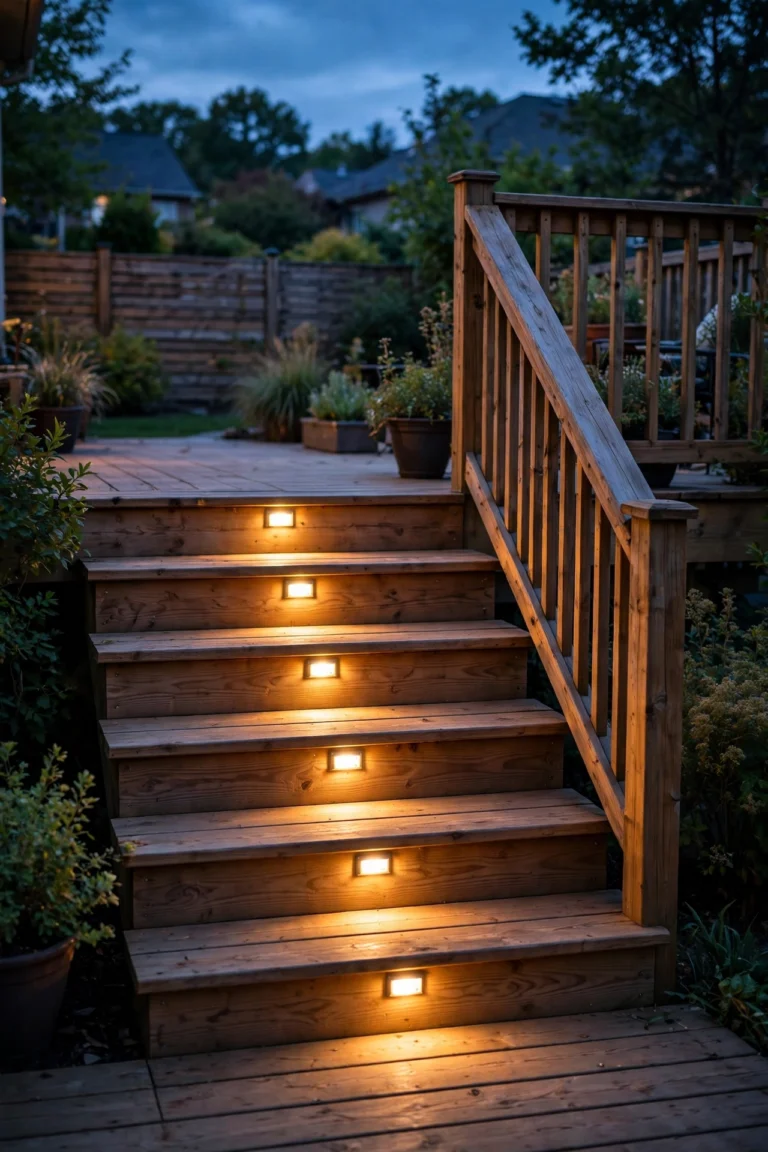
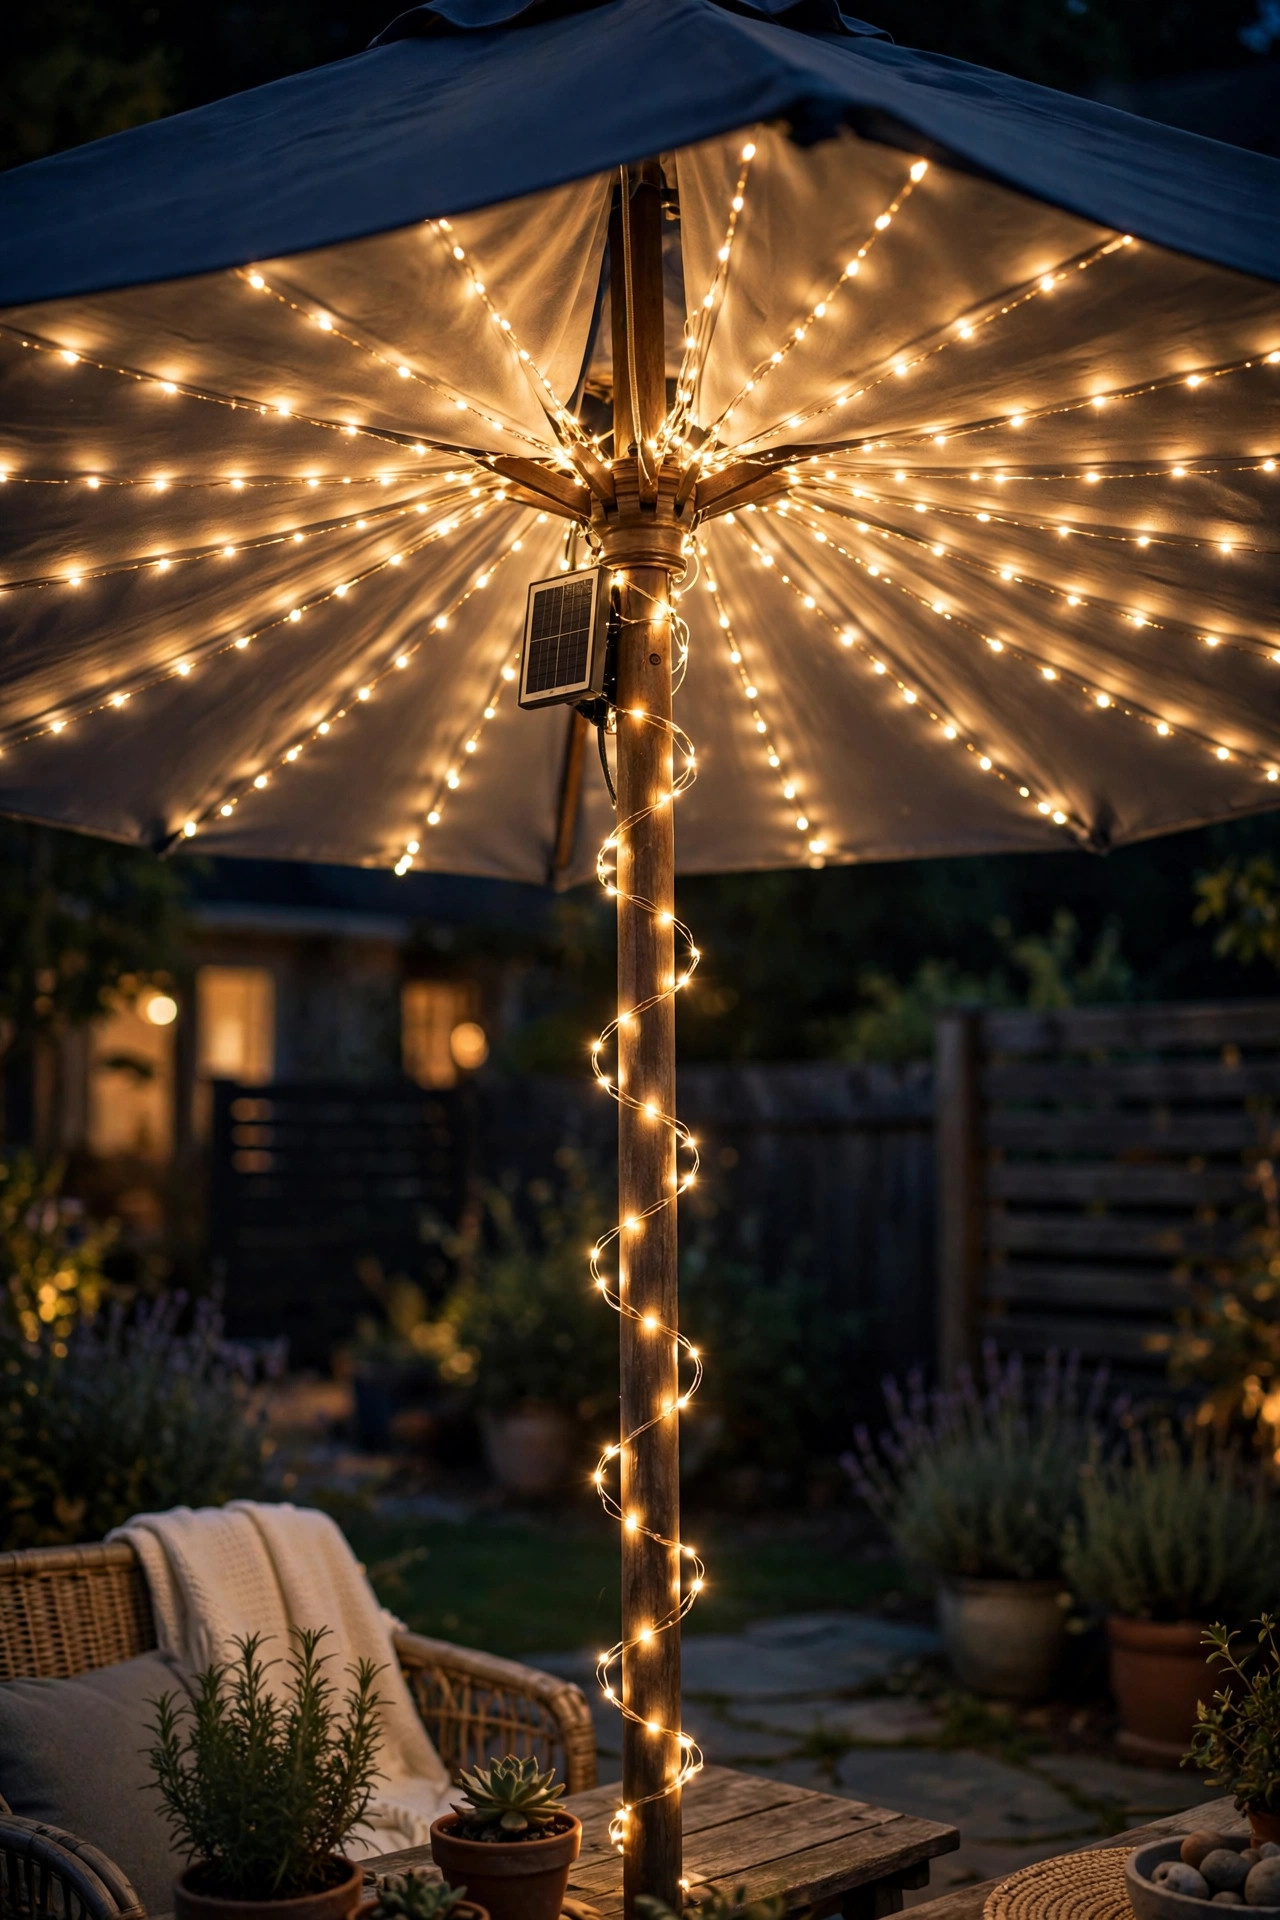
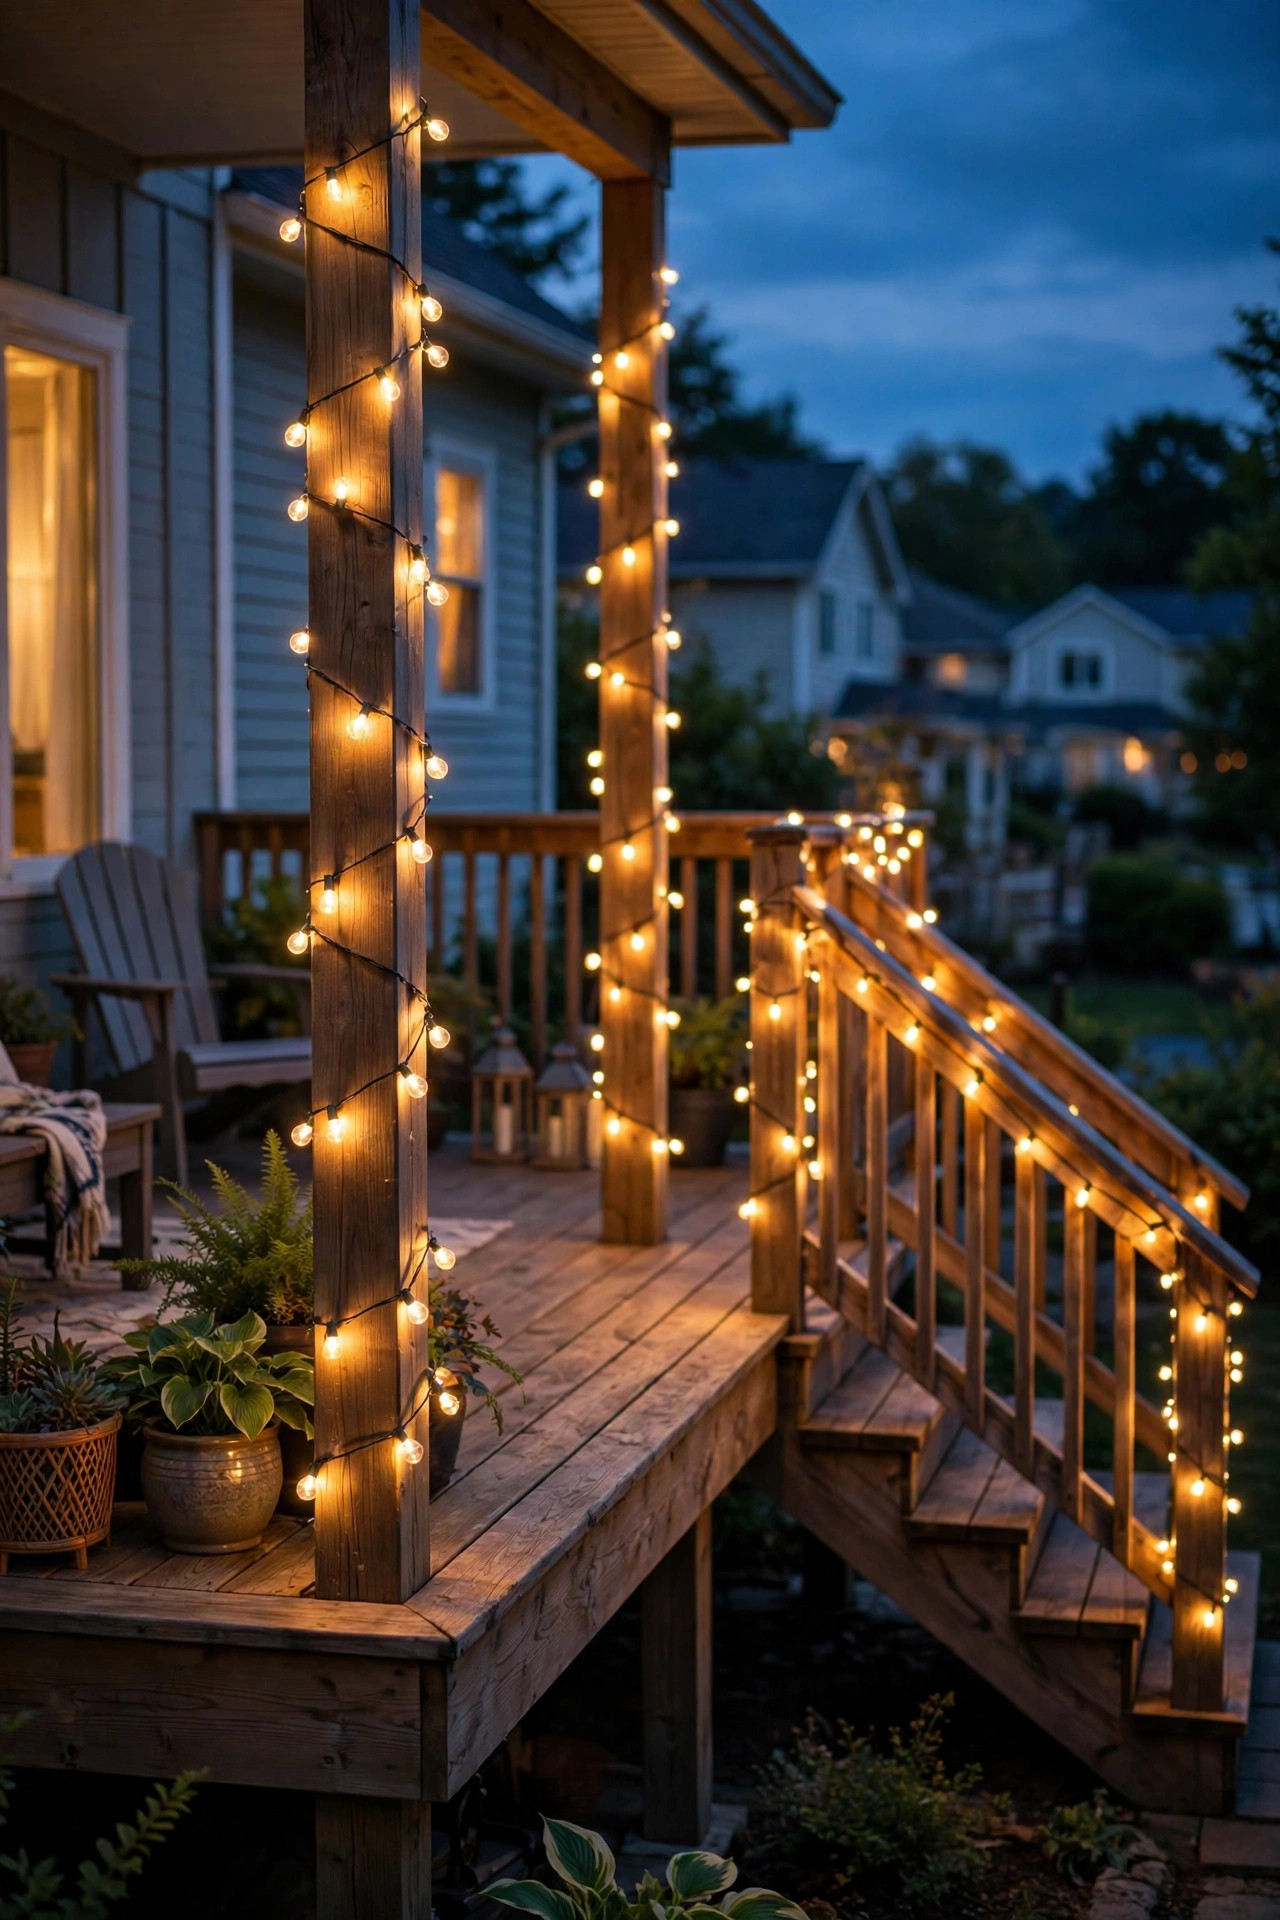
Deck posts are the jewelry boxes of your deck — small, structural, and perfect for a little glow. Wrap each newel post with a short 16- to 20-foot solar strand, spiraling with 6 to 12 inches between wraps, and run one strand along the stair stringer so the steps read clearly after dark. It is functional and pretty at once, which is my favorite combination.
This is where color temperature really matters, so let me be blunt: choose warm white, 2700K to 3000K, every time. Cool white solar LEDs (6000K and up) throw a bluish, almost clinical light that makes wood decking look washed out and, frankly, a little haunted-house. Warm white makes the same deck look like a cabin porch. Secure the wire with zip ties every 12 inches, and keep it above toe-kick height on stairs — foot traffic plus loose wire is how strands get ripped down by the second barbecue of the season.
Suggested budget range: $20 – $50.
9. Arbor and Arch Glow: Solar String Lights Outdoor for Garden Entries
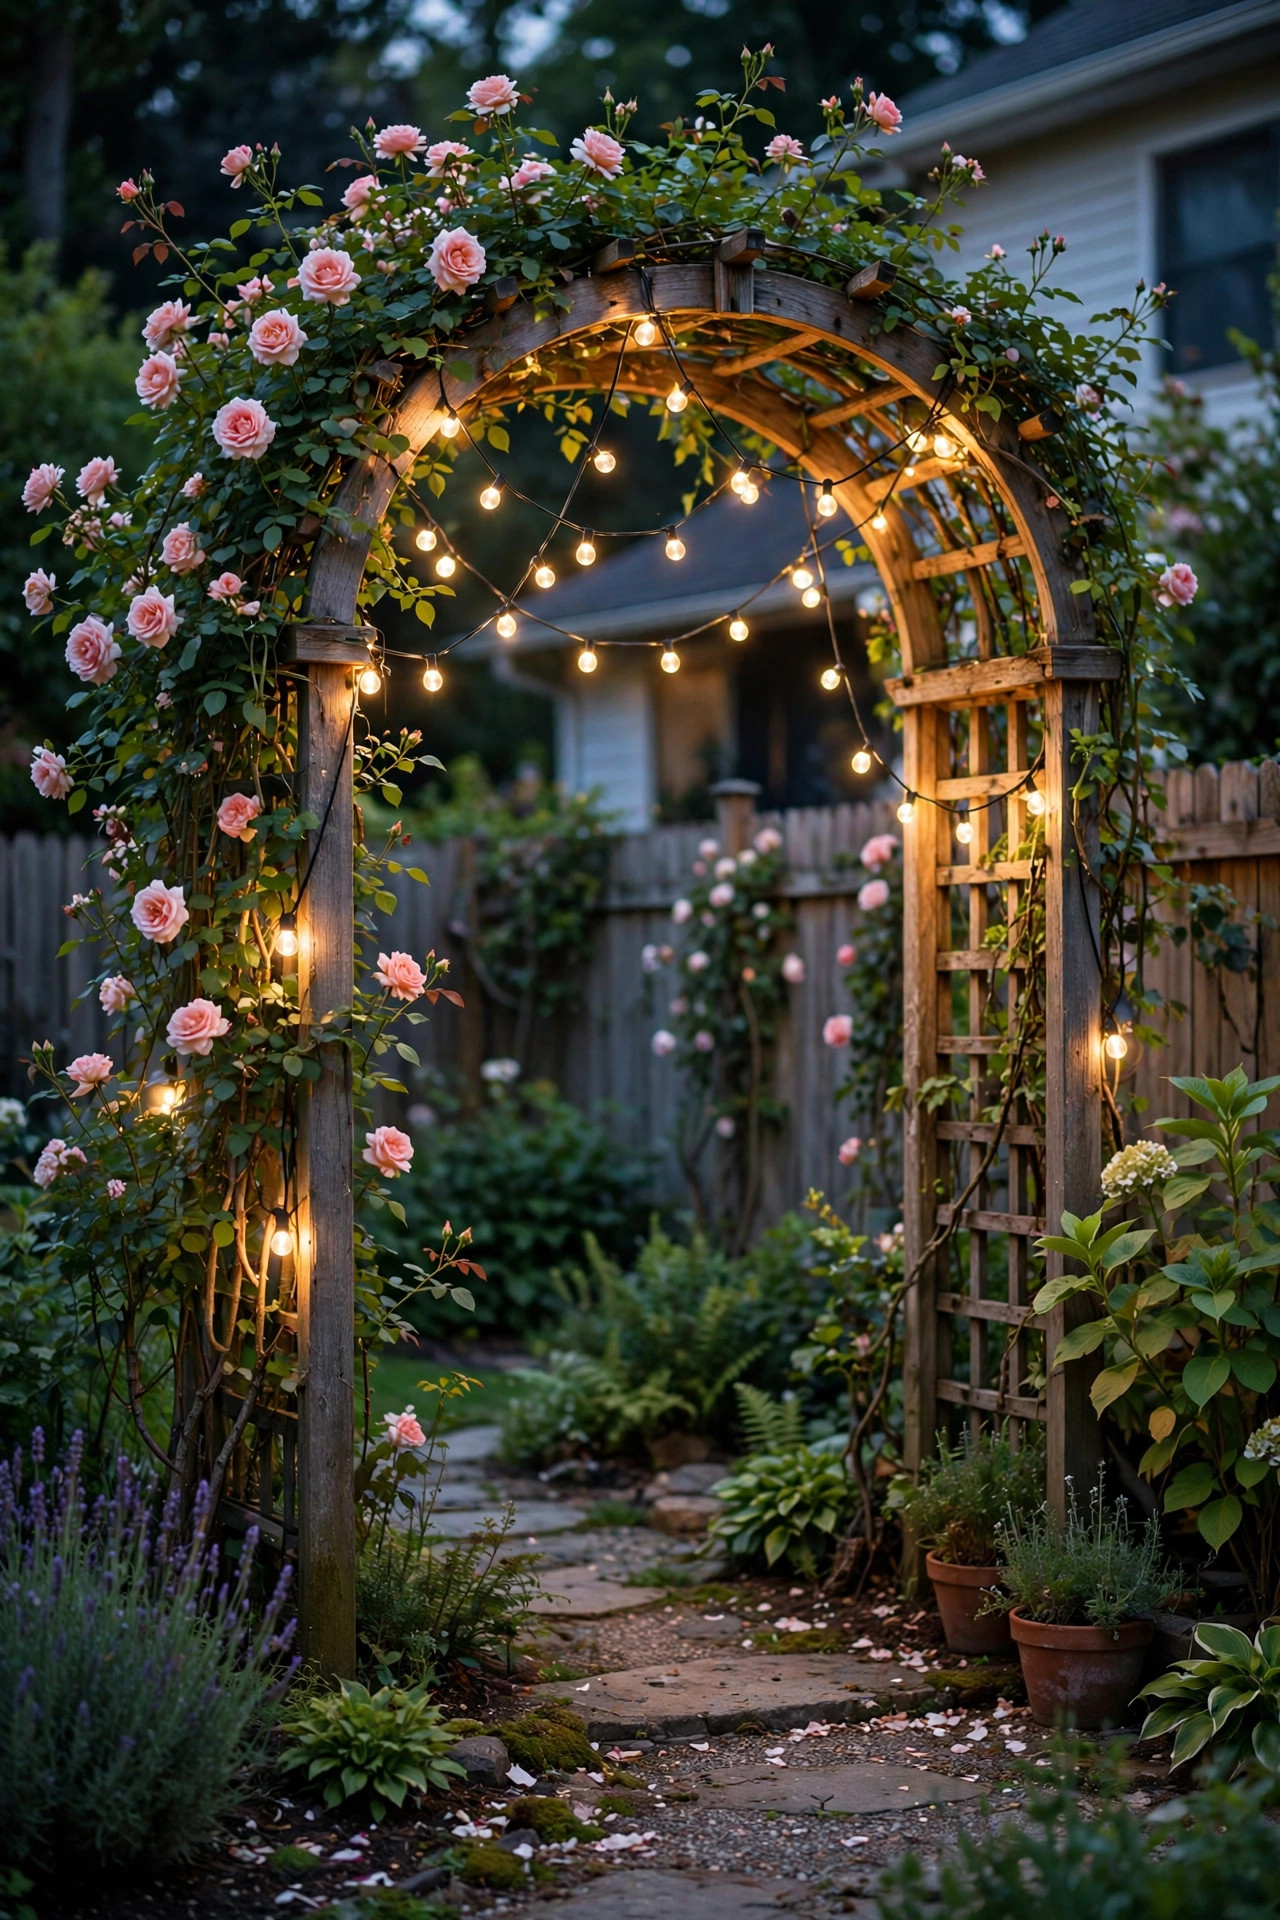
Walking through a lit garden arch at night feels like entering a secret place, and it is almost embarrassingly easy to create. Drape a 33-foot solar strand over the top of your arbor or arch, letting both ends trail down the sides, and secure it with garden twist ties to the frame every foot or so. If you have climbing roses or clematis on the arch, weave the strand through the vines — the light filtering through leaves is gorgeous.
Mount the panel right on top of the arch, tilted south, where nothing blocks the sky. Here is the seasonal caveat nobody mentions: plants grow. By midsummer, enthusiastic vines can completely swallow a panel, and your charge time quietly collapses. I check mine once a month in growing season and trim back anything creeping over the panel. It takes two minutes and it is the difference between lights that glow until midnight and lights that give up at nine.
Suggested budget range: $18 – $40.
10. The Renter-Friendly Balcony Curtain
No drill, no damage, no landlord drama. Hang a solar string-light curtain — the kind sold as a 10-by-6.5-foot net of vertical drops — across your balcony railing or sliding door using removable adhesive hooks rated for outdoor use. Space the hooks every 12 inches along the top so the curtain hangs straight instead of sagging into a frown.
Zip-tie the solar panel to the outside of the railing where it faces the sun; on north-facing balconies, angle it outward and upward to catch reflected sky light, and accept that your runtime will be shorter. One real-world note: check your HOA or lease rules before you go big. Most are fine with string lights, but some restrict anything visible from the street or anything that stays lit past a certain hour. Adhesive hooks peel off cleanly, so you are never committed. For a 6-foot balcony, one curtain panel is plenty — two looks cluttered in a small space.
Suggested budget range: $20 – $45.

11. Globe Strings Draped Through Tall Planters
Big planters full of ornamental grasses are practically begging for light, and a solar globe strand is the answer. Drape a 25- to 33-foot strand of G40-style solar globes loosely through the tops of two or three tall planters, letting the bulbs nestle among the grass blades. At dusk the whole planting glows from within, like the grass itself is lit.
Stake the panel right in the planter soil at the sunniest edge, tilted south — it disappears among the foliage and gets great sun. Keep every electrical connection above the soil line and out of the direct path of your watering can; most solar strands are IP65 and handle rain fine, but sitting connections in perpetually soggy soil is asking for corrosion. In my experience, this look works best with warm white globes around 2700K. Multicolor bulbs in planters tend to read "holiday clearance" instead of "design choice," and you want the former — trust me on this one.
Suggested budget range: $25 – $55.

12. Fire Pit Seating Ring
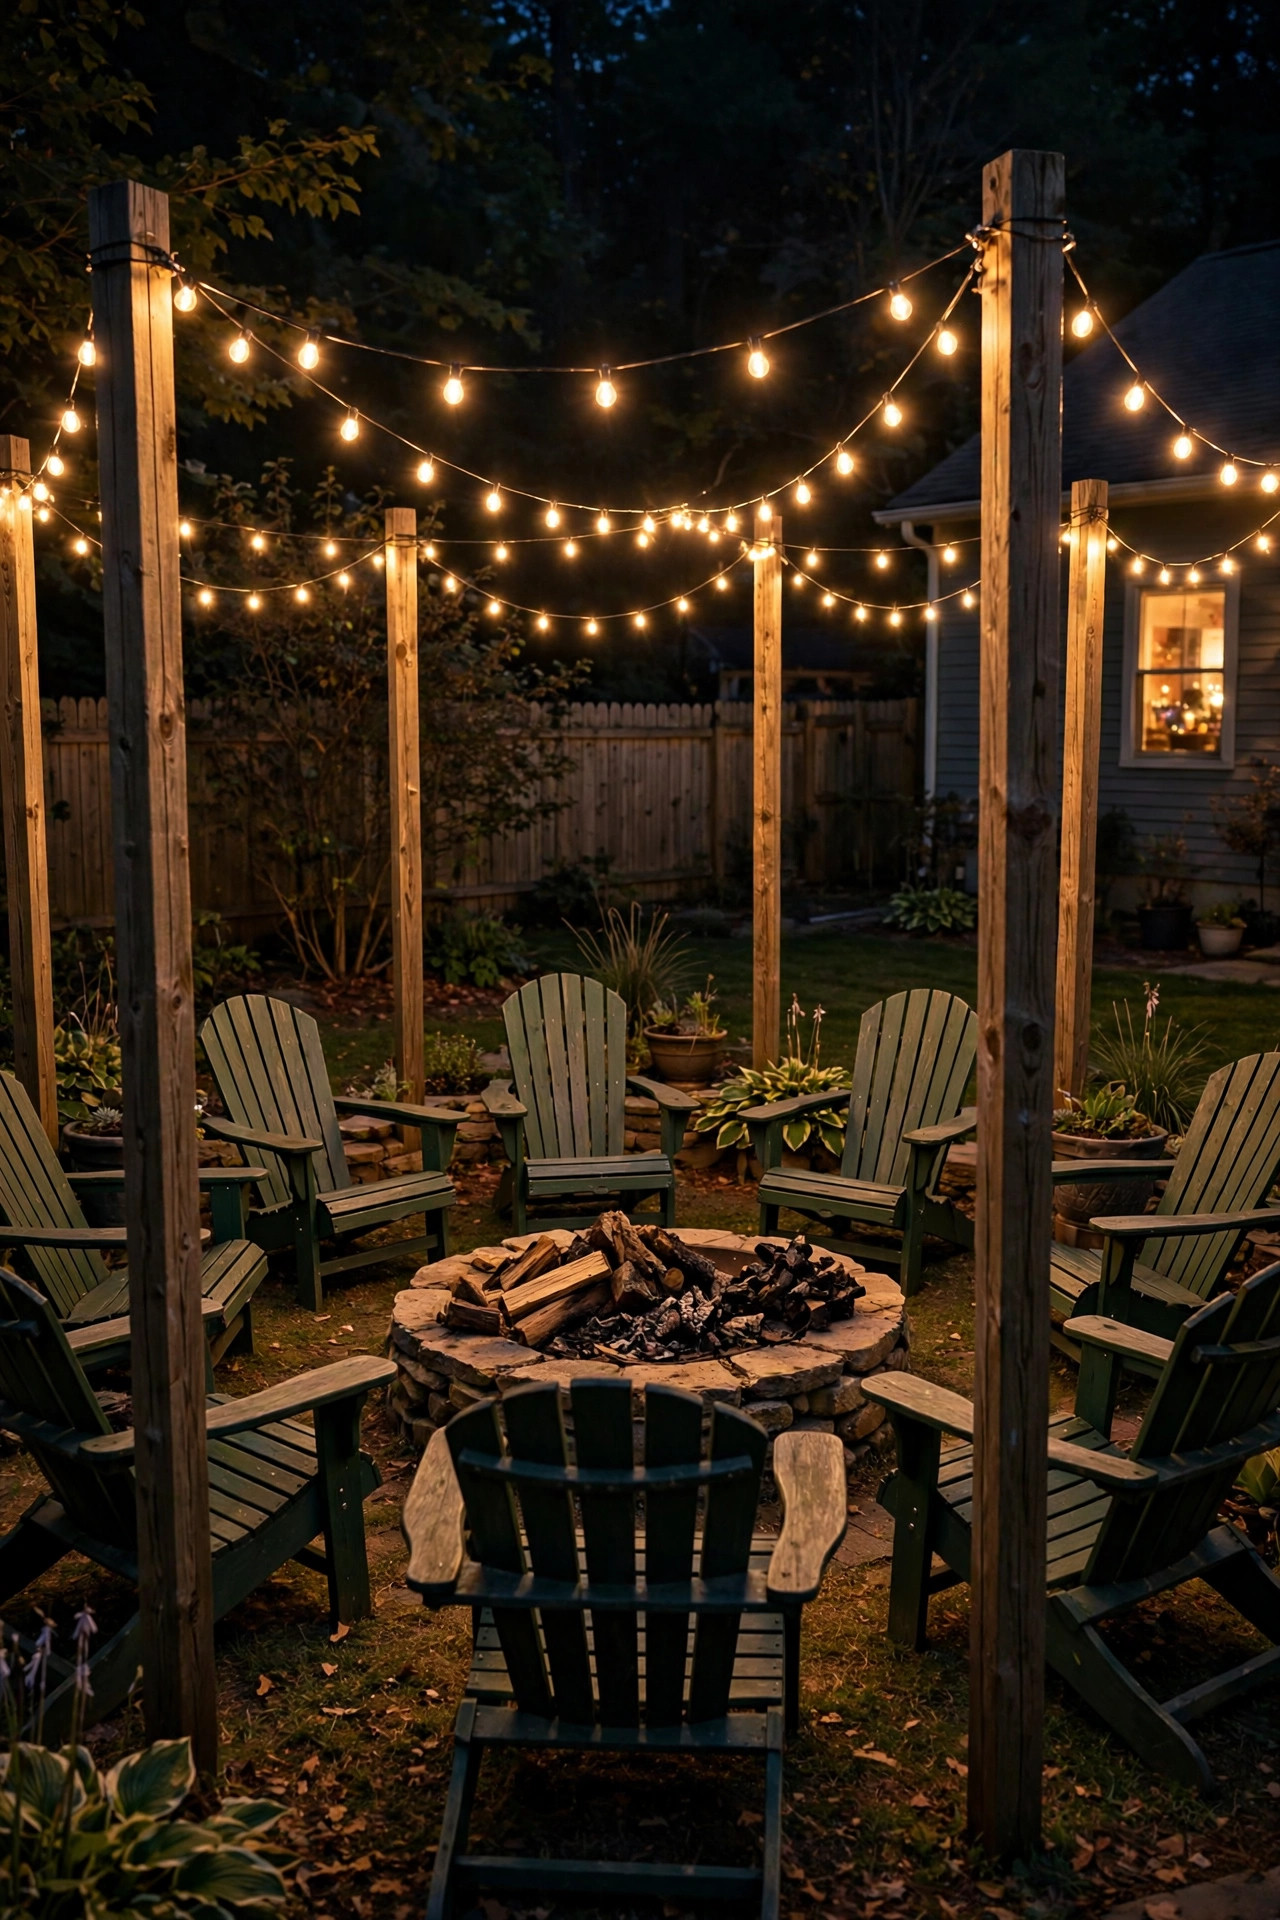
String lights and a fire pit are a match made in backyard heaven, as long as you respect the fire. Set four to six posts (or use existing trees) in a ring 10 to 12 feet out from the fire pit, and run solar strands between them so the seating area sits inside a circle of light. The combination of low firelight and overhead string glow is the coziest thing I have ever sat under.
Safety first, and I mean it: LEDs only, always — they stay cool. Keep every strand well clear of the pit itself, never drape wire over or near open flame, and remember that wind-blown embers melt plastic wire insulation fast. Give yourself that full 10-foot buffer. One maintenance note from experience: smoke and soot coat solar panels surprisingly quickly during heavy fire-pit season. Wipe the panel with a damp cloth every week or two while you are burning regularly, or your "charges all day" panel will quietly stop charging at all.
Suggested budget range: $40 – $85.
## 13. Shed and Greenhouse Roofline Trim
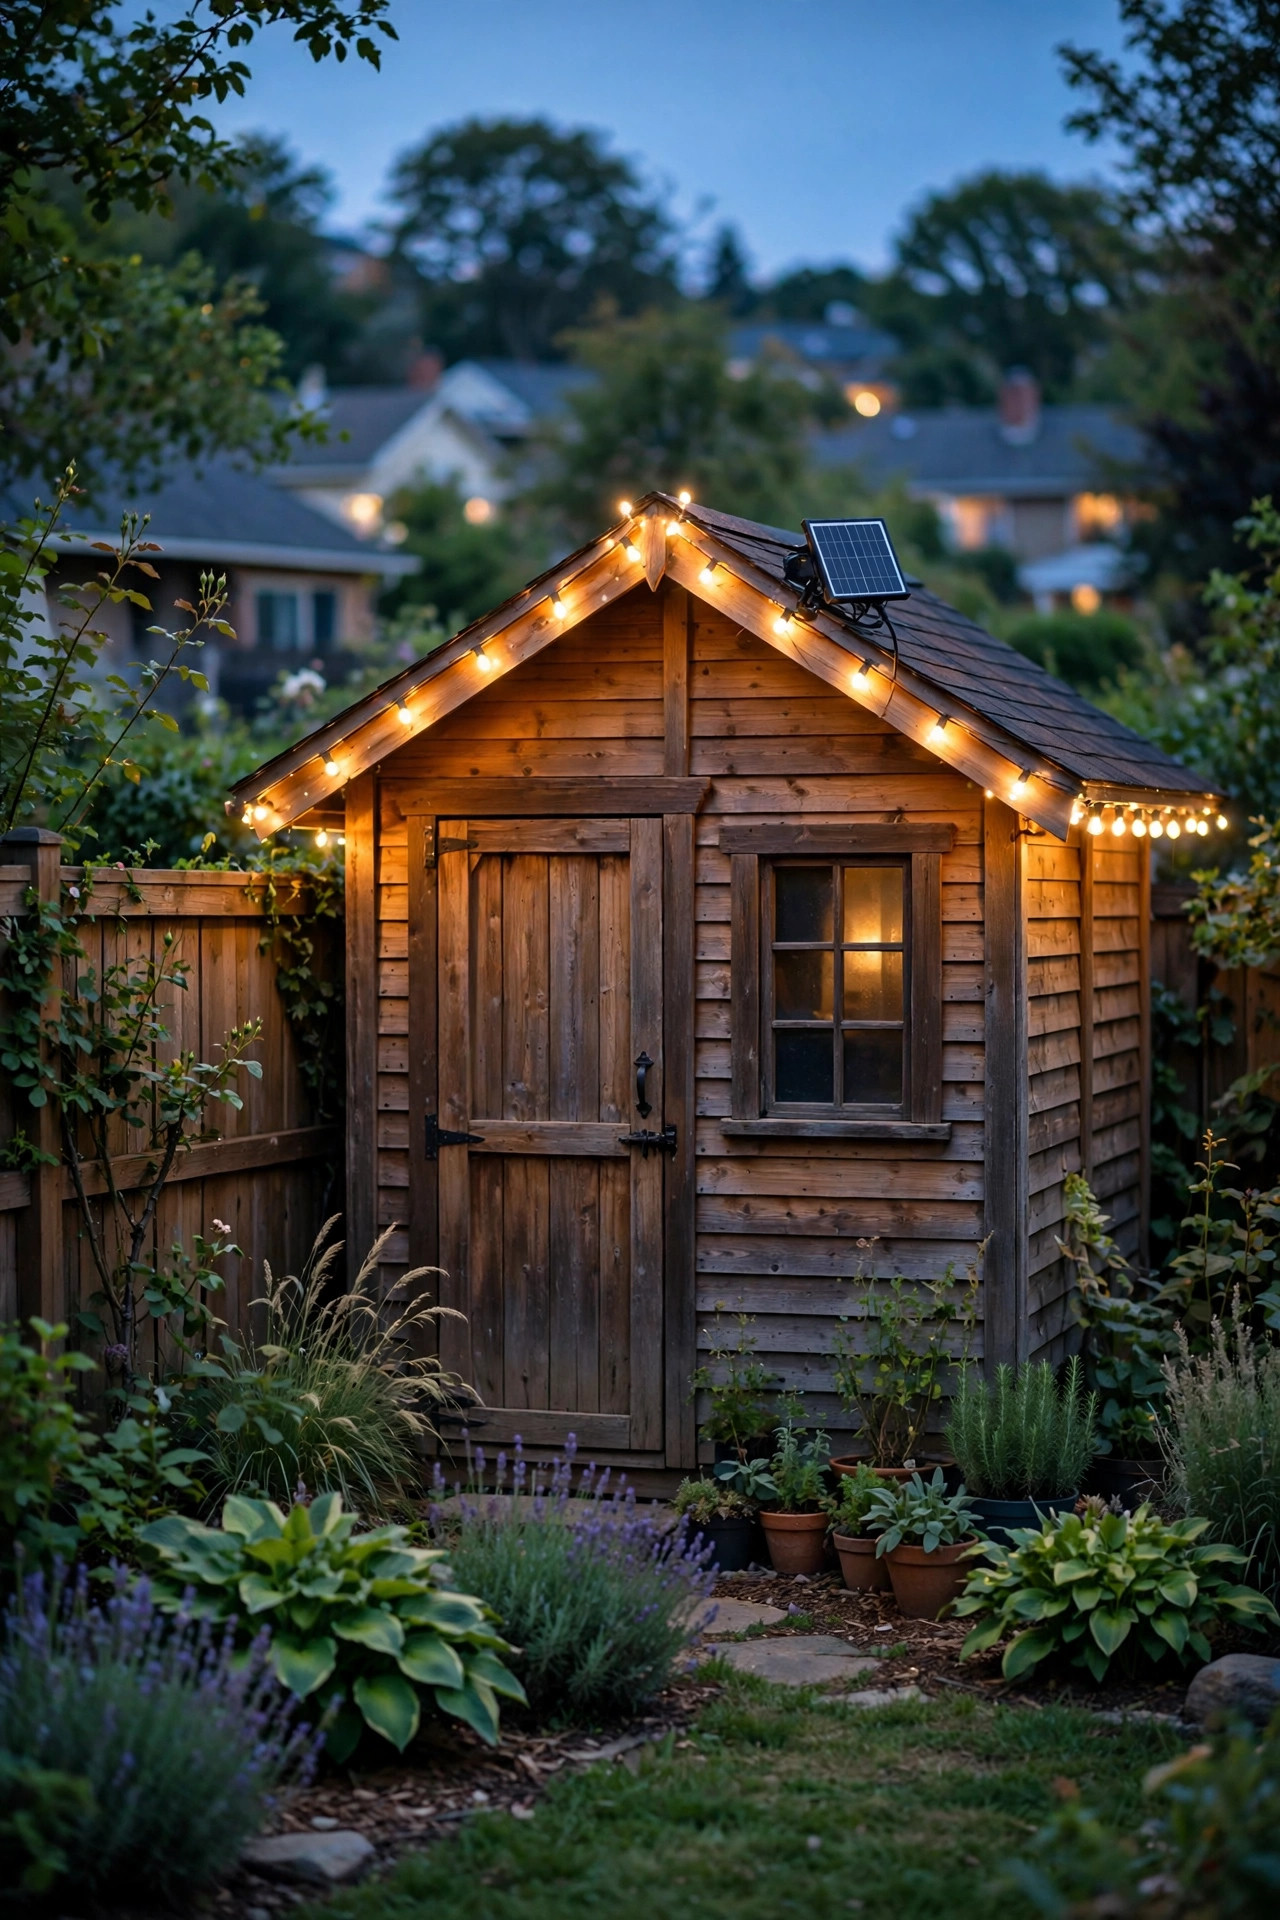
Outlining a shed or greenhouse roofline with solar string lights does two jobs at once: it turns a plain outbuilding into a glowing little cottage after dark, and it lights your path to it without any wiring. Run one strand along the front eave, securing it with outdoor adhesive clips every 12 to 18 inches, and let the panel sit on the roof slope or a nearby stake in full sun.
This is genuinely useful light, not just decoration — I can see my potting shed from the kitchen window now, and finding the right tool after sunset stopped being a phone-flashlight expedition. The honest caveat is heat: on a metal-roofed shed in full summer sun, a panel baking directly on the roof can lose charging efficiency, since solar cells dislike extreme heat almost as much as shade. Mount the panel on a small standoff or a stake beside the shed instead of flat on hot metal. And clean it in spring — pollen season coats panels in a yellow film that quietly steals your charge.
Suggested budget range: $20 – $45.
14. Fence-Topper Fairy Wire
If the fence-line run is the bold move, this is its delicate little sister. Pin a copper-wire fairy strand — 66 feet with 200 tiny LEDs is the sweet spot — right along the top rail of your fence, letting it follow the rail's line with a soft 2-inch dip between pins. From across the yard it reads as a continuous ribbon of light floating on the fence.
Weatherproofing matters more here than anywhere else, because fairy wire lives fully exposed. Look for strands rated IP65 with a sealed battery box, and if your set has a separate battery compartment, tuck it under an eave or inside a small weatherproof box rather than leaving it dangling on the fence. Here is the thing I learned the hard way: never trim fairy wire to length. The cut ends corrode and the whole strand can fail from that one snip. Buy the length you actually need — 33, 66, or 100 feet — and loosely coil any excess behind a post where nobody sees it.
Suggested budget range: $15 – $35.

15. Retaining Wall Wash with Solar String Lights Outdoor
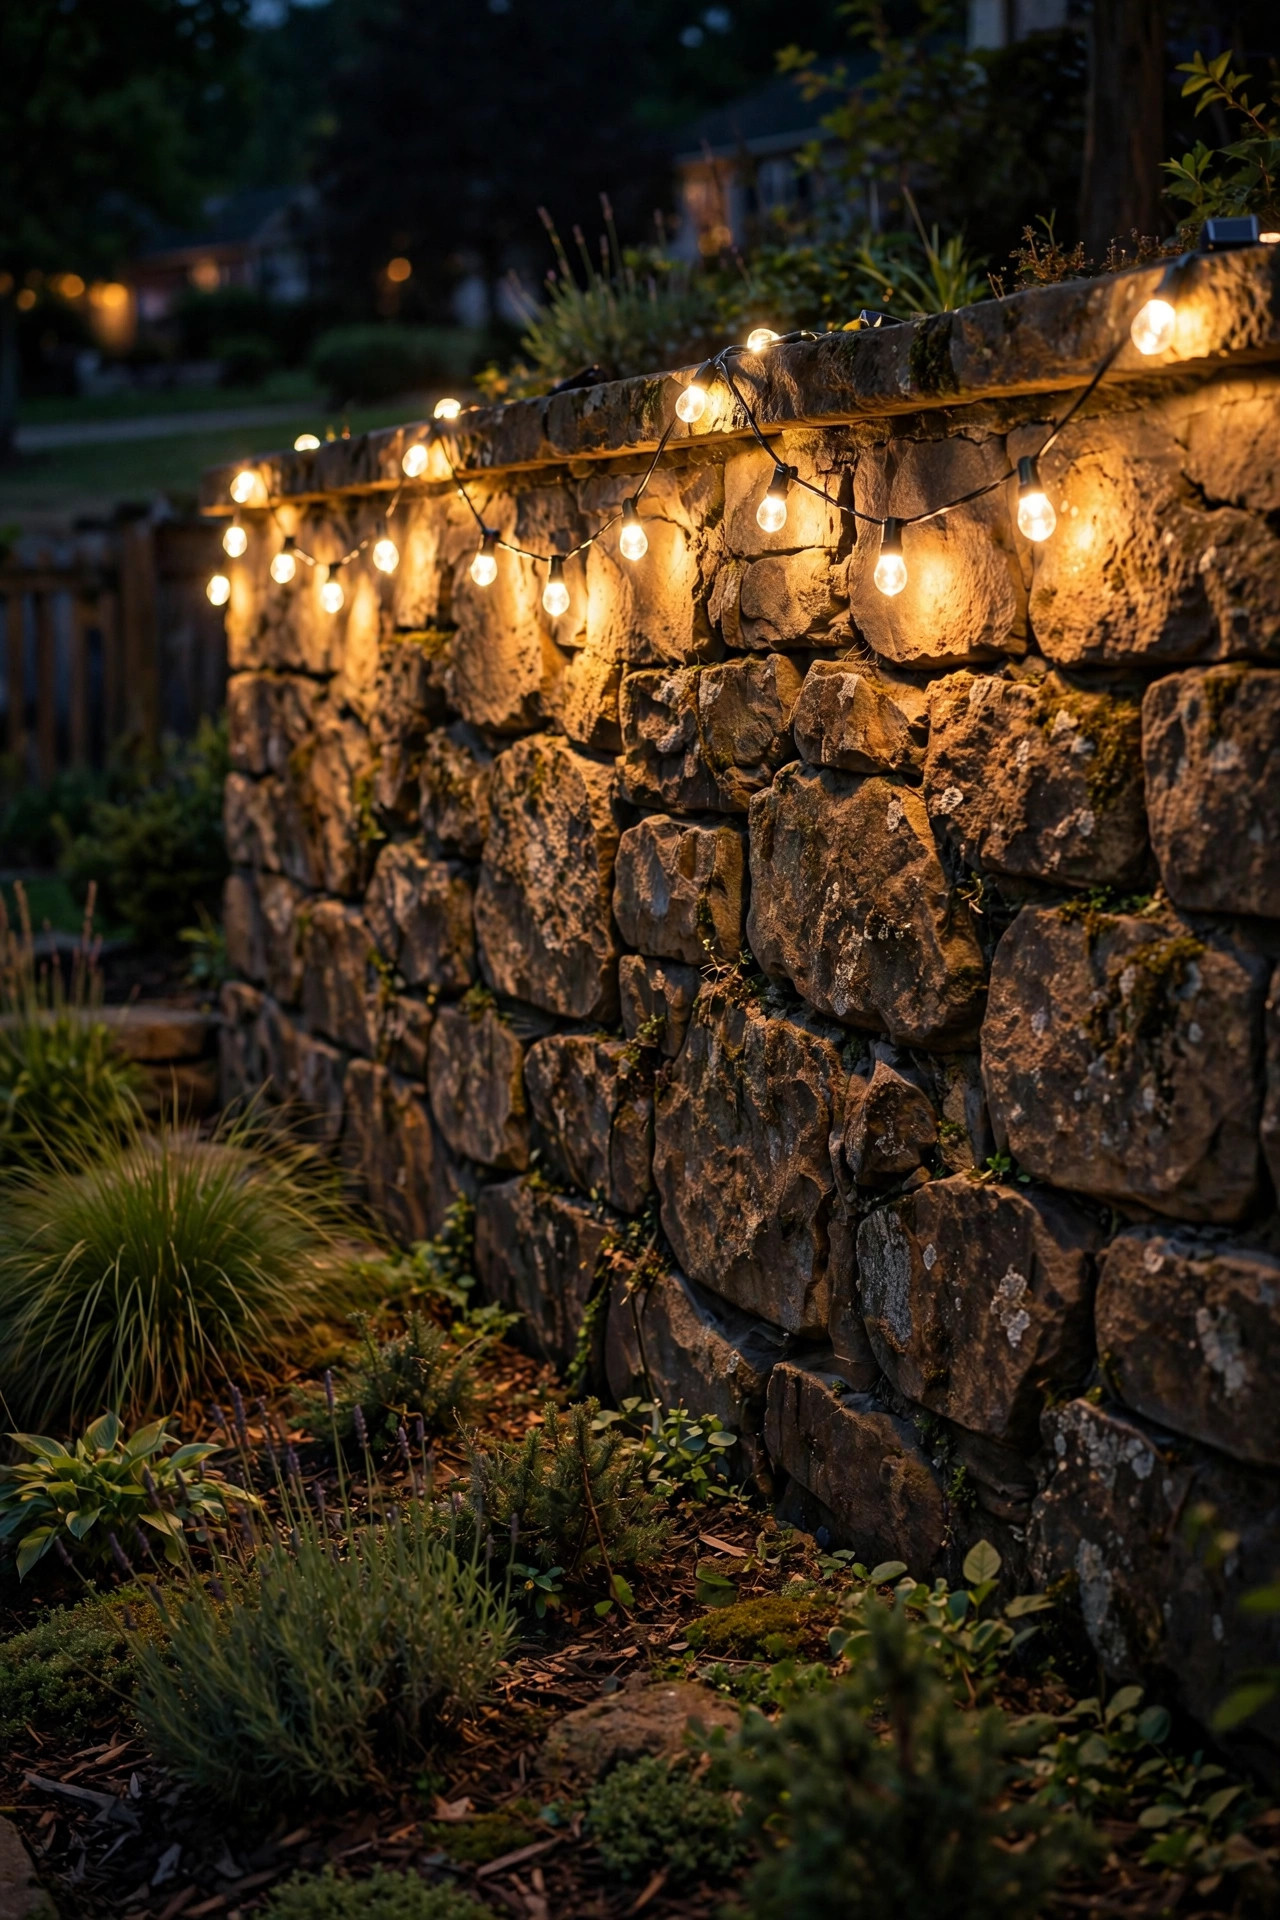
A stone or block retaining wall has wonderful texture that goes completely invisible at night — unless you wash it with light. Drape a solar strand along the top cap of the wall so the bulbs sit just at the edge, spilling their glow down the stone face. The raking light across rough stone creates shadows and highlights that make the whole wall look like a landscape feature instead of, well, a wall.
Use masonry adhesive clips or outdoor mounting tape on the cap stones; do not drill into a mortared wall for string lights. Park the panel right on the wall cap facing south, tilted slightly up. The caveat here is shade: retaining walls often sit at the low, shadowed edge of a yard, and a panel in the wall's own shadow will barely charge. Most solar strands include a 10-foot lead between panel and bulbs — use it. Run that lead to a stake in a sunny spot nearby, even if it means the panel lives a few feet from the wall. Ten feet of thin wire is invisible at night; a dead strand is very visible.
Suggested budget range: $22 – $50.
16. Hammock and Swing Frame Wrap
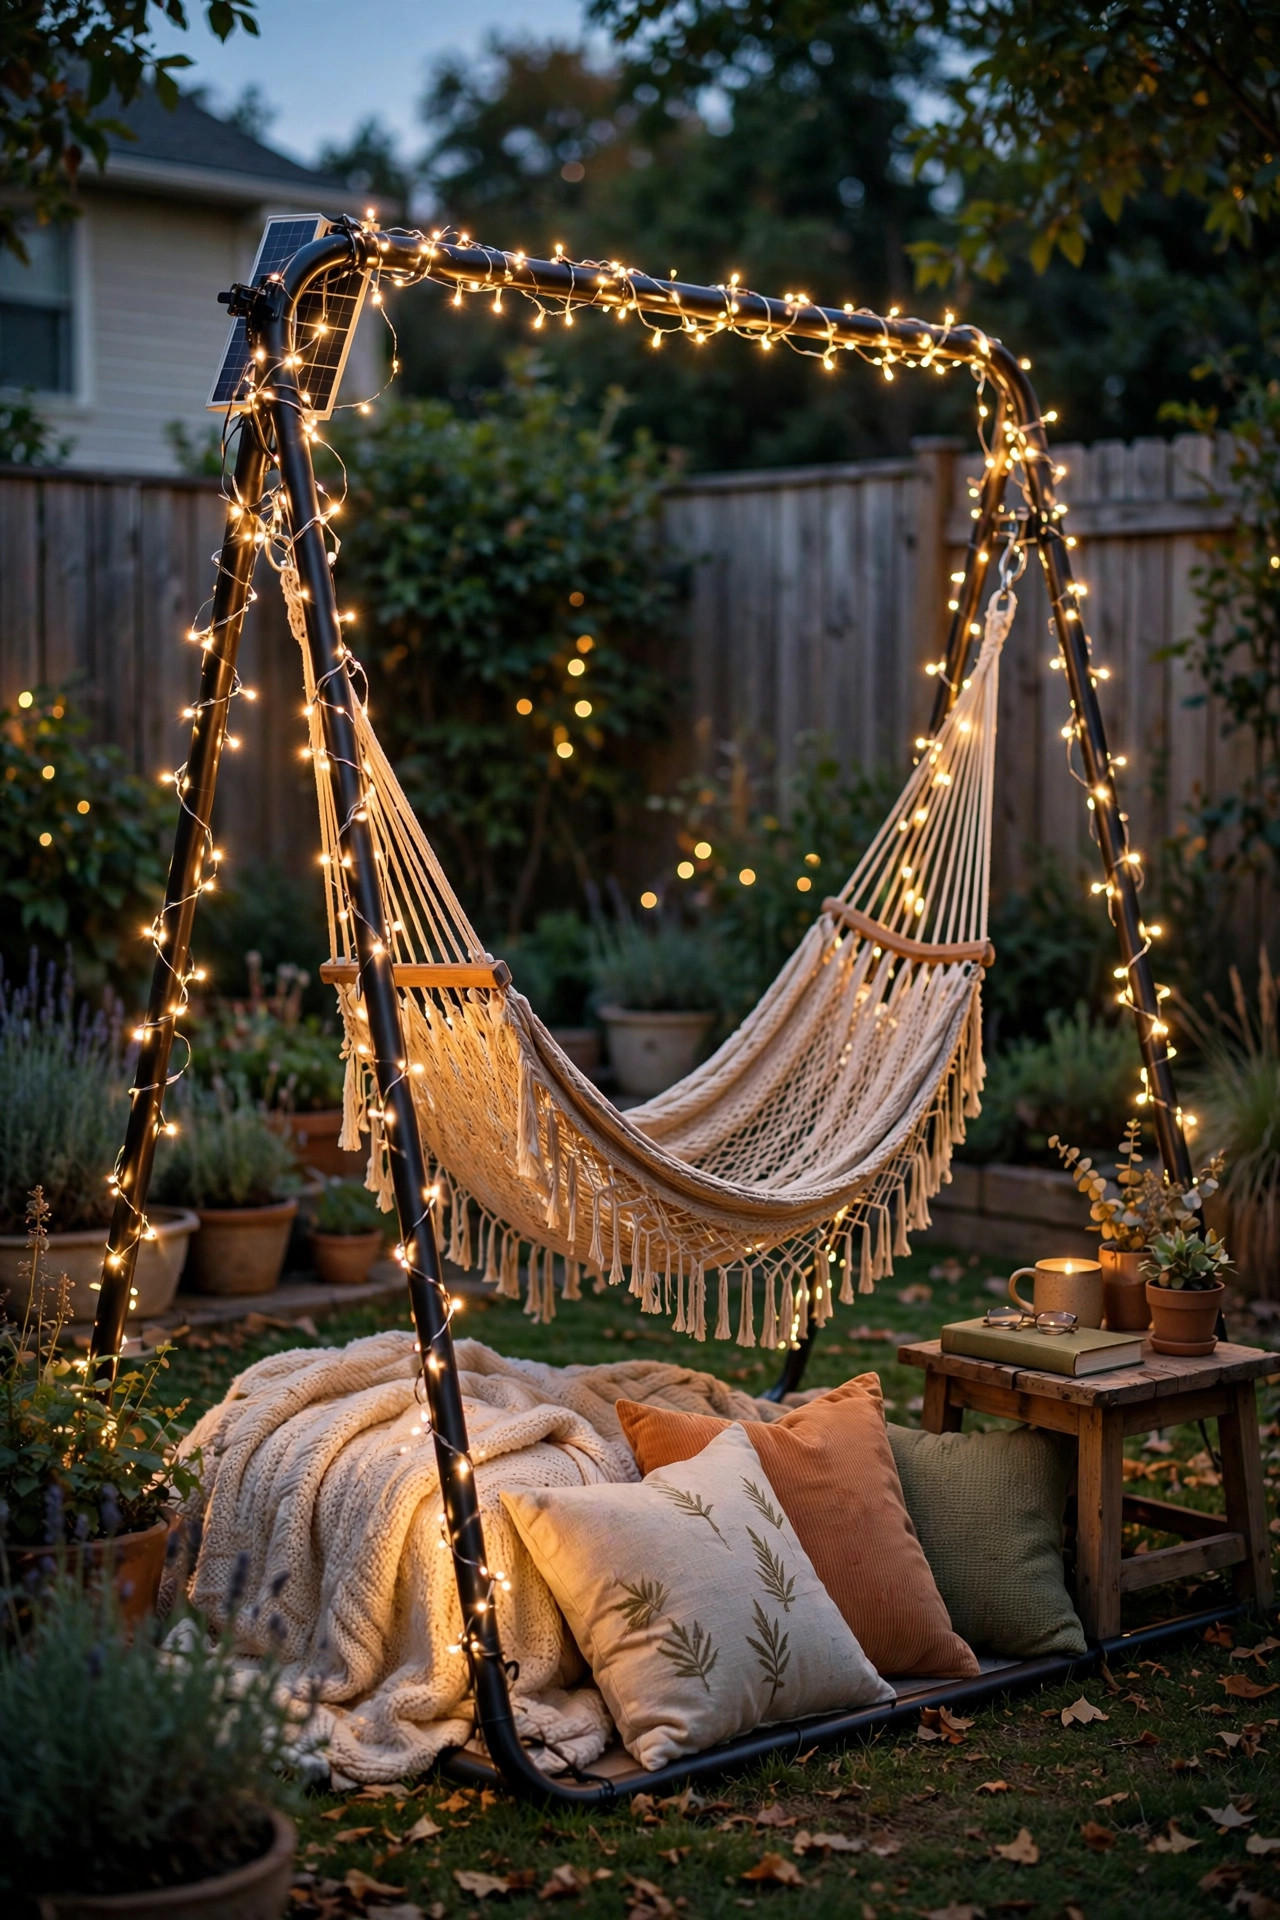
There is no better reading nook than a hammock under string lights, and solar makes it effortless because hammocks famously do not come with outlets. Wrap a 33-foot fairy strand around the A-frame legs and across the ridge bar of your hammock stand or porch swing frame, keeping the wire snug with zip ties every foot. Settle in with a book and let the dusk-to-dawn sensor handle the timing — it clicks on right around the moment you would have gone inside to turn on a lamp.
The one thing to watch is movement. Hammock stands flex, ropes shift, and chains swing, so keep the wire clear of anything that moves or rubs. I route mine along the rigid frame only, never along the ropes, and I check once a month for chafing where the wire meets metal. A strand rubbing on a steel joint will eventually wear through its insulation. Warm white again here — 2700K makes pages readable without glare and keeps the whole nook feeling like candlelight. Honestly, this is the spot in my yard I would save in a fire.
Suggested budget range: $18 – $40.
17. Front Entry Layering: Solar Accents Over Wired Lanterns
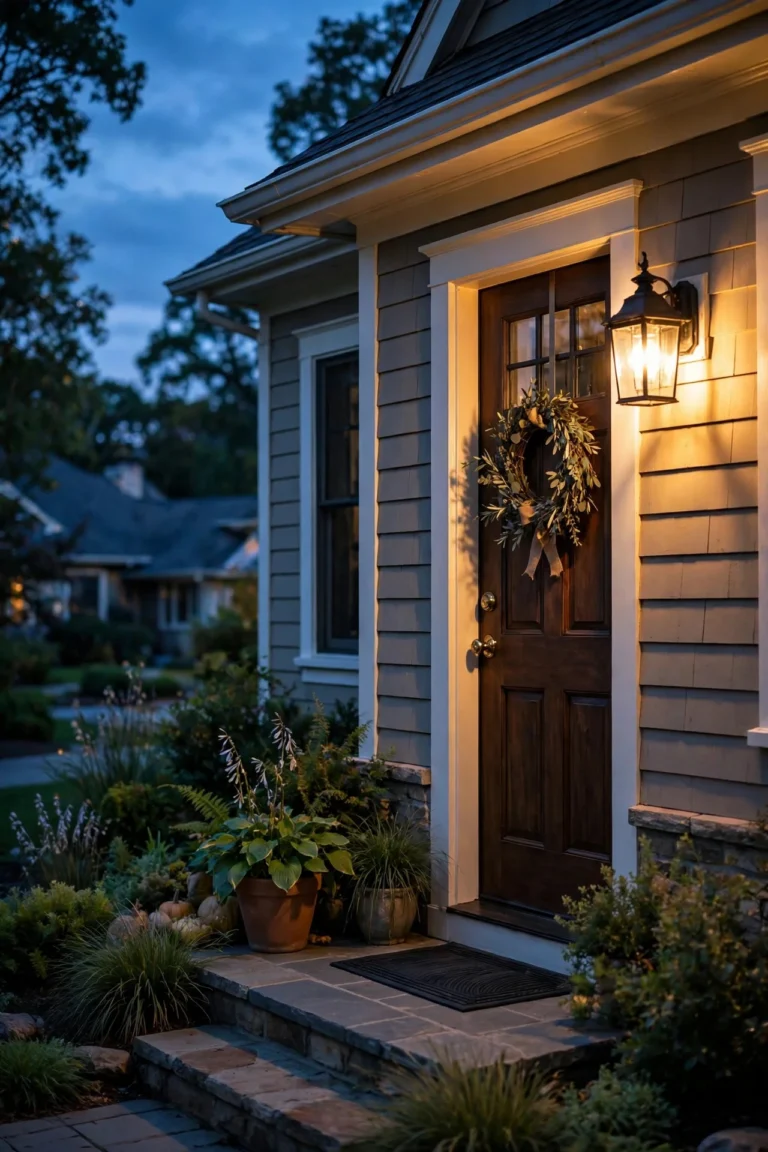
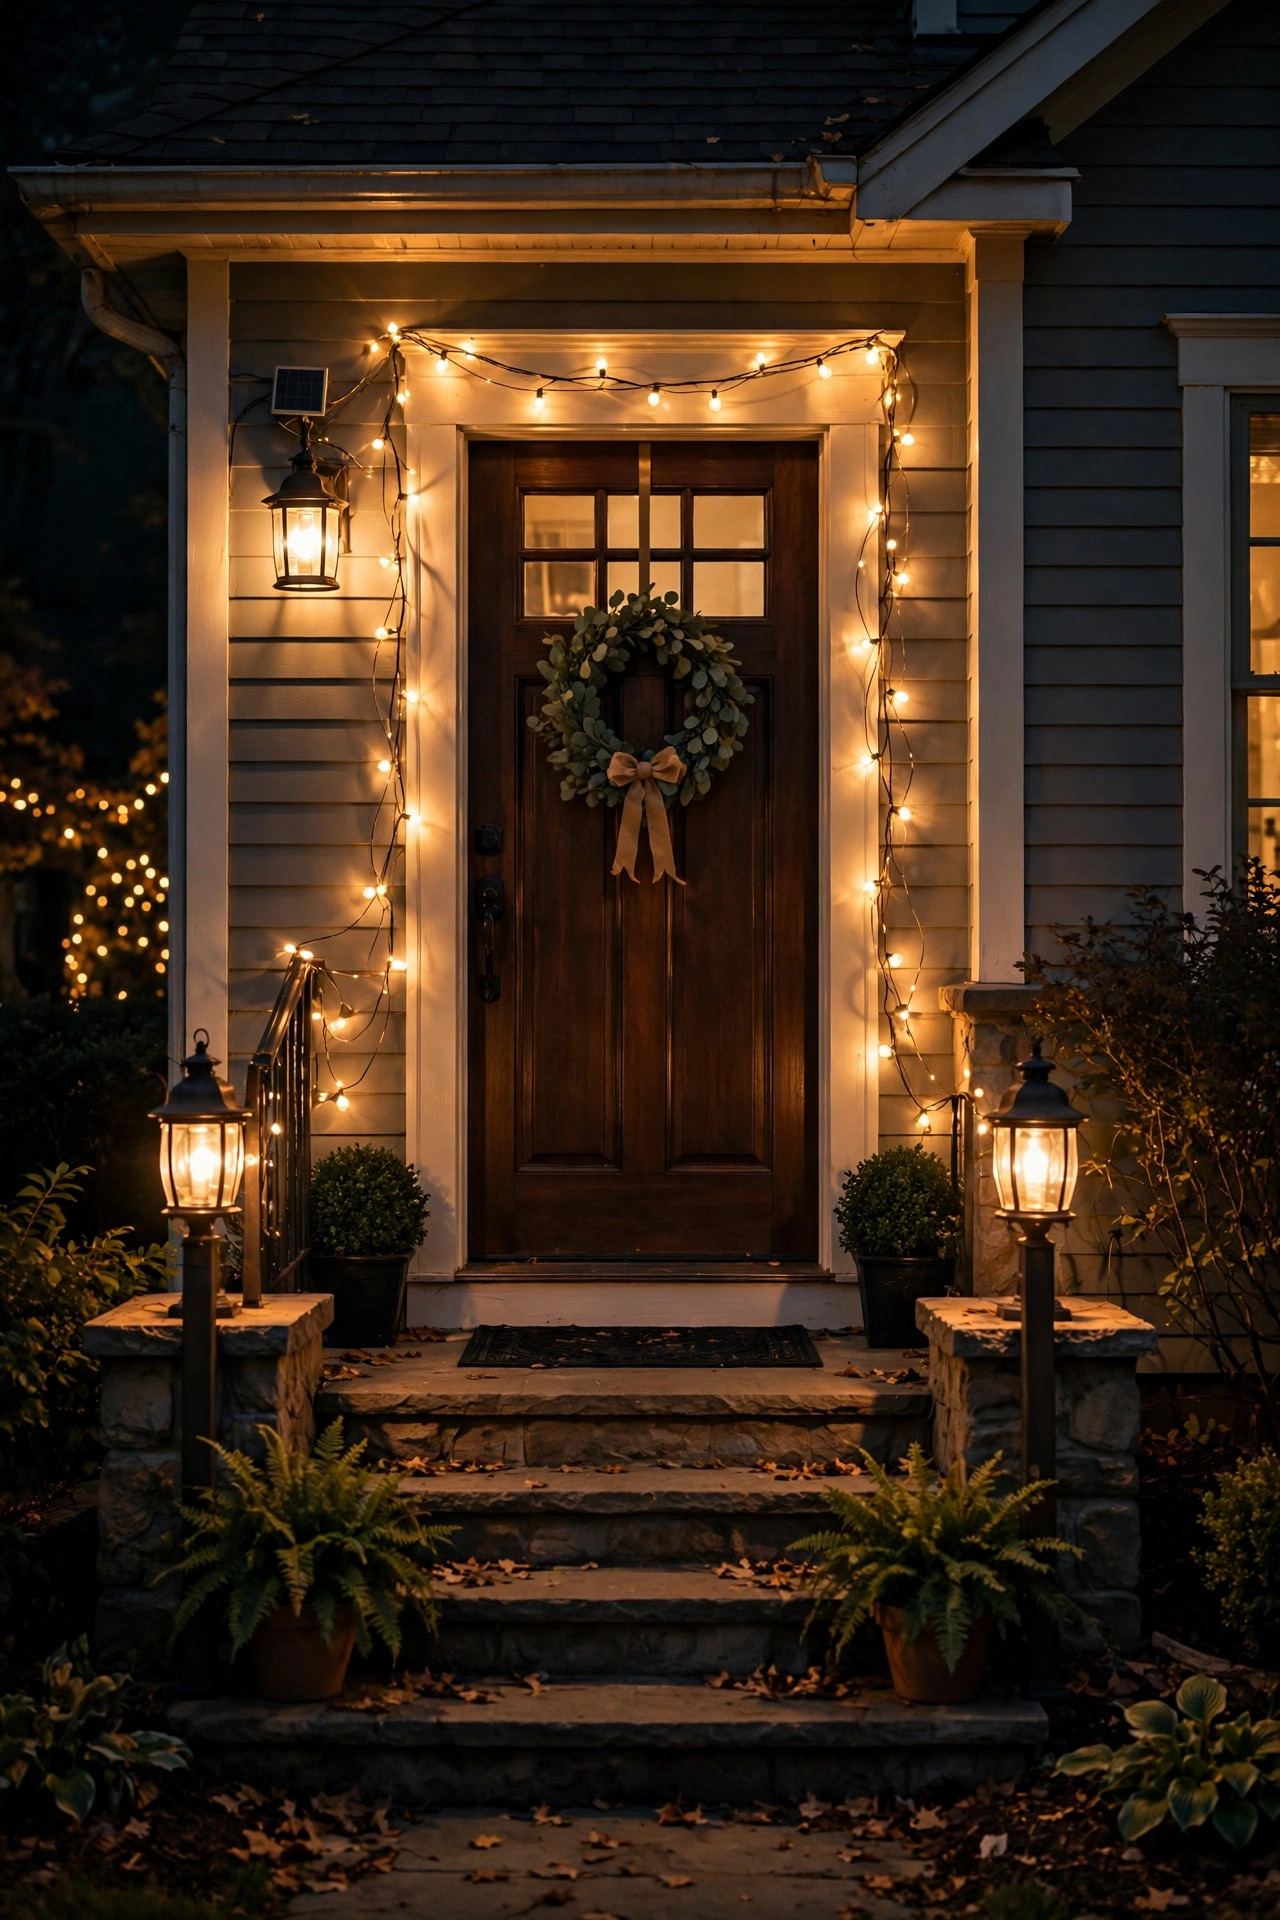
Let me bring it back to my layering philosophy, because the front entry is where it pays off most. You probably already have a wired porch light or lanterns by the door — keep them. They are your reliable, always-on layer for safety and visibility. Then add a solar strand as the second layer: drape it around the door frame, weave it through a wreath, or swirl it inside the lanterns flanking your steps. The wired light does the work; the solar light does the magic.
One placement rule makes or breaks this: keep the solar panel's light sensor away from your porch light. If the sensor sees your bright wired lantern, it thinks it is daytime and the solar strand never switches on — the most common "my solar lights are broken" mystery I hear, and the fix is just moving the panel a few feet into true dark. When December rolls around, this same layered entry takes holiday dressing beautifully; my outdoor Christmas light ideas show how I build on exactly this foundation for the season. Never rely on solar alone at an entry — steps and locks deserve light that does not depend on today's cloud cover.
Suggested budget range: $20 – $50.
## Frequently Asked Questions
How long do solar string lights stay on each night?
On a full sunny-day charge, most solar string lights run 6 to 8 hours — roughly dusk to midnight or a little past. That assumes the panel got 6 to 8 hours of direct sun, which is the part people underestimate. After a cloudy day, expect 3 to 4 hours. After two or three gray days in a row, some strands will barely light at all. If yours consistently die early, the panel is either shaded, dirty, or angled wrong — fix those three things before you buy anything new.
Do solar string lights work in winter or cloudy climates?
They work, but with honest limits. Winter sun is weaker and lower, days are short, and snow can bury panels entirely — so in northern states, expect shorter runtimes from November through February. They still charge on overcast days, just at a fraction of the sunny-day rate. My advice for cloudy climates: buy strands with larger panels and higher-capacity batteries (look for 2000mAh or more), mount panels where they catch every available hour of sky, and treat solar as accent light in winter rather than your main glow.
Where should I put the solar panel for the best charge?
Face it south and tilt it roughly to your latitude angle — in most of the US, a 30- to 40-degree tilt facing due south is the sweet spot. It needs direct sun, not bright shade; dappled light through leaves is not enough for a full charge. Keep it at least a few feet from competing light sources so the dusk-to-dawn sensor reads true darkness, wipe it monthly, and remember you can almost always mount it up to 10 feet from the strand using the built-in lead wire. The panel's location matters more than the strand's — get the panel right and everything else is easy.
Are solar string lights as bright as plug-in ones?
No, and I would rather you hear it from me than discover it disappointed. A typical solar LED bulb puts out 1 to 10 lumens; a plug-in LED filament bulb puts out 40 to 80. Solar is candlelight and fireflies — beautiful for ambiance, parties, and pathways, but not for reading, grilling, or security. That is exactly why I layer: solar strands for the glow, and a wired light wherever you actually need to see. Buy solar for the mood it makes, not the lumens it lists.
Conclusion
The secret to solar string lights outdoor was never the strand — it was always the panel. Give that little panel full southern sun, keep it clean, and keep its sensor in true darkness, and a $25 strand will out-glow expectations for years. Layer those solar accents over whatever reliable light you already have, stick with warm white, and let the dusk-to-dawn sensor do the remembering for you. No outlets, no electrician, no extension cords across the lawn. If this has you looking at your yard differently, browse more of my lighting ideas — there is a whole glowing world beyond the back door, and your fence is waiting.