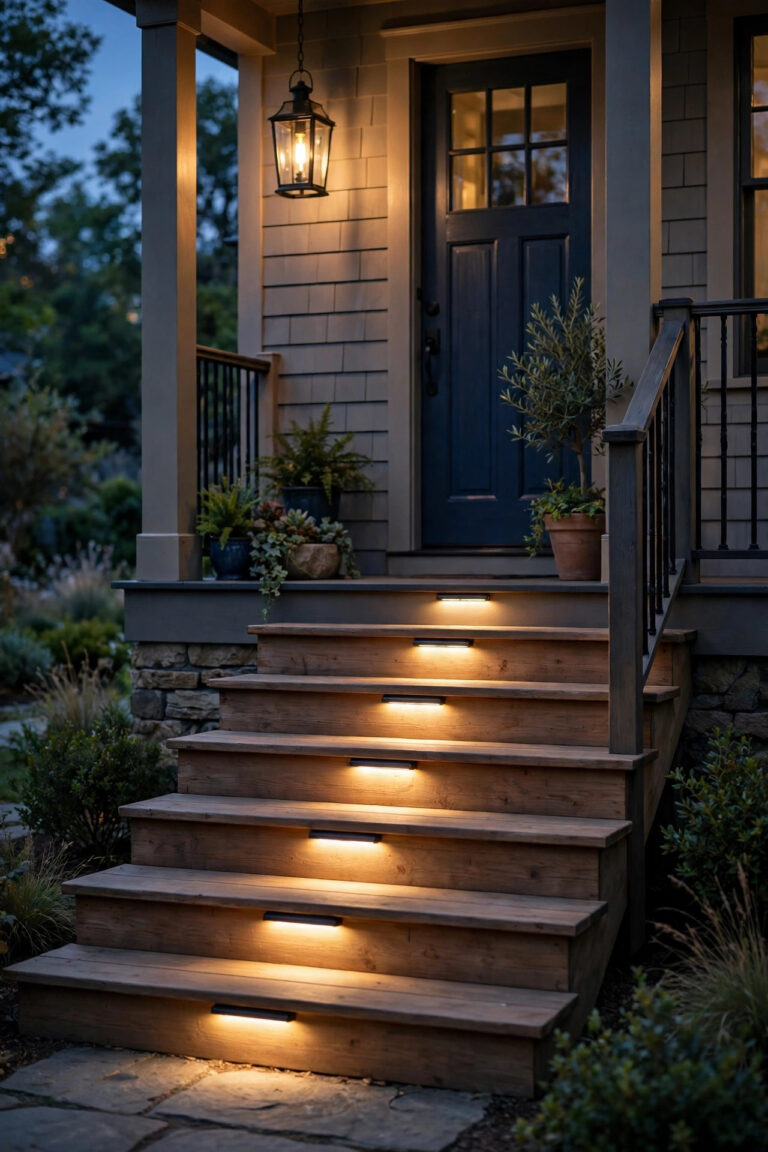
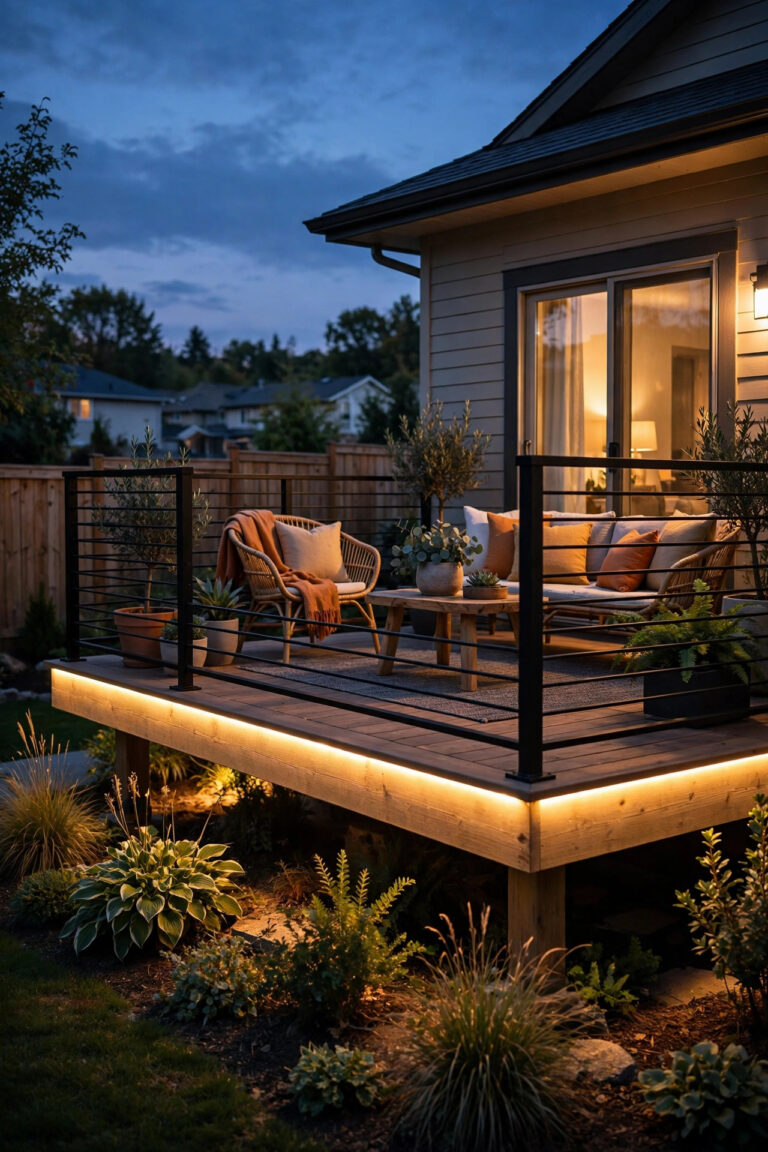
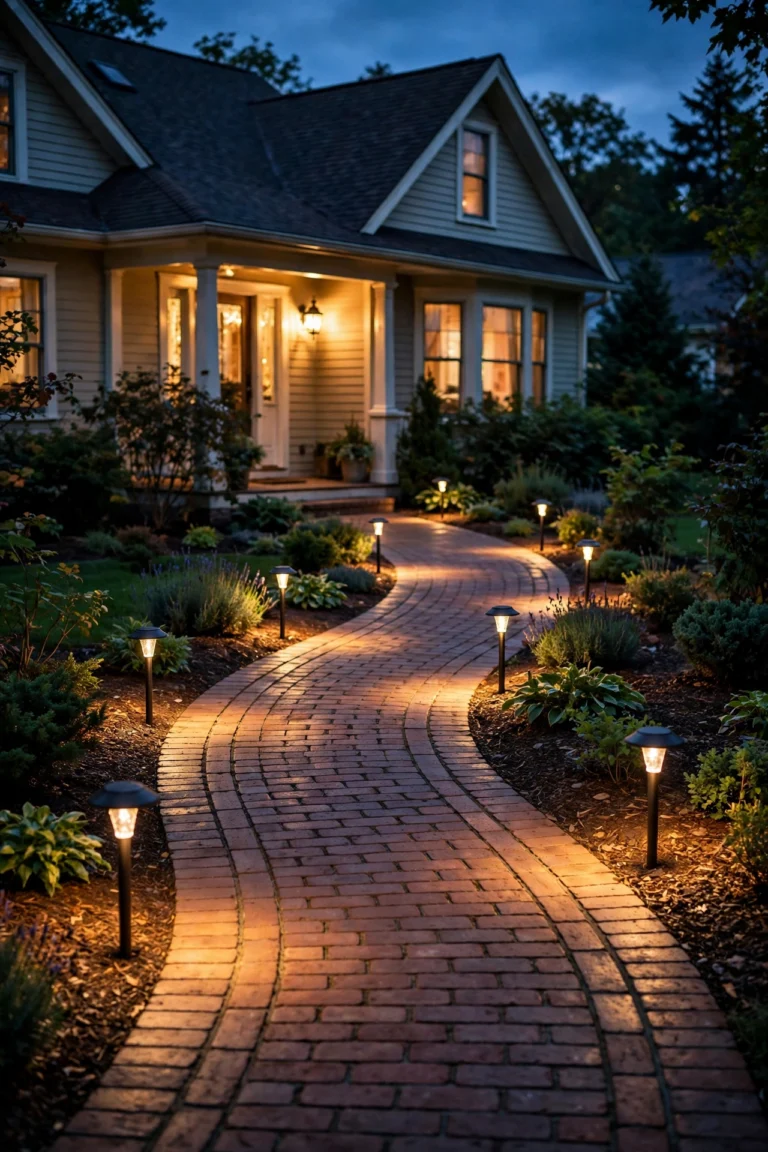
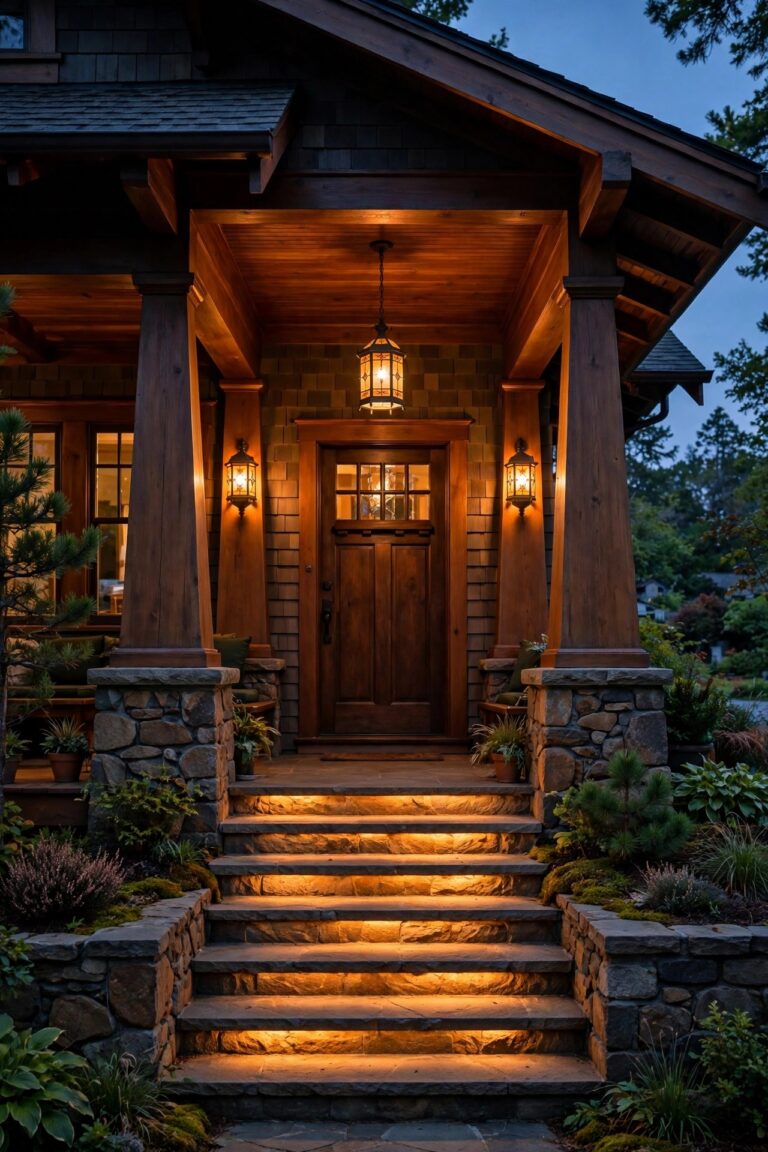
There's a moment every homeowner knows: a guest picking their way down your front steps after dinner, one hand on the railing, phone flashlight on. My front entry used to be that staircase — pretty in daylight, a minor hazard after dark. The fix that changed everything wasn't a brighter porch light; it was lights built into the steps themselves. These recessed step light ideas are my favorite kind of upgrade because they disappear by day and do all their work at night, washing each tread in a soft pool of light. No fixtures to trip over, no glare in your eyes, nothing sitting on the steps to get kicked or buried in snow. I've gathered 19 ways to use recessed step lights — classic riser mounts, hidden under-tread strips, masonry and paver options, solar versions for wire-free garden stairs, and the spacing rules that keep a staircase evenly lit. Every idea includes placement measurements, brightness guidance, and a realistic budget.
1. Classic Riser-Mounted Recessed Step Lights, Centered on Every Step
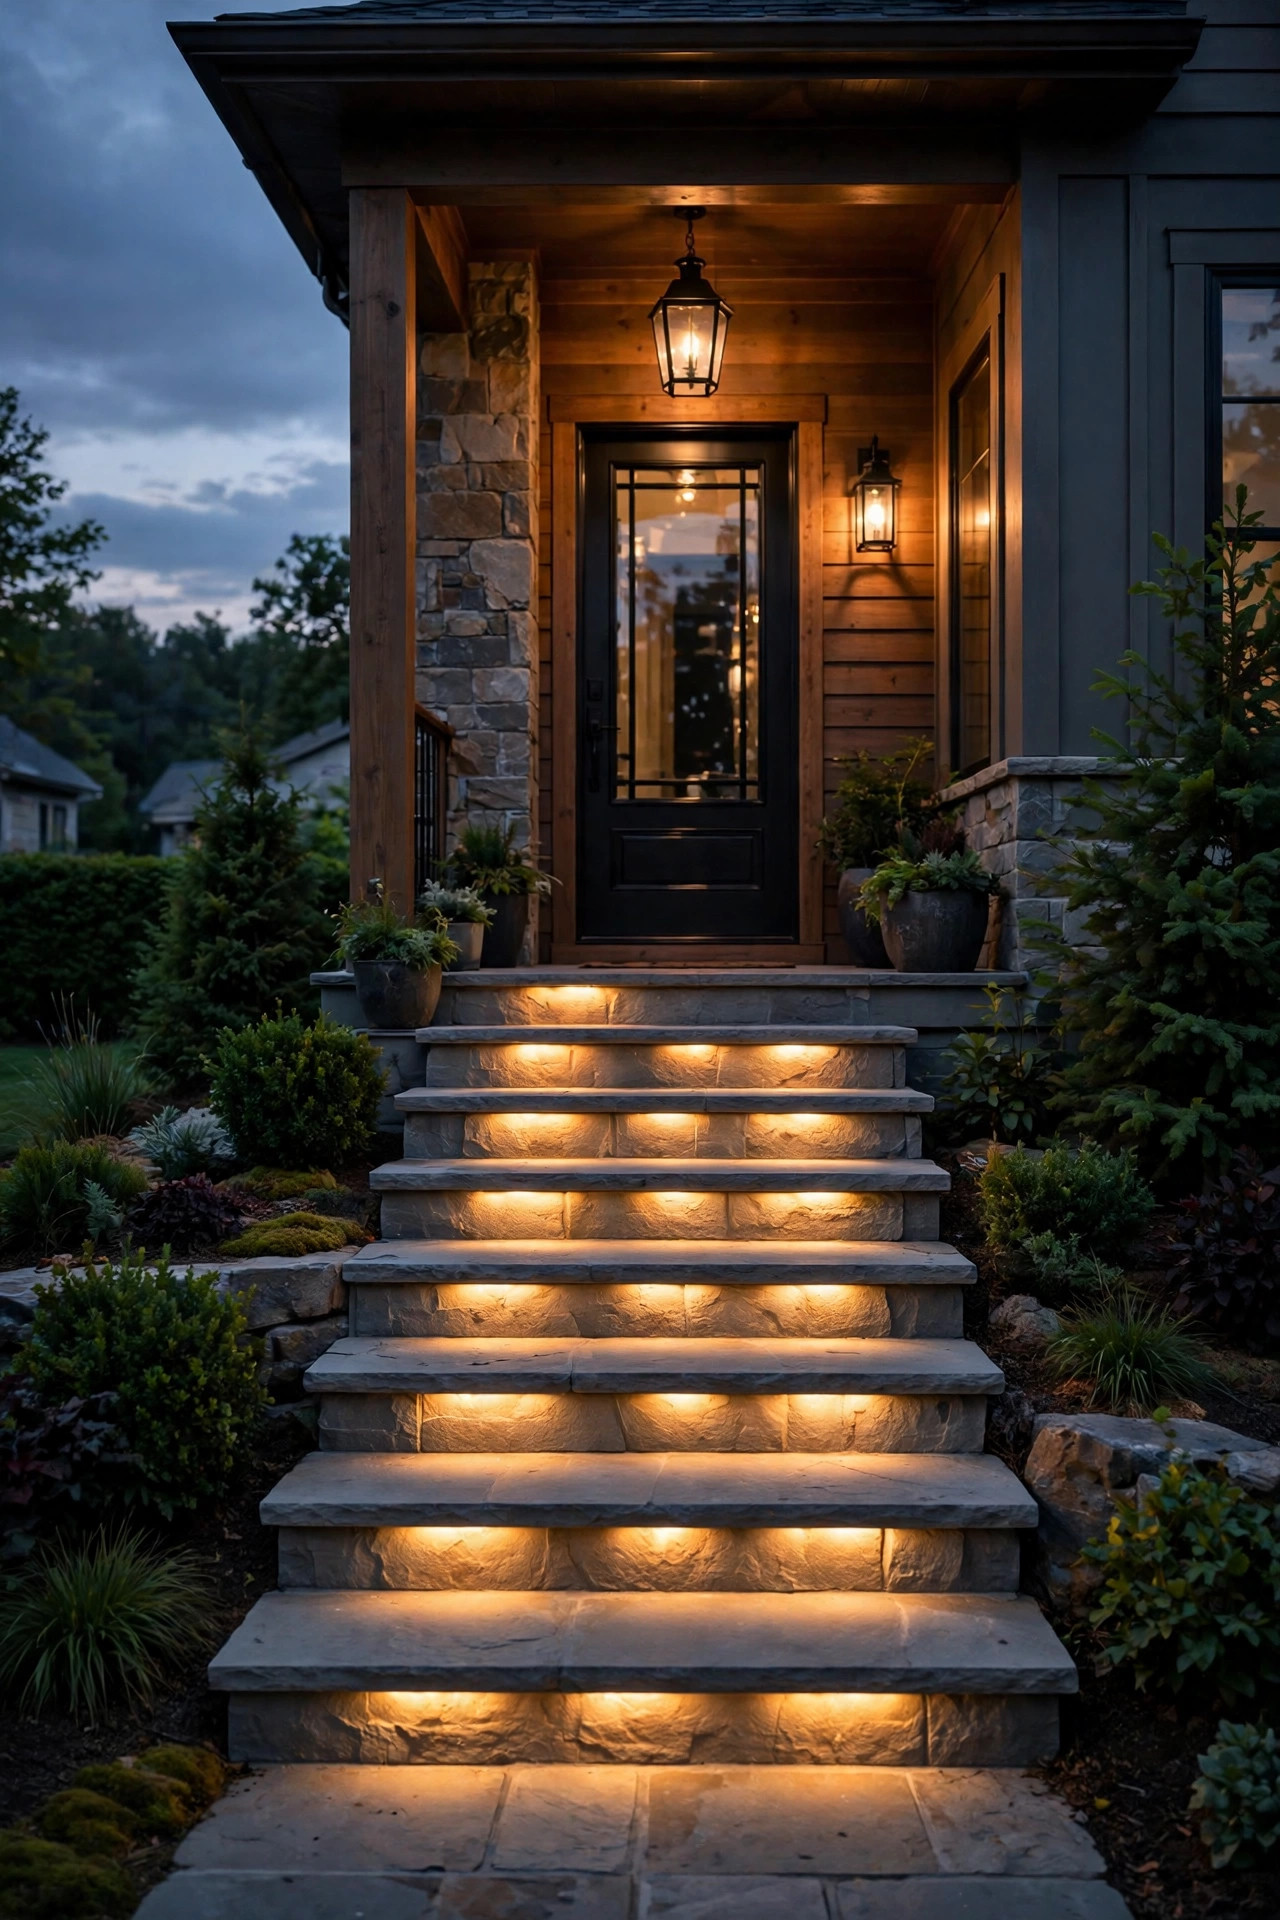
The classic layout is still the one I recommend most for a front entry: one small rectangular fixture recessed into the riser — the vertical face of each step — centered left to right. The light spills downward and outward across the tread below, so every step edge reads clearly as you climb. For stairs up to about 4 feet wide, one fixture per riser is plenty; the standard housing is roughly 6 to 9 inches wide and sits 1 to 2 inches below the top of the riser so the lens never catches a heel. Most riser lights run on 12-volt low voltage, and each one sips only 1 to 3 watts, so a whole staircase costs pennies a month to run. Choose a faceplate that matches your step material — brushed metal on concrete, darker bronze tones on stained wood or composite. This is also the layout that pairs best with a welcoming porch glow, and if you're rethinking the whole entry, our guide to porch step lighting ideas covers the sconces and lanterns that layer above it. Installed during a step build or remodel, this is the cleanest look there is.
Suggested budget range: $120 – $350.
2. Two Fixtures Per Step for Wide Entry Staircases
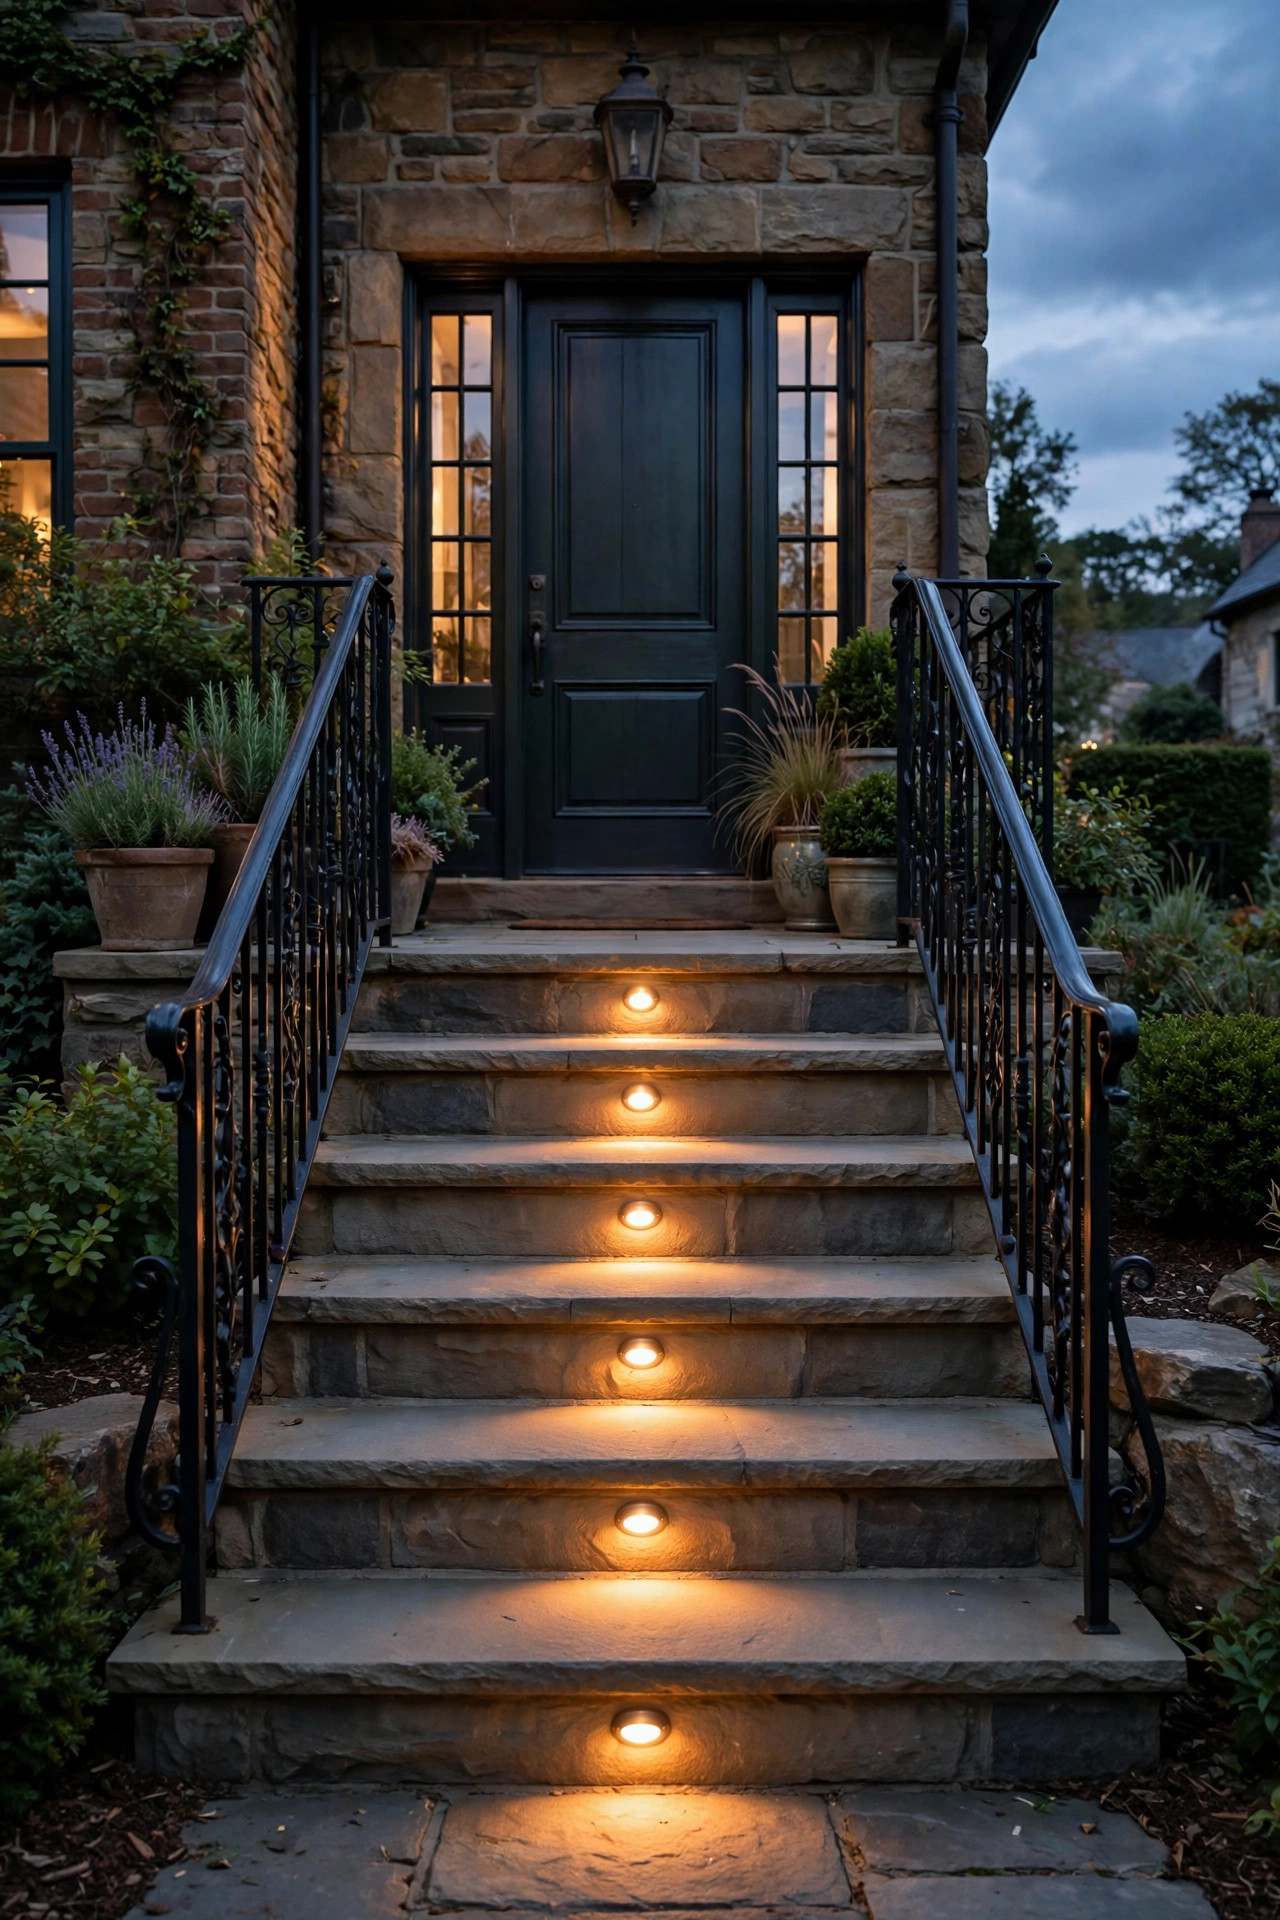
Wide front staircases — 5 feet and up, the kind that sweep up to a double door or a deep farmhouse porch — need different math. A single centered fixture leaves the outer edges of each tread dim, exactly where a guest's foot lands when someone else is coming down beside them. My rule for wide stairs is two riser lights per step, placed about a quarter of the width in from each side, so their beams overlap gently in the middle. Keep both fixtures on the same circuit and the same color temperature; mismatched warmth from step to step is the one thing that makes an expensive install look cheap. On very wide ceremonial stairs, some people run a third fixture in the center, but honestly, two well-aimed louvered fixtures usually beat three bare ones. If the staircase is a rebuild, this is also the moment to run conduit inside the steps rather than surface wiring along the stringer — your future self, pressure-washing in spring, will thank you. Wide stairs are a curb-appeal feature; lighting them evenly is what makes them feel grand instead of gloomy after dark.
Suggested budget range: $240 – $600.
3. Hidden Under-Tread LED Strips for a Floating Glow
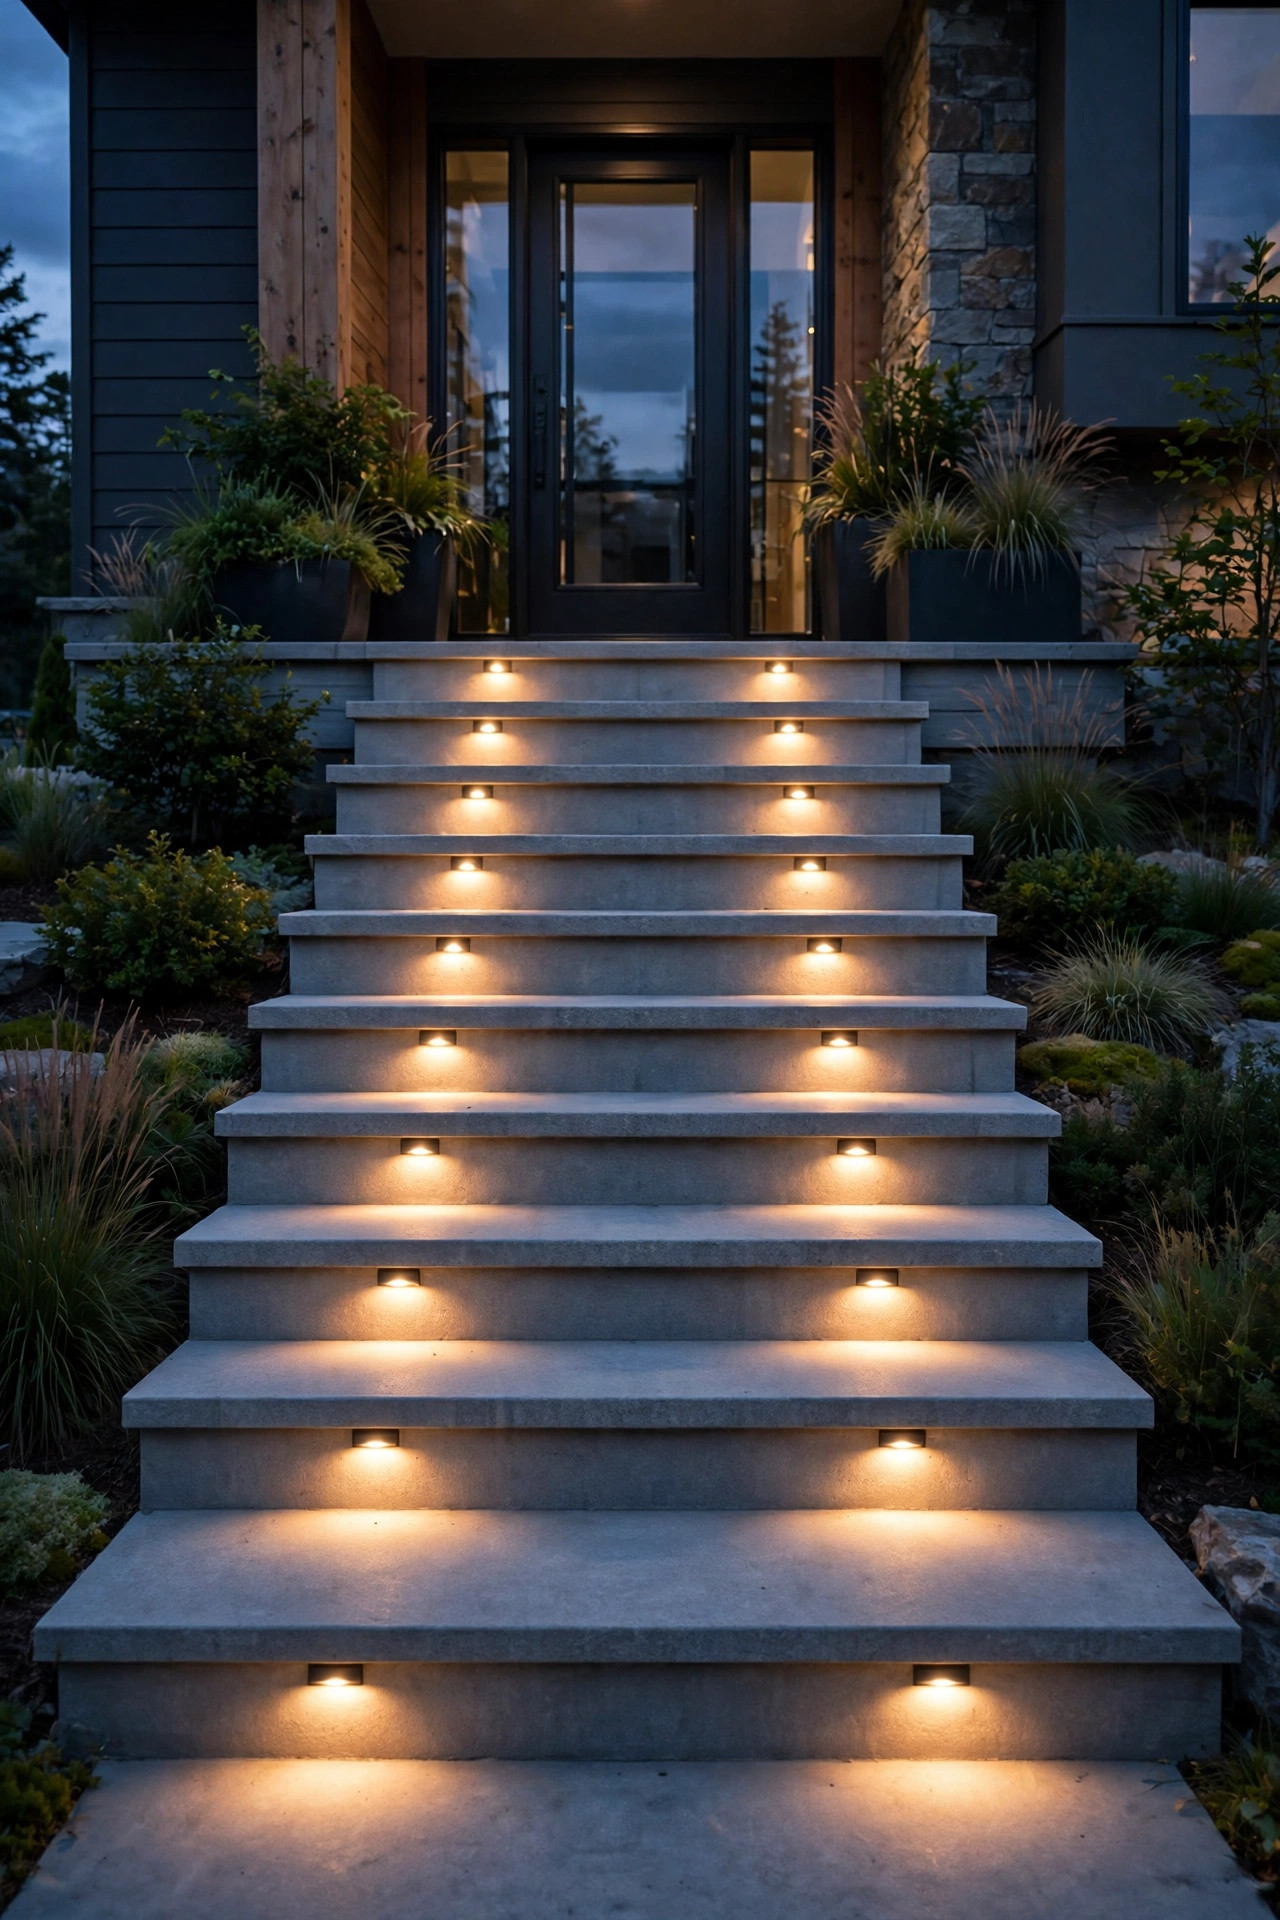
If you love the light but not the look of visible fixtures, hide the source: an aluminum channel with an LED strip tucked under the nosing — the lip — of each tread. The strip washes the riser and the tread below in a smooth, shadowless glow, and because the LEDs sit behind a frosted diffuser, you never see individual dots. This works beautifully on floating deck stairs, modern concrete steps, and open-riser designs where a traditional riser fixture has nothing to mount into. Use outdoor-rated strip (IP65 or better) in a channel with sealed end caps, and keep the driver — the little power supply — somewhere dry and reachable, like inside the porch skirting or a weatherproof box under the stairs. Strips are dimmable, which I love: full brightness when guests arrive, forty percent for a quiet evening glow. One caution from experience: adhesives fail outdoors within a season, so screw the channel in place rather than trusting the sticky backing. Done right, guests see light appearing from nowhere, and the staircase looks like it was designed that way from the start.
Suggested budget range: $90 – $280.
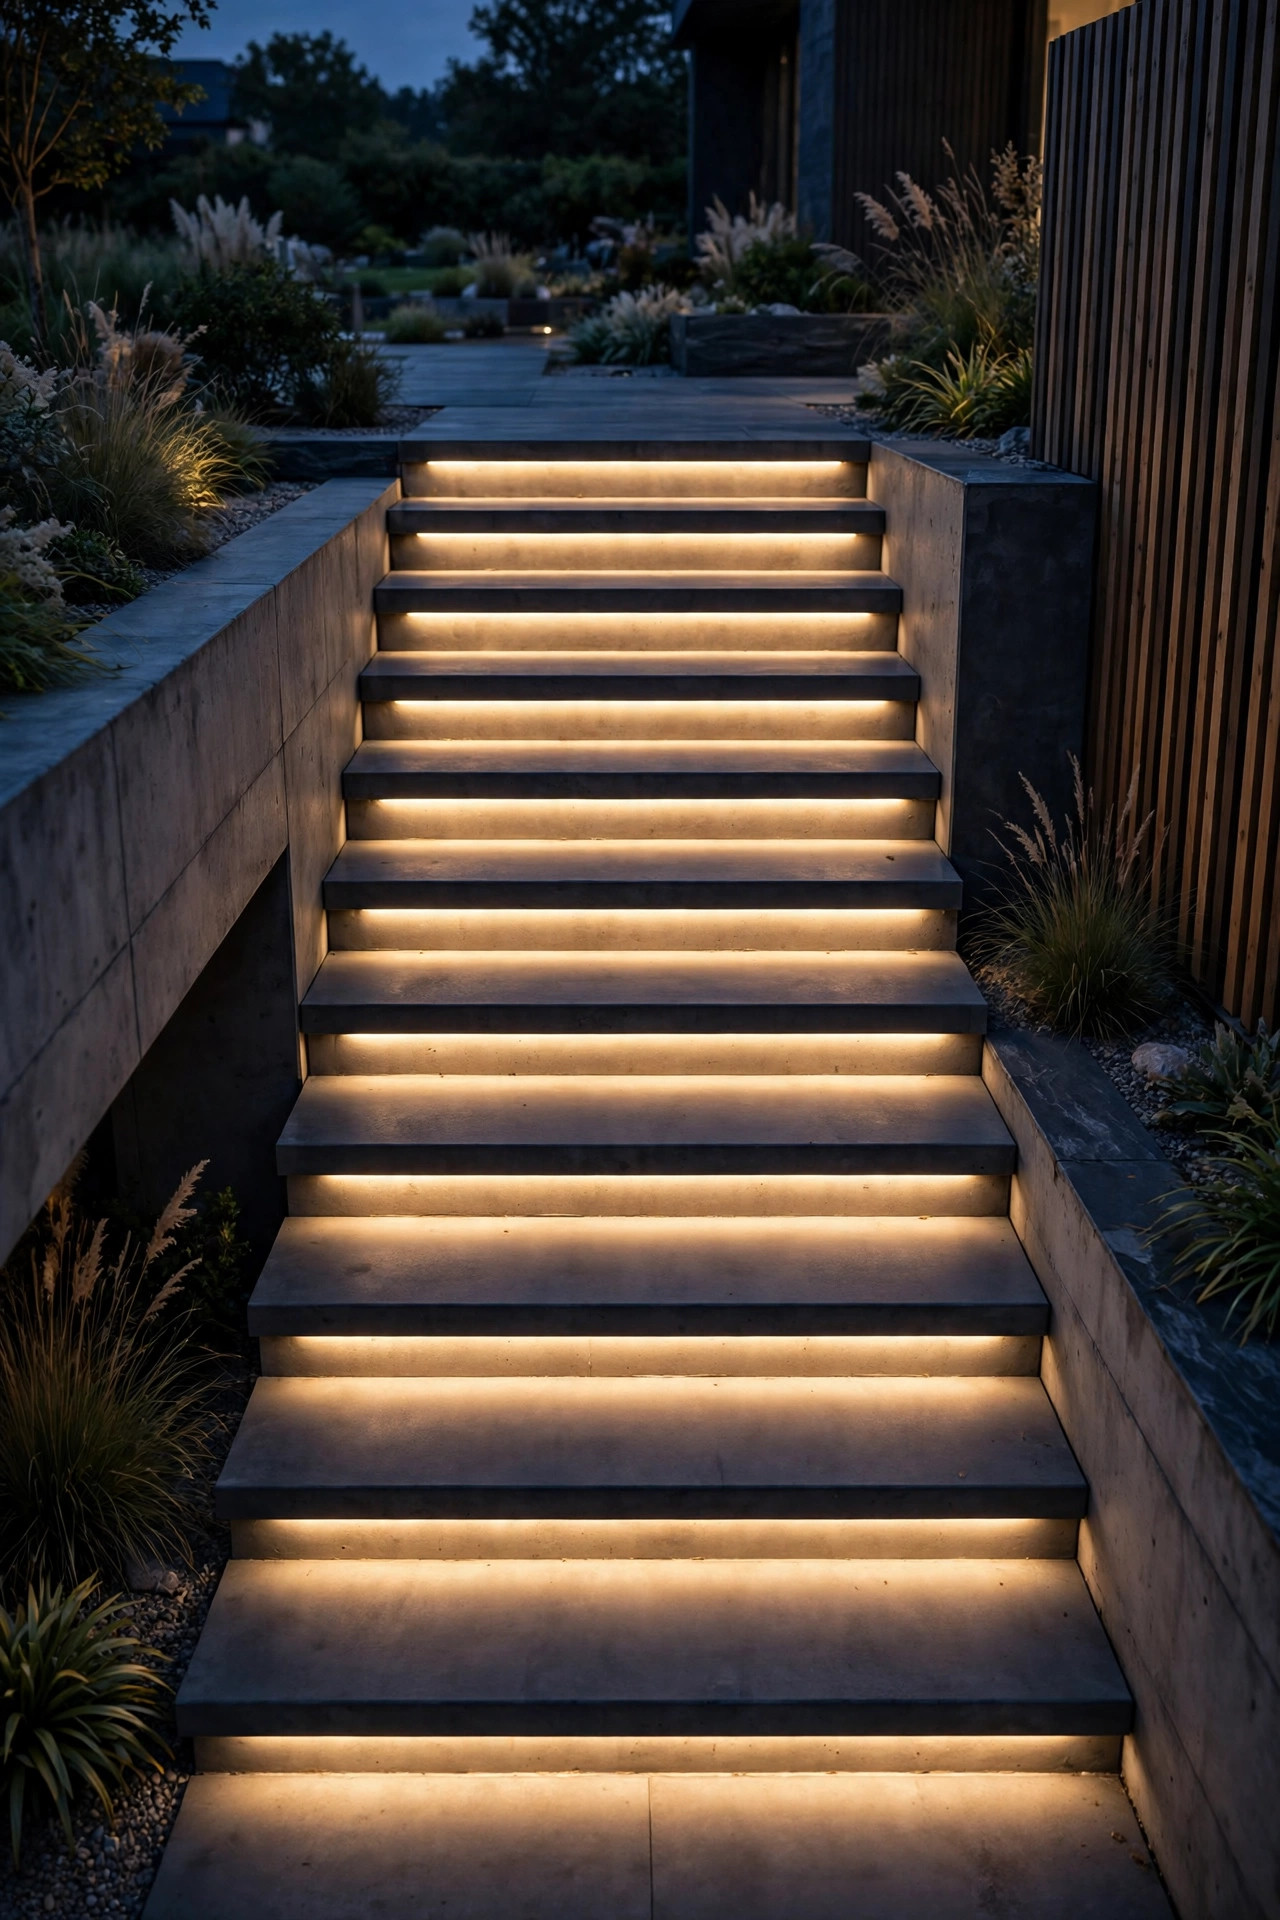
4. Recessed Lights Built Into Brick and Stone Steps
Masonry steps ask for a decision early: the fixtures have to go in while the mortar is still wet, or very carefully afterward. During a build, your mason sets a standard step-light housing into the riser course as the bricks or stones go up, leaving a sleeve for the wire run behind the veneer. The result is the most permanent, finished look on this list — the fixture becomes part of the architecture. For existing masonry, a diamond core drill can bore a neat round hole for the smaller puck-style housings, but it's slow, dusty work and one crack can ruin a riser, so I steer most people to a pro for retrofits in stone. Mortar joints are your friend either way: wiring can often chase along a raked-out joint and get repointed afterward, hiding the run completely. Choose faceplates in finishes that suit masonry — cast bronze, dark copper tones, or matte black — and avoid shiny chrome, which fights with natural stone. Seal around every housing with exterior silicone so freeze-thaw water can't creep behind the fixture and pop it loose in February.
Suggested budget range: $200 – $550.
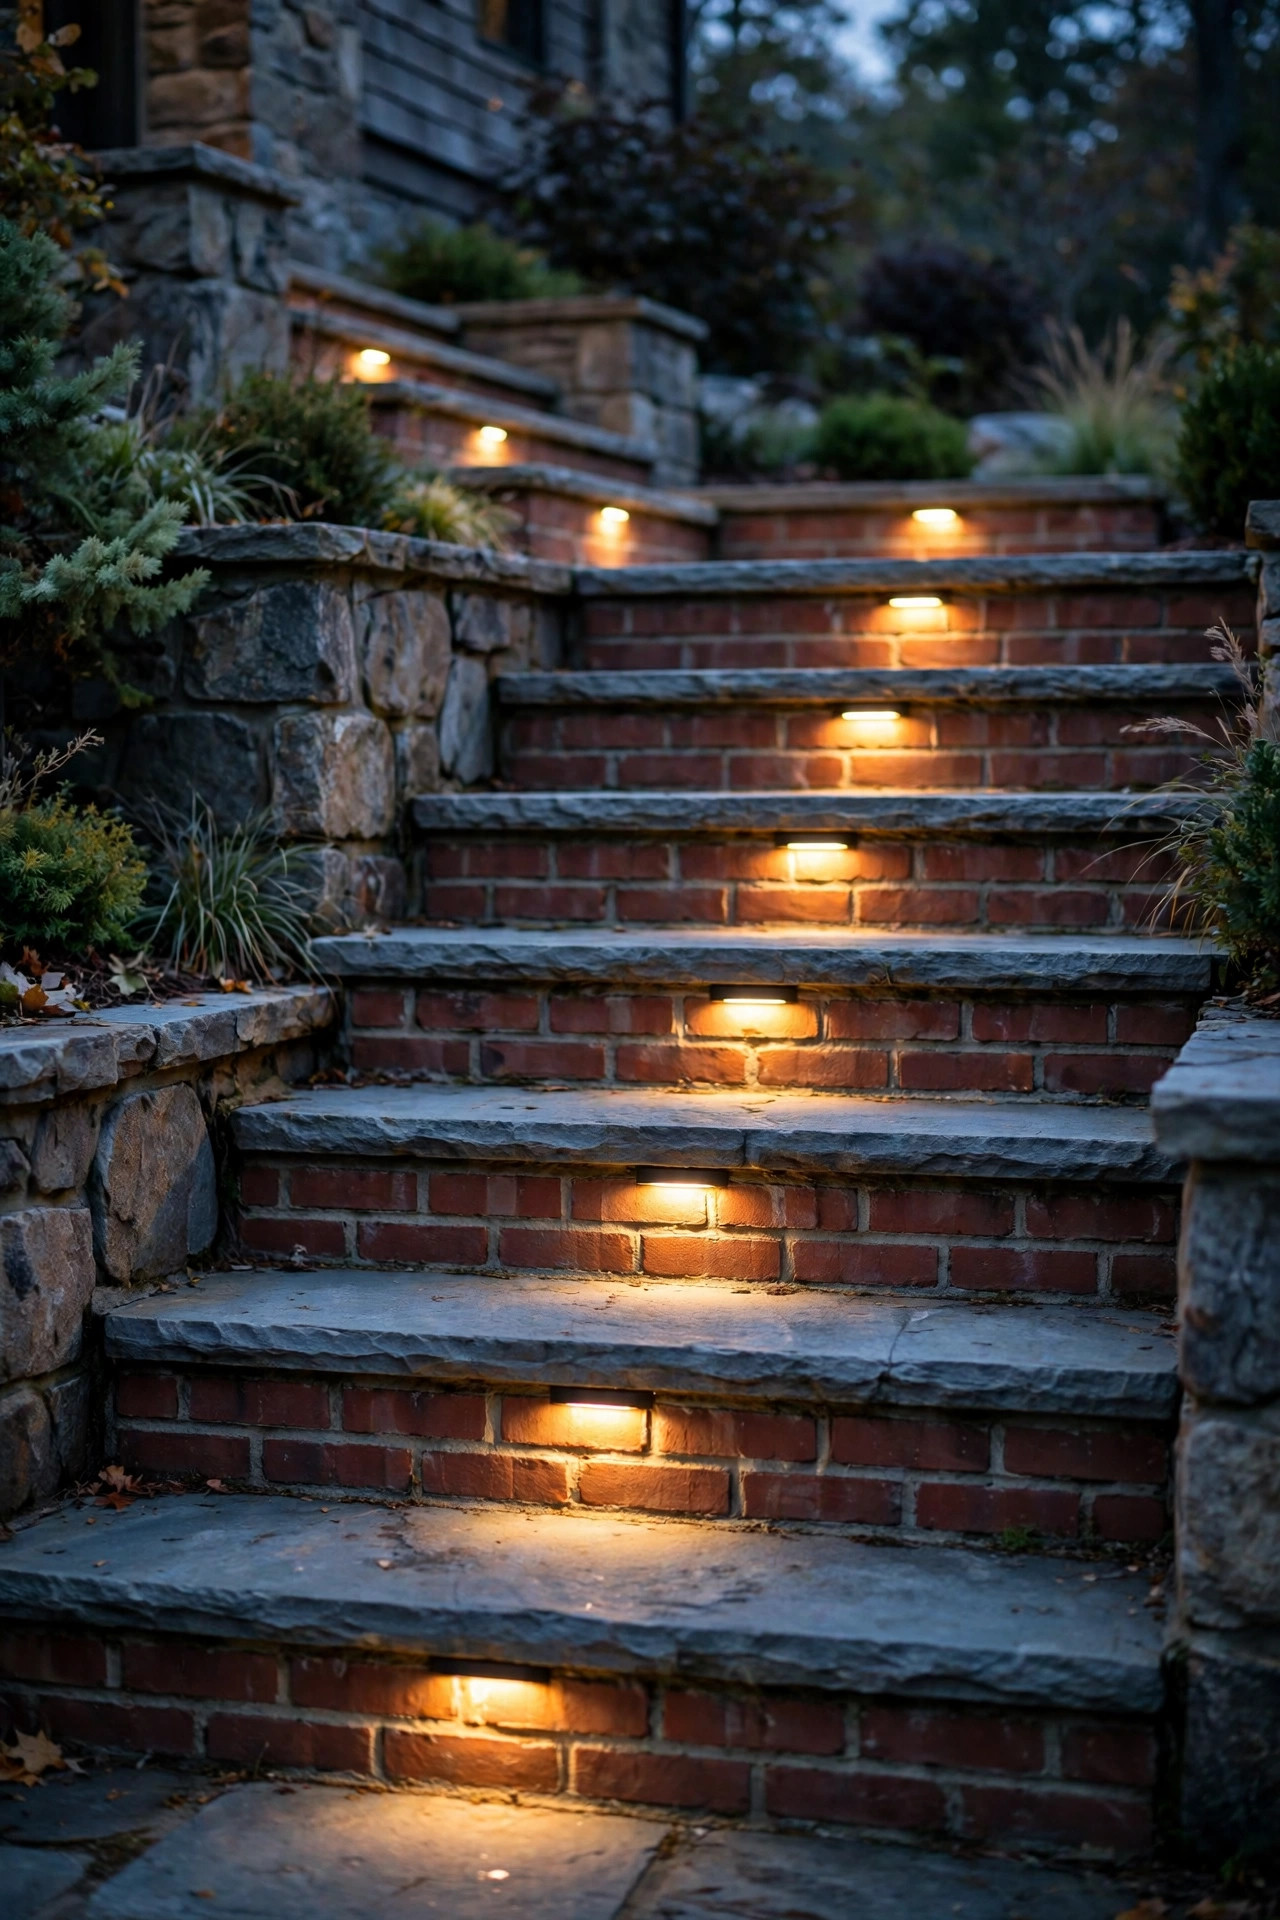
5. Concrete Stairs: Formed-In and Core-Drilled Fixtures
Pouring new concrete steps is a golden opportunity. Before the pour, your contractor mounts step-light rough-in boxes to the forms at each riser and runs conduit between them, so the fixtures finish dead flush with the concrete face — nothing protruding to catch a snow shovel. If your concrete stairs already exist, core-drilled round fixtures are the retrofit path: a 2 to 3 inch diamond hole in the riser, a sleeve, and a low-voltage cable fished through a shallow channel cut along the stringer or through a drilled run behind the steps. Keep fixtures at least an inch below the tread lip and an inch above the tread below, so the lens sits protected in the middle band of the riser. Concrete holds heat and moisture differently than wood, so pick housings rated for masonry contact, with stainless or composite bodies that won't rust-stain the face over time. I always recommend a test first: tape a flashlight in the planned position at dusk before you drill anything. Concrete is forever, and five minutes of preview beats a lifetime of living with a misplaced hole.
Suggested budget range: $180 – $500.

6. Retaining-Wall Lights That Wash Garden Stairs
Garden stairs often climb between retaining walls, and that wall is prime real estate. Recessing lights into the wall face — just above each tread line — throws light across the steps from the side, which models every edge beautifully and keeps fixtures out of the shovel-and-boot zone entirely. Wall lights aimed across the stair also avoid the dark-riser problem: instead of lighting one tread at a time, one wide-beam fixture can graze two or three steps at once. During a wall build, housings set into the block courses as they stack; for existing walls, core drilling works for round fixtures, and many block walls have hollow cores that make fishing wire surprisingly easy from the top cap. Space them 3 to 4 feet apart along the run, staggered to the steps rather than mathematically even — you're lighting treads, not drawing a grid. Pair them with soft uplighting in the beds above the wall and the whole staircase becomes a layered little scene instead of a dark gap between garden levels. This is the setup I sketch first for sloped backyards.
Suggested budget range: $150 – $420.

7. Stringer and Sidewall Mounts for Narrow Stairs
Narrow stairs — basement bulkheads, side-yard utility steps, the steep little runs between split levels — don't have riser width to spare, and a centered fixture can crowd the walking line. The answer is to move the light to the stringer: the sloped side board or wall that runs alongside the steps. Small recessed fixtures set into that sidewall, one every two or three steps, angled slightly down and across, give you clear tread definition without touching the steps themselves. On open stringers, mount under the sloped board so the light washes down the wall and pools onto the treads below. Aim matters more than brightness here — a 1-watt fixture aimed correctly beats a 3-watt fixture glaring sideways into your eyes as you climb. Keep the beam below horizontal, always. For a renter-friendly version, slim surface-mount stringer lights exist that read almost as clean as recessed ones with just two screws each. Whichever route you take, light narrow stairs from one side only; fixtures on both sides of a tight staircase create cross-glare that makes the steps harder to read, not easier.
Suggested budget range: $80 – $240.
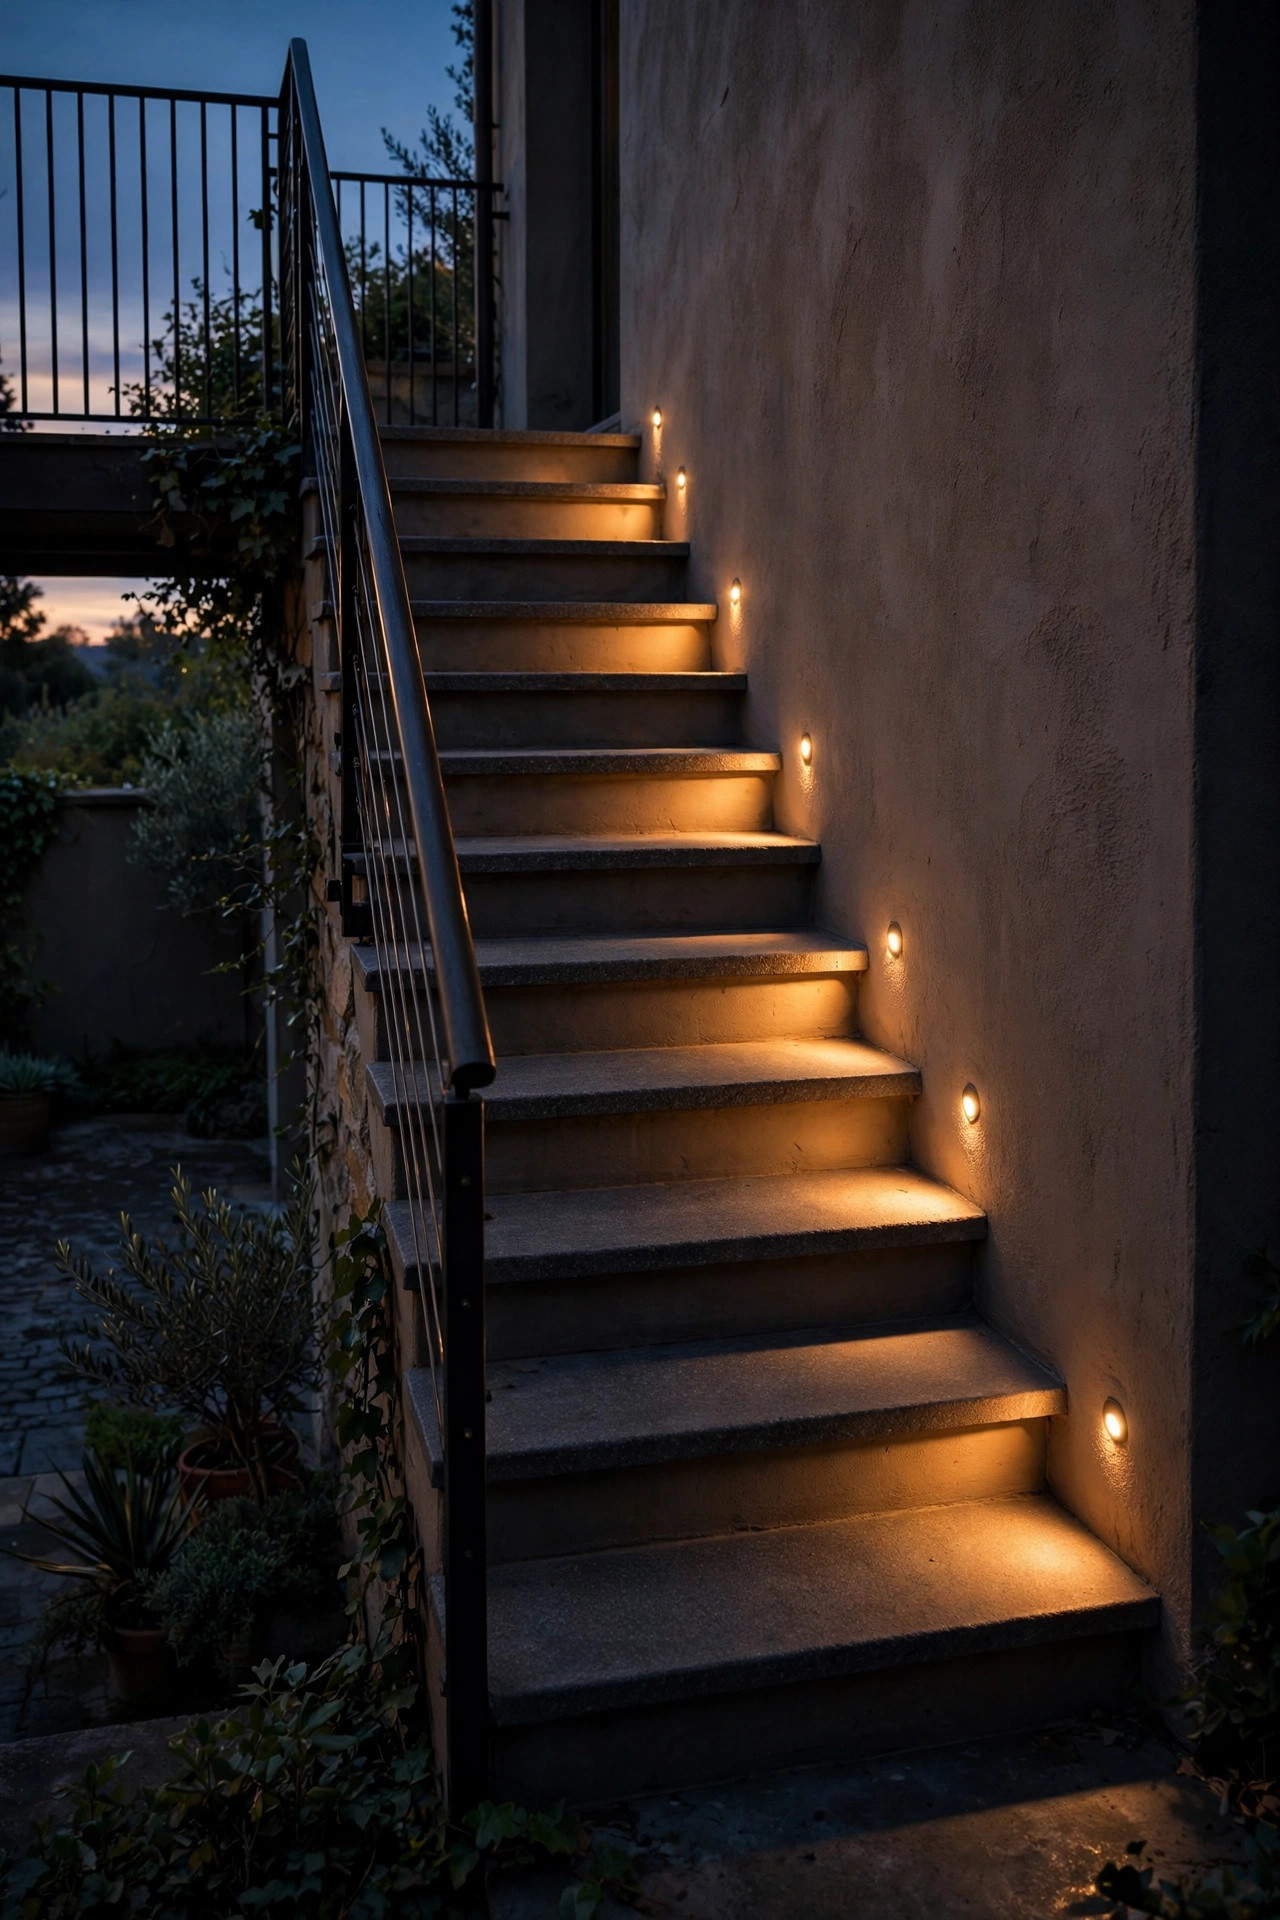
8. Round Mini Puck Lights for a Subtle Dotted Line
Sometimes the right move is smaller. Round recessed pucks — housings about 2 to 3 inches across — set into the riser read as a neat dotted line of light, modern and quiet, and they're my go-to for contemporary entries and minimalist garden stairs. Because each puck is small, placement gets flexible: centered, offset toward the handrail side, or paired at the ends of extra-wide treads. Many puck housings spring-clip into a drilled hole, which makes them one of the easier recessed styles to retrofit into wood and composite steps, and replaceable without disturbing the stair. Output is modest — typically half a watt to a watt and a half each — so plan on one per step rather than skipping steps, and lean on them for definition and ambience rather than full task lighting. Frosted lenses soften them nicely; clear lenses give a crisper, star-like sparkle that suits modern architecture. In my experience, pucks look best in strict alignment. Chalk a line, use a drilling template, and keep every center within an eighth of an inch — the eye forgives a lot, but not a wobbly row of dots.
Suggested budget range: $70 – $200.
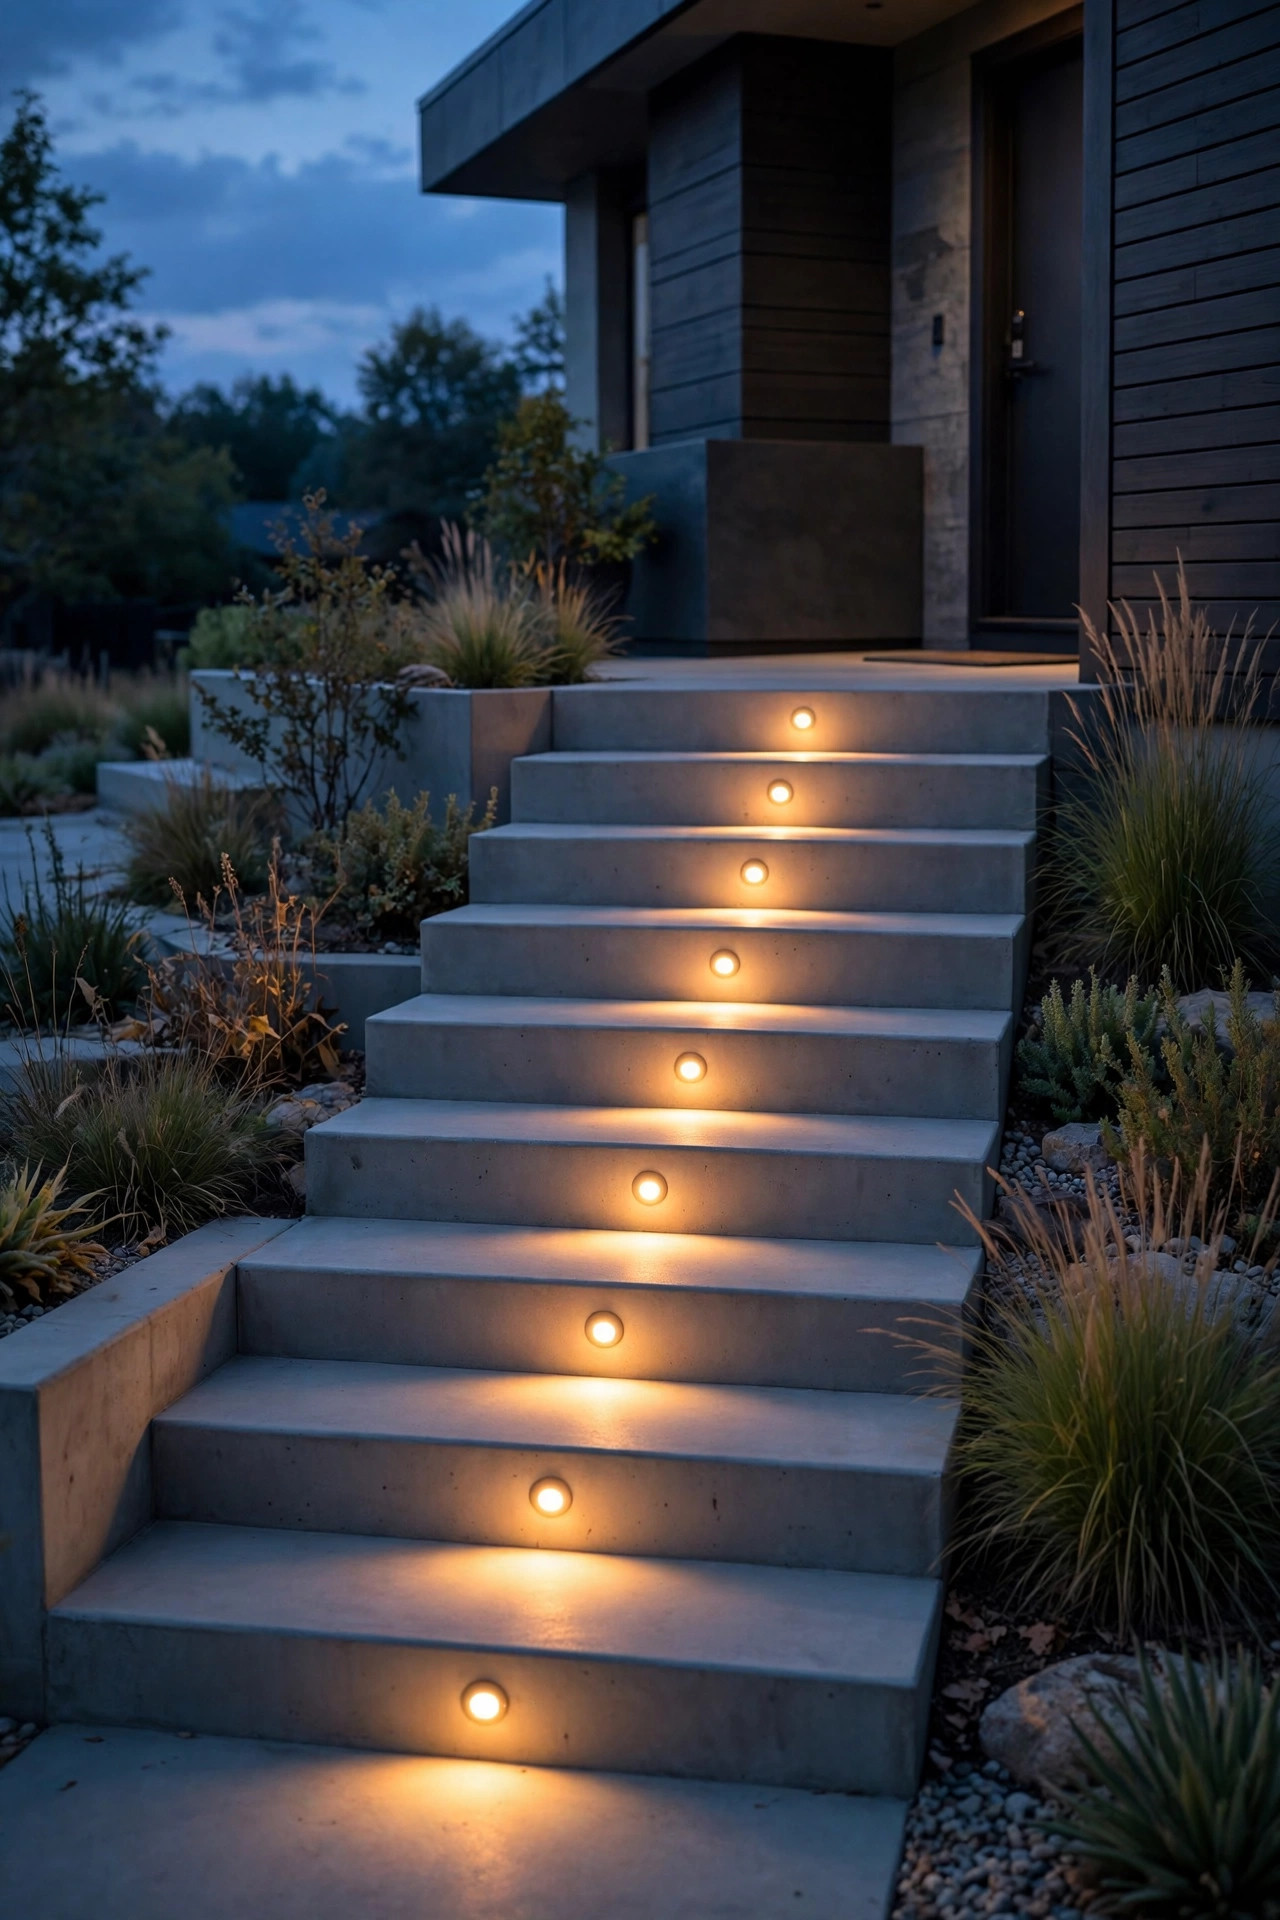
9. Louvered Faces That Kill the Glare
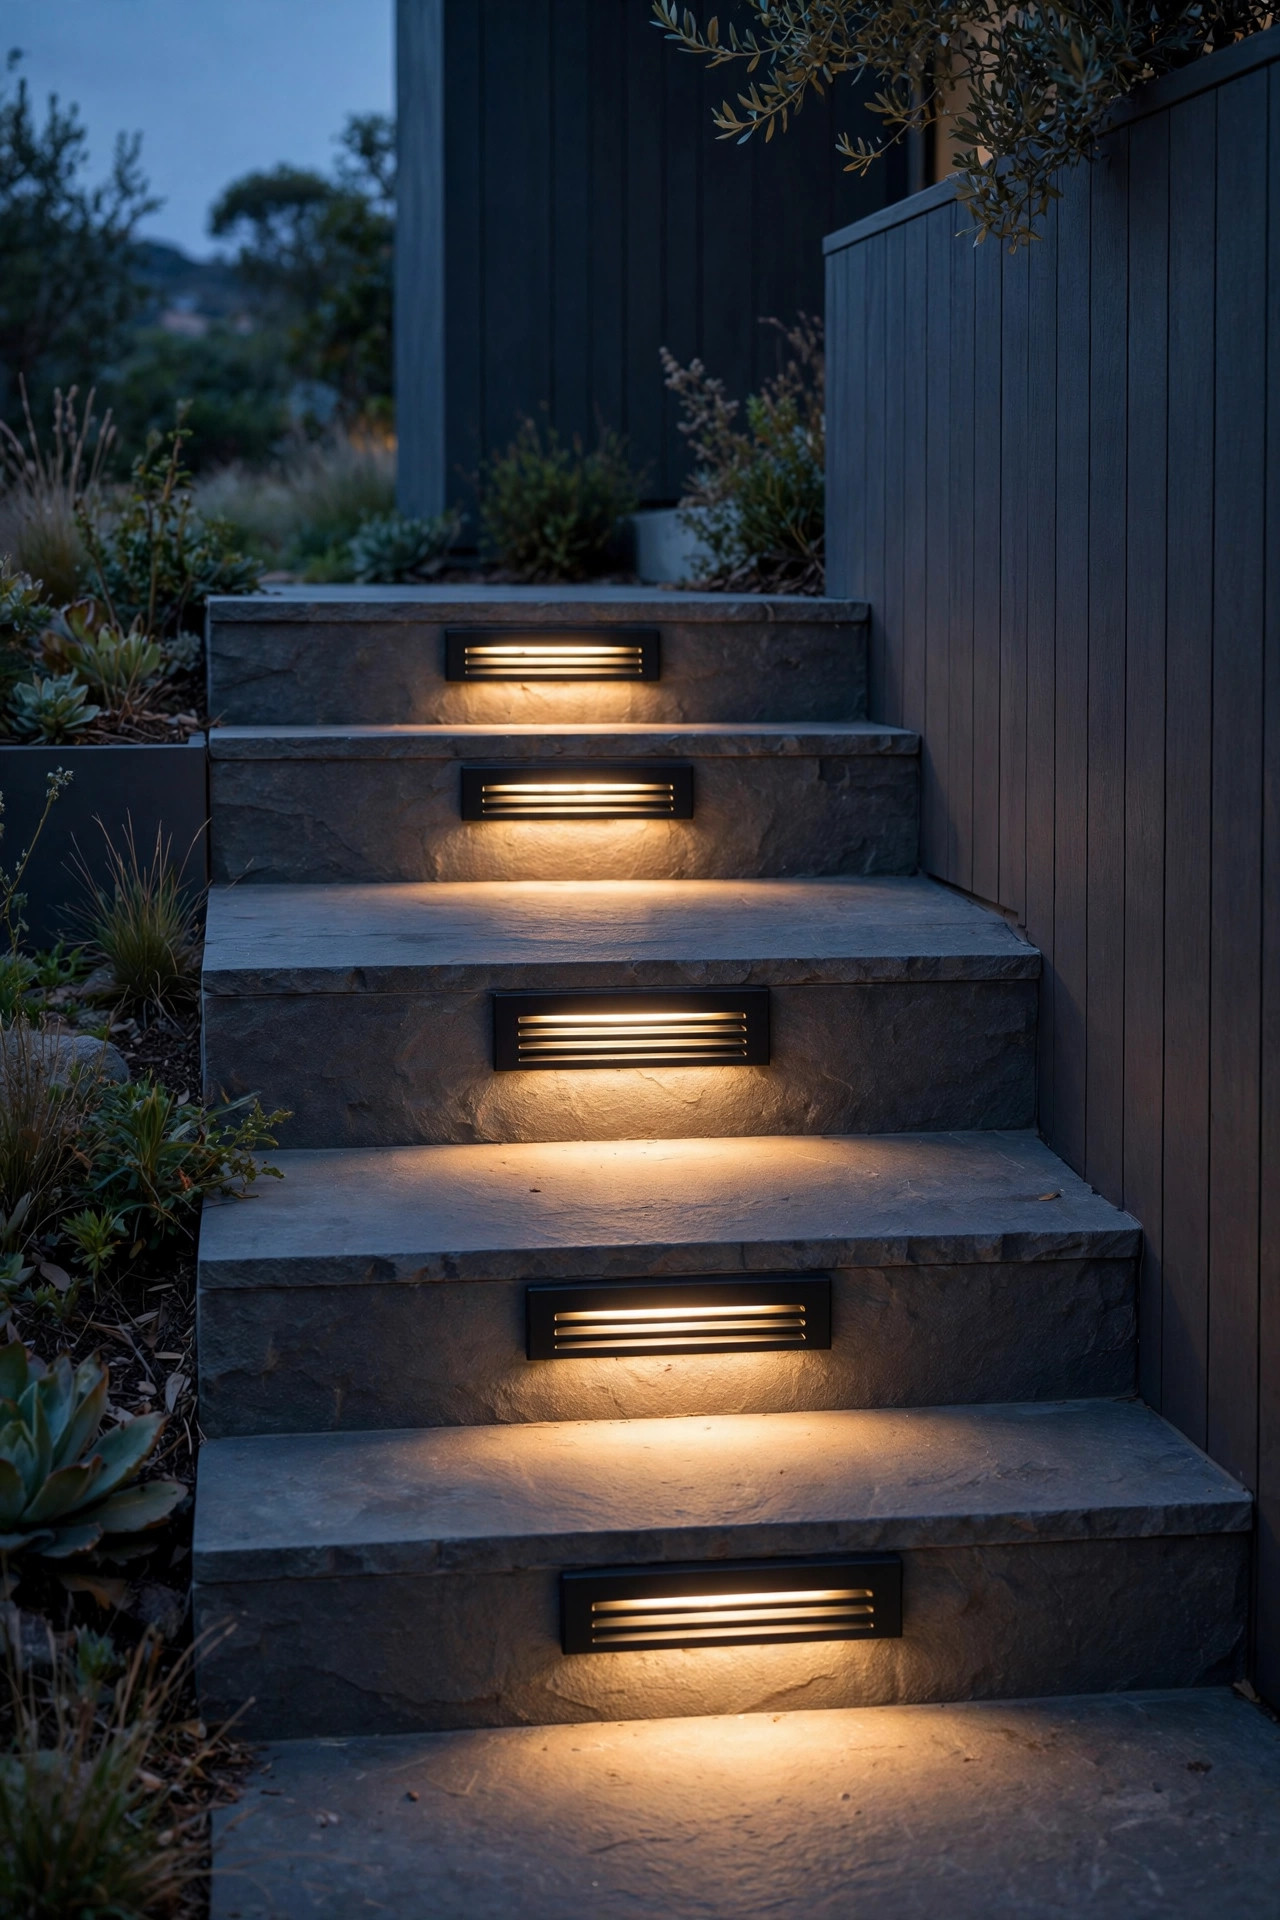
Here's the complaint I hear most about step lights: "I love the steps lit, but the fixtures blind me on the way up." That's a faceplate problem, and louvered fixtures solve it. Angled slats — like tiny venetian blinds — block the direct view of the LED from below while letting the light escape downward onto the tread, which is the only place you need it. Eyelid-style covers do the same job with a single hood. If your staircase faces a seating area, a street, or a neighbor's window, louvered or hooded fixtures are close to mandatory; they're also the kindest choice for anyone with light-sensitive eyes. The tradeoff is a slightly narrower spread, so on wide treads I either add a second fixture or step up one brightness level. Test at night from the bottom of the stairs, at a child's eye height as well as your own — if you can see the bright diode itself from any normal approach angle, rotate the fixture or swap the face. Glare-free is the whole point of recessed lighting; a louvered face is how you actually get it.
Suggested budget range: $130 – $360.
10. Solar Recessed Step Lights for Wire-Free Garden Stairs
No outlet, no transformer, no trench: solar recessed step lights are the easiest entry on this list, and for garden stairs far from the house they're often the only practical one. Each fixture carries its own small panel — usually on the faceplate or on a short remote lead — a rechargeable battery, and a dusk sensor. Set honest expectations: brightness is gentle, closer to a marker glow than true task lighting, and runtime depends on the day's sun, so stairs under dense tree canopy will fade by midnight in winter. Mount them where the panels see at least six hours of direct sun, which sometimes means choosing the sunny-side riser or stepping up to a remote-panel model so the collector can sit in the light. Installation is genuinely simple — a drilled hole or a small routed recess, two screws, done in minutes per step. I use solar recessed lights on my own far garden steps and treat them as wayfinding: they tell your feet where the steps are, beautifully, while the high-traffic front entry stays on wired lights for full brightness. Mix and match by location — that's not a compromise, it's layering with common sense.
Suggested budget range: $40 – $120.
11. Low-Voltage Runs for Long Staircases
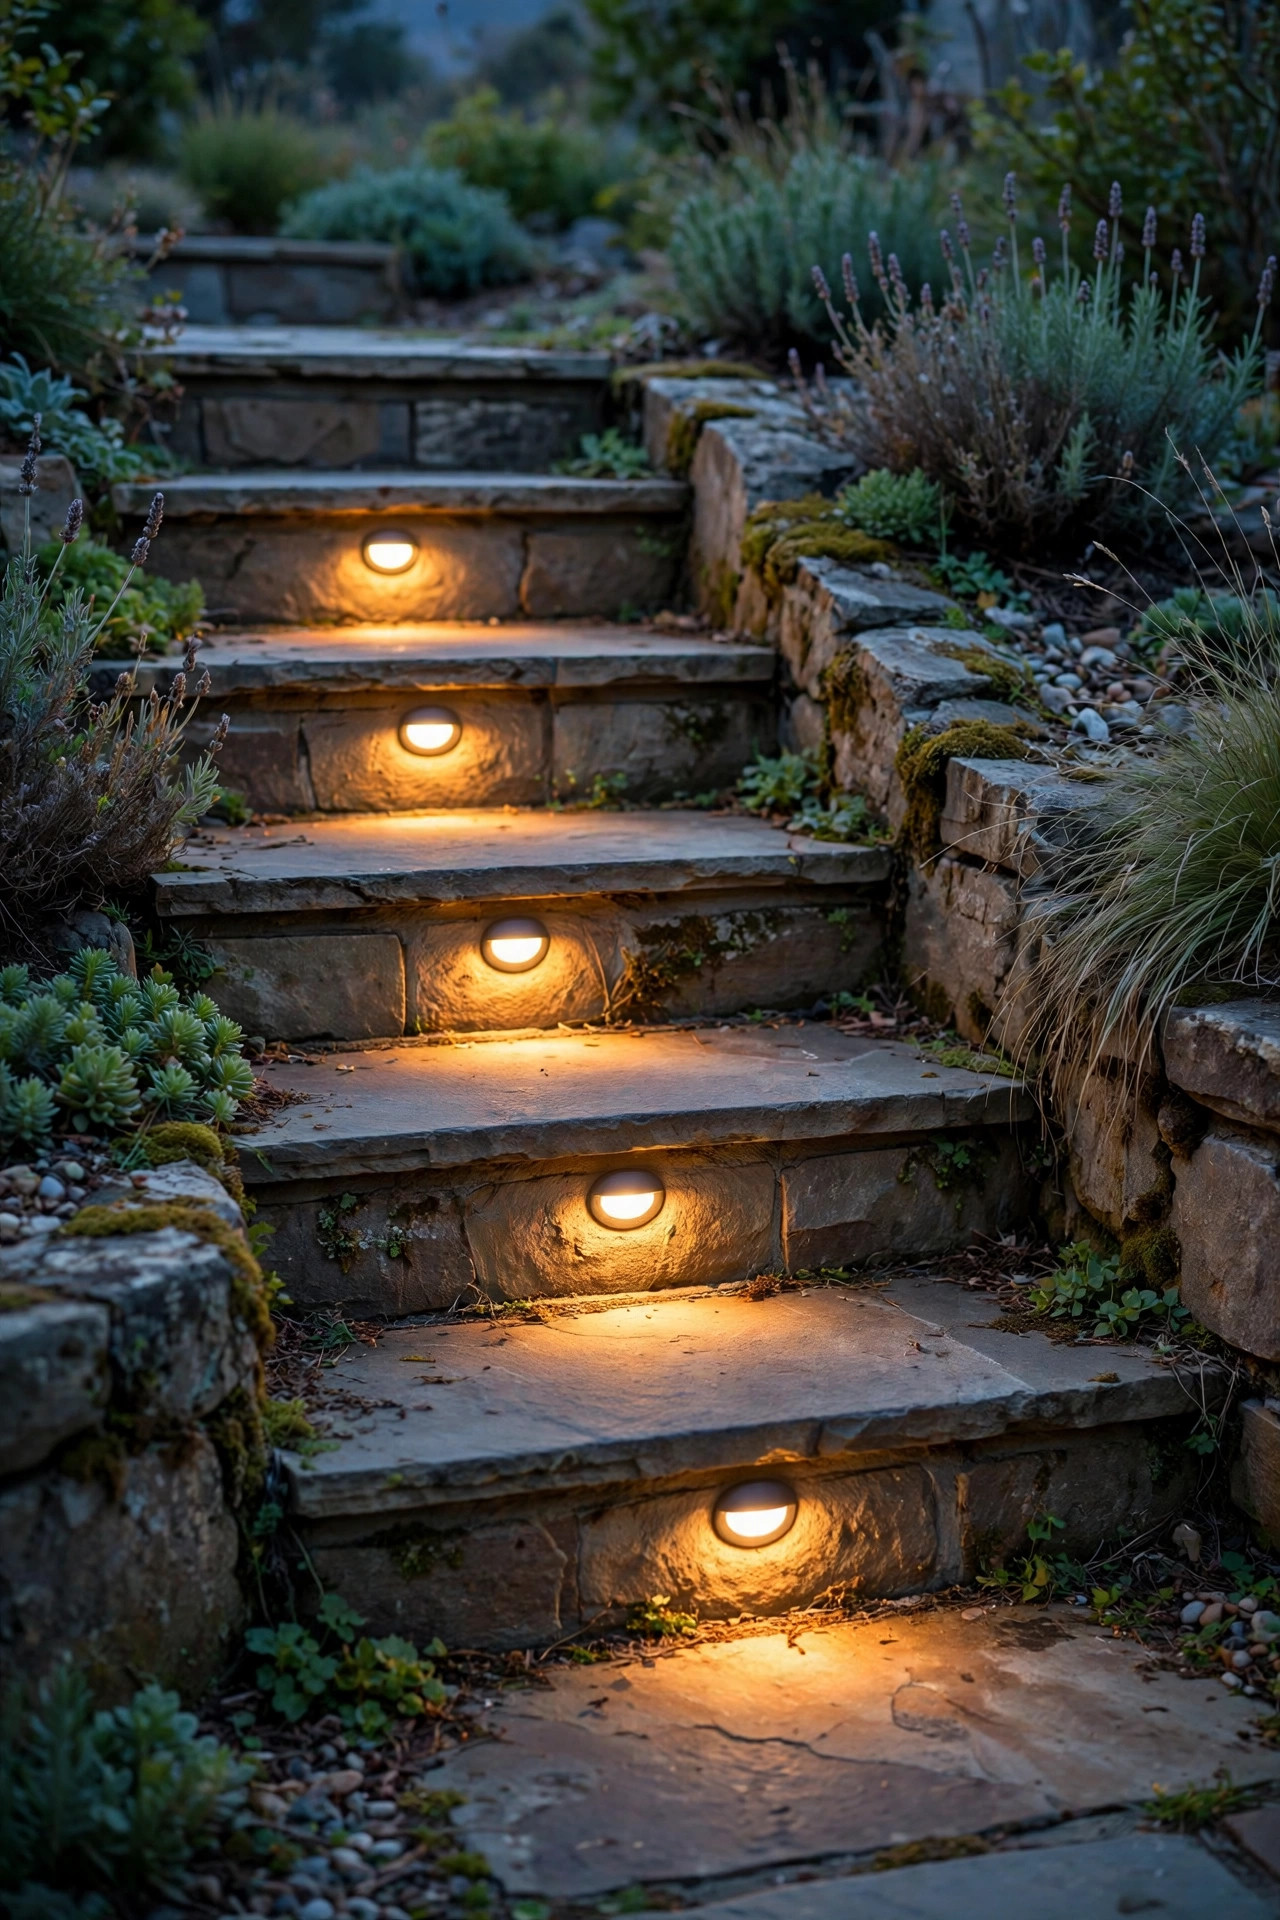
For a long staircase — ten, fifteen, twenty steps down a garden slope — low-voltage wiring is the reliable backbone. A single 12-volt transformer near the house can feed the whole run, and here's the math I use: total the fixture wattage (say 15 fixtures at 2 watts = 30 watts), then choose a transformer at least 50 percent larger, so a 60-watt unit minimum, to leave room for the voltage drop that naturally happens along a long cable run. Run the heaviest cable — 12-gauge — for the first stretch, and tap fixtures along it like stations. Voltage drop is the silent killer of long runs: the last step glows amber while the first burns bright white. Fight it by feeding the run from the middle, or by looping the cable back so both ends connect, which equalizes brightness noticeably. Bury cable 6 inches deep along the stair edge, or better, tuck it in conduit under the stringer where spades and edgers can't find it. Put the transformer on a photocell or a simple astronomic timer and the whole staircase wakes up at dusk without you thinking about it.
Suggested budget range: $180 – $480.
12. The Every-Other-Step Pattern, Done Right
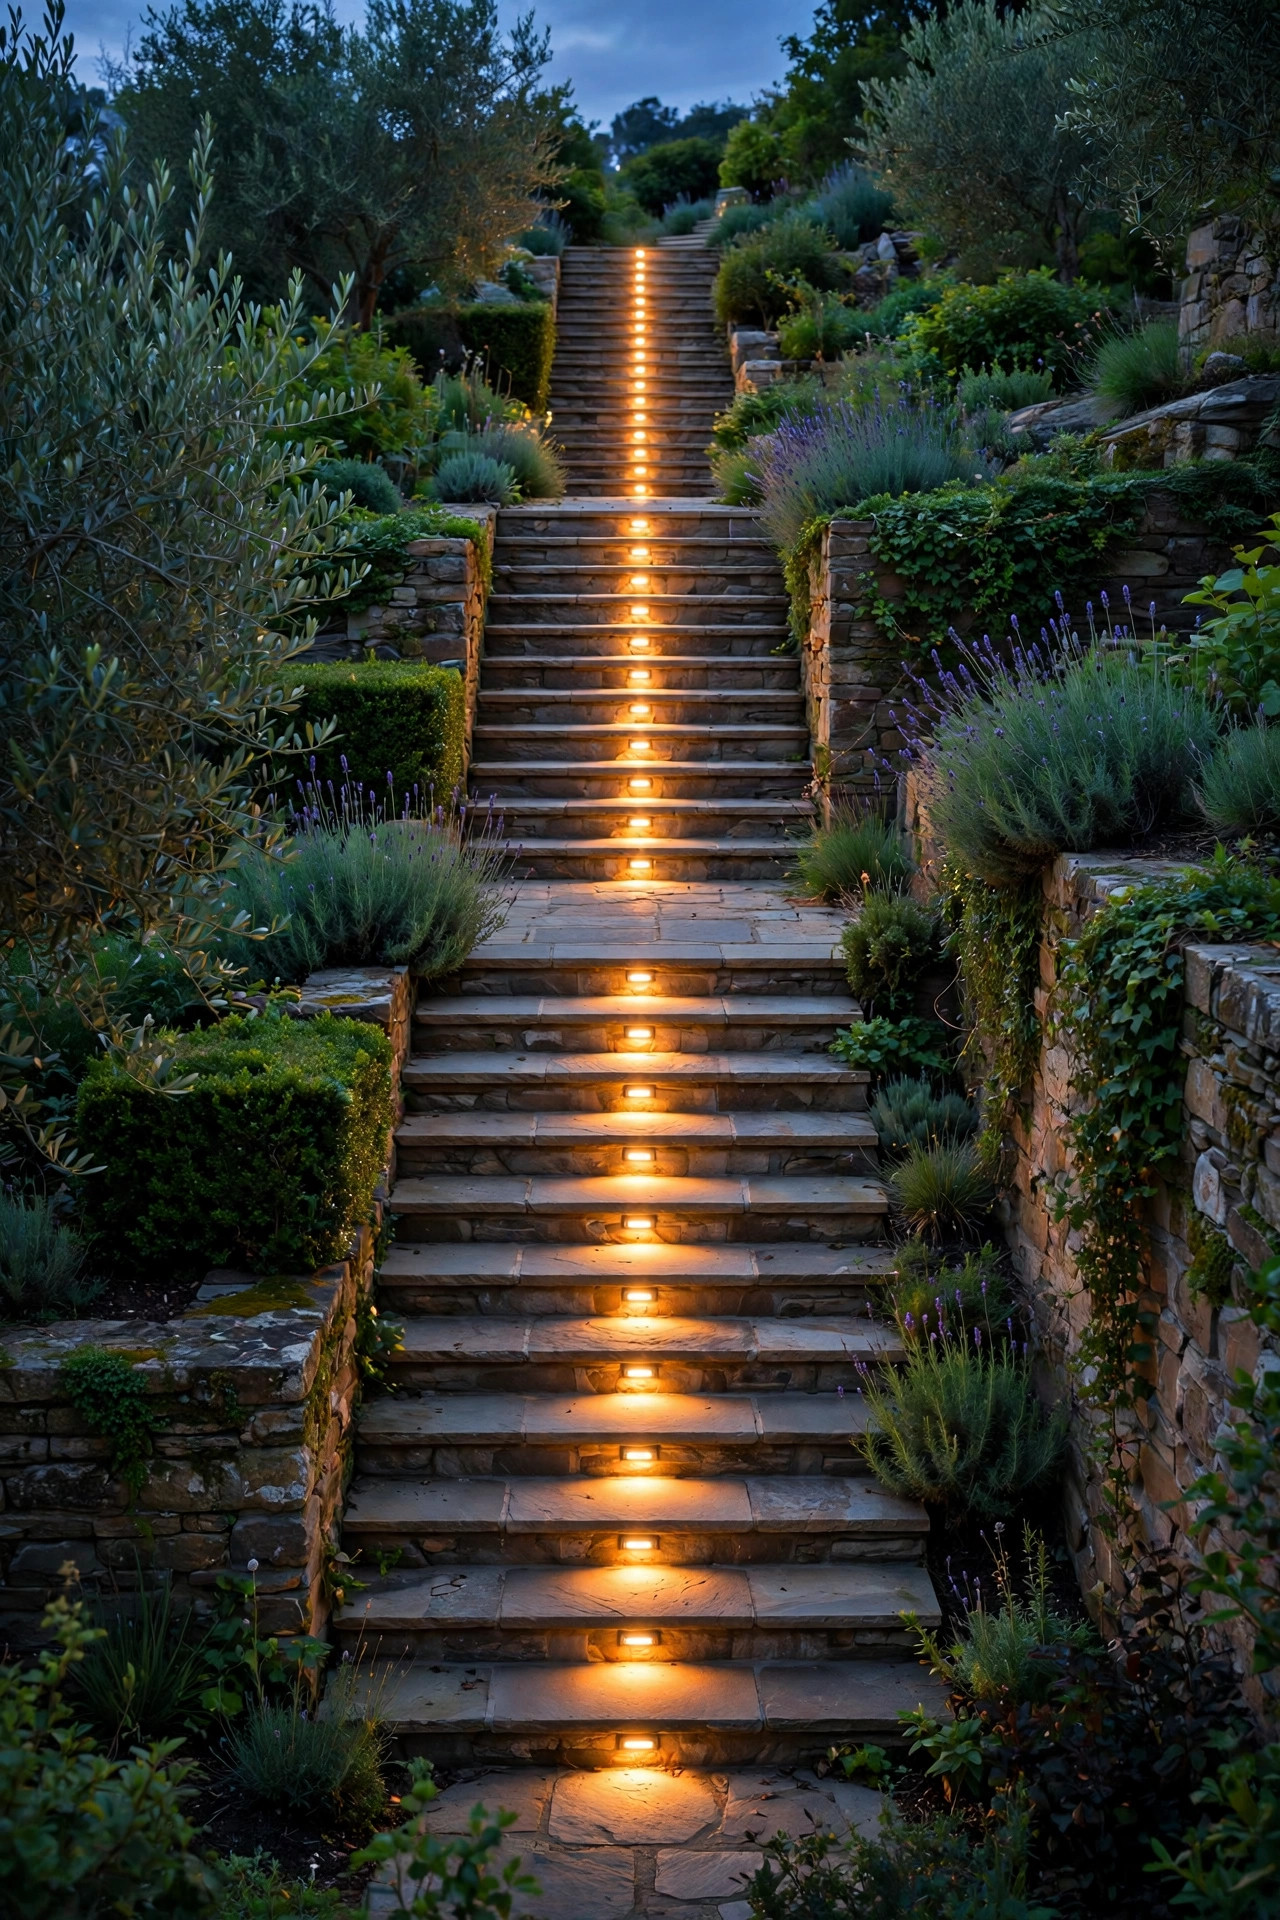
Lighting every single riser can be overkill — visually busy, and twice the fixtures to buy. The every-other-step pattern is the classic alternative, and when it's done right it looks deliberate and calm. The trick is consistency plus compensation: light steps 1, 3, 5, 7 with fixtures a touch brighter than you'd use for an every-step layout, and make sure each unlit tread sits between two lit ones so it borrows light from both sides. This pattern works best on stairs with uniform treads and a handrail, where your hand confirms what your eyes see. It works worst on irregular garden steps of varying heights — there, light every step, no debate. If your staircase has a mid-landing, treat the landing as its own zone with a fixture at its edge; landings are where people pause, turn, and misjudge. I also recommend a fixture on the final bottom step regardless of the pattern — the last step is the one people miss in the dark, and it's the cheapest insurance on the whole staircase. Consistency is the rule: whatever rhythm you choose, never break it halfway up.
Suggested budget range: $90 – $260.
13. Recessed Lights in Deck Stair Risers
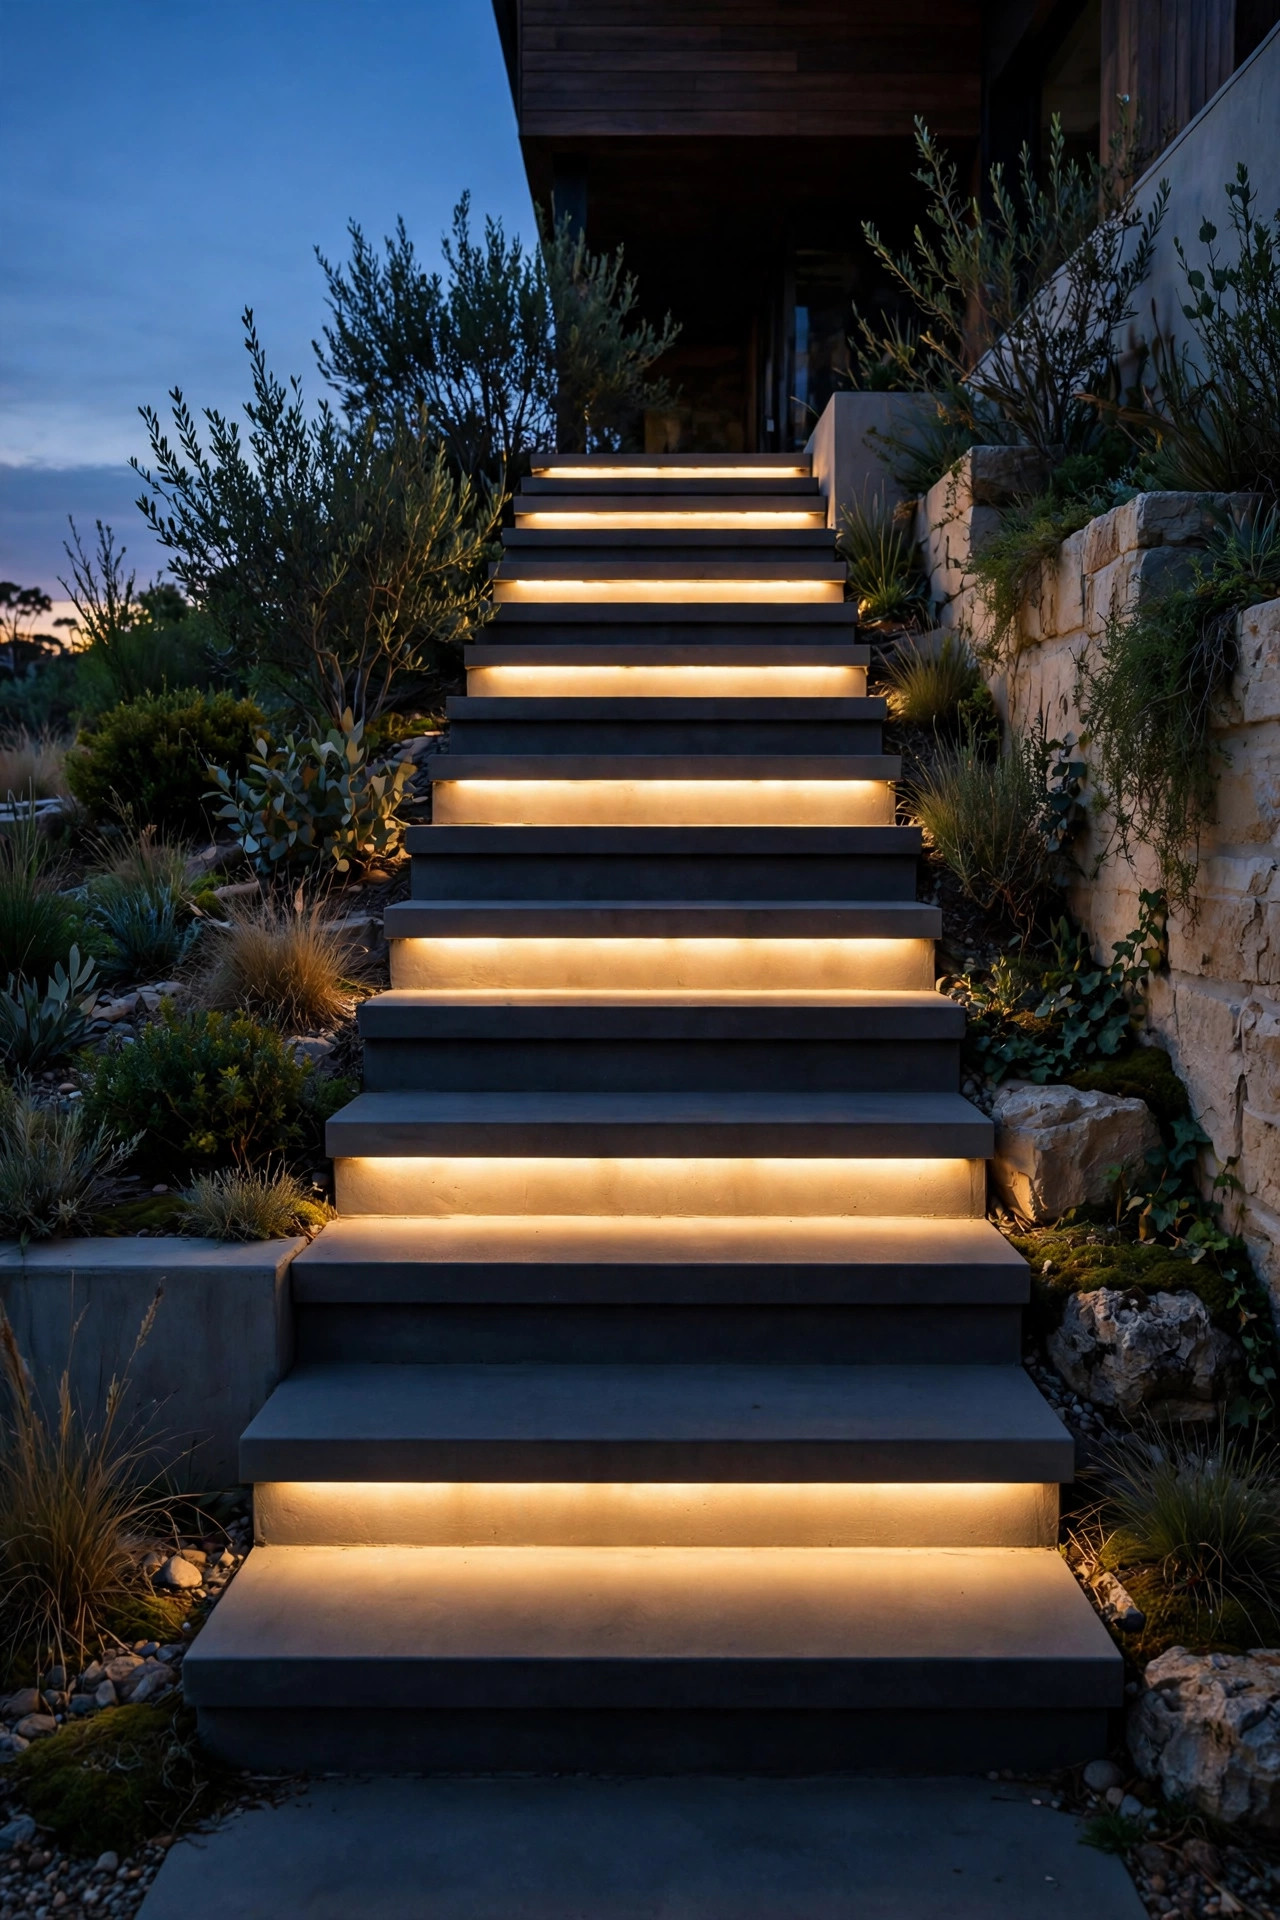
Deck stairs are the friendliest retrofit of all, because the risers are wood or composite and easy to work. The standard approach: a rectangular or round fixture recessed into each riser board, centered or paired, wired from beneath the deck where the joists give you a protected cable highway. Composite risers drill cleanly with a hole saw — go slow and let the saw clear its chips so heat doesn't melt the material — and most fixtures are sized to standard framing dimensions. Leave a service loop of extra cable behind each fixture; the day a light needs swapping, you'll be grateful you can pull it out and work in your hands instead of inside a 6-inch cavity. Because deck stairs often serve bare feet and wet pool traffic, pick fixtures with smooth, snag-free faces and no protruding screws. Under-rail strip lighting layers beautifully on top of riser lights if you want both definition and ambience. For the full picture — post caps, rail lights, and tread options — our deck stair light ideas roundup walks through the whole staircase.
Suggested budget range: $110 – $320.
14. Paver and Hardscape Steps: Lights Hidden in the Joints
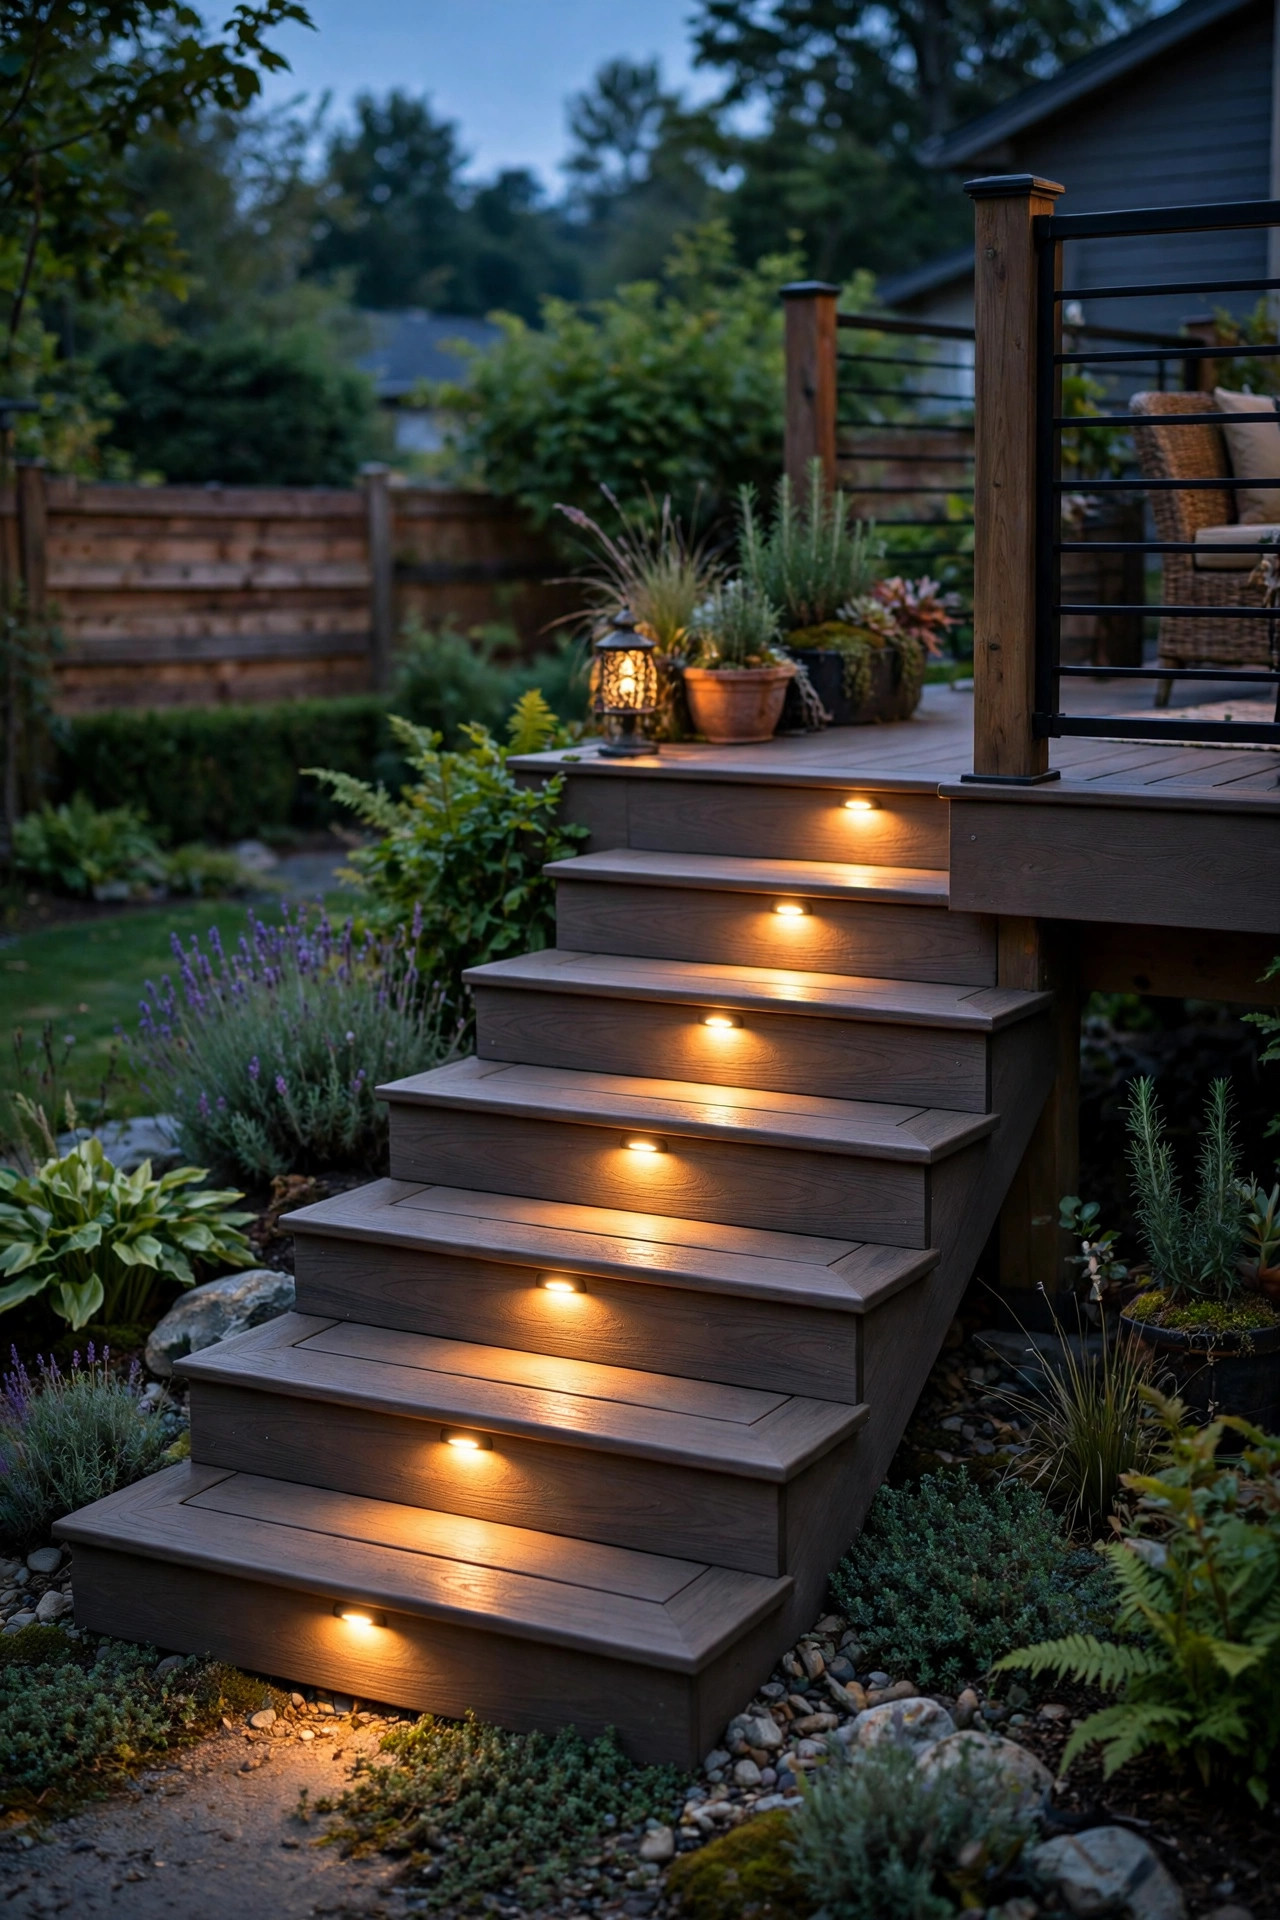
Paver steps and hardscape stairs have their own fixture family: slim lights designed to slip into the joints and under the cap stones of segmented retaining-wall and paver systems. Many mount under the capstone lip at the top of each riser, shining down the face; others recess into a paver course itself. Either way, the wiring runs inside the hollow blocks or behind the wall before the caps are glued down, so this is emphatically a during-the-build install — plan the lighting when you plan the steps, not after. If your hardscape steps already exist, an under-cap retrofit is sometimes possible by carefully lifting the cap stones (they're often just adhesive-set), running the cable, and resetting them. Spacing on paver steps follows the material: one fixture per 3 to 4 feet of width, aligned to the paver joints so the layout looks intentional. Our deeper guide to paver hardscape lights covers the block systems and cap details in more depth. Hardscape lighting disappears more completely than any other kind — by day, there is simply nothing to see.
Suggested budget range: $220 – $600.

15. Motion-Sensor Step Lights for Occasional Stairs
Some stairs don't need to glow all night — the side-gate steps, the basement bulkhead, the shortcut down to the driveway. Motion-sensor recessed lights were made for these: dark and invisible until you approach, then a gentle fade-up that stays on for a minute or two. Battery and solar versions dominate this niche since occasional stairs rarely have power nearby, and modern sensors reach a comfortable 10 to 15 feet, so the light is on before your foot finds the first step. Mount the sensor where it sees the approach path, not just the stair itself, and aim it across the traffic flow — sensors detect side-to-side movement far better than someone walking straight at them. Sensitivity tuning matters at the edges of a yard; set it too eager and every passing cat hosts a light show. I like these as a supplement, not a substitute: keep a couple of always-on marker lights at the top and bottom of a frequently used stair, and let motion handle the middle hours and the rarely used runs.
Suggested budget range: $50 – $150.
16. Smart Controls: Timers, Dimming and Evening Scenes
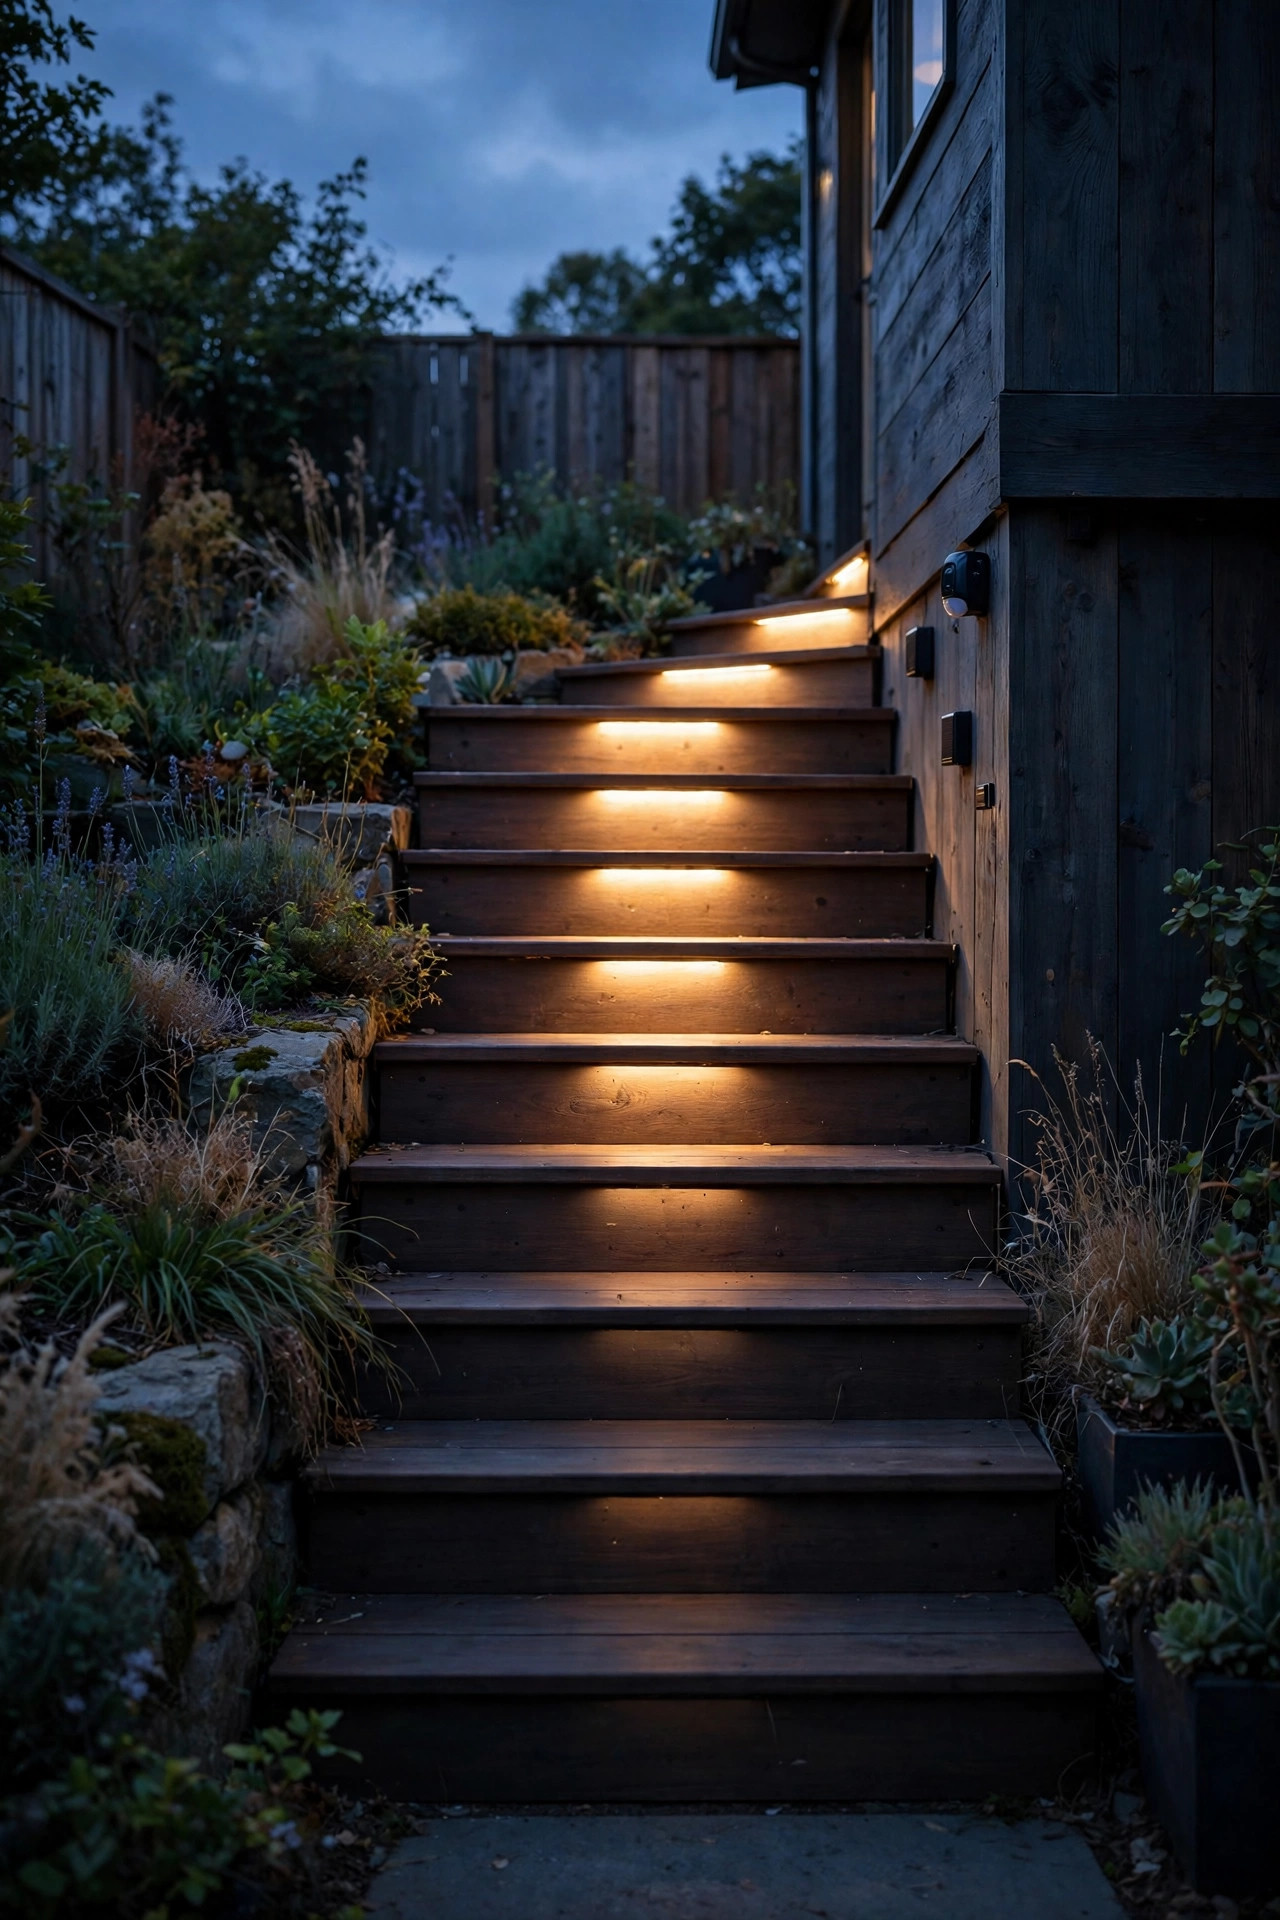
A recessed step system on a plain switch is a missed opportunity. Put the transformer or the circuit on a smart control and the staircase joins your whole evening routine: on at sunset at full brightness for the arrival hours, dimmed to a soft 30 percent after ten, off at midnight — or glowing all night at low level if your street runs dark. Astronomic timers are the simple, bulletproof version; they track sunset for you through the seasons with no app and no fuss. App-controlled low-voltage transformers go further, letting you split the front entry and the garden stairs into separate zones with separate schedules. Dimming also extends the mood range of the exact same fixtures — crisp and safe for a party crowd, low and amber for a quiet glass of wine on the landing. One practical note: not every LED step fixture dims happily on every control, so confirm dimmer compatibility before you buy the whole set, and test one fixture first. In my experience, a staircase that dims is a staircase that gets used at exactly the right brightness every single night.
Suggested budget range: $60 – $220.
17. Matching Color Temperature to Your Porch Light
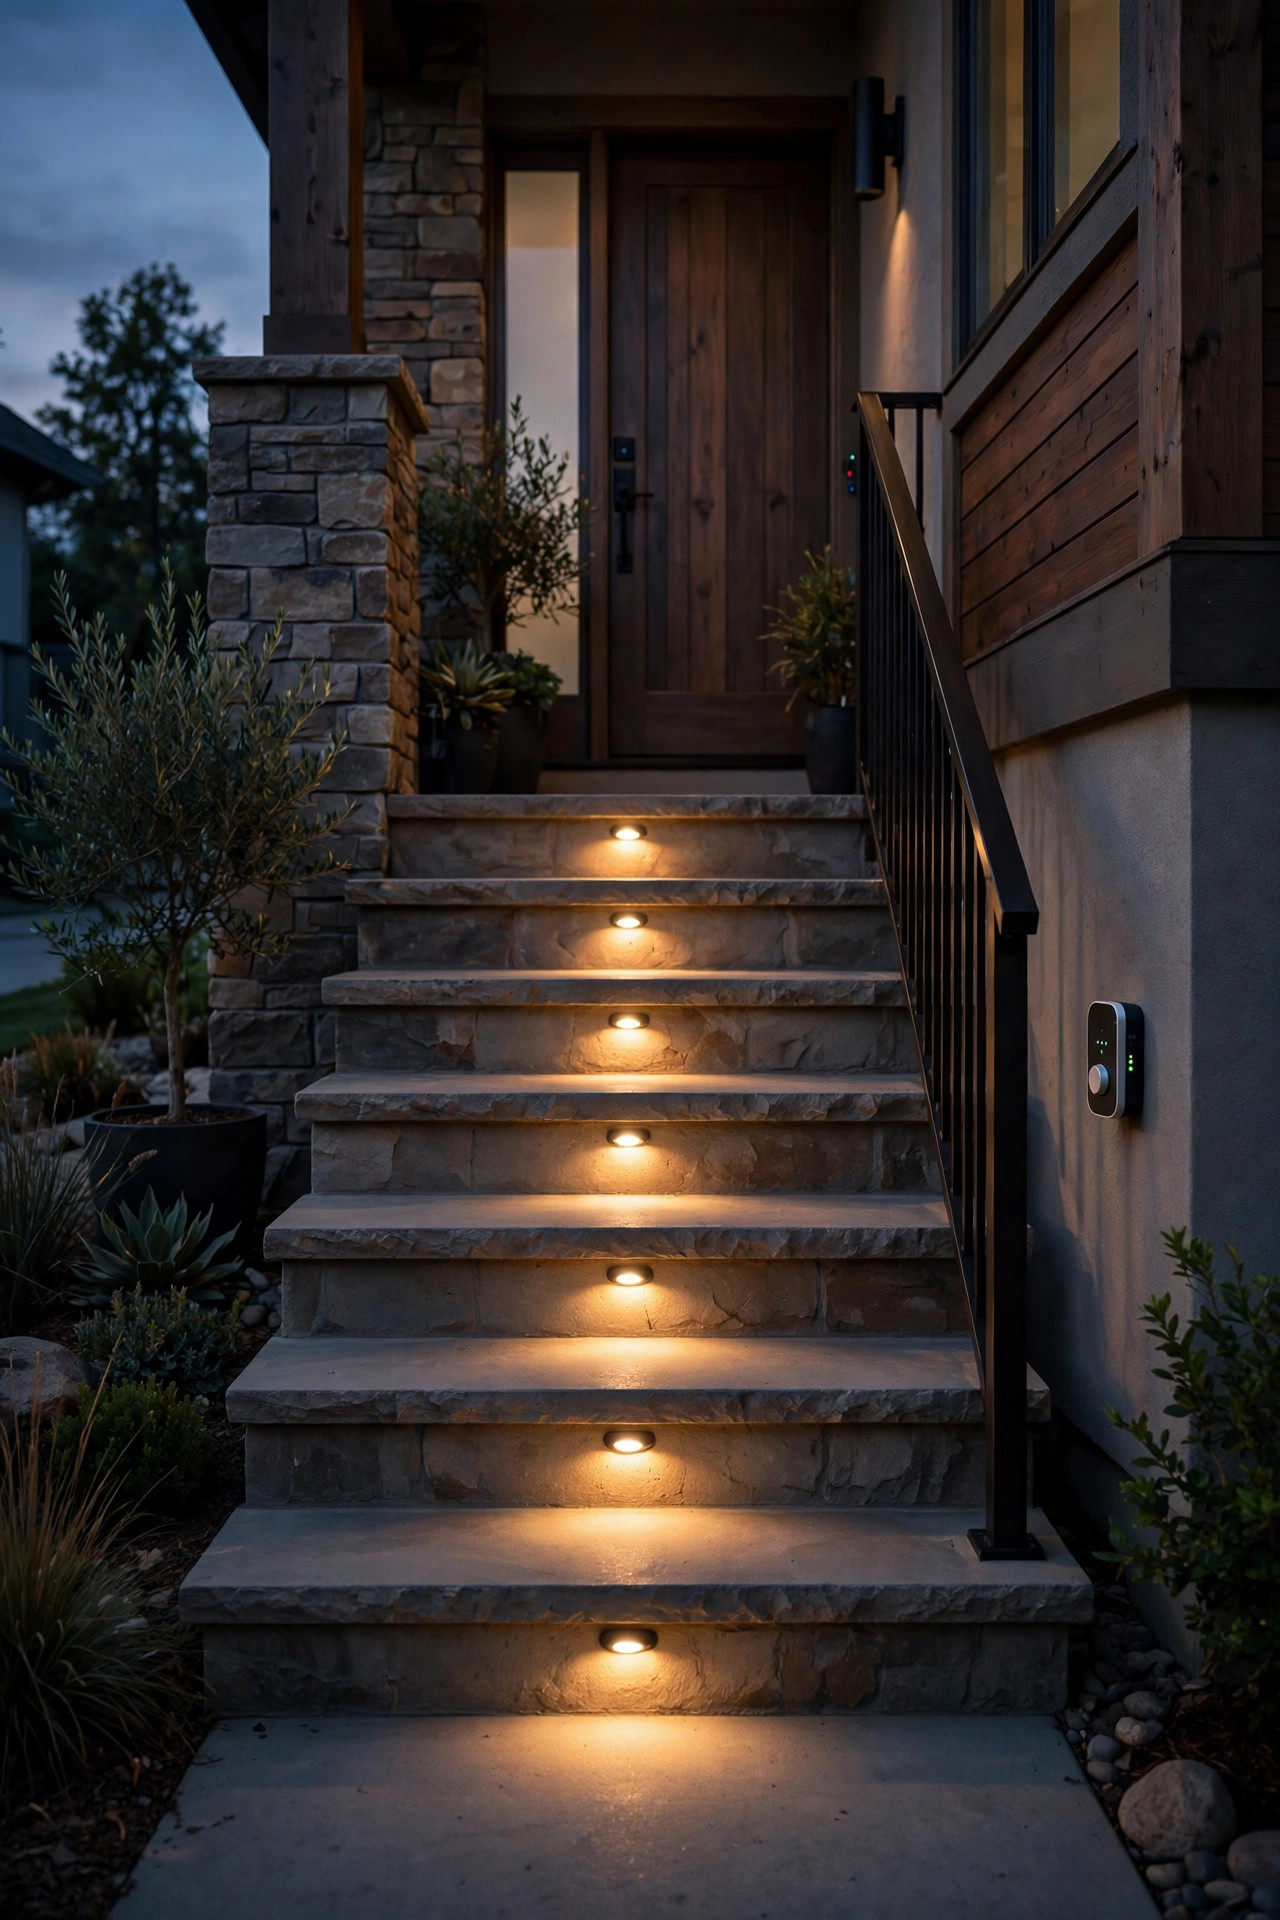
The fastest way to make a beautiful installation look wrong is mixed color temperatures. If your porch lanterns glow at a warm 2700K and your new step lights are 4000K daylight white, the stairs will look like they belong to a different house — blue-white and clinical against the warm entry. Match everything on the staircase sightline to one temperature: 2700K for traditional and cozy, 3000K if the rest of your landscape lighting runs a touch crisper. Buy all the fixtures for a staircase in one order, from one production run when you can; even honest manufacturers drift slightly between batches, and a staircase shows drift brutally because the fixtures sit in a perfect row. While you're choosing, check the CRI — a rating of 90 or above renders brick, stone, and skin tones richly instead of chalky. And resist the novelty of color-changing step lights for a front entry: one dignified warm white, every step, every night, is what reads as expensive. Save the color play for the back garden, where it belongs.
Suggested budget range: $100 – $300.
18. Recessed Lights on Curved Garden Stairs
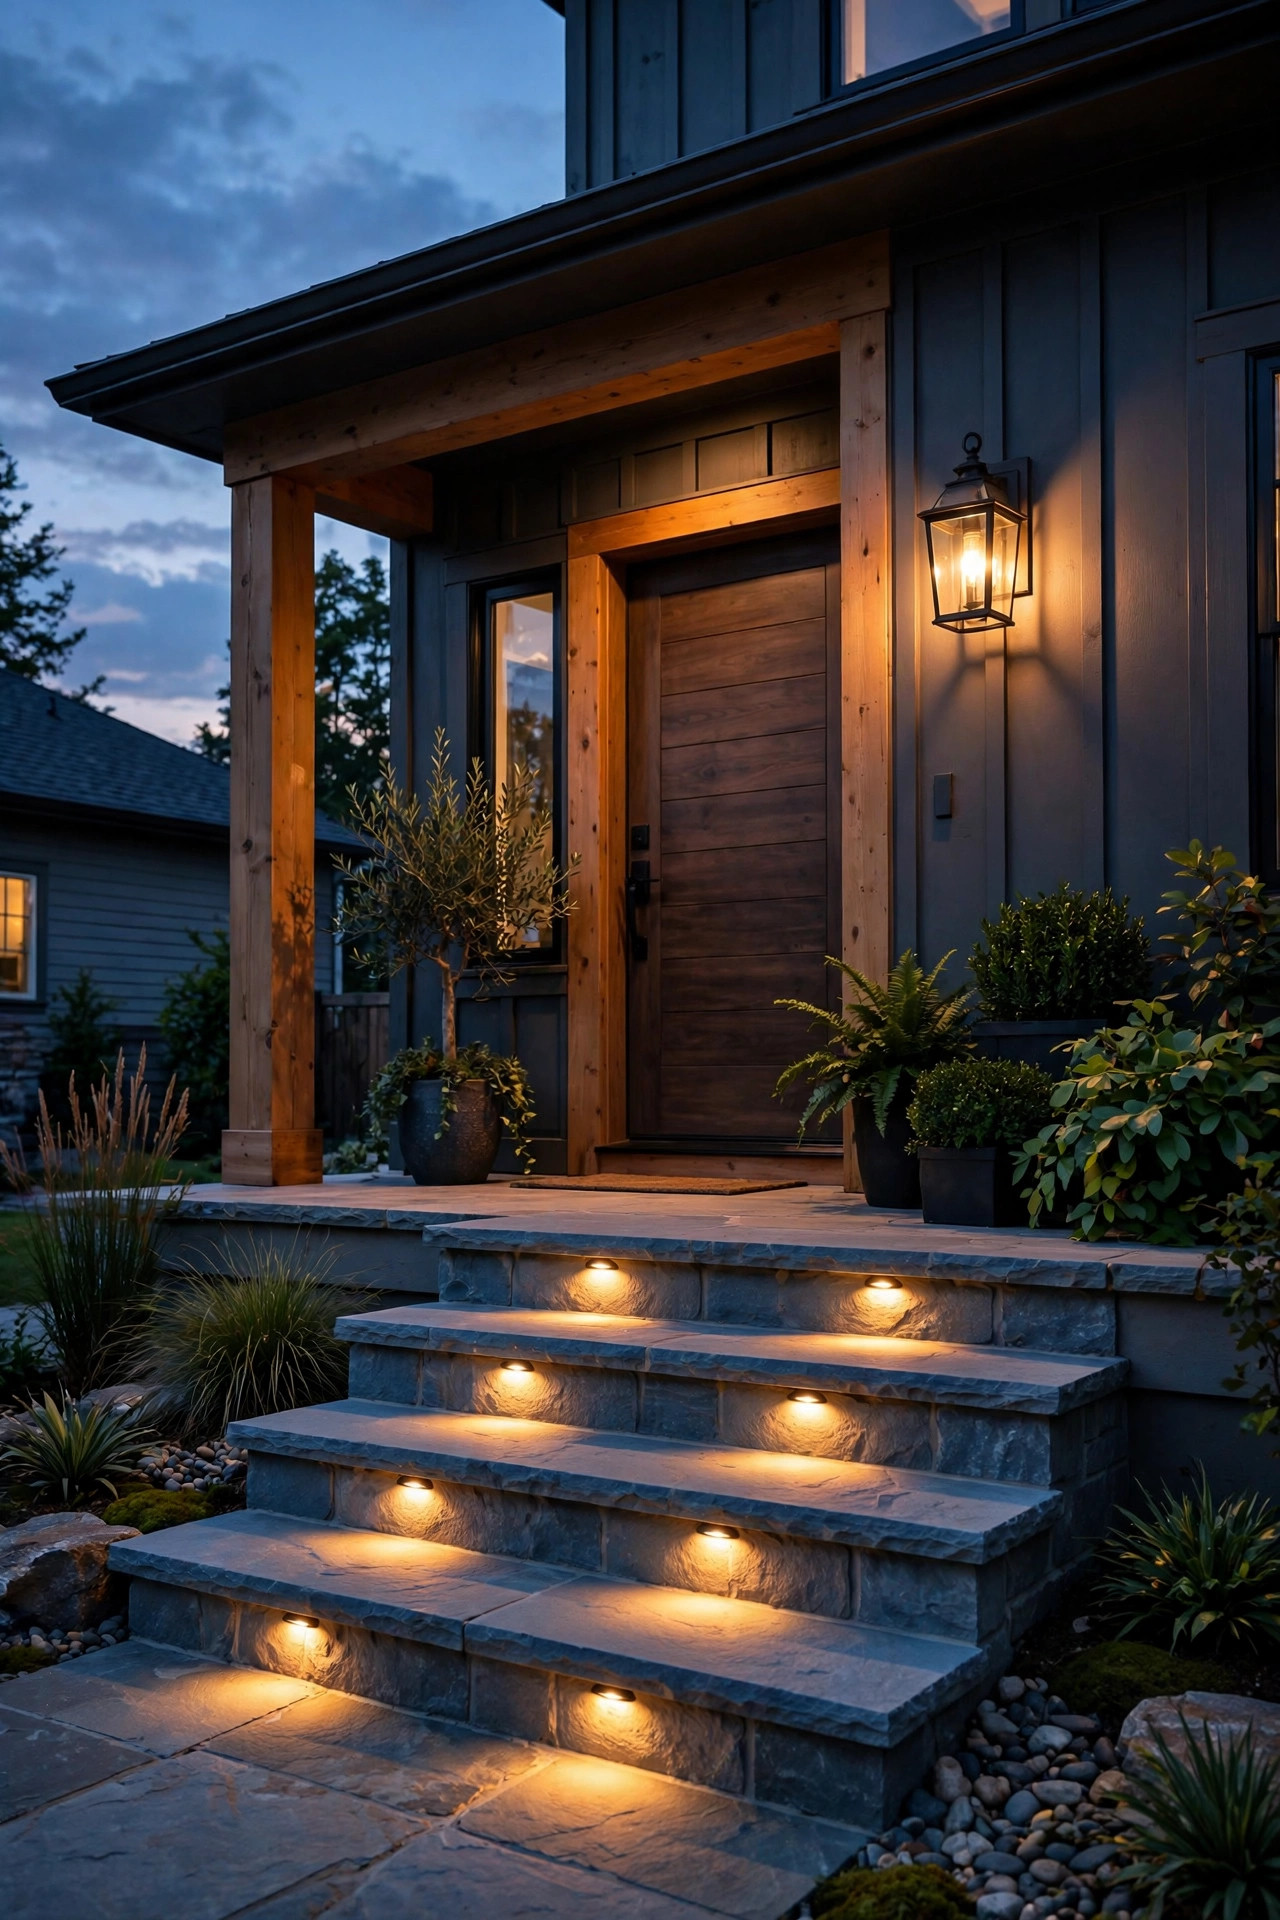
Curved stairs are the show-offs of the garden, and they light differently than straight runs. Because each tread fans out, a fixture placed at the wide outer edge leaves the narrow inner edge — right where feet actually land near the handrail — in shadow. My approach on curves: place fixtures toward the inner-middle of each riser, and shorten the spacing rhythm, lighting every step rather than every other one. If the curve is gentle, you can angle alternate fixtures slightly to rake across the fan of the tread. Dry-fit the whole layout with battery tea lights or a flashlight at dusk before drilling a single hole; curves forgive nothing, and a misaligned row on a curve looks worse than no row at all. Retaining-wall mounts are often the smarter play on a curve, since the wall face is continuous and the fixtures can follow the arc evenly while washing across the treads. However you mount them, keep the heights dead consistent relative to each tread — on a curve, the rhythm of the light is the design, and your eye will catch one fixture sitting an inch high from twenty feet away.
Suggested budget range: $200 – $520.

19. Retrofitting Existing Stairs Without a Rebuild
Good news for the rest of us: you don't have to rebuild a staircase to recess its lights. For wood and composite steps, a hole saw and an hour per flight handles most retrofits — drill the riser, fish low-voltage cable through the stringer cavity or along a routed channel under the treads, and snap the fixture in. For concrete and masonry, the slim surface-mount lights that mimic recessed ones are the honest shortcut: profiles under half an inch, louvered faces, and from two steps away nearly nobody can tell the difference. Battery-powered motion models need no wiring at all and make a fine trial run — live with the layout for a month, then commit to the wired version in the spots that earned it. Whichever route you choose, finish the job by layering: recessed step lights for the treads, a soft wash from the porch above, and one accent on whatever the staircase leads to. That's the whole philosophy of this list in one sentence — light the step, light the landing, light the destination, and a staircase stops being an obstacle and becomes the prettiest part of coming home.
Suggested budget range: $90 – $300.

Frequently Asked Questions
How many recessed step lights do I need for my staircase?
Plan on one fixture per step for stairs up to about 4 feet wide, two per step for wider entries, and never less than every other step. Count your risers, add one for the bottom step if your pattern would skip it, and round up — brightness is easy to dim and impossible to add later without more drilling.
Can I install recessed step lights in existing stairs, or only during construction?
Wood and composite stairs retrofit easily with a hole saw and some patience. Concrete and solid masonry are harder — core drilling is possible but slow, so most people either hire it out or use slim surface-mount fixtures that look nearly identical. Either way, low-voltage wiring makes the job far simpler and safer than line voltage.
What color temperature is best for recessed step lights?
Warm white at 2700K matches most porch lanterns and landscape lighting and feels welcoming on skin, wood, and stone. If your existing outdoor lighting is 3000K, match that instead — consistency matters more than the exact number. Avoid daylight 5000K, which reads harsh and institutional on a home entry.
Are solar recessed step lights bright enough?
For marking steps in a garden, yes — they outline each tread clearly and need no wiring at all. For a main front entry, wired low-voltage lights are brighter and stay consistent through winter, and they're my recommendation. A hybrid works well: wired lights where safety matters most, solar on distant or occasional garden stairs.
Conclusion
Recessed step lights are the rare upgrade that makes a home safer and prettier in the same stroke — no clutter on the treads, no glare in your eyes, just a calm wash of light on every step. If you're starting from zero, begin with the classic riser layout on your front entry, match your color temperature to the porch, and add the garden stairs once you've lived with the glow for a while. These recessed step light ideas scale from a three-step stoop to a twenty-step garden descent, and every one of them beats a phone flashlight. Browse the rest of our outdoor lighting ideas here on the site for the porch, path, and landscape layers that complete the picture — your staircase is ready for its evening debut.