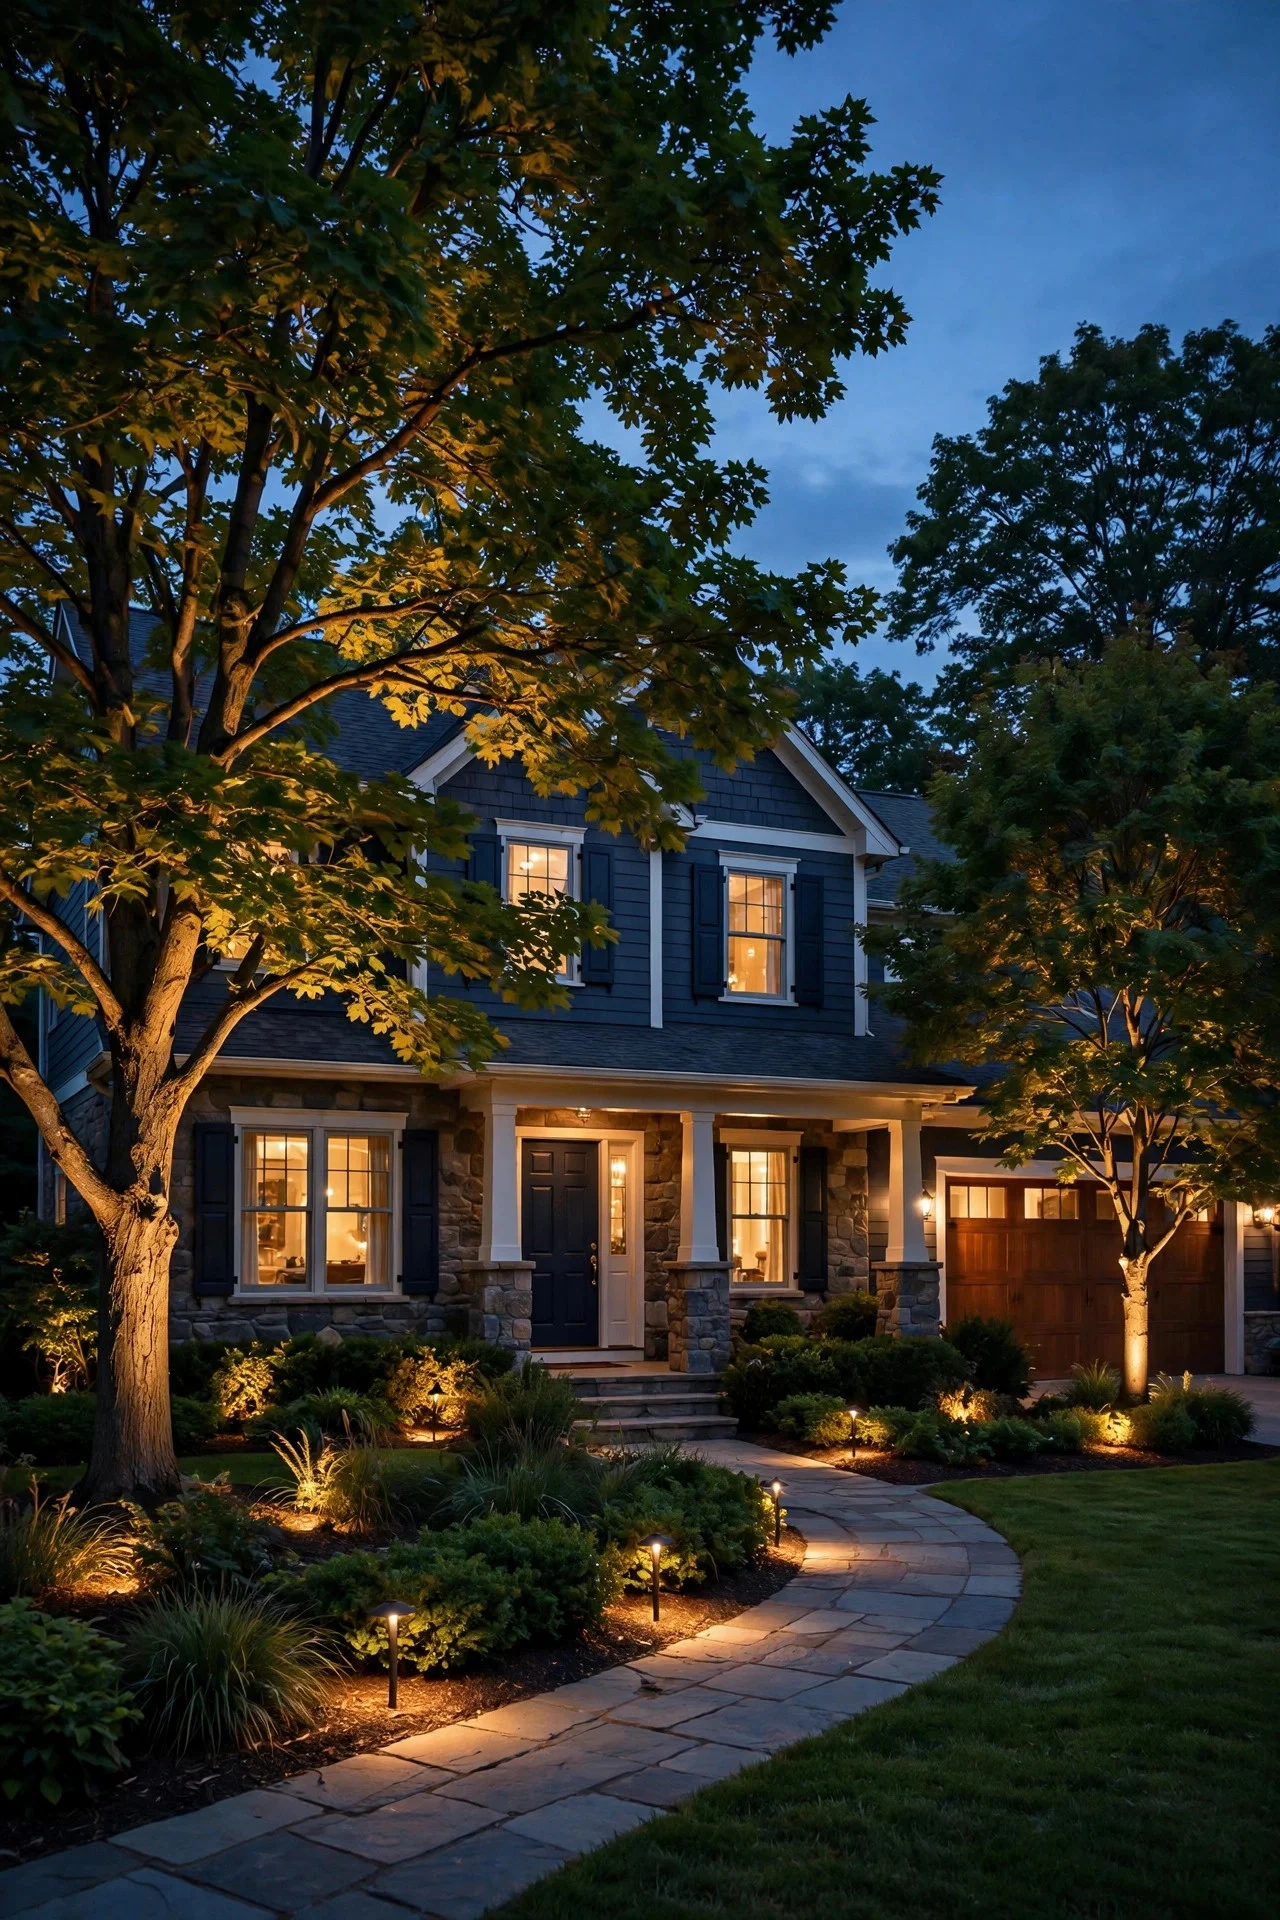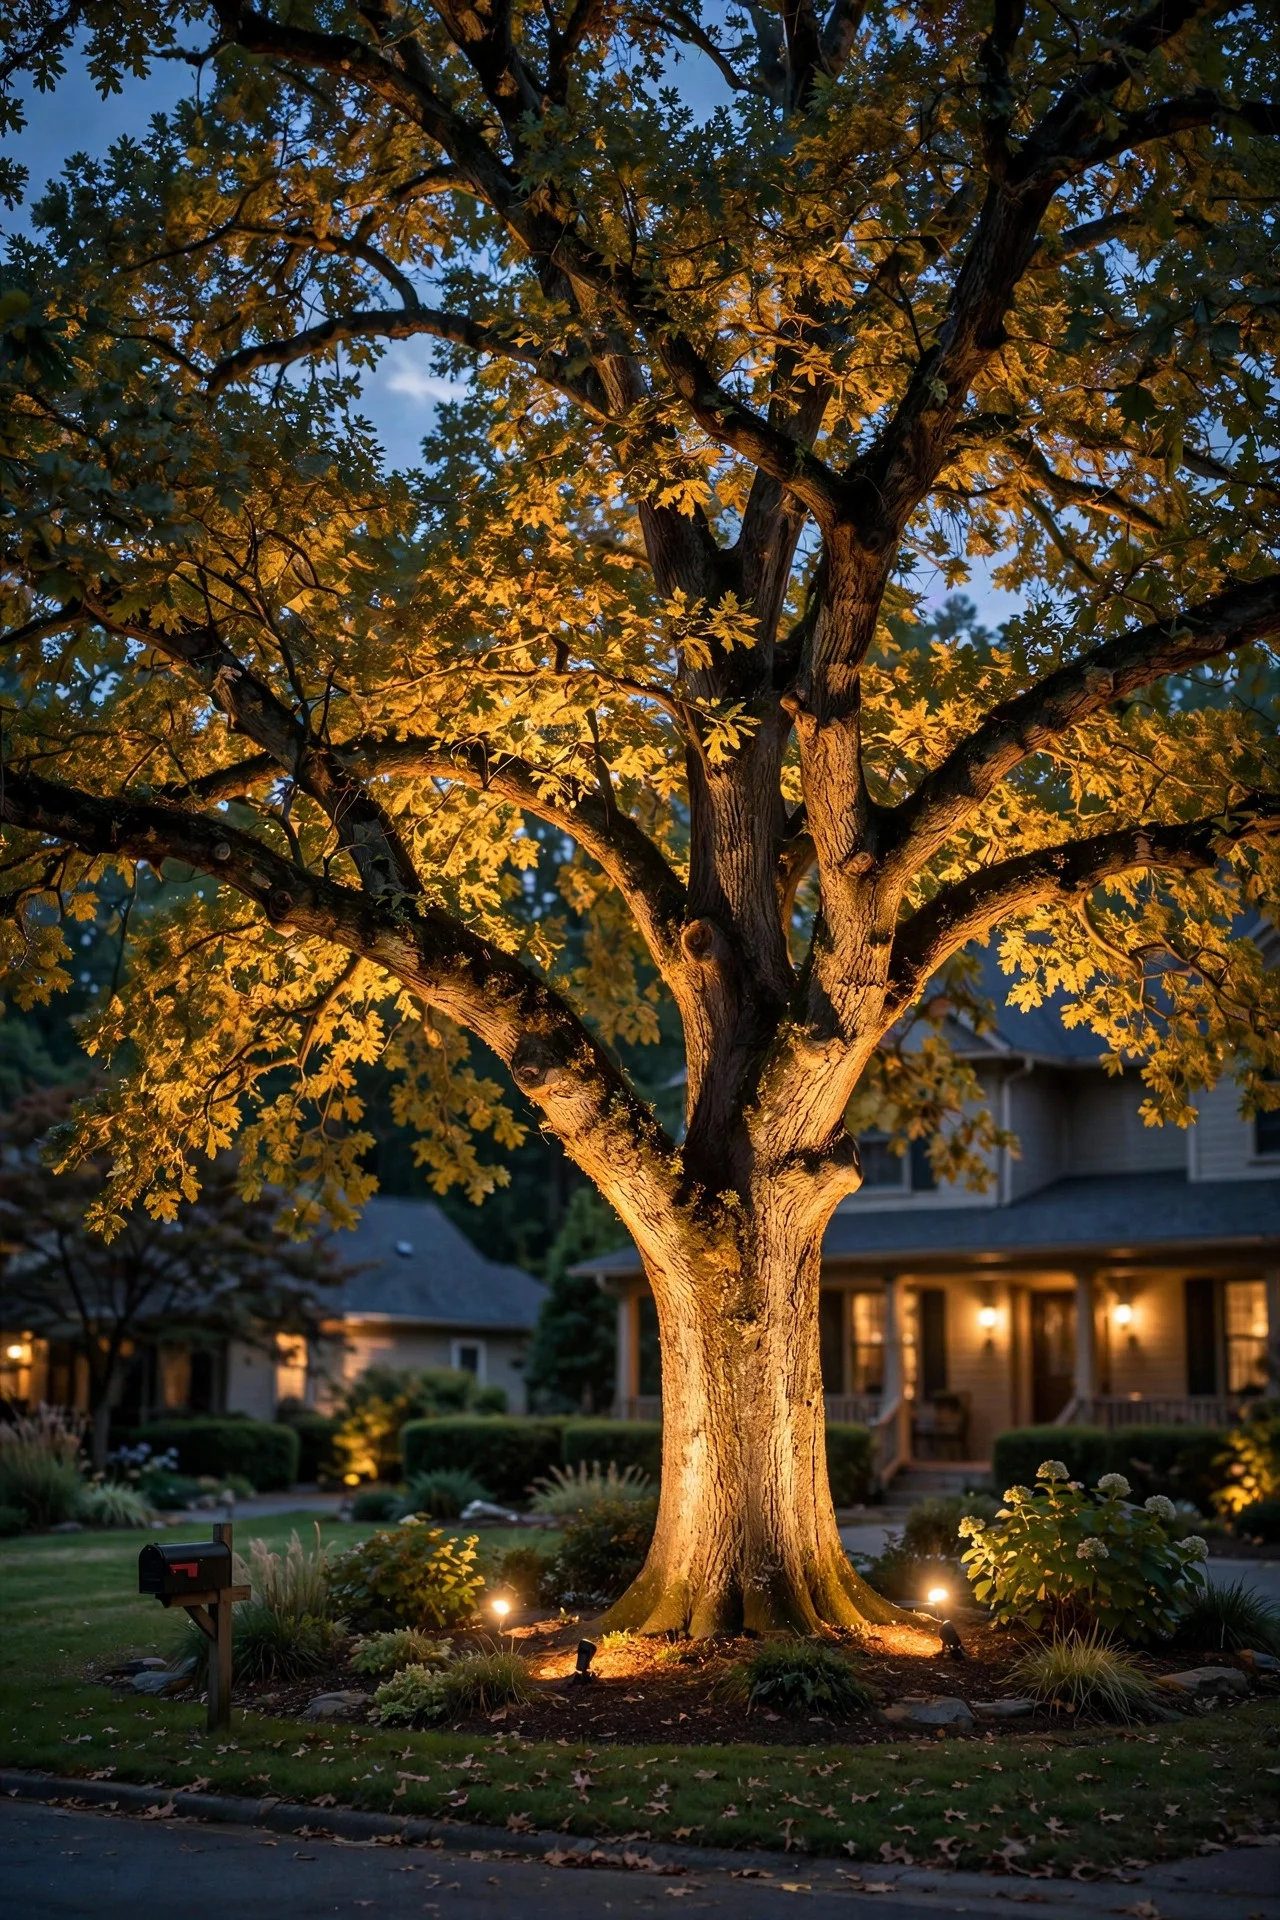
You know that moment — you're driving through a neighborhood after dark and one house stops you mid-turn. It's not the house at all. It's the tree. A big, beautiful maple lit from below like it's on a stage, every branch glowing warm gold against the night sky. I remember the first time I saw it done right, and honestly? I went home and ordered spotlights the same night.
Here's the thing: learning how to uplight a tree is one of the easiest ways to make your whole yard look expensive. One well-lit tree can carry your entire front yard after dark — no fancy landscaping required. But there's a real difference between the jaw-dropping version and the sad single spotlight blasting straight up the trunk like a searchlight. In this guide, I'm walking you through everything: which fixtures to buy, exactly where to put them, how many you need, the color temperature that flatters bark, a step-by-step low-voltage install, honest 2026 costs, and the mistakes I see (and made myself) over and over. By the end, you'll be able to light a tree like a pro.
The Short Answer
To uplight a tree, use a low-voltage LED spot or well light staked in the ground, place it 2 to 4 feet from the trunk for small trees (farther for large ones), and aim the beam up through the canopy at a 30- to 45-degree angle. Choose warm white light (2700K–3000K) so bark and leaves look golden instead of cold and blue. One fixture lights a small tree; two or three cross-lighting a large specimen gives the professional look. A basic low-voltage kit with a transformer costs around $60 to $120 per fixture installed yourself, and each LED draws only about 5 watts — pennies per night to run.
Why Uplighting Makes Trees Look Magical
In my experience, uplighting works because it flips everything we expect. During the day, light comes from above — that's what our brains call normal. When you light a tree from below at night, you break the pattern, and the result reads as drama. The trunk becomes a column, the bark's texture turns three-dimensional, and the canopy glows like a chandelier. Shadows stretch upward and outward in ways daylight never produces, and that's where the magic lives.
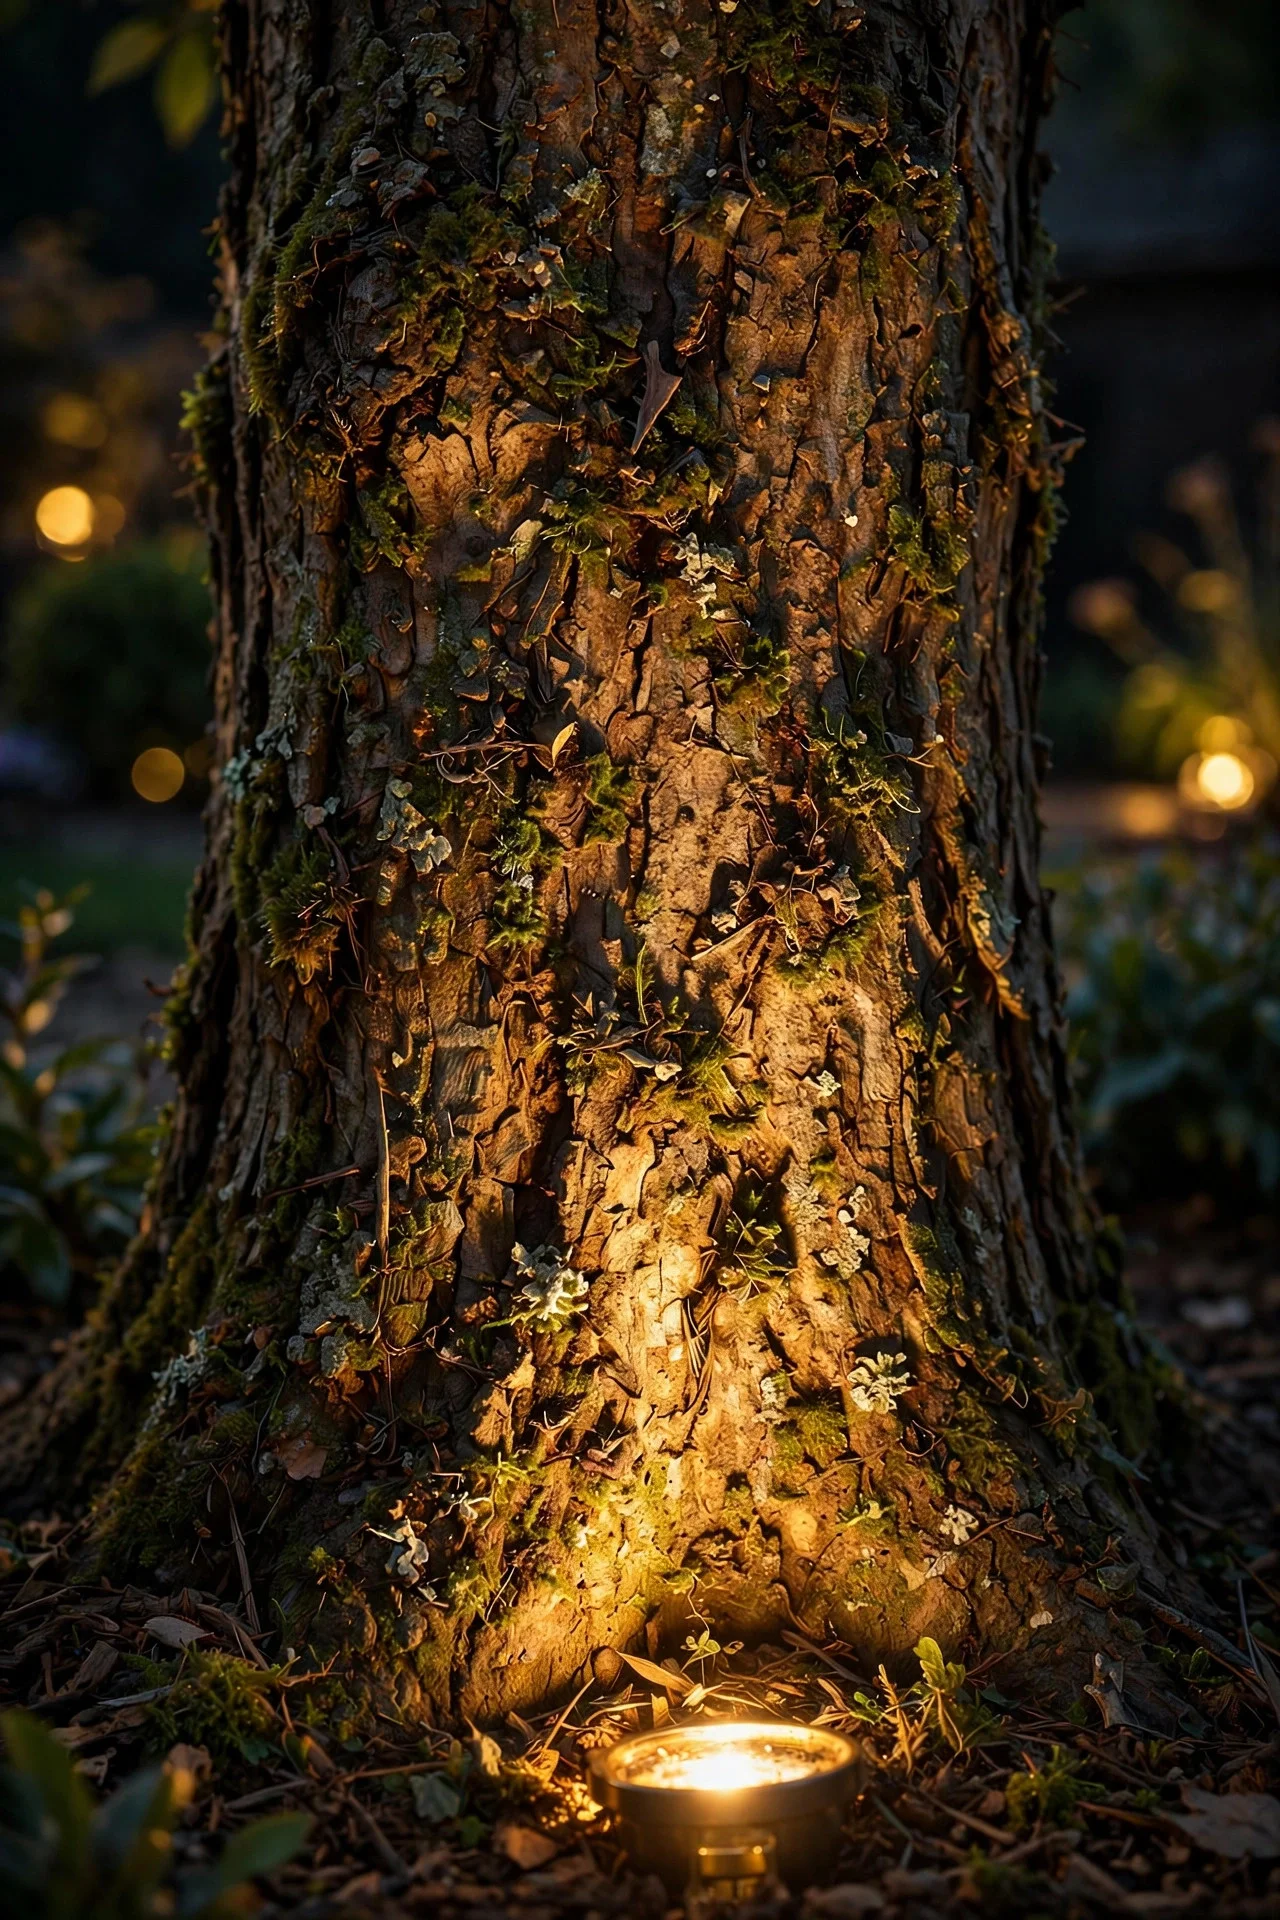
Texture is the real secret ingredient. Bark is one of the most light-responsive surfaces in your whole yard — all those ridges, furrows, and plates were designed by nature to catch grazing light. When your beam rakes across a river birch or an old oak, every crevice throws a shadow and every ridge catches a highlight. Smooth-barked trees like young maples give you a softer, more modern glow; shaggy-barked trees like hickory or sycamore turn into pure sculpture.
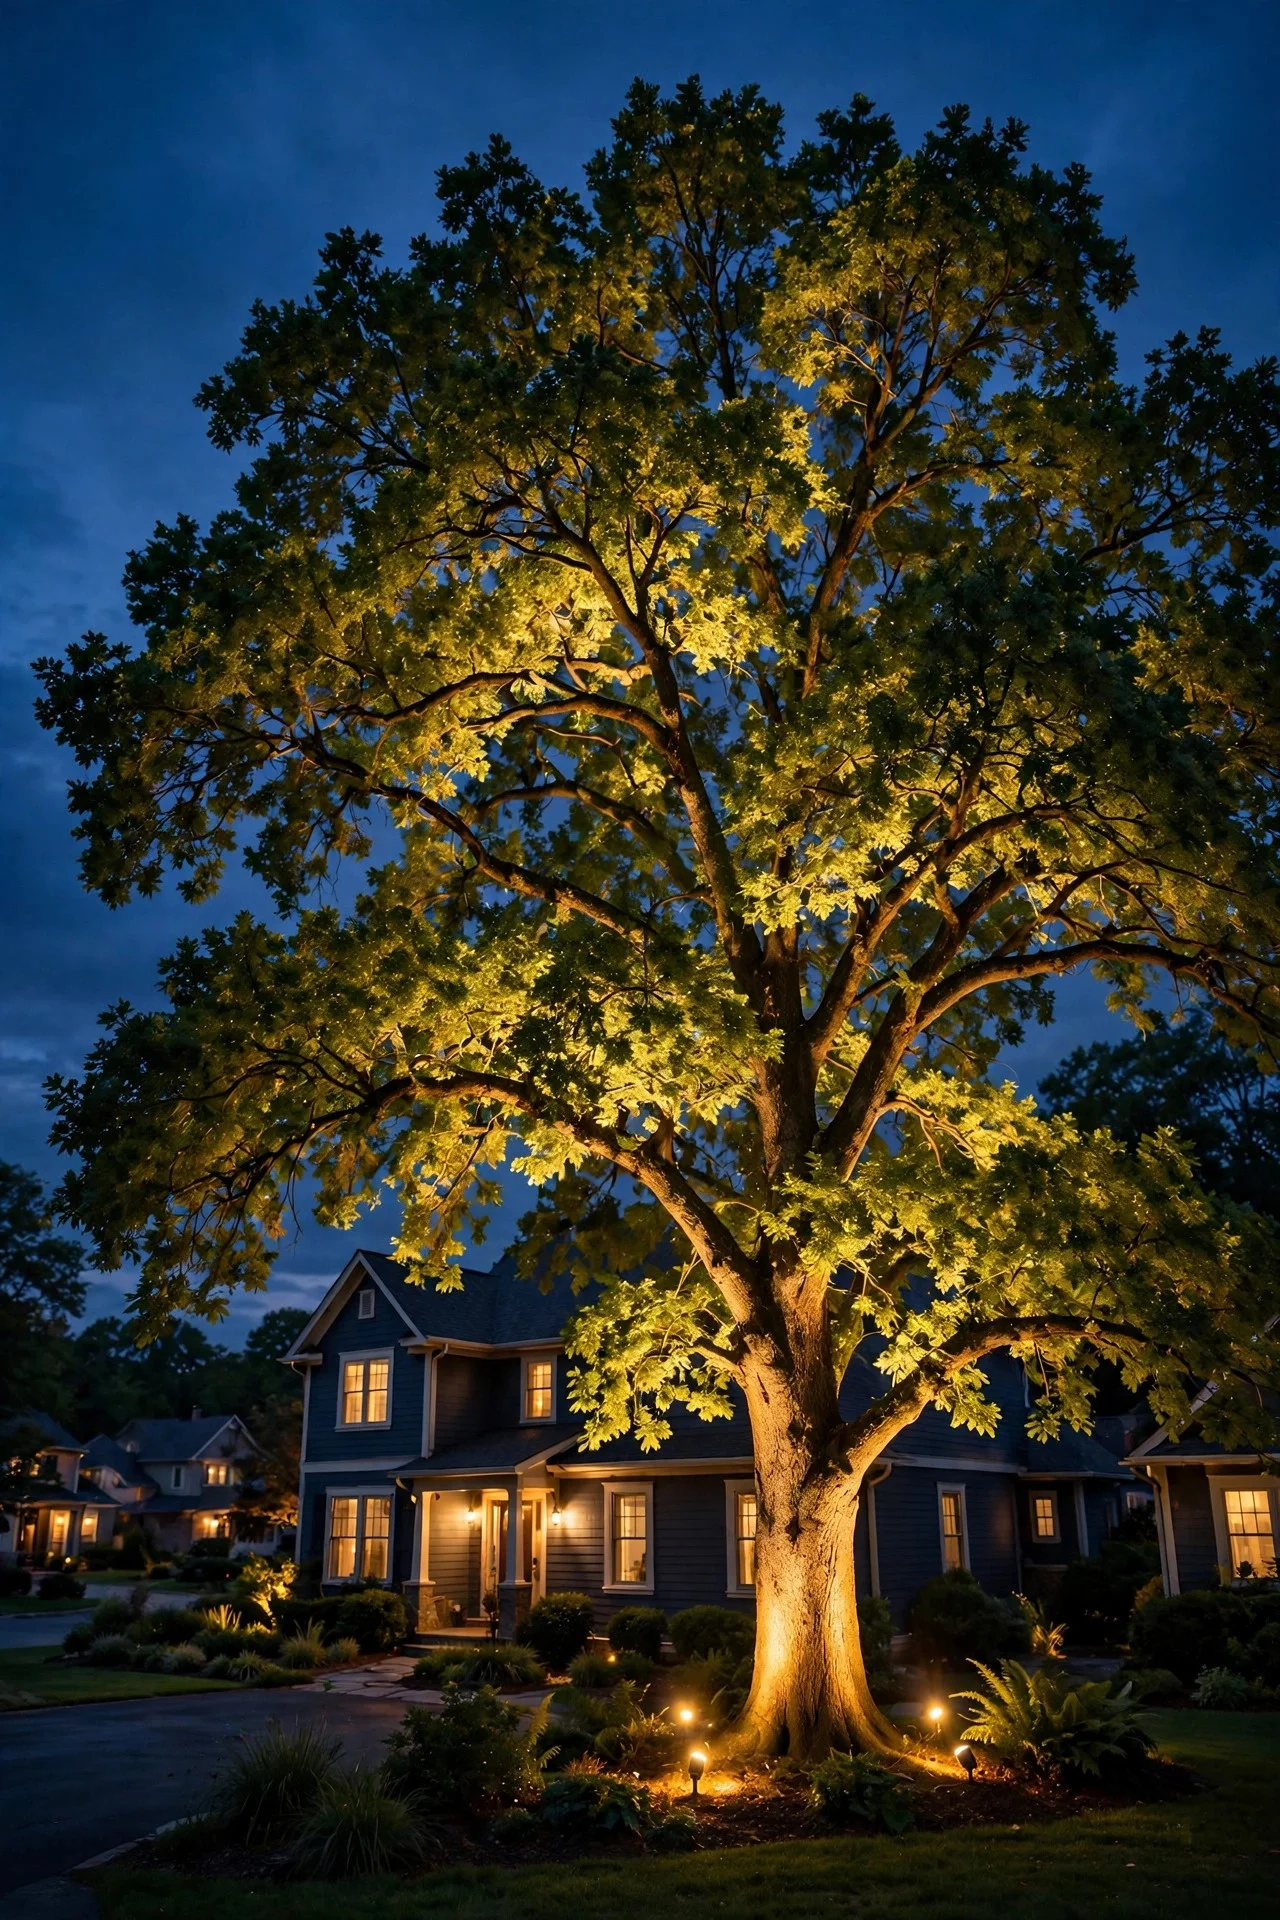
There's also the silhouette factor. An uplit canopy against a dark sky becomes the focal point of your entire property from the street. Landscape designers call this a "hero element" — one thing that anchors the whole scene. A single well-lit tree does more for curb appeal after dark than a dozen path lights ever will. And because the light sits low and aims up, you get almost none of the glare that makes badly lit yards feel harsh. The tree holds the light; the sky takes the glow.
The Main Fixture Types, Compared Honestly
Walk into any home improvement store and you'll see a wall of options. Honestly? For tree uplighting, there are really only three categories worth considering, and they are not equal. Here's my honest breakdown:
| Fixture type | Typical cost | Brightness | Best for | Drawbacks |
|---|---|---|---|---|
| Low-voltage LED spot/well light | $25–$80 per fixture, plus $60–$150 transformer | 150–600 lumens, adjustable beams | Almost everyone — the pro choice for trees of any size | Needs a transformer, wire runs, and a weekend afternoon |
| Solar spotlight | $15–$40 per fixture, no wiring | 50–200 lumens, fades through the night | Renters, quick experiments, trees far from an outlet | Dim, short-lived, dies on cloudy weeks; batteries fade in 1–2 years |
| Line-voltage flood | $30–$60 per fixture, plus electrician ($200–$500+) | 800–2,000+ lumens, very powerful | Huge specimens or commercial properties | Harsh, hot, needs 120V wiring and usually a pro; overkill for homes |
I always recommend low-voltage LED for trees, and here's why: it's the sweet spot of brightness, control, and safety. The system runs on 12 volts — safe to touch, safe to install yourself, no electrician required. Beam angles are adjustable (15 degrees for a tight trunk graze, 60 degrees for a wide canopy wash), and integrated LEDs last 25,000 to 50,000 hours. That's over a decade of nightly use.
Solar spotlights have their place — I use them as temporary experiments to test a placement before I commit to wiring. But for the real thing? They disappoint. A solar spot might put out 150 lumens at dusk and 40 by 2 a.m. Your tree deserves better than a light that gives up at midnight.
Line-voltage floods are the nuclear option. They'll absolutely light your tree — they'll light your tree, your neighbor's tree, and possibly the low-orbit satellites. Unless you're lighting a 60-foot heritage oak, skip them.
Choosing the Right Tree to Uplight
Not every tree is a star, and picking the right one is half the battle. In my experience, the trees that photograph best share three traits: interesting form, textured bark, and an open canopy that lets light travel.
Start with form. Trees with a strong central leader and well-spaced branching — oaks, maples, honey locusts, crape myrtles — give the beam something to climb. Multi-stem trees like river birch or serviceberry are gorgeous too, but light them from slightly farther back so the beam washes the whole cluster instead of blasting one trunk. Weeping trees (weeping cherry, weeping willow) are tricky — their skirts block the light from reaching the canopy. If you love yours, light it for the trunk and let the curtain of branches do the rest.
Bark texture is your cheat code. Rough, deeply furrowed bark — oak, hickory, pine, sycamore — grabs grazing light and turns it into pure drama. Smooth bark — beech, young maple, cherry — gives a cleaner, more contemporary glow. Both work; they just tell different stories. Evergreens light beautifully too, but dense canopies (think arborvitae or spruce) block the beam, so the glow stays on the outside. Open-branched pines with visible trunks are evergreen gold.
Canopy density matters most. Hold your hand up under the tree at noon — if you see dappled light on your palm, the canopy will let uplighting through. If it's pitch black, your light will die in the lower branches and you'll get a glowing skirt with a dark top. For dense trees, use two fixtures aimed at the outer canopy edges instead of one aimed at the trunk.
One more tip: pick a tree you can see. The whole point is the view — from the street, from your kitchen window, from the patio where you sit with coffee. A perfectly lit tree nobody sees is just a higher electric bill.
How to Uplight a Tree: The Placement Formula That Never Fails
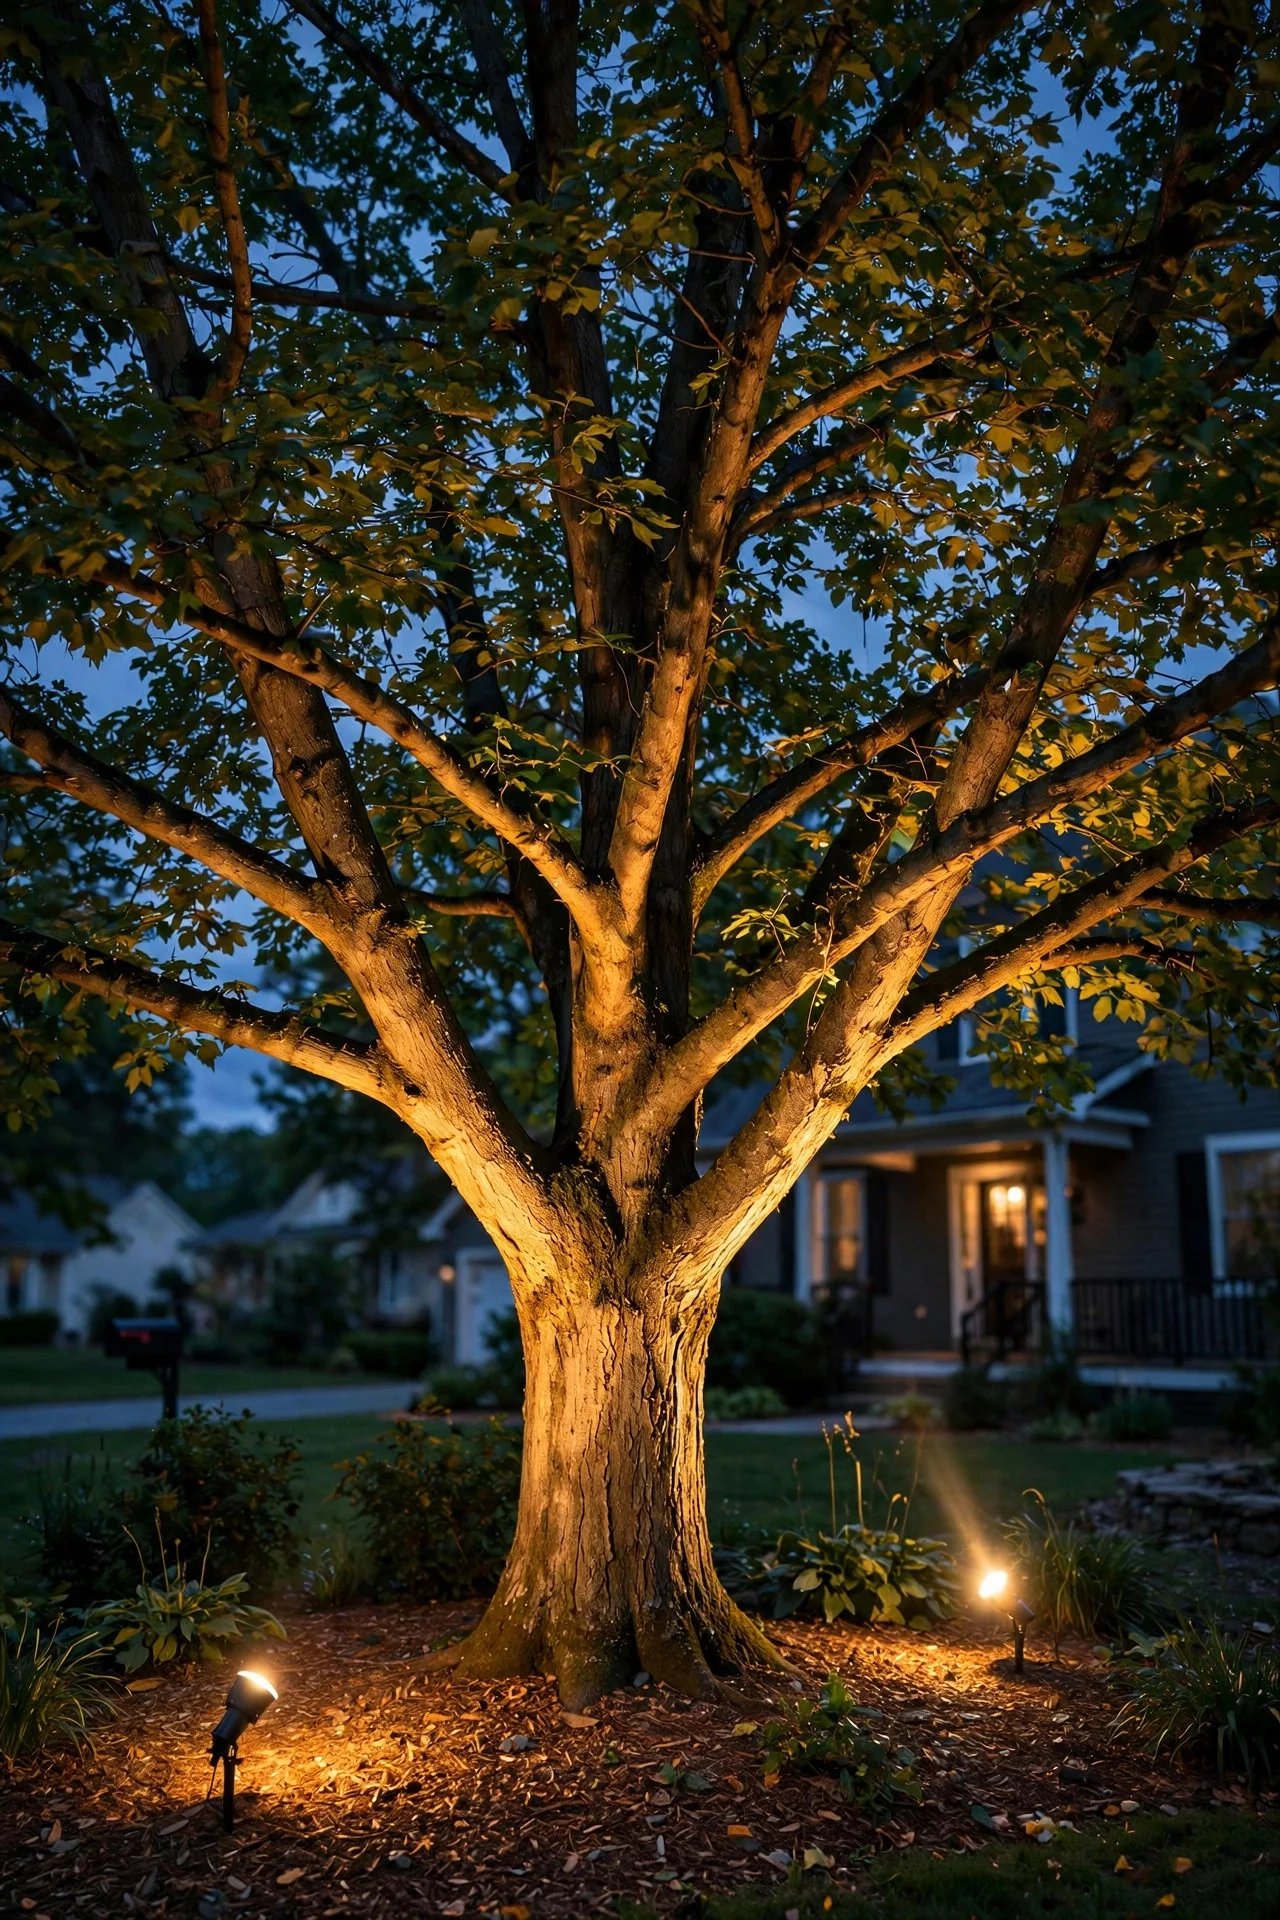
This is the part everyone overthinks, and honestly it's simple. Professional landscape lighting designers use a rule of thumb that works every single time: place the fixture at a distance roughly equal to one-third of the tree's height from the trunk, and aim the beam up at 30 to 45 degrees.
Let's make that concrete. A 15-foot ornamental tree? Fixture goes about 5 feet out from the trunk. A 30-foot shade tree? Ten feet out. For small trees under 12 feet, you can simplify further: stake the fixture 2 to 4 feet from the trunk and tilt the head so the beam catches the trunk and climbs into the lower canopy.
The 30- to 45-degree angle is non-negotiable, and here's why. Aim too steep — 60 degrees or straight up — and you get the searchlight effect: a hot bright trunk with a dark canopy and light wasted on the sky. Aim too shallow and you blast the lawn instead of the tree. The sweet spot sends the beam through the trunk, into the branch structure, and out through the leaves, so the whole tree glows from within.
Direction matters as much as distance. Never light a tree from only the side nobody sees. Your "front" is wherever the viewers are — usually the street or the main patio. Place fixtures on the viewer side of the tree, roughly centered on that sightline. For a front-yard tree viewed from the street, that means the fixture goes between the street and the trunk.
A few placement details that separate the pros from the amateurs: bury or mulch over the cable so nobody trips and nobody sees wire. Push the stake into soil or mulch, never into the root flare itself. And always — always — step back to the viewing position before you tighten anything. What looks right from six inches away often looks wrong from the curb.
How to Uplight a Tree: Getting the Fixture Count Right
Short answer: fewer than you think. Over-lighting is one of the most common mistakes I see, and it flattens all that beautiful shadow play we talked about.
Here's my rule: one fixture for trees under 20 feet, two to three for large specimens. A small ornamental — a crape myrtle, a Japanese maple, a young dogwood — needs exactly one well-placed spot. One. More than that and you'll wash out the shadows that make it interesting.
For a medium tree (20 to 35 feet), two fixtures give you the professional look. Place them on the viewer side, 6 to 10 feet apart, both aimed up through the canopy at slightly different angles. The overlap in the middle fills in dead spots; the offset angles keep the shadows alive.
For a large specimen (35 feet and up), use cross-lighting: two or three fixtures positioned 90 to 120 degrees apart around the trunk, all on the viewer side. Picture a clock face where 12 o'clock is the street — put fixtures at roughly 10, 12, and 2. Each fixture lights a different face of the trunk and a different section of canopy. The result has depth and dimension instead of looking like a flat cutout. This is the single biggest upgrade you can make to a big tree, and it's what separates "nice" from "I need to know who did this."
Start with fewer fixtures than you think you need. You can always add one. Taking away light you already installed is a much sadder afternoon.
Aiming Technique: Grazing vs. Washing the Bark
Once your fixtures are placed, aiming is where the artistry happens — and where most DIYers leave the job half-done. There are two techniques, and pros use both on the same tree.
Grazing means placing the fixture close to the trunk — 12 to 24 inches out — and aiming the beam at a sharp angle so it rakes across the bark. This is the technique for textured bark. Every ridge throws a shadow, every furrow goes dark, and the trunk becomes a carved column of light and dark. Use a narrow beam (15 to 25 degrees) for grazing. It's stunning on oaks, pines, and anything with character in its bark.
Washing means placing the fixture farther back — that one-third-of-height distance — and aiming a wide beam (40 to 60 degrees) so it floods the trunk and lower canopy evenly. This is the technique for smooth bark and full canopies, giving you the classic "glowing tree" look with soft, even illumination.
The pro move? Combine them. Graze the trunk with one fixture and wash the canopy with another. The trunk gets its drama, the canopy gets its glow, and the two layers of light read as depth.
Now, the thing to avoid: hot spots. A hot spot is that blinding white circle where the beam hits too close and too hard. It kills the mood instantly. Fix it by moving the fixture back 6 to 12 inches, tilting the head slightly off-center so the beam's edge (not its center) hits the trunk, or swapping to a wider beam angle. The beam's center is always brightest — you want the trunk catching the beam's soft edge, not its bullseye.
Do your aiming at night. Sounds obvious, but aiming at 3 p.m. is exactly why so many setups look wrong at 9 p.m. Wait for full dark, bring a friend to hold the fixture, and walk to the viewing spot between adjustments. Give your eyes about 10 minutes to adjust to darkness before you judge the effect.
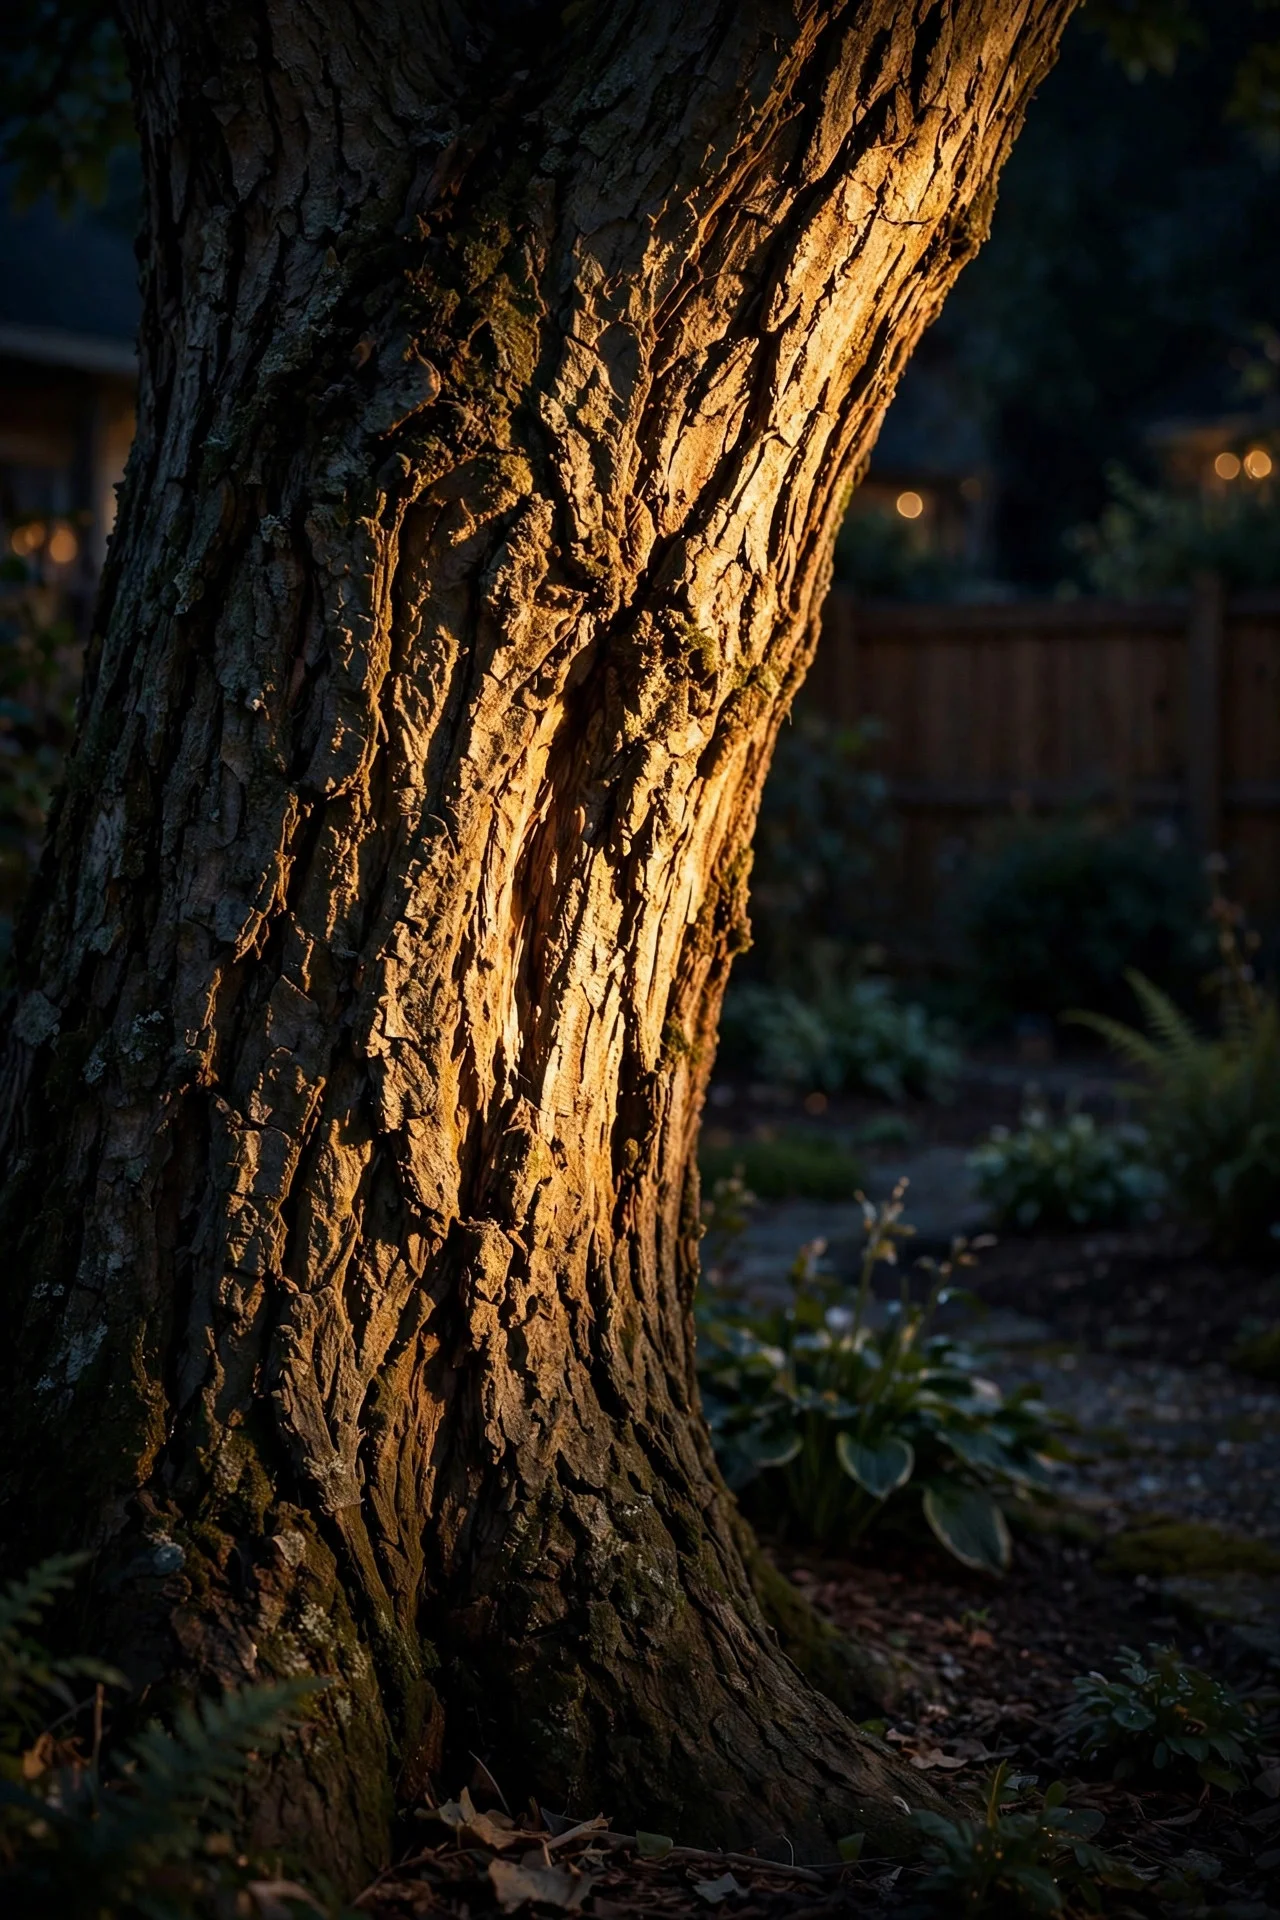
Color Temperature: Why 2700K–3000K Wins Every Time
If there's one specification to get right, it's this one. Color temperature — measured in Kelvin — decides whether your tree looks like it's glowing in candlelight or being interrogated in a parking lot.
Buy 2700K to 3000K. That's warm white. At 2700K, bark glows amber and gold, leaves look rich and alive, and the whole scene feels like golden hour that never ends. At 3000K, it's slightly crisper — still warm, still flattering, with a touch more clarity on green foliage. Either one looks expensive.
What to avoid: anything 4000K and above. Cool white (4000K–5000K) turns bark gray and ghostly, makes green leaves look washed out and sickly, and gives your yard the ambiance of a gas station. Daylight-temperature LEDs (5000K–6500K) are the worst offenders — they make a beautiful old oak look like a crime scene prop. I don't care how cheap that cool-white fixture is; it will make your tree look worse than no light at all.
Match your temperatures across the yard. If your tree is 2700K and your path lights are 4000K, the clash will bother you every single night even if you can't name why. When I redo a yard, I standardize everything to 2700K and the whole property suddenly looks designed instead of accumulated.
One more consideration: keep it consistent on the tree itself. Two fixtures at different temperatures on the same tree create a visible seam where warm meets cool. If you're adding a second fixture to an older setup, check the Kelvin rating on the first one and match it. Your tree — and your eyes — will thank you.
Step-by-Step: Installing a Low-Voltage Uplighting Kit
This is the part that intimidates people, and honestly it's easier than assembling flat-pack furniture. A low-voltage system is 12 volts — you can't shock yourself, you don't need an electrician, and the connections are designed for regular humans.
Step 1: Plan on paper. Sketch your tree, mark fixture positions using the placement formula, and note each fixture's distance back to your outdoor outlet. Keep cable runs under 100 feet where you can — beyond that, voltage drop dims the far fixtures.
Step 2: Size the transformer. Add up your fixtures' wattage and multiply by 1.25. Four 7-watt spots = 28 watts × 1.25 = 35 watts, so a 60-watt transformer gives you comfortable headroom. A 100-watt unit handles most single-tree or whole-yard starter projects. Mount it on the house near a GFCI outlet, at least 12 inches off the ground.
Step 3: Lay the cable. Use 12/2 low-voltage landscape wire (the standard). Run it from the transformer to each fixture location, leaving 2 to 3 feet of slack at each spot. Tuck it under mulch or edge it into the soil with a flat spade — don't pull it tight, so frost heave and settling can't yank connections apart.
Step 4: Connect the fixtures. Most kits use pierce-type or screw-on waterproof connectors. Strip about half an inch of insulation, seat the wire fully, and tighten until snug. If your kit's connectors look flimsy, upgrade to silicone-filled wire nuts (a few dollars at any hardware store) — most system failures start at a bad connection.
Step 5: Stake, aim, and test at night. Push the stakes in, connect everything, and plug in the transformer. Set a dusk-to-dawn photocell timer — it tracks the seasons automatically. Then wait for dark, aim like we covered above, and check the effect from the street like a stranger would.
Total time: about 2 to 4 hours for a first-timer doing one or two trees. The hardest part is genuinely just waiting for dark.
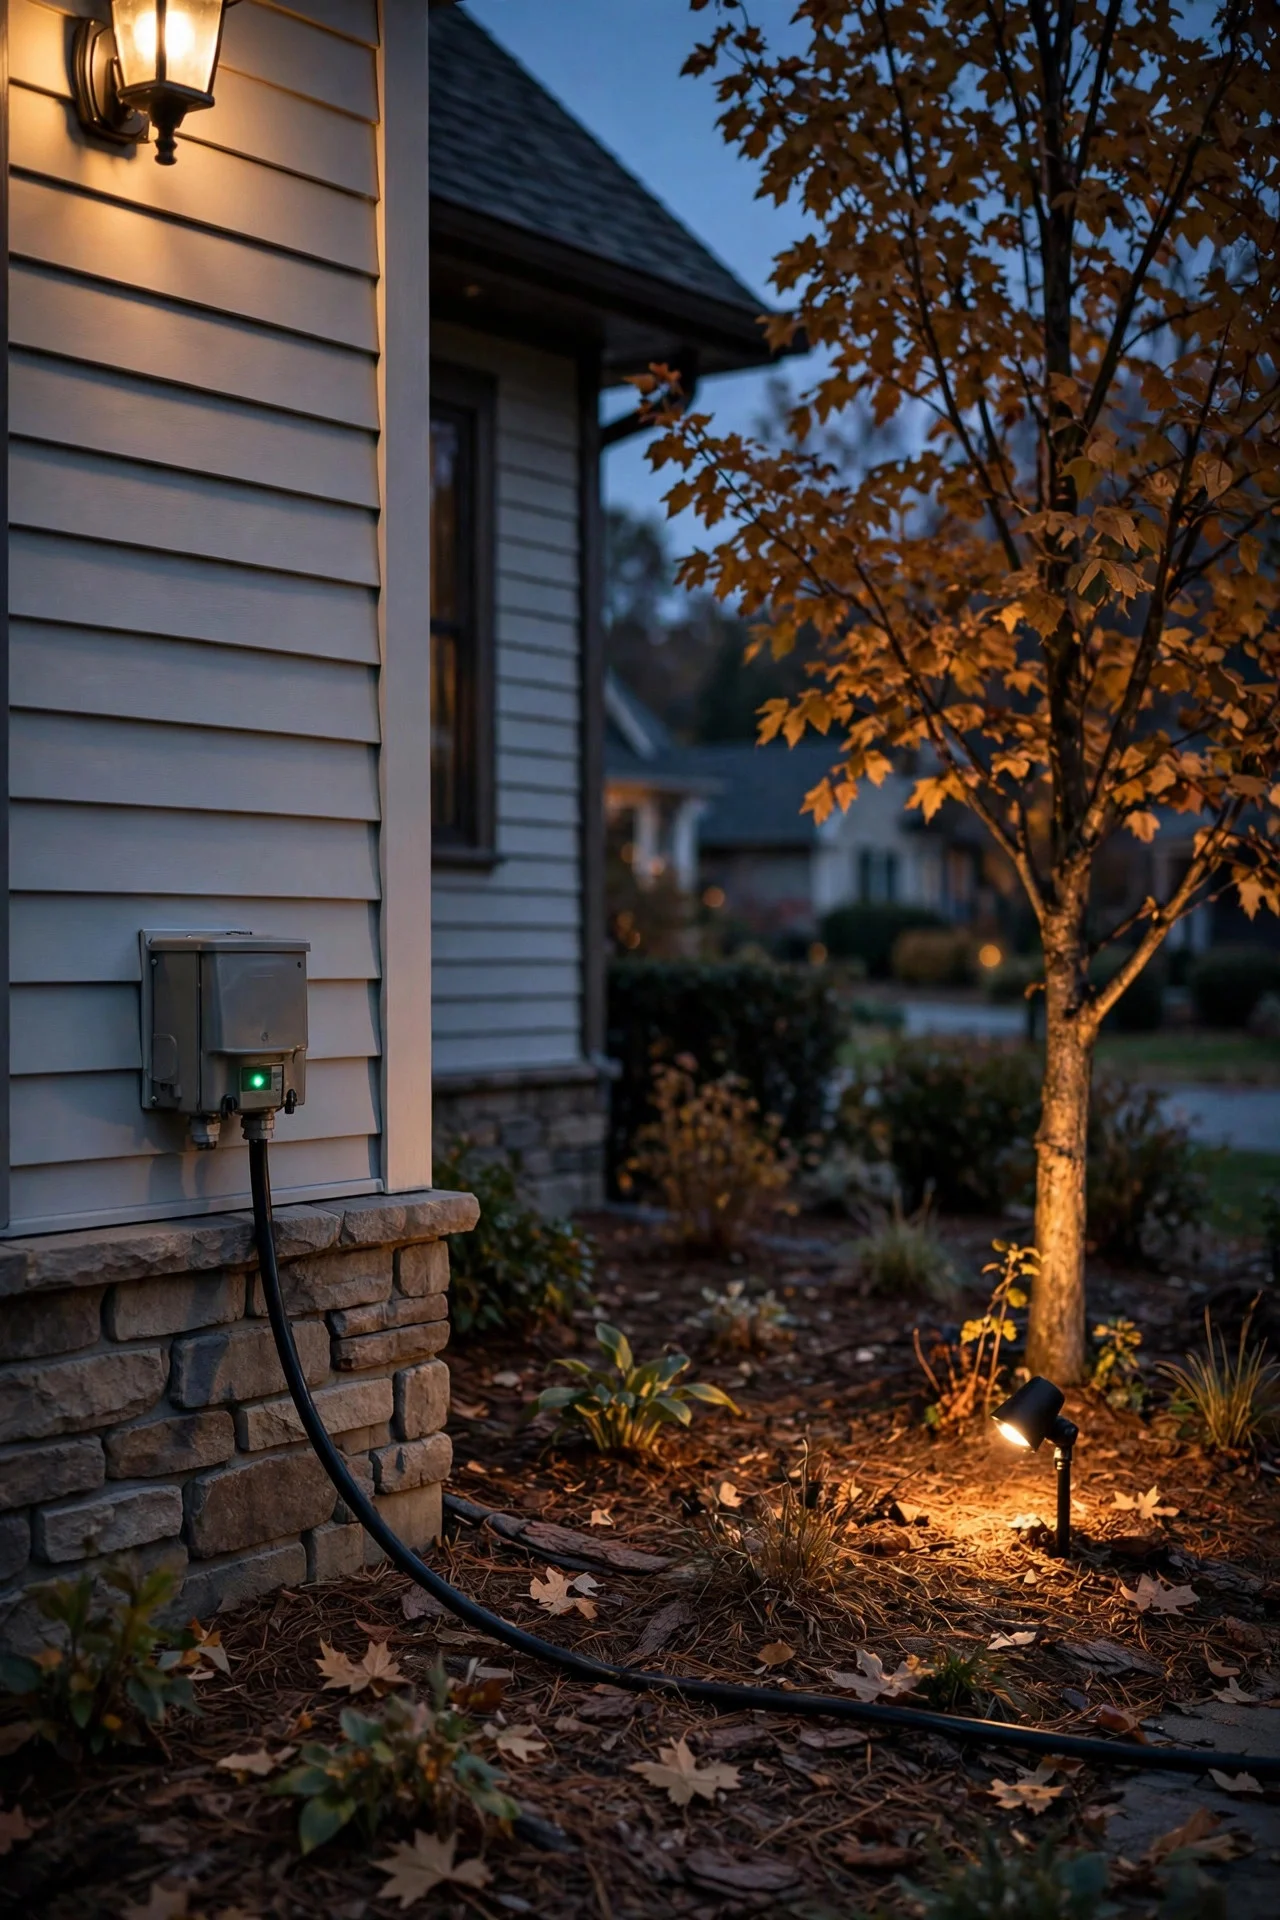
Safety and Electrical Basics
Low-voltage lighting is about as safe as outdoor electrical gets, but "safe" still has rules. Let's get them right.
First, outdoor ratings matter. Every component — fixtures, cable, connectors, transformer — should be rated for outdoor and wet locations. Look for an IP65 rating or higher on fixtures (dust-tight and water-resistant). Indoor-rated anything has no business in your mulch bed, no matter how sheltered the spot looks.
Second, plug into a GFCI outlet. The transformer must plug into a ground-fault circuit interrupter outlet — that's the one with the little test/reset buttons. Most outdoor outlets are already GFCI; if yours isn't, that's a $15 outlet swap or a call to an electrician. The transformer steps 120V down to 12V, but the plug side is still line voltage, so this rule is non-negotiable.
Third, LED only near anything flammable. This is mostly a non-issue with modern LEDs since they run cool, but it's worth saying: never use halogen or incandescent landscape bulbs near mulch, dry leaves, or wooden structures. Halogens run at hundreds of degrees. LEDs sip power and stay cool to the touch — one more reason they're the right choice.
Fourth, respect the roots and the tree. Don't drive stakes through the root flare (that swollen base where trunk meets ground). Don't screw or nail anything into the trunk — no, not even "just one little screw for the wire." Wounds invite disease. And keep fixtures a few inches back from the trunk so heat, moisture, and mulch don't sit against the bark.
Finally, check local codes before you trench anything deep or add circuits. Low-voltage landscape lighting is exempt from permits in most US jurisdictions, but "most" isn't "all" — a two-minute check of your city's website beats a surprise later.
What It Costs in 2026
Let's talk real numbers, because "it depends" helps nobody. All prices below are 2026 US retail for decent-quality (not bargain-bin, not designer) gear.
DIY single tree, one fixture: A good low-voltage LED spot runs $30 to $60. Add a share of a transformer ($60–$120 for a 100W unit that can grow with your yard), 50 feet of 12/2 cable ($25–$40), connectors, and a stake — call it $80 to $150 all-in for your first tree. Each additional tree after that is just the fixture plus cable: $50 to $90 per tree.
DIY large specimen, three-fixture cross-lighting: Three quality spots ($120–$180), a 100W transformer with photocell ($80–$140), 100 feet of cable ($40–$60), connectors and stakes. $250 to $400 total for a jaw-dropping result.
Professionally installed: A landscape lighting contractor typically charges $200 to $400 per fixture installed, so a single tree runs $300 to $600 and a three-fixture specimen $800 to $1,500. Worth it if you want it perfect and never want to think about it — pros also warranty their work.
Running costs — the fun part. A typical LED spot draws 5 to 7 watts. Three 6-watt fixtures running 8 hours a night: 18 watts × 8 hours = 144 watt-hours per day, or about 52 kWh per year. At the 2026 US average of roughly $0.18 per kWh, that's under $10 per year to run three fixtures every single night. Compare that to the old 50-watt halogens, which would cost you around $80 a year for the same setup — and burn out every 12 months. LEDs pay for their premium in the first year and then just glow.
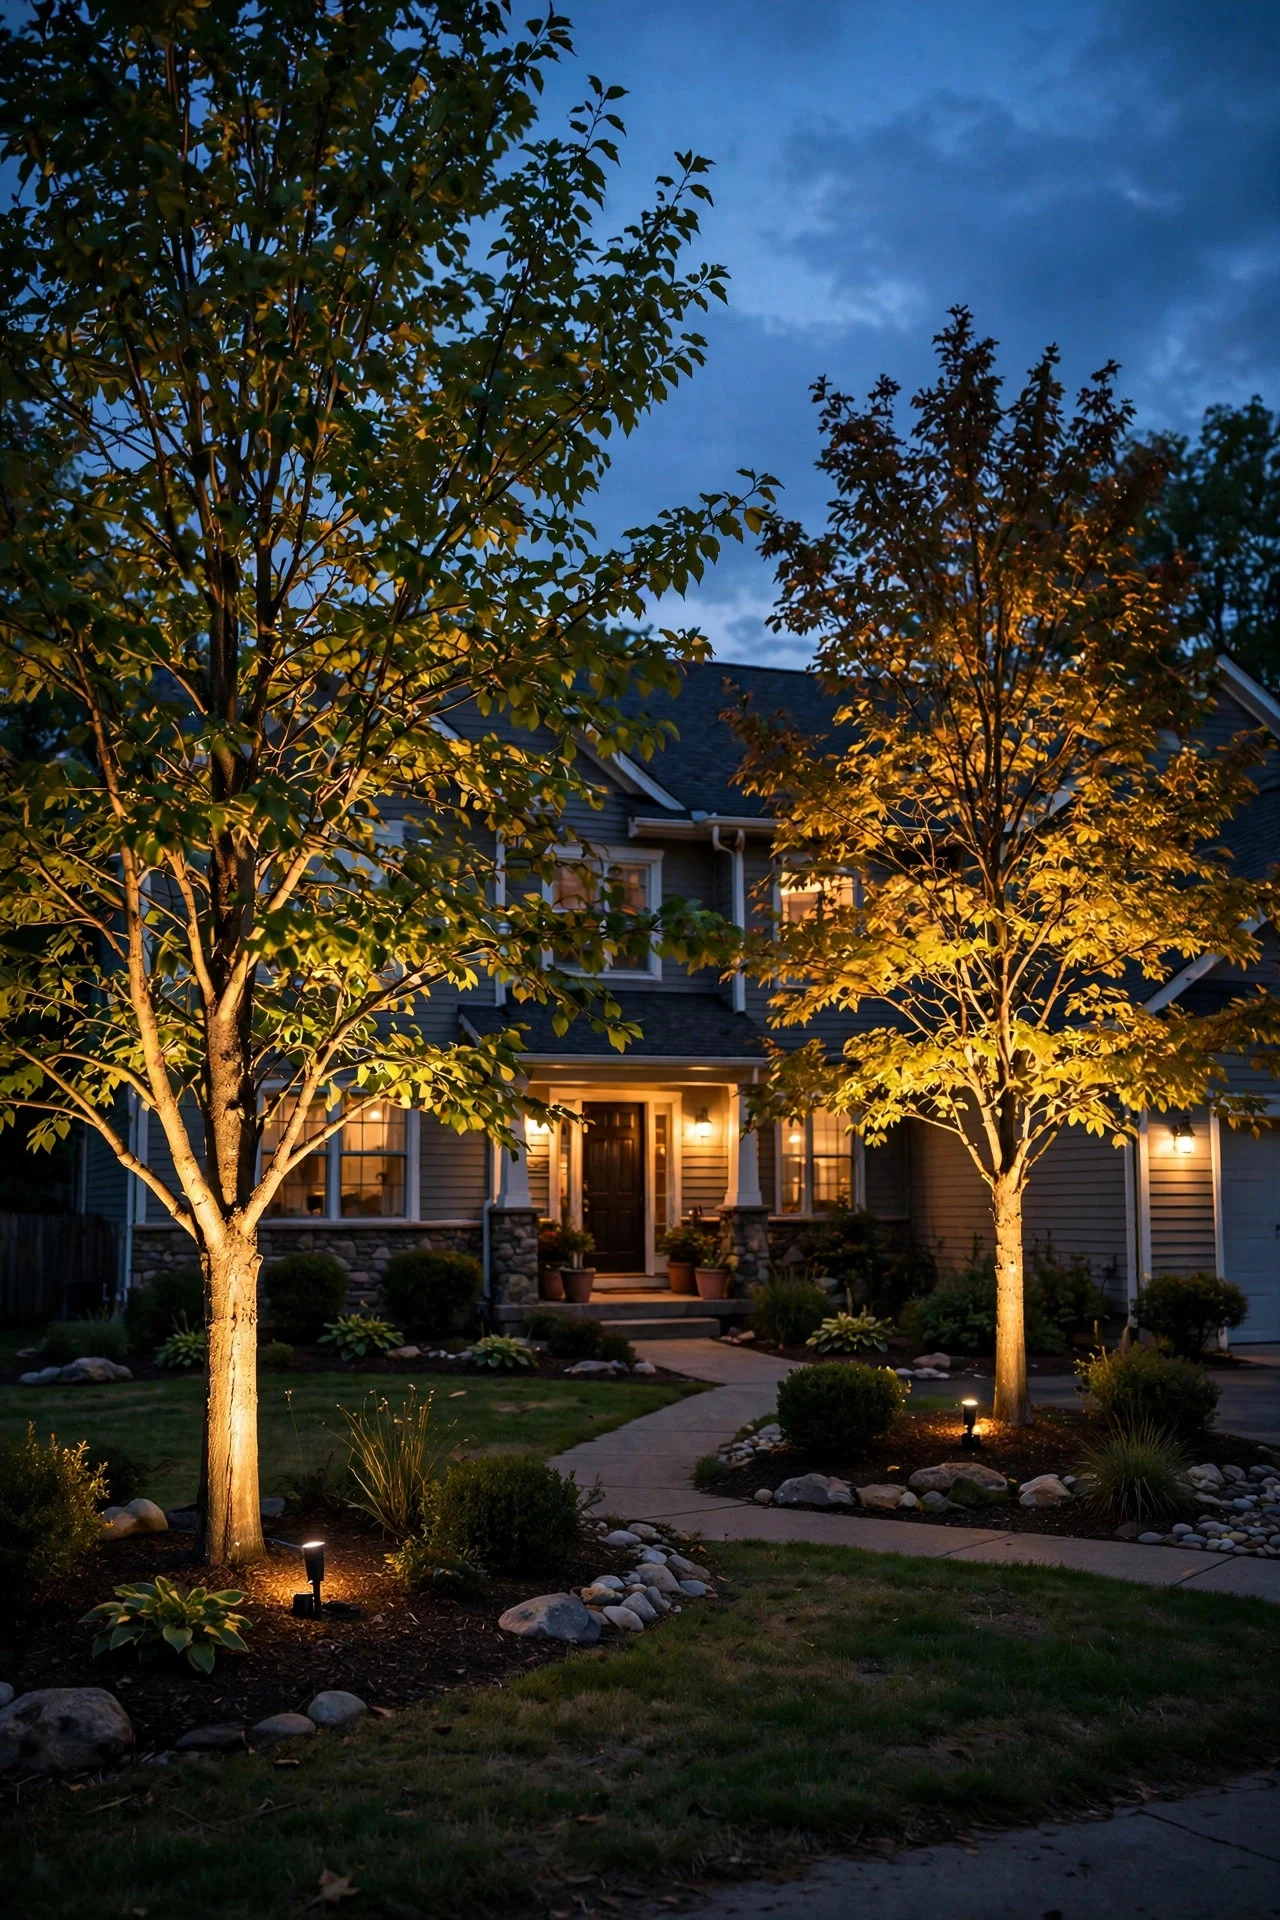
7 Mistakes That Ruin the Effect
I've made most of these myself, so consider this the list I wish someone had handed me on day one.
1. One light, dead center, straight up the trunk. The classic beginner move. It creates a blinding hot spot at the base, a dark canopy, and light wasted on the sky. Offset your fixture and angle it — remember the 30- to 45-degree rule.
2. Lighting only what you see from inside. If the tree is visible from the street, light it for the street. The most common regret I hear is "it looks great from my kitchen but weird from the curb." Walk your sightlines before you stake anything.
3. Over-lighting. Three fixtures on a 12-foot ornamental doesn't make it three times prettier — it makes it flat. Shadows are doing half the work. When in doubt, use fewer, dimmer fixtures.
4. Fixtures jammed against the trunk. Six inches from the bark gives you a harsh hot spot and traps moisture against the tree. Back off to the placement formula distance and let the beam do the traveling.
5. Cool-white bulbs. I covered this above, but it bears repeating because it's the single most common purchase mistake. That bargain 5000K spotlight will make your oak look like a haunted house prop. Warm white, always.
6. Glare into windows — yours or the neighbor's. A fixture aimed even slightly wrong can throw a beam straight into a bedroom window. Before finalizing, check from inside the house with the lights off. And be a good neighbor: if your beam spills onto their property, re-aim it. Light trespass is how lighting feuds start.
7. Install and forget. Trees grow. A fixture perfectly aimed in spring can be buried in new growth by August, and a stake that was fine in year one can end up inside the root flare by year three. Re-aim twice a year — more on that below.
Uplighting vs. Downlighting and Moonlighting
Uplighting isn't the only way to light a tree, and knowing the alternatives helps you choose — or combine them like the pros do.
Uplighting (what this guide covers) puts the fixture on the ground aiming up. The effect is dramatic, theatrical, architectural. It makes the tree a focal point and a landmark. Best for: front-yard specimens, statement trees, curb appeal, anyone who wants that "wow" moment from the street.
Downlighting mounts the fixture up in the tree — or on the house, or a tall pole — aiming down. It mimics natural overhead light, so the effect is subtle and realistic rather than dramatic. Pathways and patios under the tree get gentle, usable light. Best for: entertaining spaces, lighting the ground beneath a tree, a natural look.
Moonlighting is downlighting's romantic cousin: one or two fixtures mounted high in the canopy (20 feet and up), aimed down through the branches. The leaves break the beam into dappled patches that drift in the breeze — exactly like moonlight through trees. It's the most magical effect in landscape lighting, full stop. But it requires getting a fixture (and wire) high into the tree, which usually means a ladder, a patient afternoon, or a pro.
Here's my honest take: uplighting is the best starting point because it's easy, cheap, and high-impact. But the truly spectacular yards layer techniques — an uplit trunk for drama plus a moonlight fixture in the canopy for that dappled magic. If you want to explore the softer side, take a look at my downlighting ideas for inspiration on the moonlit look. And once you've lit one tree, you'll start seeing the whole yard differently — that's when a broader backyard lighting plan starts calling your name.
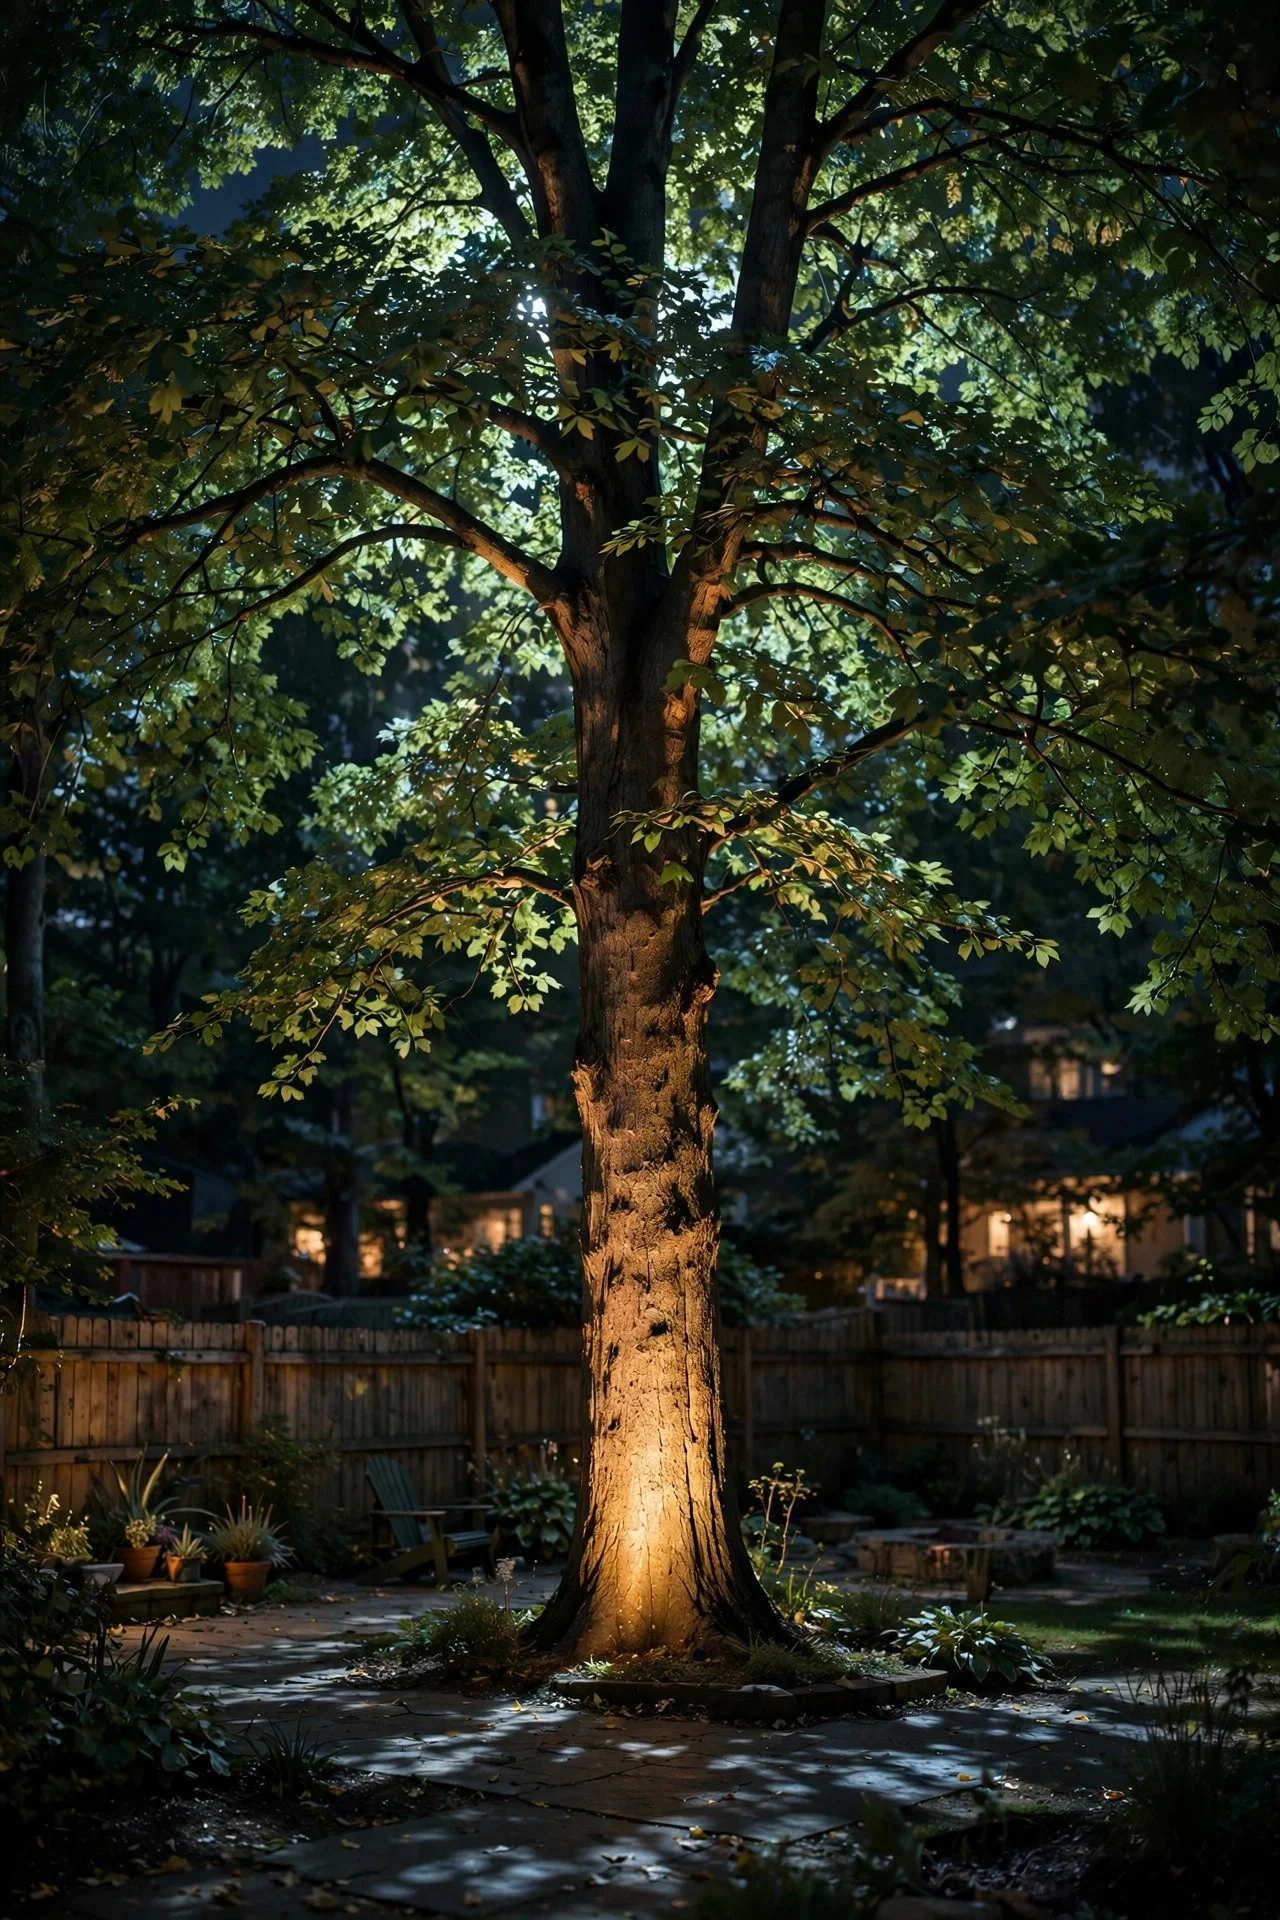
Seasonal Care and Maintenance
A tree lighting setup isn't a install-and-forget project — it's a twice-a-year, ten-minute relationship. Here's the routine that keeps everything looking pro.
Spring re-aim: New growth changes everything. Branches that were bare in March are leafed out by May, and they will block, catch, and reshape your beams. Every spring, walk your trees at night and re-aim. Push back any branches that grew into the beam path, and check that fixtures haven't been swallowed by new mulch or groundcover.
Fall check: Before the leaves drop, clean every lens. Pollen, dust, mulch splash, and mower debris film over lenses and can cut light output by a third without you noticing — it happens gradually, so your eyes adjust. A damp microfiber cloth takes 30 seconds per fixture. While you're there, check that stakes are still upright after a season of mowers, kids, and storms, and trim any low suckers or branches blocking the beam.
As the tree grows: Young trees grow fast, and your placement formula distances will drift. Every year or two, step back and re-evaluate: is the fixture still roughly one-third of the tree's height out? Has the trunk thickened toward the stake? Move fixtures outward as the tree matures — a 20-minute job that keeps the effect perfect.
Winter: LEDs don't care about cold, but snow and ice can bury ground-level fixtures. If you get real winters, mark fixture locations before the first snow so the snowblower doesn't eat them, and brush snow off lenses after storms. Bonus: uplighting looks absolutely stunning on snow-dusted branches, and lighting your trees for the holidays layers beautifully over your year-round uplighting.
Every couple of years: Check wire connections for corrosion (green crusty stuff on copper), especially in wet climates. Silicone-filled connectors mostly prevent this, but a quick inspection beats a dead fixture you don't notice for months.
Frequently Asked Questions
Will uplighting hurt or damage my tree?
No — not when it's done right. LED landscape lights run cool, so there's no heat damage to bark or roots, and the light doesn't affect the tree's growth. The real risks are physical: driving stakes through the root flare, screwing mounts into the trunk, or piling mulch against bark. Keep fixtures a foot or two from the trunk, never attach anything to the tree, and it won't even notice its spotlight.
How far should the light be from the trunk?
For small trees under 12 feet, stake the fixture 2 to 4 feet from the trunk. For larger trees, use the one-third rule: place the fixture at a distance equal to about one-third of the tree's height. Always aim the beam up at 30 to 45 degrees, and fine-tune at night from your main viewing spot.
Can I uplight a tree with solar spotlights?
You can, but manage your expectations. Solar spots produce 50 to 200 lumens and fade through the night — fine as a subtle accent or a placement test, but not the dramatic magazine look. For that, low-voltage LED is brighter, consistent all night, and costs pennies to run.
Do I need a transformer for tree uplighting?
If you go low-voltage (which I recommend), yes — a transformer steps your household 120V down to safe 12V. Size it at 1.25 times your total fixture wattage; a 100-watt transformer with a photocell timer covers most starter projects and leaves room to grow. Solar fixtures skip the transformer entirely, and line-voltage floods wire directly to 120V — which is why they need an electrician.
How do I stop glare from my tree lights?
Glare means the beam is hitting eyes instead of bark. Move the fixture farther from the trunk, tilt the head so the beam's soft edge (not its bright center) does the work, or add a glare shield over the lens. Check sightlines from seating areas, the sidewalk, and inside the house with the lights off — then re-aim anything that stings.
The Verdict
Learning how to uplight a tree is one of those rare projects that's cheap, fast, and genuinely transformative — a single $50 fixture and an evening's work can turn an ordinary tree into the landmark your whole street notices. Start with one tree, one warm-white spot, and the placement formula; aim it at night, step back to the curb, and adjust until it makes you grin. That's the whole secret — the pros just do it with more fixtures. If this got you excited about what light can do after dark, browse my other outdoor lighting ideas for your next project. Your yard's best hours are the ones after sunset.