Intro
There's nothing that says December quite like a front yard Christmas tree glowing against a dark blue sky. Whether it's the tall pine you've had for years or a freshly planted evergreen, the right outdoor Christmas tree lighting turns an ordinary tree into the neighborhood landmark people slow down to look at. I've wrapped my own trees — and helped half the street with theirs — for more than a decade, and honestly? The difference between "nice" and "breathtaking" usually comes down to technique, not money.
In my experience, great tree lighting follows the same layering rule I use everywhere: depth. A single strand thrown around the outside looks flat. But lights tucked into the interior, wrapped along branches, and finished with a glow at the base? That's when a tree starts to look three-dimensional and alive.
Below are 19 of my favorite front-yard tree lighting ideas, from classic warm-white wraps to solar-powered setups for trees nowhere near an outlet. Grab your strands and a thermos of something hot, and let's make your tree the best-looking one on the block.
1. The Classic Warm-White Branch Wrap
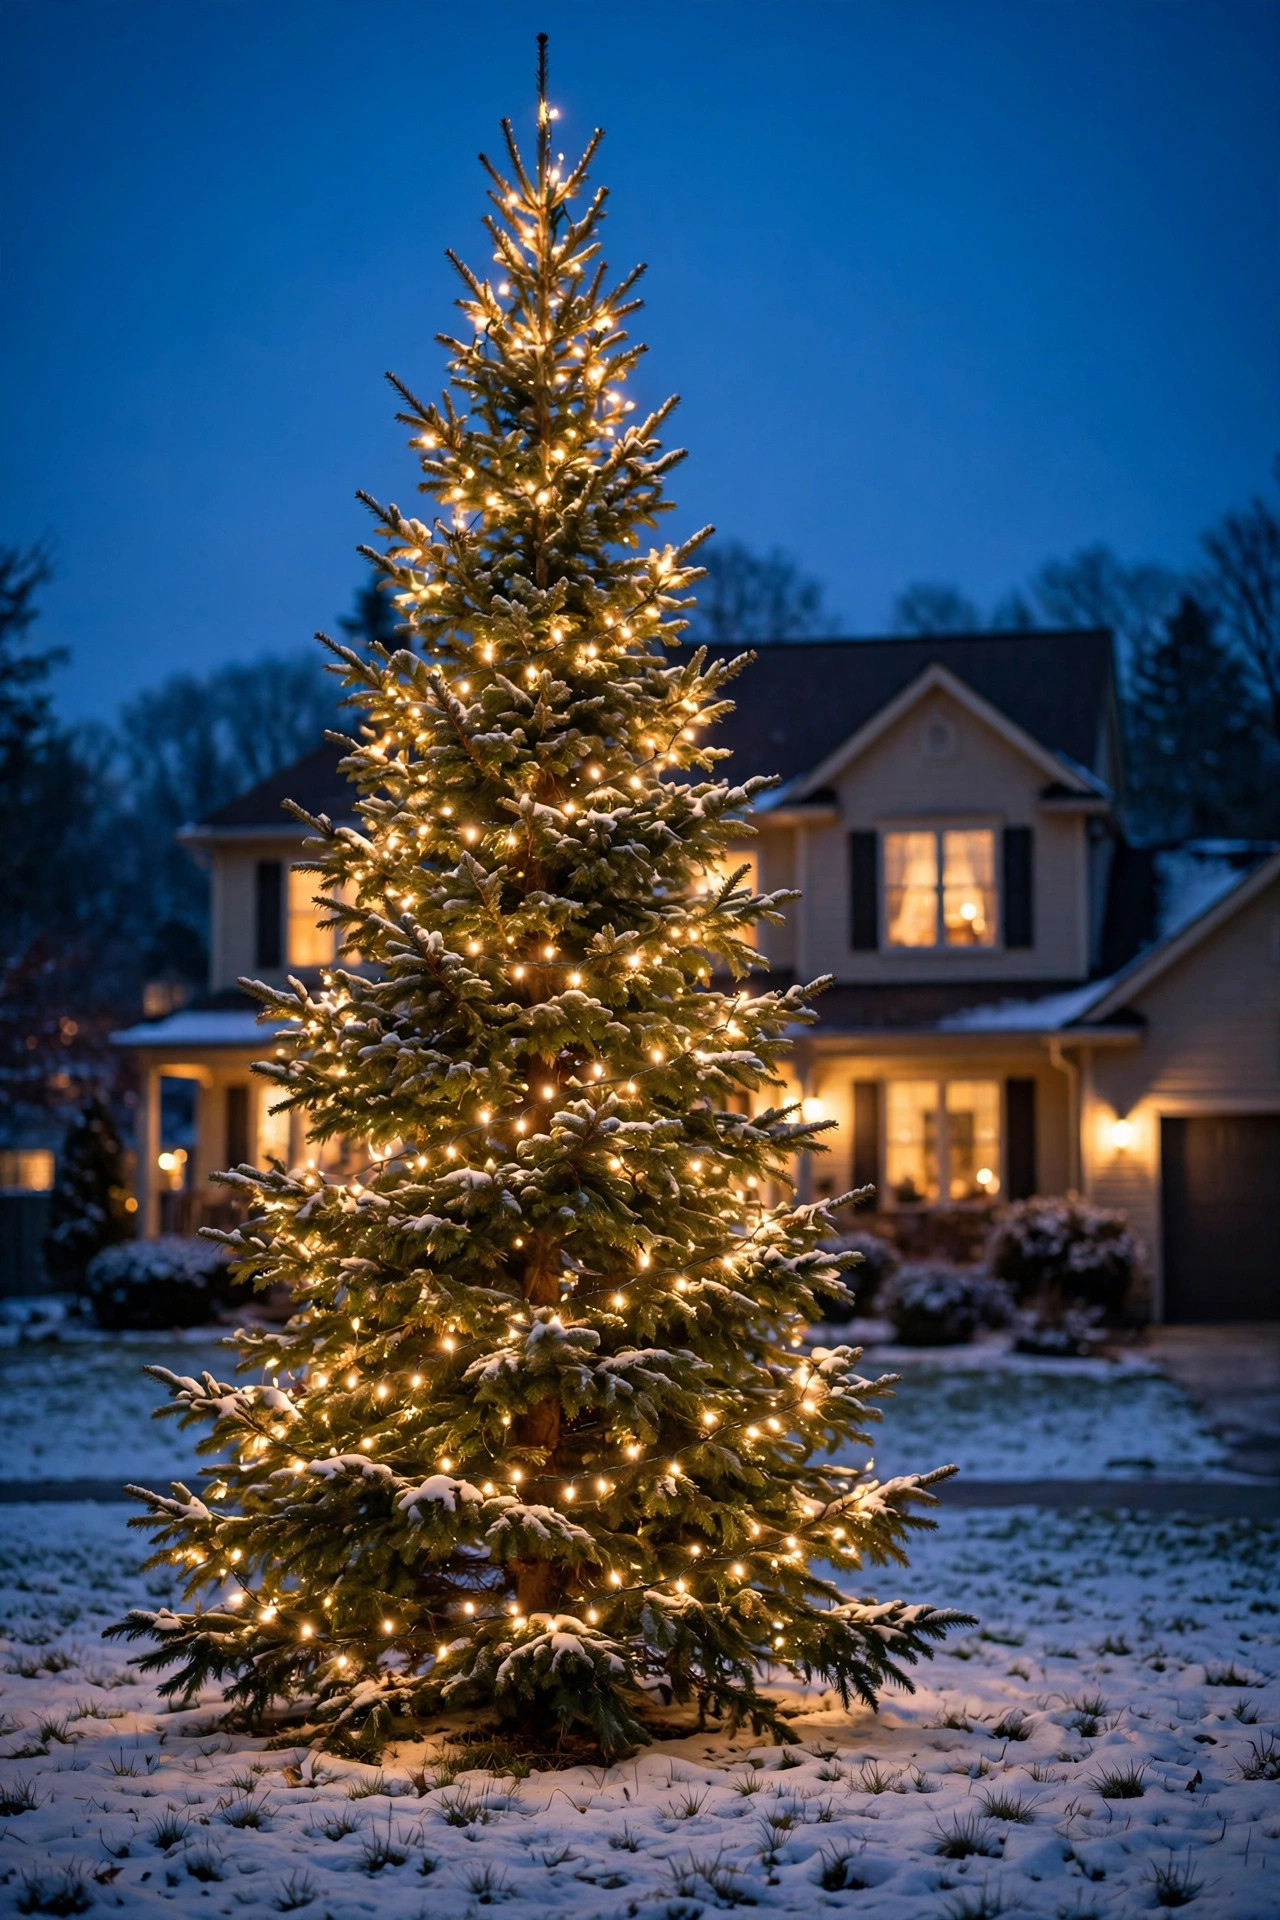
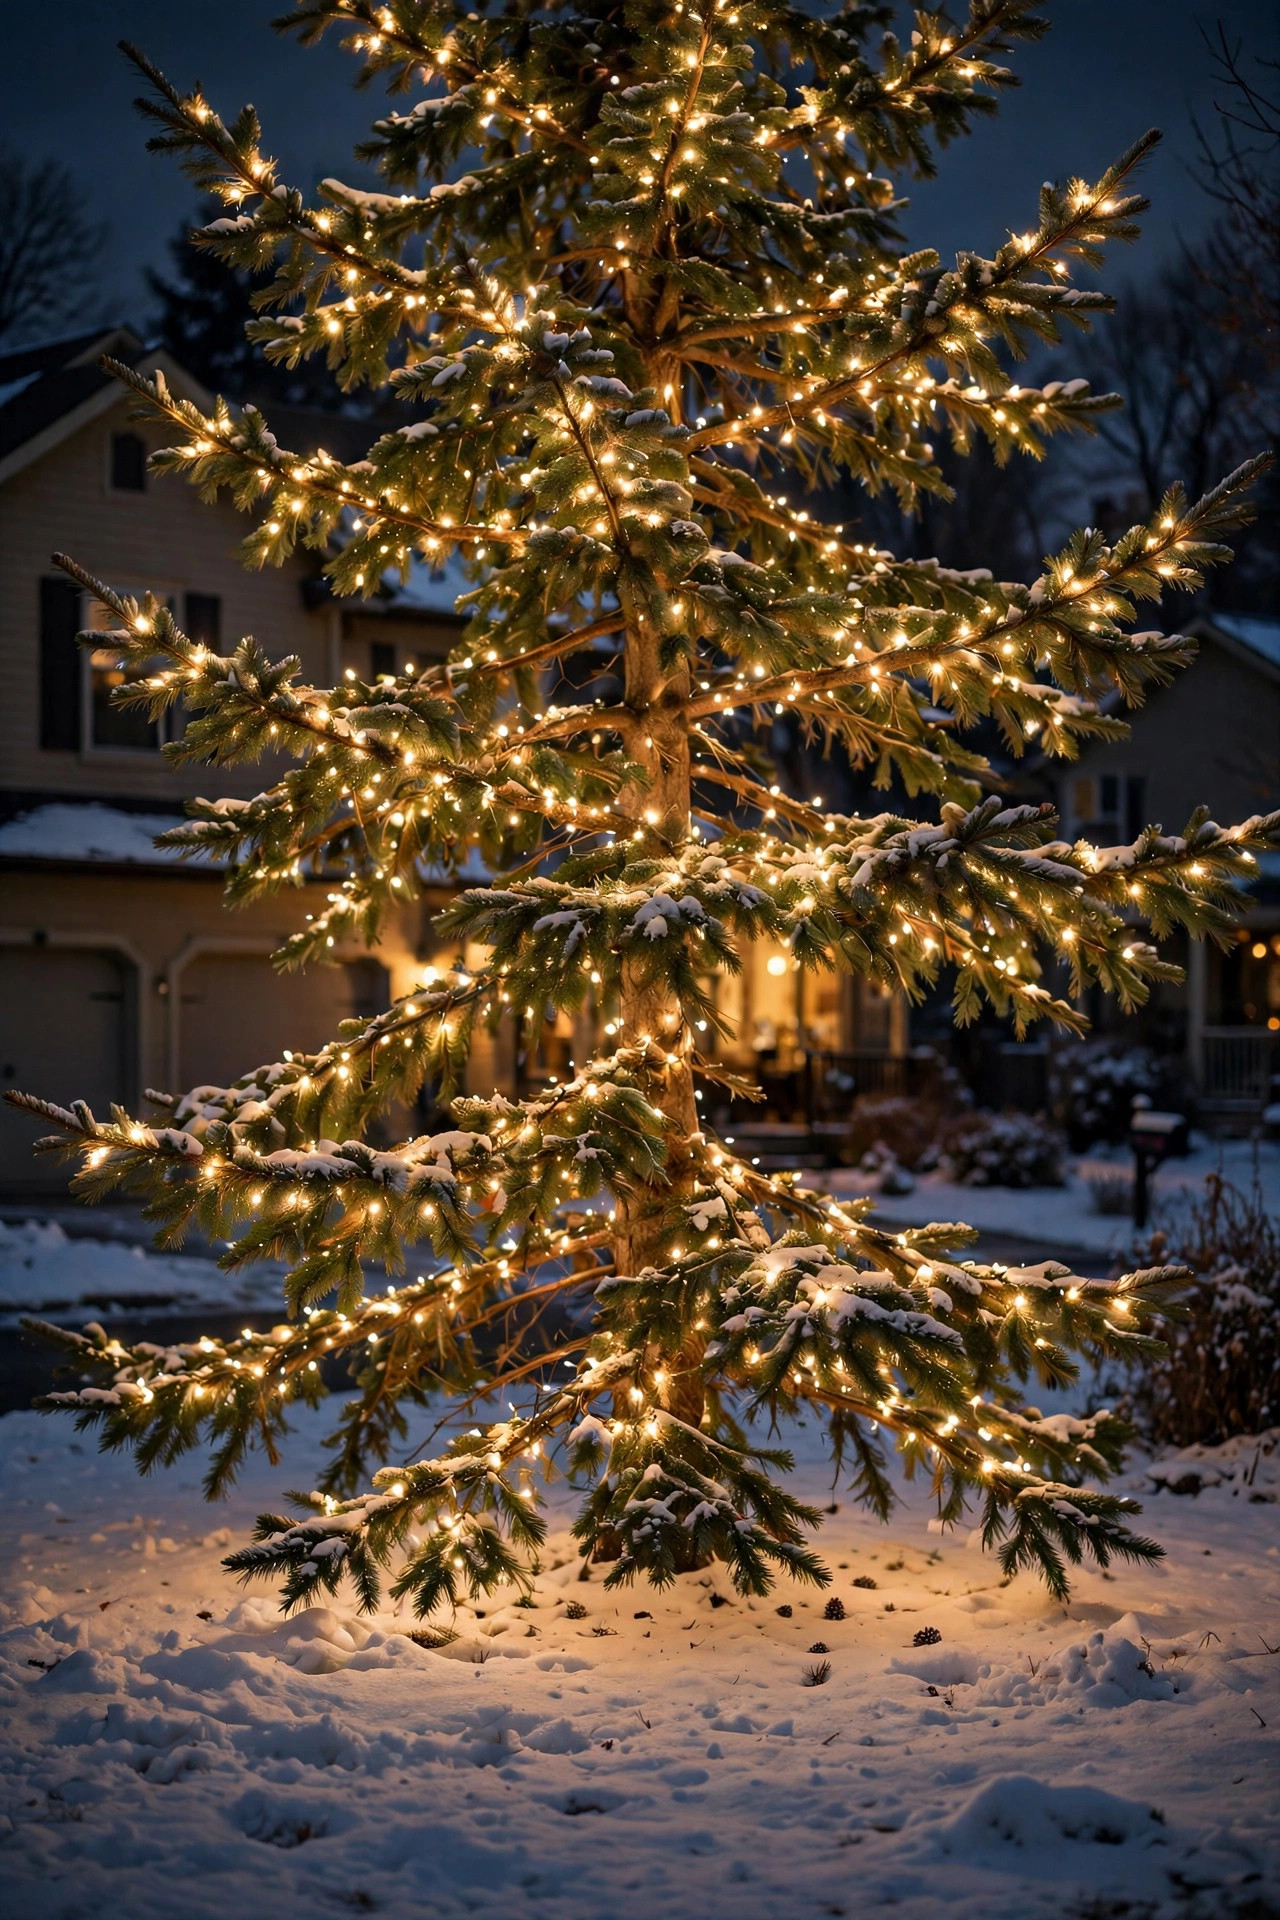
If you only learn one technique, make it this one. Start at the bottom of the tree, at the trunk, and wrap each branch individually from the trunk outward toward the tip, working your way up the tree in tiers. This inside-out method uses more lights than a simple spiral around the outside — budget about 100 to 150 mini LEDs per foot of tree height — but the result is pure depth: the interior glows, the outer branches sparkle, and the whole tree looks twice as big.
In my experience, the biggest mistake people make is using strands that are too short and ending up with visible extension gaps. For a 7-foot evergreen, plan on 8 to 10 strands of 100-count mini lights. Plug strands together as you go (most allow 20 to 25 sets end-to-end), and work with the lights ON so you can spot bare patches immediately. Tuck the plugs up into the branches near the trunk where they're hidden.
Use 2700K warm-white LEDs — that golden tone flatters evergreen foliage and reads "cozy Christmas" from half a block away. Finish with a timer set for dusk to midnight, and your tree runs itself all season.
Suggested budget range: $40 – $100.
2. Multicolor Big-Bulb Vintage Tree
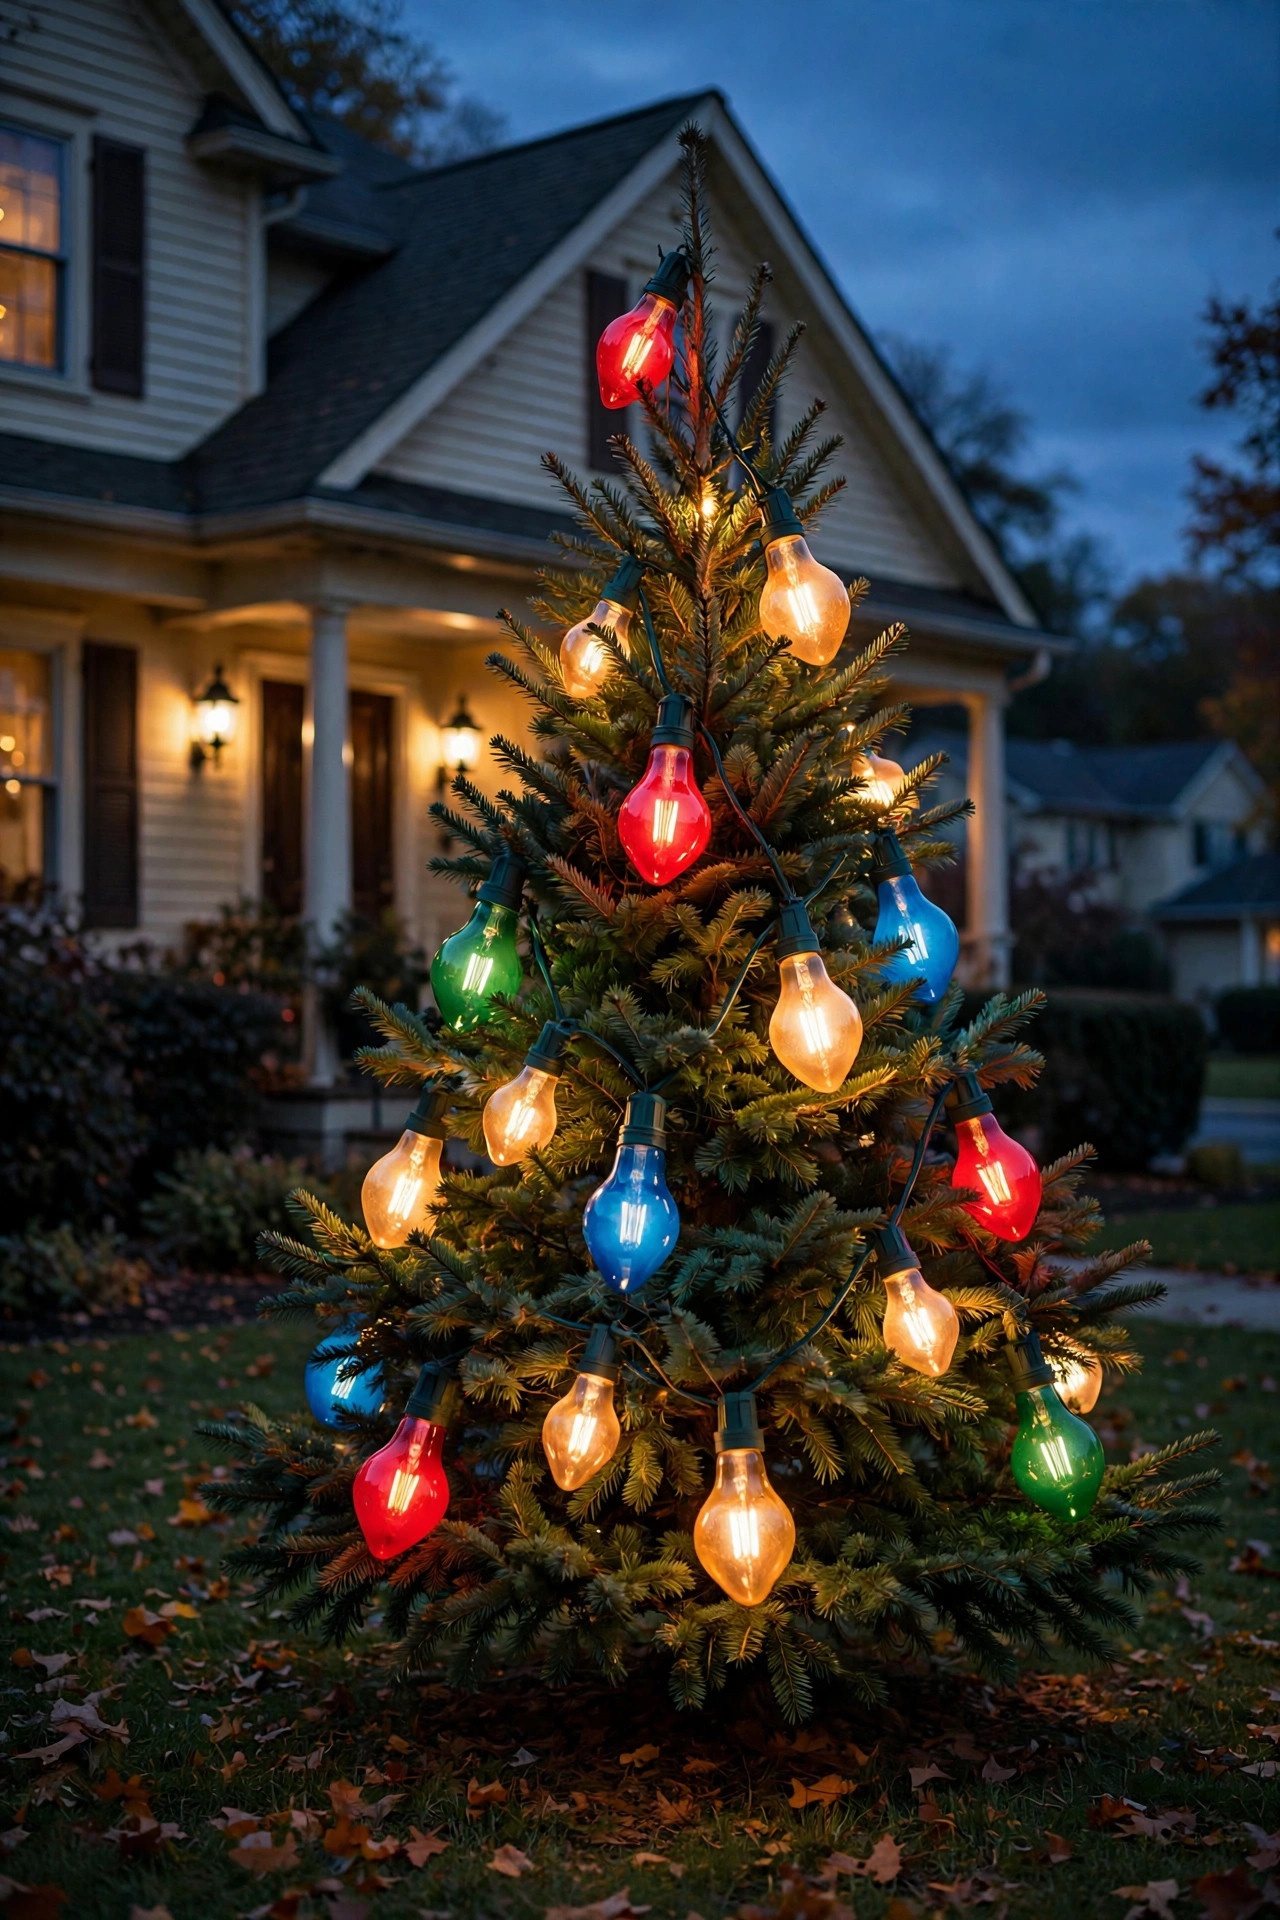
Some front yards call for nostalgia, not elegance — and honestly, a tree wrapped in old-fashioned multicolor big bulbs is a joy bomb. The trick to making it look intentional instead of chaotic is choosing faceted C7 or C9-style LED bulbs in classic red, green, gold, blue, and orange, and spacing them evenly: one bulb every 8 to 12 inches, wrapped in a loose spiral from bottom to top.
Big bulbs throw real presence. For a 7-foot tree, 7 to 10 strands of 25-count C7s give you that lush vintage look; step up to C9s for trees 9 feet and taller, since the larger bulbs scale better with size. LED versions stay cool and sip electricity — a whole tree of them typically costs pennies a night to run — so don't fear the electric bill.
My styling secret: keep everything else simple. No mixed color temperatures, no competing white lights. Let the tree be the one multicolor moment in the yard, and it'll read as a cheerful retro statement instead of a mishmash. A simple red bow or plain star topper finishes the look. This is the tree kids point at from car windows, and I love that for it.
Suggested budget range: $50 – $120.
3. Twin Pre-Lit Trees Flanking the Front Door
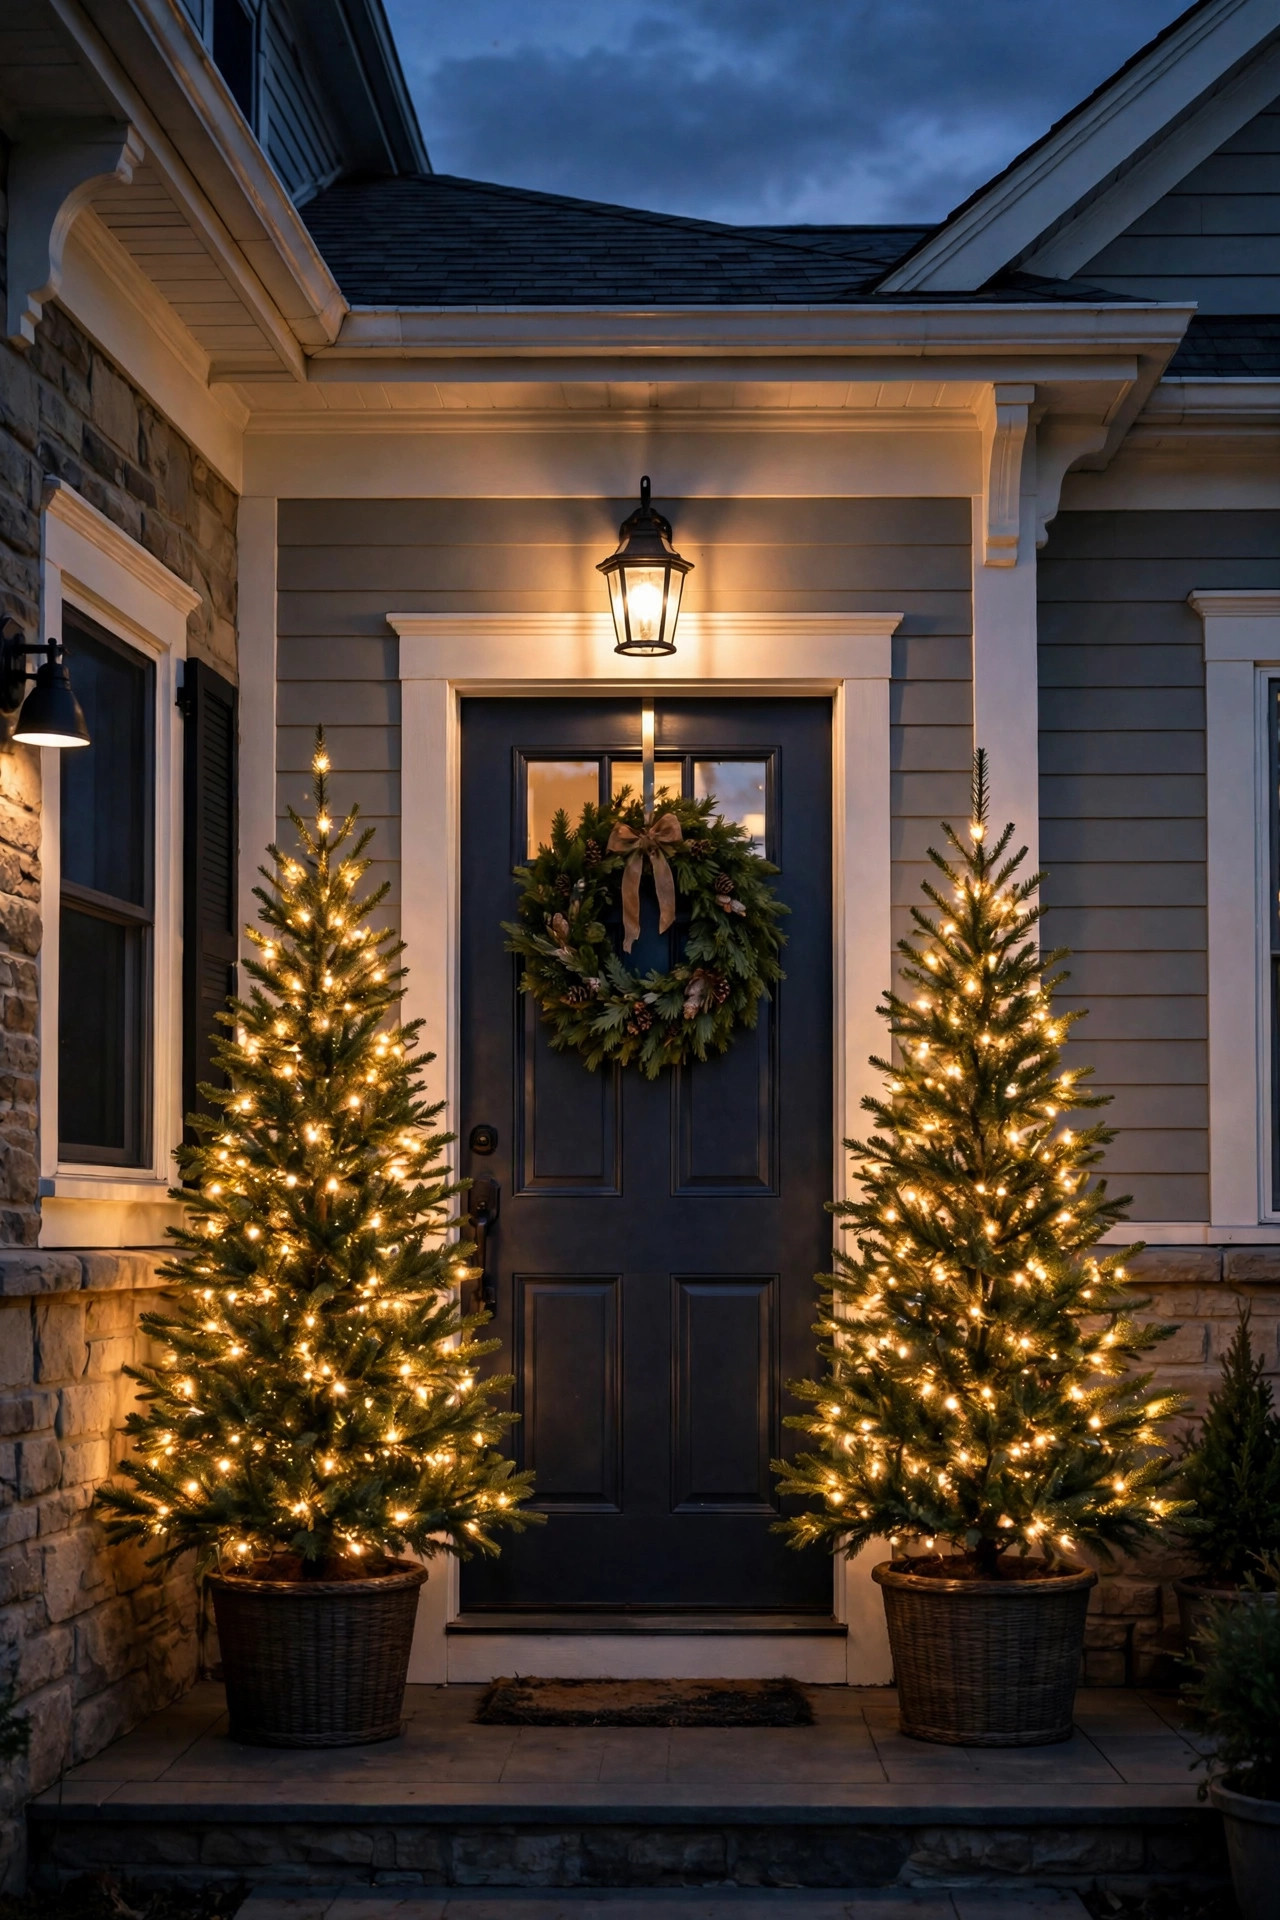
Symmetry sells. Two matching pre-lit trees — one on each side of the front door or at the top of the walkway — frame your entry like a magazine cover and double the impact of a single tree. I always recommend this setup for smaller front yards, because two 4- to 6-foot trees often fit better (and look grander) than one big tree crammed into a tight space.
Placement matters: set each tree in a weighted planter or decorative pot, at least 18 inches out from the door swing and clear of the walkway. Most pre-lit trees come with warm-white mini LEDs (usually 200 to 400 lights on a 6-footer) and a foot-switch cord; swap the switch for an outdoor smart plug so both trees light at dusk automatically and in perfect sync. If one tree's bulbs look dimmer, it's almost always a loose plug connection — unplug and reseat it before you blame the lights.
Styling-wise, mirror everything: same ornaments, same ribbon, same tree height. Then tie the pair into the porch with a matching pre-lit Christmas garland and wreath on the door — that repetition is what makes the whole entry feel designed rather than decorated.
Suggested budget range: $120 – $300.
4. Spiral-Wrapped Trunk and Branch Tips
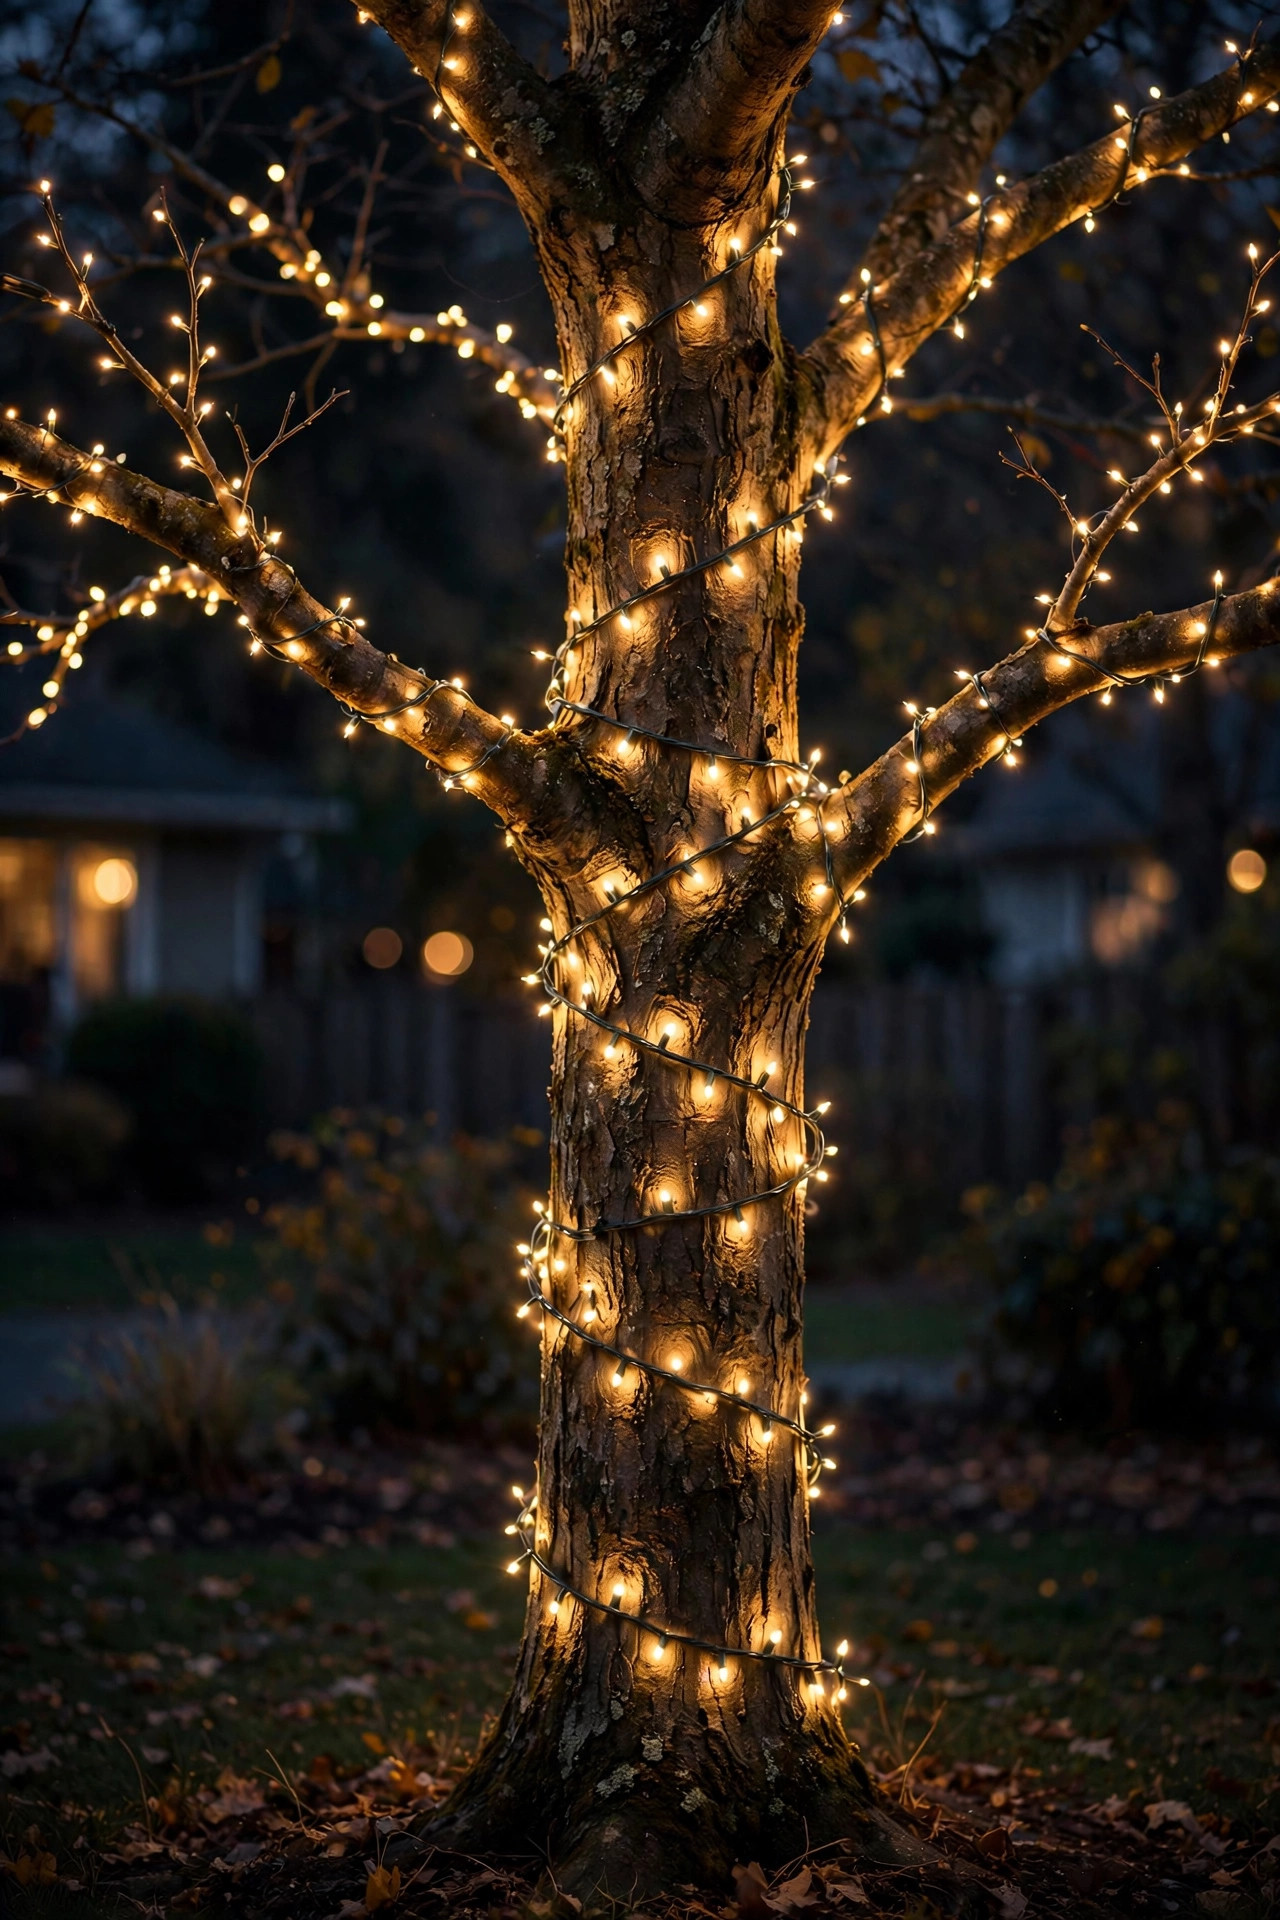
Here's the minimalist's answer to outdoor Christmas tree lighting: instead of wrapping the whole canopy, spiral lights around the trunk from the ground up, then wrap just the outer third of each major branch tip. The effect is sculptural — a glowing skeleton that shows off the tree's natural shape, gorgeous on bare deciduous trees and on evergreens with open branching.
Start with the trunk: measure its circumference and height, then wrap in a tight spiral with 6- to 8-inch spacing between wraps. Use C6 or mini lights for trunks under 8 inches wide; step up to C7 bulbs for chunky mature trunks. Then take one 100-count strand per large branch, wrapping from the trunk outward and back — the doubled strand reads as a glowing line from the street.
This technique shines on trees with interesting bark, like river birch or Japanese maple, because the warm light rakes across the texture. One caution: keep lights off any branch that rubs a roofline or gutter — wind plus wire plus shingles equals a bad time. And if your tree stands in a mulched bed, elevate the lowest trunk wrap a few inches above the mulch so moisture doesn't wick into the connections.
Suggested budget range: $30 – $80.
5. Net Lights on a Big Evergreen Shrub
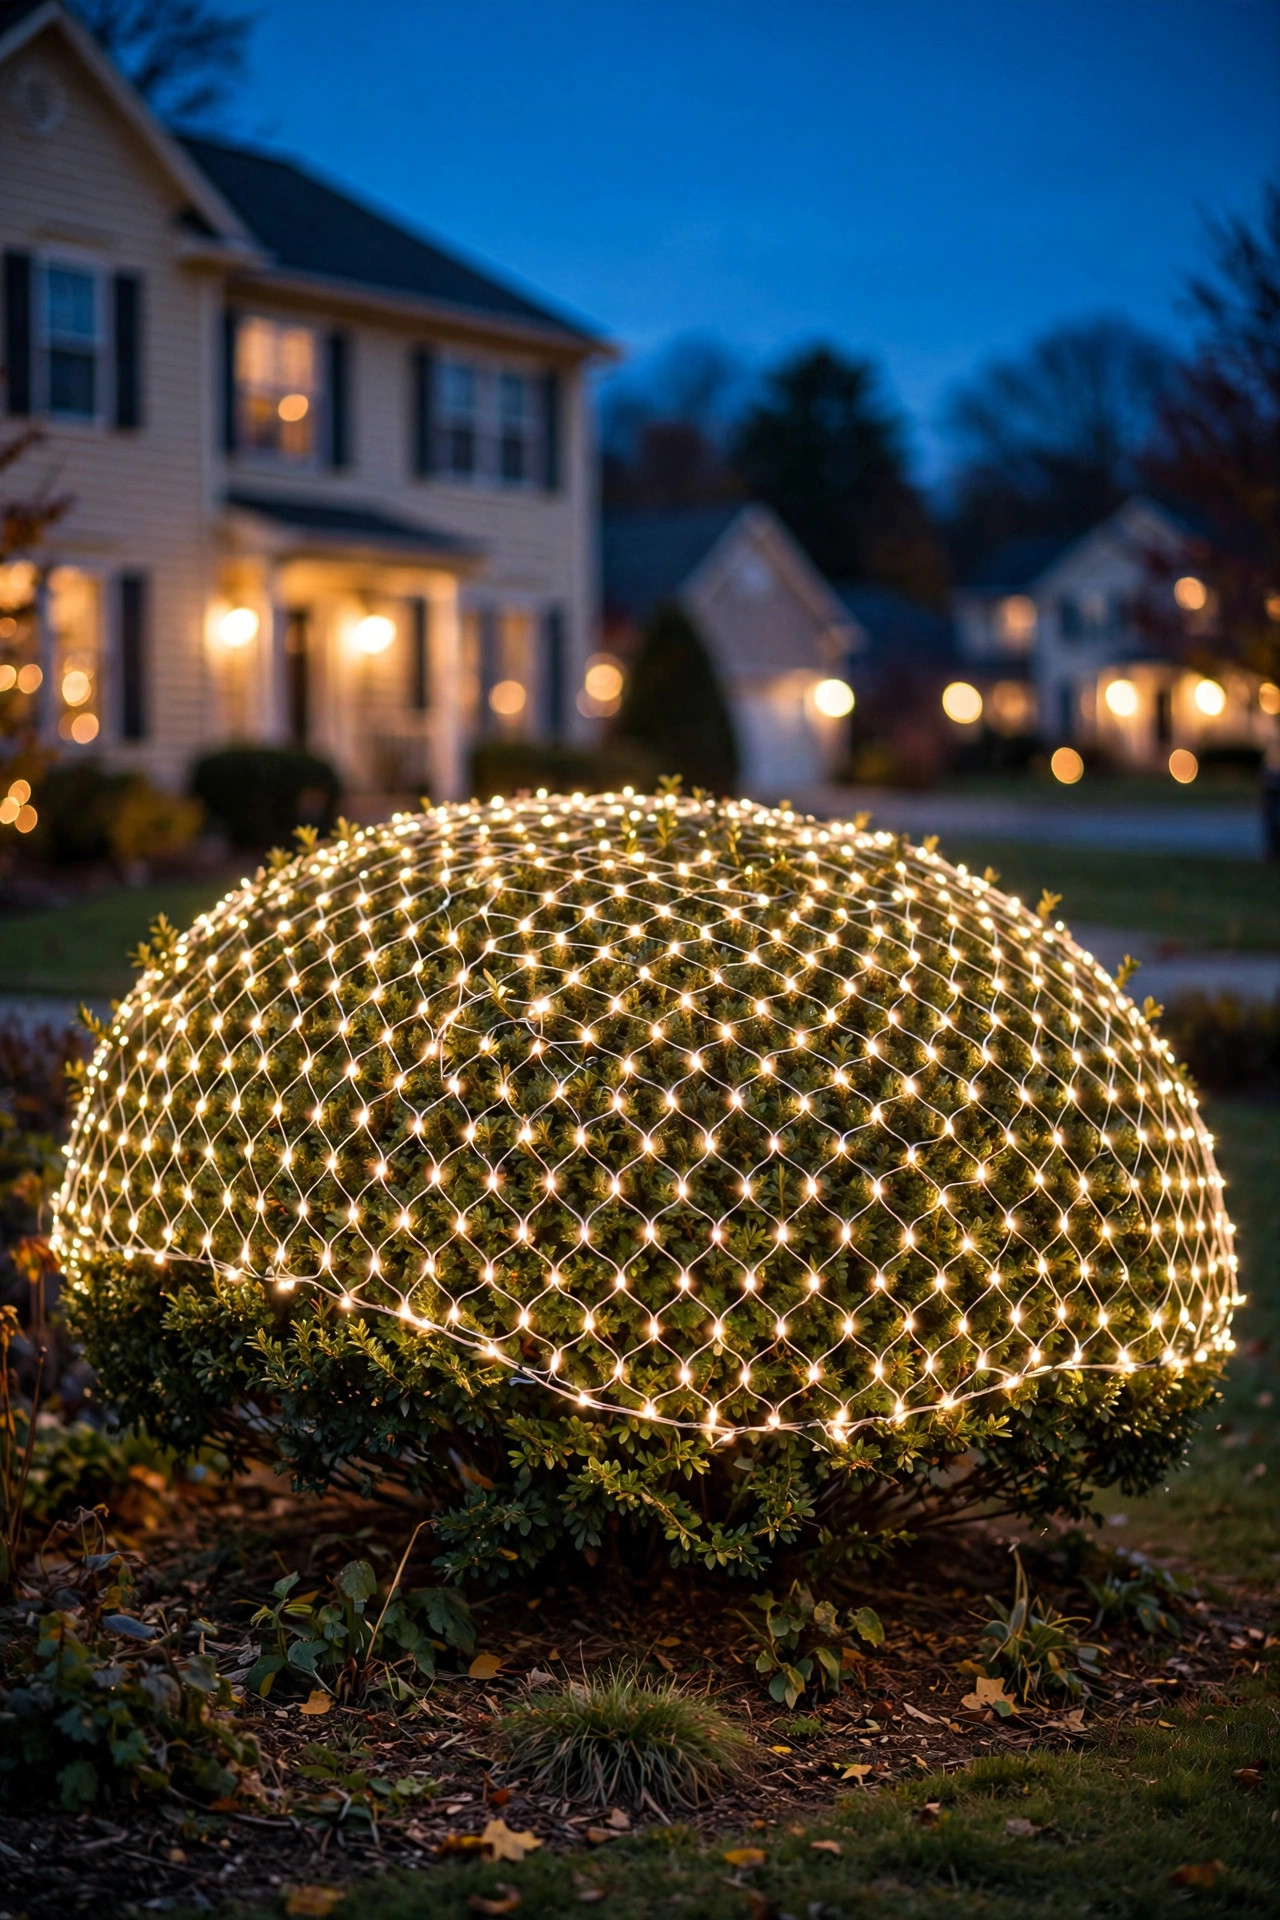
Net lights are the underrated workhorse of outdoor Christmas tree lighting, and a big rounded evergreen — holly, boxwood, or a squat spruce — practically begs for them. A 4-by-6-foot net drapes over a shrub in about three minutes, and the built-in grid spacing gives you perfectly even coverage with zero fussing. For a 5- to 6-foot shrub, two nets usually cover it completely.
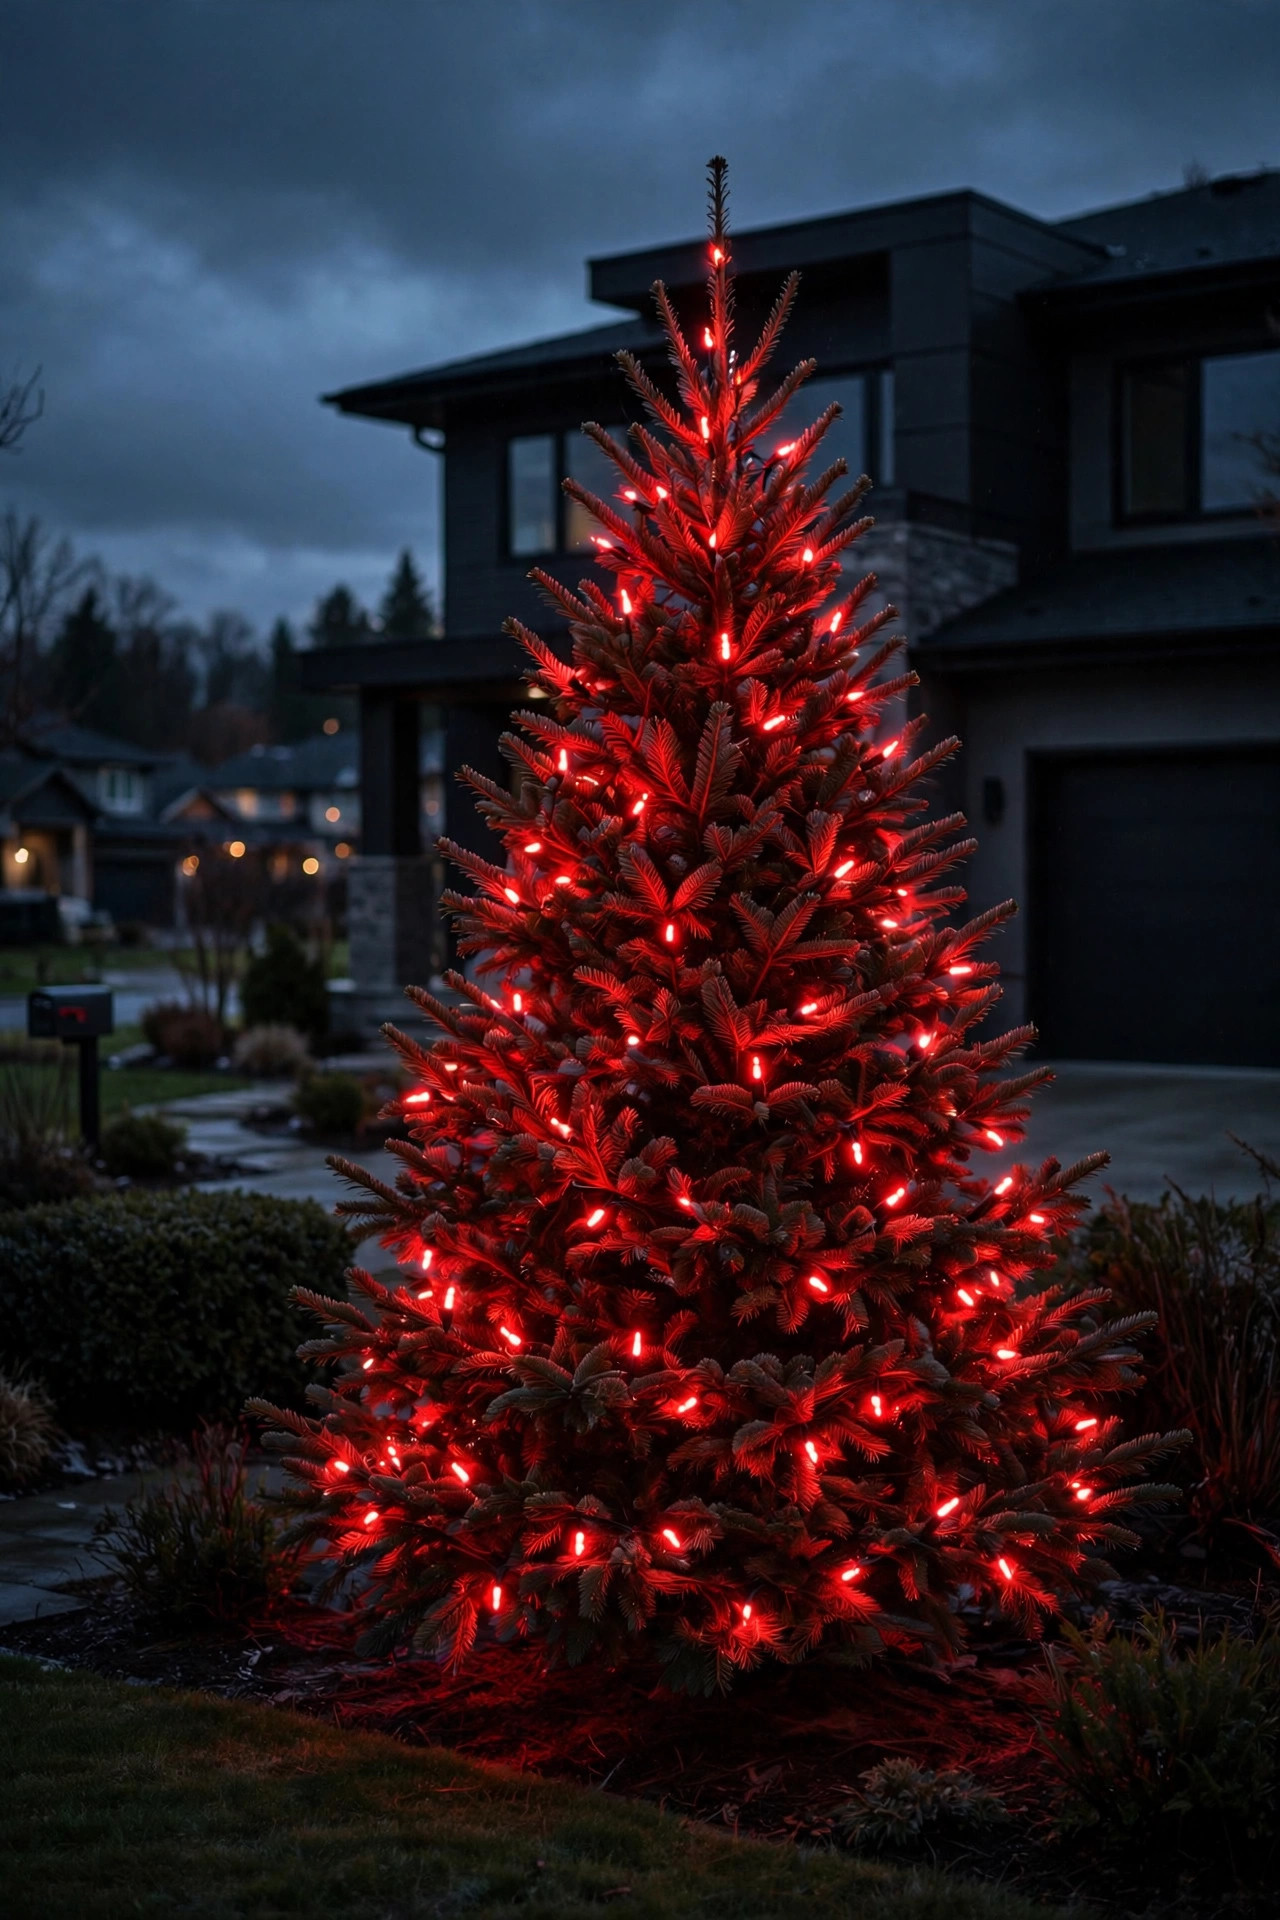
The trick is shaping: drape the net over the top, let it hang evenly, and use a few small zip ties to cinch the net to interior branches so wind can't billow it. Plug nets together end-to-end before draping — it's much easier than fumbling for connectors under a dark shrub. Warm white is the safe classic, but this is one spot where I love a bold single color: all red or all green net lights on a dark evergreen are stunningly simple and read clearly from the road.
Match the net's light color temperature with the rest of your yard's display (stick to 2700K warm white everywhere else) so one shrub doesn't clash with the others. Nets store flat-ish, so they're also the easiest lights you'll ever put away in January.
Suggested budget range: $25 – $70.
6. Icicle Lights Dripping From the Canopy Edge
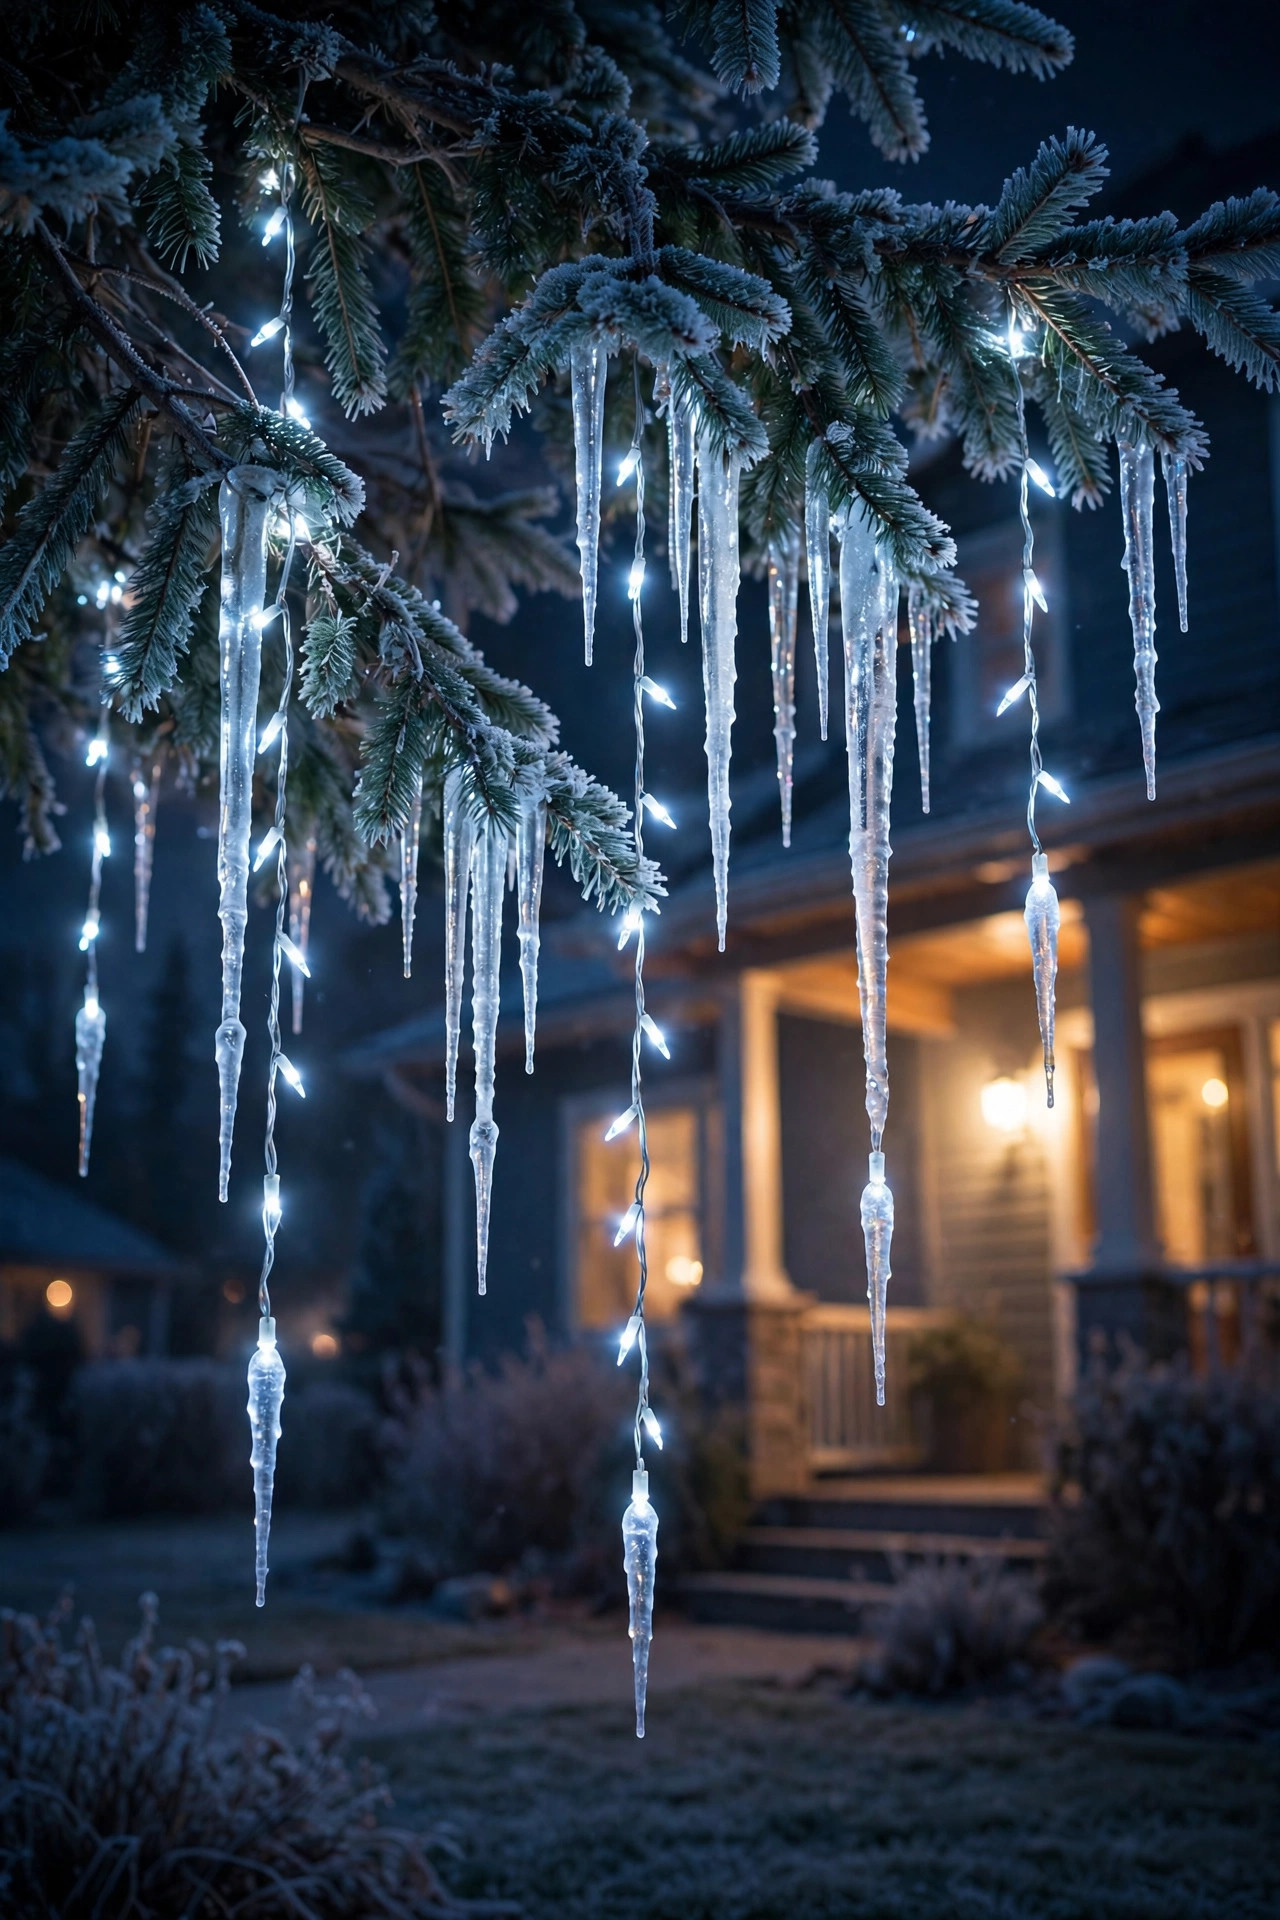
Drape icicle strands from the lowest tier of branches and your tree grows a glowing skirt — honestly, this is the single easiest way to make a plain wrapped tree look custom. Standard icicle strands have drops ranging from 6 to 18 inches; hang them from the outermost branch ring so the drops clear the trunk and fall free.
Measure the canopy circumference at the hanging height to figure out how many strands you need — most icicle strands cover 8 to 10 feet. Work in the afternoon so you can see what you're doing, and hang each strand's top wire just inside the branch tips with the drops pointing straight down. Give drops at least 12 inches of clearance above walkways and 7 feet over any path so nobody walks into them.
I love pairing icicle drops in cool white (around 5000K) with warm-white branch wraps — the contrast between frosty drips and golden interior reads as fresh snow over candlelight, and it's sophisticated rather than fussy. Set the icicles on the same timer as the tree so the whole composition turns on and off as one piece.
Suggested budget range: $30 – $75.
7. The Glowing Star Topper, Sized Right
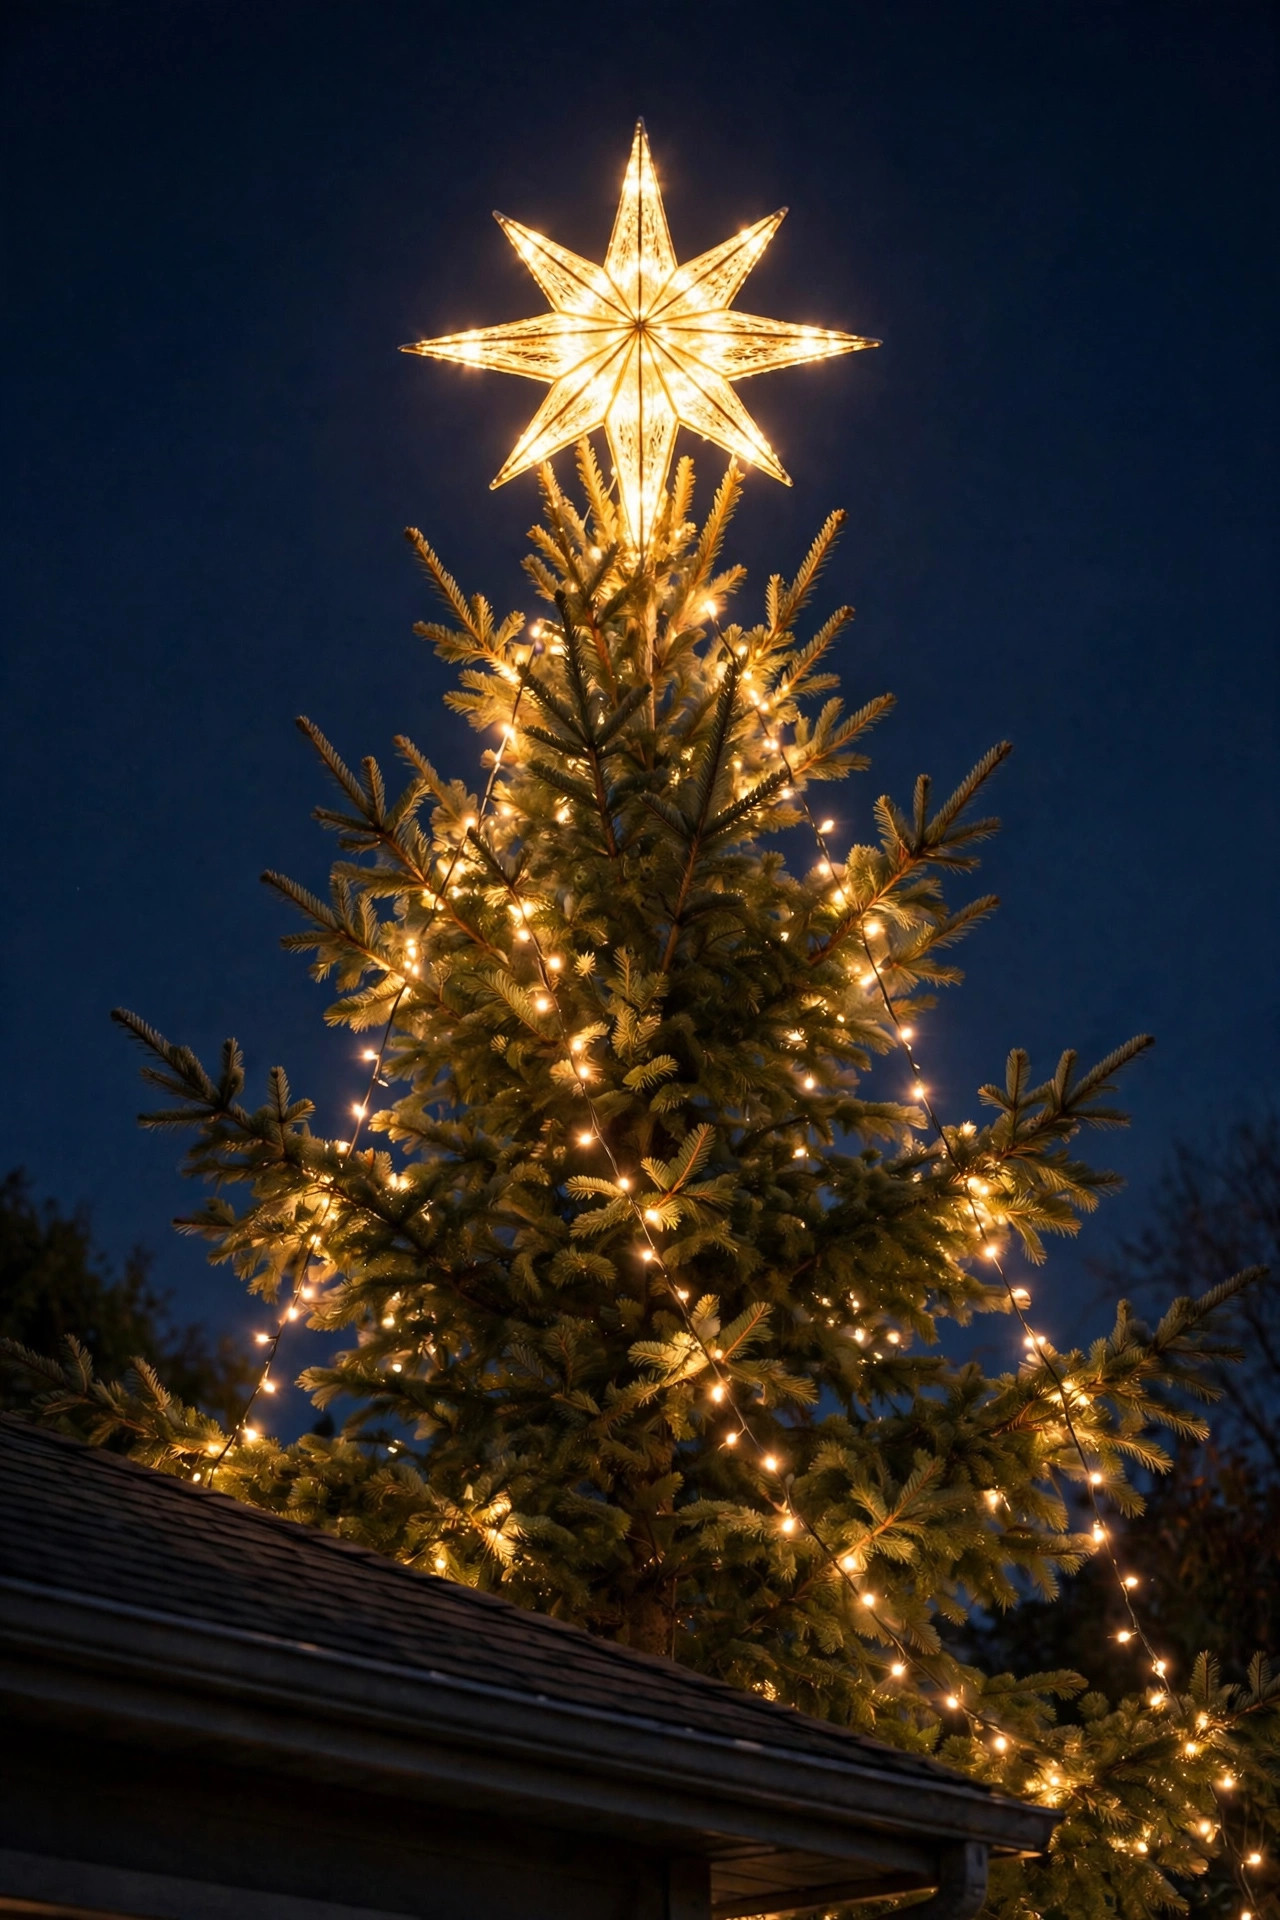
A tree without a topper looks unfinished, and a too-small topper looks lost — so here's my rule: the topper should be roughly 10 to 12 inches tall for every 6 feet of tree height. For a typical 7-foot front-yard tree, that's a 12- to 14-inch star, lit from within or edged with LED rope so it glows rather than just sitting there.
Mounting is where people go wrong. Never just perch it on the top branch; use the topper's built-in clip or a short length of sturdy wire to lash it to the central leader, and run its power cord straight down inside the tree to the trunk, plugging into the topmost light strand. If the topper is heavy, add a thin wooden dowel wired alongside the leader as a splint — a December windstorm will test every weak mount.
Style it to the tree: a rustic birch-star suits a spiral-wrapped bare tree, while a mercury-glass-look star belongs on a full warm-white wrap. And make sure the topper's light color matches the tree — a cool-white star on a warm-white tree looks like a mistake, not a statement. One glowing focal point at the very top pulls the whole tree together.
Suggested budget range: $20 – $60.
8. Color-Changing Smart Tree for the Whole Season
Want a tree that does Halloween orange, Thanksgiving amber, and Christmas red-and-green without climbing a ladder three times? Smart RGB string lights are your answer. One good set of app-controlled strands — I like the 66-foot lengths with individually addressable bulbs — wraps a 6- to 7-foot tree in two strands and gives you every color, chase pattern, and twinkle effect imaginable.
The outdoor-rated part is non-negotiable: confirm the IP rating (IP65 is ideal) and that the control box sits in a weatherproof spot or inside a small outdoor enclosure box. Mount the little control module up inside the tree near the trunk, protected from direct rain, and run the low-voltage cord to your GFCI outlet. Pair with a smart plug anyway as a backup timer — apps are wonderful until a software update bricks your schedule the week before Christmas.
In my experience, the winning move is restraint: pick one rich color per occasion rather than running rainbow chase mode all December. A deep red tree on the 1st, emerald on the 10th, warm white on Christmas Eve — your neighbors will think you redecorated nightly. This pairs beautifully with smart-controlled yard lighting scenes for a fully coordinated display.
Suggested budget range: $60 – $150.
9. Light-Up Snowflake Ornaments on the Branches
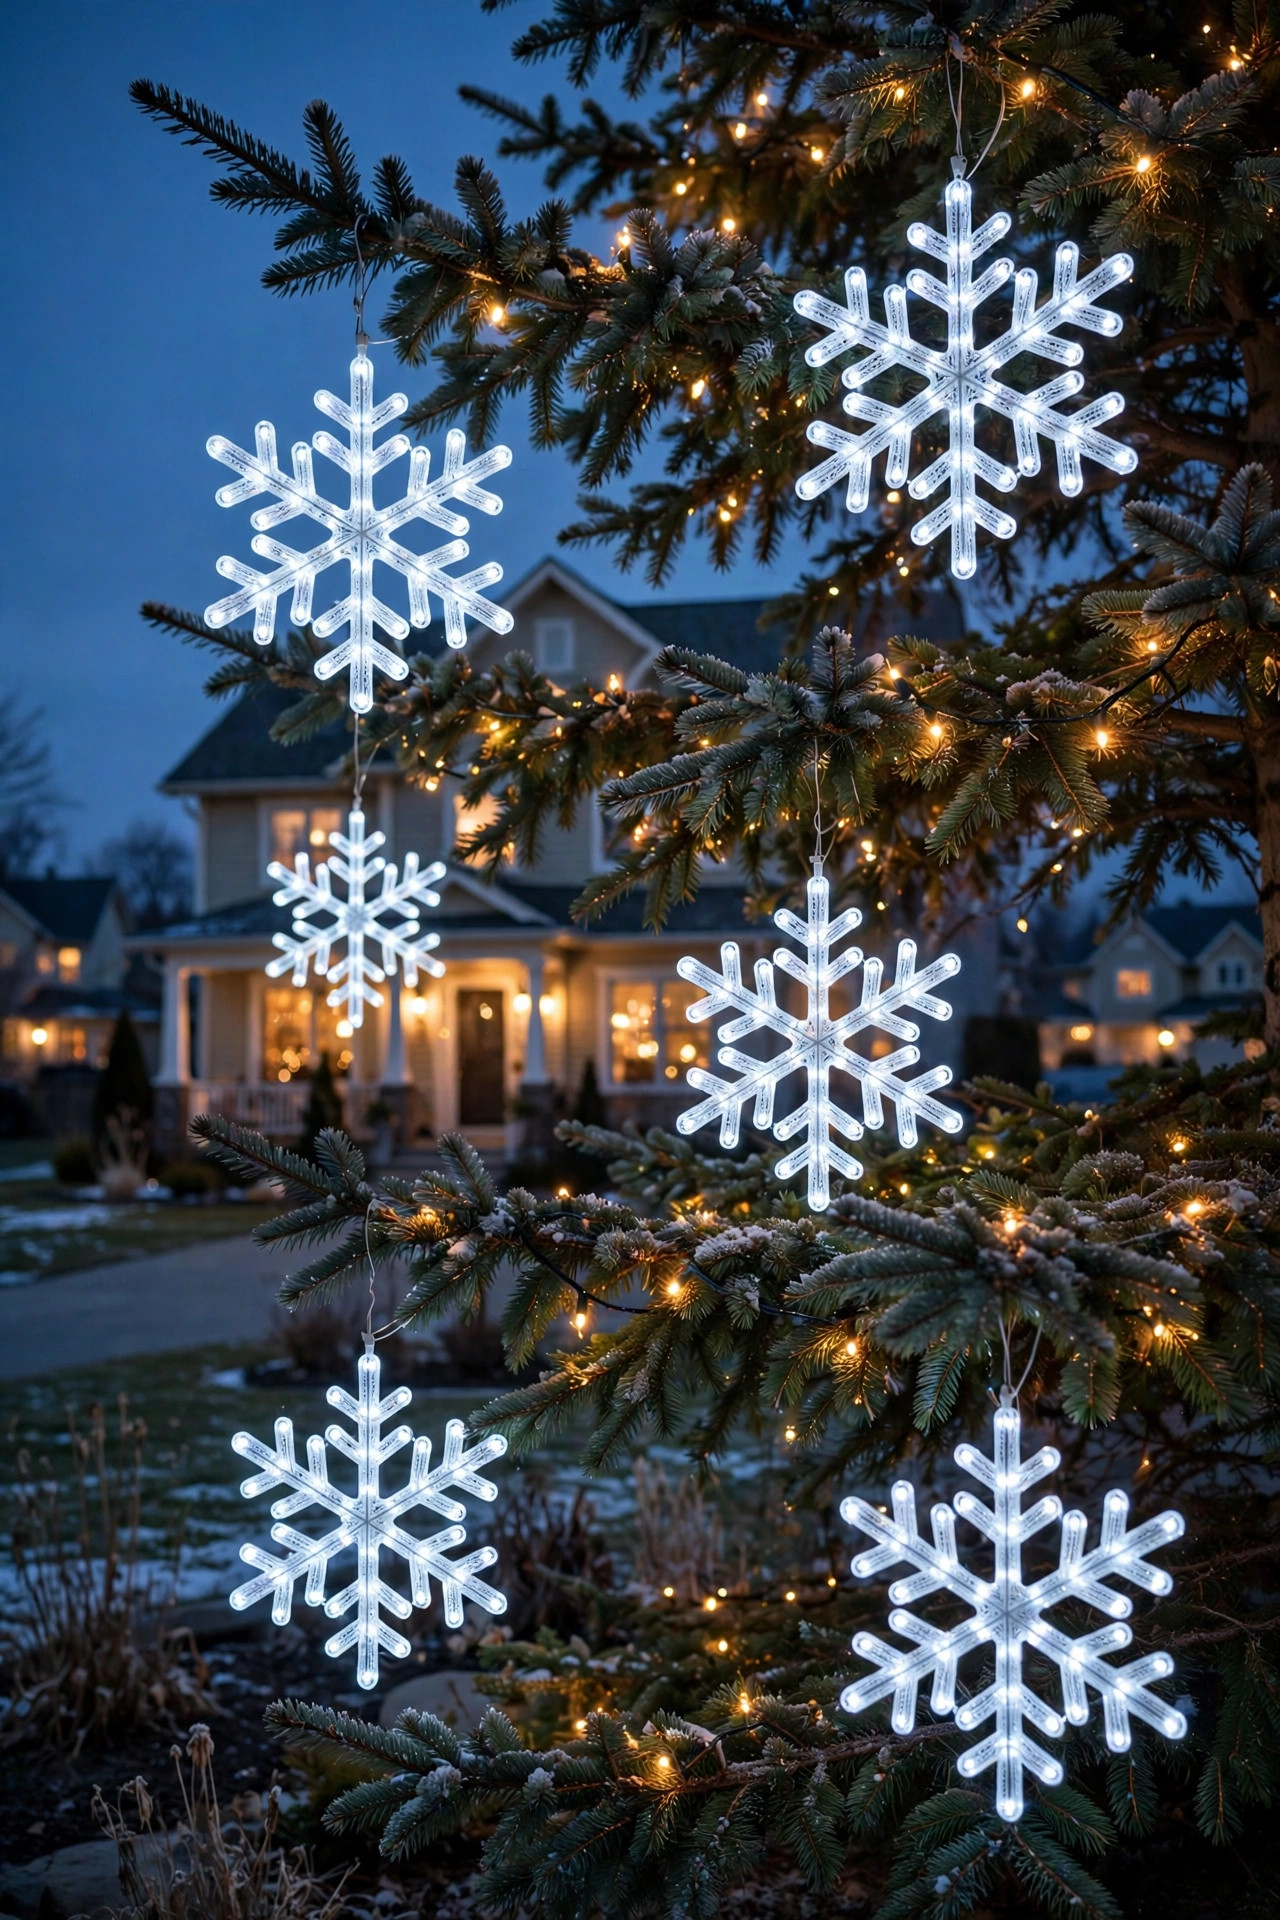
Oversized ornaments are the shortcut to a tree that photographs like a professional display. Light-up snowflakes — the flat LED kind, usually 12 to 24 inches across — hang beautifully on outer branches and throw intricate shadows onto the foliage behind them. I hang five to seven on a 7-foot tree, spacing them around the canopy so the tree glows in layers from every viewing angle.
Hang each snowflake with a short ornament hook or fishing line from a sturdy outer branch, letting it dangle 6 to 12 inches below the branch so it catches the eye. Battery-operated versions with built-in timers are the easiest — pop the batteries in, set the 6-hour timer at dusk once, and they'll run themselves for weeks on a set of AAs. For plug-in snowflakes, daisy-chain the cords up into the tree interior so no wires dangle visibly.
Mix snowflake sizes for depth: big 20-inchers on the lower branches, medium 12-inchers mid-tree, and skip the top third entirely — that's the topper's territory. All-white snowflakes on a warm-white tree is my favorite combination; it reads as frost catching firelight, and it's elegant enough for the fanciest street.
Suggested budget range: $35 – $90.
10. Lighted Garland Swag Around the Tree Base
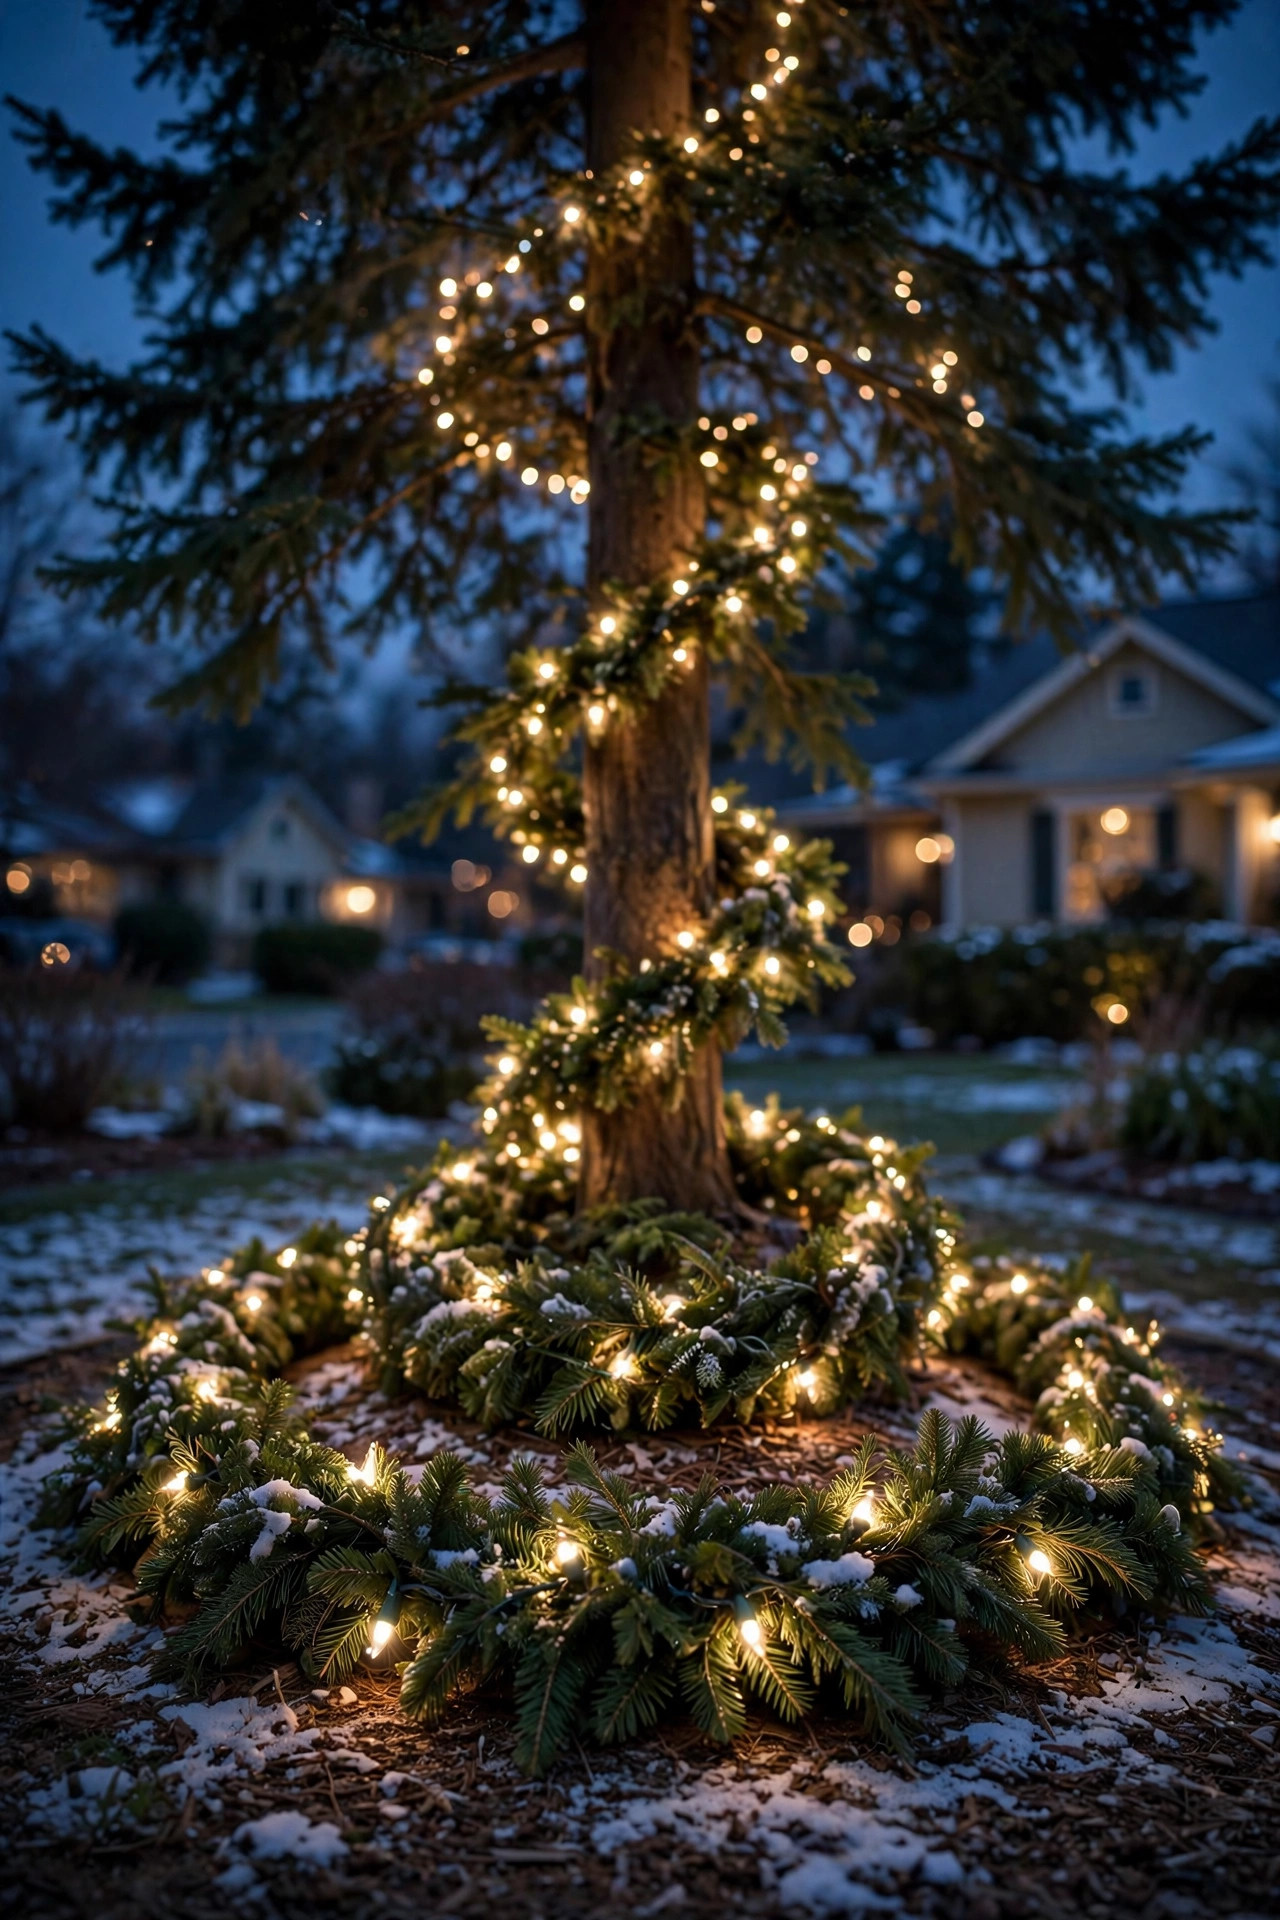
The base of a tree is the part everyone forgets — and it's the first thing you see from the car. Wrap a pre-lit garland in a loose spiral around the bottom 2 to 3 feet of the trunk and let it pool slightly onto the mulch or ground cover. A 9-foot garland with 50 to 70 warm-white lights is usually perfect for a medium trunk; use two for trees with wide root flares.
This does double duty: it hides the awkward trunk-to-ground transition and the tangle of extension cords that always ends up there. I like to nestle the garland into the mulch bed and tuck a few unlit pinecones and a couple of battery-operated lanterns around it for a finished vignette. If your tree sits in a lawn with no bed, set the garland in a wide, low planter ring or a half-barrel to give it a defined home.
Weatherproofing matters down low — this is the splash zone. Make sure the garland's plugs sit at least 6 inches above grade and wrap every outdoor connection in a purpose-made cord connection box. Check after the first hard rain that water isn't pooling around the plugs. This one small detail makes the whole tree look professionally installed.
Suggested budget range: $30 – $80.
11. A Lit Pathway Leading to the Tree
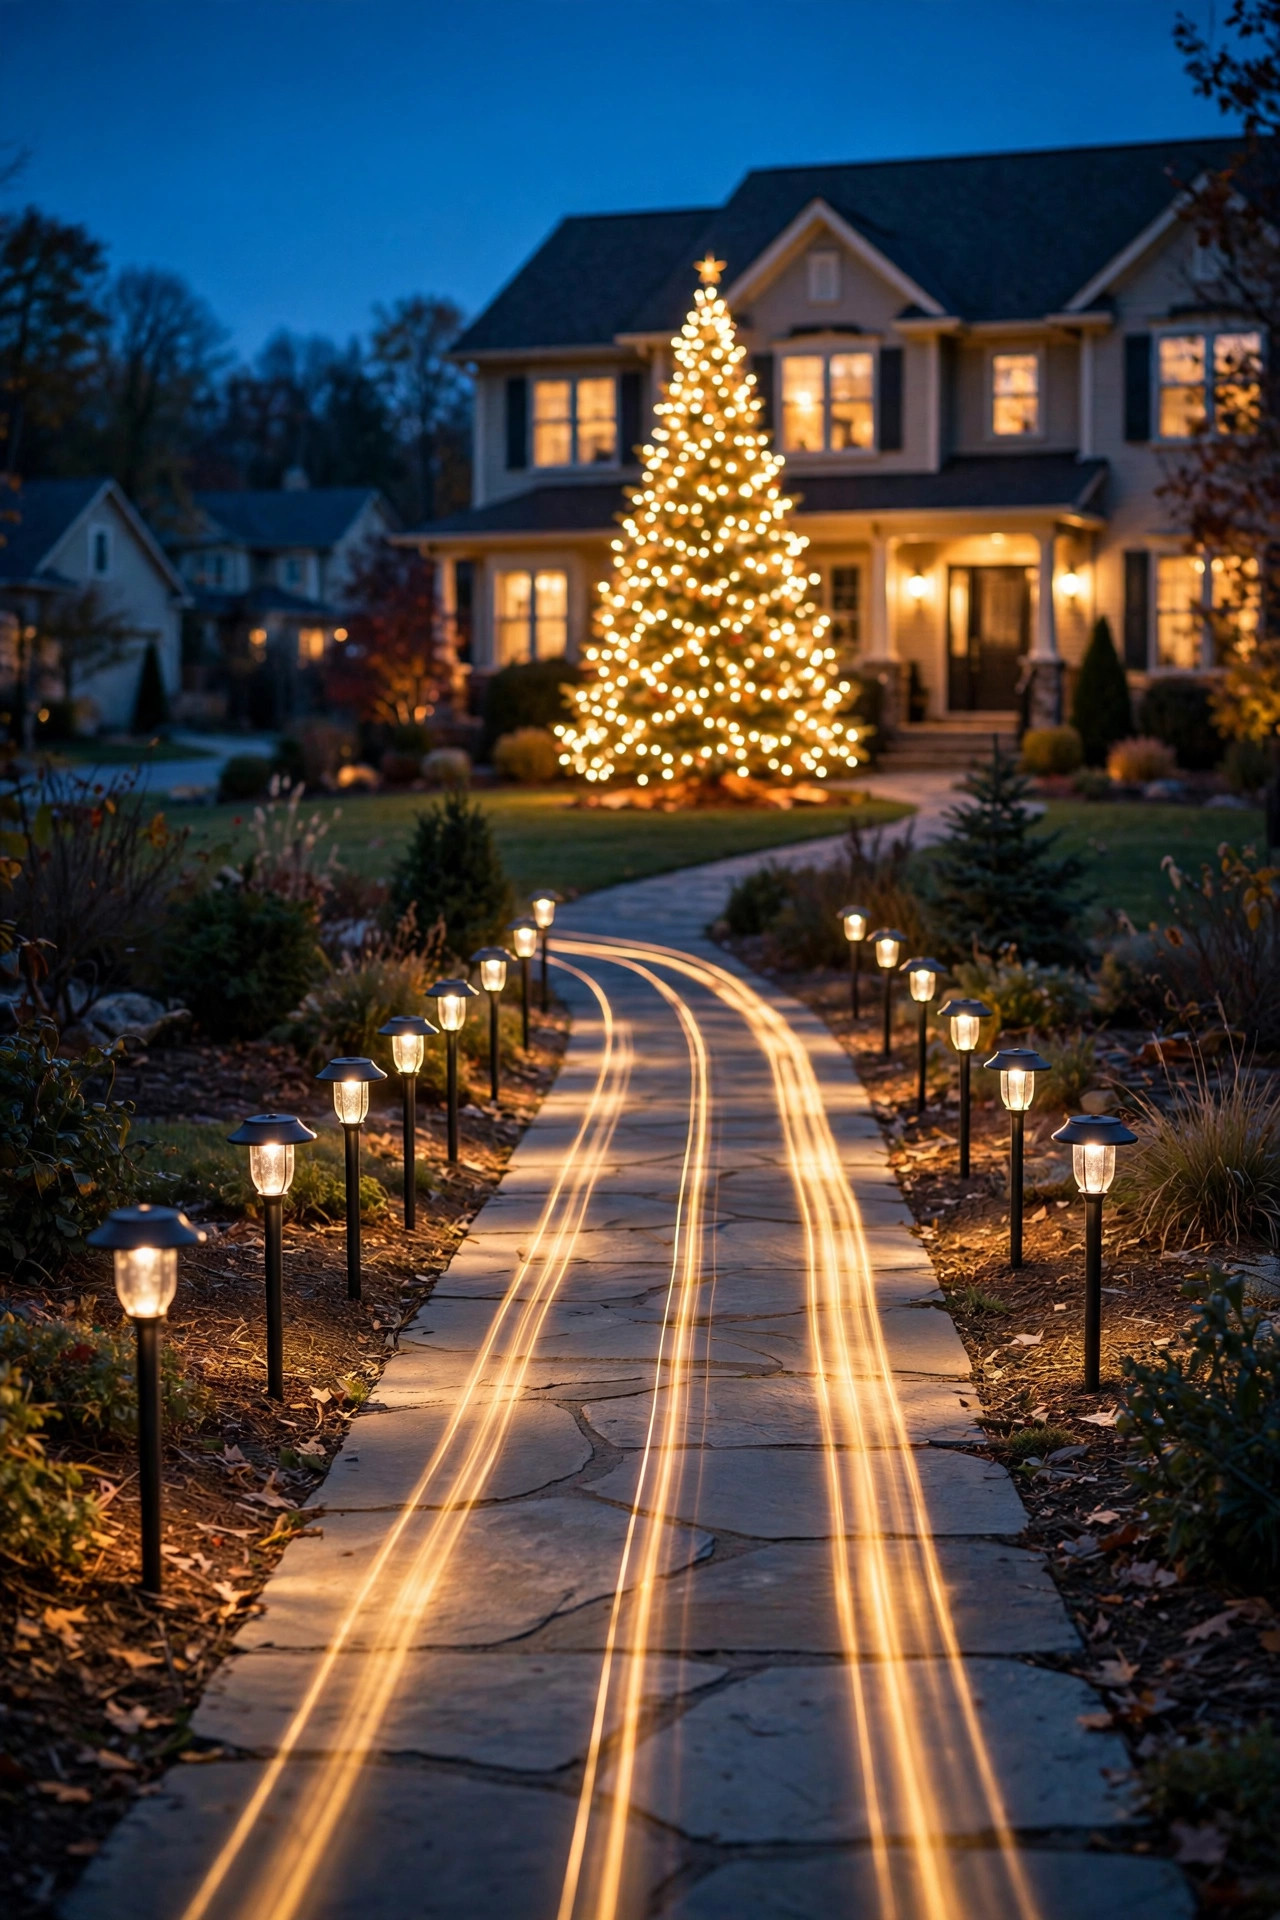
A gorgeous tree floating alone in a dark yard is a missed opportunity — a lit path leading the eye straight to it turns your whole front yard into a composition. Line the walkway from the sidewalk to the tree with stake lights: solar path lights every 3 to 4 feet on alternating sides create a gentle rhythm, or low-voltage wired path lights if you want brighter, more reliable output through short December days.
Keep the path lights subtle — the tree is the star, and the path is the red carpet. I aim for path lights that are one brightness level below the tree: warm 2700K, small fixtures, no spotlights. Candy-cane-striped path markers are the playful exception and they photograph wonderfully with kids. Whichever you choose, keep fixtures 12 inches back from the walkway edge so snow shovels and boots don't take them out.
For trees set deep in the yard, extend the path concept with a few ground-level spotlights washing the lawn between the sidewalk and the tree — it creates a literal runway of light. And if you've already got a projector washing the house facade, angle the pathway lights so the tree sits in the sweet spot between the two. The layered sightline is what makes people slow their cars.
Suggested budget range: $40 – $120.
12. Uplighting the Tree Like Moonlight
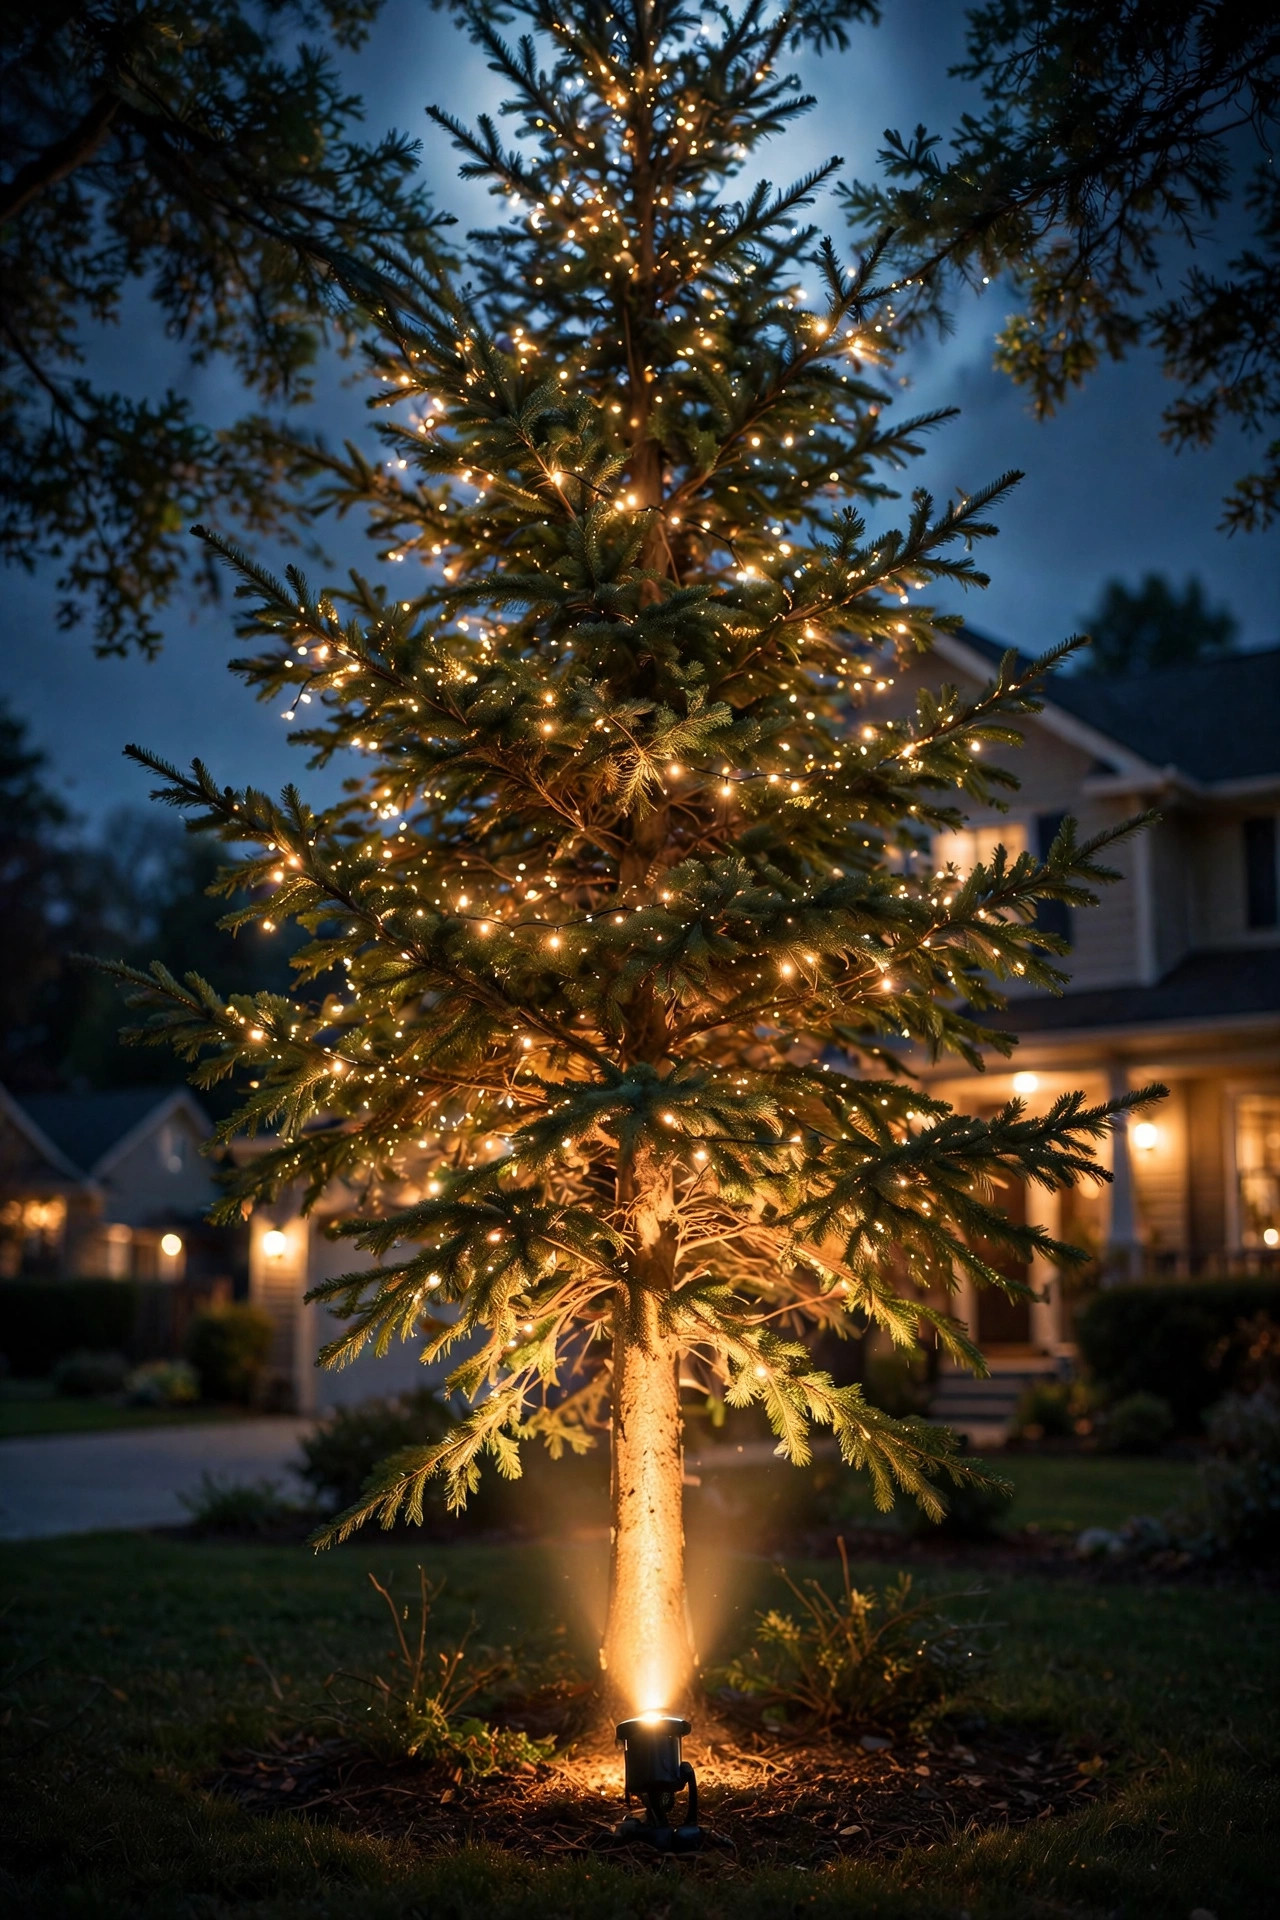
One well-placed spotlight at the base of your tree adds a dimension that strings alone can't: drama. Set a single outdoor LED spotlight 3 to 5 feet from the trunk, aimed up through the branches at a 30- to 45-degree angle. The light catches the undersides of branches and the trunk bark, and the tree throws a gorgeous shadow onto the house or fence behind it.
I recommend a warm-white (2700–3000K) spotlight rather than cool white — cool white on an evergreen looks like a security light, but warm white looks like moonlight through the branches. A 5- to 7-watt LED spotlight is plenty; anything brighter washes out the string lights, and the whole point is layering, not overpowering. Many low-voltage landscape spotlights let you swap beam angles — a 60-degree flood covers a wide tree, a 36-degree spot suits a narrow one.
Position the fixture behind the tree from the street's viewpoint so the light source itself stays hidden — you want the glow, not the glare. Bury the low-voltage cable 2 to 3 inches under the mulch (no trenching needed at this depth for a seasonal setup) and plug the transformer into the same timer as your strings so everything rises and sets together.
Suggested budget range: $35 – $90.
13. The Solar-Powered Tree (No Outlet Required)
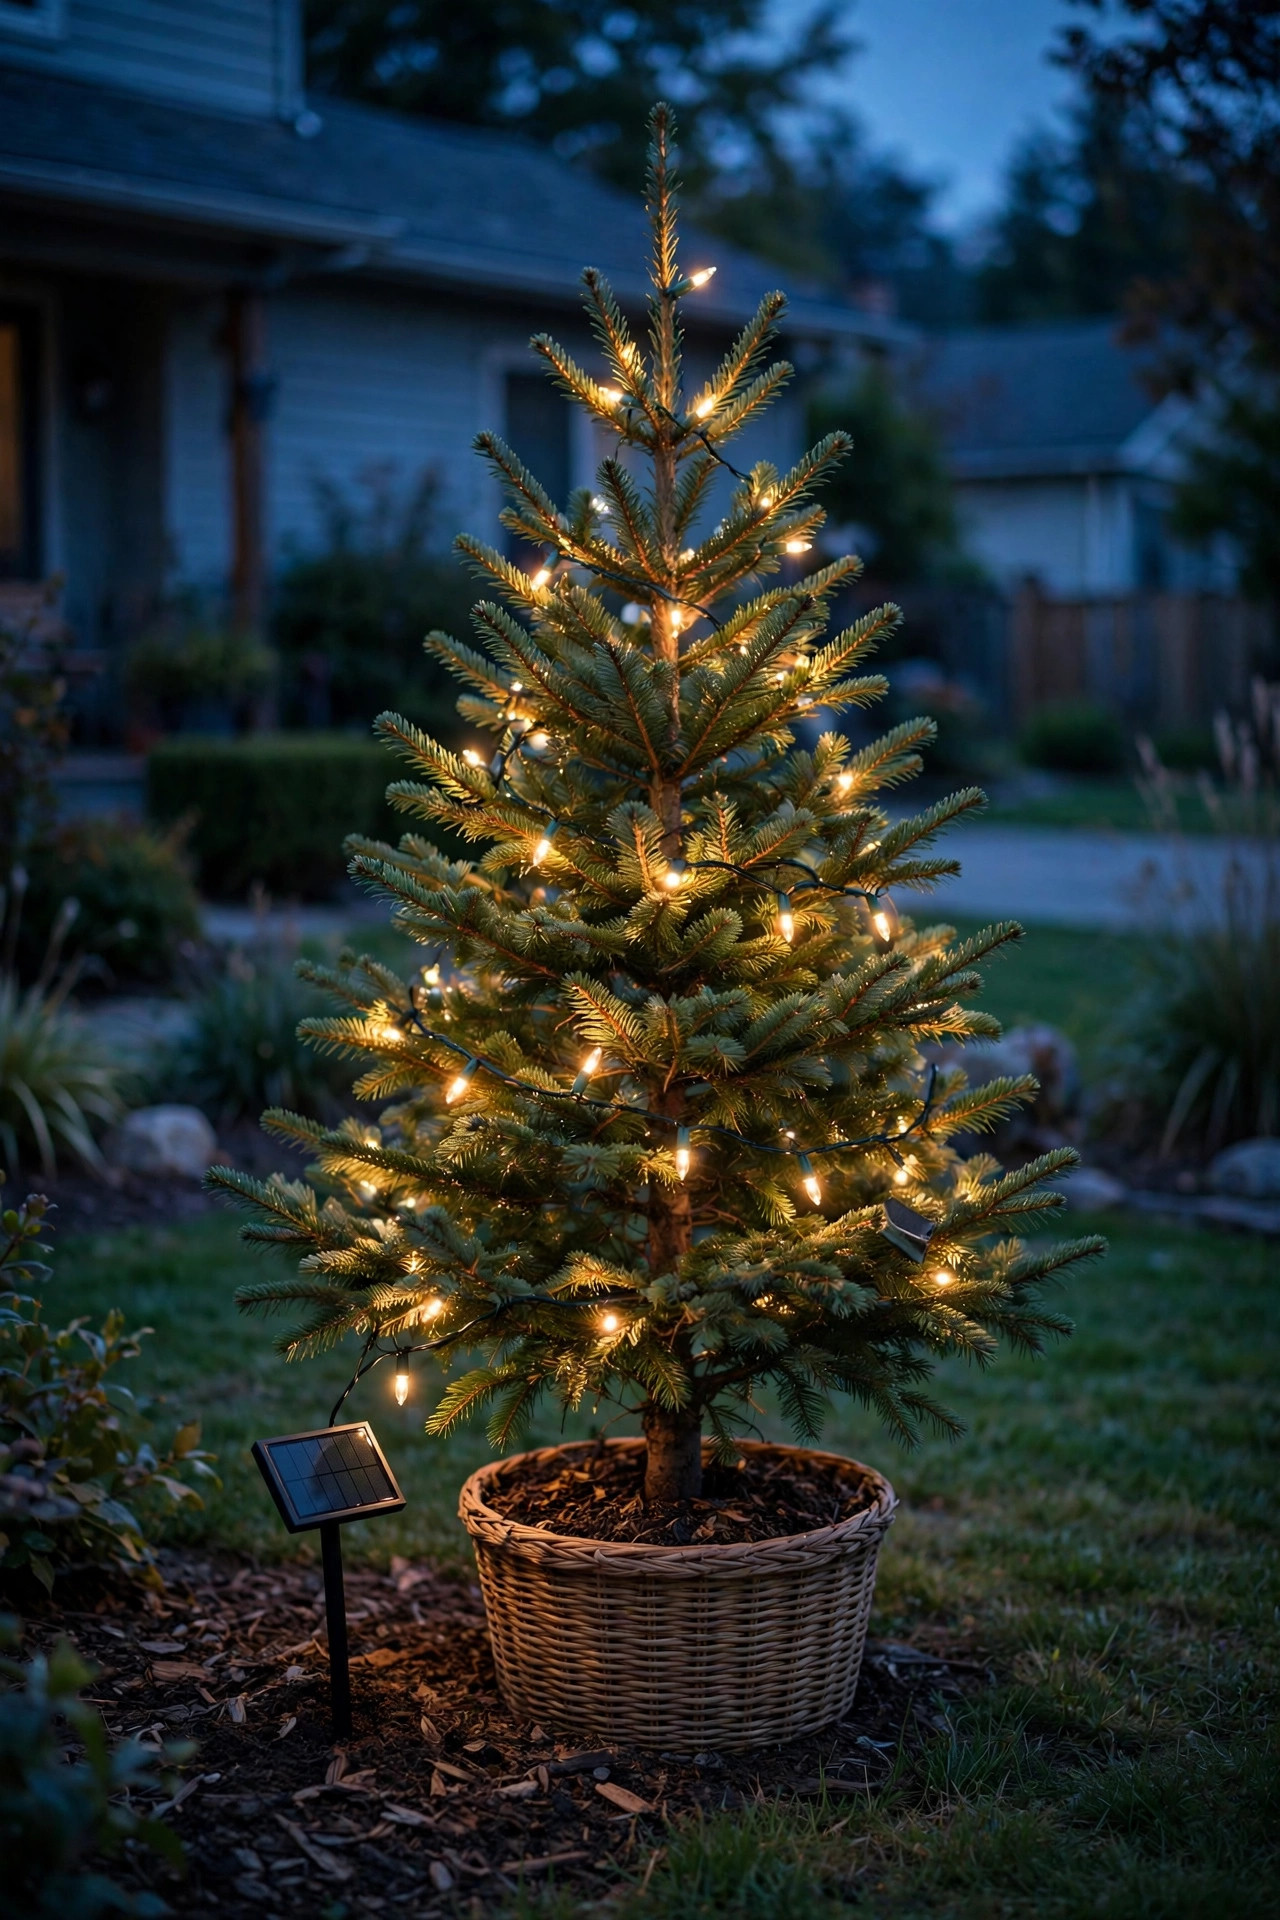
Got the perfect tree at the far corner of the yard, nowhere near an outlet? Solar is your friend — with realistic expectations. A quality solar string with a separate panel (not the tiny all-in-one kind) will run 4 to 6 hours on a full December day's charge in most US climates. The trick is panel placement: mount the panel on a south-facing stake 6 to 10 feet from the tree, angled toward the winter sun, and keep it clear of the tree's own shadow.
For a 6-foot tree, you'll want three to four 100-LED solar strands to reach a satisfying fullness — solar strands tend to be dimmer than plug-in, so quantity compensates. Set expectations honestly: solar trees glow softly rather than blaze, which is honestly lovely for a secondary tree or a quiet side yard. In the cloudy Pacific Northwest or the Northeast, plan for shorter run times and consider a hybrid: solar on the tree, one plug-in spotlight at the base for punch.
Maintenance is nearly zero: wipe the panel with a damp cloth once in early December (dust and frost cut charging dramatically), and bring the strands in after the season — rechargeable batteries last years longer when they don't winter outside. This is my go-to recommendation for renters and anyone whose outdoor outlets are already maxed out.
Suggested budget range: $35 – $90.
14. A Mini Forest of Small Lit Trees
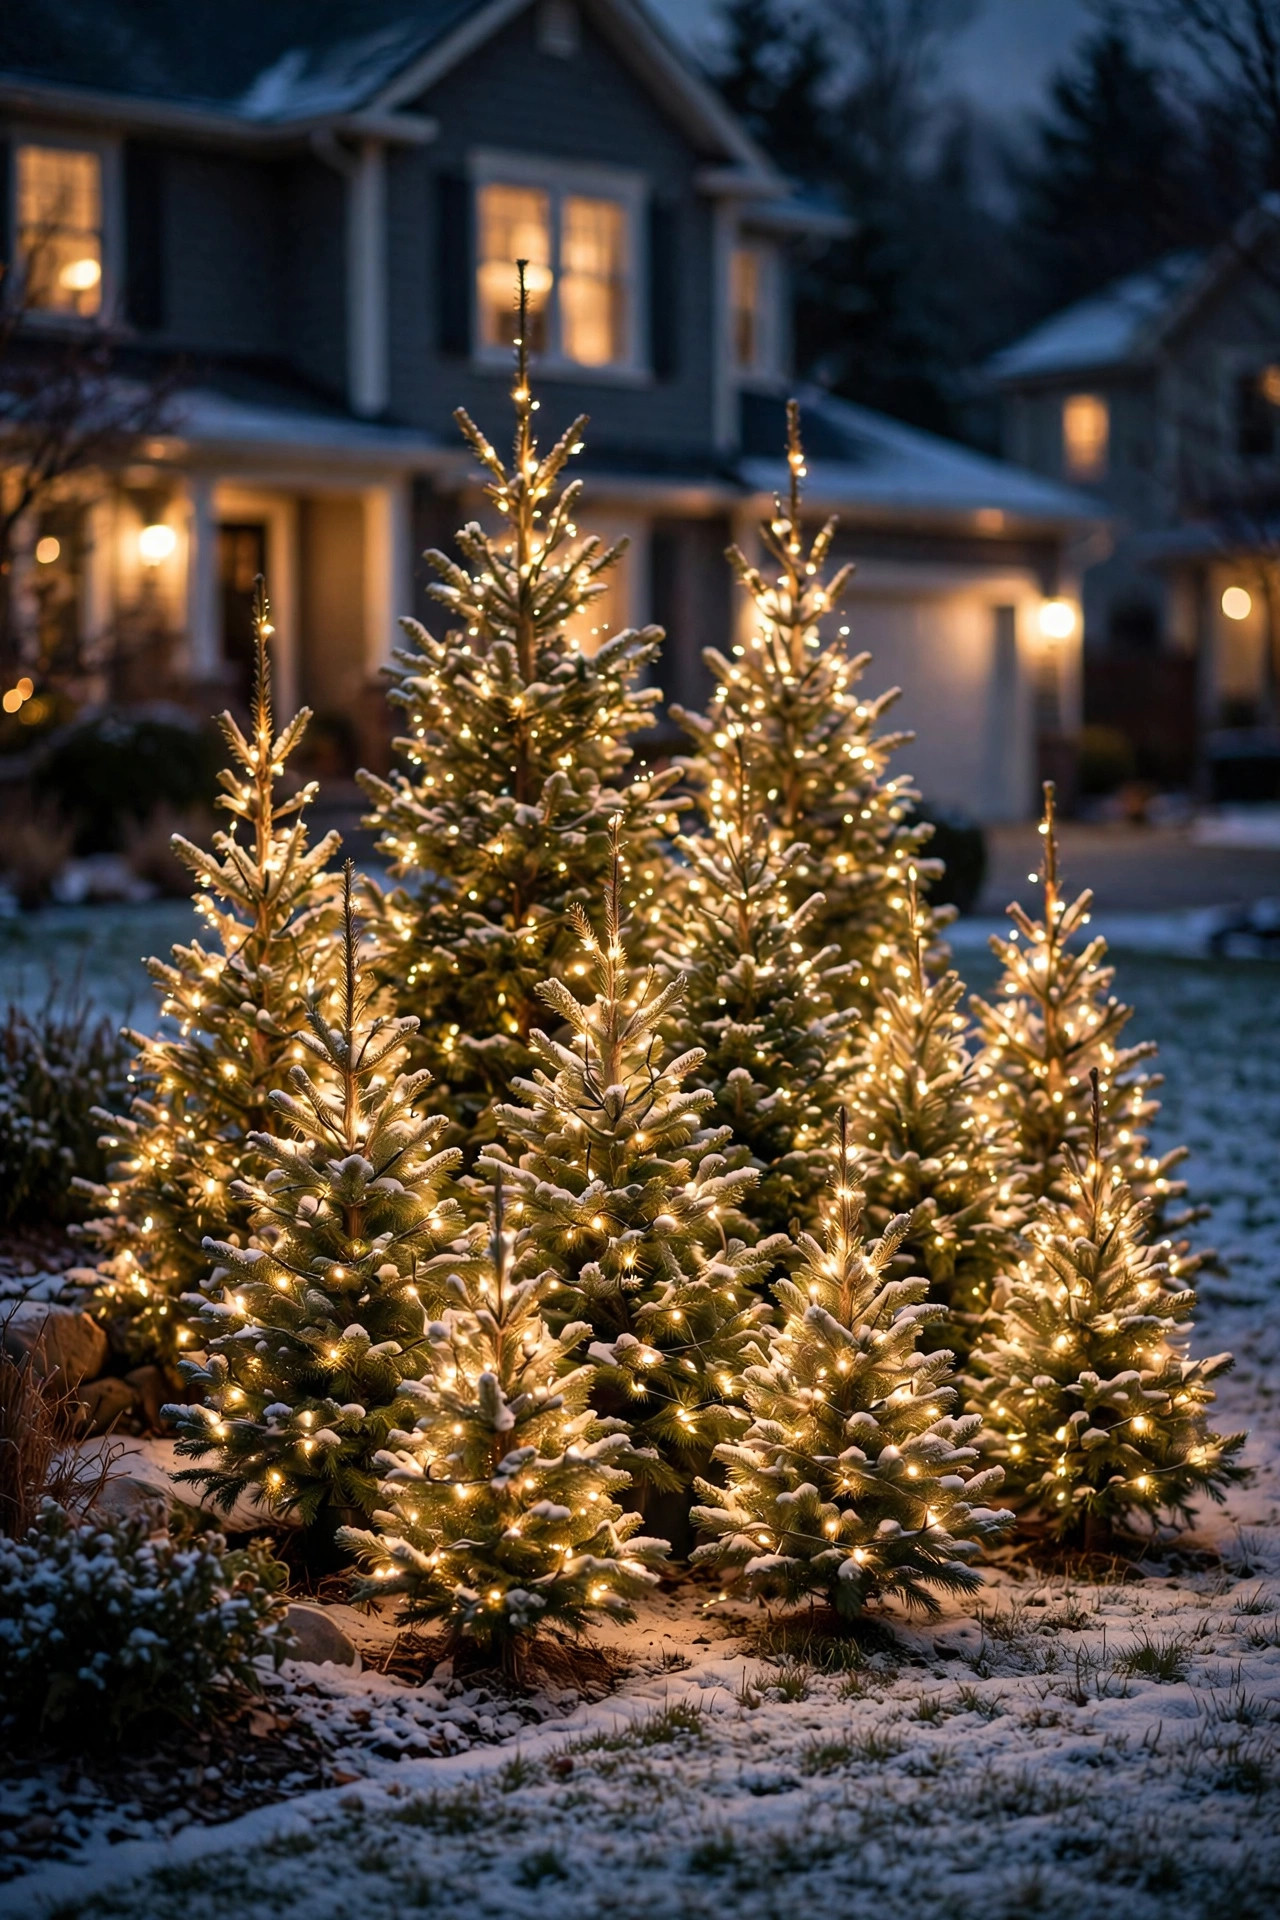
One big tree is classic; a cluster of small trees is magical. Group three to five 2- to 4-foot potted evergreens — or inexpensive pre-lit tabletop trees — at staggered heights around your main tree or along the front of the house. Wrap each mini tree in a single 50- to 100-count strand, and suddenly you have a glowing forest instead of a single focal point.
Height variation is everything here. Set pots on overturned crates, sturdy plant stands, or stacked pavers to create tiers — a 4-footer on the ground, a 3-footer raised 18 inches, a 2-footer raised 3 feet. The stepped silhouette reads as a natural grove. Use the same light color on every tree (warm white, always) so the cluster feels unified; vary the ornaments instead — one tree with red balls, one with gold, one plain.
Anchor each pot against wind: small trees in light pots are sails in December gusts. Set the pot inside a heavier decorative container, or drive a stake through the drainage hole into the ground. Cluster the power cords to one outdoor-rated power strip in a weatherproof box at the back of the group, and the whole forest runs on a single timer. Guests will ask if you hired a designer. You did not.
Suggested budget range: $80 – $200.
15. Bare-Branch Tree Draped in Fairy Lights
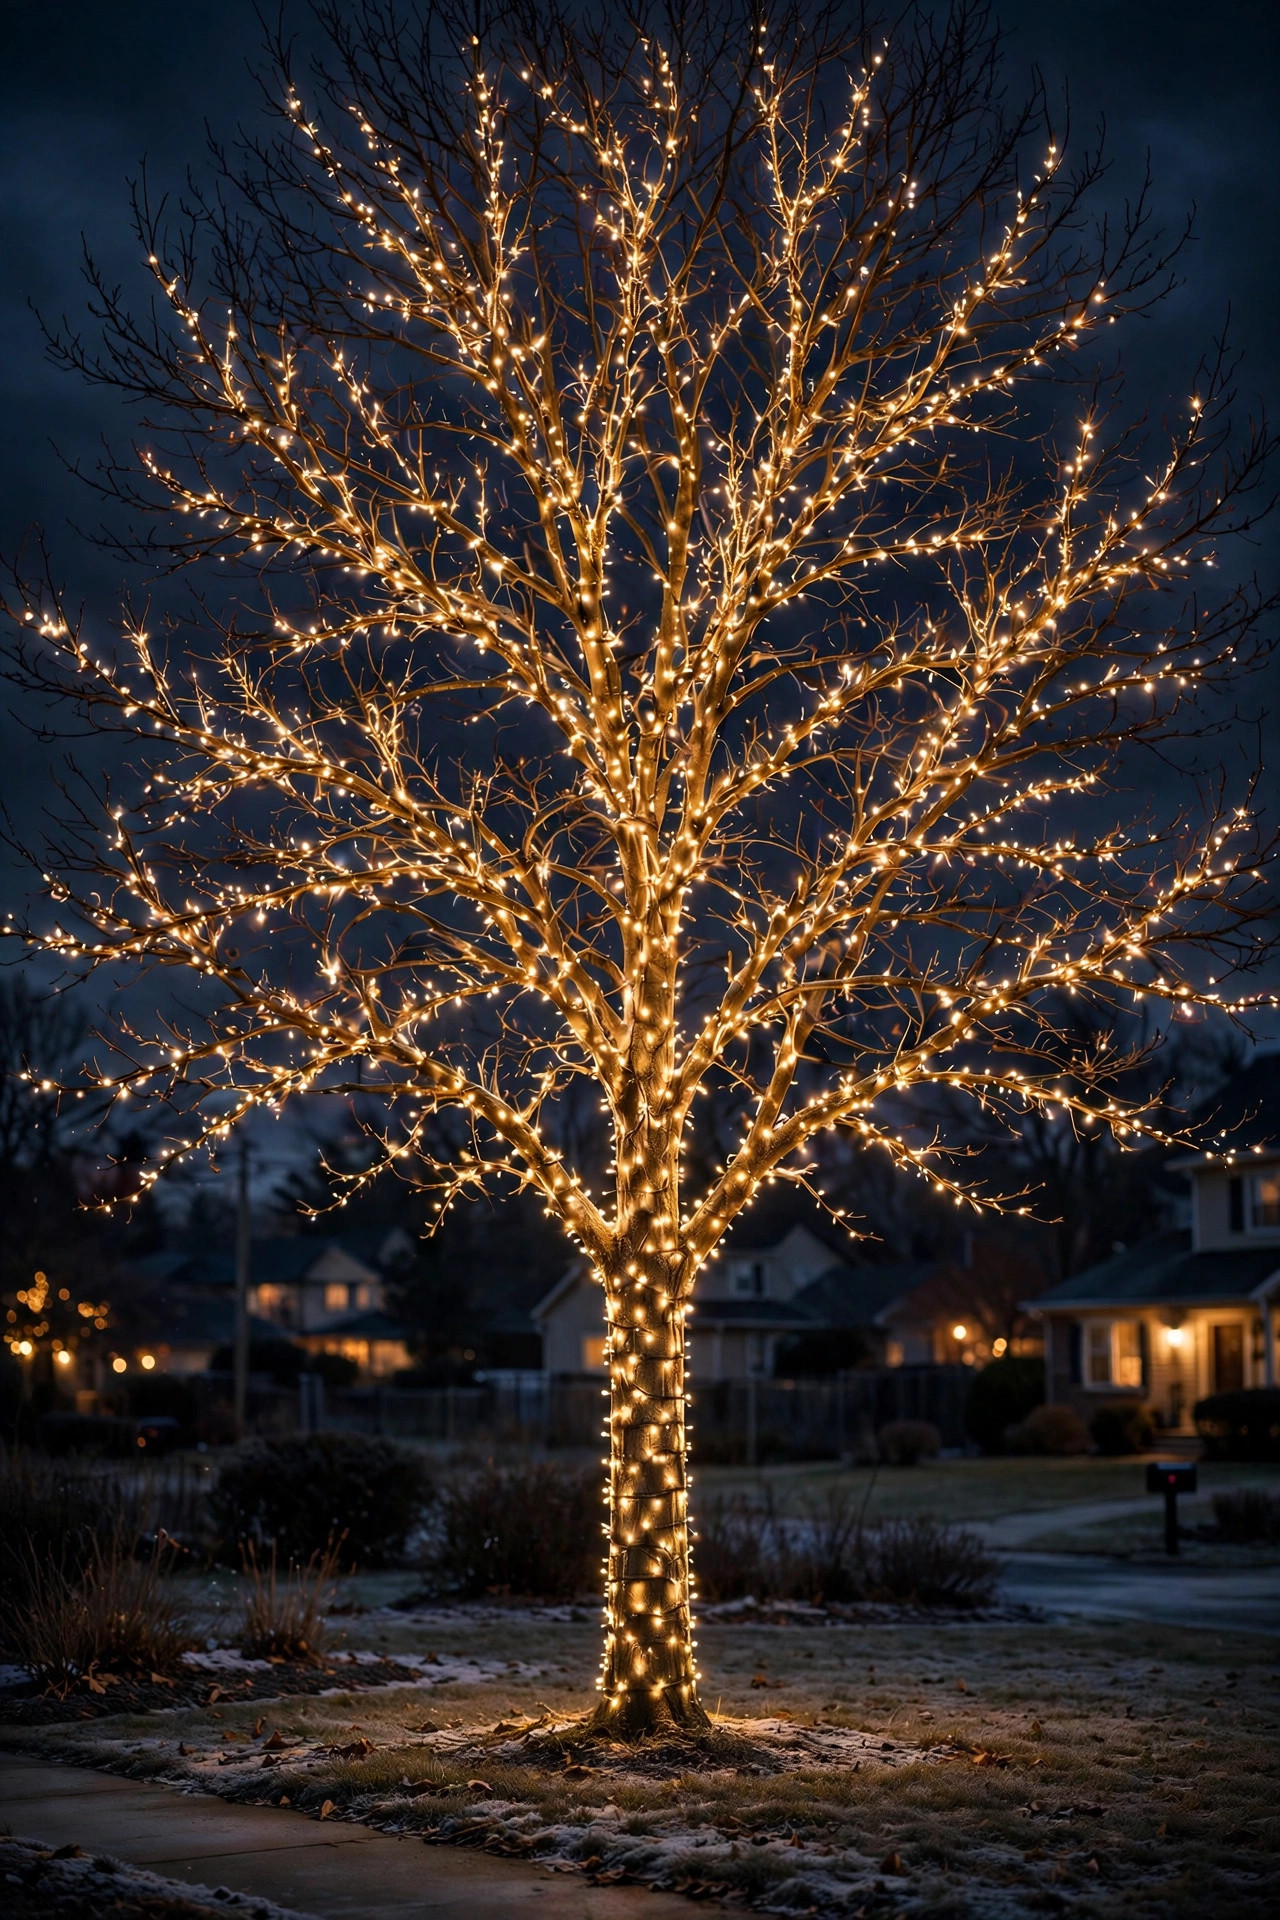
If your front yard has a deciduous tree that's all skeleton in December, don't fight it — celebrate it. A bare Japanese maple, crepe myrtle, or young oak wrapped in fine copper-wire fairy lights is one of the most striking outdoor Christmas tree lighting looks there is. The delicate branches become a glowing filigree against the night sky.
Use the finest strands you can find — 200 to 300 micro-LEDs on hair-thin copper or silver wire per strand — and wrap every major branch from trunk to tip, then back. For a 10-foot ornamental tree, budget 8 to 12 strands; it sounds like a lot, but micro-LEDs are inexpensive and the thin wire disappears against bark. Work with a partner if you can: one person feeds the strand, the other guides it along the branch.
Warm white is the classic choice and it's gorgeous, but this is also the one tree where I'll endorse a soft champagne or even pale gold — the bare branches act like a chandelier frame and richer tones look luxurious. Finish with a single warm spotlight at the base aimed up (see the uplighting idea above) to catch the trunk. In my experience, bare-branch trees wrapped this way get more compliments than any evergreen on the street.
Suggested budget range: $45 – $110.
16. Red-and-White Candy-Cane Tree
Commit to a theme and commit hard — a red-and-white candy-cane tree is pure holiday joy. Alternate red and warm-white strands in vertical stripes down the tree: wrap red strands in a spiral one direction, white strands spiraling the opposite way, and where they cross you get that classic barber-pole effect. For a 7-foot tree, plan four red strands and four white, 100-count each.
The details make it: hang oversized red-and-white striped ornaments (the 4- to 6-inch shatterproof balls read best from the street), tie a big red bow at the top instead of a star, and ring the base with a red-and-white striped tree collar or a circle of red mulch. Keep every other yard light warm white so the tree stays the undisputed color moment.
One practical note: red LEDs photograph and read as slightly dimmer than white at the same count, so bump the red strands up by one — five red to four white — to keep the stripes balanced. And buy all your red strands from the same product line in one order; reds vary wildly between manufacturers, and mismatched reds look muddy. When it's done, this tree is the one the neighborhood kids will remember.
Suggested budget range: $60 – $140.

17. Frosty Blue-and-White Winter Wonderland Tree
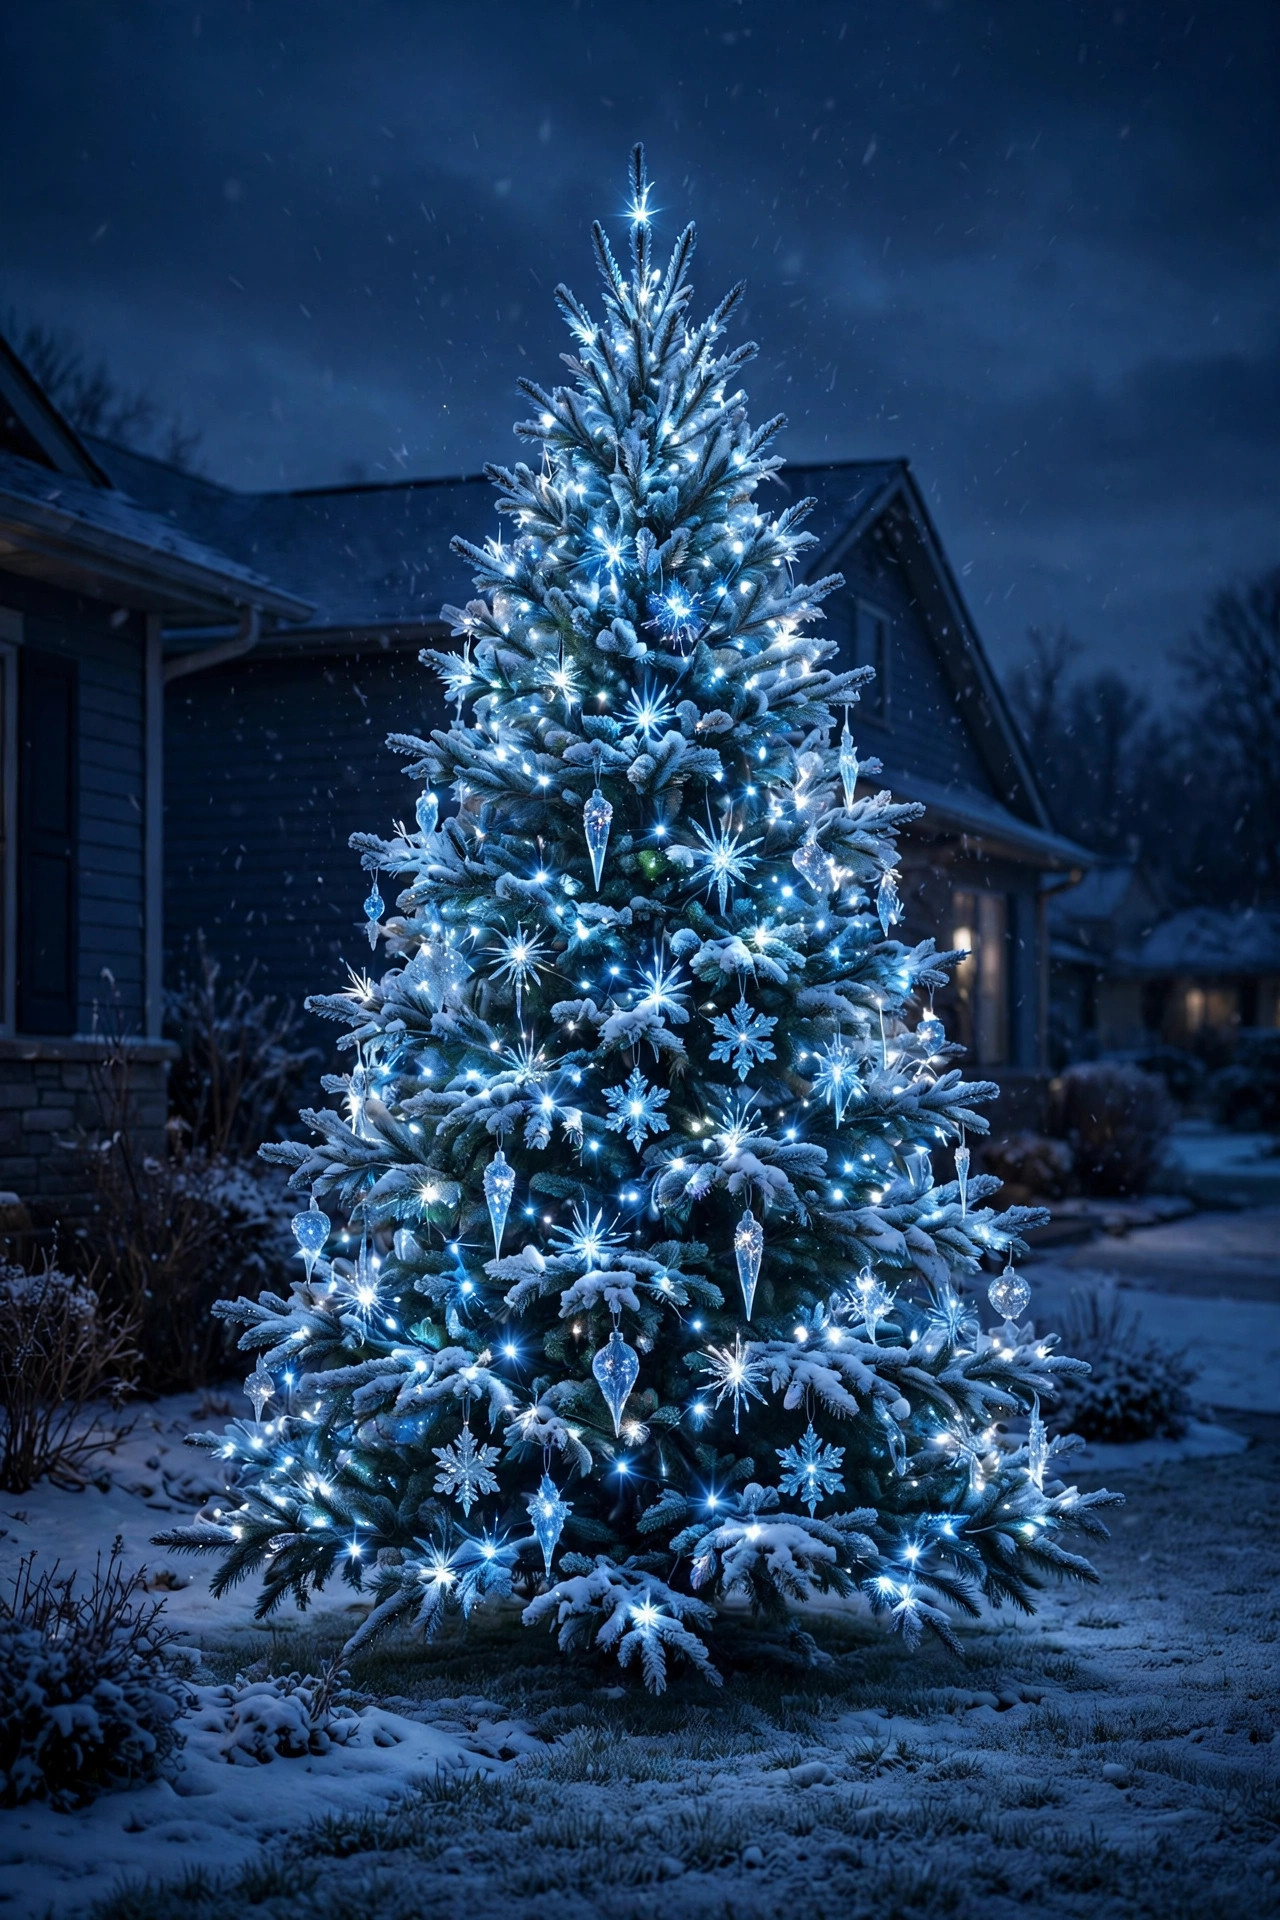
For a look that's equal parts Christmas and Narnia, go icy: cool-white (5000–6000K) and ice-blue LEDs on a flocked or naturally snowy-looking evergreen. The trick is restraint in the blue — I use roughly three cool-white strands for every one ice-blue strand, so the tree reads as frosted moonlight with blue accents, not a blue blob.
Flocking helps enormously if your climate doesn't deliver real snow; a light artificial snow spray on the branch tips catches the cool light beautifully. Hang clear acrylic icicle ornaments and a few silver balls to bounce the light around, and skip warm tones entirely on this tree — even the topper should be cool white or silver. Mixed temperatures are the enemy of the winter-wonderland effect.
This palette looks especially stunning against dark house siding or a deep blue evening sky, and it photographs like a dream. Pair it with cool-white icicle lights along the nearest roofline to extend the frosty theme across the whole front of the house. In my experience, this is the tree style that makes design-minded neighbors stop and stare — it's unexpected, and unexpected is memorable.
Suggested budget range: $55 – $130.
18. Edison-Bulb Tree for Farmhouse Charm
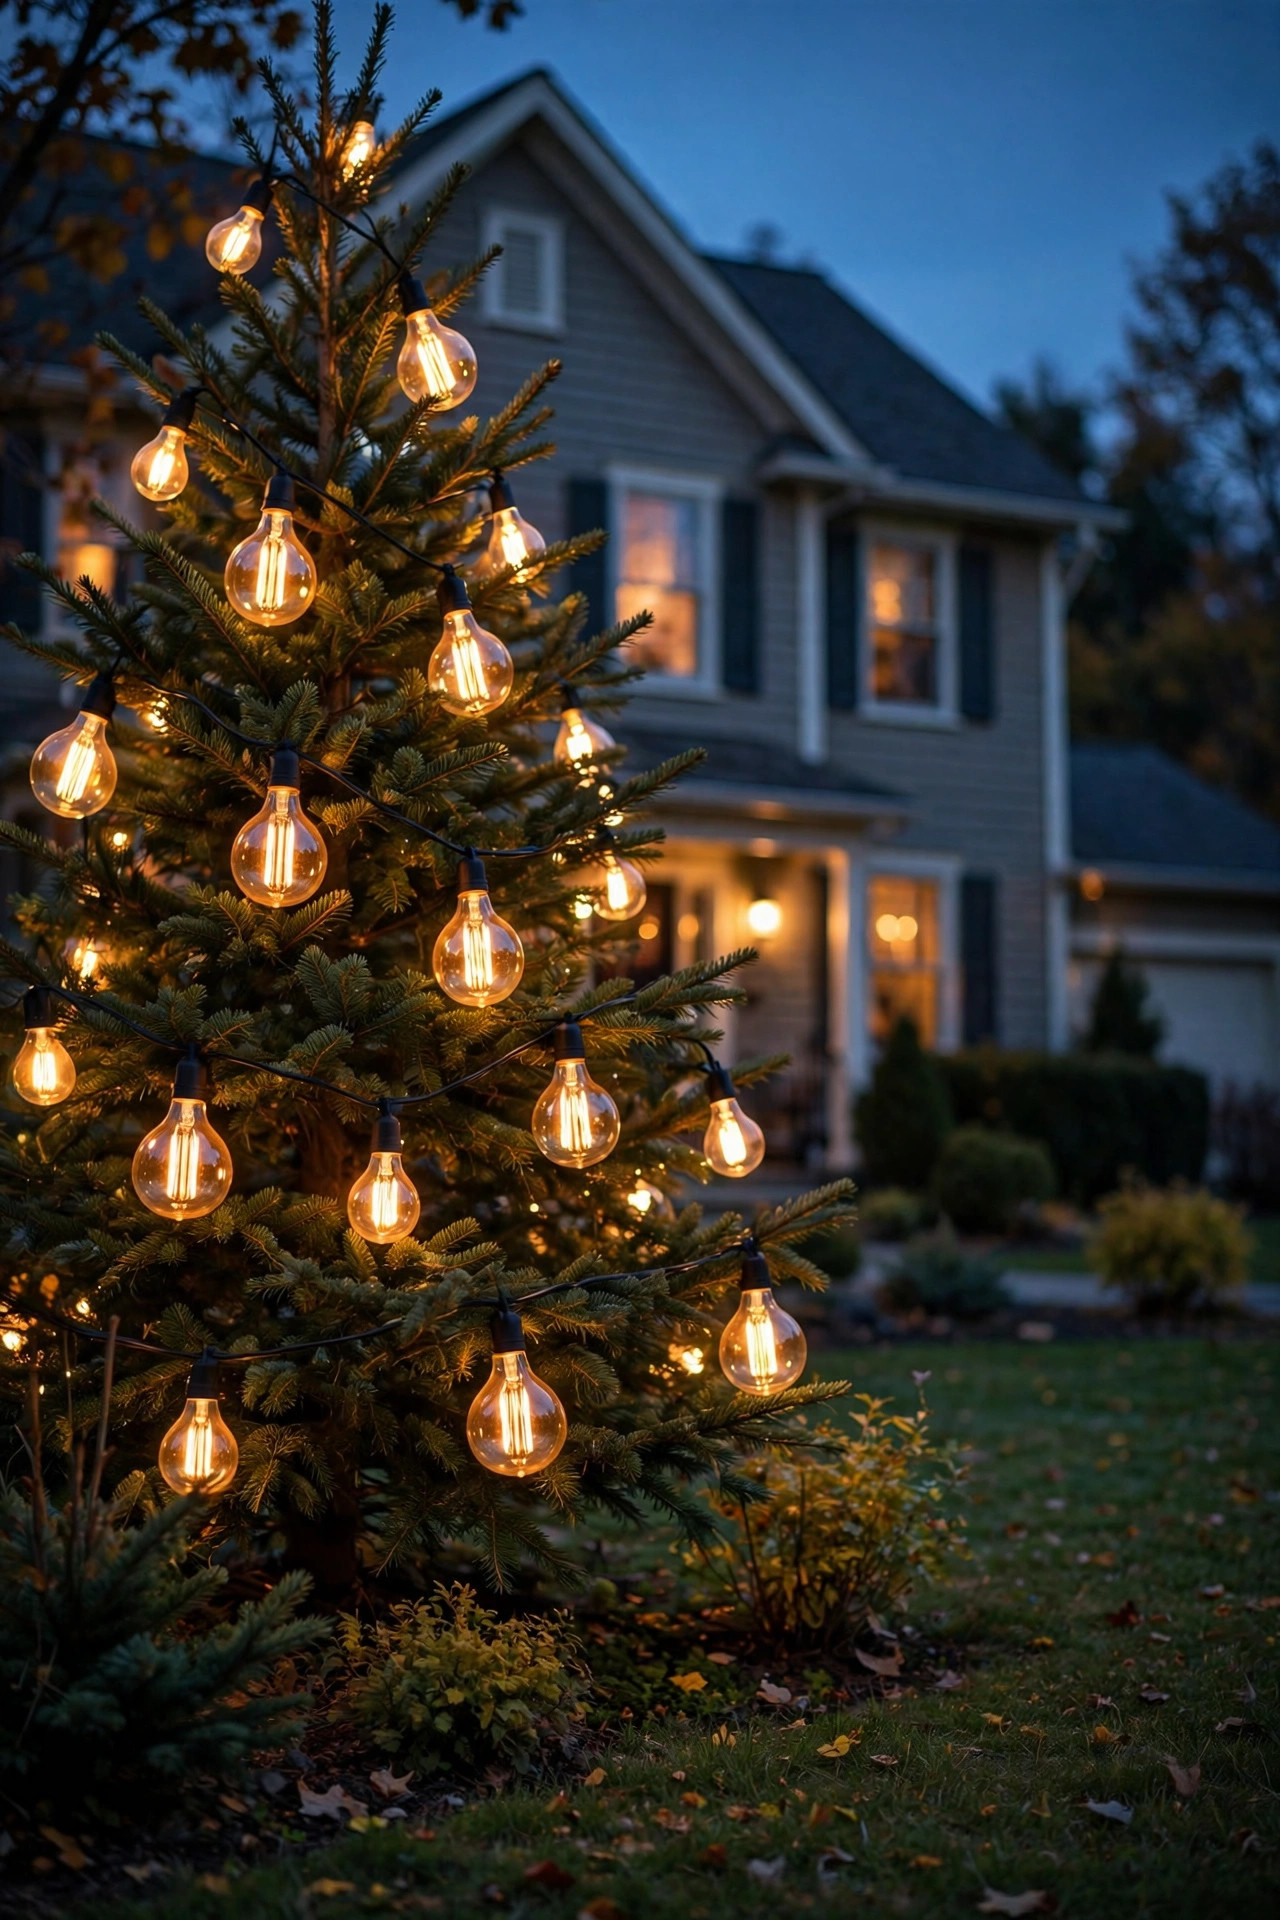
Trade the mini lights for warm Edison-style LED bulbs and your front-yard tree goes full modern farmhouse. The larger bulbs — I like the ST38 or G40 filament styles in warm 2200–2700K — space about 10 to 12 inches apart on a loose spiral, and each bulb becomes a little glowing jewel against the dark branches. For a 7-foot tree, six to eight 25-count strands give you that airy, intentional look.
This style works best on trees with some breathing room between branches — a slightly open spruce or pine — because the whole point is seeing each bulb as an individual point of light. Tuck the green wire tight against branches so it vanishes, and let the amber glass bulbs do all the talking. Hang a few simple wooden or galvanized-metal ornaments sparingly; too many and you lose the clean bulb-forward aesthetic.
Edison LEDs run cool and use very little power, so this is also one of the most economical trees to run all season. Set them on a timer for dusk-to-midnight and enjoy the farmhouse glow. It pairs beautifully with lantern-style porch lights and a simple evergreen wreath — the whole entry feels like a cozy cabin, even in the suburbs.
Suggested budget range: $70 – $160.
19. A Living Potted Tree You Plant After Christmas
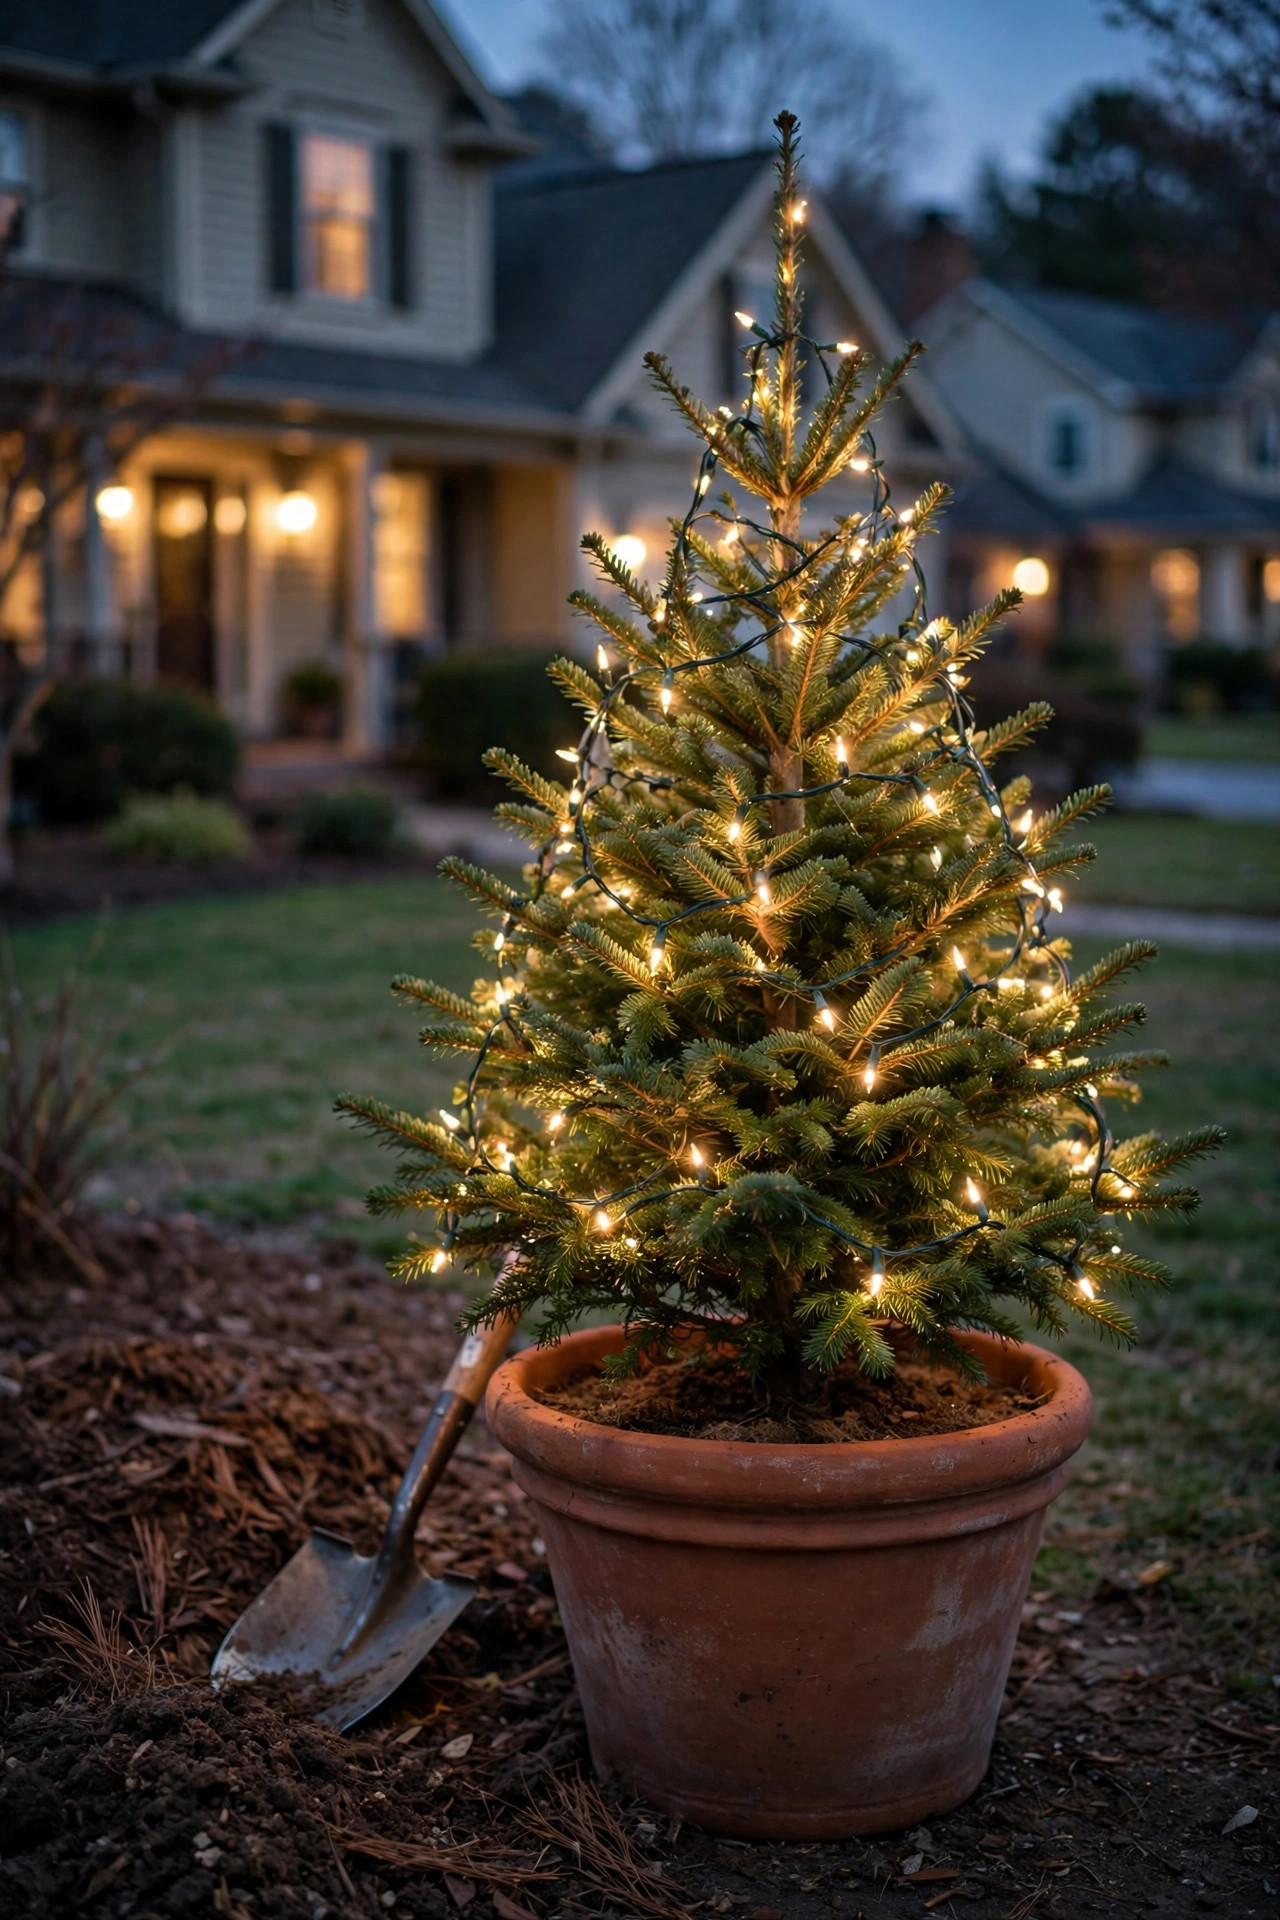
My favorite idea on this list, honestly, because the tree keeps giving. Buy a living balled-and-burlap or potted evergreen — a 4- to 6-foot spruce, fir, or pine suited to your USDA zone — decorate it in its pot for December, then plant it in the yard in early spring. You get a gorgeous lit tree now and a permanent landscape tree later.
Keep it simple on the lights: living trees are stressed enough by the season, so one or two 100-count warm-white strands and a handful of lightweight shatterproof ornaments are plenty. Never use wire hooks that pierce the bark; use ornament hangers that loop over branches. Water the root ball whenever the top inch of soil is dry — a thirsty tree drops needles fast — and if temperatures plunge below 15°F, wrap the pot (not the tree) in burlap or bubble wrap to protect the roots.
Site the pot where you'll eventually plant it, so the tree acclimates to its light conditions. Come March, dig a hole twice as wide as the root ball, plant at the same depth it sat in the pot, and water deeply. In five years you'll have a 10-foot tree — and every December you'll remember the year it was the star of the front yard. That's the kind of decorating I love most.
Suggested budget range: $90 – $200.
Frequently Asked Questions
How many lights do I need for an outdoor Christmas tree?
Plan on about 100 mini lights per vertical foot of tree for a full, professional look — so a 7-foot tree wants roughly 700 lights, and a 10-footer wants around 1,000. For big C7 or C9 bulbs, you need far fewer: roughly 25 to 35 bulbs per foot. When in doubt, buy one extra strand; running short mid-wrap is the most common frustration I hear about.
What color temperature looks best on an outdoor Christmas tree?
Warm white at 2700K is the crowd-pleaser — it flatters evergreen foliage, brick, and wood siding, and it reads as cozy from the street. Cool white (5000K+) suits frosty blue-and-white themes only. Whatever you choose, keep every light on the tree (and ideally the whole yard) at the same temperature; mixed warm and cool whites look accidental.
Are solar Christmas lights bright enough for a tree?
They're softer than plug-in lights, so set expectations accordingly. A good solar strand with a separate panel gives a lovely gentle glow for 4 to 6 hours after a sunny December day — fine for a secondary tree or a tree far from an outlet. For your main statement tree, plug-in LEDs are brighter, more reliable, and worth the extension cord.
When should I put up and take down outdoor tree lights?
Most neighborhoods light up the weekend after Thanksgiving, and I aim to have my tree wrapped by then too — honestly, the first weekend of December at the latest if you want the full season. Take them down by mid-January: winter sun and freeze-thaw cycles are hard on strands, and lights left up too long tend to fail the following year. Store strands wrapped around cardboard or a cord reel, not crammed in a box.
Conclusion
Great outdoor Christmas tree lighting isn't about the most expensive strands — it's about layering light with intention: depth inside the branches, glow at the base, and a clear focal point at the top. Whether you go classic warm white, vintage multicolor, or full winter-wonderland frost, the trees that stop traffic all share the same secret: somebody took the time to wrap with care, match their color temperatures, and put everything on a timer.
Start with one technique from this list this weekend — I'd suggest the branch-by-branch wrap or the simple uplight — and watch how it transforms not just the tree, but the whole front yard around it. And when you're ready to coordinate the rest of your display, browse more of our outdoor lighting ideas to tie the porch, roofline, and walkway into one glowing composition. Happy decorating, and may your tree be the one everyone slows down for.