Every summer cookout at our house ends the same way: everyone drifts to the island. It is where the cutting boards live, where the drinks land, and where the best stories get told long after the grill cools down. That is exactly why outdoor kitchen island lighting matters so much, because this one surface has to work hard as a prep station at 6 p.m. and glow softly as a serving bar at 9 p.m. One blazing ceiling light cannot do both jobs, and honestly, neither can a single dim lantern. In my experience, the secret is layering: focused task light where the knives are, gentle ambient light for faces and food, and a little sparkle on top for the pretty factor. Below I am sharing 19 ways to build those layers over, under, and around your island, from hardwired pendants to five-minute solar fixes. Mix two or three ideas, add dimmers wherever you can, and your island will handle everything from chopping onions to midnight dessert runs without missing a beat.

1. Hang Pendants First: The Backbone of Outdoor Kitchen Island Lighting
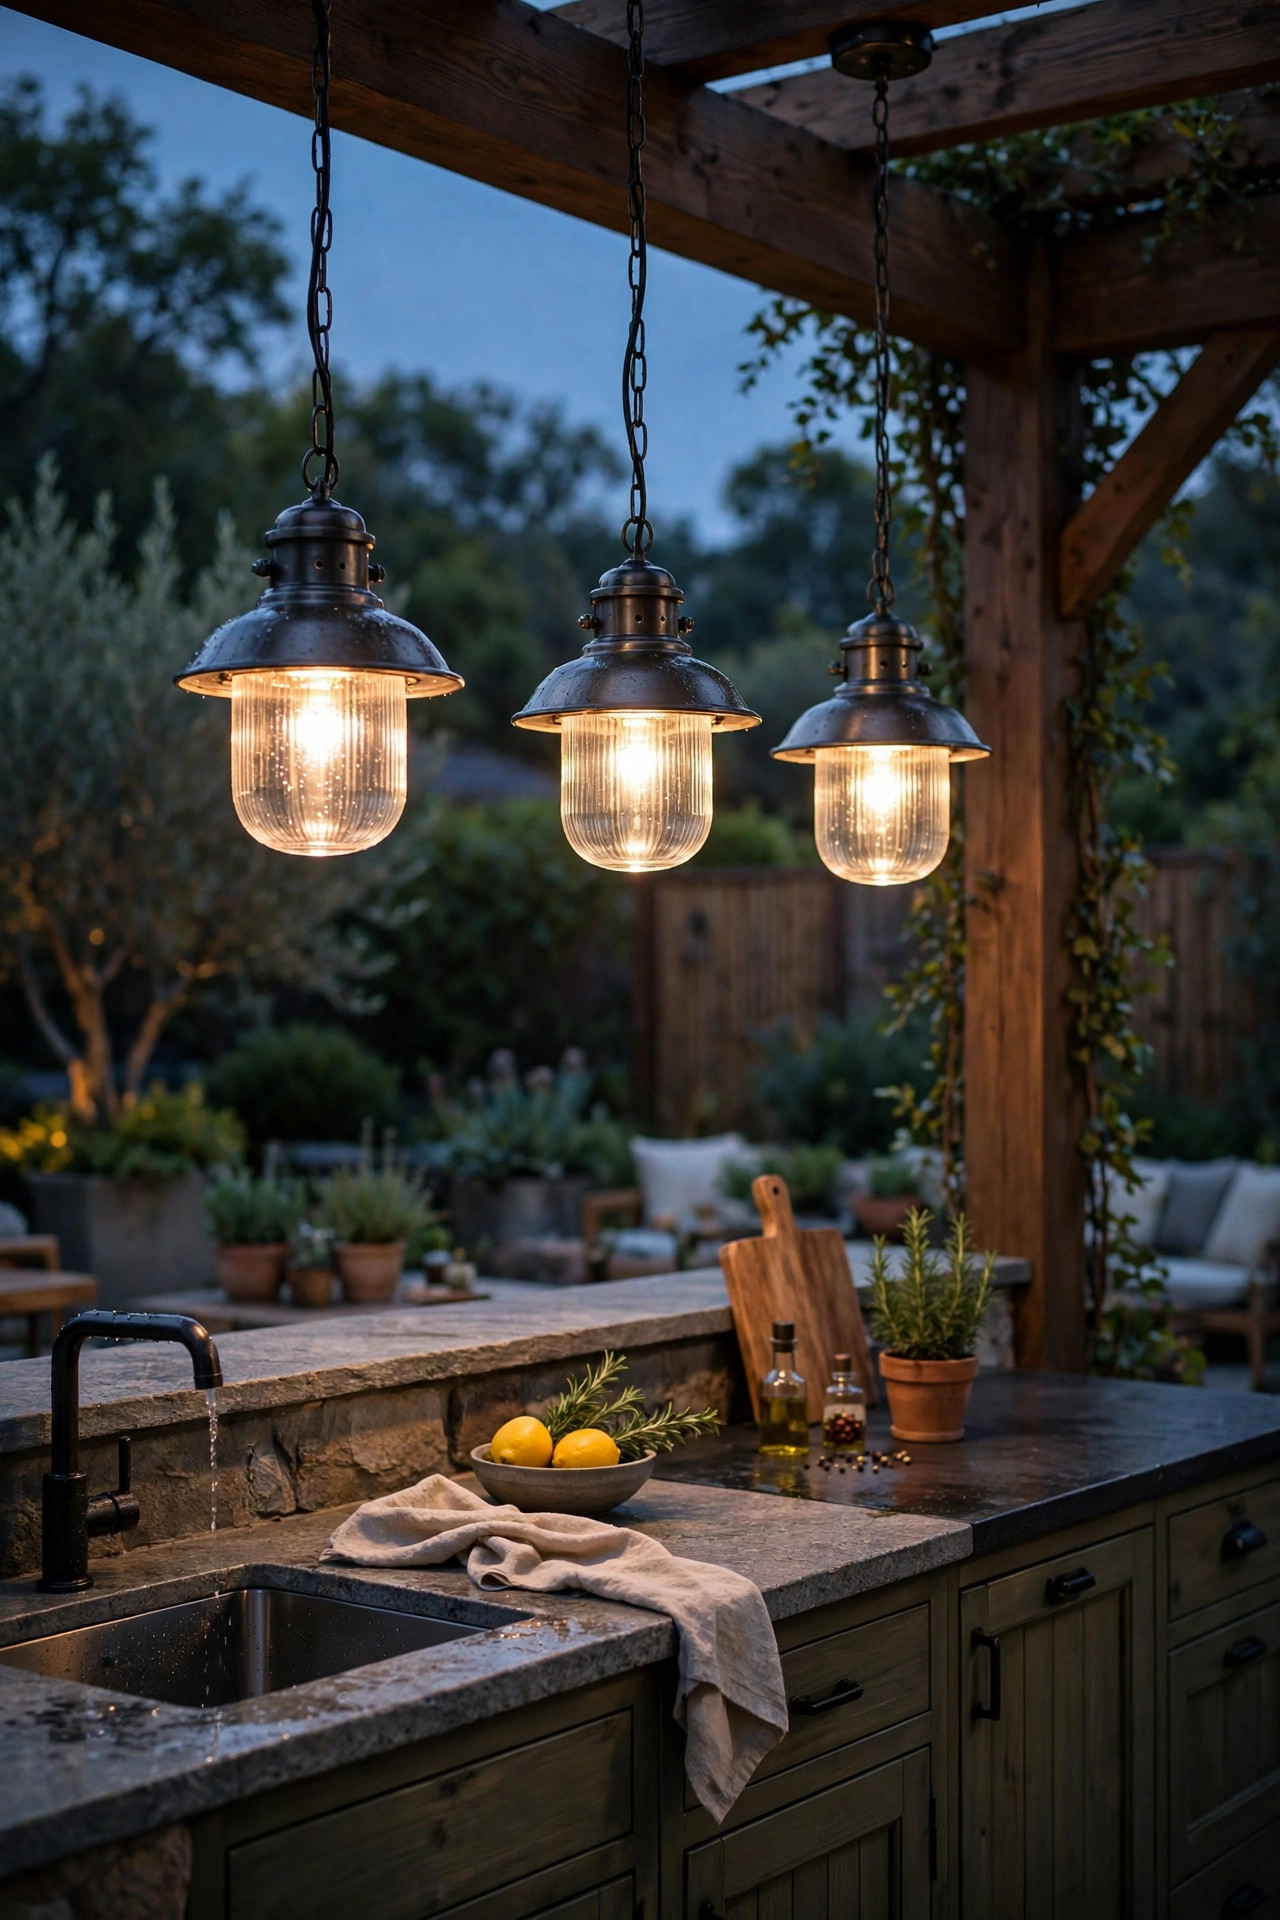
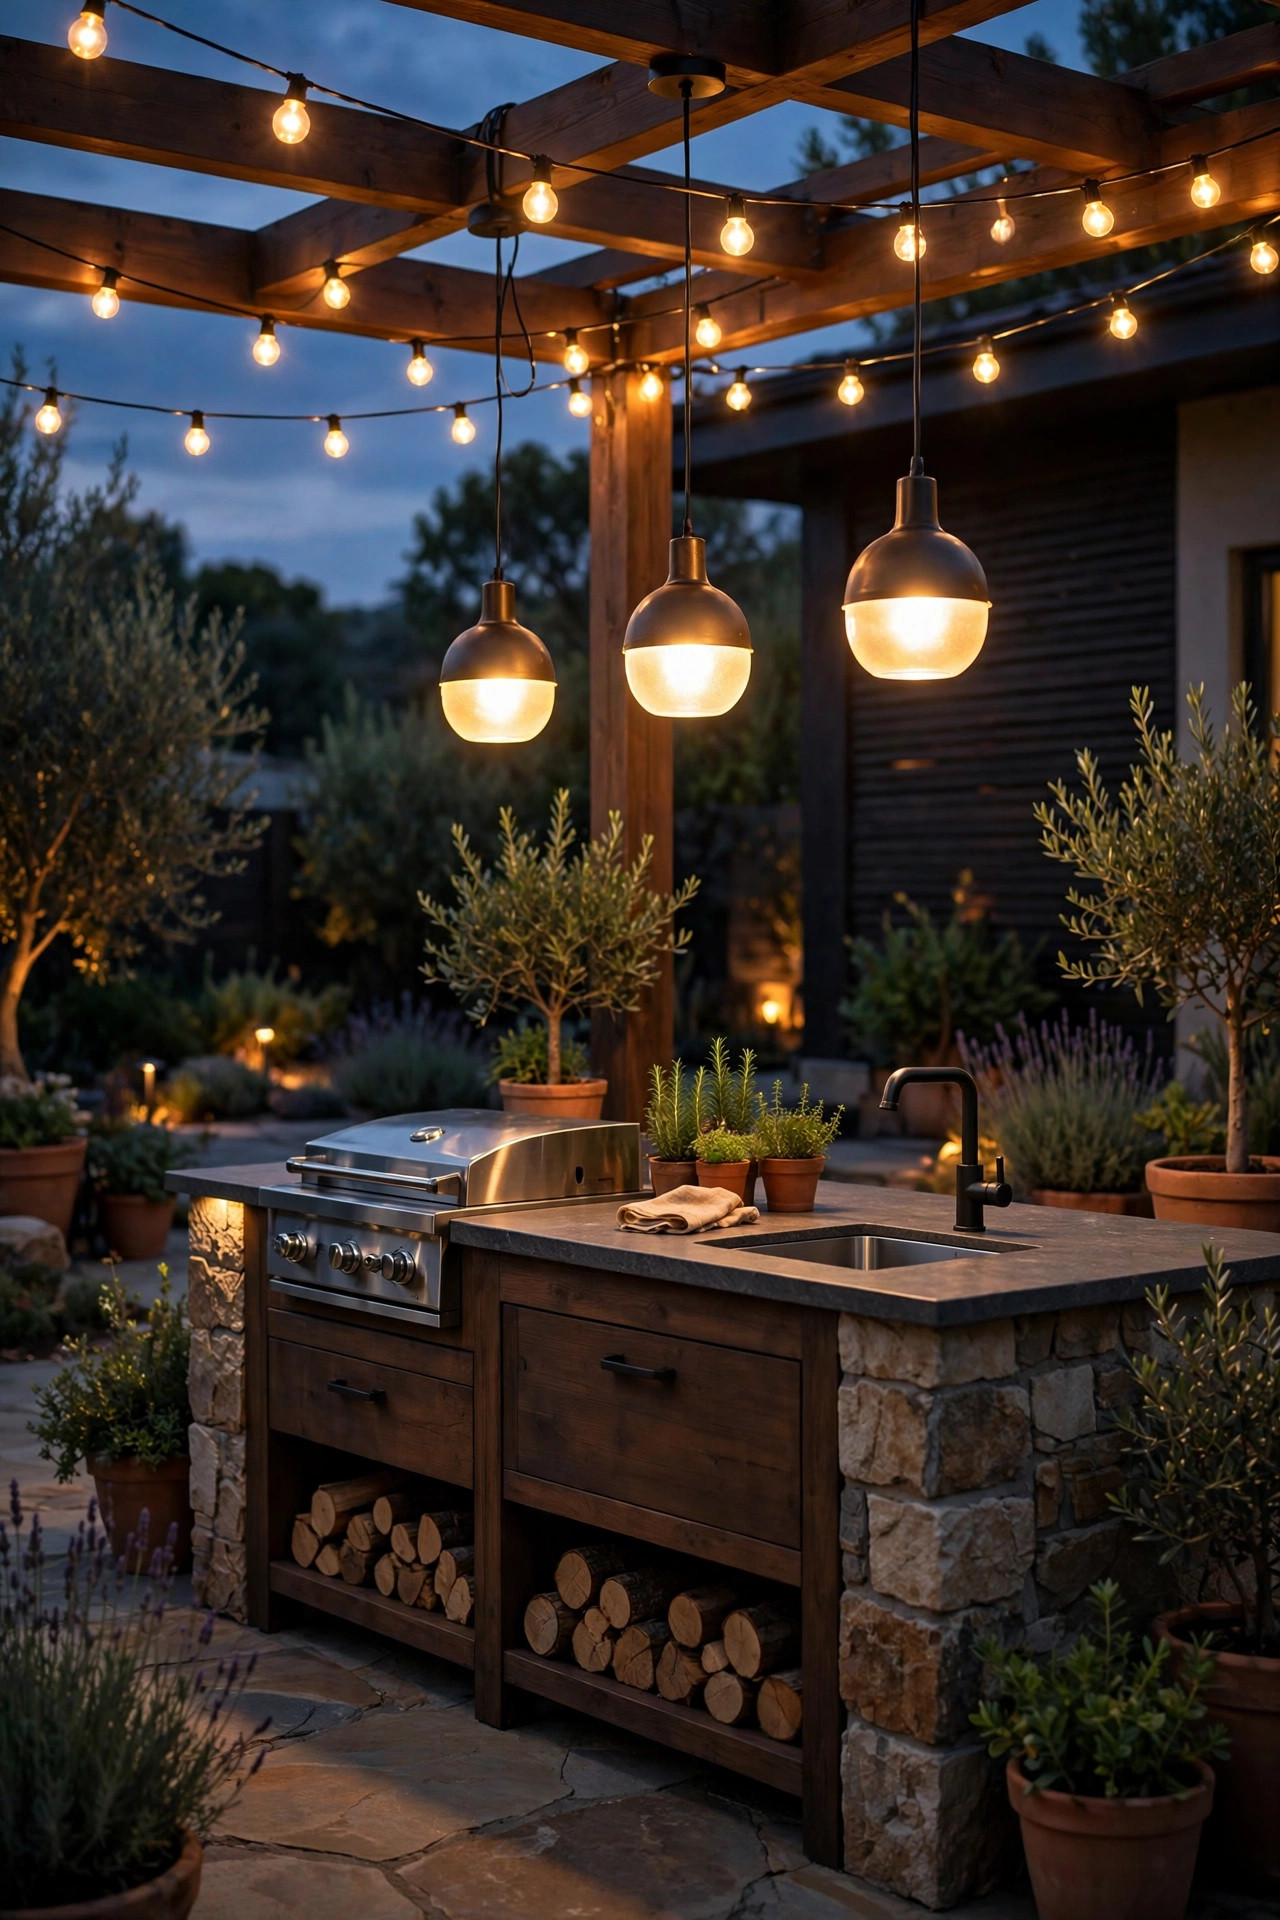
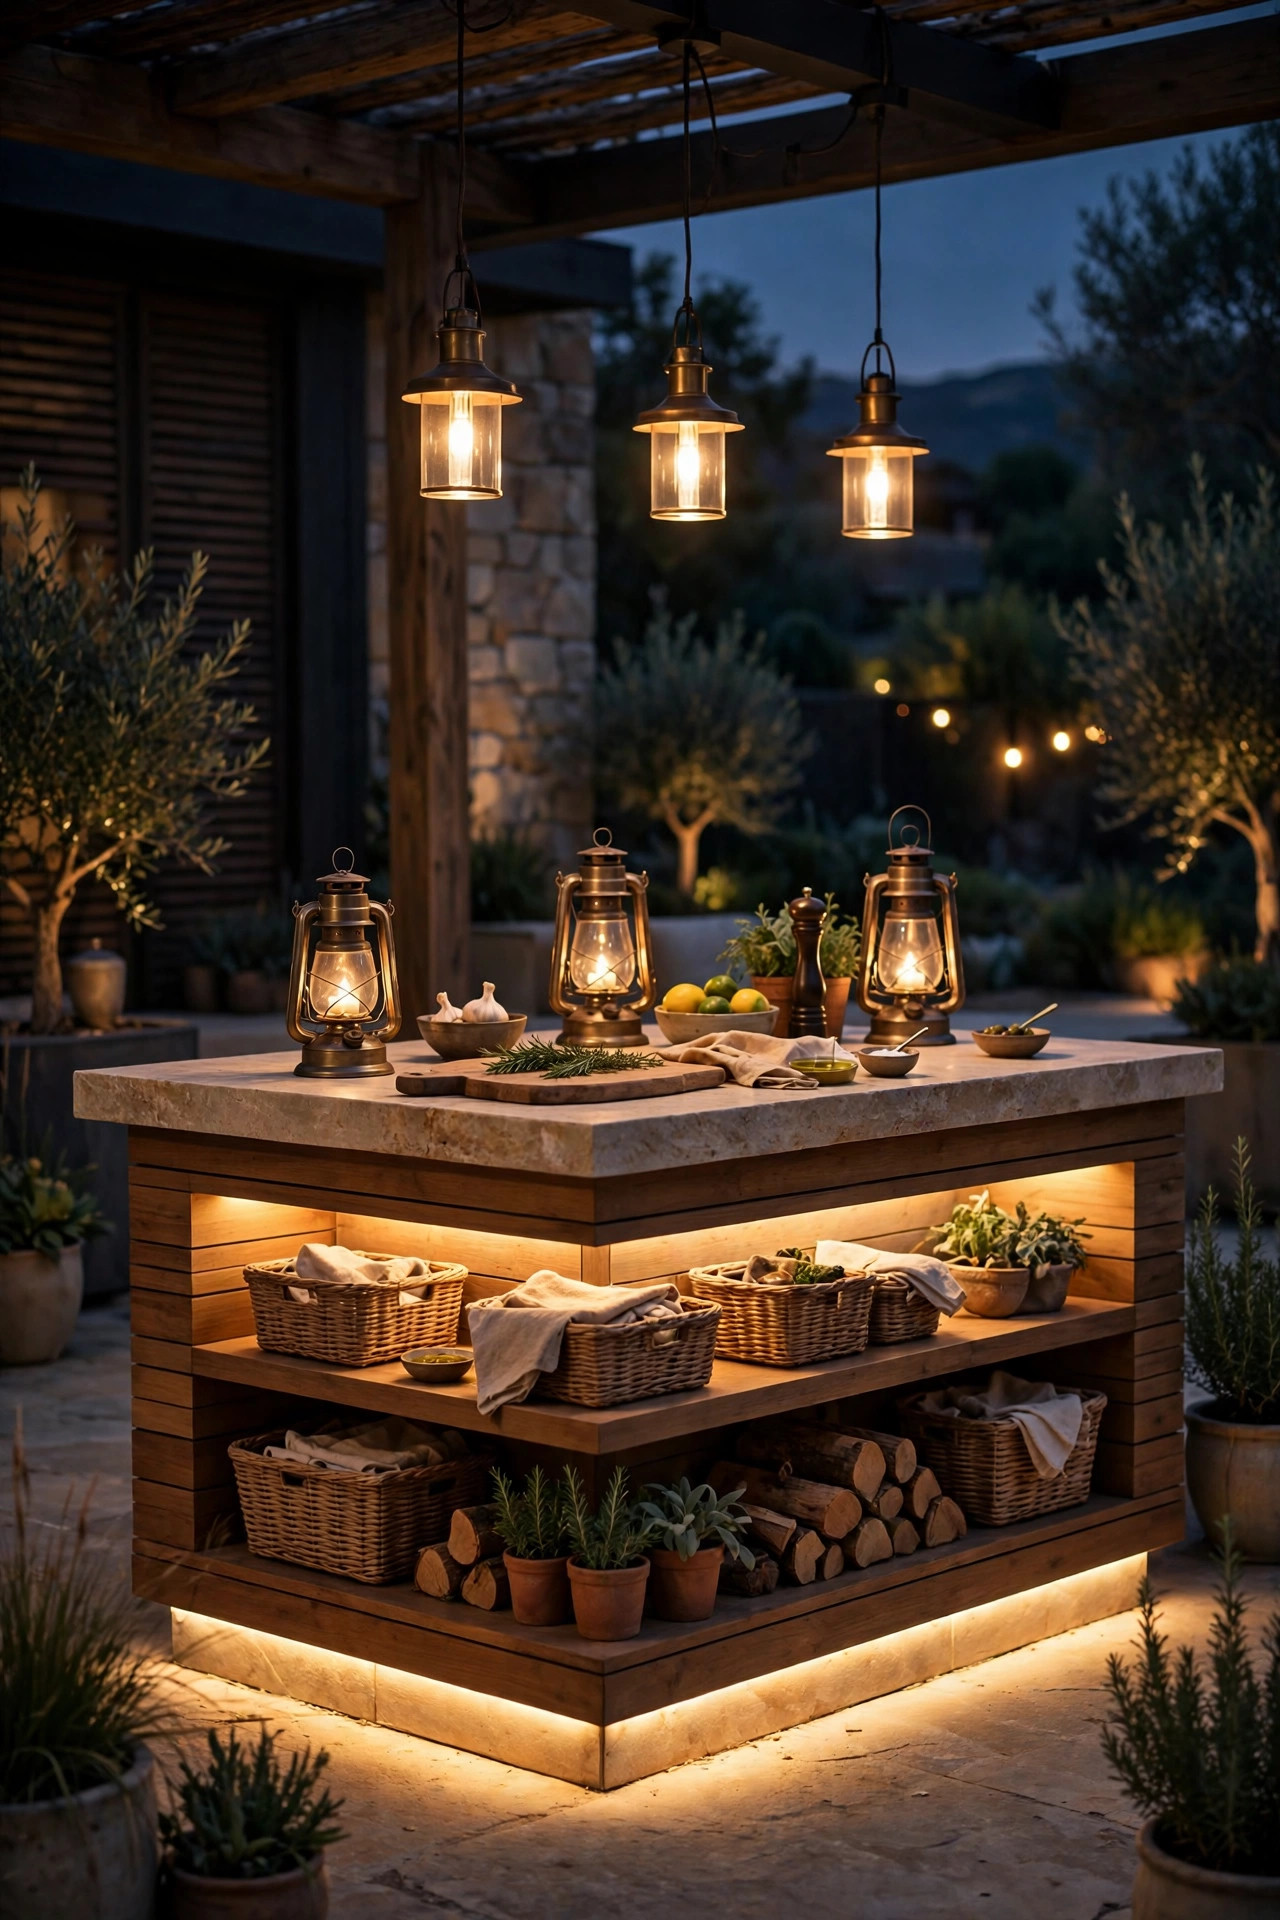
If you only add one layer, make it pendants. Two or three fixtures spaced 24 to 30 inches apart over the counter give you the even, shadow-free light that chopping and plating actually need. I hang mine so the bottom of each shade sits 30 to 36 inches above the countertop, which keeps the light on the work surface and out of everyone's eyes when they are seated on the other side. Choose fixtures rated for wet locations, since island pendants live in steam, splashes, and the occasional summer downpour. Metal or seeded-glass shades shrug off grease better than fabric ever will. Inside, I use LED filament-style bulbs around 2700K for that warm restaurant glow, at least 800 lumens each so the trio genuinely works as task lighting. Wiring pendants does mean a ceiling, pergola beam, or overhead frame to mount them to, and that is worth planning before the island goes in. Put them on their own dimmer and you have the hardest-working layer of the whole setup, bright for prep and moody for serving.
Suggested budget range: $120 – $400.
2. Run LED Strips Under the Counter Overhang
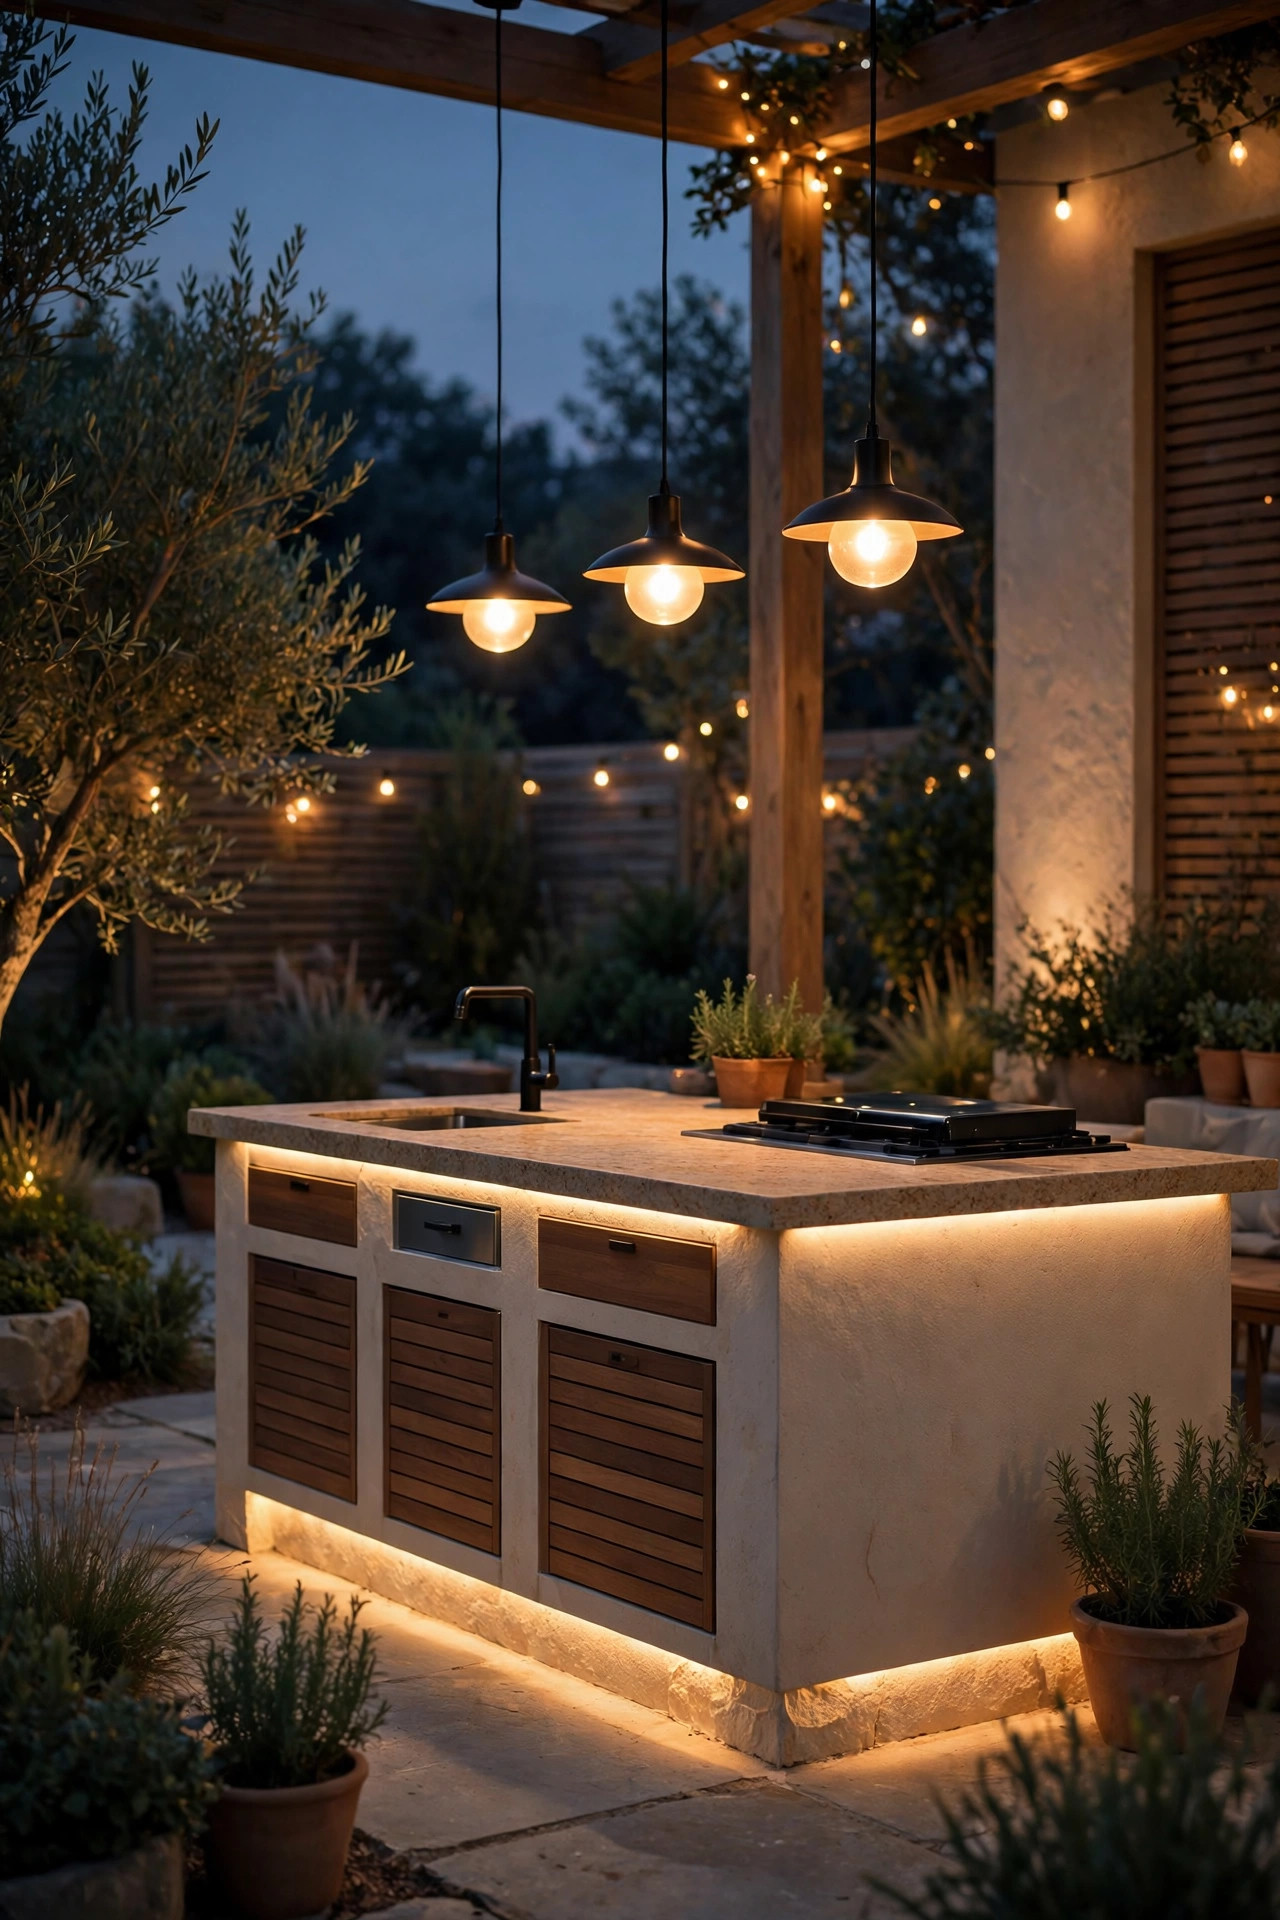
The seating side of most islands has a 12-inch counter overhang, and the shadow underneath it is the perfect hiding place for an LED strip. Mounted on the underside and aimed slightly down, a waterproof strip washes the cabinet faces and the knees of everyone perched on a stool in soft light, and the island suddenly looks like it is floating. I use IP65 or higher silicone-coated strips, because this spot catches mop water and spilled drinks. Warm white at 2700K keeps it cozy rather than clinical, and a low-voltage driver tucks inside a cabinet where it stays dry. This is honestly one of the cheapest layers with the biggest payoff: guests always ask what makes the island glow, and it is never the pendants they guess first. Run the strip the full length of the overhang, including around the corners if your island has a return, so there are no dark gaps. Add a small inline dimmer and you can drop it to a whisper of light once dinner moves to the fire pit.
Suggested budget range: $25 – $80.

3. Add Toe-Kick Lighting Along the Island Base
Toe-kick lighting is the layer nobody plans and everybody loves. A recessed strip or a run of rope light tucked into the kick space at the base of the island throws a low pool of light across the patio floor, which does three things at once: it makes the island look custom, it lights the walking path so nobody trips carrying a hot tray, and it keeps the whole setup feeling grounded after dark. Because it sits inches from the ground, weatherproofing matters most here, so look for sealed, outdoor-rated strips and keep connections up inside the cabinet rather than on the floor. I keep this layer on the same circuit as the under-counter strip so both come on together as my ambient base. Keep the brightness low; toe-kick light should read as a glow, not a runway. If your island is a portable cart style rather than built-in, clip-on battery strip lights along the base give you the same effect with zero wiring. It is a small detail, but it is the one that makes the whole kitchen feel finished and intentional.
Suggested budget range: $20 – $70.

4. Recess Downlights Into the Pergola or Roof Above
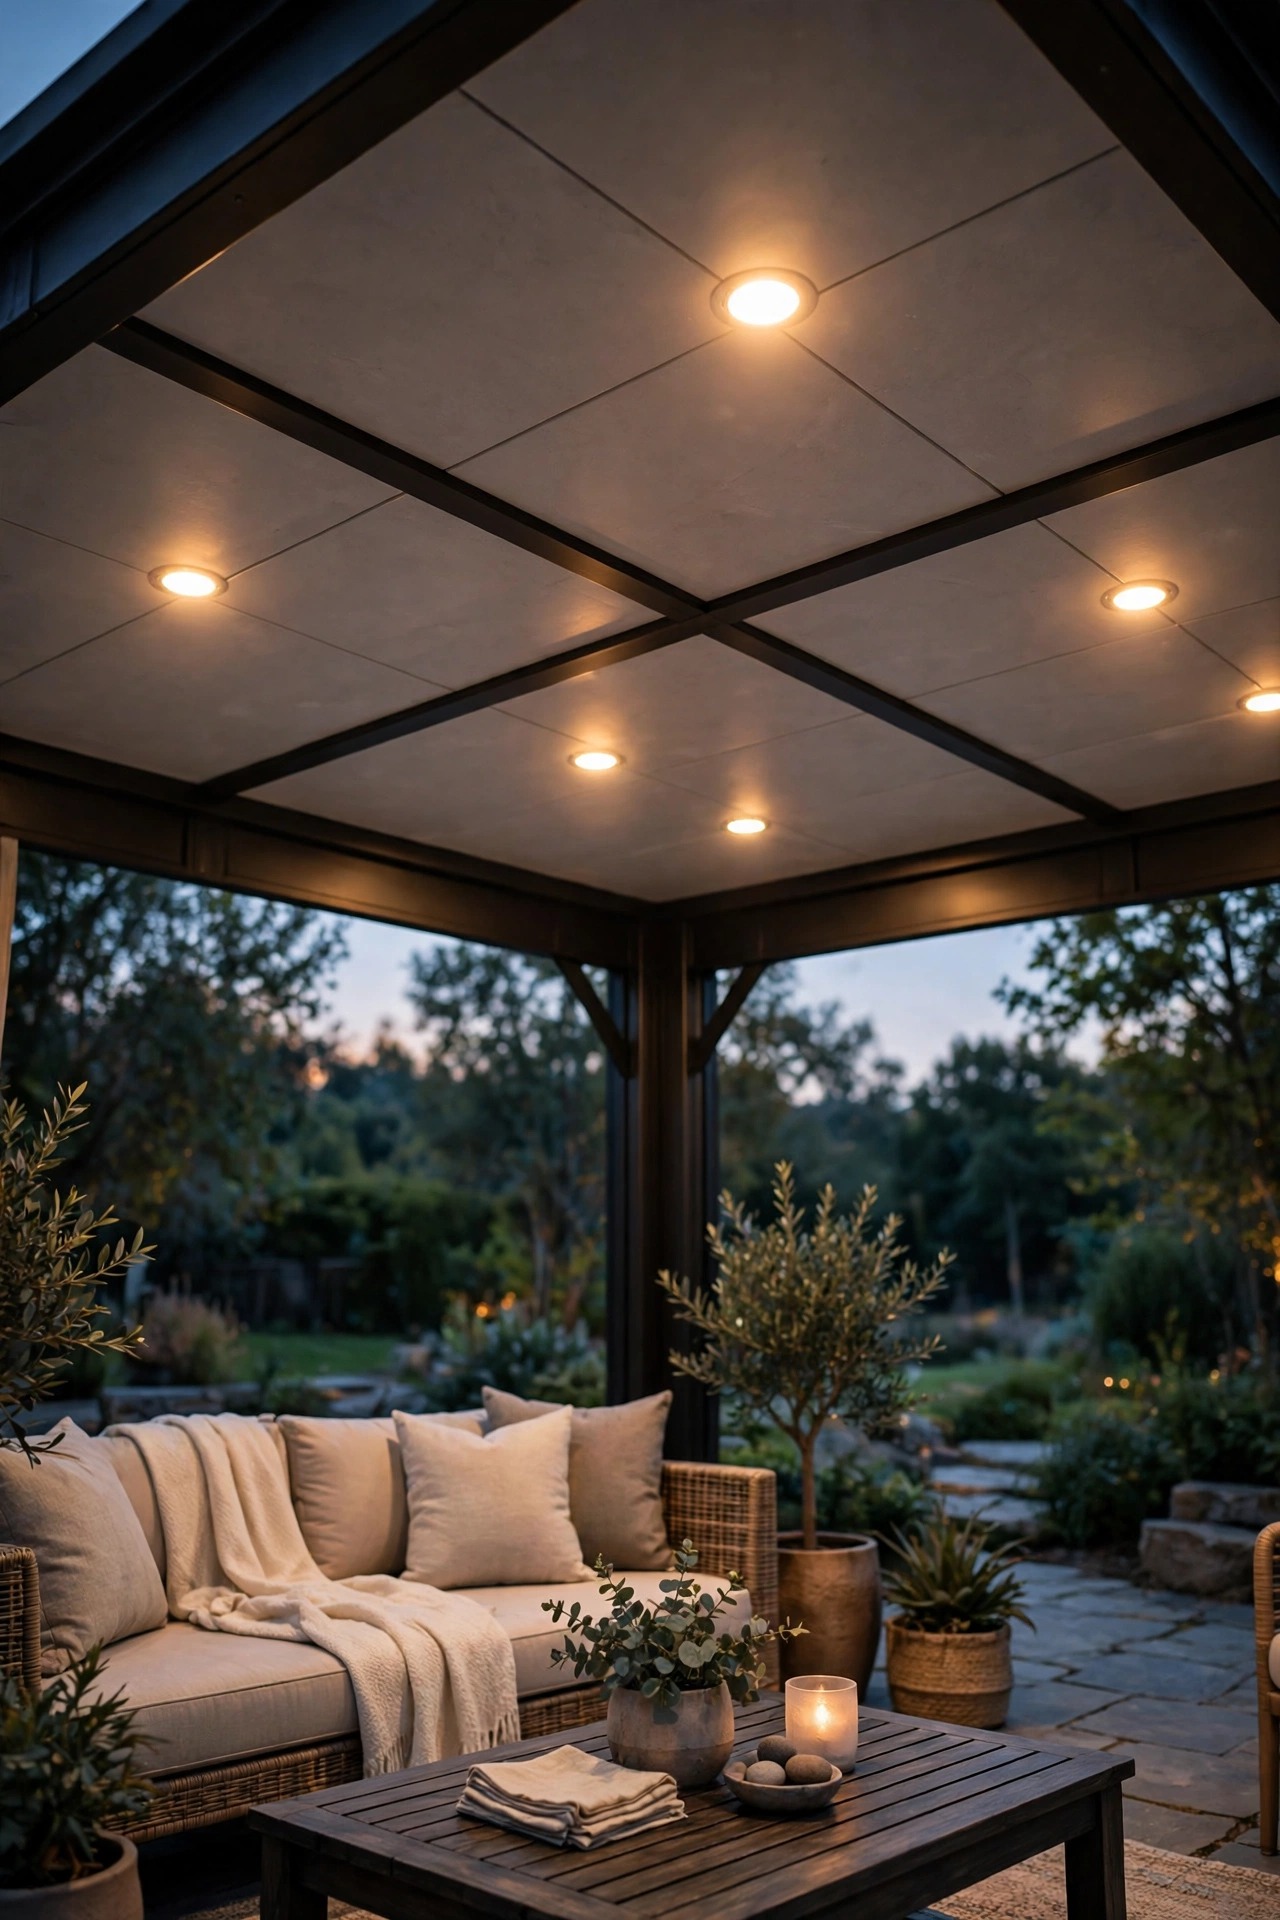
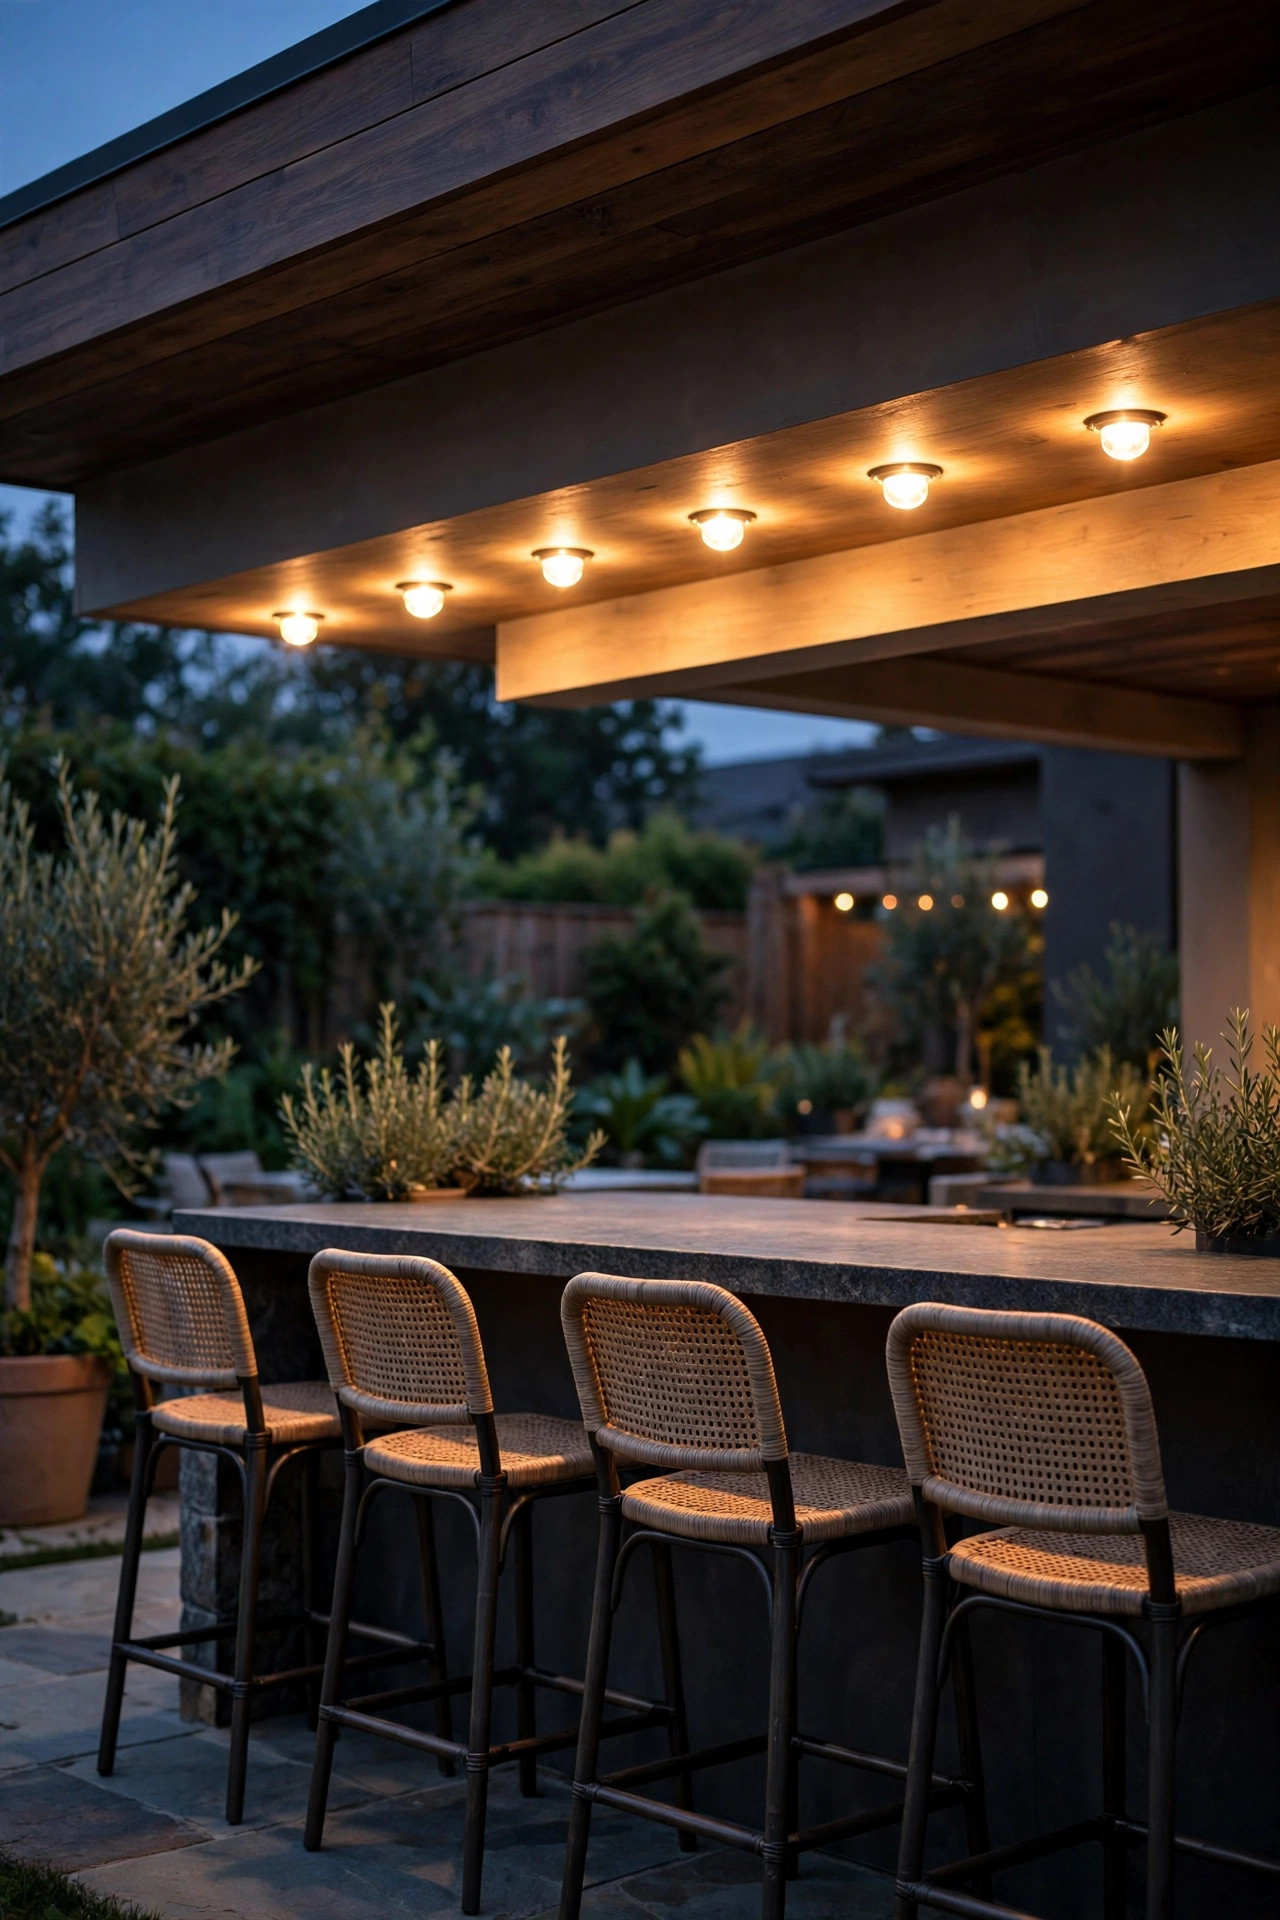
If your island sits under a pergola, covered patio, or pavilion roof, recessed downlights are the cleanest way to get serious working light without visual clutter. Space small 4-inch wet-rated cans roughly 4 feet apart directly over the counter run, and the whole surface lights evenly with no hot spots and no shadows from your own body while you work. I aim for fixtures in the 3000K range here, a touch crisper than the accent layers, because this is the light I actually cook by. Gimbal-style trims are worth the small upgrade since you can angle the beam onto the sink or cooktop zone instead of straight down. One caution from experience: downlights alone can feel flat and a little commercial, so I never let them be the only layer. Pair them with pendants or strips and dim each separately. If a full ceiling is not in the cards, surface-mount puck downlights under a pergola beam deliver a similar effect. My full notes on overhead structures live in my guide to pergola dining lighting ideas, which covers beam mounting in detail.
Suggested budget range: $150 – $500.
5. Build a Dedicated Bright Zone Over the Prep End
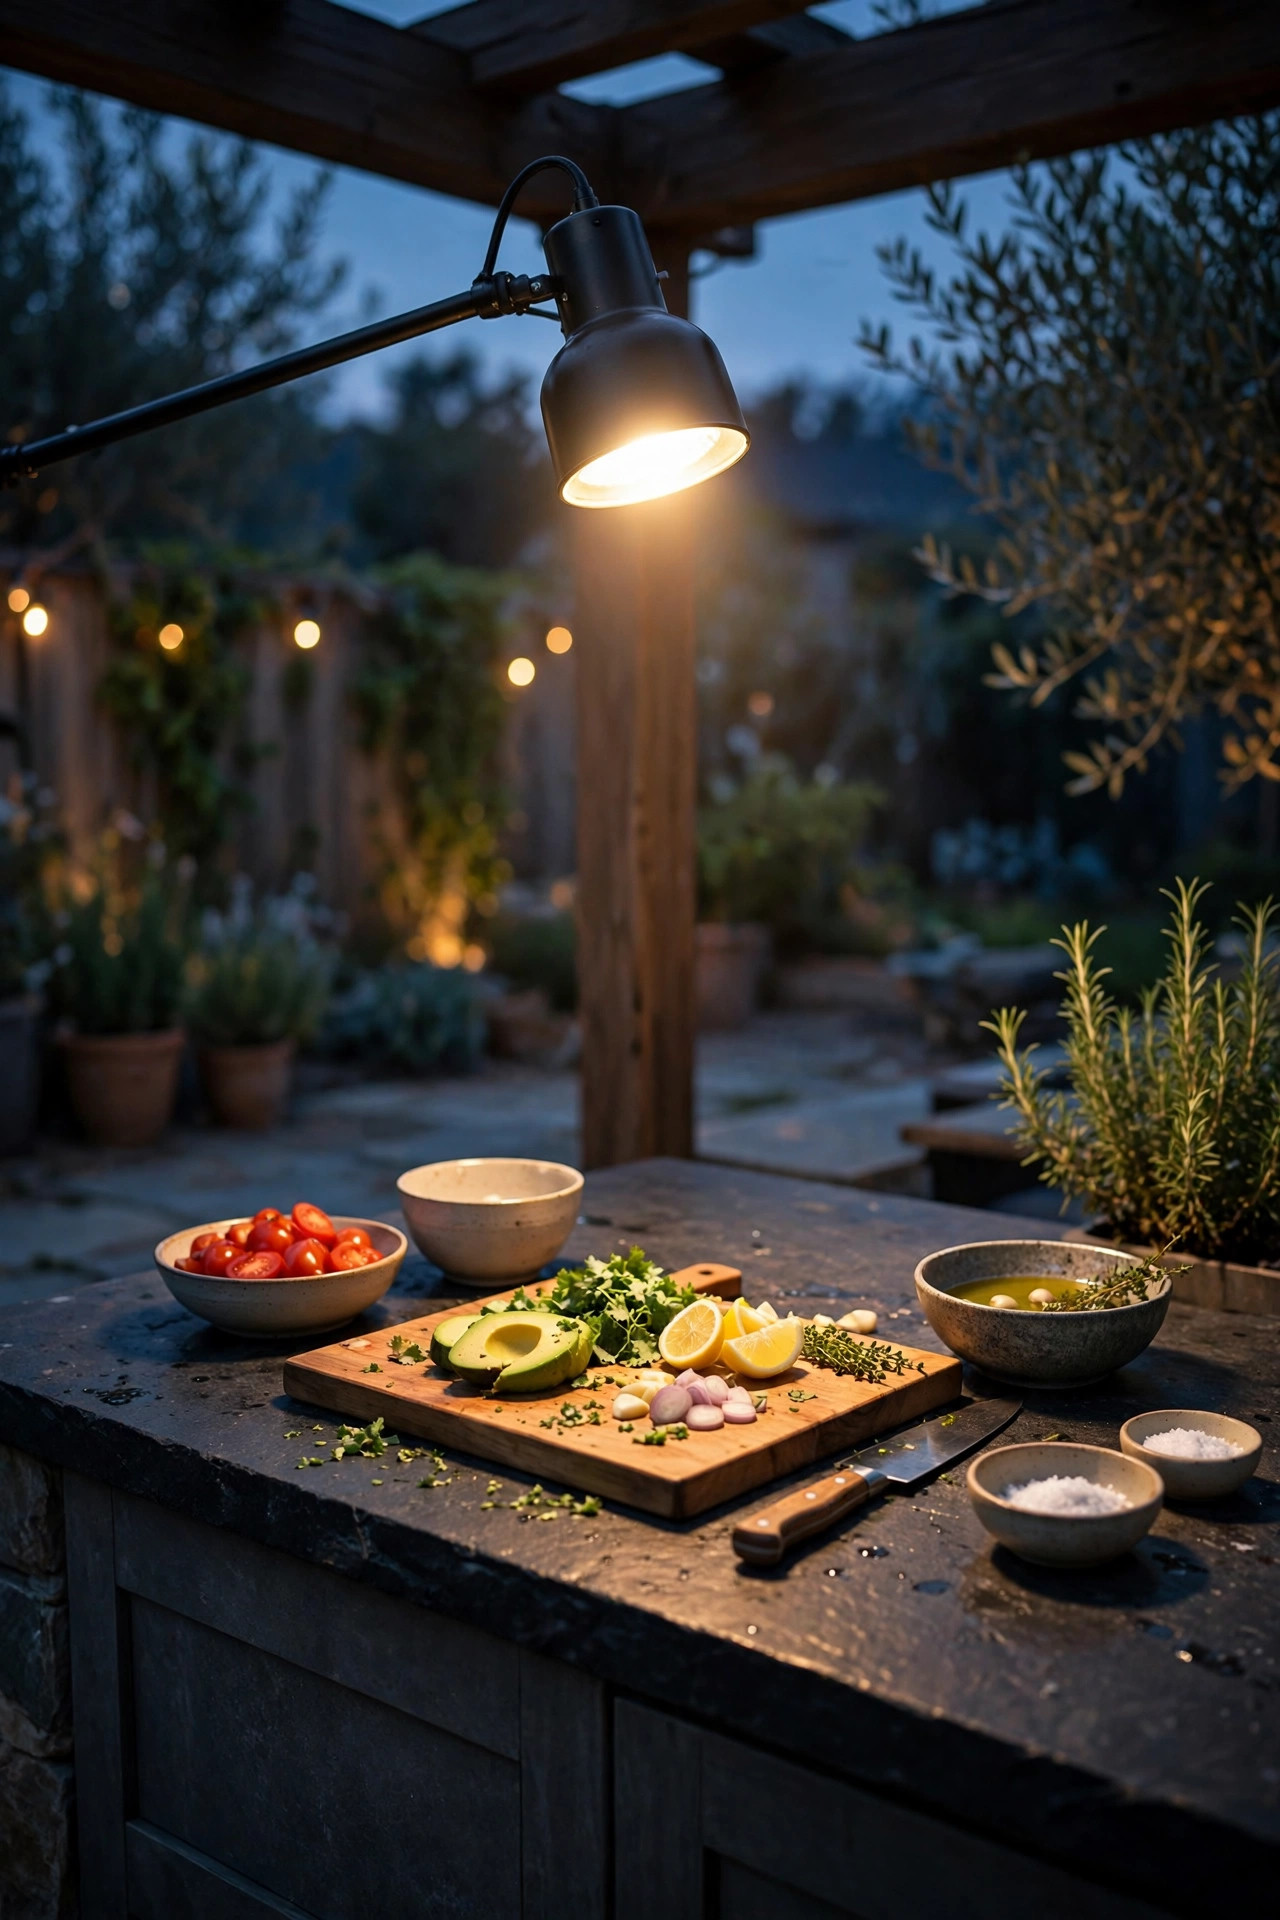
Not all of the island works equally hard, so I stopped lighting all of it equally. The prep end, where the cutting board, knives, and mixing bowls live, gets its own brighter zone: a pendant or downlight on a separate switch, bumped up to around 50 foot-candles at the counter, which in real terms means noticeably brighter than the serving end. A slightly cooler bulb here, around 3000K to 3500K, makes it easier to judge whether chicken is cooked through and whether herbs are fresh, because color reads truer than it does under very warm light. The serving end stays soft and golden. This zoning sounds fussy until you have tried to thread skewers under candlelight; then it feels like common sense. If rewiring is not an option, a plug-in track head or a clamp light aimed at the prep corner gets you most of the way there. Label the switches or use two clearly different dimmers, because someone will always hit the wrong one mid-cookout, and it is usually me.
Suggested budget range: $60 – $250.
6. Put Every Layer on Dimmers and Set Scenes
Dimmers are the difference between lighting that works at 6 p.m. and lighting that still works at 10. Prep wants everything near full brightness; serving wants pendants at half, strips glowing, candles doing the flirting. A smart outdoor dimmer or a simple weatherproof inline dimmer lets you slide between those moods in seconds instead of swapping bulbs or lighting ten candles by hand. I set three scenes in my app: Prep at full blast, Serve at about 50 percent with the strips on, and Late Night with just the toe-kick and a lantern or two. Honestly, the Late Night scene gets used the most, because nobody wants stadium lighting with their nightcap. One practical note: confirm your LED bulbs and strips are actually dimmable, since the cheapest ones flicker or buzz when dimmed, and buy the dimmer rated for LED loads. Weather matters too, so wall switches should be in weatherproof boxes with in-use covers. It is the least glamorous purchase on this list and the one I would replace first if it ever died.
Suggested budget range: $30 – $150.
7. Line Up Solar Counter Lamps on the Serving Side
For the serving end of the island, I keep a trio of small solar counter lamps that charge on the sunny corner of the counter all day and come out when the food does. They are the prettiest low-effort layer I own: no cords crossing the workspace, no hunting for an outlet, and each one throws a pool of warm light right where the platters land. Look for lamps with a real solar panel on top rather than a decorative one, at least 8 hours of runtime, and a warm 2700K glow instead of the blue-white light cheap solar is famous for. Because nothing is wired, I can slide them down the counter as the serving line moves from salads to dessert. In winter or after a string of gray days, mine charge on a windowsill inside, which works fine. Group them in odd numbers and vary the heights slightly, the same styling rule as candles. They will never replace hardwired task light, and they are not meant to; they are the jewelry layer, and jewelry matters.
Suggested budget range: $30 – $90.
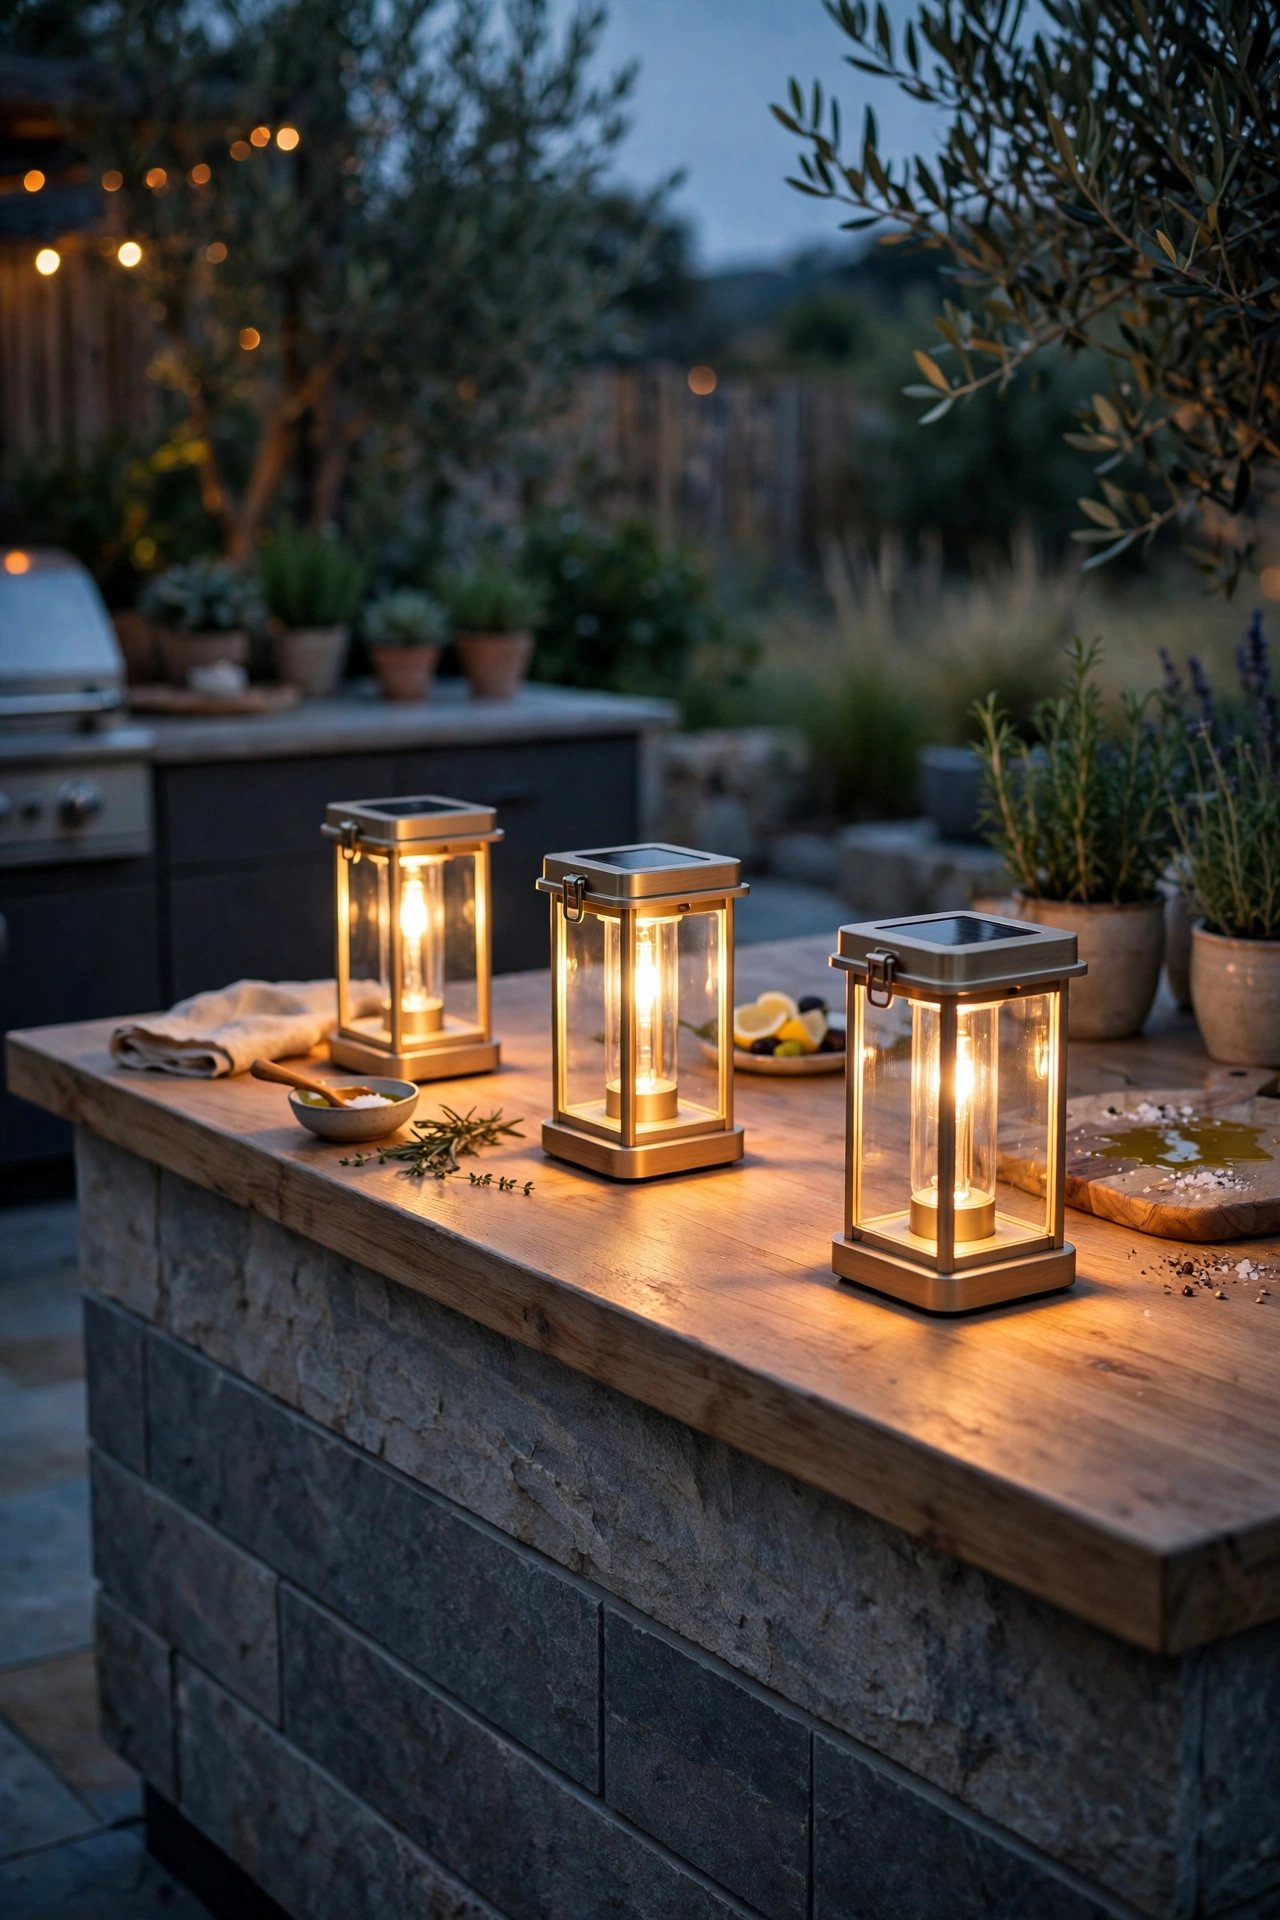
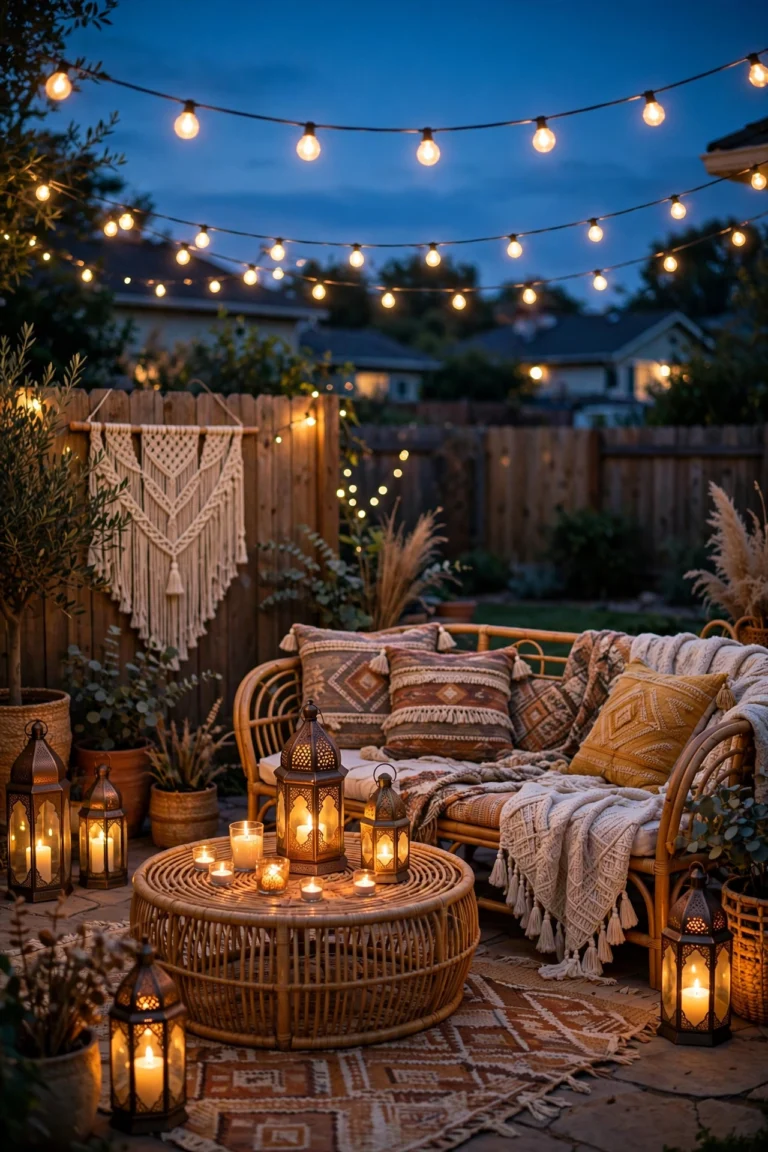
8. Keep Battery Lanterns Ready to Move With the Party
Every outdoor kitchen needs light that can walk away from the kitchen. A pair of rechargeable battery lanterns lives on my island for everyday glow, but the second someone says the burgers are moving to the picnic table, the lanterns move too. Choose lanterns with a dimmer dial rather than fixed settings, a warm color temperature, and at least 20 hours of runtime on low so you are not charging them after every cookout. USB charging is a must in my book; proprietary chargers get lost in the junk drawer by July. The better models are IPX4 or better, which shrugs off splashes and a surprise drizzle. Style-wise, woven metal or matte black finishes read as decor sitting on the island, so they earn their counter space even at noon. I keep one on the prep end turned low as a backup during any power flicker, and honestly, they have rescued more than one dinner party when a breaker tripped mid-grill. Portable light is insurance you actually enjoy looking at.
Suggested budget range: $40 – $120.

9. Cluster Flameless Candles for Serving and Dessert
Real candles and outdoor cooking are a bad mix in my house between the wind, the paper napkins, and someone always reaching across an open flame for the rolls. Flameless candles give me the flicker with none of the worry, and clustered along the serving side of the island they make even a weeknight taco bar look like an occasion. I use LED pillars in mixed heights, 3, 5, and 7 inches, grouped in threes on a wooden board or tray so the whole cluster moves as one piece when I need counter space back. Look for the versions with a realistic melted edge and a warm ivory tone; the bluish cheap ones read as Halloween props. Many come with a remote and a timer, and the timer is the feature I actually use, set to come on at dusk and off four hours later. Keep them LED-only near anything flammable, which they inherently are, and wipe off grease splatter promptly so the wax finish stays pretty. Dessert under candle glow just tastes better. I said what I said.
Suggested budget range: $20 – $60.

10. Swag a String Light Canopy Over the Whole Island
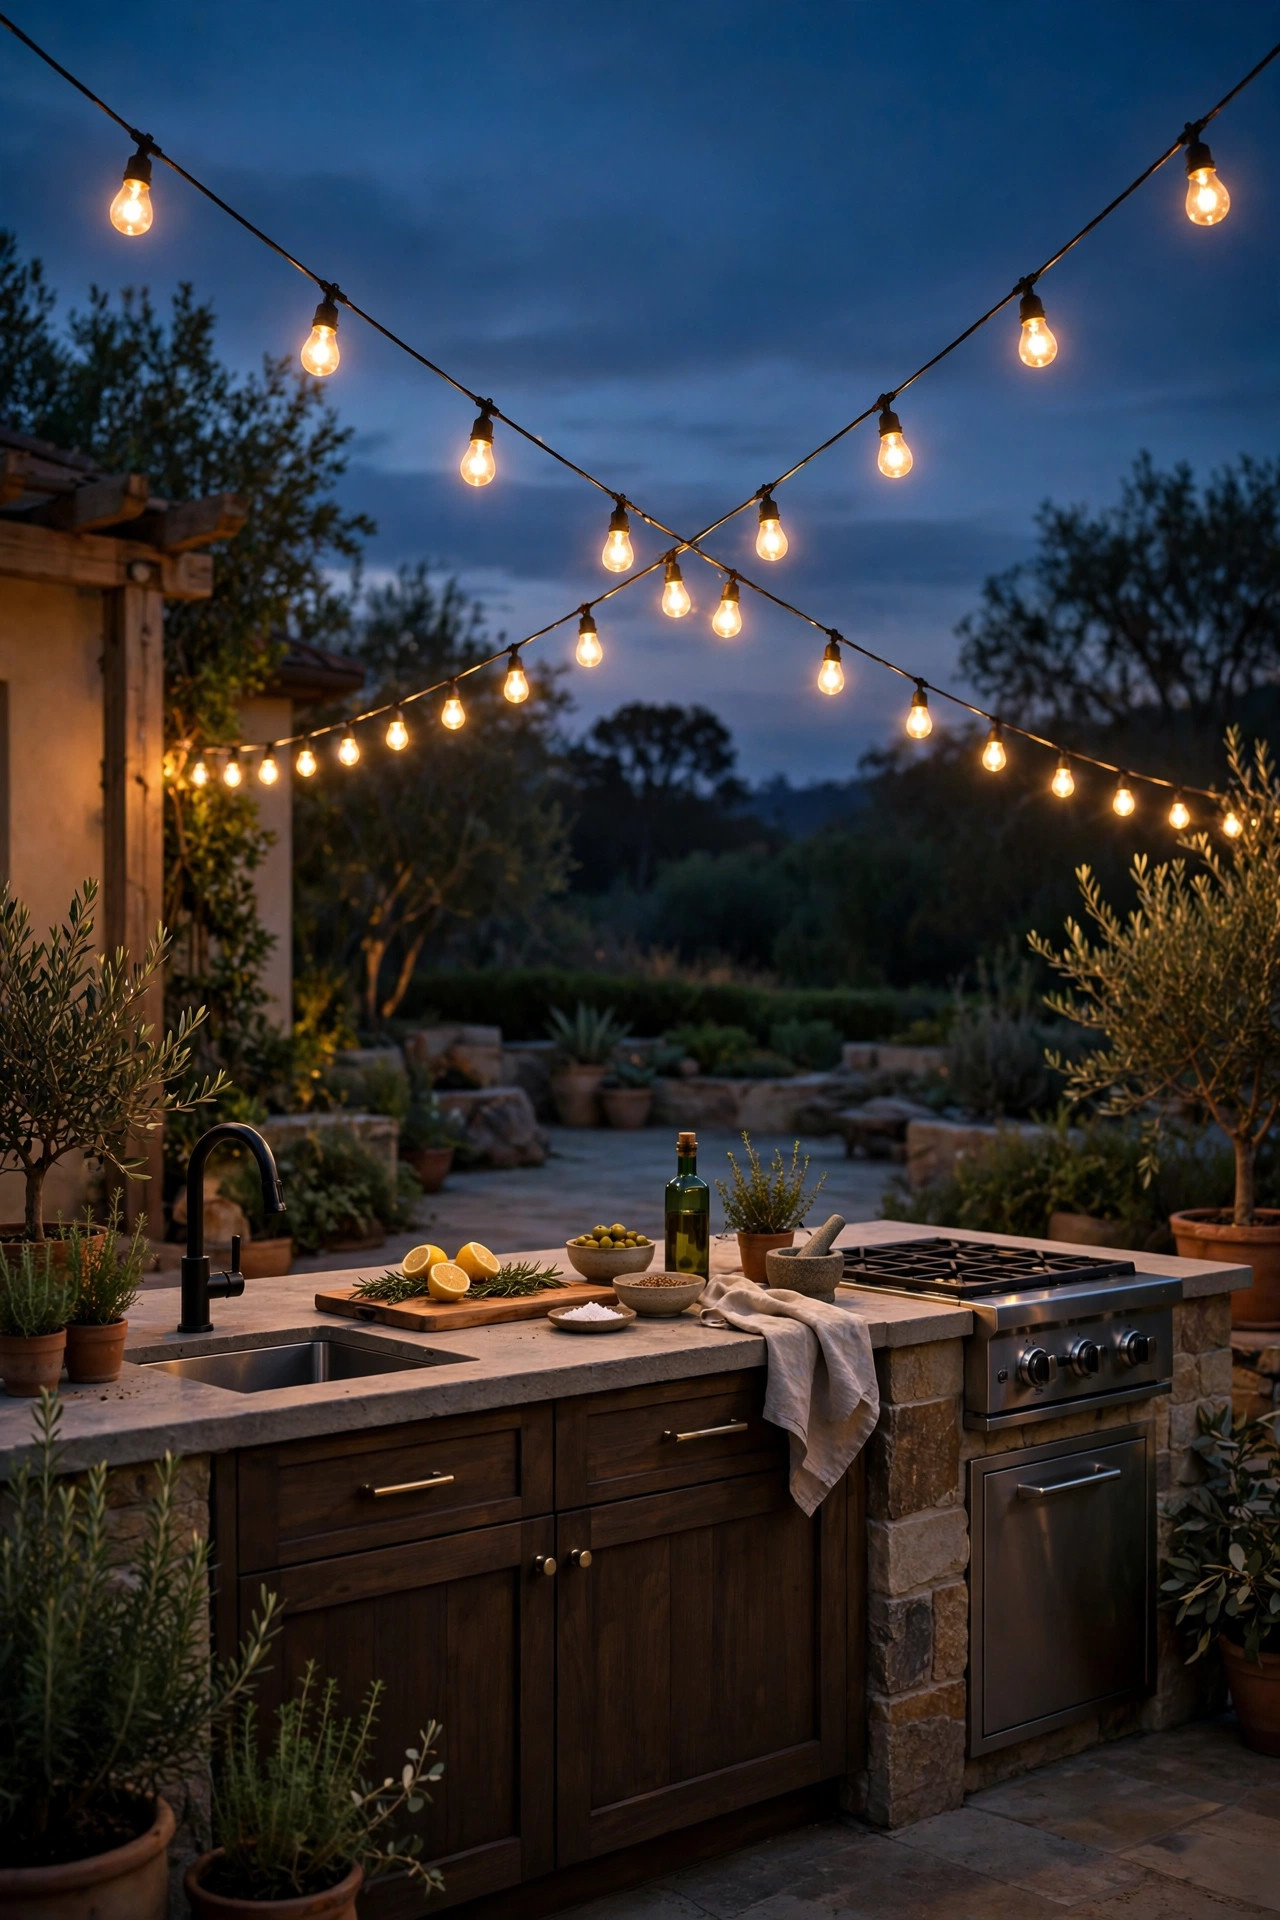
When the island sits out from under the roofline, a swag of string lights overhead ties the whole kitchen together and gives the cook a soft ceiling of light. I run two strands in a gentle X from the pergola posts to the house, crossing right over the island, which spreads the glow evenly and keeps any single bulb from glaring in your eyes while you chop. Commercial-grade strands with shatterproof LED bulbs are worth it out here; the thin residential cords sag and the glass bulbs pop in the first hailstorm. Keep bulbs at least 7 feet above the counter so tall guests and raised spatula work never connect. String lights alone are too dim and too shadowy for real prep, so think of them as the ambient blanket that makes the task layers underneath feel intentional. Swapping a few bulbs for slightly larger globe styles over the island adds a focal point. For more overhead patterns that work beautifully beyond the kitchen, my roundup of general outdoor kitchen lighting ideas covers the whole cooking zone.
Suggested budget range: $40 – $130.
11. Mount Sconces on the Island End Panels
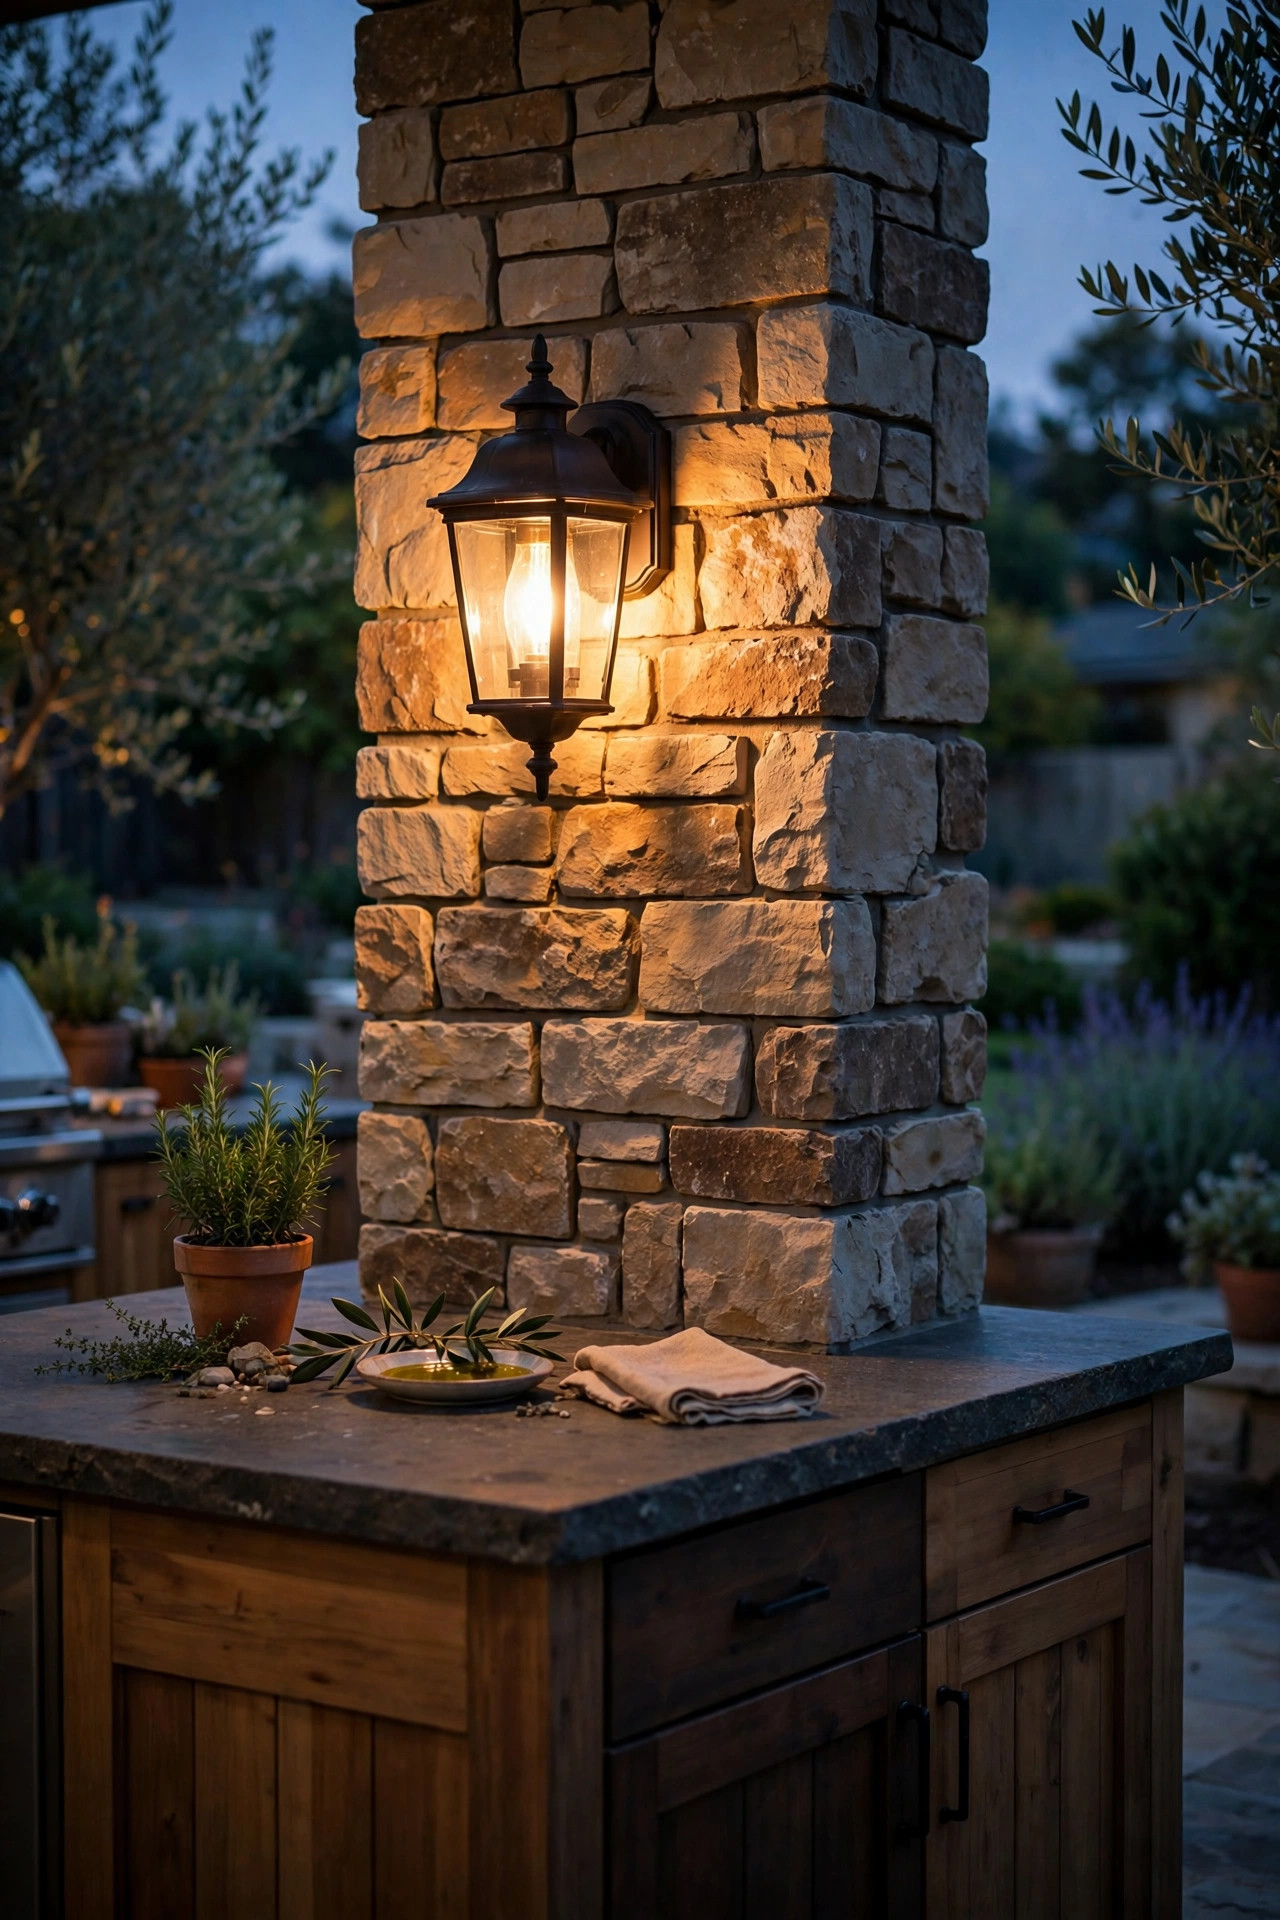
The short ends of an island are wasted real estate until you mount a sconce on each one. A small wet-rated sconce on the end panel washes light sideways across the patio, marks the island visually from the yard, and gives the cook a little extra spill exactly where the grill tools hang. On a built-in island, sconces wire into the same circuit as the interior cabinet lights, and a photocell model means they simply wake up at dusk on their own. Hurting for a hardwired option? Solar sconces with a decent panel work surprisingly well on the sun-facing end, and adhesive or screw-mount battery puck sconces cover the shaded end. Style tip: match the sconce finish to your pendant finish so the island reads as one designed piece rather than a collection of add-ons. Point adjustable sconces slightly downward to keep light on the ground plane and out of faces. It is a subtle layer, but it is the one that makes the island look architectural instead of appliance-like, and neighbors absolutely notice it from the street.
Suggested budget range: $35 – $120.
12. Go Bold With an Outdoor-Rated Chandelier
Not every island wants pendants in a row. A single outdoor-rated chandelier centered over the island gives you the same task light with a lot more personality, and it turns the serving counter into a genuine dining moment once the food lands. Look for fixtures built for damp or wet locations with sealed sockets, powder-coated or resin frames that will not rust, and LED candle-style bulbs around 2700K. Hang it so the lowest point clears the counter by about 30 inches, and size it to roughly one-half to two-thirds the length of the island so it feels generous without crowding heads. A dimmer is non-negotiable here; a chandelier at full brightness over dinner feels like eating in a showroom. I will be honest, this is the most complimented fixture in our whole yard, and it photographs like a dream for anyone who loves sharing their setup. If your island is long, two smaller chandeliers in a pair give you the drama with better light spread for prep work.
Suggested budget range: $180 – $600.

13. Add Puck Lights Under the Overhang for Seated Guests
If the LED strip in idea two feels too modern for your kitchen, puck lights under the counter overhang deliver a similar service in a cozier rhythm. A row of small round pucks spaced 12 to 18 inches apart throws scallops of light down the cabinet fronts and onto the laps of everyone sitting at the island, which is exactly where light feels welcoming rather than workmanlike. Battery pucks with remote controls are the renter-friendly version and stick up in minutes; hardwired low-voltage pucks are the forever version and disappear into the cabinetry completely. Either way, choose warm white and a dimmable model, because pucks at full power can hotspot. I use the gaps between pucks as a styling cue and place a small potted herb or a stack of linen napkins in the shadow lines, which sounds fussy and looks fantastic. These also moonlight as the light you leave on when the island becomes the midnight snack station, bright enough to slice leftover pie, soft enough not to wake the whole patio.
Suggested budget range: $25 – $90.
14. Weave Copper-Wire Fairy Lights Into the Centerpiece
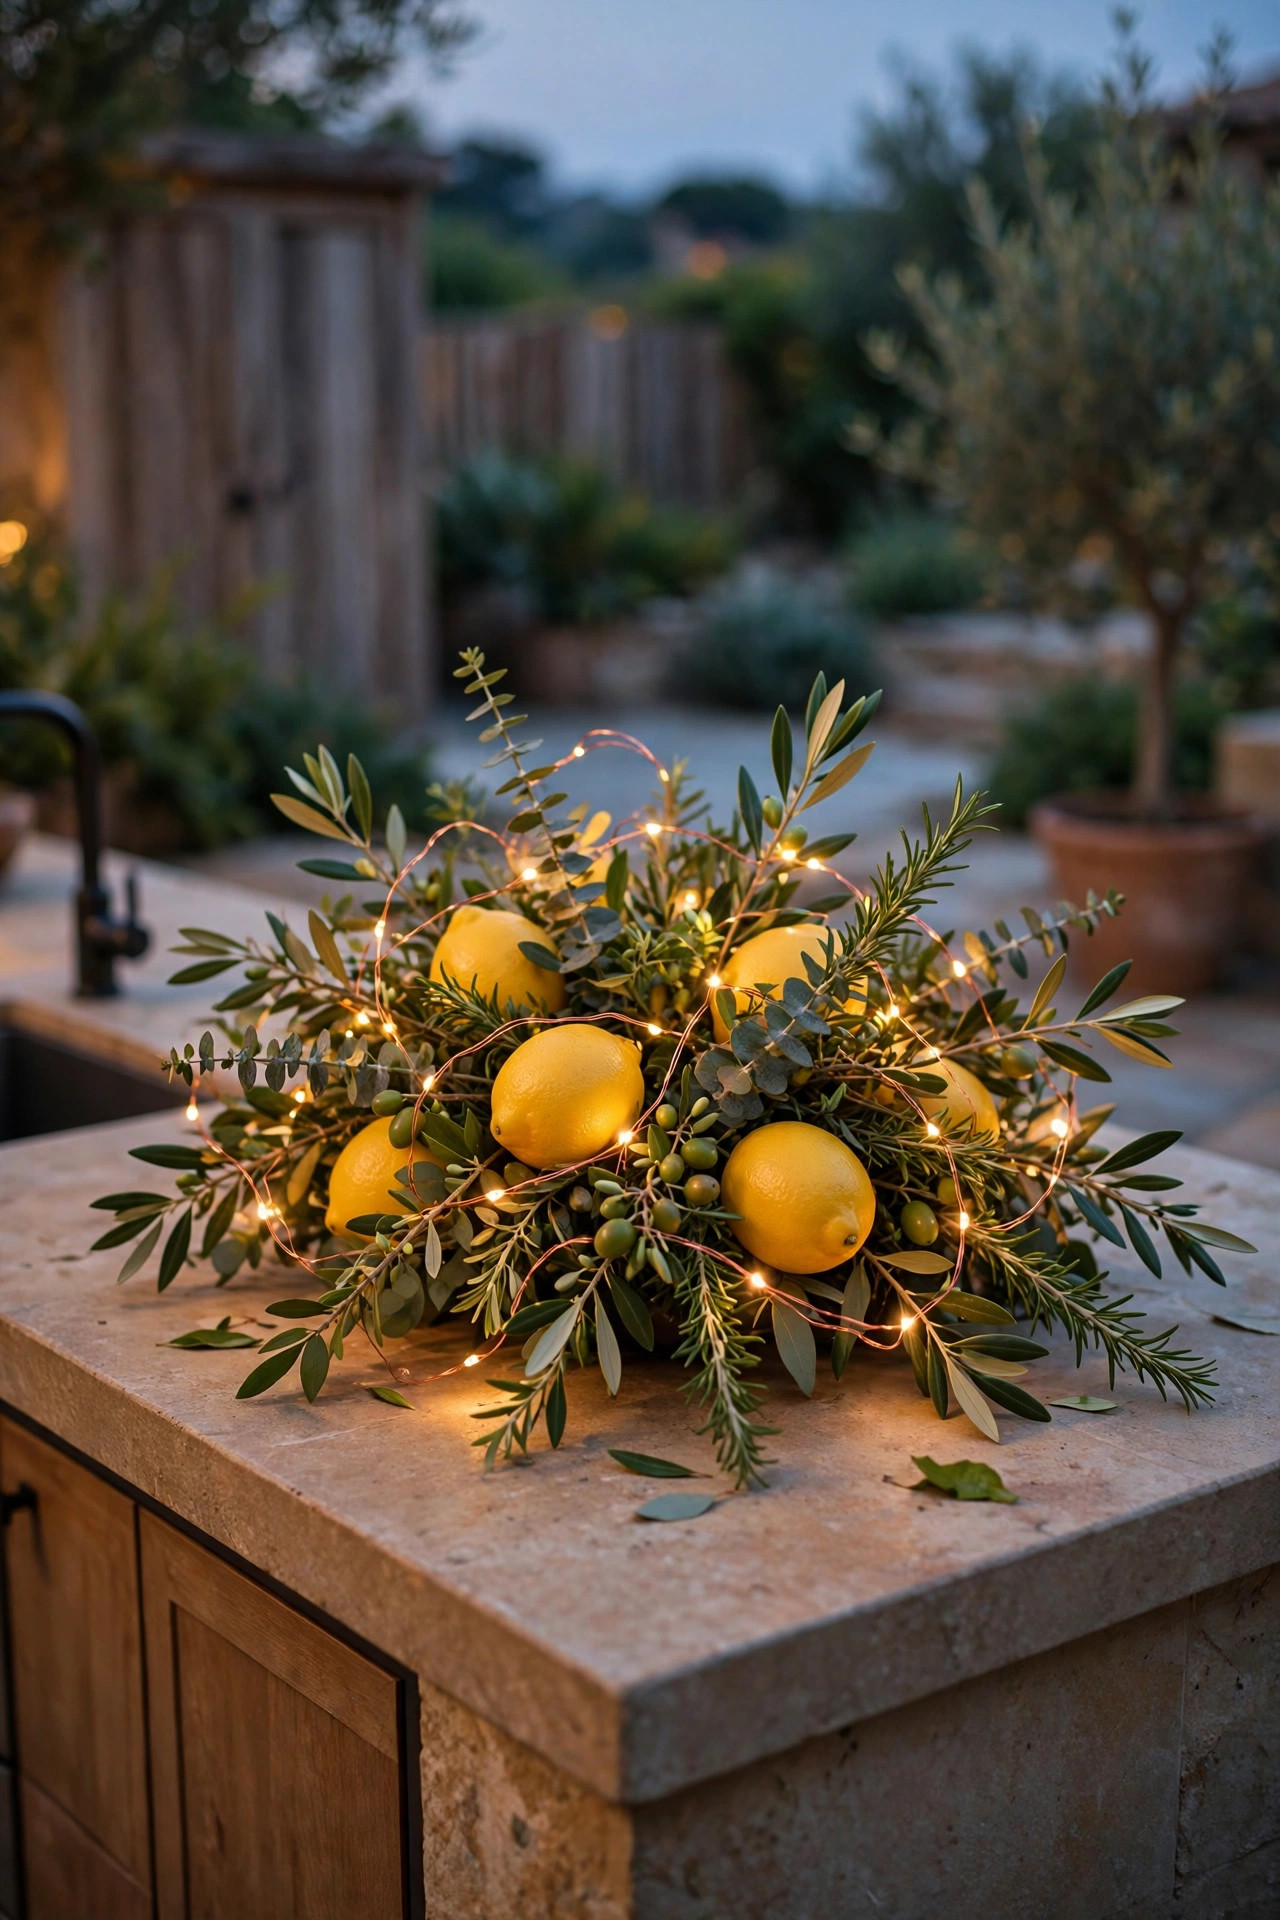
The island counter deserves a centerpiece that works after dark, and copper-wire fairy lights woven through it take about four minutes to arrange. I run a battery strand through a low bowl of lemons and greenery, or wrap it loosely around a wooden riser holding the serving boards, and the whole middle of the island sparkles without a single cord in the way. The battery pack hides under the bowl, the wire all but disappears, and the micro LEDs are cool to the touch, so there is no heat near food or foliage. Keep the strand and pack rated for outdoor use or bring the arrangement in at night, since the cheapest sets are indoor-only. This layer is pure atmosphere; it will not help you chop anything, and that is fine. Every layer does not have to earn its keep in lumens. Some just make people linger, and lingering is the entire point of an outdoor kitchen. Swap the greenery with the seasons and the same strand carries you from spring herbs to fall gourds beautifully.
Suggested budget range: $10 – $30.
15. Give the Grill End a Heat-Tough Task Light
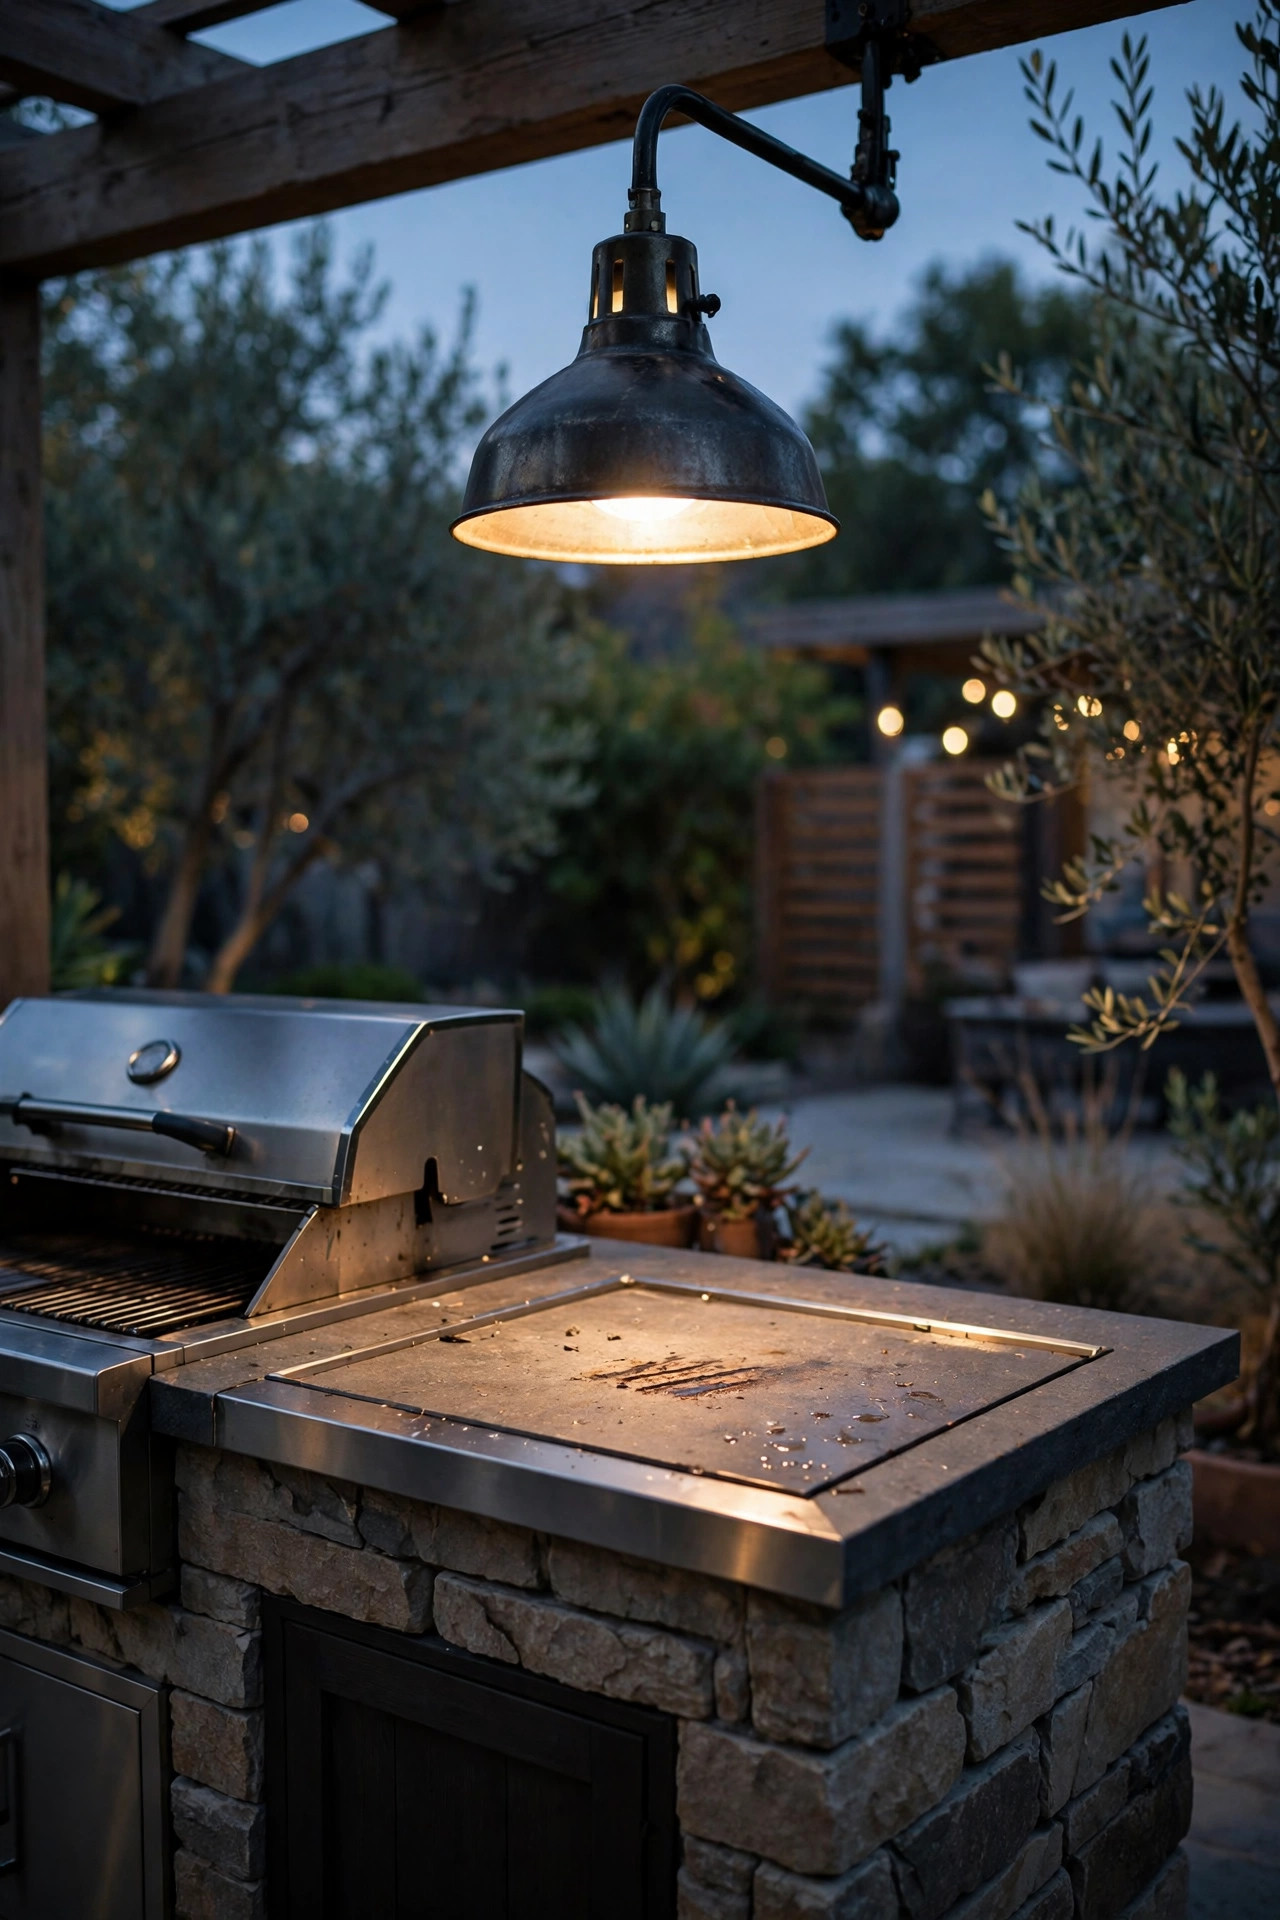
The island end nearest the grill has a special problem: heat, smoke, and grease, all drifting straight into whatever light you hang nearby. This is the spot for a sealed, high-temperature-tolerant fixture, like a hooded gooseneck or a metal-shaded task light mounted on the island end or a nearby post and aimed down at the hand-off counter where cooked food lands. Keep fixtures at least a few feet from the grill hood itself, follow the grill manufacturer clearances, and choose powder-coated metal over anything with plastic parts that can soften or discolor. Brightness matters more than beauty here, so I go up to 1000 lumens and a neutral 3000K to judge doneness as trays come off the grates. A simple rocker switch beats a finicky dimmer in this greasy zone; you want it to work with sauce on your hands. Wipe the shade weekly during grilling season, because a film of grease quietly eats half your light output by August. Unglamorous, yes. Essential, also yes.
Suggested budget range: $50 – $160.
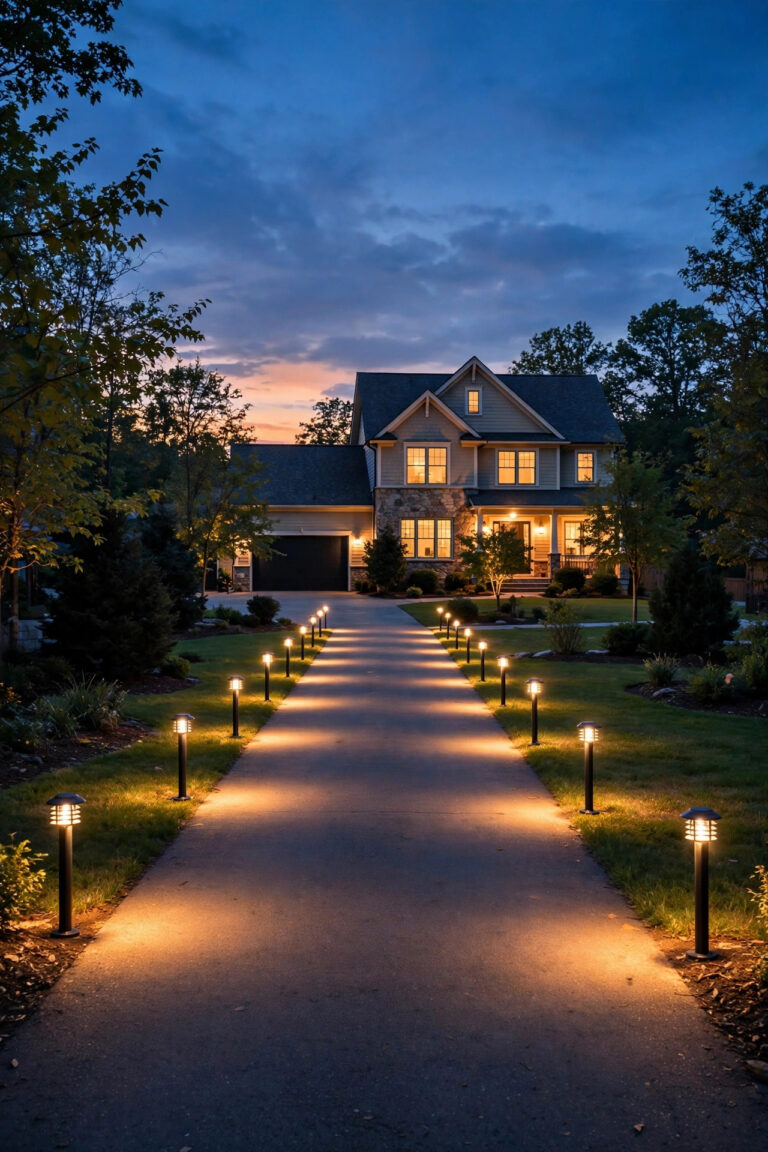
16. Light the Path and Steps Up to the Island
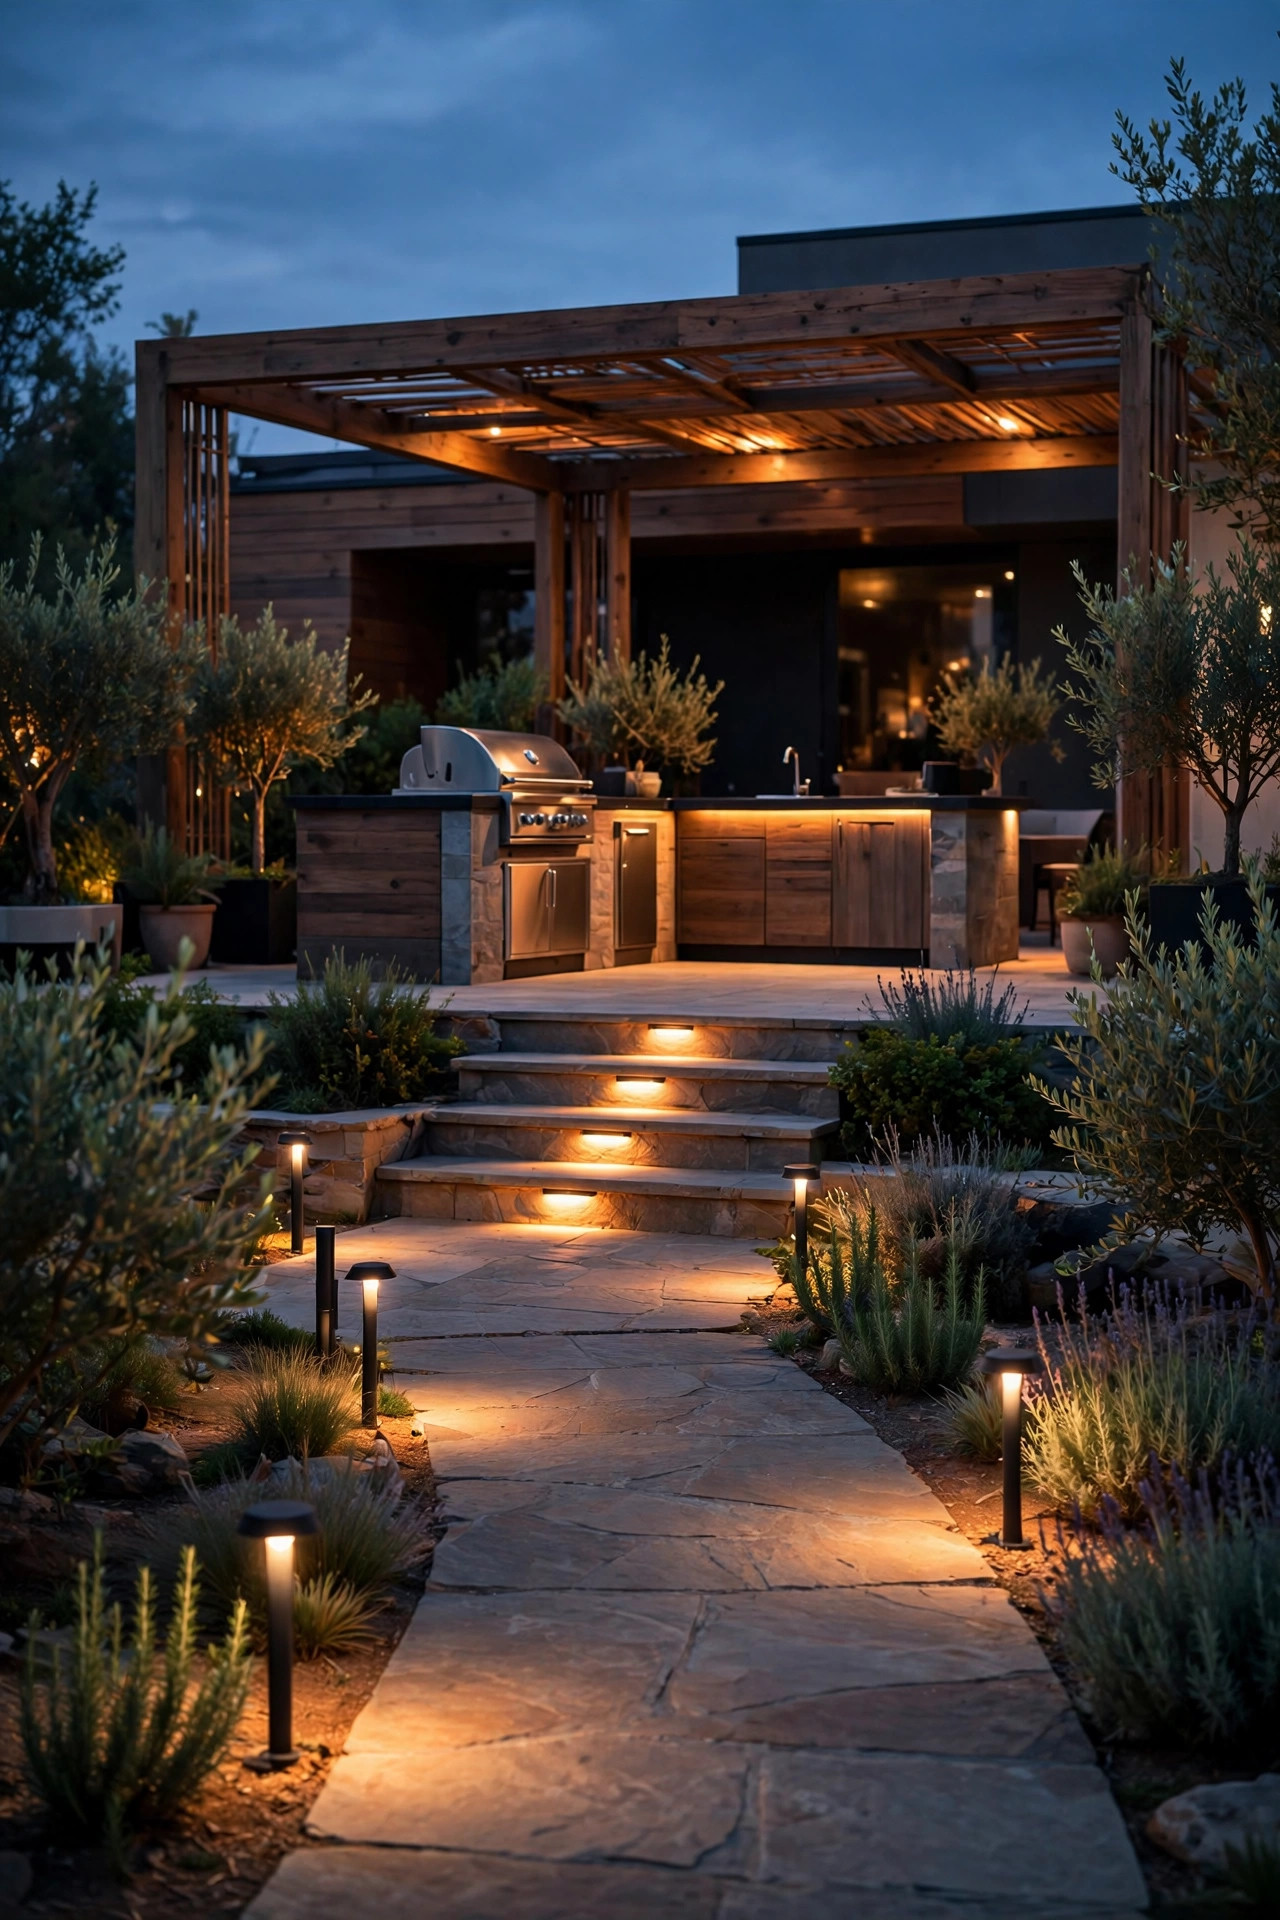
Island lighting should start before anyone reaches the island. A few low path lights or step lights along the route from the house door to the kitchen mean guests carrying two drinks and a plate are not navigating in the dark, and the cook is not playing traffic cop. I place small bollard or mushroom-style lights every 6 to 8 feet along the walking line, staggered rather than in a runway row, and keep them low and shielded so they light the ground instead of shining in eyes. If there are actual steps, recessed step lights on the risers are the safest and prettiest option. Solar versions work if the path gets real sun; otherwise low-voltage wired lights on the same transformer as your landscape lighting are the reliable route. This layer also quietly defines the outdoor room, making the kitchen feel like a destination at the end of a lit walk. It is the least island-specific idea on this list and the one every single guest benefits from, whether they cook or just supervise with a beverage.
Suggested budget range: $45 – $180.
17. Automate It With Timers and Dusk-to-Dawn Controls
The best lighting routine is the one you never think about. Between smart plugs, photocell sensors, and one astronomical timer, my island basically runs itself: the ambient layers click on at dusk, the task layers wait for me at the switch, and everything shuts down at midnight unless we are still out there. An astronomical timer is smarter than a plain clock timer because it tracks your local sunset all year, so the lights are never blazing at 5 p.m. in July or dark at dinner in October. For plug-in layers like strips and string lights, outdoor-rated smart plugs give you scheduling and voice control for very little money, and they live happily inside weatherproof outlet boxes. A word of caution from my own mistake file: put the grill-end task light and prep pendants on manual control only. Automation is for ambiance; you never want your knife-work light deciding to take the evening off because of a schedule glitch. Set the system once, and every cookout starts with the glow already on.
Suggested budget range: $20 – $90.
18. Zone Your Outdoor Kitchen Island Lighting by Color Temperature
Here is the trick I wish someone had told me before I bought a single bulb: keep two color temperatures on purpose. The prep zones get 3000K to 3500K, a clean neutral white that shows true food color, so marinades look right and you can see the difference between golden and burnt. The serving and seating zones stay at 2700K, the warm candlelit end of the scale, because faces and finished dishes look their best in it. The mistake to avoid is mixing temperatures inside one fixture group, like one warm and one cool pendant in the same row, which just looks like a bulb died. Keep each layer internally consistent and let the zones change gradually across the island. When you shop, buy all bulbs for a layer in the same purchase so the batch matches, and write the temperature on a sticky note inside the cabinet door for future replacements. This single decision makes the kitchen read as professionally designed. People cannot name why it feels right, but they feel it immediately.
Suggested budget range: $15 – $60.

19. Layer It All: My Go-To Outdoor Kitchen Island Lighting Recipe
When friends ask for the shortcut version of this entire post, here is the exact outdoor kitchen island lighting recipe I give them. Start with task: pendants or downlights over the counter on a dimmer, bright enough to cook by. Add ambient: an under-counter strip or pucks for the seating side, plus toe-kick glow at the base, both on one circuit that wakes up at dusk. Finish with accent: a lantern pair, a candle cluster, or fairy lights in the centerpiece for sparkle. That is three layers, three controls, and every mood from Tuesday tacos to a birthday cookout covered. Spend the money in that order too; task first, because pretty light you cannot chop under is just decor, and decor last, because it is the cheapest and easiest to add later. If the budget only stretches to two layers this season, do task plus one strip and call it a win. The island will look twice as expensive as it did, and dinner will taste like you meant it.
Suggested budget range: $200 – $700.
Frequently Asked Questions
How many lumens do I need over an outdoor kitchen island?
For comfortable prep work, aim for roughly 50 foot-candles at the counter, which usually means 700 to 1,000 lumens per pendant or downlight across two or three fixtures. Serving and seating layers can be much dimmer, since their job is mood rather than visibility. When in doubt, buy brighter fixtures and put them on dimmers; you can always turn light down, but you cannot turn a dim fixture up.
What color temperature is best for outdoor kitchen island lighting?
Most cooks are happiest with 2700K for serving and seating areas, where warm light flatters faces and finished food, and 3000K to 3500K over the prep zone, where a cleaner white shows true food color. The key is consistency within each layer. Mixed temperatures inside one row of fixtures look like a mistake, while a gradual shift from prep end to serving end looks designed.
Do outdoor island fixtures need to be wet-rated?
Any fixture that can be rained on, splashed, or steamed should carry a wet-location rating, and covered fixtures need at least a damp rating. Check the rating on the box rather than assuming, because indoor pendants over an island will corrode and fail quickly outside. All outdoor outlets should be GFCI protected with in-use covers, and hardwired work should follow your local electrical code.
Can I light an outdoor island without running new wiring?
Yes, and it is easier than ever. Solar counter lamps, rechargeable lanterns, battery puck lights, and plug-in LED strips cover most layers without an electrician. Use a heavy-duty outdoor extension cord only as a temporary measure, and plug plug-in layers into a GFCI outlet with a weatherproof cover. Save the hardwired splurge for pendants or downlights when you are ready for the forever version.
Conclusion
Great outdoor kitchen island lighting is never one fixture; it is a small team of layers, each with a job. Give the cook bright, honest task light, give the guests a warm glow to gather in, and let one pretty accent steal the show. Start with the layer your island is missing most, add a dimmer, and build from there. For more ways to light the rest of your outdoor living space, browse my favorite patio lighting ideas and keep the glow going all season long.