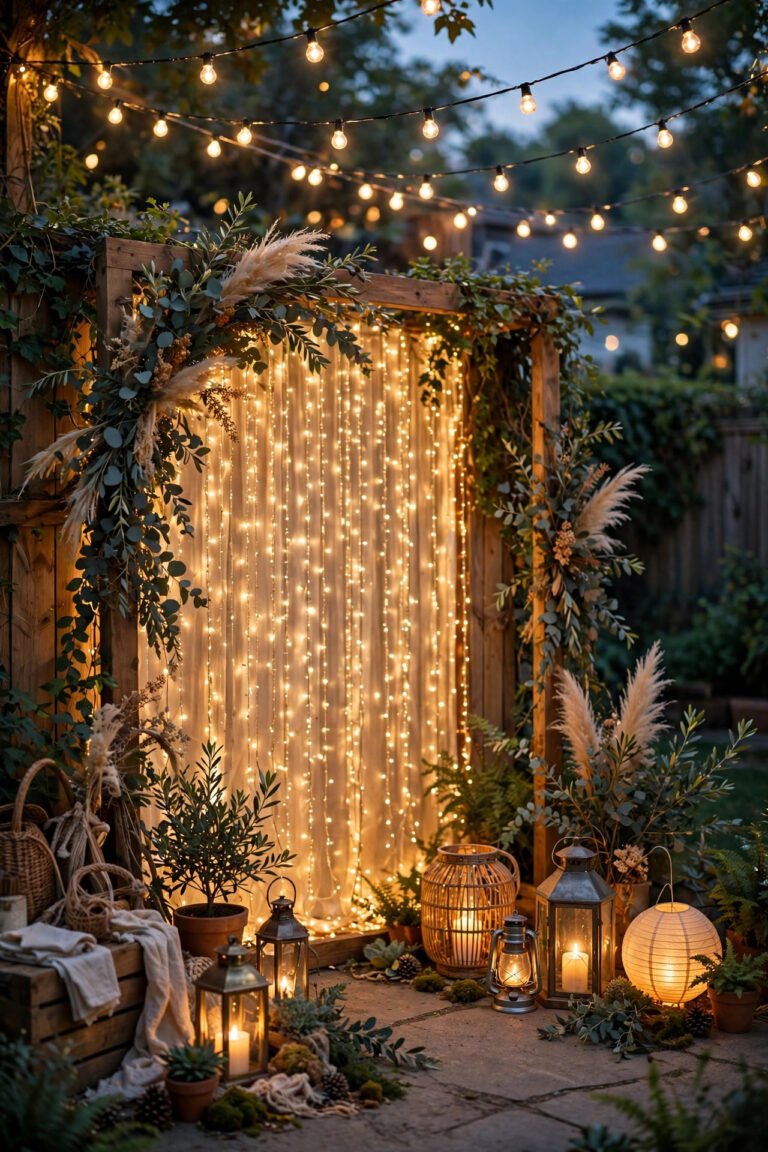
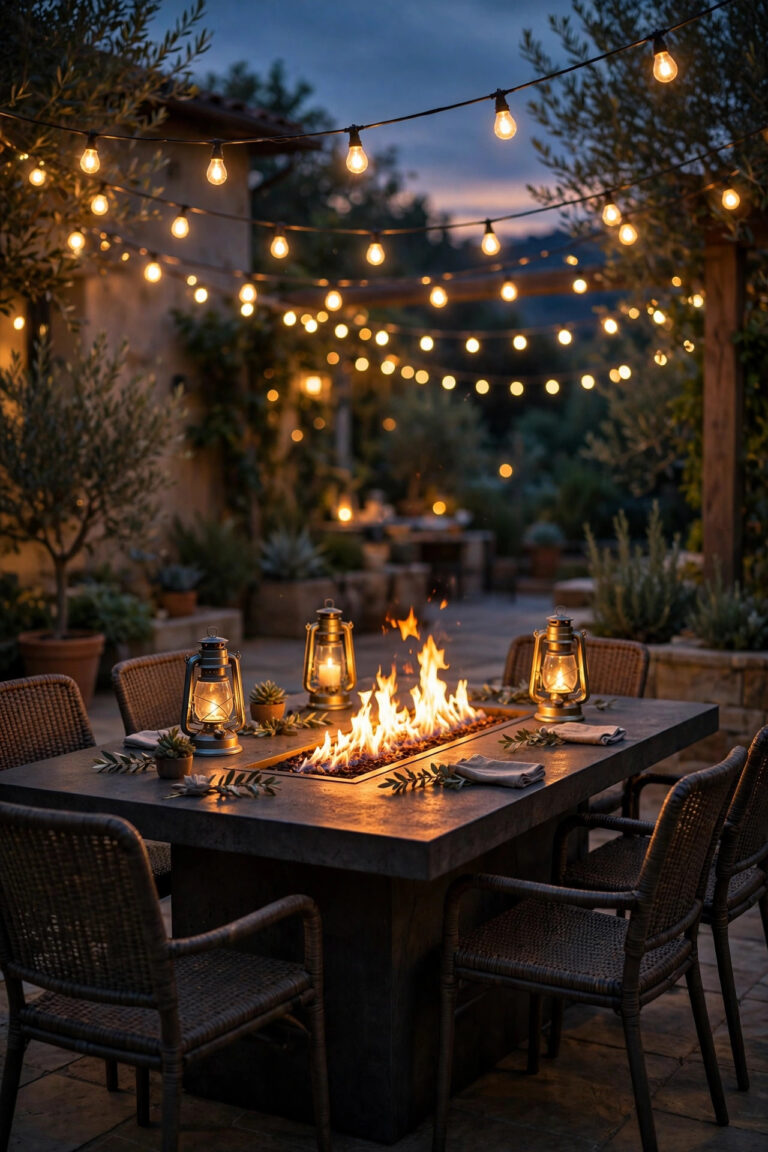
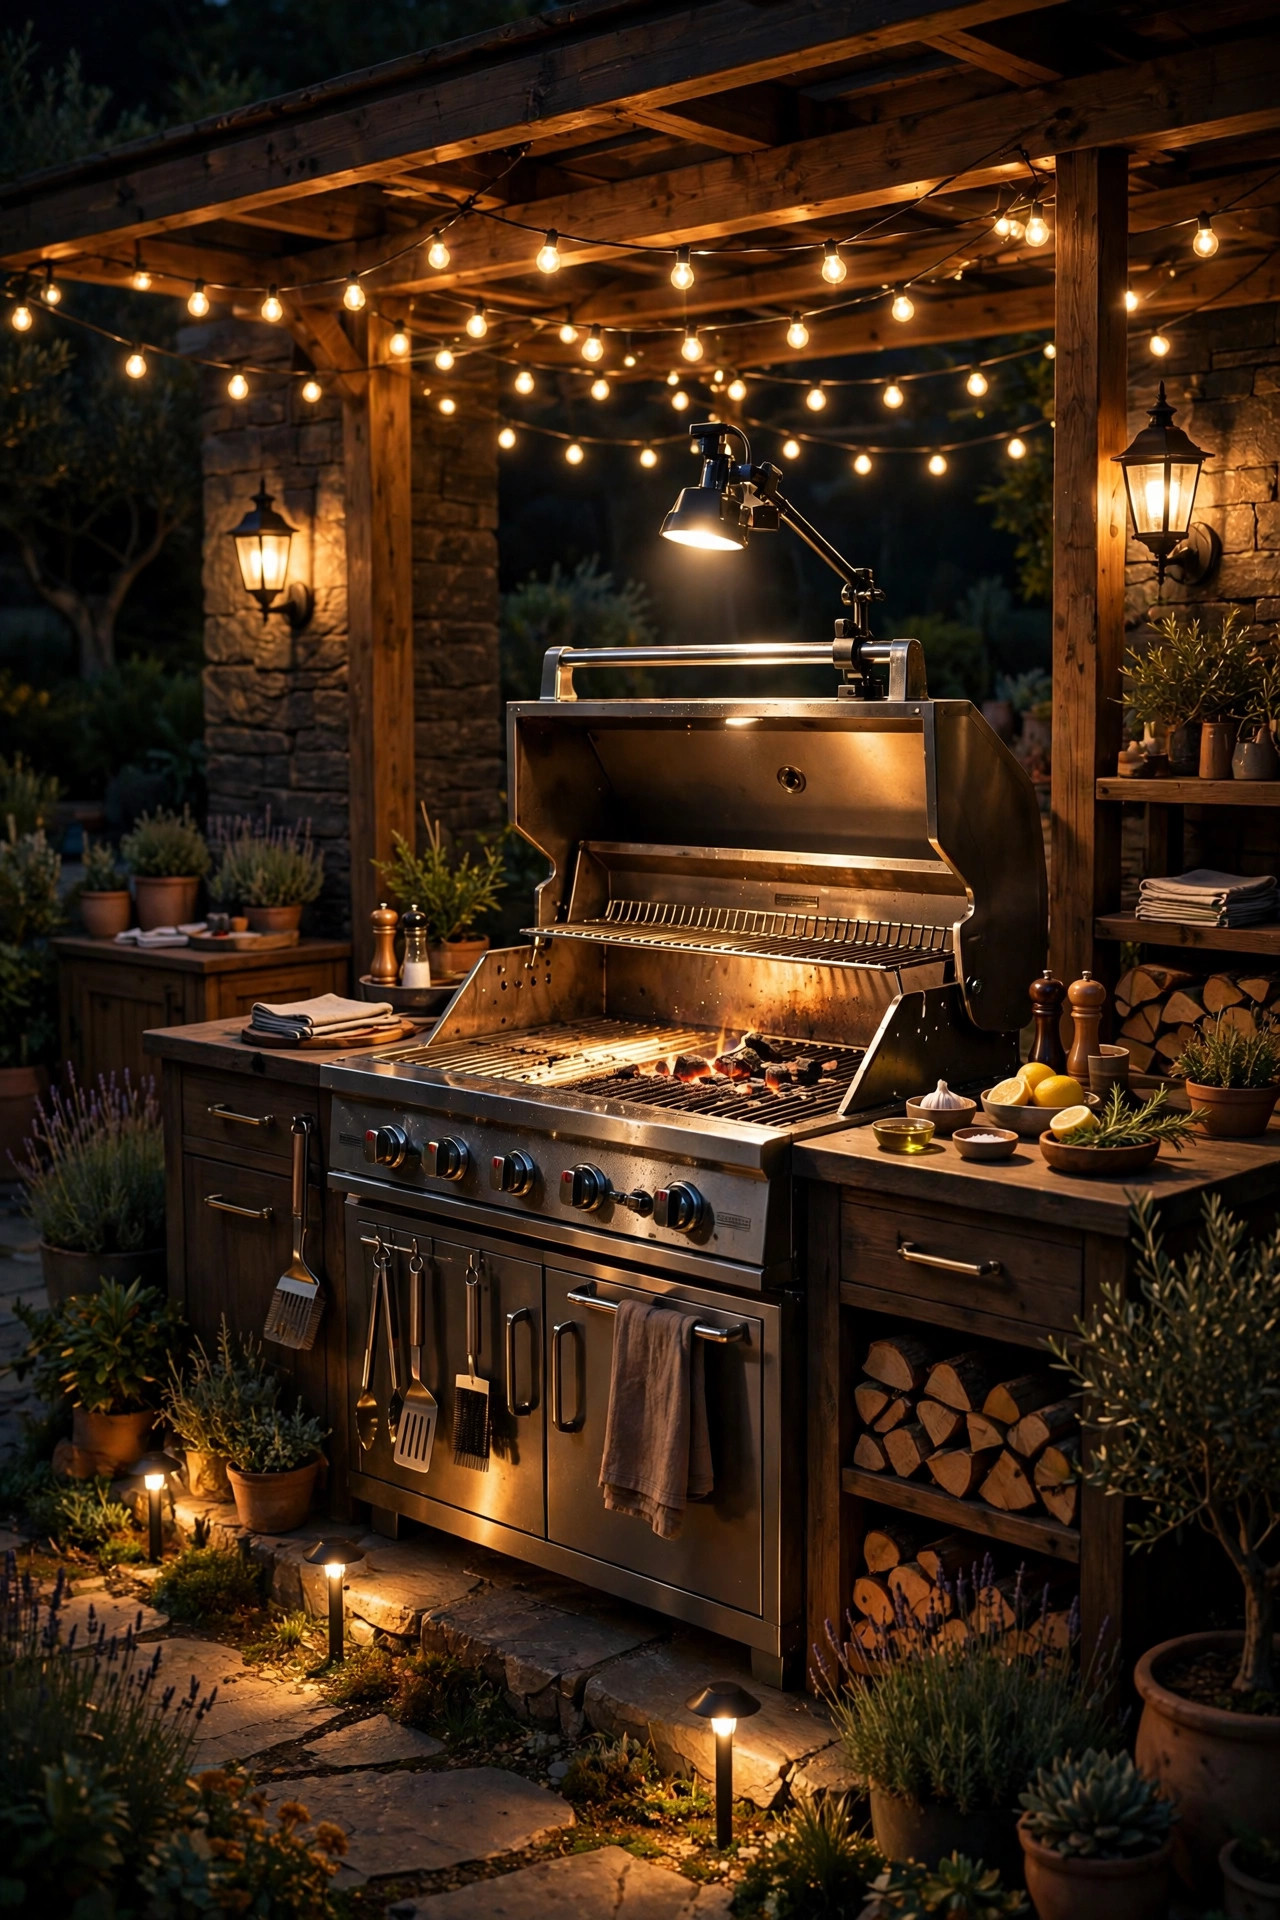
There is a special kind of heartbreak in carrying a beautiful steak inside, cutting into it, and finding it somehow both charred and raw. I have been there, squinting through the smoke with a phone flashlight clamped between my teeth. The fix was never a better grill — it was better light. These grill station lighting ideas come from seasons of cooking after dark, where sunset refuses to wait for dinner. Good grill lighting does three jobs at once: bright task light on the grates so you can judge color and doneness, softer ambient light so the cook stays part of the party, and low guide light for the trip back to the kitchen carrying a full platter. Layer those three and the station feels like a real outdoor kitchen. Below are 17 ways to build that setup, from a fifteen-dollar clamp light to a full layered scheme. If your grill is part of a bigger cooking space, my guide to outdoor kitchen lighting covers the whole layout.

1. Grill Station Lighting Ideas: The Clamp-On Grill Light
If I could keep only one light at the grill, it would be this one. A clamp-on or magnetic grill light mounts right on the lid handle or the side shelf and throws a bright, focused beam straight down onto the grates, which is exactly where your eyes need to be. Look for a model with a flexible gooseneck or a pivoting head so you can angle the light across the cooking surface instead of down into your own eyes. Heat tolerance is the big thing to check: the housing and mount should be rated for grill use, and the light head should sit a few inches back from the lid, not touching hot metal. Battery and rechargeable versions are the most convenient since there is no cord anywhere near the heat, and most run a whole season of cookouts on one charge or set. Aim for at least 100 lumens; more is better when smoke rolls through the beam. Honestly, the first night I used one, I wondered why I had spent years guessing at doneness. This is the cheapest upgrade on the whole list and the one that changes night grilling the most.
Suggested budget range: $15 – $40.

2. Pendant Lights Over the Prep Side
If your grill lives under a pergola or covered patio, a pendant or two over the station gives you real, architectural task light instead of something clipped on as an afterthought. Hang pendants over the prep counter and landing zone rather than directly over the firebox — rising heat and grease vapor will coat a fixture fast, and most shades are not built for that plume. A good rule is to keep the bottom of the shade at least 36 inches above the counter surface and offset toward the side where you plate and rest meat. Choose wet-rated fixtures with enclosed bulbs or easy-wipe metal shades, because everything near a grill eventually wears a film of grease and needs cleaning. On a dimmer, pendants do double duty: full brightness while you cook, then dropped low when the station becomes a serving spot. In my experience, two smaller pendants spaced along the counter beat one big statement fixture, because the light lands evenly with fewer shadows across your cutting board. If the structure is an open pergola rather than a solid roof, plug-in swag pendants on outdoor-rated cords give you the same look without an electrician.
Suggested budget range: $80 – $300.

3. Wall Sconces Flanking the Station
Wall sconces flanking the grill are the layer that makes the station look built-in instead of parked. Mount a matched pair on the house wall, fence, or posts behind the grill zone, about 60 to 66 inches off the ground, and they wash the whole area in even light that does not glare into the cook's eyes the way a bare bulb does. Shielded or downward-facing styles work best here — you want the light on the grill and counters, not shining sideways into the seating area. Keep fixtures at least a couple of feet to the side of the grill itself rather than directly behind it, so heat and smoke are not constantly rolling across them. Hardwired sconces on a wall switch are the cleanest setup, but battery and solar sconces have gotten genuinely good and are perfect for a fence-mounted station with no wiring nearby. Match the finish to your grill and hardware — matte black and oil-rubbed bronze both disappear nicely into an evening backyard. This is also the layer I leave on after cooking ends, because at full warmth it makes the whole patio feel finished while we eat.
Suggested budget range: $60 – $220.

4. Under-Shelf LED Strips for Shadowless Prep Light
Built-in grill stations with a counter and a shelf or cabinet above are hiding the best task-lighting spot of all: the underside of that shelf. A waterproof LED strip tucked under the front edge washes the prep counter in shadowless light, which is exactly what you want for slicing, seasoning, and checking a thermometer. Choose an IP65 or better strip and slide it into an aluminum channel with a frosted diffuser — the channel protects the strip, spreads the light, and keeps the look clean instead of dotted. Placement matters for heat: run strips over the prep and landing zones, never directly above the firebox, and keep the run at least 18 inches from open flame and hot lids. Low-voltage strips with a plug-in driver are an easy DIY; just make sure the outlet is GFCI protected and the driver sits somewhere dry, like inside the cabinet. I like a simple inline switch or remote so I am not fumbling with an app while my hands are covered in rub. Honestly, once you have sliced a brisket under this kind of light, doing counter work by porch light feels like guessing.
Suggested budget range: $25 – $90.

5. String Lights for the Ambient Layer
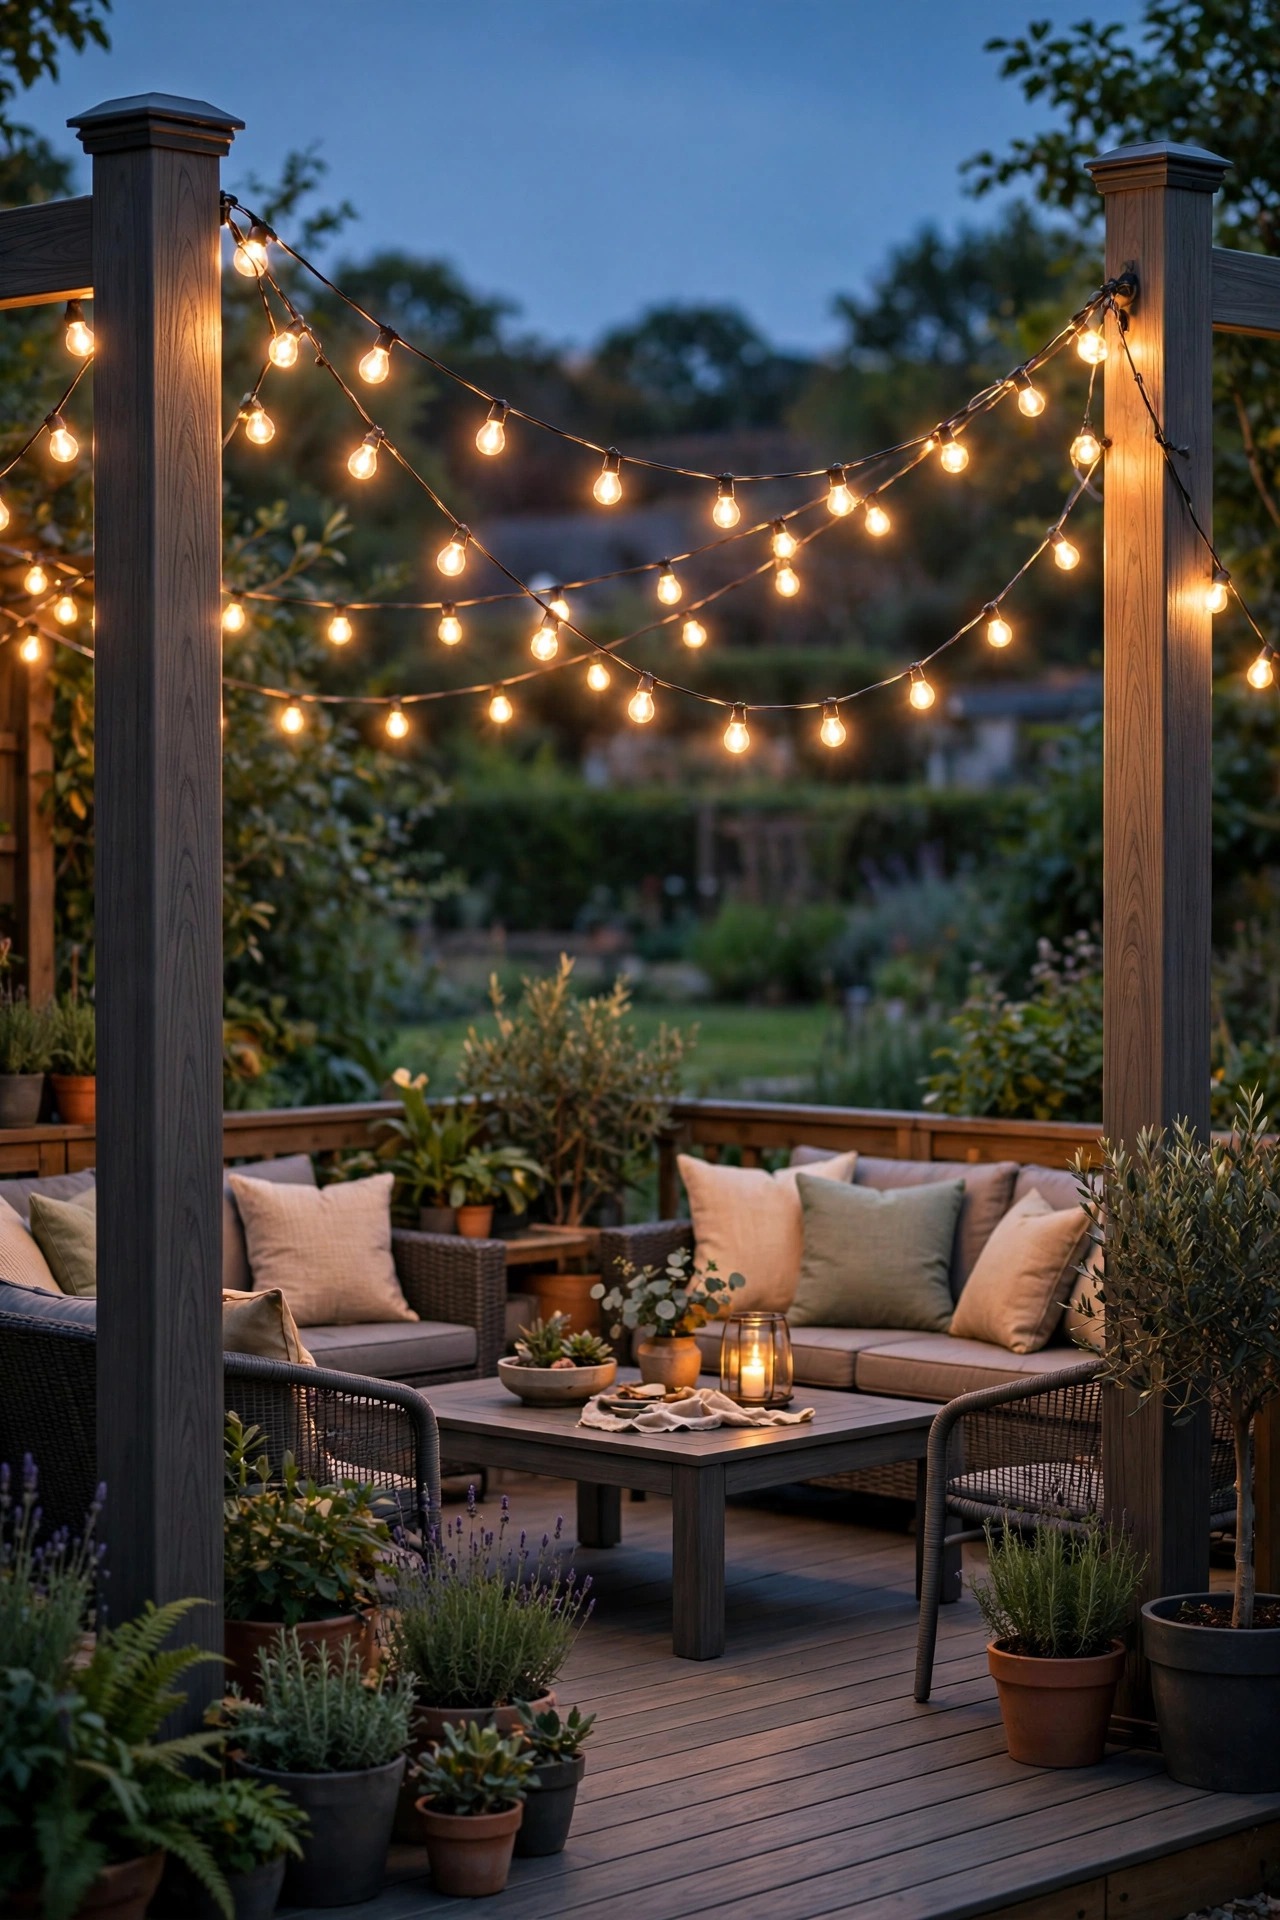
String lights are the ambient layer, the glow that keeps the cook part of the party instead of banished to a bright island. Over the seating and dining areas they are unbeatable, and a strand or two reaching toward the grill station pulls the whole patio together. One firm rule from experience: do not hang strings directly over the grill. Heat rises, grease vapor rises with it, and by August your bulbs wear a sticky film that dims them and smells faintly of old cookouts. Offset the runs to the sides and over the prep and dining zones instead, where they do their real job. Commercial-grade strands with shatterproof LED bulbs are worth the small premium — they survive wind, seasons, and the occasional ladder bump. If you are planning the wider patio scheme, my roundup of patio lighting ideas shows how the overhead layer ties into everything else. Strung at a gentle swag about 8 feet up, they give enough light to eat and talk by, while your dedicated task lights handle the serious work at the grates.
Suggested budget range: $40 – $120.
6. A Gooseneck Task Light on a Post
A gooseneck task light on a post is the workhorse I recommend to anyone whose grill sits away from the house, where sconces and pendants are not an option. Mount a weatherproof gooseneck fixture to a sturdy post, a deck rail post, or the side of the grill cart itself, roughly 4 to 5 feet up, and bend the neck so the beam rakes across the grates from the side. Side light is the secret: it throws the texture of searing meat into relief, so grill marks, rendering fat, and the sheen of a sauce all read clearly. A fixture with a focused shade keeps the beam where you aim it instead of scattering light into your eyes or the neighbors' yard. Battery-powered versions with a clamp base move from post to shelf to wherever the cookout lands, and they are renter-friendly since nothing gets wired. Keep the neck and head clear of the lid's swing and at least a foot from direct heat. I have cooked whole holiday meals by one of these on a friend's deck, and it honestly outperforms most porch lights I have used.
Suggested budget range: $35 – $110.

7. Motion-Sensor Floodlight for the Trip Out
Every grill station has a dark approach — the stretch between the kitchen door and the grill where you are always carrying something with both hands. A motion-sensor floodlight fixes that trip. Mount a dual-head LED fixture on the wall or eave overlooking the path and the grill zone, angled down so it lights the ground and the station without blasting anyone's eyes. Set the sensitivity thoughtfully: steam and heat shimmer can false-trigger some sensors, so aim the sensor cone along the walking path rather than across the grill itself, and start with the medium setting. A dusk-to-dawn mode at low brightness with a motion boost is my favorite configuration — there is always a gentle guide light, and it steps up when you walk out with a platter. Keep the fixture at least 8 to 10 feet from the grill so heat and smoke do not bake it or coat the sensor lens. This is also the light that saves you when the propane runs out mid-cook and you are swapping a tank in the dark, which has happened to me exactly once and never again without a floodlight overhead.
Suggested budget range: $30 – $90.

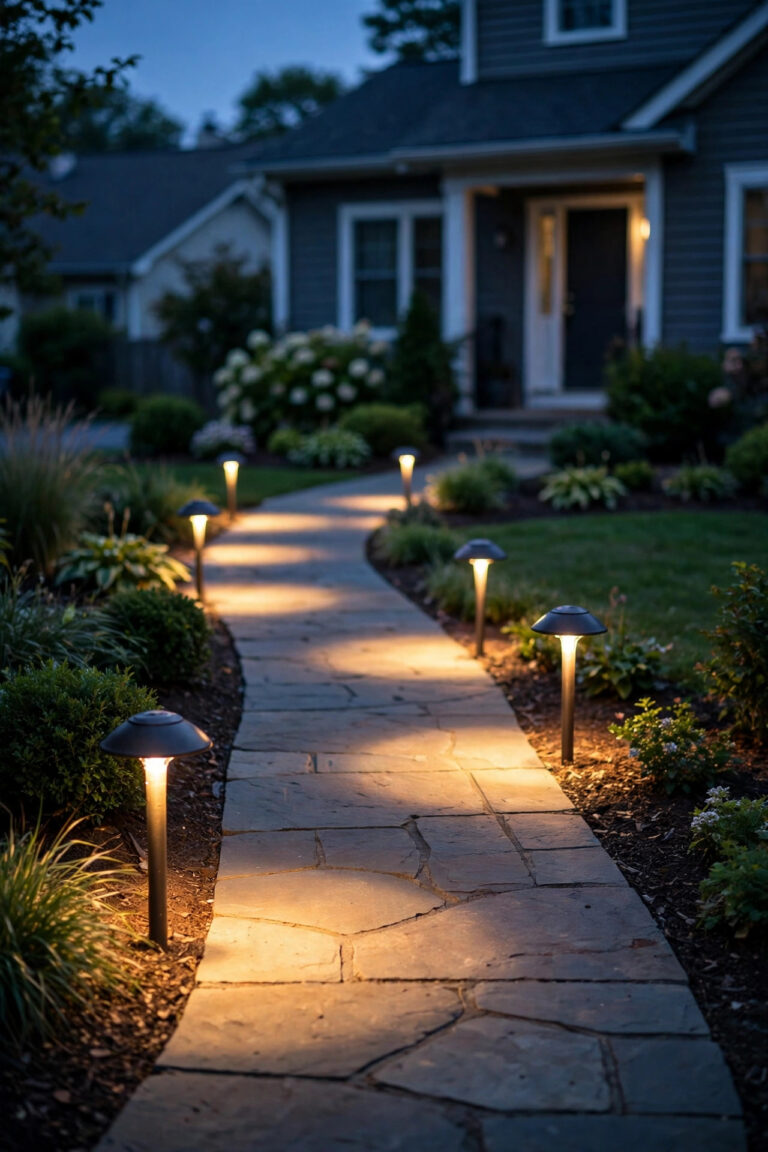
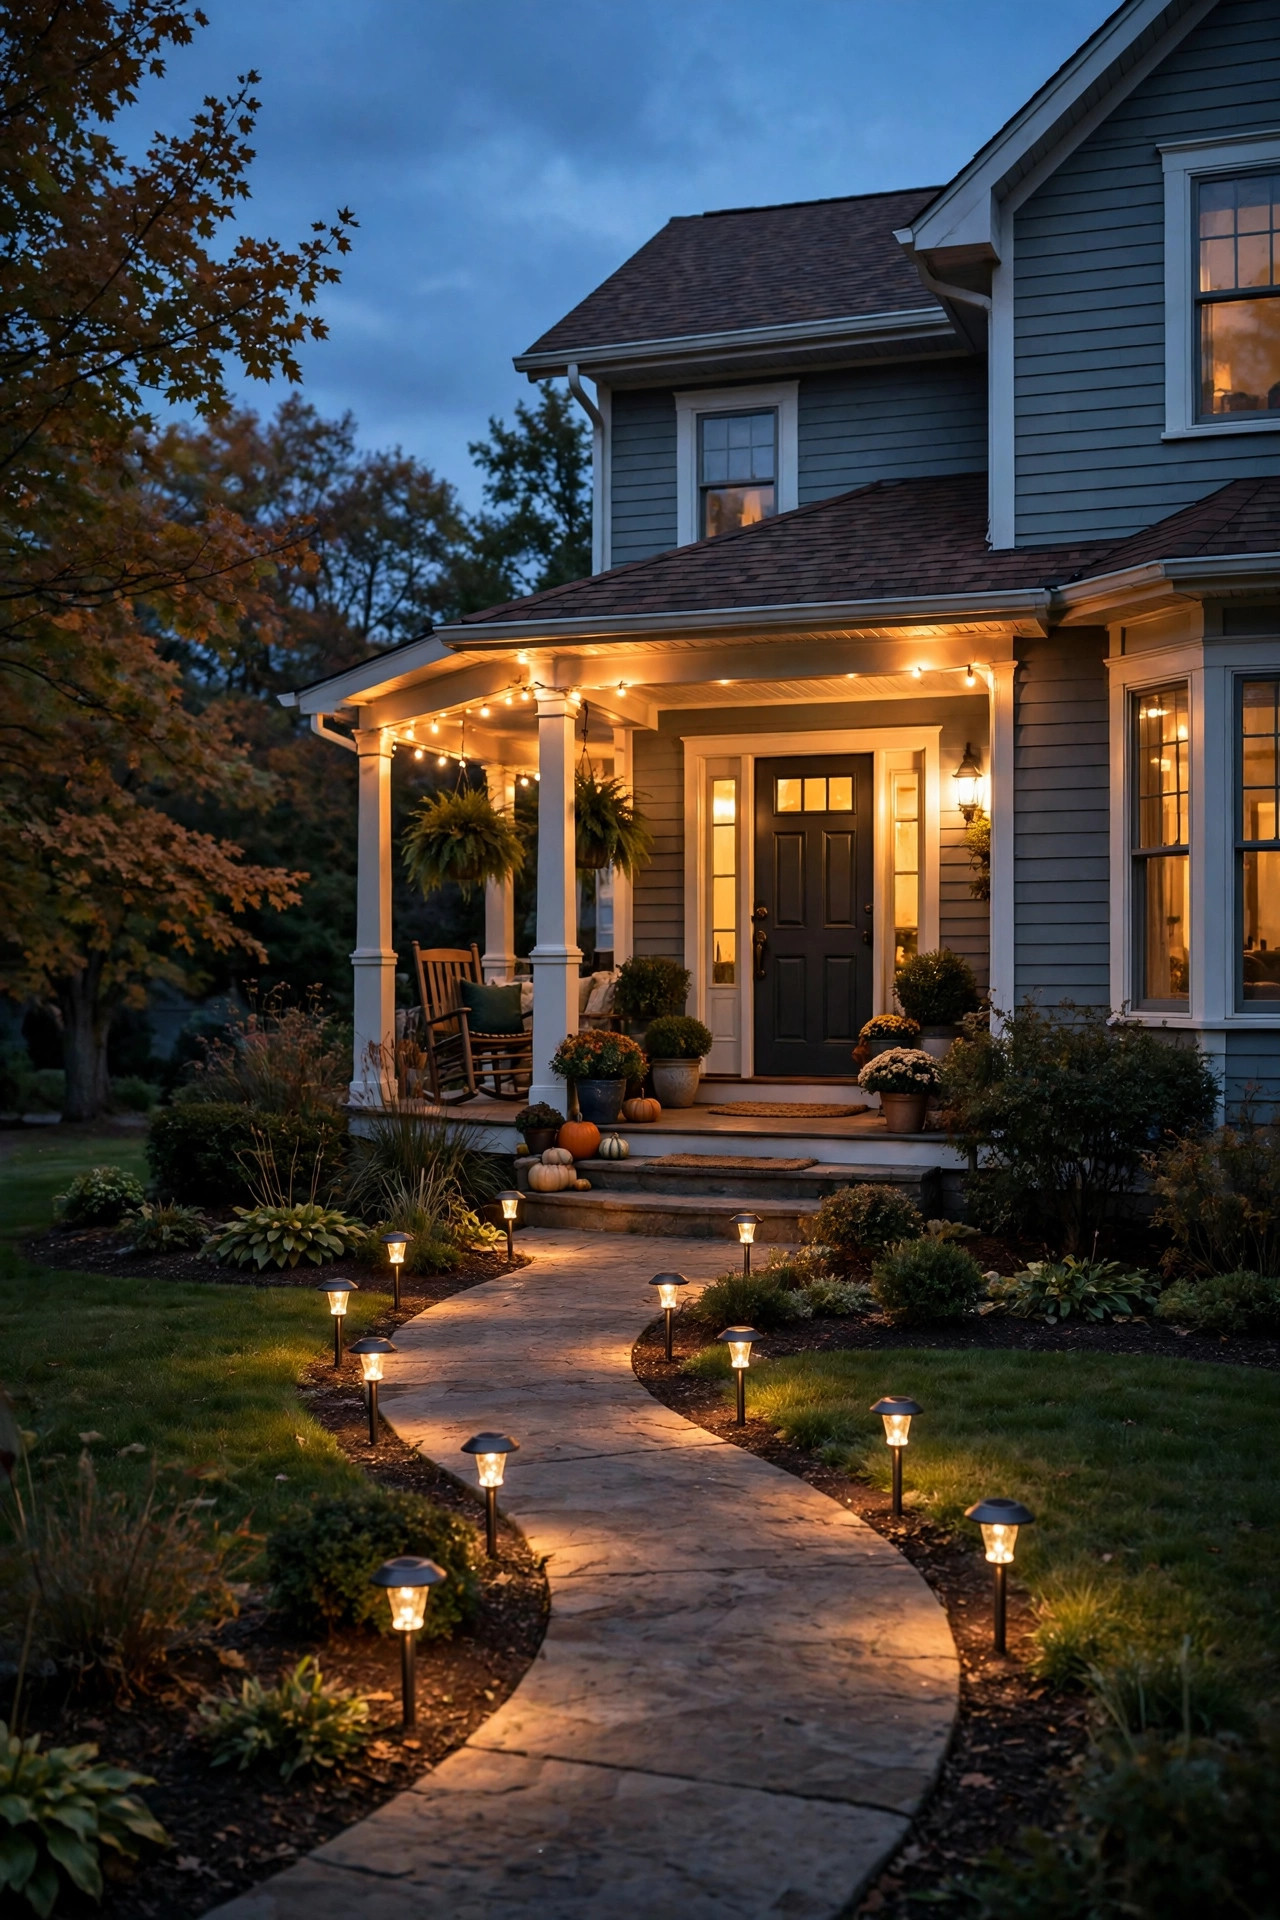
8. Solar Path Lights for the Guide Layer
Solar path lights are not task lights, and I will not pretend otherwise — but as a guide layer they earn their keep every single night. A short run of stakes from the patio door to the grill station outlines the safe route across grass or pavers, which matters when you are carrying a hot pan and watching it instead of your feet. Space them about 4 to 6 feet apart and stagger them rather than lining both sides like a runway; the pools of light should overlap just enough to read the ground. Taller stakes, around 12 to 16 inches, throw a wider, more useful pool than the tiny mushroom styles. Be honest about placement: panels need real sun during the day, so a station under a dense tree canopy will starve them — that spot calls for wired low-voltage instead. Warm white stakes match the rest of the backyard glow far better than the blue-white ones. Mine have quietly prevented more stubbed toes and one memorable dropped tray of corn than I can count, and at this price that is a bargain.
Suggested budget range: $20 – $60.
9. Put Your Grill Station Lighting Ideas on Dimmers and Zones
The most overlooked of all grill station lighting ideas is not a fixture at all — it is control. Cooking and eating want opposite light: bright and focused while you work, low and warm once plates are down. Putting your layers on separate dimmers or smart plugs lets one space do both without compromise. The practical setup is two or three zones: task lights (grill light, strips, gooseneck) on one switch or smart plug, ambient lights (strings, sconces) on another, and the guide layer on a timer or photocell so it just handles itself. In-line dimmers rated for outdoor use work fine for plug-in strands, and smart outdoor plugs add schedules and app control for not much money. Two cautions from experience: make sure dimmers are rated for LED loads or you will get flicker and buzz, and keep every connection inside weatherproof boxes or under cover. The payoff is a little ritual I love — food comes off, task lights click off, ambient drops to a glow, and the whole backyard exhales. Guests notice that transition even if they never know why the evening suddenly feels nicer.
Suggested budget range: $40 – $150.

10. Battery Lanterns Wherever You Need Them
Battery-powered LED lanterns are the flexible friends of the grill station. Set one on the prep counter, one on the side table, one near the cooler, and suddenly every work surface has its own pool of warm light with no cords, no outlets, and no planning. Modern versions are genuinely good: rechargeable, dimmable, weather resistant, and many have a flicker mode that mimics candlelight without an open flame anywhere near grease and paper towels. That flame-free point matters — I keep real candles for the dining table only, well away from the grill, because a gust plus a greasy splatter is a combination I do not gamble on. Lanterns also travel: they light the walk to the garage fridge, the inside of the storage bench where the charcoal lives, and the cooler dive for the last soda. Look for a lantern with a hanging hook or magnetic base and you gain even more placement options around a metal cart or canopy frame. Keep two charged and one charging and you will never cook in the dark again, even when the bigger plan fails.
Suggested budget range: $15 – $60.

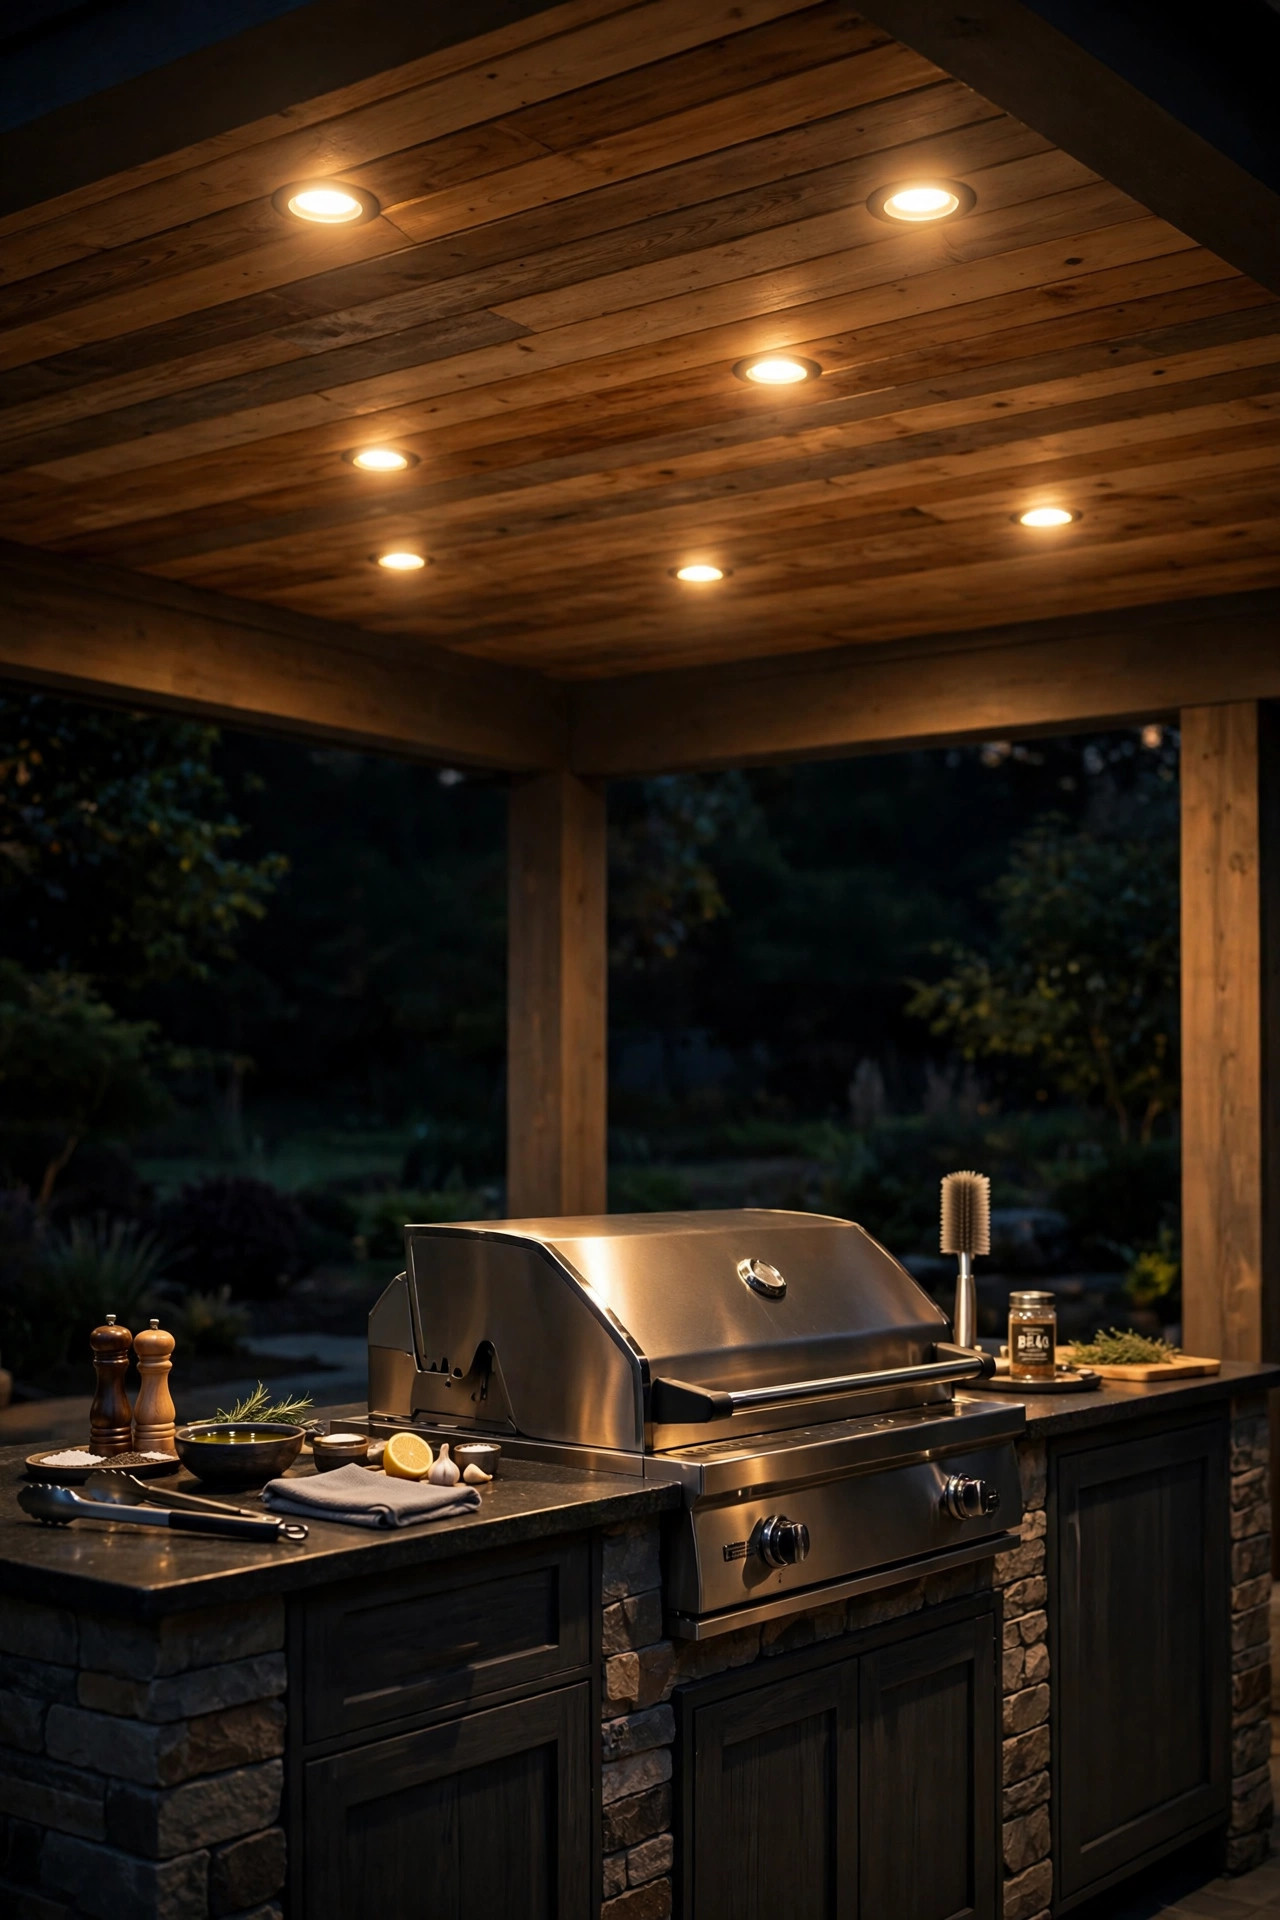
11. Recessed Downlights in a Covered Station
If your grill lives under a solid covered patio or pavilion roof, recessed downlights give you the cleanest, most permanent task lighting of all. Wet-rated LED trims disappear into the ceiling and wash the station in even light that makes the whole setup feel like a true outdoor kitchen. Placement is where people go wrong: put the cans over the prep counters and the front edge of the grill, not directly over the firebox, where heat and grease vapor rise straight into the fixture. Two to four cans spaced about 3 to 4 feet apart across the station covers most setups, and gimbal trims let you tilt beams onto the grates. This is electrician territory — ceiling work, a switched circuit, GFCI protection where required, and local code on clearances near cooking equipment all apply, so budget for a pro and fold it into any larger patio project if you can. On a dimmer, these go from full work light during cooking to a soft wash for dinner. It is the priciest idea on the list, and for a permanent covered station, honestly the one I would build first if I were starting over.
Suggested budget range: $150 – $500.
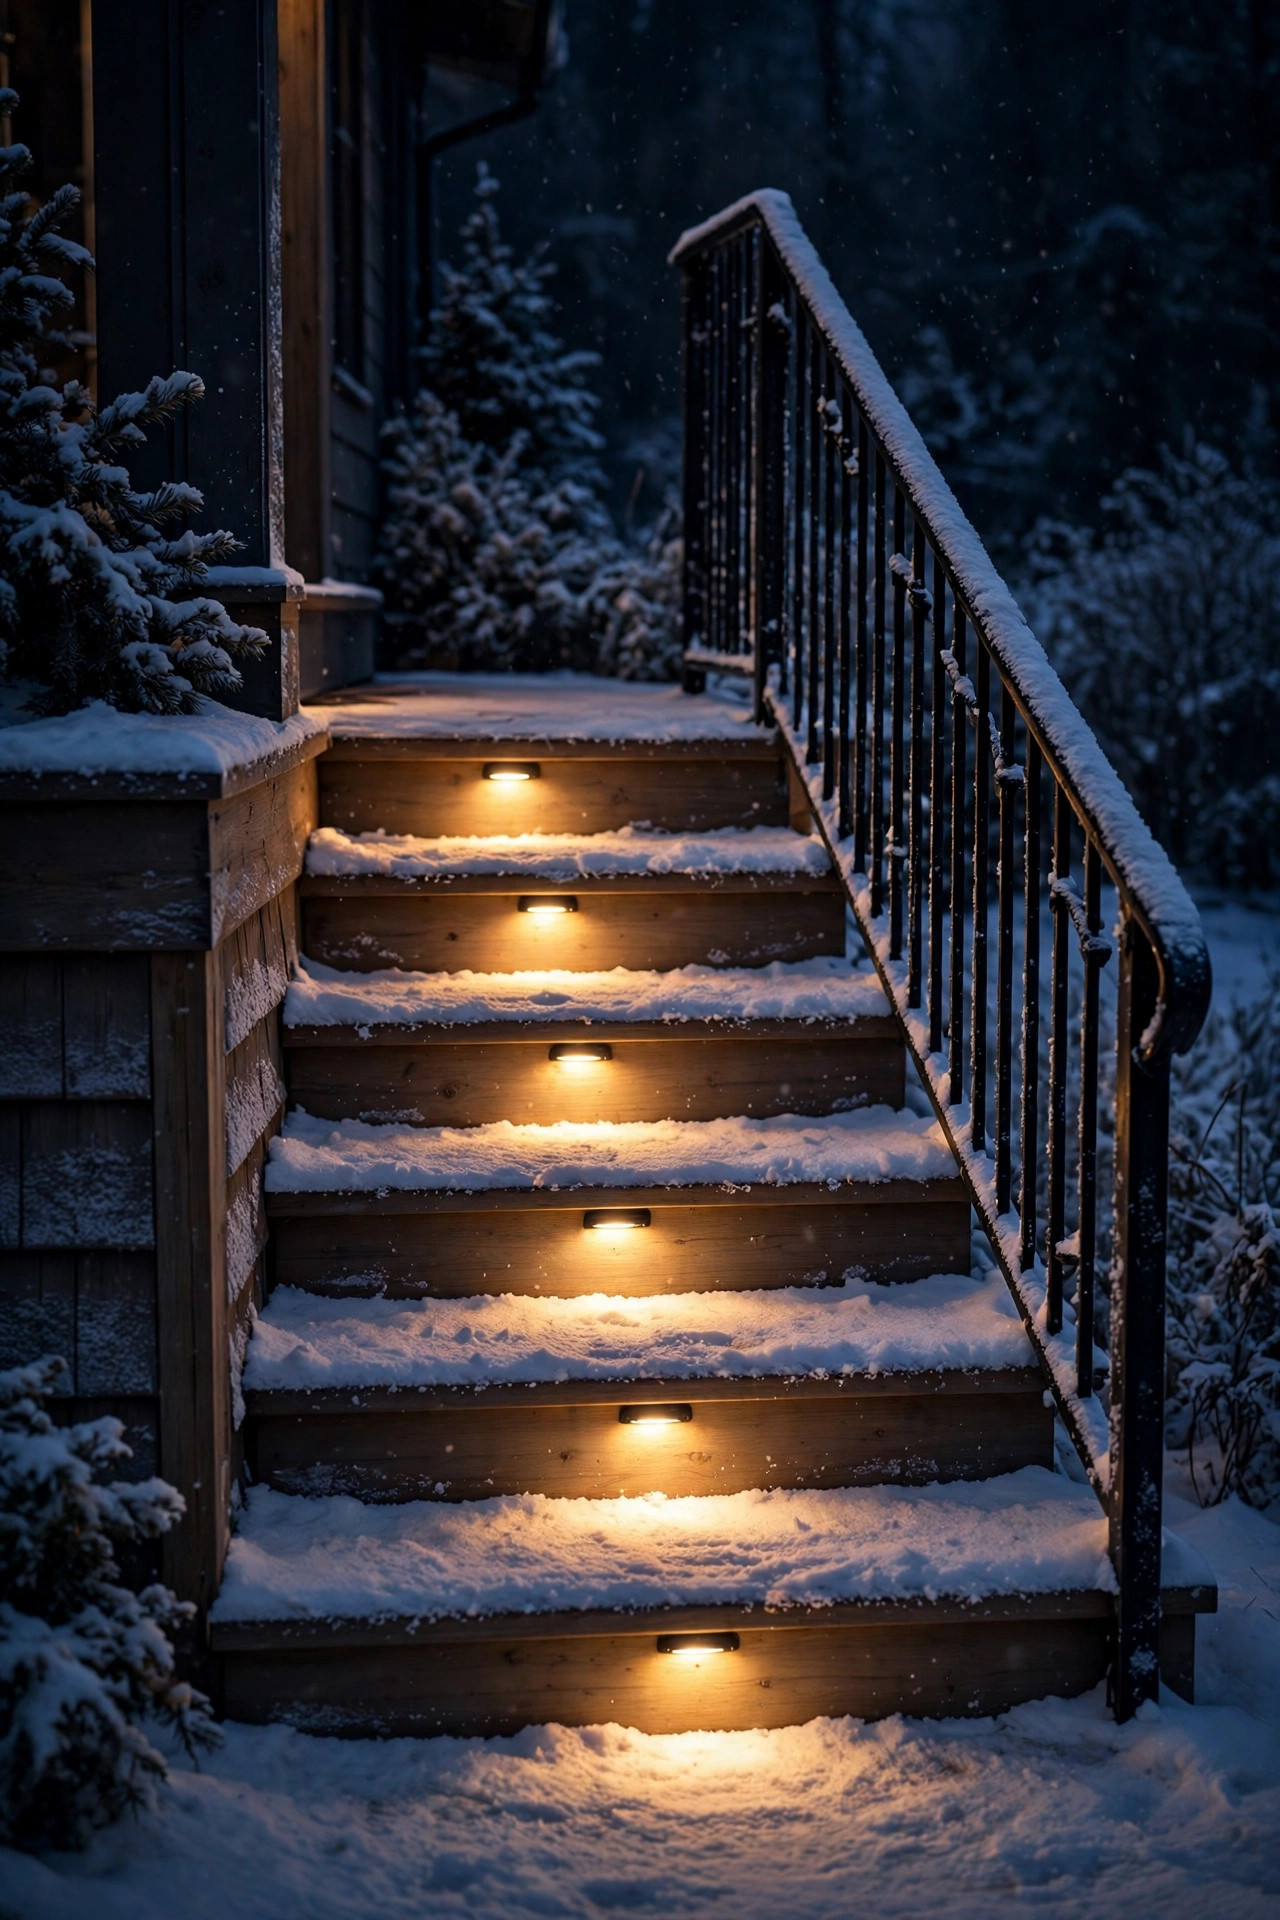
12. Step Lights for Safe Platter Trips
The most dangerous moment of any night cookout is not at the grill — it is on the steps, carrying a rested brisket on a cutting board that blocks your view of your own feet. Step and riser lights solve it for very little money. Recessed riser lights are the finished look on a built deck, but surface-mount and solar step lights retrofit in minutes with screws or even heavy-duty adhesive. Focus them on any change of level between the kitchen door, the grill, and the seating: two or three steps, a raised patio edge, the threshold lip everyone catches. Low-voltage wired lights on the station's transformer or circuit stay consistent all evening; solar versions are fine on sunny steps but can fade by the second seating. Aim the light at the tread, not outward — you want to see the step surface, not a bright dot. These little fixtures also quietly define the patio's architecture after dark, tracing the shape of the deck in soft lines. Unglamorous? Completely. The idea on this list most likely to prevent an actual injury? Also completely, and that earns it a spot.
Suggested budget range: $30 – $120.
13. Rope Light Under the Counter Lip
Rope light or a strip in a channel tucked under the front lip of a built-in counter gives you glow without glare — the light itself hides, and only the wash across the counter face and floor shows. Around a grill station this does two jobs: it outlines the counter edge so nobody hip-checks a corner in the dark, and it throws just enough low light to find the cabinet handles, the trash pull-out, and the dog waiting hopefully below. Use an outdoor-rated LED rope or a strip in an aluminum channel, and keep runs on the prep and serving sides only — nothing goes under a counter section that houses the grill head or sits within the heat clearances the manufacturer specifies. Cool-to-the-touch LEDs are the only choice here; old incandescent rope lights actually warmed up, which is the last thing you want near a stored propane tank or a wooden cabinet. Plug into a GFCI outlet inside the cabinet and put it on the same smart plug as your other ambient layer so the whole mood sets at once. It is a small, inexpensive detail that makes a built-in station look custom and expensive after dark.
Suggested budget range: $20 – $70.

14. A Rechargeable Work Light That Goes Anywhere
For renters, tailgaters, and anyone whose grill migrates around the yard, a rechargeable work light is the whole lighting plan in one purchase. The lantern-style and small panel-style versions put out 500 to 1,000 lumens — true task brightness — and hang from a hook, stand on a small tripod, or stick magnetically to the grill cart or a canopy leg. Position it high and to the side of the grill so the beam rakes across the grates without shining straight into your face when you lift the lid, and never rest one on the side shelf right against the firebox; heat and plastic housings are not friends. The honest trade-off is battery discipline: these lights are only there for you if they are charged, so make a habit of plugging yours in next to the tongs after each cookout. Warm-to-neutral color settings are worth paying for, since the cold blue-white of cheap work lights makes perfectly cooked chicken look gray and unappetizing. I keep one in the garage as a backup for everything from power outages to midnight tank swaps, and it has earned its shelf space many times over.
Suggested budget range: $25 – $80.

15. Smart Bulbs and Voice Control for Messy Hands
Smart bulbs and plugs sound like a gadget too far until the first time your hands are coated in marinade, the grill is flaring, and you need more light without touching a switch. Voice control from the speaker on the patio — or a quick shout toward the kitchen — turns the sconces up while you stay at the grill, and that little luxury turns out to be genuinely practical. The sensible setup is smart bulbs in the fixtures you already have over the station, or smart outdoor plugs for the string lights and strips, all grouped as a single grill-night scene: task lights full, ambient at half, path lights on. Schedules help too — the station can light itself at dusk on weekends so you walk out to a ready backyard. Practical notes: smart bulbs belong in enclosed, outdoor-rated fixtures, Wi-Fi needs to actually reach your patio (test it before you buy a box of bulbs), and keep a manual switch override so guests and grandparents are not locked out of the lights. It is the layer that makes all the others feel effortless.
Suggested budget range: $30 – $120.

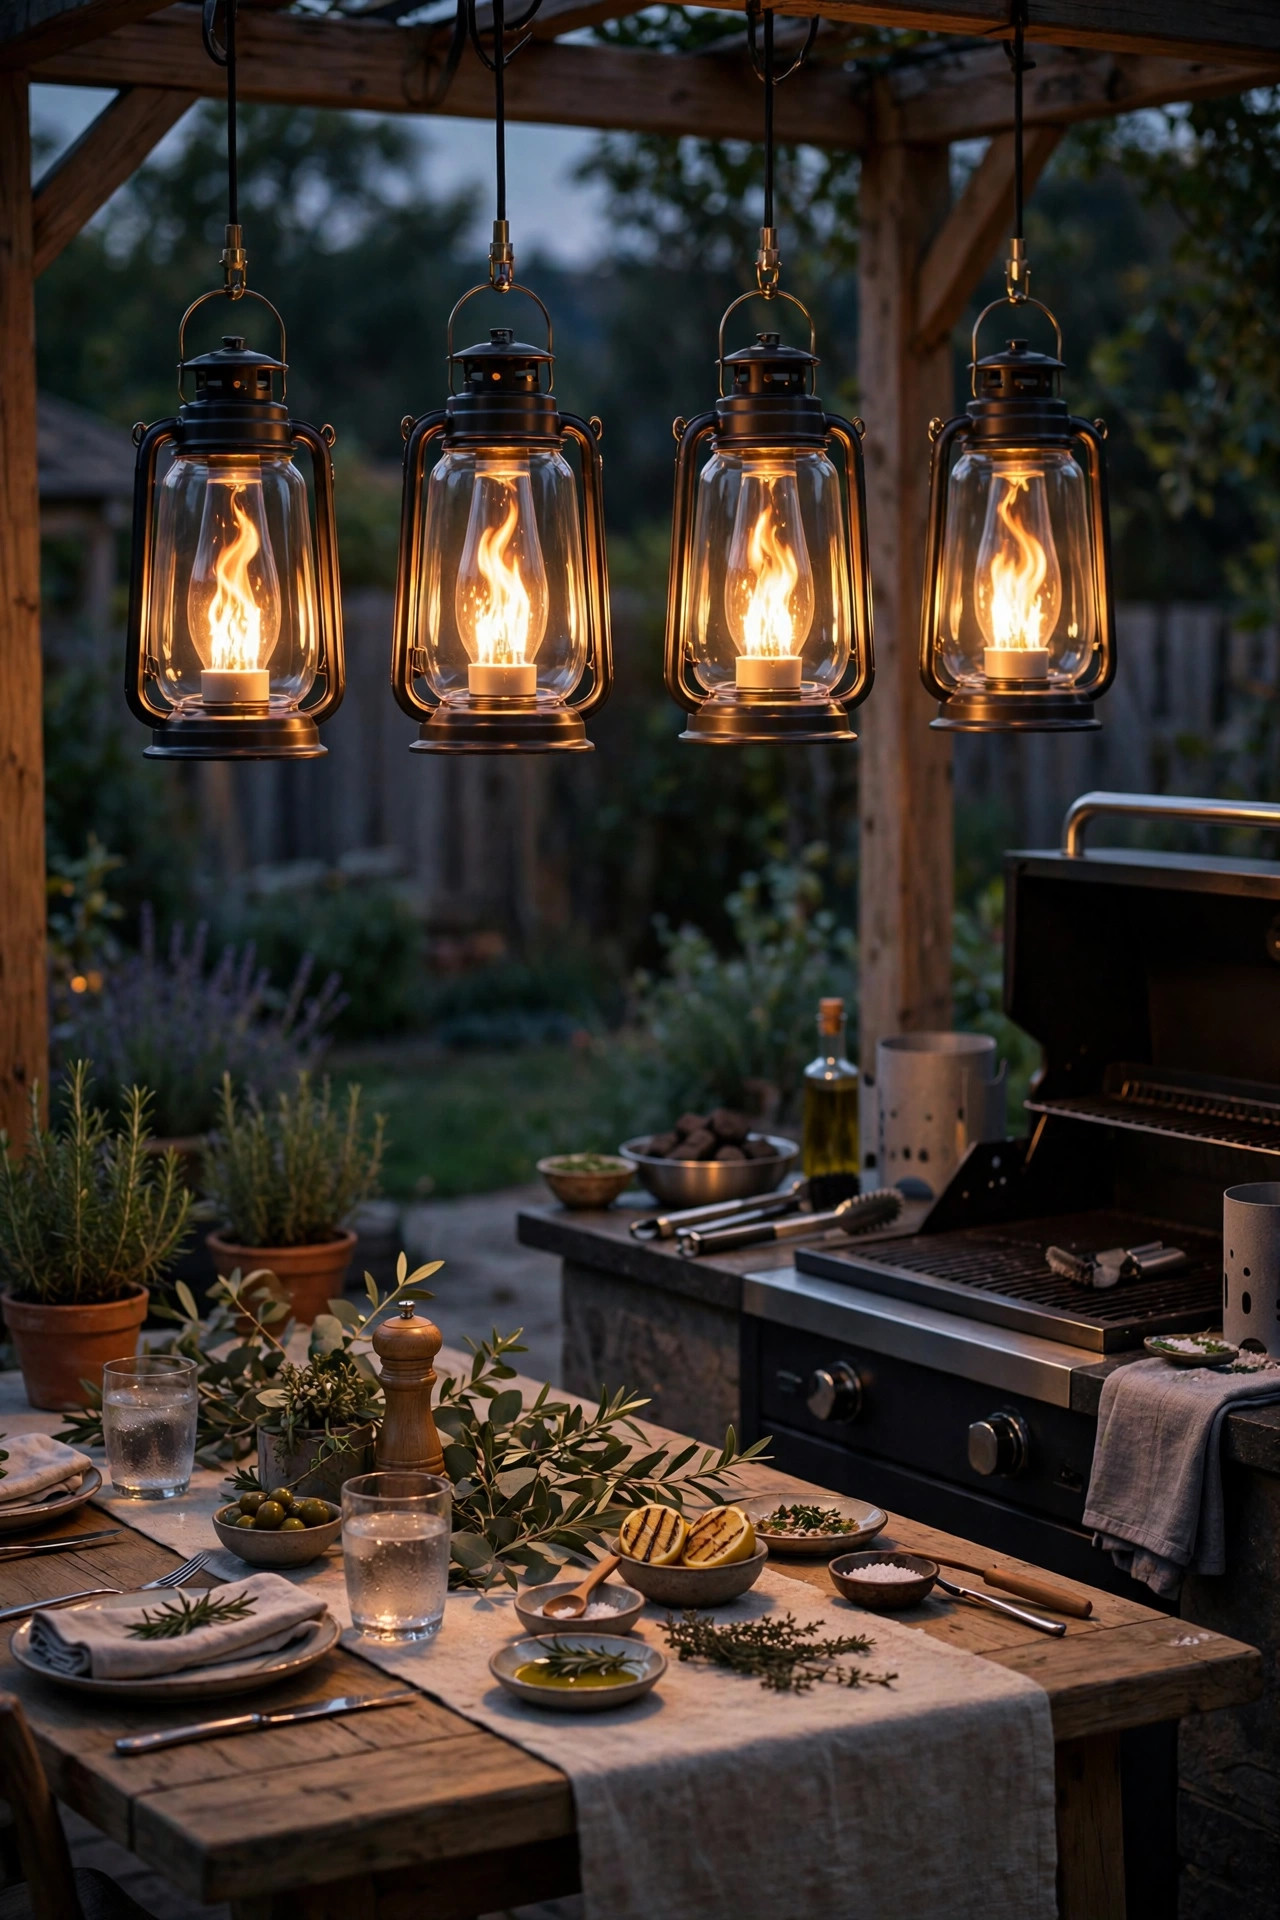
16. Flame-Effect LED Accents on the Dining Side
Flame-effect LED bulbs are pure atmosphere, and used in the right places they make a grill station feel like a little backyard tavern. The flickering bulbs go in lanterns or sconce fixtures on the dining and seating side of the space — the places where people gather with drinks while you finish the last batch of burgers. The golden, dancing light flatters faces and food in a way steady bulbs do not, and because they are LEDs, there is no real flame to worry about near napkins, paper plates, and grill grease. That said, keep them out of the task zone entirely: flicker is charming across the table and maddening when you are trying to judge whether chicken thighs are done. A pair flanking the patio door or in hanging lanterns over the table is plenty — a little flicker goes a long way, and surrounding steady light keeps it cozy instead of haunted-house. Look for bulbs with a realistic orange-gold flame tone rather than anything reddish. Guests ask about these more than any other light I own, and they cost less than the burgers did.
Suggested budget range: $15 – $50.
17. The Layered Grill Station Lighting Ideas Setup I Would Build Today
Here is how all of these grill station lighting ideas come together in the setup I would build today, in the order I would buy them. Start with task light, because it changes cooking the most: a clamp-on grill light plus either under-shelf strips or a gooseneck, depending on your station. Second, add the guide layer — solar or wired path lights and a step light or two — because safety upgrades are cheap and unglamorous and you will thank yourself in February. Third, build the ambient layer: offset string lights and a pair of sconces or lanterns so the cook is part of the gathering. Last, add control — a dimmer or smart plug per layer and one scene that sets the whole station. Notice what is not on the list: a single giant floodlight over everything. One harsh source flattens the food, blinds the guests, and still leaves the grates in shadow. The layered version costs about the same spread across a season of small purchases, and each piece keeps working if another one fails. Build it in stages, cook under it, and adjust — that is honestly how every great backyard setup I know came together.
Suggested budget range: $150 – $600.
Frequently Asked Questions
What color temperature is best for grilling at night?
For task light right at the grates, a neutral 3500K to 4000K renders the color of meat most honestly, so pinks, browns, and char read true instead of being flattered by a warm bulb. For ambient layers like strings and sconces, warm 2700K to 3000K keeps the mood relaxed and matches the rest of the backyard. Mixing the two is fine as long as the zones stay separate — neutral where you judge doneness, warm where you sit and eat.
How many lumens do I need over the grill?
Aim for roughly 300 to 500 lumens of focused task light landing on the cooking surface, which a good clamp-on light, gooseneck, or pair of pendants delivers easily. Ambient lighting can be far dimmer; string lights and lanterns are about glow, not brightness, and usually contribute the equivalent of a few dozen lumens per bulb. If you are squinting or your shadow falls across the grates, the problem is placement more than raw lumens — move the source higher and to the side.
Can I leave grill station lights outside all year?
Fixtures rated for wet locations or IP65 and above are built to stay out year-round, and hardwired sconces, pendants, and downlights should. Battery lanterns, rechargeable work lights, and solar fixtures last longer if the lights themselves come into the garage for the coldest months, since freezing temperatures are hard on batteries. Whatever stays out, wipe the lenses and shades at the start and end of the season — the grease film near a grill dims light more than most people realize.
Are string lights safe to hang over a grill?
No — keep string lights offset from directly above the grill. Rising heat and grease vapor coat the bulbs, dim them, and can damage cords and sockets over time, and no strand belongs in the plume above a firebox. Hang runs over the prep counter, seating, and dining areas instead, use commercial-grade strands with shatterproof LED bulbs, and keep every cord well clear of hot surfaces. You still get the glow over the gathering; your task lights handle the grates.
Conclusion
The best grill station lighting ideas are never one fixture — they are a small team, each doing one job well. Start with honest task light on the grates, wrap it in a warm ambient glow so the cook stays part of the party, and light the path so every trip with a full platter is a safe one. Add dimmers or a smart plug or two and the whole station shifts from work mode to dinner mode in seconds. You do not have to build it all in one weekend; one layer a month is how my own setup came together, and every single addition made the next cookout easier. Pick the idea that fixes your biggest frustration first — for most of us, that is simply being able to see the food. If you are planning the wider evening setup around the grill, my guide to backyard lighting for evening entertaining pulls the dining and seating layers together. Now go flip something delicious after dark — you finally have the light for it.