There is a reason colonial homes stop traffic on my street every evening, and it is almost never the paint color. It is the lighting. A brick or clapboard facade, a centered front door, and two warm lanterns burning in perfect symmetry read like a welcome sign you can see from the sidewalk. Good colonial entryway lighting ideas all follow the same quiet rules: pairs instead of singles, warm light instead of bright white, and fixtures that look like they have always belonged to the house. In this post I am sharing the 17 setups I recommend most, from the classic sconce pair flanking the door to the walkway lanterns that lead guests in. I think of it in layers — guidance light along the walk, welcome light at the door, and a soft accent wash on the facade — and every idea below slots into one of those layers. If you want the bigger picture first, my guide to colonial exterior lighting covers the whole house. Let us start at the front door and work outward.
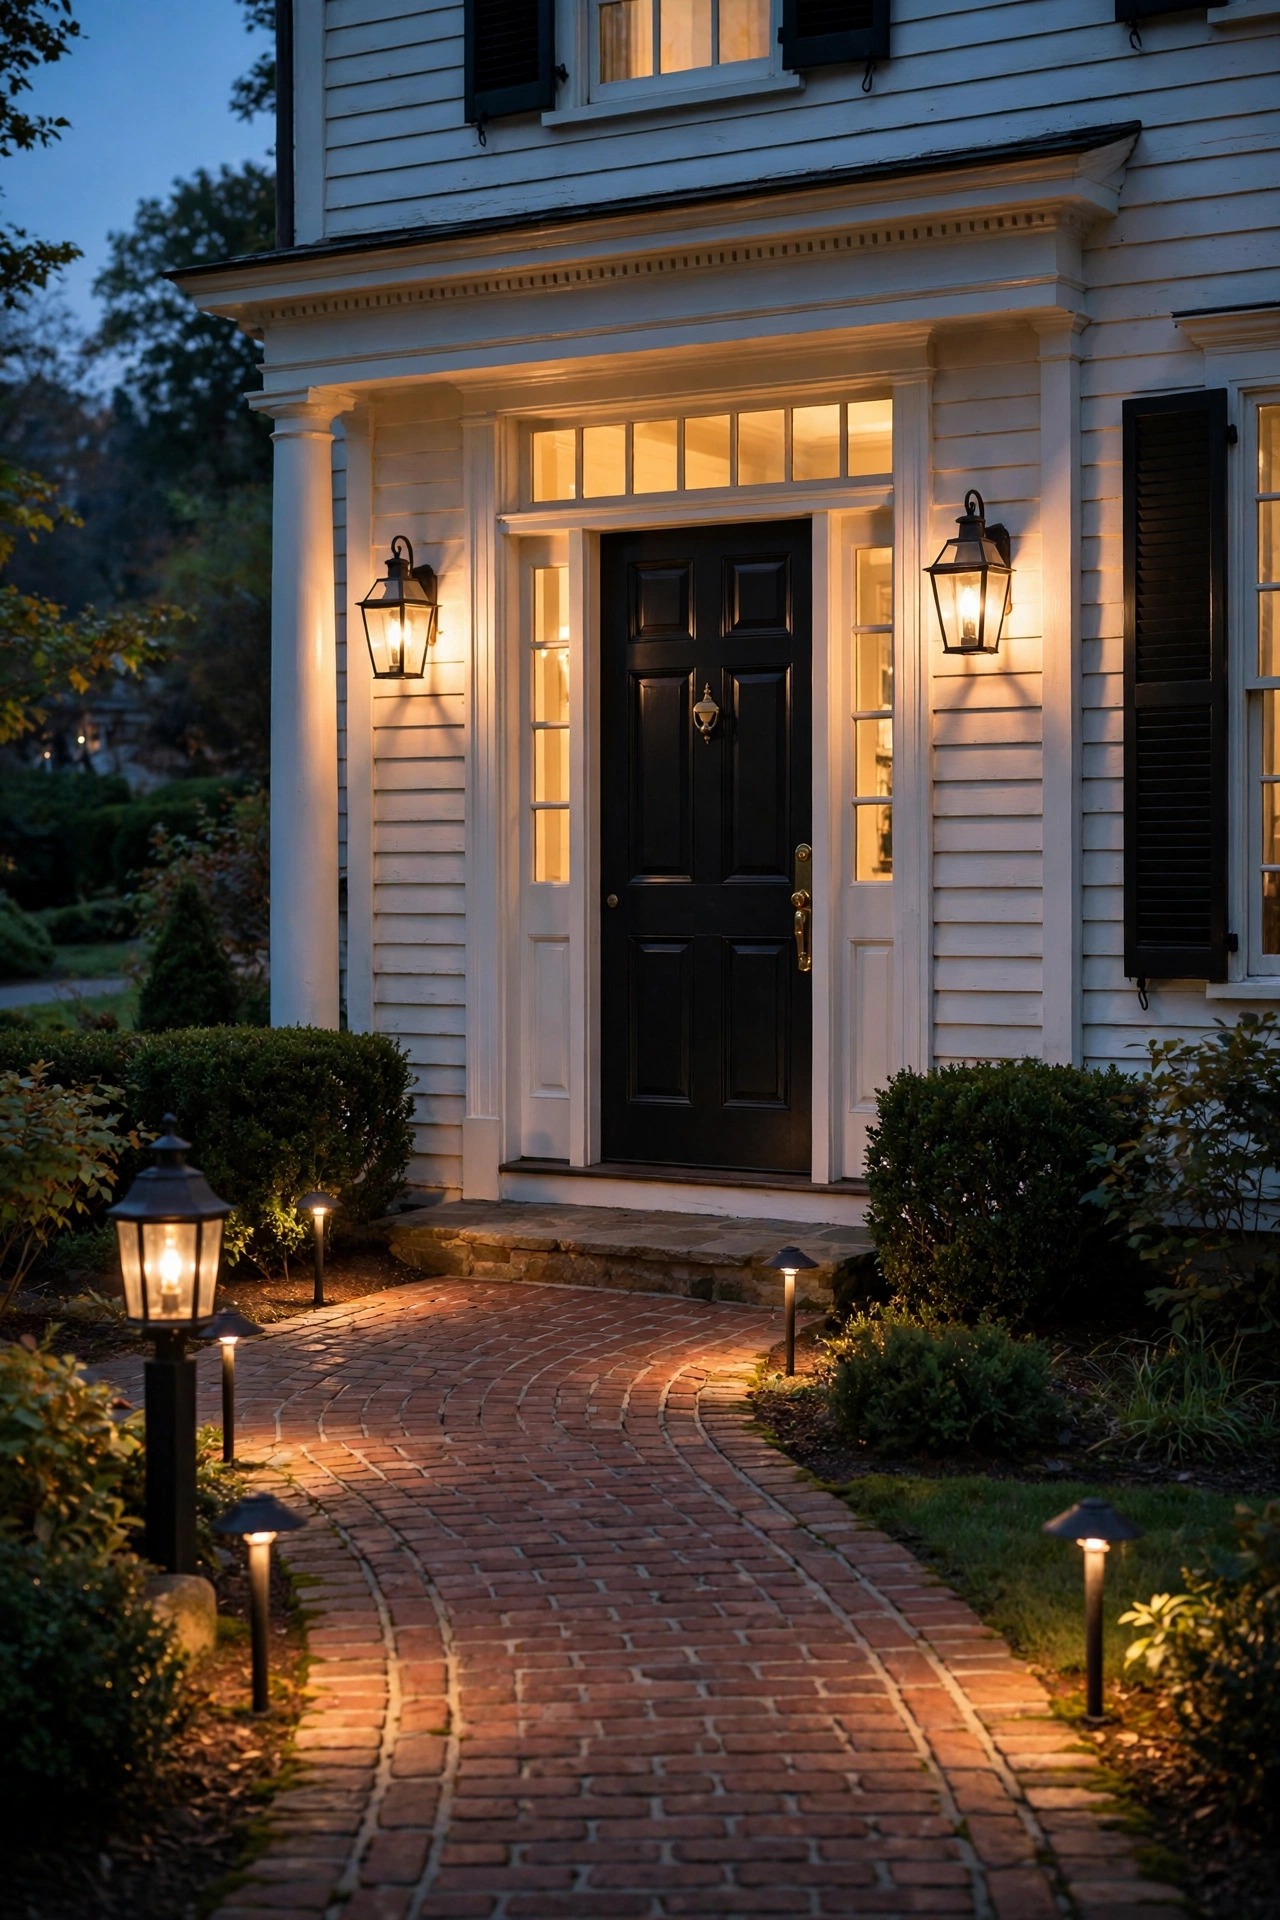
1. Start With a Three-Layer Plan for Colonial Entryway Lighting Ideas
Every colonial entry I have ever admired follows the same three-layer formula, and once you see it you cannot unsee it. Layer one is guidance: low lanterns along the walk and steps so guests always know where their feet go. Layer two is welcome: the fixtures at the door itself, usually a matched sconce pair plus something overhead. Layer three is accent: a gentle wash on the brickwork, a glow in the windows, candlelight that makes the whole facade feel inhabited. The colonial part is the discipline — everything in pairs, everything centered, and every bulb the same warm temperature so the layers blend into one calm picture instead of competing. Before you buy a single fixture, stand at the street at dusk and decide which layer your entry is missing. Most homes I help with have plenty of welcome light and almost no guidance, which is why the entry feels bright but not inviting. Fix the missing layer first and the rest often falls into place on its own. This plan is the backbone of all the colonial entryway lighting ideas that follow.
Suggested budget range: $150 – $600.
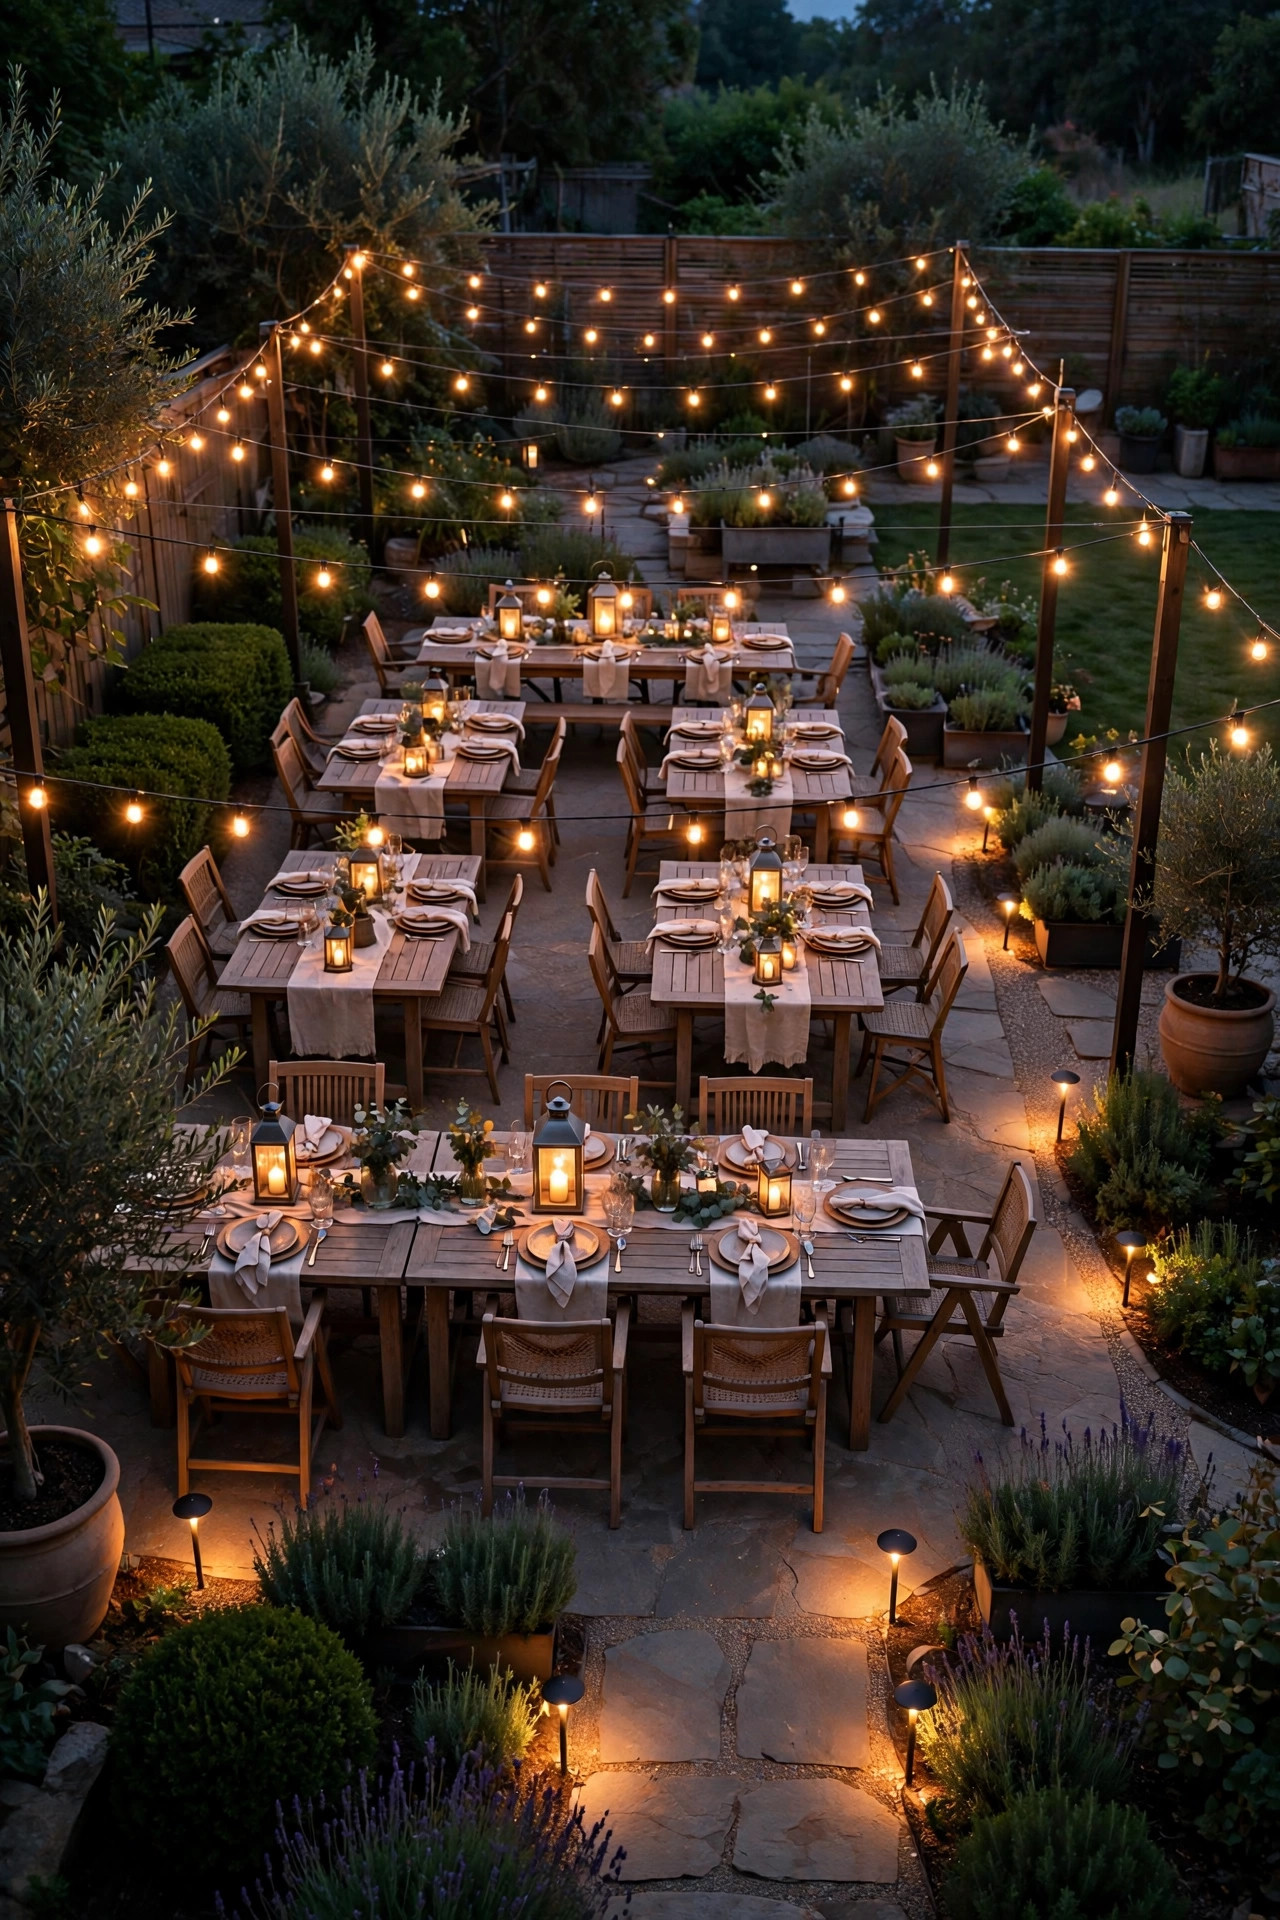
2. Hang a Matched Pair of Lantern Sconces Beside the Door
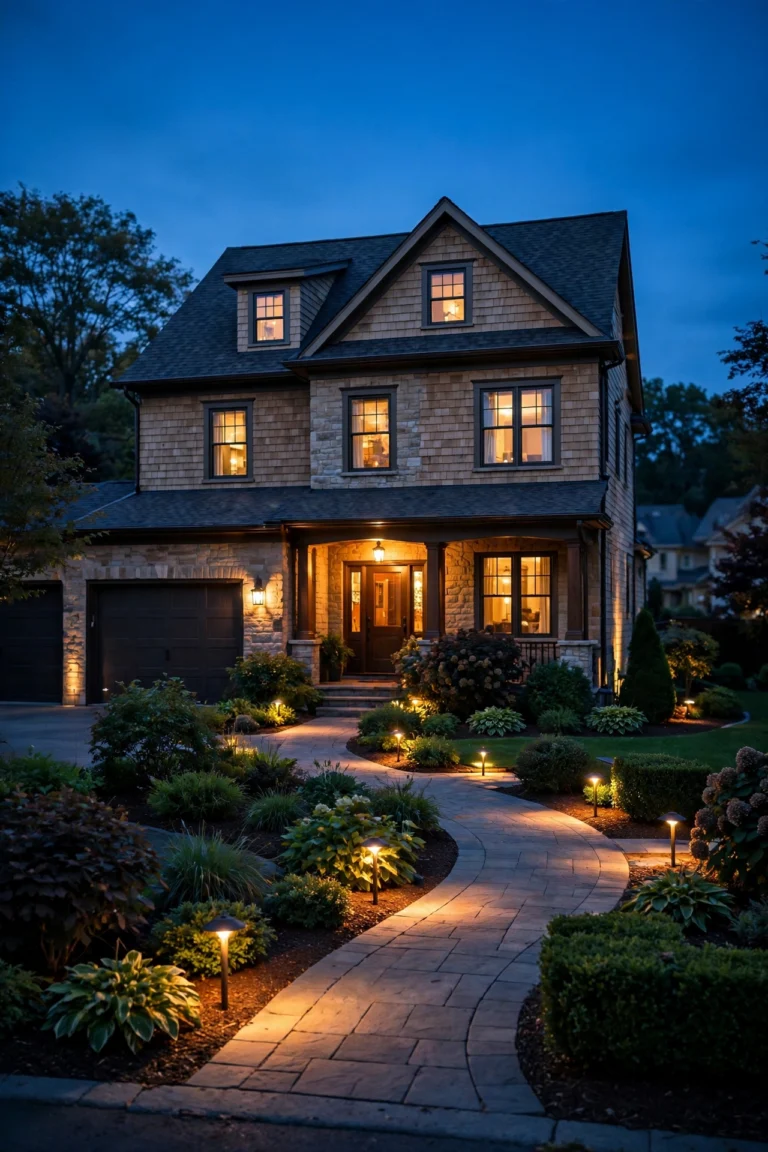
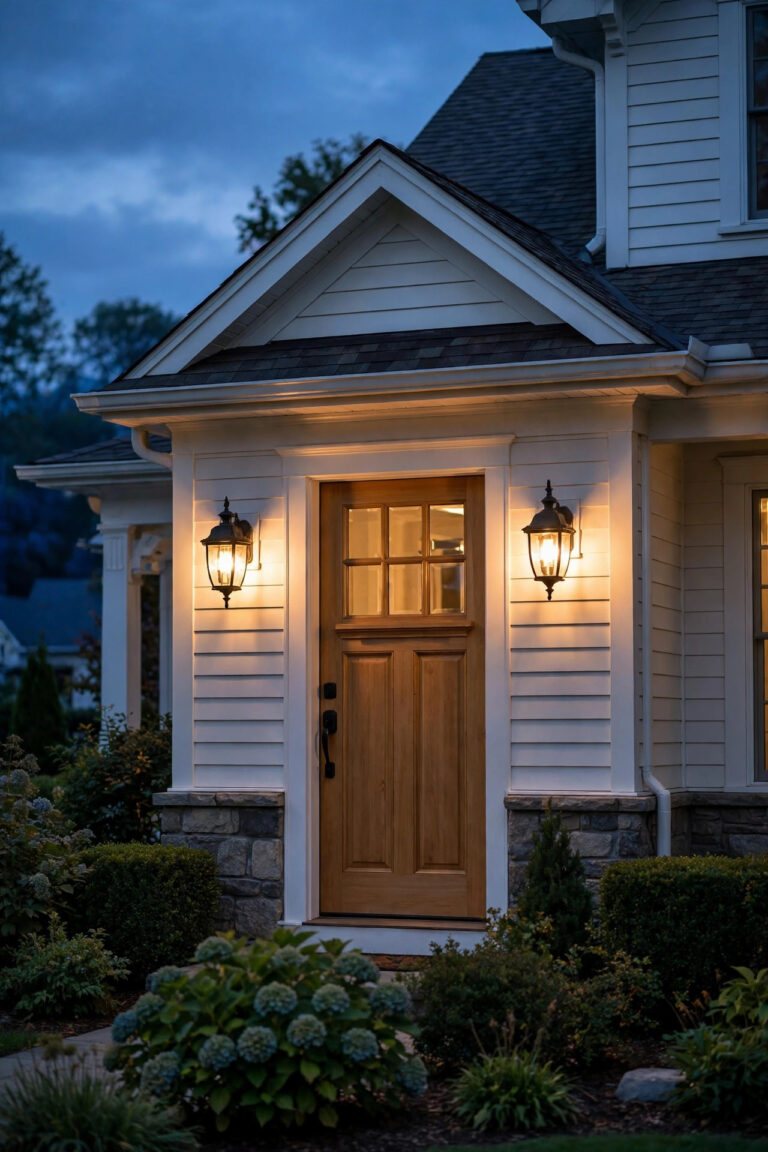
The matched sconce pair is the signature move of colonial entryway lighting, and it earns that status. Two identical lantern-style sconces, one on each side of the door, mounted so the bulb center sits about 66 inches off the porch floor and roughly a quarter of the door width out from the frame. Symmetry is the whole point, so measure twice and use a level — a pair that sits off by half an inch will bother you every single evening. Size matters too: for a standard 80-inch door, fixtures 12 to 16 inches tall look right; go bigger and they crowd the sidelights, smaller and they read as an afterthought. I like clear seeded glass with a warm filament-style LED inside, because it mimics candlelight without the draft problems of a real flame. My full walkthrough on choosing and hanging a front door sconce pair covers spacing and wattage in detail. Choose wet-location rated fixtures, and if your siding is clapboard, add a mounting block so each lantern sits flat and plumb against the boards.
Suggested budget range: $60 – $220.
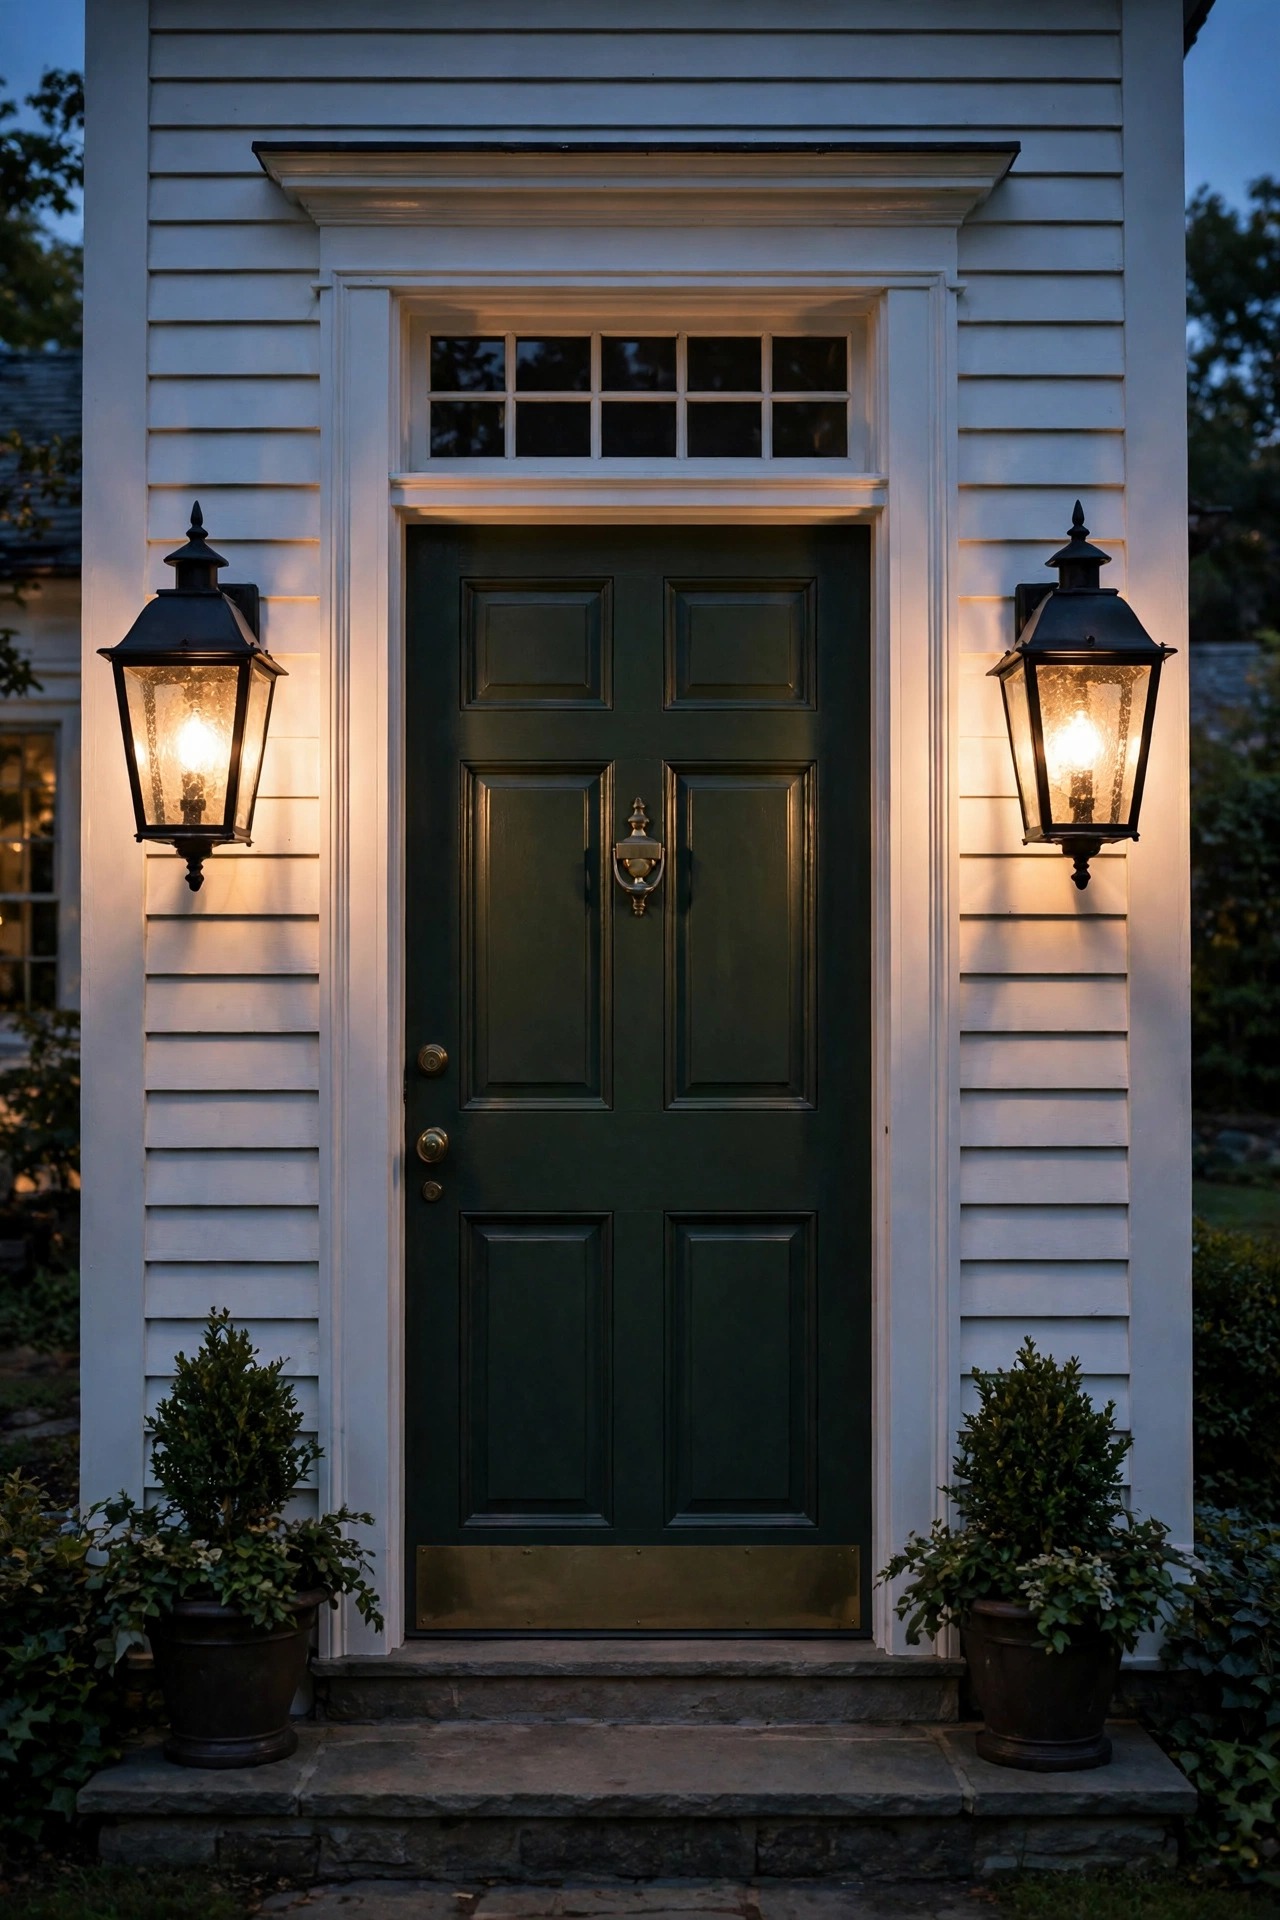
3. Center a Hanging Lantern Pendant Over the Entry
If your entry has a porch ceiling or a portico overhead, a hanging lantern pendant centered on the door completes the picture the sconces start. Hang it so the bottom of the fixture lands around 7 feet above the porch floor — high enough that a tall guest never ducks, low enough that the light pools where people actually stand. On an 8-foot ceiling that usually means a short chain; on a tall two-story portico you can let it drop further for drama. The colonial rule still applies: one centered pendant, never two off-center ones competing with the door. Black or aged brass finishes both suit the style, and a lantern shape echoes the sconces without matching them piece for piece. Use a dimmable warm LED and put it on the same switch or smart control as the sconces so the whole welcome layer rises and falls together. Outdoors, insist on a wet-location rating even under a roof, because wind drives rain sideways more often than people expect. A pendant also throws gentle light onto the ceiling, which makes a small portico feel taller at night.
Suggested budget range: $70 – $250.
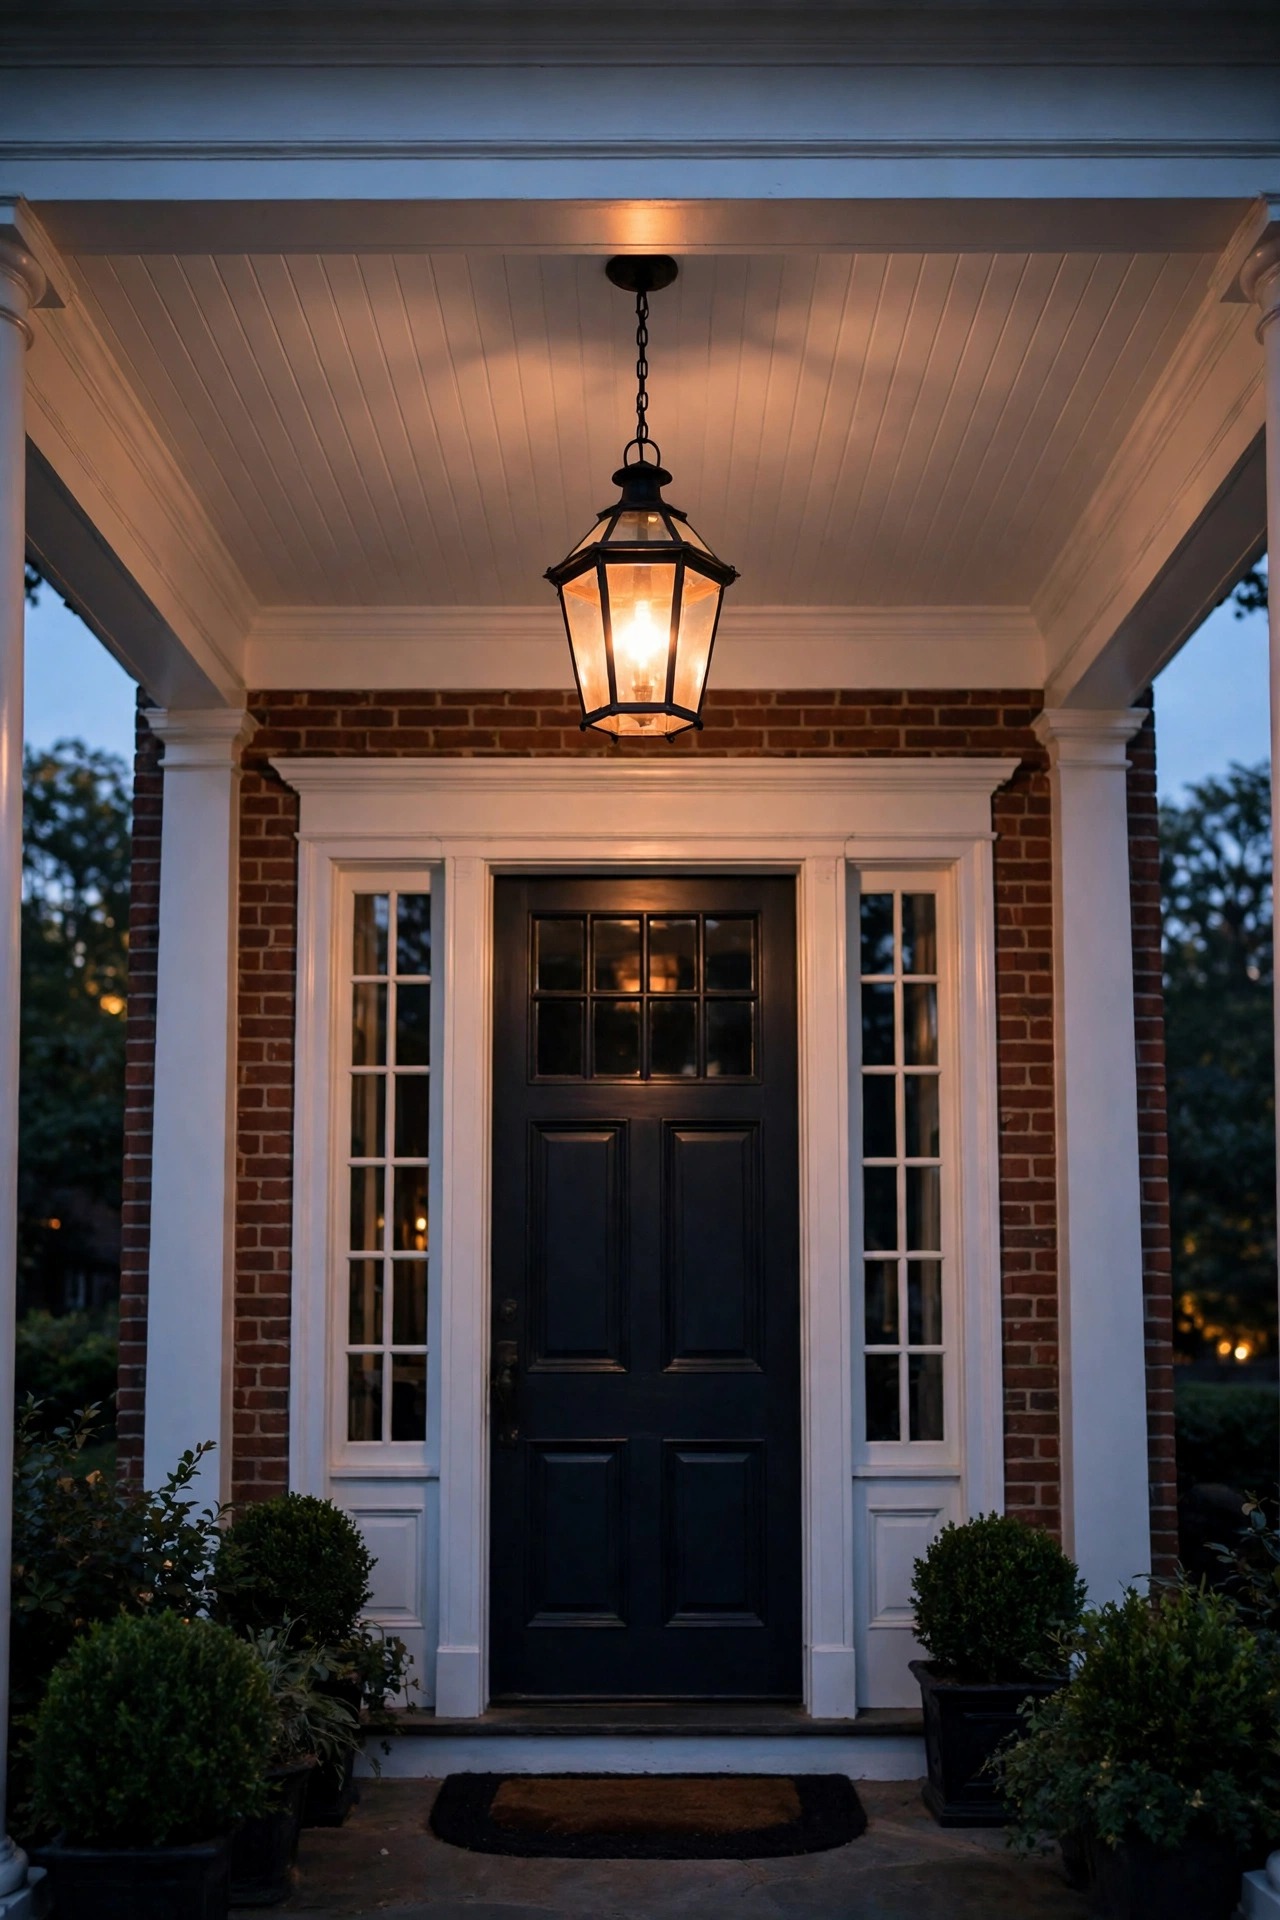
4. Add a Lantern Post Light Where the Walk Begins
A lantern post light at the edge of the walkway is where colonial entries announce themselves from the street. Set a single post, 5 to 6 feet tall, where the walk meets the sidewalk or driveway, and top it with a lantern that echoes your door sconces in finish and glass. On center-hall colonials the post almost always stands alone and centered with the door, which is exactly why it works — the eye travels from post to pendant to door in one straight, satisfying line. If your walk is long, a second matching post halfway down keeps the rhythm without breaking the symmetry at the house. Wire it low-voltage if you can; a 12-volt run from the same transformer as your path lights keeps the color consistent and the install simple. Photocell control is my default here, so the post lights itself at dusk and never sits dark when you come home late. Keep the bulb warm and modest — 2700K and the equivalent of 40 to 60 watts — because a post light should read as a candle, not a streetlamp.
Suggested budget range: $90 – $300.
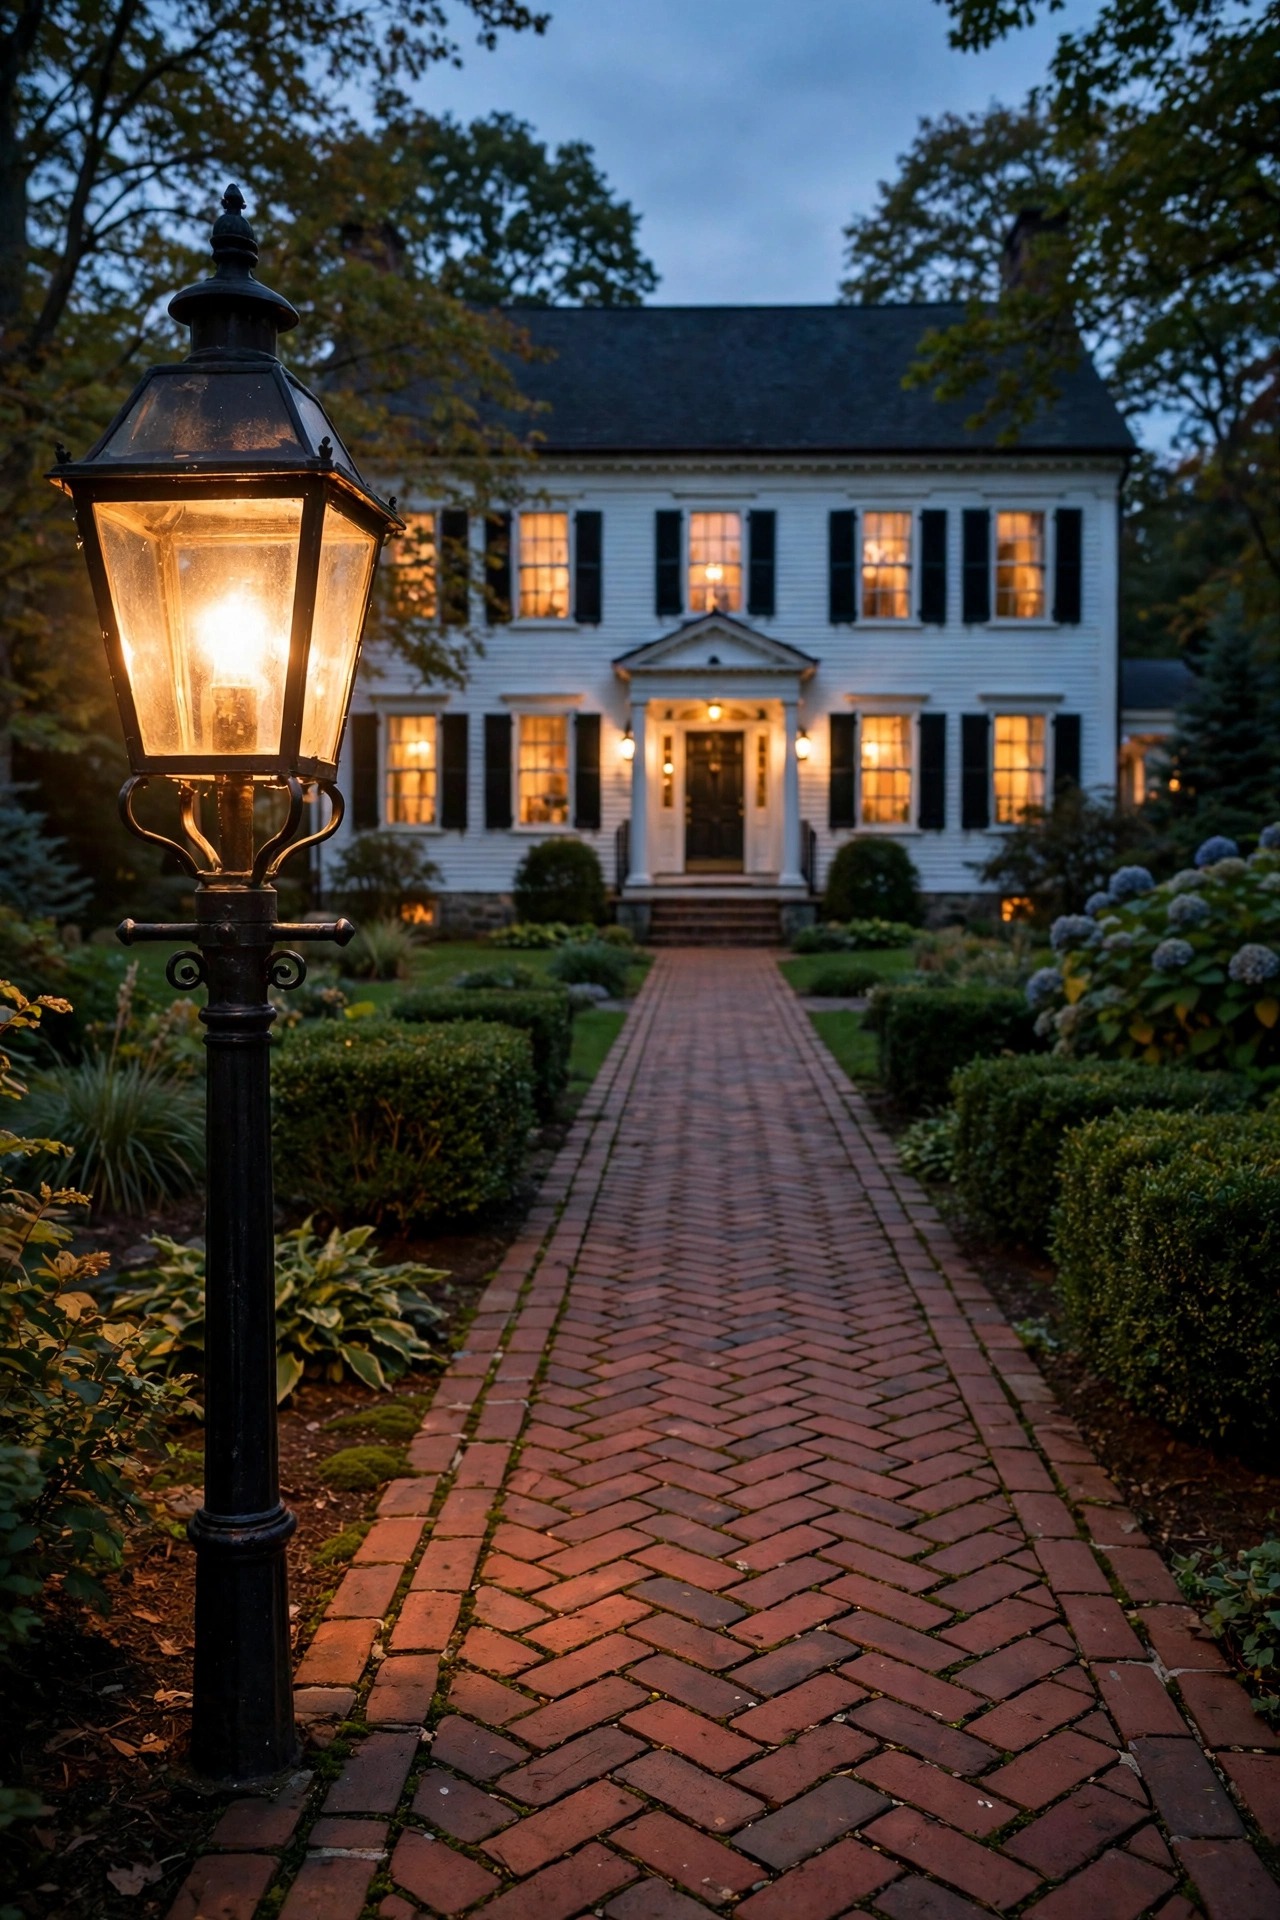
5. Line the Front Walk With Matched Lantern Path Lights
Path lights are the guidance layer, and on a colonial they should march, not wander. Place identical lantern-style path lights in two matched rows along the front walk, fixtures directly opposite each other, spaced 6 to 8 feet apart. That formality is what separates a colonial walk from a cottage one, where staggered placement looks charming instead. Keep the fixtures modest in height — 18 to 24 inches — so they light the paving without shining into eyes, and aim for pools of light that just touch rather than a continuous runway strip. Low-voltage fixtures on a single run give the most even result, and matching the finish to your post light and sconces ties the whole approach together from street to door. Solar versions have improved, but on a shaded north-facing walk they fade by midnight; I recommend wired for the main walk and solar only as supplements. Space the first pair about 3 feet from the bottom step so guests move from walk light to step light without a dark gap. In my experience this single change makes an entry feel finished more than any other.
Suggested budget range: $80 – $280.
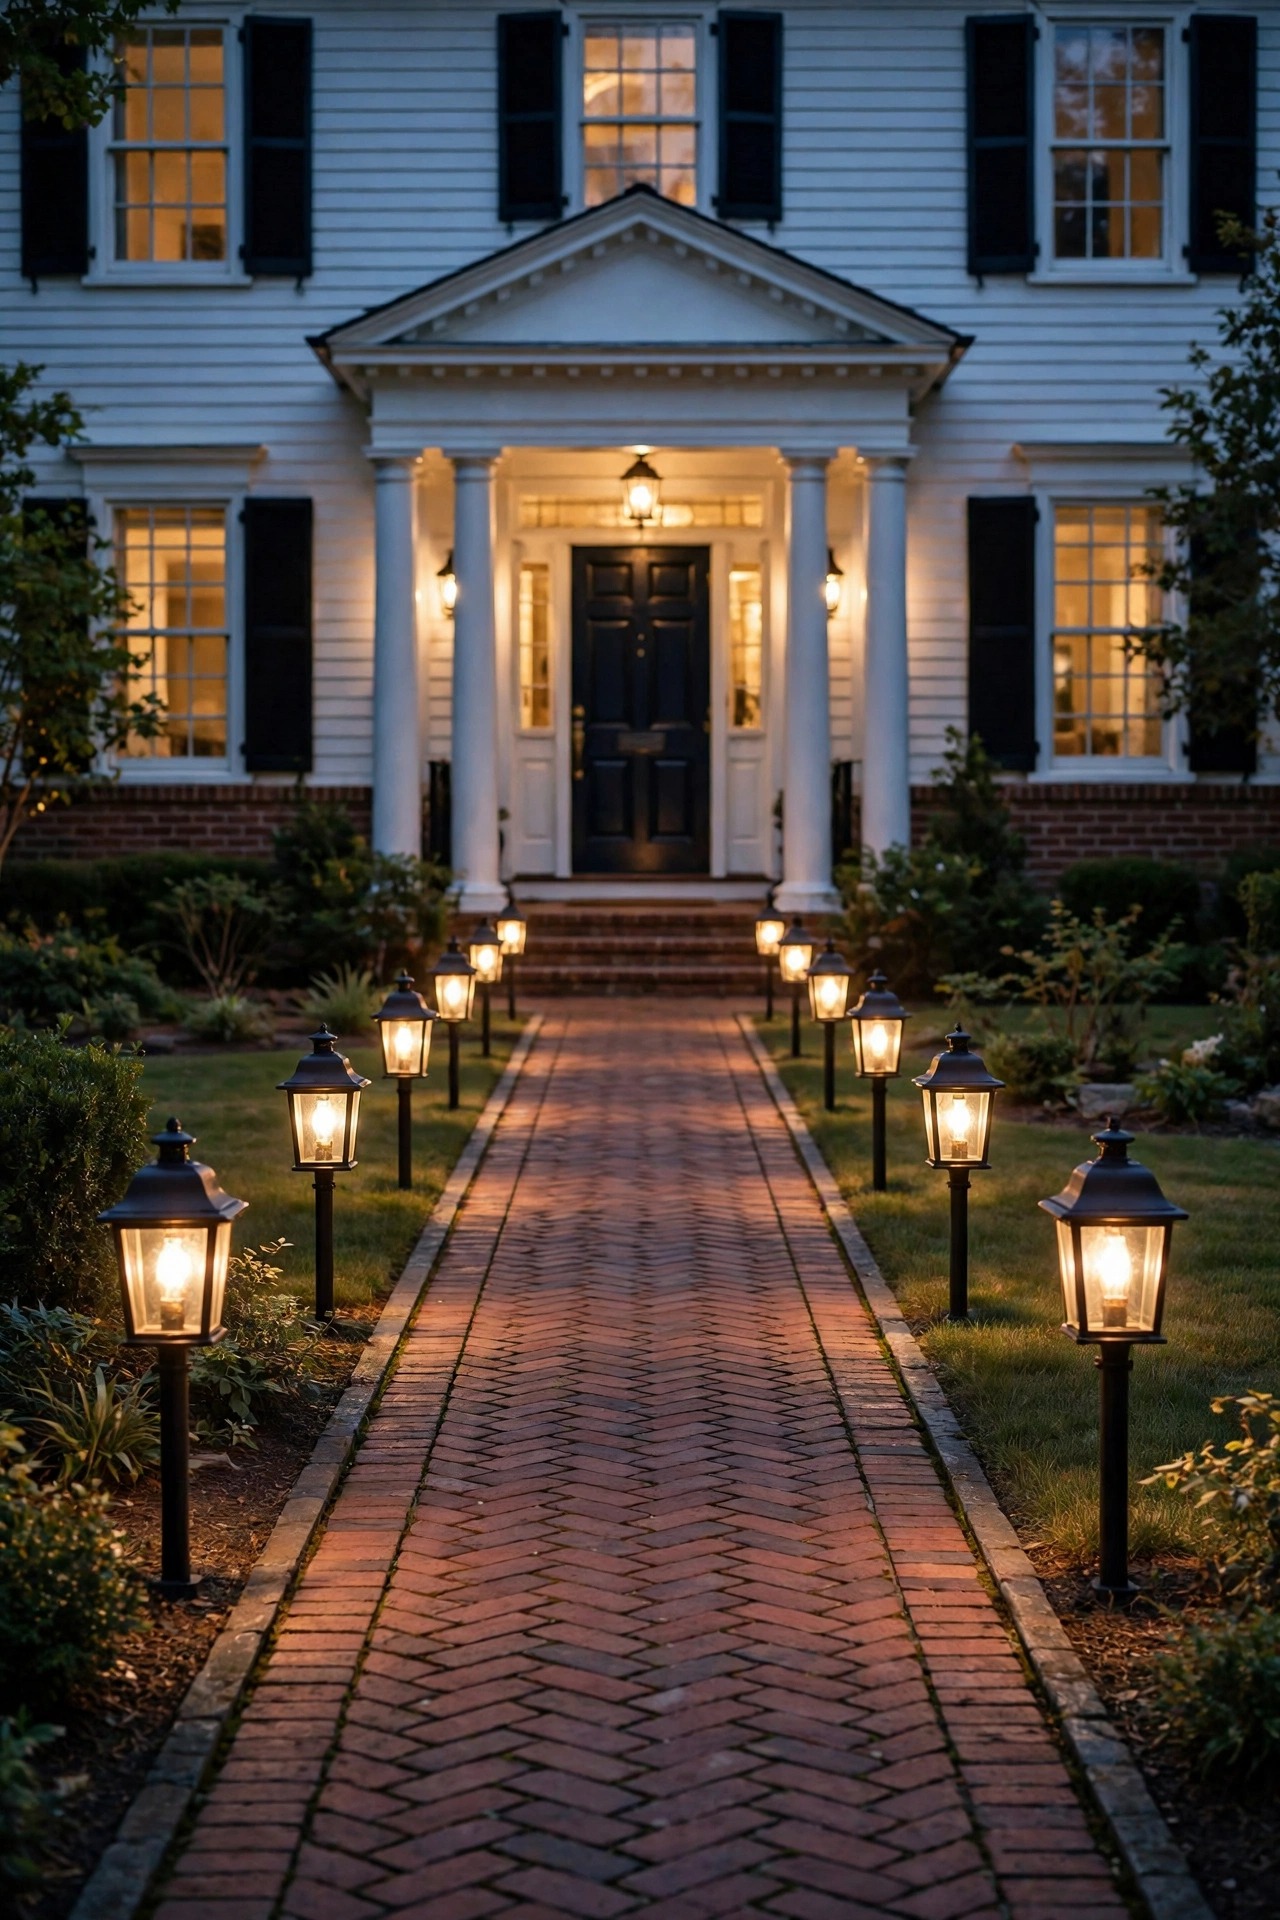
6. Put Flameless Candles in Every Front Window
Ask anyone what makes a colonial home look welcoming in December and they will describe candles in the windows — but I keep mine up all year, and honestly? It is the cheapest layer of colonial charm there is. One slim flameless candle centered in each front-facing window, all on the same timer, gives the facade a calm, inhabited glow that no floodlight can fake. Symmetry does the heavy lifting again: the candles should sit at identical heights, which usually means adjusting for different sill depths with small risers inside. Choose warm-white flames with a gentle flicker rather than a strobe-like blink, and rechargeable or plug-in models spare you the battery shuffle every few weeks. From the street, the effect pairs beautifully with your door lanterns — the windows become the accent layer that frames the welcome light at the door. One safety note: flameless only, always, especially near curtains and wreaths. Real candlelight in windows is a tradition worth retiring in favor of LEDs that look the part. Set the timers for dusk to 11 p.m. and the whole facade runs itself.
Suggested budget range: $25 – $80.
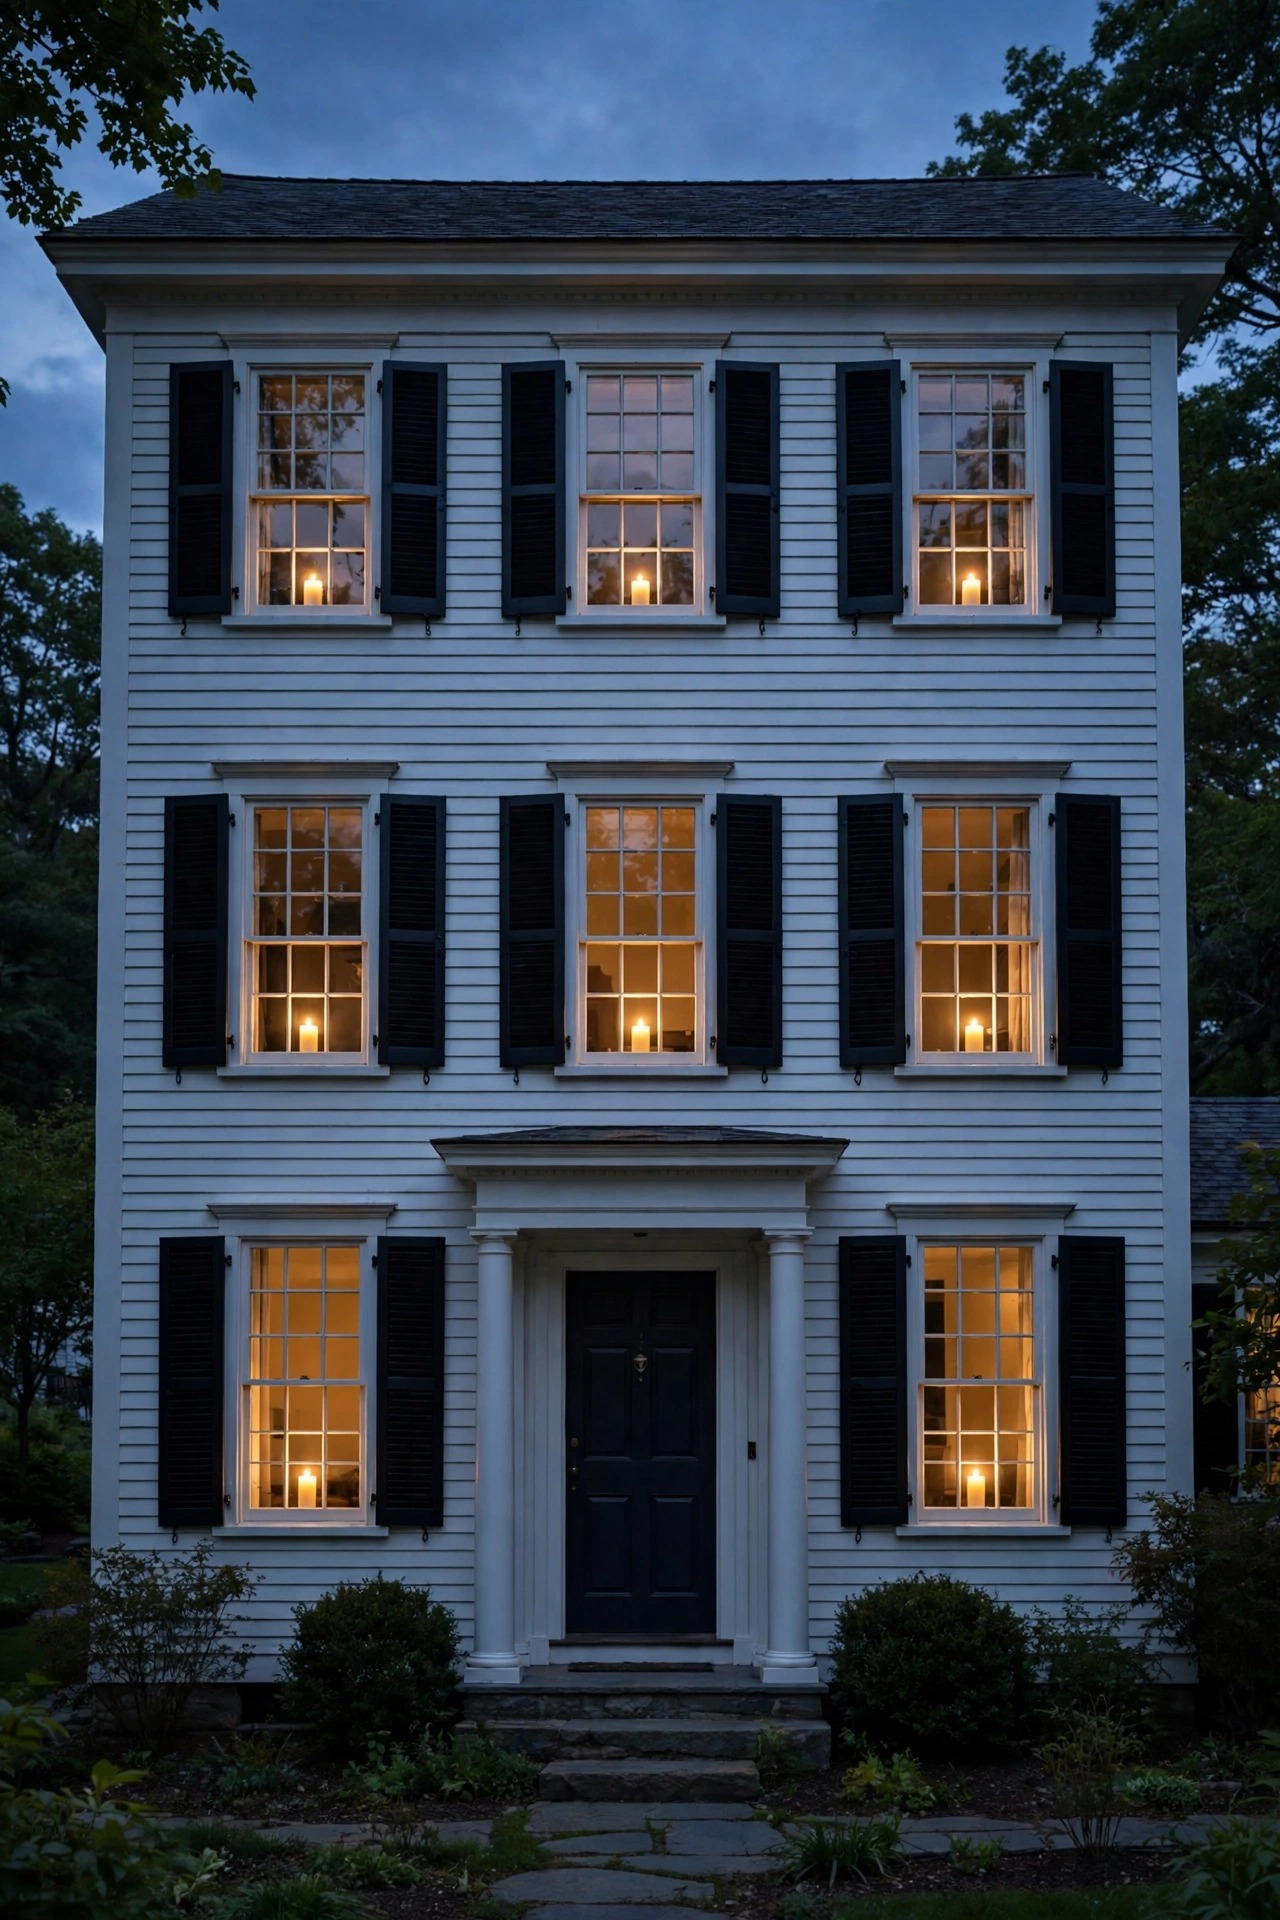
7. Wash the Facade With a Soft Pair of Uplights
Brick and clapboard both deserve a little light of their own after dark, and a pair of soft uplights is the tasteful way to do it. Place one low-voltage spotlight at the base of the facade on each side of the entry, angled up at about 30 degrees, and let the light graze across the siding or brick texture. That grazing angle is what reveals the texture — aim straight out and you get two hot spots and a lot of glare. Keep the beams matched in width and brightness, because an uneven wash breaks the symmetry the whole style depends on. Warm 2700K again, always, and modest output: you want the wall to glow, not to look lit for a football game. Tuck the fixtures behind foundation plantings so the source hides and only the effect shows, and check from the street after dark to fine-tune the aim. If your colonial has shutters, a slight inward angle catches their edges and adds depth. This accent layer also does quiet security work, since a softly lit facade leaves fewer dark corners near the door.
Suggested budget range: $50 – $180.
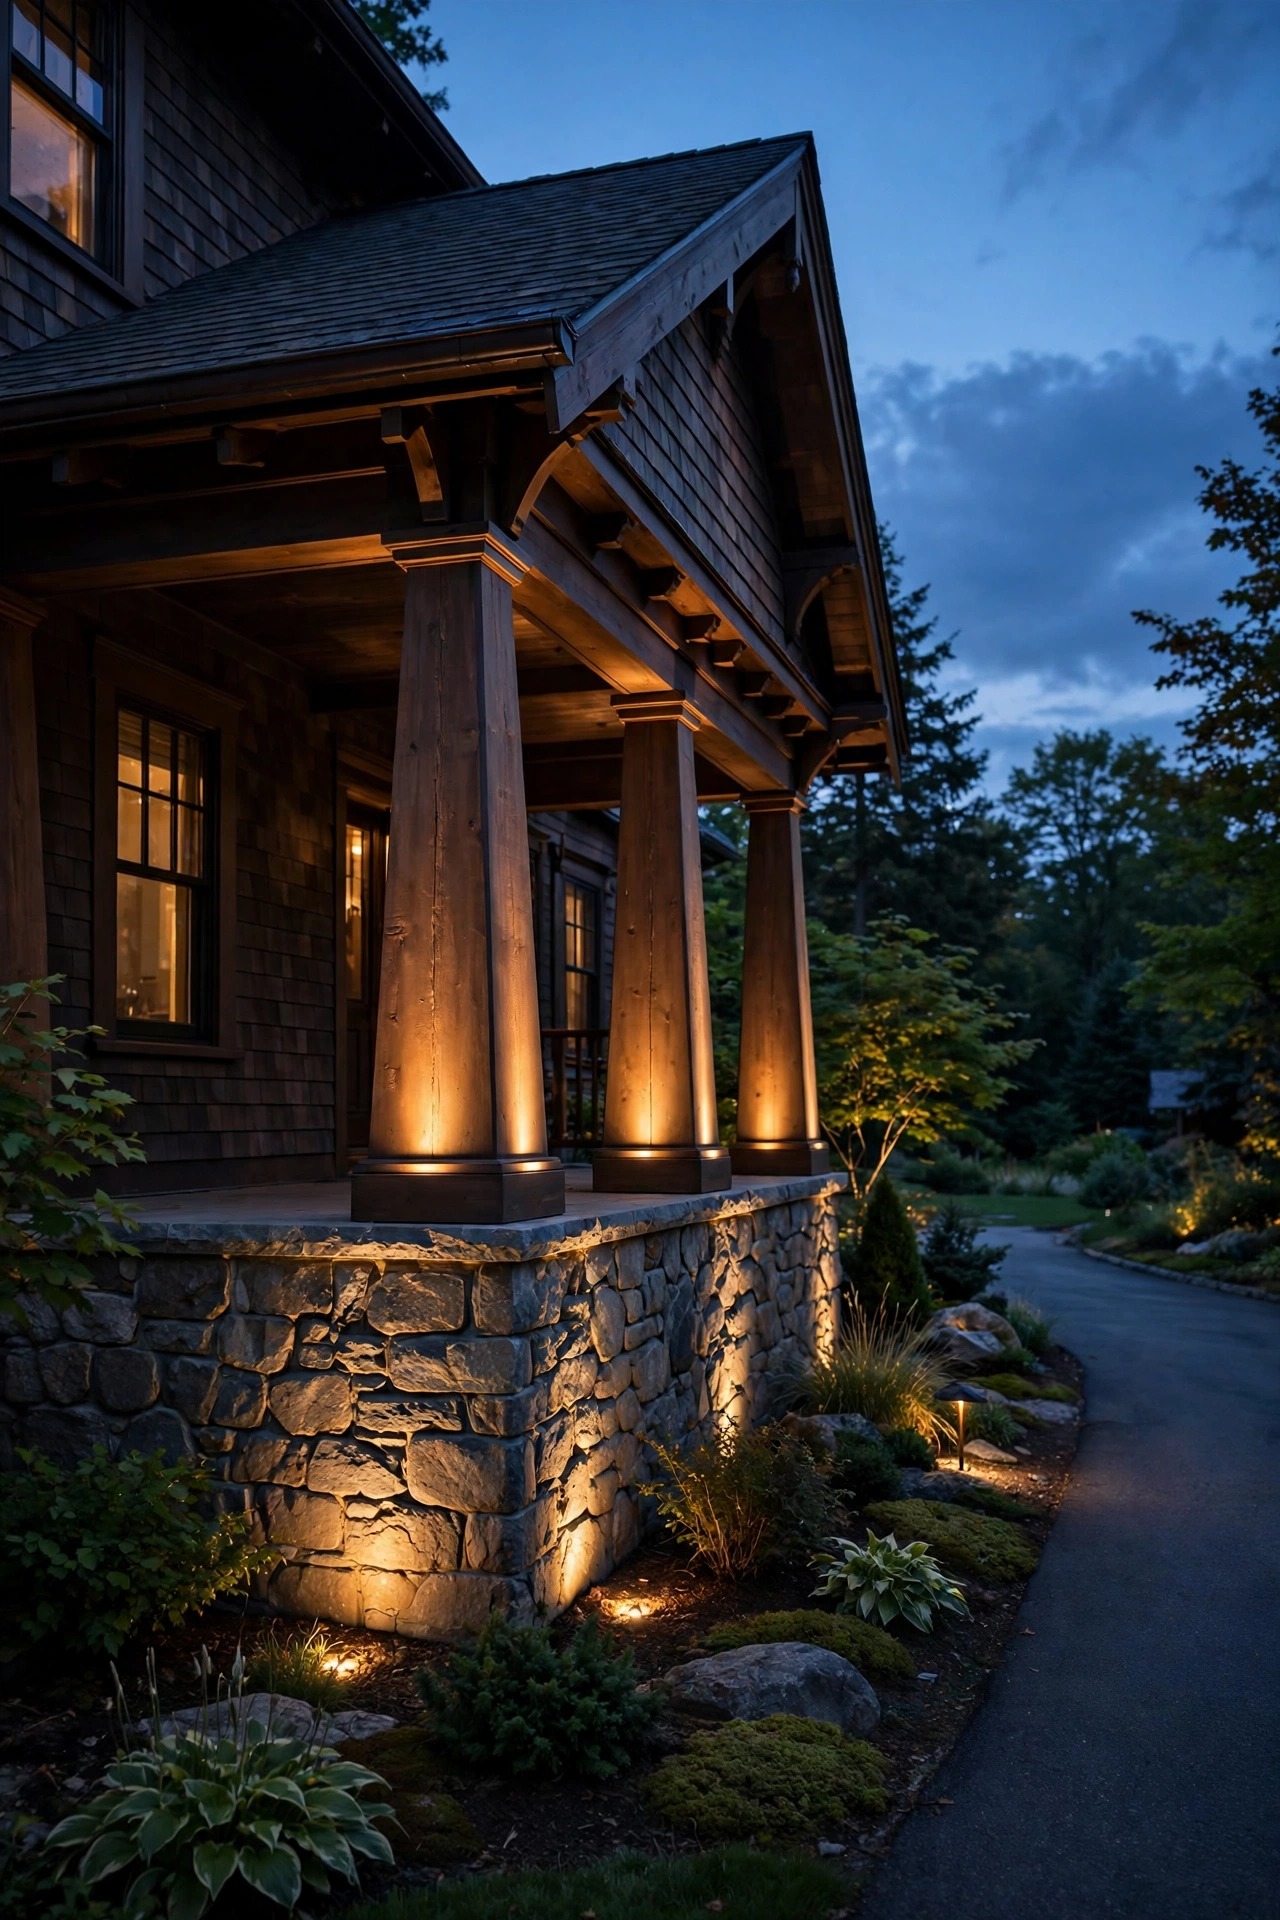
8. Recess Step Lights Into the Entry Stairs
Entry steps are where guests trip, and they are also where colonial entries often go dark between the walk lights and the porch. Recessed step lights fix both problems with almost no visual footprint. Mount one small fixture in the riser of each step — or in the side wall beside the steps on a brick stoop — centered on the tread, so the light washes down and across the step below. Centering matters for the colonial look and for safety: an off-center light throws a shadow exactly where a foot lands. Choose fixtures with louvered or downward-facing lenses so no bare bulb meets the eye, and keep the output gentle. These are hardwired or low-voltage fixtures, so plan them with your path-light run if you are trenching anyway; retrofitting a solid brick stoop is the one job on this list where I suggest hiring out the drilling. On wooden steps, surface-mount versions install in an afternoon. However you mount them, put step lights on the same photocell or timer as the walk so the whole route from street to door lights up as one sequence.
Suggested budget range: $60 – $240.
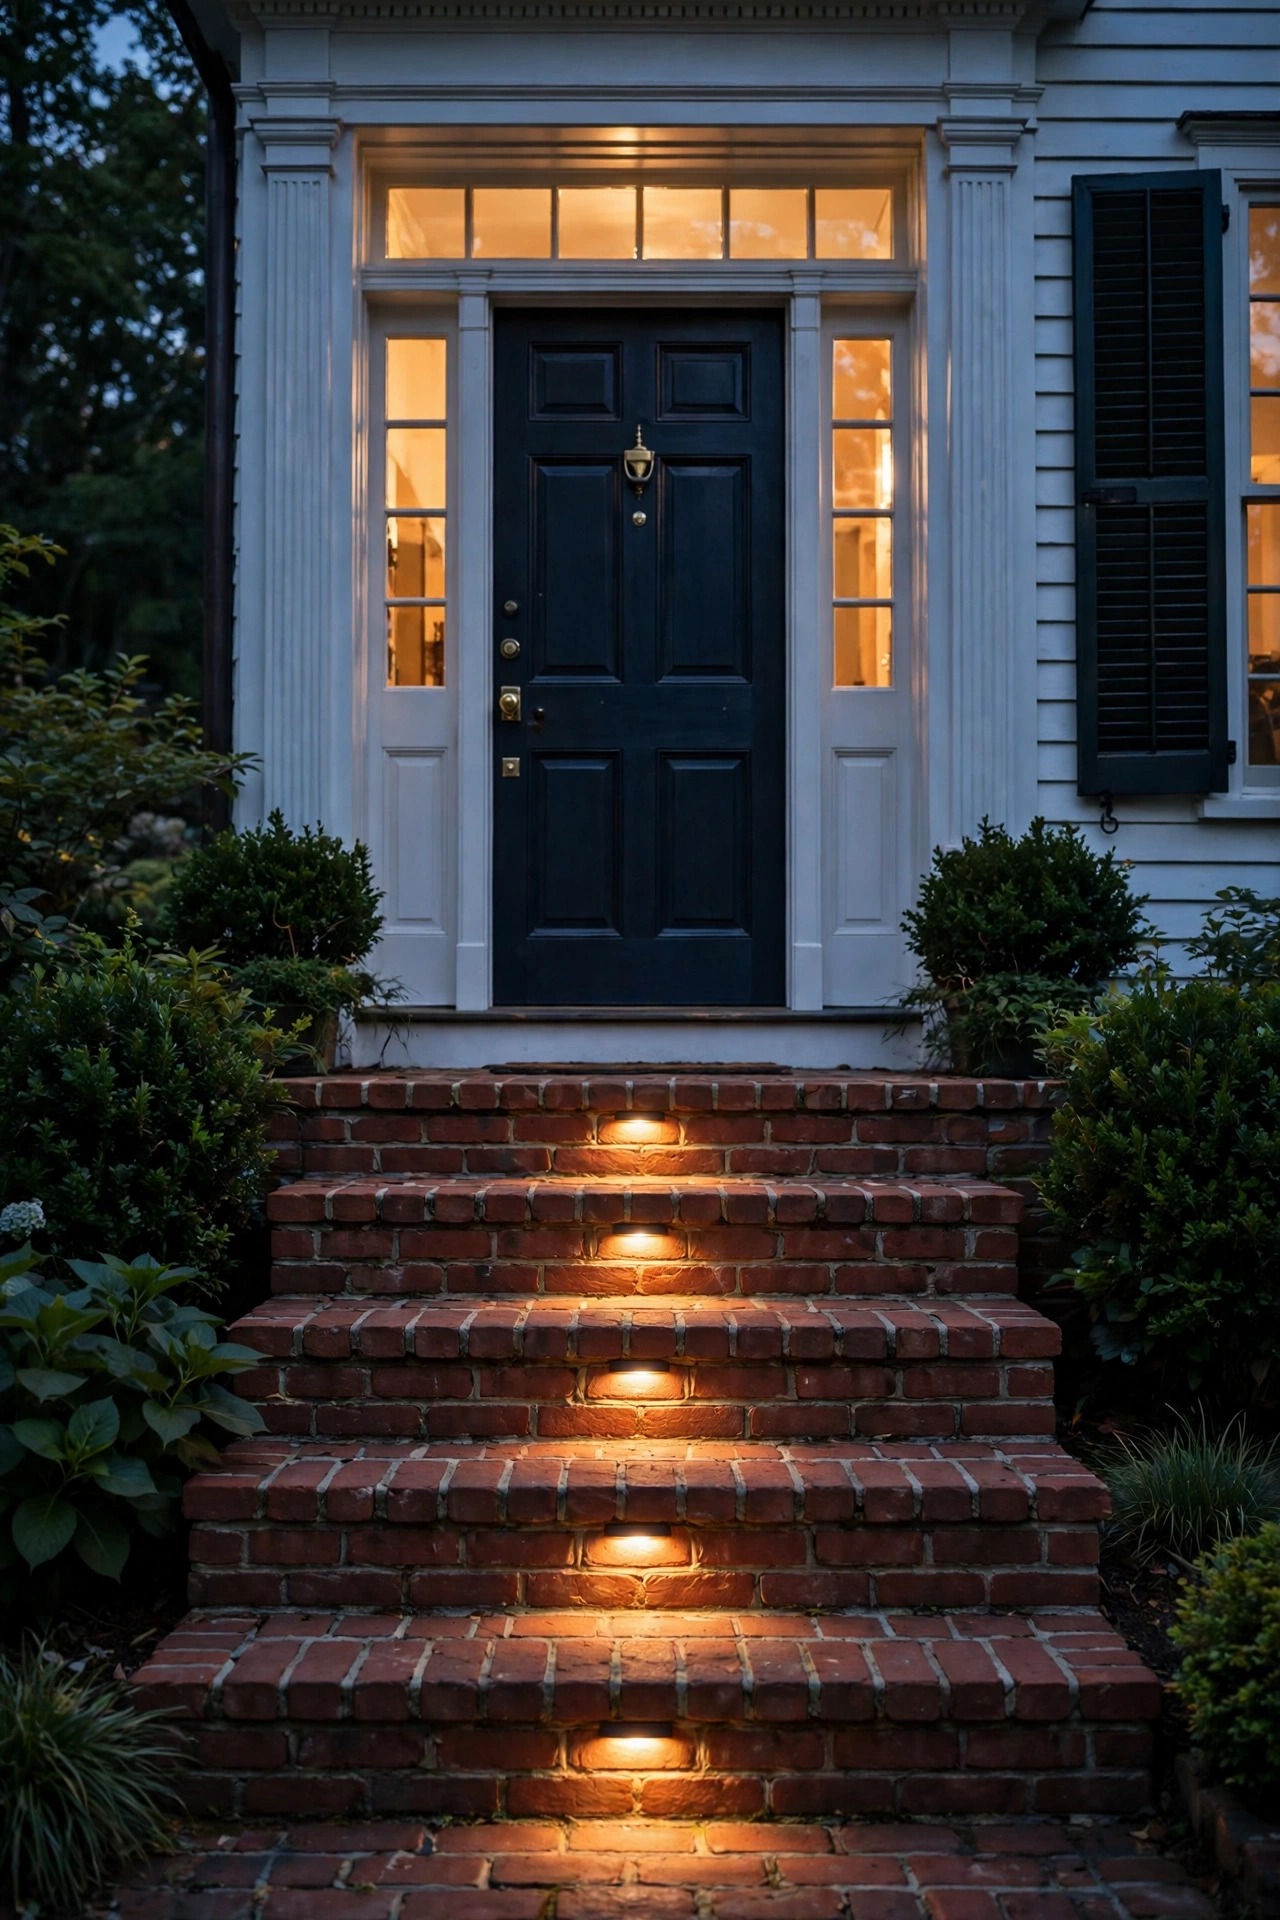
9. Keep Colonial Entryway Lighting Ideas Timeless With One Warm Temperature
Here is the rule I repeat to every colonial homeowner: pick one warm temperature and let nothing break it. Hold every bulb — sconces, pendant, post light, path lights, even the window candles — at 2700K, and the entry reads as candlelit and collected. The moment one fixture burns 4000K daylight white, the entry stops looking classic and starts looking commercial, and the eye goes straight to the mismatch. When you shop, buy spares in the same purchase so replacements match years later, and check the box rather than the shelf label, because soft white usually means 2700K while warm white sometimes hides 3000K. Filament-style LEDs give the closest read to real flame inside clear lantern glass. Dimmers help too, since a dimmed 2700K bulb warms slightly further, deepening the effect on low settings. If a fixture arrives with an integrated LED, confirm its temperature before it goes up, because integrated fixtures cannot be re-bulbed when the color disappoints. This discipline costs nothing extra. It is simply the difference between an entry that looks collected over decades and one that looks assembled last weekend.
Suggested budget range: $20 – $60.

10. Choose Brass or Black Finishes and Commit to One
Finish choice is where a colonial entry declares its era. Polished or antique brass is the historical default — it suits red brick, white clapboard, and black shutters, and it warms up beautifully under 2700K light. Matte black is the modern colonial compromise: crisper against pale siding, forgiving of fingerprints, and easy to match across sconces, pendant, post, and path lights bought years apart. What I steer people away from is mixing the two families at the door itself. Brass sconces with a black pendant read as indecision from the street, so pick one finish for the welcome layer and repeat it. Copper is the lovely exception for accents — a copper post light or lantern pair patinas to a soft green-brown that brick colonials wear especially well. Whatever you choose, buy the best coating your budget allows, because entry fixtures take weather from every side. Powder-coated aluminum and solid brass outlast painted steel by years. And match your house numbers and door hardware to the same finish family while you are at it — the entry reads as one composition.
Suggested budget range: $70 – $260.
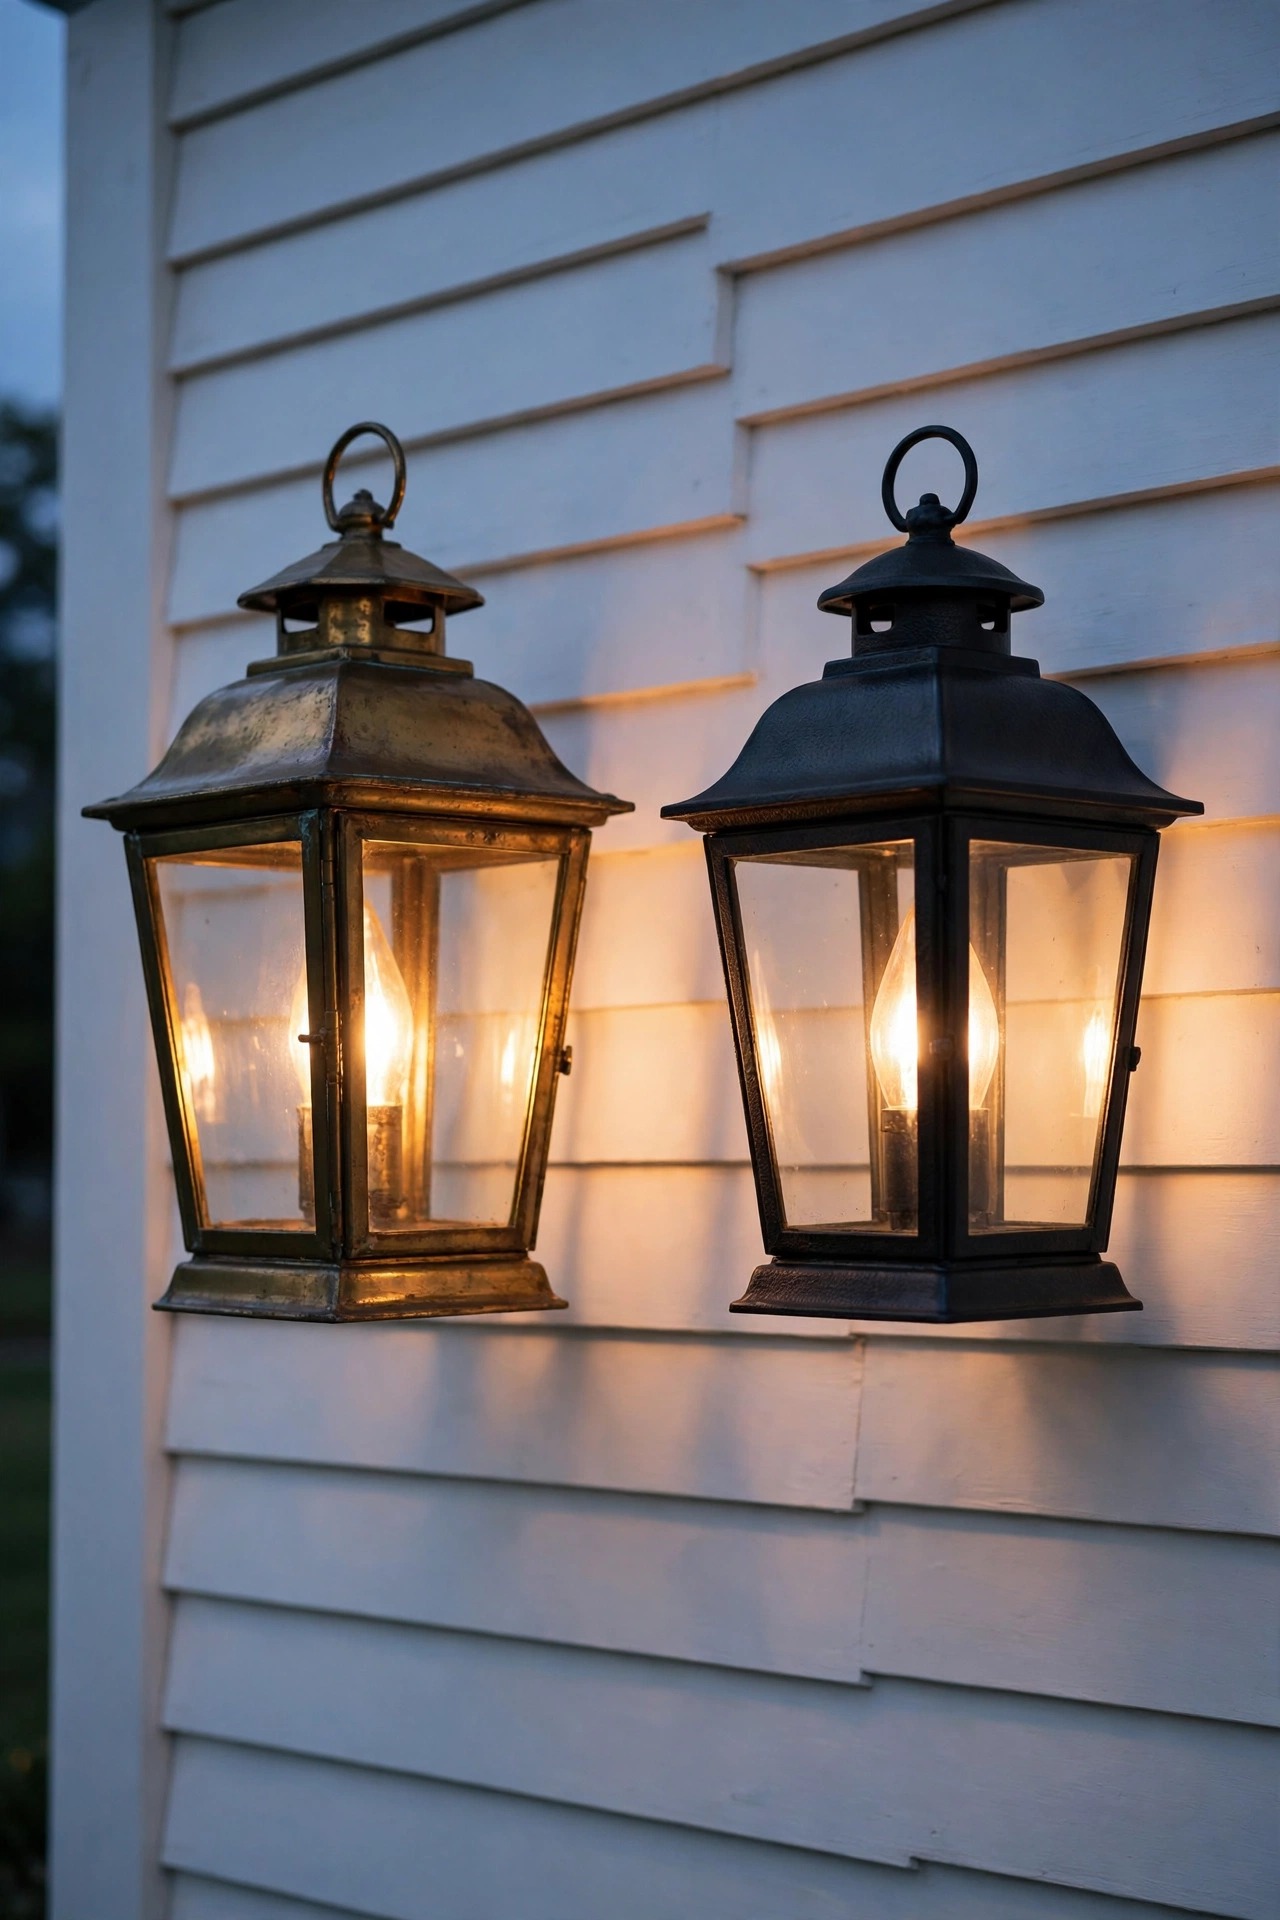
11. Mount Lanterns on the Porch Columns
If your colonial has a real front porch with columns, those columns are lantern posts waiting to happen. Mount one lantern on the inner face of each front column, at the same height as your door sconces, and the porch gains a second frame inside the first. The effect at dusk is wonderful — the door glows in the center, flanked by two pairs of lights receding in symmetry. Column mounts need care: on wood columns, a simple surface mount with a small backplate works; on fiberglass or hollow columns, use the manufacturer mounting kit so the fixture does not loosen over time. Keep the lanterns slightly smaller than the door sconces so the hierarchy stays clear — the door should always be the brightest point of the composition. Wire them on the same circuit as the sconces if you can, so one switch raises the whole welcome layer. Where wiring is impossible, solar column lanterns exist, but choose high-capacity models and accept a shorter runtime in winter. Matched heights matter more than matched fixtures here, so measure from the porch floor, not from the ground.
Suggested budget range: $80 – $260.
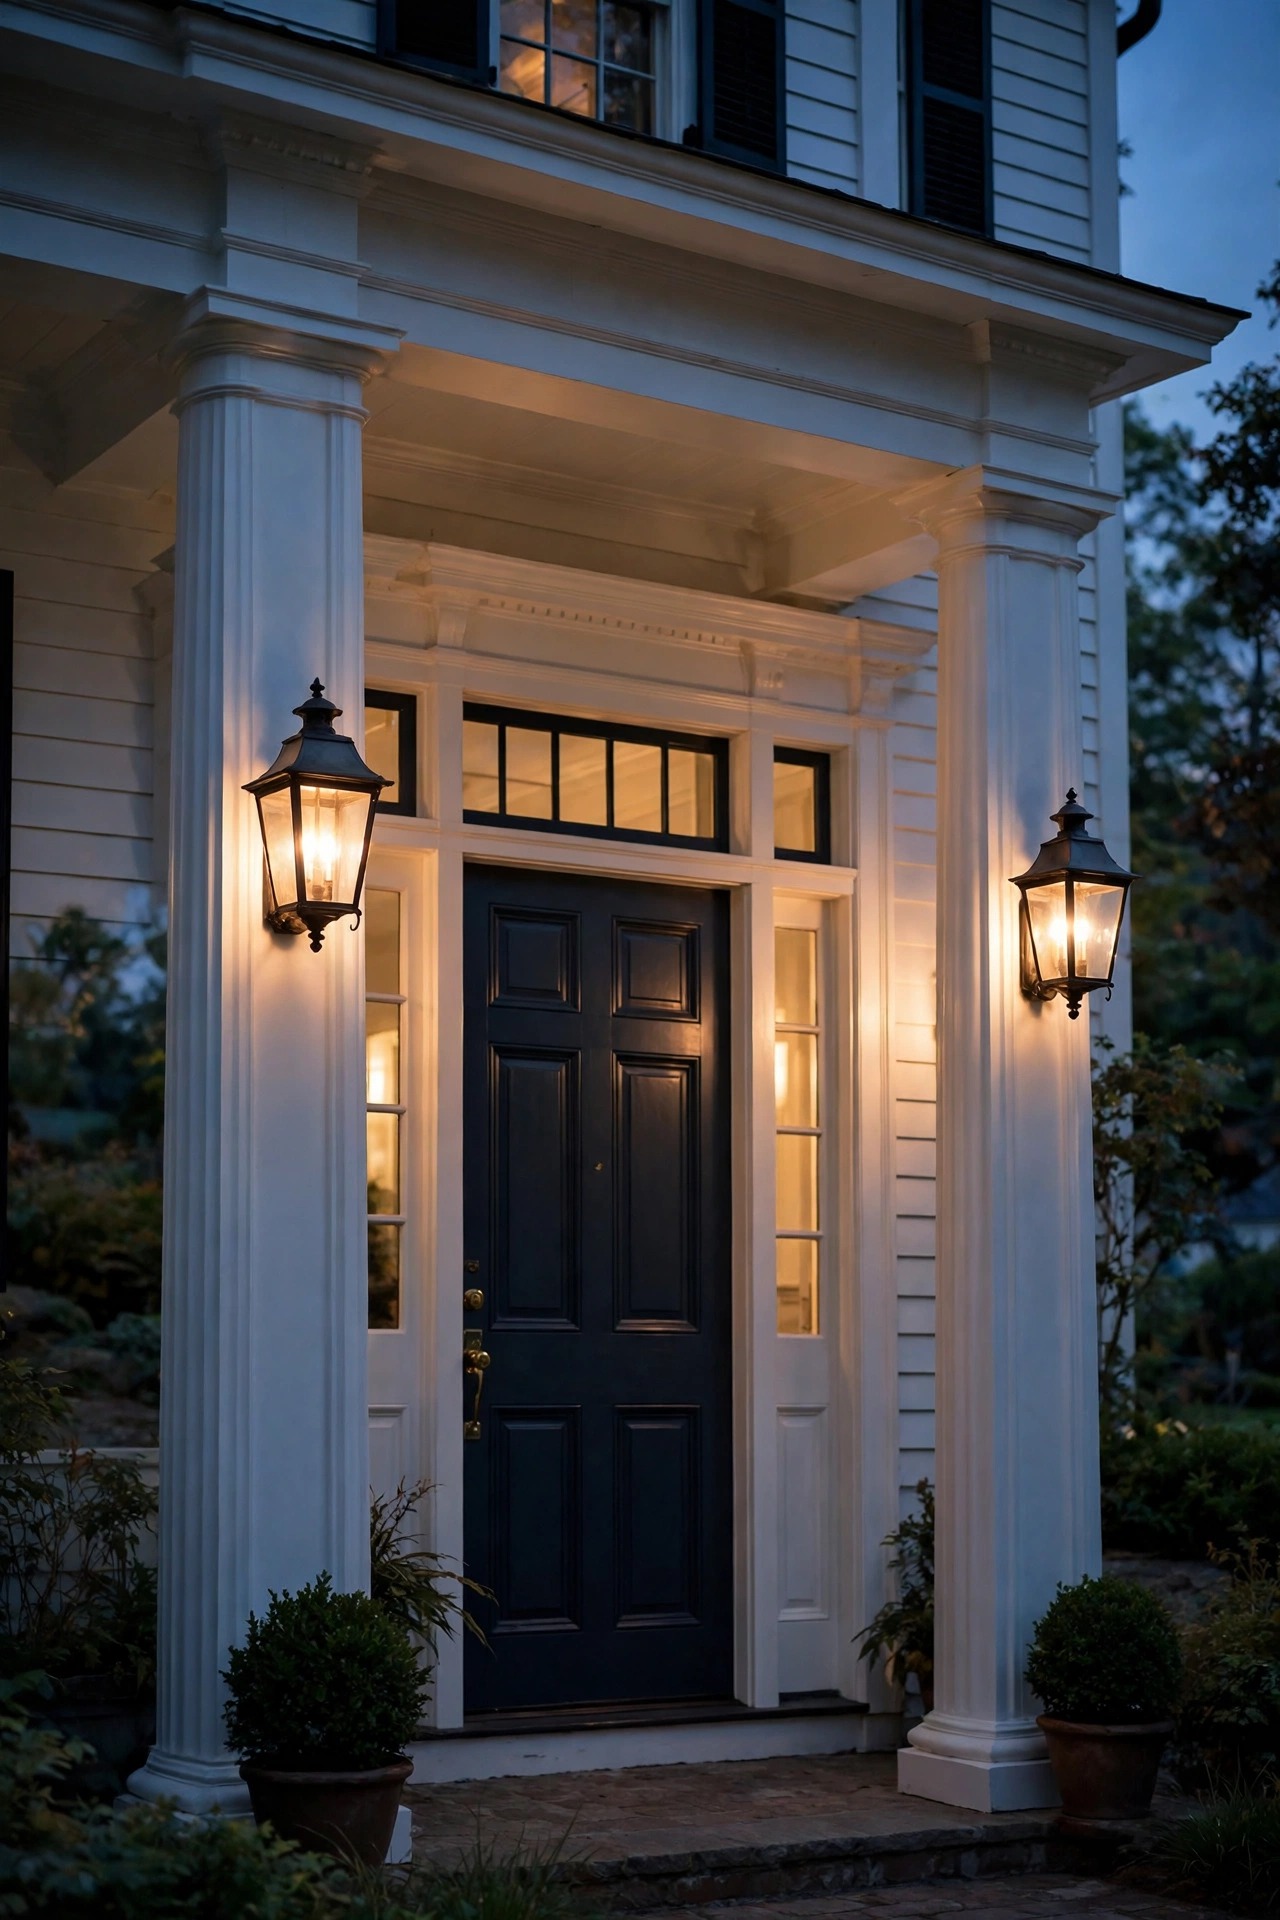
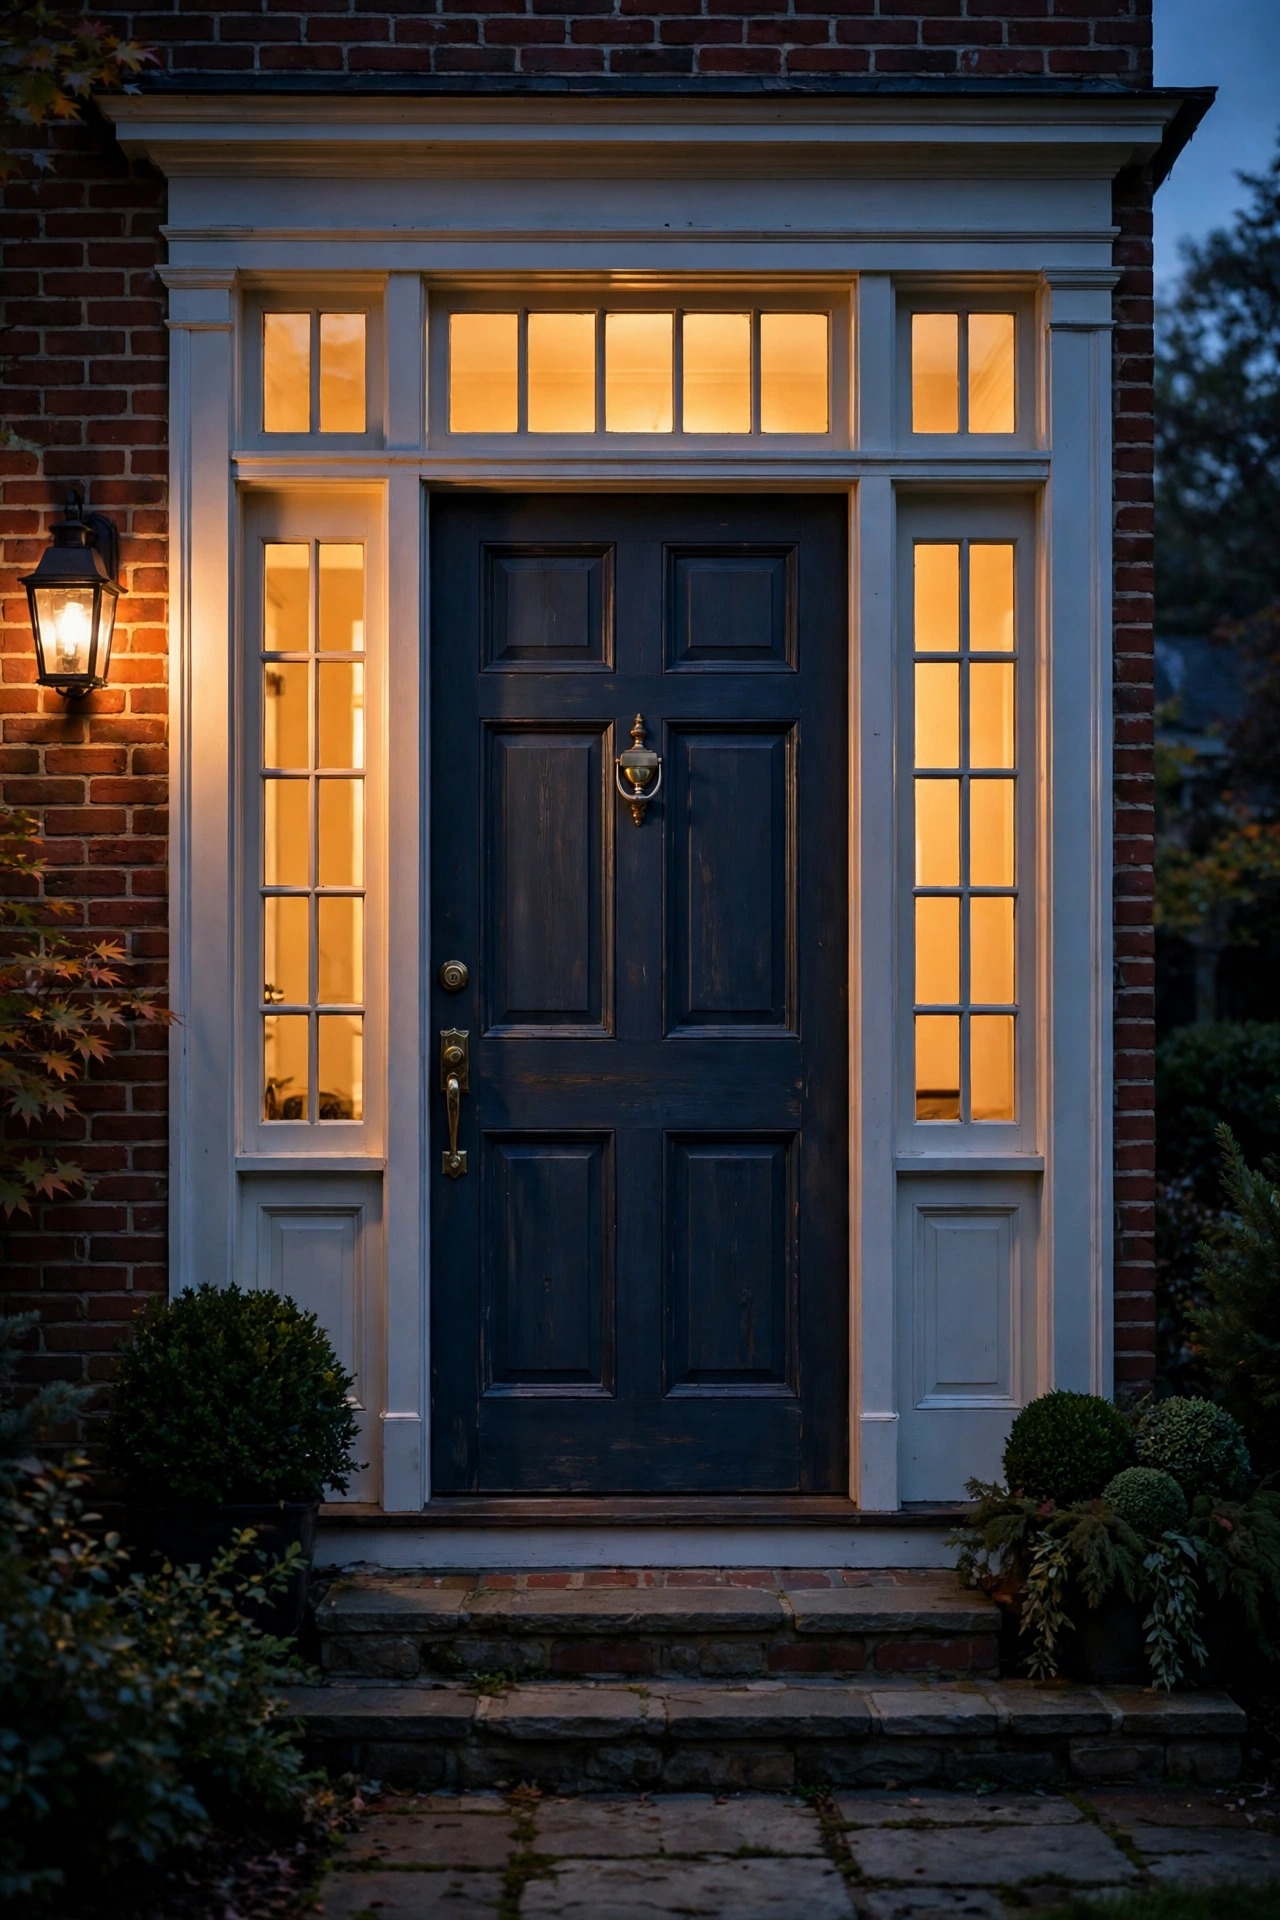
12. Glow the Transom and Sidelights From Inside
Many colonial doors come framed by sidelights and a transom window, and lighting them from inside turns the whole doorway into a lantern. The trick is gentle interior light, not a bare bulb: a small warm lamp in the foyer, sheer curtains, or frosted film on the sidelight glass diffuses the glow so the panes read as amber panels rather than a view into your hall. From the street this does two jobs — it widens the apparent entry, which suits the colonial love of proportion, and it frames the door itself in light, which is the entire point of this post. Keep the interior source at the same 2700K as everything outside, and put it on a smart plug timed with your exterior lights so the doorway assembles itself at dusk. If your sidelights are bare clear glass, a linen-look privacy film still lets the warmth through while protecting your privacy. This is also the one idea on the list that costs almost nothing if you already own a foyer lamp. Guests consistently read a glowing doorway as the warmest welcome of all.
Suggested budget range: $15 – $90.
13. Carry the Look to the Garage With Carriage Lanterns
On many colonials the garage sits close enough to the entry that its lighting either joins the composition or argues with it. Carriage-style lanterns above or beside the garage doors settle the argument. Choose fixtures in the same finish and glass style as your door sconces, scaled up about a third — garage doors are a bigger canvas and small fixtures disappear on them. One lantern centered over each door, or a matched pair flanking a double door, keeps the colonial symmetry story consistent across the whole front of the house. Motion activation suits the garage better than the front door, since you want working light when you unload groceries, but look for models with a gentle dusk-to-dawn low mode so the facade never sits half dark. Match the bulb temperature to your entry at 2700K, and if the garage lanterns run brighter for task reasons, at least keep the color identical. When the entry and garage speak the same language, the entire house reads as one designed facade — and buyers notice, even if they cannot say why.
Suggested budget range: $90 – $320.

14. Put the Whole Entry on Photocells and Timers
The most beautiful entry lighting fails if nobody turns it on, so automation might be the most practical idea on this list. Photocell adapters screw between bulb and socket in many lantern fixtures and switch each light on at dusk and off at dawn individually — perfect for a post light or pendant you want running all night. For the full composition, a timer or smart control on the porch circuit is better, because every fixture in the welcome layer rises together at sunset and the symmetry never breaks. Astronomical timers adjust themselves through the seasons, which beats resetting a dial in June and December. I set my own entry to full brightness until 11 p.m., then let the post light and window candles carry the overnight shift at a softer level. Smart bulbs work too, but inside enclosed outdoor lanterns, check the temperature rating first — heat shortens their life. Whatever system you choose, test it from the street on the first night. An entry that lights itself, evenly and warmly, every single evening is the real colonial ideal: hospitality without a second thought.
Suggested budget range: $25 – $120.

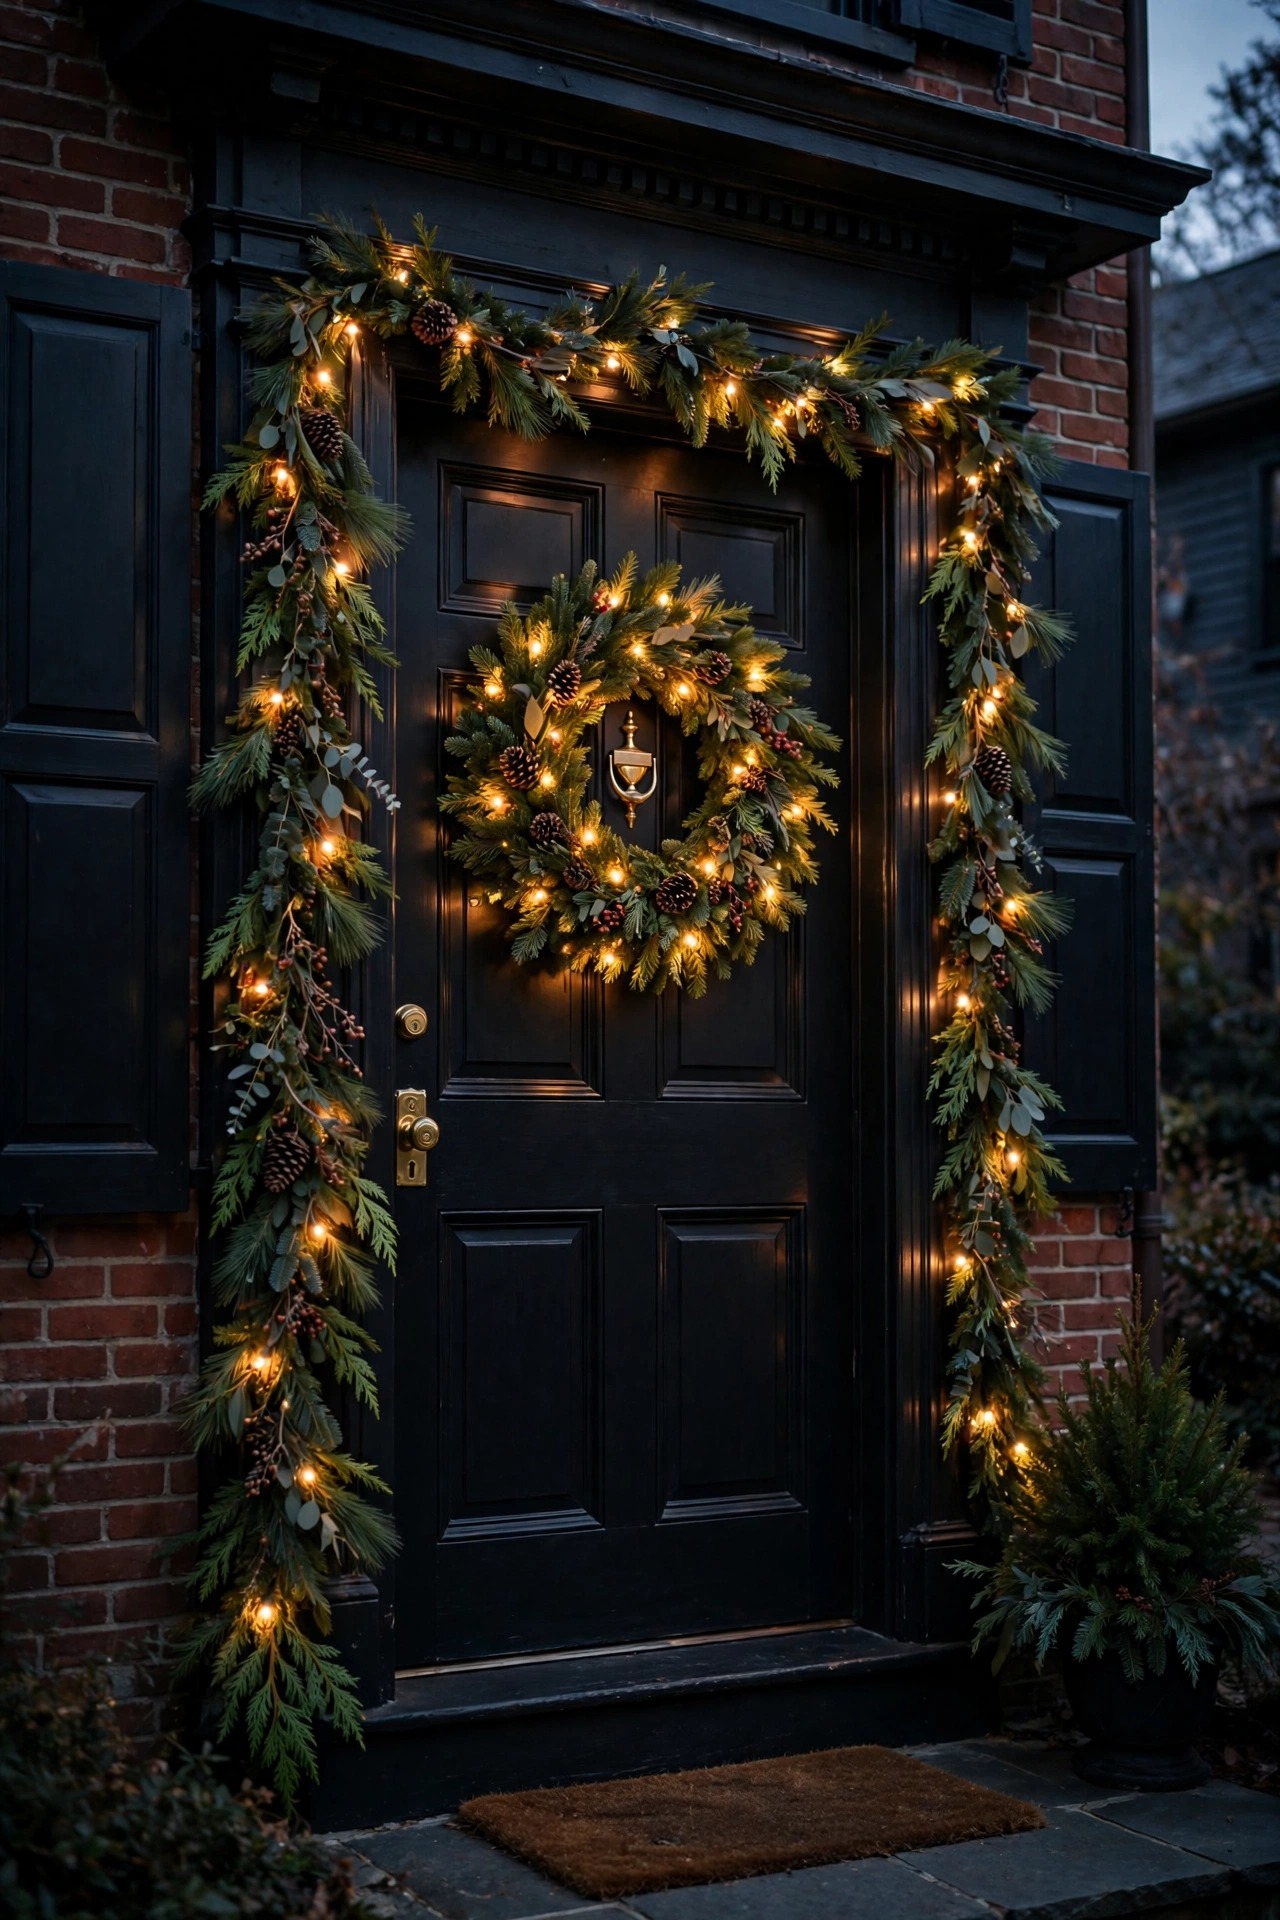
15. Dress the Door With a Lit Wreath and Garland
A lit wreath on the door is the seasonal crown of a colonial entry, and the modern versions are good enough to run from Thanksgiving to New Year without a single cord in sight. Choose a wreath with warm-white micro LEDs woven through it, battery powered with a built-in timer, and hang it centered on the door at eye level — about 57 inches to the center. Centered is non-negotiable; the whole colonial look rests on that plumb line from post light to pendant to wreath. If your home has double doors, twin wreaths keep the symmetry. A garland swagged along the porch rail or door frame, lit with the same warm micro lights, extends the glow sideways and frames the entry like a proscenium. Keep the LED color matched to your 2700K fixtures — blue-white wreath lights against warm lanterns is the most common seasonal mismatch I see. Battery packs hide behind the wreath, and a six-hour nightly timer stretches one set of batteries through the season. Store it ready to hang and next year takes ten minutes.
Suggested budget range: $35 – $110.
16. Finish a Wide Stoop With a Lantern Cluster
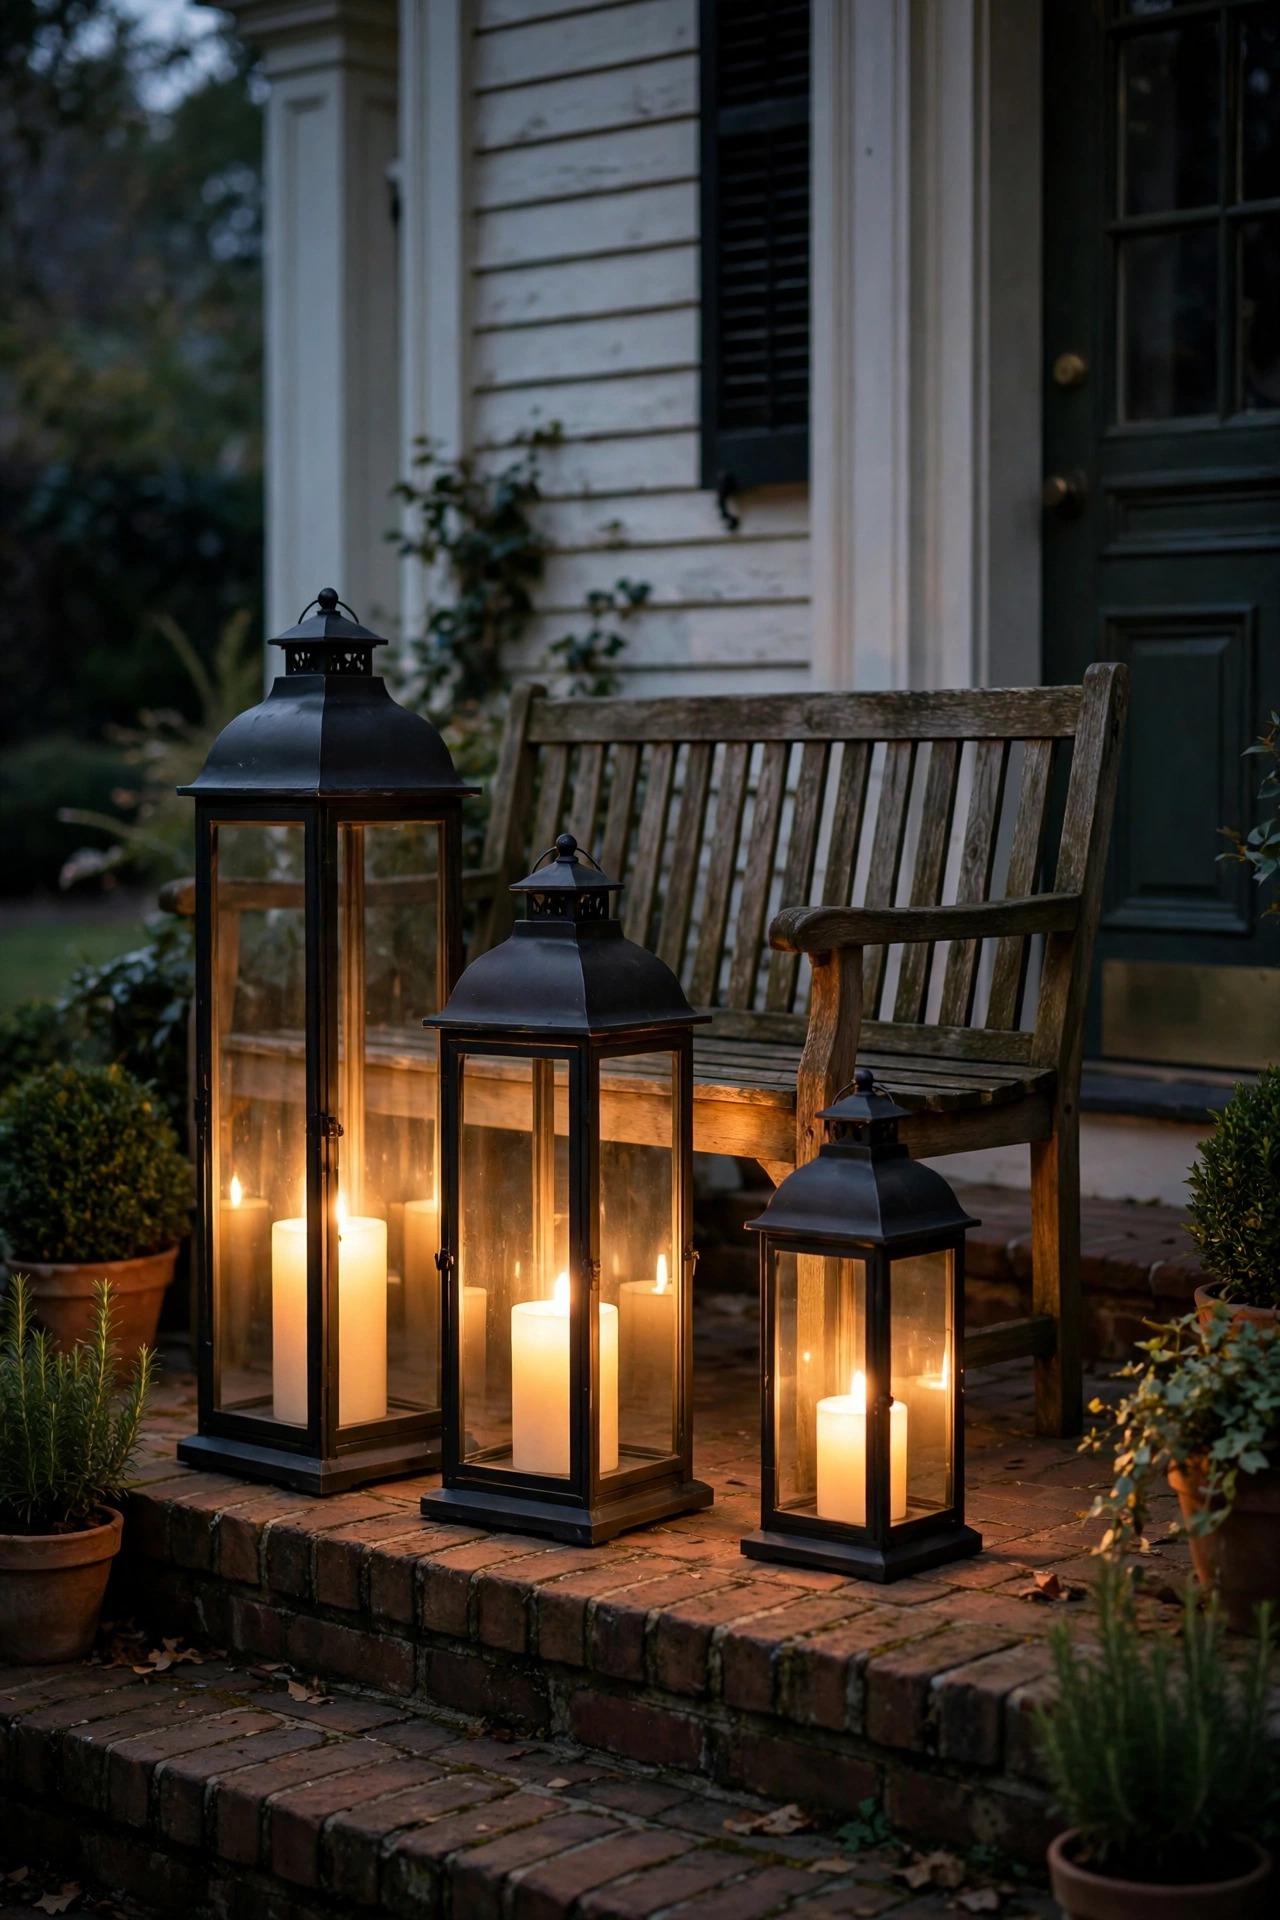
If your entry has a stoop wide enough for a bench or a pair of planters, a small lantern cluster in the corner finishes the scene the way a period ends a sentence. Group two or three freestanding lanterns of graduated heights — tall, medium, small — beside the bench, or flanking the door in matched pairs if space allows both sides. Flameless pillar candles inside keep it safe near cushions and greenery, and a timer remote means they join the evening routine without a trip outside. Black or brass lanterns tie back to your fixture finish, and seeded or clear glass shows the candle glow best. This is the softest, lowest layer of welcome light, pooling at ankle height where the sconces cannot reach, and guests feel it as coziness even if they never notice the source. In summer I swap in citronella-style flameless pillars for a stoop that doubles as seating. Clusters also photograph beautifully, which matters if you are staging the house. Keep the glass clean — a foggy lantern dims by half — and bring battery lanterns under cover in hard freezes so the candles survive to spring.
Suggested budget range: $30 – $100.
17. Walk the Route at Dusk and Fix the Gaps in Your Colonial Entryway Lighting Ideas
Finish the way designers do: with a dusk walk-through, street to door and back again. Start at the sidewalk at full dark. Check that the post light reads as a warm candle, the path rows march in matched pairs, and no single fixture glares brighter than the door itself. Walk the route slowly and note every dark gap — the bottom step, the turn in the walk, the corner by the garage — because guests find those gaps with their feet. Stand at the door and look back: the layers should recede in order, welcome brightest, accent softest. Then check the details: every bulb at 2700K, every timer firing, window candles level, glass clean. Photograph the entry from the street; a phone picture exposes mismatched colors and crooked fixtures your eyes have learned to forgive. Fix one thing per evening and within a week the composition settles. This little ritual is honestly my favorite part of any lighting project — the moment a house starts greeting you back. Repeat it each season and your entry keeps that collected, candlelit calm all year.
Suggested budget range: $0 – $50.
Frequently Asked Questions
What color temperature looks best for a colonial entryway?
Warm white at 2700K, everywhere, with no exceptions. That temperature reads as candlelight and lamplight, which is exactly the era a colonial entry is channeling. Filament-style LED bulbs inside clear or seeded glass give the closest match to a real flame. Avoid anything labeled daylight or 4000K and up — one cool bulb among warm ones breaks the whole composition, and the mismatch is the first thing guests notice even if they cannot name it.
How high should sconces hang beside a colonial front door?
Aim for the center of the bulb at about 66 inches above the porch floor, which puts the light near eye level without shining into it. For fixture size, lanterns 12 to 16 inches tall suit a standard 80-inch door; taller doors and two-story entries can carry 18 to 20 inches. Space the pair roughly a quarter of the door width out from each side of the frame, measure from the same reference points on both sides, and use a level — symmetry is the entire effect.
Are solar lights bright enough for a colonial front walk?
For accents and supplements, yes; for the main walk on a formal colonial entry, I recommend wired low-voltage instead. Matched rows need matched brightness all evening, and solar fixtures on a shaded or north-facing walk often fade hours before wired ones. Solar path lights also vary in color temperature from batch to batch, which fights the one-temperature rule. If you do go solar, buy every fixture in one purchase, choose warm white, and place the panels where they get at least six hours of direct sun.
How much does a full colonial entryway lighting setup cost?
A starter version — a sconce pair, window candles, and a few path lights — runs about $150 to $400 in fixtures. The full layered composition in this post, with a post light, pendant, step lights, facade uplights, and automation, typically lands between $600 and $1,500 in fixtures if you install the low-voltage pieces yourself. Hardwired sconces, pendants, and recessed step lights are the places to budget for an electrician, usually a few hundred dollars per visit.
Conclusion
A colonial entryway does not ask for more light — it asks for light in the right places, in matched pairs, at one warm temperature. Start with the layer your entry is missing, hold the symmetry, and let the door stay the brightest, warmest point of the composition. Do that, and these colonial entryway lighting ideas will make your home the one guests slow down for on the evening walk. If you are ready to take the composition further, browse more outdoor entryway lighting ideas here on the site and build your next layer from there.