Intro
Your front entry is the handshake of your home — and after dark, light does all the talking. When I'm putting together outdoor entryway lighting ideas for friends, I always start with the same question: how do you want guests to feel in the ten seconds between the sidewalk and your front door? Safe, expected, and a little bit enchanted is my answer, every time.
In my experience, the magic formula is layering, and the entryway is the easiest place in the whole yard to get it right because everything is close together. You want three levels working at once: something overhead to define the space, something at eye level to flatter faces (nobody looks good under a single harsh bulb), and something low along the ground to guide feet safely up the steps. Get that triangle glowing in warm white — 2700K is my forever favorite — and even a modest stoop feels intentional and expensive.
Honestly? Most entryways are underlit in exactly the wrong way: one lonely builder-grade fixture blasting cool light straight down. These 21 ideas fix that affordably, and plenty of them go up in a single weekend. Let's make your front door the warmest spot on the block.
1. A Matching Pair of Sconces Flanking the Door
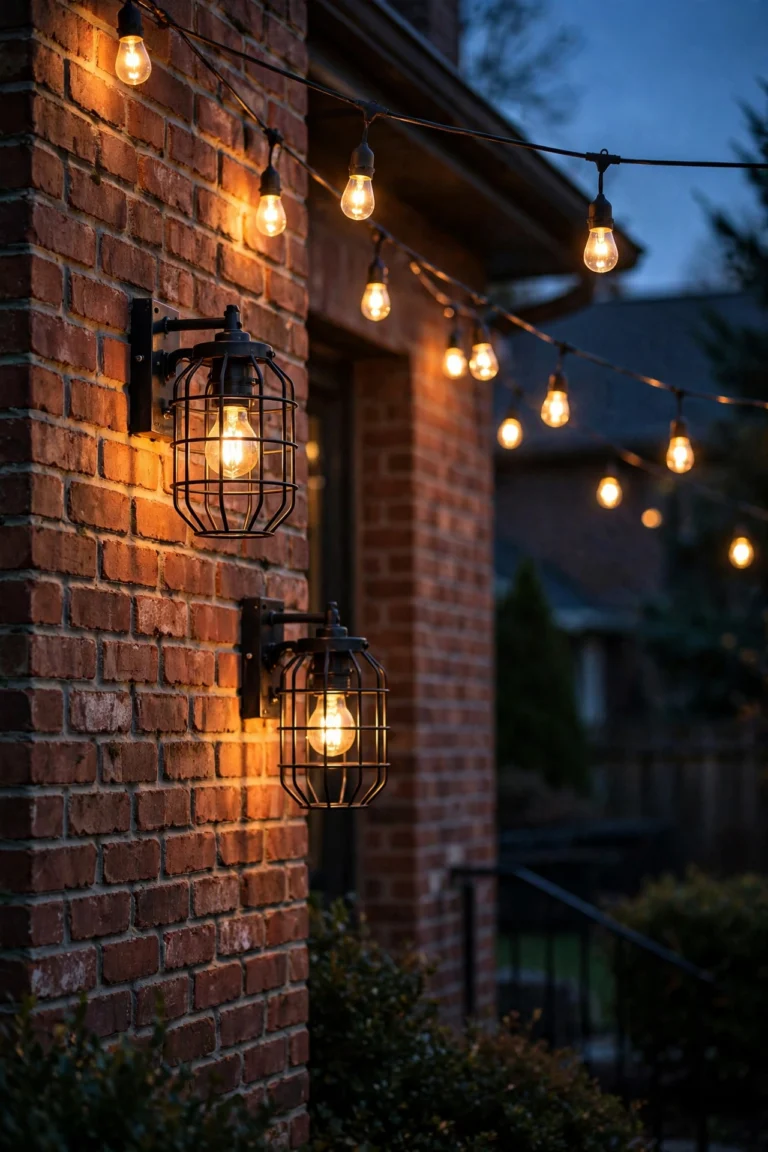
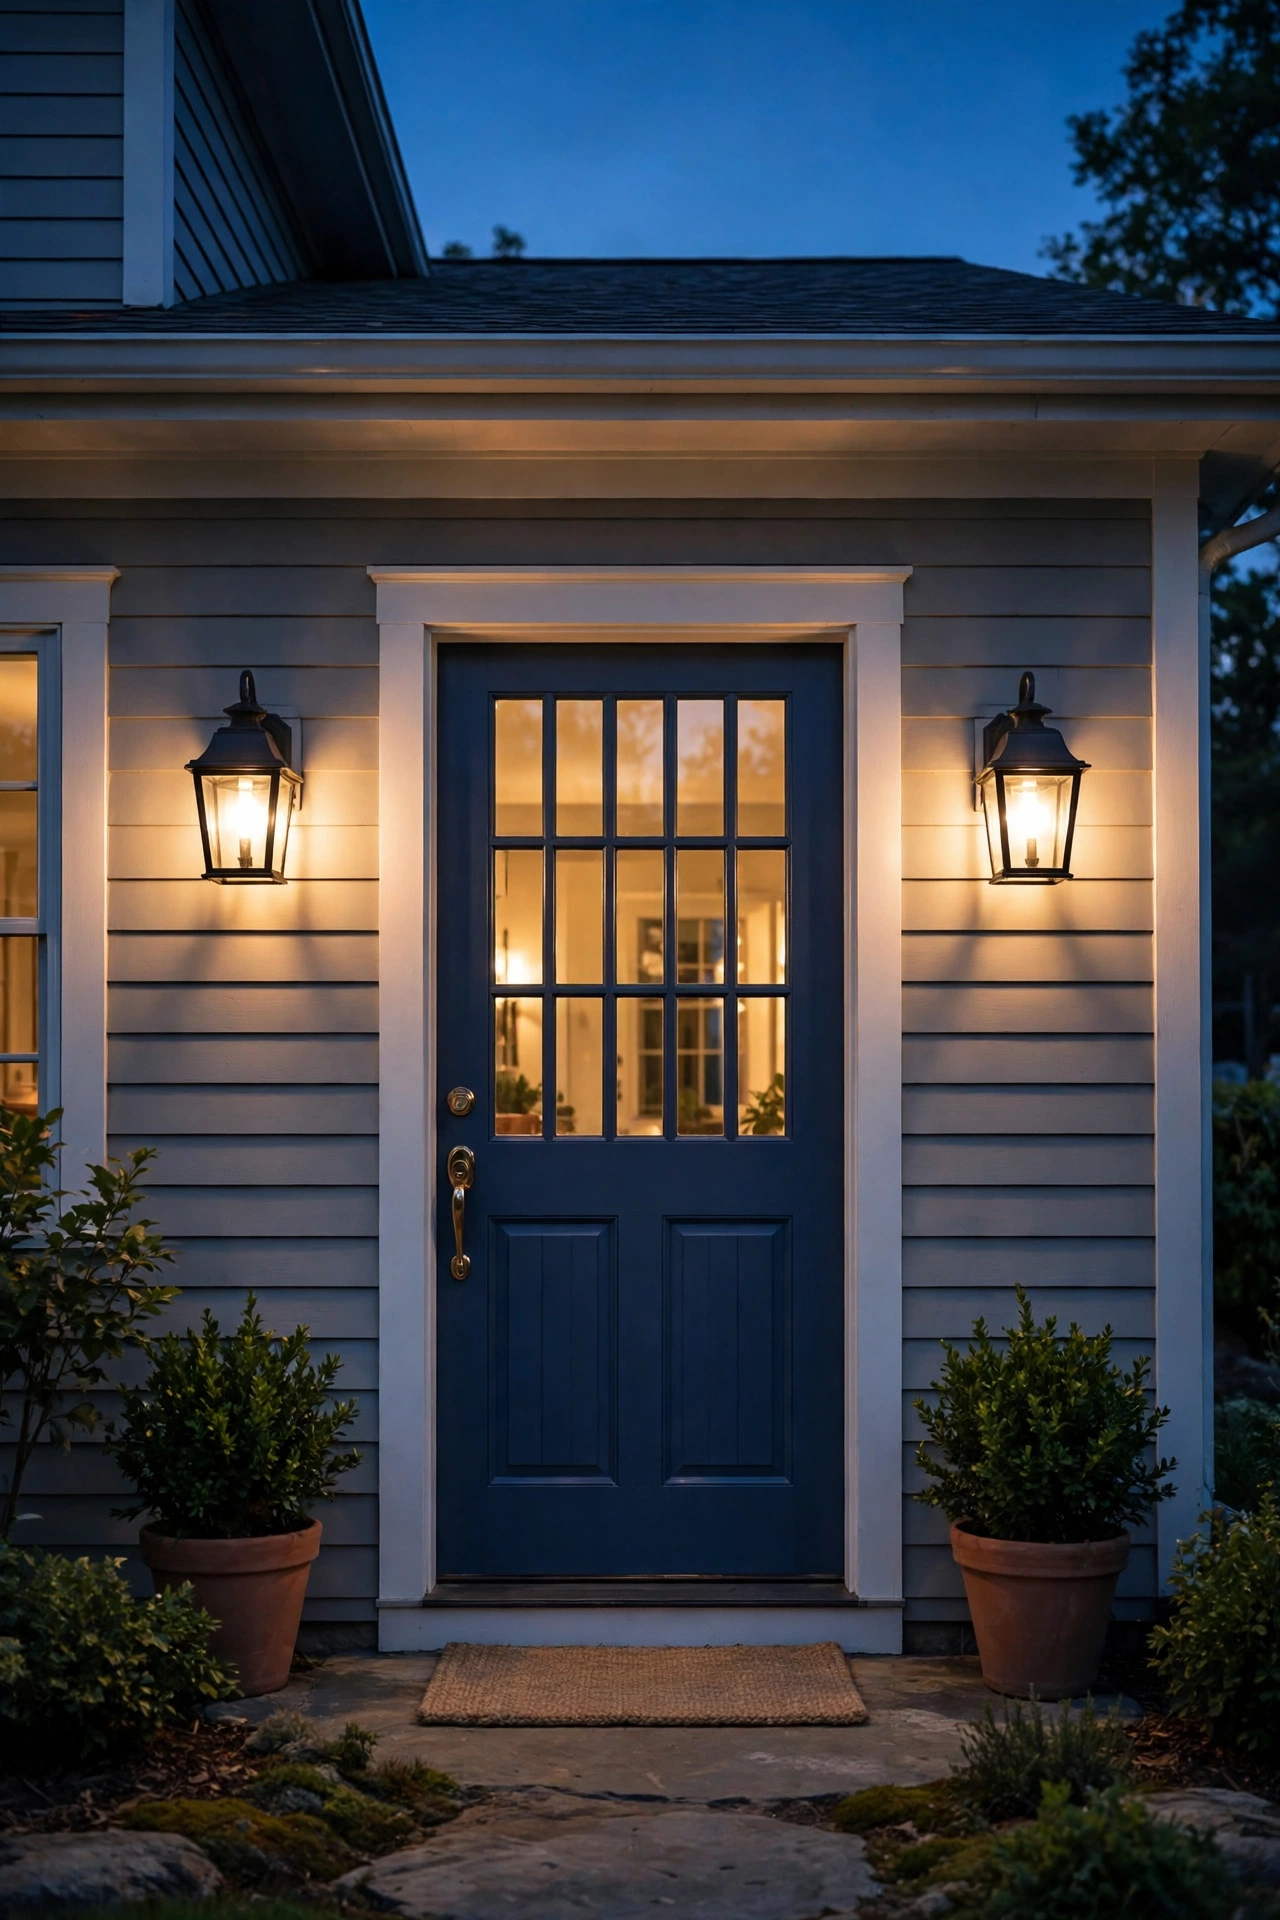
Symmetry at the front door is one of the oldest tricks in design, and it works because it instantly signals intention. Two matching wall sconces — one on each side of the door, mounted about 66 inches from the ground to the center of the fixture — frame your entrance like a picture and throw flattering light right where guests stand to knock.
In my experience, the size matters more than the style. For a standard 36-inch door, look for sconces that are roughly one-quarter to one-third the door's height — so 9 to 12 inches tall works beautifully. Go bigger than you think; tiny sconces get lost on a facade. Choose fixtures rated for wet locations (not just damp) if they sit outside the porch overhang, and always use warm-white LED bulbs around 2700K so the light flatters skin tones and siding alike.
If you're replacing existing fixtures, kill the power at the breaker first, and this is genuinely a 30-minute swap for anyone comfortable with a screwdriver. Renters or the hardwire-shy can get the same look with battery-operated sconces mounted with heavy-duty outdoor adhesive strips — just keep spare rechargeable batteries on rotation.
Suggested budget range: $60 – $200.
2. An Oversized Pendant Hung in the Entry Alcove
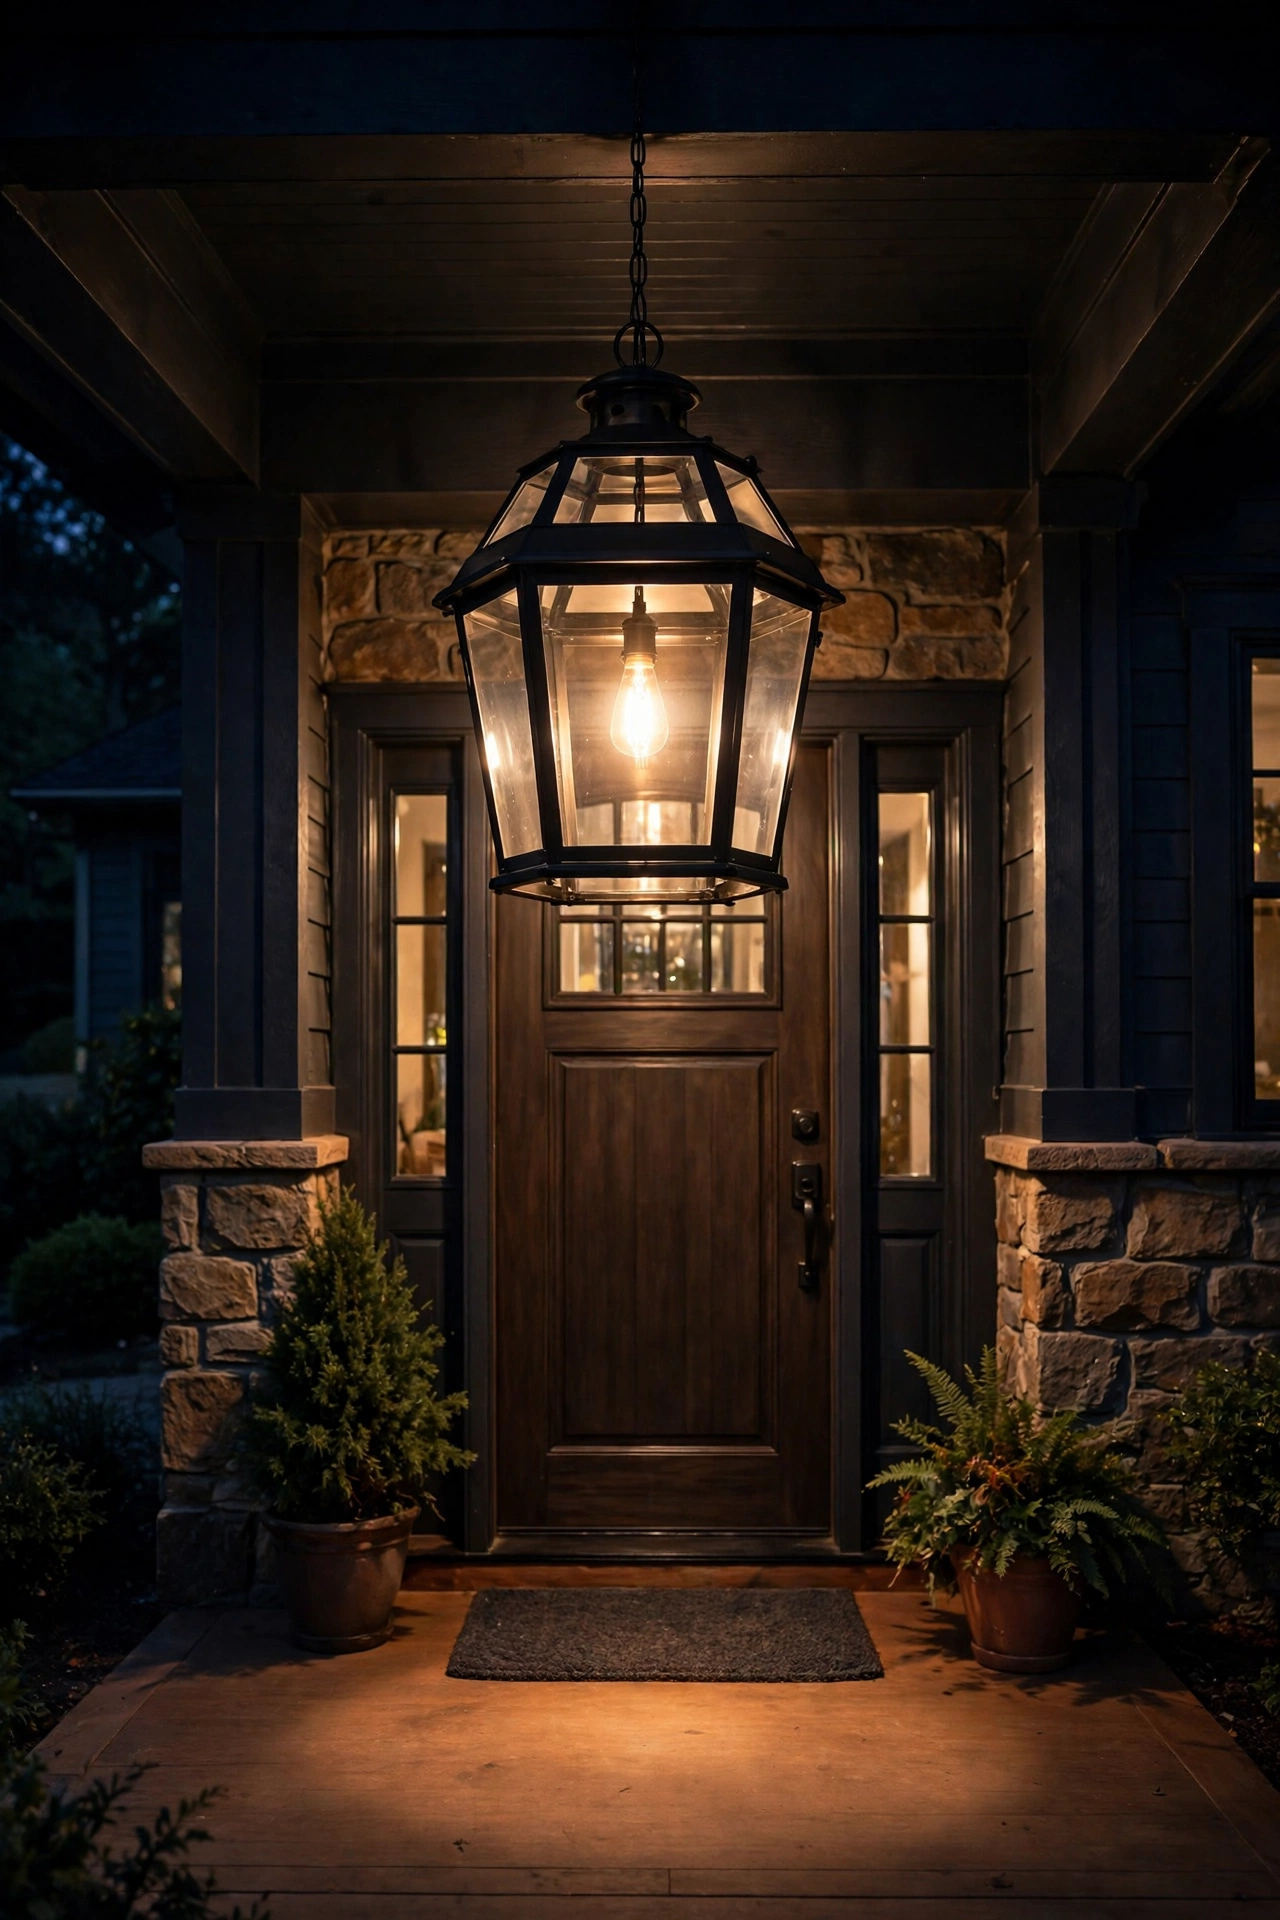
If your entry has a covered porch or a recessed alcove, a pendant light is the single fastest way to make it feel like a room rather than a doorway. I always recommend going oversized here — a 16- to 20-inch diameter lantern-style pendant hung so its bottom sits about 7 feet off the porch floor. That clearance keeps tall guests from ducking while letting the fixture read clearly from the street.
Hang it centered on the door (or centered on the alcove if you have double doors), and use a dimmable warm-white LED bulb so you can dial the mood. Bright for package deliveries and key-finding, dimmed low for evening ambiance — a simple inline dimmer or a smart bulb handles both. Make sure the pendant is rated for damp locations at minimum; if wind-driven rain can reach it, step up to a wet-rated fixture.
One styling note from experience: match the pendant's finish to your other exterior hardware — door handle, house numbers, mailbox — for that pulled-together look designers charge thousands for. Black, aged bronze, and matte brass all play beautifully with warm light.
Suggested budget range: $80 – $250.
3. Backlit House Numbers That Shine After Dark
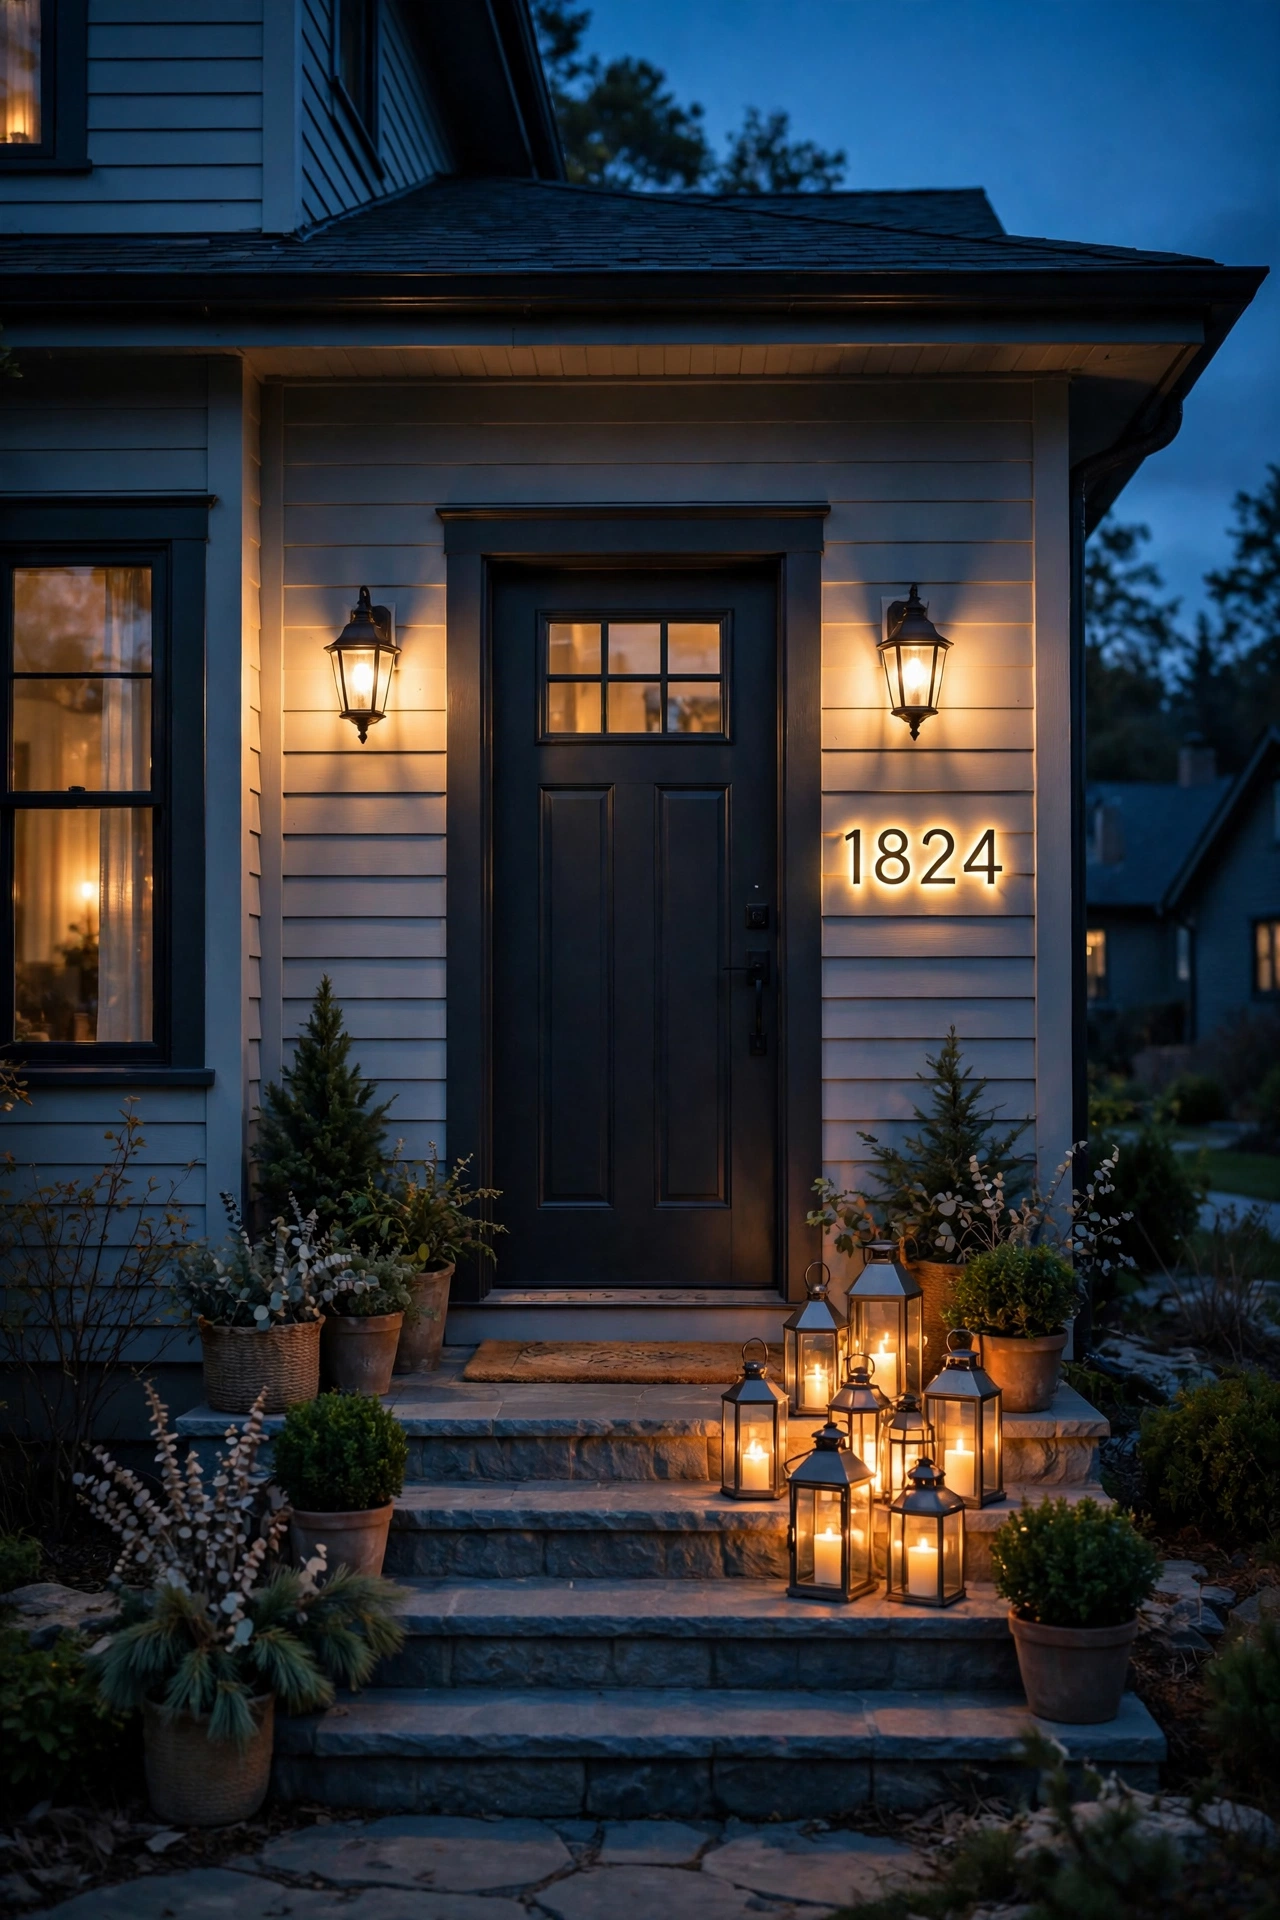
Delivery drivers, guests, and emergency responders all need to find your house — and a glowing set of house numbers is the most useful lighting upgrade most entries are missing. Backlit numbers float about half an inch off a mounting plate, and the halo of light behind each digit makes them readable from the street without any glare.
You can buy ready-made LED backlit number kits, or DIY it with individual 4- to 6-inch metal numbers and a slim LED strip tucked behind a standoff-mounted backplate. Mount them near the front door at eye level, or on the garage face if that's what faces the street. Wire the strip to the same dusk-to-dawn sensor as your porch light so the numbers glow automatically every night — most kits run on low-voltage DC, so they're safe for a confident DIYer.
I always recommend warm white (2700–3000K) over cool white here; cool-white numbers look like a gas station, warm-white ones look like a boutique hotel. Keep the brightness modest — around 100 to 200 lumens total — so they read as elegant, not flashing.
Suggested budget range: $40 – $150.

4. Step Lights Set Into the Stair Risers
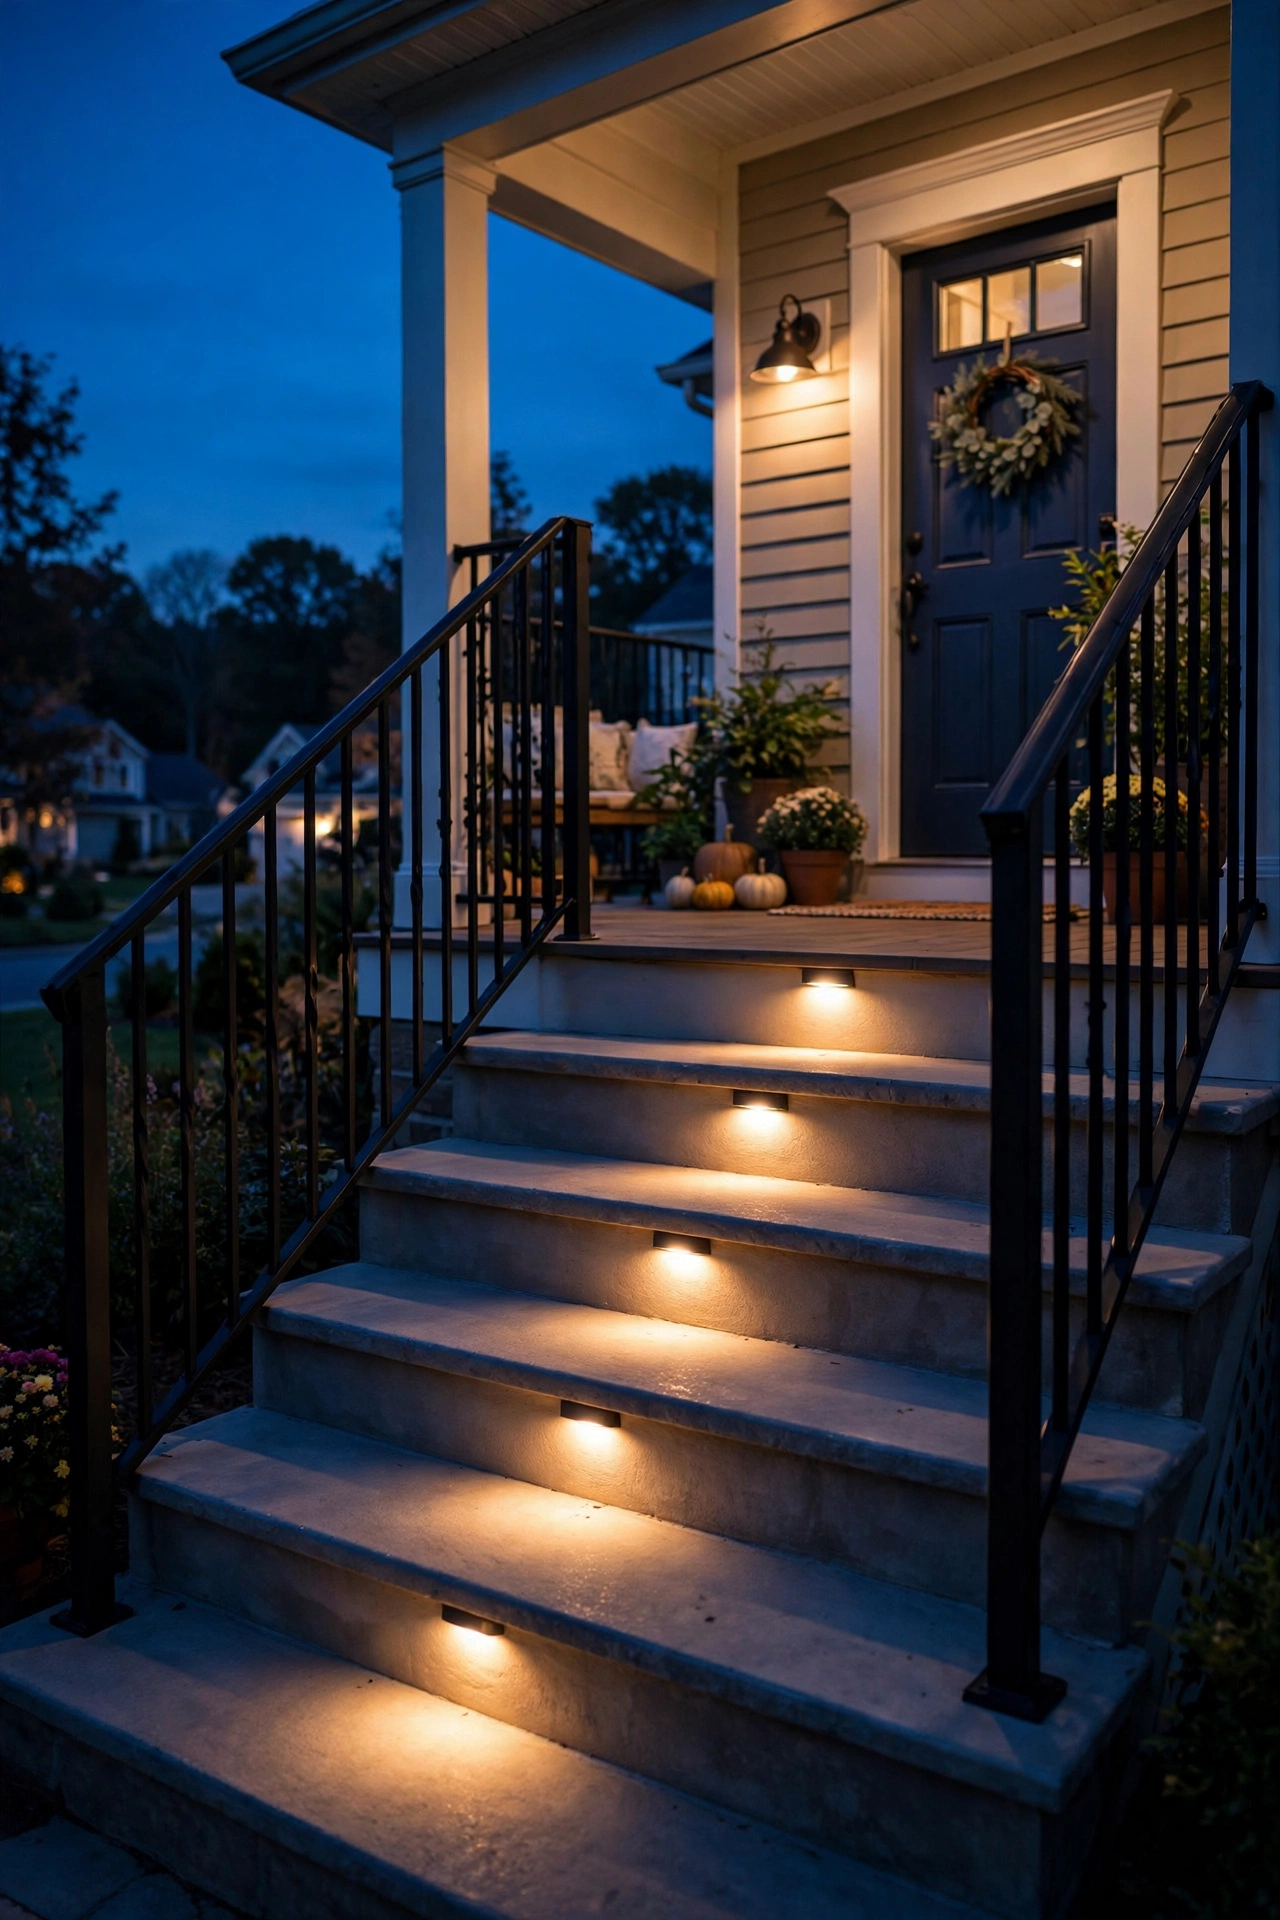
Nothing says "we thought of everything" like steps that light themselves. Recessed step lights mount flush into the vertical riser of each stair, washing a soft pool of light across the tread below. It's the safest lighting you can add to an entry — guests see every step edge clearly — and honestly it looks incredible from the curb.
Plan one light per riser, centered, or one every other step for a wider staircase. Low-voltage LED step lights (12-volt) are the standard; they tie into the same transformer system as landscape lighting, draw almost no power, and stay cool enough to touch. If you're pouring new steps, have the electrician stub the wiring during construction — retrofitting into existing concrete means core-drilling, which is doable but costs more.
For wood or composite porch steps, retrofit kits with a simple hole-saw cutout make this a genuinely easy weekend project. Aim the beam downward and keep color temperature consistent with the rest of the entry — 2700K keeps the whole scene harmonious. And always choose fixtures with a proper IP65 or better rating since risers take direct rain.
Suggested budget range: $80 – $300.
5. A Cluster of Lanterns on the Entry Steps
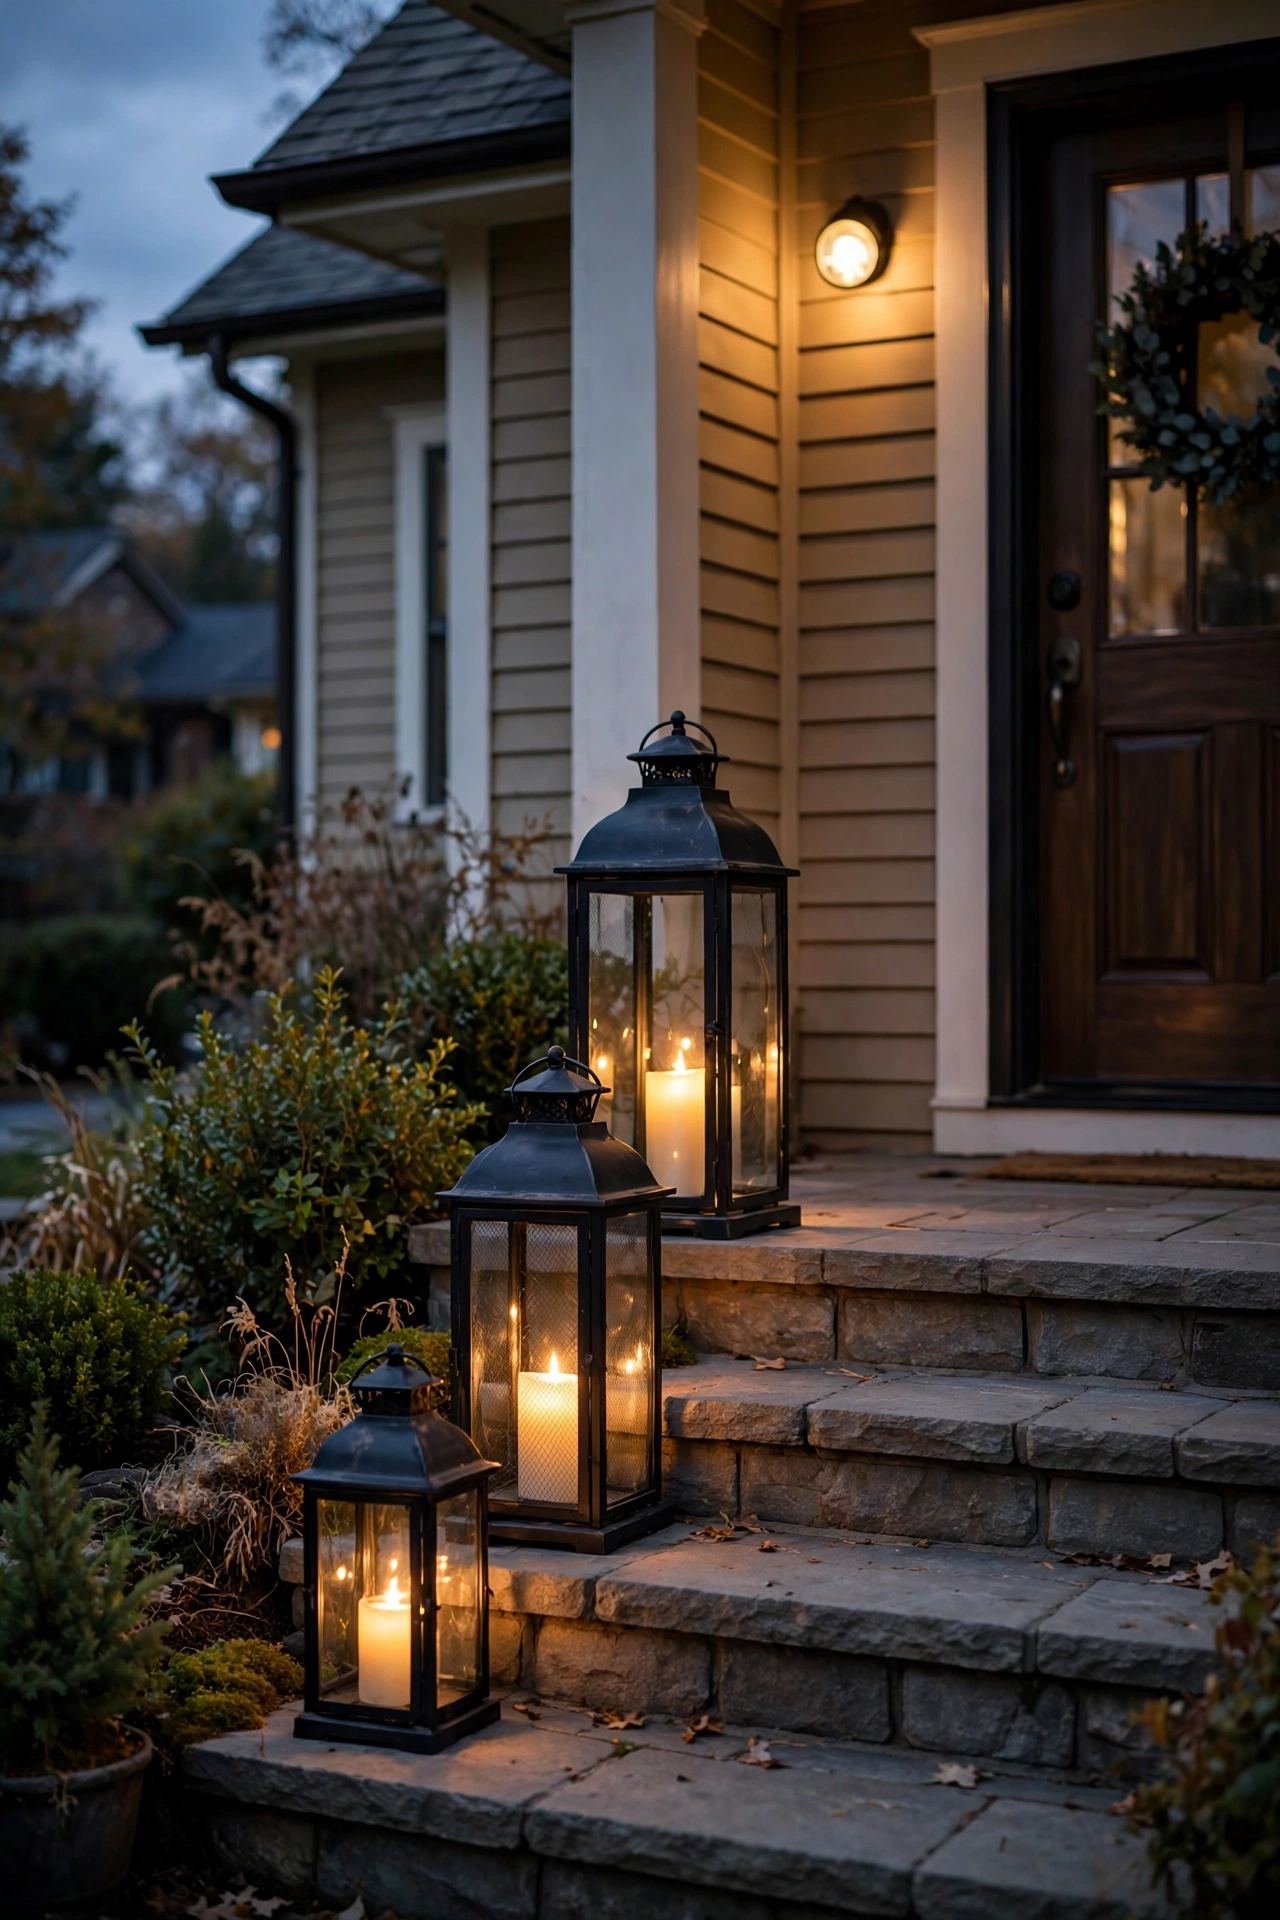
Lanterns are my love language, and a cluster on the steps is the fastest way to add soul to an entry. I always recommend grouping in threes with varying heights — say a 20-inch, a 14-inch, and a 10-inch lantern — arranged along one side of the steps so the walking path stays clear. That cascade of heights draws the eye right up to your front door.
Fill each with flameless LED pillar candles in the flickering-flame style; the gentle movement is what sells the realism, and they run for months on a built-in timer (6 hours on, 18 off is the standard cycle). Black metal lanterns with glass panels are my go-to — they read crisply from the street and suit every house style from colonial to modern farmhouse.
For windy exposures, choose lanterns with a latch or weighted base, and set each LED candle on a dab of museum putty so it doesn't rattle. Line only one side of the steps if the staircase is narrow, and keep every lantern at least a foot back from the tread edge. When a storm rolls through, the whole cluster carries inside in one trip.
Suggested budget range: $45 – $120.
6. Low-Voltage Bollard Lights Along the Walkway
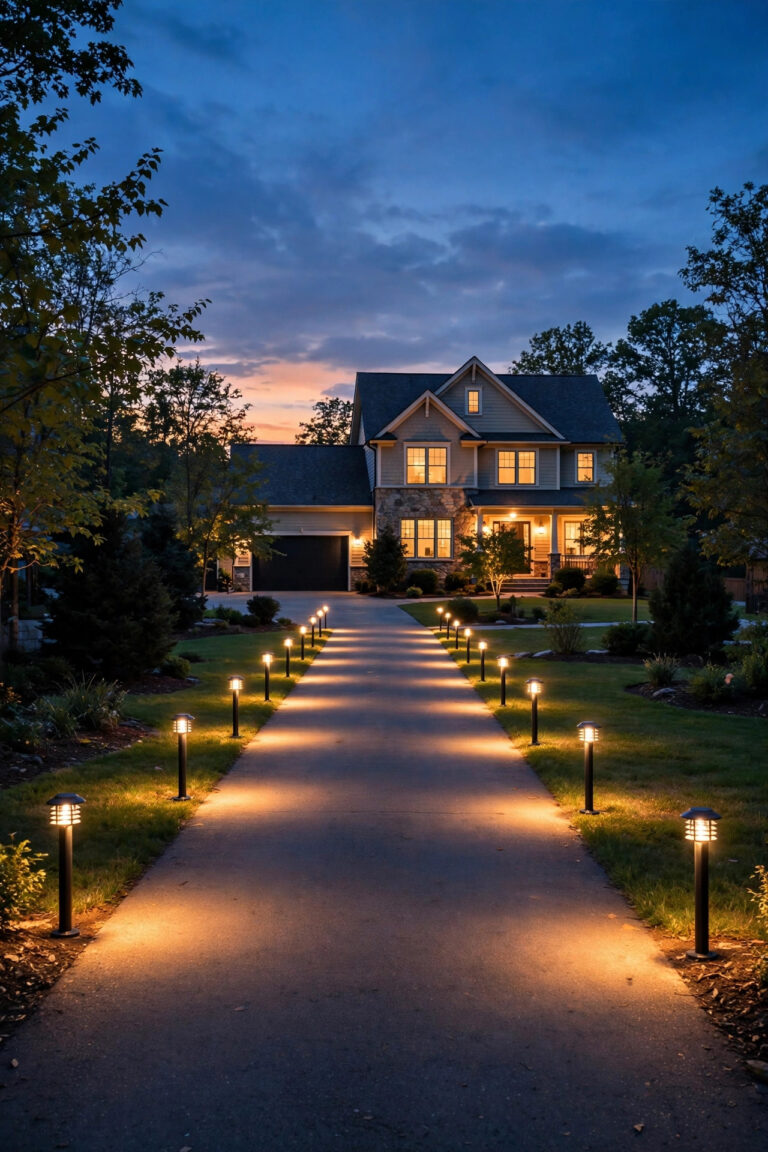
Bollard lights — those short posts that stand 18 to 30 inches tall — are the workhorses of entry lighting. They mark the path from the driveway or sidewalk to your door with clean, even pools of light, and they look sharp in every style from traditional to ultra-modern. Space them 6 to 8 feet apart, alternating sides in a gentle zigzag, and keep each one at least 12 inches back from the walkway edge so mowers and feet never clip them.
These run on a 12-volt transformer system, which is the same beginner-friendly setup I always recommend for first-time landscape lighting: the voltage is safe to handle, the cable buries just a few inches deep, and you can expand the system later. If you want the full walkthrough on transformers, cable runs, and fixture spacing, my guide to low-voltage path lights covers the whole installation step by step.
Choose bollards with a shielded top so the light washes downward — unshielded posts throw glare into guests' eyes. Warm-white LEDs at 2700K, 100 to 200 lumens each, is the sweet spot. And buy one extra fixture as a spare; matching a discontinued model two years later is a special kind of heartbreak.
Suggested budget range: $120 – $400.

7. Uplights That Wash the Facade in Warm Light
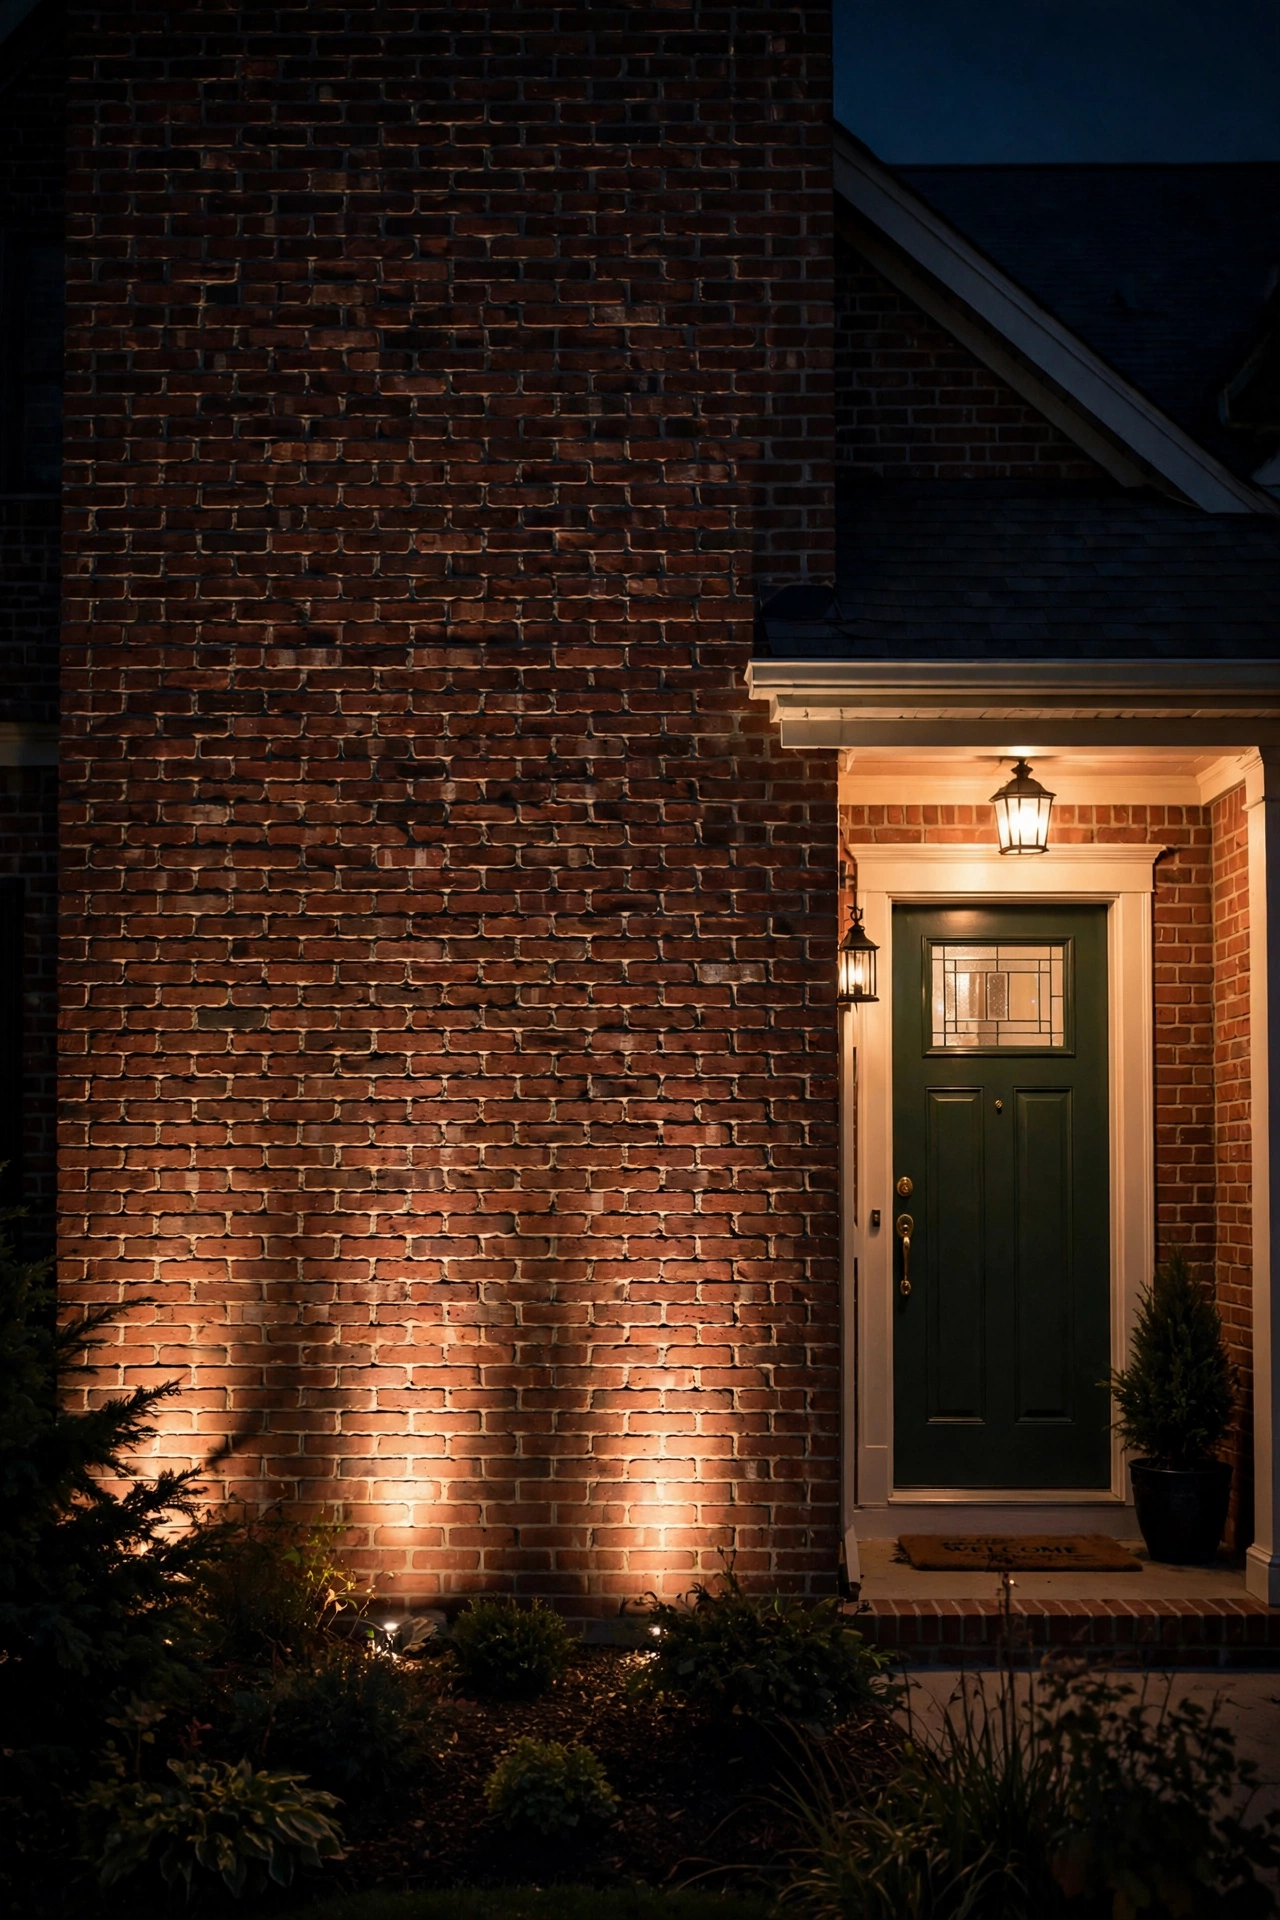
Uplighting the facade is what separates a house from a home that glows. A pair of well lights or bullet uplights set 12 to 18 inches out from the foundation, aimed up at the wall, creates a soft wash that makes your whole entry feel taller and more dramatic. In my experience, two fixtures flanking the door — or grazing a stone or brick chimney breast — deliver 80 percent of the effect for very little money.
Aim for a wide beam spread (60 degrees or more) so the light feathers out instead of creating harsh hot spots. Keep the fixtures low-wattage — 3 to 5 watts of LED per fixture is plenty — because the goal is a gentle glow, not a stadium. And this is critical: shield the fixture tops or choose models with a glare guard so guests approaching the door aren't staring into the source.
Match the color temperature to the rest of your entry (2700K, always, in my book) and put the uplights on the same timer or photocell as everything else. One caution: uplights pointed at bedroom windows will earn you no friends, so check sight lines from inside the house before you finalize the aim.
Suggested budget range: $70 – $220.
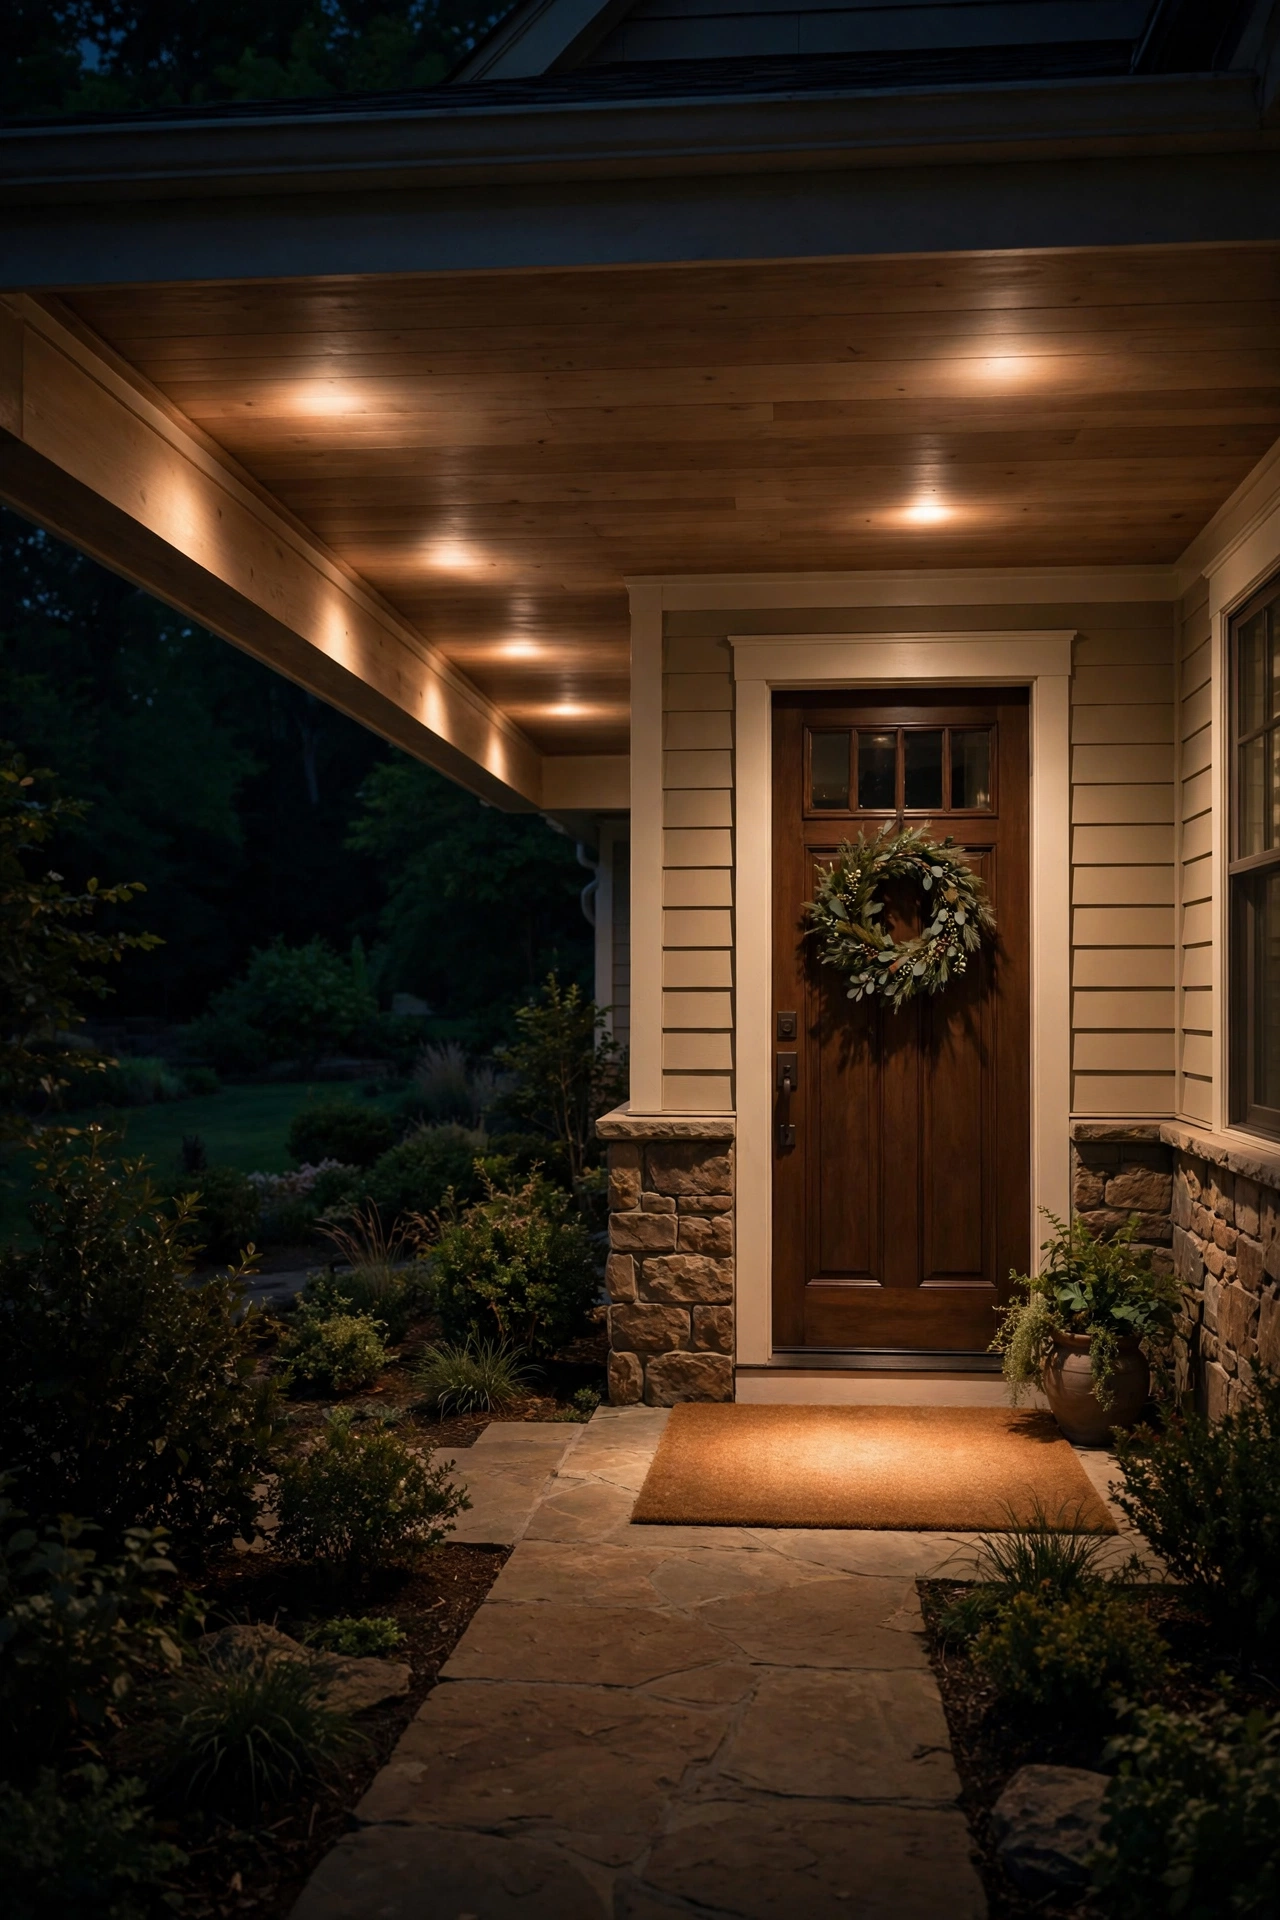
8. Recessed Soffit Downlights in the Porch Overhang
If your porch has an overhang or soffit, recessed downlights are the cleanest overhead option — all glow, no visible fixture. I always recommend spacing them 4 to 6 feet apart in a row centered over the walkway path to the door, with one directly above the doormat so guests can see the lock clearly. Use 4-inch LED retrofit cans rated for damp locations, and a warm 2700K bulb with a wide flood beam so the pools of light overlap instead of creating polka dots.
The big decision is dimming. Put these on a dimmer and you'll use them two ways: full brightness when you're carrying groceries or greeting a crowd, and dimmed to a soft 30 percent for everyday evenings. Smart dimmer switches with scheduling are my favorite here — they can ramp down automatically at bedtime.
If you're cutting into an existing soffit, check for wiring and venting obstructions first, and keep the work to daylight hours (ask me how I know). Sealed, IC-rated LED retrofits are the simplest choice since they don't need a separate can housing in most cases. And honestly? Even two cans — one over the mat, one over the steps — transform a dark porch.
Suggested budget range: $100 – $350.
9. A Motion-Sensor Floodlight That Doesn't Look Harsh
Every entry needs one practical guardian light, but it doesn't have to blast your guests like a prison yard. Modern motion-sensor floodlights come in warm 3000K versions with dual heads you can aim independently — point one at the driveway approach and one at the side gate, keeping the direct beam off the front door itself.
Mount it 8 to 10 feet high on the garage face or a porch post, angled slightly downward. Set the sensitivity so it triggers for people, not every passing cat, and choose a model with adjustable "on" time — I like 3 to 5 minutes — plus a dusk-to-dawn mode that keeps the light at a dim 20 percent all night and jumps to full brightness on motion. That low glow means the entry never looks abandoned, and the full blast still startles intruders.
In my experience, the warm color temperature is what makes this feel welcoming instead of institutional. And aim the heads so no light spills into a neighbor's bedroom window — good fences make good neighbors, and good aiming does too.
Suggested budget range: $40 – $130.

10. A Spotlight Trained on Your Door Wreath
Your wreath is the jewelry of the front door — so give it its own spotlight. A small adjustable bullet light mounted on the porch floor or a nearby post, aimed up at the wreath, makes it glow like a stage star after dark. I use a 3-watt warm-white LED bullet with a narrow 25-degree beam, set about 4 feet back from the door and tilted up.
The trick is keeping the beam tight so it kisses the wreath without flooding the whole door in glare. Many bullet lights come with interchangeable lenses or simple snoots — use them. If your wreath is pre-lit with its own LEDs, a spotlight might be overkill; this idea shines brightest with a fresh greenery or dried-floral wreath that needs the help.
Put the wreath light on the same timer as your other entry lights so the whole composition switches on together at dusk. And check the aim from the sidewalk, not just the porch — you want guests to see the glow as they approach, which means the beam should read from 20 feet away without blinding anyone.
Suggested budget range: $30 – $90.

11. Paper-Style Luminaries Lining the Walk
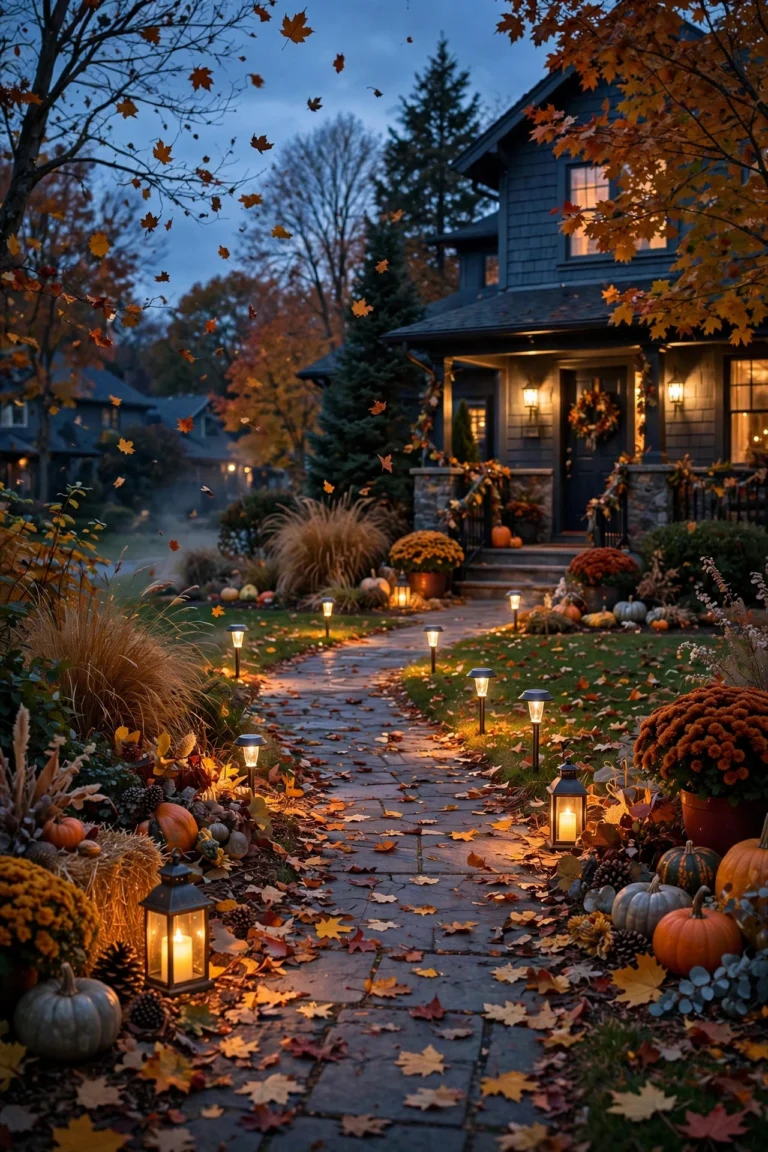
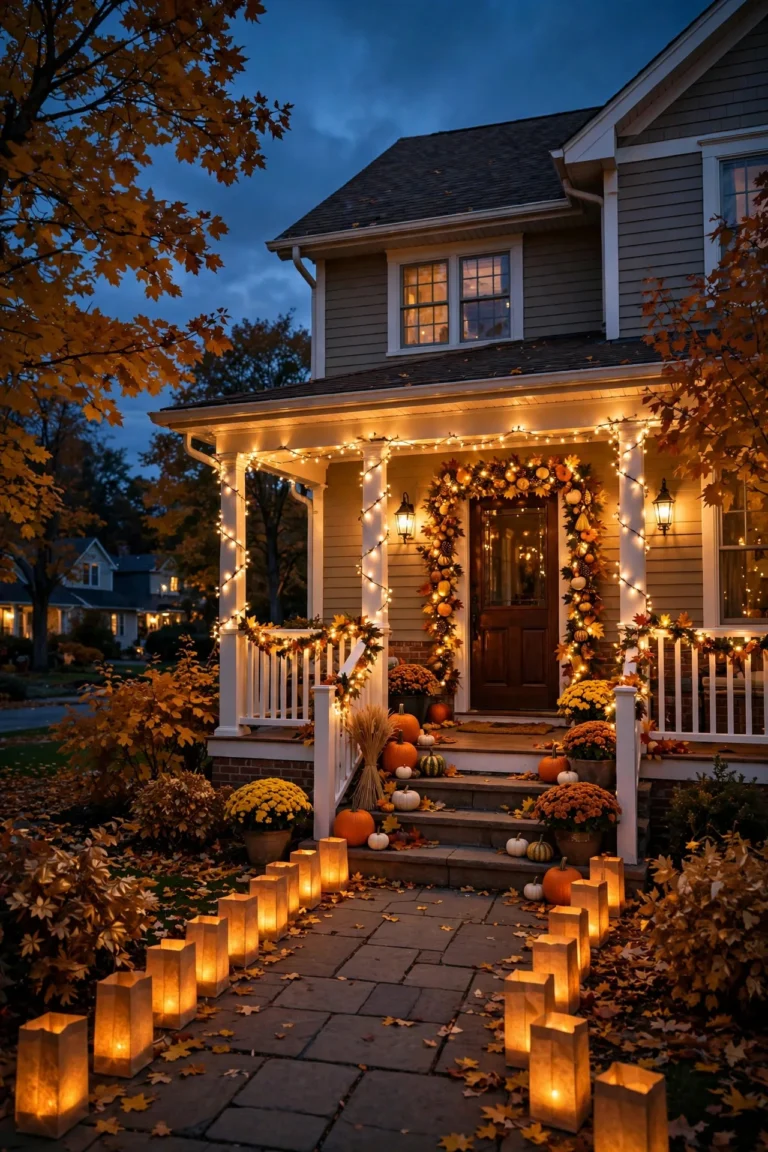
For parties, holidays, or just a Friday night when you want the entry to feel magical, nothing beats a row of luminaries. The classic version — a weighted bag with a flameless LED candle inside — costs almost nothing and lines a walkway in minutes. I space them 2 to 3 feet apart on both sides of the path, and the effect from the street is a river of warm light leading straight to the door.
Skip real paper bags and real candles for anything beyond one evening; one rainstorm turns paper to pulp and open flame near a walkway is a risk I won't take. Instead, use reusable weighted plastic luminaries or glass hurricane holders with flickering LED tea lights — they look identical in photos and survive the season. Stake-style LED path candles are another favorite of mine: they push into the soil, sit a foot off the ground, and most have dusk-to-dawn sensors built in.
Keep every luminary at least 6 inches back from the walking surface so nobody kicks one over mid-evening. When the party's over, they stack flat in a bin until the next occasion.
Suggested budget range: $25 – $70.

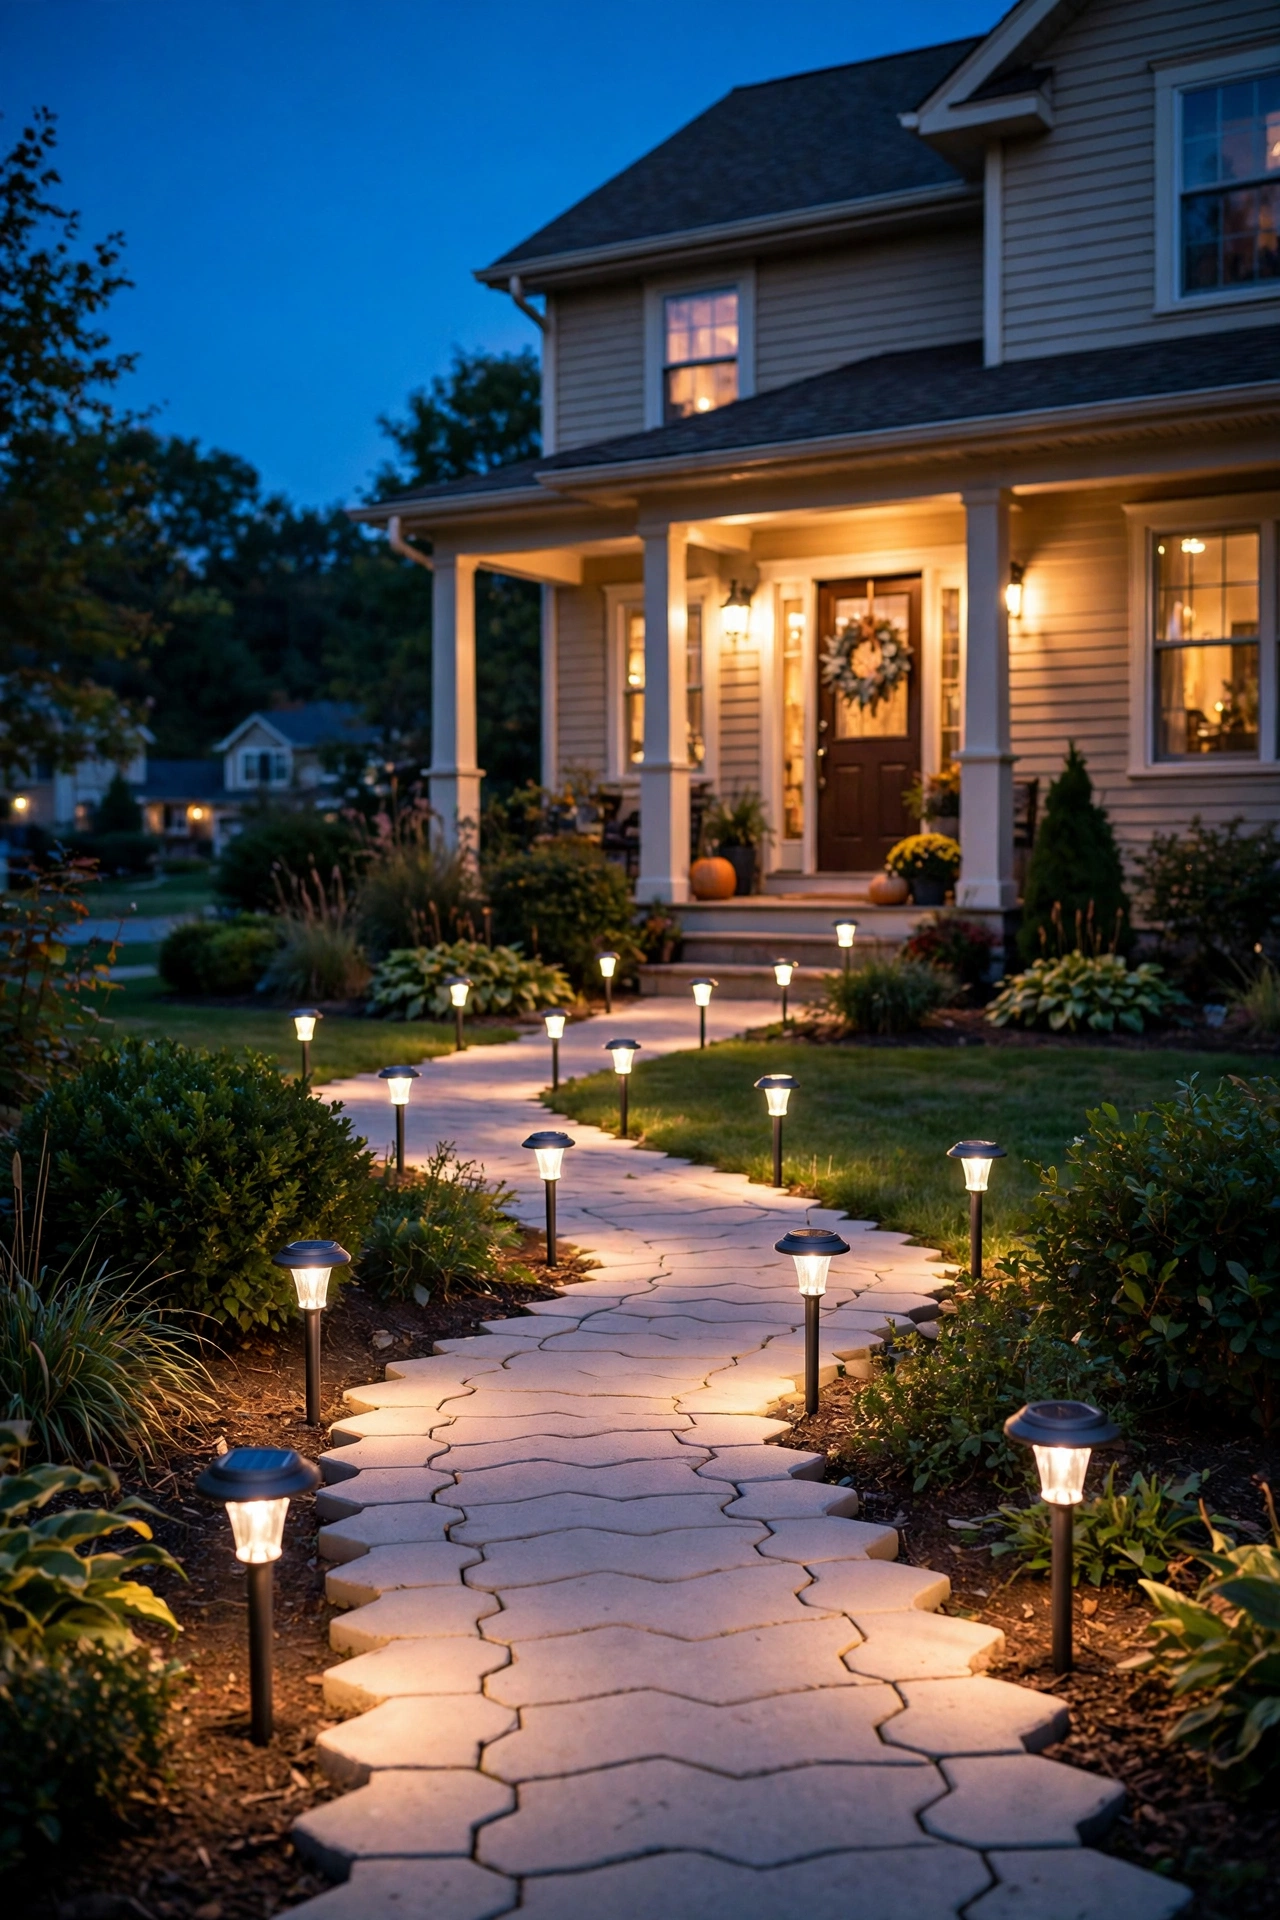
12. Solar Path Stakes: The Easiest Outdoor Entryway Lighting Ideas to Try First
If you want outdoor entryway lighting ideas with zero wiring, zero electrician, and zero electric bill, solar path stakes are your answer — and they've gotten genuinely good. The best current models throw a warm 2700K pool of light instead of the sad blue flicker the old ones had, and metal-stake versions survive frost heave that snaps cheap plastic ones.
Placement is the whole game: space them 6 to 8 feet apart along the walkway in a gentle zigzag, and make sure each solar panel gets at least 6 hours of direct sun. I walk my yard at mid-afternoon before committing to spots, checking where the house throws its shadow. Push each stake in so the panel sits fully above the grass line, and wipe the panels with a damp cloth every few weeks — dust and leaf film can cut charging in half.
Set expectations honestly: on short, cloudy winter days they'll dim earlier in the evening. That's why I treat solar as the supporting cast along the path and keep something wired or battery-powered right at the door itself. For the price and the five-minute install, though, nothing else comes close.
Suggested budget range: $30 – $80.
13. Smart Bulbs Set to Dusk-to-Dawn in Existing Fixtures
Here's the lowest-effort upgrade on this entire list: screw smart bulbs into the fixtures you already own and schedule them to switch on at sunset and off at sunrise. No new hardware, no wiring, no ladder acrobatics beyond a bulb swap. I always recommend this as step one for anyone overwhelmed by the other 20 ideas — get the automation right first, then layer in the pretty stuff.
Set every entry bulb to the same warm 2700K and the same schedule so the whole entry breathes as one. Most smart bulbs let you set a "circadian" or fixed warm white; lock it in and resist the rainbow temptation for everyday use (save the colors for idea 19). If your fixtures are on a single switch, a smart switch with astronomical timing does the same job for all of them at once and never needs a Wi-Fi reconnect after a power blip.
One practical note: enclosed fixtures need bulbs rated for enclosed use, or heat shortens their life fast. And if your porch light is the only thing between guests and darkness, set a backup schedule — smart bulbs default to "on" after most power outages, which is actually the safe failure mode here.
Suggested budget range: $20 – $60.

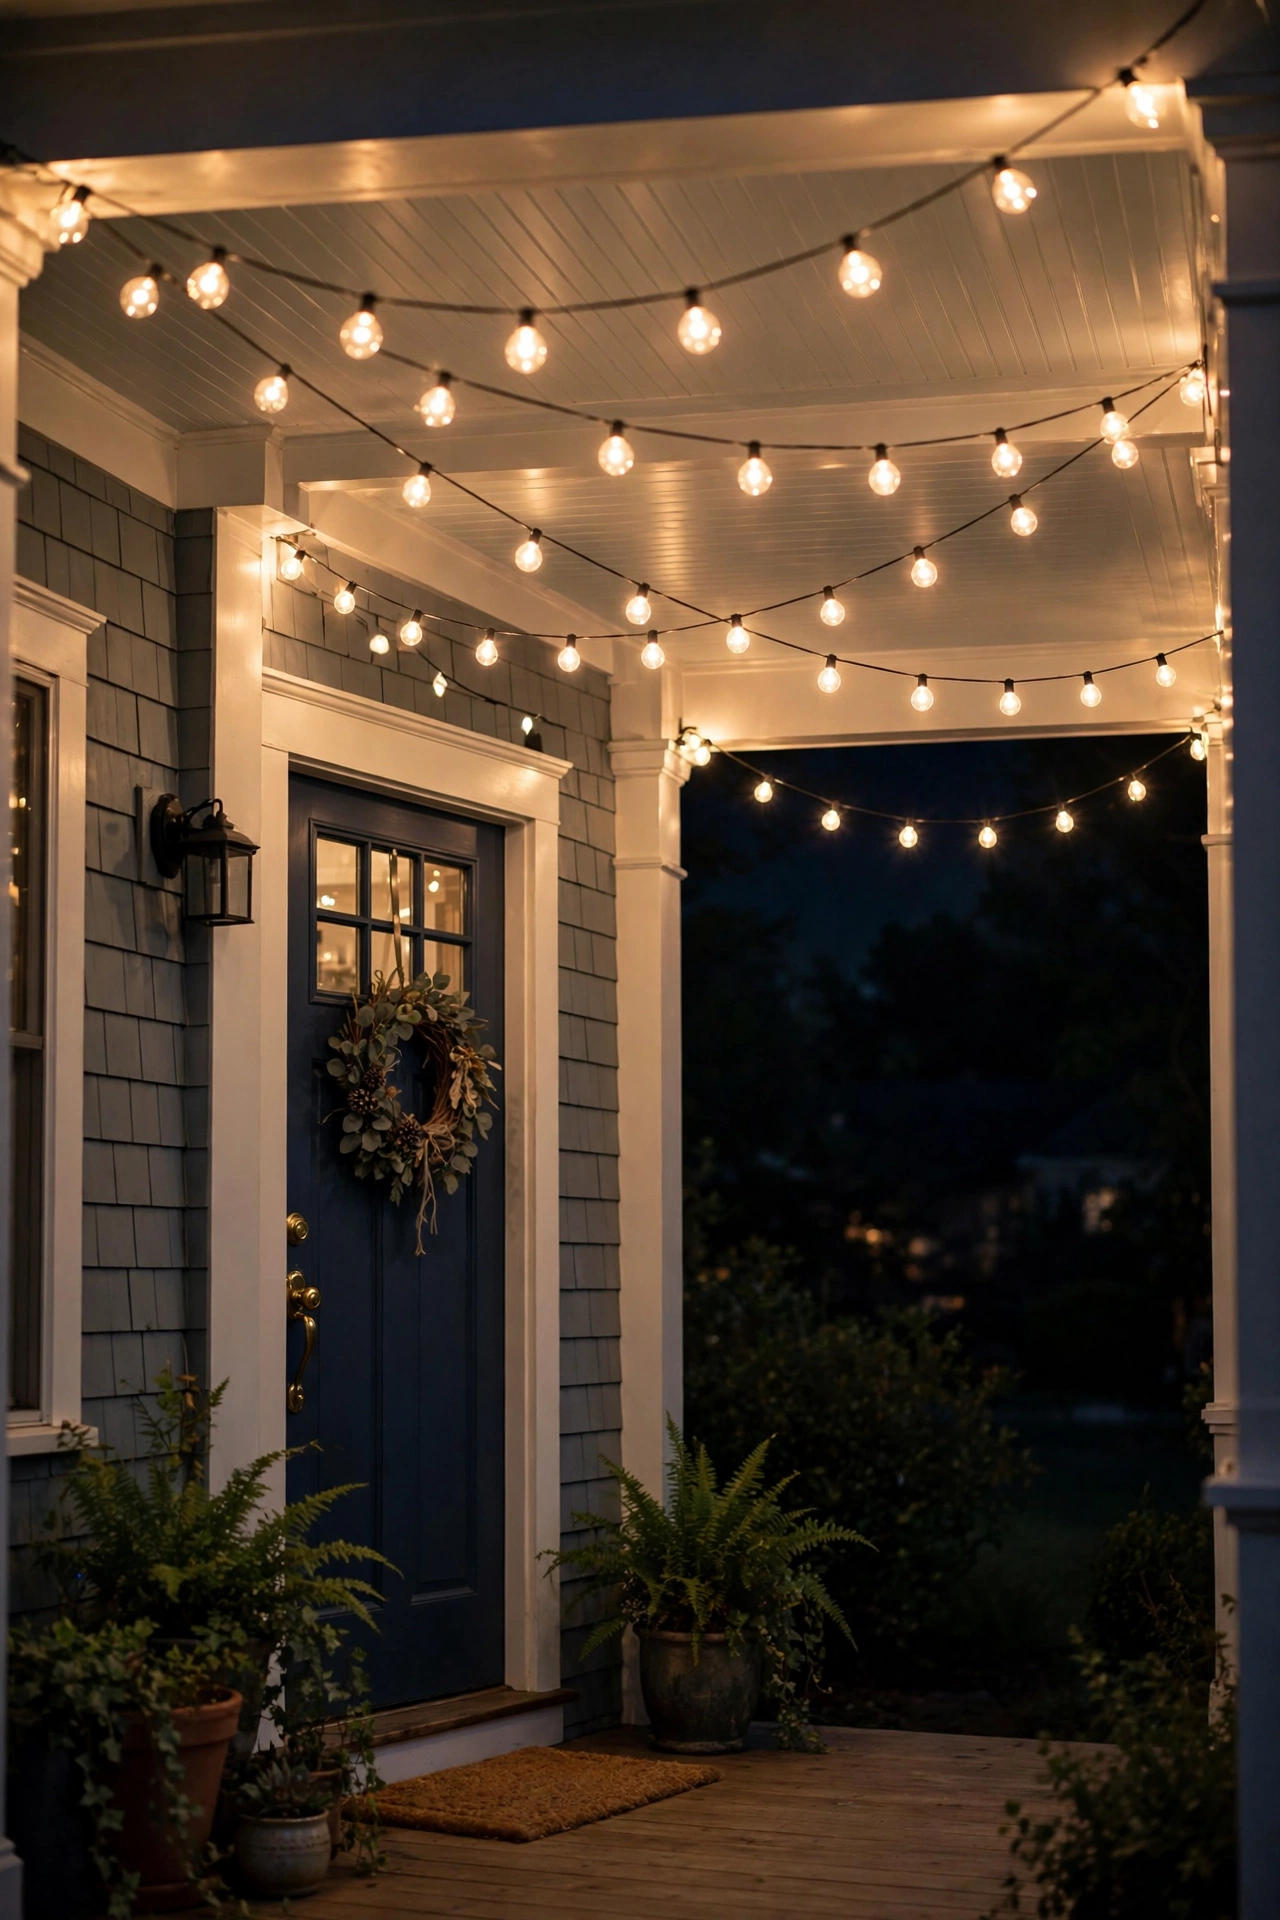
14. Cafe String Lights Across a Small Porch Ceiling
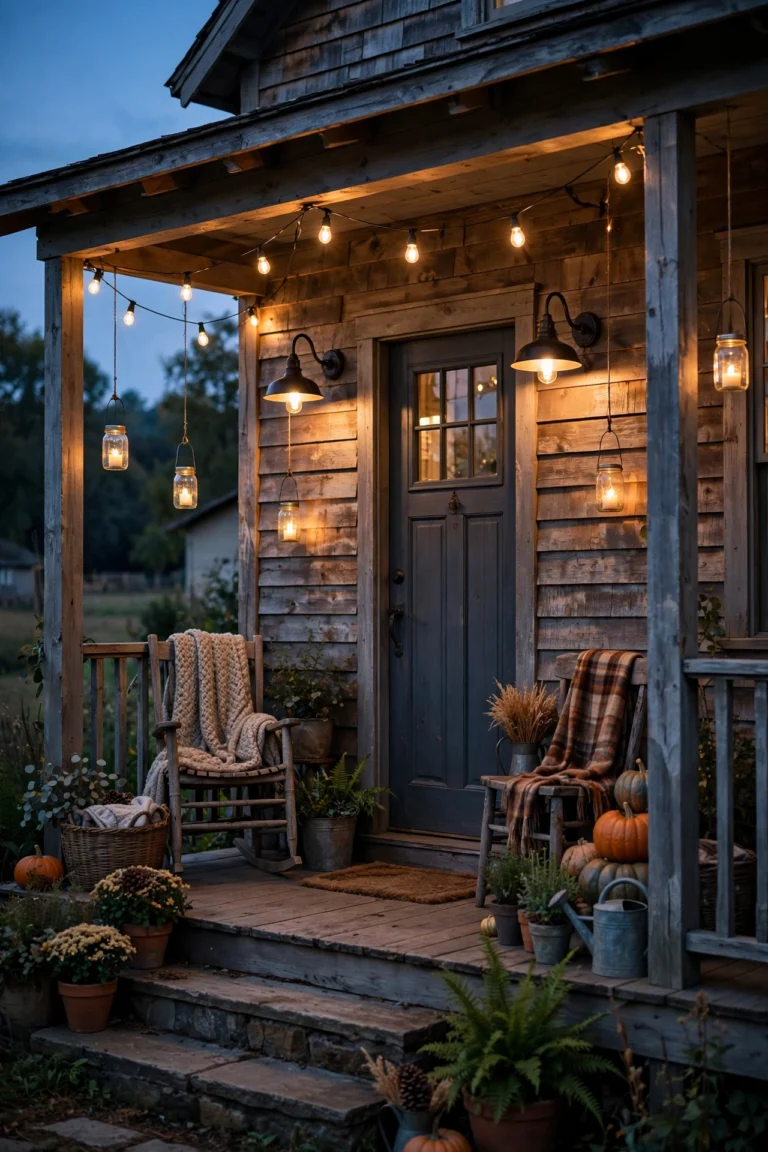
String lights aren't just for backyards — a swag of warm-white cafe lights across a small porch ceiling turns the entry into the coziest room of the house. I drape a single 25- or 50-foot strand in gentle scallops, attaching at each post or beam with small clear cup hooks and letting the strand dip 8 to 10 inches between points. That soft curve is what makes it feel intentional rather than thrown up.
Bulb choice matters: faceted C6 strawberry-style bulbs give a lovely sparkle, while larger G40 globes read more modern. Either way, go 2700K warm white and choose a strand with a UL listing for wet locations if any part sits outside the overhang. Plug it into an outdoor smart plug or timer so it clicks on at sunset without you thinking about it.
Keep the strands at least 7 feet off the porch floor so tall guests don't catch them, and never drape lights over dried decorative grasses or wreaths — LEDs run cool, but clearances are good habit. From the street, a lit porch ceiling reads as pure welcome.
Suggested budget range: $25 – $70.
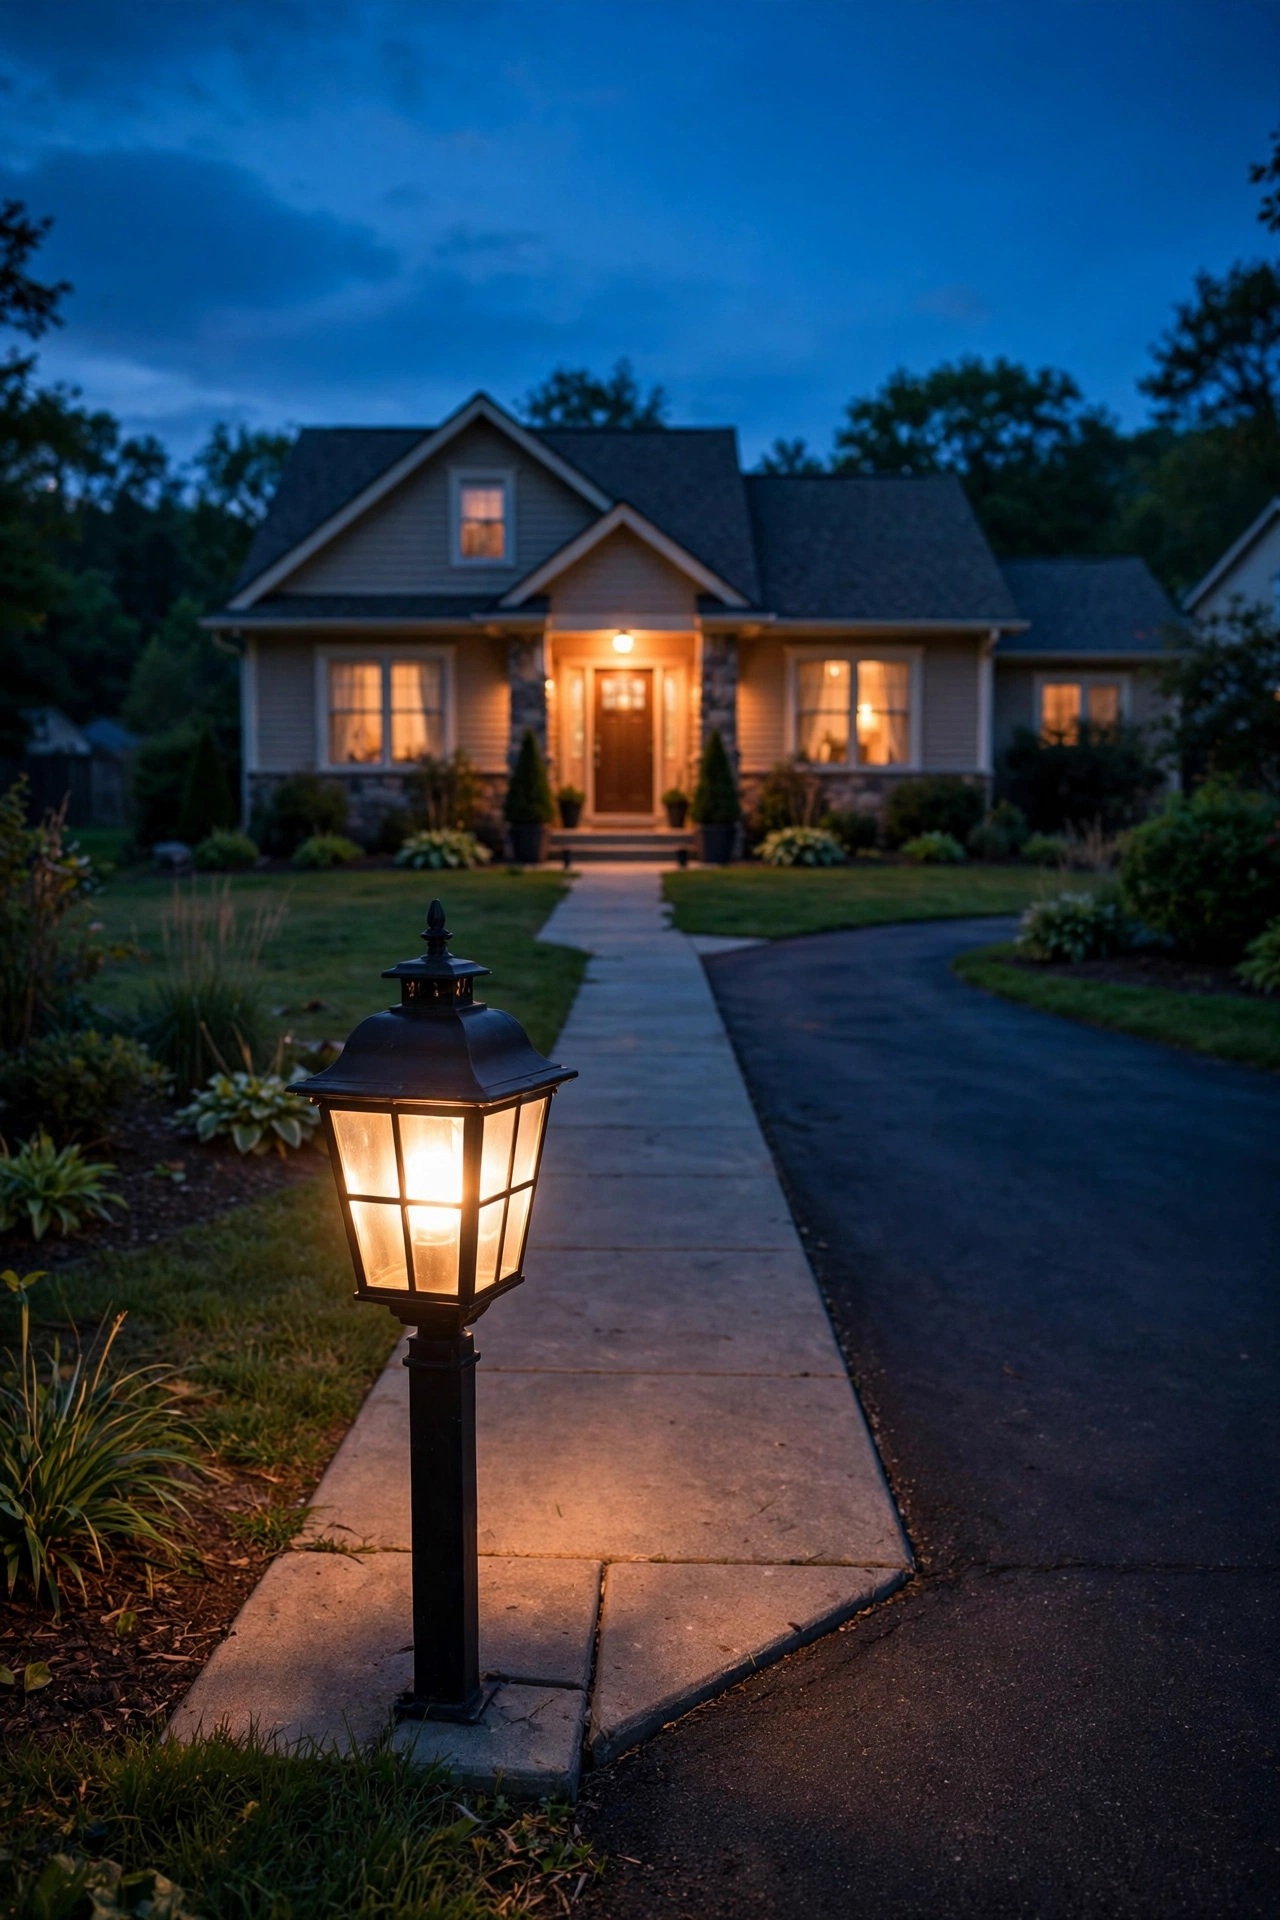
15. A Lantern-Style Post Light at the Walkway's Start
A post light where the walkway meets the driveway or sidewalk is like a period at the start of a sentence — it tells guests "the welcome begins here." I always recommend a lantern-style post light, 5 to 6 feet tall overall, in a finish that matches your door sconces. The repetition of the lantern shape ties the whole entry composition together.
If there's an existing post, swapping the head is a simple project: kill the breaker, unscrew the old head, and wire the new one — most use standard 120-volt wiring with wire nuts, a genuinely beginner-friendly swap. For a new post where no wiring exists, solar post-cap lights that slip over a 4×4 post give you 80 percent of the look with zero trenching; they won't be as bright, but they mark the spot beautifully.
Use the same warm-white LED bulb as the rest of the entry, and consider a dusk-to-dawn sensor bulb so the post greets guests automatically. Keep plantings trimmed back at least a foot so foliage doesn't swallow the glow — or swallow the post itself by midsummer.
Suggested budget range: $50 – $220.
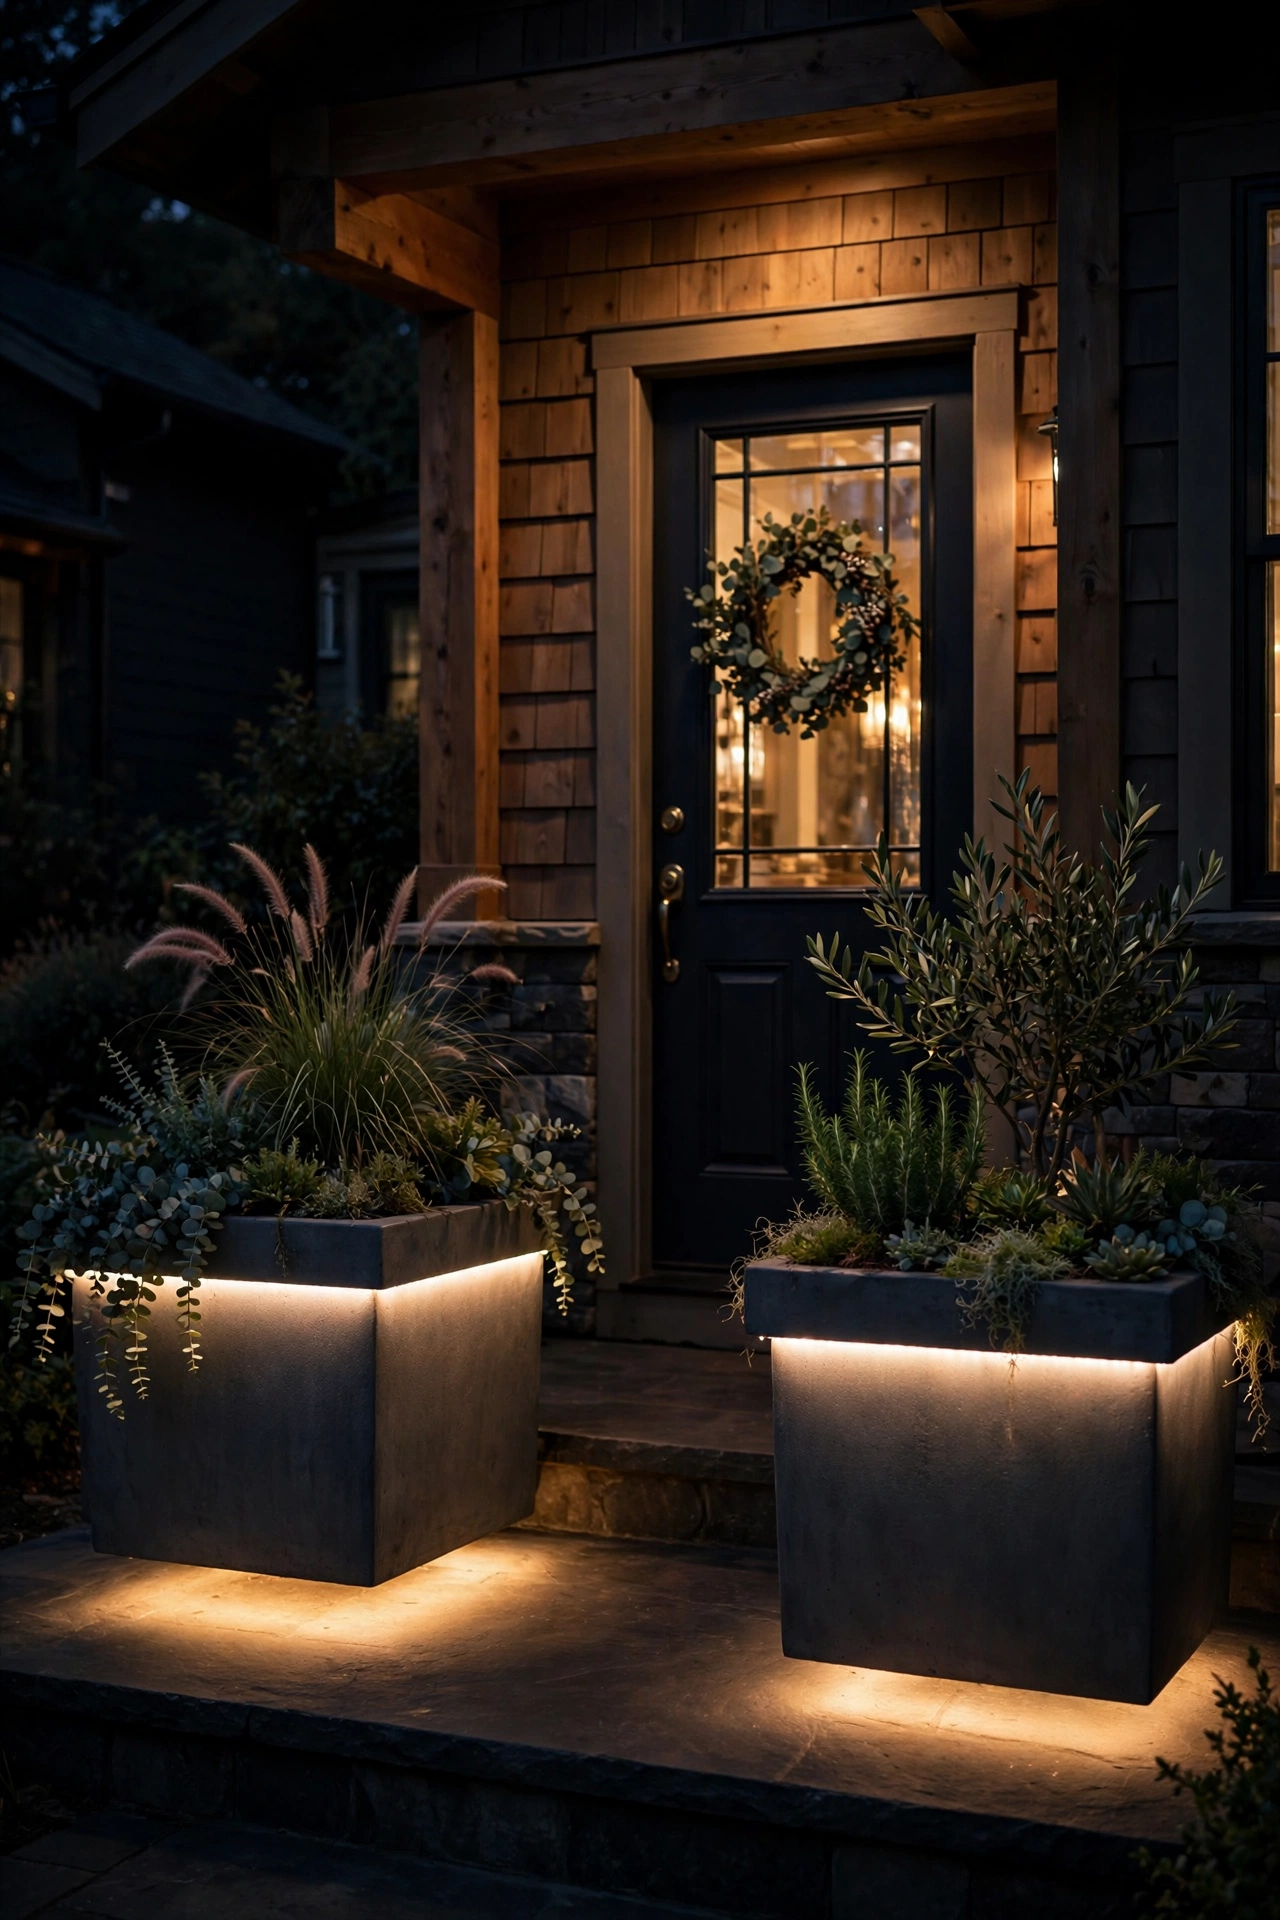
16. A Soft Glow Under Planters and Benches
Here's a designer trick most people never think of: tuck a waterproof LED strip under the lip of your entry planters or along the toe-kick of a porch bench, and the whole thing appears to float on light. It's subtle, it's unexpected, and it adds that low layer of the lighting triangle without a single visible fixture.
Use an outdoor-rated (IP65 or better) warm-white LED strip with an adhesive backing plus a few mounting clips — adhesive alone gives up in summer heat. Run it off a small low-voltage driver plugged into your porch outlet, or choose a USB-rechargeable strip for a wire-free version you top up every couple of weeks. Set the strip back about an inch from the edge so you see glow, not diodes.
I always recommend putting this on the same timer as everything else so the floating effect appears at dusk like magic. And keep the strip's color temperature at 2700K to match — a cool-white strip under a planter next to warm sconces looks like a mistake, not a feature.
Suggested budget range: $20 – $60.
17. Fairy Lights Woven Through Entry Planters
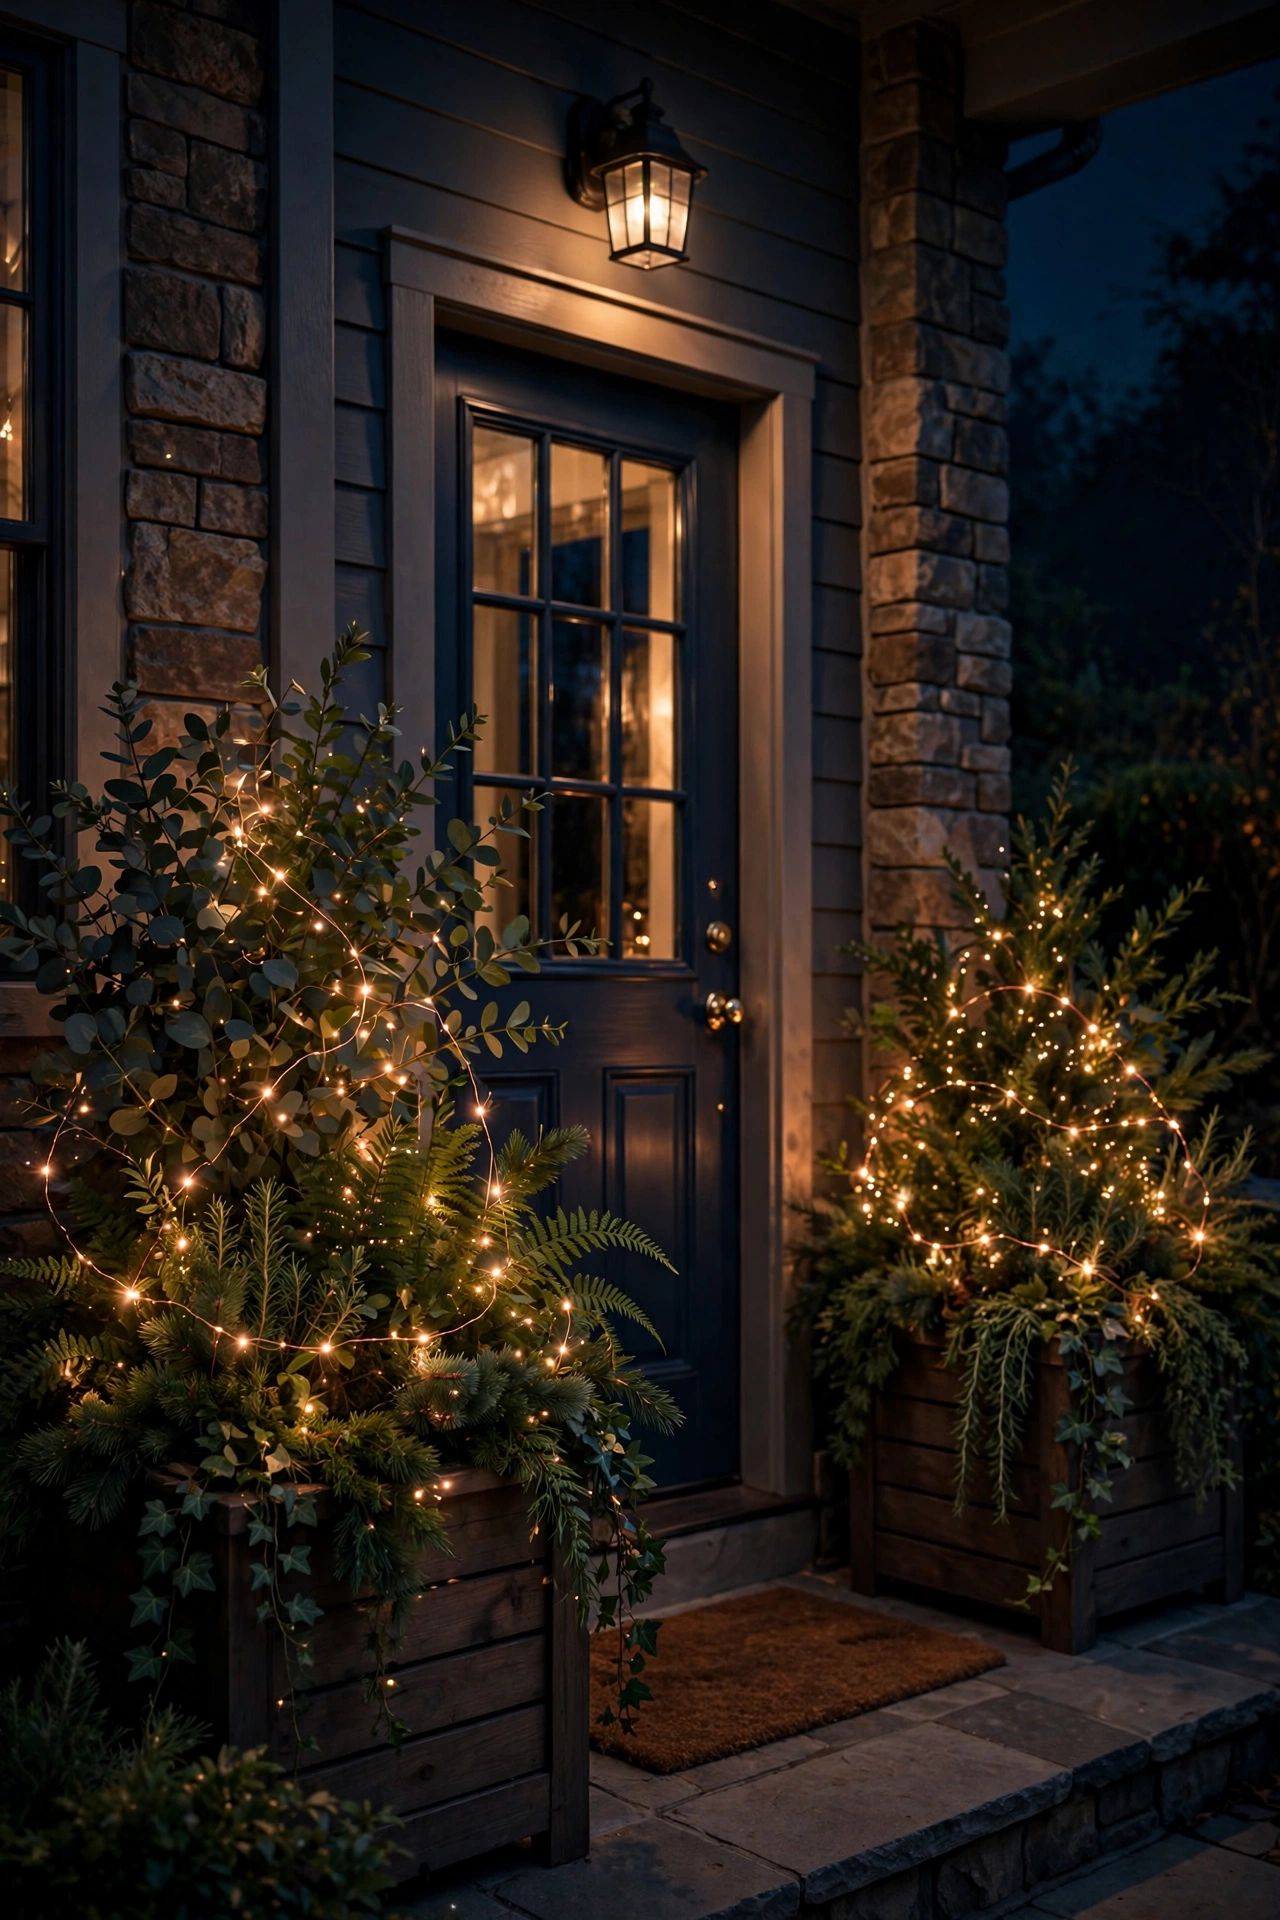
This is my number-one recommendation for instant impact on a budget, and I do it every single season. Take a 33-foot strand of copper-wire fairy lights with 100 warm-white LEDs and weave it through your entry planters — in and out of the foliage, spiraling loosely upward from the soil, with a few tendrils draping over the rim. The tiny lights catch on leaves and make the whole planter look like it's glowing from within.
Tuck the battery pack down behind the pot, out of sight from the street, and choose strands with a built-in 6-hour timer — set it once and your planters light up at dusk and switch off at midnight. Make sure the lights are rated IP44 or better for outdoor use, and give the battery pack a little shelter under the pot's lip so rain doesn't pool on it.
Odd-numbered groupings photograph best: three planters flanking a door, or a pair of tall urns with one smaller pot between them. When the seasons change, the lights stay and the plants rotate — I've run the same strands through spring tulips, summer ferns, and winter evergreens.
Suggested budget range: $15 – $45.
18. A Lit Doormat Vignette That Says Come On In
The three feet directly in front of your door deserve their own moment. I style what I call a "lit doormat vignette": a layered doormat (a larger flat weave underneath, a smaller coir mat on top), flanked by one glowing planter on one side and a lantern on the other, all under the wash of your overhead light. It's a tiny stage set, and it photographs beautifully for holiday cards.
The lighting key here is making sure the mat itself is actually lit — guests need to see where to wipe their feet and where the threshold is. If your overhead fixture doesn't quite reach, a small battery-operated puck light tucked under the bench or a low bollard nearby fills the gap. Keep the mat low-profile (under half an inch) so the door clears it, and choose a dark, textured mat that hides dirt between cleanings.
In my experience, this little vignette is what guests remember — it's the last thing they see before you open the door. Swap the lantern filler seasonally (pinecones in winter, shells in summer) and the entry always feels fresh.
Suggested budget range: $30 – $80.

19. Color-Changing Smart Bulbs for Holidays and Parties
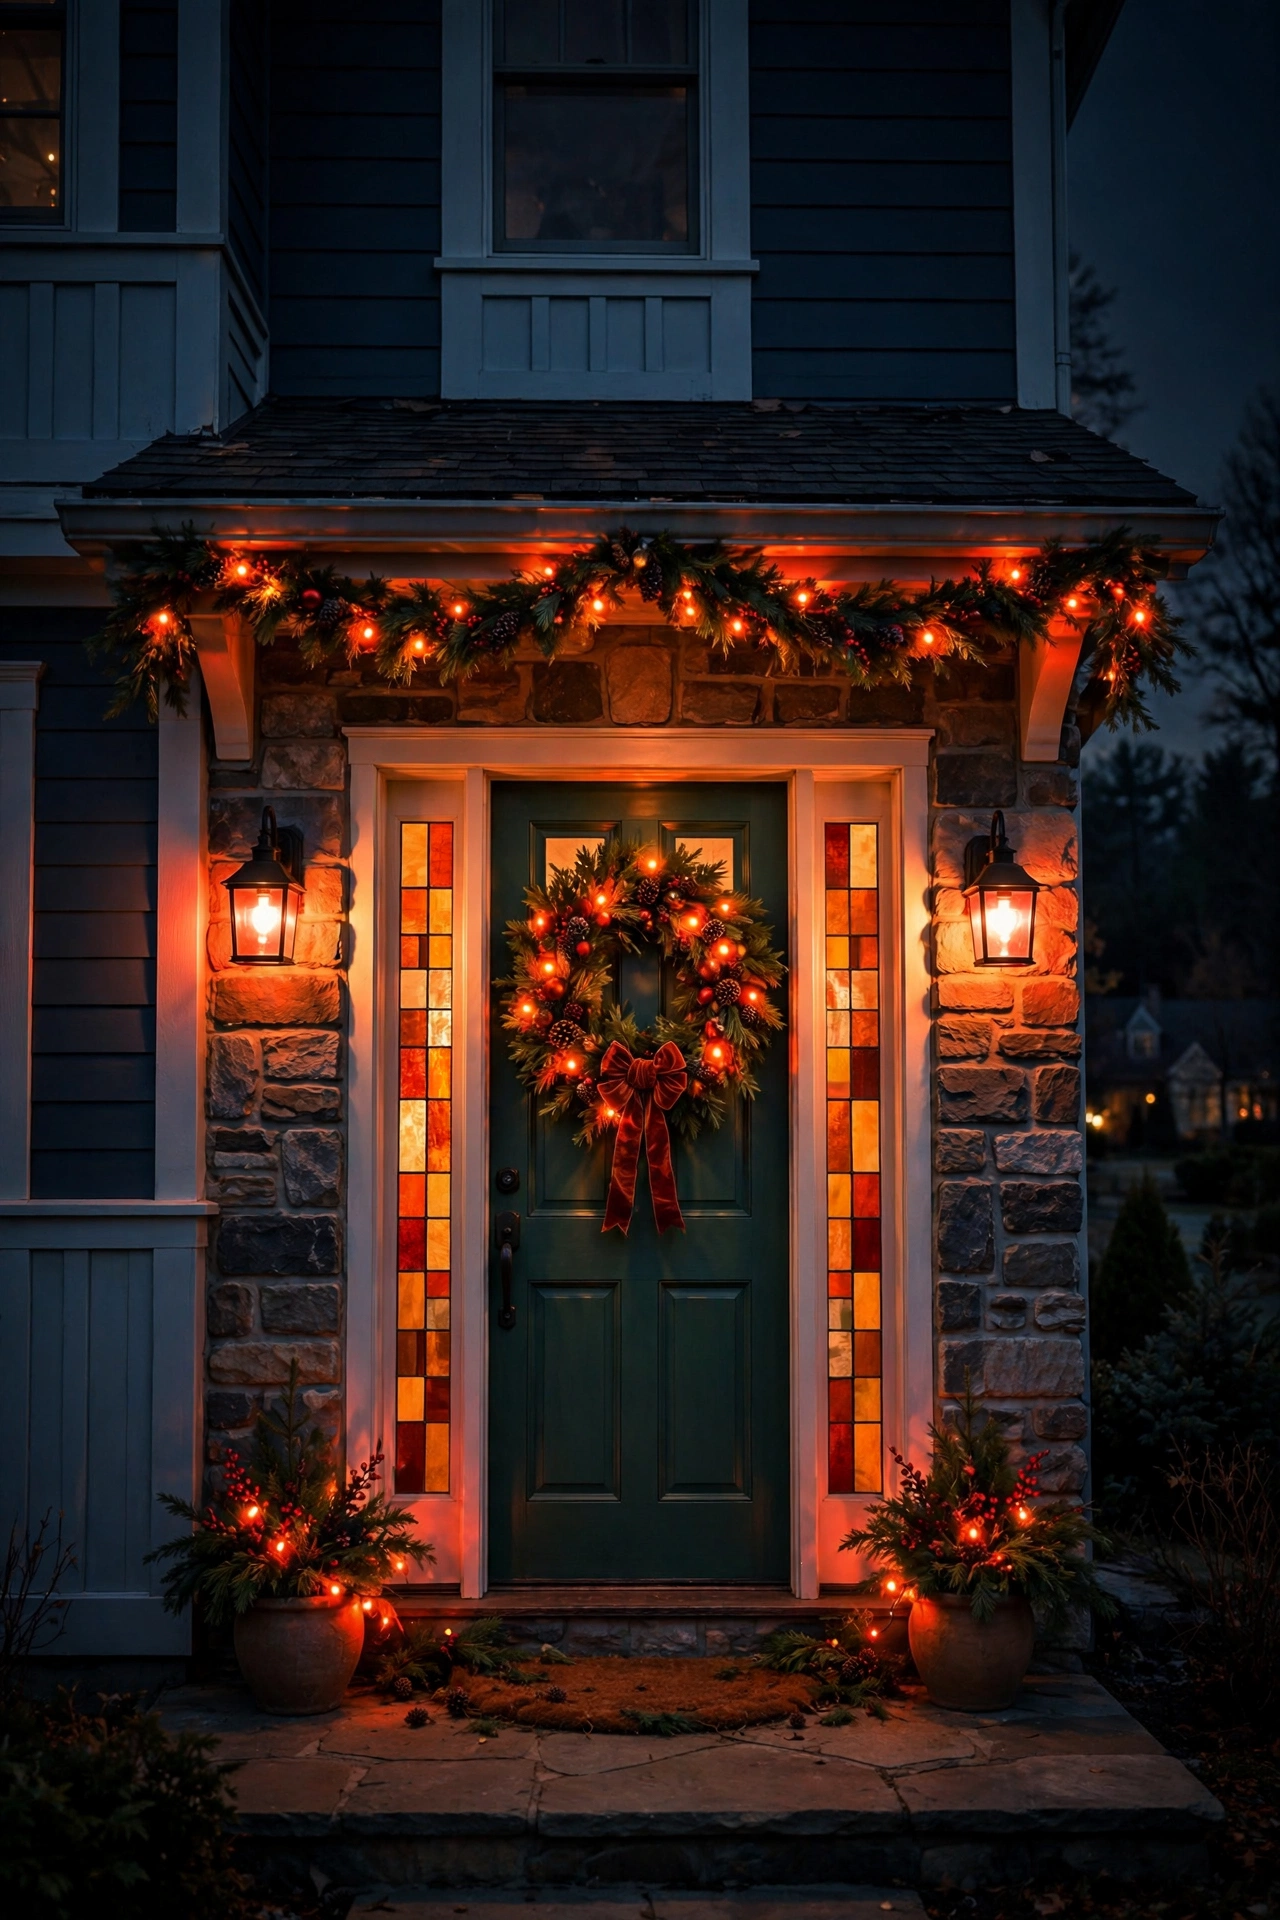
For most of the year I preach warm white and nothing else — but holidays are the exception, and color-changing smart bulbs let you have both. Swap your entry sconce or pendant bulbs for full-color smart LEDs, keep them locked on 2700K warm white day to day, then switch to amber and orange for autumn, icy blue for winter, or red-white-and-blue for the Fourth.
Set up the holiday scenes in your bulb's app once — most apps let you save named scenes — and schedule them by date so the entry dresses itself. Halloween night in flickering orange, December in warm candlelight tones, and back to classic warm white on January 2nd without you touching a ladder.
One honest caveat: colored light flattens everything it touches, so use it as an accent for parties and seasons, not as your everyday entry lighting. And keep one fixture — usually the one directly over the door — in plain warm white even on party nights, so faces and keys stay easy to see.
Suggested budget range: $30 – $90.
20. One Photocell Timer to Run All These Outdoor Entryway Lighting Ideas
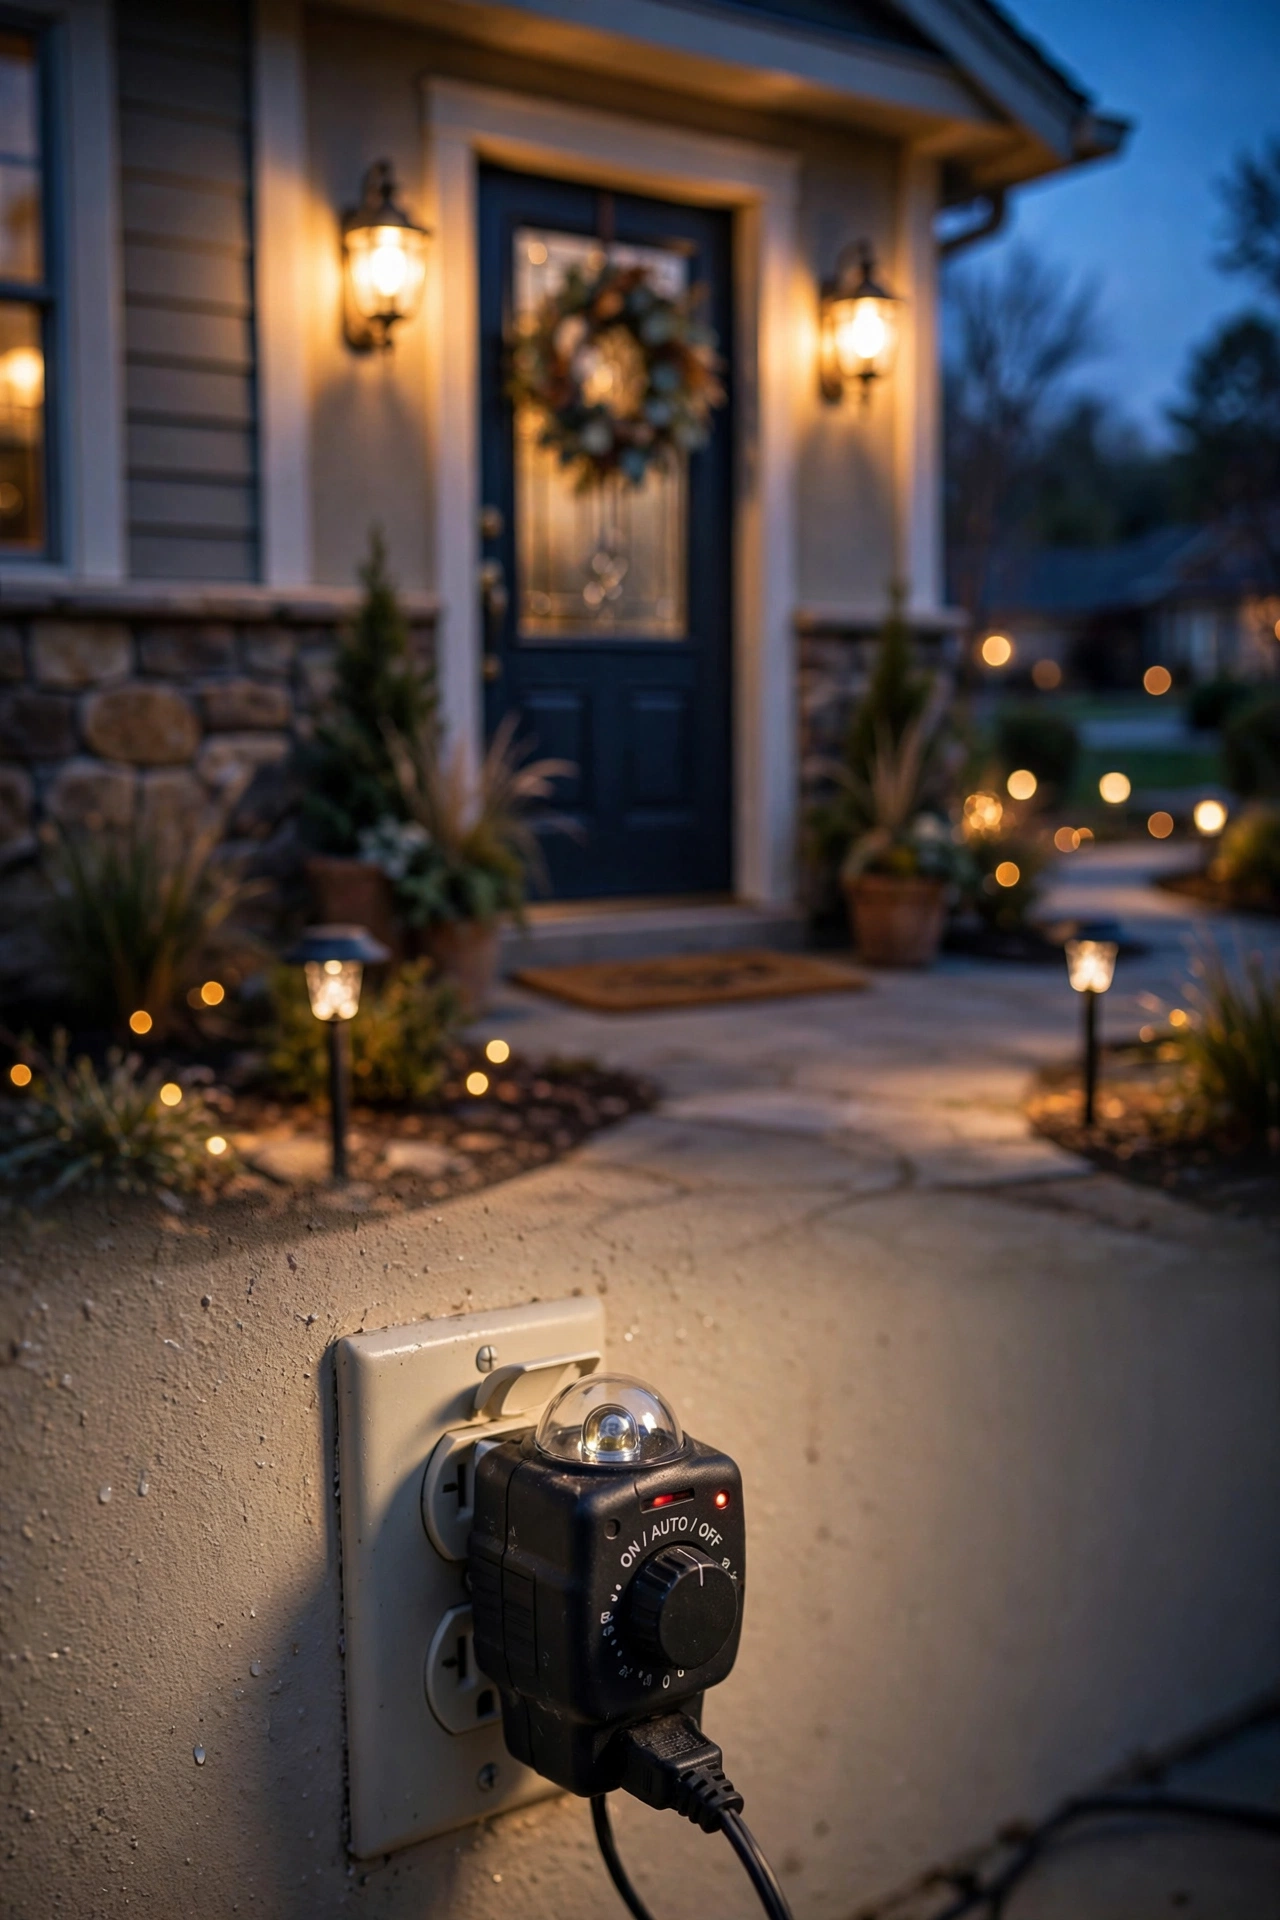
The best entry lighting is the kind you never think about — and that means one photocell timer or smart schedule running everything. A photocell sensor watches the actual light level and switches your entry lights on at true dusk (which shifts with the seasons, unlike a fixed timer), then off at dawn or after a set number of hours.
The simplest version is a plug-in photocell timer on your porch outlet: plug your string lights, planter strips, and lantern chargers into a single outdoor-rated power strip, plug that into the timer, and the whole entry breathes as one. For hardwired fixtures, an electrician can swap your porch switch for a photocell switch in under an hour.
I always recommend the "dusk plus 6 hours" setting over dusk-to-dawn for most homes — it covers the evening beautifully and saves energy overnight. Sync every bulb to the same warm 2700K while you're at it, and your entry will look professionally designed every single night without you lifting a finger.
Suggested budget range: $15 – $60.
21. Moonlighting From a Tree Near the Entry
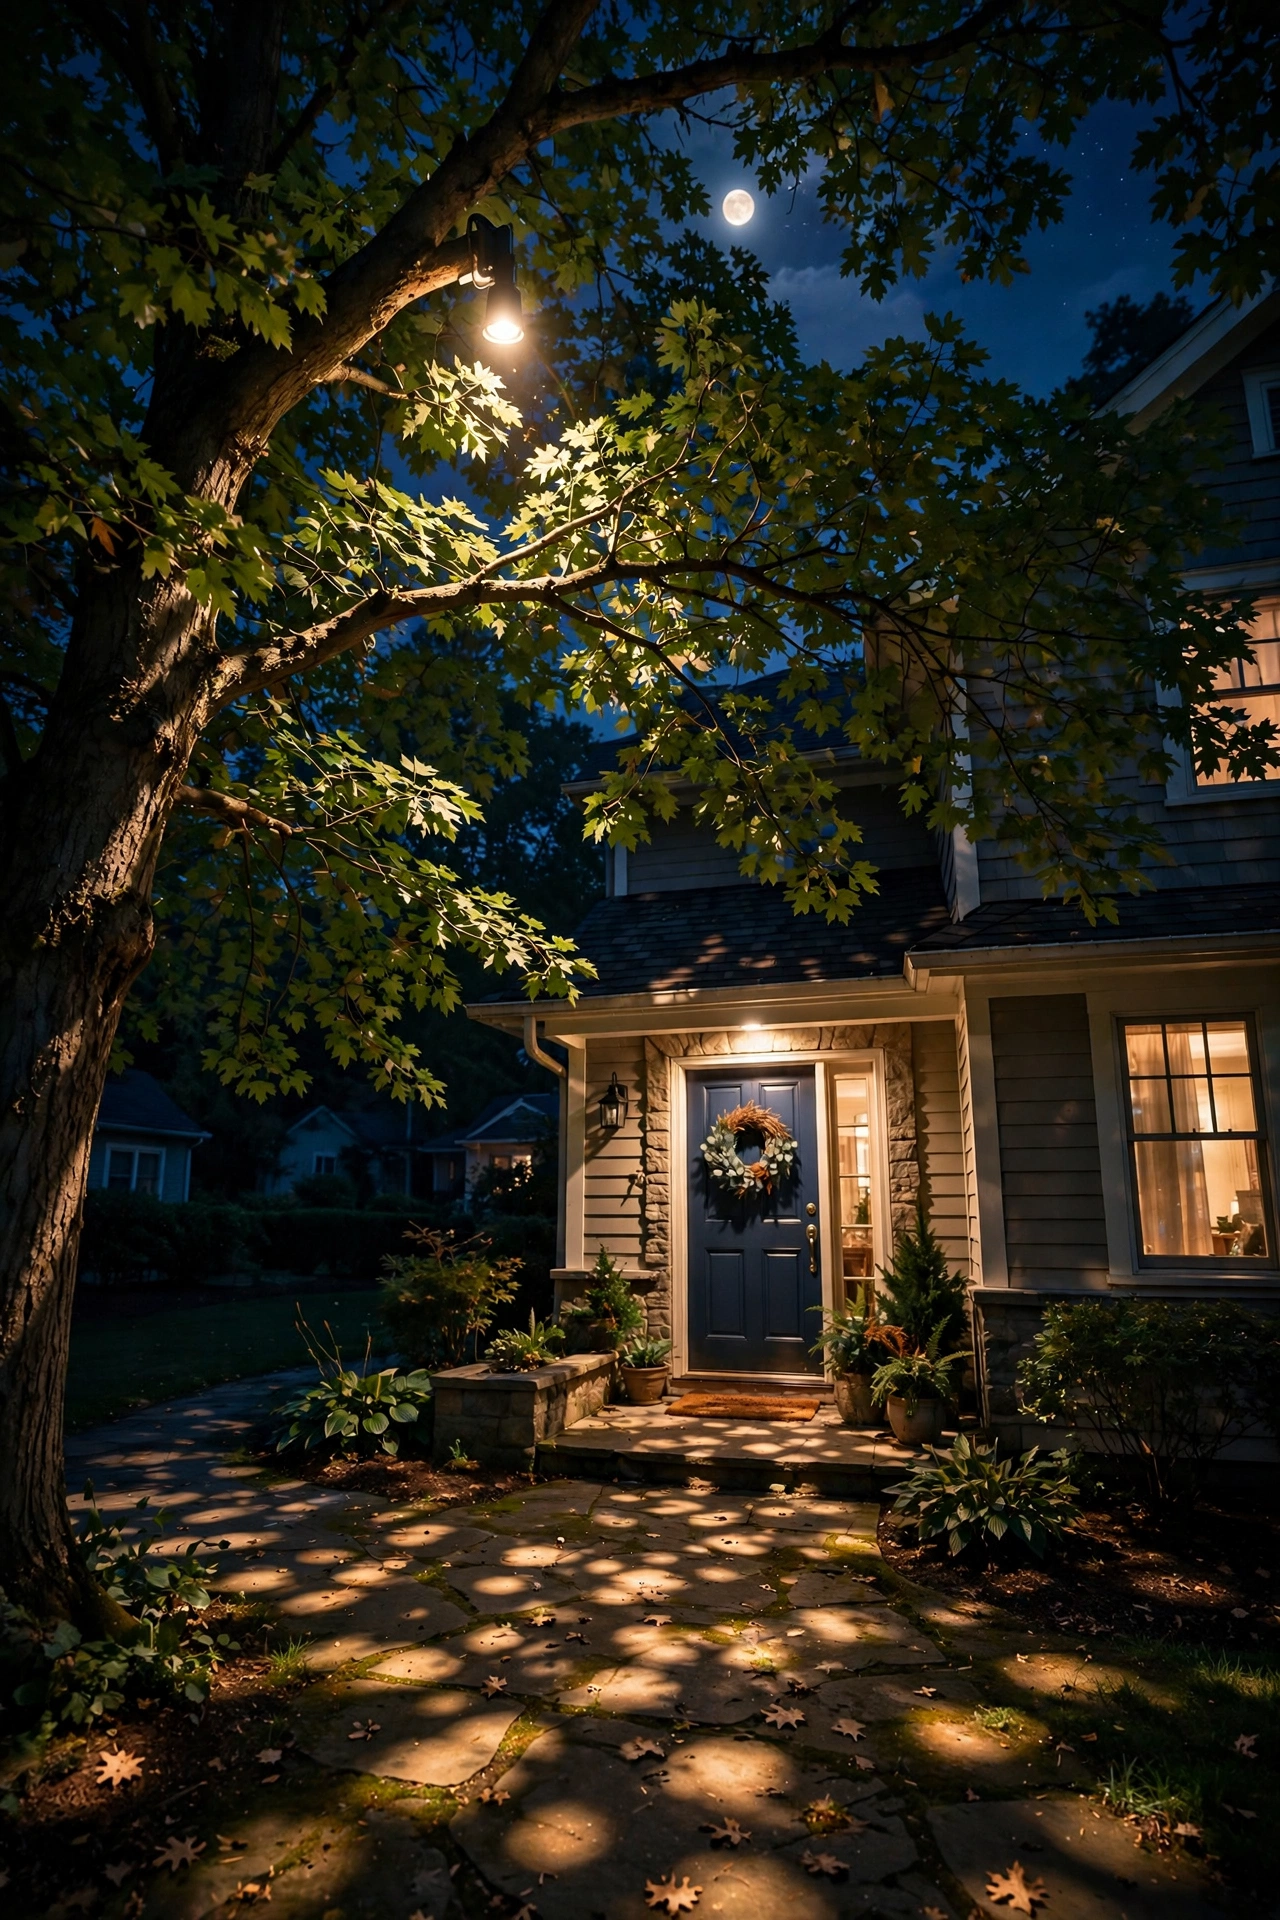
My favorite finishing touch — and the most magical of these outdoor entryway lighting ideas — is moonlighting: a downlight mounted high in a tree near the entry, aimed down through the branches. The leaves break the beam into a dappled pattern that looks exactly like moonlight, only warmer and more reliable. Guests walk through shifting pools of light, and the effect is pure enchantment.
Mount a 12-volt LED downlight 15 to 20 feet up, on the side of the trunk facing the walkway, using tree-friendly straps (never nails or screws — the tree grows, the mount shouldn't wound it). Aim for a wide flood beam in warm 2700K, and let the branches do the patterning work for you. One fixture is usually enough for a single tree; two creates a fuller canopy of light.
Run it on the same low-voltage transformer as your other landscape lights, and put it on the same dusk schedule. In my experience, this is the idea guests ask about most — nobody can quite figure out why your entry feels so magical, and that's exactly the point.
Suggested budget range: $60 – $180.
Frequently Asked Questions
What color temperature is best for outdoor entryway lighting?
Warm white — 2700K to 3000K — every time, in my experience. Warm light flatters skin tones, makes wood and brick look rich, and signals "welcome" in a way cool white never does. Cool-white (4000K+) entry lighting reads institutional, like a parking lot, and it washes out the cozy feeling you're after. The one rule that matters most: keep every bulb in the entry the same temperature so nothing clashes. Buy a few extra bulbs in the same spec when you find one you love, because manufacturers quietly discontinue shades of white all the time.
How bright should my front entry lights be?
Brighter than you think for safety, softer than you think for mood — and that's why layering wins. Aim for roughly 300 to 600 lumens total at the door itself (a typical porch sconce pair covers this), 100 to 200 lumens per path or step light, and keep decorative accents like fairy lights purely for sparkle rather than illumination. The real test is standing at the sidewalk after dark: you should clearly see the steps, the doormat, and the lock, without squinting into any bare bulb. If you can see the light source itself from the street, add a shade or aim it downward.
Should I choose solar or wired lights for my entryway?
Honestly? Both, in different roles. I treat solar as the supporting cast — path stakes, planter accents, spots that get full sun — because the install takes five minutes and there's no electric bill. But the stars of the entry (the sconces by the door, step lights, anything guests depend on for safety) should be wired or at least battery-powered with a timer, because solar dims early on short winter days. If you're only doing one project, run a simple 12-volt low-voltage line for the walkway and keep solar for decoration.
How do I keep my entryway lights on a schedule automatically?
A plug-in photocell timer is the simplest answer: it senses actual darkness and switches everything on at true dusk, no reprogramming as the seasons change. Plug your string lights, LED strips, and lantern chargers into one outdoor-rated power strip connected to the timer, and the whole entry runs itself. For hardwired fixtures, swap the wall switch for a photocell or smart switch with astronomical timing. I always recommend the "dusk plus 6 hours" setting — it covers the evening beautifully without burning energy all night.
Conclusion
Great outdoor entryway lighting ideas all come down to one principle: layer your light the way you'd layer a room — something overhead, something at eye level, something low along the ground, all glowing in the same warm white. You don't need a big budget or an electrician on speed dial; most of these 21 ideas go up in a weekend, and the combination of even three or four of them will make your front door the warmest, most welcoming spot on the block.
Start with the automation (idea 20) and one good pair of sconces or an overhead fixture, then add the low layers — steps, path, planters — as time and budget allow. Every layer you add makes the entry feel deeper, safer, and more intentional. And if you love the seasonal side of entry styling, my fall porch lighting ideas walk through the same layering approach dressed up for autumn, while the spring front yard lighting guide extends the glow out into the whole yard.
Now grab a warm drink, step out to your sidewalk after dark, and look at your entry with fresh eyes — then pick the one idea that would change it most and start there this weekend.