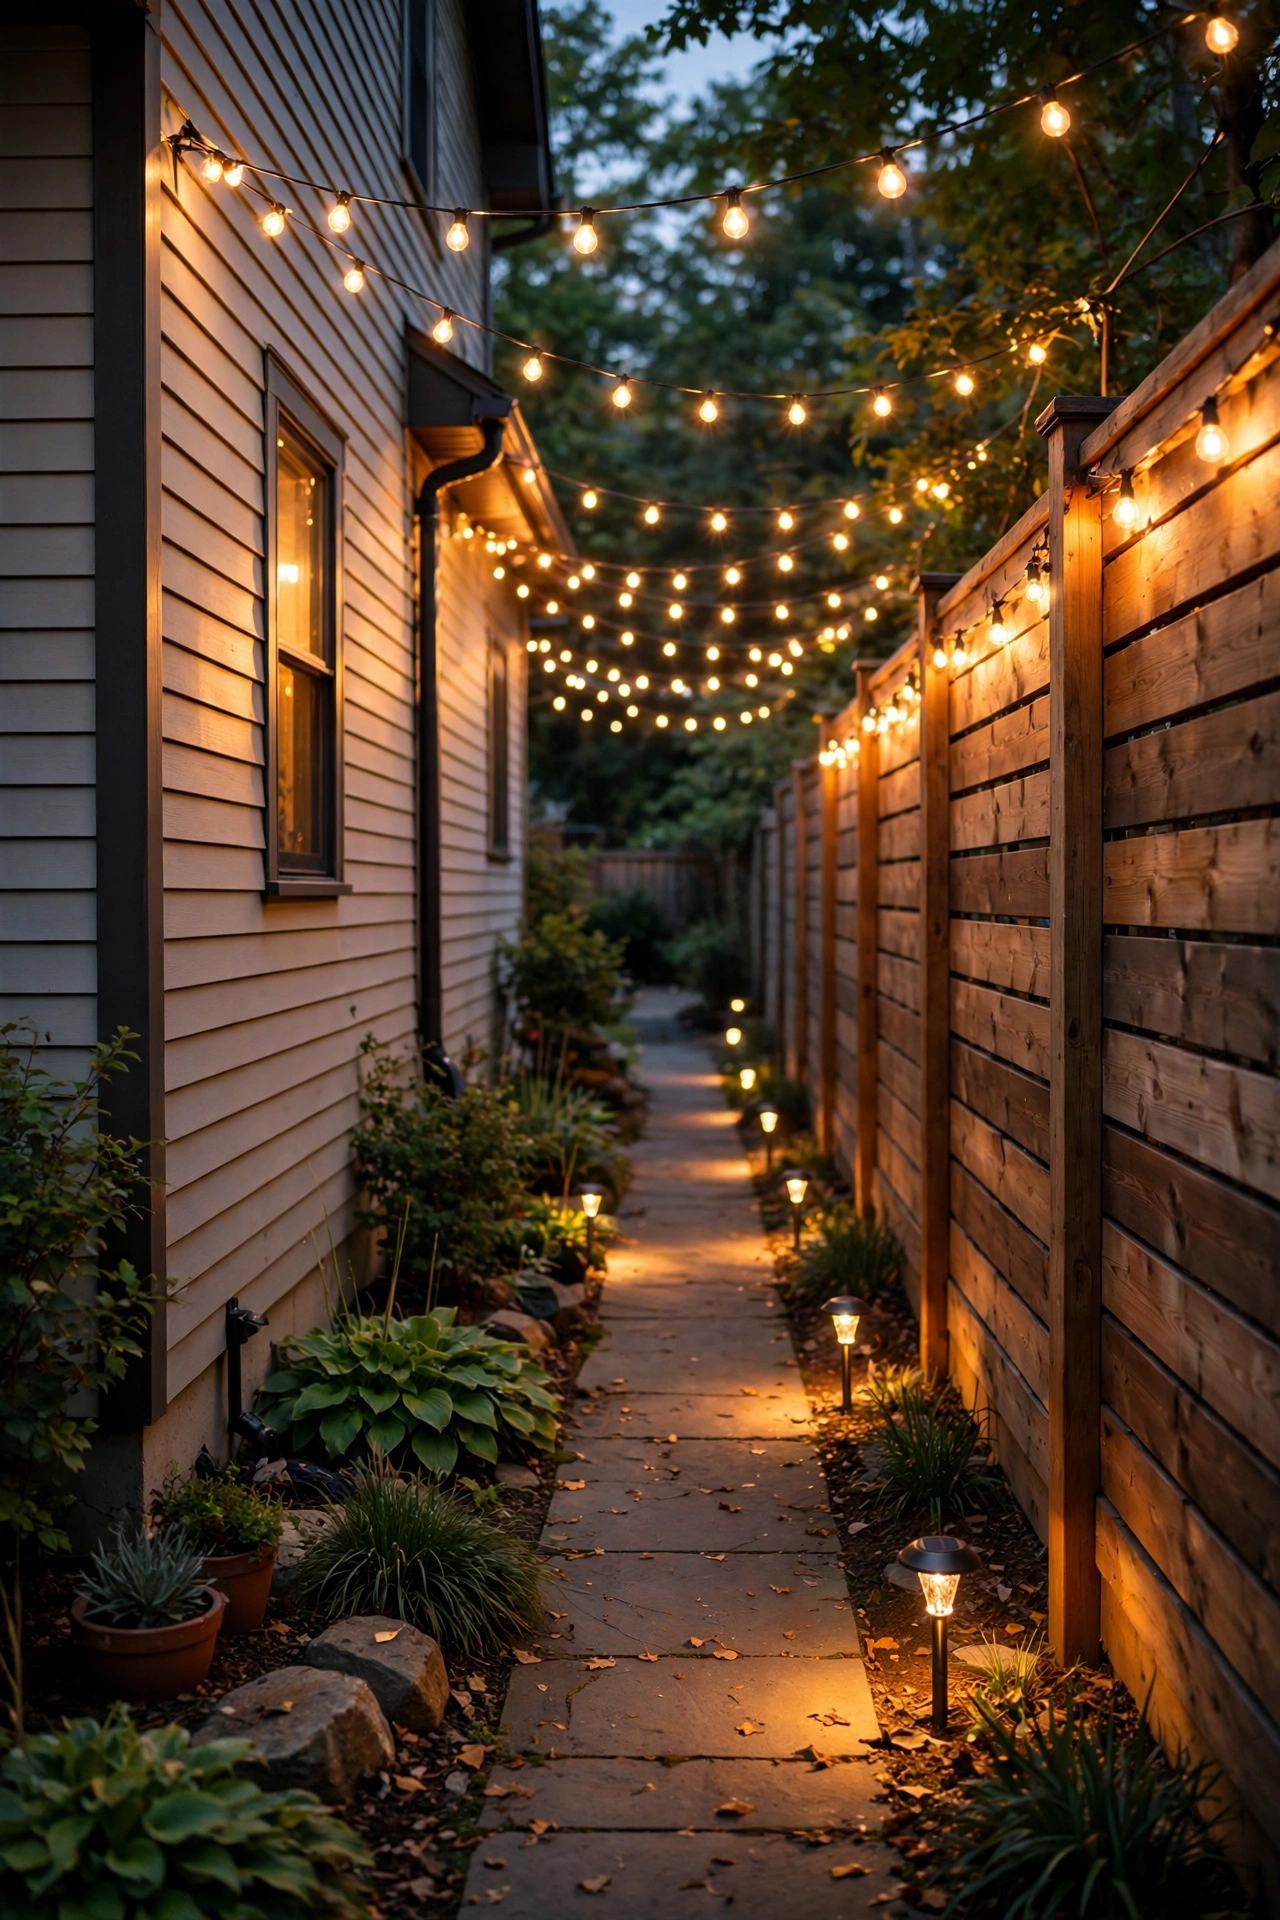
Every house has one: that narrow strip of land between the house and the fence, where the trash cans live, the hose tangles itself, and nobody goes after dark. If you're looking for side yard lighting ideas, you're probably trying to fix one of two problems — it feels unsafe, or it just feels forgotten. In my experience, it's usually both.
Here's the thing I always tell friends: the side yard is the hardest-working corridor in your whole landscape. It's how you get to the backyard with groceries, how the dog gets out at midnight, how guests find the back gate. Yet most of us give it zero light and wonder why it feels creepy. The layering philosophy I use everywhere else applies here perfectly — one functional layer (safe footing), one security layer (motion or always-on deterrence), and one beauty layer (the glow that makes you actually want to walk through).
Below are 15 side yard lighting ideas, from a $25 weekend win to full low-voltage systems, so that forgotten strip can finally earn its keep.
1. Solar Stake Path Lights Along the Walkway
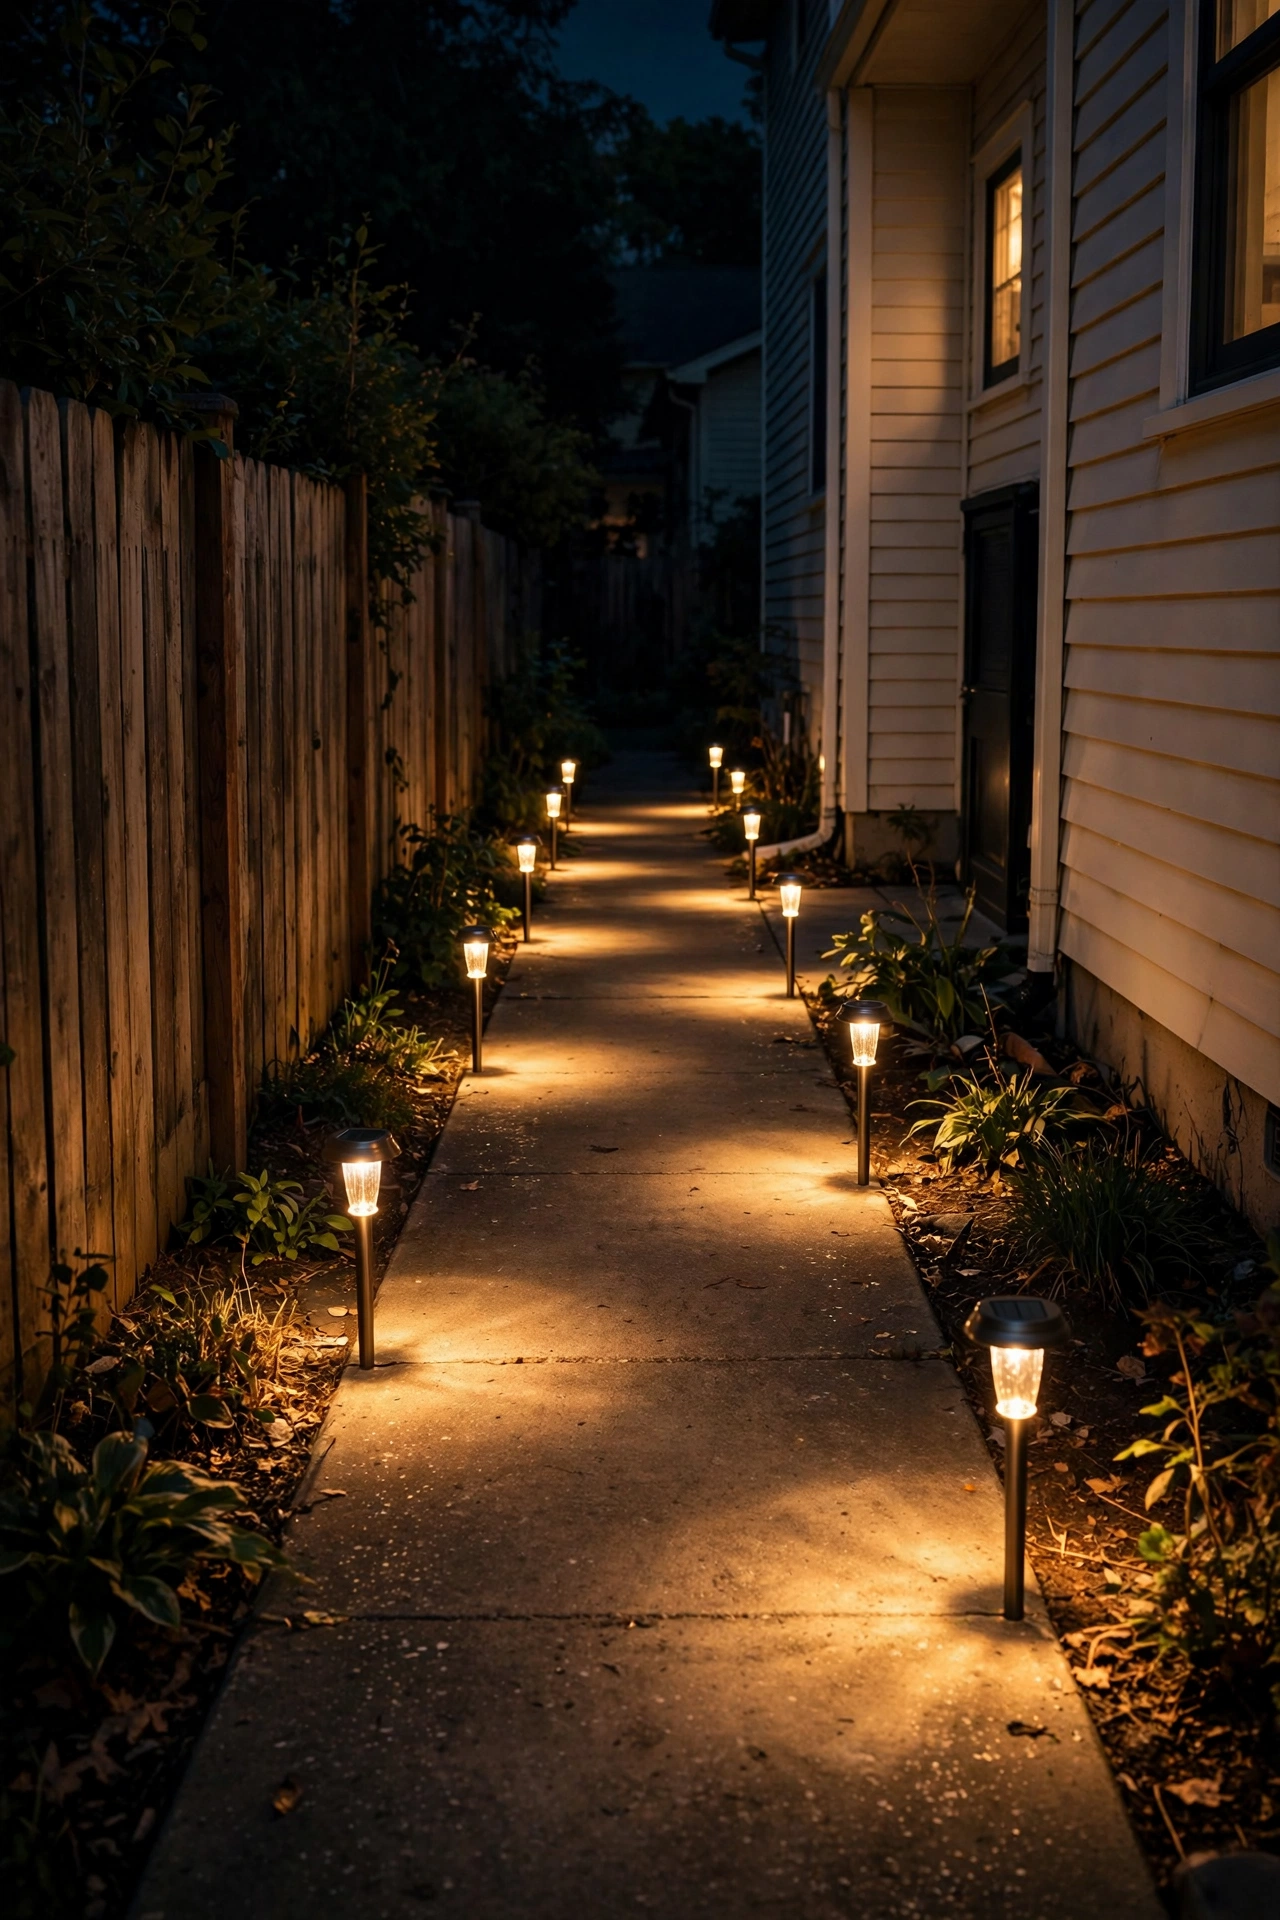
This is the single highest-impact, lowest-effort side yard lighting idea on the list, so let's start here. A row of solar stake lights instantly turns a pitch-black corridor into a navigable path — no wiring, no electrician, no excuses. In my experience, the mistake people make is spacing them like runway markers: evenly, symmetrically, boring. Instead, stagger them — alternate sides every 6 to 8 feet and set each fixture back 12 to 18 inches from the walkway edge so the light pools overlap on the ground rather than blinding you at eye level.
For narrow side yards (4 to 6 feet wide), warm white (2700–3000K) is the only color temperature I'd pick; cool white makes a tight corridor feel like a parking garage. Buy fixtures rated IP44 or higher so they survive sprinklers and sideways rain, and push the stakes firmly into soil — not gravel — or they'll lean within a week. One honest note: solar output drops hard under roof eaves and on north-facing strips, so if your side yard gets less than 4 hours of direct sun, skip to idea 3 or 4 and wire it instead. For most people, though, this one weekend project changes the whole feeling of the space.
Suggested budget range: $25 – $80.
2. Zigzag Café String Lights Overhead for Instant Side Yard Lighting
If your side yard has two walls to work with — your house on one side, a fence on the other — you own the perfect canyon for string lights, and honestly? This is my favorite transformation per dollar in all of outdoor lighting. A zigzag run of café-style string lights turns a forgotten strip into something that feels like a bistro alley. Mount screw-eye hooks into the fence posts and the house fascia every 8 to 10 feet, then run the strands in a loose zigzag or parallel rows with a gentle catenary sag of about 6 inches per 10-foot span. That sag is what makes it look intentional instead of taut and anxious.
Hang the lowest point of the wire at least 7.5 feet off the ground so nobody clotheslines themselves carrying a ladder. Use LED Edison-style bulbs (2700K, shatterproof plastic rather than glass — trust me on this one around kids and wind) and plug the run into an outdoor-rated smart plug on a dusk-to-dawn schedule. Outdoor-rated strands are non-negotiable; indoor fairy lights will fail after one good rainstorm. Pair this with the solar path lights from idea 1 and you've layered ground-level function with overhead atmosphere — the classic two-layer combo that makes side yards feel designed.
Suggested budget range: $40 – $150.

3. A Warm Wash of Light Along the Fence Line
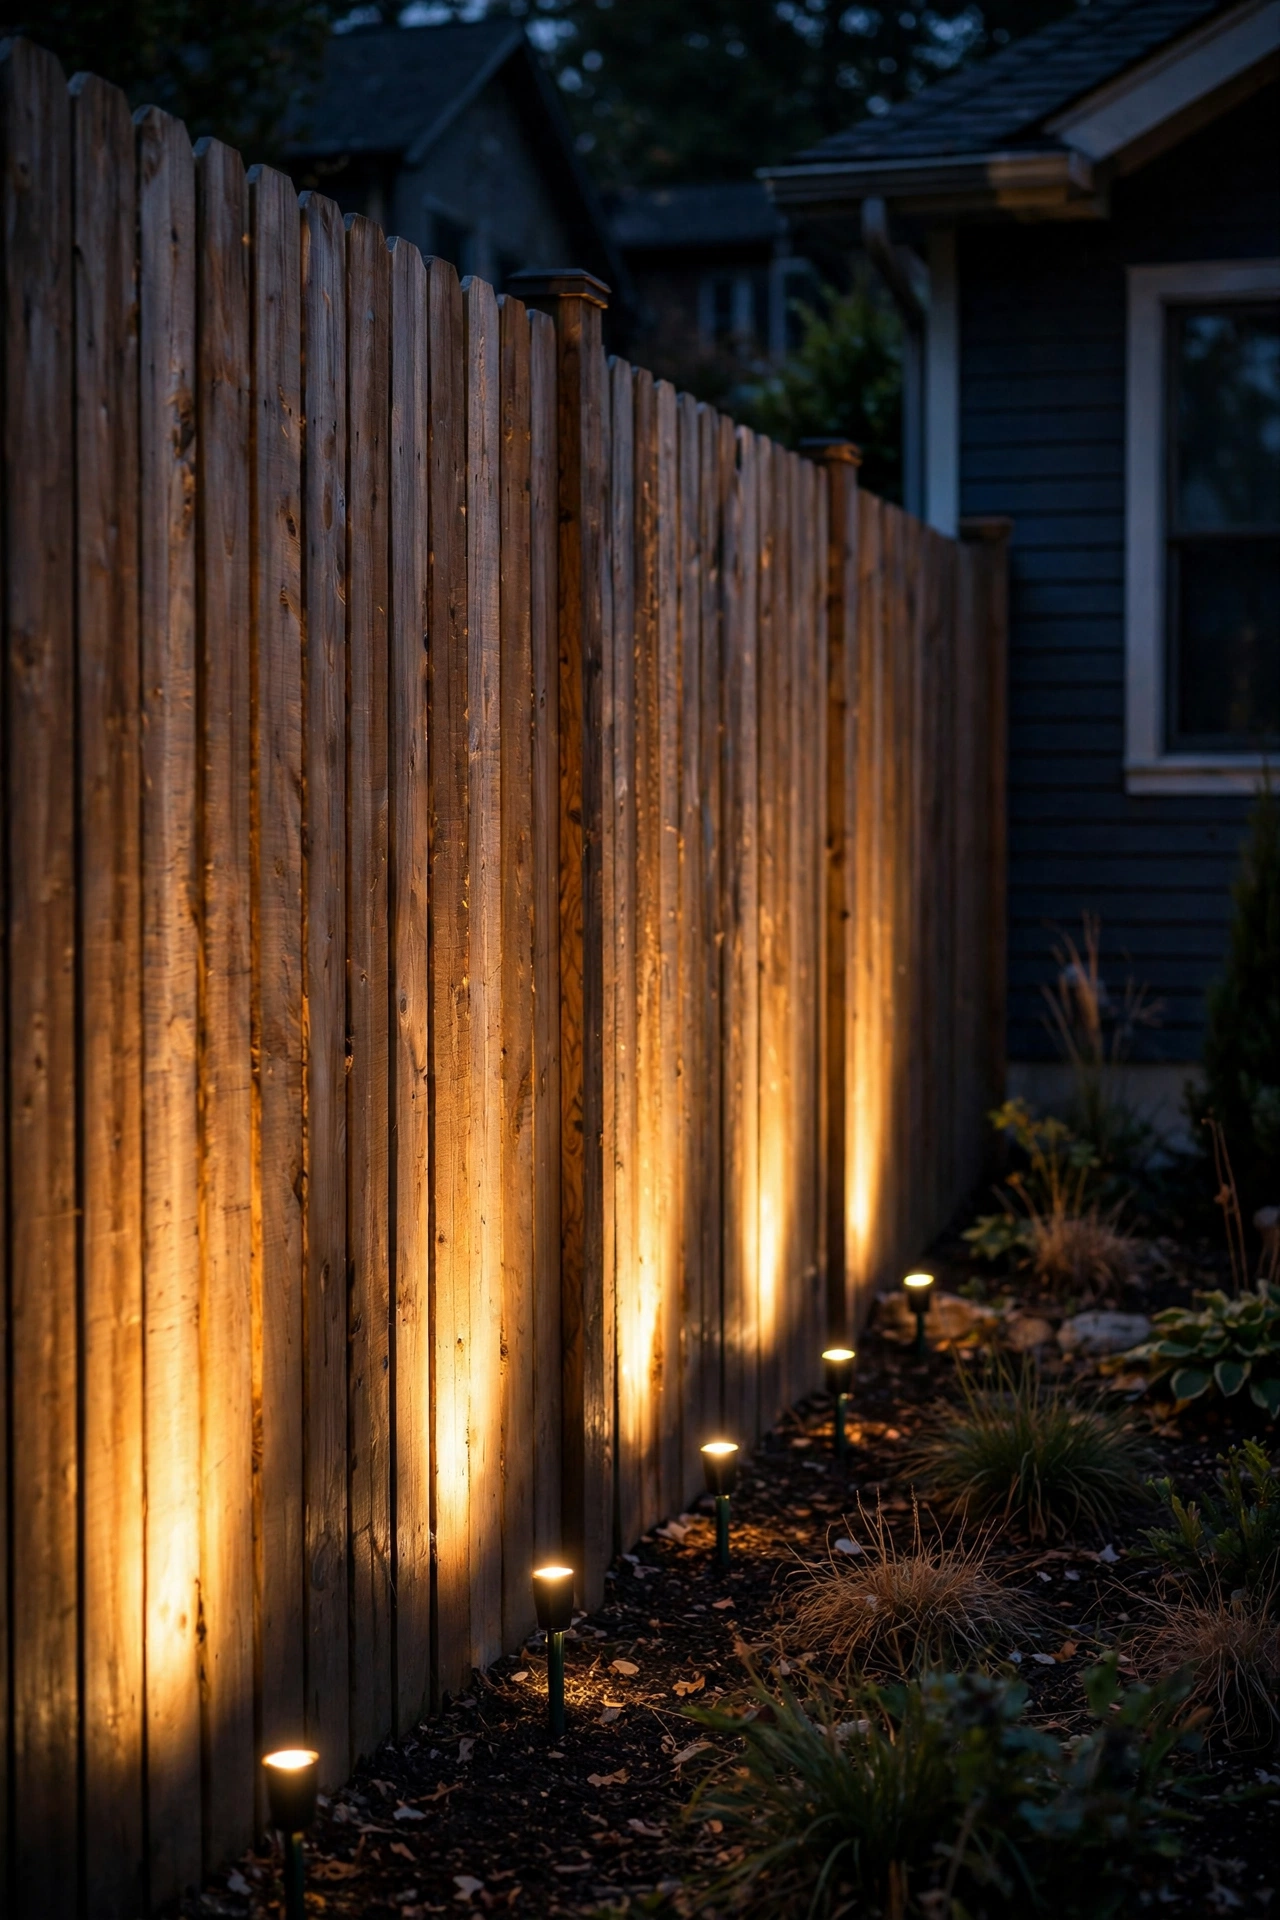
Fences are the side yard's biggest blank canvas, and a soft wash of light across them does two jobs at once: it bounces ambient light back into the corridor so the whole strip feels brighter, and it gives your eye something pleasant to land on instead of a dark wooden wall. The trick is grazing, not blasting. Mount small low-voltage LED wash lights or adjustable spotlights on short stakes about 2 feet out from the fence, aimed up at a shallow 30-degree angle. That shallow angle rakes across the fence boards and reveals their texture — the result looks like a magazine garden wall, not a security perimeter.
Space fixtures 6 to 10 feet apart; in a typical 40-foot side yard, five or six fixtures are plenty. Keep the color temperature consistent with the rest of your yard (2700K is my default recommendation) because mixed temperatures in a tight space look accidental. Low-voltage 12V systems are ideal here: the cable just tucks under mulch or soil, the fixtures are safe to handle, and a 60-watt transformer can run the entire fence line with room to spare. Avoid pointing any fixture toward a neighbor's window — aim everything at your own fence, and check the effect from inside their sightline at night before you finalize positions.
Suggested budget range: $120 – $400.
4. A Motion-Sensor Floodlight for Side Yard Security
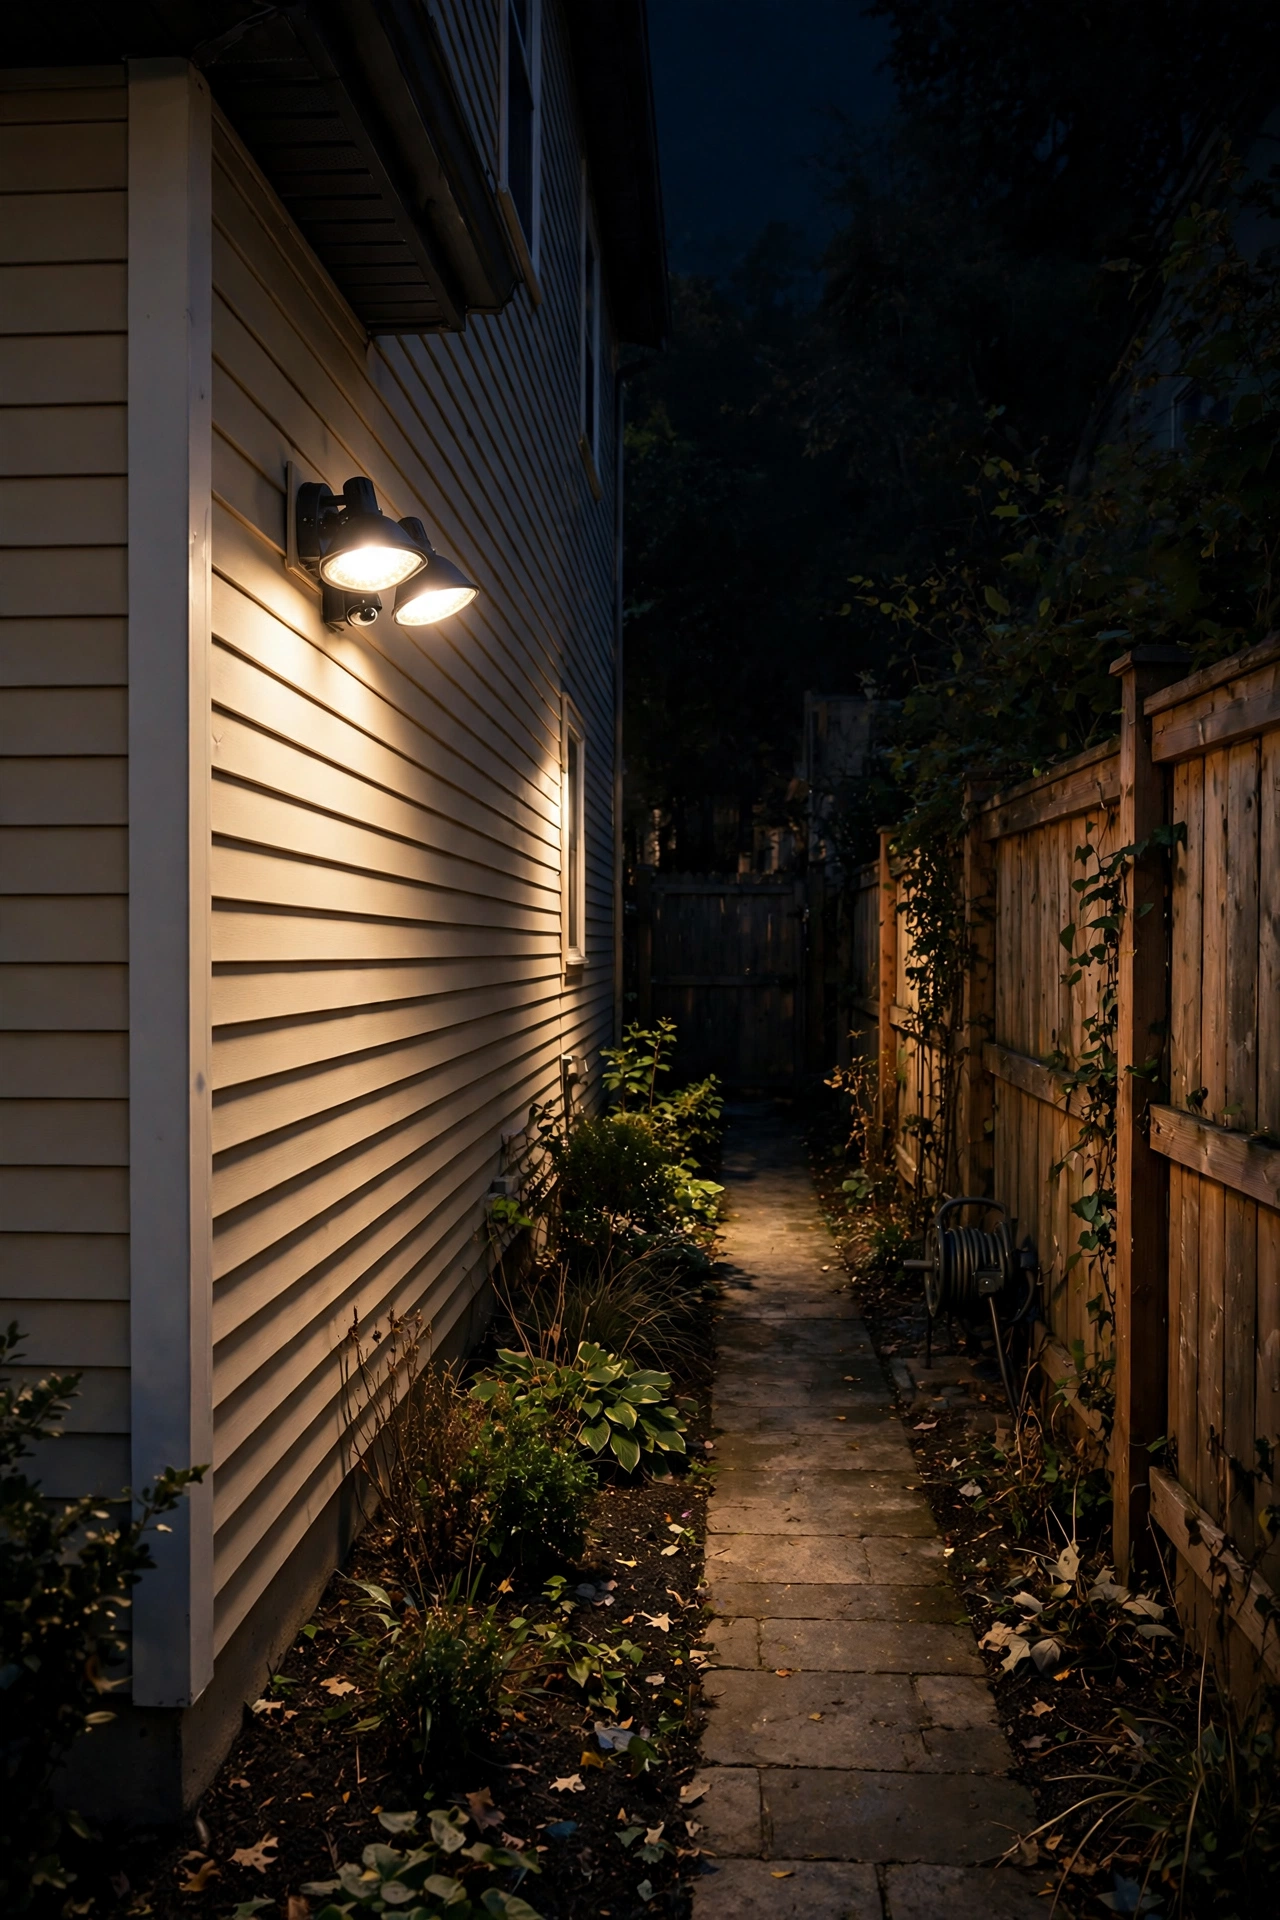
Let's be practical for a moment: side yards are where break-ins happen, because they're dark, narrow, and out of sight. A motion-sensor floodlight is the one side yard lighting idea I'd call non-optional rather than decorative. Mount a dual-head LED motion flood on the house wall or garage wall overlooking the strip, 8 to 10 feet high, with the sensor aimed down the length of the yard rather than across it — that way movement anywhere along the corridor triggers it, instead of only at one spot.
Set the sensitivity to medium and the timer to 1 to 3 minutes so a passing cat doesn't light up the block all night. Choose a fixture with adjustable heads so you can angle one head down the yard and one toward the gate. And here's the neighborly detail people skip: pick a fixture with a shielded or downward-aimed design, and never aim the flood across the property line into a neighbor's bedroom window. Warm white (3000K) floods exist and look far less hostile than the old bluish ones — security lighting doesn't have to feel like a prison yard. If your side yard has no accessible junction box, solar motion floods with a separate panel work surprisingly well now, as long as the panel sees sun.
Suggested budget range: $30 – $120.
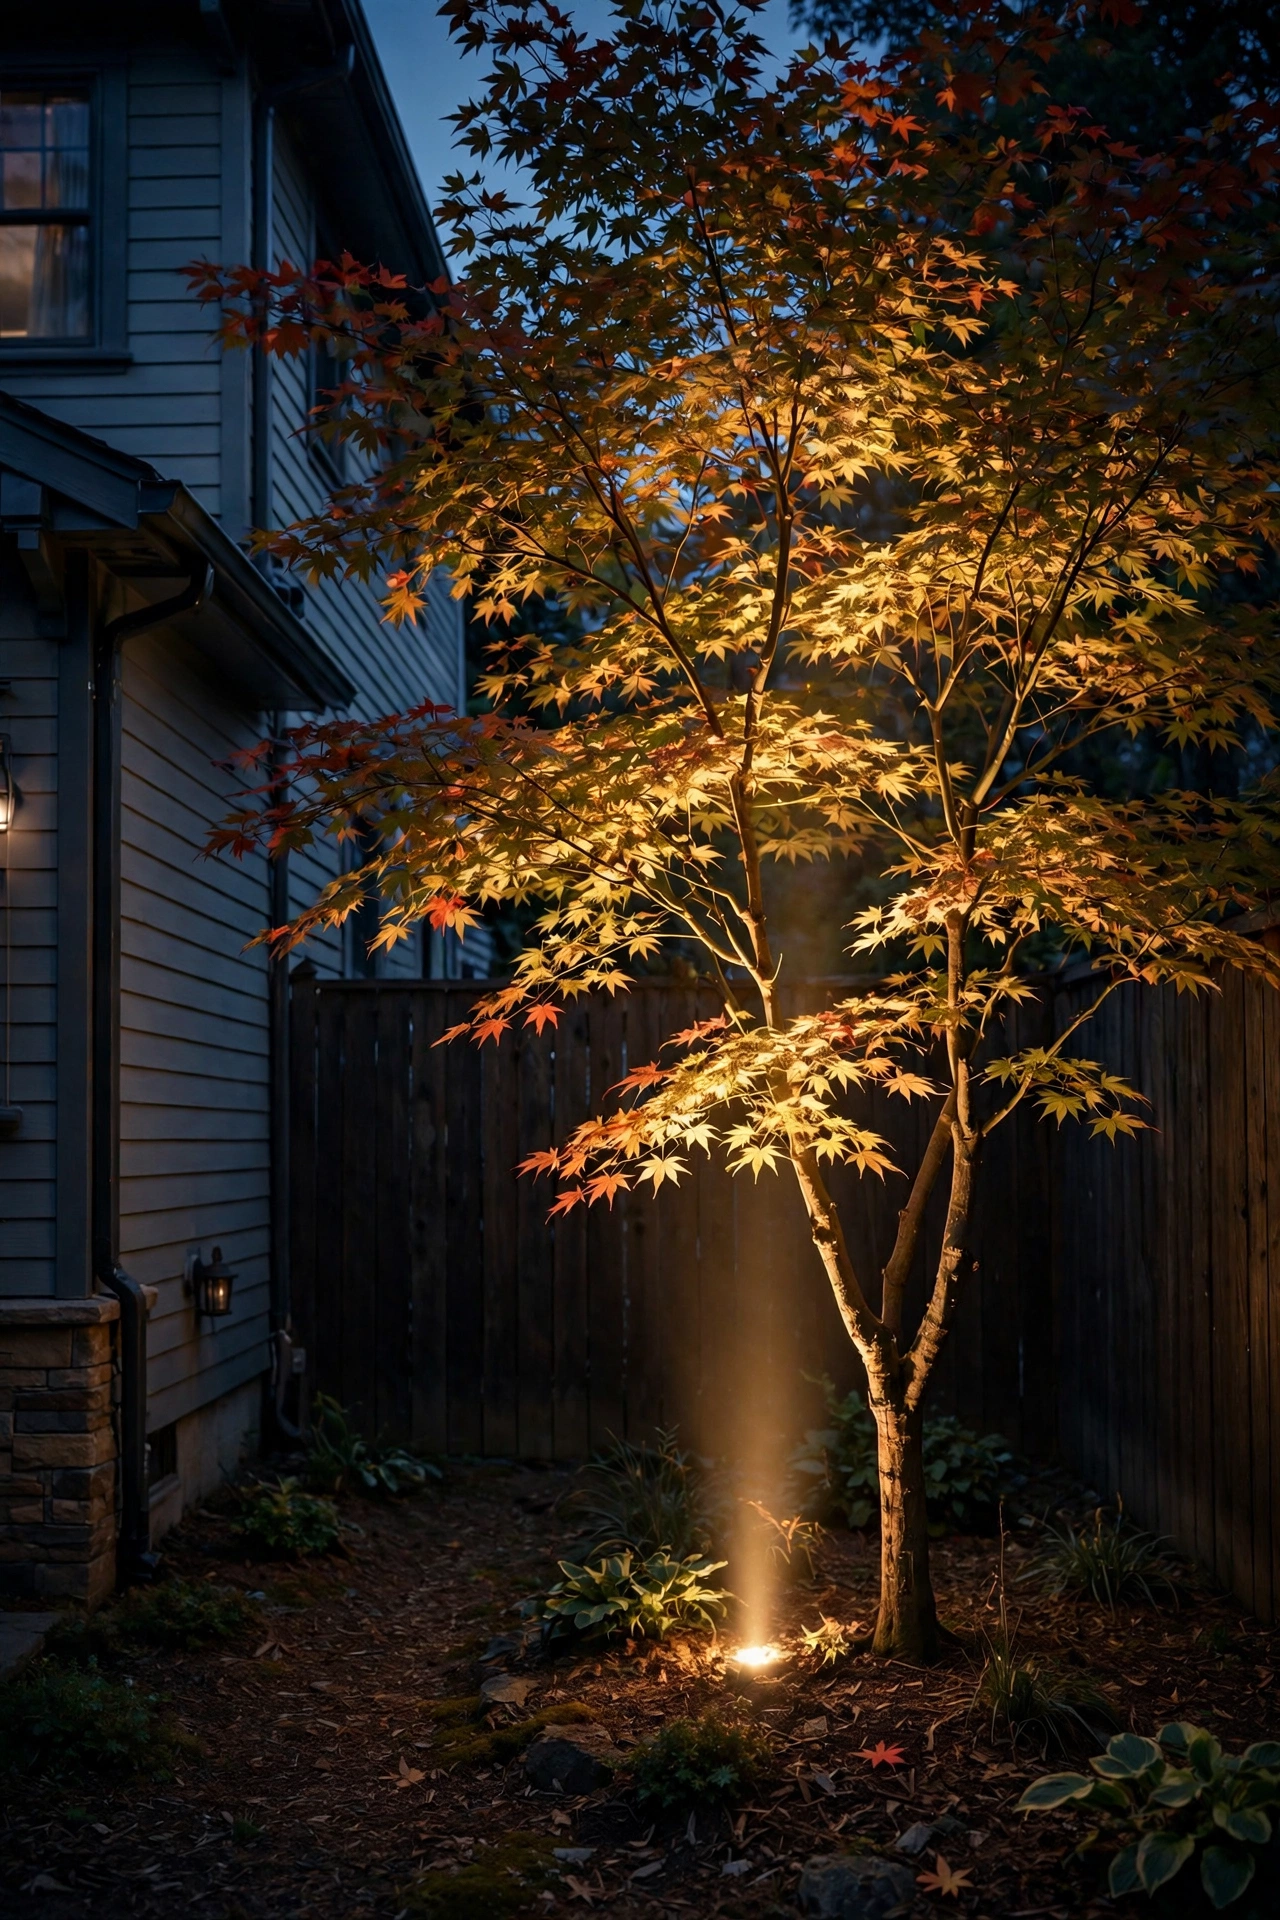
5. Uplight the One Thing Worth Looking At
Most side yards have exactly one thing with any character — a Japanese maple, an ornamental grass clump, a espaliered fruit tree, even a handsome downspout-side boulder. One well-placed uplight aimed at that single feature changes the whole narrative of the strip from "forgotten corridor" to "garden you happen to walk through." I always recommend starting with one fixture before buying five, because restraint is what makes uplighting look expensive.
Place a low-voltage LED spot or well light 12 to 18 inches from the base of the plant, aimed up through the canopy at roughly a 45-degree angle. For trees, pull the fixture back a little further — about 2 feet — so the beam catches the underside of the leaves and creates that dramatic moonlit-canopy effect. Warm 2700K light flatters foliage; anything cooler makes leaves look ghostly. If your side yard is all concrete and the "feature" is a blank wall, aim the uplight at a section of textured siding or stone veneer instead — grazing light across texture creates depth where there was none. One fixture, one focal point, done.
Suggested budget range: $25 – $90.
6. Recessed Step Lights on the Side Stairs
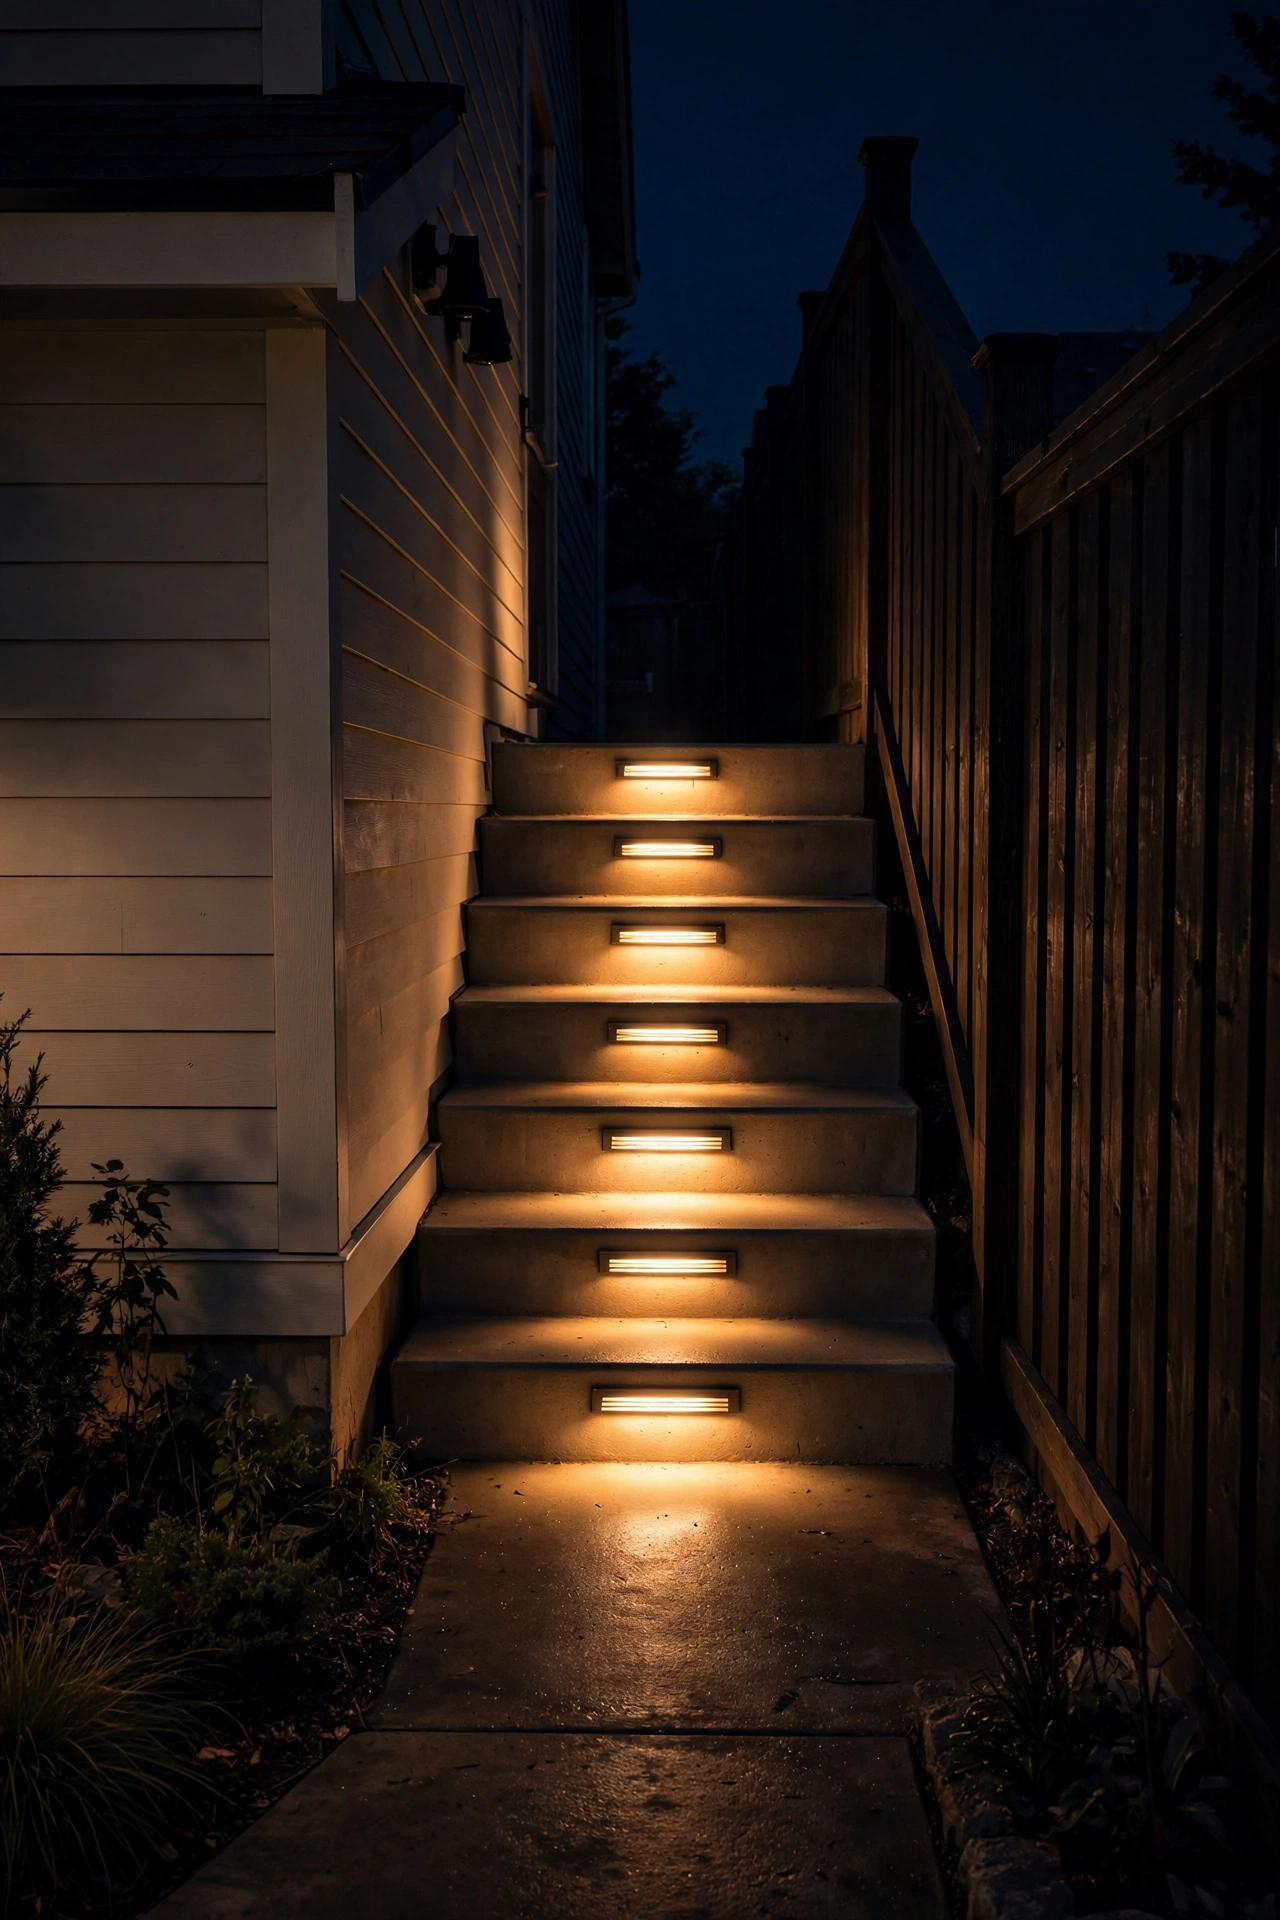
Side yards love stairs — the little step down from the back door, the two risers where the grade changes, the stoop at the gate. And stairs in the dark are where ankles go to die. Recessed LED step lights (also called hardscape lights) mount directly into the riser face or under the tread nosing and cast a soft pool of light exactly where your foot lands. This is functional lighting at its purest, and honestly, it looks fantastic too.
For a DIY-friendly approach, low-voltage LED step lights wire into the same 12V system as your fence wash or uplights — one transformer can serve the whole side yard. Space them one per 3 to 4 feet of stair width, mounted 4 to 6 inches above the tread surface, and keep the beam aimed down at the step, never outward into anyone's eyes. If cutting into masonry risers feels like too much, surface-mount LED step lights with a slim profile work on wood and concrete too, or go battery/solar for a no-wire version — just know you'll be replacing batteries seasonally. Always choose a louvered or shielded fixture so the bulb itself isn't visible; you want to see the light, not the source.
Suggested budget range: $60 – $250.
7. Flank the Gate With Bollards or Lantern Posts
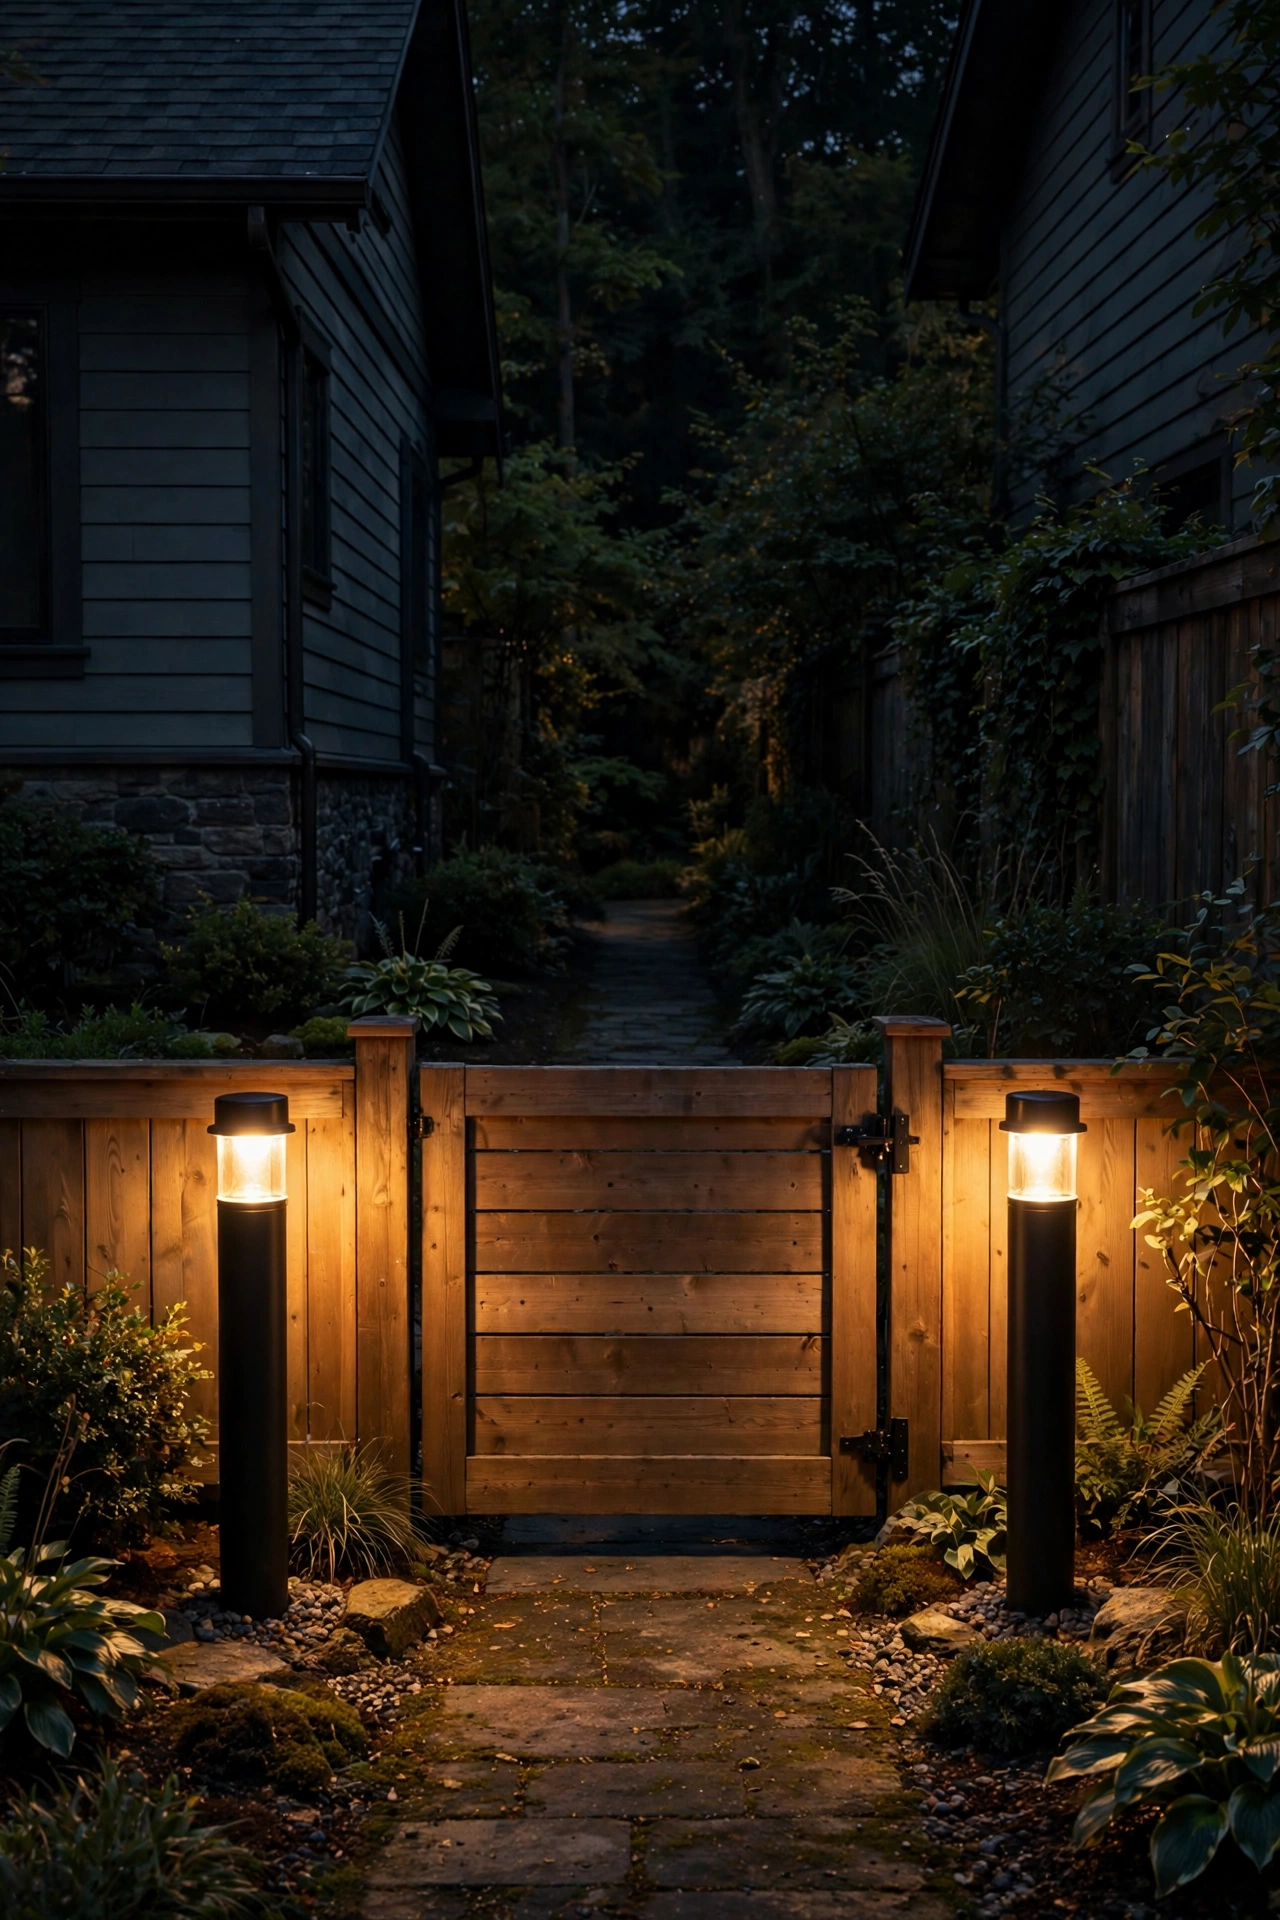
The side gate is the front door of your backyard — it deserves an entrance moment. Flanking it with a pair of short bollard lights or lantern posts creates a clear "you have arrived" signal, marks the gate's location from across the yard, and makes fumbling with a latch in the dark a thing of the past. In my experience, this is the detail that makes guests say "oh, this is nice" about a space they previously hurried through.
Use two matching fixtures, one on each side of the gate, set 18 to 24 inches back from the opening so the gate swings freely. Bollards 18 to 24 inches tall keep the light low and glare-free; if you prefer lanterns, mount them on 3-foot posts or directly on the gate posts themselves. Low-voltage bollards tie into your 12V system easily, but solar bollards have gotten genuinely good — look for ones with a separate monocrystalline panel rather than the tiny panel on top, which doubles the charge rate in partial shade. Keep both fixtures at the same color temperature as the rest of your side yard lighting so the entrance feels like part of one plan, not an afterthought.
Suggested budget range: $50 – $220.
8. Shepherd-Hook Lanterns: The Easiest Side Yard Lighting Win
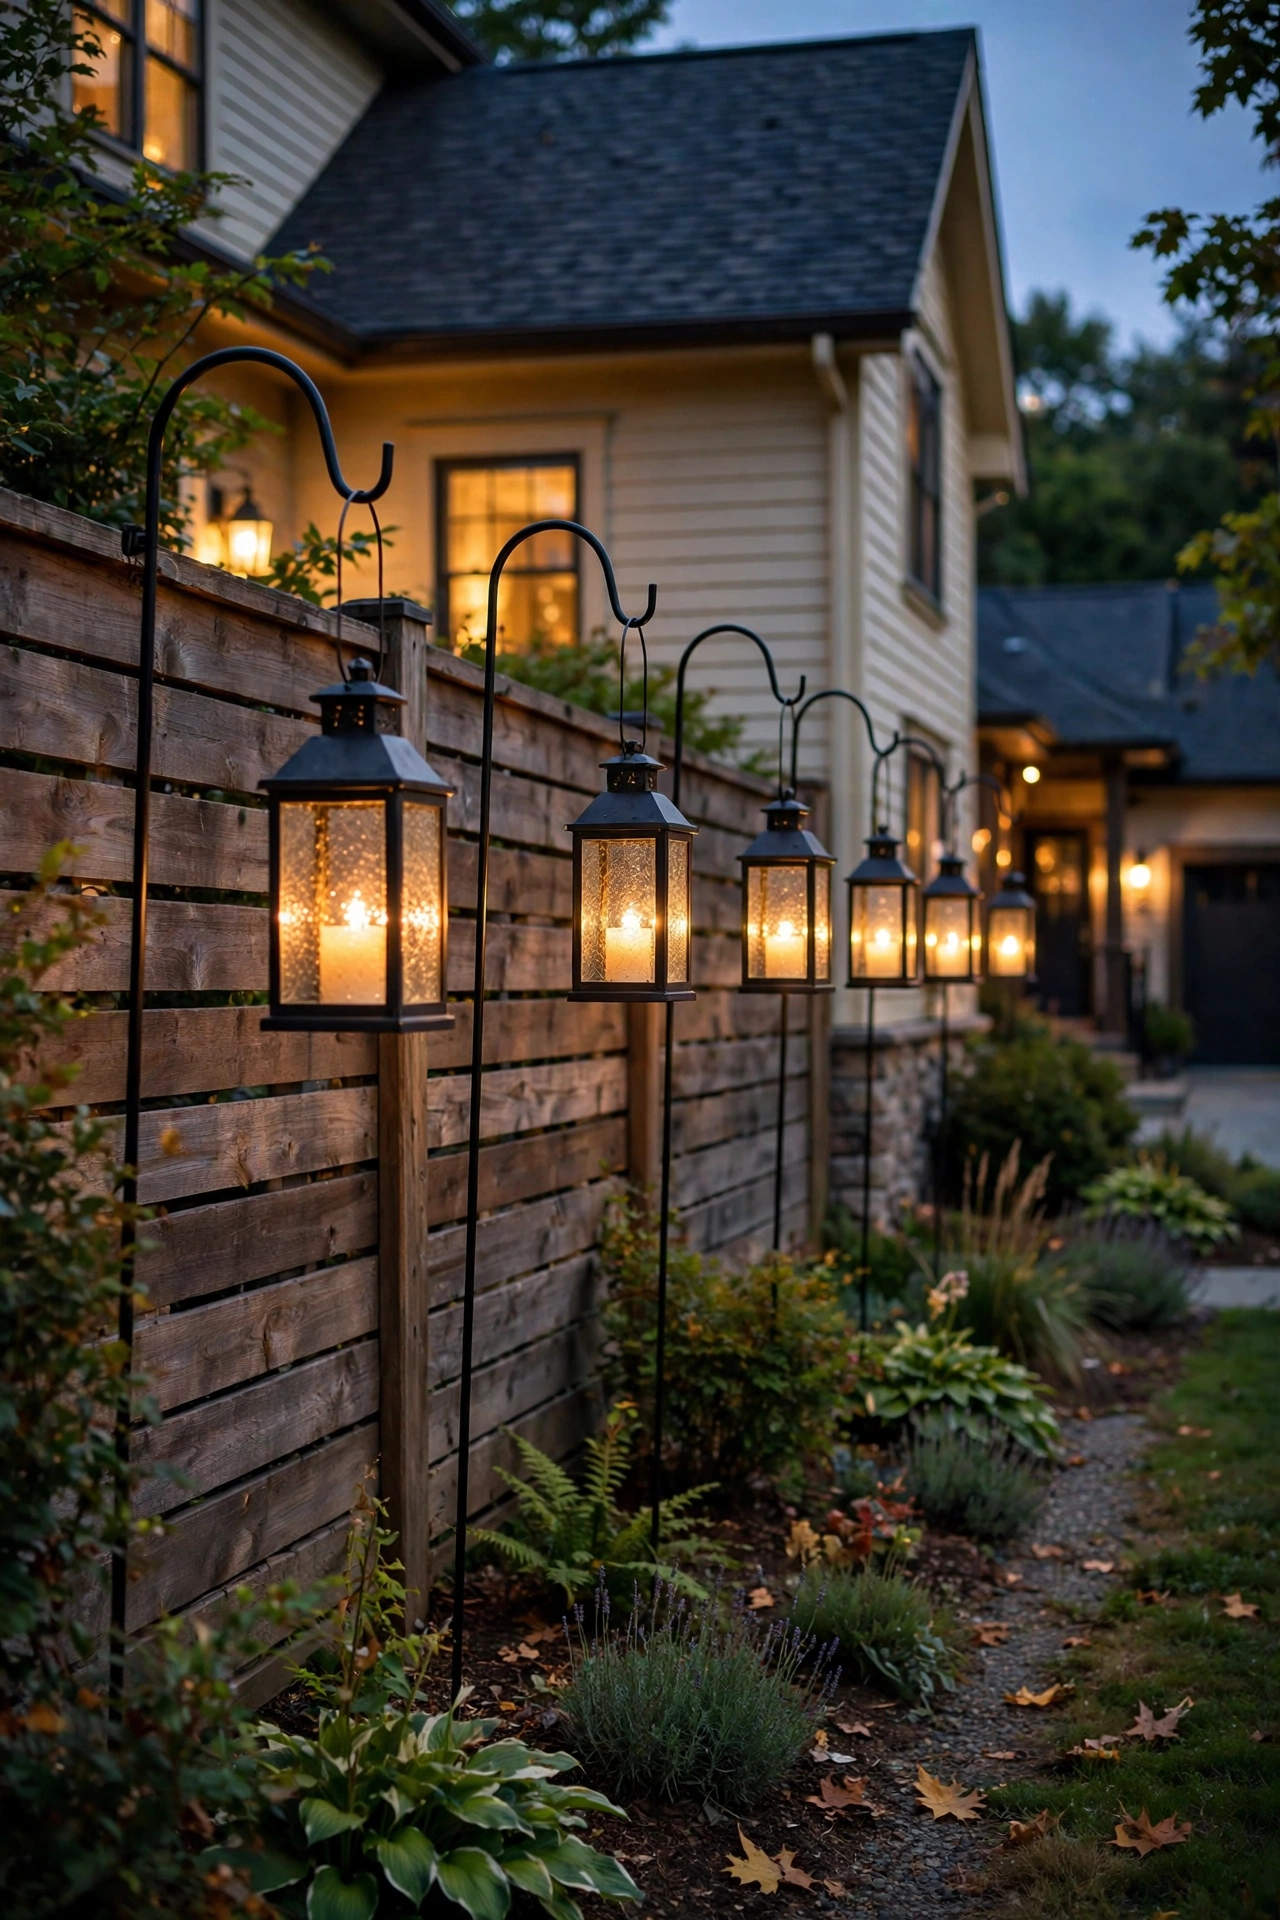
Some side yard lighting ideas require a shovel and a transformer. This one requires a shepherd's hook and five minutes. Push a 48-inch shepherd's hook into the soil along the fence, hang a lantern — solar, battery, or LED candle style — and repeat every 8 to 12 feet. The result is a row of glowing lanterns at exactly the height that feels magical: about 3 to 4 feet off the ground, right at strolling eye level.
I love this approach for renters and for anyone who wants to test a layout before committing to wiring, because you can move the hooks around until the rhythm feels right. Cluster them in odd numbers (three or five) near the gate or the back door for a deliberate vignette, and use real glass or seeded-glass lanterns with LED candles inside rather than plastic — the glass catches and throws the light in a way plastic never will. One safety note: use LED candles only, never real flames, in any lantern near a fence, siding, or mulch. A gust of wind plus a dry cedar fence is not a combination you want to gamble with.
Suggested budget range: $30 – $100.
9. Light the "Backstage" Utility Zone
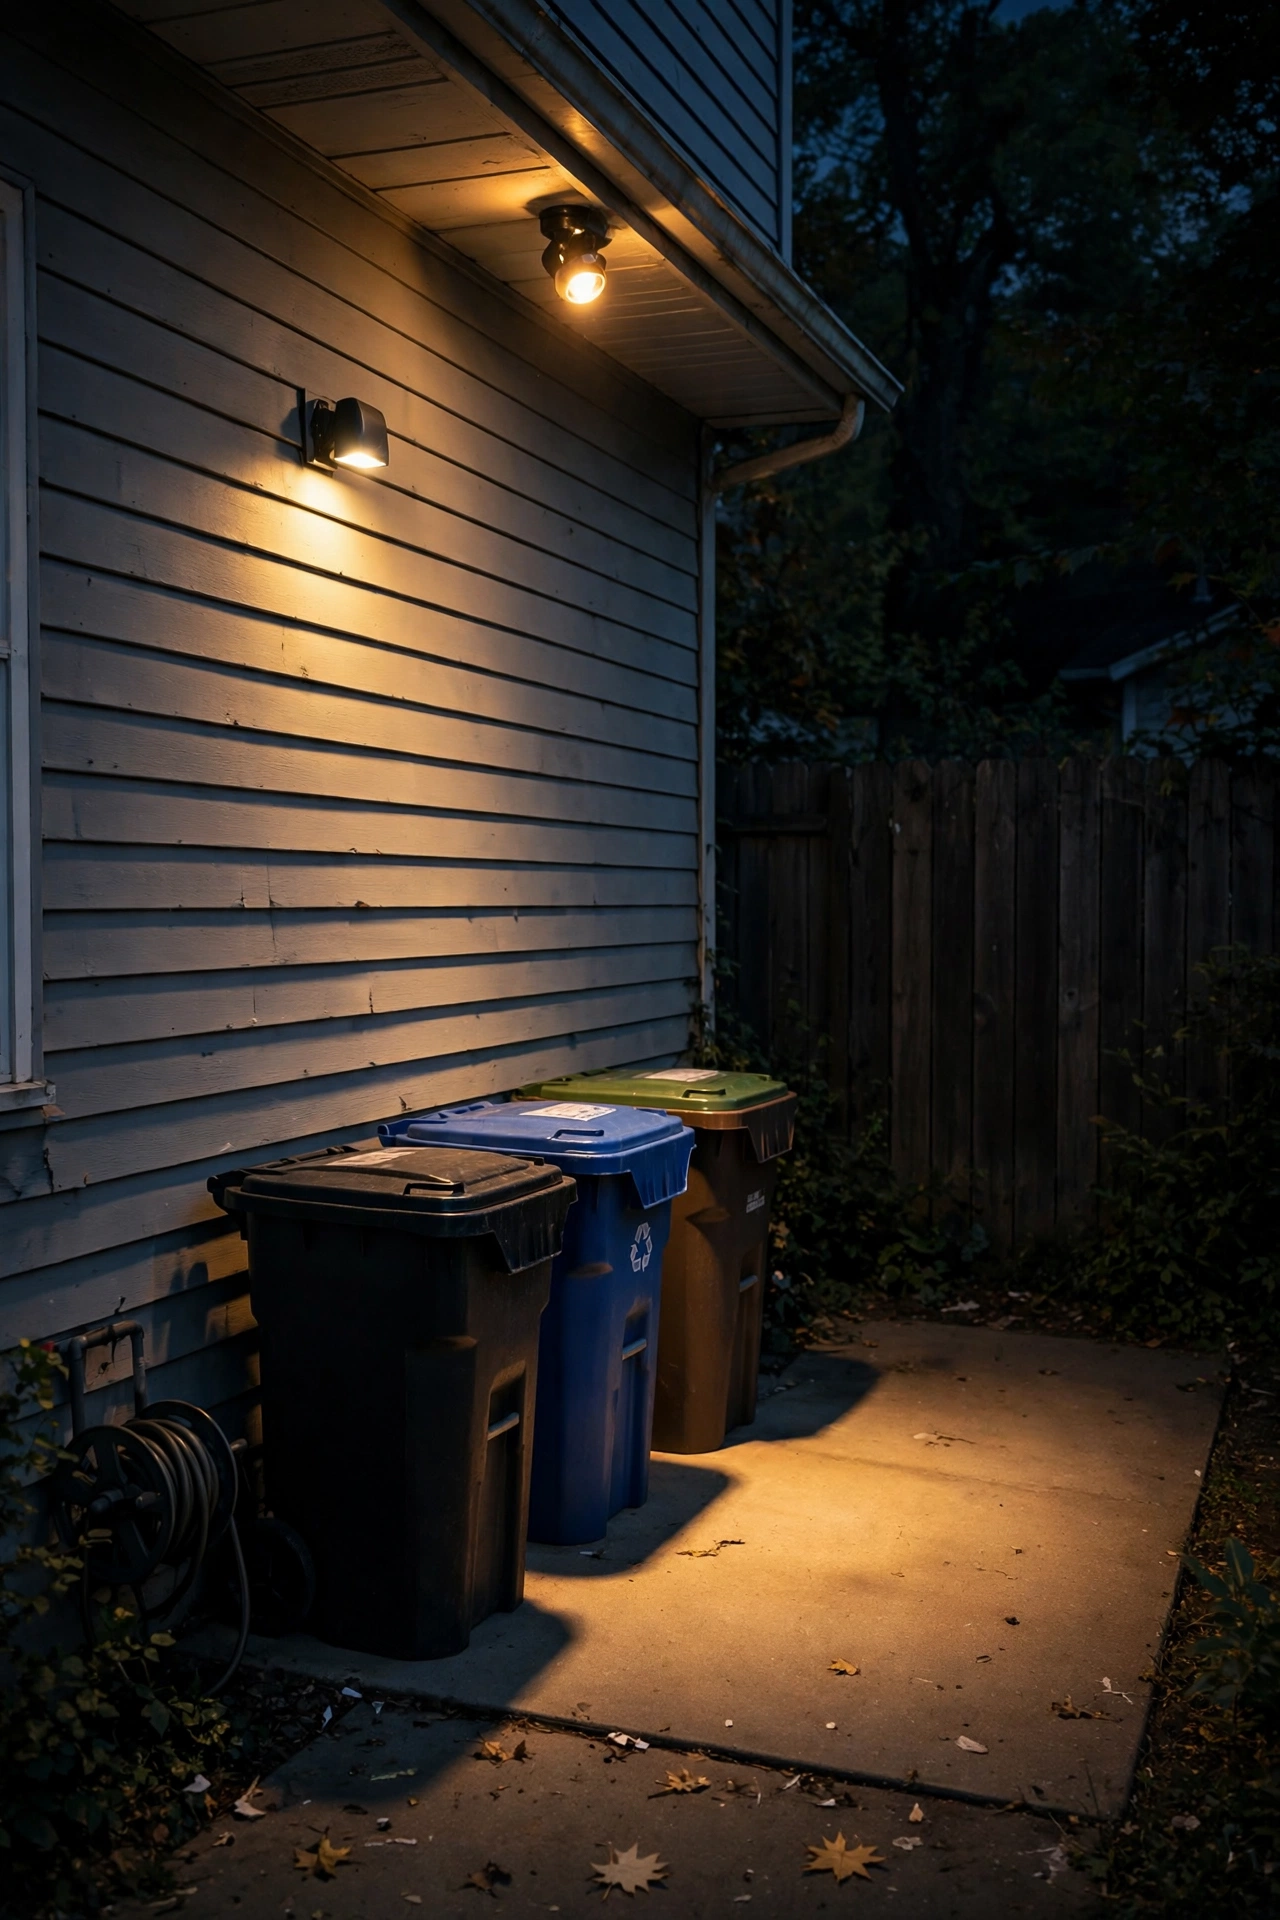
Every side yard has a backstage: the trash and recycling cans, the hose bib, the air-conditioner condenser, the side door you actually use. These spots get used daily and lit never, which is exactly backwards. A small dedicated light over the utility zone — a compact LED wall pack above the cans, a motion puck light inside the storage nook, a downlight over the hose bib — pays for itself in pure daily convenience.
My favorite setup here is a small motion-sensor light on a battery or solar charge, mounted 7 to 8 feet up on the house wall above the cans. It only turns on when you're actually there (no wasted energy, no light pollution all night), and it makes sorting recycling after dark genuinely pleasant. If the AC condenser lives in the side yard, keep all fixtures at least 3 feet away from it and never aim light directly into the unit's service panel — technicians need to work on it, and fixtures become obstacles. And if your side yard hosts the electrical panel or gas meter, check your local code before mounting anything within a few feet of it; most areas want clear working space.
Suggested budget range: $20 – $90.
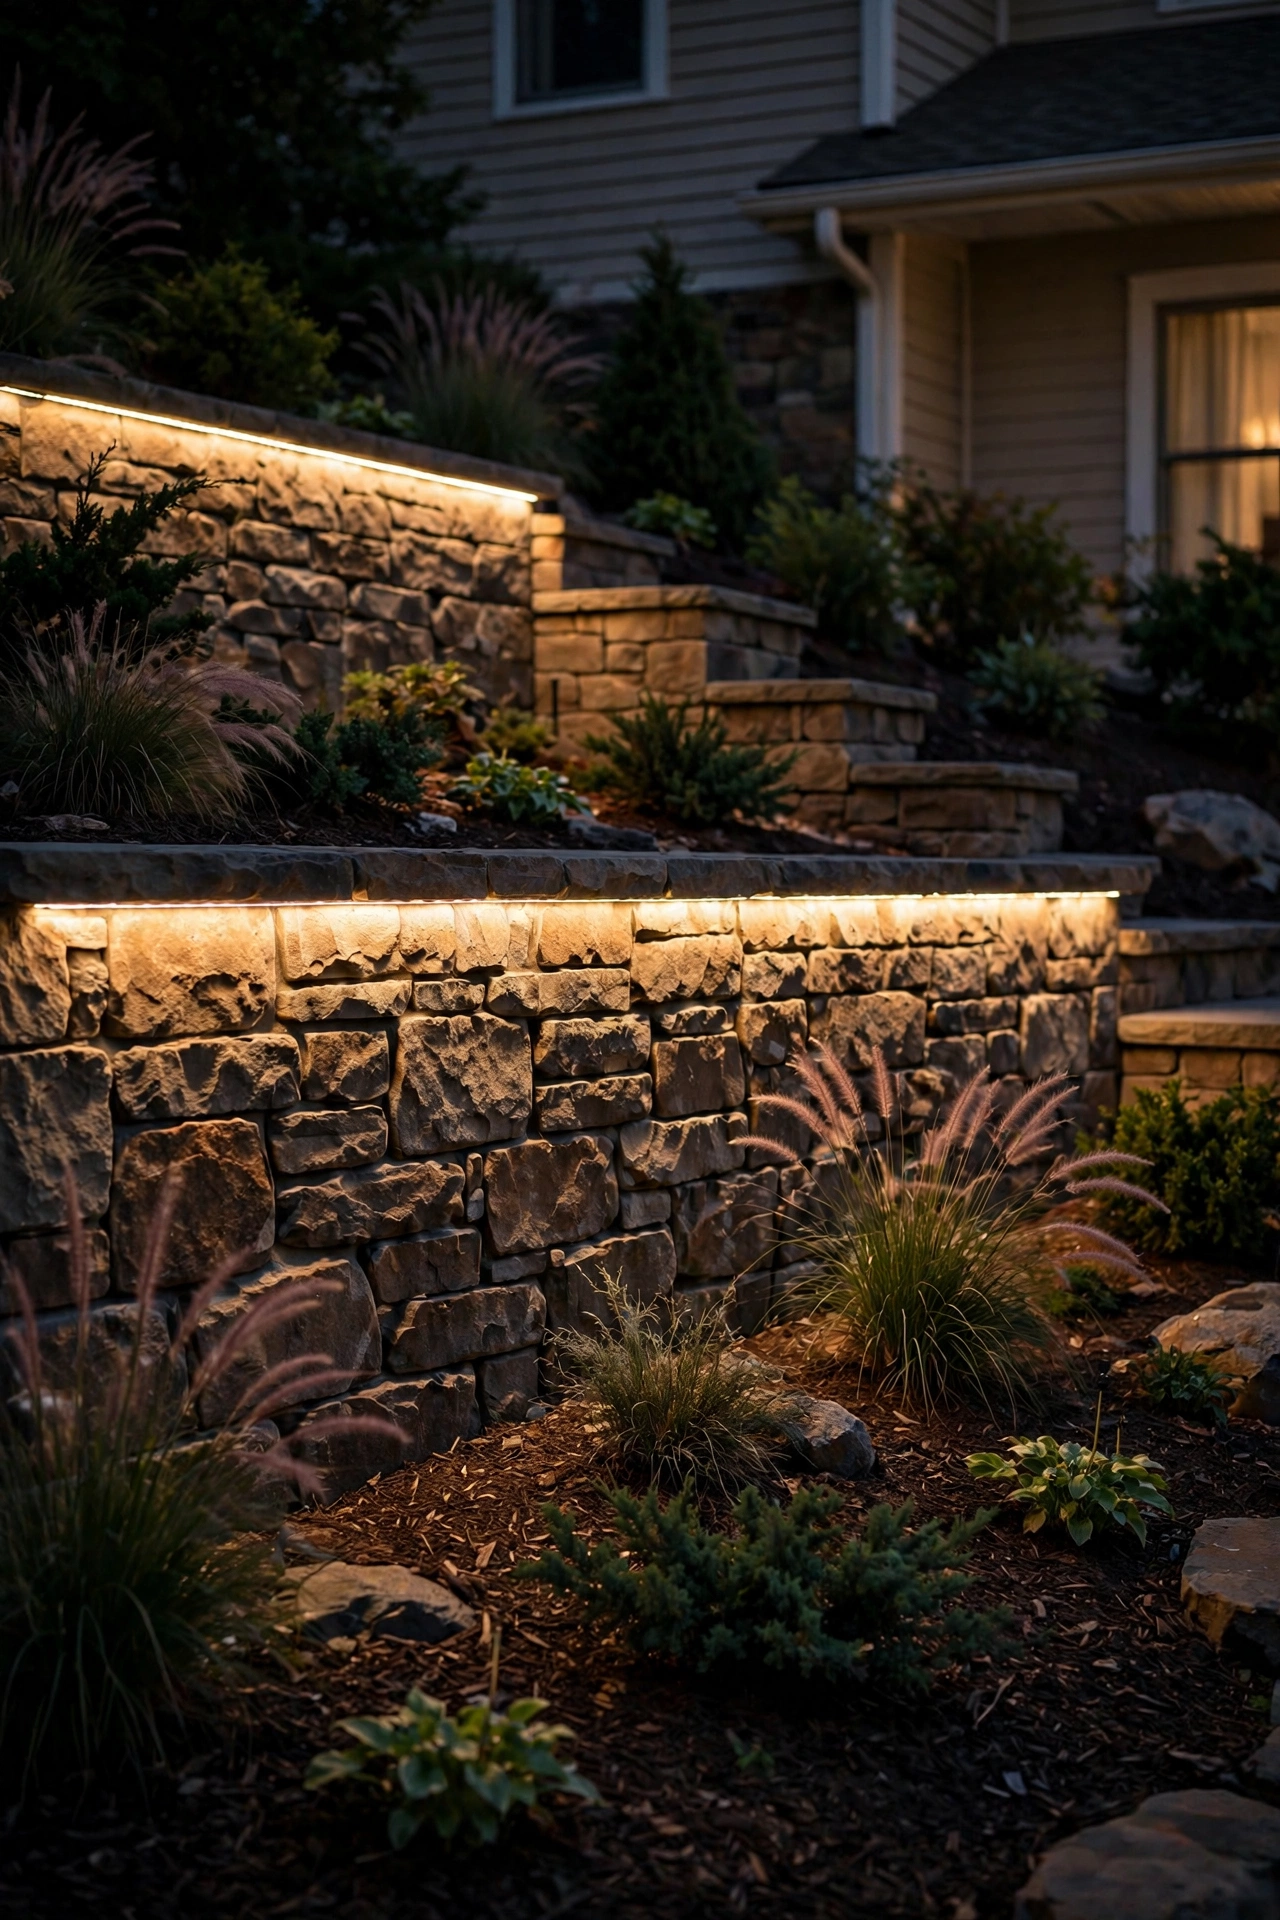
10. Under-Cap Lights on the Retaining Wall
If your side yard steps down a grade with a retaining wall, that wall is begging for under-cap lighting — and this is one of those ideas that looks like you hired a landscape architect. LED strip or individual puck fixtures mounted beneath the wall's capstones cast a soft downward wash across the wall face, defining every step of the grade change while making the whole corridor feel wider and more finished.
Use outdoor-rated LED strip (IP65 or better) in an aluminum channel with a diffuser — the channel protects the strip and the diffuser eliminates the dotted "Christmas light" look that cheap bare strips give you. Warm white 2700K is the move; it makes stone and block look rich instead of flat. For a segmental block wall, mount the strip just under the cap lip and let it run the full length; for natural stone, individual low-voltage puck lights tucked under the cap every 2 to 3 feet follow the irregular courses better. Wire it all back to your 12V transformer, and put it on the same timer as the fence wash so the two layers switch on together. Measure twice before you buy — strips are sold by the foot, and splicing mid-wall is a headache.
Suggested budget range: $80 – $300.
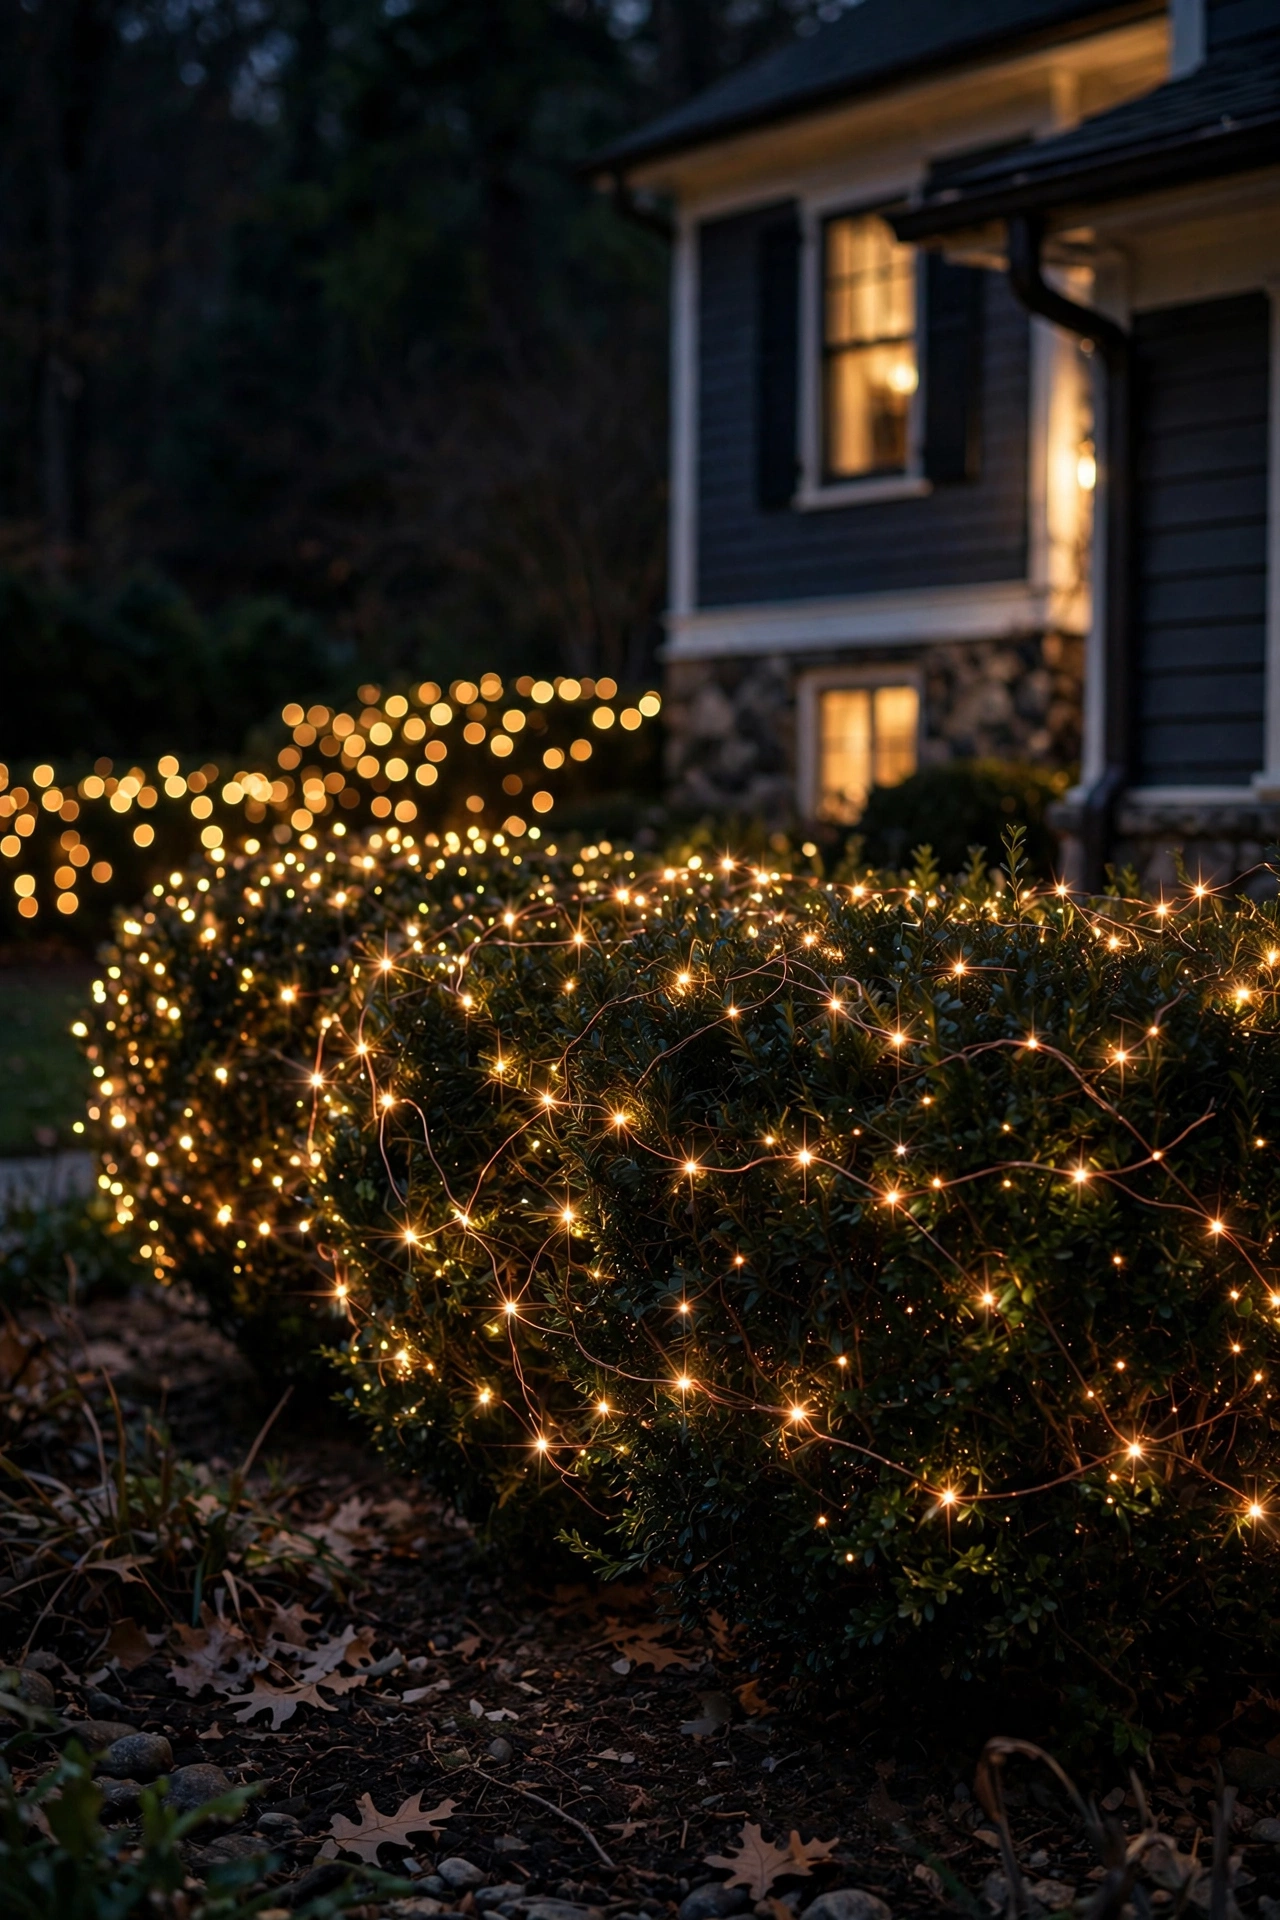
11. Fairy Lights Woven Into the Hedge or Shrubs
Side yards often have one long hedge doing all the greenery work — arborvitae, privet, holly — and at night it disappears into a black void. Weaving warm copper-wire fairy lights through that hedge brings it back to life after dark and adds the one lighting layer everything else on this list lacks: sparkle. Hundreds of tiny points of light at shrub level make a narrow corridor feel deep and alive, like the hedge goes on forever.
Use outdoor-rated copper-wire or micro-LED strands (they're nearly invisible by day, which is the whole point), and weave them through the interior of the hedge rather than draping them on the surface — interior placement creates depth, surface draping looks like a decorated bush. One 66-foot strand covers roughly 8 to 10 linear feet of hedge; for a 40-foot side yard, budget four to five strands. Battery-operated strands with built-in timers (6 hours on, 18 off) are perfect here since outlets are scarce in side yards — just remember you'll swap batteries every few weeks in daily use, so rechargeables pay for themselves fast. Keep the strands off the ground and away from trimmers and mowers.
Suggested budget range: $25 – $75.
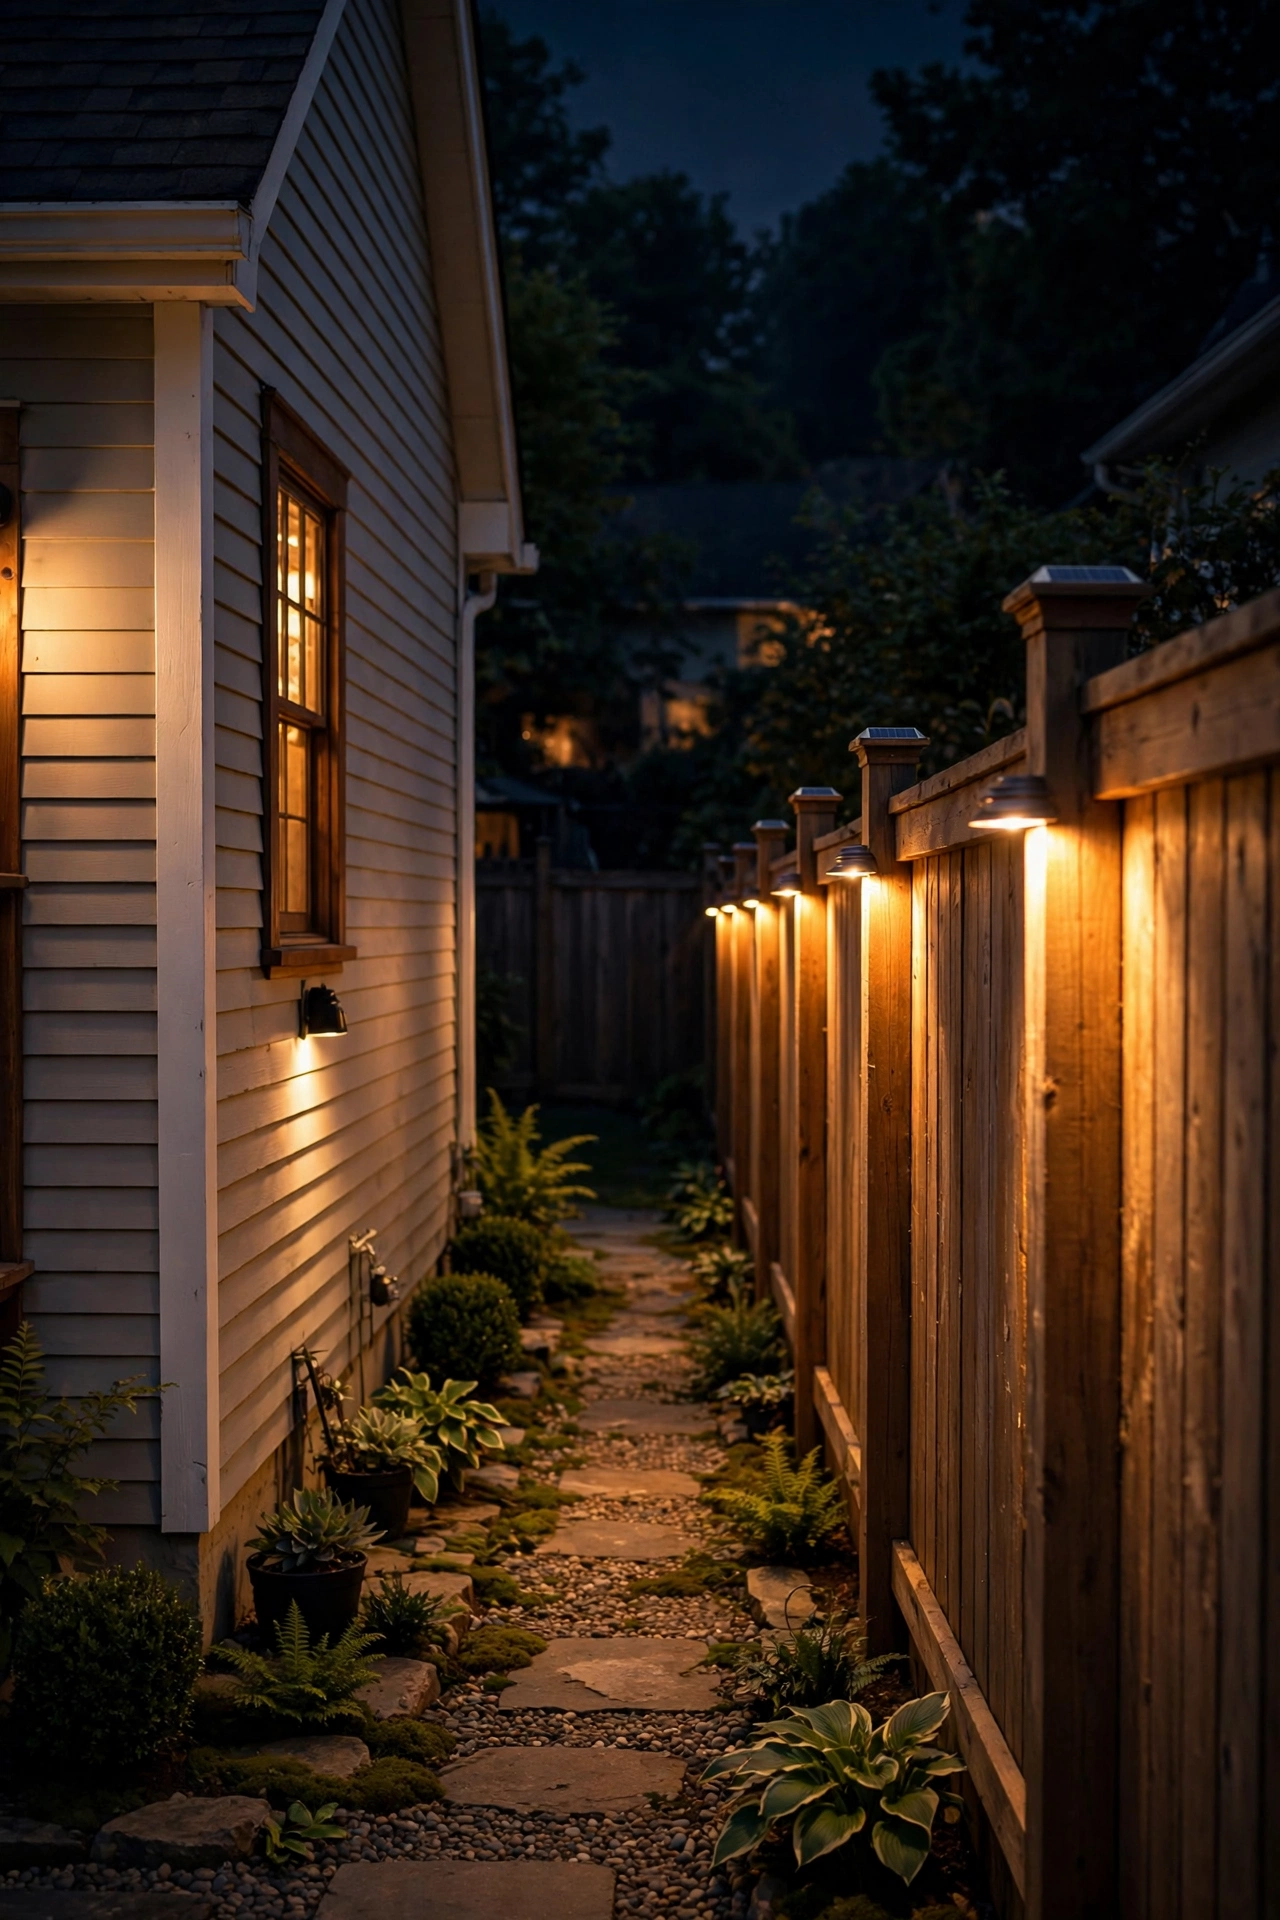
12. Solar Fence Post Cap Lights for a Finished Border
If your side yard fence has flat-topped posts, post cap lights are the closest thing to free ambiance in outdoor lighting. They pop onto (or replace) the existing caps, charge by day, glow by night, and trace a clean line of light down both sides of the corridor — defining the boundary and doubling the perceived width of the strip. In my experience, this is the upgrade people notice most from inside the house, because the glowing fence line is visible through kitchen and bedroom windows.
Measure your post tops before ordering — 4×4, 5×5, and 6×6 nominal posts all have different actual dimensions, and a cap that doesn't fit is just a donation to the junk drawer. Look for caps with at least 10 lumens per fixture and a warm white LED; the dimmest bargain versions read as decorative dots rather than actual light. In shaded side yards, choose caps with larger solar panels or a separate-panel design, and wipe the panels clean every month or two — dust and pollen cut charging dramatically. They won't replace path lighting for footing, but as a border-defining layer on top of ideas 1 and 3, they're lovely.
Suggested budget range: $40 – $140.
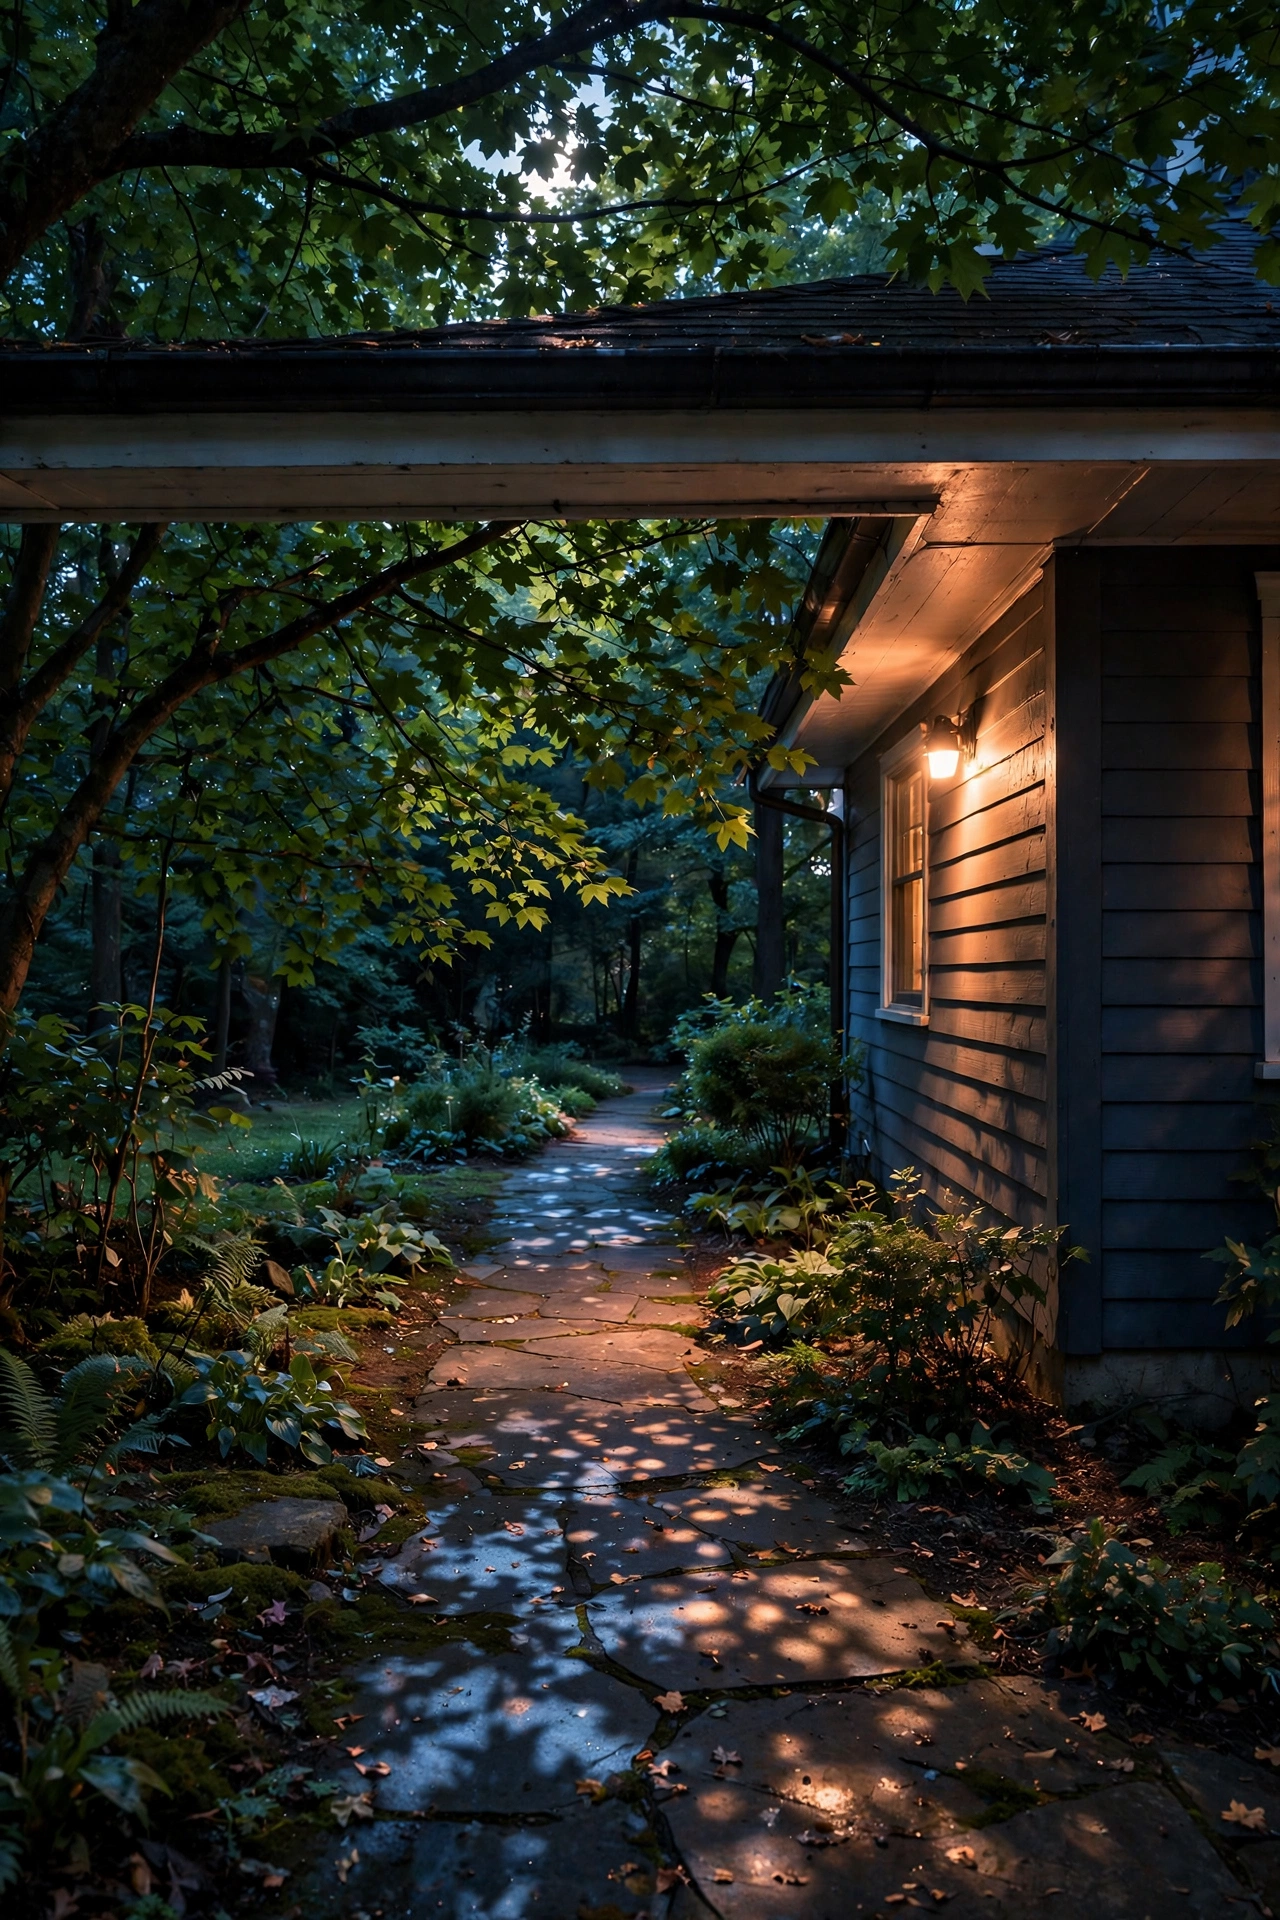
13. Moonlighting Downlights From the Eave or a Tree
Moonlighting — mounting a soft downlight high up and letting it filter down through branches or across the yard — is the most natural-looking side yard lighting there is, because it mimics what moonlight actually does. A single shielded downlight tucked under the eave or strapped high in a tree throws gentle pools and dappled shadows down the corridor, with none of the harsh glare of a floodlight. The effect is subtle, romantic, and honestly a little magical.
For the eave version, mount a low-voltage downlight or a compact LED soffit light every 10 to 15 feet along the side of the house, aimed straight down. For the tree version, strap (never screw into) a fixture 12 to 18 feet up in a sturdy limb, aimed down through the lower branches — the moving shadows on the ground are the entire point. Keep the output modest, around 100 to 200 lumens per fixture; moonlighting should whisper, not shout. And use a timer or photocell so it runs dusk to about midnight rather than all night — the subtlety works best when it's not competing with your sleep schedule or your neighbor's.
Suggested budget range: $90 – $350.
14. Well Lights Grazing the Foundation Wall
The foundation wall — that strip of concrete or siding between the ground and your house's first floor — is dead space in most side yards, and a row of flush-mount well lights grazing up it turns that dead space into architecture. Well lights sit level with the soil (nothing to trip on, nothing for the mower to eat), and aimed straight up at the house they create tall, elegant columns of light that make a narrow corridor feel grand instead of cramped.
Dig each fixture into a bed of gravel for drainage — standing water is the number-one killer of well lights — and position them 12 to 18 inches out from the foundation, spaced 4 to 6 feet apart. Choose fixtures with a frosted or shielded lens so you're not staring into bare bulbs at ankle height; the light should appear to rise from nowhere. One caution: check where your basement or crawlspace windows and vents are before you dig, and keep fixtures clear of them so you don't block airflow or light you actually want inside. Tie the run into your low-voltage system on the same circuit as the fence wash, and the two walls of the corridor will glow in conversation with each other.
Suggested budget range: $100 – $350.

15. Automate It All: Timers, Photocells and Smart Plugs for Set-and-Forget Side Yard Lighting
Here's the unglamorous truth about side yard lighting ideas: the prettiest plan in the world fails if you have to remember to turn it on. Automation is what separates lighting you enjoy from lighting you forget exists. The good news is that in 2026, this layer costs almost nothing. A photocell sensor on your low-voltage transformer switches the whole 12V system on at dusk and off at dawn — no programming, no app, no thought required. For plug-in elements like string lights and fairy strands, outdoor-rated smart plugs with astronomical timers (they track local sunset automatically) do the same job.
My recommended setup for a finished side yard: everything wired runs on the transformer's photocell plus a timer that cuts off at midnight or 1 a.m. — you get the evening glow for arrivals and the dog's last outing, then darkness for sleep and wildlife. Keep the motion-sensor security light (idea 4) on its own always-armed circuit so protection never sleeps just because the pretty lights timed out. And label every timer and plug with painter's tape when you install it — six months from now, future you will be grateful when a schedule needs tweaking and you're not guessing which plug does what.
Suggested budget range: $30 – $120.

Frequently Asked Questions
What is the best color temperature for side yard lighting?
Warm white, 2700K to 3000K, every time. Narrow corridors amplify color temperature — cool white (4000K+) makes a side yard feel like a service alley or a parking structure, while warm light makes the same space feel like a garden path. Keep every fixture in the strip at the same temperature so the layers blend instead of clashing.
Should I use solar or low-voltage wired lights in a side yard?
It depends on sun exposure. Side yards tucked between houses are often shaded, and solar fixtures need 4 to 6 hours of direct sun to perform well — under a deep eave or on the north side, they'll disappoint you. If your strip gets decent sun, solar path lights and post caps are a great no-wire start. For shaded strips, or for fence washes and uplights that need real output, a 12V low-voltage system is the reliable answer. Many people do both: solar for accents, wired for the workhorses.
How do I light a side yard without bothering my neighbors?
Aim every fixture at your own property — down at your path, up at your fence, at your house wall — never across the property line. Use shielded fixtures and keep floodlights pointed downward. Run decorative lighting on a timer that shuts off by midnight, and walk the neighbor's side of the fence at night after installation to check for glare or light spilling into their windows. A quick heads-up conversation before you install goes a long way too.
How much does it cost to light a side yard?
A simple solar-only setup (path lights plus post caps or lanterns) runs $50 to $150 and takes an afternoon. A proper low-voltage system — transformer, fence wash, uplights, and step lights on a timer — typically lands between $300 and $800 for a standard 40-foot side yard, whether you DIY or buy a kit. Add professional installation and you're looking at $800 to $2,000 depending on trenching and fixture count.
Conclusion
The side yard doesn't need to stay the forgotten strip of your property — with the right side yard lighting ideas, it can become one of the most pleasant paths on your whole lot. The formula I keep coming back to is simple: light the footing first so it's safe, add one security layer so it's protected, then weave in one or two beauty layers so it actually makes you smile. You don't need all fifteen ideas; three or four, chosen for your yard's sun, width, and wiring access, will transform the space completely.
If you want to keep layering, take a look at our low-voltage path lights guide for the wiring basics behind ideas 3, 5, and 14, browse more backyard lighting inspiration to carry the glow around the corner, and steal the overhead magic from our summer patio string light ideas for the other side of the gate. That forgotten space is about to become your favorite shortcut.