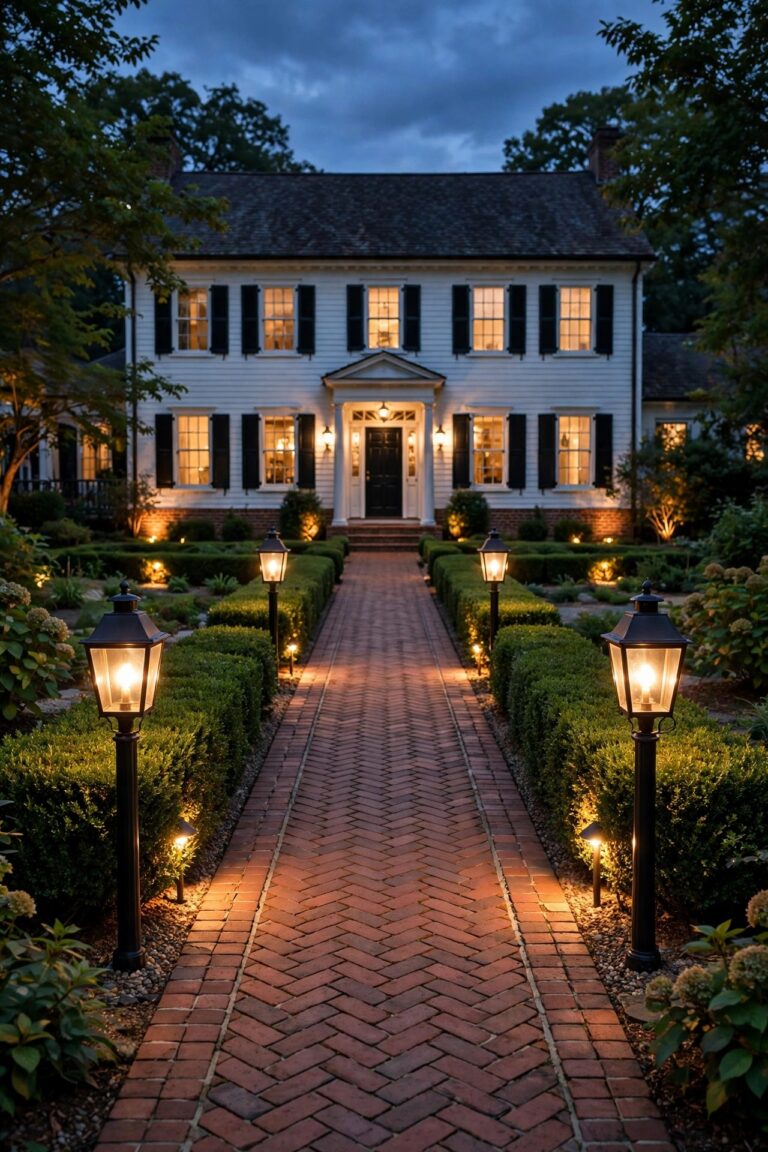
Every deck has a secret, and mine was a dark, spooky cave underneath it. During the day, our raised deck looked great, but after sunset the underside turned into a black hole that swallowed the backyard view — and honestly? It made the deck look like it was floating over a void. That is why I went looking for deck skirting lighting ideas that wash that shadow in a soft, warm glow instead of leaving it pitch black. In my experience, skirting is the most forgotten lighting surface on a deck — and one of the easiest to fix. A little light at ground level does three jobs at once: it hides the dark underside, it makes the deck feel finished, and it adds a layer of visibility around the perimeter. My approach is the layering philosophy I use everywhere: a soft ambient wash, a few accent points, and one practical light, all in warm 2700–3000K tones. I am sharing 17 ways I have lit deck skirting, from five-minute solar fixes to wired installs, with honest budgets for each. For the bigger picture, my full roundup of deck lighting ideas is a great companion read.
1. LED Strip Deck Skirting Lighting Along the Bottom Rail
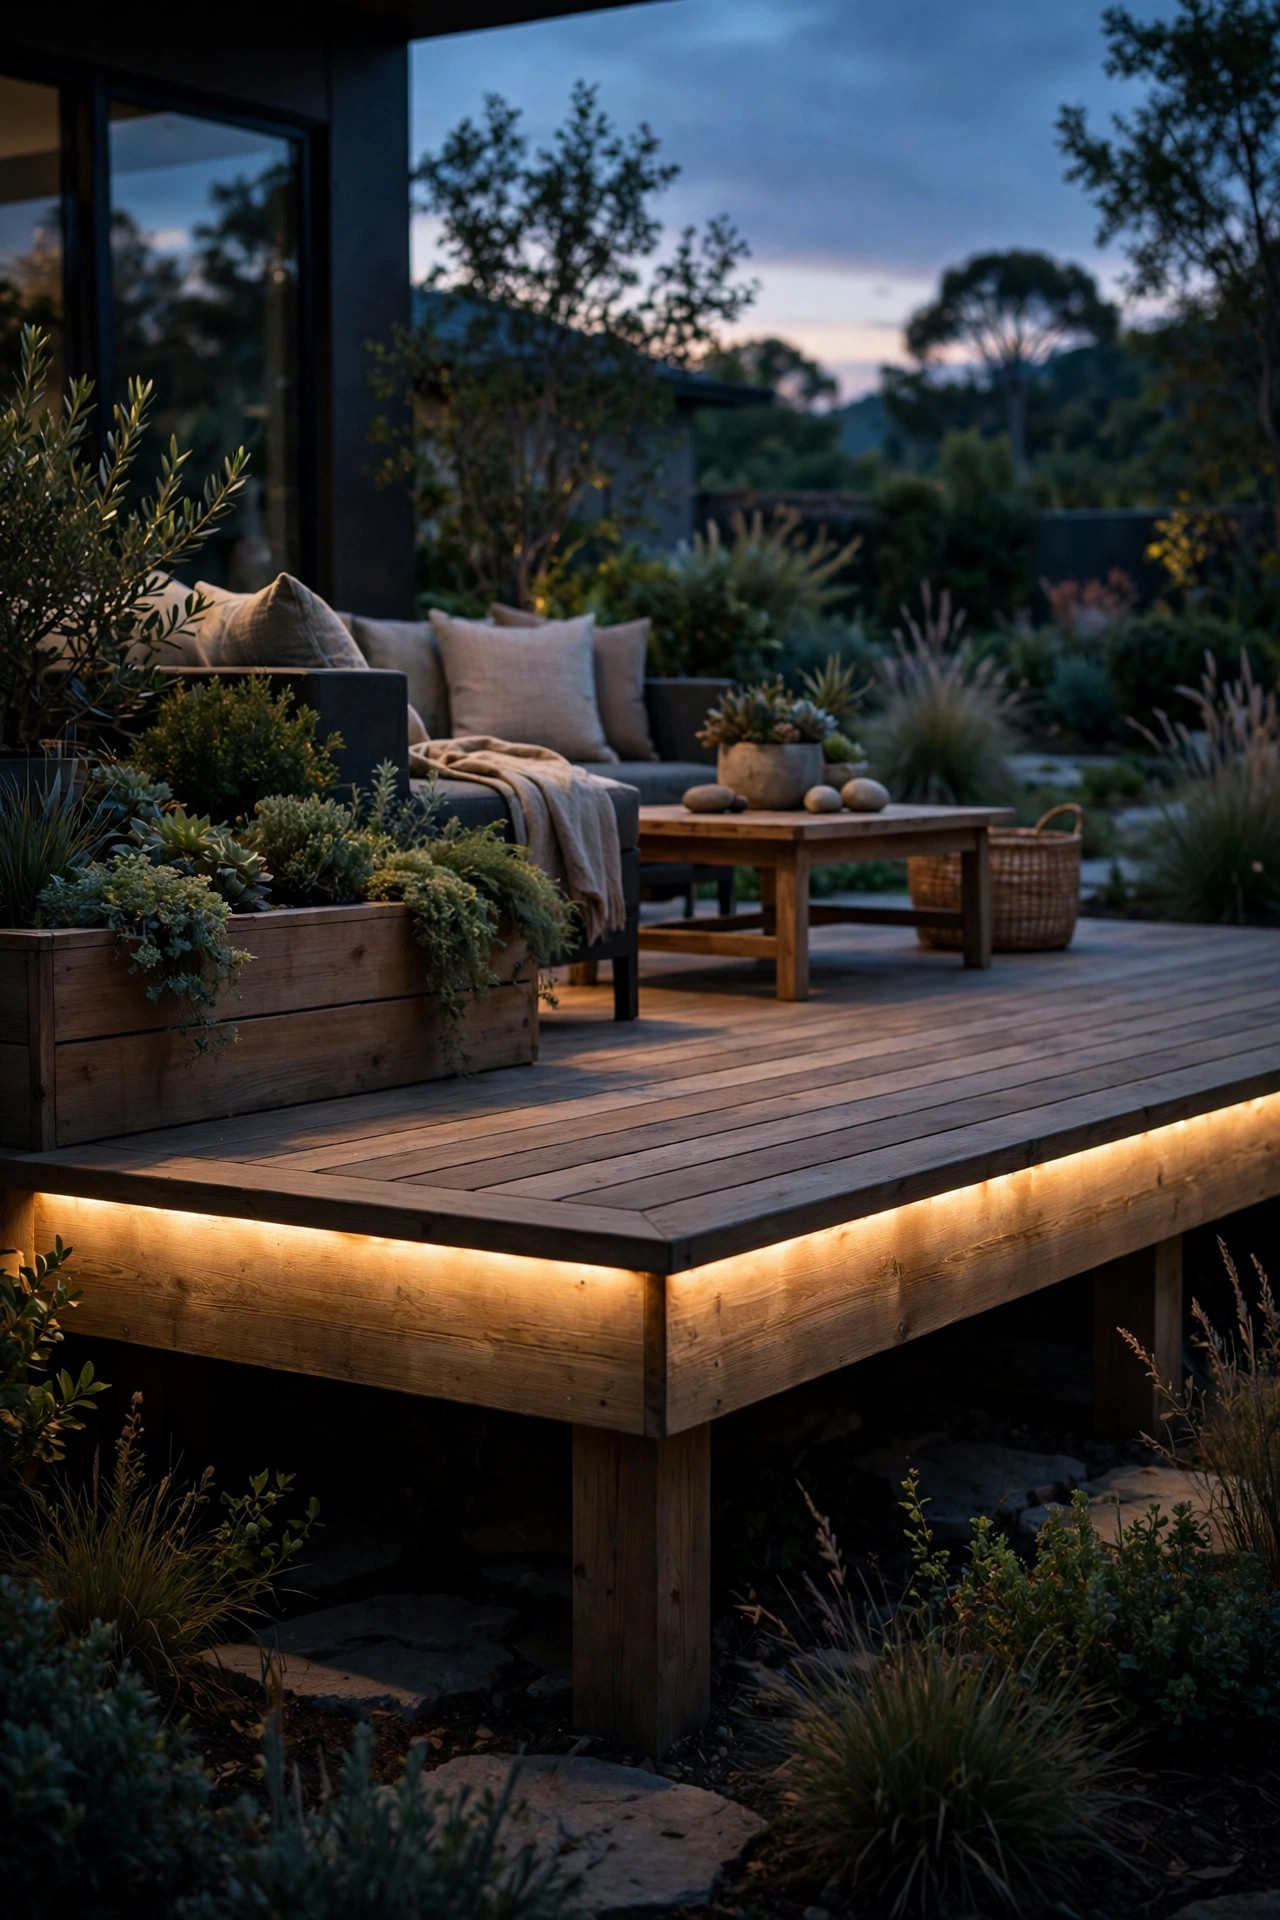
If you only try one idea on this list, make it this one. A waterproof LED strip tucked along the inside bottom rail of your skirting throws a smooth, continuous ribbon of light across the boards, and because the strip itself stays hidden, all you see is the glow. I use IP65 or IP67 rated strips in warm white (2700–3000K), the kind sold on 16-foot reels with adhesive backing, then add mounting clips every 18 inches or so — adhesive alone tends to let go after one hot summer. Run the strip a few inches back from the face of the skirting so the diodes never glare, and power it from a low-voltage 12V supply plugged into a GFCI outlet under the deck. This is the same trick I use under handrails, and my guide to under-rail LED strip lighting covers the wiring details if you want to combine both. Cut the strip only on the marked cut lines, and seal every cut end with a dab of silicone. On our deck, a single reel lit the entire 24-foot front run, and the underside went from cave to cozy in one afternoon.
Suggested budget range: $25 – $60.
2. Solar Skirting Lights on Short Stakes
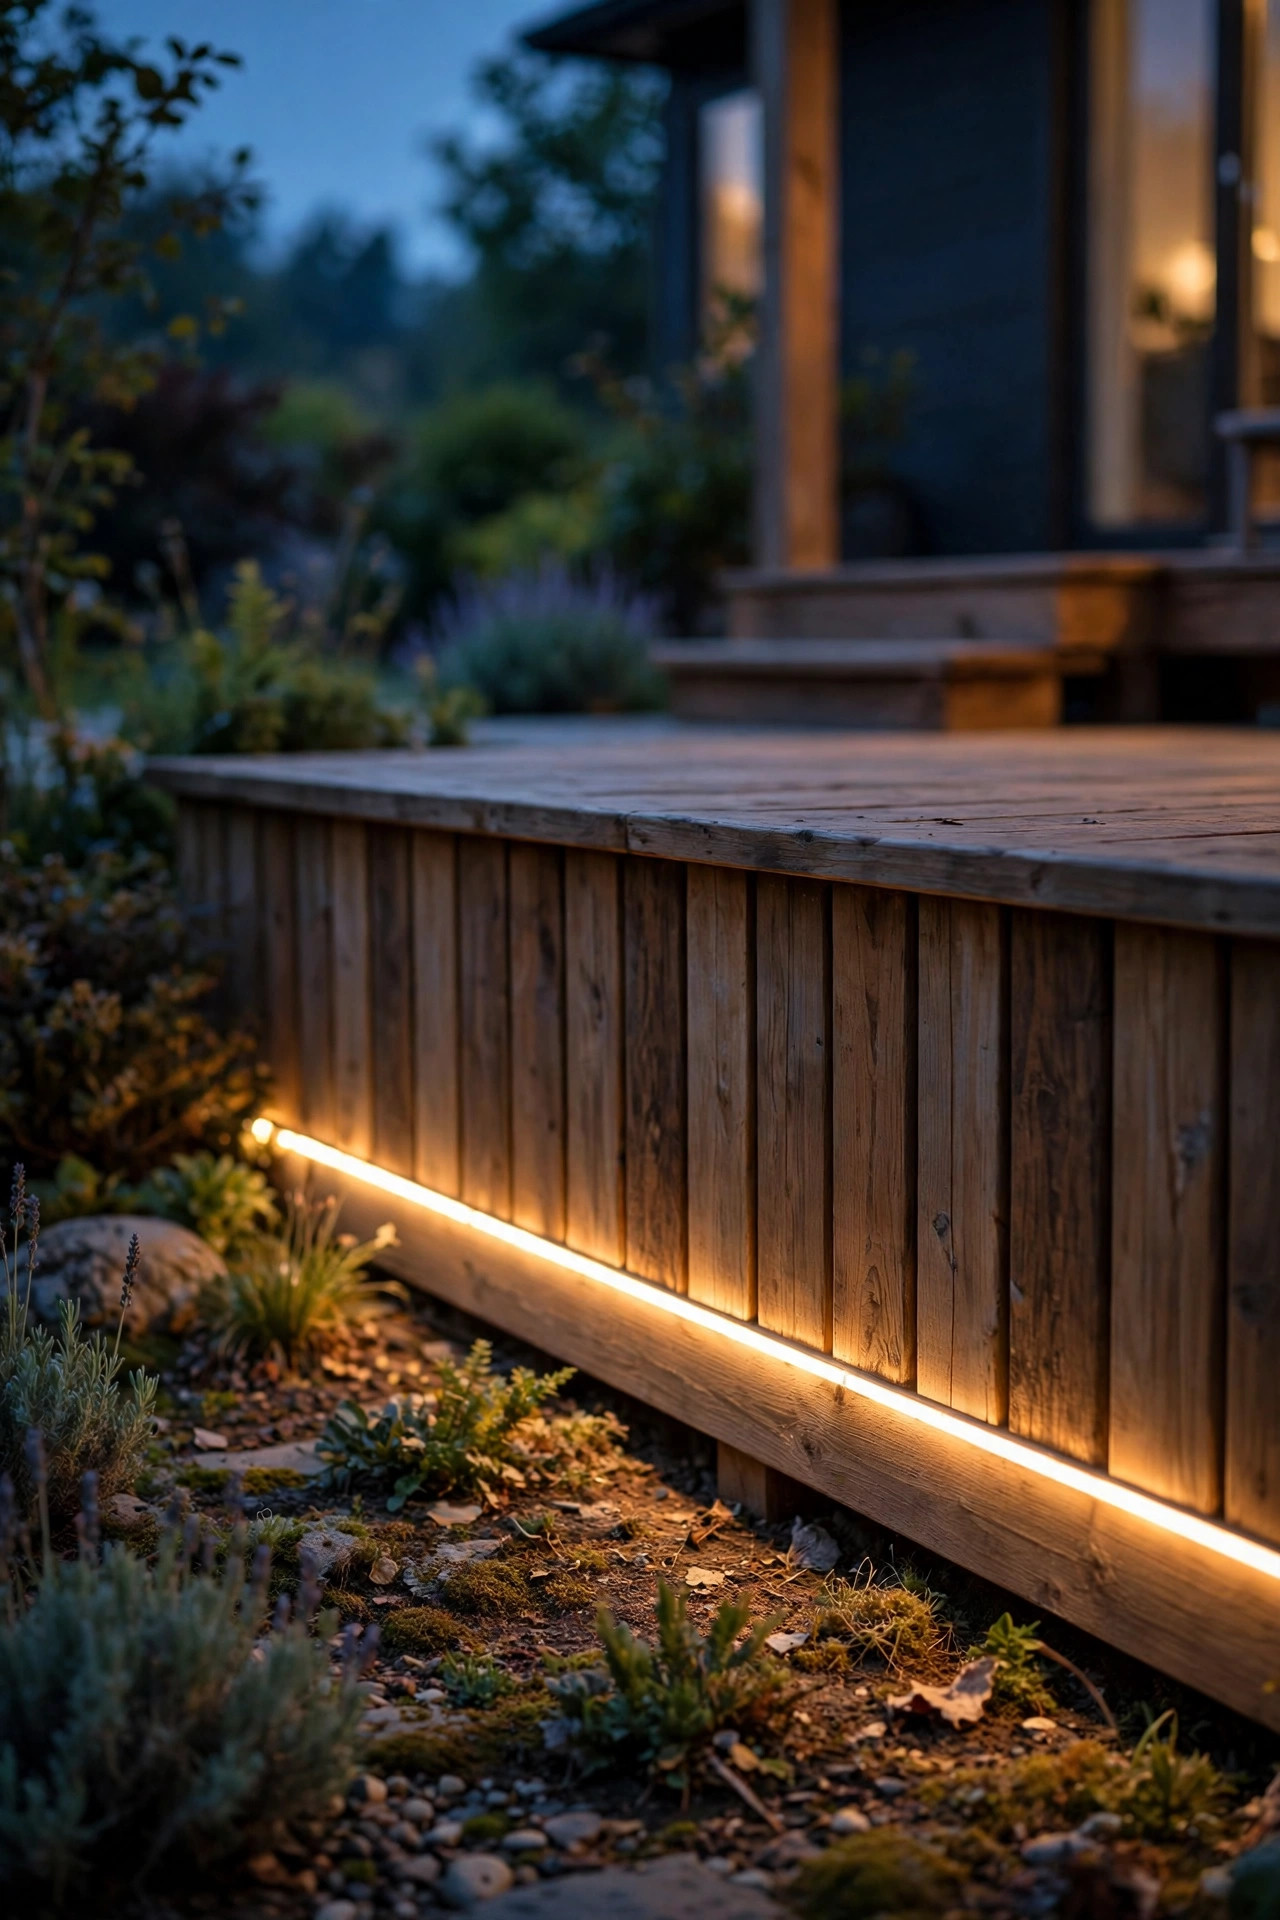
For a zero-wiring fix, solar stake lights aimed at the skirting are hard to beat. Forget the tall path-light style — instead, look for short 6- to 8-inch stakes or tiltable spot-style solar lights you can angle upward at the boards. Push one in every 3 to 4 feet along the base, angling the head so the beam washes the skirting instead of spotlighting one hot patch. In my experience, placement of the little solar panel matters more than the price tag: each light needs its panel in direct sun for most of the day, so this works best on south- and west-facing runs. On shaded sides, pull the panel away from the planting bed edge where shrubs steal the light by midsummer. Expect a soft glow rather than true task lighting — that is the honest trade-off with solar — but for simply erasing the black void under a low deck, it is plenty. I also swap the stakes to fresh batteries every couple of years; most have replaceable cells, and tired batteries are the number one reason solar lights seem to "die" early.
Suggested budget range: $20 – $45.
3. Recessed Puck Lights Set Into the Skirting Boards
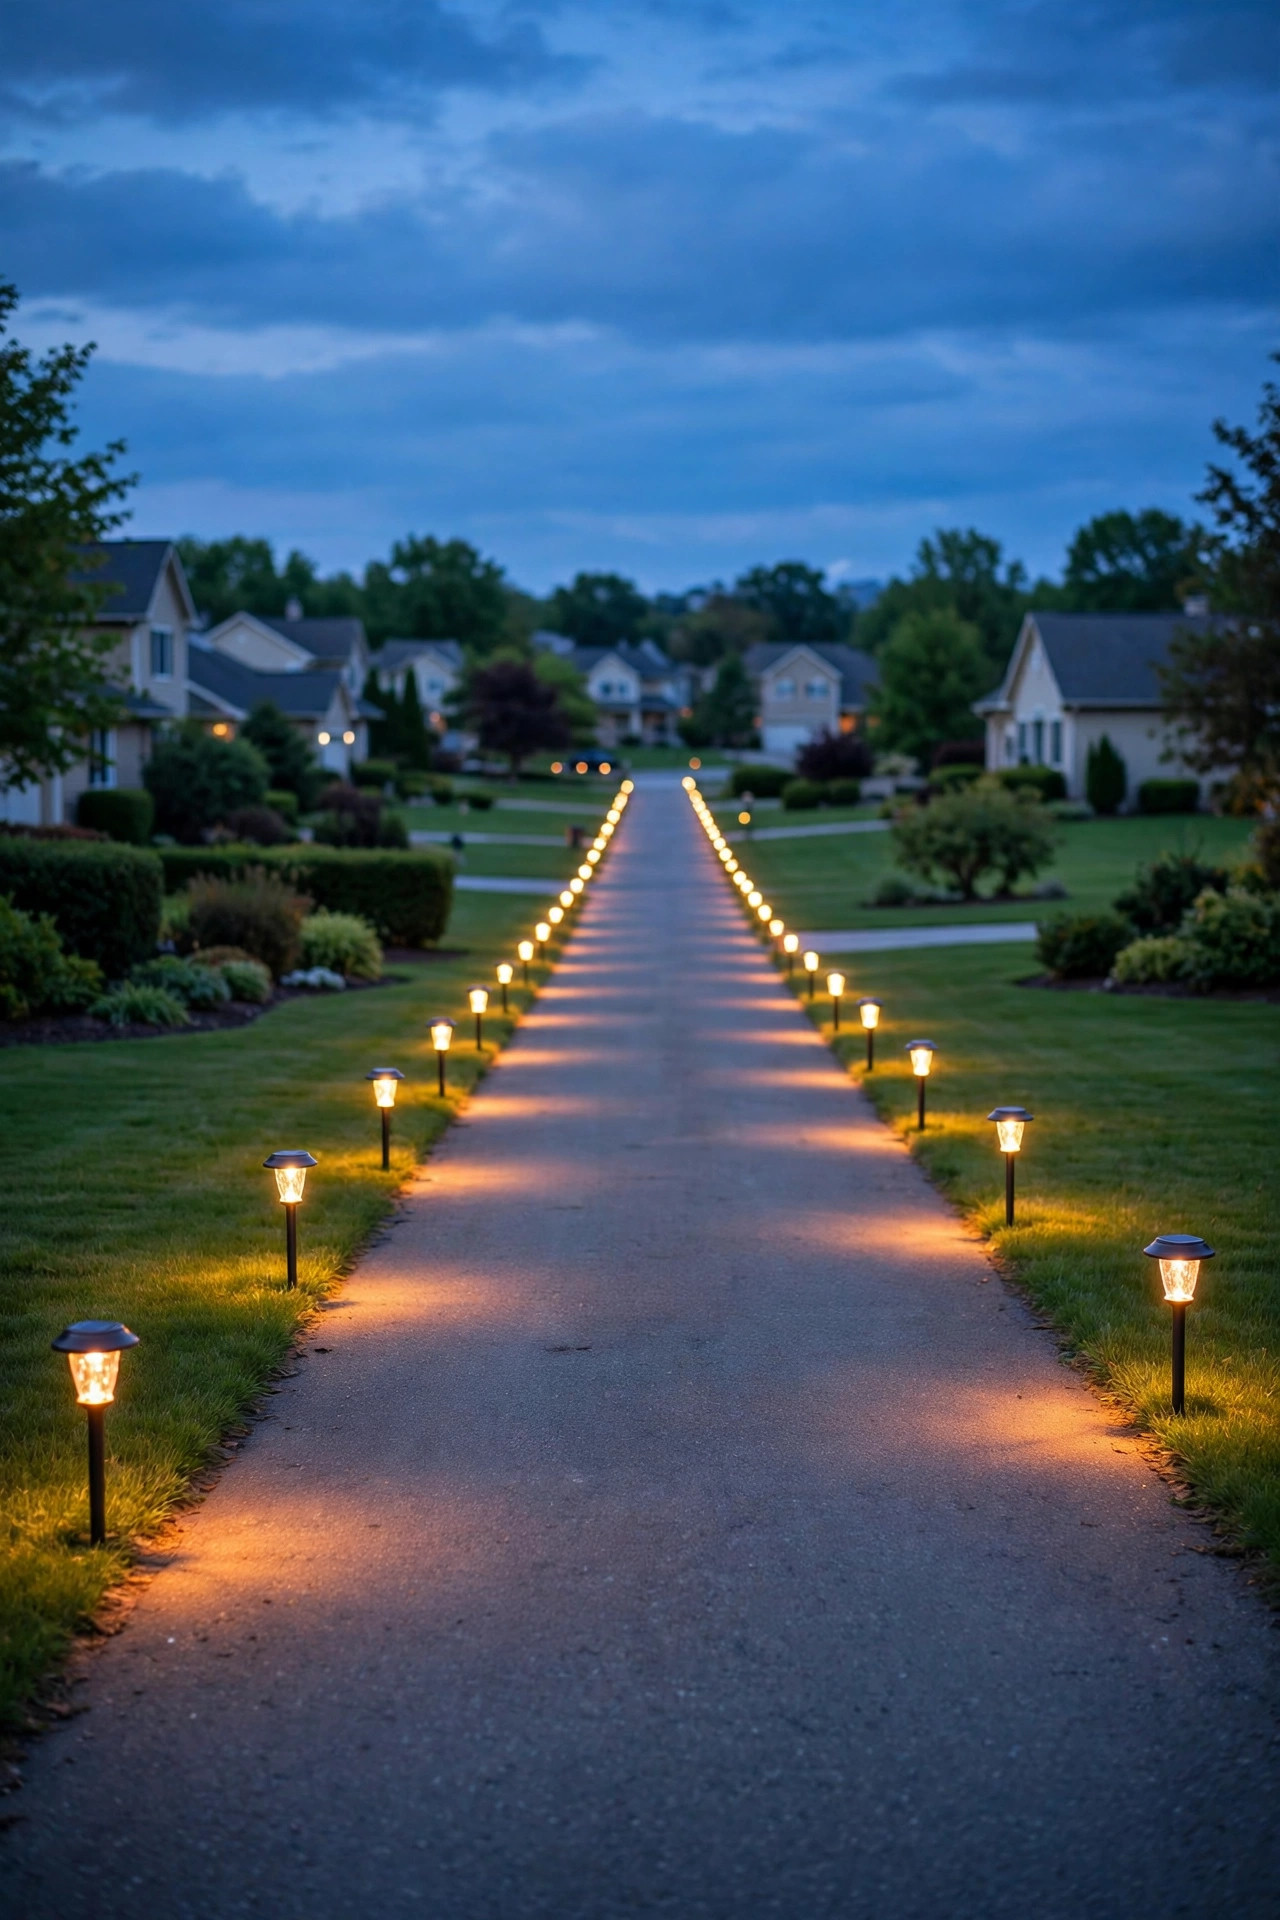
This is the most polished look on the list, and the one guests always ask about. Small low-voltage puck lights — about 2 to 3 inches across — sit recessed into the skirting boards themselves, drilled in with a hole saw and spaced every 4 to 6 feet. Because the fixture face sits flush with the board, you get a row of soft pools of light with zero visible hardware, almost like the deck came that way. I wire mine in a simple daisy chain back to a transformer, and I always dry-fit the pattern at night with a flashlight before drilling a single hole. A few practical notes: drill from the finished face to avoid splintering, keep pucks at least 6 inches above grade so mulch and snow do not bury them, and choose fixtures rated for outdoor wet locations. On solid board skirting this is an easy weekend job. On lattice, skip to the next ideas — pucks need a solid board to bite into. The effect is subtle in the best way, and it reads more "custom build" than any other option here.
Suggested budget range: $60 – $140.
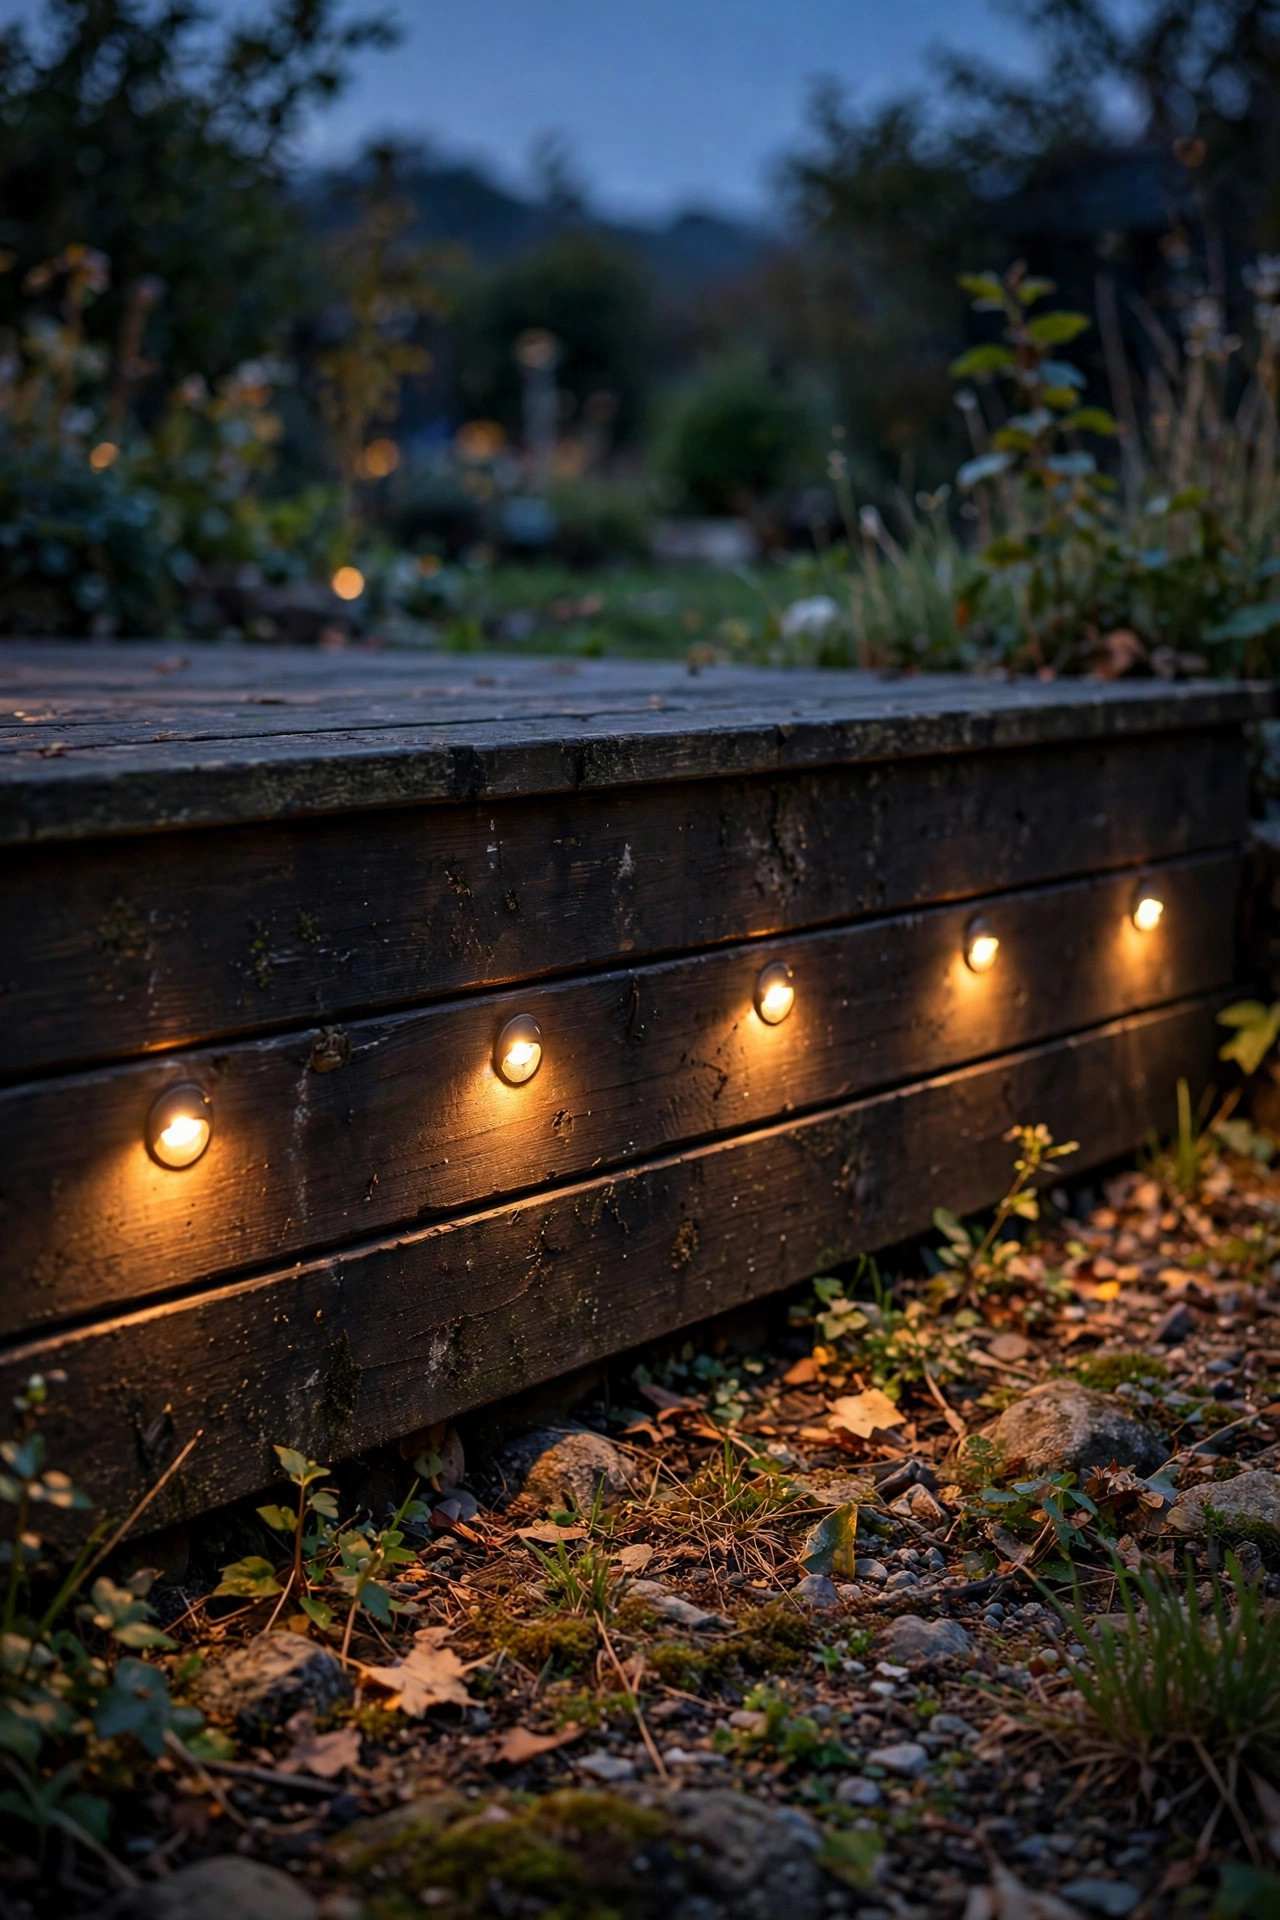
4. Uplights Hidden in the Mulch Bed
Sometimes the prettiest skirting light is one you never see. Low-voltage uplights buried in the mulch or river rock at the base of the deck, aimed straight up the face of the skirting, create a soft gradient that fades as it climbs — very high-end hotel courtyard, very little effort. I use small well-style or bullet fixtures with wide 60-degree beams, set 6 to 10 inches out from the boards and spaced 4 to 5 feet apart. Bury the fixture body so just the lens peeks above the mulch line, and top the bed with dark mulch, which hides fixtures far better than light bark. This approach is forgiving: if a plant grows or a beam feels off, you just nudge the fixture. One warning from my own yard — uplights will silhouette every cobweb and leaf pile against the skirting, so give the area a quick sweep before you call it done. Paired with a dimmer or a simple timer, this is also the easiest system to automate. It is the technique I reach for on tall skirting, where the big dark face needs a broad wash rather than points of light.
Suggested budget range: $35 – $90.
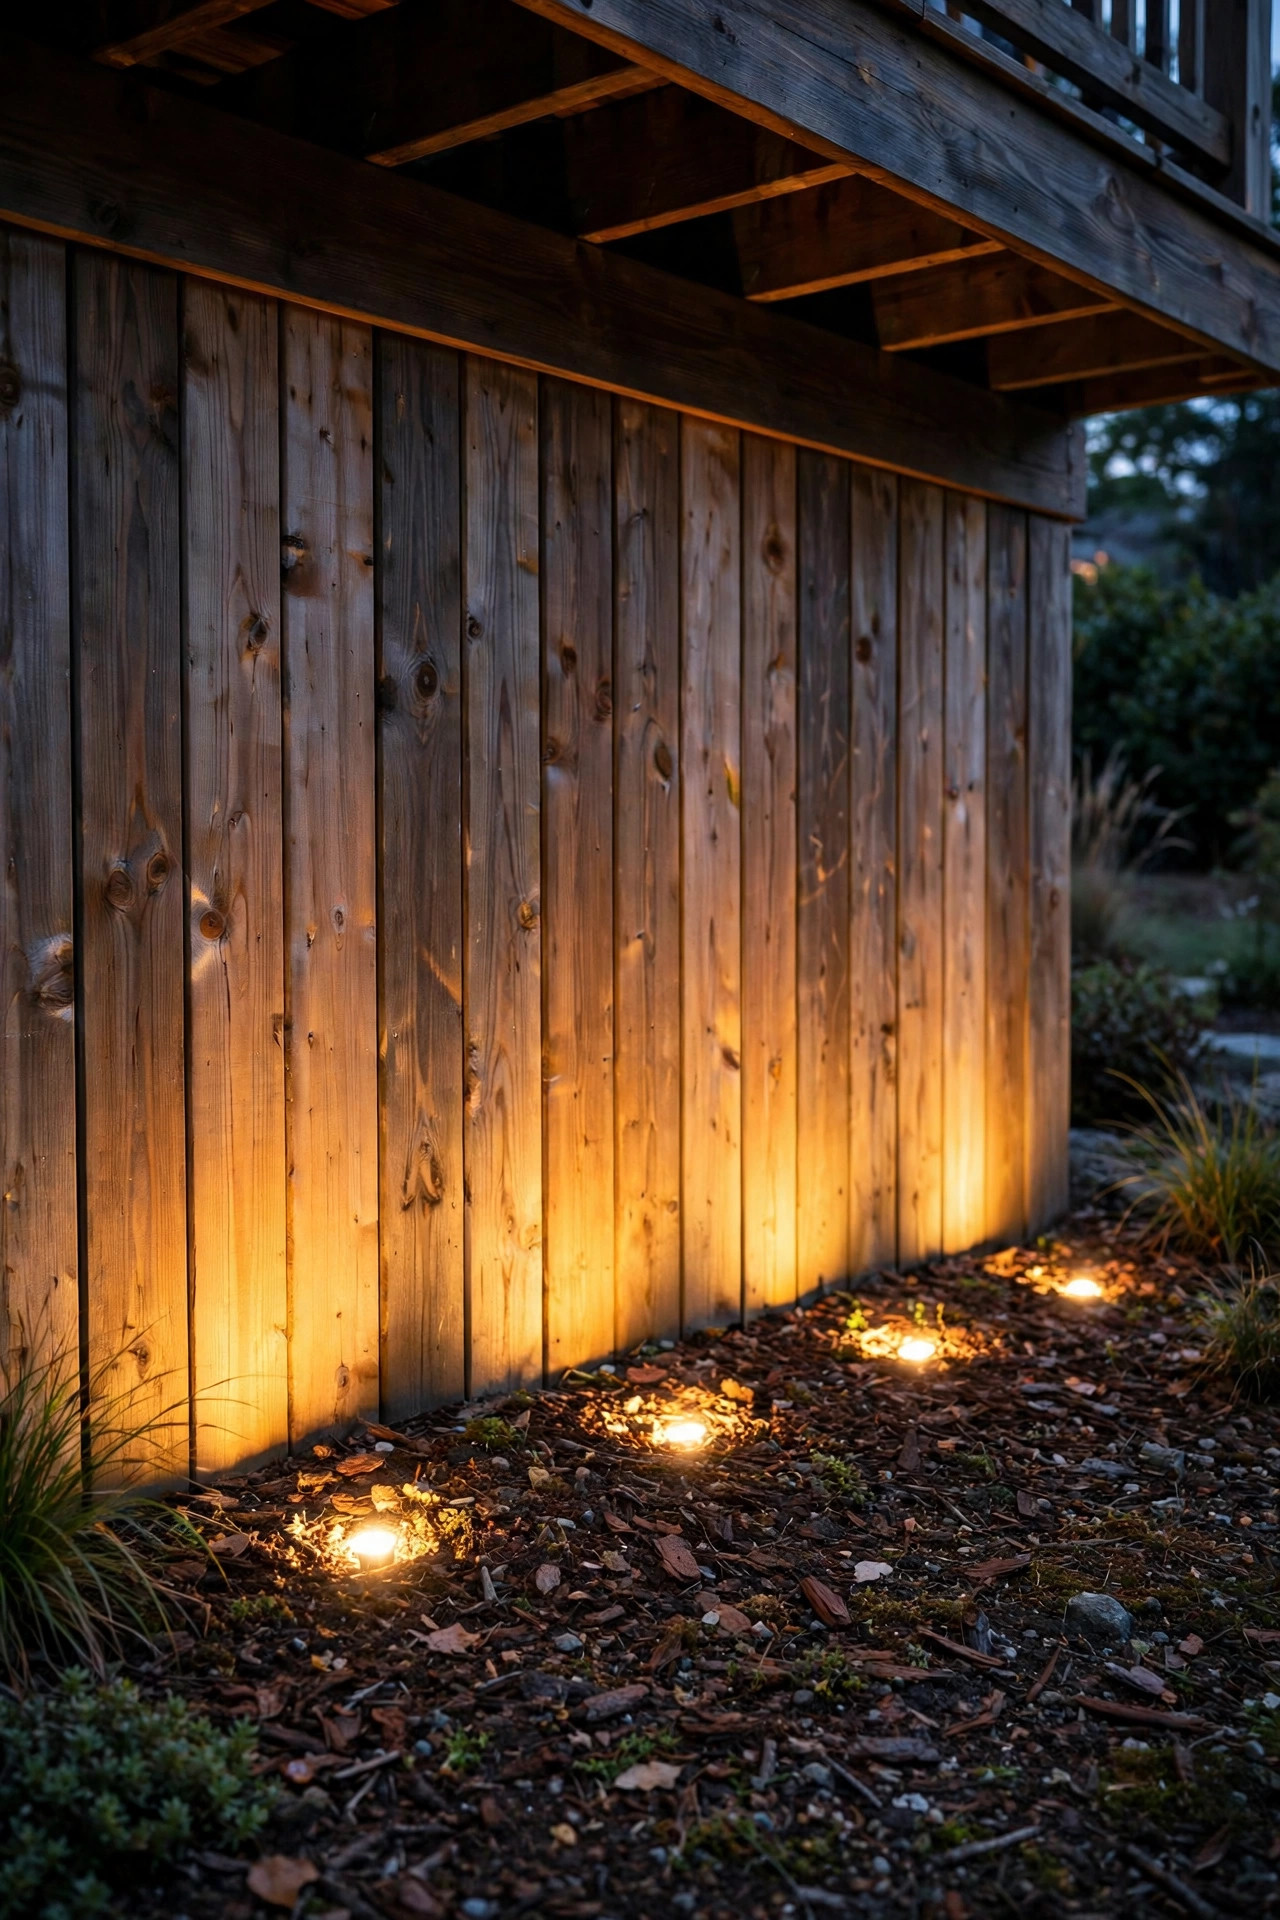
5. Rope Lights Tucked Behind Lattice
Lattice skirting used to be my least favorite to light, until I tried running an LED rope light behind it. Mount the rope on the inside framing with clips, about 2 to 3 inches behind the lattice, and the whole panel glows like a lantern — the diamond pattern throws lovely soft shadows, and the dark underside disappears behind the light instead of in front of it. LED rope is the right call here, never the old incandescent kind: it stays cool against wood and vinyl, which matters when a light sits inches from dry framing. Choose a warm white rope on a 16- or 32-foot spool, weave it in a gentle S-pattern rather than one straight run so the glow stays even on tall panels, and put it on a plug-in timer so it comes on at dusk without you thinking about it. If your lattice is vinyl, keep the rope a full 3 inches back — vinyl can warp with sustained heat, and even LED rope gets mildly warm in a closed space. Total install time for our side run was under an hour, ladder-free.
Suggested budget range: $20 – $50.
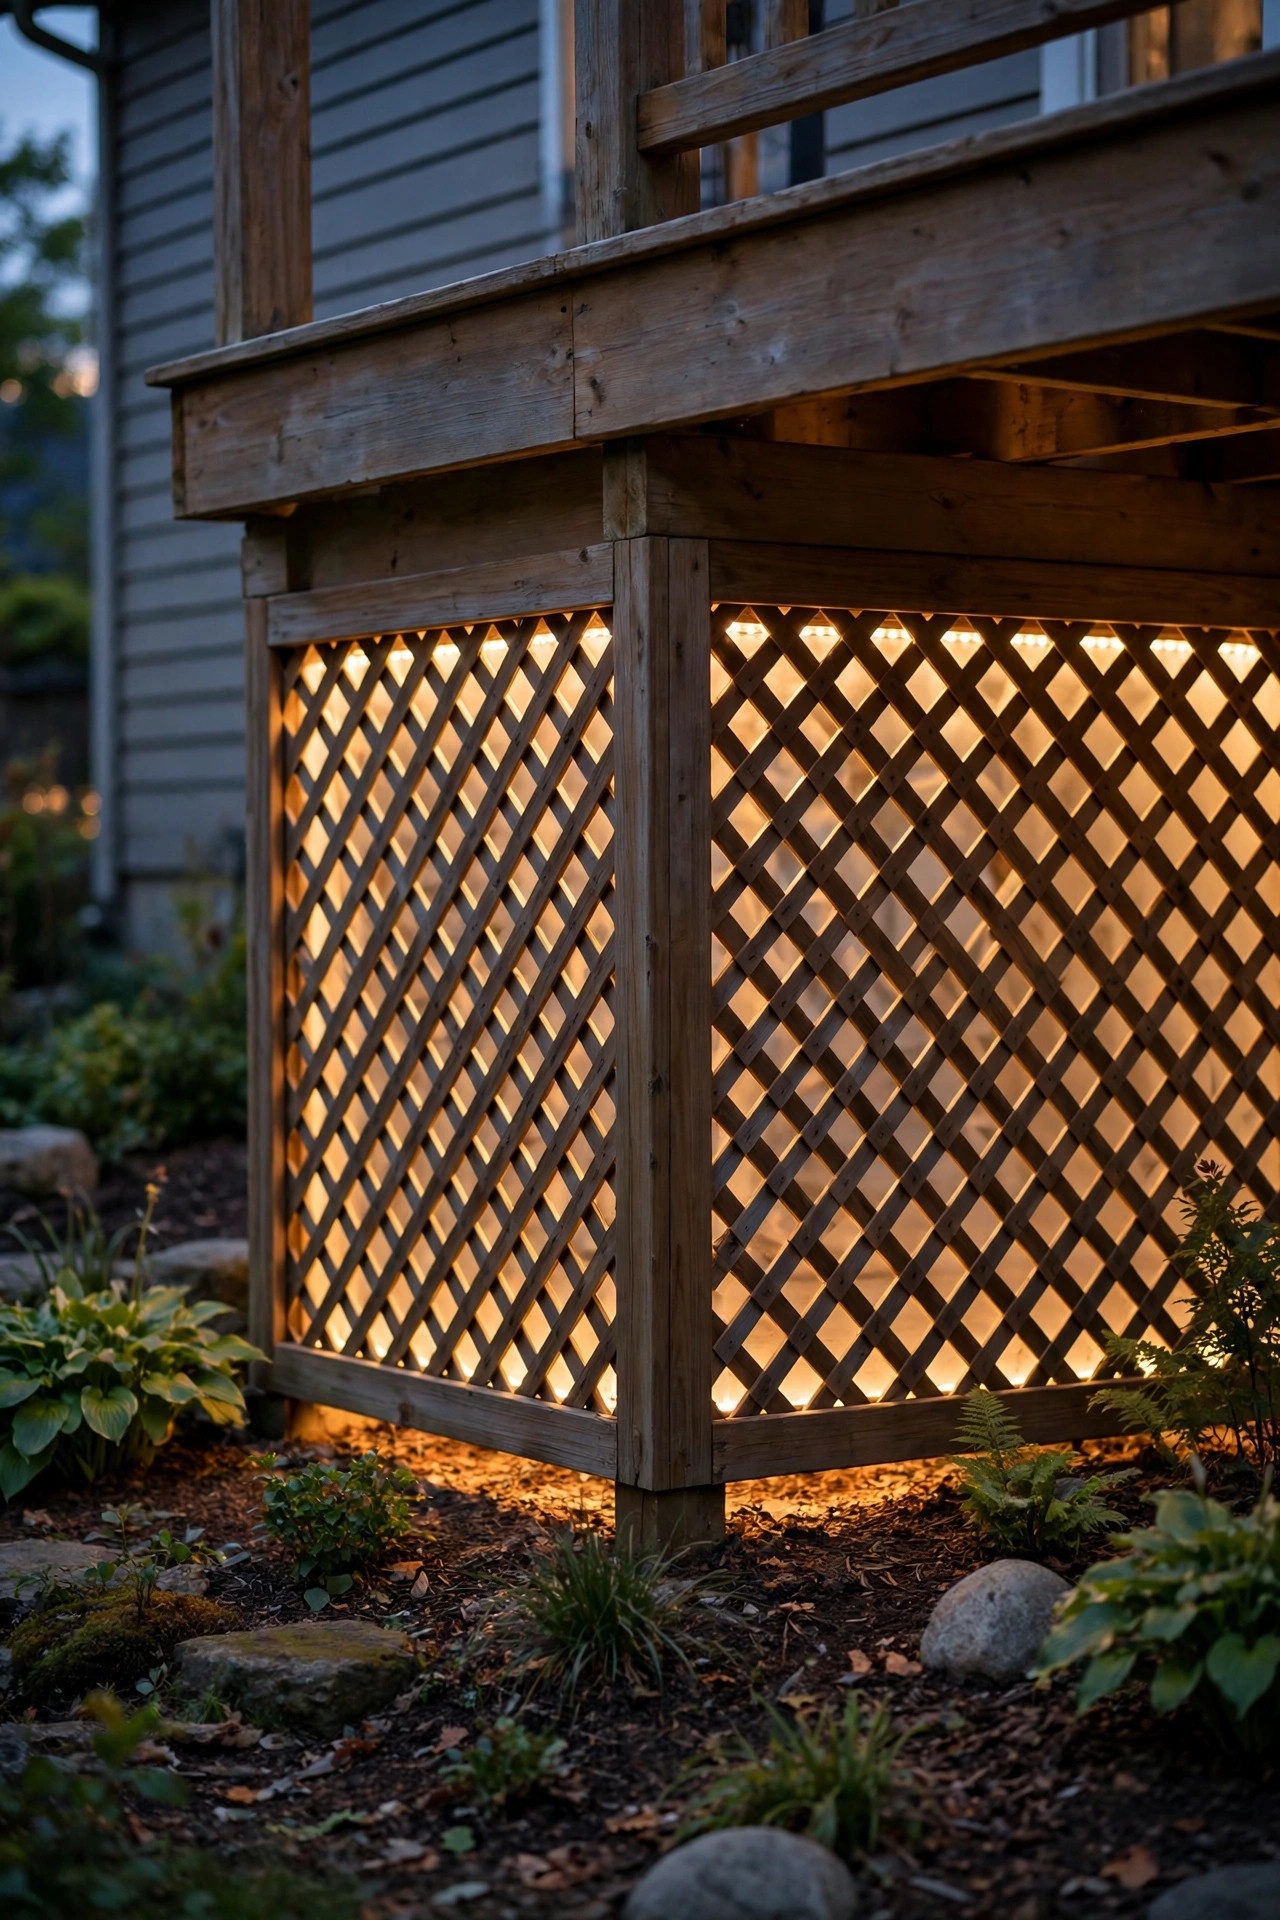
6. Lantern-Style Fixtures Mounted on Skirting Panels
On solid skirting — board, composite, or stone-veneer panels — a row of small lantern-style fixtures mounted right on the face gives the deck a finished, carriage-house feel. Think of them as sconces for the bottom of your deck. I mount mine centered on the middle board height, spaced 6 to 8 feet apart, and I always choose fixtures with the bulb tucked behind frosted or seeded glass so you get glow instead of glare at ground level. Hardwired versions tie into the deck's existing low-voltage system; plug-in versions with dusk-to-dawn bulbs are the renter-friendly route. Two styling tips from experience: match the finish to your deck hardware (matte black disappears beautifully against stained wood), and keep the fixtures small — a lantern that looks dainty on a house wall looks enormous at ankle height. Because these sit low, splashback from rain is real, so pick fixtures rated for wet locations, not just damp. Of all the ideas here, this one photographs the best for showing off the deck after dark.
Suggested budget range: $45 – $120.

7. Motion-Sensor Lights Under the Deck Edge
Not every skirting light has to be pretty — some earn their keep. A motion-sensor light mounted under the deck's edge or on the skirting itself pops on when something moves near the base of the deck, which makes it perfect for the side where the trash bins live, the gate path, or anywhere raccoons have been treating your underside like a rental property. I set the sensor range to about 10 to 15 feet and aim the head slightly downward so it catches ground movement without firing every time a moth commutes past. Battery and solar versions install with two screws and no wiring at all, and a warm-white model blends far better with the rest of your lighting than the harsh blue-white security floods. Keep the brightness moderate — roughly 400 to 800 lumens — because a blinding blast at ankle height helps nobody. Honestly, this is less about looks and more about peace of mind: no more dark corner where things rustle. Ours also doubles as a welcome light when we come around the side of the house carrying groceries after dark.
Suggested budget range: $25 – $70.
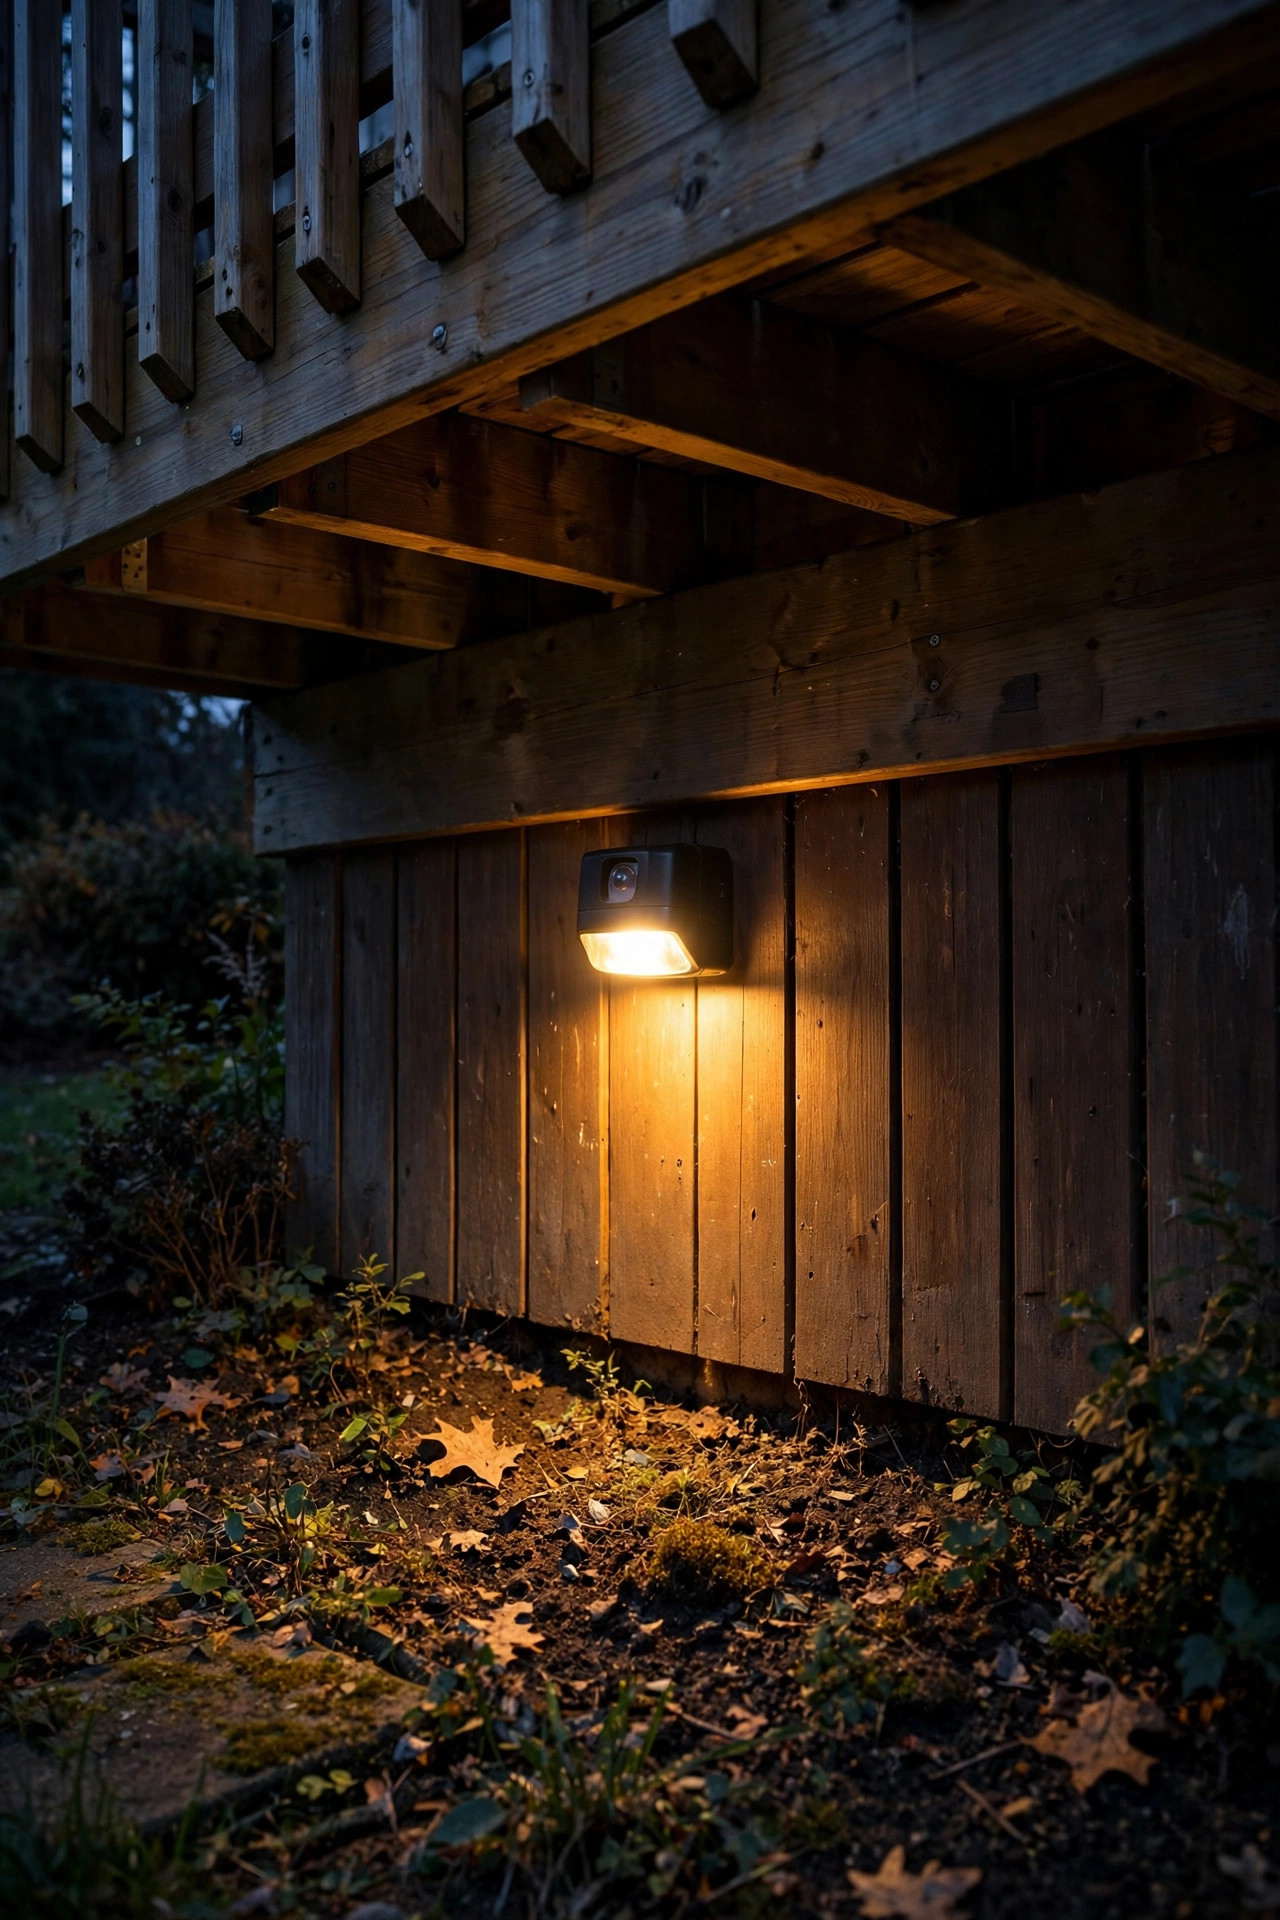
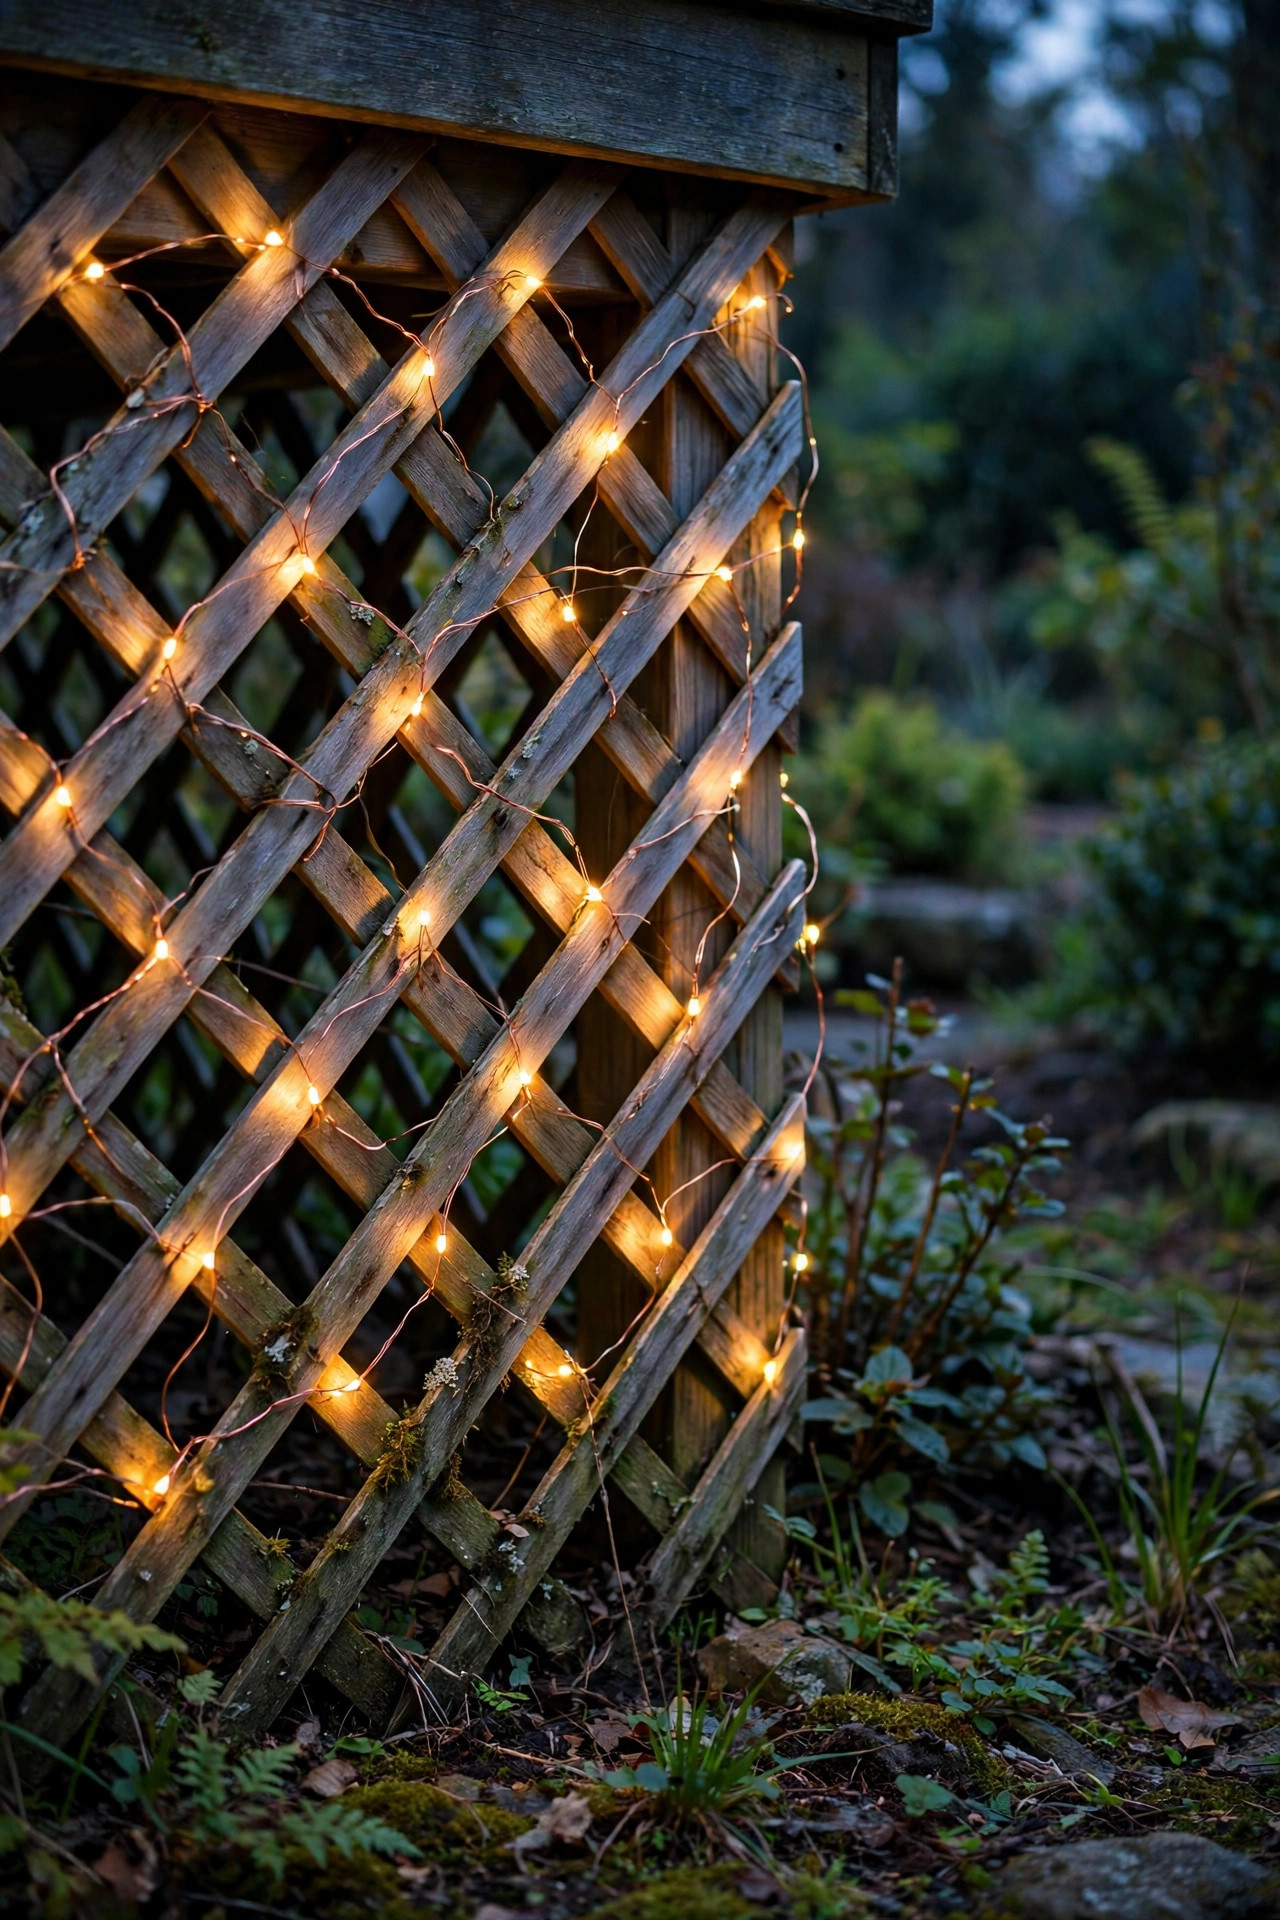
8. Copper-Wire Fairy Lights Woven Through Lattice
If your style leans whimsical, copper-wire fairy lights woven through lattice skirting are pure magic for almost no money. The wire is thin enough to thread in and out of the lattice diamonds by hand, and because the tiny LEDs sit right at the panel face, the whole skirt sparkles like fireflies settled in for the evening. Solar string versions are my pick — the little panel stakes into the sunny side of the bed and there is nothing to plug in. I use one 33-foot strand per 8-foot panel, weaving loosely rather than pulling tight, and I let a few loops droop for an organic feel. An honest note: fairy lights are pure accent. They will make the skirting visible and charming, but they will not light a path. Pair them with one of the wash ideas above if your underside is very tall or very dark. Also bring them in or expect a two-season lifespan — the fine wire is delicate, and winter ice is unkind to it. For the price of a pizza, though, the transformation on a summer evening is hard to argue with.
Suggested budget range: $12 – $30.
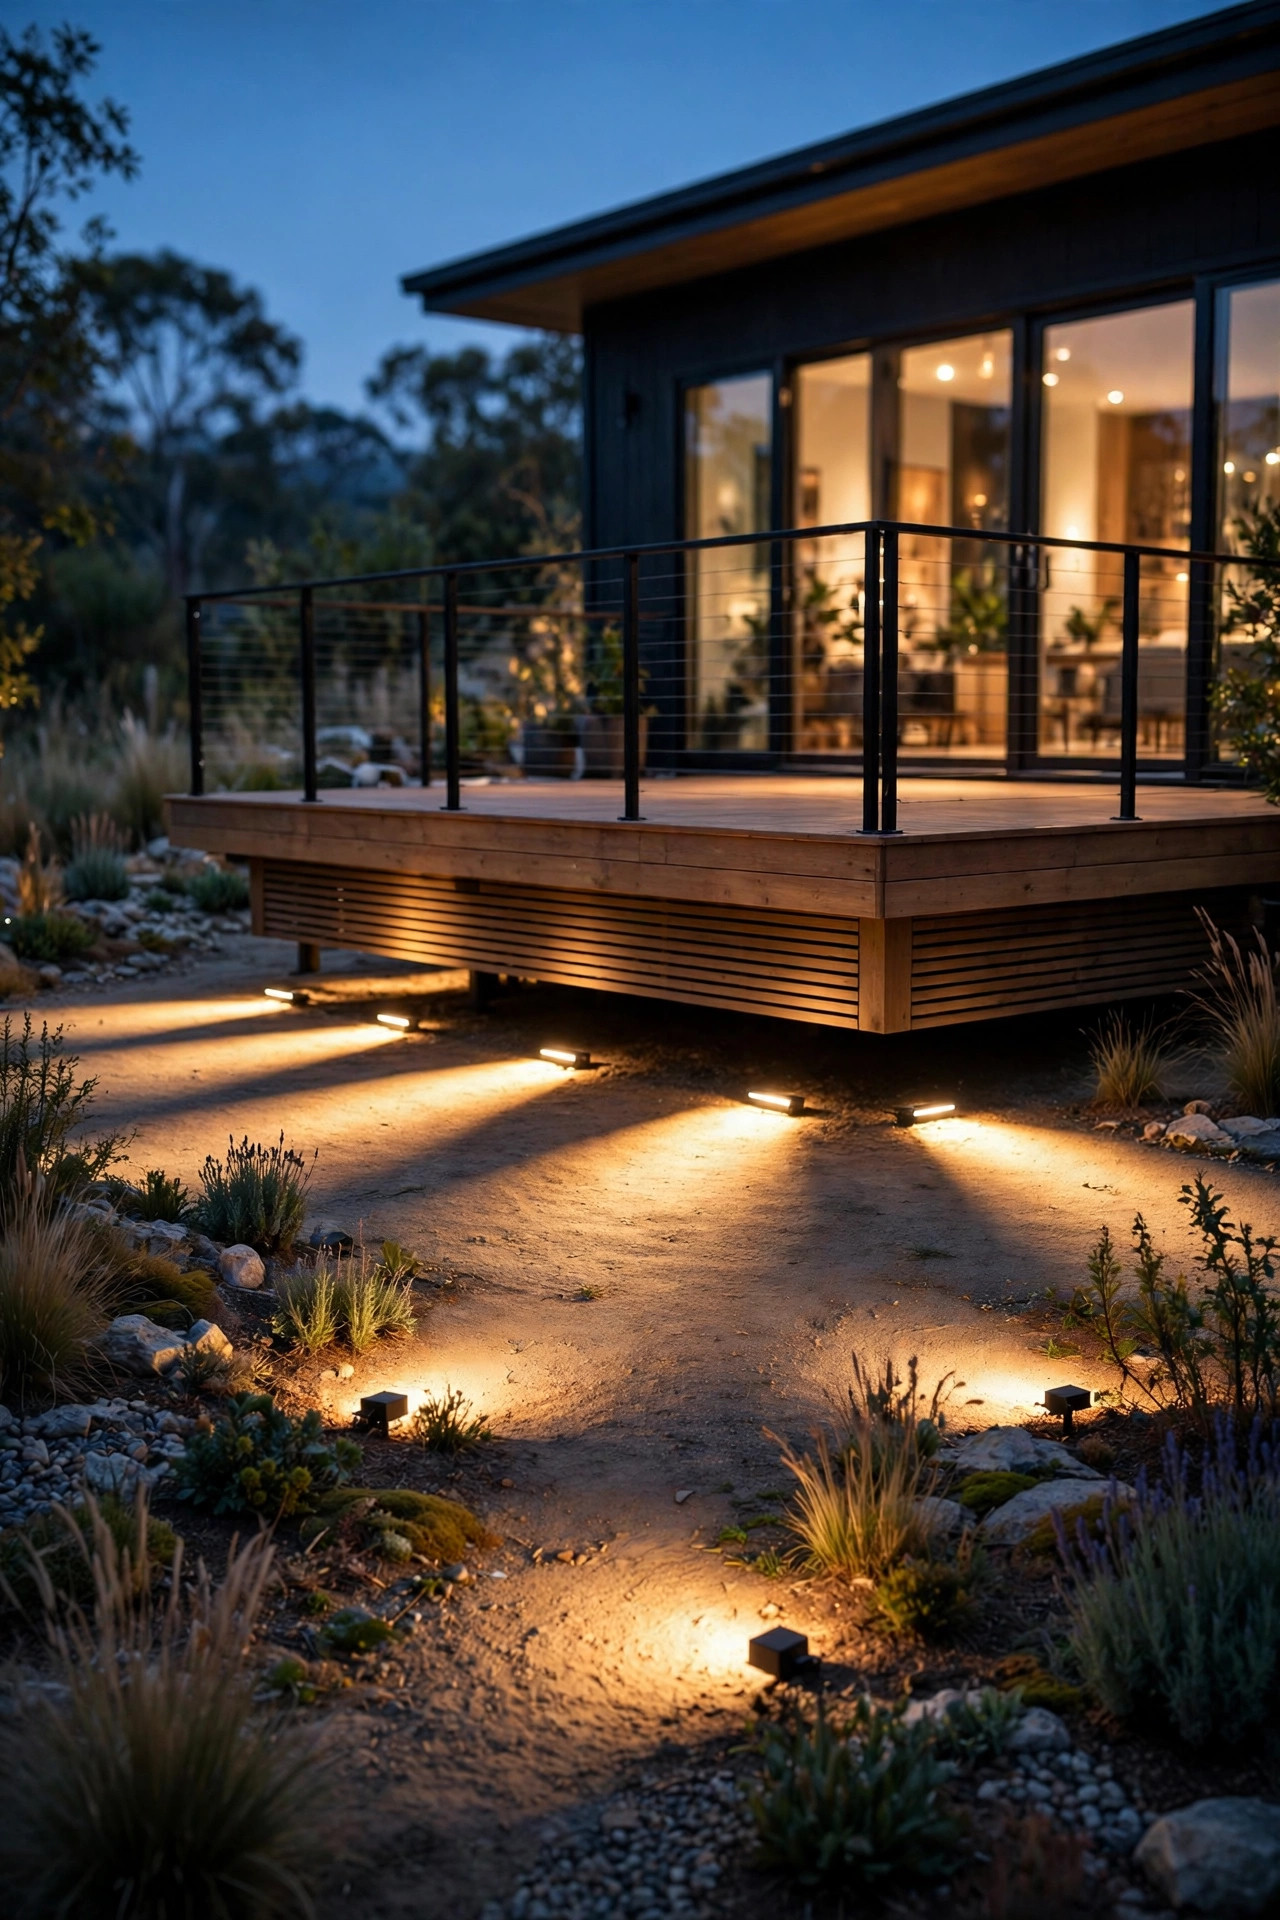
9. Ground Wash Lights for a Floating-Deck Effect
Here is a designer trick I borrowed from landscape lighting: aim a wide, low wash of light across the ground in front of the skirting instead of at the skirting itself. The lit ground plane makes the deck read as a glowing platform, and the eye stops noticing the dark underside entirely. Wide-beam wash fixtures or low bollard-style lights set 12 to 18 inches out from the base, spaced about 5 feet apart, do the job. The key is keeping the fixtures low and shielded so the beam skims the ground and the lower boards without shining up into anyone's eyes on the deck above. I use this on the yard-facing side of our deck, where the lawn meets the skirting, because the wash also gives the dog a visible runway on midnight trips outside. It pairs beautifully with uplights on nearby trees — the deck edge glows, the canopy glows, and the middle darkness stops mattering. Ground wash is subtle, so resist cranking the wattage; a gentle pool of light beats a runway strip every time.
Suggested budget range: $50 – $130.
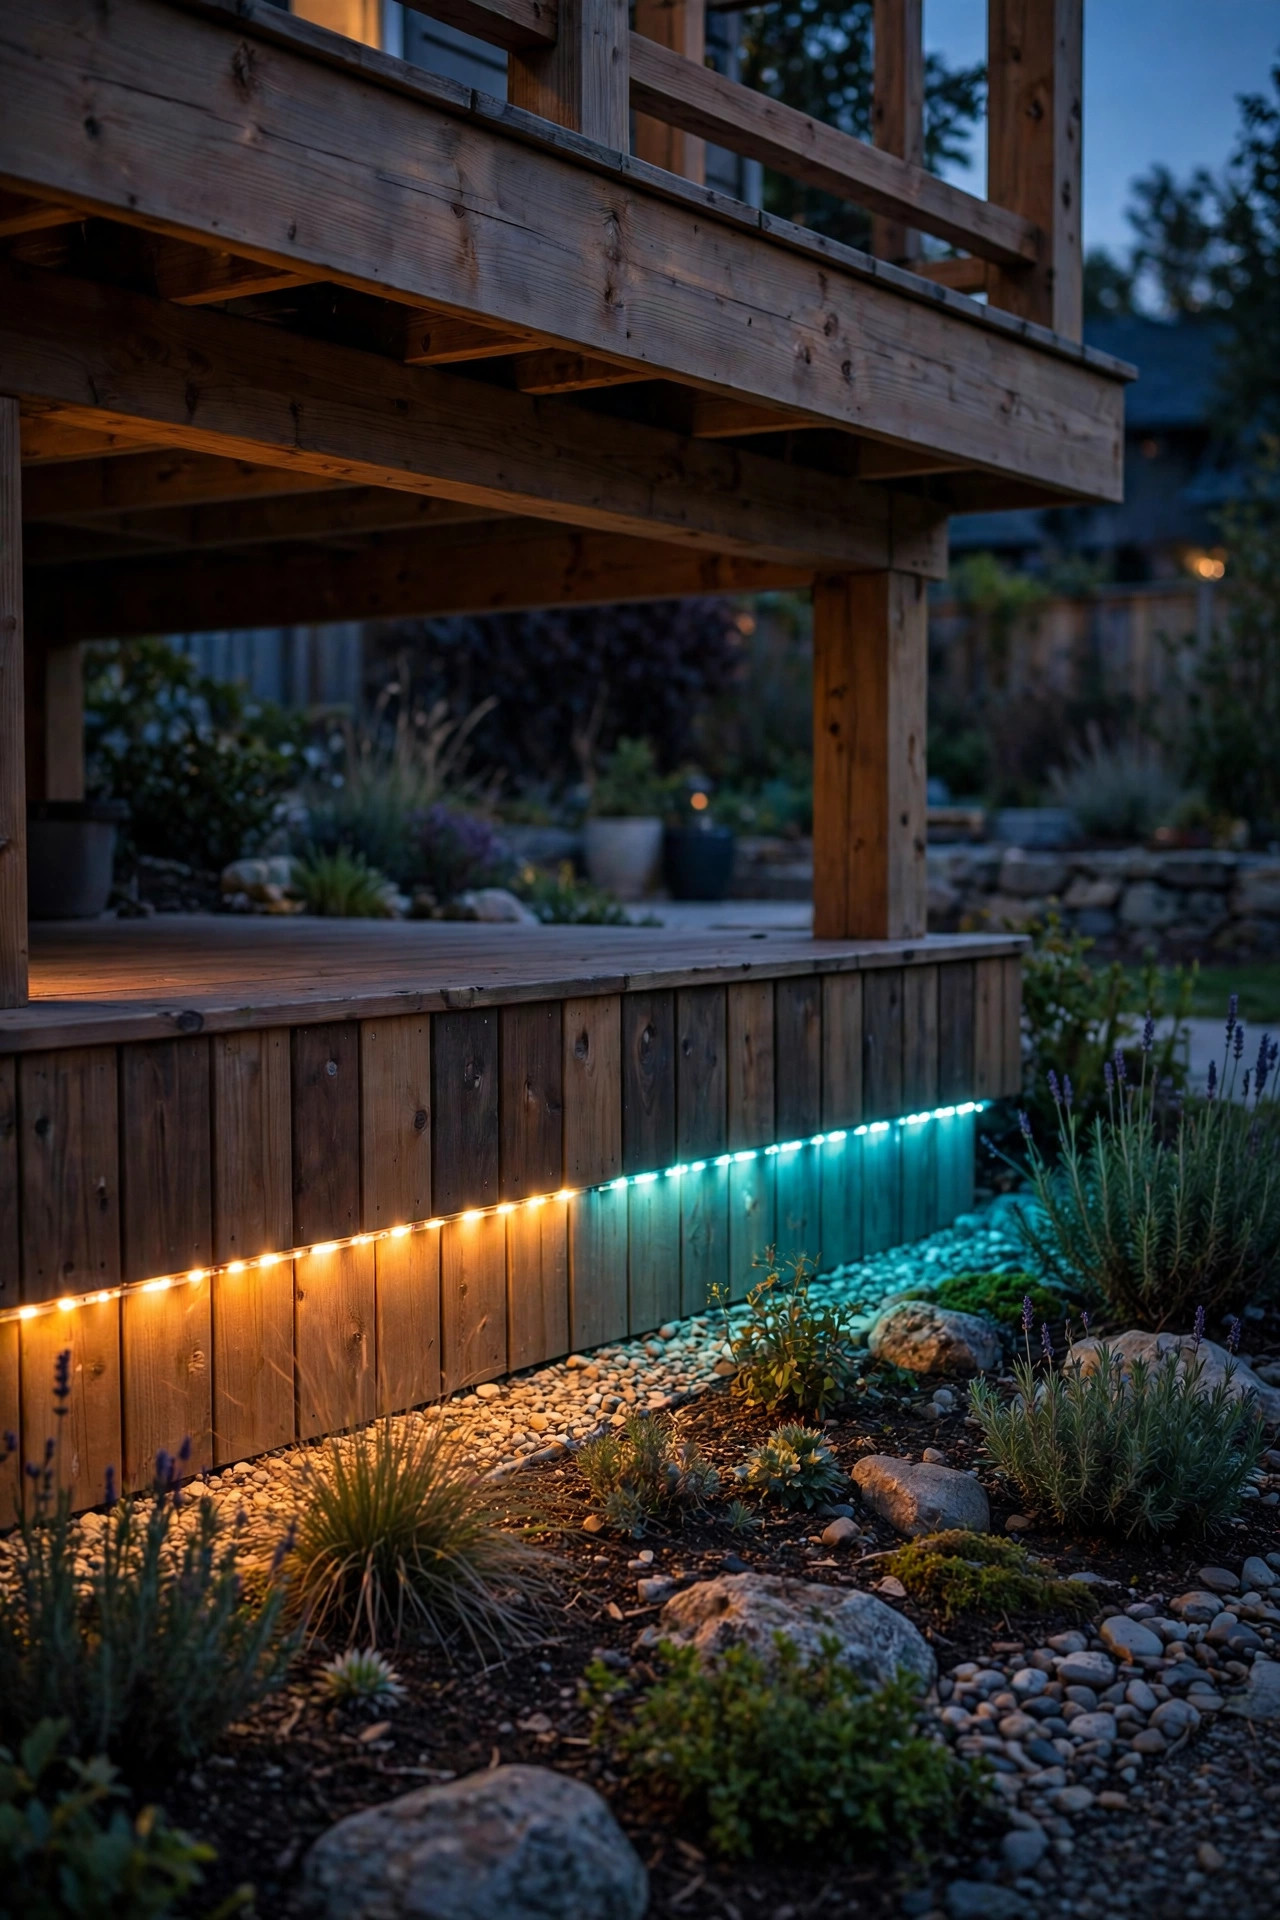
10. Color-Changing Smart Lights for Party Nights
Ninety percent of the time, my skirting lights are a calm warm white. But for the Fourth of July, Halloween, and one memorable backyard movie night, color-changing smart strips and pucks under the deck turned the whole base of the deck into a party-ready glow. Outdoor-rated smart LED strips are the easiest route — stick them where idea 1's strip goes, connect to your home Wi-Fi, and control color and brightness from an app or a simple remote. My rules for keeping it tasteful: default to 2700K warm white for everyday, save saturated colors for actual occasions, and dim to about 50 percent, because colored light at full brightness reads theme park very fast. A sunrise-and-sunset schedule means you never touch a switch. Make sure anything you buy is rated for outdoor use, and keep the controller box inside a weatherproof enclosure under the deck, since that little box is usually the least waterproof part of the kit. When the party is over, one tap brings back the cozy glow.
Suggested budget range: $40 – $110.
11. Flameless Candle Lanterns Along the Base
For the softest, most romantic glow on this list, line the base of the skirting with lanterns holding flameless candles. Real flame near dry wood skirting and mulch is a hard no from me — LED-only near anything flammable, always — but today's flameless candles flicker convincingly, run on timers, and sip batteries for months. I cluster black metal or weathered-wood lanterns in groups of two or three at the corners and beside the steps, then scatter singles between them, keeping the arrangement casual rather than soldier-straight. Set the built-in timers once (most offer a 5-hours-on cycle) and they will greet you at dusk all season with zero effort. Because nothing is installed, this is my top recommendation for renters and for anyone still deciding whether they even like light at the skirting line. One practical tip: weight the lanterns or choose heavier styles if your yard gets gusty, and bring them under cover before big storms. The look is pure cottage charm, especially reflected against dark stained boards.
Suggested budget range: $15 – $40.

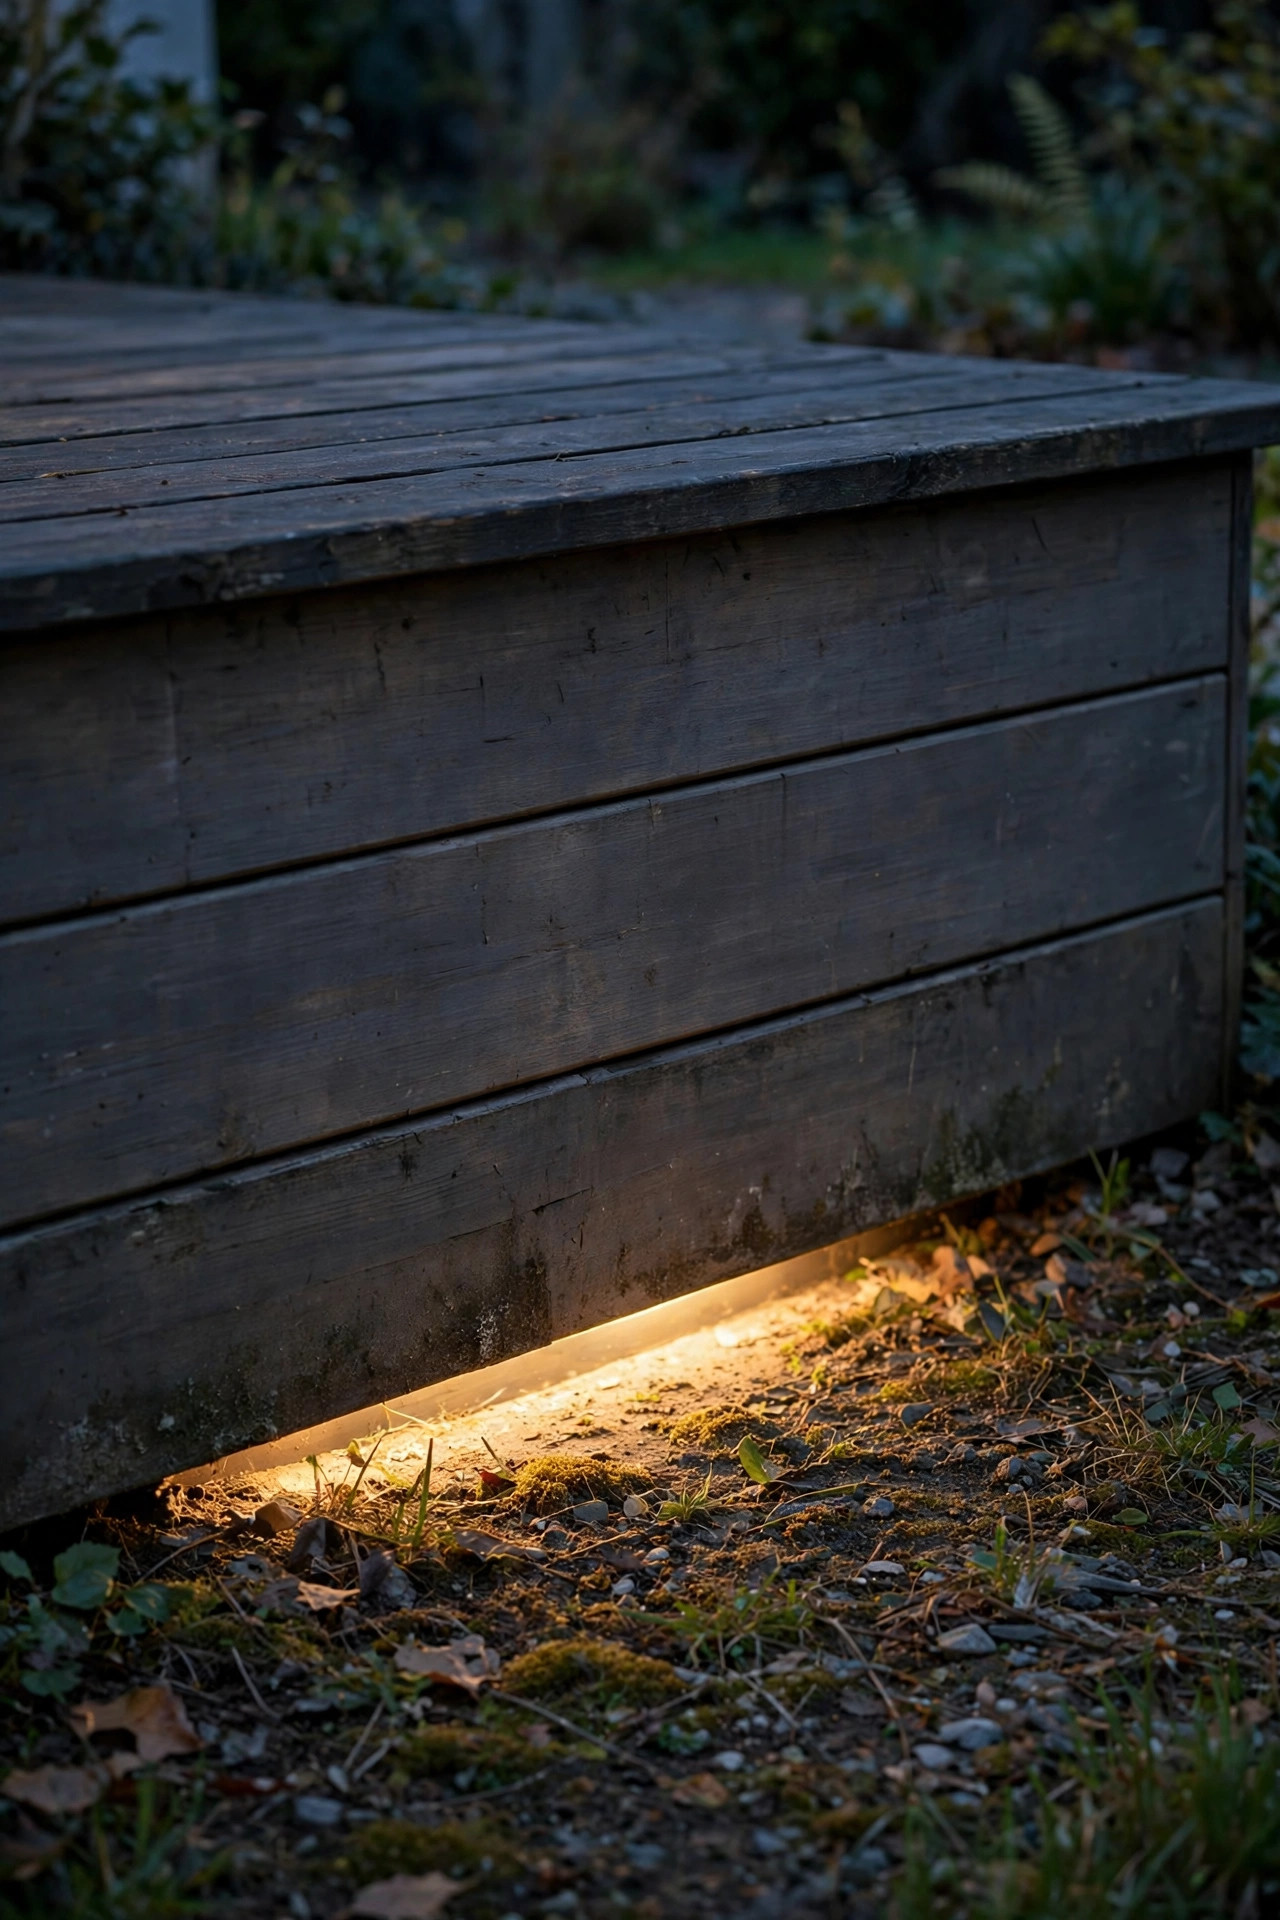
12. Backlit Panels — the Softest Deck Skirting Lighting Ideas of All
If I had to name the most forgiving option of all the deck skirting lighting ideas I have tried, backlit panels win. The concept: leave a small gap — an inch or two — between the ground and the bottom edge of solid skirting, then mount a light source just inside that gap so light spills out underneath and pools on the ground. The skirting itself stays in soft shadow while a blade of light escapes at its base, which makes the deck look like it is hovering over a lit plinth. A low-voltage strip on the inner framing does this beautifully, and it stays completely protected from rain and mower bumps because it lives inside the skirt line. This works best on raised decks with solid skirting and at least 12 inches of clearance. It is also the most critter-honest design: since you are opening the underside anyway, it is the perfect moment to add a hardware-cloth barrier behind the gap so you gain glow without gaining tenants. The result is modern, quiet, and genuinely hides every scuff on the boards.
Suggested budget range: $35 – $85.
13. Path Lights Lining the Deck Perimeter
Sometimes the smartest way to light the skirting is to light the ground right in front of it. A row of low path lights, set 12 to 18 inches out from the base and spaced 5 to 6 feet apart, throws gentle overlapping pools onto both the walkway and the bottom boards, so the underside shadow never gets a chance to form. This is the most practical option if people actually walk alongside your deck at night — you are lighting the route and the skirting with the same fixtures. I favor low, hooded styles that push light down and out rather than mushroom caps that spray it everywhere. Run them on the same low-voltage line as any in-deck lighting so everything switches together, and if the row also serves a garden path, keep the spacing consistent around the bend for that intentional, designed look. Solar path lights can pinch-hit here, but wired fixtures win on even brightness, especially in fall when the days get short. In my yard, this perimeter row quietly fixed the "dark moat" problem on the two sides of the deck we walk past most.
Suggested budget range: $30 – $80.
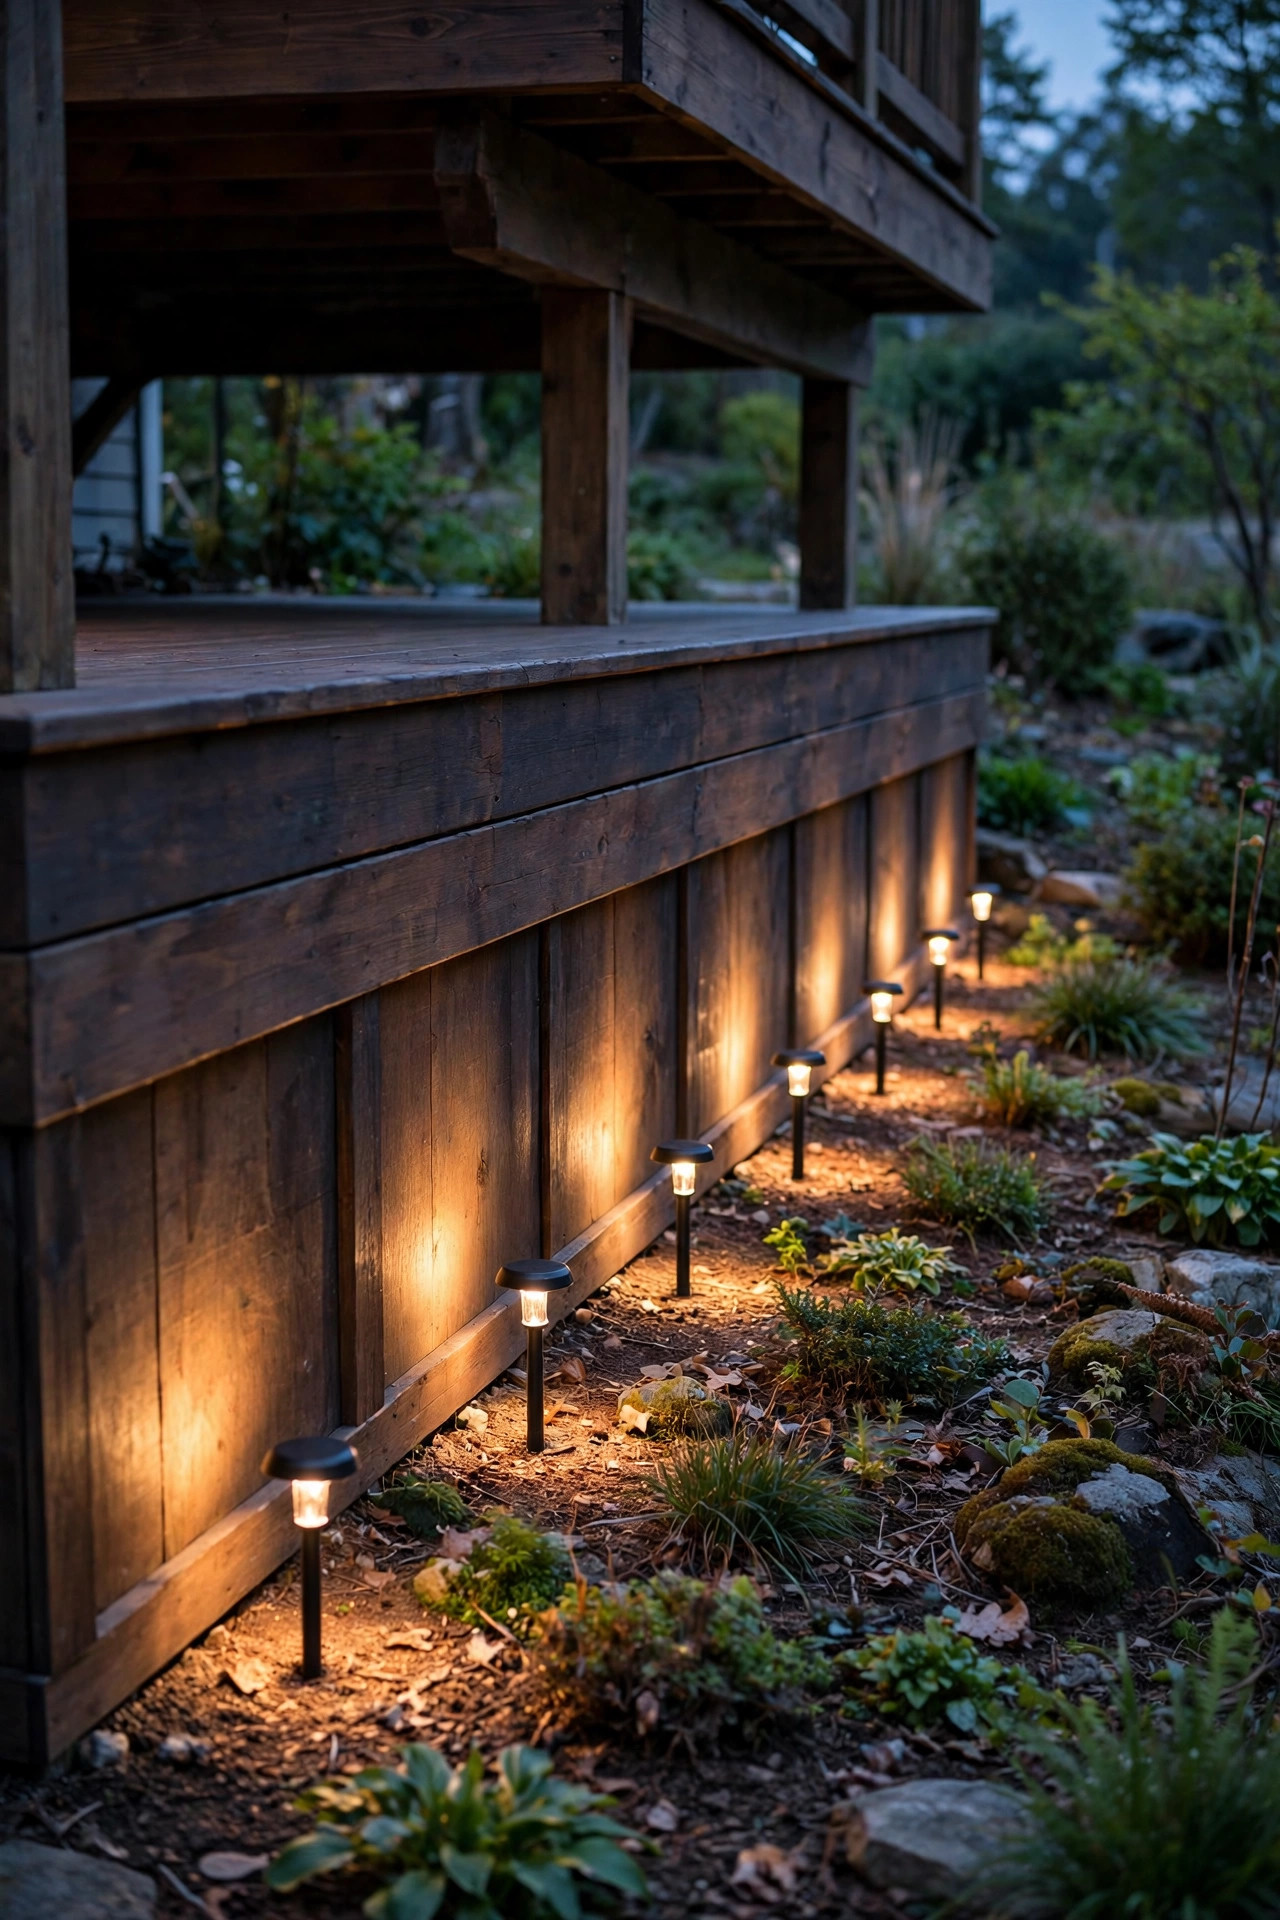
14. Dusk-to-Dawn Photocell Strip Under the Rim Joist
If your deck skirting is short — say 18 inches or less — mounting the light higher is smarter than fighting at ground level. A strip or a slim bar fixture mounted under the rim joist, facing down, washes the whole short face of the skirting evenly and stays up out of the mulch, the sprinkler spray, and the weed trimmer's reach. Add a photocell, either built in or as a plug-in adapter, and the light handles itself: on at dusk, off at dawn, nobody flipping switches in January. I recommend a frosted lens or diffuser on a down-facing bar, because bare diodes aimed at pale composite skirting can look spotty; the diffuser melts the dots into one clean wash. Keep the fixture within a foot of the skirting face for the strongest effect, and run the cord along the joist with cable clips so nothing dangles for critters or kids to grab. This is the setup I installed at my parents' low deck, and two years later it remains the definition of set-and-forget.
Suggested budget range: $30 – $75.
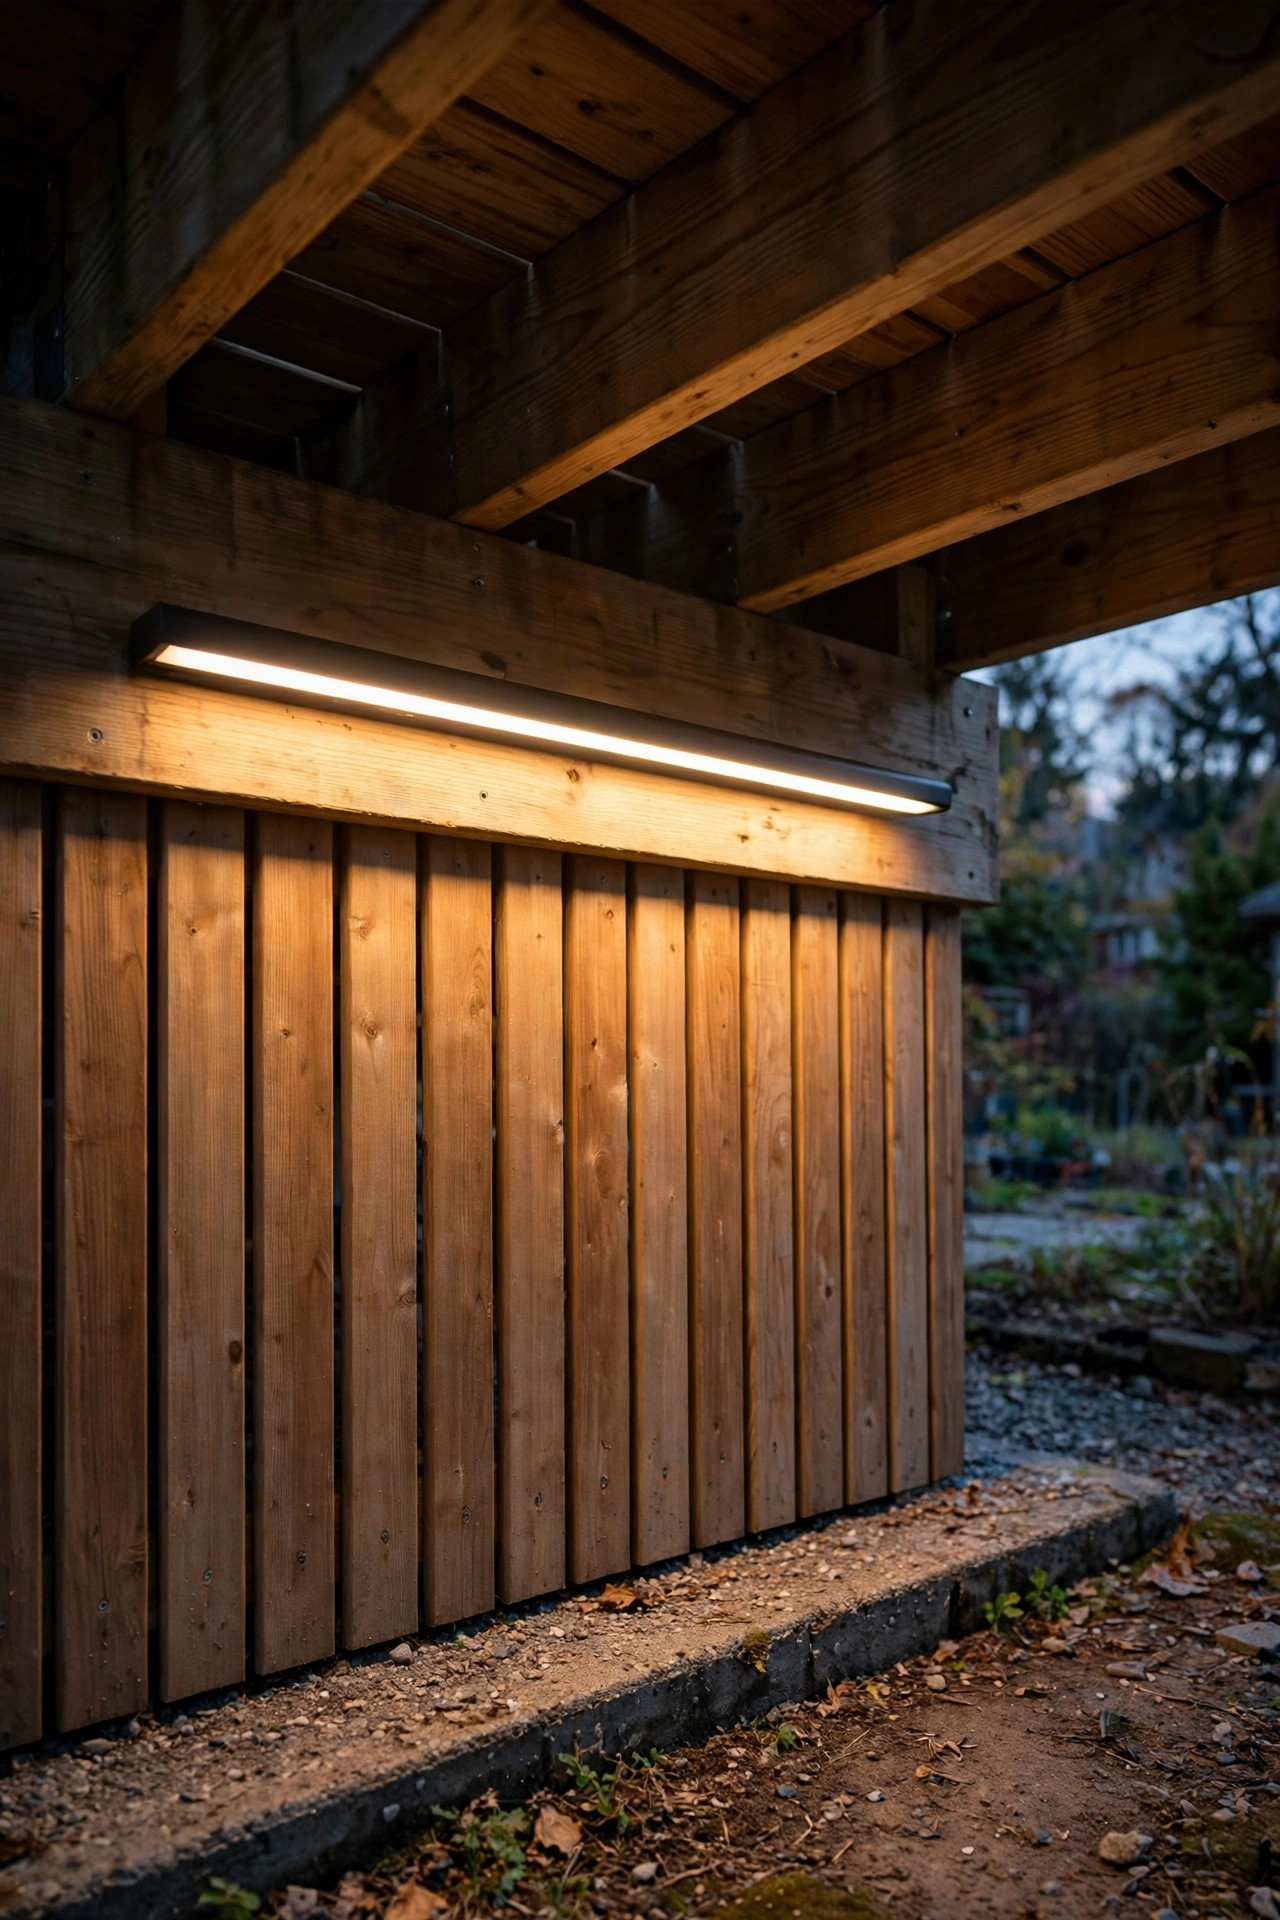
15. Net Lights Draped Behind Open Slat Skirting
Open slat skirting — horizontal boards with finger-width gaps — is practically begging for net lights. A net light is a grid of small LEDs on a mesh of wires, usually around 4 by 6 feet, and draping it on the inside of the slats turns every gap into a soft line of light. The effect is a striped glow that looks custom and architectural, and installation is genuinely just a handful of hooks or zip ties on the inner framing. Two or three nets cover a typical side, and they link end to end on most models, so one outlet near the access panel powers the run. Choose warm white, and look for nets rated for outdoor use with sealed sockets. A styling note: the closer the net sits to the slats, the crisper the stripes; hang it a few inches back and the lines soften into a general glow. Either way beats the black void. Because the nets live inside the skirt, they are sheltered from weather and last noticeably longer than exposed string lights — mine are on season three and still going.
Suggested budget range: $18 – $45.
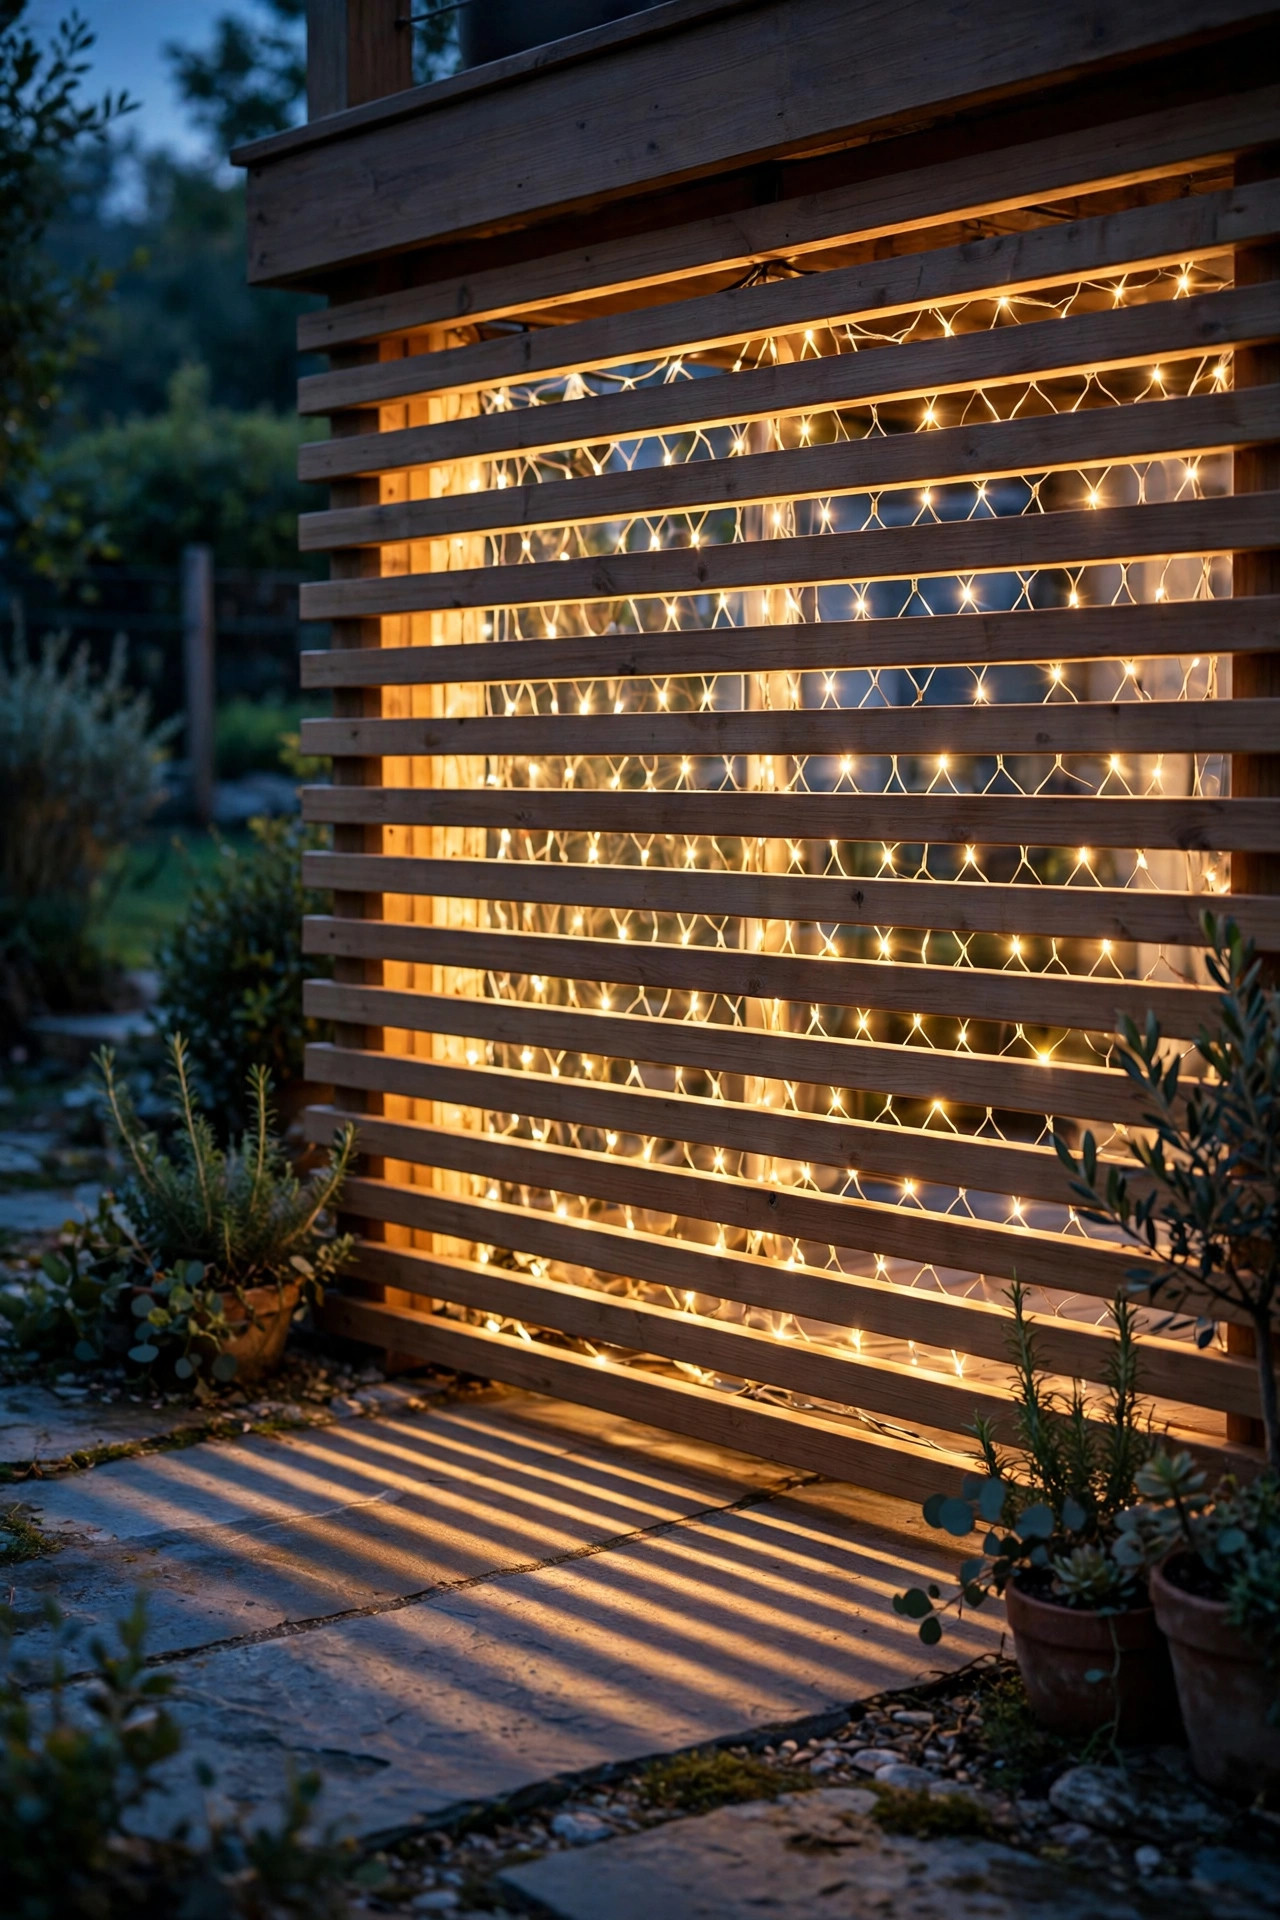
16. In-Ground Well Lights Aimed at the Skirting Face
Well lights are the heavy-duty cousins of the mulch-bed uplights in idea 4: the fixture body buries completely in the ground, leaving only a flush lens at grade, and a focused beam rakes up the face of the skirting. Because there is nothing sticking up, you can mow and trim right over them, which makes them perfect where the lawn runs straight up to the deck. I space them 4 to 6 feet apart, set about a foot out from the boards, and tilt the internal lamp — most well lights have an adjustable socket — to graze the skirting rather than blast it. Grazing light is the secret: it reveals the texture of wood grain or stone veneer and makes flat skirting look rich. Use fixtures with tempered glass lenses and a drain-friendly gravel pocket beneath each one so water does not pool in the housing. These are almost always low-voltage and a little more work to install than stake lights, but they are the option I would choose if I never wanted to think about the system again.
Suggested budget range: $55 – $150.
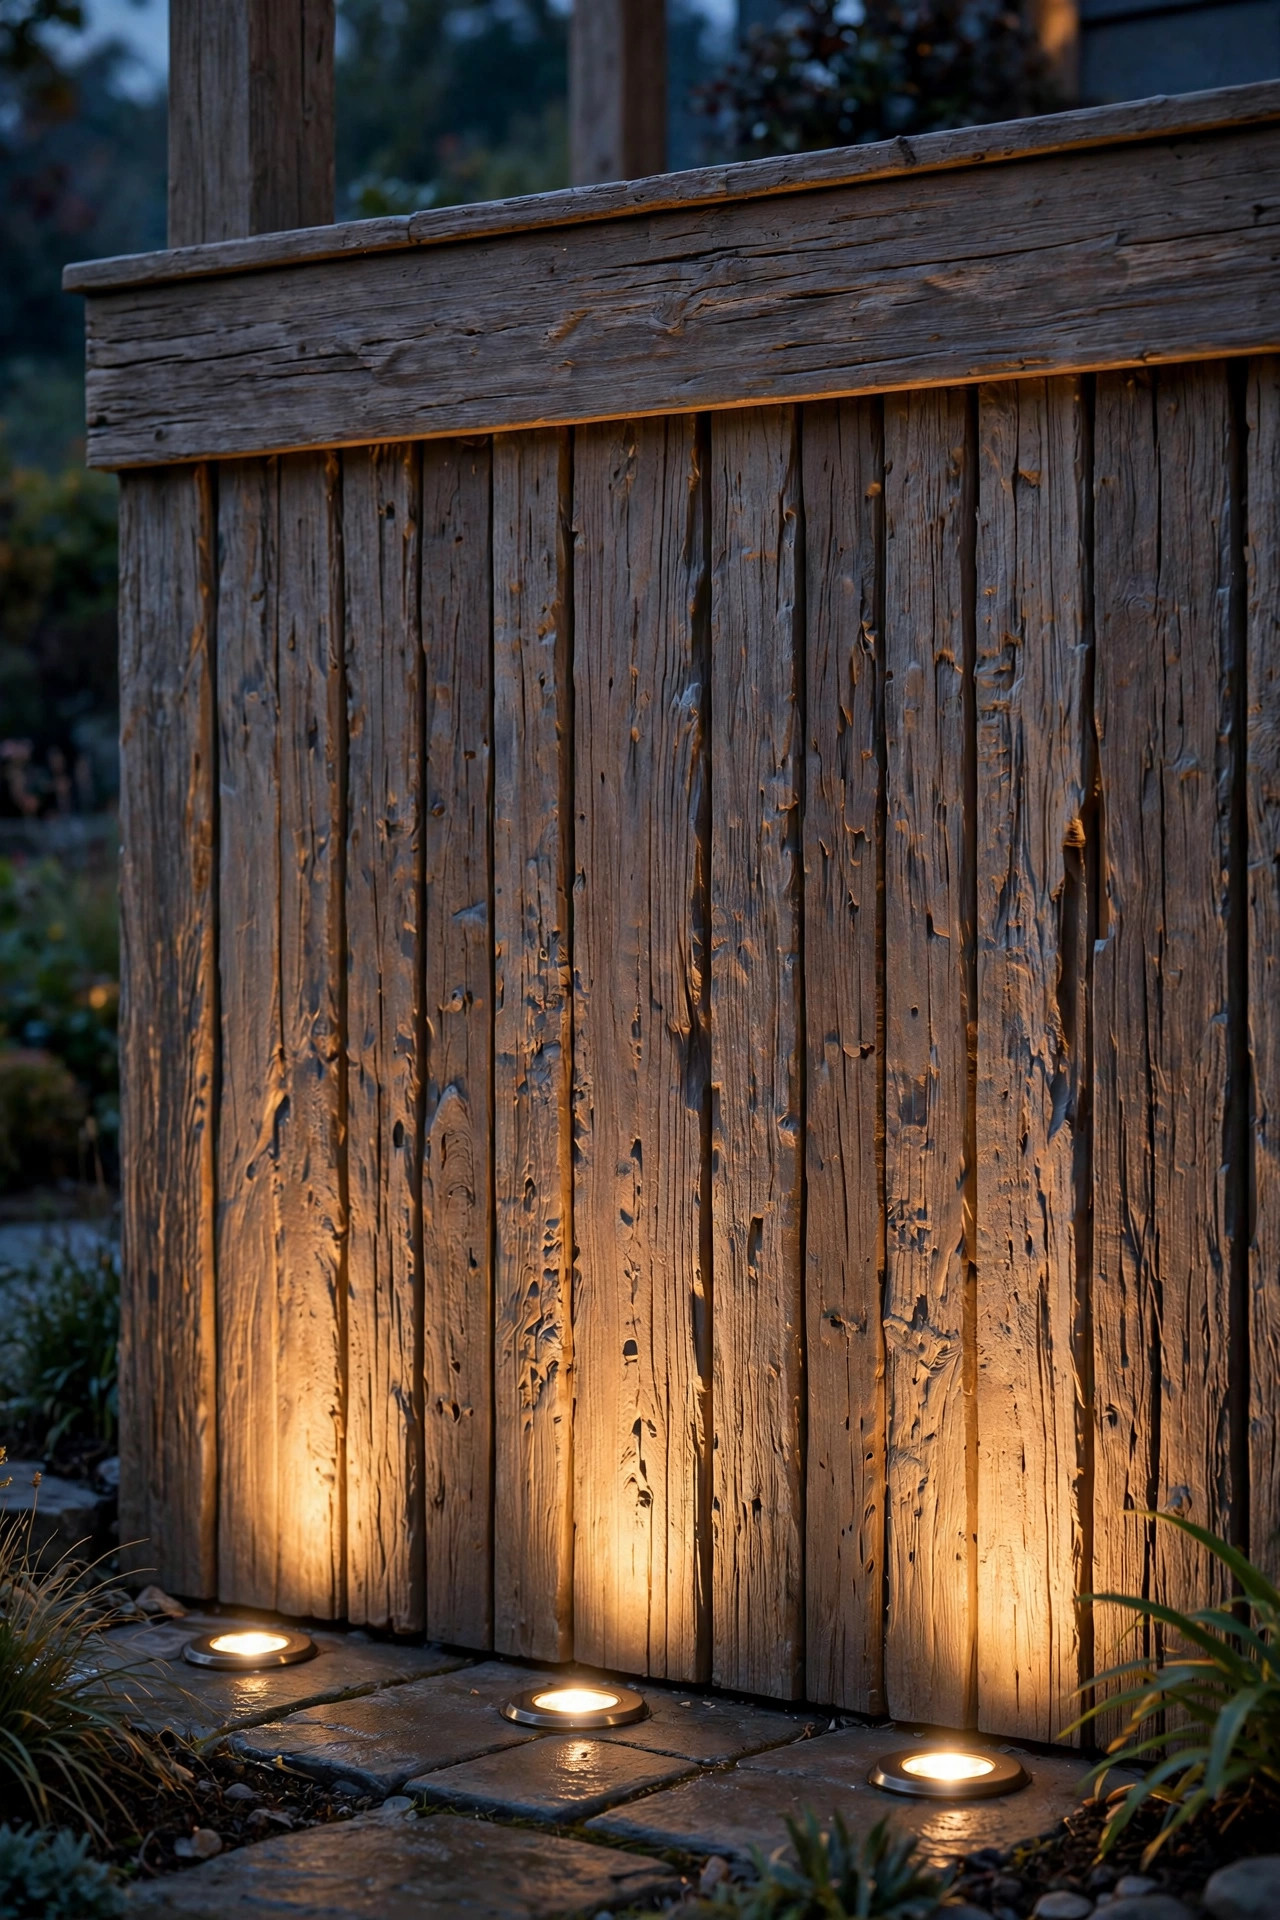
17. The Layered Combo: Mixing Deck Skirting Lighting Ideas Like a Pro
Everything on this list works alone, but the decks that stop me mid-walk combine two or three deck skirting lighting ideas in layers, exactly the way we layer light indoors. My own formula: an LED strip along the bottom rail for the base wash (idea 1), three uplights in the planting bed for height and texture (idea 4), and a pair of flameless lanterns at the steps for a human, flickering touch (idea 11). Each layer is dim on its own; together they look designed. I also tie the skirting into the rest of the deck's lighting family — the same warm color temperature as our deck post cap lights, everything on one timer — because mixed color temperatures are the fastest way to make a good system look accidental. Start with one layer this weekend, live with it for a week, then add the next. Lighting a deck is a seasoning exercise, not a recipe: taste as you go, and stop when the underside shadow is gone and the whole structure seems to rest on a cushion of light.
Suggested budget range: $90 – $250.

Frequently Asked Questions
What color temperature is best for deck skirting lights?
Warm white, in the 2700–3000K range, is my pick for almost every deck. It flatters wood tones, feels cozy against mulch and stone, and matches most other outdoor fixtures, so your skirting will not clash with your porch or path lighting. Cooler 4000K-plus light tends to look harsh and bluish at ground level, and it makes the underside feel more like a parking garage than a backyard retreat. Whatever you choose, keep it consistent across every fixture at the skirting line.
Can I light my deck skirting without any wiring?
Absolutely — several ideas on this list are completely wire-free. Solar stake lights, solar fairy strands, and solar motion lights need only decent sun on their panels, while flameless candle lanterns run for months on batteries. The trade-offs are brightness and reliability in winter, when short days starve solar panels. If your deck faces north or sits under heavy tree cover, a single low-voltage run or a plug-in strip on a timer will honestly make you happier than struggling solar fixtures.
How do I keep skirting lights safe from moisture and curious animals?
Choose fixtures rated for wet locations (look for IP65 or higher on strips and pucks), keep all connections inside sealed or gel-filled connectors, and plug everything into a GFCI-protected outlet. Elevate fixtures a few inches above mulch where you can, and use conduit or cable clips to keep wires tidy and off the soil. If your skirting has gaps, hardware cloth behind the panels keeps raccoons and opossums from moving in — and from chewing the wiring that makes your deck glow.
How far apart should I space lights along the skirting?
It depends on the fixture. As the spacing rules I use in my own yard: recessed pucks and lantern fixtures every 4 to 8 feet, uplights and well lights every 4 to 6 feet, path lights every 5 to 6 feet, and solar stakes every 3 to 4 feet since each one is dimmer. The goal is overlapping pools of light with no black gaps, not a dotted line. Always test your spacing at night with the fixtures temporarily placed before you drill, bury, or commit to anything permanent.
Conclusion
A dark underside can undo all the charm of a beautiful deck, but it is one of the cheapest shadows in the yard to fix. Whether you start with a twenty-dollar solar strand or go straight for recessed pucks and a layered plan, these deck skirting lighting ideas all chase the same goal: light at the base, warmth in the tone, and an underside that glows instead of glares. Pick one idea this weekend, stand back at dusk, and enjoy how finished your deck suddenly looks — then browse the rest of the lighting ideas here whenever you are ready for layer two.