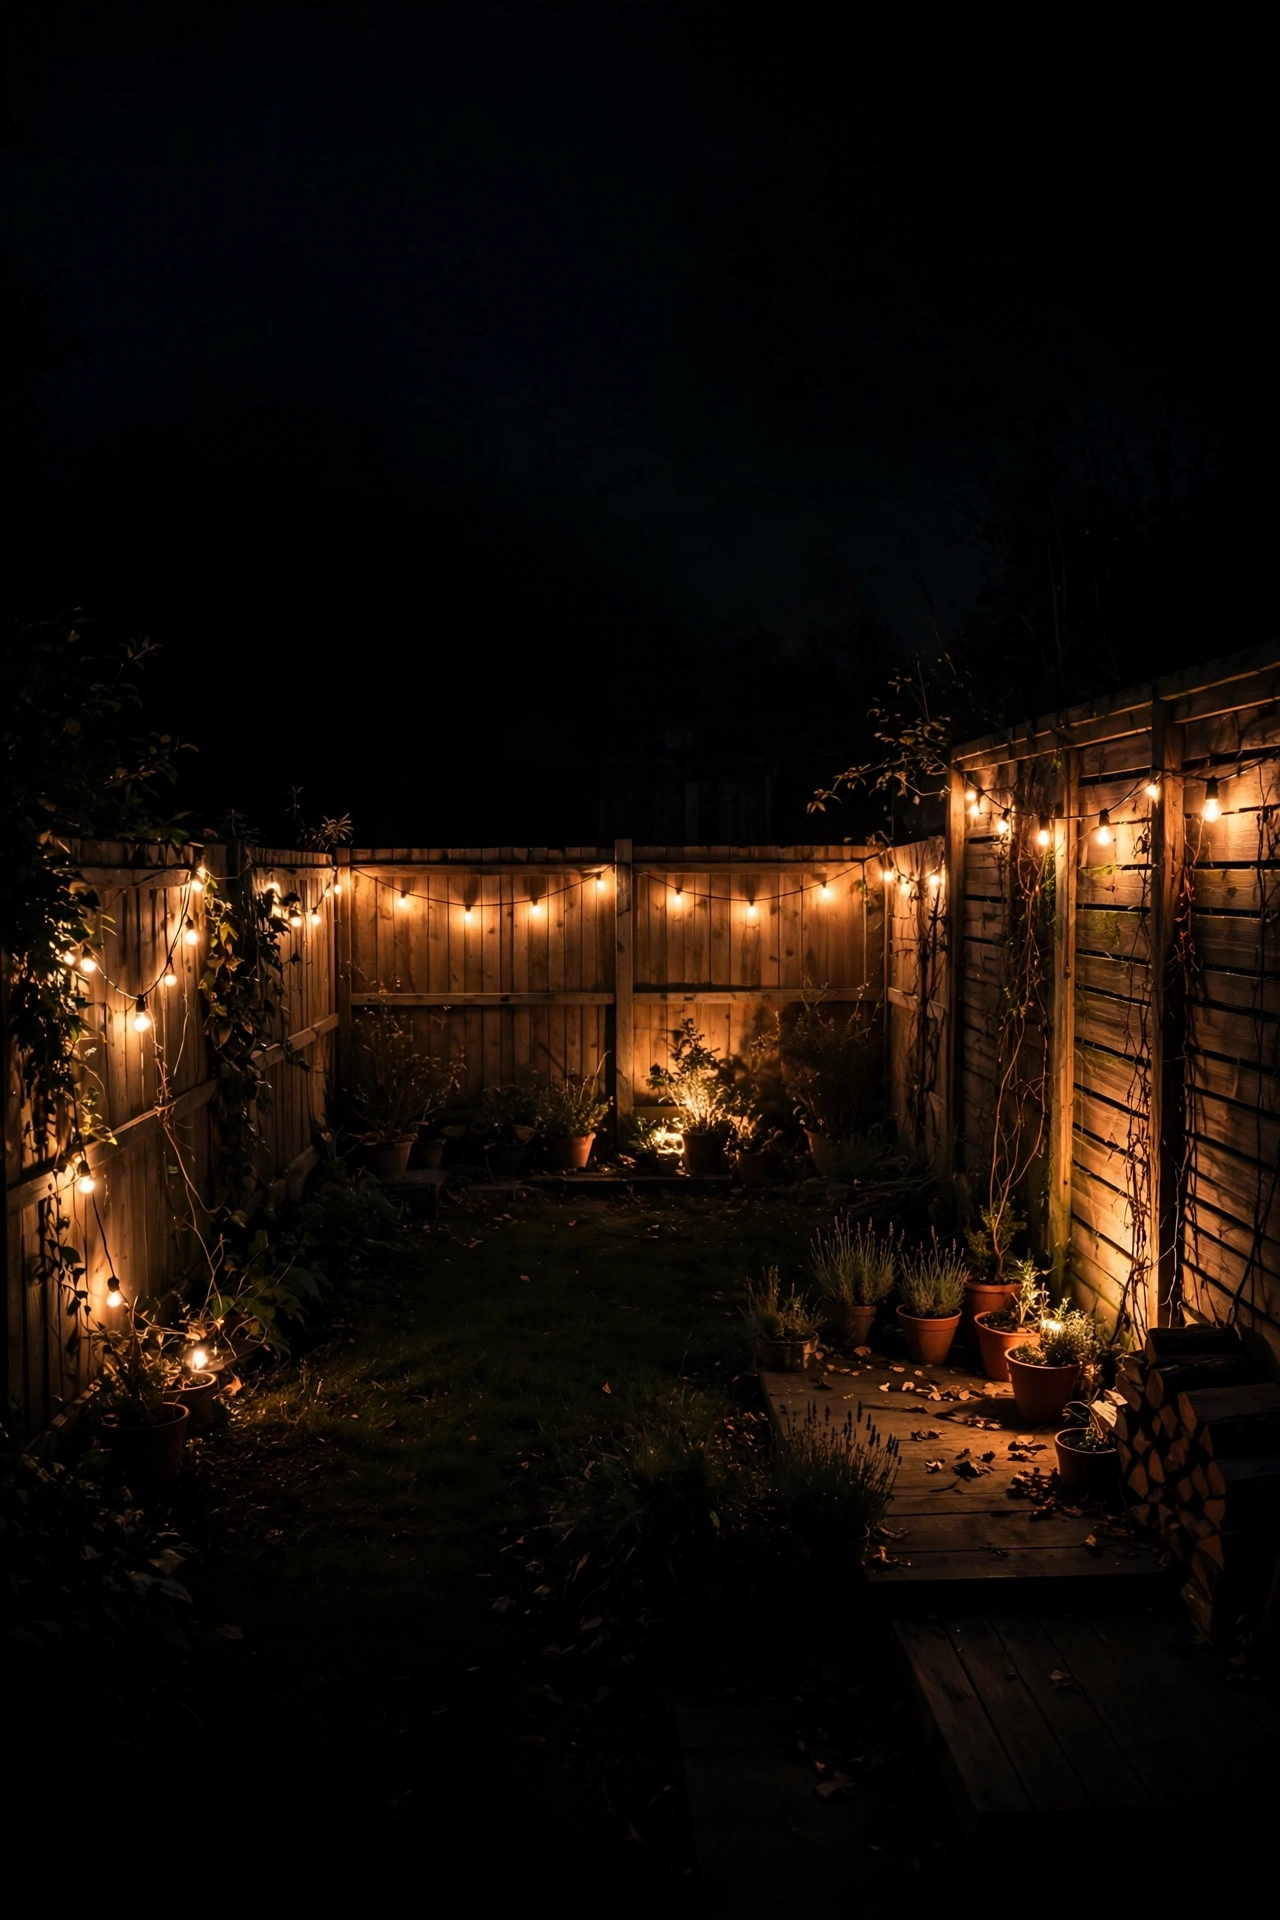
When your yard is more postage stamp than estate, every light you place has to earn its spot — and honestly? That's the fun part. Small yard lighting ideas aren't about cramming in more fixtures; they're about using light to stretch what you already have. A dark corner reads as a dead end, but wash it with a soft uplight and suddenly your eye travels there, and the whole yard feels deeper. In my experience, the secret is layering: light at three heights, light in zones, and always — always — light beyond the center of the yard, not just the middle of it. That pulls the eye outward and makes the boundaries dissolve into the night.
This post walks you through 15 tricks I swear by for making a small yard feel bigger after dark. You'll get concrete how-to details for each one: which bulb types and color temperatures to use, how far apart to space fixtures, where to aim them, and what to expect to spend. Whether your "yard" is a 20-foot townhouse patio or a cozy city lot, these ideas will make it feel like a destination instead of a compromise. Let's get into it.
1. Small Yard Lighting Ideas That Push the Corners Back
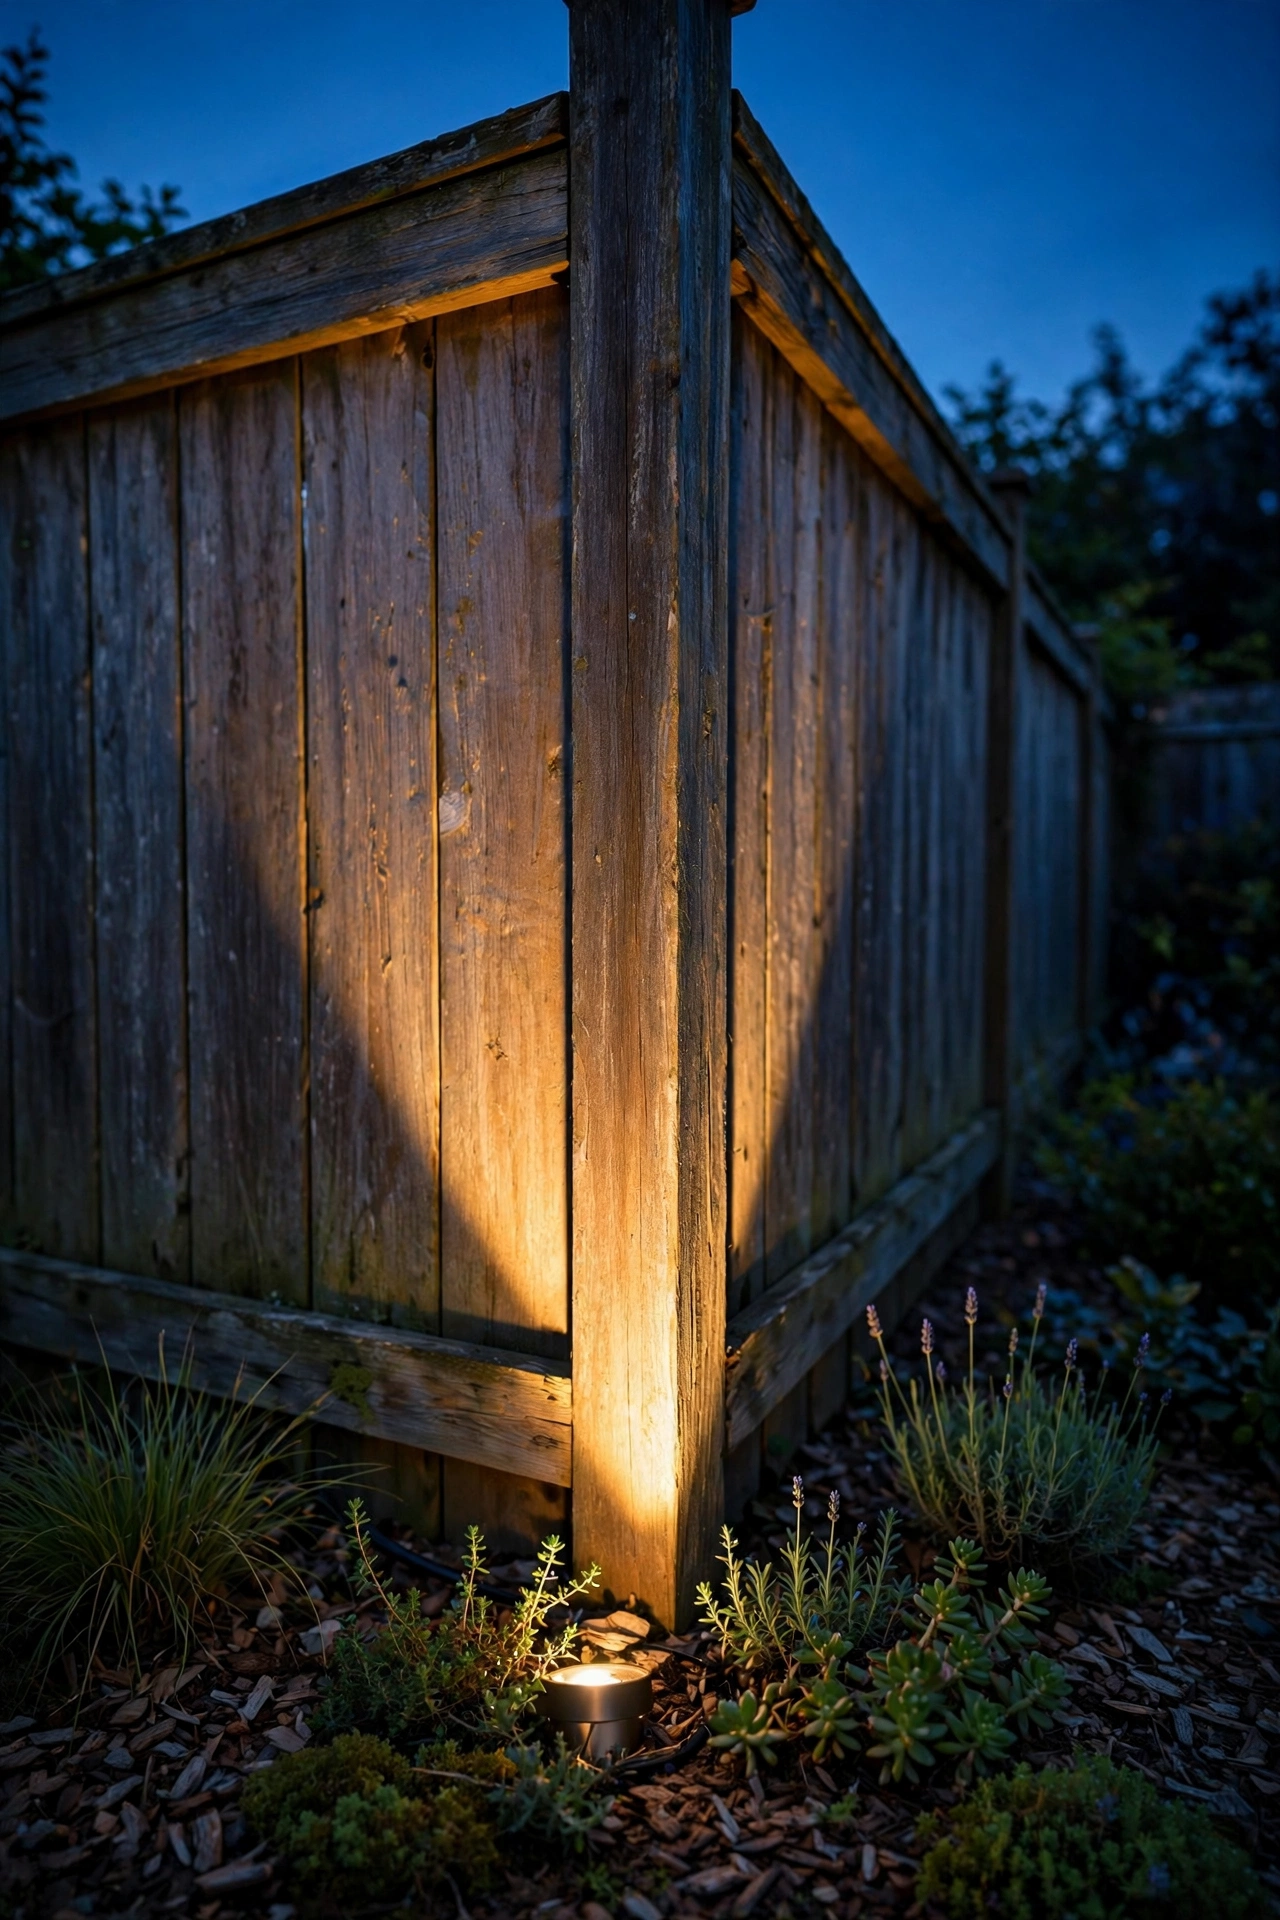
The corners of your yard are where the sense of smallness lives. When they go dark, your brain registers the yard as ending at the brightest point — usually the patio. My favorite fix is a low-voltage uplight tucked 12 to 18 inches away from each corner post, fence corner, or planting, aimed up at roughly a 30-degree angle. Use a warm-white LED MR16 bulb (2700K, around 35-watt equivalent) so the glow feels like moonlight, not a parking lot. In my experience, a narrow 25-to-38-degree beam works best in tight quarters — it paints a tall triangle of light that reads as "something interesting back there" without spilling onto the neighbor's windows.
Keep fixtures 8 to 12 feet apart along the back fence and let the corner fixtures do the heavy lifting. Put them on the same timer zone as your string lights so the whole yard wakes up together at dusk. Make sure any fixture is rated for wet locations (look for IP65 or higher) and that connections sit above mulch level in a weatherproof housing — standing water is the number-one killer of cheap yard lighting. This single trick is the highest-impact dollar-per-square-foot move on this list.
Suggested budget range: $45 – $120.
2. Layer Light at Three Heights
One height of light flattens a yard; three heights give it dimension, and dimension reads as size. Think of it like decorating a room: you wouldn't light a living room with one ceiling bulb. Aim for ground level (path or well lights), mid level (3 to 6 feet — fence lanterns, post caps, lit planters), and canopy level (string lights or a downlight in a tree at 10 to 14 feet). In a 15-by-20-foot yard, that's honestly only five or six fixtures total if you plan it right.
Start with the ground layer to define edges, add the mid layer for interest, then finish with the canopy layer for that magical glow overhead. Keep everything 2700K to 3000K warm white so the layers blend into one continuous feeling of warmth instead of competing. If you're working with solar, remember that canopy-level solar fixtures get the best sun exposure during the day, while ground-level ones can hide under leaves and underperform — plan accordingly. Run a single dusk-to-dawn timer or smart plug so all three layers fade on together; staggered timing looks accidental.
Suggested budget range: $80 – $200.
3. Hang String Lights on the Diagonal
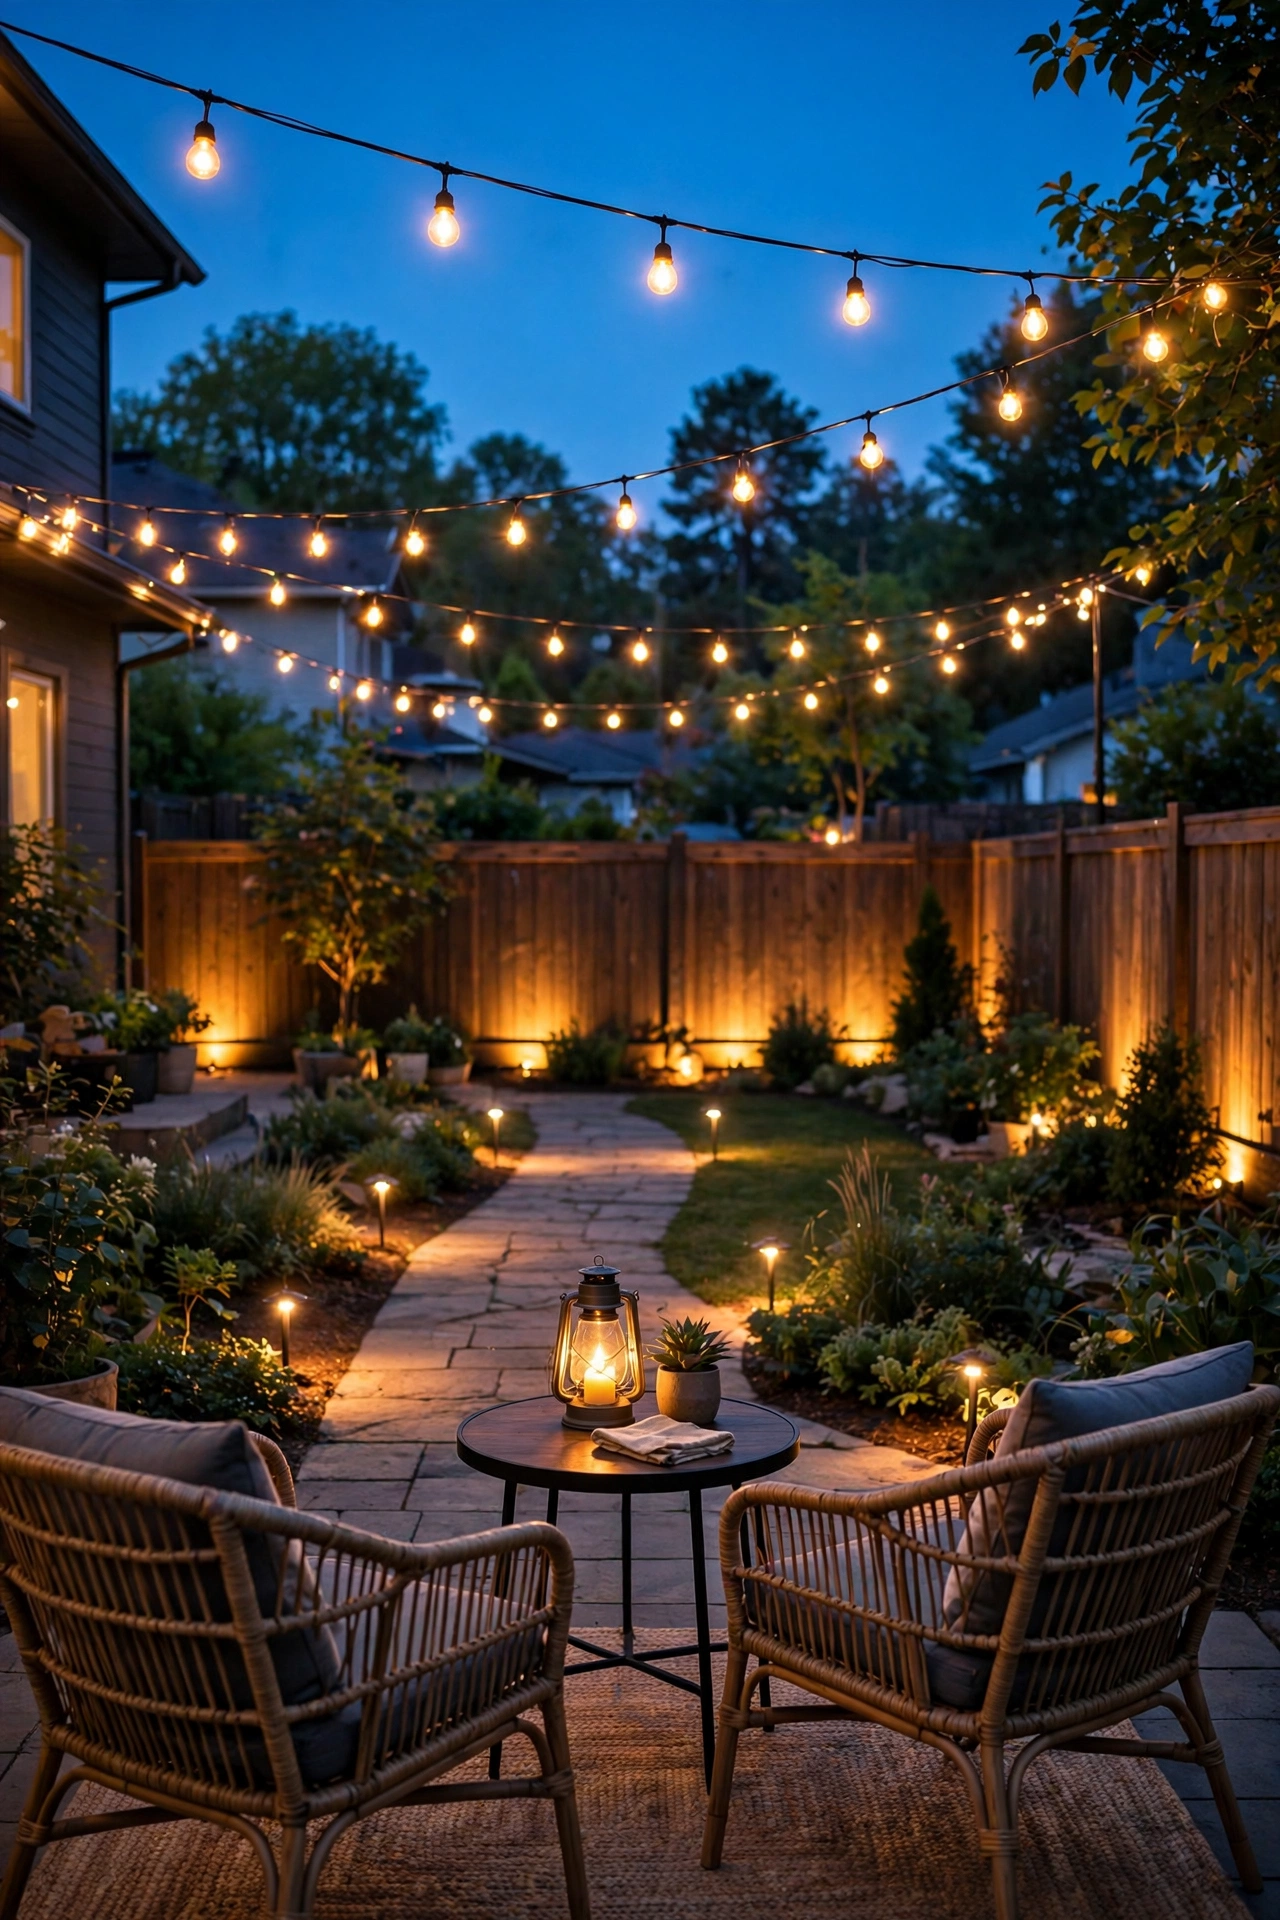
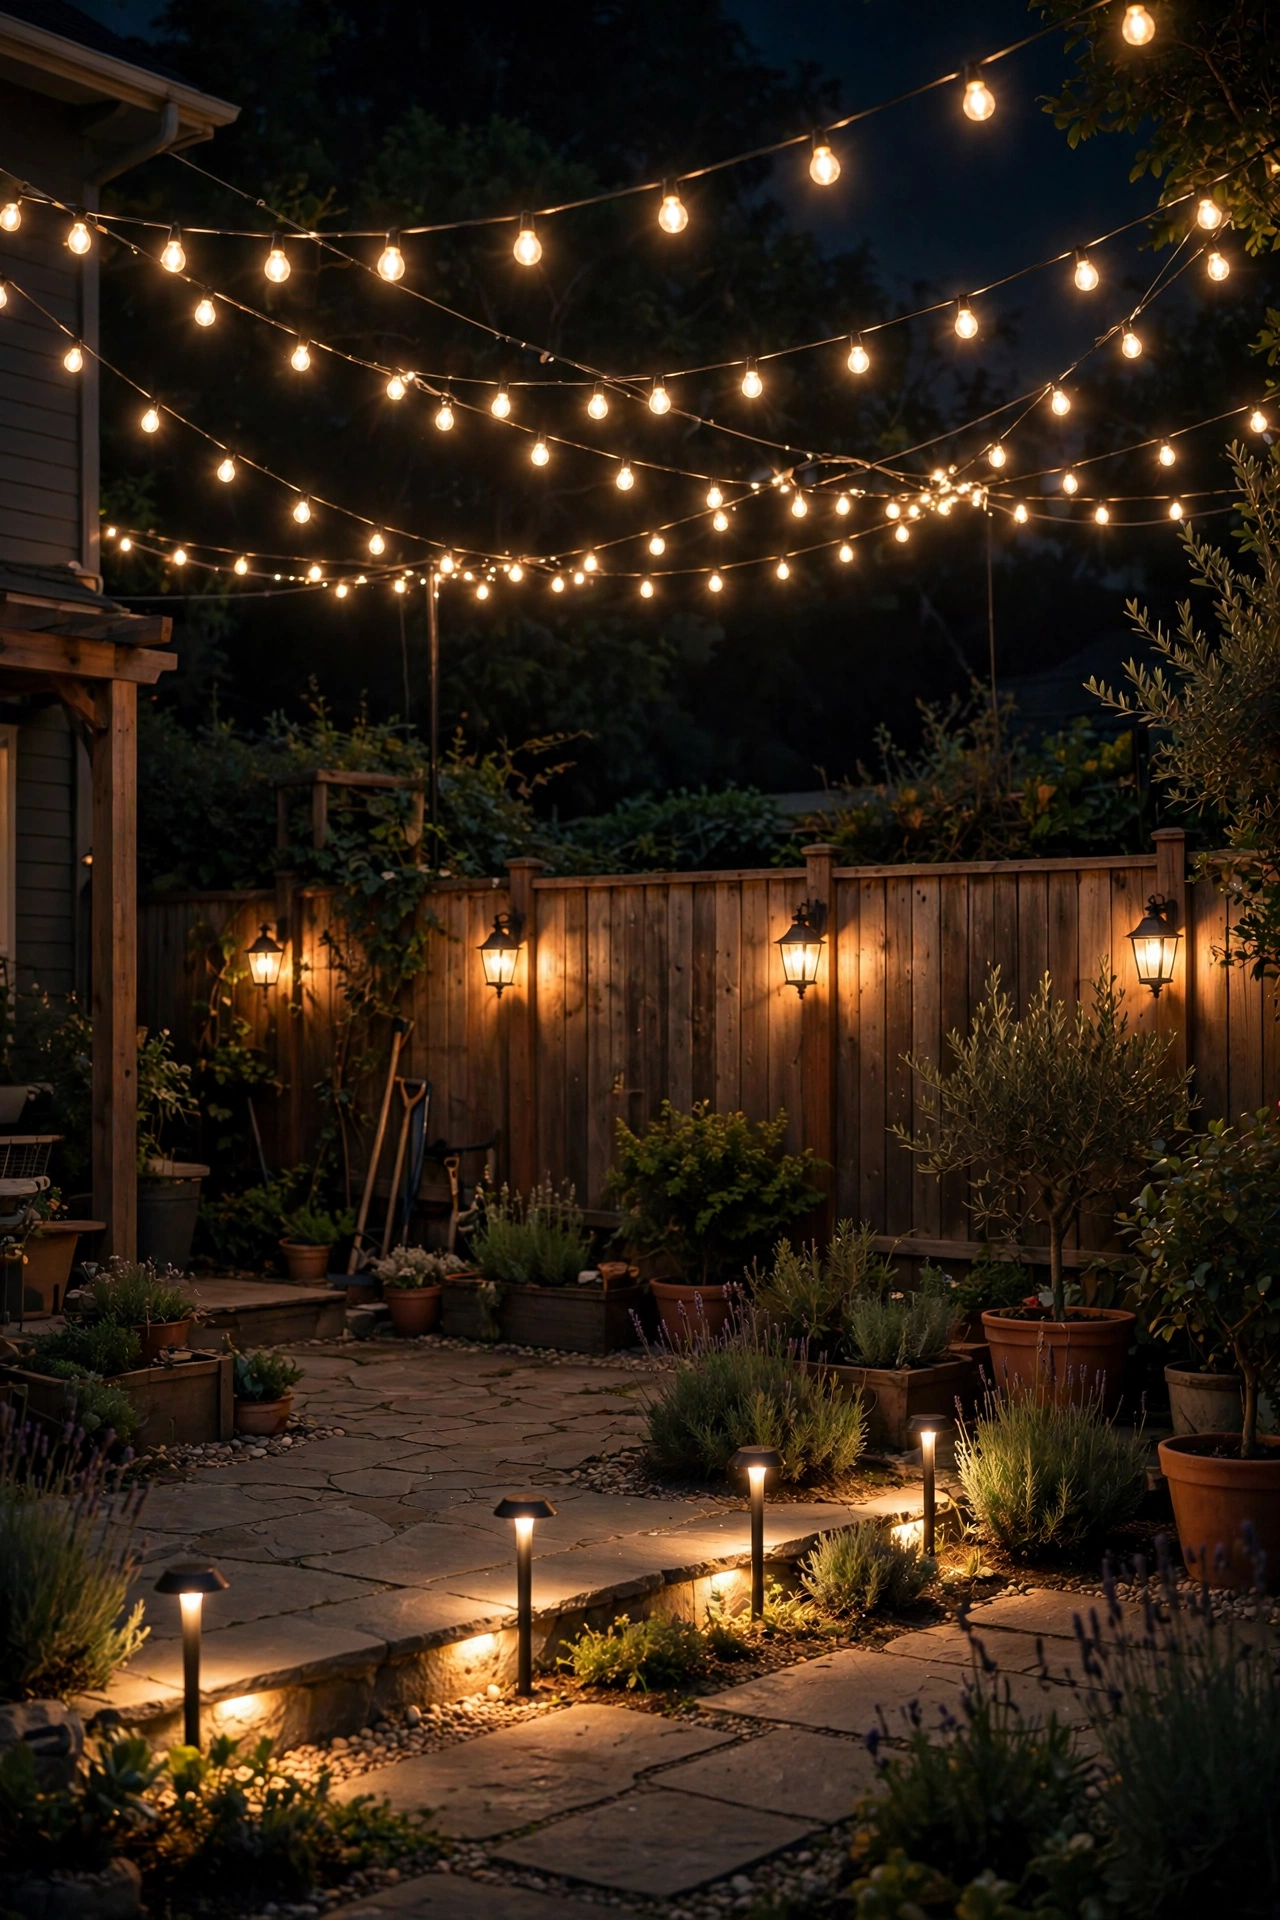
How you hang string lights changes how big the space feels — and most people hang them wrong. Running strings straight along the patio edge frames the yard like a picture, which emphasizes exactly how small the picture is. Instead, hang your strands on the diagonal from the farthest high point (house eave or a 10-foot pole) down to the opposite fence corner. The diagonal lines pull the eye across the longest dimension of the yard, and that long sightline is what makes the space feel bigger.
Use commercial-grade strands with shatterproof LED bulbs spaced 12 inches apart — the thicker wire holds a nicer catenary curve and lasts years instead of one season. Leave 18 to 24 inches of sag between anchor points; too tight looks tense, too loose looks sloppy. If you already have a post about dressing up your front of house for the seasons, you know the vibe — these are the same kinds of warm bulbs that make spring front yard lighting feel inviting, just aimed at stretching space. Anchor into house studs or fence posts with eye hooks rated for outdoor use, never into siding alone.
Suggested budget range: $35 – $90.
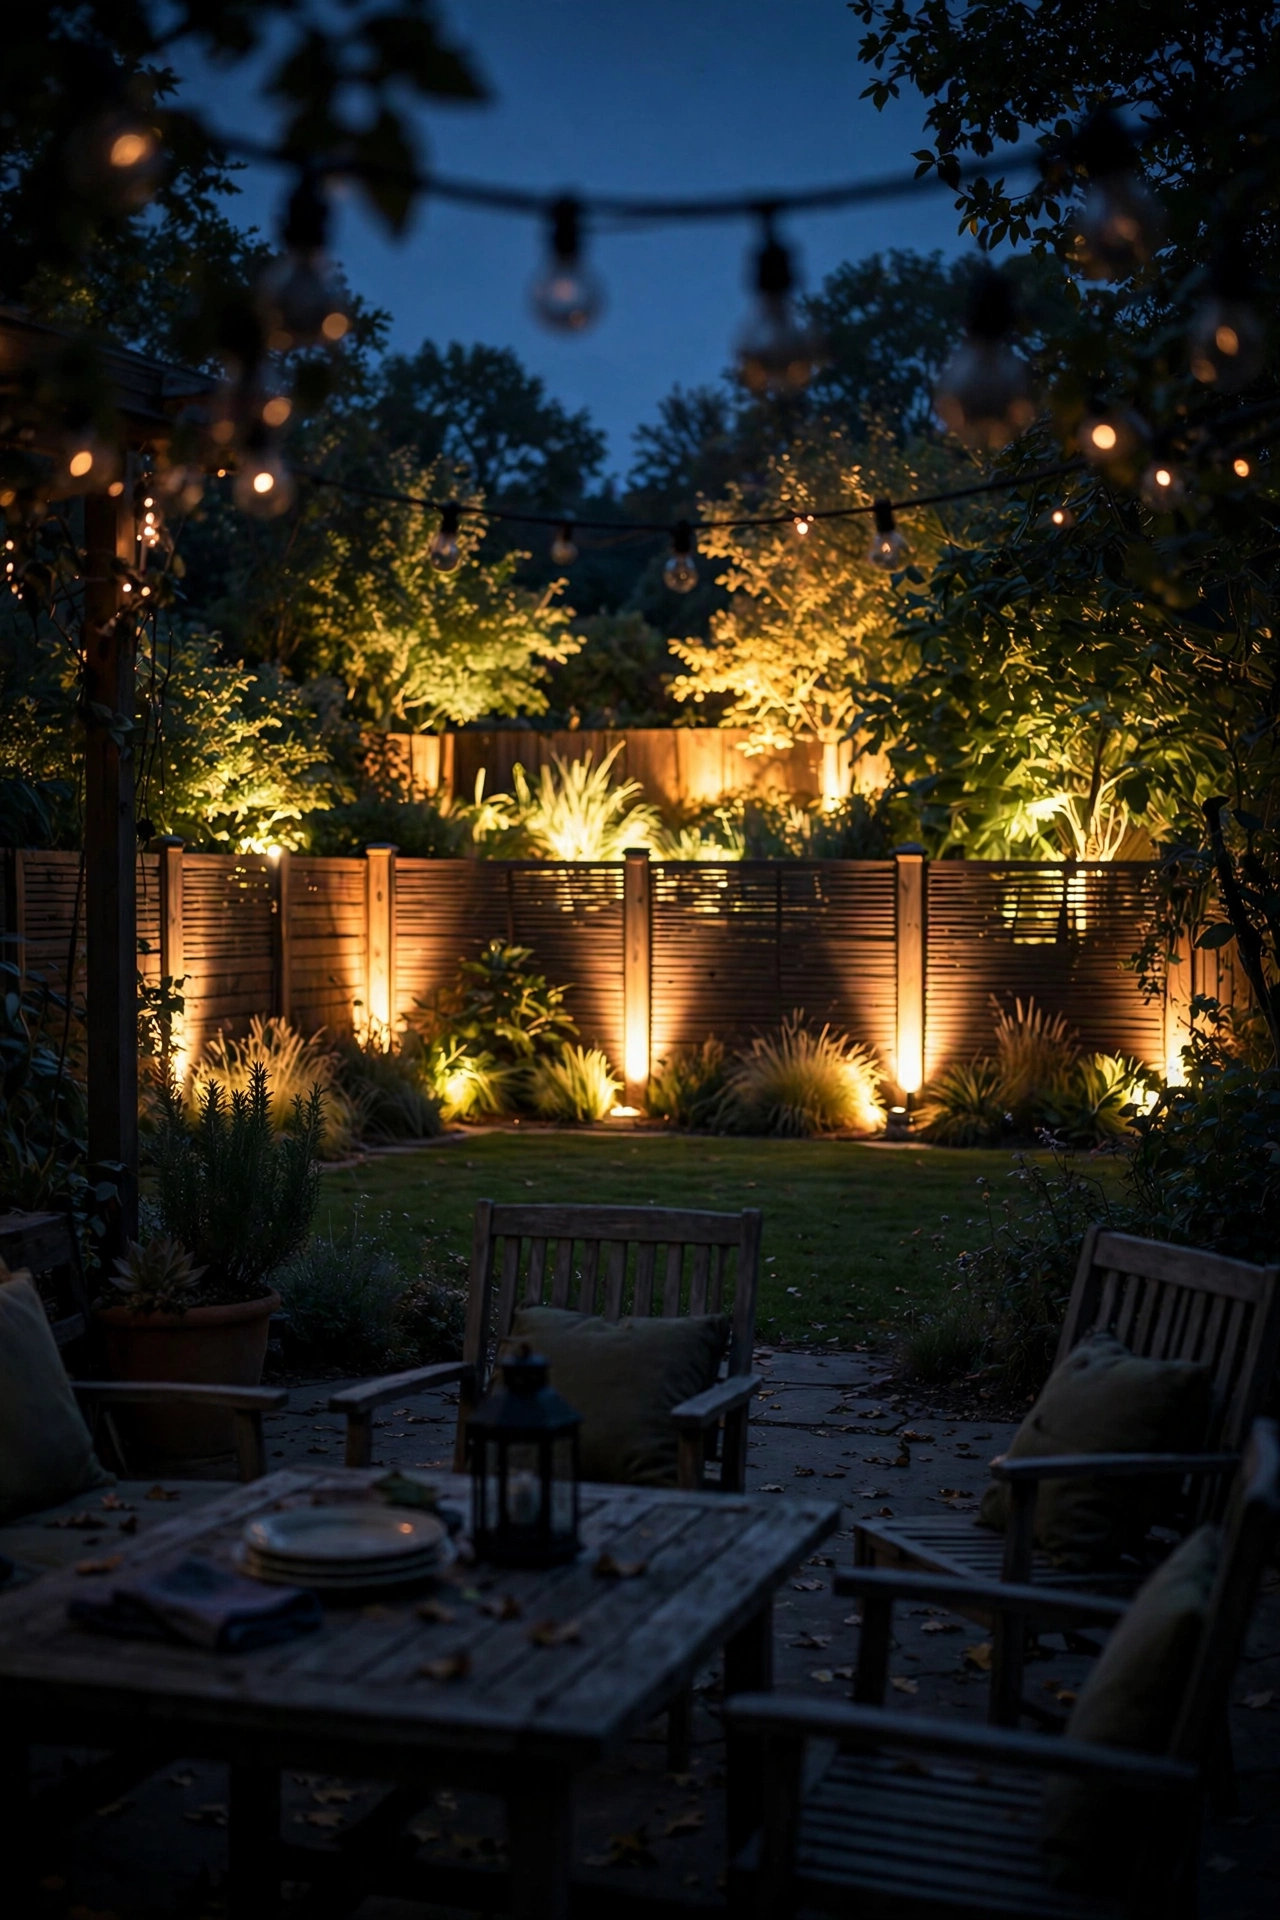
4. Wash the Fence Line With Low Fixtures
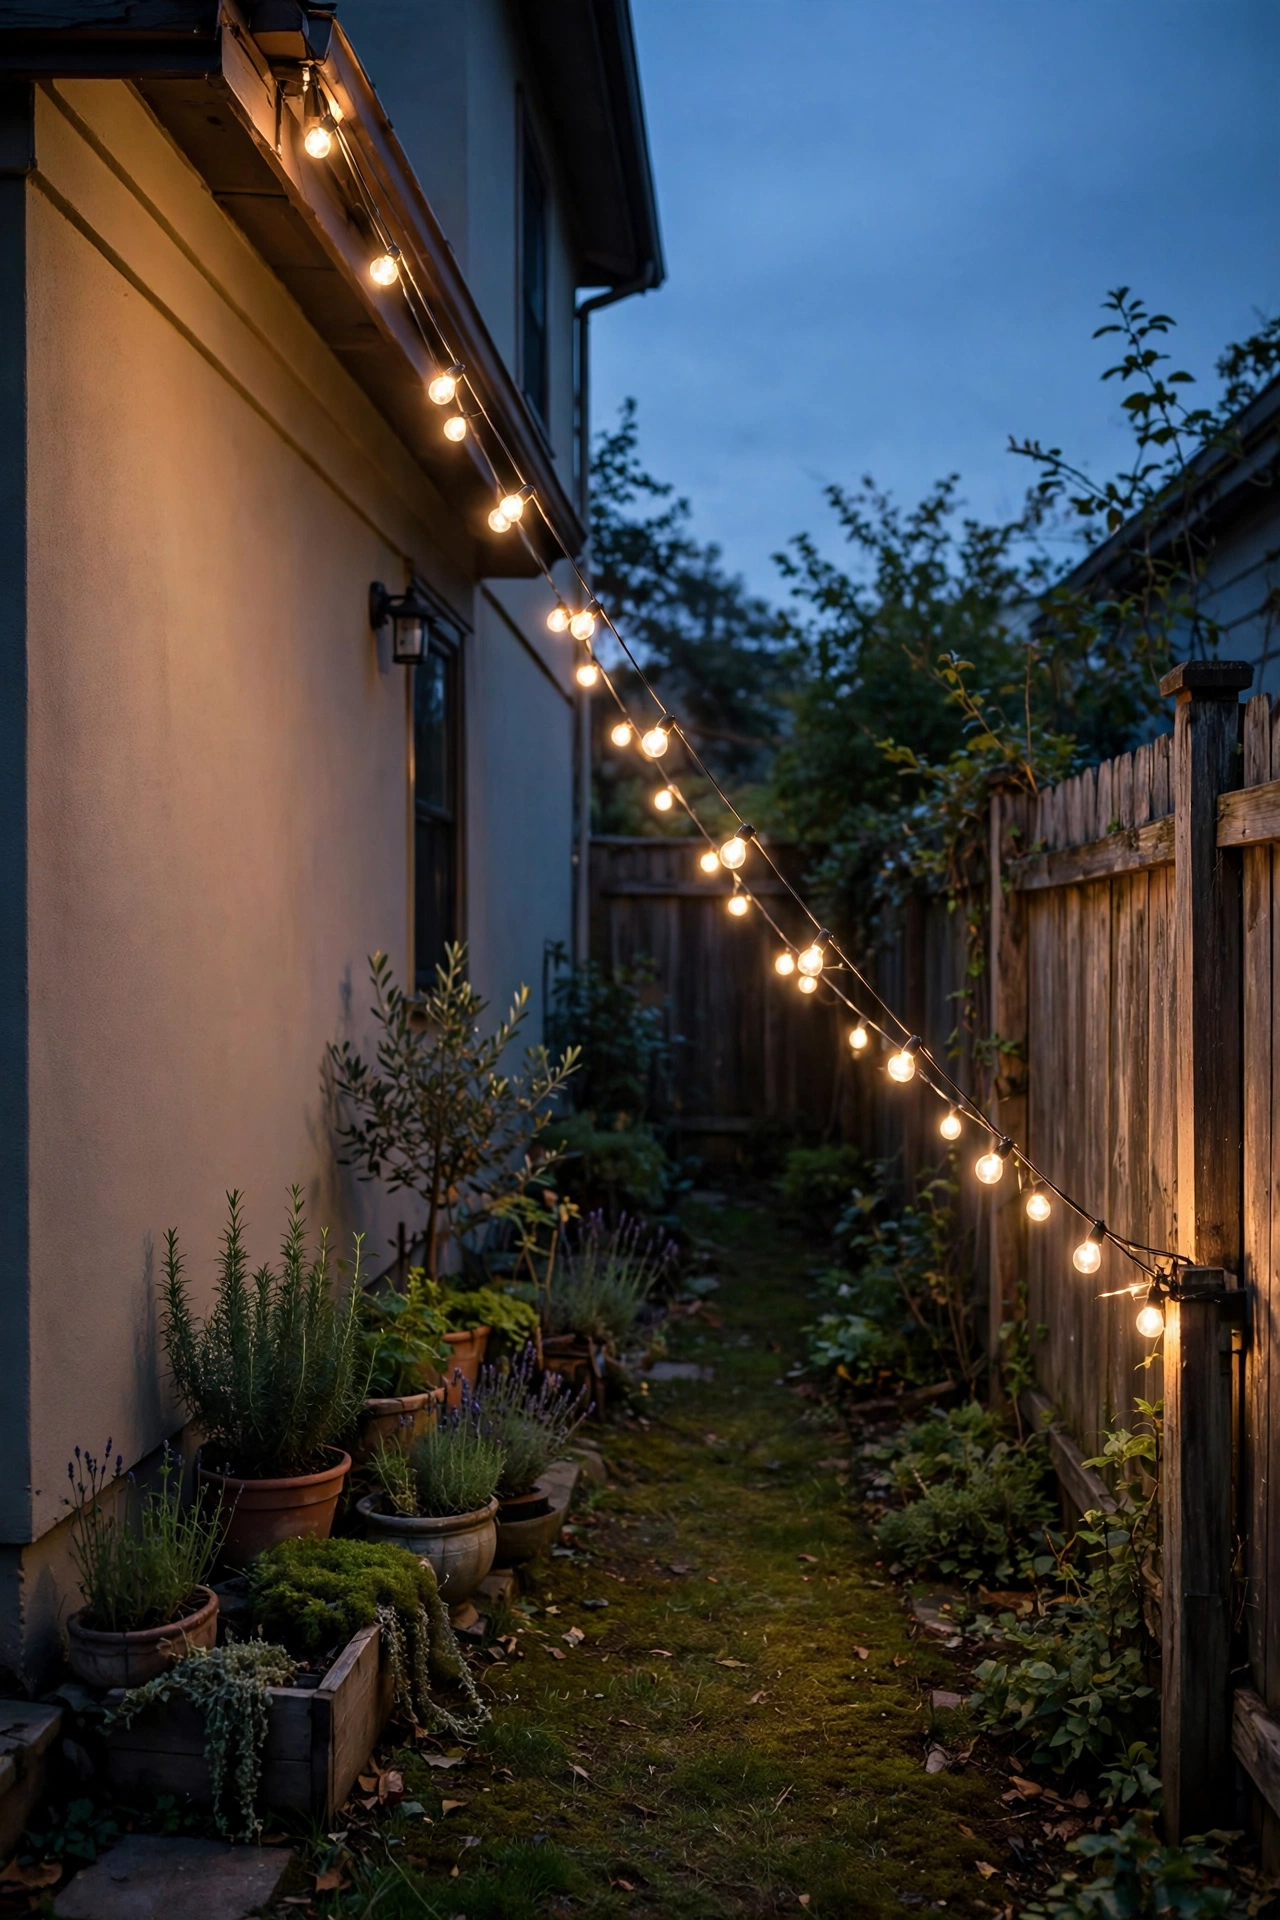
A visible fence is a yard's "you are here" boundary — light it, and the boundary softens into background. Place low-voltage wash lights or small flood fixtures 2 to 3 feet out from the fence, spaced 6 to 8 feet apart, aimed up and slightly outward at the fence boards. The grazing light catches the texture of the wood and turns a plain fence into a warm glowing backdrop. In my experience, this adds more perceived depth than any other single fixture because it redefines the yard's back wall as atmosphere instead of a barrier.
Use wide-beam (60-degree) LED fixtures at 2700K here — narrow beams create hot spots and harsh scallops that look cheap. Dim them if you can; the fence wash should be a whisper, not a shout, roughly half the brightness of your patio lighting. Check that your transformer has enough wattage: add up fixture wattages and keep total load under 80 percent of the transformer's rating. And honestly? If your fence is weathered gray, this trick is even more dramatic — the texture practically glows.
Suggested budget range: $60 – $150.

5. Fake Moonlight From One Tree
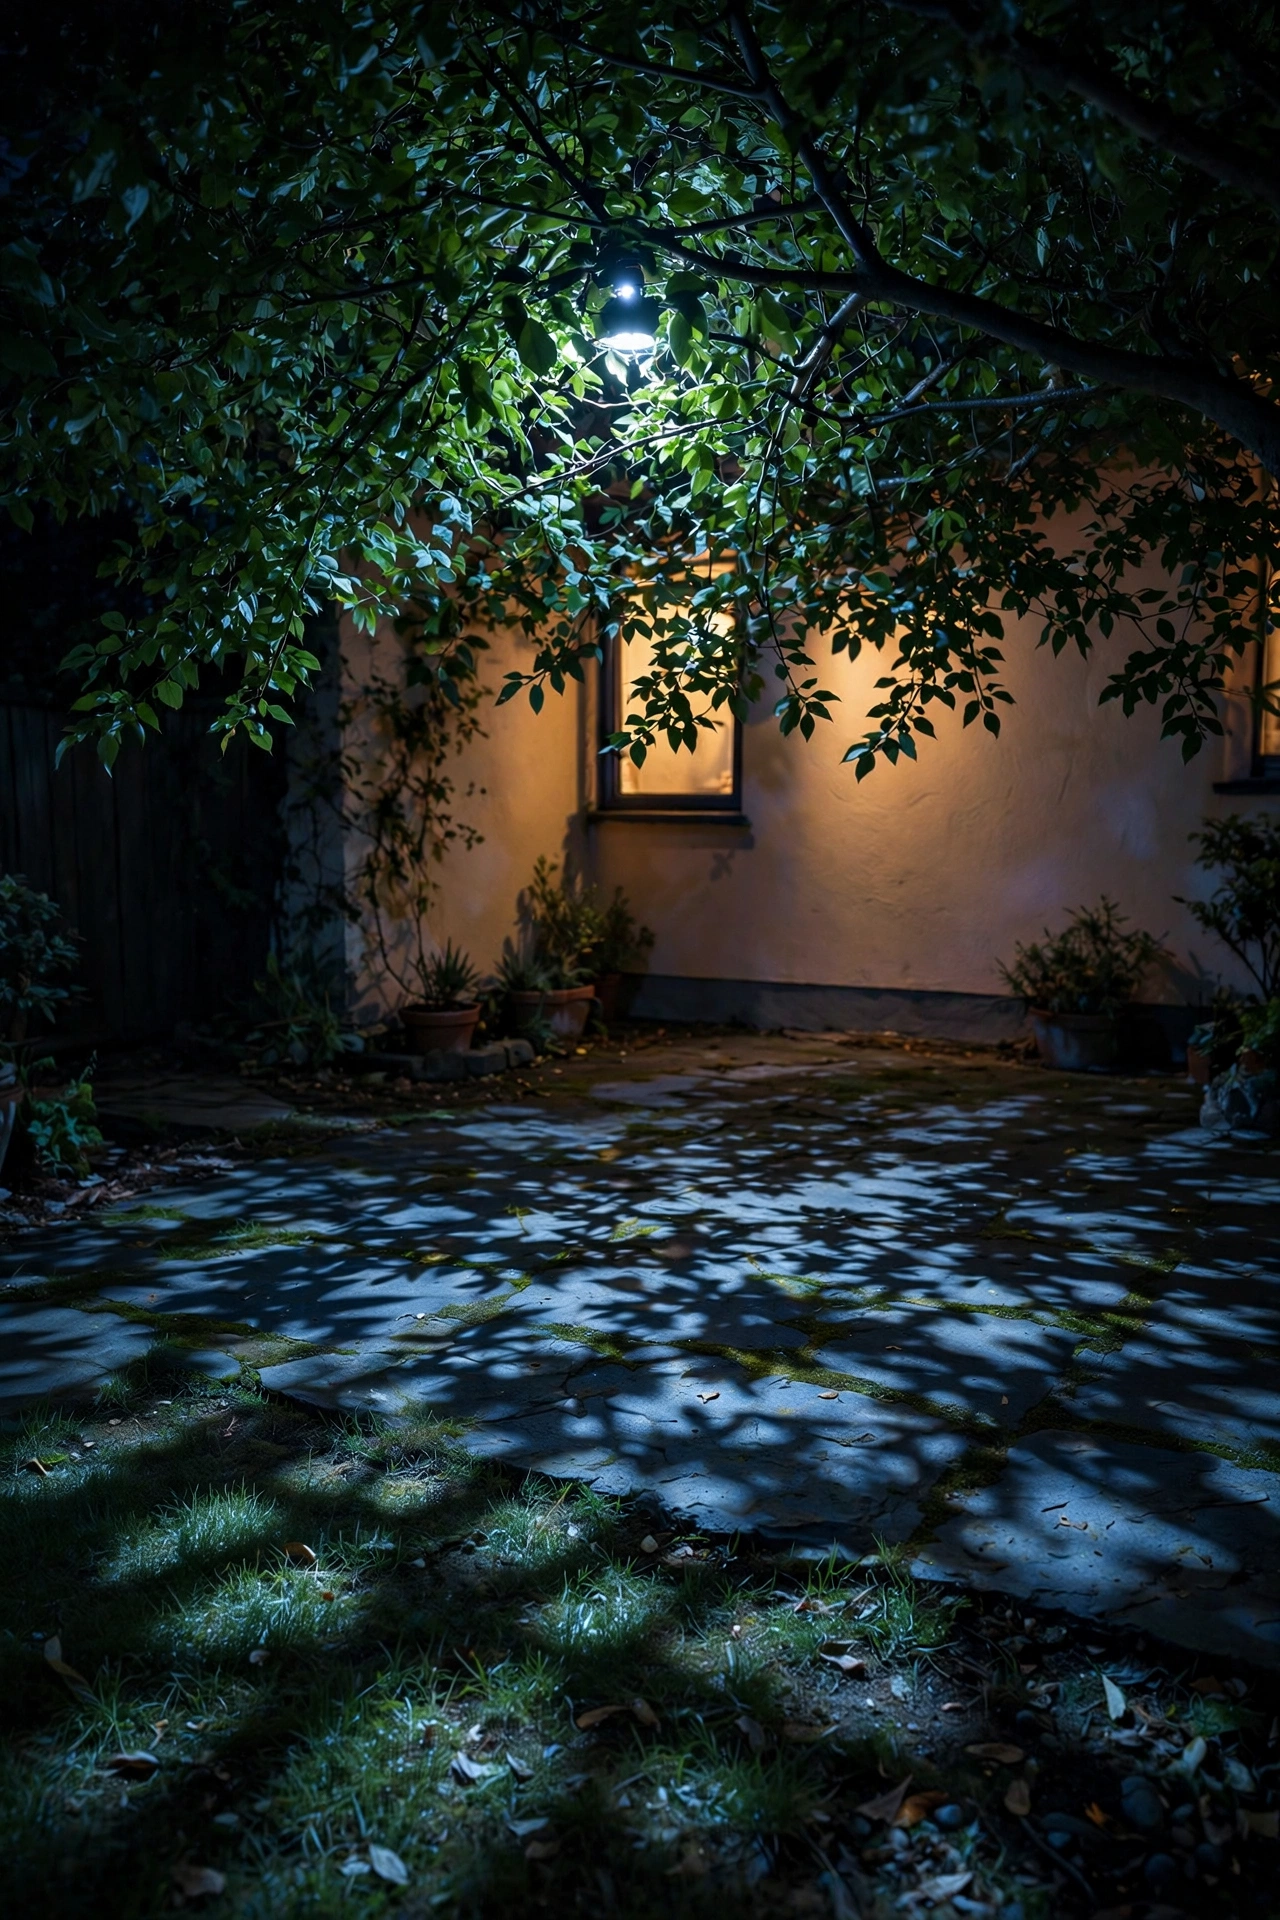
You don't need a forest — one small tree with a single downlight creates the illusion of moonlight and makes a tiny yard feel like part of a much bigger landscape. Mount a directional LED fixture on the trunk 10 to 12 feet up (use a tree-mount strap, never screws, so the tree can grow), aimed down through the branches at about a 45-degree angle. The dappled light through leaves creates moving shadows that read as depth and life.
Choose a cool-white 4000K to 5000K bulb here — moonlight is cool, and the slight color contrast with your warm 2700K patio lights is what makes the scene feel layered and expensive. A 35-degree beam keeps the pool of light intimate, roughly 8 to 10 feet wide at ground level. If you don't have a tree, a tall shepherd's hook with an outdoor-rated fixture can fake it over a seating area. Make sure the fixture housing is rated for wet locations and the cable is tucked along the back of the trunk, out of the mower's path.
Suggested budget range: $40 – $100.
6. Backlight Plants for Silhouettes
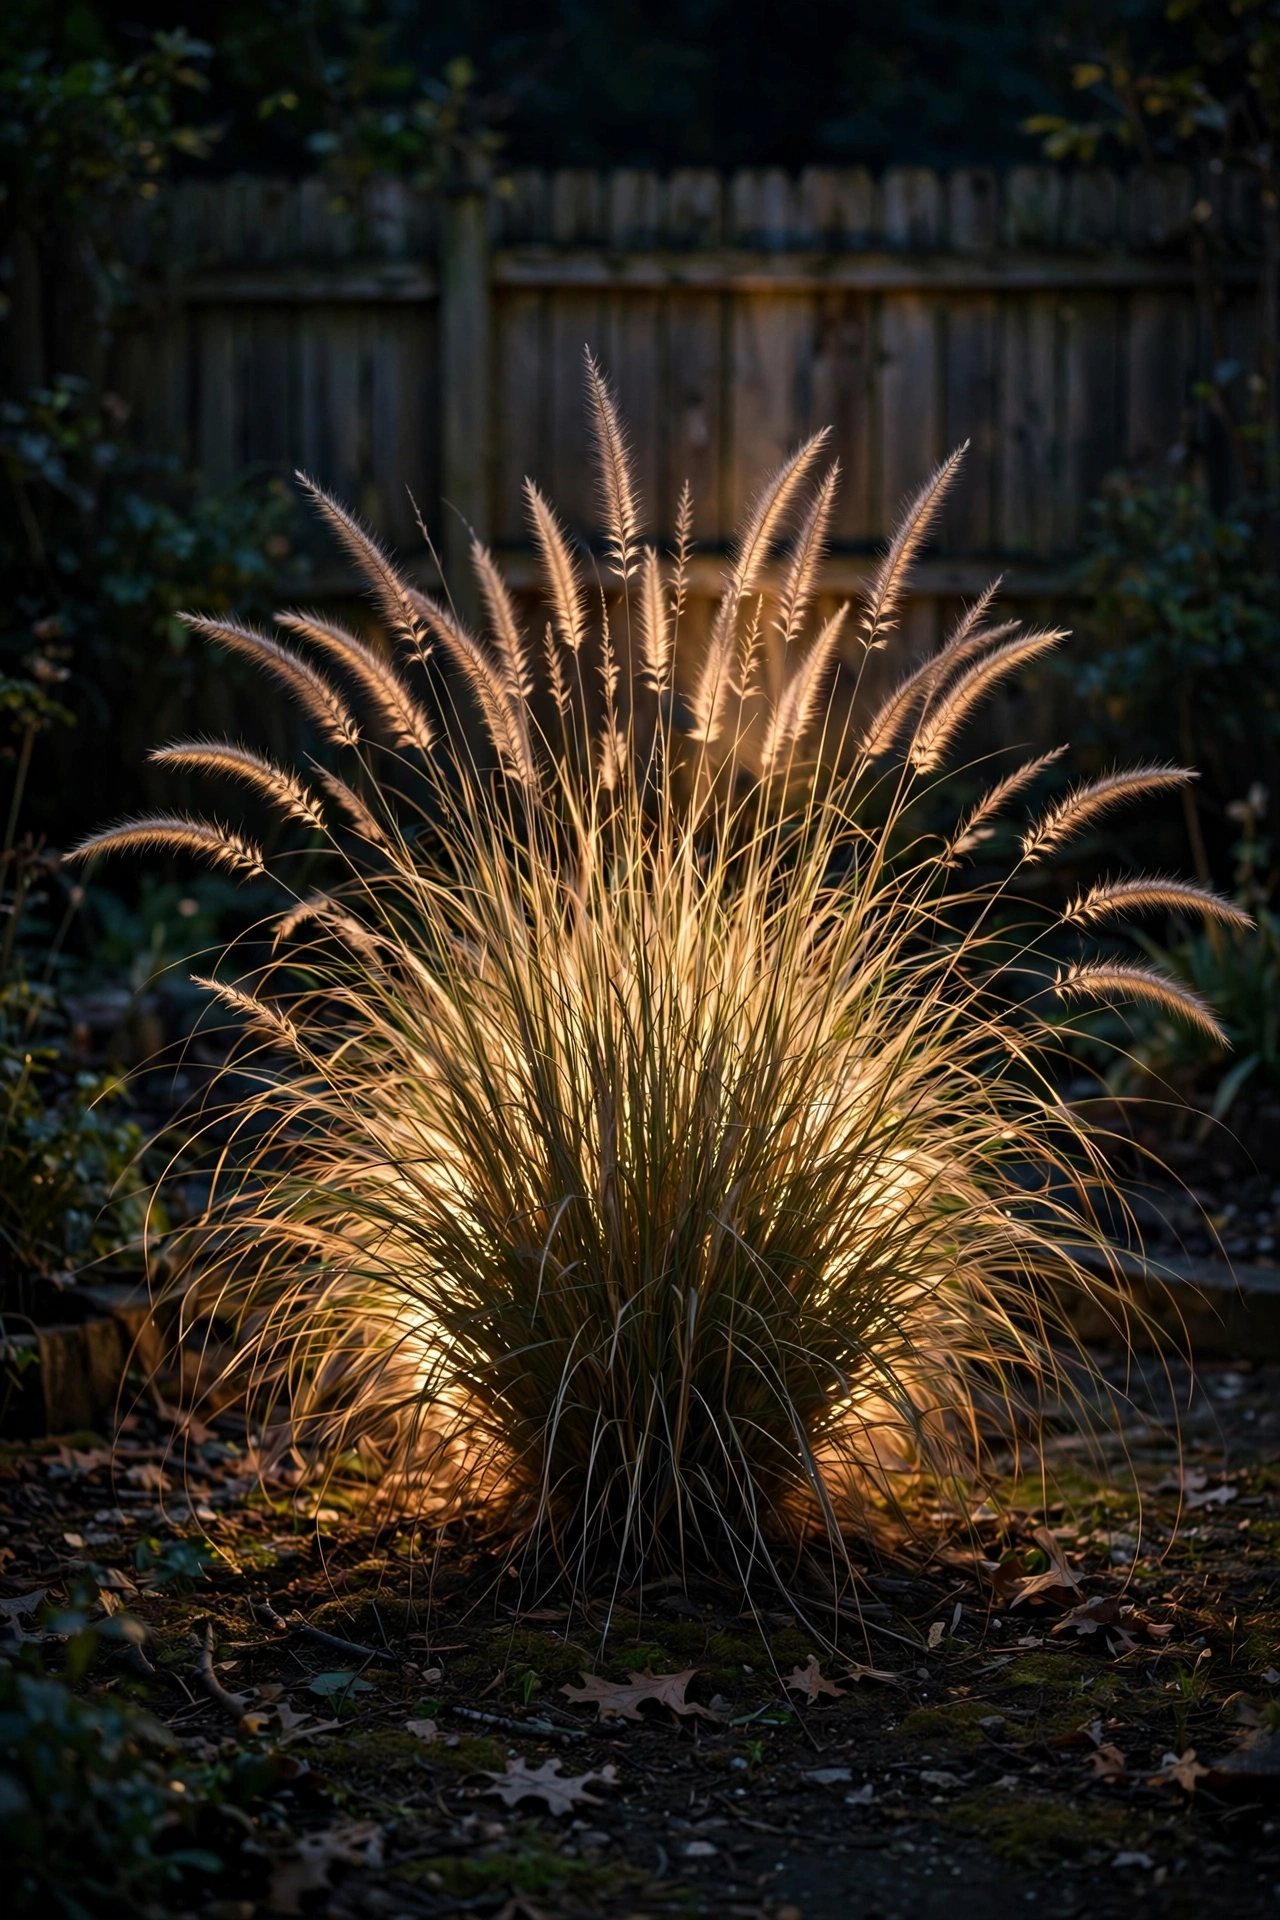
Front-lit plants look flat; backlit plants look like art — and art makes a space feel curated, which makes it feel bigger. Place a small uplight 12 to 18 inches behind an ornamental grass, a sculptural shrub, or a potted agave, aimed up through the foliage. From the patio, you see a glowing silhouette haloed against the dark, and your eye reads layers of depth where there was just a bush. In my experience, grasses with fine blades (fountain grass, miscanthus) are the show-offs of this technique.
Keep the fixture hidden behind the plant so the light source itself is invisible — the magic dies if you can see the bulb. A low-output LED (around 100 to 200 lumens) is plenty; you're painting with light, not interrogating the plant. This pairs beautifully with the fence-wash trick from idea 4, giving you foreground silhouettes against a glowing background. Watch the beam angle so you're not blasting light straight into a neighbor's bedroom window — aim slightly downward-away if the fence is shared.
Suggested budget range: $25 – $70.
7. Pull Path Lights to the Edges
In a small yard, a path down the middle chops the space in half and spotlights how little room there is. Instead, pull your path lights to the edges of the walkway — or better yet, skip the middle path entirely and light the yard's perimeter path. Space low-voltage path lights 6 to 8 feet apart, staggered on alternating sides of the walk, with the heads 18 to 22 inches tall. Staggering creates a zigzag rhythm that leads the eye on a journey, and a journey feels longer than a straight shot.
Use warm-white 2700K LED path lights with hooded tops so the light pools downward (no glare in anyone's eyes) and roughly 100 lumens each — you want gentle pools of light, not runway markers. For more on picking the right fixtures and spacing, my walkthrough of low voltage path lights covers the full how-to. Bury the cable 3 to 4 inches deep or tuck it under mulch, and keep connections inside the fixtures' weatherproof housings. Solar path lights work here too, but in my experience wired low-voltage gives you consistent brightness all night instead of fading by midnight.
Suggested budget range: $50 – $130.
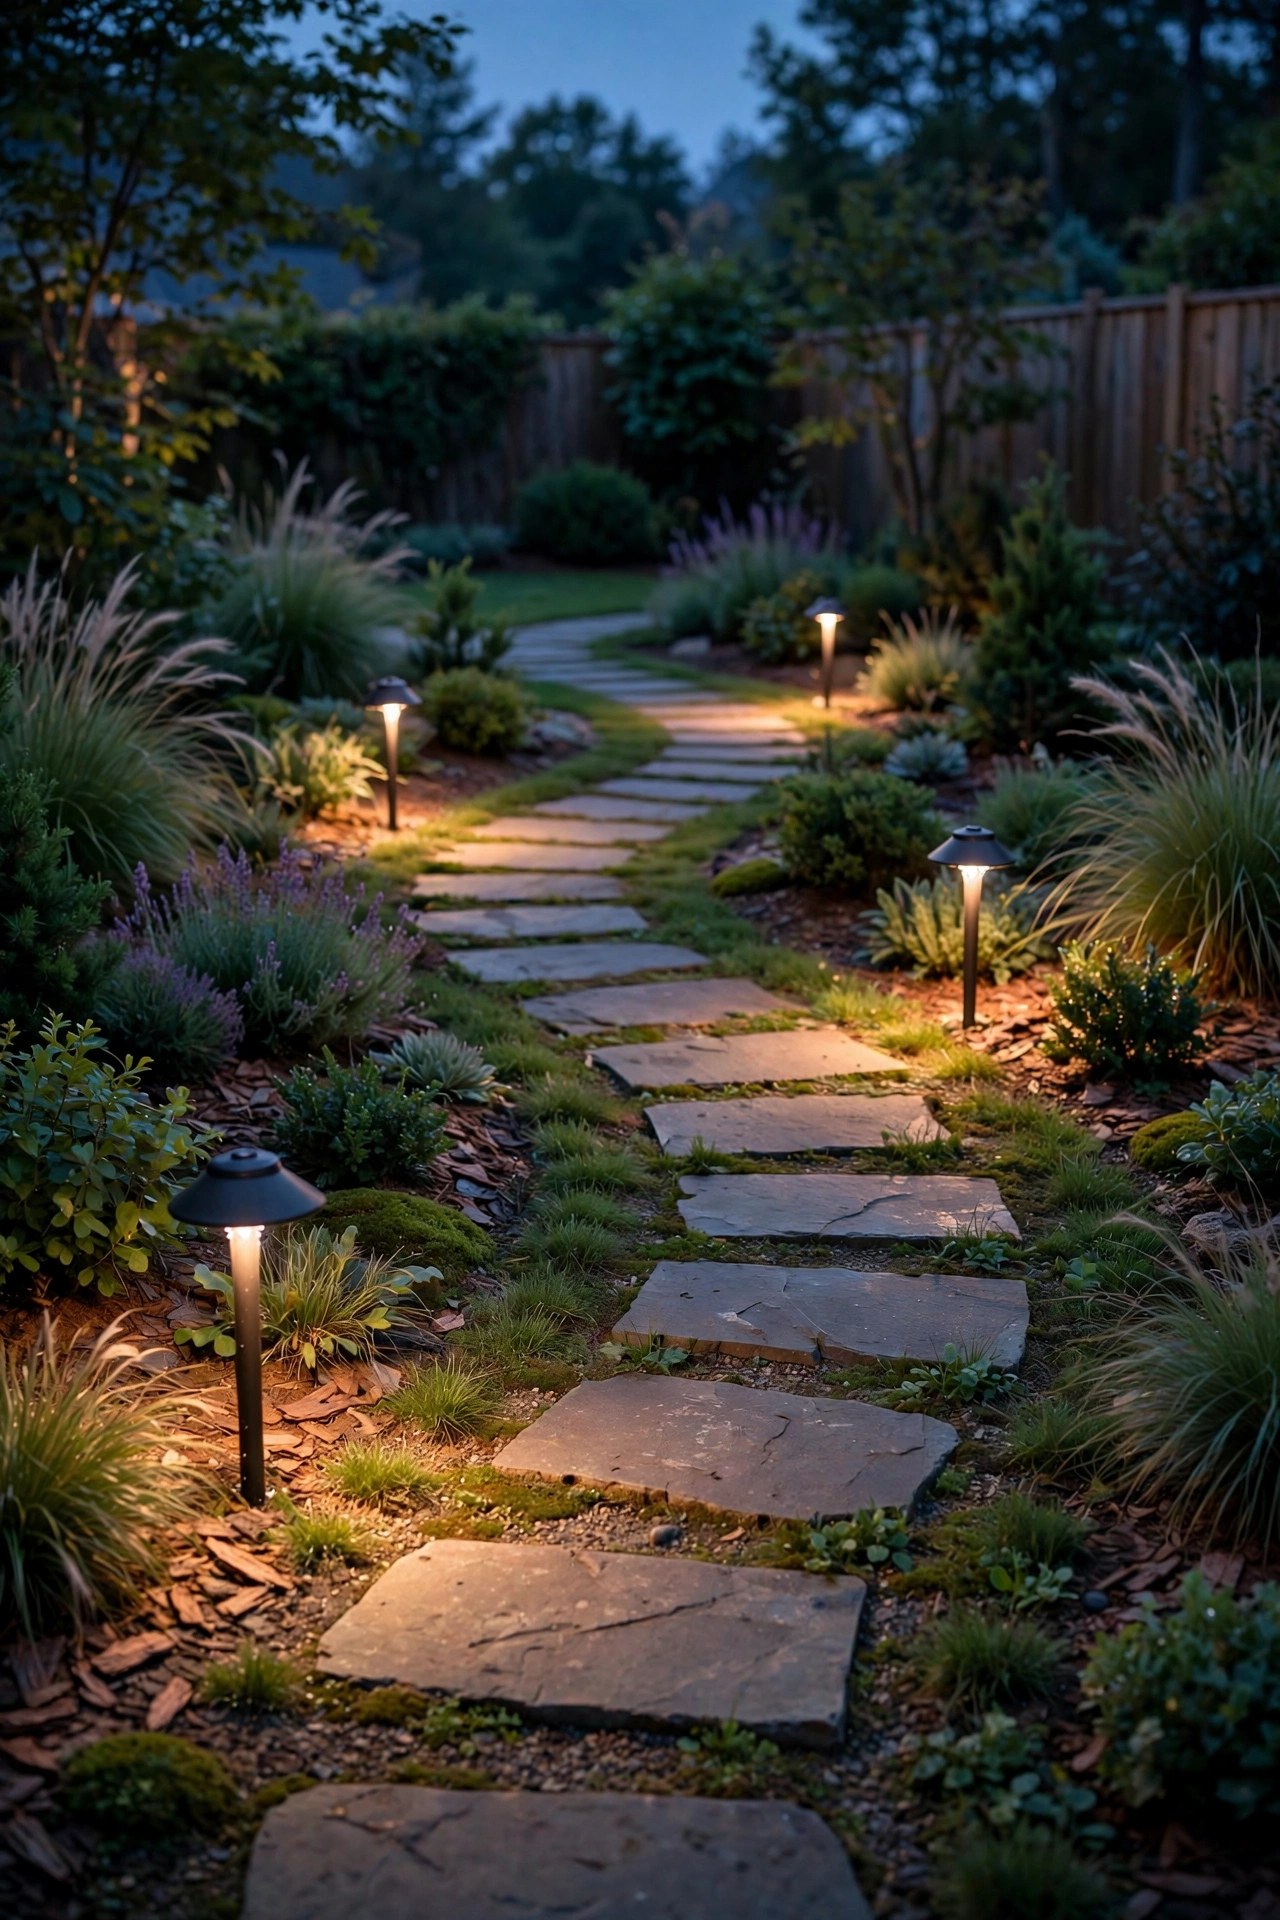
8. Let a Water Feature Double Your Light
Water is a mirror, and a mirror doubles light — it's the oldest small-space trick in the book, indoors and out. Even a tiny tabletop fountain or a 2-foot container pond with a submerged LED light creates dancing reflections that multiply your lighting and mesmerize the eye. A submersible warm-white LED (2700K, around 100 lumens) placed under the water's surface turns the whole feature into a glowing jewel box after dark.
Place the feature where it can catch and reflect your other lights — near the string lights or opposite the fence wash — so it bounces the whole scene back at you. Keep the light fully submerged and the cord routed out the back of the container, plugged into a GFCI-protected outdoor outlet (non-negotiable around water and electricity). In my experience, the reflection trick works best when the surrounding area is relatively dark — one glowing water feature against shadow reads as pure luxury. Top off the water weekly in summer; a low waterline exposes the light and ruins the effect.
Suggested budget range: $40 – $110.
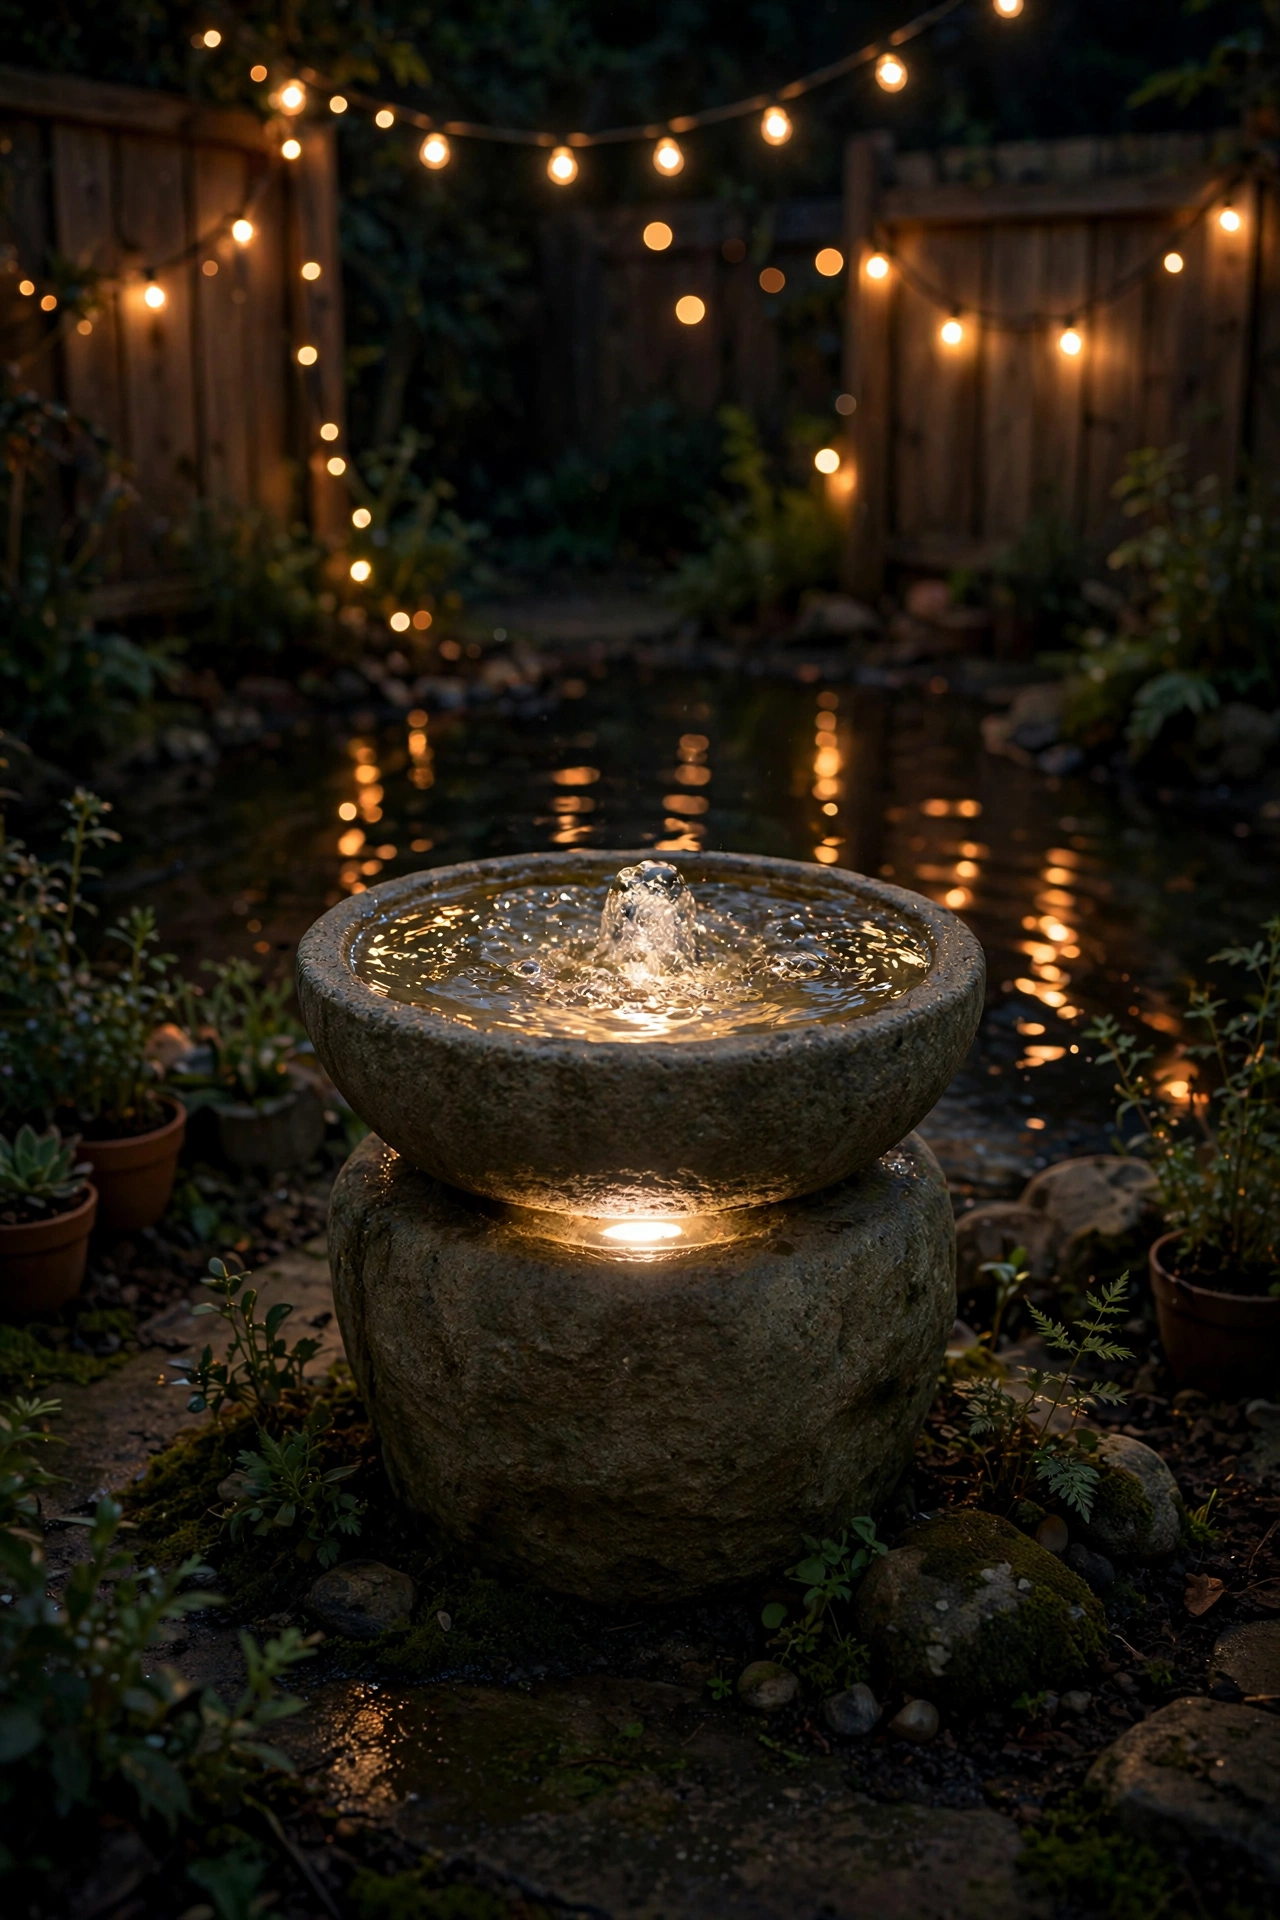
9. Wall-Mounted Small Yard Lighting Ideas Beat Floor Fixtures
Here's a rule I wish someone had told me sooner: every fixture sitting on the ground in a small yard eats visual real estate. Wall-mounted fixtures free up the floor and lift the light to eye level, where it actually flatters people and plants. Swap freestanding torches or stake lights near the house for wall lanterns, sconces, or even string-light mounting brackets — anything that gets the hardware off the ground plane.
Mount sconces 5 to 6 feet high, flanking doors or spaced 8 to 10 feet apart along a wall, with the light aimed down for a cozy pool or up-and-down for drama. For inspiration on styles that work in tight spaces, browse these outdoor wall lantern ideas — slim profiles are your friend when inches matter. Keep the total lumens modest (300 to 600 per fixture near seating) so the wall glows instead of glaring. And check the fixture's wet-location rating if it's fully exposed; damp-rated is fine only under a real overhang.
Suggested budget range: $60 – $160.
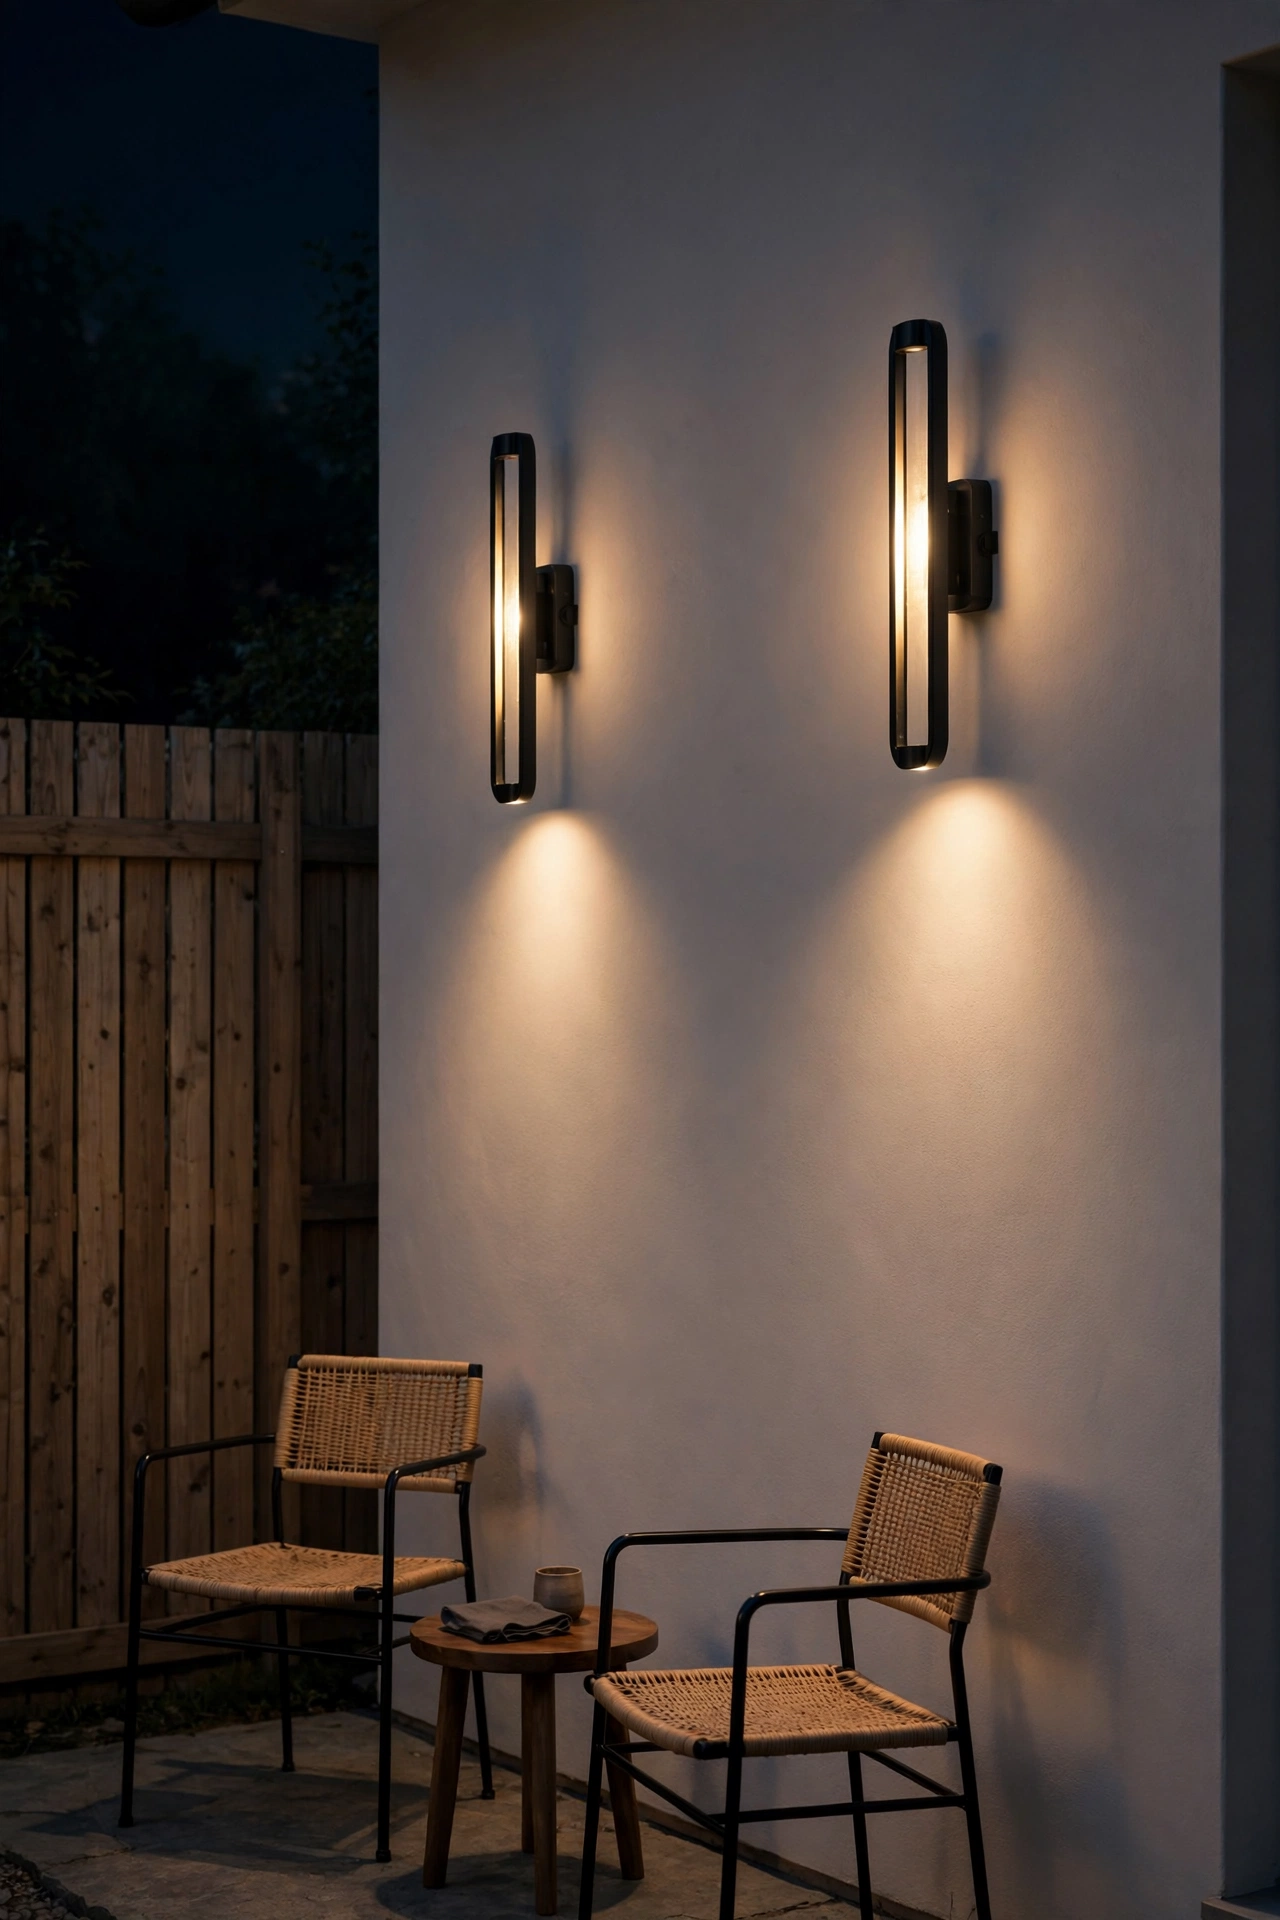
10. Cluster Solar Stakes Instead of Spreading Them
The classic small-yard mistake: buying a 10-pack of solar path lights and dotting them evenly around the yard like a runway. Even spacing in a small space looks sparse and, honestly, a little sad. Instead, cluster three to five solar stakes tightly in one planting bed — 12 to 18 inches apart — to create one rich pool of light with real presence. One confident cluster reads as a designed moment; ten lonely soldiers read as an afterthought.
Choose solar fixtures with warm-white LEDs (2700K, not the icy blue cheap ones) and look for a listed lumen output of at least 50 per light. Give them a full sunny day to charge and wipe the panels monthly — dust cuts charging efficiency fast. This is the trick for renters and commitment-phobes: no wiring, no transformer, and you can rearrange the cluster in five minutes. Just don't mix cool-white and warm-white solar lights in the same sightline; the color clash screams "clearance aisle."
Suggested budget range: $25 – $60.
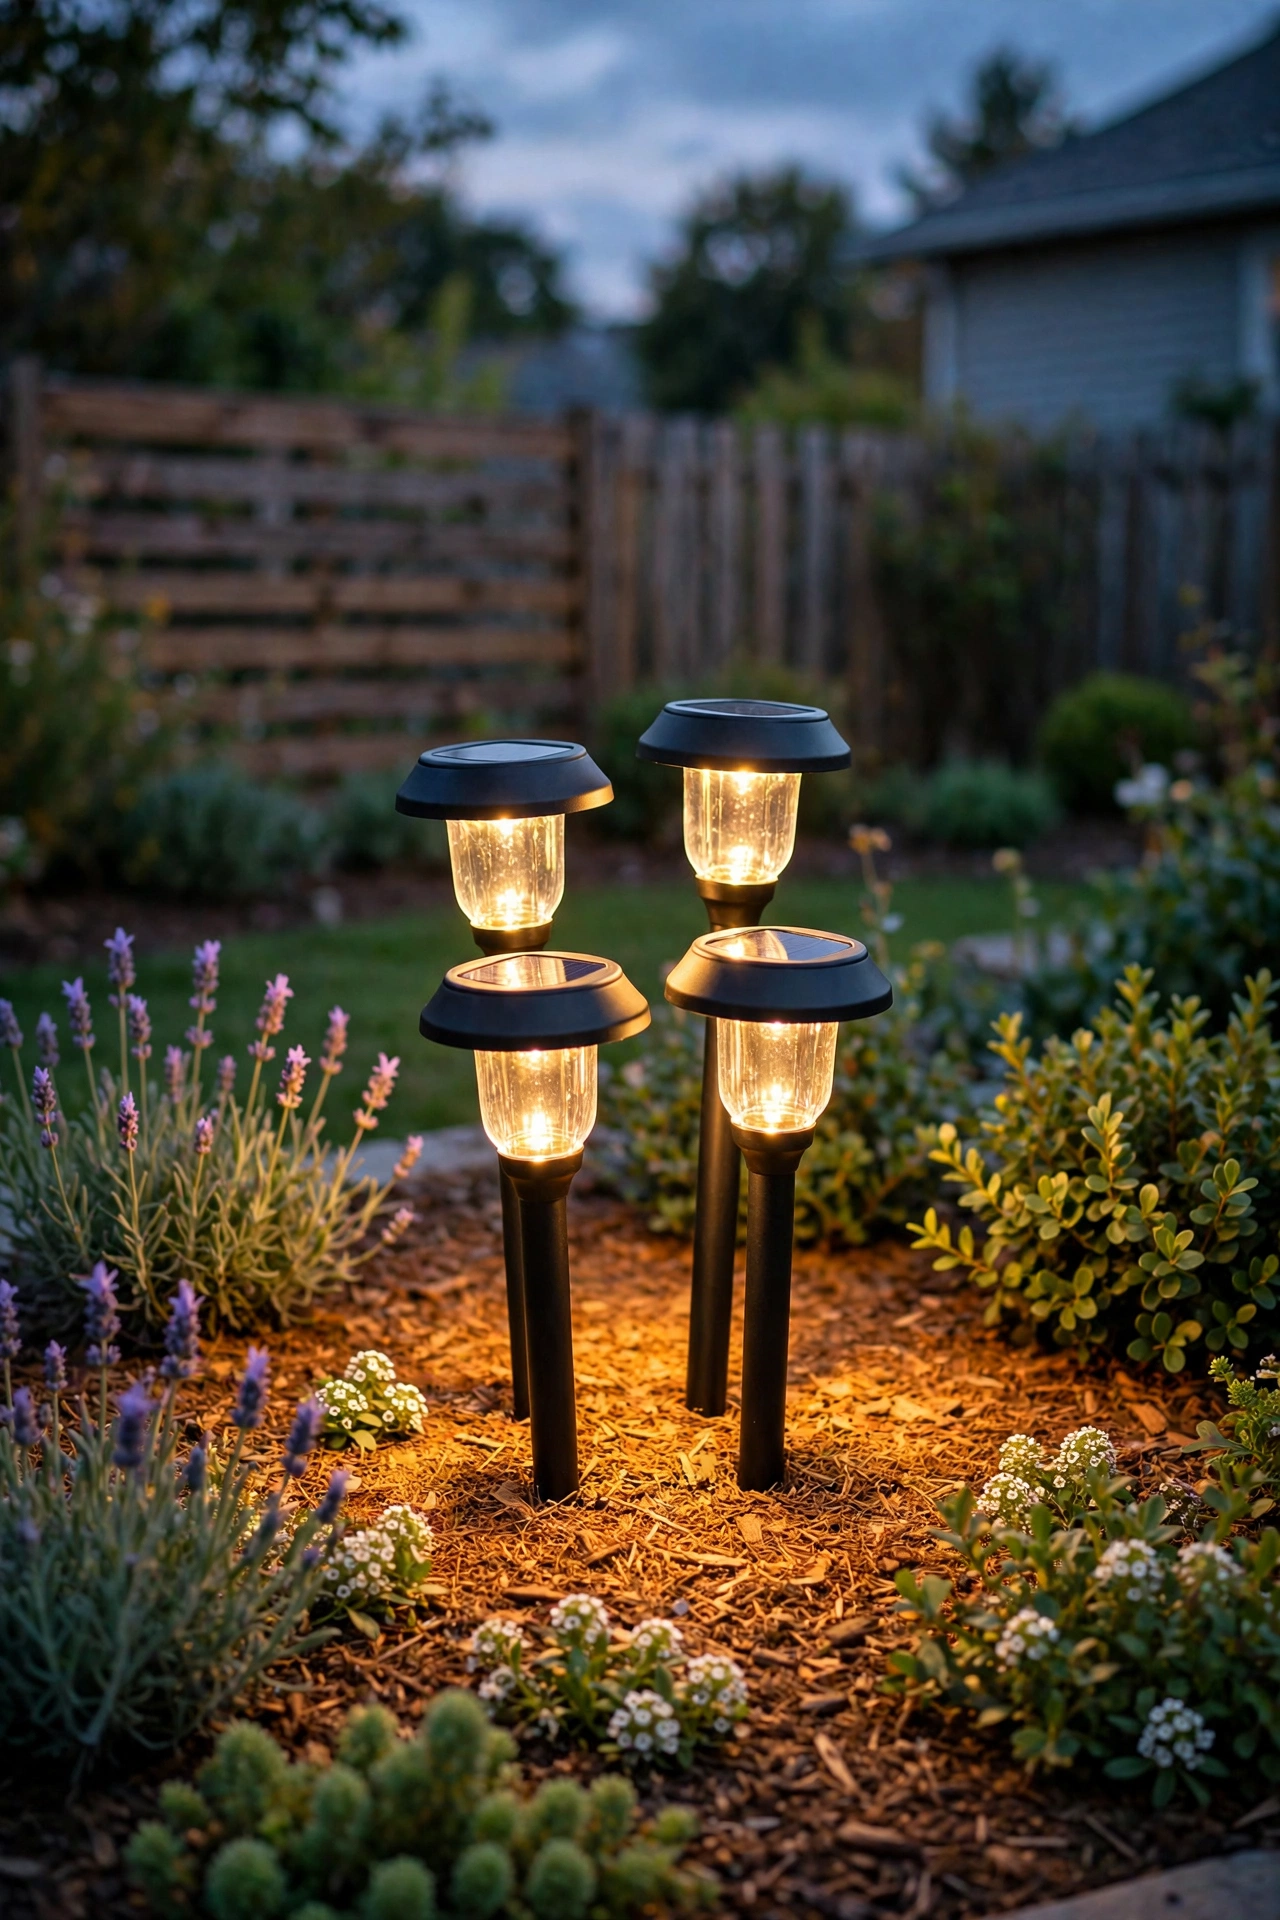
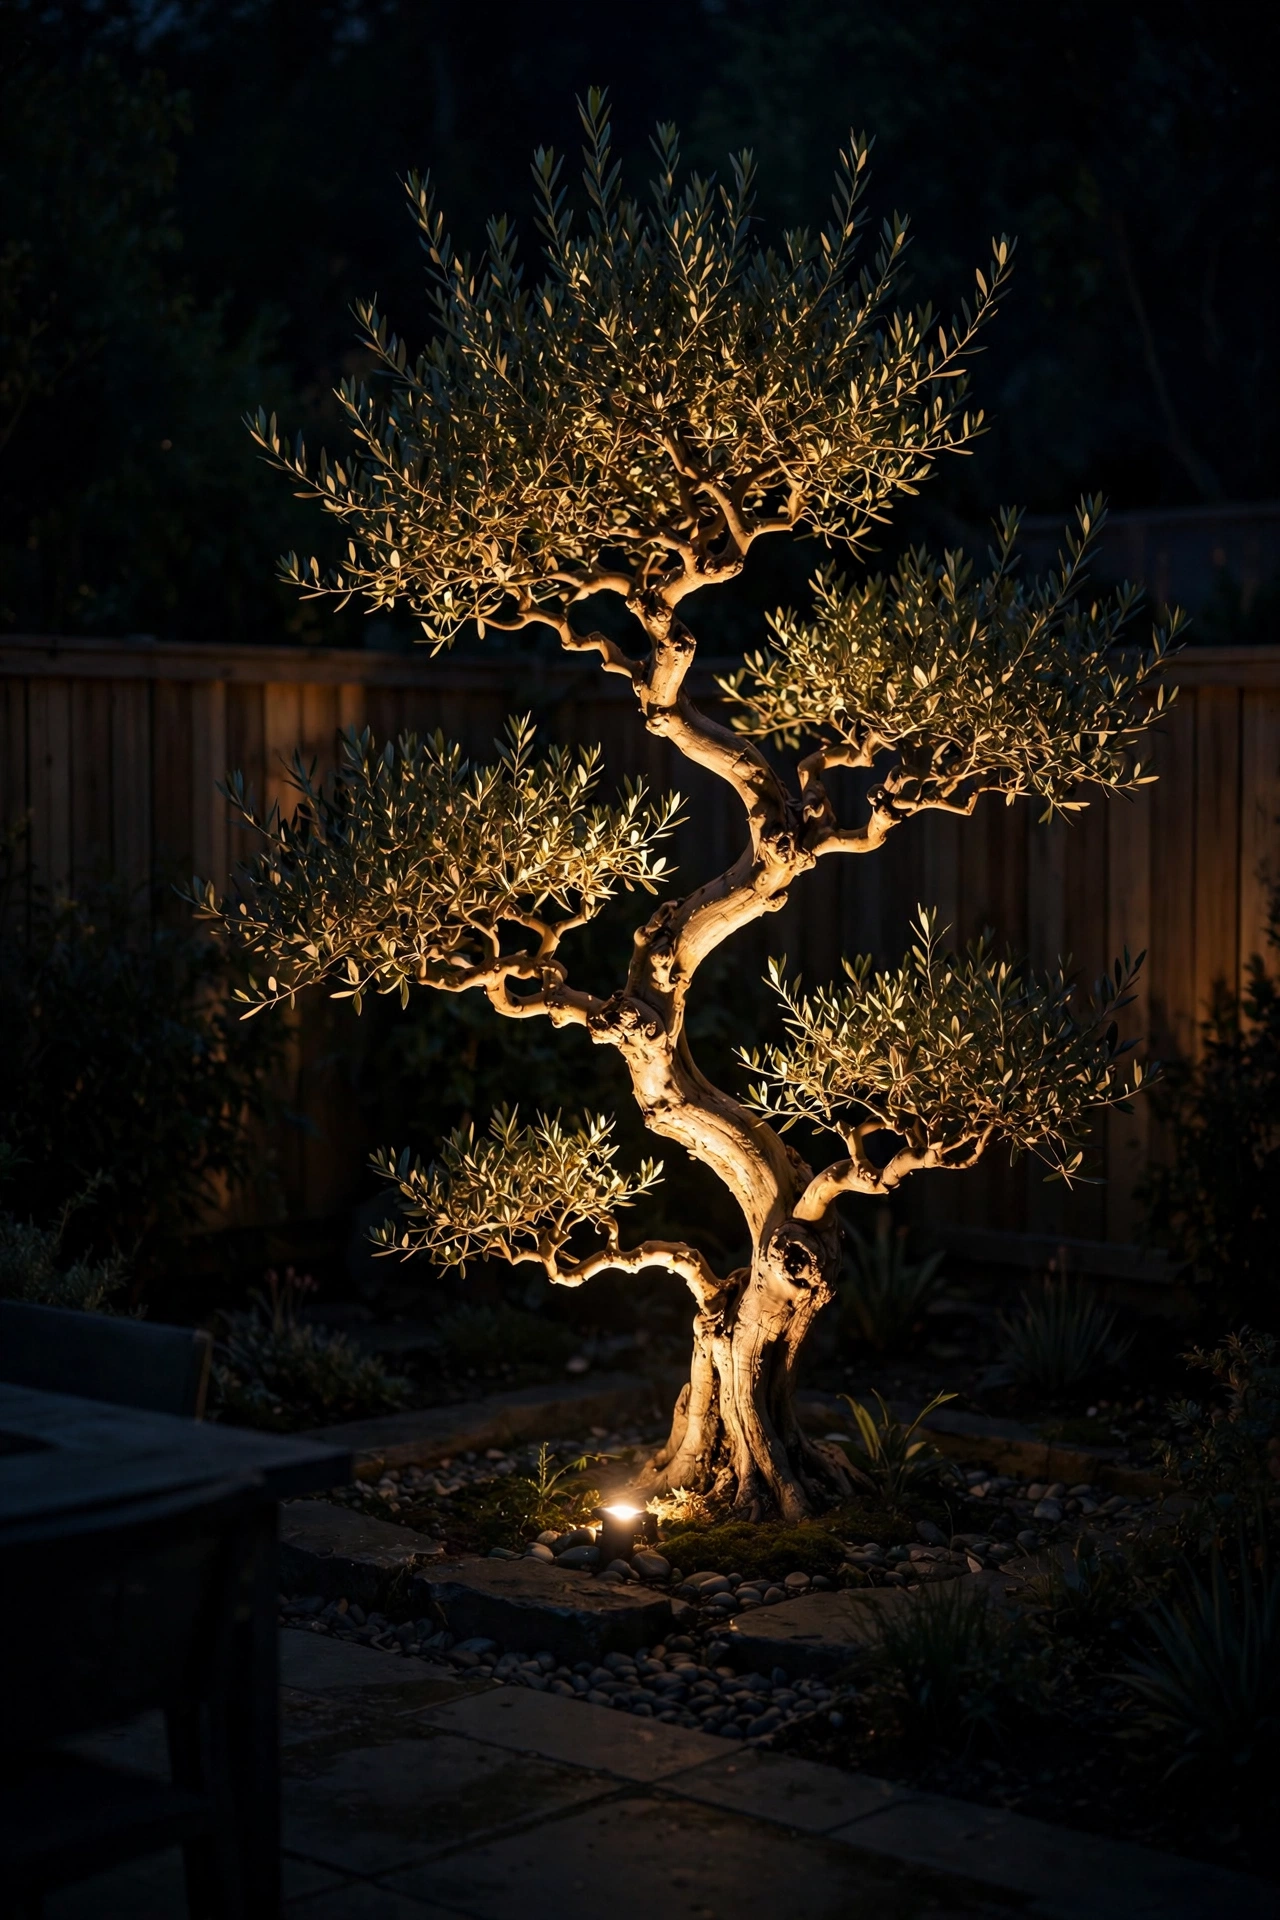
11. Spotlight One Hero Moment
Small yards can't have five focal points — but they absolutely should have one. Pick a single hero: a sculptural tree, a fountain, a beautiful gate, a piece of garden art. Then give it the star treatment with a dedicated spotlight, slightly brighter and more dramatic than everything else. When the eye has one clear destination, the yard feels composed and intentional, and composed spaces always feel bigger than cluttered ones.
Use a 35-to-60-degree LED spotlight at 2700K to 3000K, placed 3 to 5 feet from the hero and aimed to graze its best angle. The hero light should be the brightest single source in the yard — roughly double the output of your ambient fixtures. Everything else becomes supporting cast. I always recommend putting the hero on its own timer zone or smart plug so you can leave it glowing later into the evening while the party lighting winds down. Keep the fixture hidden behind a low plant so visitors see the effect, not the hardware.
Suggested budget range: $30 – $80.
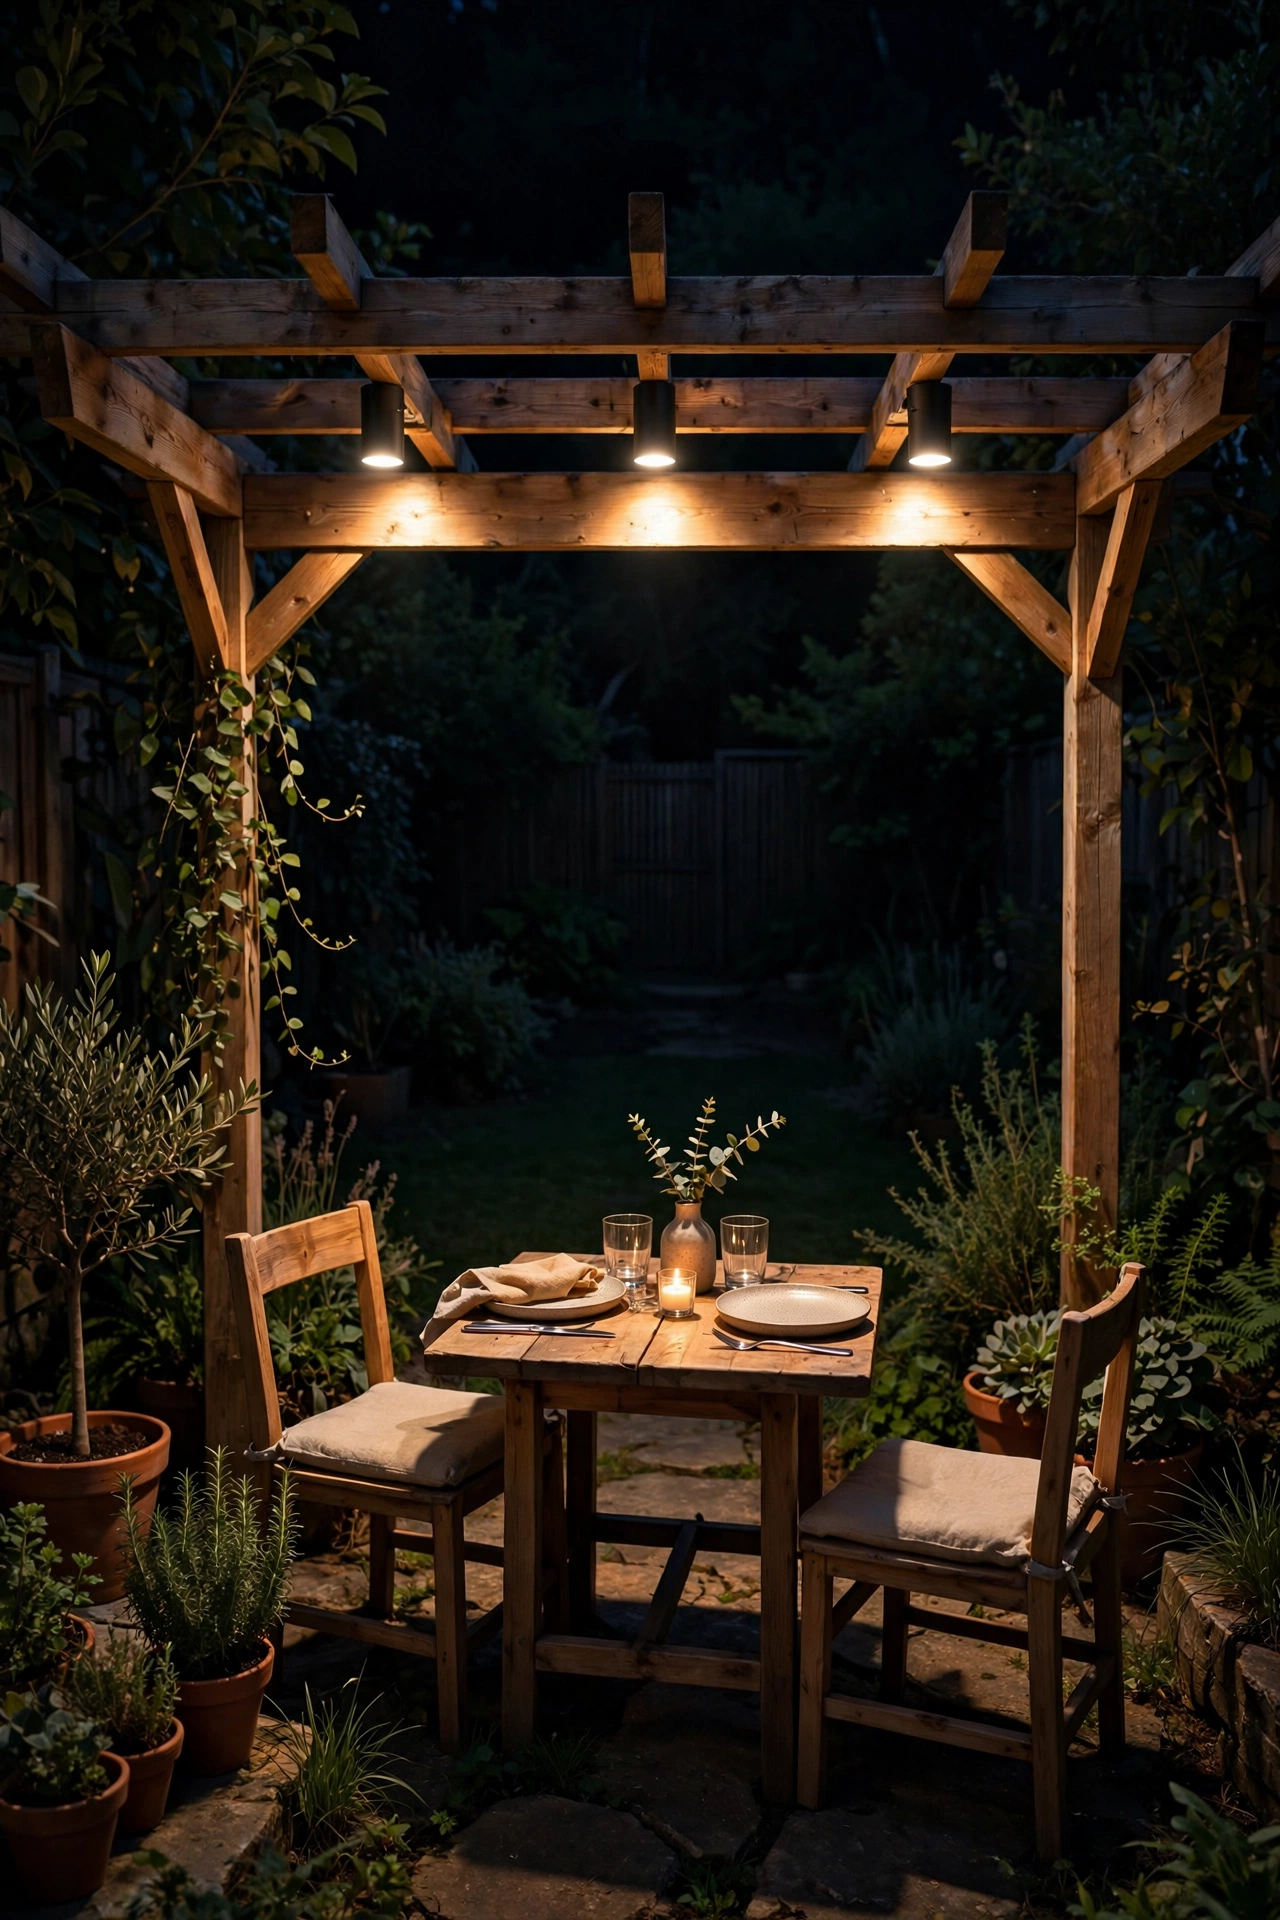
12. Downlight the Patio Cover for Usable Depth
If you have a pergola, patio cover, or even a big umbrella, you have free ceiling — and downlighting it turns your patio into a "room," which makes the yard beyond it feel like a second room. Mount small LED downlights or a weatherproof string-light run under the cover, spaced 4 to 6 feet apart, aimed straight down. The defined ceiling of light makes the seating area feel finished, and the darker yard beyond reads as additional depth by contrast.
Recessed-style puck lights in 2700K warm white are the cleanest look; clip-on string lights are the budget version and honestly just as charming. Keep the light level moderate — you want to see faces and food, not perform surgery. If the cover is wood, make sure any hardwired fixture is rated for the location and installed on a GFCI circuit; LED-only near any fabric shade sails or curtains, since LEDs run cool enough to be safe near textiles. Put the patio-cover lights on a dimmer or smart plug so you can drop them low once dinner's over.
Suggested budget range: $50 – $140.
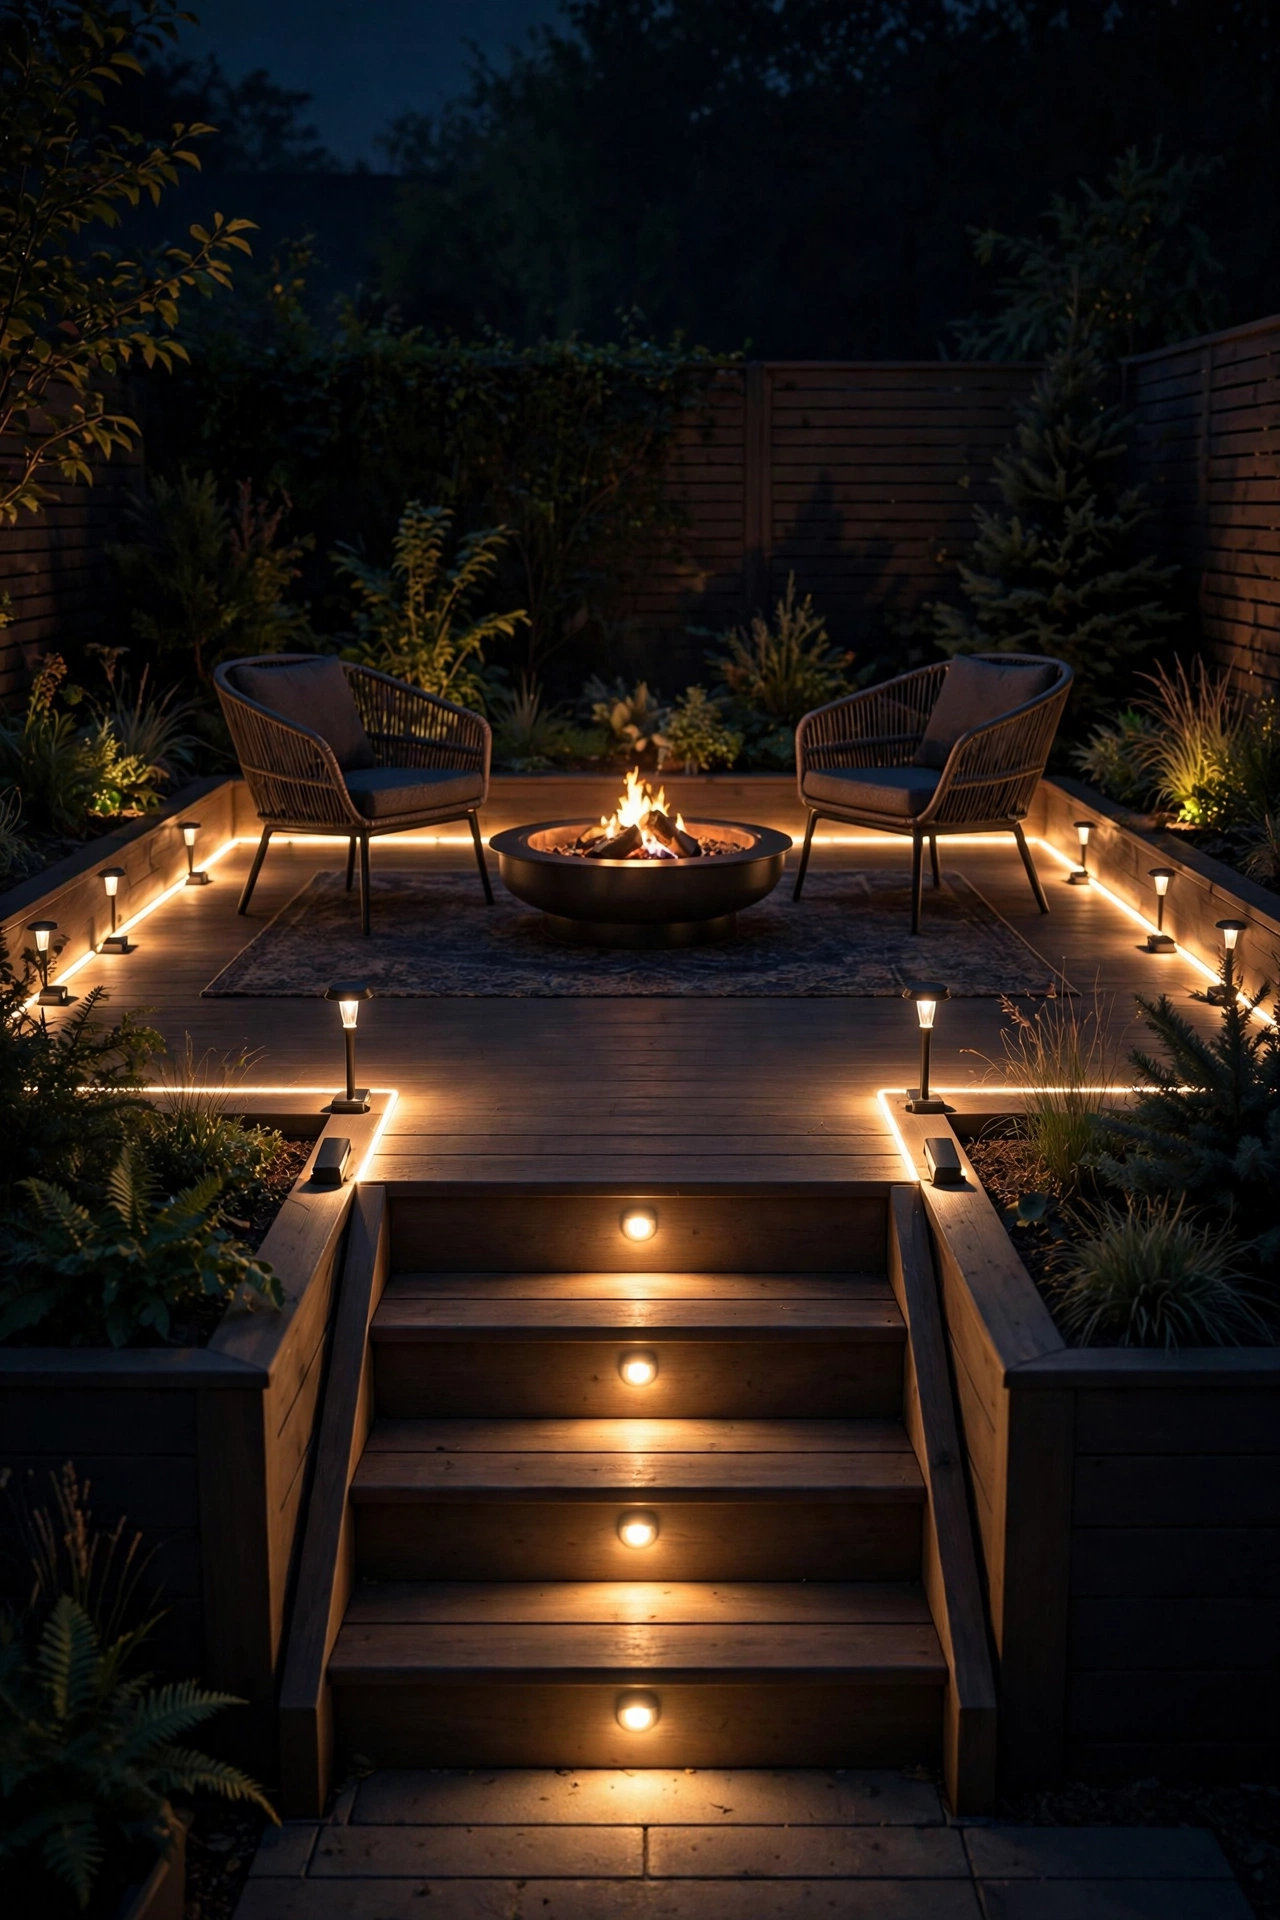
13. Define the Seating Zone With Low Deck Lights
Nothing makes a yard feel smaller than lights scattered with no logic. Defining one clear seating zone — even a tiny 8-by-10-foot one — gives the yard structure, and structured space feels larger than formless space. Install low deck or step lights around the edge of your patio or deck: on stair risers (one per step, centered), along the deck perimeter every 4 to 6 feet, or tucked under the lip of a built-in bench.
These fixtures are tiny — most put out 30 to 80 lumens — but they trace the shape of your living space in light, which is exactly the point. Choose 2700K warm white with shielded lenses so you see the glow, not the diode. Low-voltage wired kits are the most reliable; make sure the transformer is sized with 20 percent headroom above your total wattage. In my experience, this is also a genuine safety upgrade — lit steps prevent the trips and stumbles that dark edges cause. Run them on the same dusk timer as everything else so the zone "turns on" as one.
Suggested budget range: $45 – $120.
14. Zone Your Timers Like a Designer
Here's the pro move most people skip: don't put every light on one switch. Split your small yard into two or three timer zones — say, "patio party" (string lights + seating), "landscape" (uplights + fence wash), and "path" (path + step lights). A smart outdoor plug or a multi-zone low-voltage transformer with a timer makes this easy. Why does it matter for size? Because you can light the far zones first and the near zones second, staging the yard like a theater — and theaters feel enormous.
Program the landscape zone to come on 15 minutes before the patio zone at dusk. That far glow draws the eye outward before the foreground even wakes up, stretching the perceived depth every single evening. In my experience, this sequencing trick makes the biggest psychological difference of anything on this list, and it costs almost nothing extra — just a second smart plug (about $15) or a two-zone transformer. Set everything to fade off around 11 p.m. or midnight; a small yard left blazing all night looks anxious, not inviting.
Suggested budget range: $15 – $60.
15. Small Yard Lighting Ideas That Leave One Corner Dark
This one sounds backwards, but trust me: deliberately leaving one corner of your yard dark makes everything else feel bigger. It's the oldest trick in theater lighting — darkness is what gives light its shape. Pick the least attractive corner (the utility area, the trash bins, the neighbor's shed view) and leave it unlit. The lit areas will seem to float in a larger darkness, and your eye assumes the yard continues into the shadows.
This only works if the rest of the yard is well layered — the dark corner needs glowing neighbors to contrast against. Use it to hide eyesores for free instead of spending money screening them: a $0 solution that outperforms a $200 trellis. One safety note: never leave a walking path or stair in the dark zone. If the dark corner is near foot traffic, add a single tiny motion-sensor light that only wakes up when someone passes. Keep the sensor aimed low and pointed away from seating so it doesn't blast your guests mid-conversation.
Suggested budget range: $0 – $35.
Frequently Asked Questions
How many lights does a small yard actually need?
Fewer than you think. For a typical 15-by-20-foot yard, five to eight well-placed fixtures beat fifteen scattered ones. Follow the three-height rule from this post — two or three ground-level lights, two mid-level, one or two canopy — and you'll have a fully layered yard. The biggest mistake is buying a bulk pack and spreading lights evenly; clustering and zoning always look more expensive and more spacious.
What's the best color temperature for small yard lighting?
Stick with 2700K to 3000K warm white for almost everything — it's flattering, cozy, and makes small spaces feel intimate rather than exposed. The one exception is a moonlighting downlight, where 4000K to 5000K cool white reads as actual moonlight. Never mix cool and warm whites in the same sightline; the clash makes a yard feel chaotic and smaller.
Are solar lights good enough for a small yard?
Honestly? Solar works fine for accent clusters and path edges in a small yard, especially since you're lighting short distances. But solar brightness fades through the night and panels underperform in shade — in my experience, a hybrid approach wins. Use wired low-voltage for your hero light, fence wash, and anything on a timer, and let solar handle the flexible accent clusters you might rearrange. That way the yard's "bones" stay bright all evening.
How much does it cost to light a small yard in 2026?
A complete layered setup for a small yard runs about $200 to $500 in fixtures if you DIY — a low-voltage transformer kit ($80 to $150), four to six fixtures, and a smart timer. Solar-only setups can come in under $150. Professional installation typically doubles the material cost. The good news: LED fixtures sip electricity, so running costs are usually under $2 a month. Start with the highest-impact tricks (corner uplights, diagonal string lights) and add zones over time.
Conclusion
The best small yard lighting ideas all work on the same principle: light stretches space when it leads the eye outward, upward, and into layers. Push the corners back with uplights, hang your strings on the diagonal, wash the fence instead of framing the patio, and let one dark corner do the rest. You don't need more square feet — you need more depth, and depth is something light can fake beautifully.
Start with one or two tricks this weekend and see how the yard feels after dark; in my experience, the corner uplights alone change everything. Then browse more outdoor lighting ideas on the site and keep layering — your tiny yard is about to feel like the biggest room in the house.