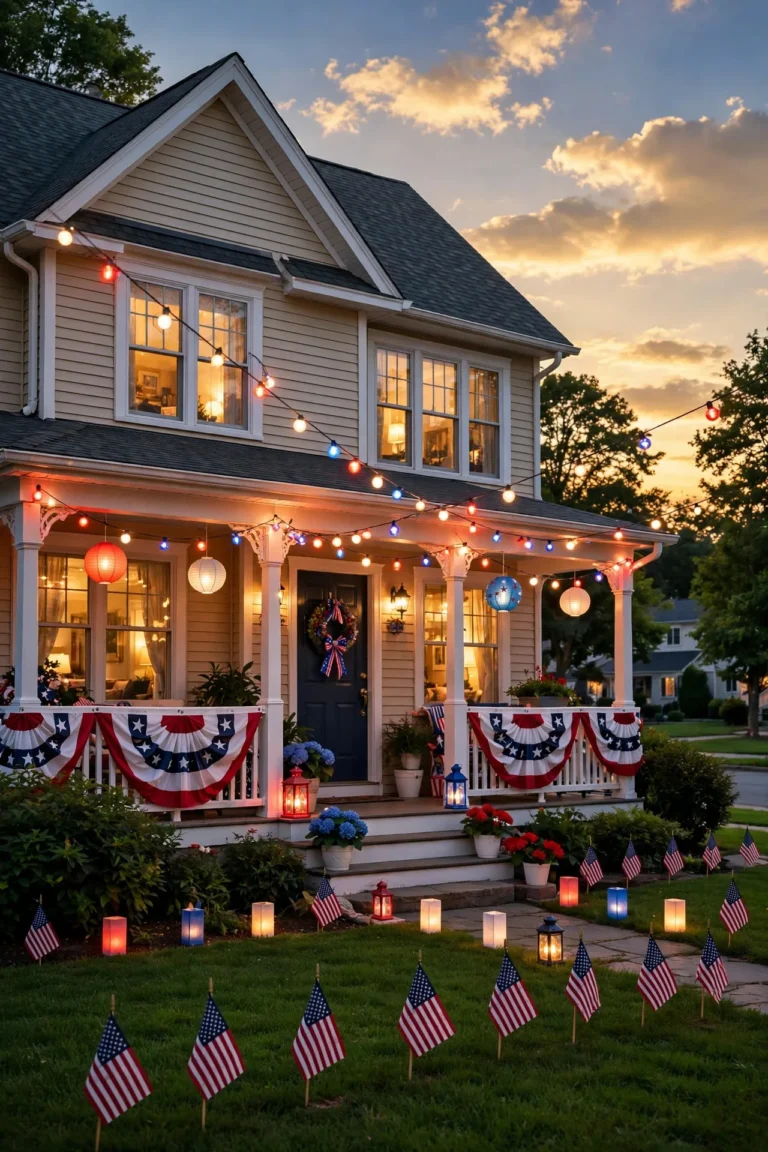
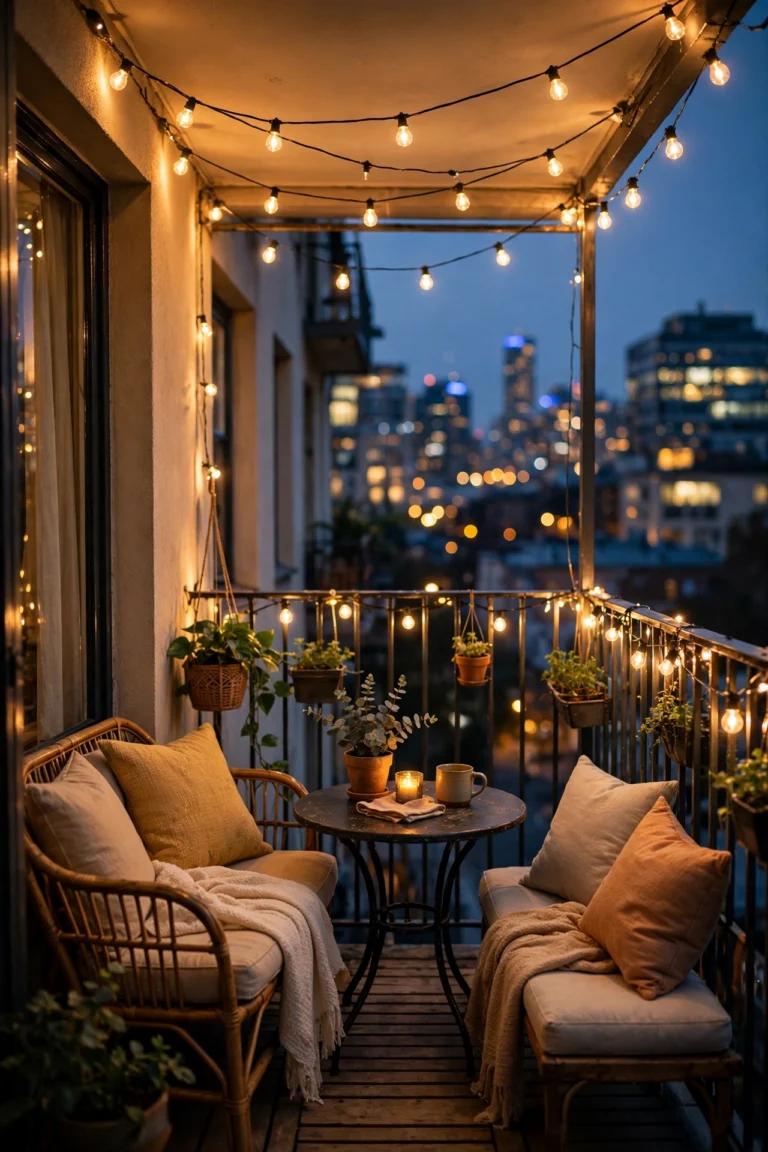
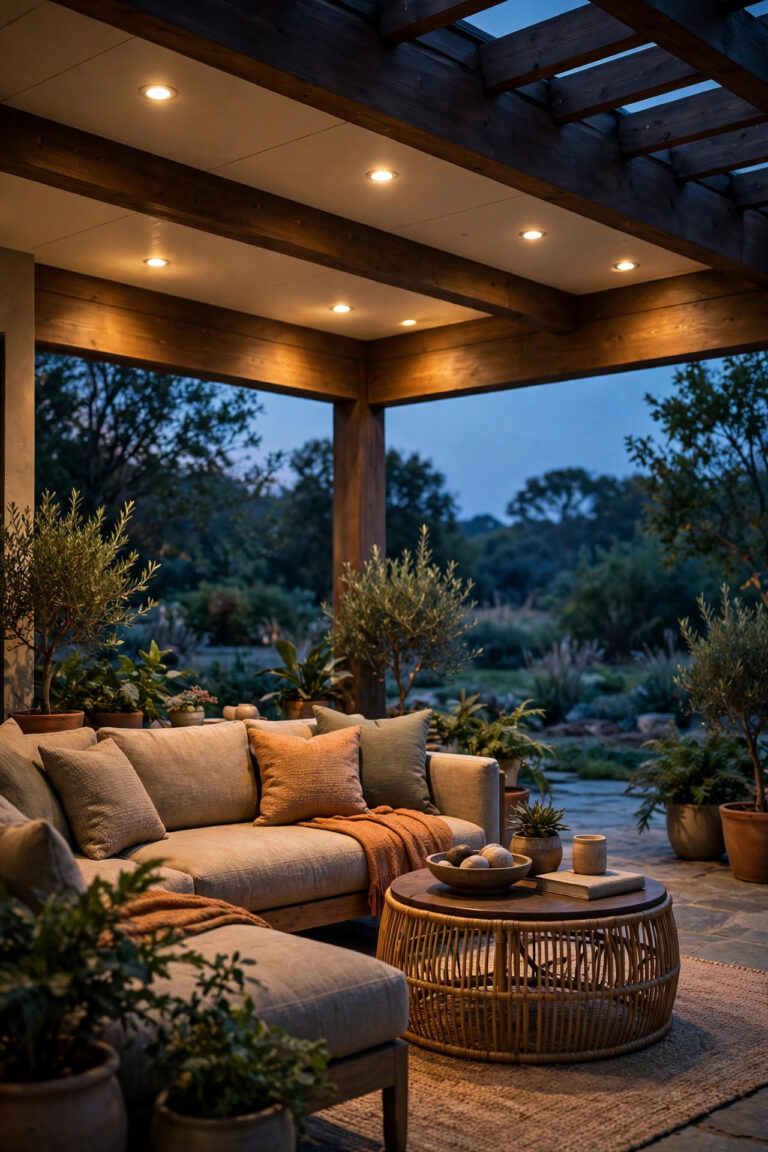
There is a special kind of disappointment in pulling into your own driveway after dark and being greeted by a completely black house. No porch glow, no path lights, nothing that says anyone lives here or is expected home. The fix I recommend to everyone is front yard lighting with timers, because a house that lights itself up at dusk looks loved, lived-in, and honestly a little bit safer. Timers also end the two classic lighting failures: lights forgotten on at noon, and lights forgotten off when you actually need them. My whole approach is layering — a welcoming anchor light at the door, a guiding layer along the walk, and a pretty accent layer in the beds and trees — with each layer on its own schedule. In this post I'm sharing 19 ways to build that system, from a $15 smart plug to a fully zoned smart transformer, with honest budgets for every single idea.

1. Swap the Porch Switch for an Astronomical Timer
If you only do one thing on this list, do this one. An astronomical timer switch replaces the ordinary wall switch that controls your porch light, and it calculates sunrise and sunset from your location and the date, so your porch light comes on at dusk all year without you ever touching it. No more reprogramming in October when the evenings suddenly get dark at 5:30. Most models auto-adjust for daylight saving time and let you add an offset, so the light can switch on 20 minutes before true sunset if your porch sits in shade. Installation is a straightforward switch swap — turn off the breaker, match the wires — though most of these timers need a neutral wire in the box, so check before you buy if your house is older. Once it's in, your entry anchor light simply handles itself, every night, forever. I set mine to run from dusk until about 11 p.m., and that one change made our house look occupied even on nights we're out late.
Suggested budget range: $25 – $60.

2. Put Plug-In Fixtures on a Smart Outdoor Plug
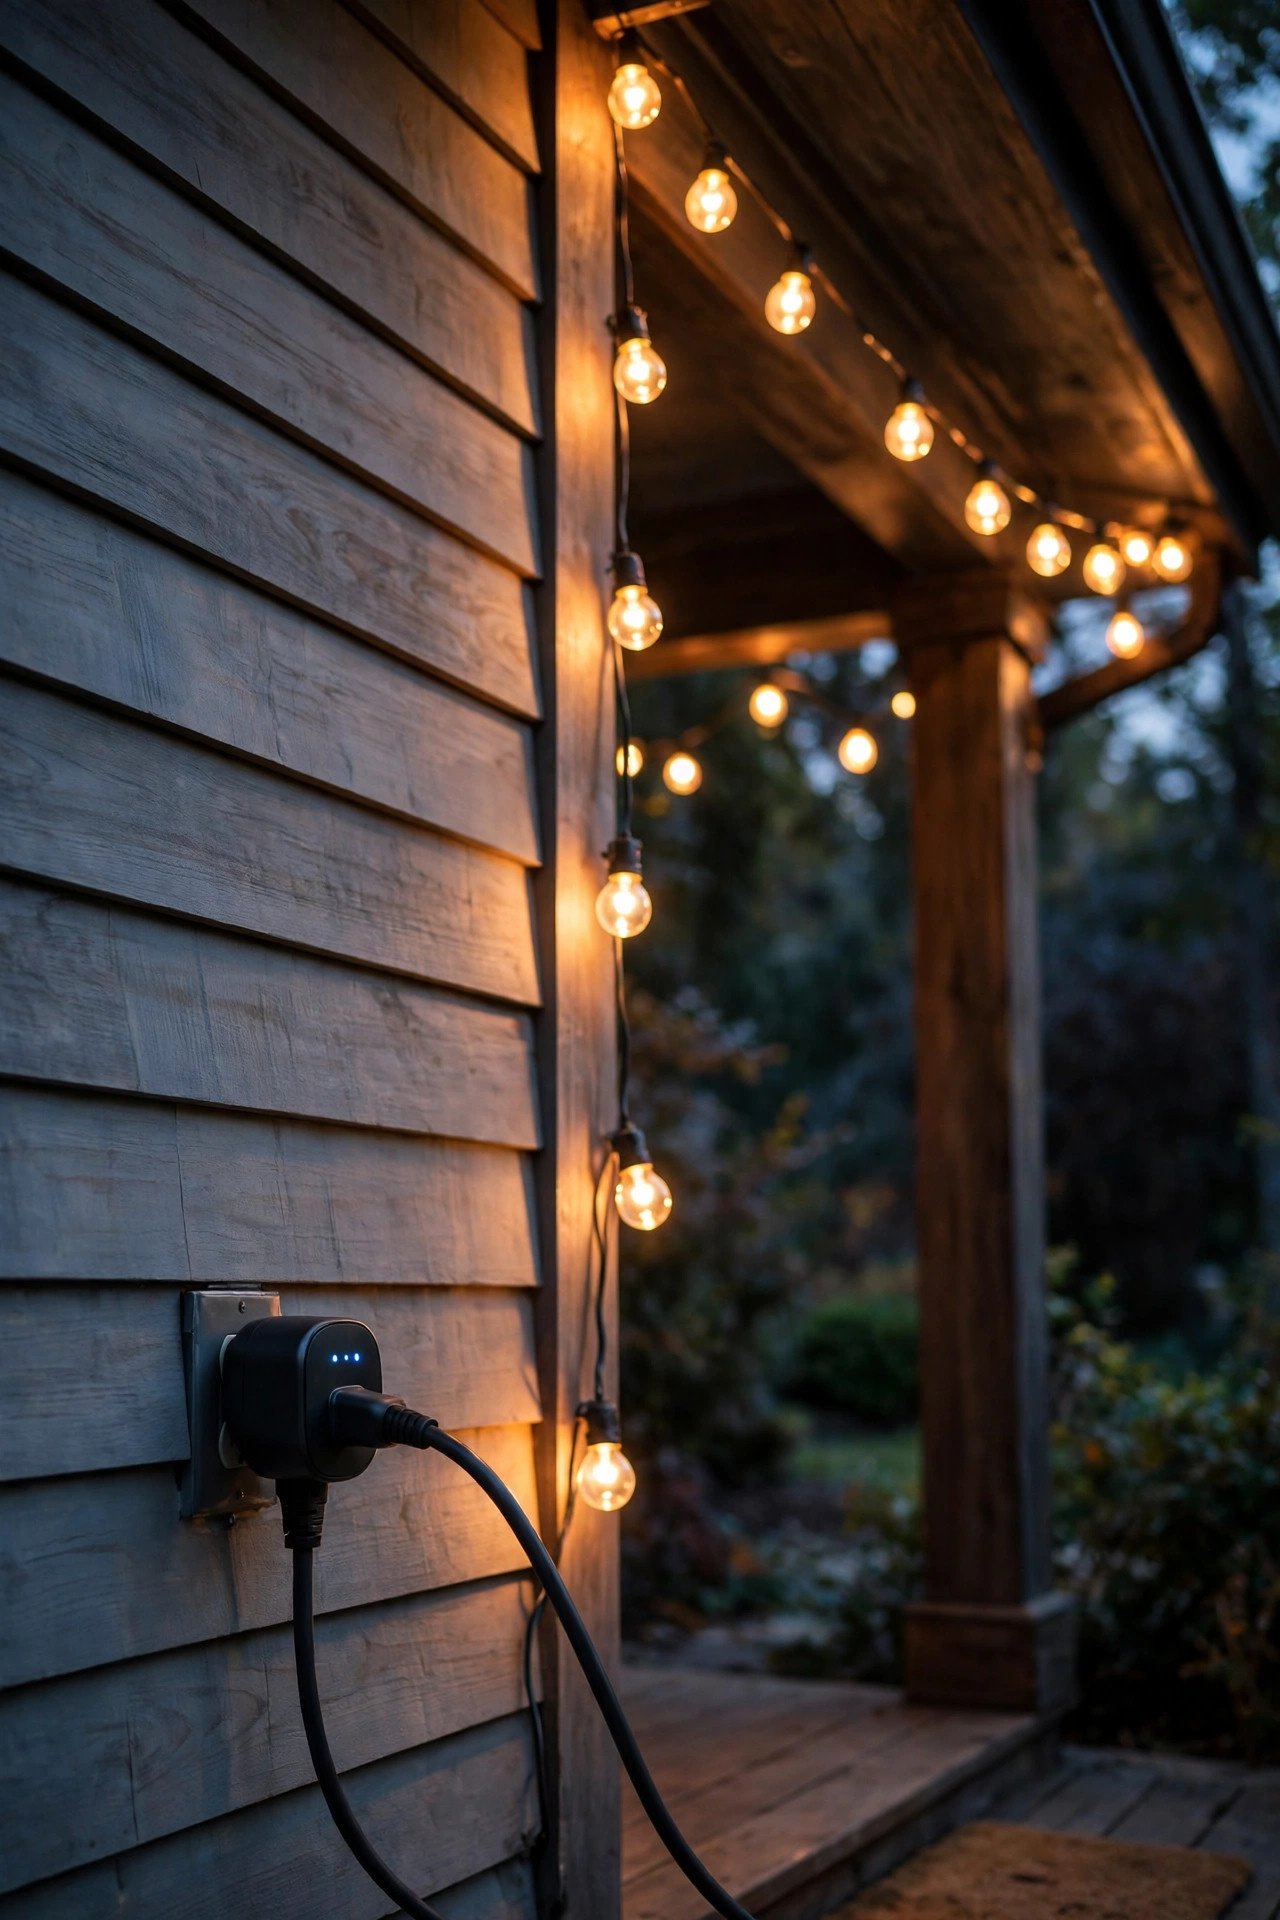
Plenty of front yard lighting plugs in rather than hardwires — string lights, a lit wreath, a small plug-in transformer, lanterns on the porch. A smart outdoor plug turns all of it into scheduled lighting. Look for a plug rated for outdoor use with a proper weatherproof housing, and ideally two independently controlled outlets so the string lights and the lantern can run different schedules. You set the on and off times in an app, usually with a sunrise/sunset option, and you can check from the couch — or from another state — whether you left anything on. Position the plug a few inches off the ground on the house wall or a stake so it never sits in a puddle, and keep the connection point sheltered under an eave where you can. In my experience this is the fastest win for renters and for anyone whose porch light is on a circuit they can't rewire. Fifteen minutes, no tools, and suddenly half your yard runs itself.
Suggested budget range: $15 – $35.
3. Run Low-Voltage Front Yard Lighting With Timers From One Transformer
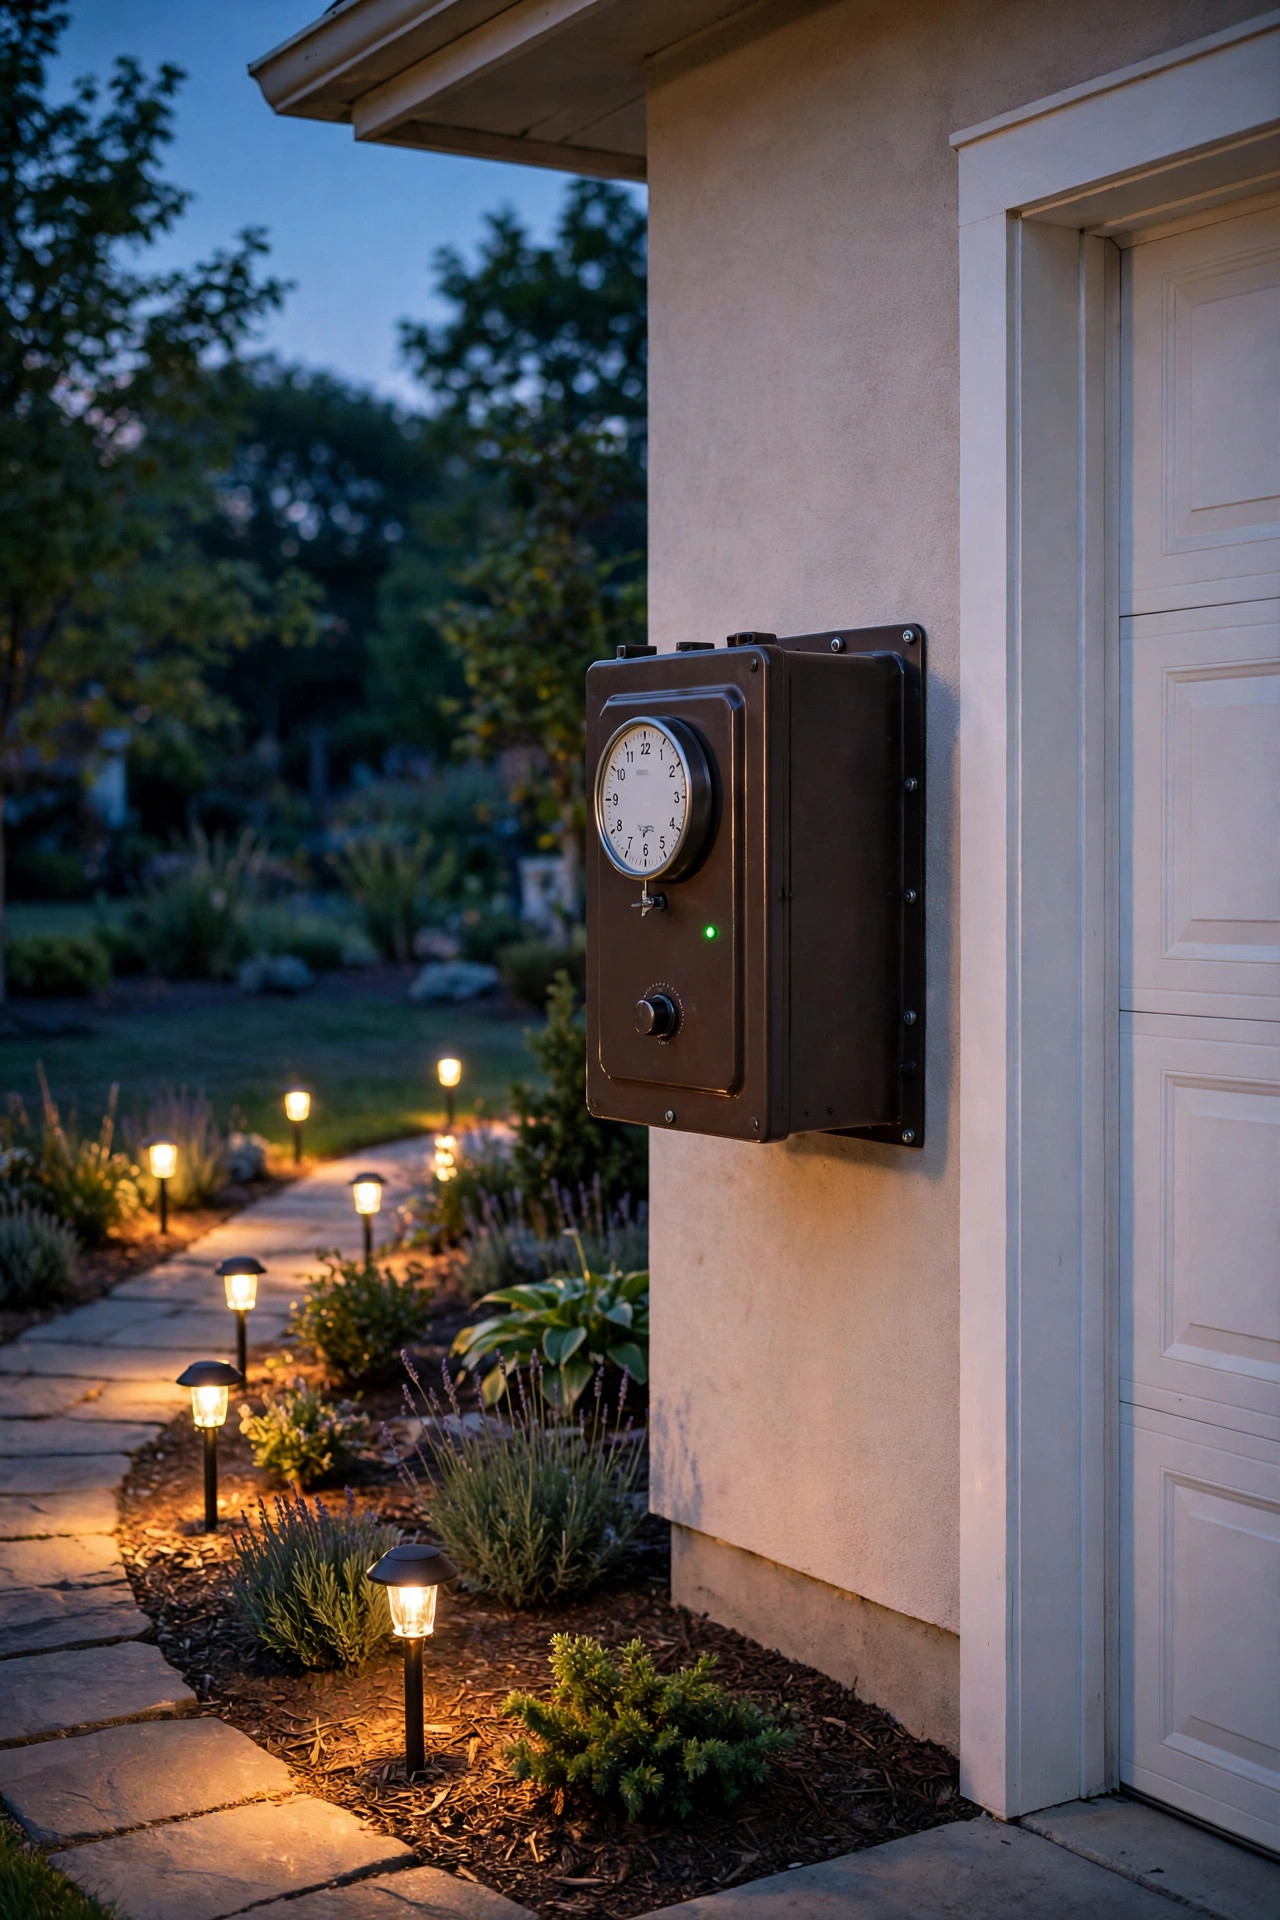
A low-voltage landscape system is the backbone of most great front yards, and the transformer is where the timer magic lives. Modern transformers have a built-in photocell that reads dusk, plus timer settings that run the lights for a fixed stretch — 4, 6, or 8 hours after dark — or until a set clock time. That means your path lights and spotlights come on by themselves and, just as importantly, turn off instead of burning until breakfast. Size the transformer honestly: add up the wattage of every fixture, then choose a unit rated at least 20–25 percent higher so it's never running flat out. Bury the cable a few inches deep along the bed edges, and put the transformer somewhere reachable, like beside the garage door, because you'll adjust the schedule twice a year as the seasons shift. One transformer, one schedule, and your whole ground layer of light takes care of itself.
Suggested budget range: $60 – $150.
4. Anchor the Entry With Dusk-to-Dawn Sconces
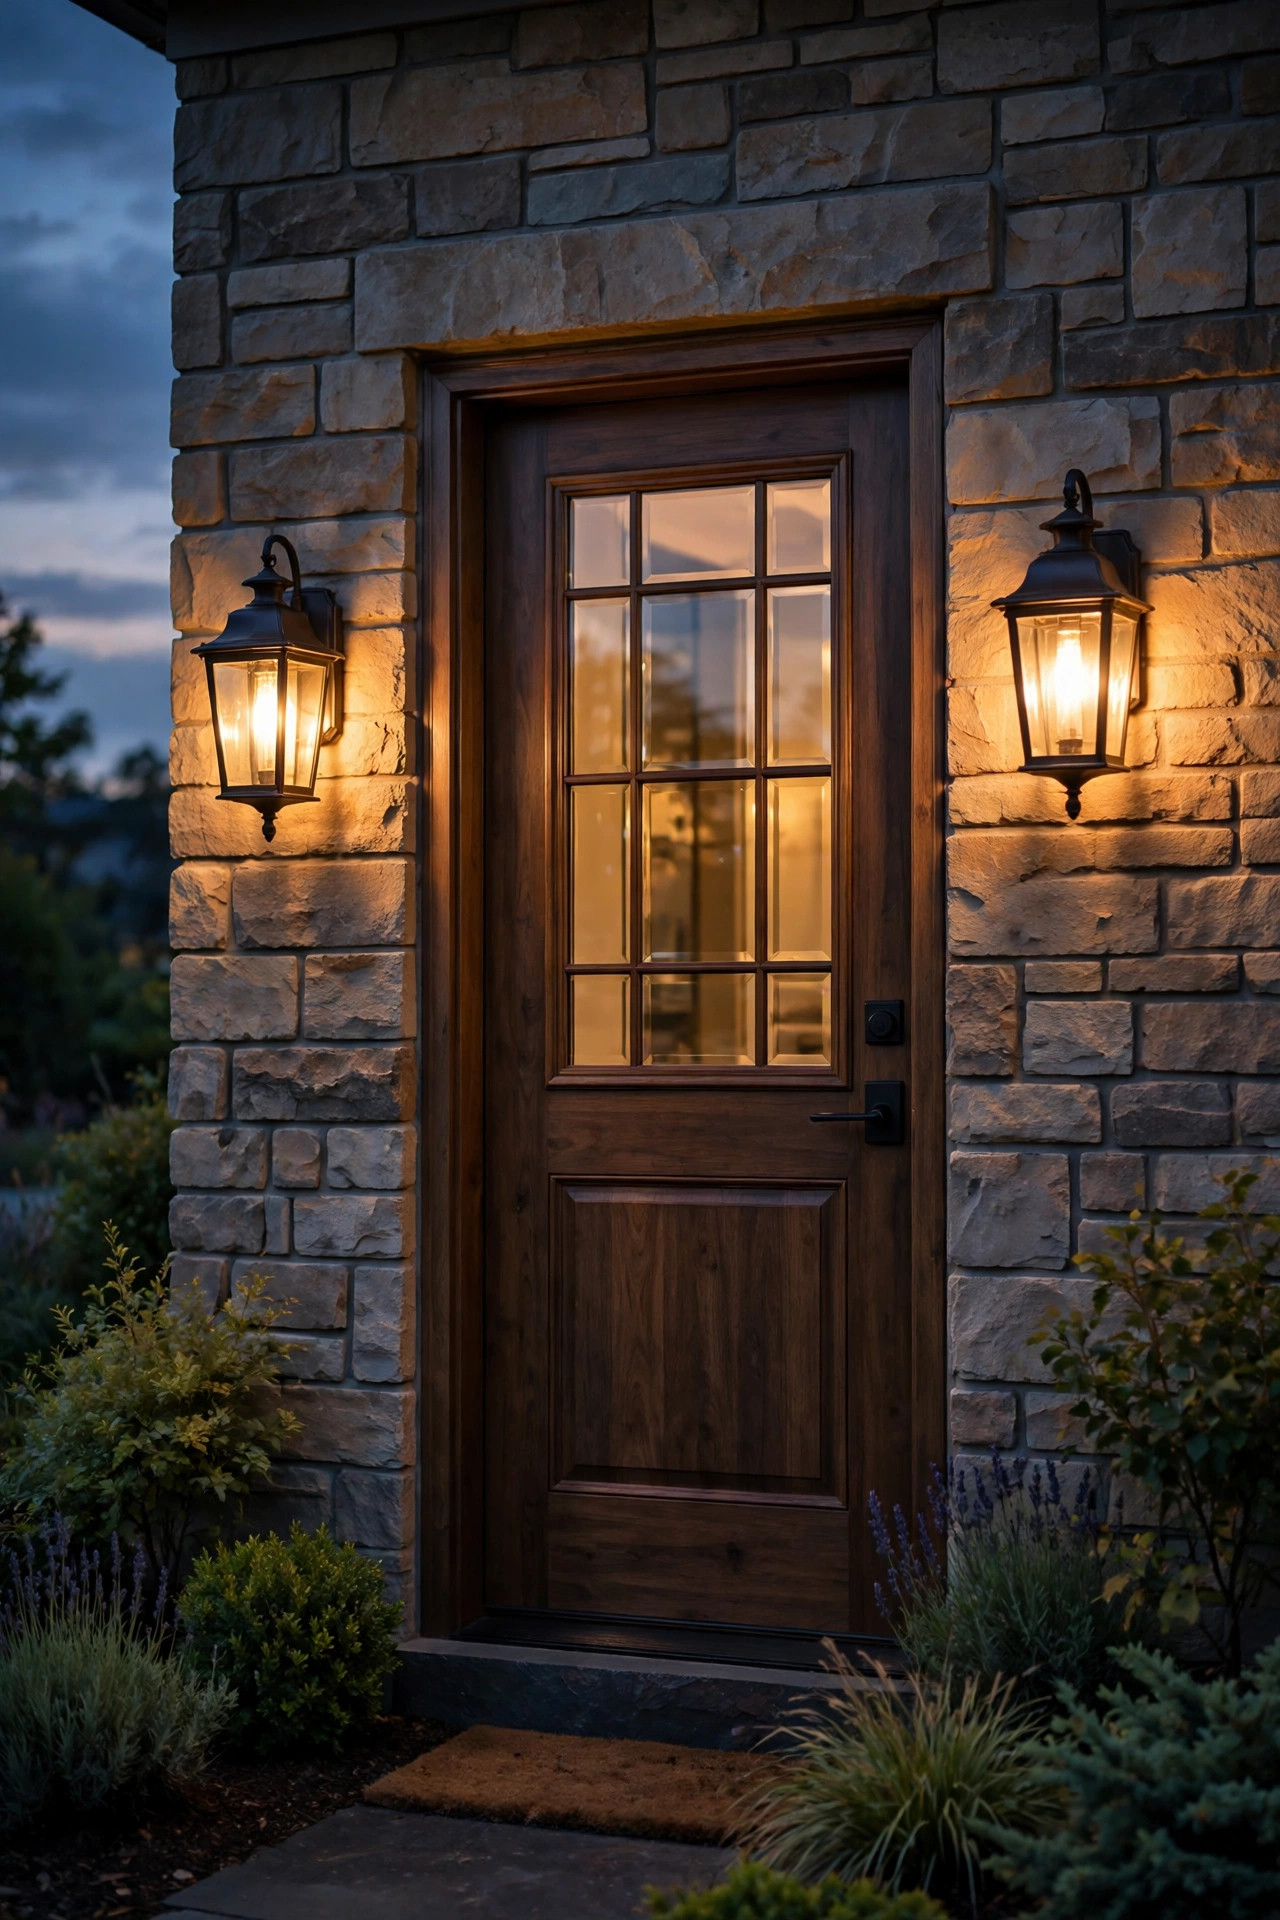
Timer schedules are wonderful, but I always like one layer that answers to the light itself. Dusk-to-dawn sconces have a small photocell built in, so they wake up when the sky darkens and sleep when it brightens — no programming at all. Flank your front door with a pair in warm 2700K, and they'll be your always-reliable anchors while the fancier timer zones handle the accents. There are also screw-in photocell adapters and sensor bulbs that give an existing fixture the same behavior for a few dollars, which is perfect if you love your current lantern. One honest caution: a photocell needs to see the sky a little, so don't bury the fixture under a deep porch roof where it stays fooled into thinking it's midnight all day — or, if your porch is that deep, put the sconces on the timer switch from idea one instead. Either way, the door should never be the dark part of the house.
Suggested budget range: $40 – $120.
5. Give the Walkway Its Own Timer Window
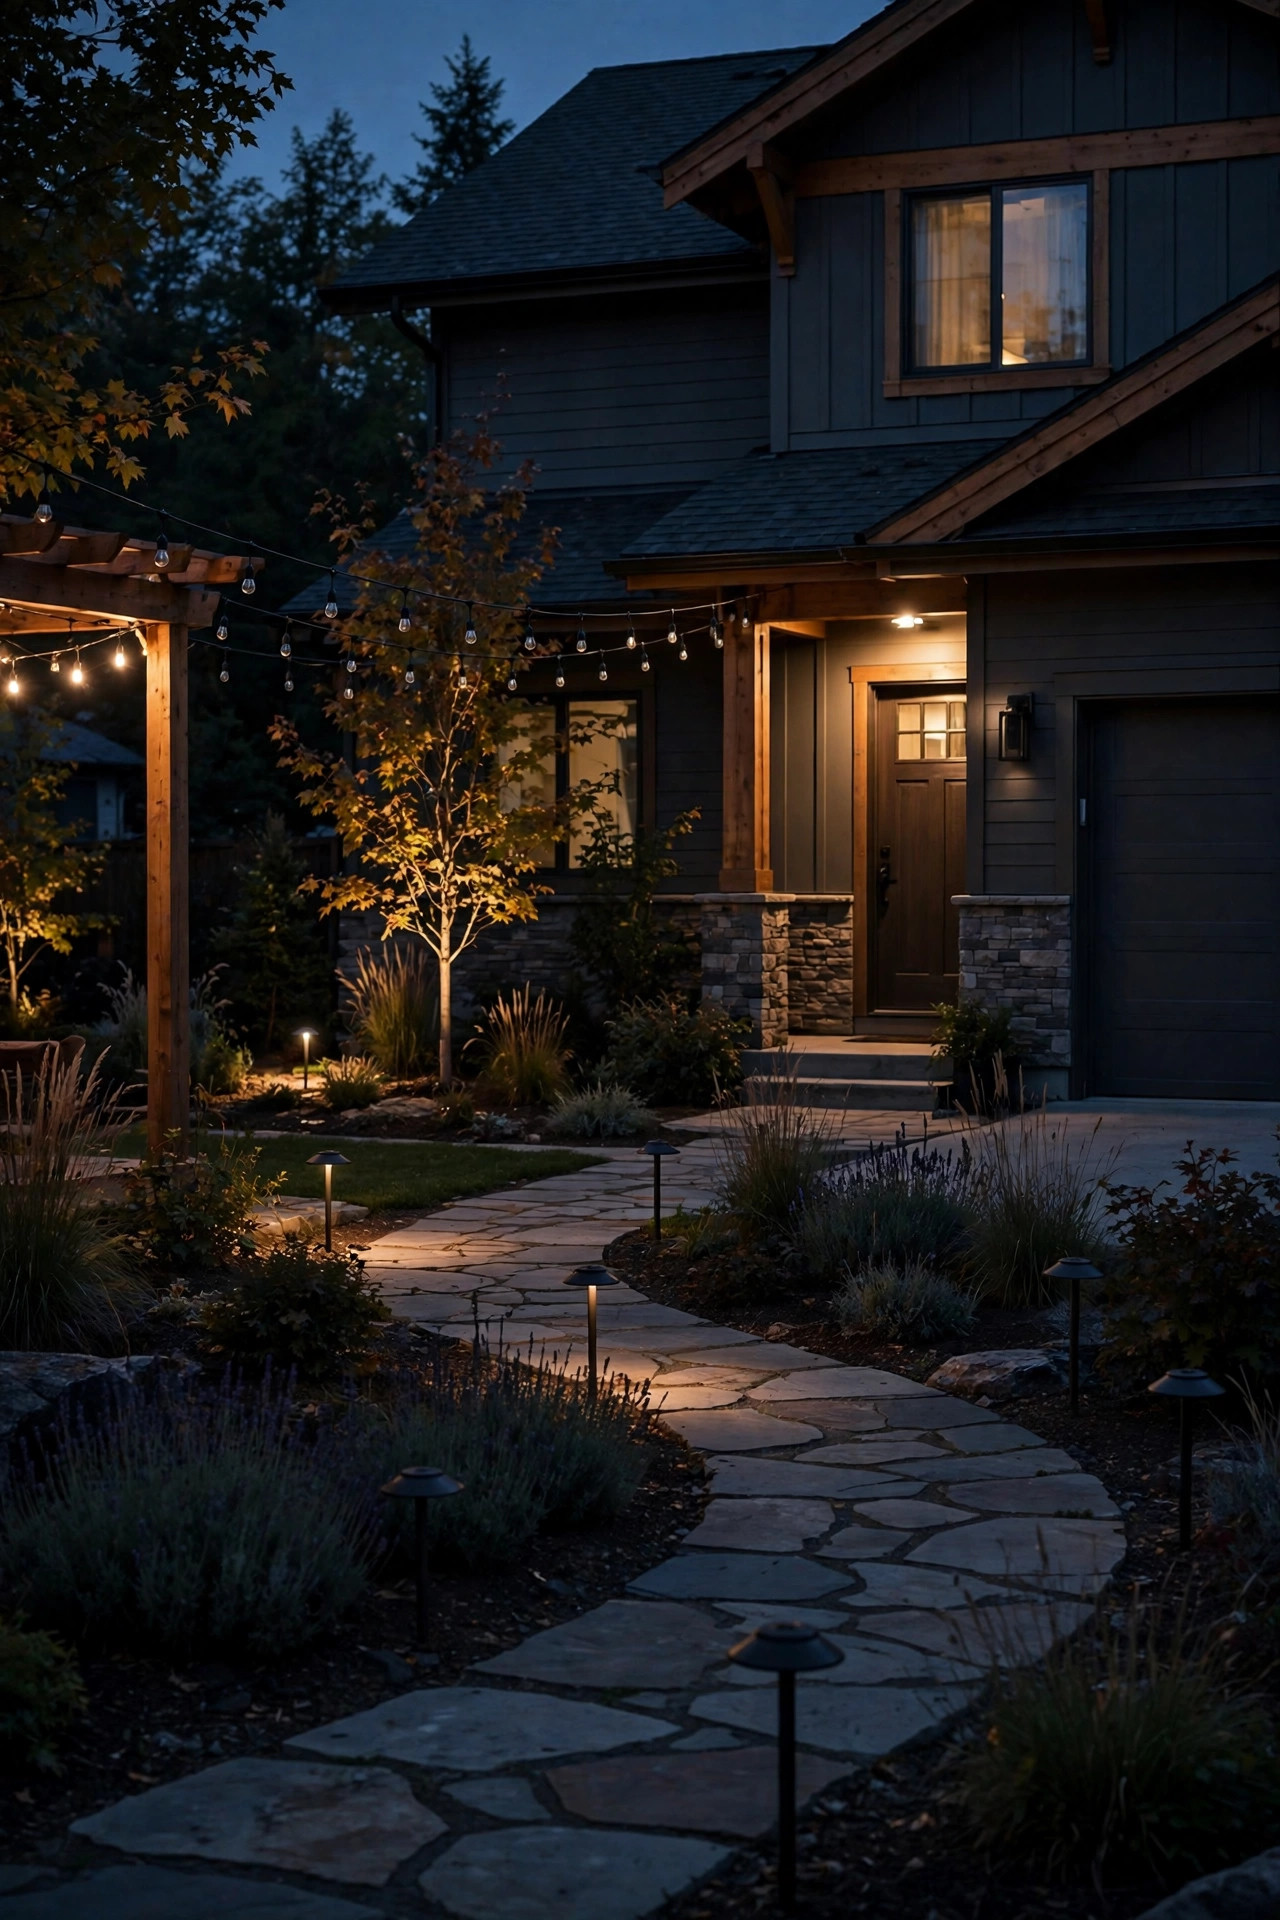
Path lights have a job — guiding feet — and they only need to work during the hours people actually arrive and leave. Putting your walkway lights on their own timer window, say dusk until midnight, keeps the welcome bright for guests and grocery runs while saving the overnight hours. Space path fixtures 6 to 8 feet apart and stagger them on alternating sides of the walk so the light reads as gentle pools rather than an airport runway. If your path lights run off the main low-voltage transformer, a second smaller transformer just for the walk is the simplest way to split the schedule; plug-in solar sets with timer settings can fill gaps. In my experience, the walkway is also where a timer helps your electric bill the most, because path lights are numerous — ten small fixtures quietly burning until dawn adds up over a season. Dusk to midnight covers every realistic arrival, and the yard still looks intentionally lit all evening.
Suggested budget range: $80 – $200.

6. Put Tree Uplights on a Separate, Shorter Schedule
Uplighting a tree or washing the front of the house is the drama layer, and drama doesn't need to run all night. I put accent lights on a shorter timer window than everything else — on at dusk, off around 10 or 11 p.m. — which saves energy and, honestly, makes the early evening feel special rather than routine. Aim a well light or spotlight up into the canopy from 1 to 2 feet out from the trunk, and use a warm 2700–3000K beam; trees lit blue-white look like a parking lot, not a home. A separate zone usually just means a second transformer or a second smart plug for a plug-in accent set, so the cost is modest. This is also the layer to switch off entirely during firefly season or when you're away for a week — the anchors and path lights keep the house looking lived-in, and the trees get the night off.
Suggested budget range: $50 – $150.

7. Run Porch String Lights on a Countdown Timer
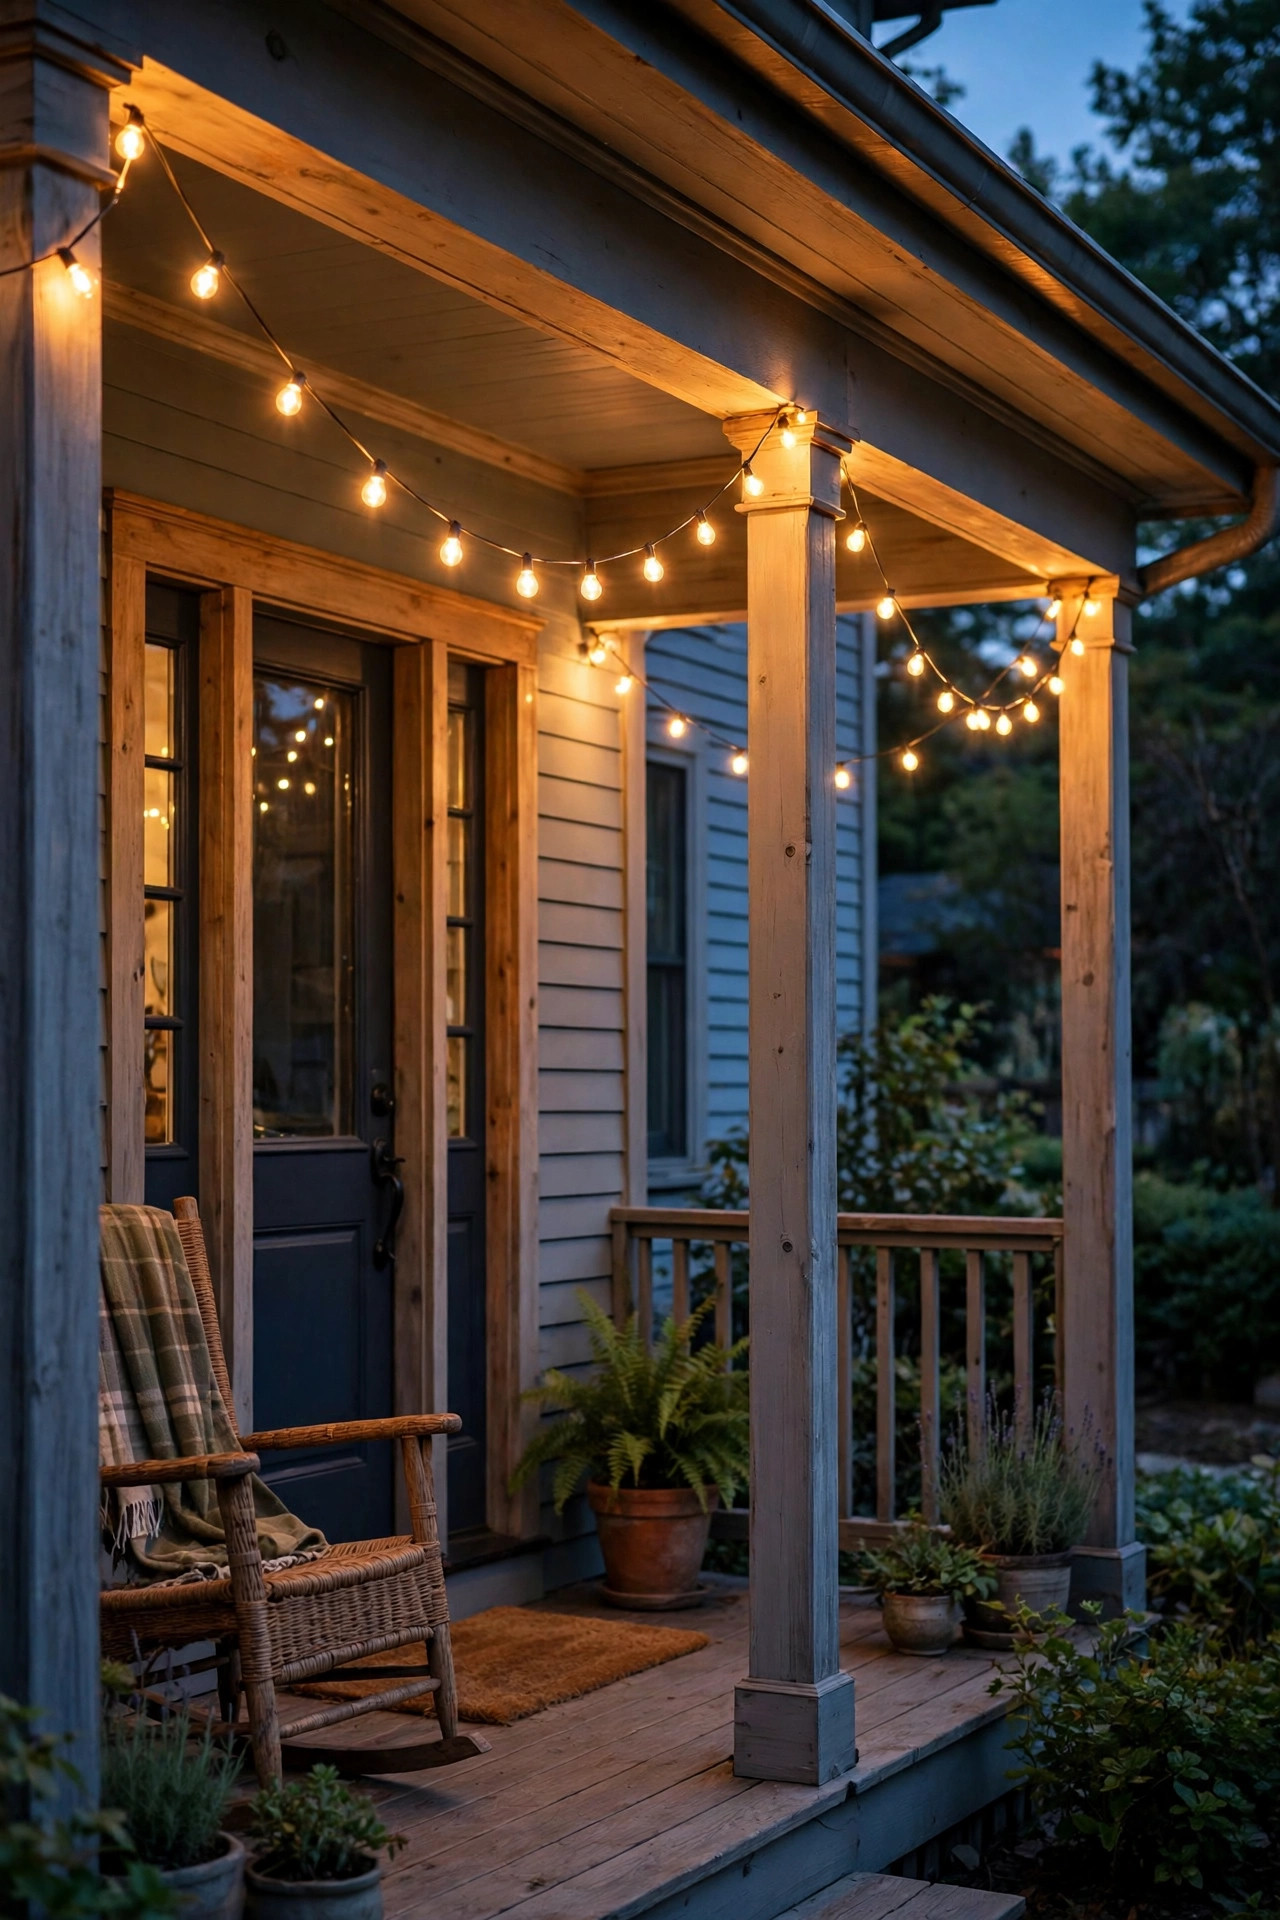
String lights over the porch or across the front of the house are pure mood, and mood should keep polite hours. A plug-in countdown or programmable timer lets the strings glow from dusk until 10 or 11 p.m., then click off so you're not lighting the street at 3 a.m. Use shatterproof LED bulbs — they're safer, sip electricity, and survive wind that would finish glass. String them with a gentle swag between hooks rather than pulled tight, and keep any connection points up off the ground and out of puddle range. If your strings plug into the smart plug from idea two, you get the same schedule with app control thrown in. I love this layer for how it photographs and how it feels from the sidewalk, but I love it more knowing it turns itself off — nothing says "nobody's home and nobody cares" like festive lights still blazing at sunrise.
Suggested budget range: $30 – $80.
8. Use Vacation Mode So the Pattern Isn't Perfect
A house that lights up at exactly 7:00 every night is almost as telling as a dark one. Many timers and smart plugs offer a random or vacation mode that varies the on and off times by 15 to 30 minutes each day, and that small wobble makes the schedule look human. When we travel, I set the porch anchor and one accent zone to random mode while the path lights keep their steady window — the combination looks like someone is home, moving around, living a slightly irregular life. It's a standard feature on better in-wall timers and nearly every smart plug app, so it may cost you nothing at all. Combine it with a neighbor collecting the mail and the house genuinely reads as occupied. Perfect predictability is a machine's habit; a little randomness is how a house pretends you're still in it.
Suggested budget range: $20 – $45.

9. Schedule Smart Bulbs in the Fixtures You Already Own
Sometimes the simplest timer is inside the bulb. Smart bulbs screw into your existing porch lantern, garage sconces, or post light, and each one carries its own schedule — on at sunset, off at 11, dimmed to 40 percent after 9 if you like. Group them in the app so the whole front of the house follows one routine, and pick bulbs in a warm 2700K so the light still feels like home rather than an operating room. Two honest notes from experience: the fixture's wall switch has to stay on for the schedule to work, so a small switch guard helps if your household has enthusiastic switch-flippers, and enclosed-fixture ratings matter — check the bulb is approved for a closed lantern so it doesn't overheat. For a house with pretty fixtures you'd never replace, this is the upgrade that changes everything and shows nothing.
Suggested budget range: $10 – $25.
10. Sync the Garage Coach Lights to the Porch Schedule
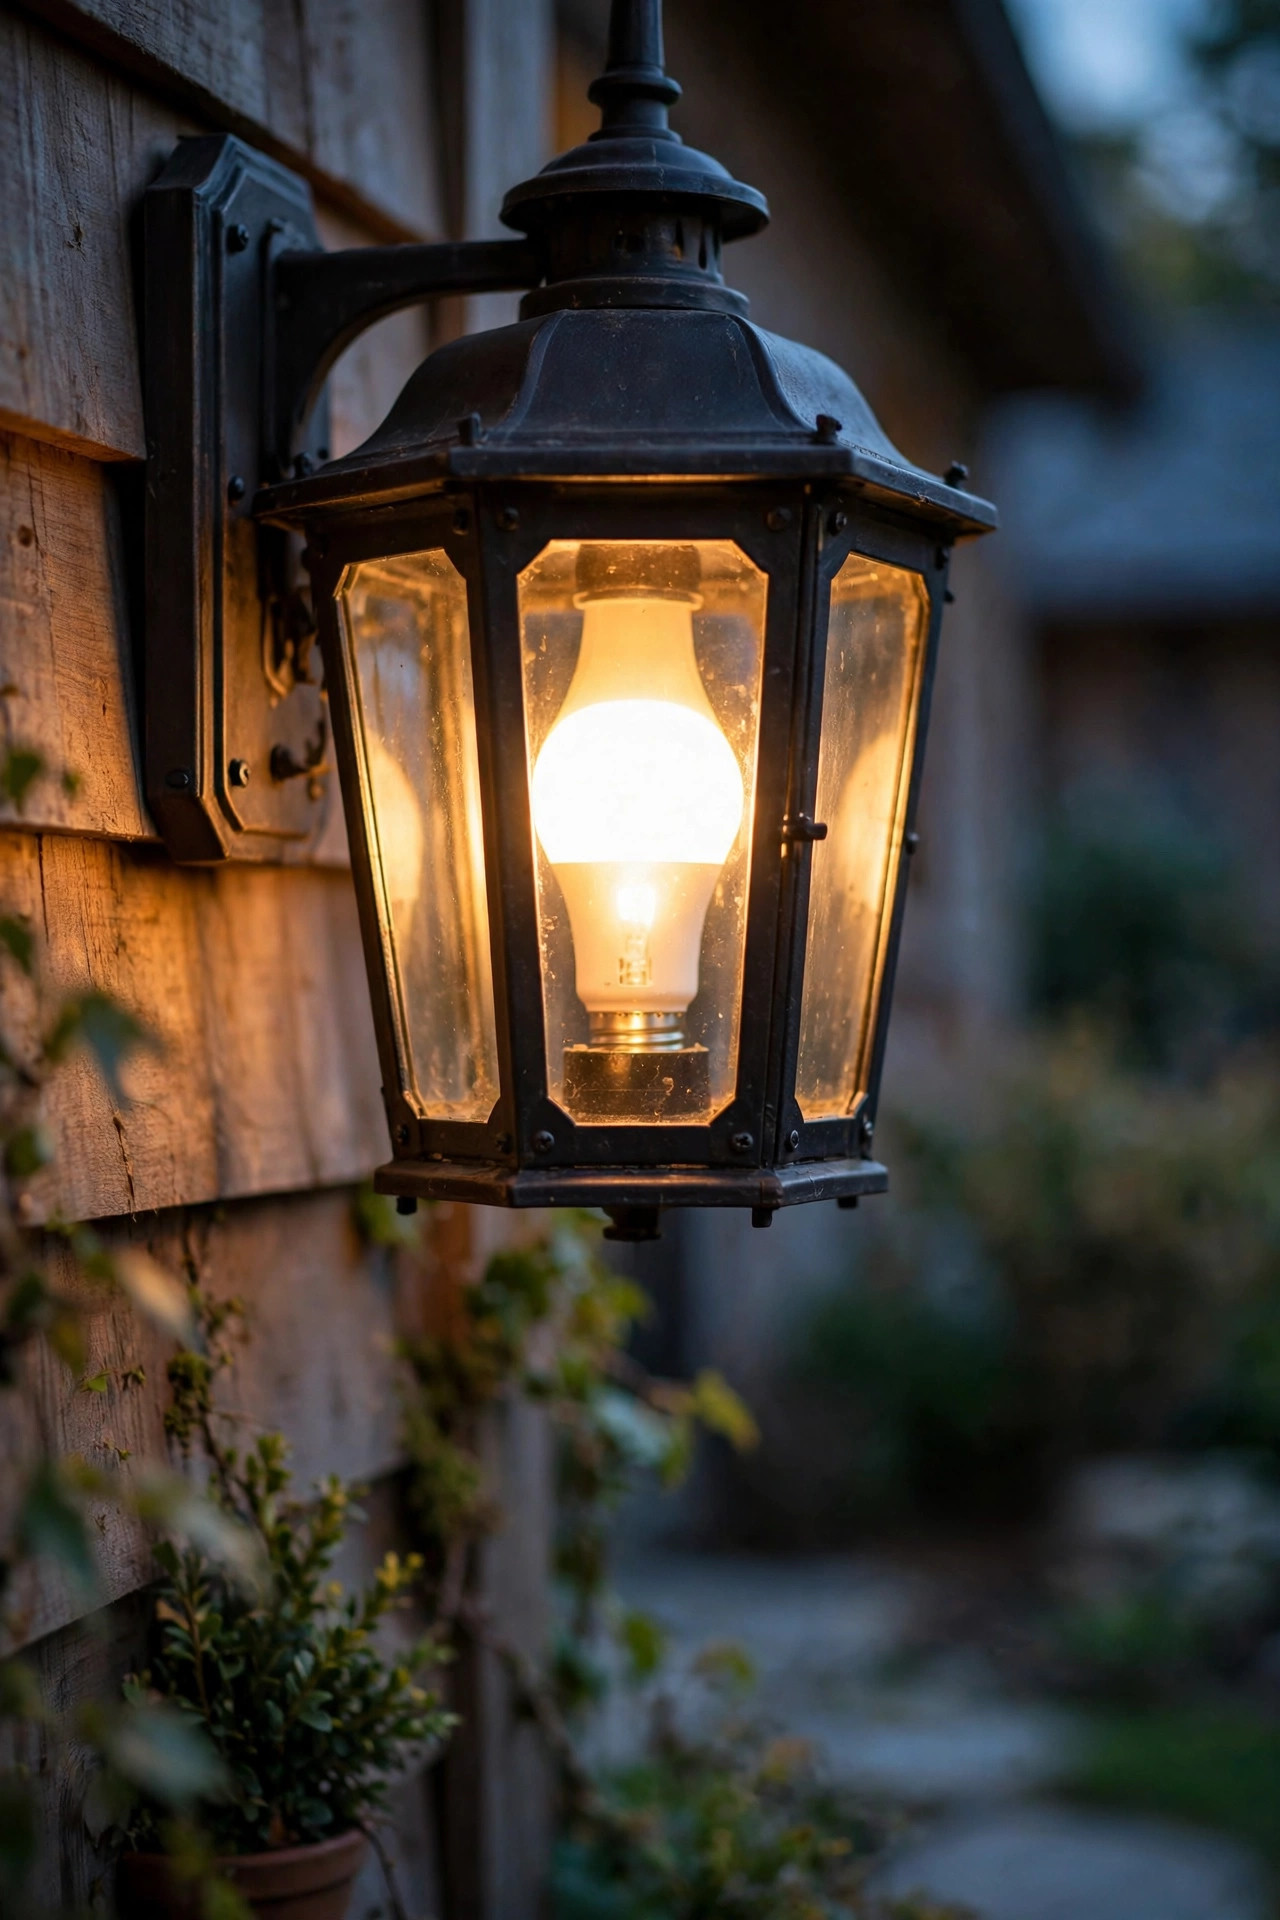
A front yard looks designed when the lights agree with each other. Garage coach lights that pop on twenty minutes after the porch — or worse, at noon because someone flipped a switch — break the spell. Put the garage fixtures on the same kind of schedule as the porch anchor, either by wiring them to the same timer switch, fitting smart bulbs set to the same routine, or using photocell bulbs as in idea four. Match the bulb temperature across every fixture on the front of the house; mixing a warm porch with icy blue garage lights is the fastest way to make new lighting look cheap. Size the coach lights to the garage door — roughly a quarter to a third of the door's height is the proportion that looks right from the street. When the porch and garage wake up together at dusk, the whole facade reads as one intentional scene.
Suggested budget range: $60 – $180.

11. Put the Address Numbers on the Same Timer Circuit
Glowing house numbers are a small detail that does real work — delivery drivers find you, guests find you, and in an emergency, responders find you faster. A backlit or low-voltage address plaque wired into your landscape transformer inherits the timer schedule automatically, so the numbers light at dusk and rest when the system rests. Choose numerals at least 4 inches tall with strong contrast — light numbers on a dark plaque read best from the street — and mount the plaque where a driver stopped at the curb naturally looks, near eye level and clear of shrubs. Solar plaques with timer settings exist too, and the good ones hold a charge well enough for winter evenings. This is one of those upgrades guests compliment without knowing why the house felt easy to find. On the timer circuit, it costs pennies a year to run.
Suggested budget range: $35 – $90.

12. Stagger Start Times So the Yard Wakes Up Naturally
Here's the designer's trick that makes front yard lighting with timers feel alive instead of automated: don't let everything switch on in the same instant. I stagger my zones by a few minutes — path lights first as the sky dims, the porch anchor five minutes later, tree uplights and accents ten to fifteen minutes after that. From the street it reads like someone drifting through the house in the evening, turning things on as they go. It takes nothing but a few separate schedules: one per transformer, smart plug, or switch, each offset by a handful of minutes. The off times can stagger too — accents retire first, path lights later, the porch last. Even a five-minute offset softens the whole effect noticeably. This costs nothing if your timers are already in place, and in my experience it's the single tweak that stops people asking whether your lights are "on some system" and starts them asking who designed your yard.
Suggested budget range: $0 – $40.

13. Fill Gaps With Solar Path Lights That Have Timer Settings
Not every corner of the yard is worth trenching cable to. Better solar path lights now include timer settings — run for 4, 6, or 8 hours after dusk, or switch between a bright early-evening mode and a dimmer late mode — which lets them behave like part of the system instead of glowing weakly until they die at 2 a.m. Set them for a fixed window that matches your wired path lights and the whole walk reads as one. Be honest about placement: solar needs real sun, so a stake under a dense shrub will disappoint no matter how good the timer is, and output drops in deep winter when nights are longest. I use solar timers for the far bed edges and the side gate path, spots where "pretty good and automatic" beats "perfect but needs a trench." Keep the panels wiped clean and the little rechargeable batteries fresh every couple of years.
Suggested budget range: $30 – $70.

14. Put Step and Stoop Lights on the Evening Schedule
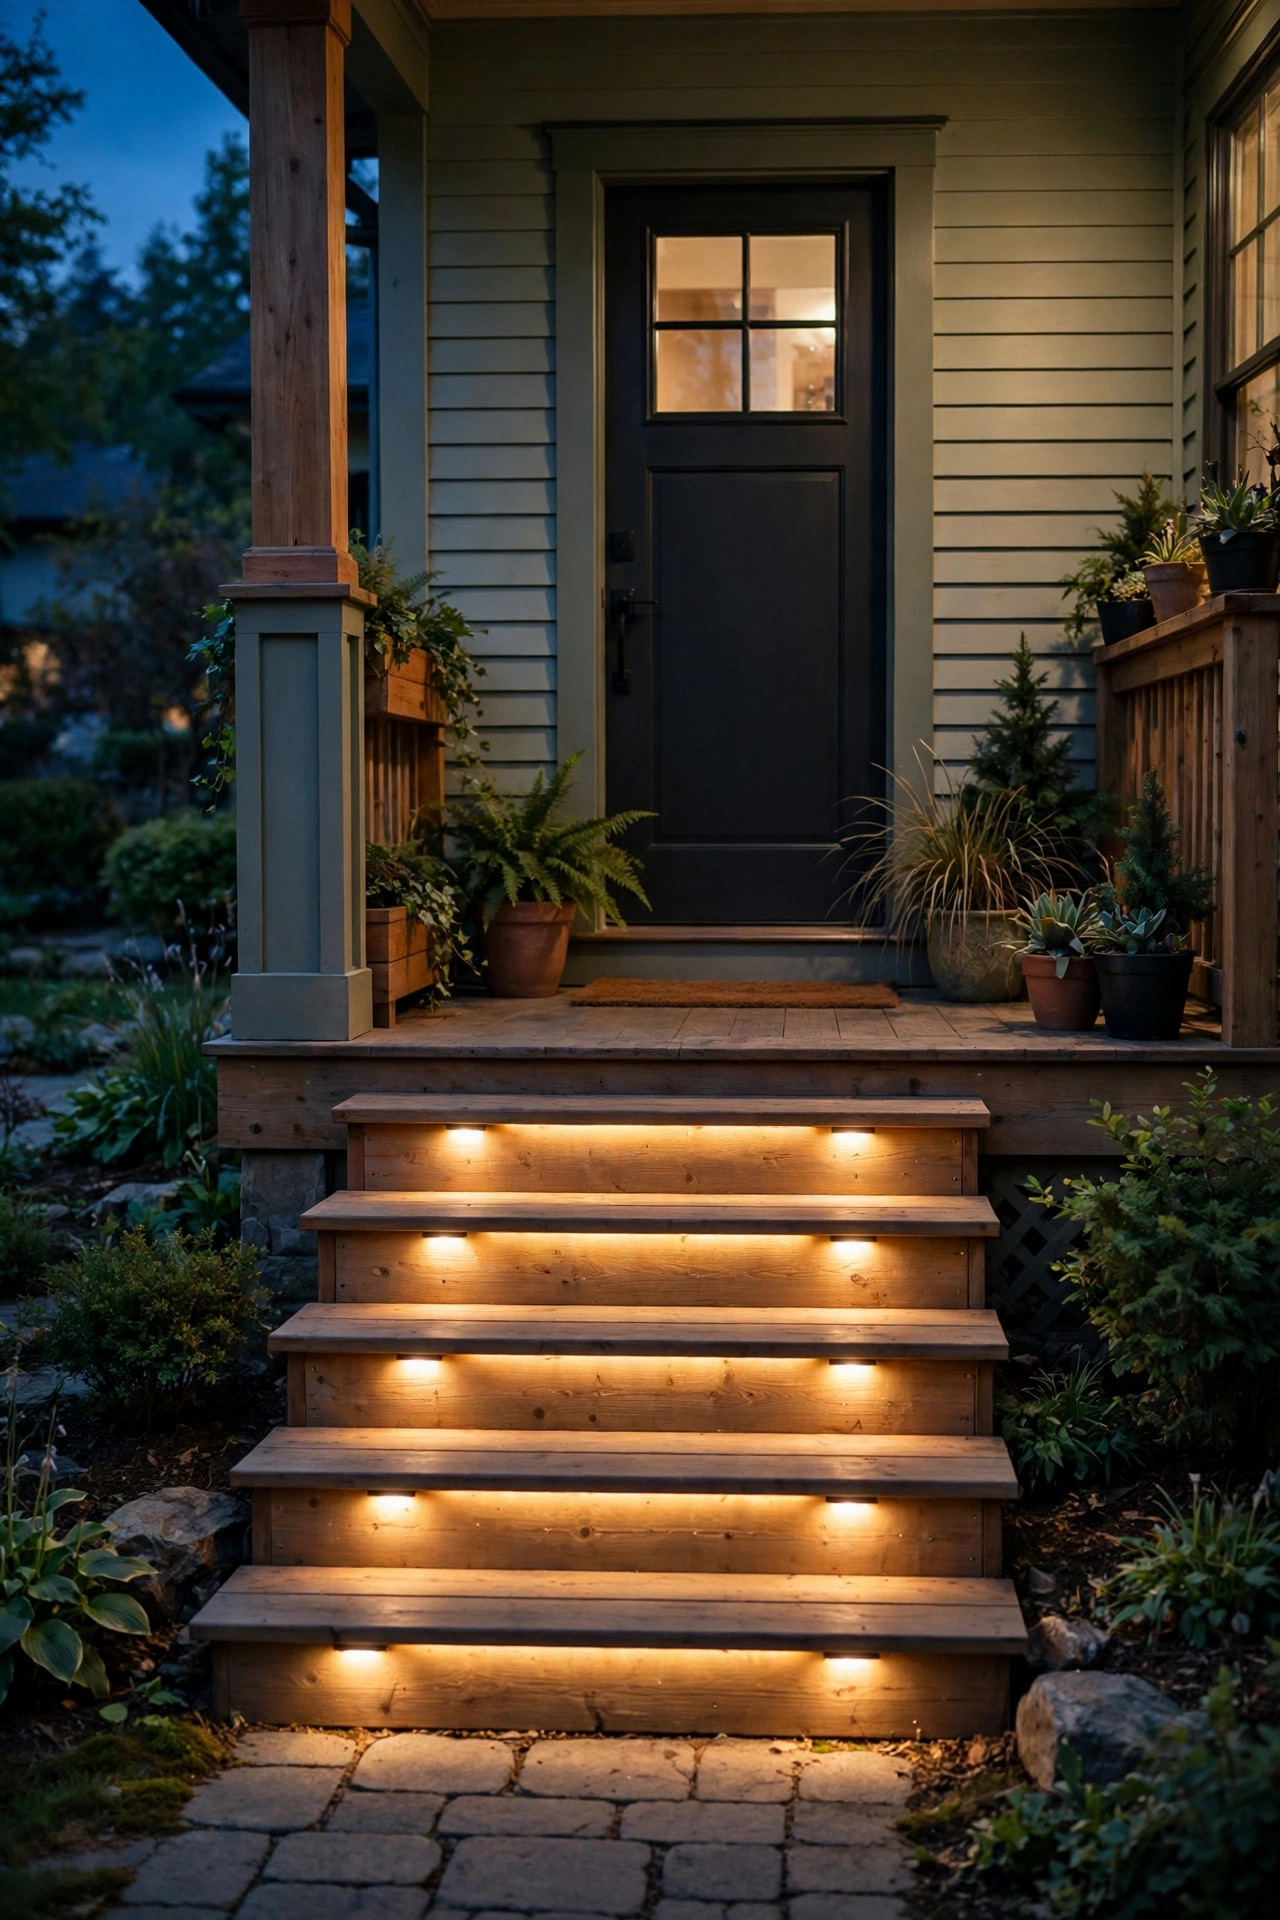
The front step is where guests trip, full stop — and a small light that only exists on a schedule is still there every single evening, which is exactly when it's needed. Low-voltage step lights recessed into a stoop riser, a retaining wall beside the walk, or the porch steps themselves can tap straight into your timed landscape circuit, so they wake with the path lights and sleep when the system sleeps. If your steps are nowhere near the transformer, a pair of solar step lights with timer modes covers you with four screws. Keep the light aimed at the tread, not at anyone's eyes — shielded fixtures that throw light downward are the right shape here — and one fixture per step is plenty for residential stairs. This is unglamorous, inexpensive lighting, and it is the idea on this list your ankles will thank you for.
Suggested budget range: $45 – $120.
15. Layer Motion Lights Over a Timed Baseline Glow
Motion lights alone give you a yard that's pitch black until it suddenly isn't — startling for guests and not much of a welcome. The better setup layers them over a timed baseline: the porch and path sit at a soft glow on their evening schedule, and a motion fixture brightens the driveway edge or side gate only when someone actually approaches. Some fixtures do both jobs in one body, idling at 20–30 percent brightness during their programmed hours and jumping to full power on motion — look for "dual brightness" or "accent plus security" in the description. Set the baseline to retire at your usual bedtime and let the motion sensor stand guard alone after that. In my experience this pairing is what makes a yard feel both welcoming and watched-over, and visitors get light the whole way to the door instead of one dramatic blast at the end.
Suggested budget range: $35 – $90.

16. Give Seasonal Displays Their Own Outdoor Timer
Holiday lights, a lit wreath, window candles, the inflatable your kids adore — seasonal displays are where timers earn their keep twice, because December-you is busy and January-you forgets things are plugged in. A dedicated outdoor timer with battery-backed memory keeps your settings through power blips, and a simple dusk-plus-six-hours program means the display sparkles all evening and never greets the sunrise. Mechanical timers are fine here and cost almost nothing; a smart plug adds app control and per-day schedules if your display nights vary. Run one timer for the whole display on a single outdoor-rated extension setup rather than a nest of indoor cords through a window. When the season ends, the timer goes in the bin with the lights, labeled, and next year you plug in the whole tradition at once. It also keeps seasonal wattage — even LED wattage — from quietly running twenty-four hours a day.
Suggested budget range: $15 – $40.

17. Upgrade to a Smart Transformer With App-Controlled Zones
If you've caught the bug, this is the grown-up version of the whole list: a Wi-Fi landscape transformer that runs several zones independently from one box, each with its own astronomical schedule set in an app. Path lights on zone one from dusk to midnight, tree accents on zone two for the early evening, the address plaque and step lights on zone three — all adjusted from your phone when the seasons change instead of with a flashlight at the box. Many offer scenes, so "Evening Welcome" snaps the yard to your favorite combination in one tap before guests arrive. It's the priciest idea here, but it replaces several separate timers and transformers, so the math is kinder than it looks. Setup is the same low-voltage wiring you already have; you're swapping the brain, not the lights. Once you've changed a schedule from the couch during a thunderstorm, you won't go back.
Suggested budget range: $120 – $300.

18. Set Battery Lanterns to Their Daily Timer Mode
The prettiest porch styling trick I know is also the laziest: most battery-operated lanterns and flameless candles hide a timer mode — switch it on once, and they glow for about five hours, then repeat at the same time every day like clockwork. Set them at dusk on day one and your porch gets styled, flickering candlelight every evening with zero ongoing effort. Group two or three lanterns at different heights beside the door or on the porch steps, and stick to flameless LED candles anywhere near wreaths, doormats, or dried arrangements — real flame and porch decor are a combination I never risk. Batteries last weeks to months in timer mode since the lanterns only run their evening shift. Honestly, this is the layer guests ask about most, and it requires no wiring, no transformer, and no electrician — just remembering to set the little switch to "timer" instead of "on."
Suggested budget range: $20 – $60.

19. Build One Master Evening Scene With Three Off-Times
Now pull it all together. A truly lived-in yard doesn't go dark in one click — it winds down like a house does. I program three off-times: accents and string lights retire around 10:30, path and step lights follow at midnight, and the porch anchor burns latest, either to a set late hour or dimmed until dawn. Every layer mentioned in this post can join that wind-down through its own timer, plug, or zone; the coordination is the only real work, and you do it once. Sketch the schedule on paper first — which lights, on at dusk, off when — and set each device to match. The result from the street is a house that settles in for the night the way people do, in stages. It looks occupied on the nights you're home, the nights you're out, and the nights you're three states away, which was the whole point.
Suggested budget range: $100 – $250.
Frequently Asked Questions
What type of timer is best for outdoor lights?
For most homes, an astronomical timer is the best single choice because it tracks sunset and sunrise automatically all year and never needs reprogramming when the seasons change. Mechanical timers are cheap and fine for seasonal displays, while smart plugs and smart transformers win when you want app control, multiple zones, or a vacation mode. If a light must respond to darkness itself — like a door anchor — a photocell fixture is simpler than any timer.
How long should front yard lights stay on at night?
A good default is accents and decorative layers from dusk until about 10 or 11 p.m., path and step lights until around midnight, and one anchor light at the door later still. Running everything until dawn wastes electricity and can annoy neighbors. Porch lights left on all night also lose their lived-in signal — a schedule with a beginning and an end looks far more like someone is home.
Do lights on timers use a lot of electricity?
Very little with LEDs. A typical layered front yard — a porch light, eight path lights, and a couple of accents — might draw around 60–80 watts total. Run for five hours a night, that's roughly 0.3–0.4 kilowatt-hours a day, or on the order of a dollar or two a month at average US rates. The timer actually saves money compared with forgetful habits, since lights never burn through the day or all night by accident.
Can I put my existing lights on a timer without rewiring?
Usually, yes. Hardwired fixtures can be scheduled with smart bulbs, a smart plug works for anything that plugs in, photocell adapters screw into standard sockets, and in-wall timer switches replace an existing switch without new runs of wire — most just need a neutral wire present. The only setups that truly need an electrician are brand-new circuits or fixtures where no switch or outlet exists at all.
Conclusion
Front yard lighting with timers is really just hospitality on a schedule: the porch glows before you get home, the path is lit for anyone who needs it, and the whole house settles down in stages like someone lives there — because someone does. Start with one anchor on an astronomical timer, add your layers zone by zone, and let the system take it from there. Browse more of my outdoor lighting ideas here on the site whenever you're ready to plan the next layer.