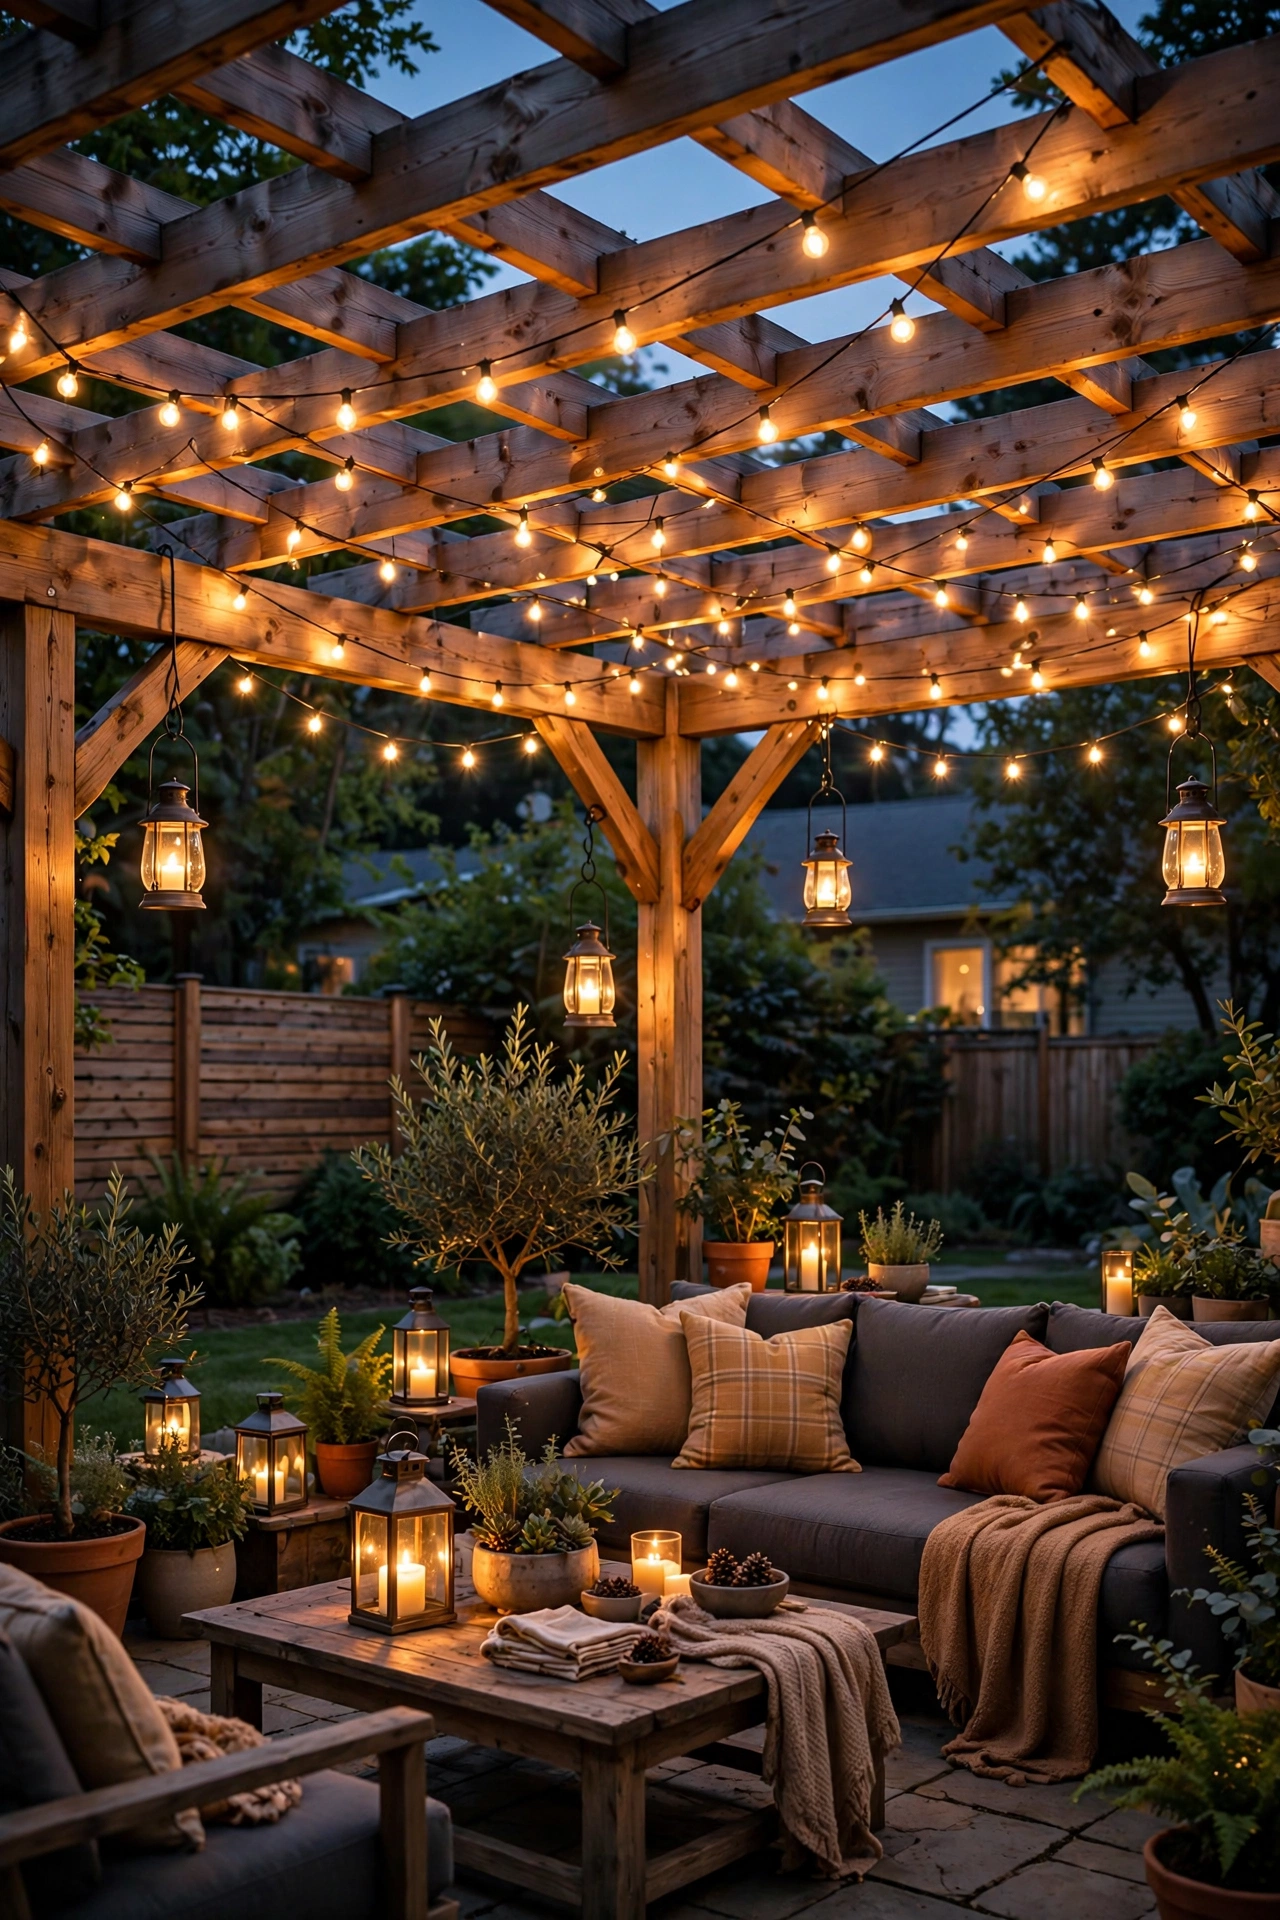
There is a particular magic that happens when the sun goes down and a pergola starts to glow. I've stood in my own backyard more times than I can count, drink in hand, watching plain wooden beams turn into something out of a movie set — and honestly, it's the lighting doing all the heavy lifting. If you're hunting for pergola lighting ideas that work in real backyards (not just styled photoshoots), you're in the right place.
In my experience, the secret is layering: one hero light for the big glow, a few task lights so you can see your dinner plate, and tiny accents twinkling at the edges. Get those three layers right and your pergola becomes the spot everyone fights over on warm evenings. Below are 25 ideas from $15 solar strings to statement chandeliers, each with real how-to details — spacing, bulb types, timers, weatherproofing — so you can build your favorites this weekend.
1. The Classic String-Light Canopy: The Pergola Lighting Ideas Starter Everyone Loves
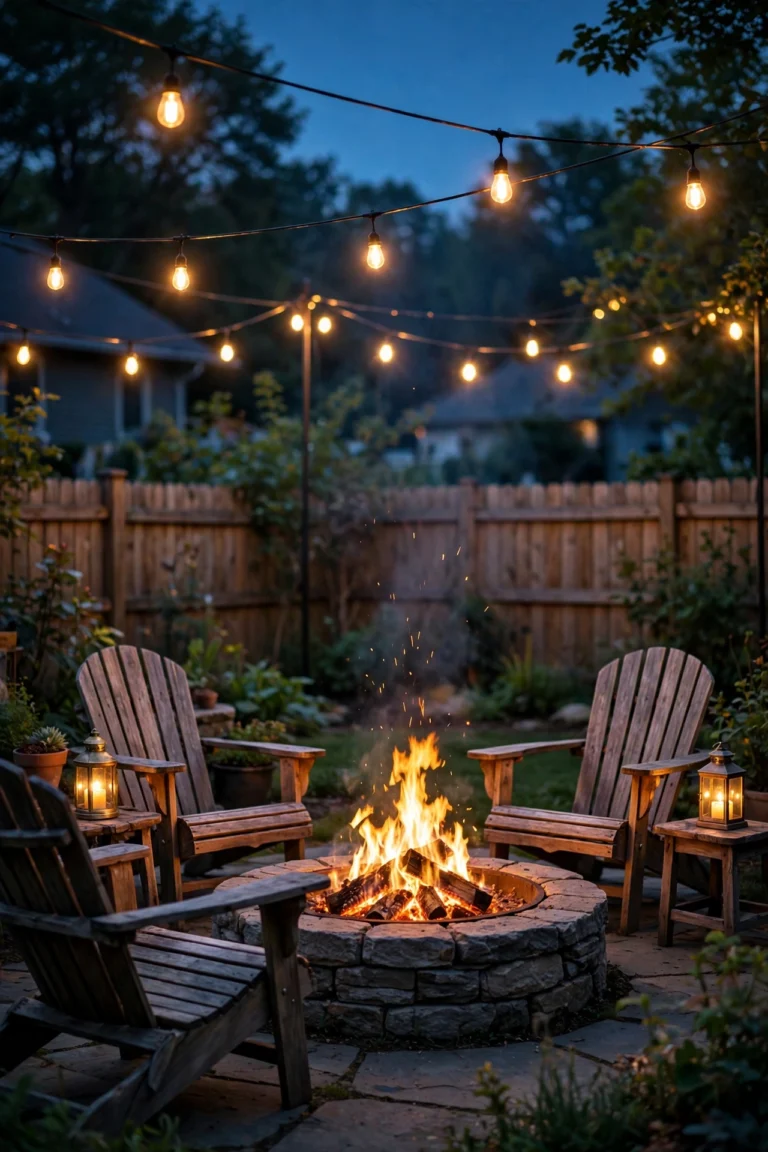
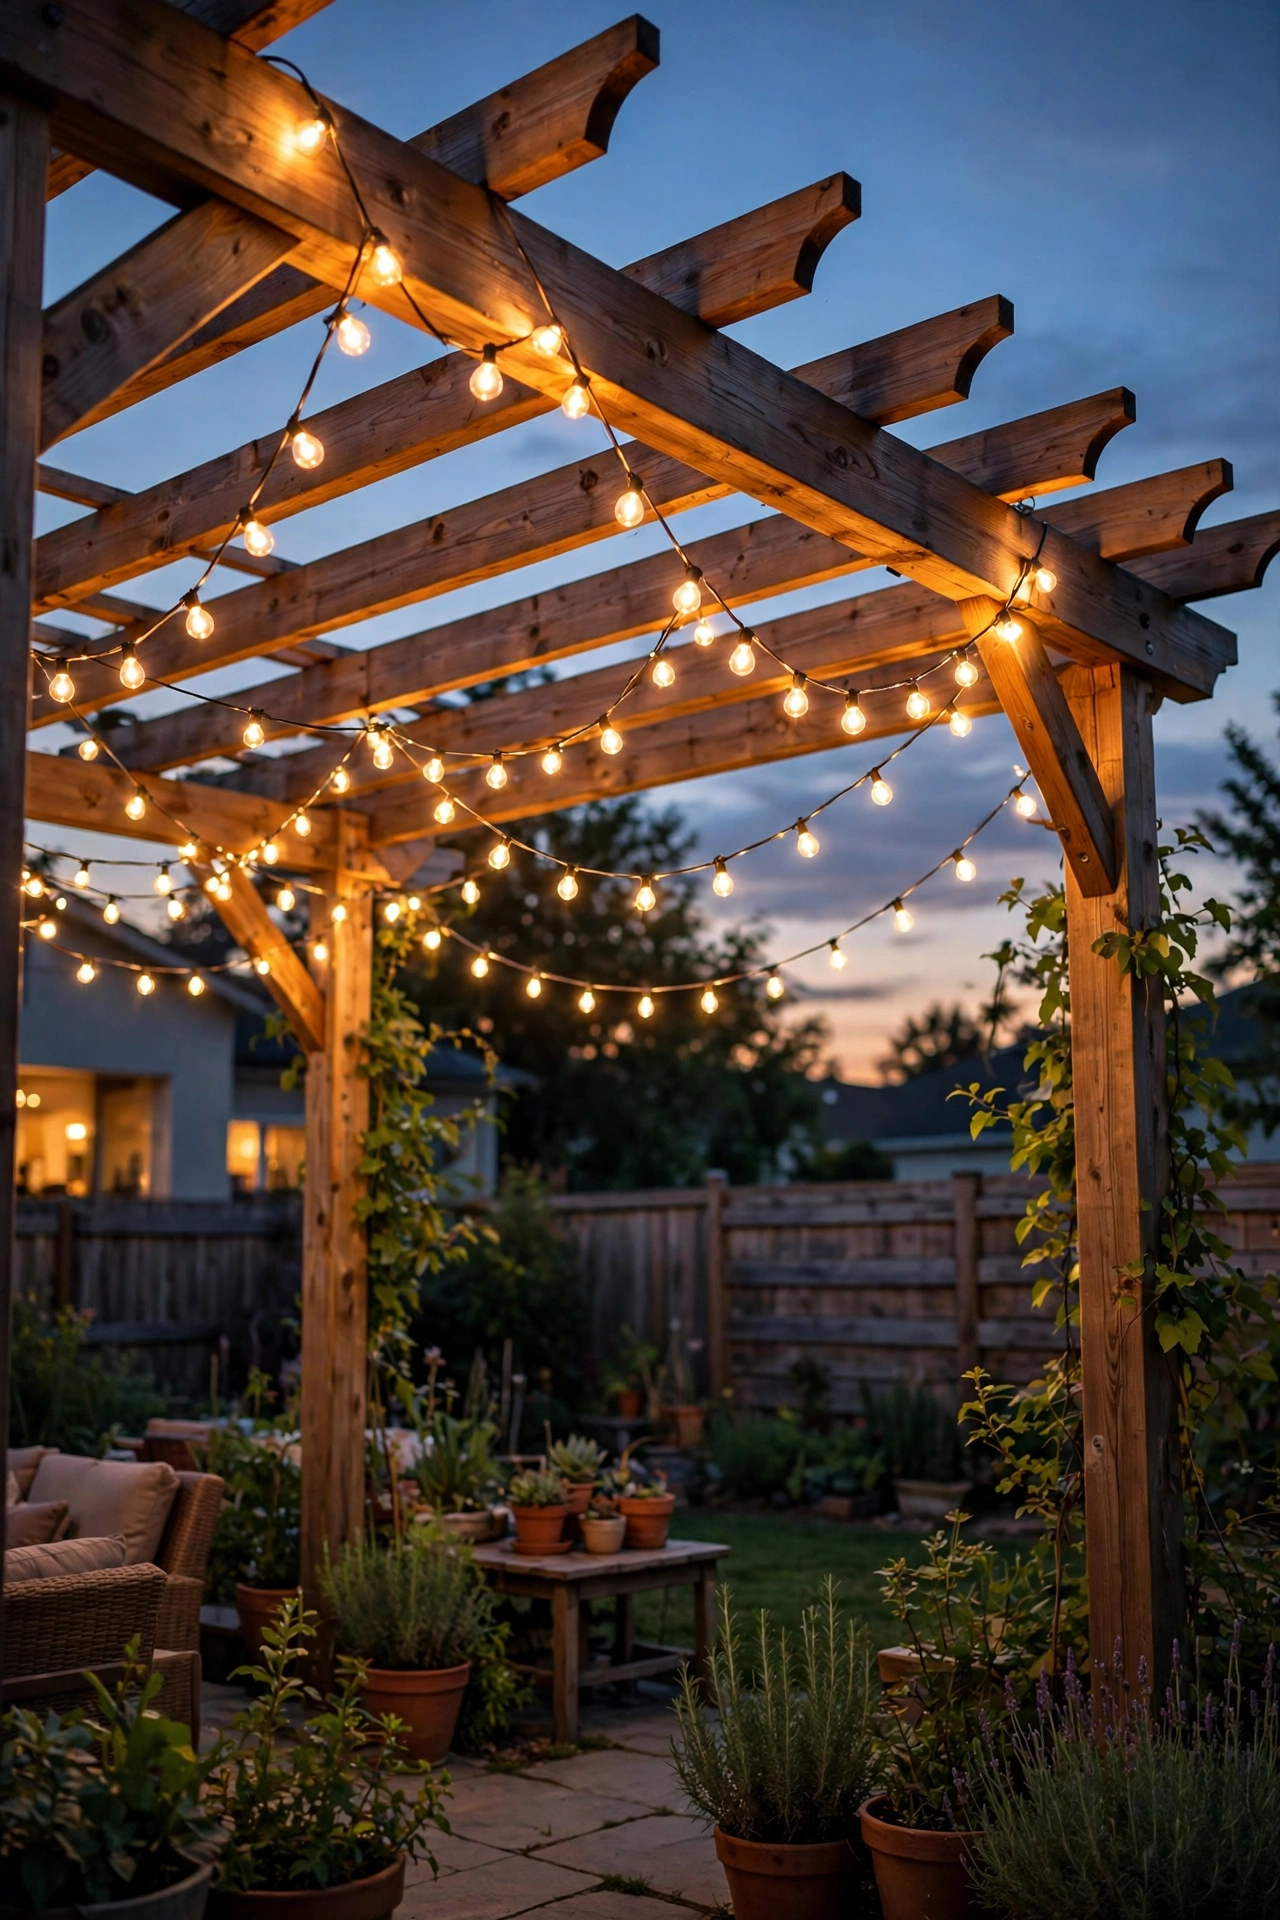
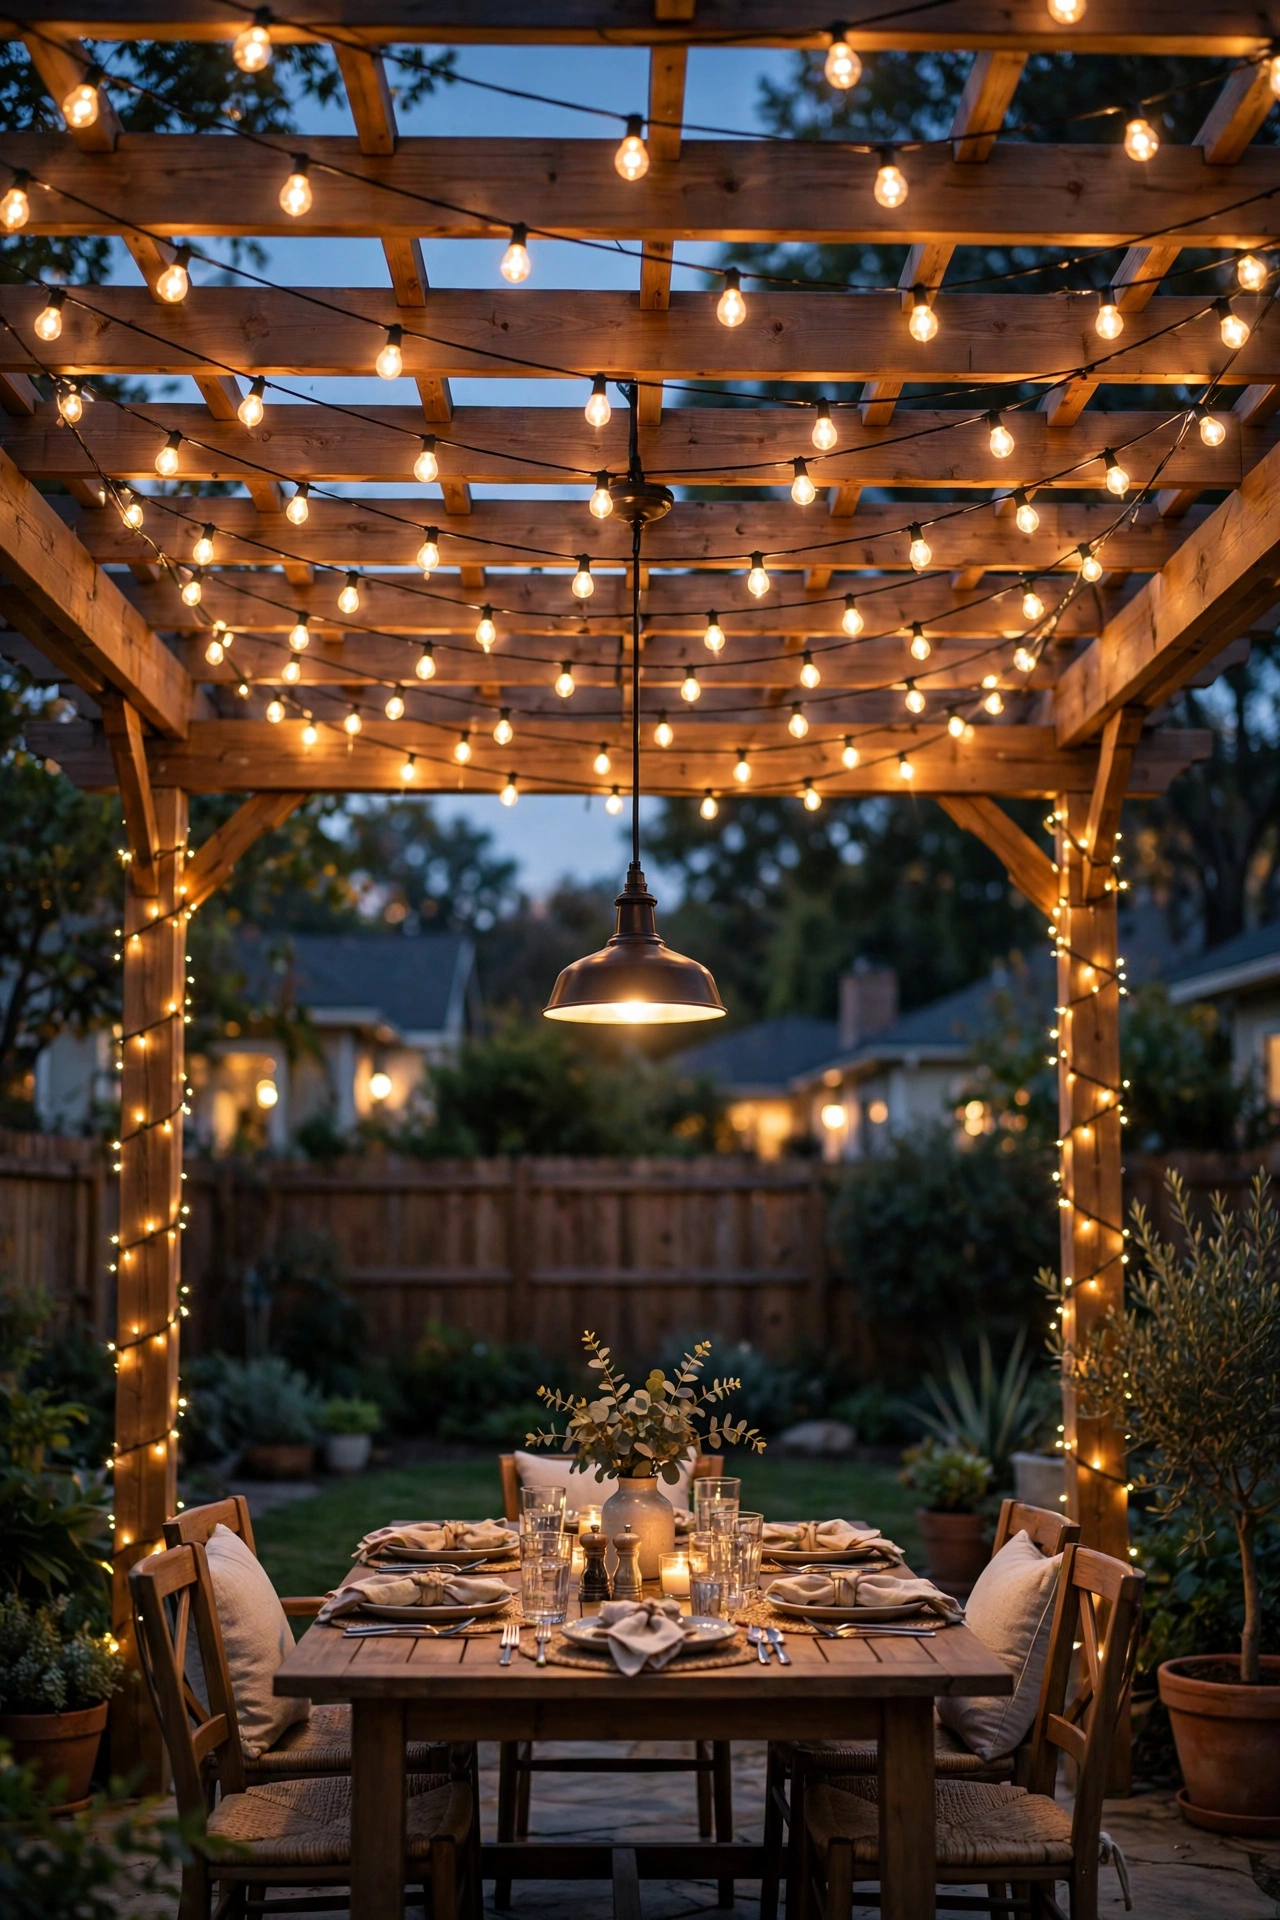
If you only do one thing on this list, make it this. A canopy of warm-white string lights zigzagged across the pergola top is the fastest transformation there is, and I always recommend it as the foundation everything else builds on. For a standard 12-by-16-foot pergola, grab two or three 48-foot strands of outdoor-rated LED string lights with shatterproof bulbs — look for "connectable" on the box so strands link end to end.
Run them in a loose zigzag, sagging 6 to 8 inches between attachment points for that effortless café drape, with swags about 2 feet apart. I use small stainless screw hooks (never staples — they nick wire insulation over time) every 2 to 3 feet, keeping the lowest point at least 7 feet off the ground. Choose 2700K warm-white bulbs; anything cooler reads harsh against wood. Plug into a dusk-to-dawn photocell timer so they click on automatically every evening. Safety note: only use wet-location-rated lights with a UL or ETL mark, and never connect more strands than the manufacturer allows.
Suggested budget range: $45 – $120.
2. Edison Bulb Zigzag Runs for Vintage Warmth
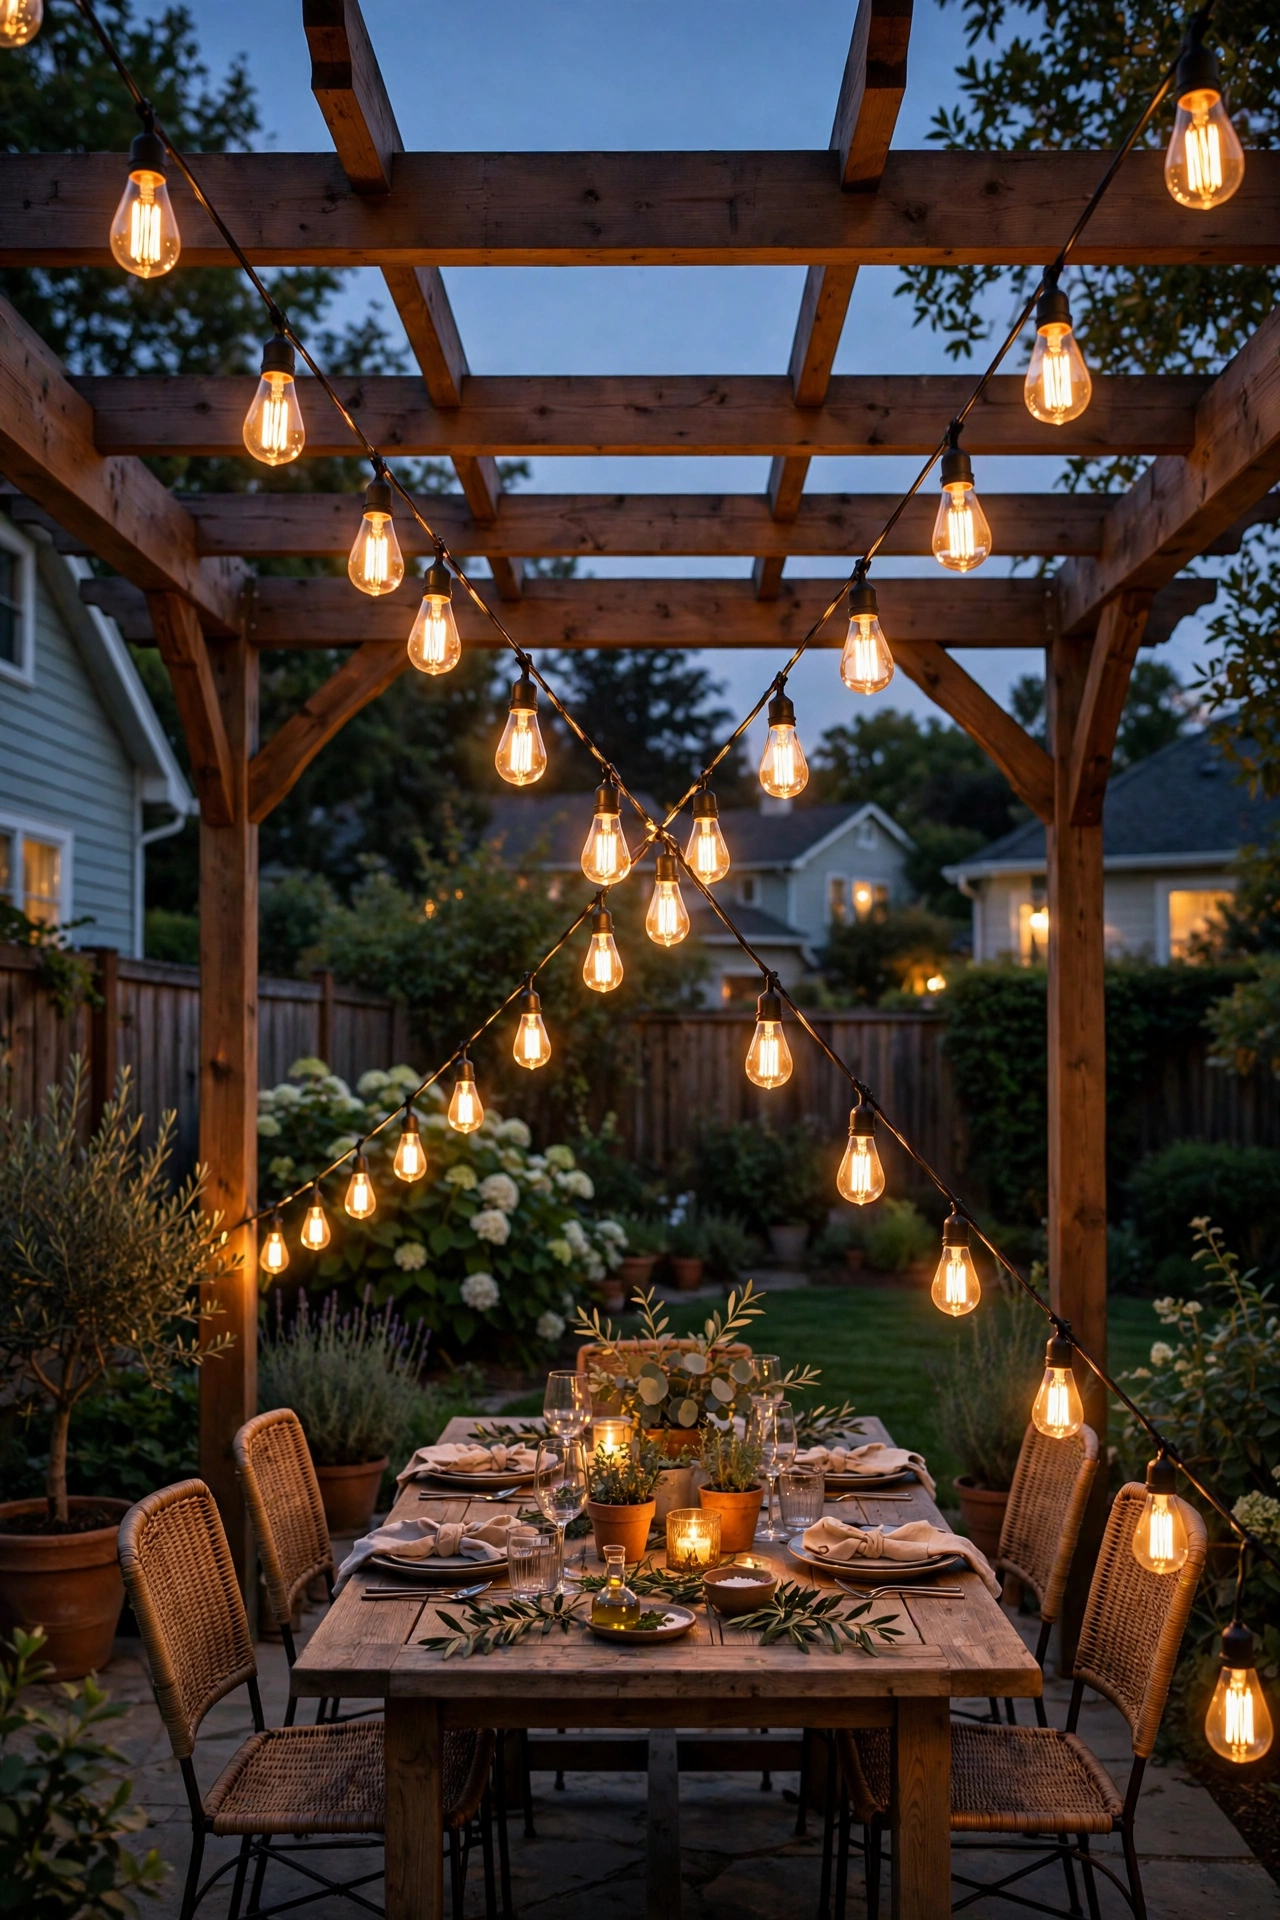
Edison-style filament bulbs cast an amber, old-soda-shop glow that flatters everything — and everyone. Skip the delicate indoor replicas and buy outdoor-rated LED Edison strings; the filaments are LED, so they stay cool and sip electricity. A 12-foot run typically holds 10 to 15 bulbs spaced about 12 inches apart — close enough to read as a continuous glow, far enough for soft shadows.
Instead of parallel runs, zigzag two strands in an X pattern across the roof. The crossing lines form little diamonds of light that fill the ceiling plane evenly and photograph beautifully. Mount with screw-in cup hooks, leaving 4 inches of drop at each hook so strands sway without stressing sockets. In my experience, Edison bulbs beg for a dimmer — add an outdoor-rated plug-in dimmer and you'll slide from dinner-party bright to late-night low in seconds. Weatherproofing tip: choose strands with sealed rubber-gasket sockets, and hang them so water drips off the wire rather than pooling in a socket.
Suggested budget range: $60 – $150.
3. Café Bistro Lights With a Plug-In Dimmer
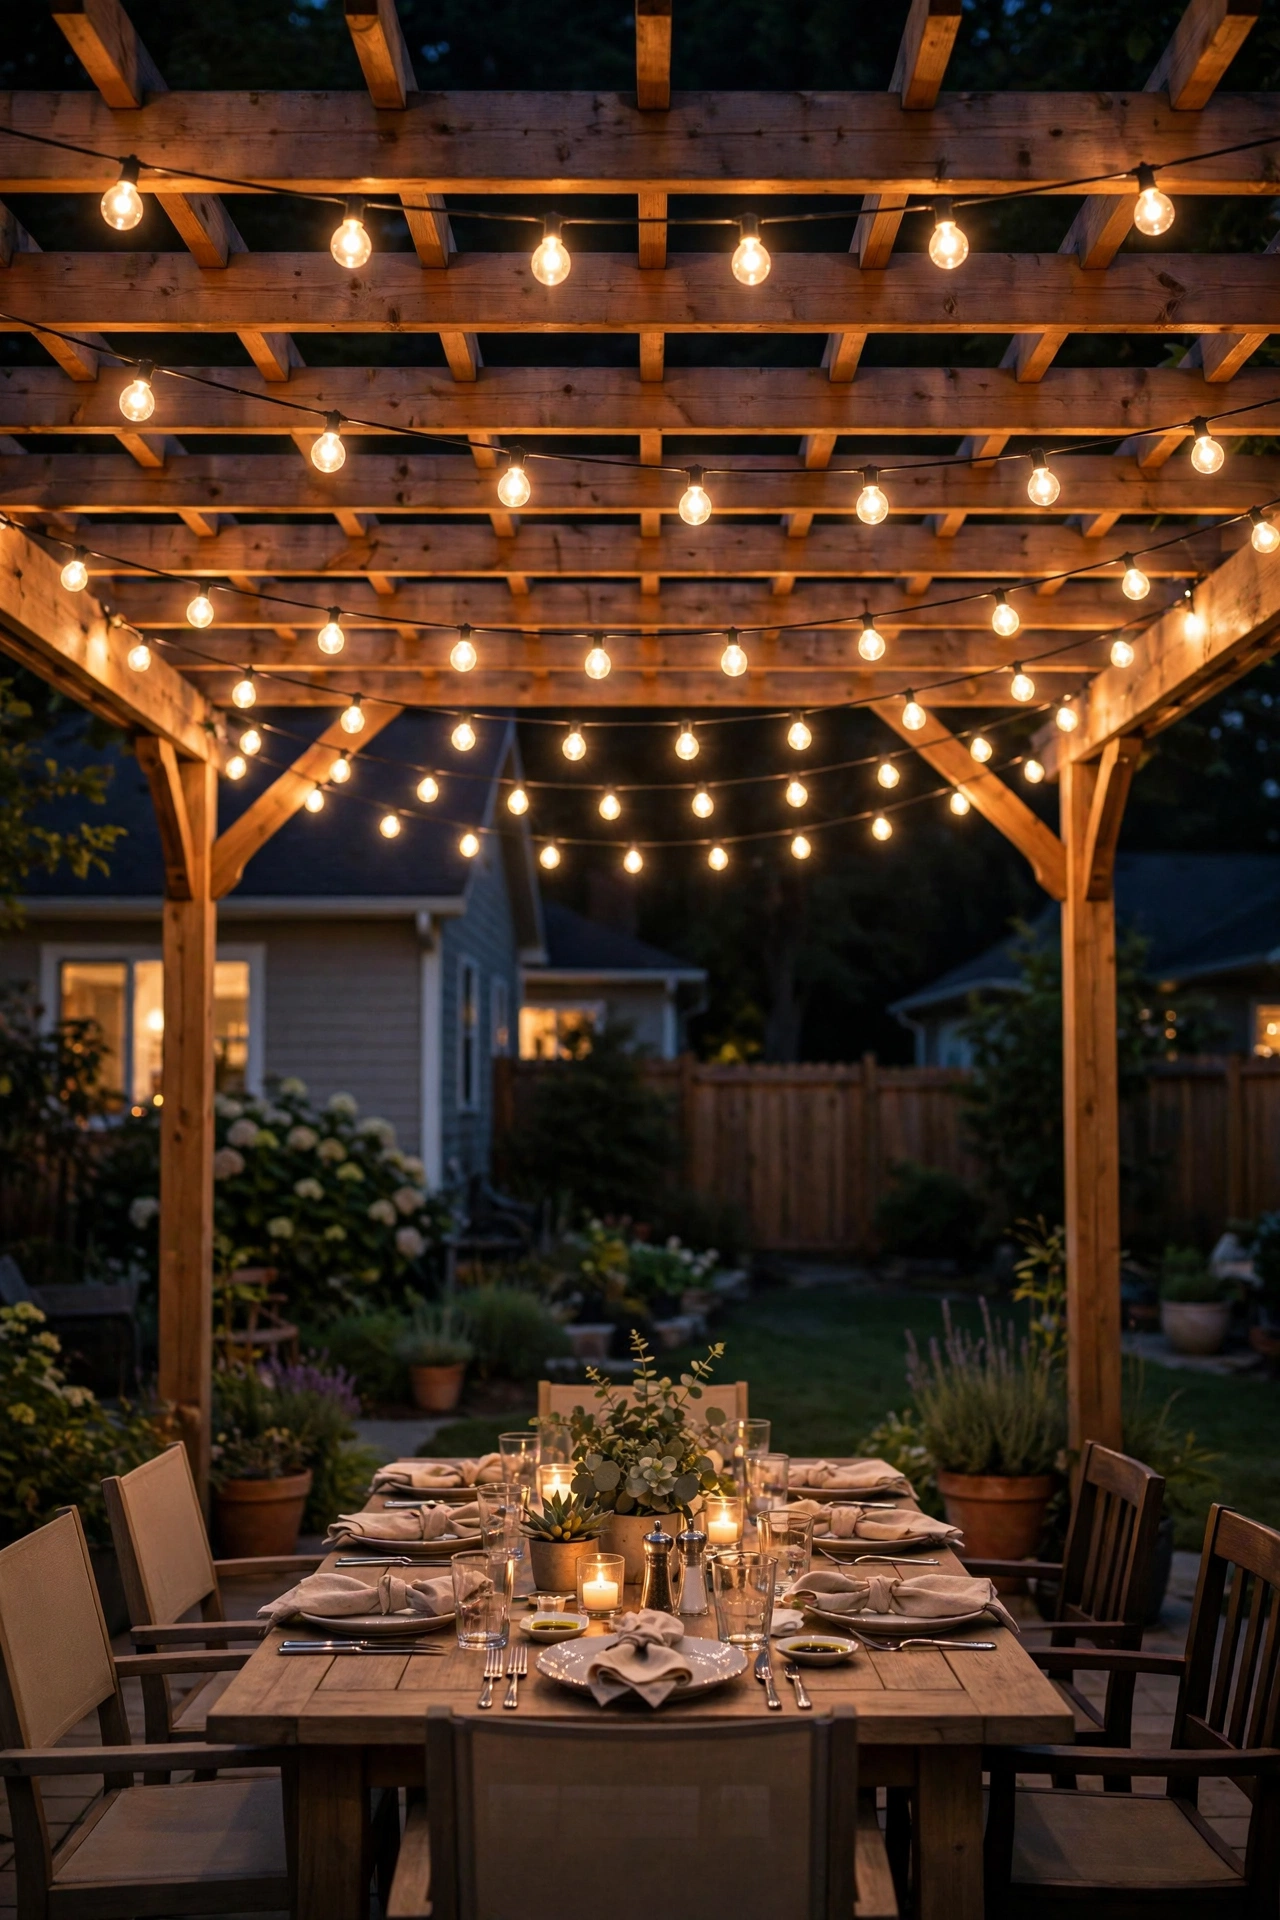
Bistro lights are string lights' chunkier cousin — bigger G40 globes (about 1.5 inches across) that throw noticeably more usable light. If you actually eat dinner under your pergola, this is my pick over fairy lights. One 48-foot strand with 15 G40 LED bulbs covers roughly 40 to 50 square feet of table at a genuinely useful brightness.
Hang two or three parallel rows running the short direction across the pergola, rows about 3 feet apart, bulbs 7.5 to 8 feet above the floor. The parallel-line look is cleaner and more modern than a zigzag, and it centers light over a dining table. Pair with an outdoor plug-in dimmer — honestly the best $20 upgrade in outdoor lighting: full brightness for serving food, 30 percent for lingering over dessert. Confirm every component (lights, dimmer, extension cord) is outdoor-rated, plug into a GFCI-protected outlet, and keep connections off the ground in a weatherproof cord box.
Suggested budget range: $70 – $180.
4. Clustered Paper Lanterns for Soft, Diffuse Glow
Paper lanterns turn a pergola into a floating cloud of light, and they're ridiculously affordable. The trick is clustering: hang odd-numbered groups of three, five, or seven at staggered heights, about 12 to 18 inches between lantern centers. Mix sizes — 10, 12, and 16 inches in one cluster — for that effortless, designed look.
Use LED pucks or battery fairy-light bundles inside each lantern rather than cords; it keeps clusters clean and lets you hang them anywhere, no outlet needed. Buy outdoor-rated lanterns in treated paper or nylon — standard indoor paper sags and spots after one good rain. In my experience, they last two to three seasons if you bring them in during storms. The critical safety rule: LED only. Never put a real candle or incandescent bulb inside a paper lantern — LEDs stay cool enough to be safe near fabric. Space clusters at least 3 feet apart so the glow reads as separate "clouds."
Suggested budget range: $25 – $75.

5. Post-Mounted Lanterns for Architectural Structure
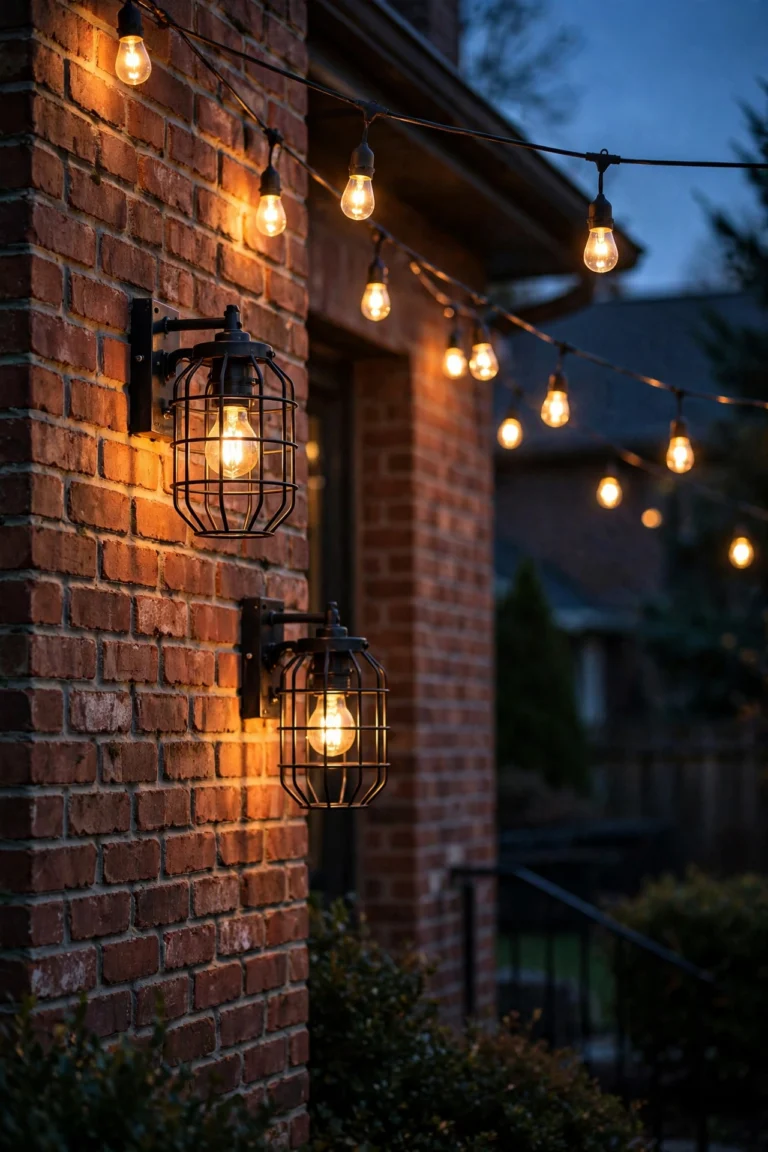
Overhead lights make the magic, but lanterns on the posts give the space its bones. Mount one lantern per post — four posts, four lanterns — centered 5.5 to 6 feet off the ground, putting light at face level for standing conversation while washing the posts in warmth. Choose lanterns with clear or seeded glass and an LED candle-style bulb (2700K, 400 to 800 lumens each).
Mount with a French cleat or sturdy L-bracket rated for the lantern's weight; skip adhesive hooks for anything over a pound or two. On wood posts, pre-drill to avoid splitting. Black metal looks sharp against cedar or stained wood; galvanized or brushed-nickel suits lighter, coastal-style pergolas. This is a set-it-and-forget-it layer — put them on the same dusk-to-dawn timer as your string lights and the pergola glows every evening. All lanterns must be outdoor-rated, and any hardwired junction box needs a weatherproof cover.
Suggested budget range: $80 – $250.
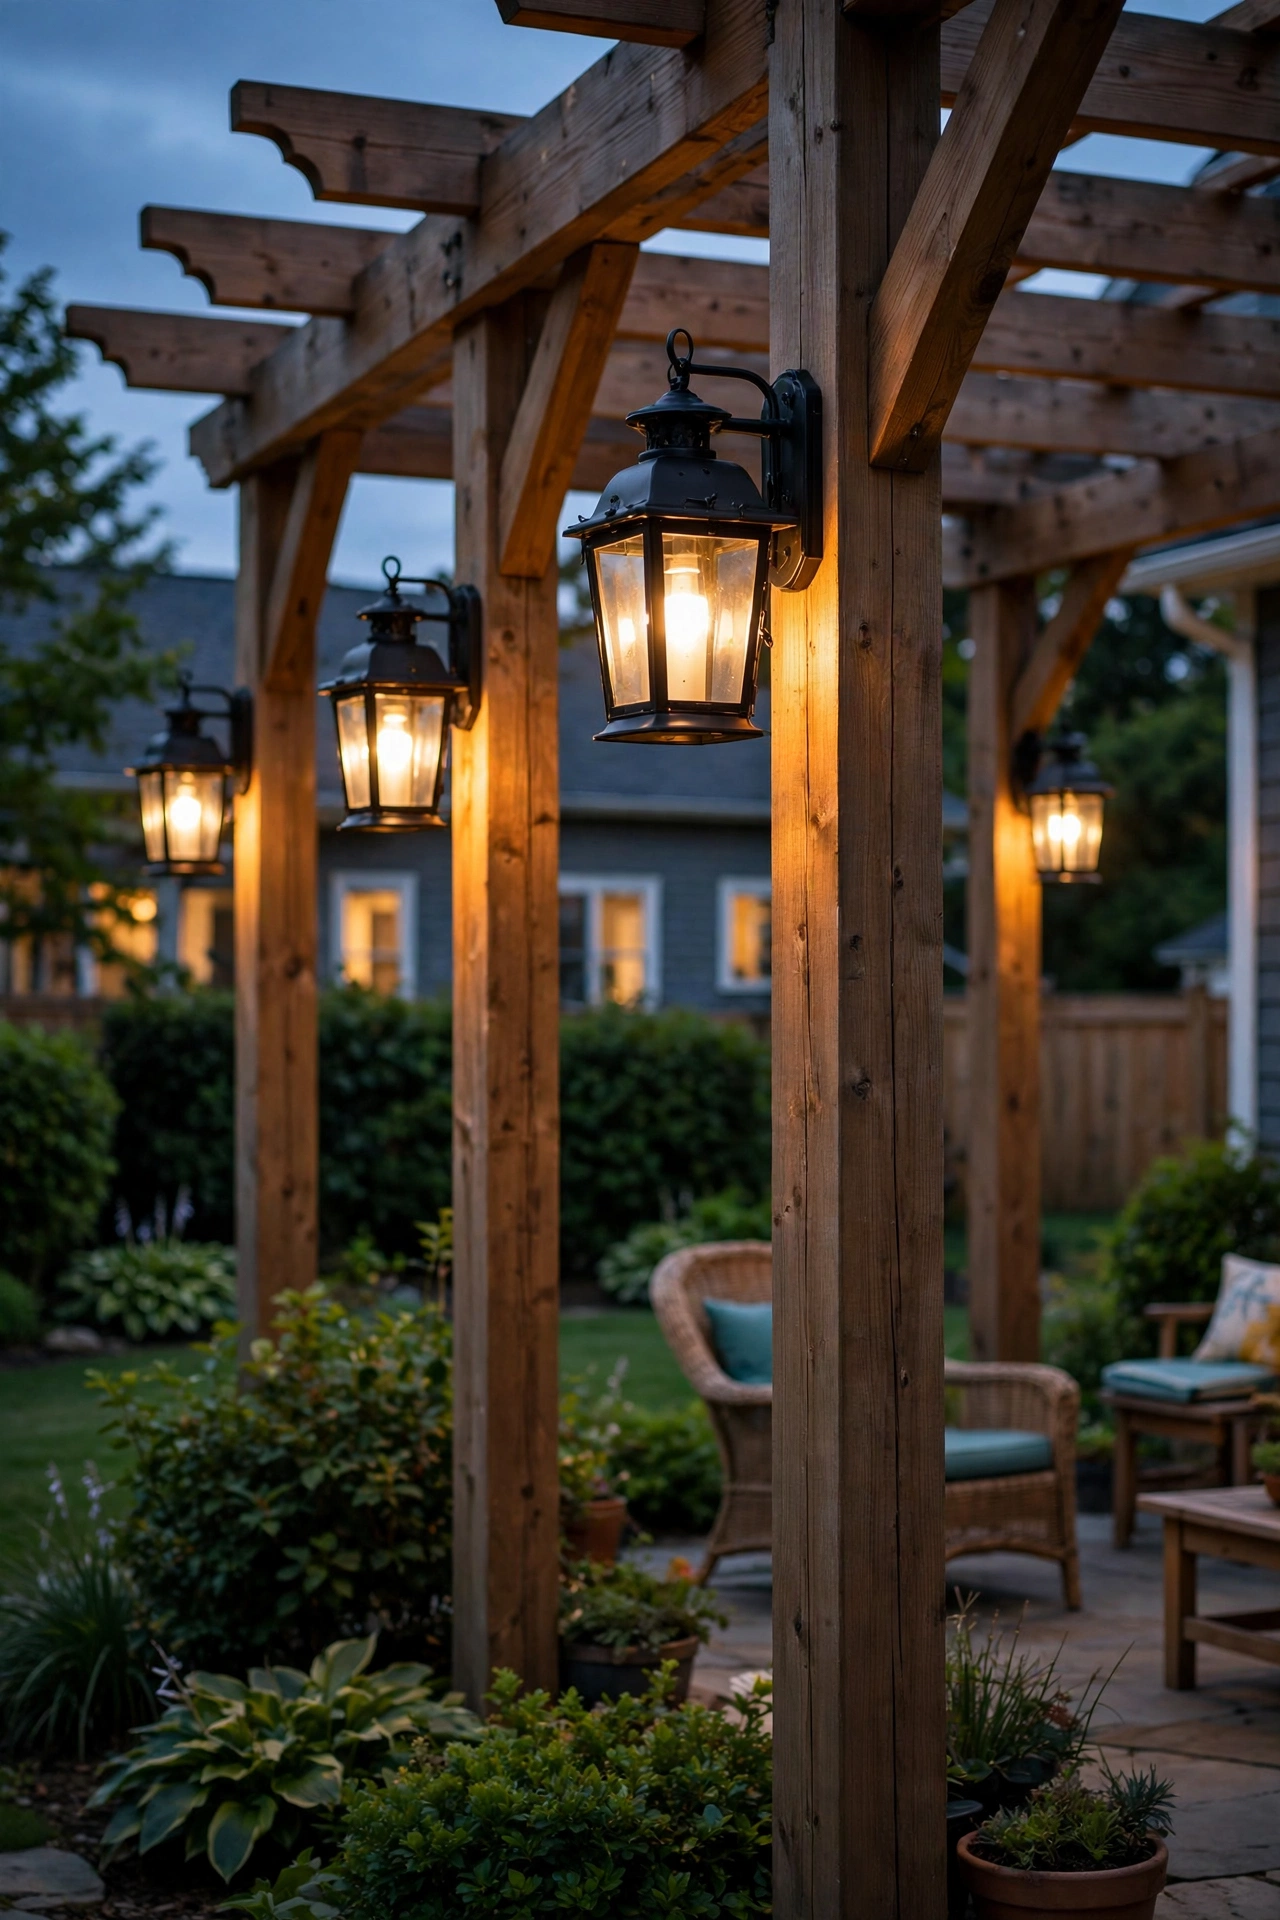
6. Downlight Sconces on the House-Side Posts
If your pergola attaches to the house, the two posts nearest the wall are made for downlight sconces — fixtures that throw a soft cone of light downward. This is my favorite task-lighting trick: mount one sconce at 6 to 6.5 feet on each house-side post and you get a pool of light exactly where people stand, chat, and set down drinks. Aim for 300 to 600 lumens per sconce with a wide 60-degree beam so light washes the post and ground instead of glaring into eyes.
These are hardwired fixtures, so call an electrician unless you're comfortable with outdoor wiring — the run needs a GFCI-protected circuit with weatherproof conduit or direct-burial cable, plus in-use weatherproof covers on every box. Choose "dark sky" fixtures with a shielded top so light goes down, not into the neighbor's bedroom. Paired with softer overhead string lights, you get brightness to move safely plus dimmable ambience that feels romantic. Bronze or matte-black finishes age beautifully outdoors.
Suggested budget range: $150 – $500 (including electrician).
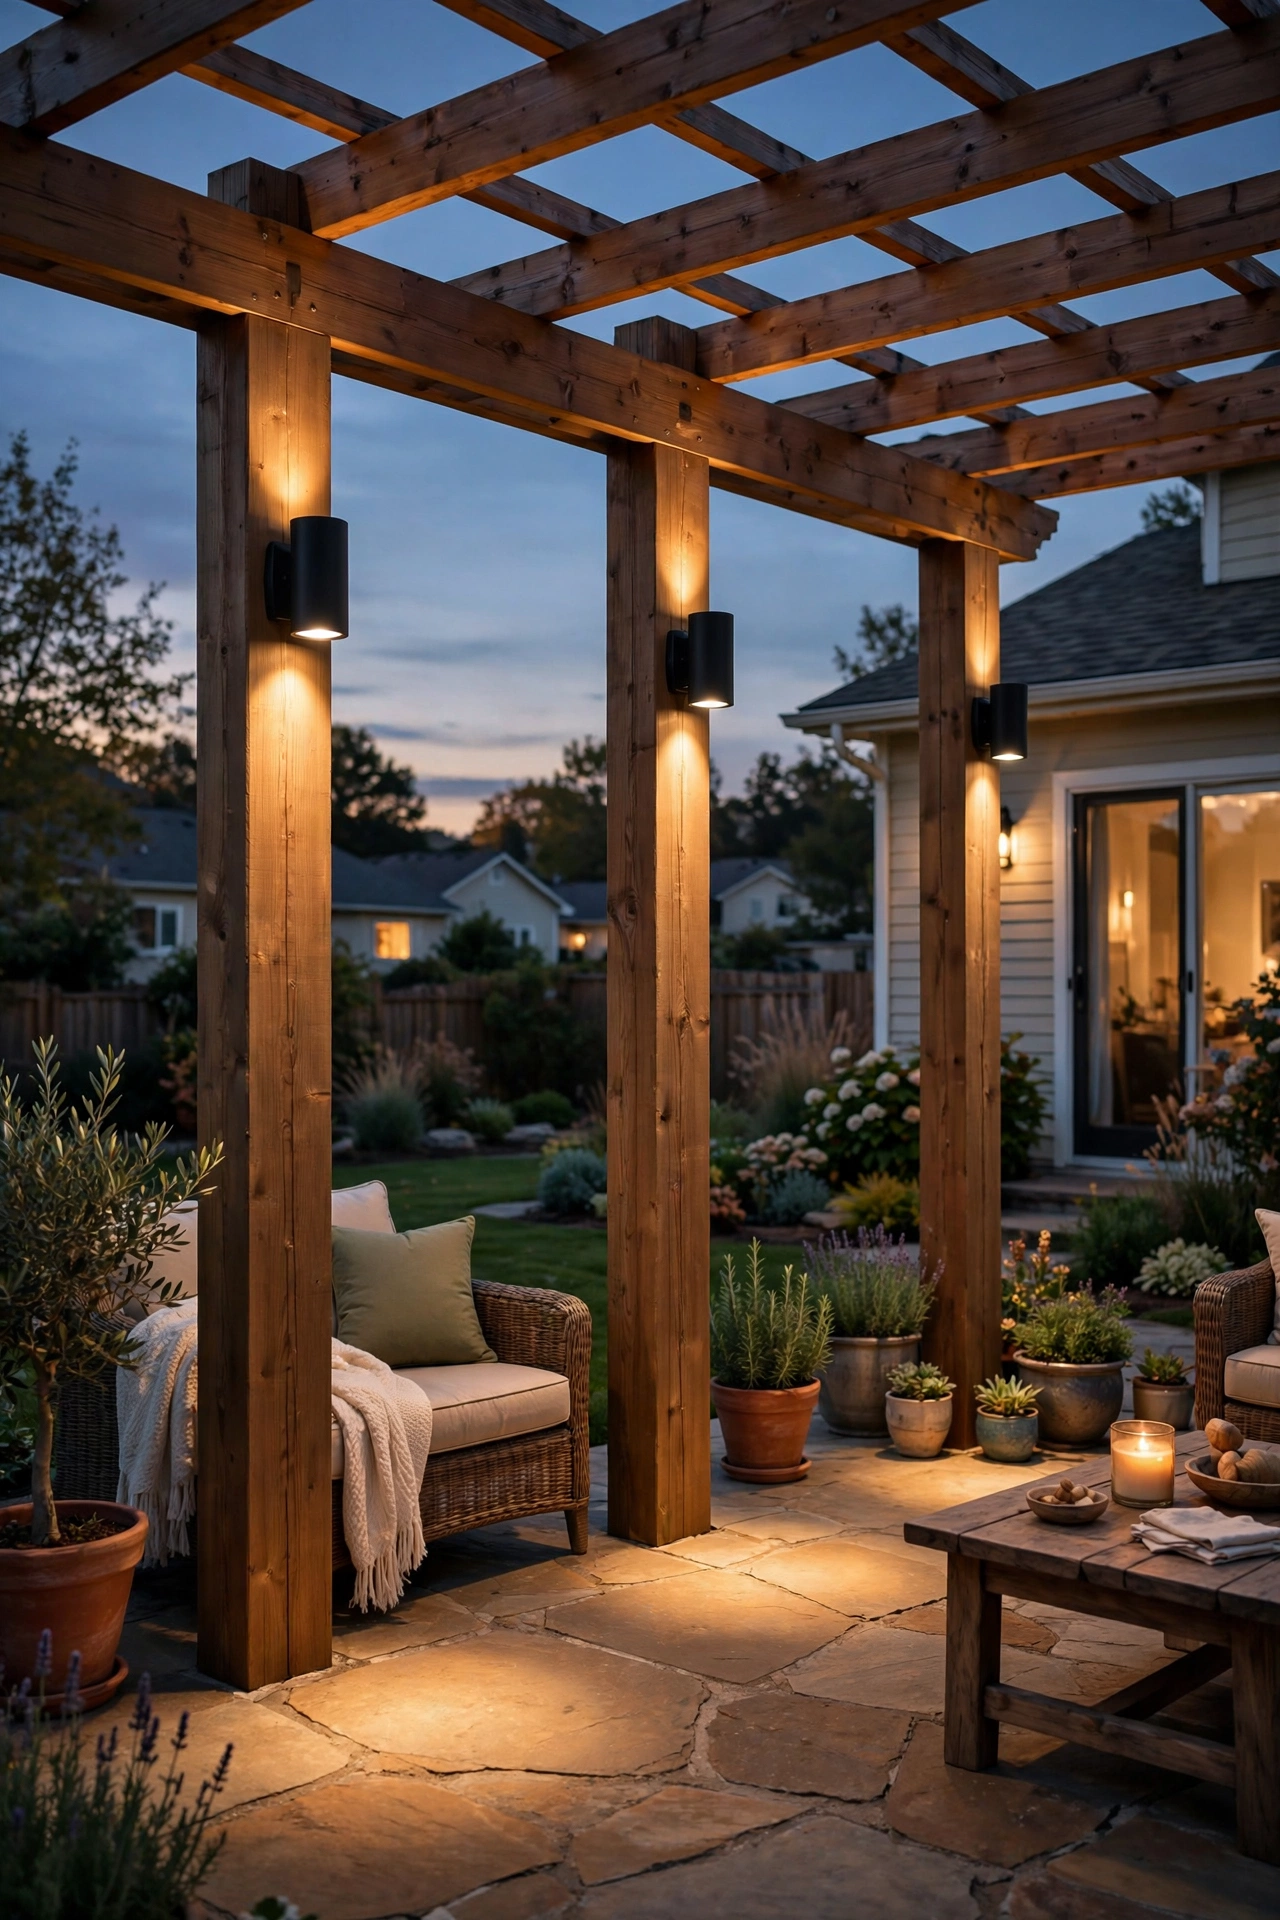
7. A Hanging Pendant Over the Dining Table
Nothing says "outdoor dining room" like a pendant over the table. Hang one generous pendant — 14 to 20 inches in diameter — centered over the table, bottom of the shade 30 to 36 inches above the tabletop. That height lights the food without blinding anyone across the table. For a long farmhouse table, hang two or three smaller pendants (10 to 12 inches each), spaced 30 inches apart on center.
Use an outdoor-rated pendant — damp-location minimum, full wet-location if the pergola roof is open to the sky. I love metal dome or woven-look composite shades; they read substantial from across the yard. Wire it on a dimmer with a dimmable 2700K LED bulb. Hang from a rafter with a swag hook and outdoor-rated cord, or hardwire for the cleanest look. Styling tip: echo the pendant's finish in your post or table lanterns so the pergola feels designed, not assembled. Keep it at least 3 feet from fabric canopies or curtains.
Suggested budget range: $90 – $350.
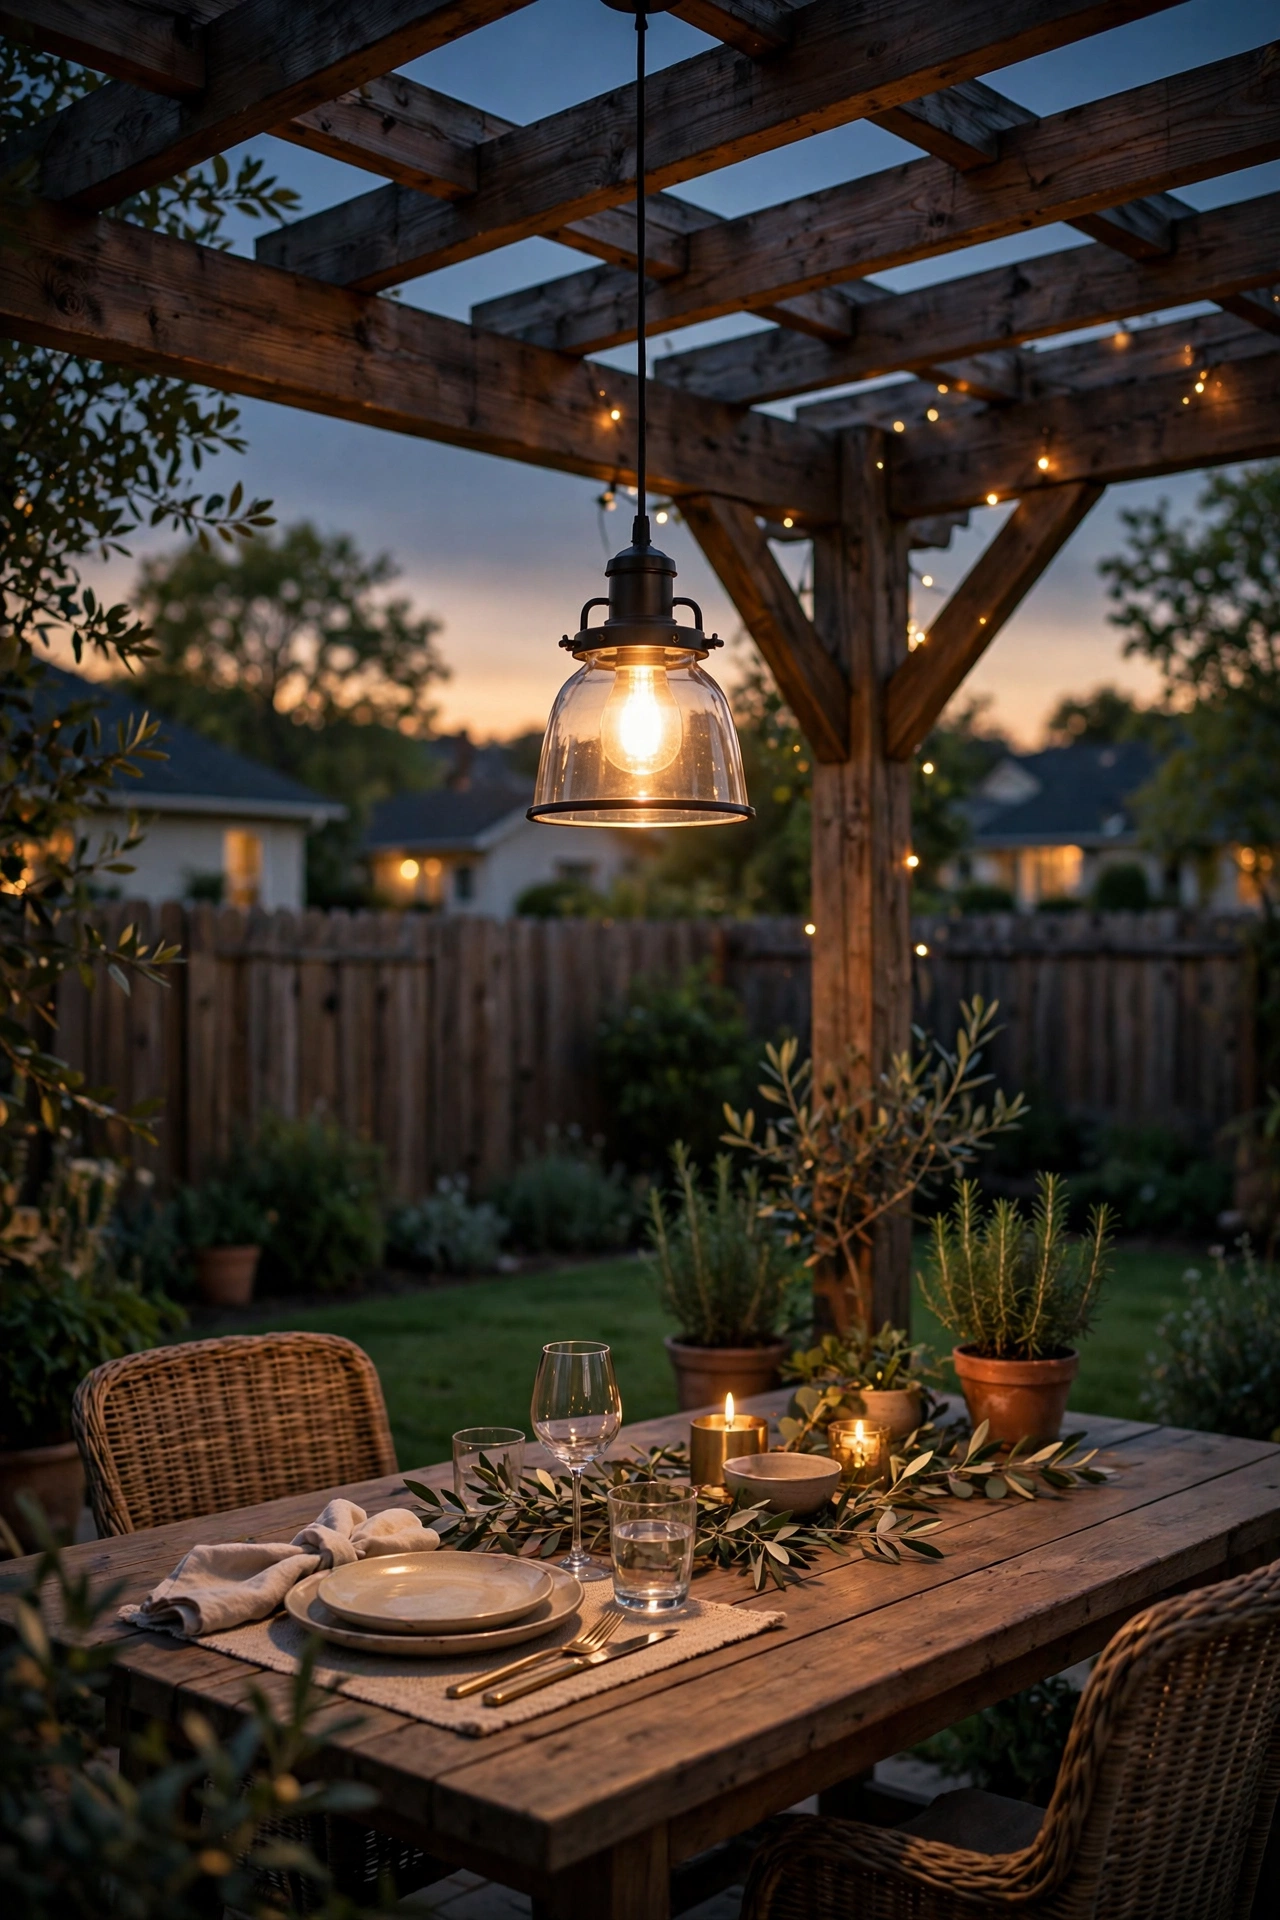
8. An Outdoor Chandelier as the Showstopper
For the pergola that anchors your whole backyard, a chandelier makes guests ask, "Wait — this is OUTSIDE?" Modern outdoor chandeliers are built for weather: powder-coated frames, sealed LED candle sleeves, wet-location ratings. Hang from a single reinforced point on the center beam. Size it to the space — diameter roughly one-half to two-thirds the width of the seating area below — with the lowest point at least 7 feet off the floor.
A 4- to 6-arm chandelier with LED candelabra bulbs (4 to 5 watts each, 2700K) throws surprising light — enough to anchor a lounge set alone. Because it draws the eye, keep everything else quieter: one simple string-light run, a few table candles, done. Verify your beam can hold the weight (most are 10 to 25 pounds) and use a weatherproof mounting hook rated for double that. Put it on a dimmer — full brightness for arrivals, 40 percent for the rest of the night.
Suggested budget range: $180 – $600.

9. Solar Post Cap Lights (Zero Wiring Required)
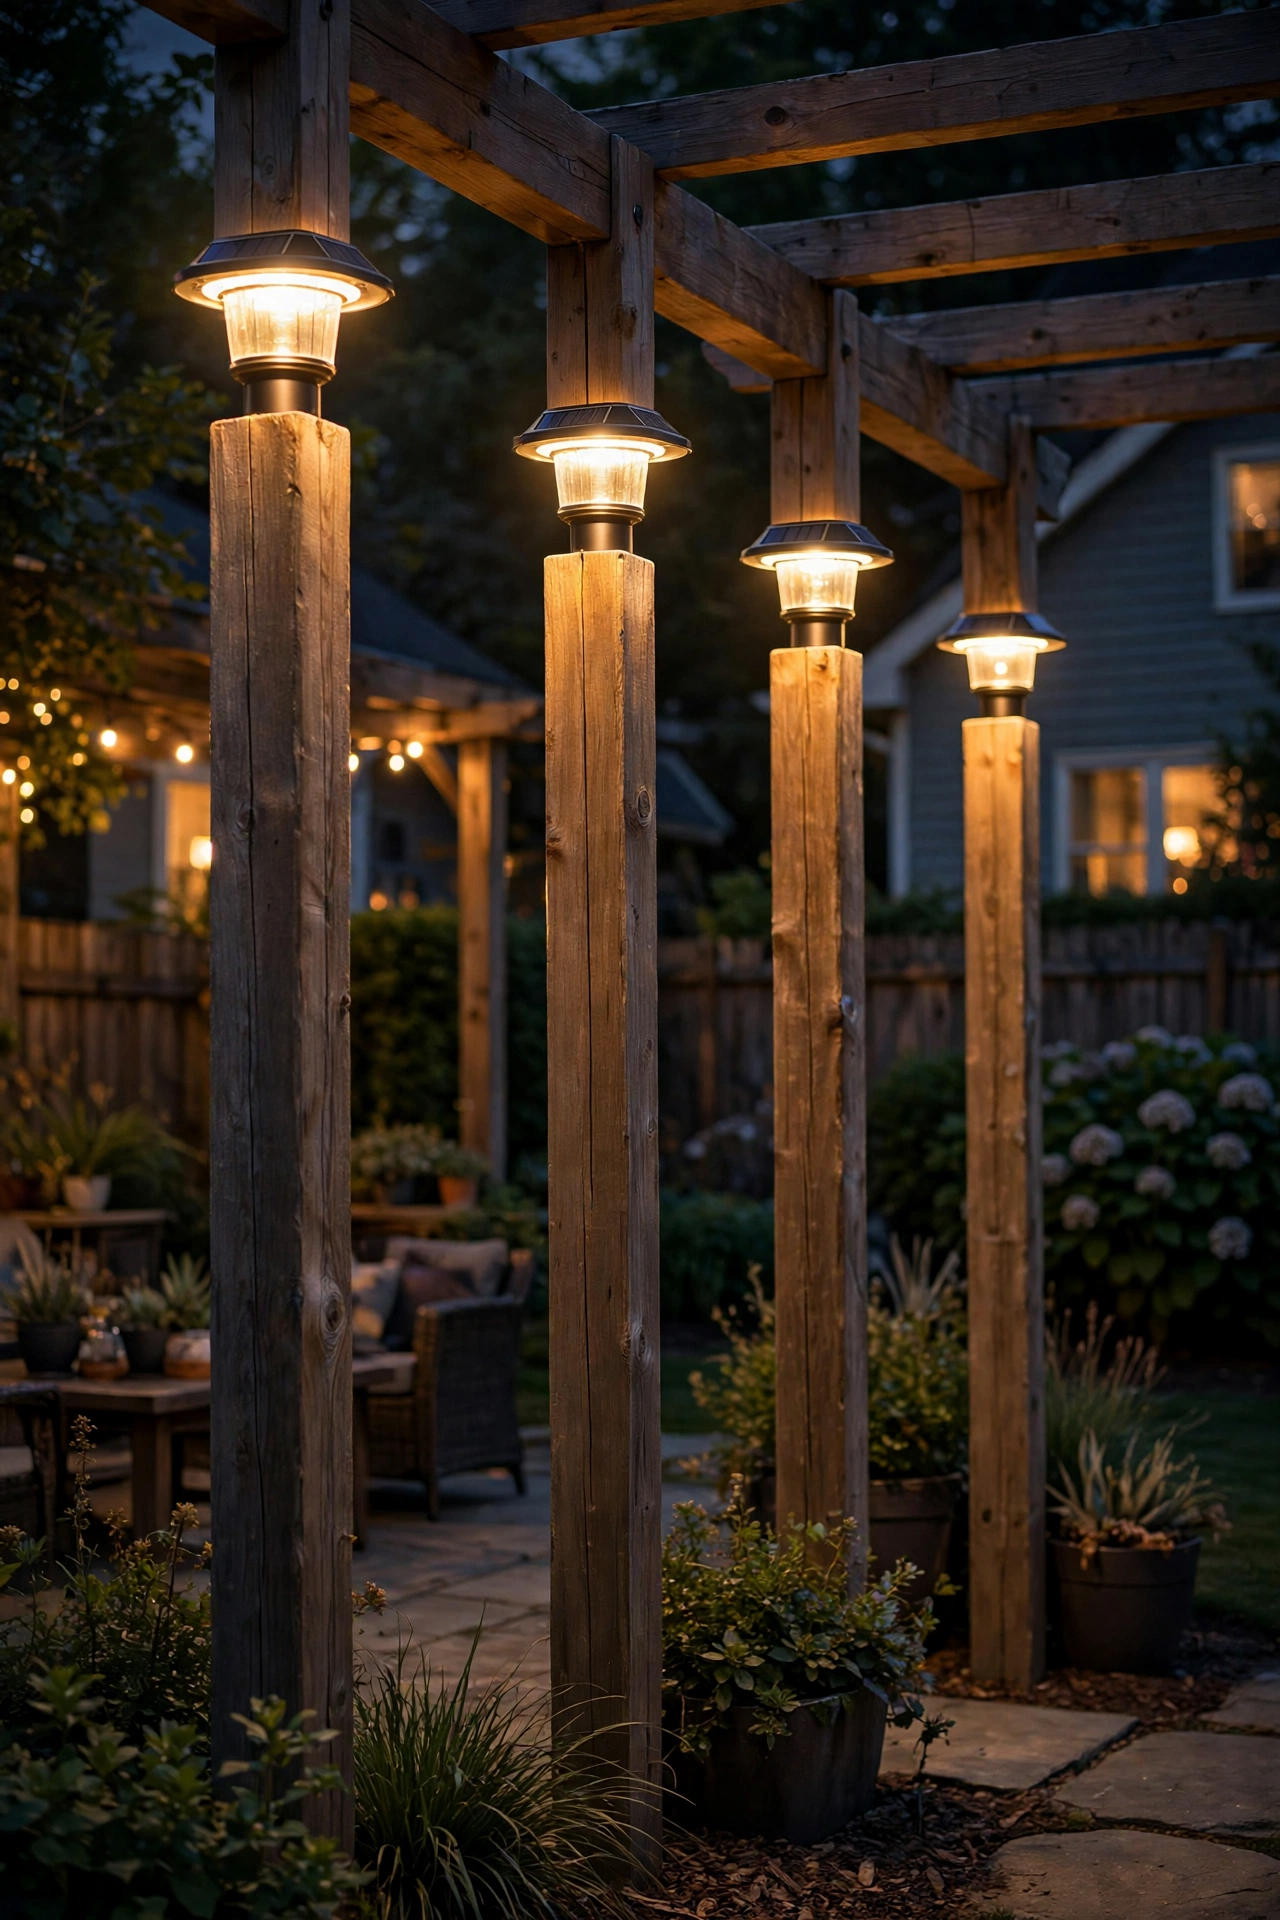
The easiest win on this list: solar post caps that drop right onto your pergola posts. No wiring, no electrician, no batteries to change — the panel charges by day, the cap glows by night. Measure post tops first (most pergola posts are 4×4 or 6×6, actually 3.5 and 5.5 inches square) and buy caps that fit snugly; a wobbly cap ends up on the lawn.
Expect a soft accent glow, not task lighting — most caps put out 10 to 30 lumens, perfect for defining the pergola's footprint and outlining the structure from across the yard. Each cap's panel needs at least 6 hours of direct sun; caps shaded by trees or a roofed pergola will glow dimly or not at all. In my experience, they run 8 to 10 hours on a summer charge, 4 to 6 in winter. Choose warm-white LEDs (cool white looks clinical on wood) with a dusk-to-dawn sensor, and pick models with replaceable rechargeable batteries to stretch their life to several years.
Suggested budget range: $40 – $140 for a set of four.
10. Fairy-Light Curtain Walls for a Glowing Backdrop
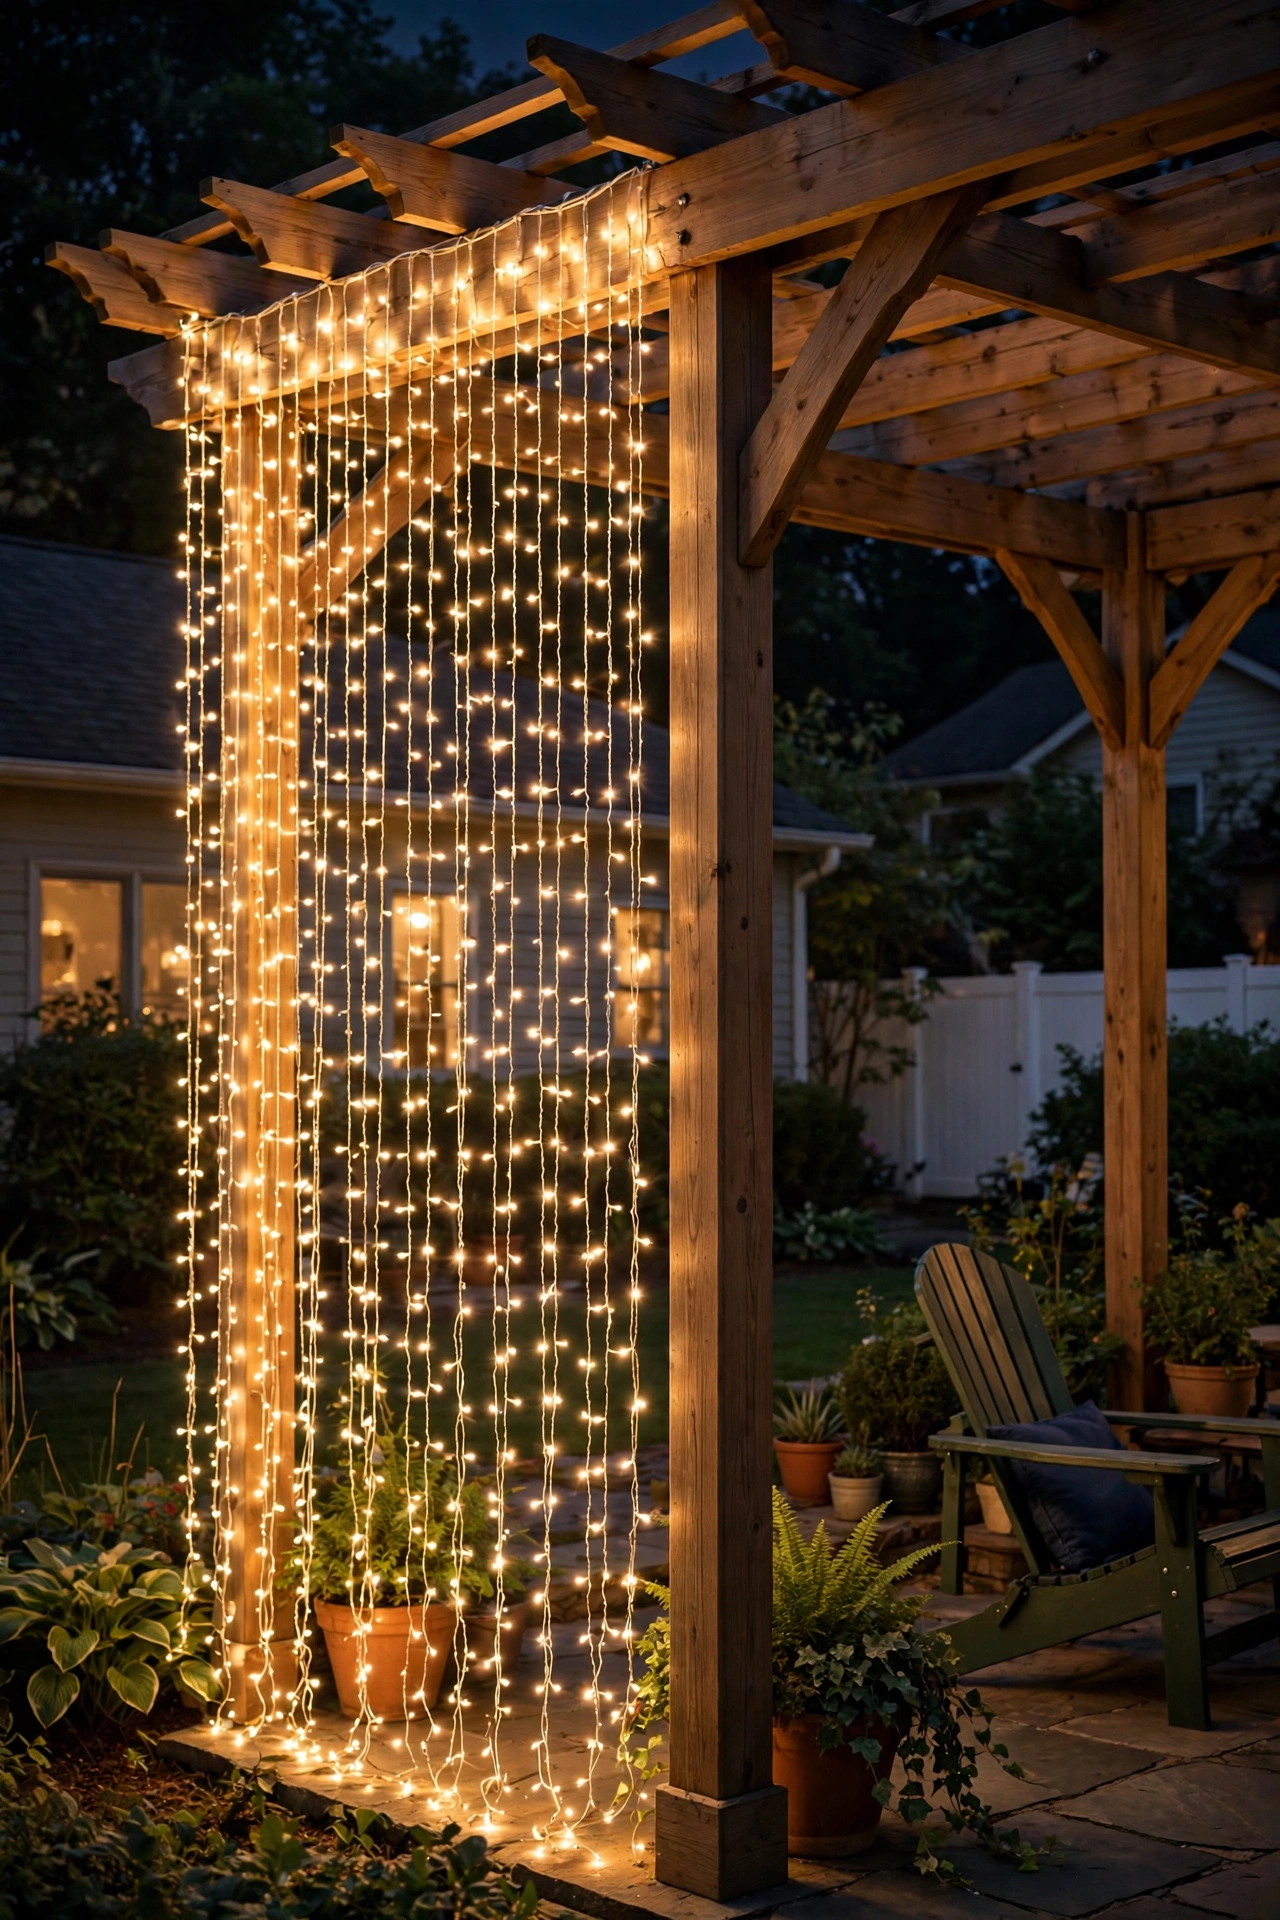
Curtain lights — vertical strands falling like a shimmering waterfall — turn one open side of your pergola into a wall of twinkle. Hang a curtain panel (typically 10 feet wide by 10 feet tall) from the top beam of whichever side faces the yard, strands falling to about 6 inches above the floor. From the seating area, it's pure enchantment: a glittering backdrop behind your guests that also adds surprising privacy.
Use outdoor-rated copper-wire or micro-LED curtains at 2700K to 3000K; the hair-thin wire disappears by day and blazes at night. Secure the top with zip ties or clips every 12 inches so wind doesn't bunch the strands, and weight the bottom hem with small fishing weights or clip-on drapery weights. Plug into the same timer as your other lights so the pergola lights as one scene. Safety note: keep curtains 2 feet from patio heaters, and choose LED (never incandescent) so the thin wires stay cool.
Suggested budget range: $30 – $90 per curtain panel.
11. Rope Lights Tucked Under the Rafters
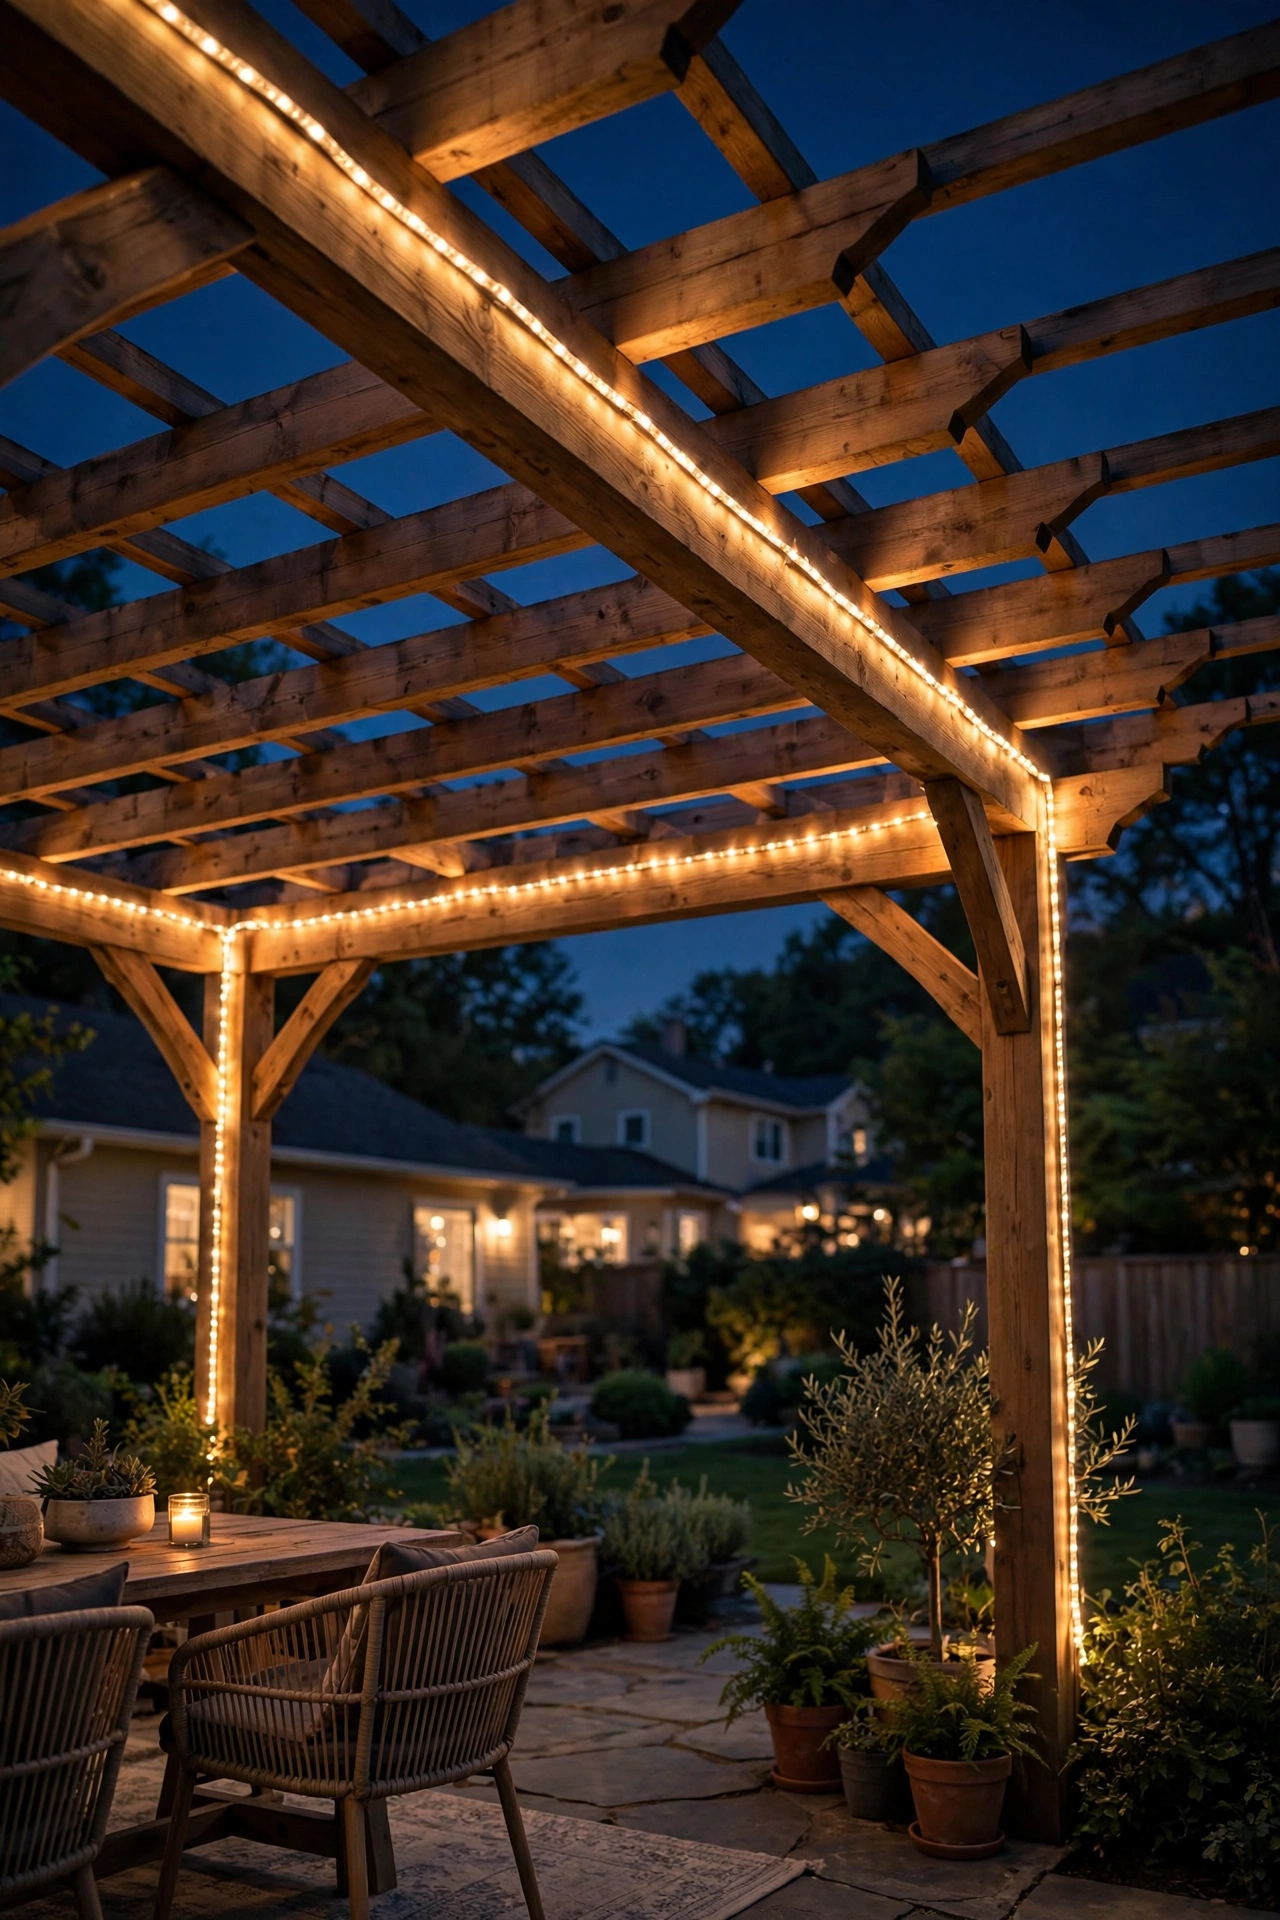
Rope lights are the unsung hero of pergola lighting — cheap, discreet, and they wash the rafter undersides in a continuous ribbon of light. Tuck 2700K LED rope along the inner edge of each perimeter beam, clipping every 12 to 18 inches with clear mounting clips. From below you won't see the rope at all — just a warm glow outlining the pergola's skeleton, which makes the whole structure look larger and more architectural.
Rope light sells by the foot (a 12-by-16 pergola needs 55 to 60 feet for the full perimeter), and outdoor LED rope turns corners neatly. Cut only at marked cut points, cap the ends, and keep connections in a weatherproof box. I run mine on a dimmer — full-brightness rope can look a little Vegas; at 50 to 60 percent it's pure warmth, and it makes a great base layer beneath a statement piece. Choose LED rope only — old incandescent rope gets hot and is a fire risk against dry wood.
Suggested budget range: $35 – $100.
12. LED Strip Lights Along the Beams
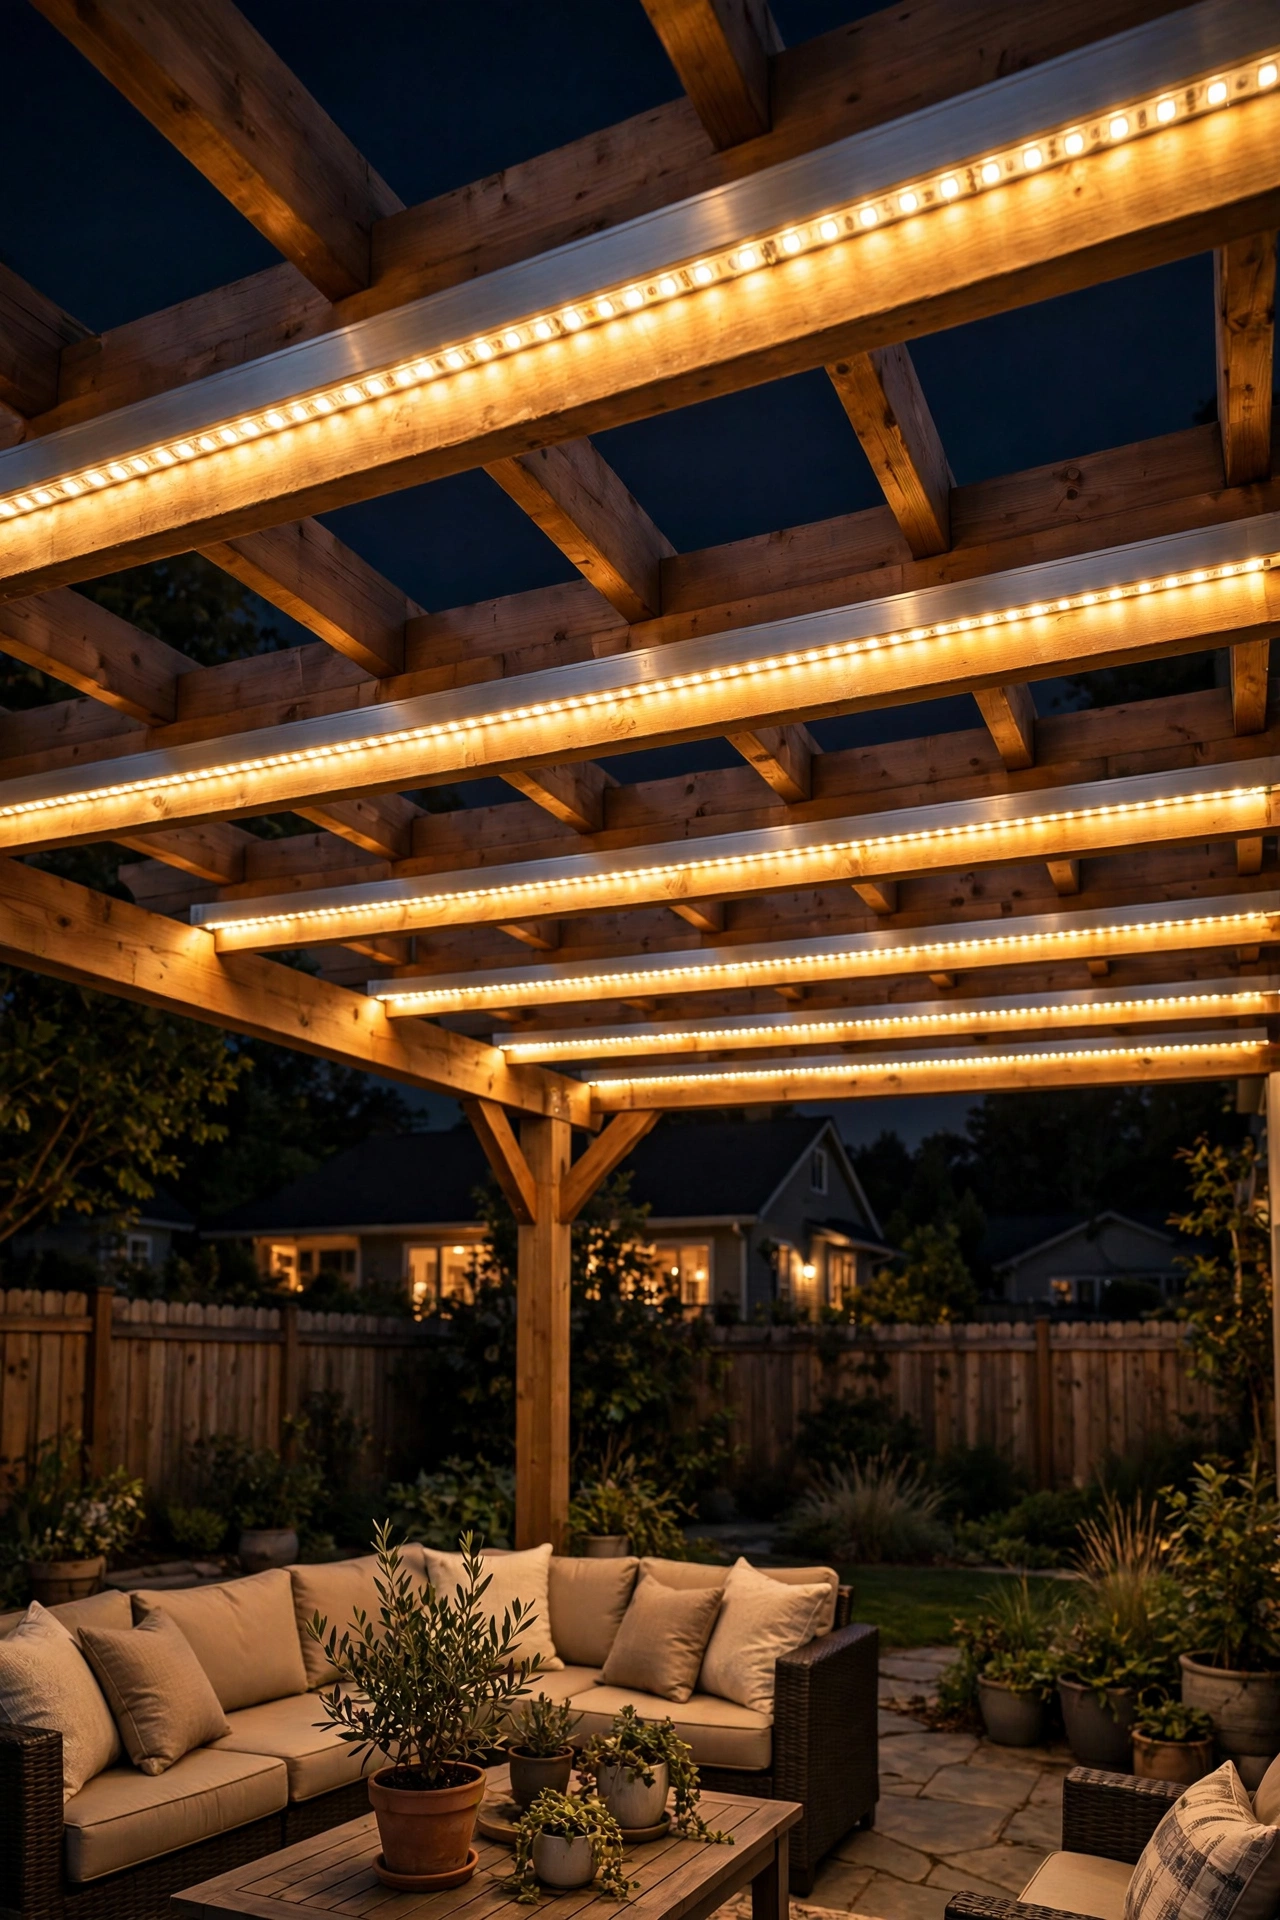
If rope light is the classic, LED strip is the modern upgrade: brighter, dimmable to a whisper, and available in color-changing versions for parties. Mount a weatherproof (IP65 or better) strip in an aluminum channel along the top inside edge of your main beams — the channel diffuses the light into a smooth glow and shields the strip from rain and UV. A 16-foot beam takes one 16.4-foot (5-meter) strip, the standard reel length. Convenient.
Screw the channel in every 2 feet, facing slightly inward and down so light washes the beam and ceiling plane. Warm white (2700K) for everyday, or RGBW strips if you want color for holidays — honestly, the white channel is what you'll use 95 percent of the time. Power strips with an outdoor-rated low-voltage transformer in a weatherproof box, keeping each run within the manufacturer's max distance (usually 16 to 32 feet). Seal low-voltage connections with heat-shrink or waterproof wire nuts.
Suggested budget range: $60 – $200.
13. The Three-Tier Pergola Lighting Ideas Formula: Ambient, Task, Accent
Here's the designer secret behind every pergola photo you've saved: three layers working together. Once you know the formula, every other idea here becomes a mix-and-match ingredient instead of a guess. Tier one is ambient — your big-picture glow, usually a string-light canopy or chandelier. Tier two is task — brighter, focused light where you need to see: a pendant over the dining table, downlight sconces by the grill, a bright lantern near the steps. Tier three is accent — twinkles and glimmers: fairy lights in planters, LED candles on the table, uplights on the posts.
My rule of thumb: ambient at 2700K warm white for the flattering base, task one small step brighter (still warm), accents as pure sparkle. Put all three on one timer so the pergola lights as a single scene at dusk. The magic ratio is roughly 70 percent ambient, 20 percent task, 10 percent accent. When a pergola feels "off," it's almost always a missing layer — usually task light (guests squinting at plates) or missing accent (dead corners). Sketch your pergola, assign one idea per tier, and you'll never guess again.
Suggested budget range: $150 – $600 for a complete three-tier setup.
14. Table Lanterns With Flickering LED Candles
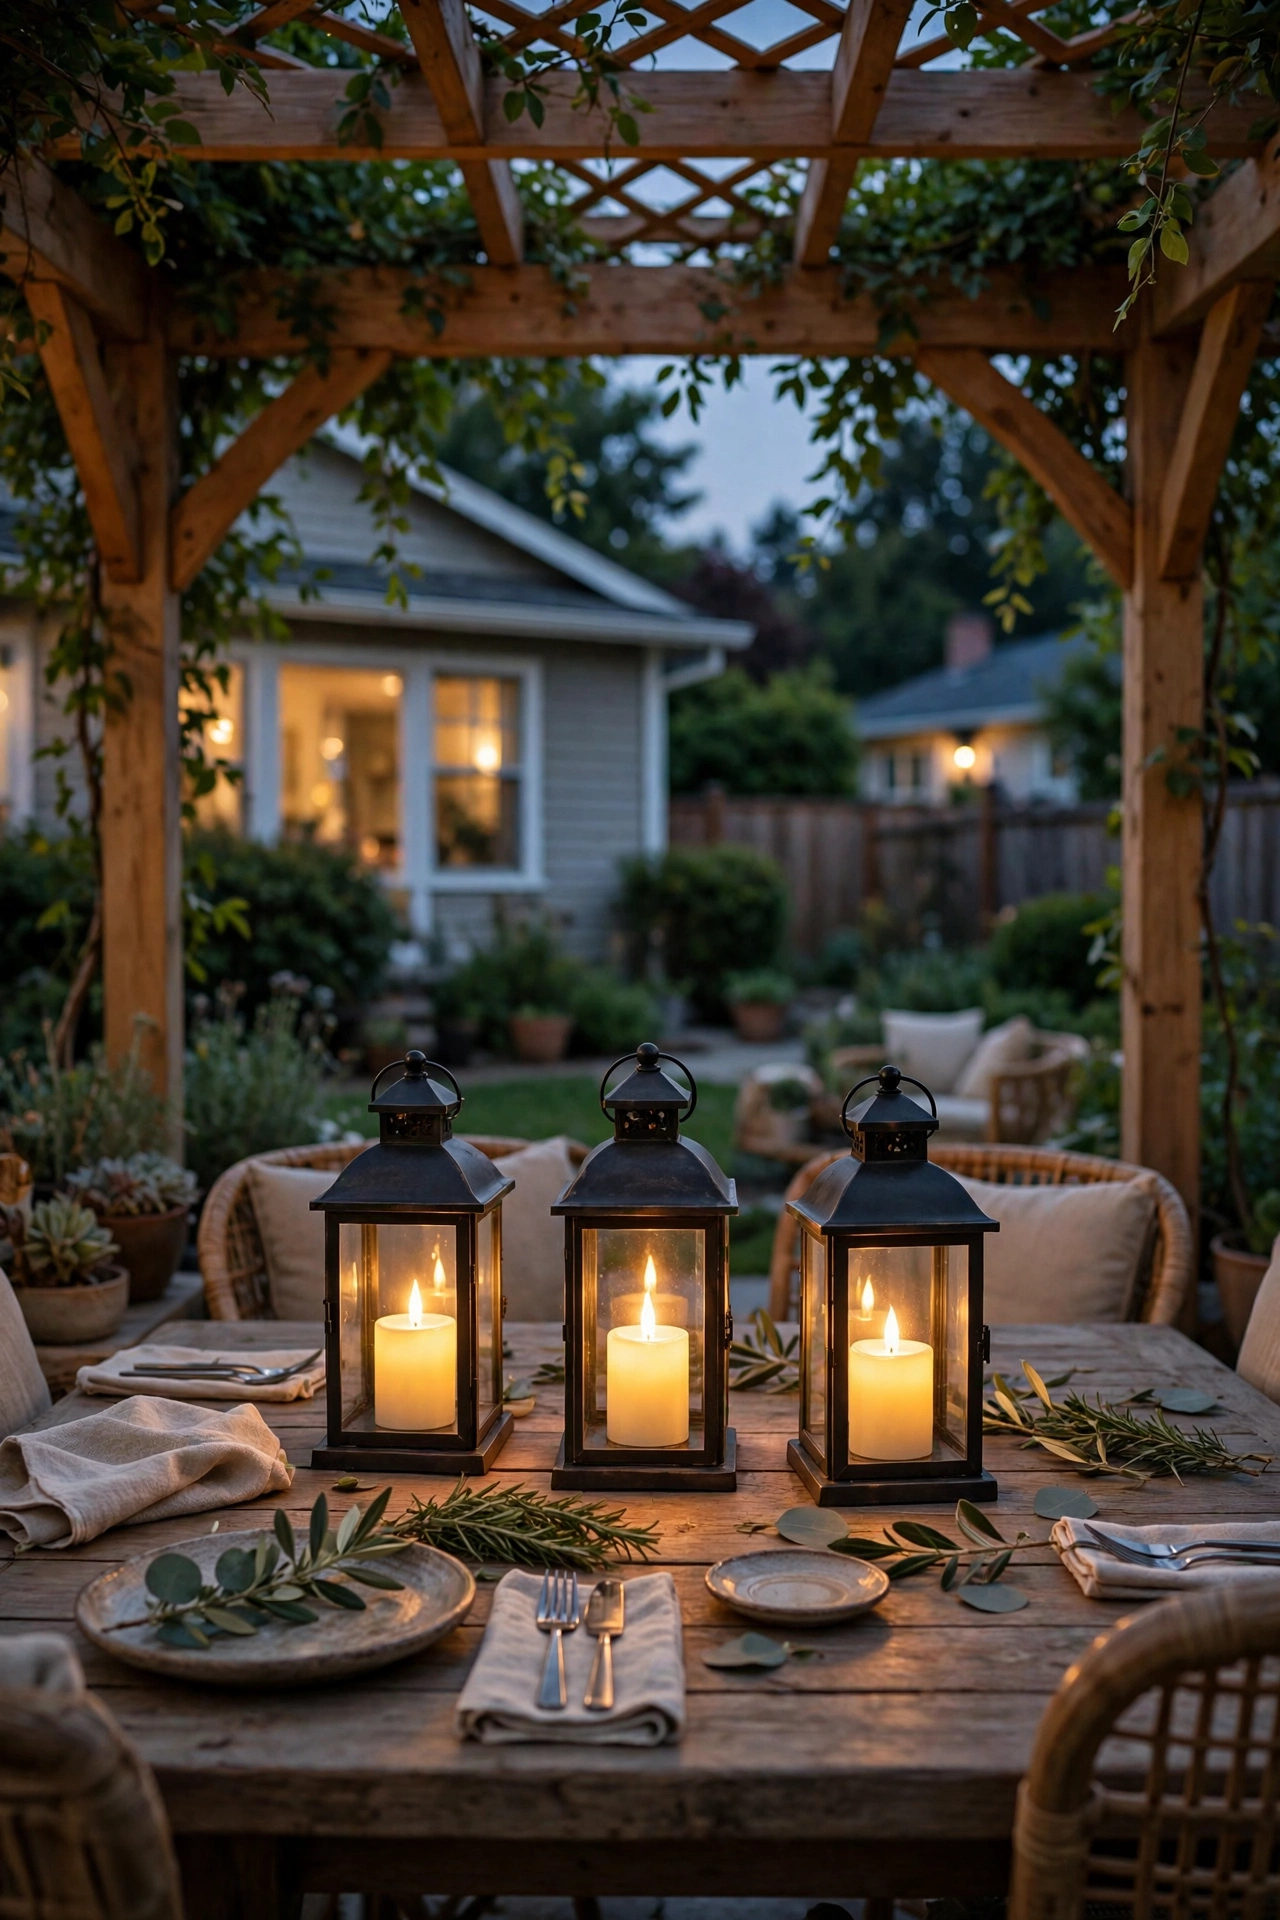
The table is where the evening happens, so give it its own light. Run a trio of glass or metal lanterns down the center — heights of 8, 12, and 16 inches — filled with flickering LED pillar candles. You get the candlelit-dinner look with zero fire risk and zero wax on the tablecloth. Space the trio about 18 inches apart so serving dishes still fit between them.
Flicker-effect LED candles have come a long way; the good ones use a warm 2200K glow with randomized flicker that reads as real flame from a few feet away. Look for built-in timers (the 6-hours-on, 18-hours-off daily cycle is standard) so they light themselves nightly. In my experience, real wax-coated LED candles look far more convincing than plain plastic. For windy nights, pick lanterns with enclosed glass panels — there's no flame to blow out, but the enclosure keeps the glow steady. This is your accent tier for almost no running cost.
Suggested budget range: $30 – $90 for a trio.
15. Low Pathway Lights Leading to the Pergola
A glowing pergola in a dark yard feels disconnected — a lit stage floating in blackness. Fix it with a runway of low path lights guiding guests from the house to the pergola steps. Space solar or low-voltage lights 6 to 8 feet apart in a staggered zigzag, not a straight soldier row; the stagger looks natural and lights both walk edges. Keep fixtures 12 to 18 inches tall so light pools on the ground instead of glaring into eyes.
Solar path lights are the easy button — just push in the stake. But be honest about shade: under trees, solar underperforms and low-voltage wired lights on a transformer are worth the weekend project. Either way, match color temperature to your pergola lights (2700K) so the journey and destination feel continuous. If the walk has steps, add one light per step — stairs in the dark are the number-one backyard trip hazard. For planning the whole yard's glow, see these backyard lighting ideas.
Suggested budget range: $50 – $200 for 6 to 8 lights.

16. Woven Rattan Pendants for Breezy Texture
Rattan pendants bring a resort feeling metal fixtures can't touch — the woven shade throws gorgeous patterned shadows across the pergola ceiling. Hang one large (18 to 24 inches) woven pendant over a lounge area, or a pair of 14-inch pendants over a bar-height table. Bottom of the shade: 30 to 36 inches above a dining surface, 7 feet off the floor over a walkway.
Buy damp- or wet-rated pendants — natural rattan mildews outdoors, so look for all-weather synthetic weave (looks identical, shrugs off rain) or bring natural-fiber shades inside during the wettest months. Inside, use a single 2700K LED Edison bulb; the filament glows through the weave and doubles the texture. Mount with a swag hook and outdoor-rated cord cover, or hardwire. Styling tip: pair woven pendants with natural-fiber rugs and wood furniture so the pergola reads as one warm, tactile palette. Keep woven shades 3 feet from grills and heaters.
Suggested budget range: $70 – $280.

17. Moroccan Pierced-Metal Lanterns for Patterned Light
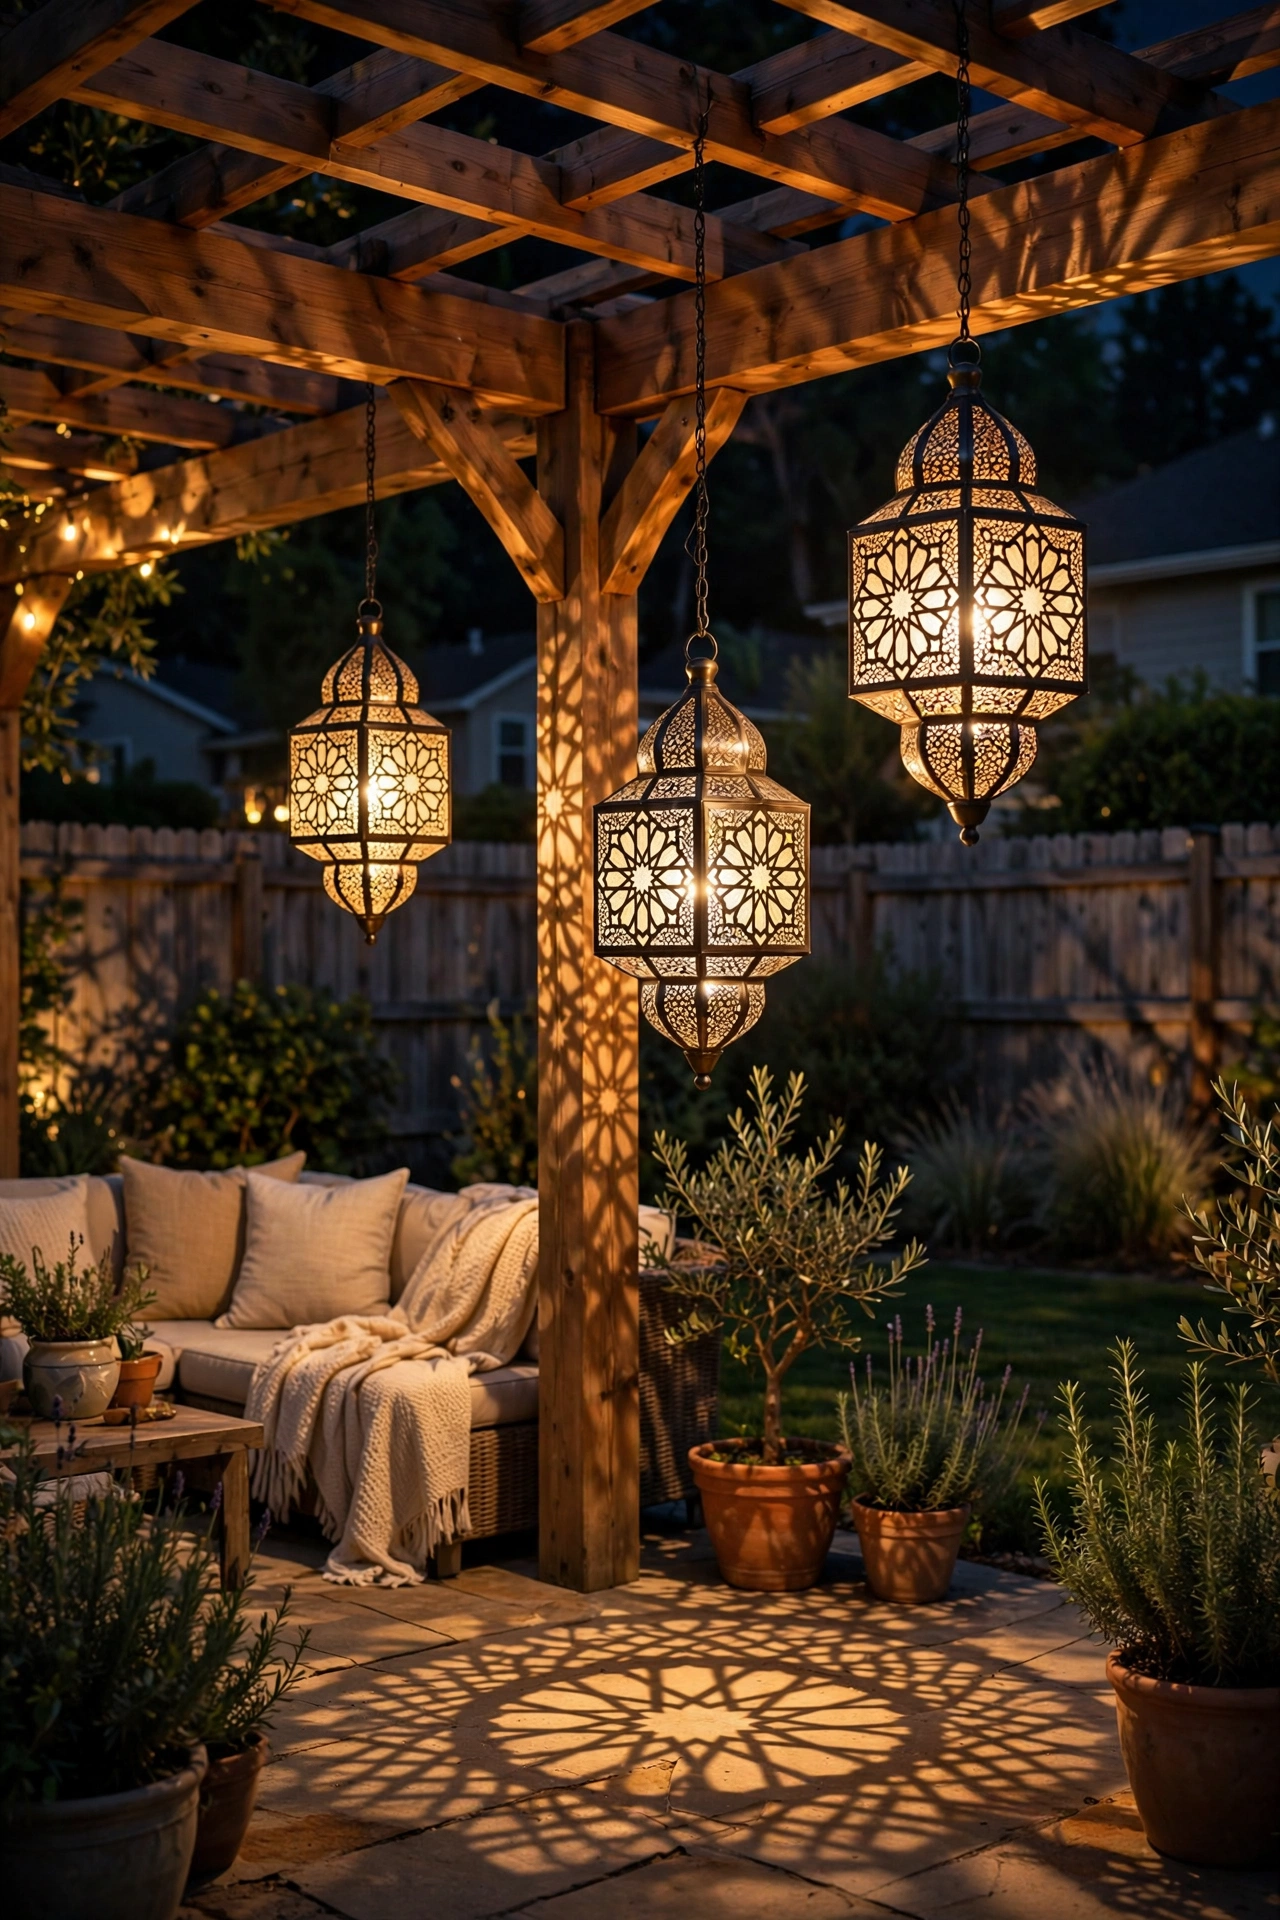
Pierced-metal Moroccan lanterns are jewelry for your pergola — sculptural by day, lace-patterned light by night. Hang a cluster of three at staggered drops (12, 18, and 24 inches from the beam) over a corner lounge chair or the table's end, positioned where guests sit near but not directly under them so patterns play across table and floor.
Each lantern holds one LED candle bulb or small LED puck; choose 2200K to 2700K for that authentic souk-at-night amber. LED is non-negotiable here — thin pierced metal heats fast with incandescent bulbs. Look for powder-coated or sealed finishes so the metal doesn't rust after one rainy season, and confirm the chain and hook are rated for the weight (3 to 8 pounds each). In my experience, one cluster is plenty — Moroccan lanterns are visually busy, so let them be the single ornate note in an otherwise simple plan.
Suggested budget range: $60 – $200 for a cluster of three.
18. Smart Color-Changing Bulbs for Party Mode
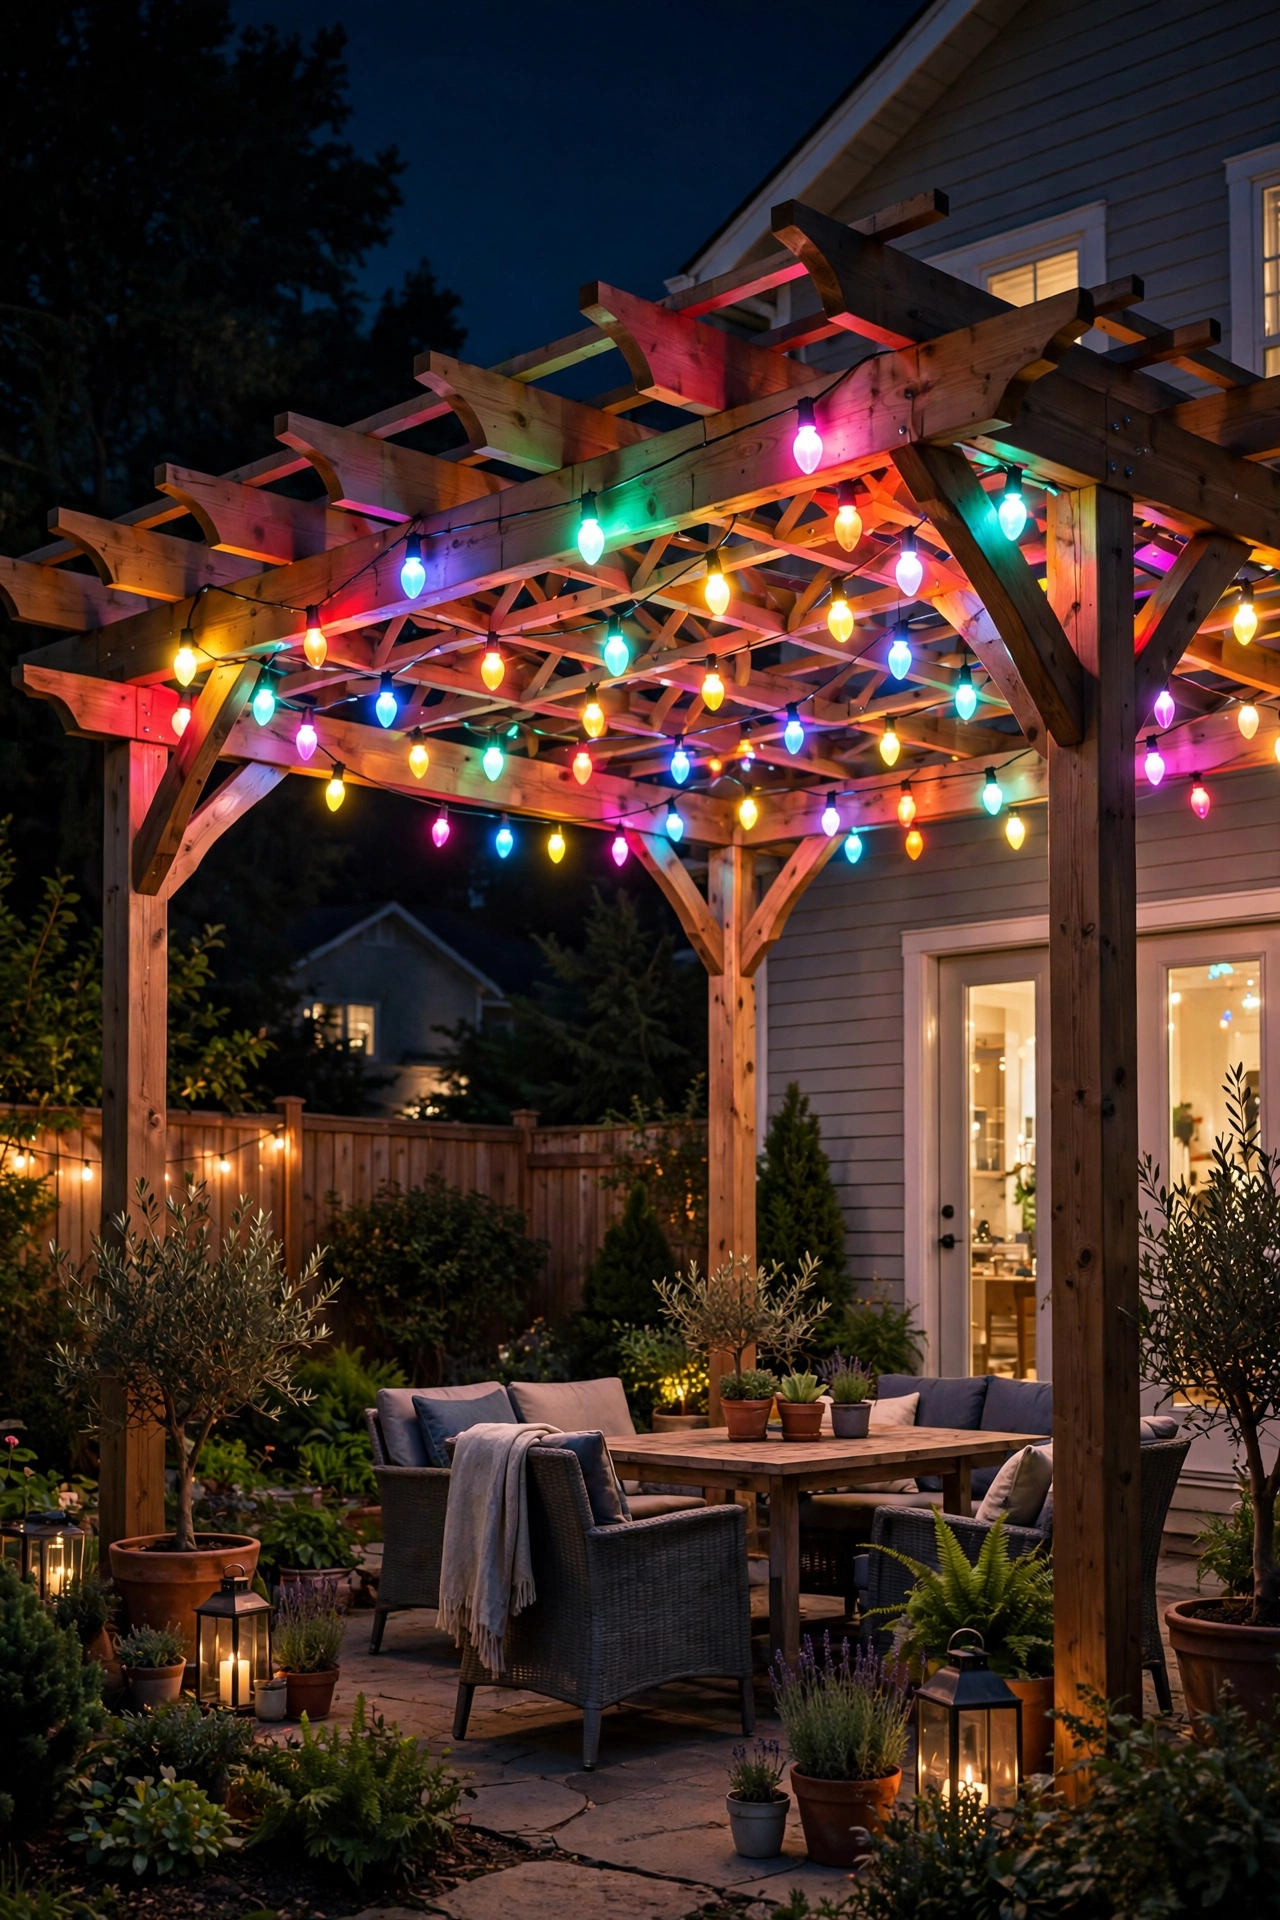
For the pergola that hosts quiet date nights and full-blown birthdays, smart bulbs are the shapeshifter. Screw color-changing smart bulbs into existing string-light or pendant sockets (check the base — most outdoor strings use E26 or E12) for 16 million colors plus tunable white, all from your phone. Set a "dinner" scene at 2700K, a "party" scene cycling soft colors, and an off-at-midnight schedule. Done.
Practical notes: smart bulbs need solid Wi-Fi at the pergola — test with your phone first, since weak signal means laggy lights. Buy outdoor-rated smart bulbs; the seals protect the electronics from humidity. One quirk: smart bulbs reset when power is cut, so on a timer plug they'll return to your last scene — usually fine. I always recommend keeping the core ambient layer as plain warm-white bulbs and making only the accent layer smart — a Wi-Fi hiccup should never leave your pergola dark.
Suggested budget range: $50 – $160 for 4 to 6 smart bulbs.
19. Motion-Sensor Security Lighting on the Posts
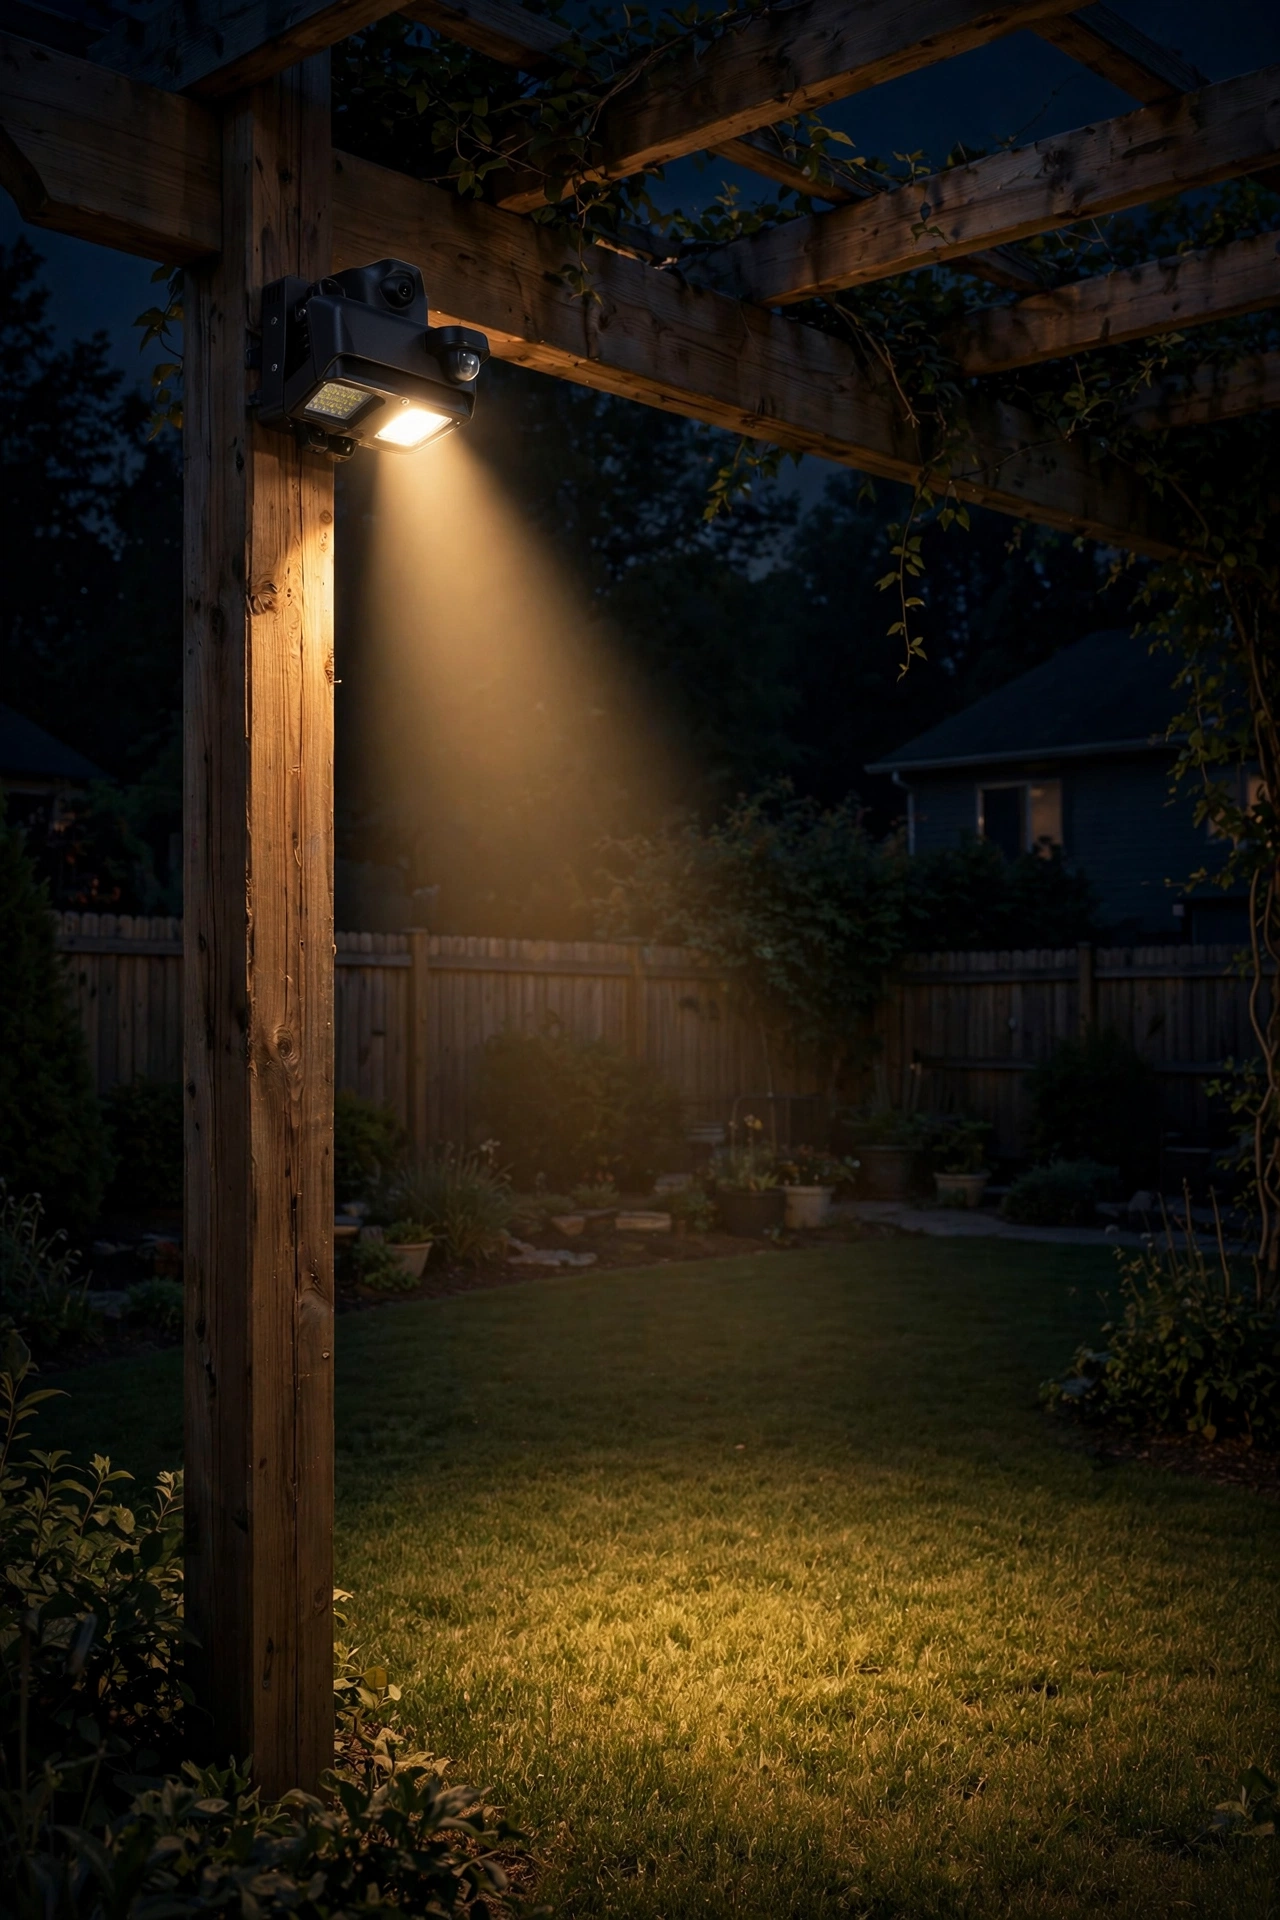
Cozy doesn't have to mean vulnerable. Mount a motion-sensor flood or wall light high on one or two posts — aimed outward at the yard, never into the seating area — for security light that appears only when needed. Mount the sensor head 8 to 10 feet up, angled over approach paths, with 30 to 40 feet of detection range and a 180-degree field of view.
The trick to preserving the mood: pick a fixture with adjustable sensitivity and a short on-duration (1 to 5 minutes), aimed strictly outward so it never floods the dinner table when the dog wanders by. Many models offer a dual mode — a dim 10-percent glow all night that jumps to full on motion — the best of both worlds. Wire it on its own switch, separate from your ambience timer, so you can disable it during parties. Fixtures must be wet-rated in weatherproof boxes, with the sensor lens facing away from your string lights.
Suggested budget range: $40 – $130 per fixture.
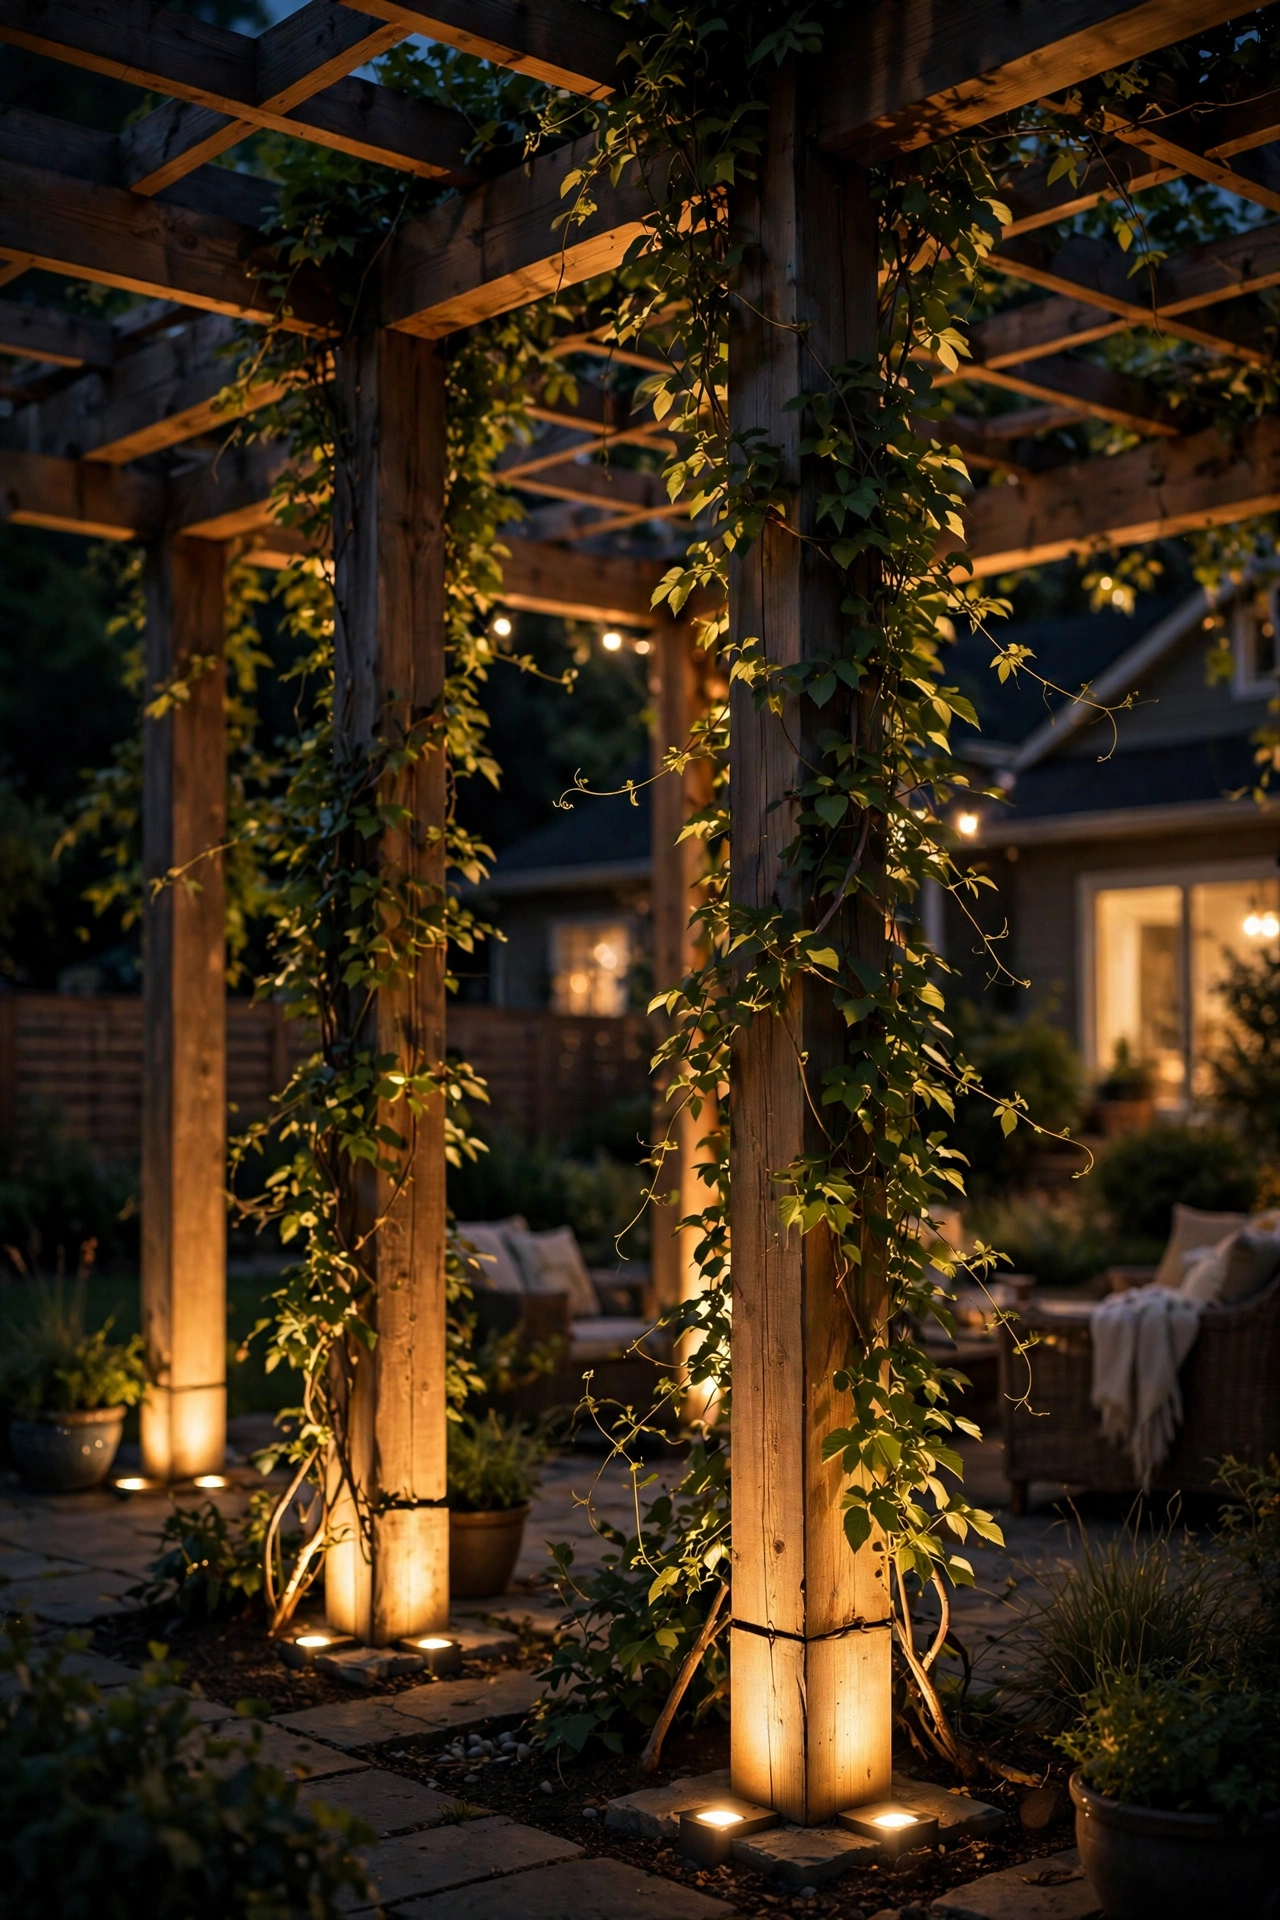
20. Uplighting the Climbing Vines and Posts
Wisteria, jasmine, or grapevines climbing your pergola become living sculptures under uplights. Place one small LED well light or spike spotlight at the base of each planted post, 12 to 18 inches out, aimed straight up into the foliage. A 35-degree beam at 200 to 400 lumens per fixture is plenty — you're grazing leaves with light, not blasting them.
Low-voltage (12-volt) landscape spotlights are the standard: safe to DIY, cheap to run, transformer plugs into an outdoor outlet on a timer. Bury cable 3 to 6 inches under mulch along the post line. In my experience, uplighting looks best as the ONLY light on vine-covered posts — keep string lights off those beams so foliage glows against darkness. One caution: avoid uplighting dense bird-nesting areas in spring, and never aim spotlights into a neighbor's windows. This is the accent layer that makes guests ask who your landscape designer is.
Suggested budget range: $80 – $250 for four spotlights and a transformer.
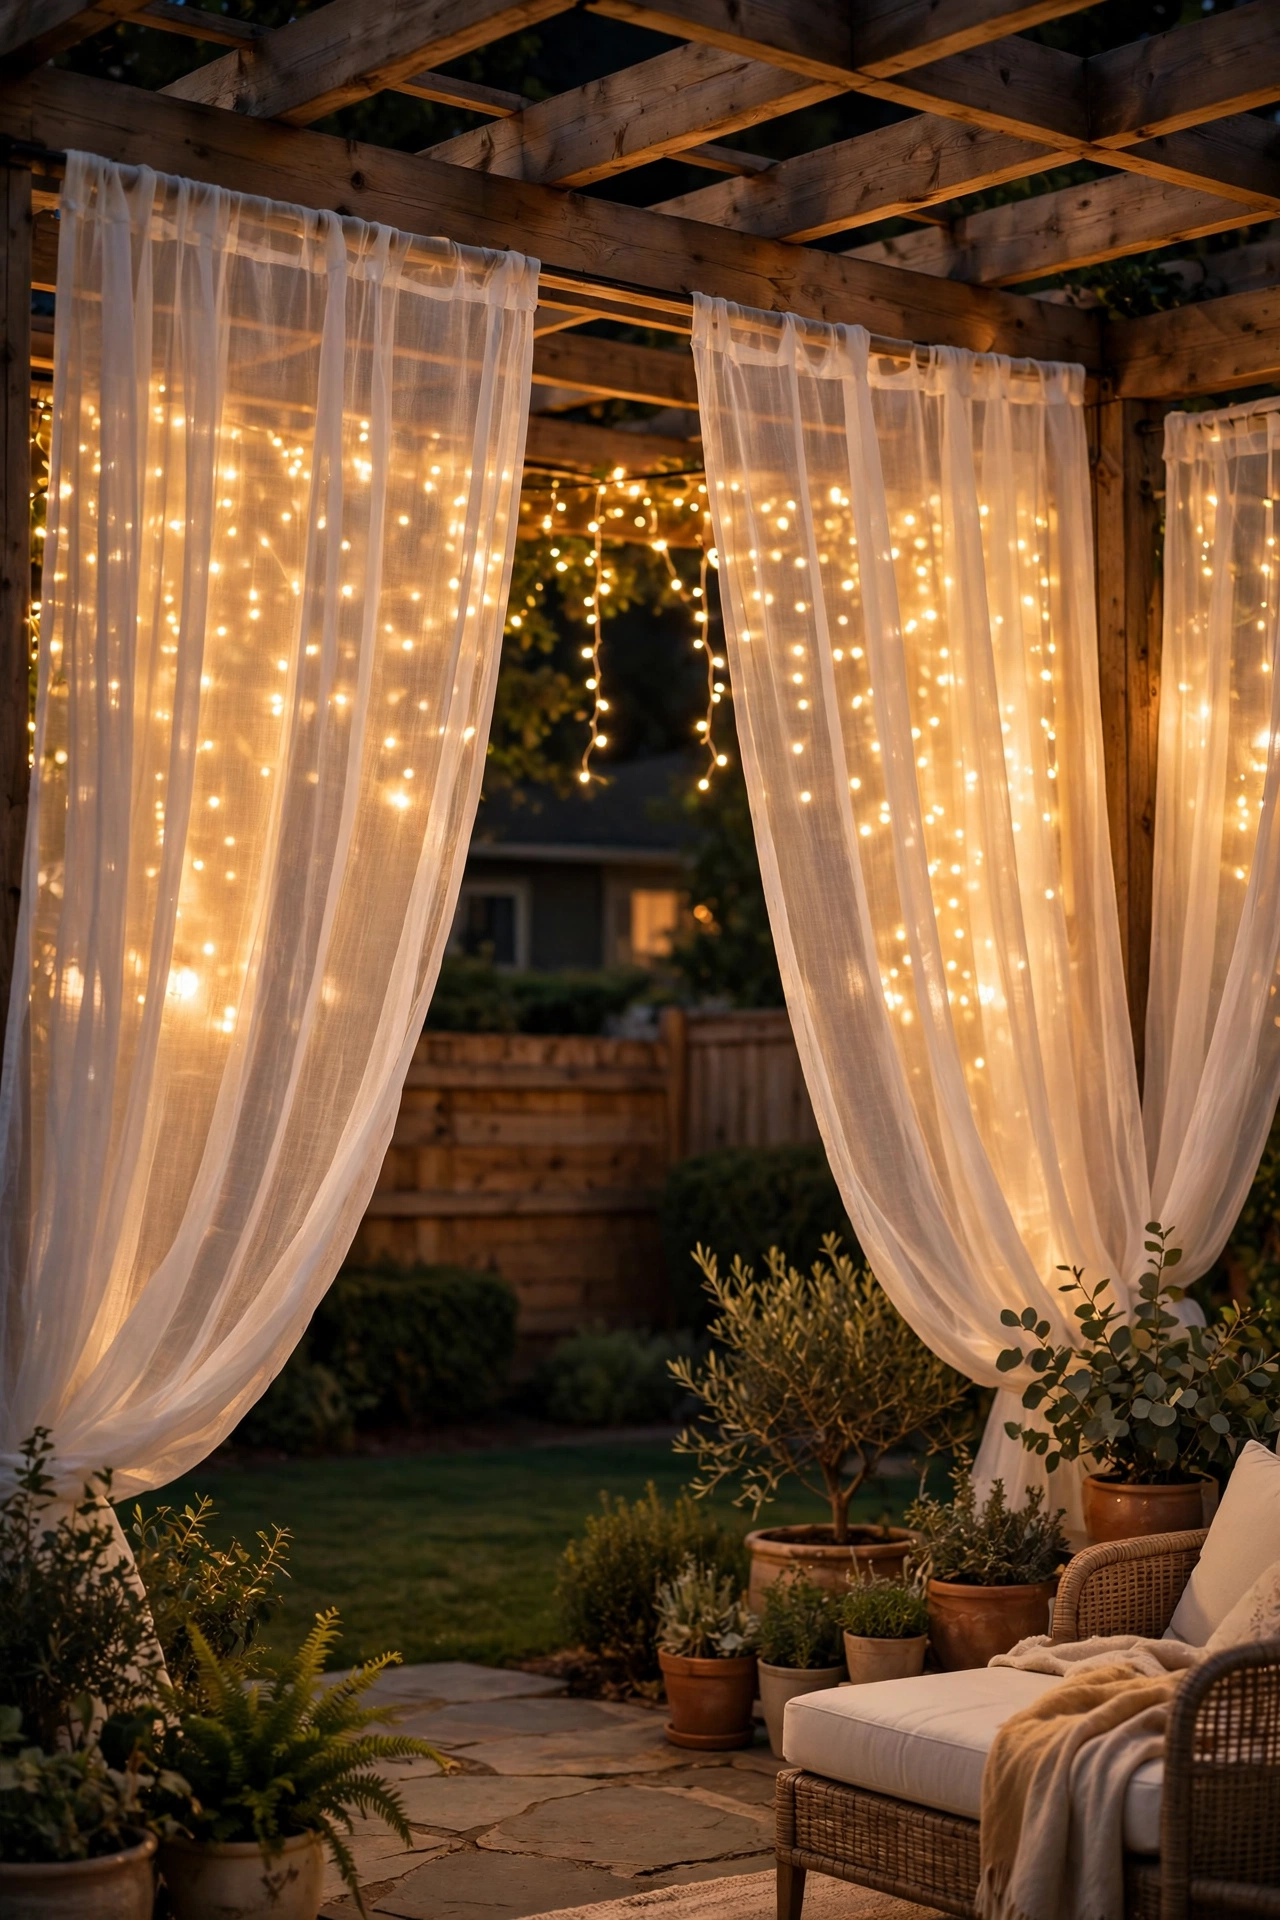
21. Sheer Curtains Plus String Lights for a Dreamy Enclosure
Outdoor sheer curtains do double duty — daytime privacy and softness, and at night they become a glowing scrim with string lights run just behind them. Hang weatherproof sheer panels on an outdoor rod or wire cable along two or three sides, then drape one strand of warm-white fairy lights in loose swags 6 inches behind the fabric on the inside. Light diffuses through the sheer and the whole pergola glows like a lantern.
Use outdoor-rated sheers (solution-dyed acrylic or polyester) that resist mildew and UV — indoor sheers shred in one season. Weight the hems or tie panels back on windy days; a curtain wrapped around a light strand is a tangle nobody wants to undo. LED fairy lights are essential this close to fabric — LEDs stay cool, incandescents don't. I always recommend copper-wire style here: the wire nearly vanishes and the tiny bulbs look like floating sparks through the sheer. For clever ways to stretch this look, browse these outdoor lighting hacks.
Suggested budget range: $70 – $200 for curtains and lights.
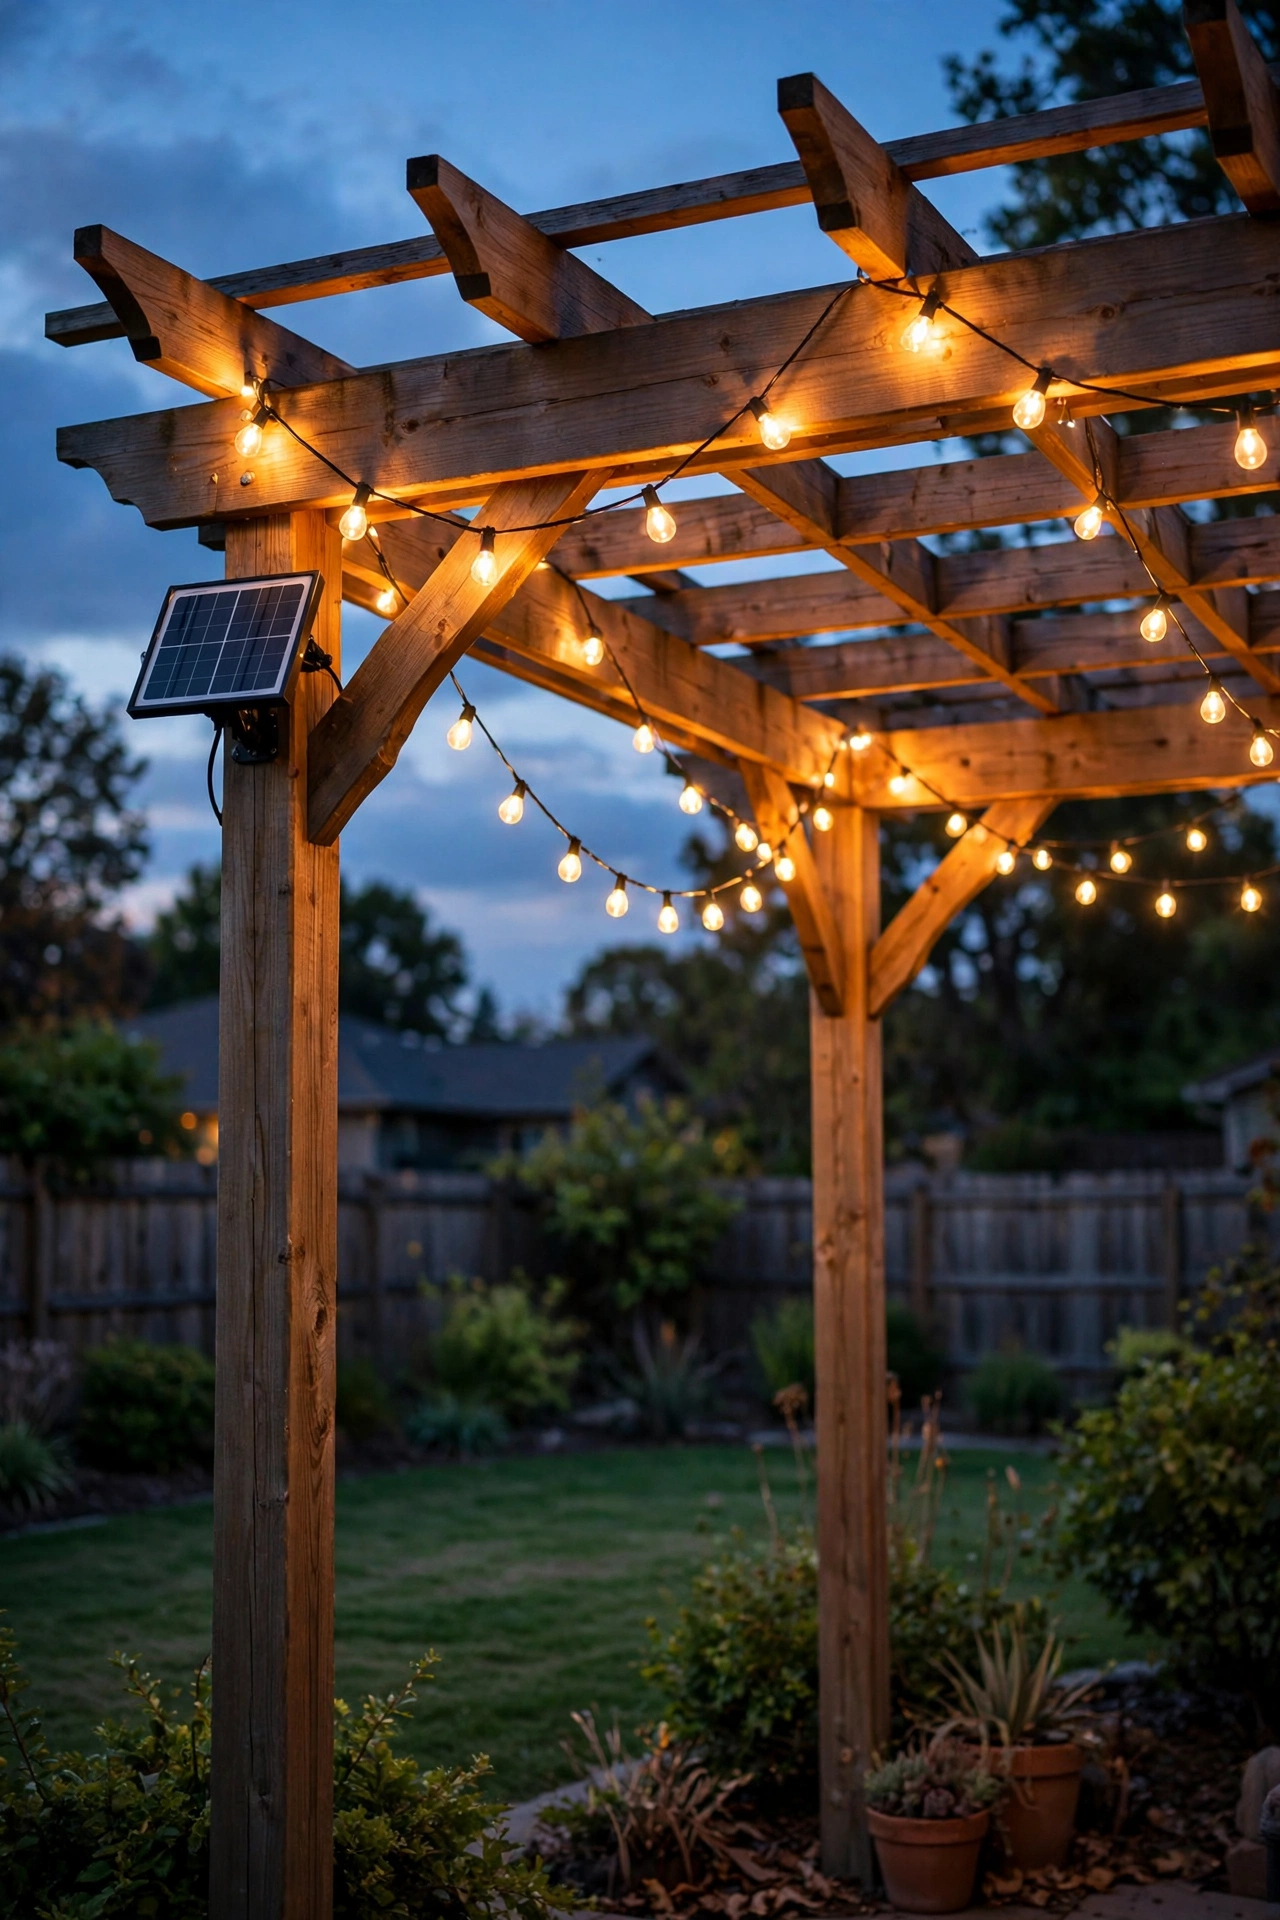
22. Solar String Lights for a Truly Wire-Free Pergola
No outlet near the pergola? Modern solar string lights have quietly gotten excellent — smaller panels, longer-lasting batteries, genuinely pretty warm-white LEDs. For a 12-by-16 pergola, plan three to four 33-foot solar strands, each with its own small panel staked in the sunniest spot within 10 feet. Drape just like wired strings: zigzag swags, 6-to-8-inch sag, screw hooks every 2 to 3 feet.
Set expectations honestly: solar strands are dimmer than wired (an accent layer, not task light), running 6 to 8 hours on a full summer charge — shorter in winter or shade. Maximize output by angling panels due south at 45 degrees and wiping them monthly; dust kills charging. Look for dusk-to-dawn sensors and replaceable rechargeable batteries — sealed-battery strands are disposable once the cell dies. In my experience, solar strings are perfect for pergolas far from the house and rentals where you can't run cable.
Suggested budget range: $40 – $110.
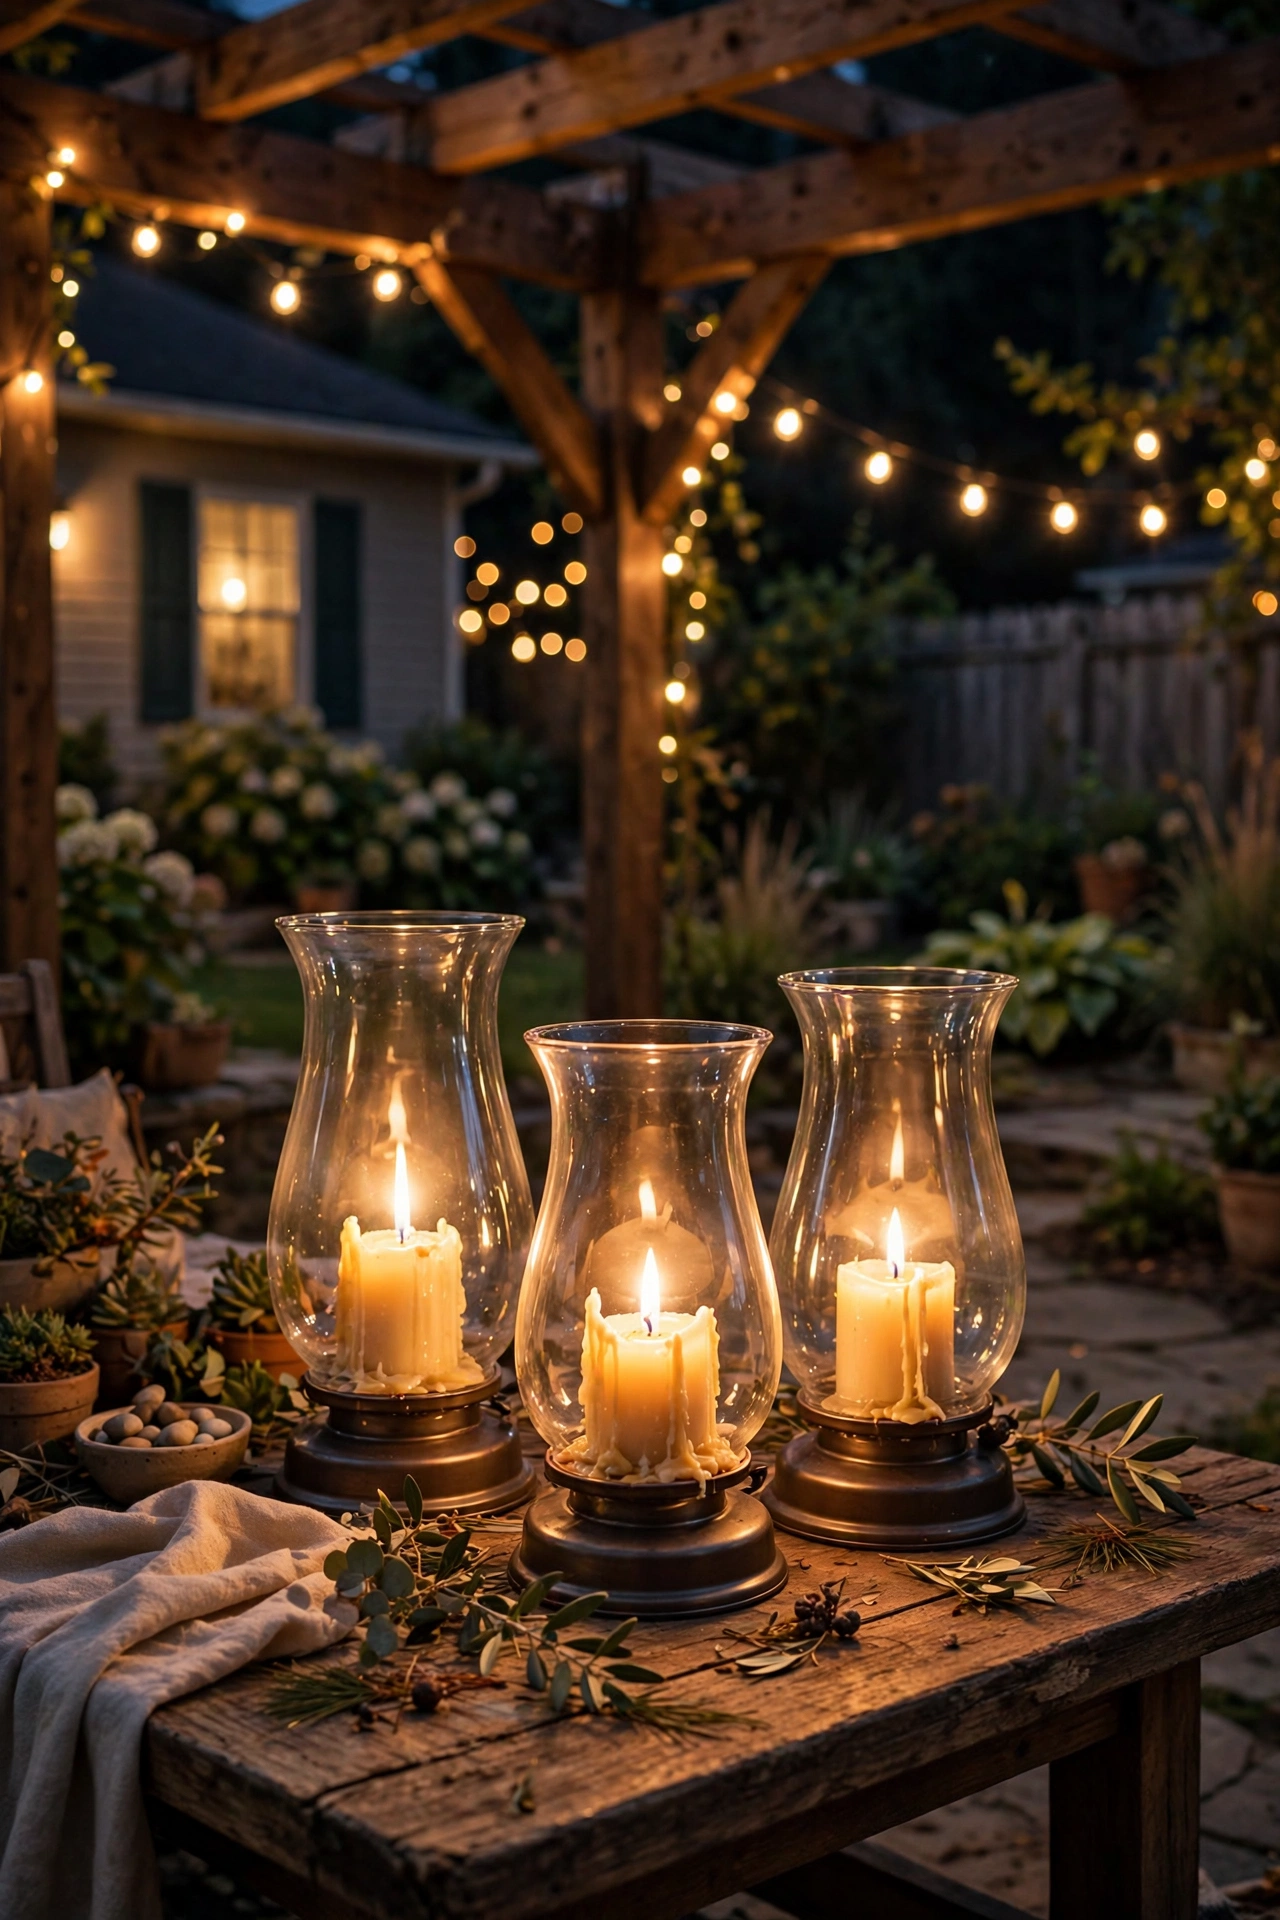
23. Hurricane Glass Pillars for Windproof Candlelight
Real flame has a flicker no LED has fully matched, and hurricane glass makes it practical outdoors. A hurricane lantern — tall glass chimney around a pillar candle — shields the flame from wind while magnifying the glow. Group three hurricanes of different heights (10, 14, 18 inches) on the dining table or serving ledge, 12 to 18 inches apart.
Use dripless 3-inch pillars so they fit standard chimneys with airflow to spare, and always set hurricanes on a stable, level surface — never a wobbly side table or near an edge. Safety rules are non-negotiable: never leave real flame unattended, keep hurricanes 3 feet from curtains, sheers, paper lanterns, and vines, and extinguish everything before heading inside. Honestly? I light hurricanes for the first hour of a dinner party — that unbeatable real-flame welcome — then switch to LED candles. Store glass chimneys indoors over winter; freezing nights followed by a lit candle can crack the glass.
Suggested budget range: $45 – $130 for a set of three.
24. A Gobo Light for Monograms and Moonlight Effects
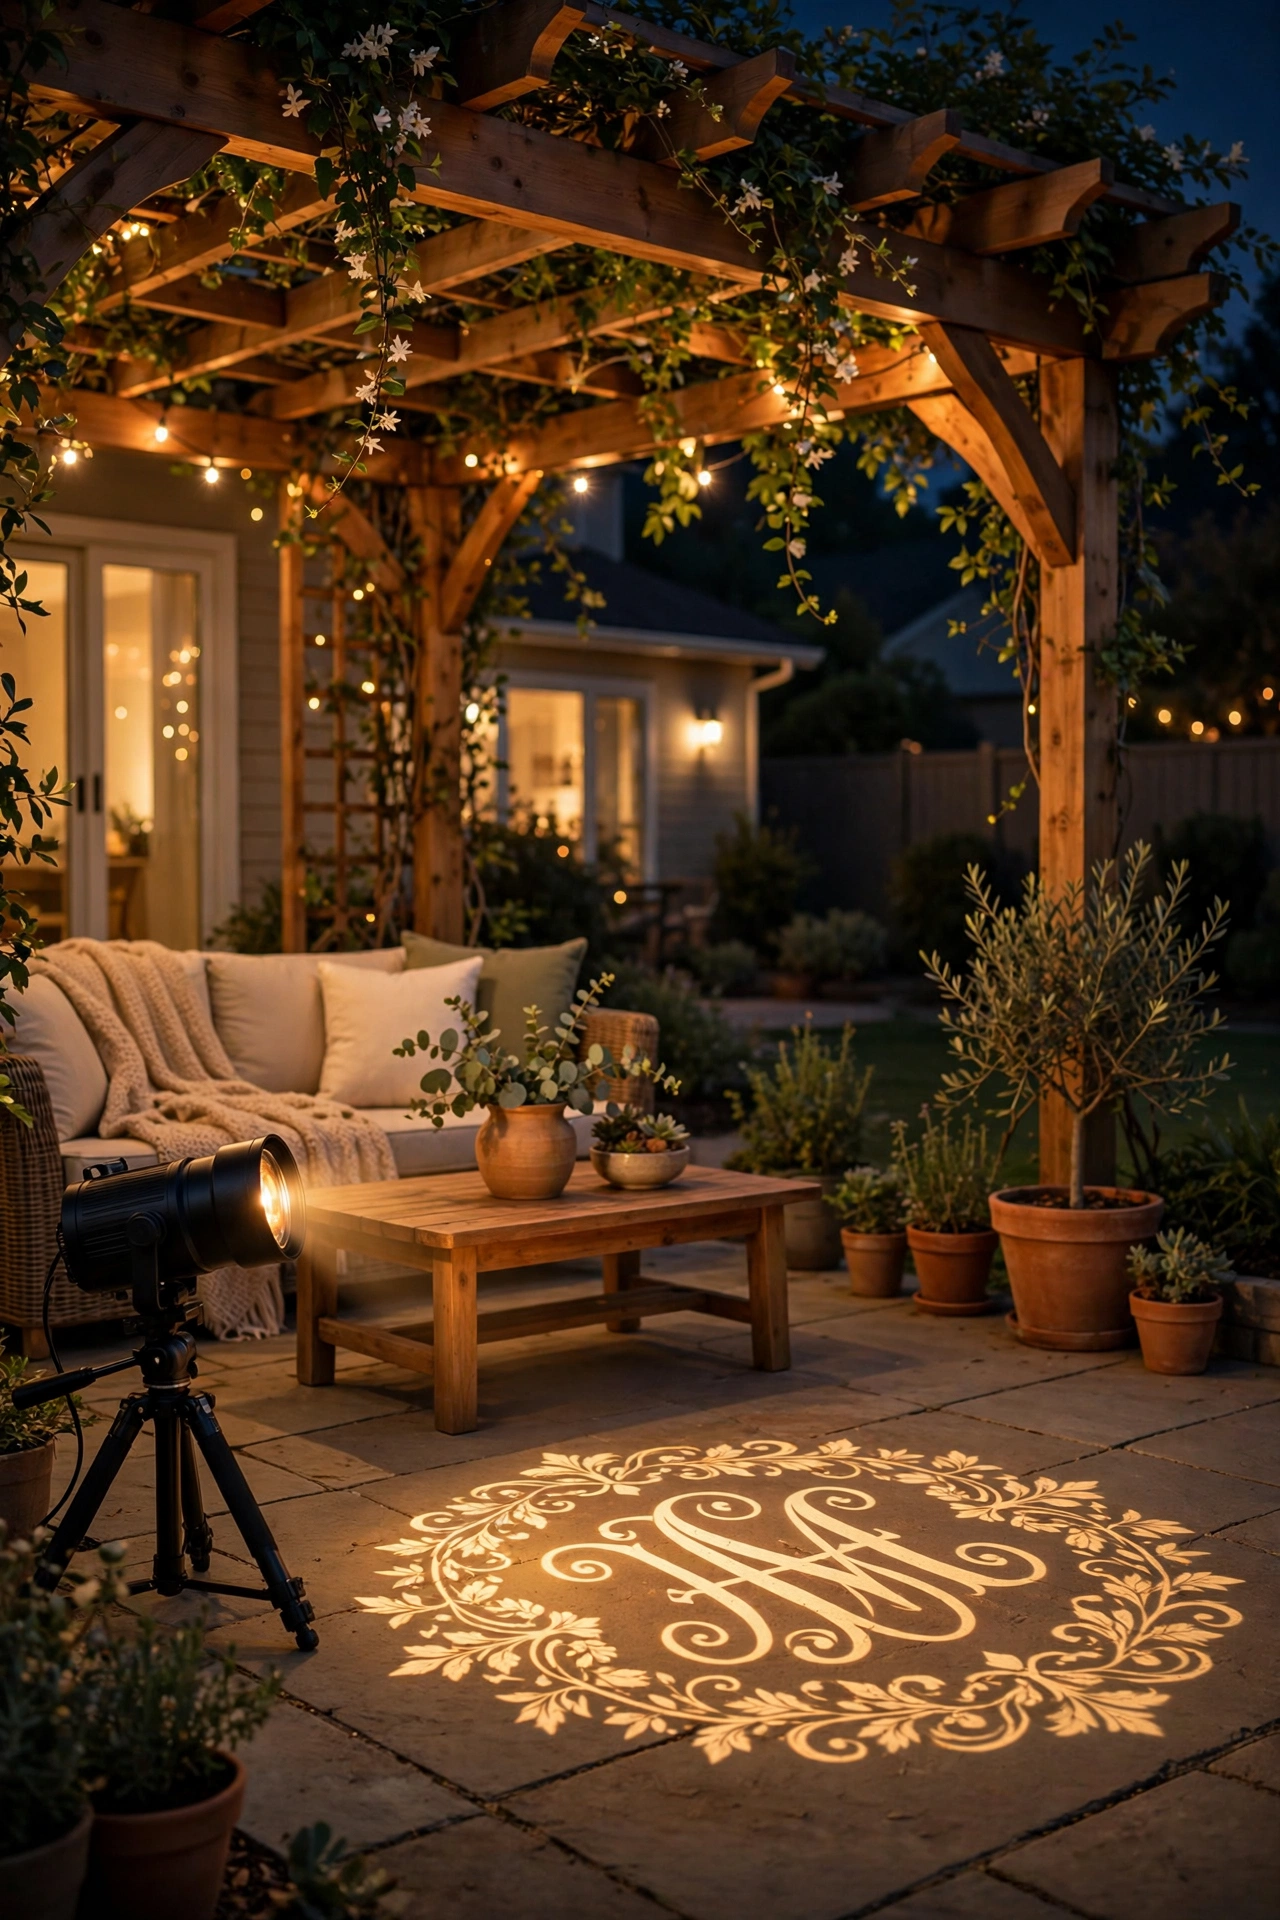
Want the idea nobody else on the block has? A small outdoor gobo projector throws a crisp pattern — your family initial, a leafy branch silhouette, a fake moon-and-stars sky — onto the pergola floor, a fence, or the house wall. Mount it on a beam or stake 10 to 20 feet from the surface; farther back means a larger image. Focus with a simple twist ring.
This is pure accent magic for weddings, anniversaries, and holiday parties — a monogram in light on the patio floor photographs incredibly well. Choose IP65 weatherproof housing for permanent outdoor life, or bring an indoor-rated unit out just for events. LED gobos run cool at 10 to 30 watts. Keep the projection surface light-colored for the sharpest image, and angle the beam so it never shines into guests' eyes. Custom glass gobos with your monogram run $30 to $60 and swap into most projectors in seconds.
Suggested budget range: $70 – $220.
25. The Dusk-to-Dawn Timer Master Plan: Pergola Lighting Ideas on Autopilot
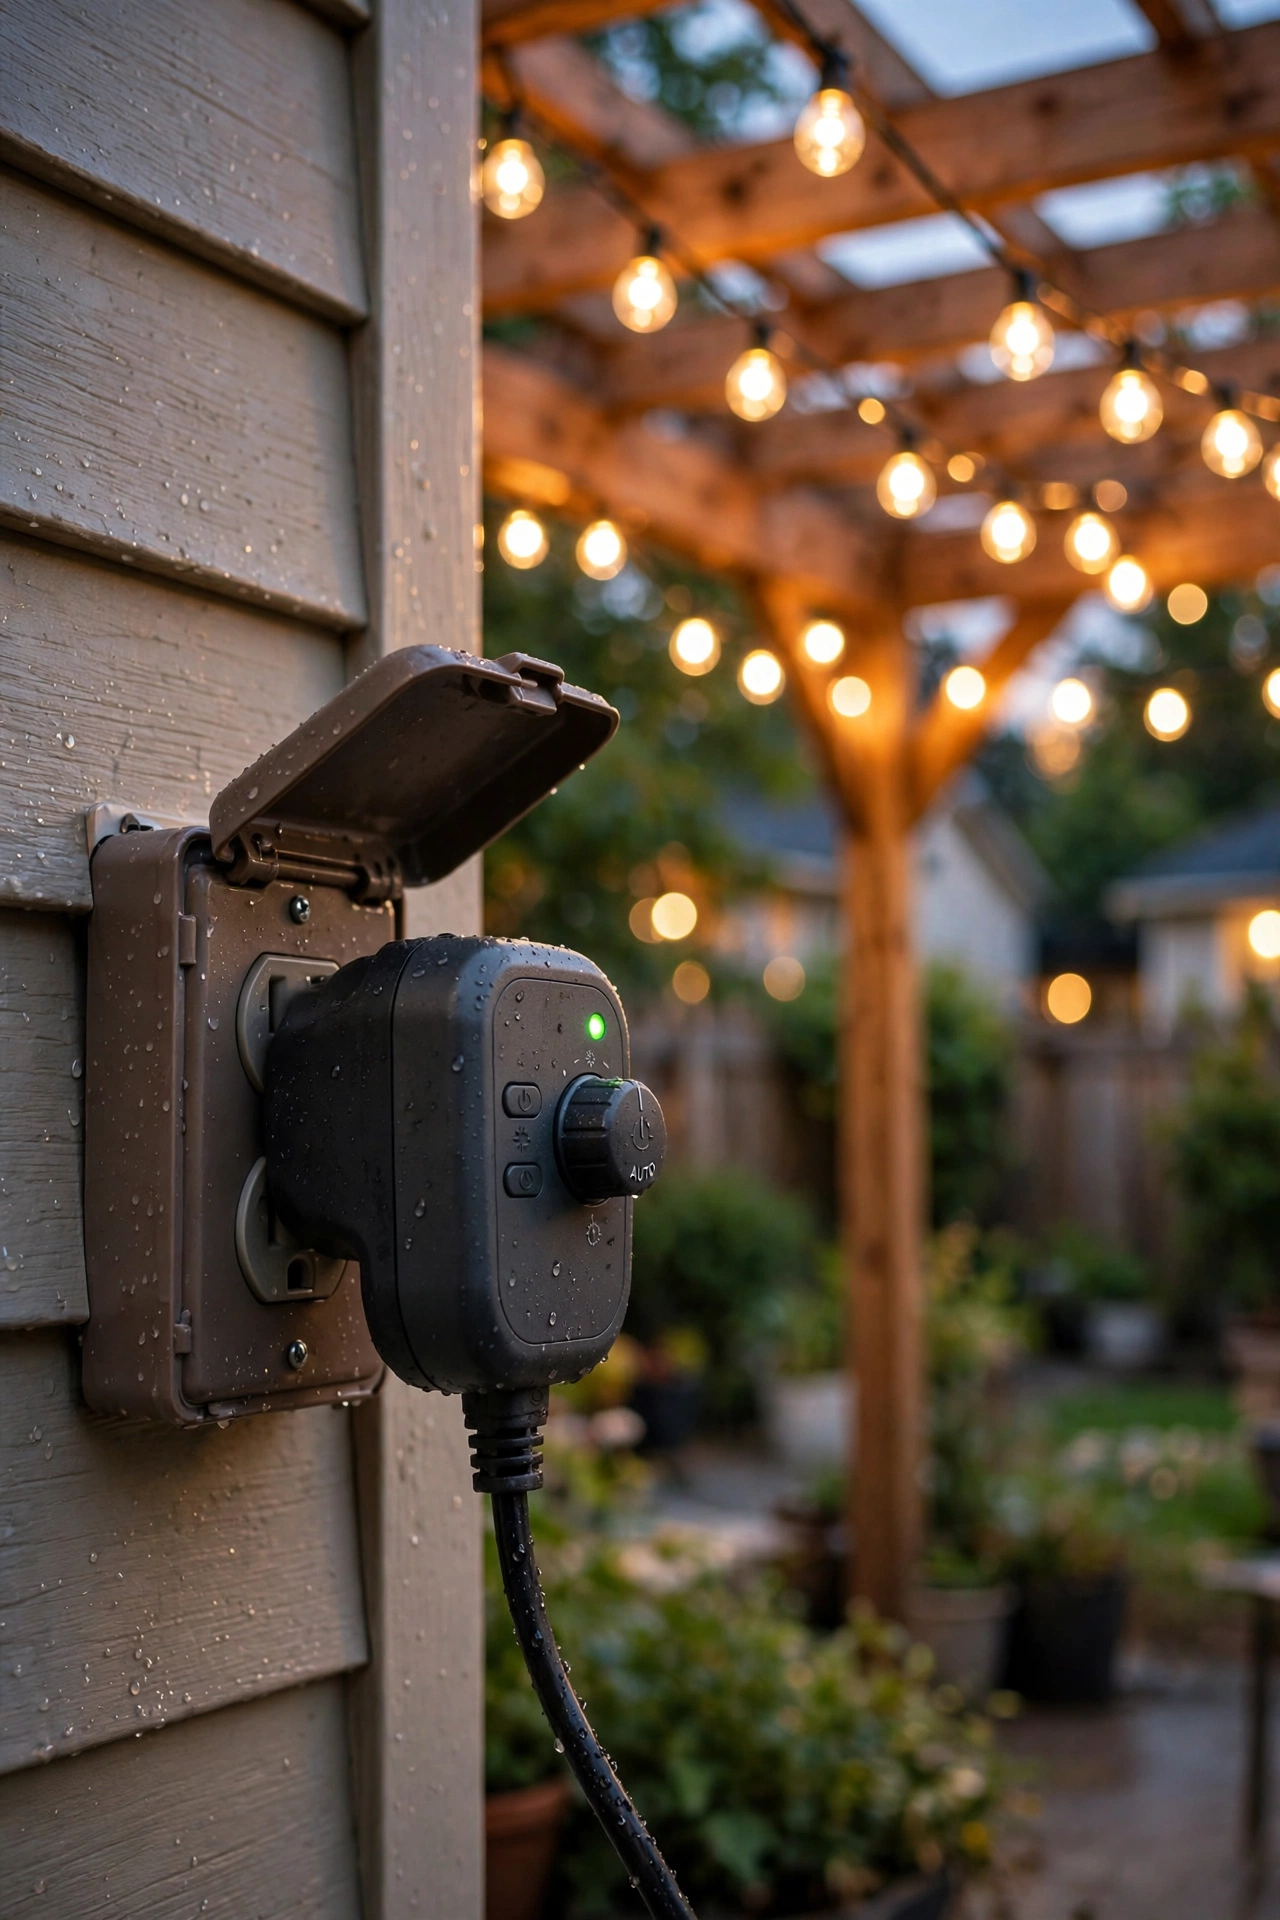
The best pergola lighting ideas are worthless if you must remember to switch them on — so the final idea is the system running the other twenty-four. A dusk-to-dawn photocell timer (or smart outdoor plug with an astronomical timer) switches everything on at sunset and off at sunrise or a set hour, adjusting automatically as days lengthen and shorten. Plug string lights, curtains, and rope into one heavy-duty outdoor timer rated for your total wattage — add up every strand (LED strings run 5 to 15 watts each; five strands rarely top 75 watts) and buy a timer rated for double that.
Group into two zones if you can: ambience (string lights, pendants) on the dusk-to-dawn timer, task and security lights on separate switches or motion sensors. The pergola glows nightly without a finger lifted, but you're not lighting the yard at 3 a.m. Mount the timer in a weatherproof box off the ground, keep extension cords short and outdoor-rated, and plug into GFCI outlets. In my experience, the timer is the $25 purchase that makes a $500 plan feel like $5,000 — a pergola that lights itself gets enjoyed every night.
Suggested budget range: $25 – $80.
Frequently Asked Questions
How much does it cost to light a pergola?
For a standard 12-by-16-foot pergola, most homeowners spend $150 to $500: a string-light canopy ($45–$120), a few lanterns or a pendant ($50–$200), and a timer ($25–$40). A solar-only approach comes in under $100, while a fully hardwired design with sconces, a chandelier, and uplighting installed by an electrician runs $800 to $2,000. In my experience, the sweet spot is $250 to $400 — all three lighting layers without overbuilding. Start with the canopy and timer, then add the layers you actually miss.
Can I install pergola lighting myself, or do I need an electrician?
Plug-in and solar lighting — string lights, solar post caps, battery lanterns, low-voltage spots — are absolutely DIY-friendly and cover about 80 percent of this list. You need an electrician for anything hardwired: new circuits, sconces tied into the house, or line voltage trenched to a detached pergola. The rule is simple: if it plugs into an existing outdoor outlet, DIY it; if it means opening a junction box or trenching cable, call a pro. Every outdoor circuit should be GFCI-protected. For the non-negotiables, read these outdoor electrical safety tips before you start.
How do I get power to a freestanding pergola without visible wires?
Three good options. Easiest: solar string lights and solar post caps — zero wires, best for pergolas far from the house. Next: a heavy-duty outdoor extension cord run temporarily for parties (never as permanent wiring). Best long-term: have an electrician trench UF-B direct-burial cable 18 to 24 inches underground from the house, ending in a weatherproof outlet box on one post. The middle ground is low-voltage (12-volt) landscape cable: it buries just a few inches deep, you can install it yourself, and it powers path lights and uplights beautifully.
How do I weatherproof my pergola lights?
Buy fixtures rated for outdoor use — look for UL or ETL marks and "wet location" ratings on anything fully exposed to rain. Keep plugs and connections off the ground in weatherproof cord boxes, and make drip loops (a U-shape in the cord below each connection) so water runs off instead of into sockets. Use dielectric grease on plug prongs in coastal or humid climates, and bring fabric items like paper lanterns indoors during storms or winter. LEDs are inherently more weather-friendly than incandescents — they run cool, so rain striking a hot bulb (a classic cause of shattered glass) isn't a concern.
The Glow-Up Is Easier Than You Think
There you have it — 25 pergola lighting ideas that take a plain wooden structure from daytime shade to nighttime destination. If you remember nothing else, remember the three-tier formula: a warm ambient canopy overhead, focused task light where you eat and gather, and a sprinkle of accent twinkle at the edges, all on a dusk-to-dawn timer so the magic happens by itself. You don't need all 25 — pick one from each tier, keep everything at 2700K warm white, and your pergola becomes the room everyone migrates to after dark.
Start this weekend with a string-light canopy and a timer — the highest-impact, lowest-effort upgrade in outdoor living. And when you're ready for more, browse the lighting ideas on the site. Your backyard's best evenings are still ahead.