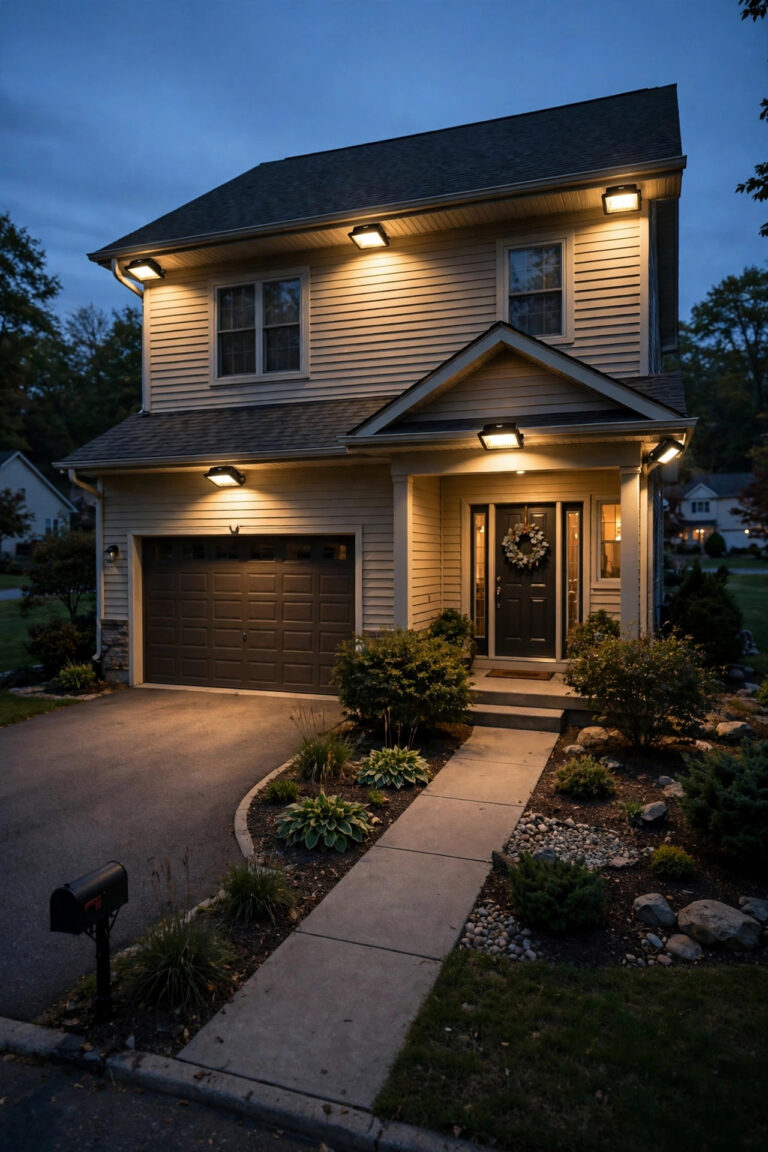
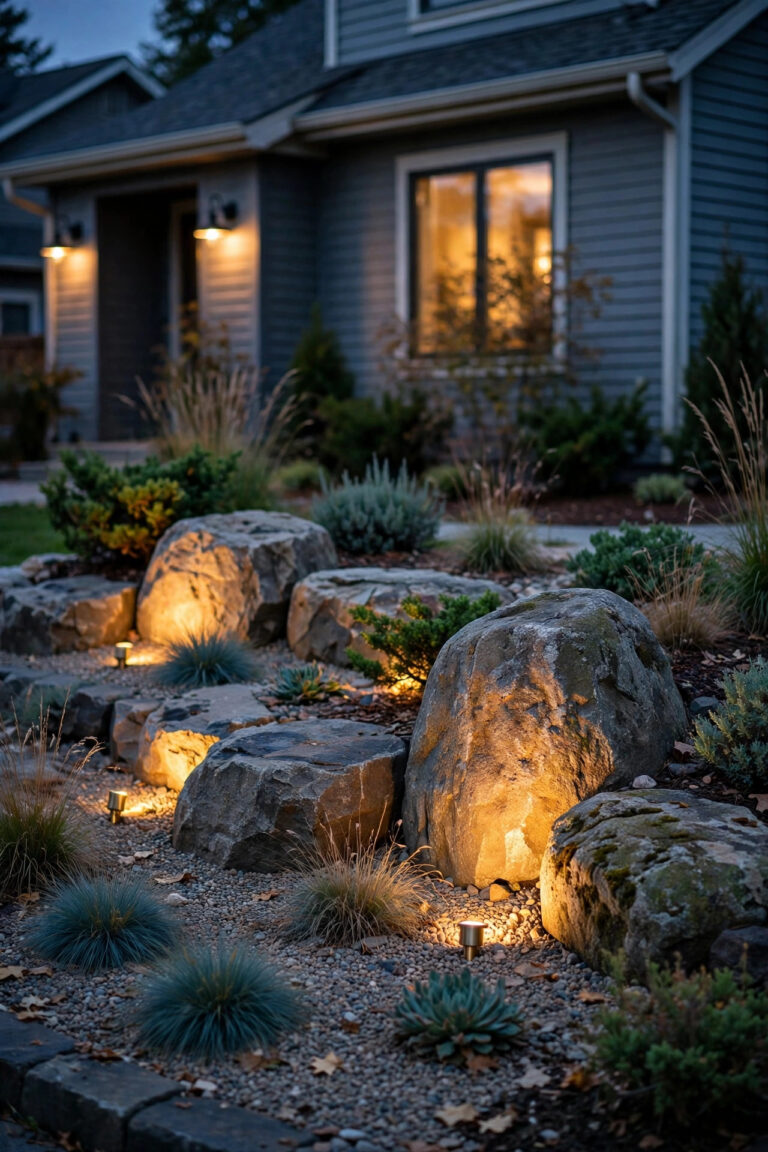
There is a special kind of disappointment in flipping on your porch light and realizing the warm glow you installed a few summers ago now looks like a candle behind frosted shower glass. The bulb is fine. The wiring is fine. The lens — that cloudy, yellowed cover — is quietly stealing a third of your light. The good news? In most cases you can clean outdoor light fixture lenses back to nearly new in under an hour, with supplies you probably already own. The trick is knowing which kind of cloudiness you are dealing with, because surface grime, hard-water film, and true sun damage each need a different fix — and the wrong cleaner can make a plastic lens worse, permanently. In this guide I will show you how to diagnose the damage, wash and polish both plastic and glass lenses safely, restore yellowed plastic with a simple polishing method, and seal everything so it stays clear longer. I will also cover what the supplies cost in 2026, the mistakes that ruin lenses for good, and how to tell when a lens is honestly beyond saving.
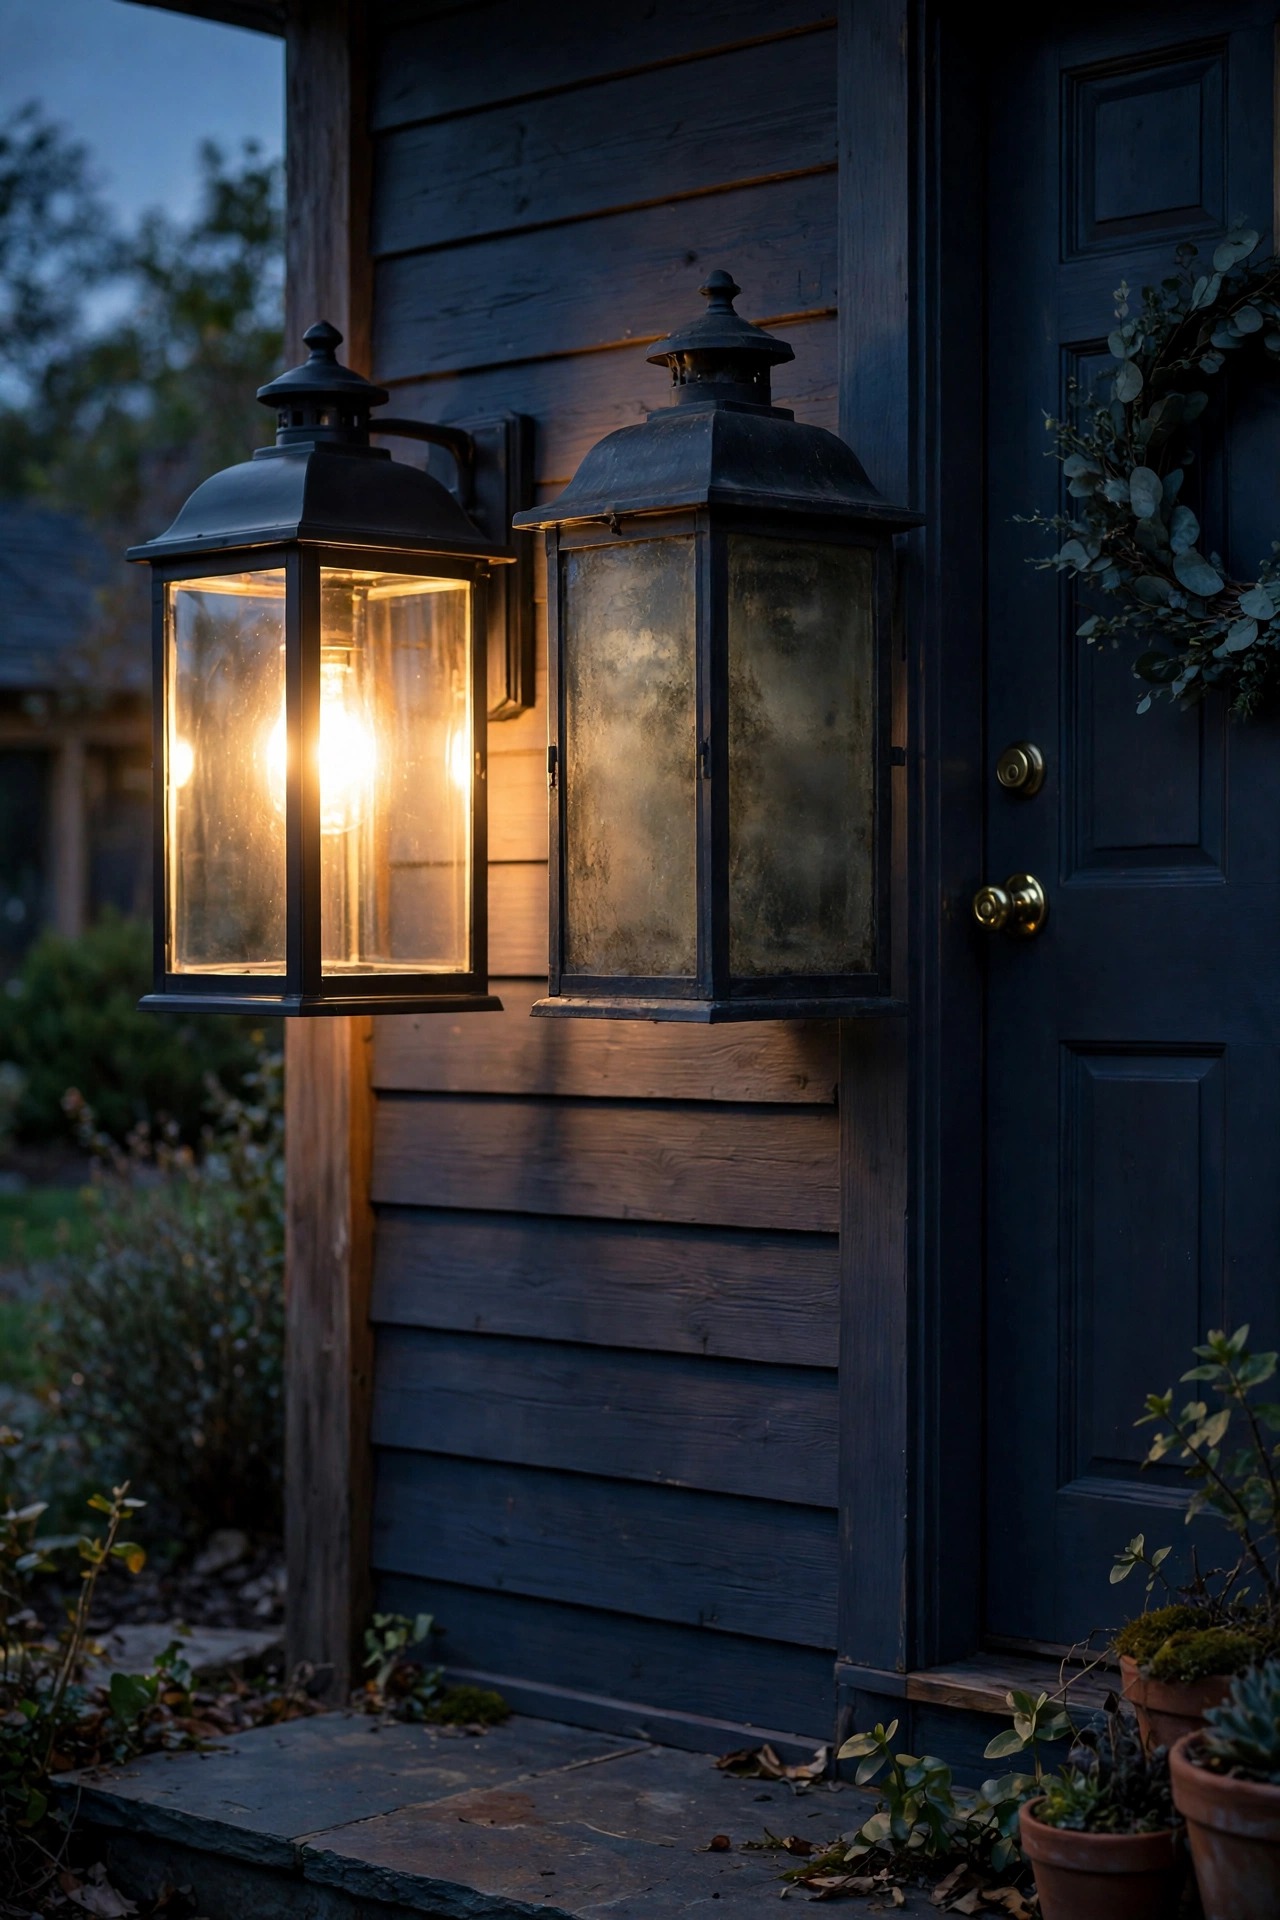
The Short Answer
Most cloudy outdoor lenses need one of three fixes. Surface dirt and pollen wash off with warm water, a drop of dish soap, and a microfiber cloth. Hard-water and sprinkler film dissolves with a white-vinegar soak. Yellowed, sun-damaged plastic needs gentle restoration: polish it with a plastic or headlight polishing compound, then seal it with a UV protectant so it does not cloud again within a month. Glass lenses rarely yellow at all — they usually just need washing and, occasionally, a vinegar treatment for mineral film. Never use abrasive pads, ammonia-based glass cleaner on plastic, or a pressure washer up close.
Why Clean Outdoor Light Fixture Lenses Still Turn Cloudy
Understanding the enemy makes the fix obvious, so let me walk through the four things that cloud a lens. First, simple grime: pollen, dust, road film, and bug residue bake onto the surface, especially on upward-facing path light caps. Second, mineral deposits. If a sprinkler or drip edge hits your fixture, every watering leaves a whisper of calcium and lime behind, and after a season that builds into a white, hazy crust. Third — and this is the big one for plastic — ultraviolet damage. Polycarbonate and acrylic lenses slowly oxidize in sunlight; the surface microscopically cracks and yellows, scattering light instead of passing it. South- and west-facing fixtures in sunny states can look tired in as little as two or three years. Fourth, heat. An old incandescent or halogen bulb runs hot enough to yellow the inside of a nearby plastic lens and even make it brittle, which is one more reason I push LED swaps in almost every fixture I own. Glass lenses skip the UV problem entirely, which is why a ten-year-old glass porch lantern often just needs a bath, while its plastic neighbor needs real restoration. Keep these four causes in mind, because the next step is figuring out which ones you have.
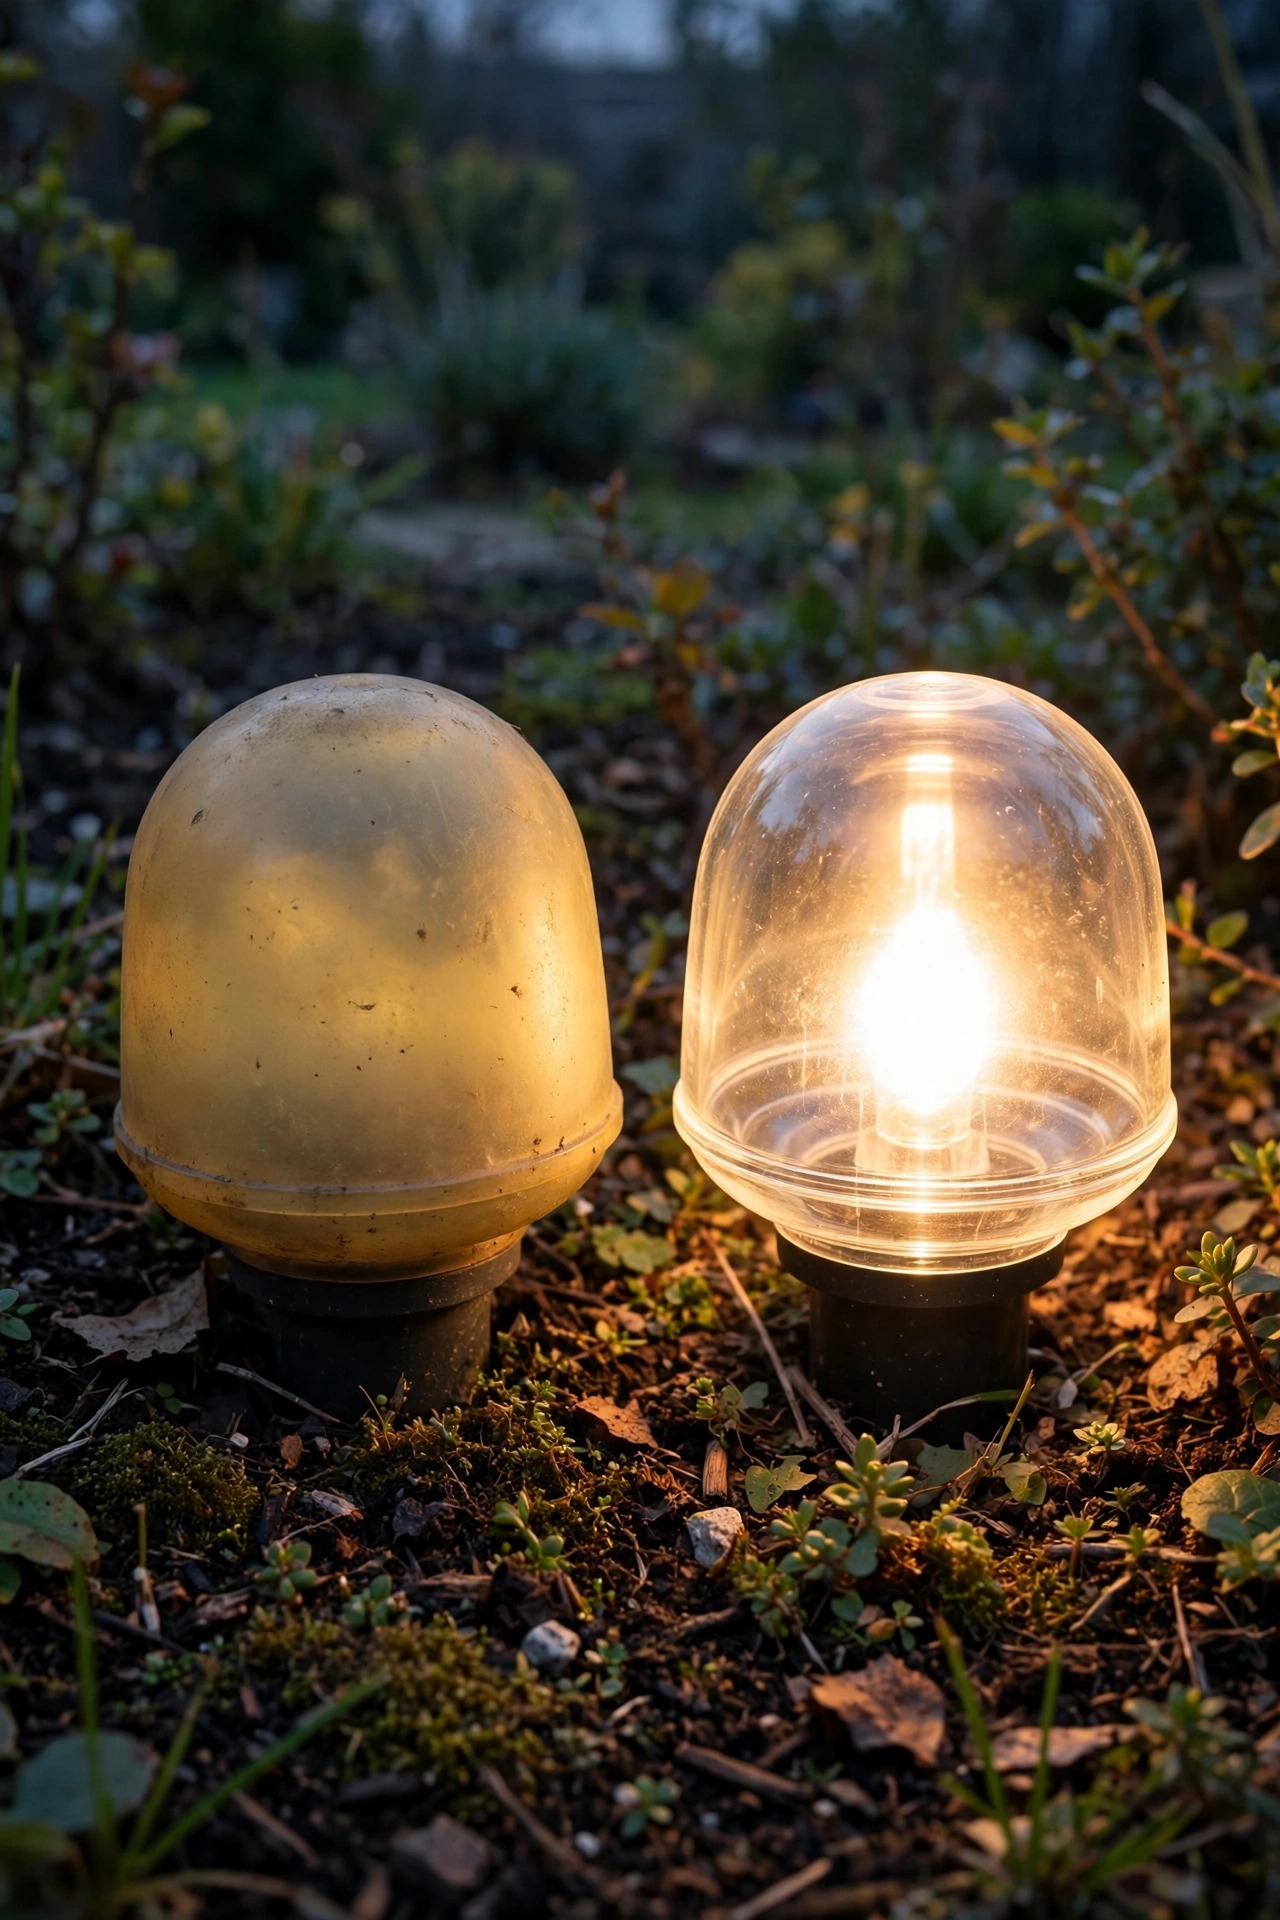
First, Diagnose: Dirt, Mineral Film, or True UV Damage?
Before you buy anything, take the lens off (power off at the switch or transformer, let it cool, and note how it clips or screws on) and run three quick tests at the kitchen sink. Test one: wash it. Warm water, a drop of dish soap, a soft cloth. If it comes out clear, you had plain grime — congratulations, you are nearly done. If a white film remains that feels slightly rough or chalky, that is mineral scale; run a fingernail gently across it and you will feel the drag. Test two: the vinegar check. Soak a paper towel in white vinegar, lay it on the filmed area for fifteen minutes, then wipe. Mineral film softens and releases; UV damage does not budge. Test three: look and feel. Sun-damaged plastic looks yellow or amber through the material itself, not just on the surface, and often feels slightly rough or crazed with a network of hairline cracks when you catch it in raking light. Roughness tells you polishing alone may not be enough and a light wet-sanding step will help first. This five-minute diagnosis matters because each cause has its own remedy below — and using the aggressive remedy on a lens that only needed soap is how good lenses get scratched.

What You Will Need: The Gentle Cleaning Kit
Nothing here is exotic, and that is deliberate — lenses cloud because they are delicate, so the kit is built around softness. You will want two microfiber cloths (one for washing, one clean and dry for buffing), a soft sponge, dish soap, and a bucket of warm water. Add white vinegar for mineral film, a spray bottle, and painter's tape to mask painted fixture edges before any polishing. For restoration work, pick up a plastic polishing compound — the kind sold for headlights or clear plastics — or a basic headlight restoration kit, which conveniently bundles compound with fine sanding pads. If your lens is rough, add wet/dry sandpaper in 1,500 and 2,500 grit. Finish supplies: a UV-protectant spray or wipe made for clear plastics, which is the step everyone skips and then wonders why the cloud came back. Optional but lovely: cotton gloves or a lint-free cloth for handling the finished lens so fingerprints do not mark your work. What you will not see on this list: paper towels (they can micro-scratch plastic), scouring pads, powdered cleansers, or anything with ammonia. Gather it all on a towel by the sink, put on some music, and you are set for the main event — this is satisfying work.

Step-by-Step: How to Clean Outdoor Light Fixture Lenses Safely
Here is the sequence I use on every lens, gentlest first — stop as soon as the lens looks clear instead of marching through all six steps out of habit.
1. Cut the power and remove the lens. Switch the fixture off (unplug the transformer for landscape lights), let everything cool, and remove the lens or globe. Photograph how it fits if there are clips.
2. Dry-dust first. Knock loose dirt, cobwebs, and dead bugs off with a soft brush or dry microfiber so you are not grinding grit into the surface in step three.
3. Wash. Soak the lens ten minutes in warm water with a drop of dish soap, then wash gently with the sponge. Rinse and dry with the clean microfiber.
4. Treat minerals if needed. For chalky white film, soak the lens (or a laid-on paper towel, if the lens cannot come off) in a half-and-half vinegar and water mix for 20–30 minutes, then wash again.
5. Polish only if haze remains. This is the restoration step from the next sections — compound on a microfiber, small circles, light pressure.
6. Rinse, dry, and seal. Final wash, thorough dry, then the UV protectant. Reinstall once fully dry so you do not trap moisture inside the fixture.
That order — dust, wash, dissolve, polish, protect — has saved every salvageable lens I have tried it on.

Banishing Hard Water and Sprinkler Spots
If your fixtures live in sprinkler range, mineral film is probably your main villain, and vinegar is your best friend. For loose path light and lantern lenses, a full soak in straight white vinegar for 30 minutes dissolves most calcium crust; stubborn rings may need a second soak and a gentle sponge pass between rounds. Never scrape with a knife or scrub with a scouring pad — plastic will carry those scratches forever, and even glass can be etched worse by abrasion. For lenses that cannot be removed, soak a cloth in vinegar, drape it over the cloudy area, and let chemistry do the work for 20 minutes before wiping. Rinse everything thoroughly afterward, because dried vinegar residue can leave its own streaks. Then fix the cause or you will be repeating this every season: adjust sprinkler heads so they arc away from fixtures, add a small deflector shield, or accept a twice-a-year vinegar wipe as part of your spring and fall routine. One honest caution: deep mineral etching that has sat for years can actually eat into glass, leaving a permanent frosted patch no cleaner will remove. If a glass lens stays frosty after two vinegar soaks, it is etched, not dirty — jump ahead to the replacing section and save your elbow grease.

Restoring Yellowed Plastic Lenses With Polish
When the yellow lives in the plastic itself, washing will not touch it — you have to remove the oxidized surface layer, and it is easier than it sounds. Start by washing and drying the lens so you are polishing plastic, not dirt. If the surface feels smooth, go straight to compound: squeeze a pea-sized amount of plastic or headlight polishing compound onto a microfiber cloth and work in small circles with light, even pressure, one section at a time. Wipe and check every minute or so; most lenses clear in five to ten minutes of patient work. If the plastic feels rough or looks crazed, wet-sand first — and I mean wet, with the paper soaked and the lens dripping — starting at 1,500 grit in straight, gentle strokes, then 2,500 grit, keeping everything lubricated. The lens will look uniformly frosted at this point, which is normal and slightly terrifying the first time. Then polish as above, and the compound brings the clarity back, better than before because the damaged layer is gone. Work outdoors or in a ventilated spot, mask painted metal with painter's tape, and keep compound off black textured housings, where it can dry into white residue.

Glass Lenses: Washing, Mineral Film, and Honest Limits
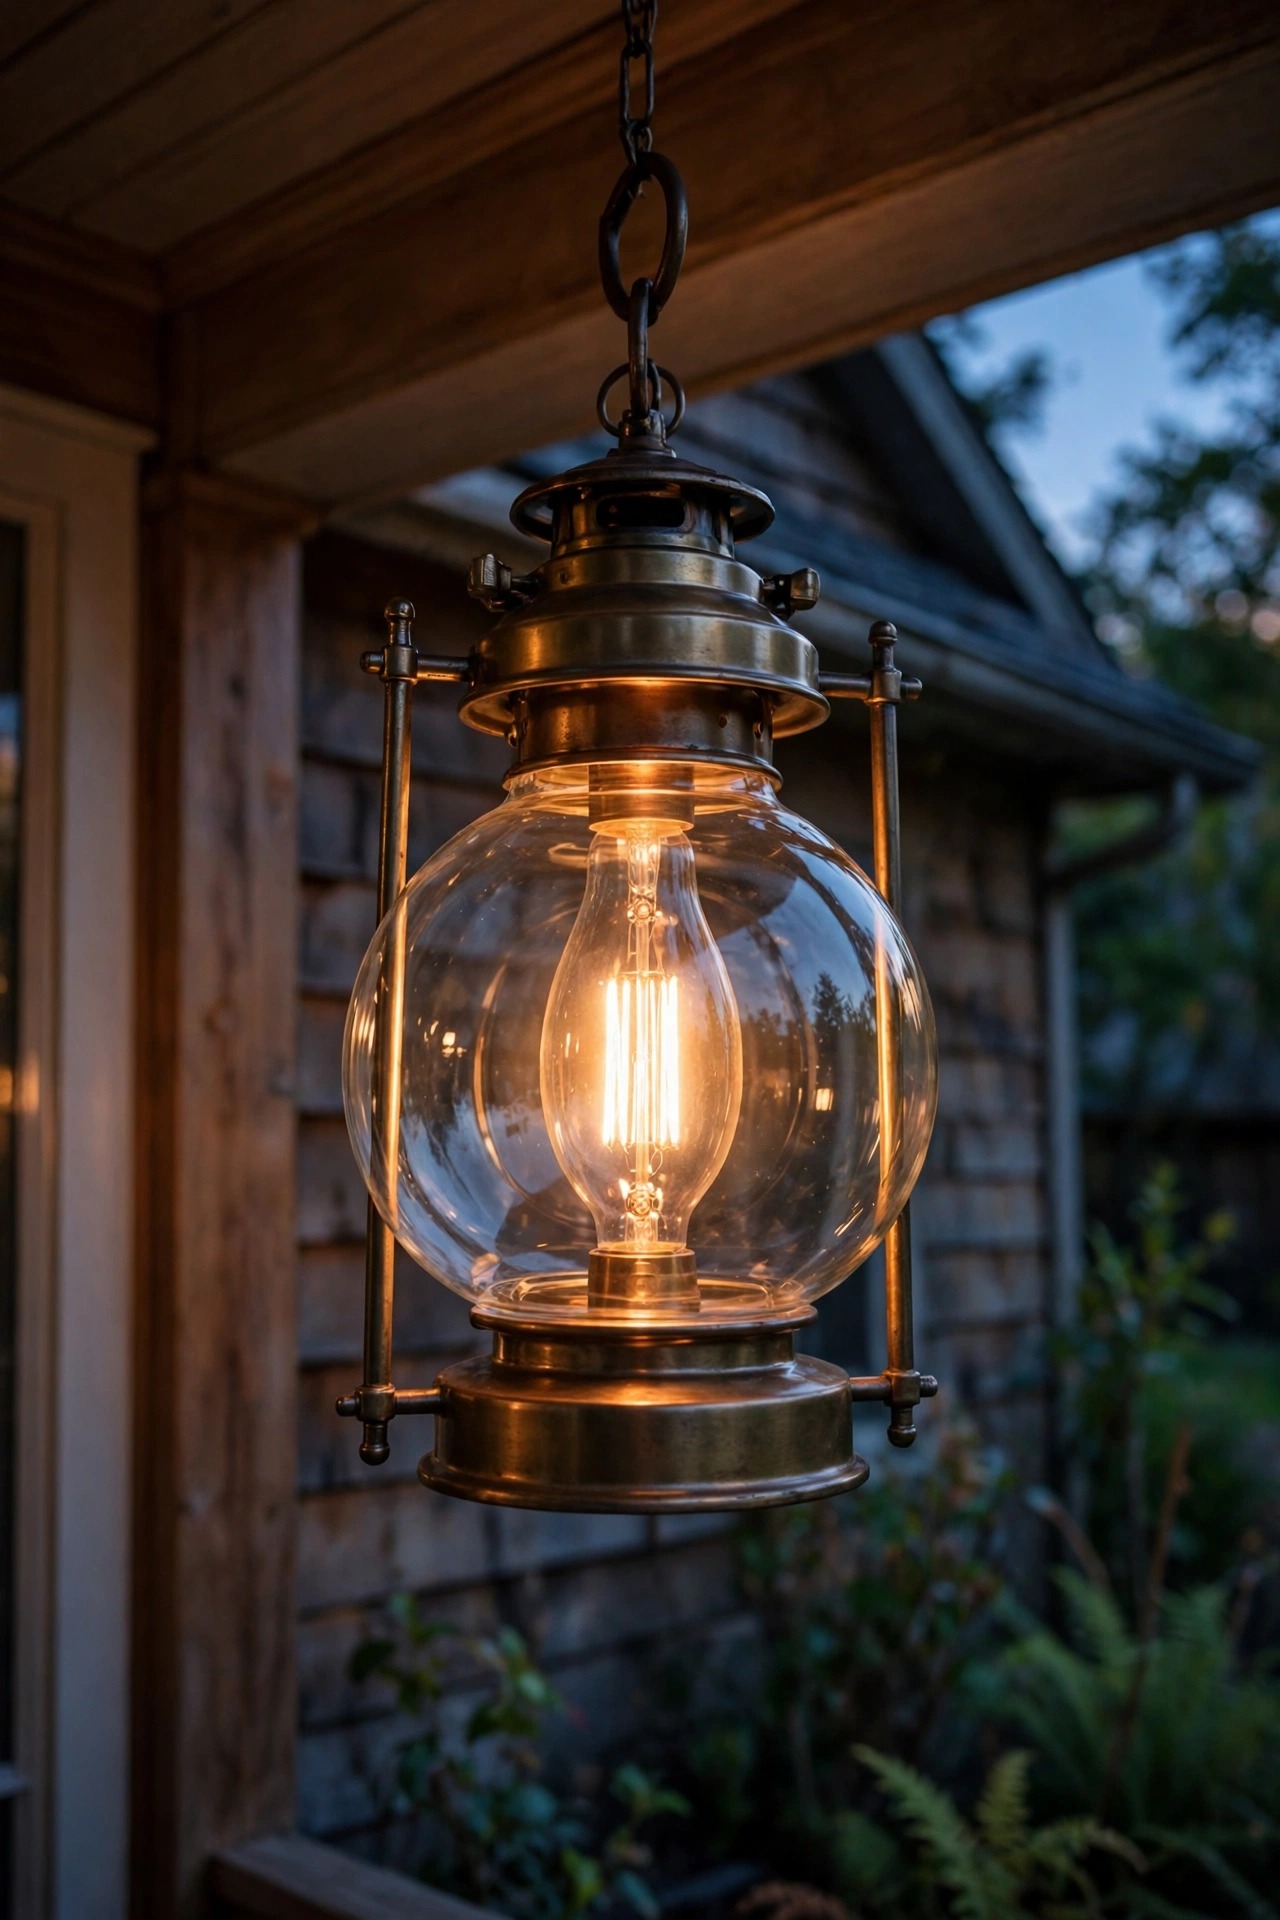
Glass is the forgiving material. It does not yellow from UV, it shrugs off vinegar soaks of any reasonable length, and it tolerates a proper glass cleaner — though I still use soap and water first out of habit, because most glass "cloudiness" is simply baked-on grime plus mineral film on the outside and a layer of dust, bug residue, and sometimes a faint nicotine-like haze from heat on the inside. Wash both sides; the inside of a porch globe that has hosted a hot halogen bulb for a decade can be surprisingly filthy. For mineral film, the same vinegar routine applies, and glass lets you be patient: an hour-long soak for a bad case is perfectly safe. What glass will not forgive is thermal shock — never dunk a hot lens in cold water or rinse a sun-baked lens under a cold hose, because that is how globes crack. Let it cool in the shade first. And as mentioned earlier, years of hard-water etching can permanently frost glass; no amount of polishing compound fixes etched glass in a way I would trust outdoors. If washing and vinegar leave it frosty, the lens has done its service. Replacement globes are usually inexpensive, and a fresh one will make the whole fixture look new.
Cleaning the Inside: Bugs, Cobwebs, and Condensation
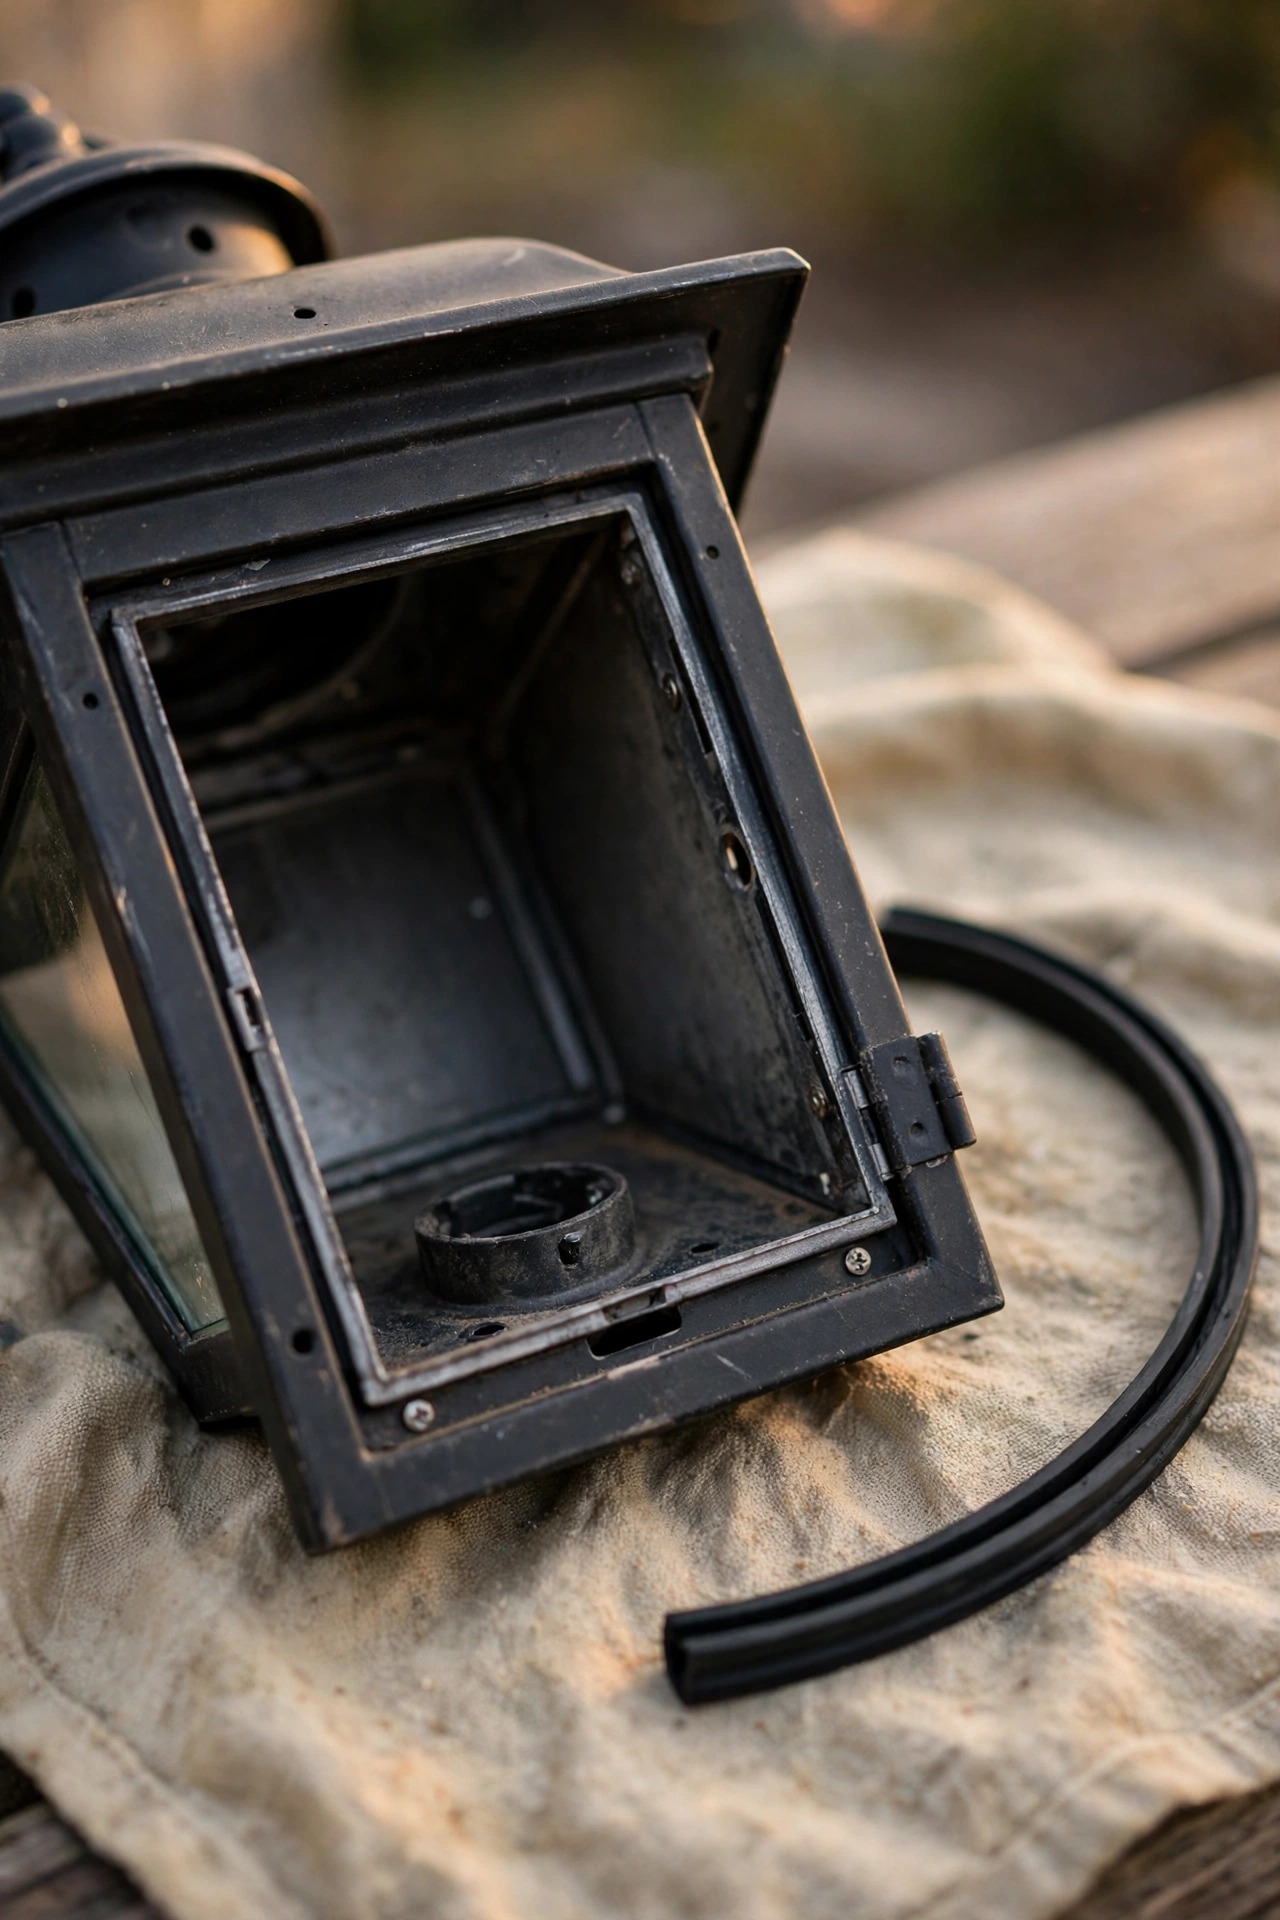
A lens can be spotless outside and still look dim because of what is happening behind it. Open fixtures collect a small graveyard — moths, beetles, spider webs, and wind-blown dust settle inside globes and uplight wells, and every layer steals light. While the lens is off for washing, dump the debris, wipe the reflector or housing with a damp microfiber, and check the bulb itself, since a dusty bulb is its own dimmer. Then look at the seal. Condensation inside a lens usually means the gasket has flattened, cracked, or gone missing, letting humid air in to fog the glass on cool mornings; a light fog that burns off by noon is mostly cosmetic, but pooled water is a corrosion invitation. This is where fixture ratings stop being abstract — my guide to wet vs damp location fixtures explains why a damp-rated fixture in an exposed spot fogs and corrodes so fast. Replace a dead gasket with a bead of exterior silicone or a foam gasket strip, leave any designed drain or weep hole at the bottom open (sealing it is a classic mistake), and your lens will stay clear inside as well as out. While you are in there, snug any loose mounting screws too — a rattling lens wears its own edges cloudy over time.
Sealing and Protecting the Lens After Restoration
Restoration without protection is a subscription — the cloud will renew itself within a season, because the UV that yellowed the lens is still shining on it, and polishing actually strips whatever factory UV coating remained. So the final step matters: apply a UV-protectant product made for clear plastics — sold as headlight sealant wipes, plastic UV sprays, or the sealant stage in restoration kits — following its directions exactly, usually a thin wiped coat, then a cure period out of direct sun for a few hours. Some restorers use a clear coat rated for plastics, which lasts longest but is the least forgiving to apply evenly; for most homeowners I recommend the wipe or spray protectants and a reapplication every spring, which takes four minutes per lens once you are in the habit. If you are choosing new or replacement fixtures and want to dodge this chore, that is a materials question too — my explainer on IP ratings for outdoor lights covers how sealed a fixture really is, and in general glass-lensed fixtures in metal housings age the most gracefully. Protectant on, lens reinstalled, light back on at dusk — that first evening glow genuinely feels like a new fixture.

What It Costs in 2026
The supplies are refreshingly cheap, which is why restoration is almost always worth trying before replacement. Dish soap and vinegar you own already; a two-pack of decent microfiber cloths runs about $6–$10. A bottle of plastic polishing compound is $8–$14 and will do dozens of lenses. A complete headlight restoration kit with sanding pads and sealant wipes costs $15–$30 and covers every plastic lens on most properties. Wet/dry sandpaper assortments are $6–$10, and a UV-protectant spray or sealant wipe pack runs $10–$18. So the full do-it-yourself route lands between about $15 (compound only, for lightly hazed lenses) and $45 (full kit plus protectant) — a one-time buy that serves the whole yard for years. Compare that with replacement: plastic lens covers and path light caps run $8–$25 each, replacement glass globes $15–$40, and swapping entire fixtures $25–$150 apiece plus your time. Hiring out makes little sense at this scale — a handyman's minimum visit of $75–$150 costs more than every supply on this page combined. The math is simple: spend the $20 first, and only open your wallet wider when the lens itself is cracked, melted, or etched beyond help. Even counting your time generously, an afternoon of restoration across a whole yard costs less than replacing two fixtures — and keeps perfectly good metal housings out of the landfill a while longer.
5 Mistakes That Ruin a Lens for Good
1. Scrubbing with abrasive pads or powdered cleanser. Those fine scratches scatter light exactly like cloudiness — you have traded one haze for a permanent one.
2. Using ammonia glass cleaner on plastic. Ammonia clouds acrylic and polycarbonate and can craze the surface. Soap, vinegar, or plastic-safe cleaner only.
3. Pressure washing up close. A close jet can force water past seals, craze aged plastic, and sandblast soft finishes. A garden hose rinse is plenty.
4. Polishing a dirty lens. Compound plus embedded grit equals sandpaper. Always wash first, and rinse between sanding grits.
5. Skipping the UV sealant. Unprotected polished plastic re-yellows in months, and each re-polish thins the lens a little more, so restorations get shorter-lived every round.
Every ruined lens I have seen came from one of these five, and every one of them was avoidable with patience and a softer cloth. Notice the pattern: none of these mistakes comes from laziness — they come from enthusiasm. Someone scrubs harder because they want it clear now, or grabs the strong cleaner because the gentle one feels too slow. Lens work rewards the opposite instinct. Work in stages, check your progress in good light, and let soaks and chemistry do the heavy lifting while you sip something cold. If a step is not working after a fair try, the answer is almost never more force; it is a different method from the diagnosis section, or the honest verdict that this particular lens has finished its career and earned a replacement.
A Seasonal Lens-Care Routine That Keeps Them Clear
Once your lenses are restored, staying ahead of the cloud takes minutes, not hours. I fold lens care into the same spring and fall passes I already make around the yard — it sits naturally inside the bigger checklist in my outdoor lighting maintenance checklist, right between bulb checks and timer resets. In spring, wash every lens with soap and water, vinegar-wipe the ones in sprinkler range, and reapply UV protectant to restored plastic. In fall, do a quick wash and empty the bug debris before the long dark evenings arrive, and glance at gaskets while you are there. Path lights and solar stakes benefit from a mid-summer wipe too, since pollen and sprinkler season peaks then, and a 30-second wipe per lens keeps light output honest. Store a dedicated "lens kit" — cloths, vinegar spray bottle, compound, protectant — in one small bin, and the whole routine becomes grab-and-go. The payoff is real: a clean lens can pass up to a third more light than a cloudy one, which means the system you already own performs like the upgrade you were about to buy. I also keep a simple note on my phone — just the date and which lenses got protectant — because "sometime last spring, maybe" is how reapplications quietly slip a year and the haze sneaks back.

When to Stop Restoring and Replace the Lens
Restoration has honest limits, and part of this guide's job is saving you from polishing a corpse. Replace the lens — or the fixture — when you find any of these: cracks or chips, especially near mounting clips, because vibration and weather will spread them; warping or a melted spot from an oversized old bulb, which also tells you to switch to LED when you reinstall; deep crazing, where the hairline crackle goes through the material rather than sitting on the surface; brittleness, where aged plastic crumbles or snaps at the screw holes instead of flexing; and etched glass that stays frosty after two vinegar soaks. In those cases, measure the old lens (diameter, height, and the fitter or neck size where it attaches), photograph it, and shop by dimension rather than by fixture name, since replacement globes and caps are sold generically. A new lens on a sound fixture is one of the highest-value refreshes in outdoor lighting — a modest part and ten minutes for what looks like a brand-new lantern. And if the housing itself is corroded or the socket is shot, take the hint and replace the whole fixture with a glass-lensed, wet-location model that will not repeat the story.

Frequently Asked Questions
Can I use vinegar on every kind of outdoor light lens?
On glass, yes, freely — vinegar soaks are the kindest way to lift mineral film from glass. On plastic, use it diluted half-and-half with water and keep soaks to about 30 minutes, then rinse well. Vinegar will not harm sound polycarbonate or acrylic in that routine, but it also will not fix yellowing — if vinegar and washing leave the lens amber, the damage is UV oxidation in the material, and you need the polishing route instead.
Why did my lens turn cloudy again a few months after I polished it?
Because the polishing removed the oxidized layer but left the fresh plastic unprotected, and sunlight simply started the process over. This is the single most common restoration complaint I hear. The fix is the step that feels optional but is not: seal the lens with a UV protectant made for clear plastics right after polishing, park sprinklers away from the fixture where you can, and reapply protectant each spring.
Is a headlight restoration kit safe to use on porch and path light lenses?
Yes — headlight lenses and most outdoor fixture lenses are the same family of plastics, usually polycarbonate, and the kits are designed for exactly this kind of UV haze. The compound-only stage is safe on any plastic lens. Use the kit's sanding pads only when the surface feels rough or looks crazed, keep the pads wet, work gently, and mask painted or textured fixture parts with painter's tape first.
Can a cloudy lens actually make my yard noticeably darker?
It can, and by more than people expect. A heavily filmed or yellowed lens commonly blocks a quarter to a third of the bulb's output and scatters the rest, which softens path light pools and shrinks the reach of spotlights. That is why a yard can feel dim even after you install brighter bulbs — the light is being taxed at the lens. Cleaning and restoring the lenses first is the cheapest brightness upgrade there is.
Conclusion
A cloudy lens is rarely a death sentence for a fixture — it is usually just grime, mineral film, or a thin skin of sun damage waiting for the right remedy. Now you know how to clean outdoor light fixture lenses the gentle way: diagnose first, wash before you polish, dissolve minerals with vinegar, polish oxidized plastic back to clarity, and always seal the result against the sun. Do that once, fold a quick wash into your spring and fall routine, and the warm, clear glow you paid for will still be there years from now. If a few of your fixtures have crossed into cracked or brittle territory, treat yourself to fresh lenses and enjoy the same evening. Then browse the rest of the lighting ideas here for your next small upgrade — your yard at dusk is about to look very good again.