Every December, I watch my neighbors wrestle with the same problem: a string of lights, a ladder, and a boxwood that ends up looking like it lost a fight with a tangle of wire. Honestly? There's a much easier way. Net lights for bushes are the closest thing holiday decorating has to a cheat code — you drape, you tuck, you plug in, and in about ten minutes a plain hedge turns into a solid wall of glow that looks like you spent the whole weekend on it. In my experience, nets are where the layering philosophy really proves itself. A well-lit bush becomes the warm base layer of your whole display, the thing that makes the roofline icicles, the lit wreath and the pathway markers all look intentional instead of scattered. This year I've pulled together my 17 favorite ways to use them: classic warm white wraps, solar nets for the far corners of the yard, color-changing sets for the grandkids, and a few tricks for renters and small porches too. I'll walk you through sizing, timers, plant safety and storage, so your bushes look professionally lit with about zero professional effort.
1. Start With the Classic: Warm White Nets on Boxwoods
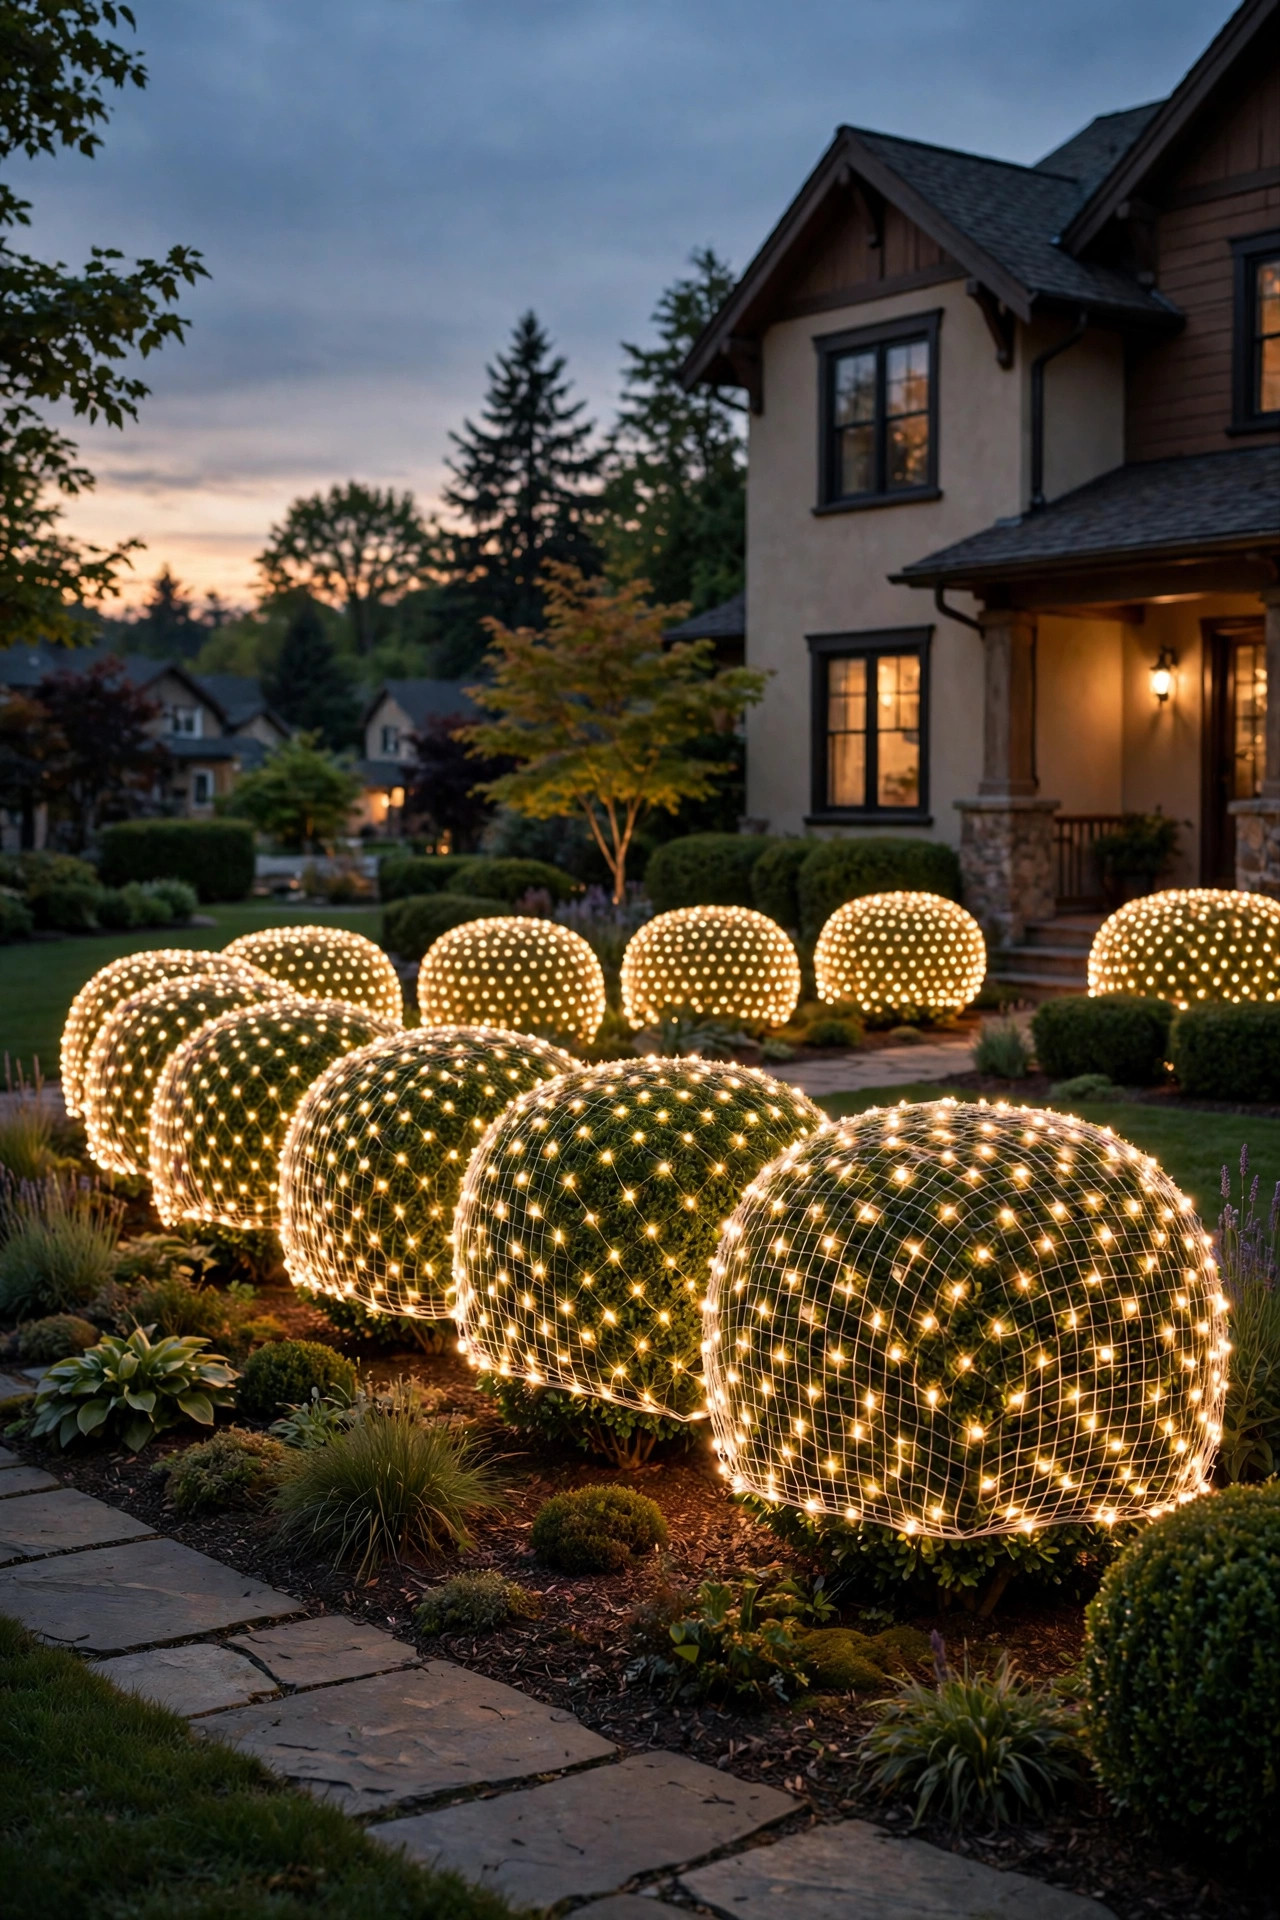
If you only buy one style, make it this one. A warm white net — usually 4 by 6 feet with around 100 LED bulbs woven into the grid — draped over a boxwood is the single fastest way I know to make a house look "done" for the holidays. Boxwoods are the perfect partner because their dense, small leaves fill every gap in the grid, so the net reads as a solid cushion of light instead of a fishing net with bulbs. Start at the top center of the shrub, let the net fall evenly down the front, then walk around and tuck the back edge down low where nobody sees it. I like to shake the branches gently as I drape so the bulbs settle into the foliage rather than sitting on top of it. Choose warm white in the 2700–3000K range so the glow matches your porch light and any window candles — mixing temperatures is the one thing that makes nets look cheap. Run the cord down the back and bury it under mulch to reach a GFCI outlet. One average three- to four-foot shrub takes a single net and about ten unhurried minutes.
Suggested budget range: $15 – $35.

2. Go Multicolor for a Playful, Family-Friendly Yard
Warm white is elegant, but if you have little kids or grandkids voting, multicolor wins every year at my house. A net of red, green, blue and gold bulbs over the front shrubs gives you that storybook, candy-bright look without wrapping a single strand by hand. The trick is commitment: do all the front bushes in multicolor, or pick one hero shrub and keep the rest warm, because a patchwork of half-and-half reads as an accident. Multicolor nets look best against dark evergreen foliage, where each bulb pops like a gumdrop. I keep the roofline and porch in simple warm white so the whole display doesn't shout — the bushes become the fun layer in an otherwise calm design. Pair them with a multicolor wreath or a few oversized ornament stakes in the same palette to make it look planned. One caution from experience: multicolor LEDs vary a lot between sets, so buy all your nets at the same time from the same product line, or the blues won't match and it will quietly drive you crazy every single night of December.
Suggested budget range: $18 – $40.

3. Double Up Nets on Big Rhododendrons and Azaleas
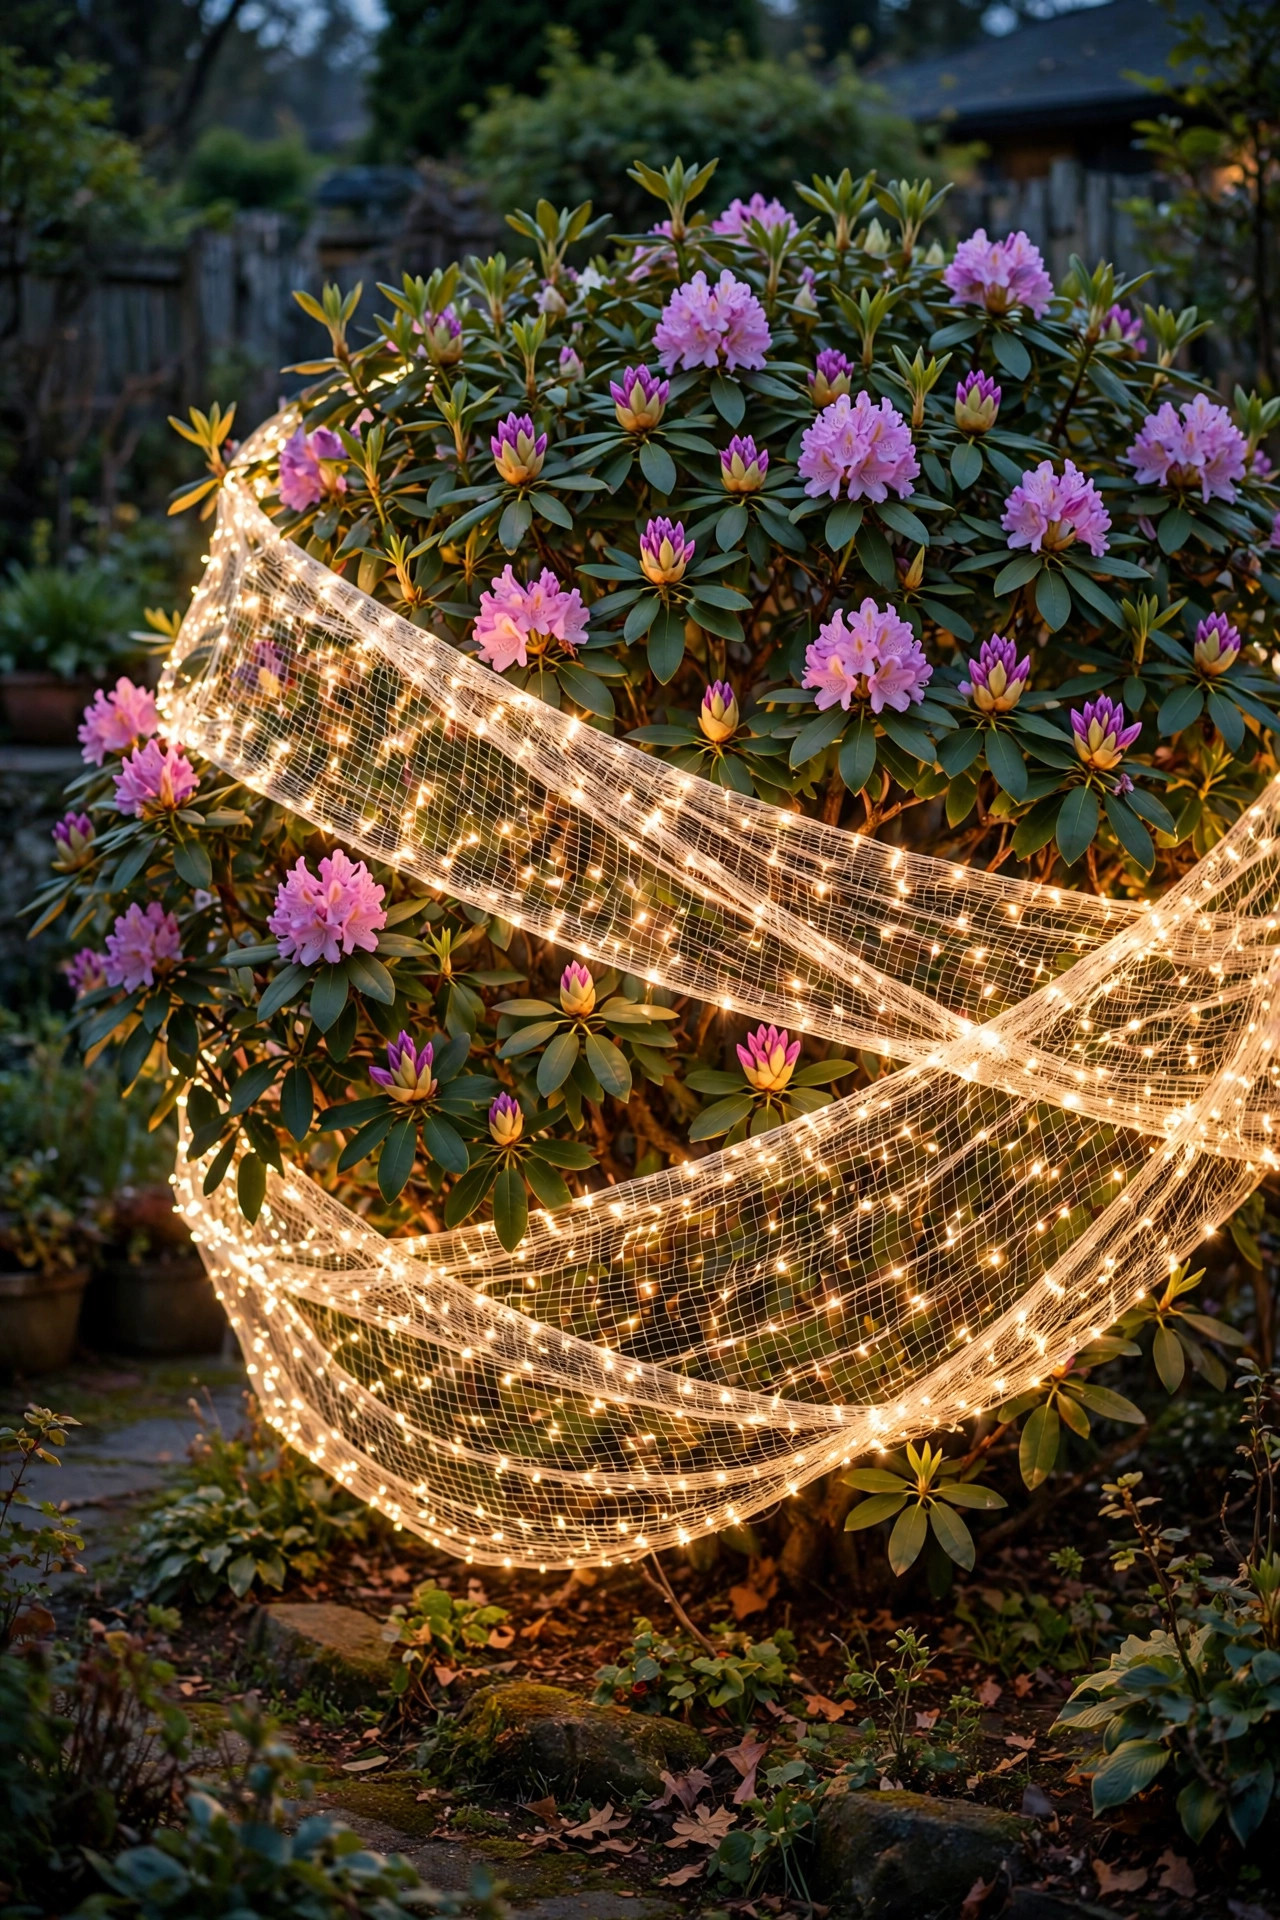
A single net on a wide rhododendron always disappoints — the coverage is too sparse and the dark gaps show. My fix is simple: drape the first net as usual, then lay a second net over it offset by half a grid square, so the bulbs of the second net land in the empty diamonds of the first. The density instantly doubles and the shrub looks professionally lit, like the displays outside garden centers. This works beautifully on five- and six-foot rhododendrons and azaleas, where one 4-by-6 net barely covers the front face. Secure the corners with soft plant ties or a couple of landscape staples pushed into the soil at the base — never yank the net tight, because rhododendron branches snap in cold weather. If your nets are the connectable type, plug the second into the tail of the first and respect the set limit printed on the tag, usually three to five sets end to end for LED. Keep the plug connection raised off the ground on a brick or tucked under the shrub so meltwater never pools in it. Step back at dusk and you'll see why the double layer is worth it.
Suggested budget range: $30 – $70.
4. Choose Solar Net Lights for Bushes Far From Outlets
Every yard has that one planting bed stranded twenty feet from the nearest outlet — the mailbox shrubs, the island bed in the middle of the lawn, the corner by the driveway apron. That's exactly where solar nets earn their keep. The net itself looks like any other, but a small panel on a short lead charges by day and runs the grid for roughly six to eight hours after dark in the brighter months. Placement of that panel is everything: stake it at the sunny south edge of the shrub, tilted toward the sky, and wipe it clean whenever you walk past, because a dusty panel quietly halves your runtime. Be honest about December, though — short days and low sun mean three to five hours of glow on a good evening, and they'll be dim after a string of cloudy days. I use solar nets as accent layers in those far beds and keep my main front display plug-in, so the house still looks lit even when the solar set calls it an early night. For a no-dig, no-cords solution, nothing else comes close.
Suggested budget range: $20 – $45.

5. Shape Nets Over Evergreens for a Clean, Sculpted Look
Junipers, yews, hollies and arborvitae hold their shape all winter, which makes them the most forgiving shrubs to dress. A net draped over a cone-shaped arborvitae follows the silhouette beautifully — gather the excess at the back, let the corners hang, and the grid turns into a glowing Christmas tree shape without a single ornament. On flat-topped yews and spreading junipers, pull the net edges down evenly on all sides so the light band sits at the same height all the way around; that straight horizon line is what makes it look intentional. Evergreens also tolerate nets for the full season without complaining, since the foliage isn't trying to grow in December. I do keep the drape loose. Winter branches are stiff, and a net cinched tight can bend the outer tips in ways that take a full growing season to forgive. A gentle shake once a week knocks off any leaves or early snow the grid has caught. If you're new to nets, start with the evergreens — they're practically impossible to make look bad, and they'll build your confidence for the fussier shrubs.
Suggested budget range: $15 – $35.

6. Wrap Round Topiary Balls With the Spiral Tuck
Spherical boxwoods and topiary balls in urns are my favorite candidates for a little extra fuss, because a glowing orb looks expensive. A flat rectangular net on a round shrub wants to bunch, so here's my method: fold the net in half diagonally, drape the fold over the top of the ball, then work your way around in a gentle spiral, tucking the slack under itself as you go, with the seam ending at the back. The diagonal fold lets the grid flex around the curve instead of fighting it. Anchor the bottom edge with two or three soft ties to the trunk or urn rim — hidden, loose, and easy to remove in January. This is the one place I sometimes use the smaller 4-by-4-foot nets meant for little shrubs; they wrap a two-foot ball almost perfectly with minimal overlap. A matched pair flanking the front door, both glowing at the same height, gives you that tailored, symmetrical look that makes people slow down on the sidewalk. Light the urns, too, if they're near the porch light — the whole entry reads as one composed picture.
Suggested budget range: $12 – $30.
7. Fold Nets Into Window Boxes and Porch Planters
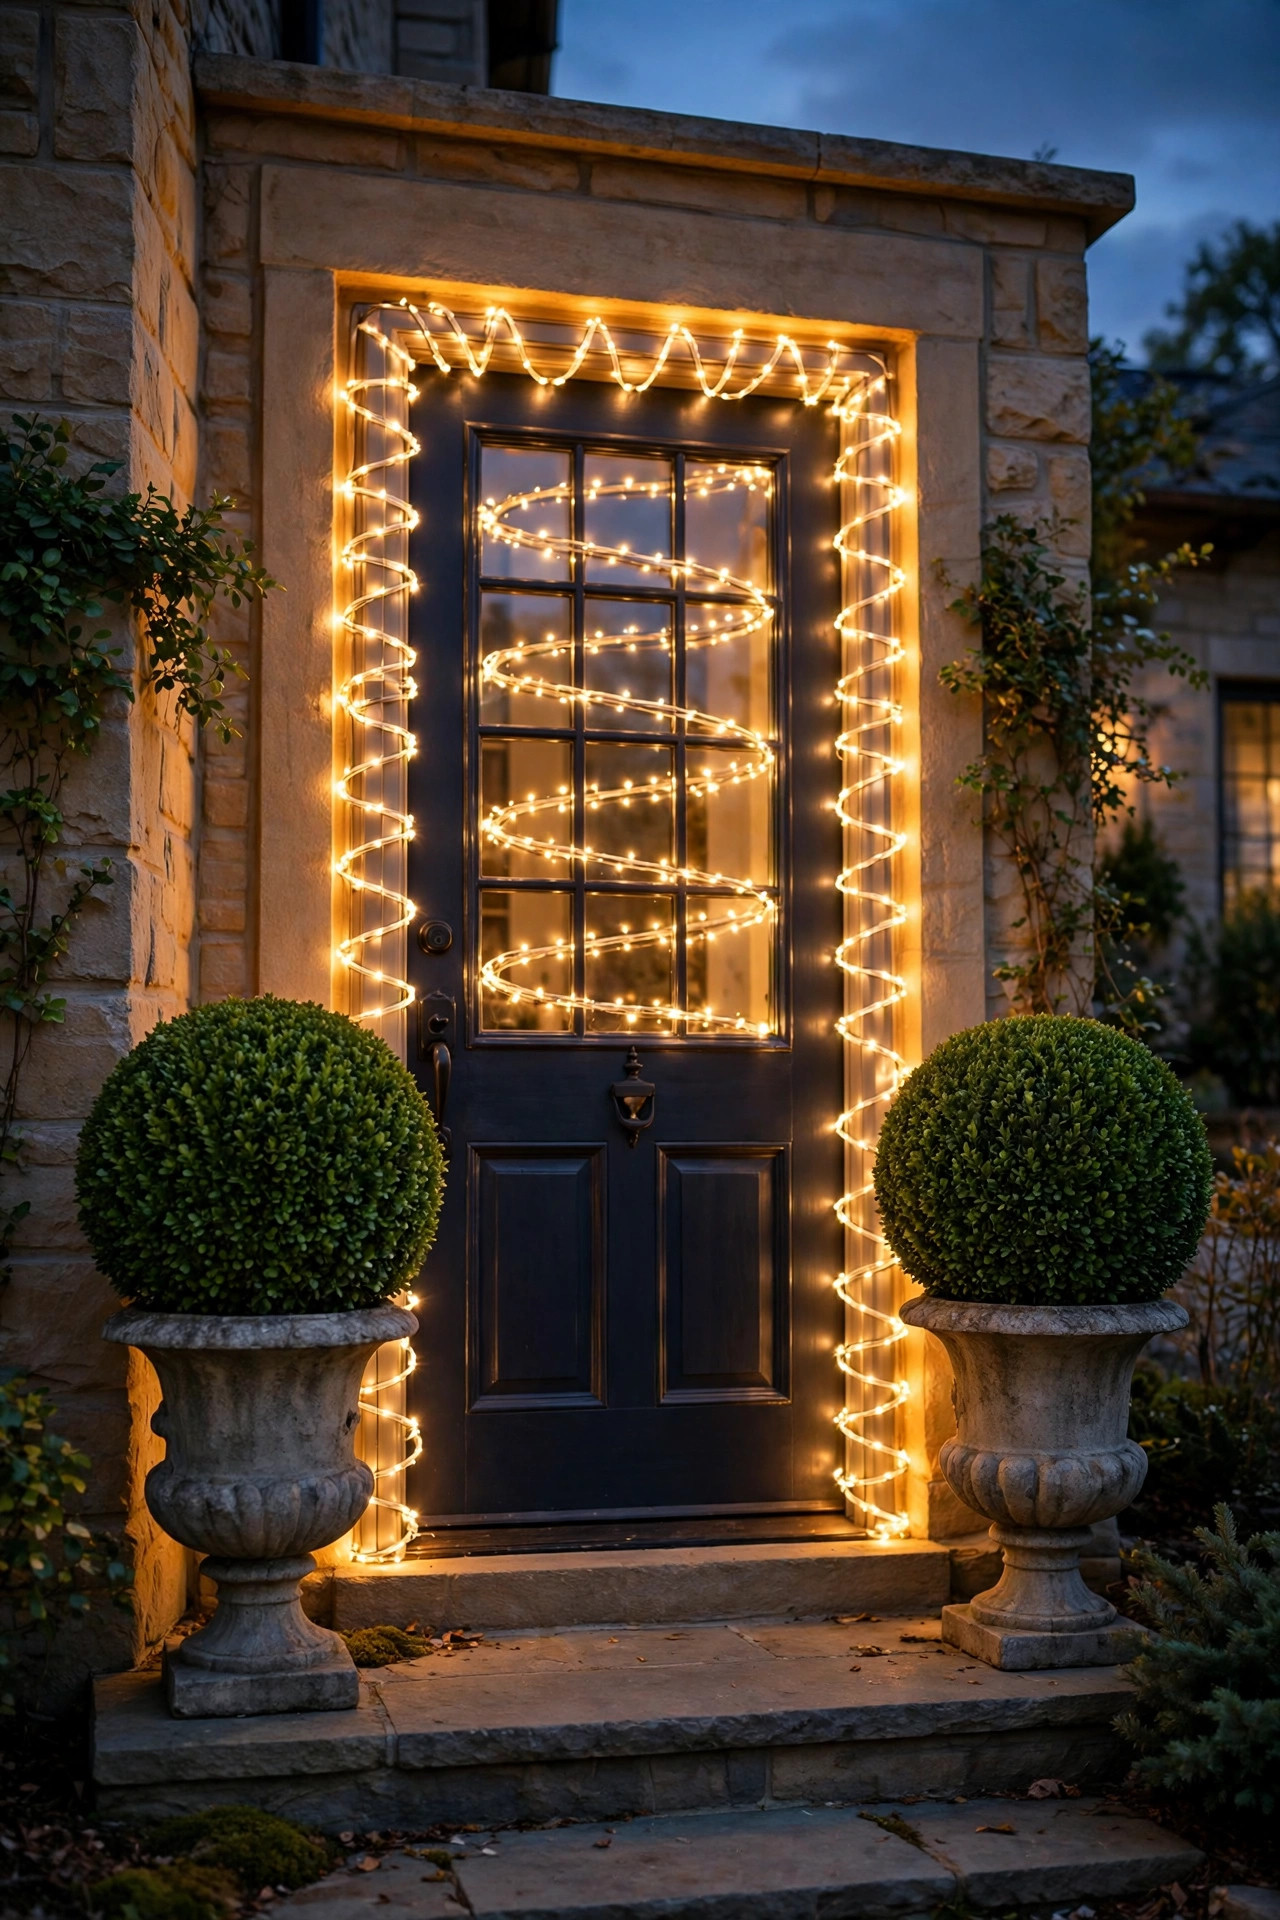
You don't need a yard full of shrubs to use this trick — some of my favorite net light moments happen in a four-foot window box. Take a standard net, fold it in thirds lengthwise, and lay the folded strip over winter greenery, faux or real, in your window boxes and porch planters. The folded layers make the light extra dense, which is exactly what a small display needs to read from the street. Tuck the battery pack or plug end down into the back corner of the planter where the soil or foam hides it, and let a few bulbs spill over the front edge like the light is cascading. This is a wonderful solution for townhouses and porch railings where "bushes" are really just planters — you still get that soft, even wash instead of a sad single strand. Match the net temperature to your door wreath and the two will look like a set you planned in October, not a scramble you did on December 3rd. Honestly? I've done the December scramble. The folded net saves it every time.
Suggested budget range: $15 – $35.
8. Build the Base Layer: Nets Below the Roofline Lights
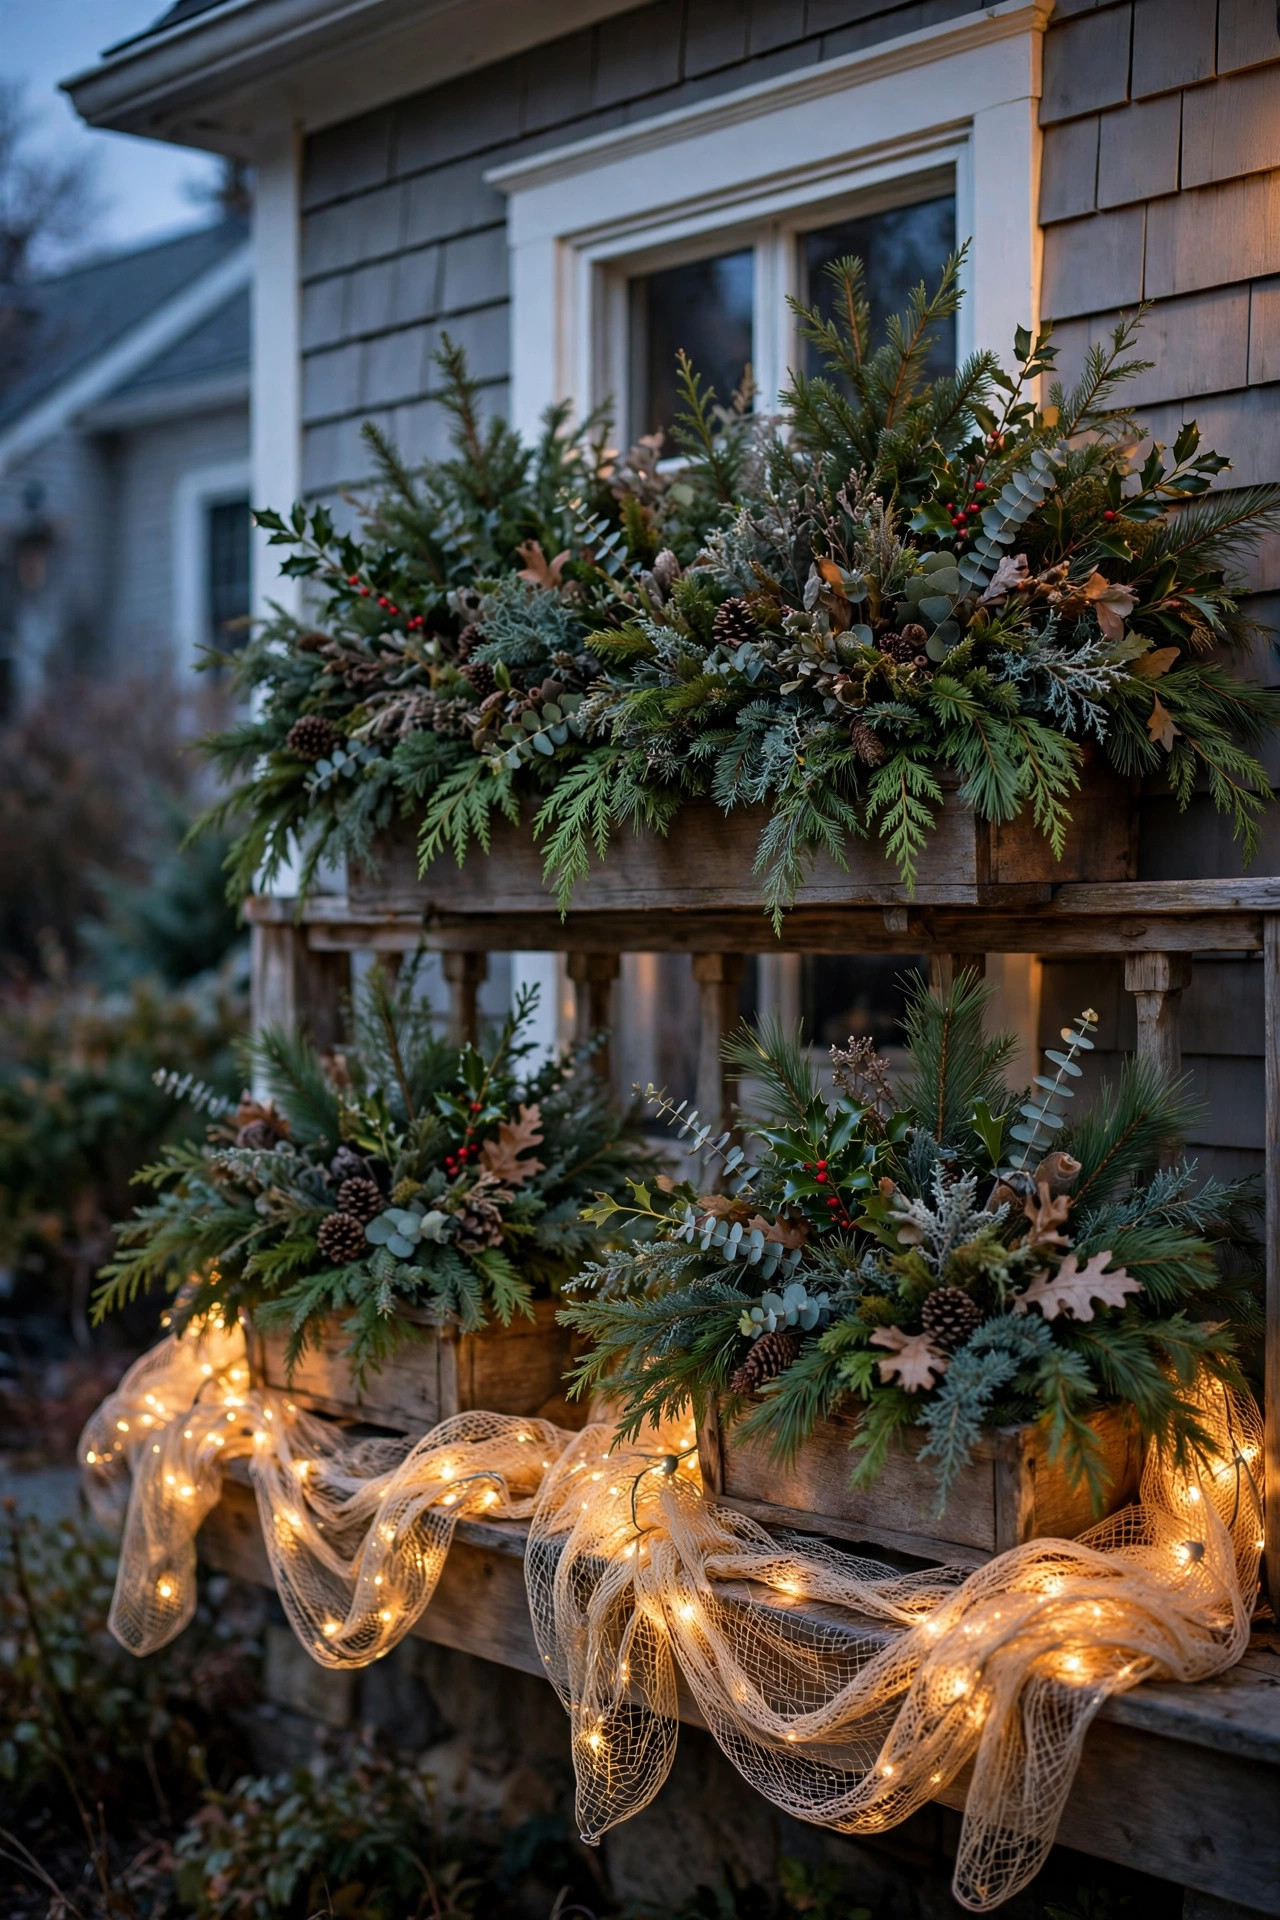
Here's where nets stop being a shortcut and start being design. Think of your display in layers: the netted shrubs are the base, sitting low and warm; the roofline, wreath and pathway lights are the accents that sit on top of that foundation. When the bushes glow evenly, everything above them can be sparser and still look generous — a simple roofline of icicles or a straight C9 run suddenly reads as abundant because the yard beneath it is already lit. The discipline is temperature and color: keep the net layer one consistent warm white, and let any color live up high or not at all. I plan the whole picture before I hang anything, and if you want more ways to combine layers, my roundup of outdoor Christmas light ideas is where I keep the full playbook. Do the bushes first while it's still light out, then hang the roofline at dusk and step across the street to judge the balance. Nine times out of ten, the fix a display needs isn't more roof lights — it's lighting the dark shrubs that were swallowing the bottom half of the picture.
Suggested budget range: $40 – $120.

9. Put Every Net on One Timer and Forget About It
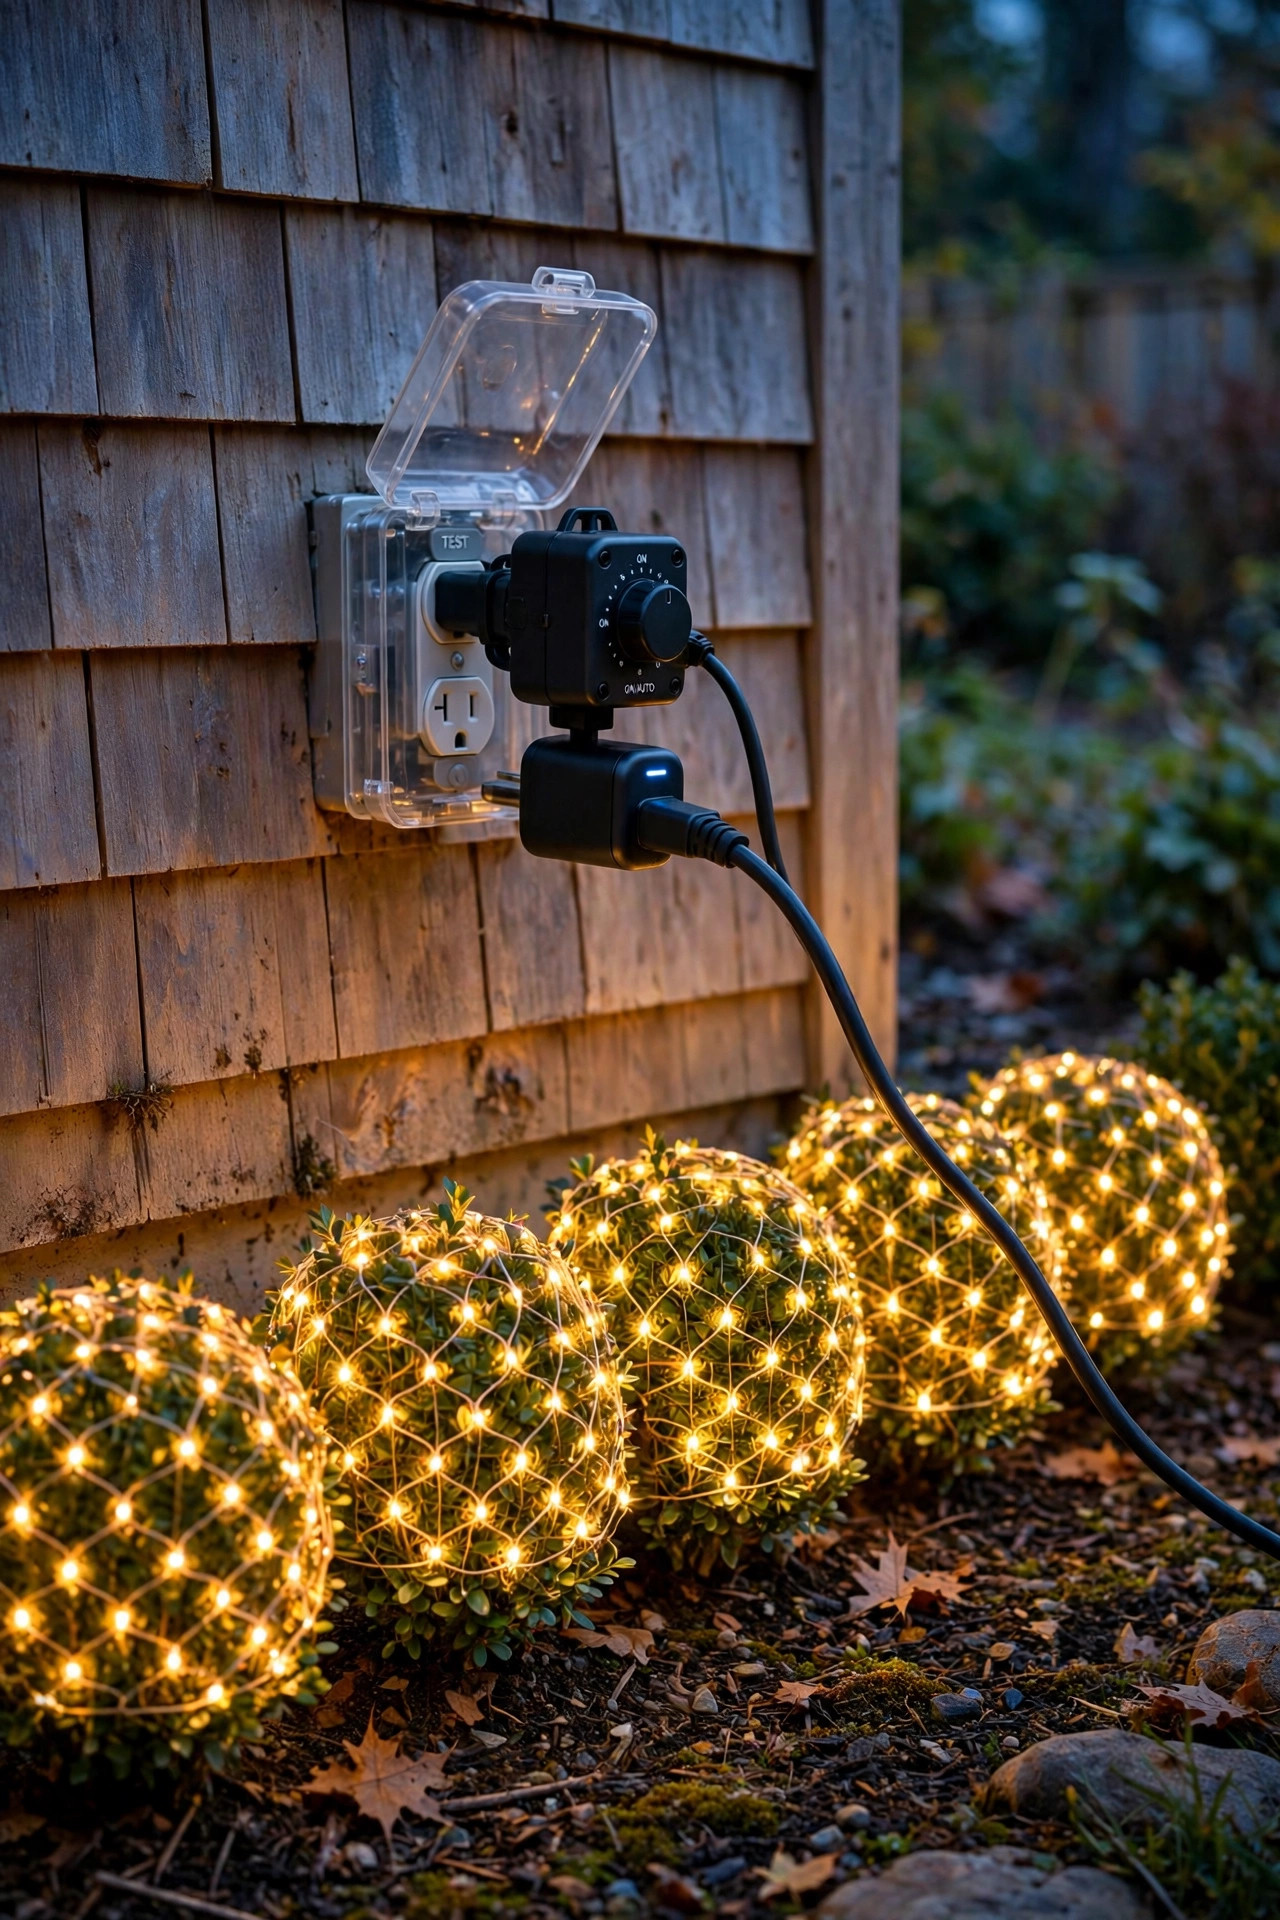
The year I stopped walking outside in my slippers to unplug lights was the year my display finally looked consistent. Run all your shrub nets from one outdoor timer — or one smart plug on a shared circuit — and set the whole yard to wake up at dusk and go dark at eleven. A photocell timer is the set-and-forget option; a smart plug lets you nudge the schedule from the couch and skip windy, rainy nights when nobody's out looking anyway. LED nets sip power, typically 10 to 20 watts a set, so one timer and a couple of outdoor-rated extension cords can honestly run an entire front hedge row without drama. Keep every connection off the soil on a brick or a stake, form a drip loop so rain runs away from the plugs, and put the whole run on a GFCI outlet, no exceptions. The hidden benefit of a timer is plant health and bulb life: six steady hours a night is plenty of show, and your nets will last several more seasons than the ones left burning until dawn.
Suggested budget range: $12 – $30.
10. Add One Twinkle or Color-Changing Net as the Accent
A full yard of twinkling lights is a headache; one twinkling shrub is magic. Twinkle and color-changing nets have a little controller that cycles gentle fades, slow sparkles or steady color washes, and they're most effective used exactly once in a display — on the round shrub by the front door, say, surrounded by calm warm white everywhere else. The movement draws the eye to your entry, which is precisely where you want guests looking. If your set offers color modes, the slow warm-to-amber fade is the classy choice; save the rainbow chase for Halloween and birthdays, where it's genuinely fun. Keep the controller box tucked up under the shrub on a dry brick so it isn't sitting in a puddle, and point the little remote receiver toward the walkway if yours is remote-controlled. In my experience, visitors always ask about the twinkle bush and never about the expensive roofline, which tells you everything about where the charm actually lives. One accent, done with restraint, outperforms a yard full of effects competing with each other.
Suggested budget range: $25 – $55.
11. Outline Bare Deciduous Shrubs for a Sculptural Winter Look
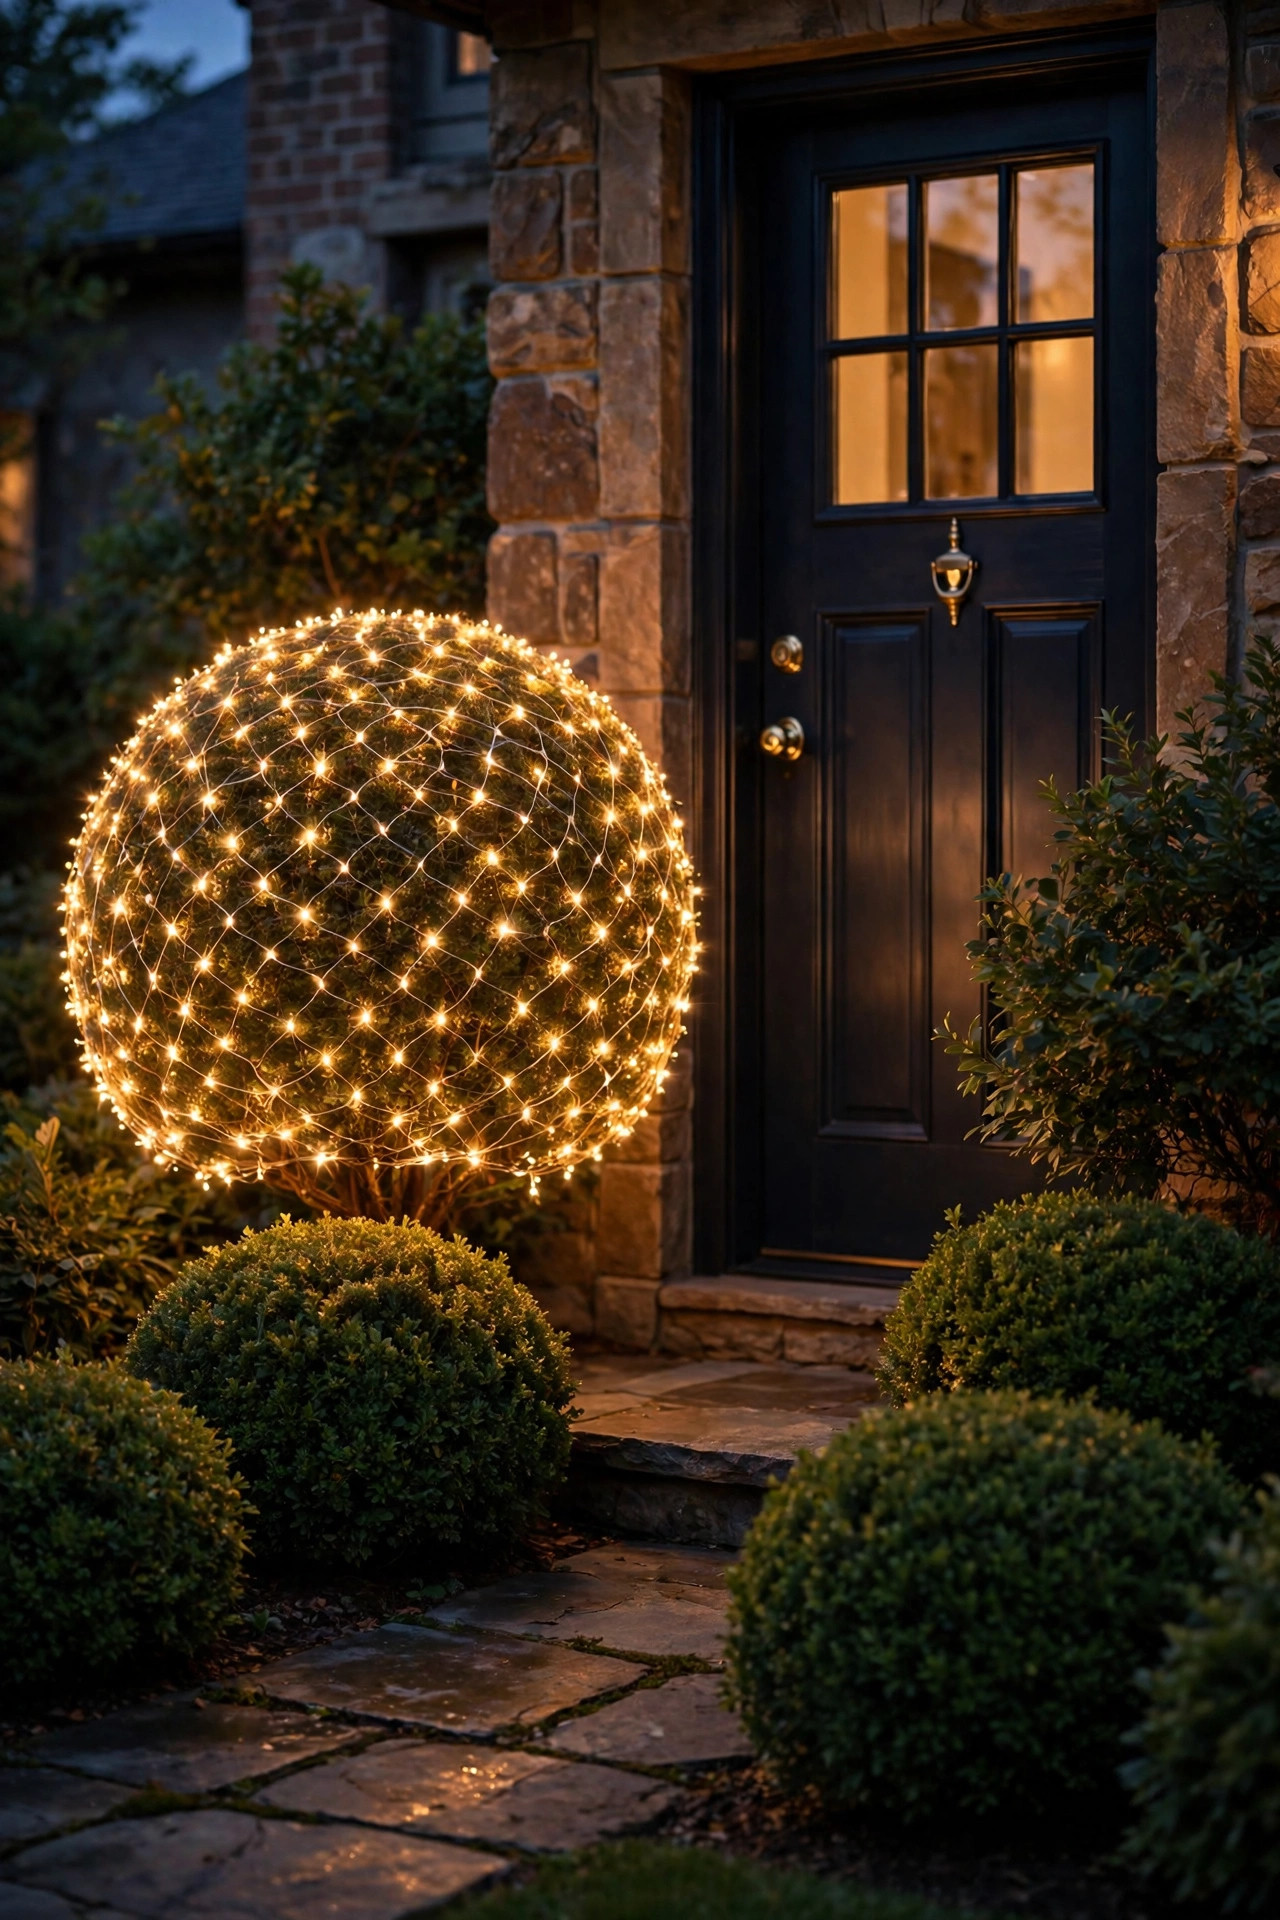
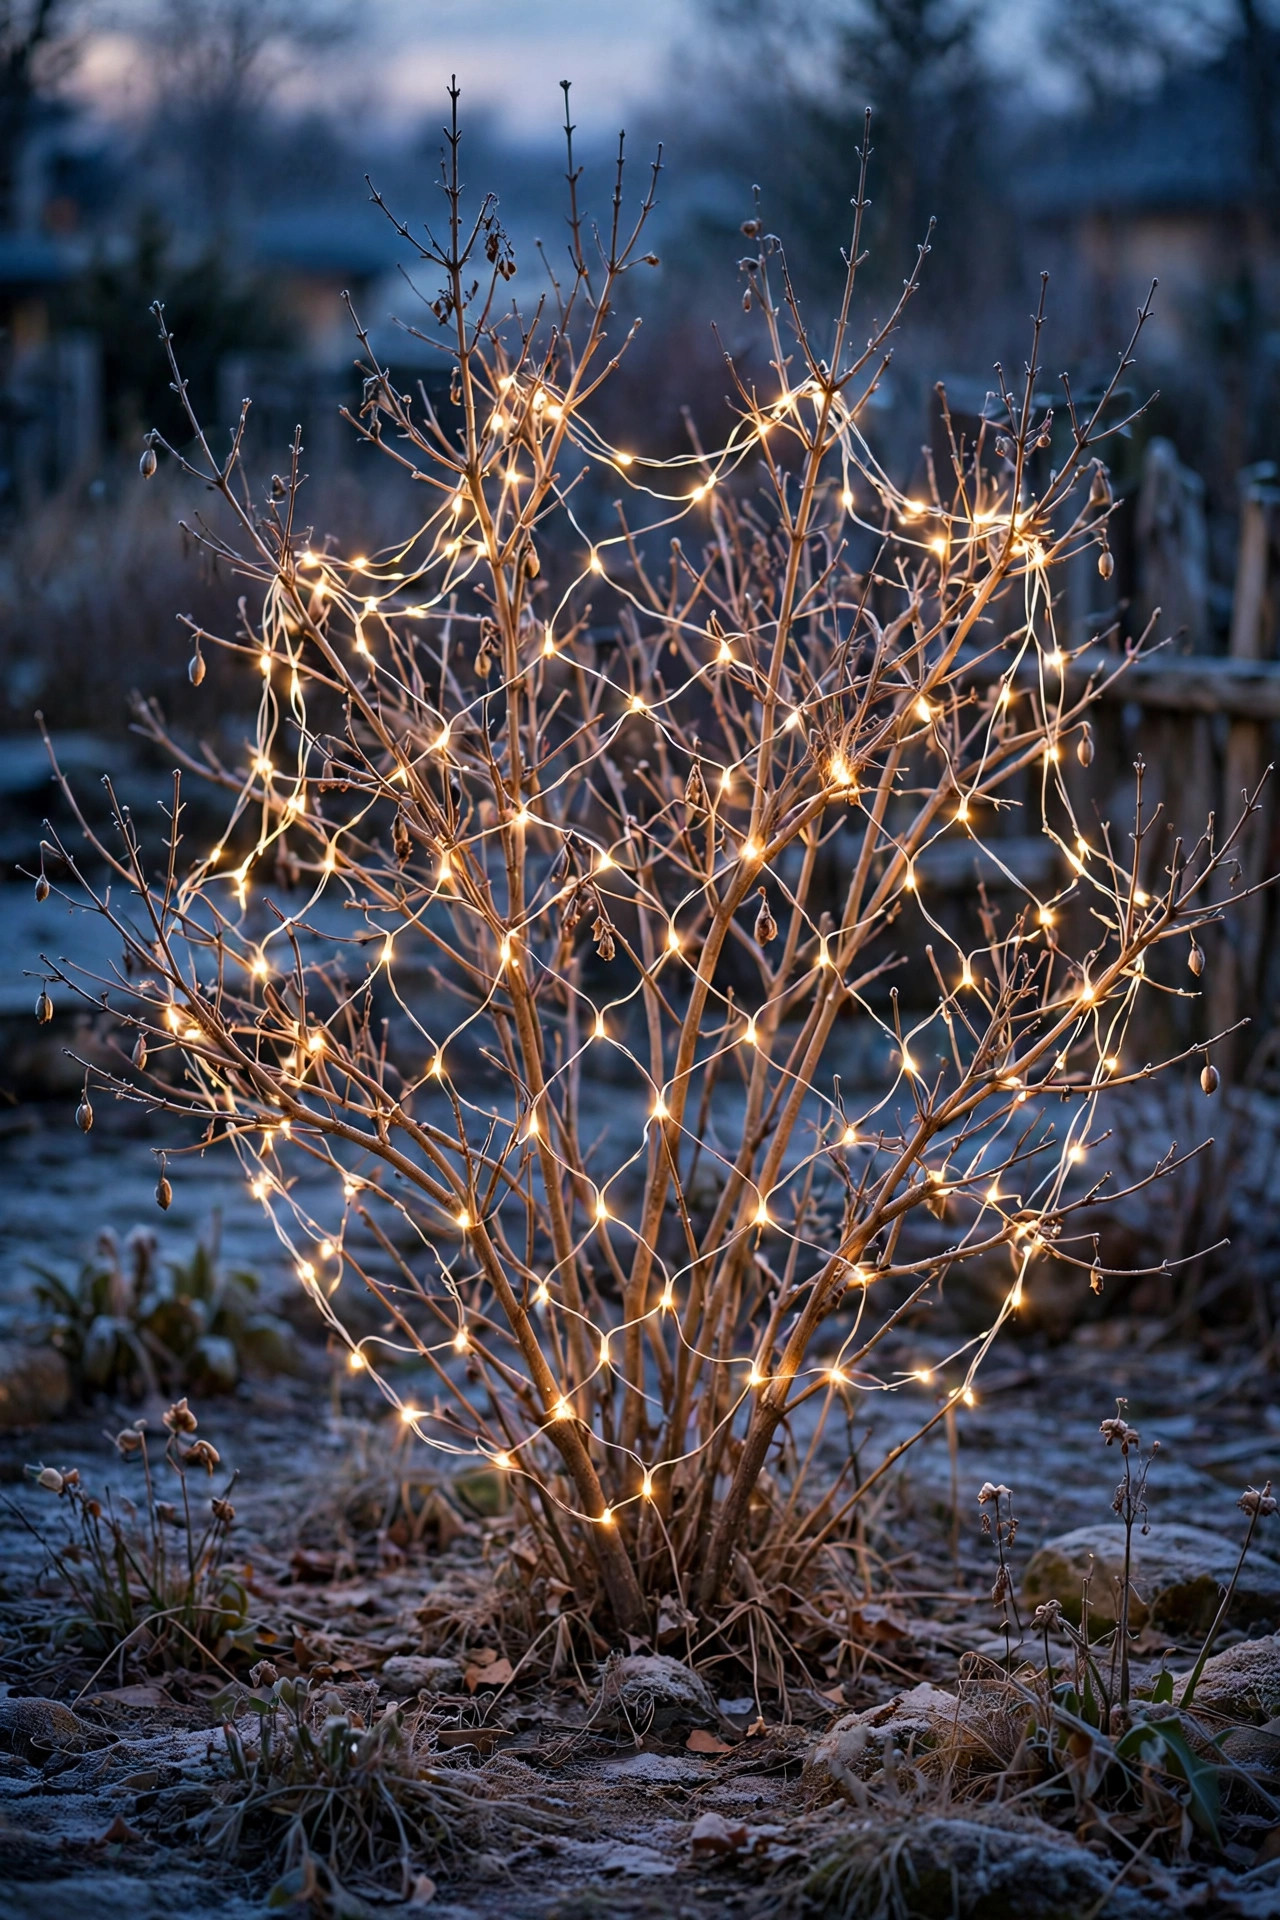
When the leaves drop, most people give up on their forsythia, lilacs and hydrangeas — I think that's when they get interesting. A net draped loosely over bare branches doesn't hide the shrub; it traces it, and the grid of bulbs against the dark branching structure looks almost like a sculpture in the yard. The key word is loosely. Cold deciduous branches are brittle, and a net pulled snug will snap the little twiggy ends you need for spring blooms, so let it rest on the branch tips like a blanket and gather the extra at the base. Warm white is the elegant choice here; the look is wintry and architectural rather than festive, which means it carries gracefully through January long after the inflatable snowman has been retired to the garage. Push a few bulbs gently into the interior of the shrub, too, so the light has depth instead of being a flat shell. From the street, a traced lilac with light inside it looks like something a landscape designer charged money for. It cost you one net and fifteen careful minutes.
Suggested budget range: $15 – $35.
12. Keep Nets Working After Christmas: Weddings, Parties and Summer Nights
Here's a secret the holiday aisle doesn't advertise: warm white nets are beautiful for nine other months of the year. Drape them over the shrubs behind a patio in June and you have an instant backdrop for evening entertaining — that soft, even glow photographs like candlelight and makes an ordinary backyard dinner feel like an event. For garden weddings and graduation parties, nets over the flowering shrubs and hedge corners give you the fairy-tale wash that string lights alone can't, because they light a surface instead of a line. I keep two nets in a labeled bin just for summer: they go over the hydrangeas for our anniversary party and over the fence-corner evergreens for the Fourth of July. Choose the same warm temperature as your string lights so the layers blend, and stake the cords where guests won't trip — along bed edges, never across a path. When the party's over, the nets come down in five minutes and the yard is a yard again. It's the hardest-working twenty dollars in my whole decor stash.
Suggested budget range: $15 – $40.

13. Use Battery Nets Where Renters Can't Run Cords
If you rent, or your porch simply has no outdoor outlet, battery-powered nets are your loophole. The battery box hides inside the shrub, most sets offer a timer mode — six hours on, eighteen off — and there's no cord crossing the walkway for anyone to trip over or for a landlord to frown at. I'll be honest about the trade-offs, because I always am: battery nets are a little dimmer than plug-in sets, and a hard-working set will eat a pack of D batteries or a few sets of AAs over a season. Rechargeables make that sting less. Where battery nets shine is precision placement — the planter by the door, the little shrub at the gate, the mailbox planting — anywhere a cord would have to cross pavement. Drape the net, tuck the battery box up under the foliage on a small stone so it stays dry, and set the timer the first evening so it wakes itself up at dusk all season. For apartment balconies and rental porches, this is often the difference between decorating and not decorating at all, and that's a difference worth twenty bucks.
Suggested budget range: $15 – $30.

14. Measure First: Net Lights for Bushes in One Long Hedge Row
The single biggest net light mistake I see is guessing, so let's do the tiny bit of math that prevents it. Stand in front of each shrub and measure the part you actually see — height times width of the front and top, roughly. A standard net is 4 by 6 feet, about 24 square feet of coverage when it's draped loosely, and loose is correct; stretched drum-tight, it covers more and looks starved. A three-foot boxwood usually takes one net, a five-foot hedge section takes two, and it's always smarter to round up — an extra net folded at the back beats a bare patch glaring at you all month. For a long formal hedge, work in a rhythm: drape, overlap the next net by two or three grid squares so there's no seam line, and keep all the plugs marching toward one end where the timer lives. Check the connectable limit on your set's tag before you chain a whole row together, and if the row is long, split it into two runs from two outlets instead of pushing one circuit. Ten minutes with a tape measure saves you a second trip to the store in the rain. Ask me how I know.
Suggested budget range: $45 – $120.

15. Mix Warm White and Gold Nets for an Elegant Champagne Look
If multicolor is the playful extreme, this is the dressed-up one. Layering a warm white net with a second net in a soft gold or amber tone — offset, the same trick as the double layer earlier — gives shrubs a champagne glow that looks genuinely luxurious against brick, stone and dark siding. The two temperatures together create depth that a single color can't: highlights and shadow tones, like candlelight. I use this pairing on the shrubs flanking our front door and nowhere else, because elegance is mostly restraint. It also flatters cream and beige houses that can look washed out under pure warm white. One shopping note: gold-toned LED sets vary wildly, from tasteful amber to traffic-light yellow, so buy one net first and test it against your brick at dusk before committing to a row. And if true amber feels risky, the safer version of this idea is two slightly different whites — 2700K below, 3000K above — which gives the same layered richness with zero chance of regret. Either way, the neighbors will assume you hired someone. Let them.
Suggested budget range: $20 – $45.

16. Leave Nets Up All Winter — the Safe Way
Plenty of us keep the glow going through January and February, and nets handle a long season well if you give them a little supervision. Choose sets rated for outdoor use and check the cords monthly: you're looking for cracked insulation, connections that have slumped into the mulch, and any plug sitting in a puddle path. After a heavy snow, go out with a broom and knock the load off the shrubs — the nets themselves are fine, but a foot of wet snow will flatten the very branches you lit. Keep connections raised and your GFCI tested, and the set will shrug off an ordinary winter. The one hard rule is spring: nets come off before the shrubs wake up. New growth pushes straight through the grid, and by May you'll be cutting a net out of your boxwood strand by strand, which I have done exactly once and do not recommend. If you love the long-season look, my guide to winter landscape lighting ideas covers which elements of the display are worth keeping up until March and which ones to retire on New Year's Day.
Suggested budget range: $10 – $25.

17. Take Them Down Right: Roll, Label, Store
Takedown day decides whether next December is a pleasure or a punishment. Never, ever wad a net into a bin — a wadded net becomes a single fused tangle with bulbs, and you will spend an hour performing surgery on it next year while your family "helps" by watching. Instead, fold each net flat into a rectangle, or roll it around a piece of cardboard or a flattened box, and slip a rubber band around it. Then label it — I write the shrub's name right on the cardboard, "front left boxwood," "mailbox bed," because every hedge in my yard takes a slightly different arrangement and past Sarah has saved present Sarah a great deal of squinting. Test each net before it goes in the bin; a set that failed in January is a set you replace on sale in February. Store the bin somewhere dry and off the garage floor. If you want the full system, my notes on how to store outdoor Christmas lights cover reels, bins and the labeling scheme I use for the whole display. Ten tidy minutes now buys you a calm first weekend of decorating next year.
Suggested budget range: $5 – $20.

Frequently Asked Questions
How many net lights do I need for my bushes?
Measure the visible front and top of each shrub — height times width — and divide by about 24 square feet, the loose coverage of a standard 4-by-6-foot net. A typical three- to four-foot boxwood needs one net, a large rhododendron needs two layered, and a long hedge needs one net per three to four feet of length. Always round up: the spare becomes overlap, and overlap is what makes coverage look seamless.
How do you put net lights on bushes so they look even?
Start at the top center and let the net fall naturally down the front, then walk around and settle the edges instead of stretching them. Shake the branches gently as you drape so bulbs sink into the foliage, keep every net at the same height on a hedge row, and do your final adjusting at dusk from the street — gaps you can't see at noon are obvious once the bulbs are on.
Are LED net lights safe for shrubs and plants?
Yes, LED nets are the safe choice. The bulbs run essentially cool, so there's no heat damage to leaves or bark, and the grid is light enough not to weigh branches down. Keep the drape loose rather than cinched, use only sets rated for outdoor use, and take them off before spring growth starts so new shoots don't grow through the mesh.
Can net lights stay outside all winter?
Outdoor-rated LED nets can stay up all winter in most climates. Keep plugs and connections raised off the ground, run everything through a GFCI outlet, brush heavy snow off the shrubs so branches don't bend under the load, and check cords once a month for damage. Solar and battery sets will run noticeably shorter on dark December and January days.
Conclusion
If there's one thing I hope you take from this list, it's that beautiful holiday shrubs aren't about effort — they're about the drape. Net lights for bushes turn the most time-consuming layer of a display into the easiest one, and once that base layer glows evenly, every other light you own looks better for it. Start with one classic warm white wrap on your best boxwood, put it on a timer, and see how it feels at dusk. Then, if you're anything like me, you'll be back for the solar set, the twinkle accent and the double-layer rhododendron by next weekend. Browse around the site for more ways to layer, time and combine your lights — the porch, the pathway and the roofline are all waiting for the same treatment.