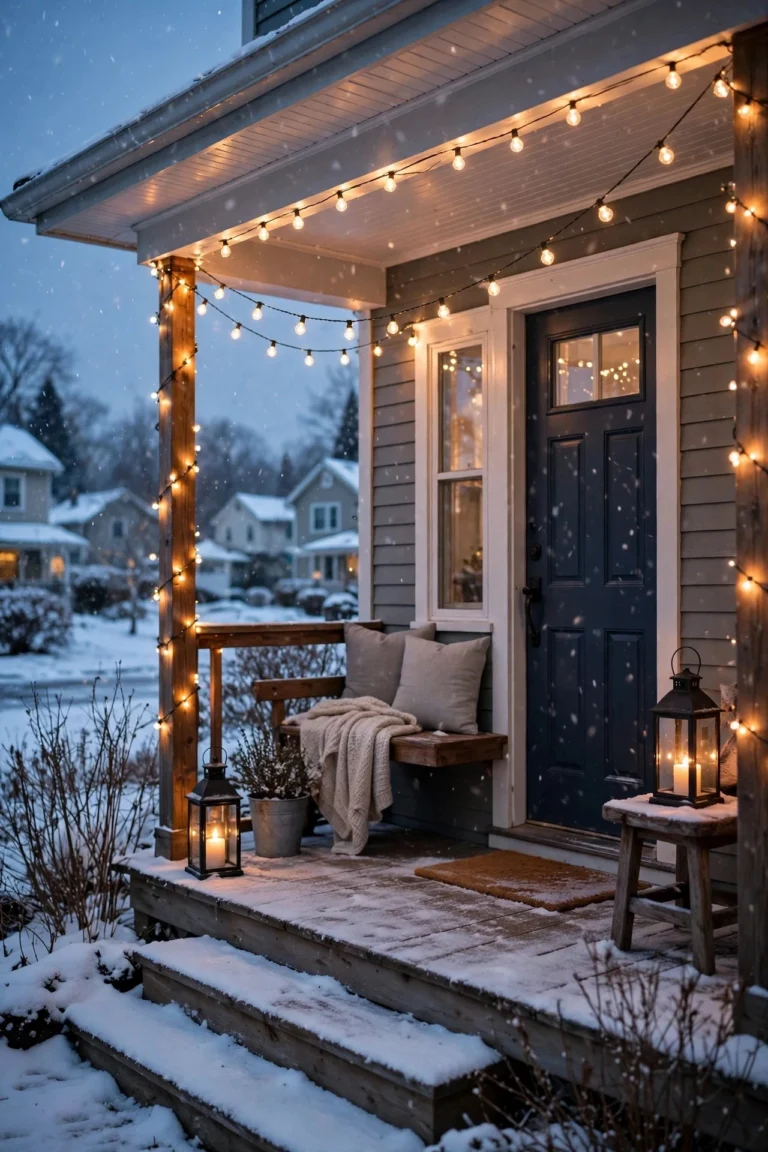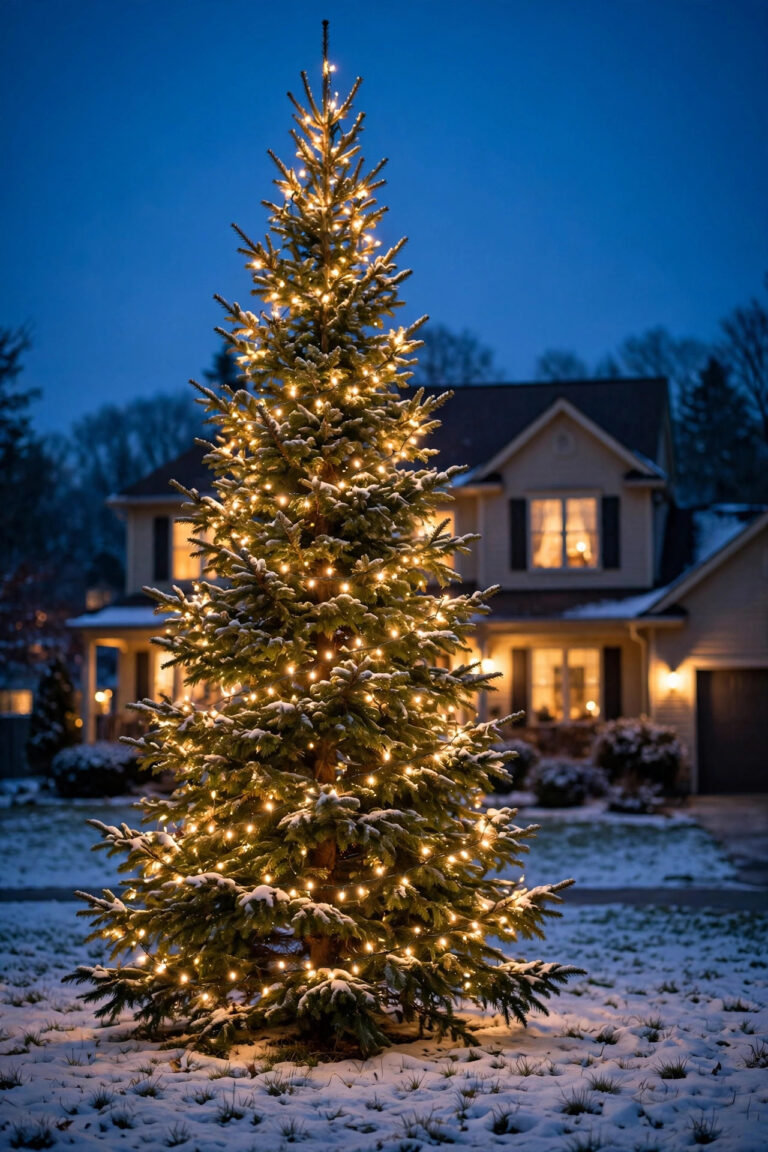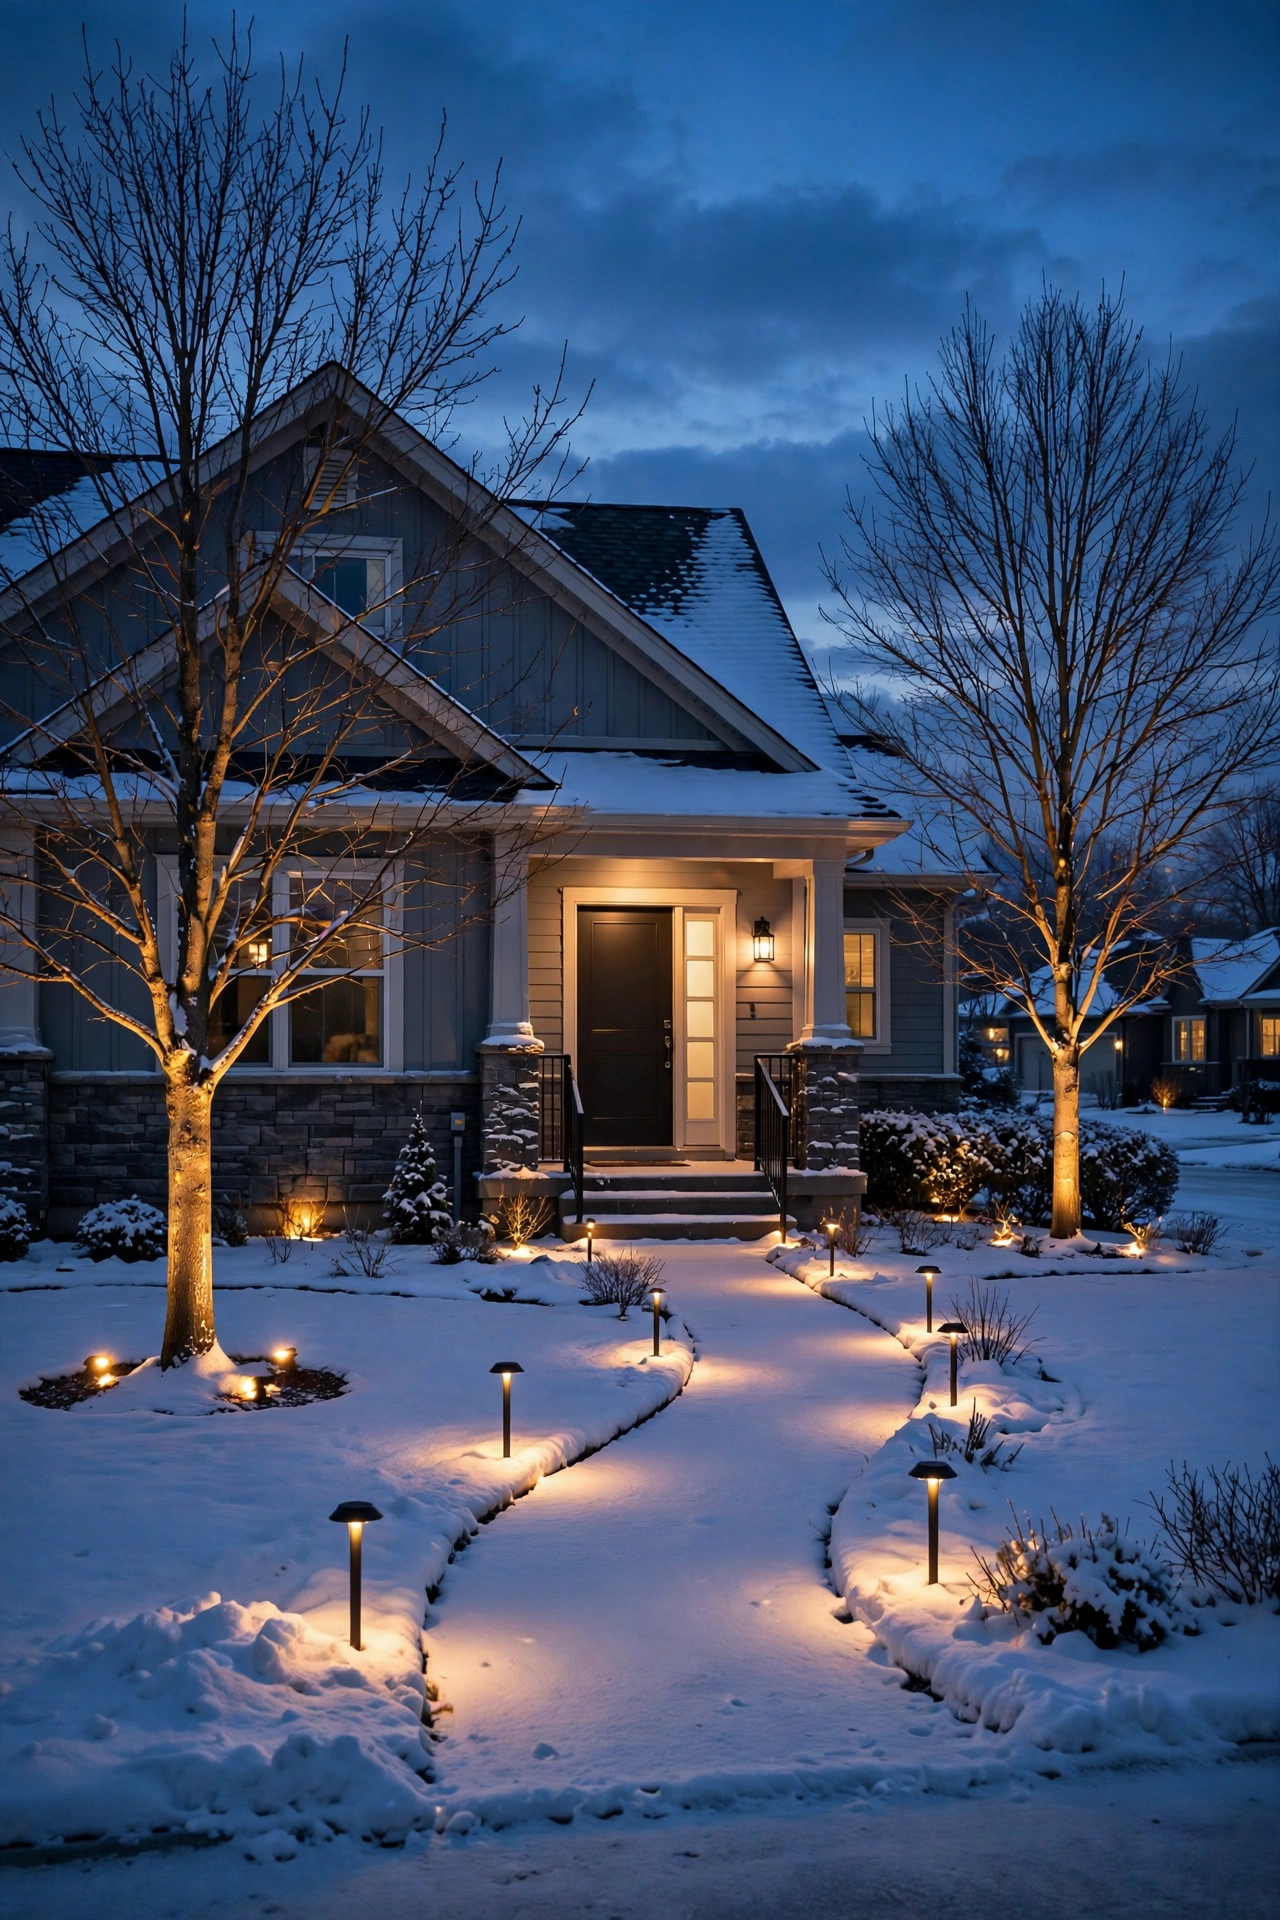
By mid-January, the holiday lights are boxed up, the sun sets by 4:45, and the yard sits in darkness sixteen hours a day. Honestly? That's exactly when your outdoor lighting should be working hardest. These winter landscape lighting ideas cover the deep-winter months — December through February, after the decorations come down — when a well-lit yard keeps your home feeling alive instead of abandoned.
In my experience, winter is actually the easiest season to light beautifully. The leaves are gone, so bare branches become sculptures. Fresh snow acts like a giant reflector, doubling every lumen. And you need fewer fixtures, not more — snow does half the work for you.
My whole philosophy is layering: safety light where you walk, accent light where you look, and a warm glow where you enter. Below are 23 ideas built on that approach — uplighting bare trees, moonlighting through branches, path lighting for icy walks, warm-versus-cool tricks on snow, and the timers and cold-weather know-how to keep it all running through February. If you're coming off autumn, our fall porch lighting ideas pair perfectly — think of winter as the season you strip things back to pure light.
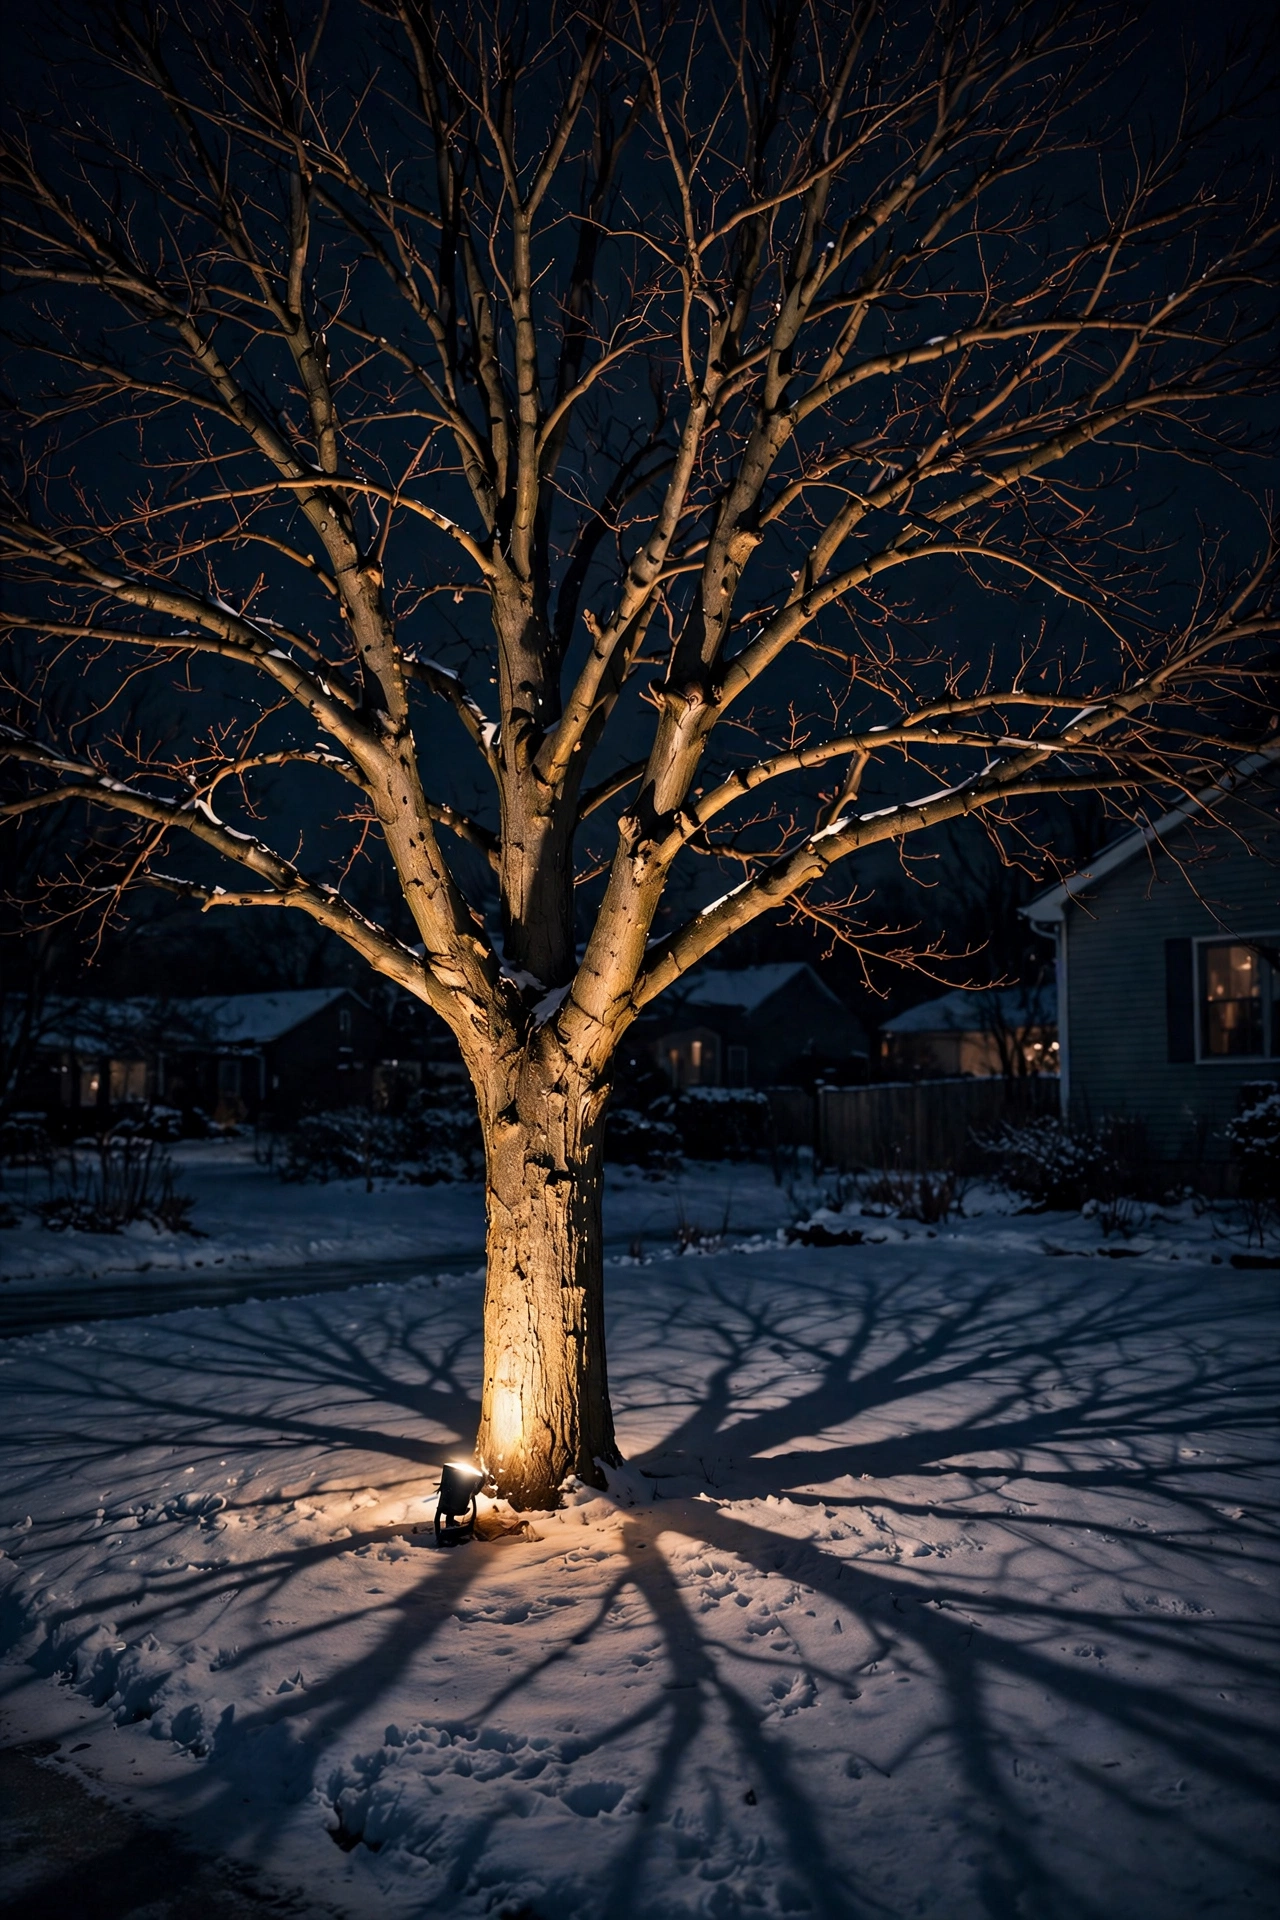
1. Uplight Bare Deciduous Trees — The Sculpture Effect
A bare maple or oak in January is nature's best sculpture, and uplighting turns it into your yard's main event. Set an in-ground well light or a small adjustable LED spotlight about 12 to 18 inches from the trunk, aimed straight up the bark and into the branch structure. For a medium tree (15 to 25 feet), one fixture with a narrow 15 to 30-degree beam and 300 to 500 lumens in warm 2700K does the job beautifully. Bigger trees deserve two fixtures on opposite sides so the whole canopy reads, not just one face.
In my experience, warm white is the move here — it picks up the texture of bark and throws long, dramatic branch shadows across the snow, which honestly looks better than the tree itself. Keep fixtures aimed up and slightly inward so you get zero glare from the street. If snow drifts pile against the trunk, just re-aim the head; most spike-mount spotlights take ten seconds to adjust. This is the single highest-impact winter lighting move you can make, and it costs less than a dinner out.
Suggested budget range: $40 – $140.
2. Give Evergreens a Tight Accent Glow
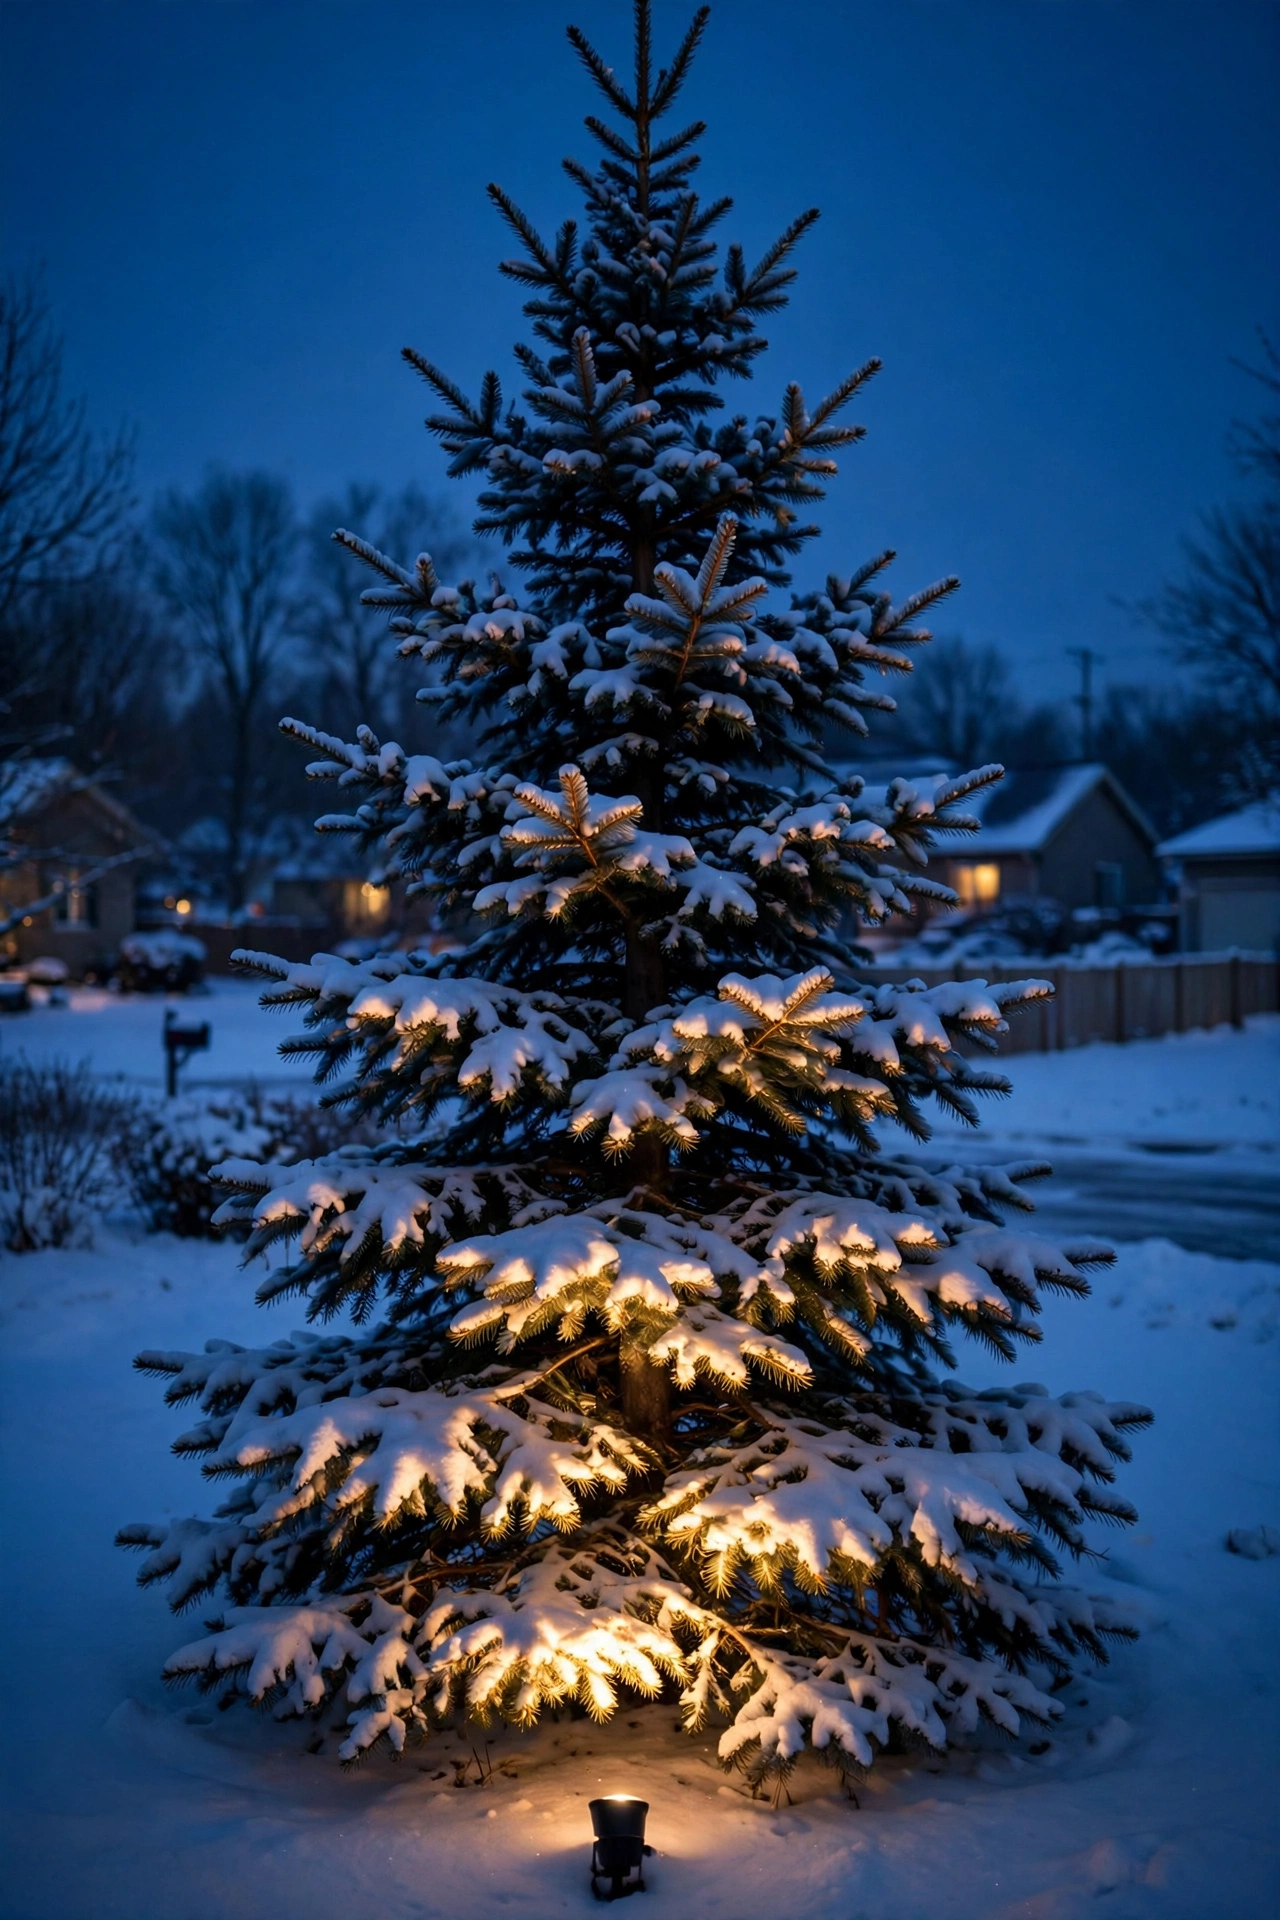
Pines, spruces, and firs carry the whole winter landscape when everything else is asleep, so they earn their own lighting. Unlike deciduous trees, evergreens want a tighter, more controlled beam — a 12 to 15-degree spotlight placed 2 to 3 feet from the base, aimed up through the lowest branches. You don't need to light the whole tree; grazing the bottom third with 200 to 350 lumens of 3000K light makes the snow sitting on the boughs glow like it's lit from within.
I always recommend grouping: one lit evergreen looks like a spotlight, but three of them marching along a property line looks intentional and expensive. Space fixtures evenly and keep the color temperature identical so they read as a set. Skip cool white here — blue-toned light flattens green needles into gray. And if the tree is dusted with fresh snow, you can actually dim down or drop to a lower-lumen bulb; the snow bounce will carry the effect for you.
Suggested budget range: $35 – $120 per tree.
3. Path Lights Through Snow — Winter Landscape Lighting That Keeps You Safe
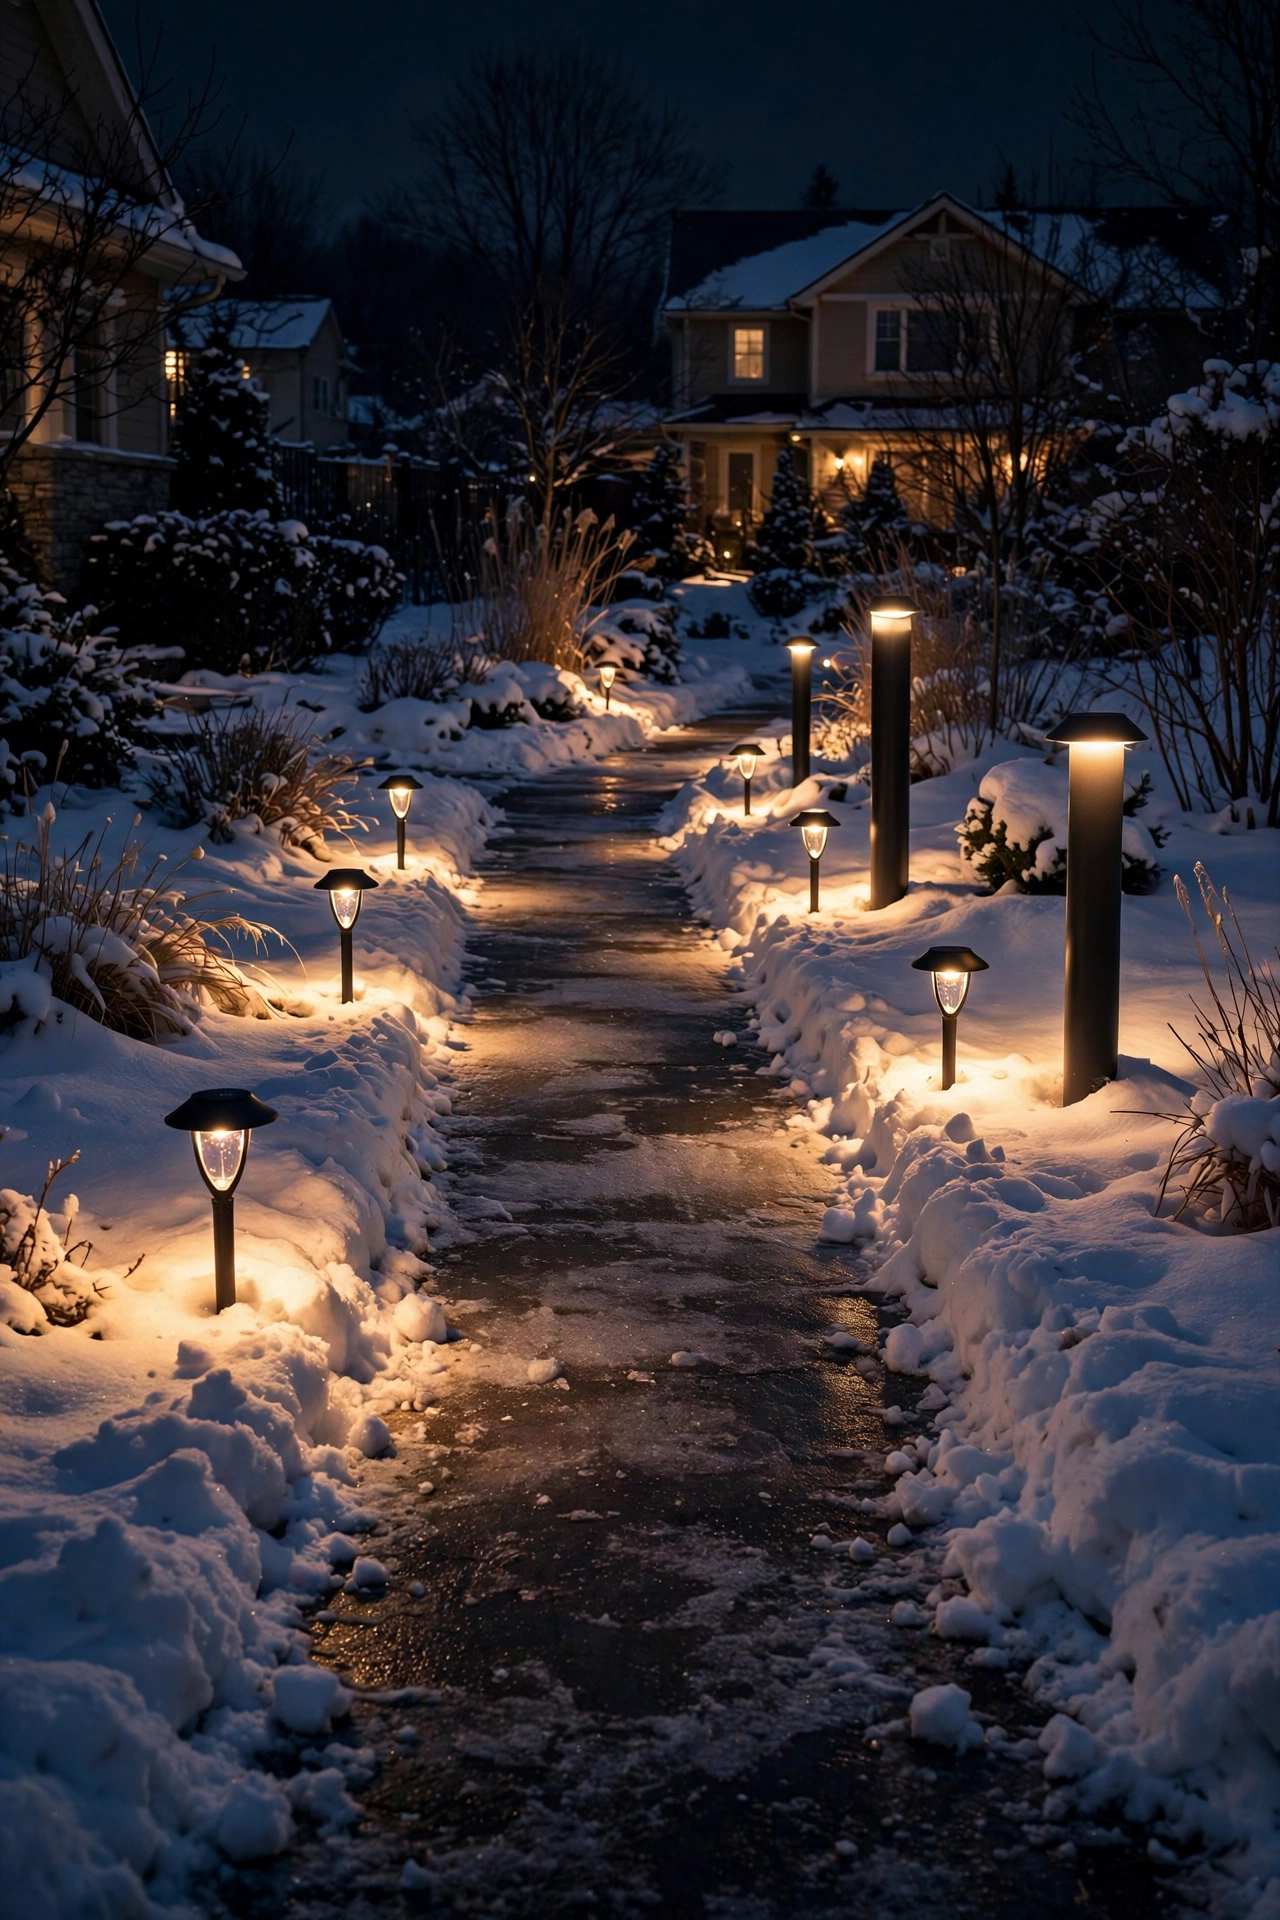
Here's where winter landscape lighting earns its keep functionally. Short days mean you're walking to the car, the mailbox, and the trash bins in full darkness, and one icy patch can ruin your week. Stagger low path lights 6 to 8 feet apart, alternating sides of the walk, so the whole path reads as a lit ribbon rather than a runway. In snow country, I swear by taller fixtures — 30 to 36-inch bollards or path lights with the lens at least 18 inches off the ground — so they stay visible above normal drifts instead of getting buried by the first storm.
Choose 2700K warm white with a shielded top that throws light down and out, not up into your eyes. Snow reflects aggressively, so 100 to 150 lumens per fixture is plenty; brighter just creates blinding hotspots. Keep the fixtures a foot or so off the path edge so the snowblower doesn't eat them, and after every storm, brush snow off the lenses with a gloved hand. Ten seconds, and they're back to full brightness.
Suggested budget range: $80 – $300 for a typical walkway.
4. Moonlighting From a Tall Tree
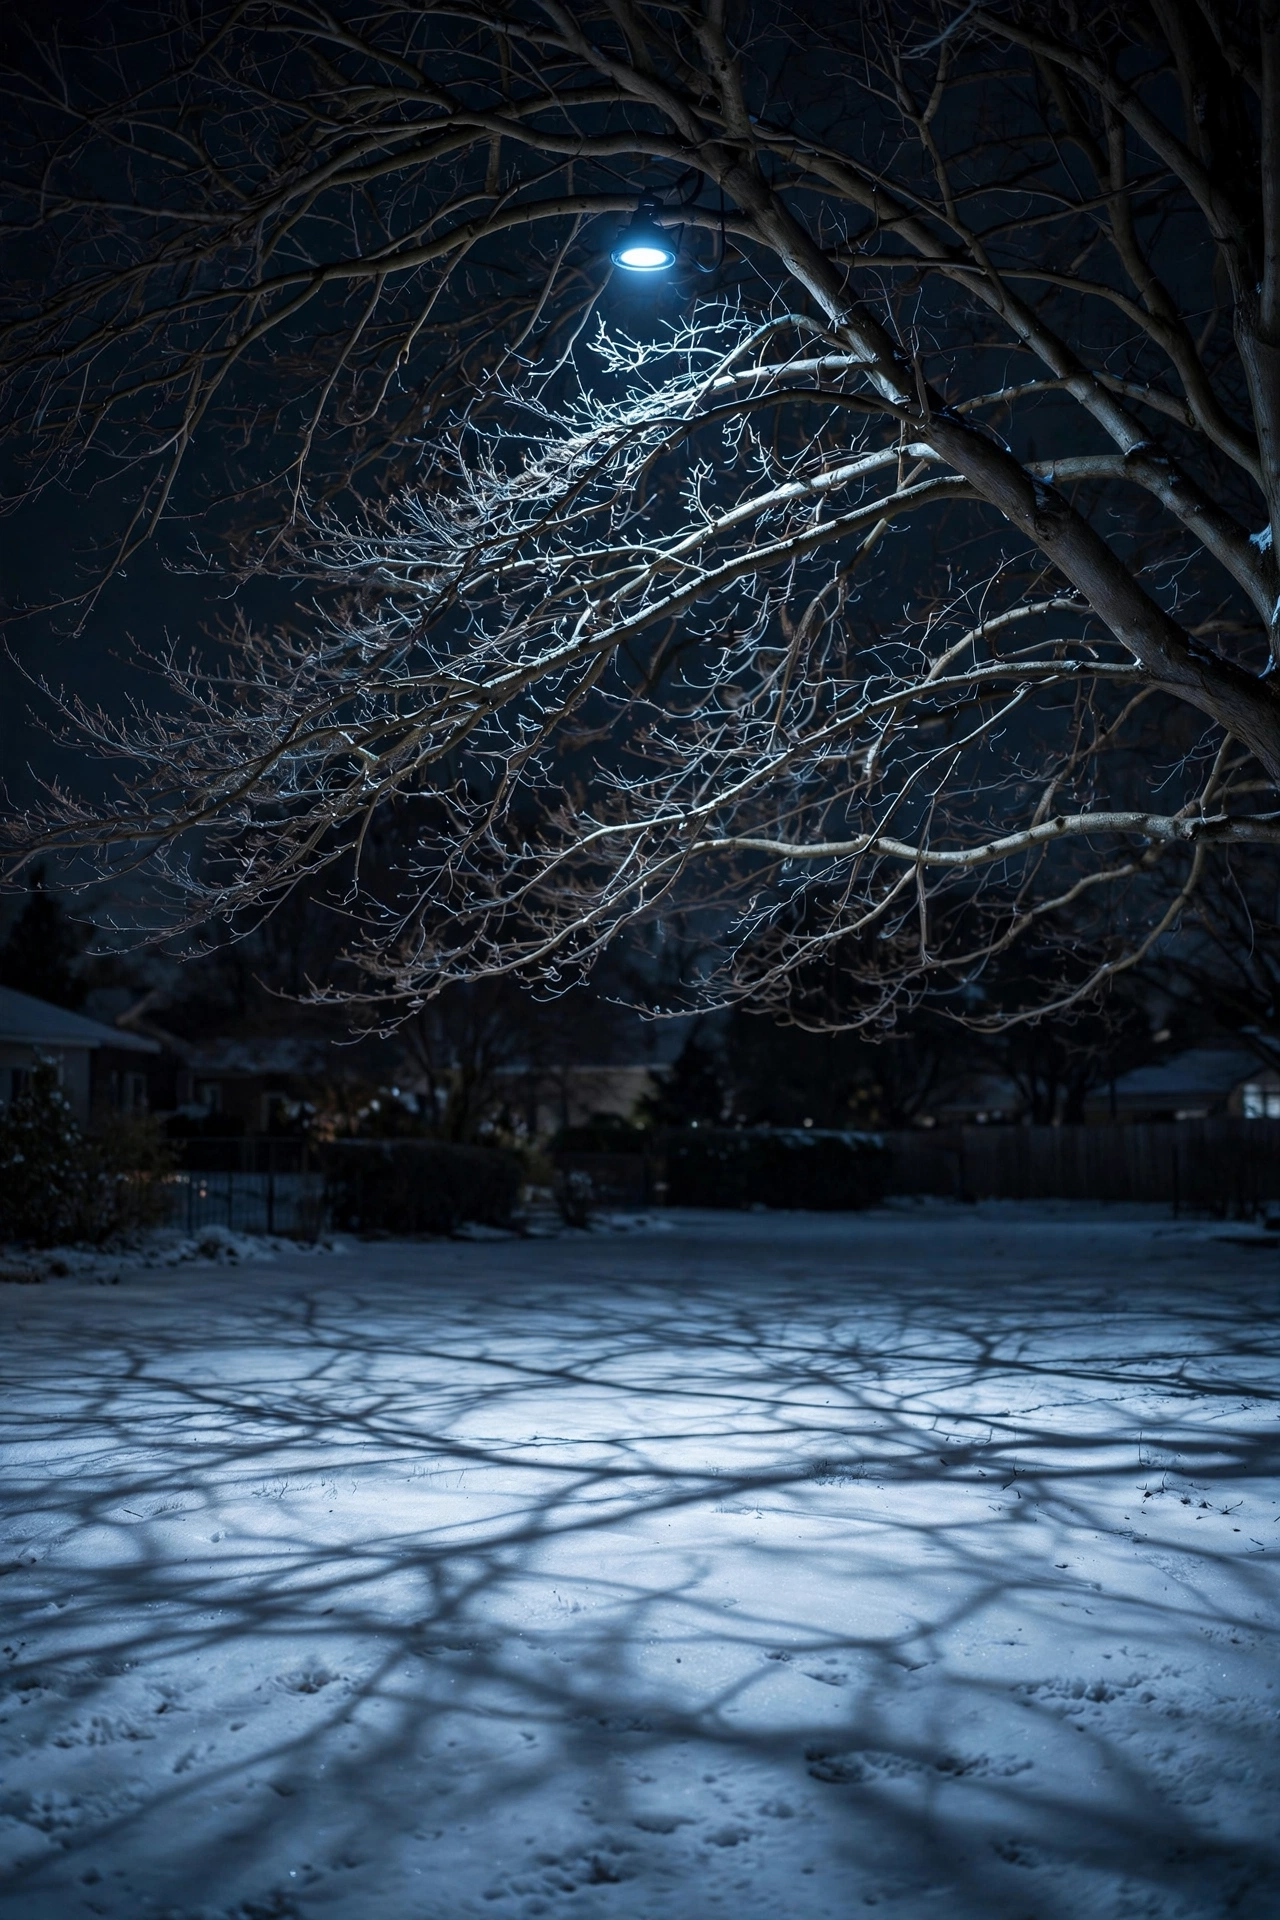
Moonlighting is the most magical trick in the winter lighting playbook. Mount a weatherproof downlight fixture 20 to 25 feet up in a large, sturdy tree, strapped — never screwed — to a thick branch, and aim it down through the bare limbs. The light filters through the branch structure and throws dappled, moon-like shadows across the lawn or patio below. It genuinely looks like moonlight, even on cloudy nights.
For the real moonlight feel, go slightly cooler here: 4000K reads crisp and silvery on snow, and one 500 to 700-lumen fixture can cover a 20-foot circle. Run the cable down the back side of the trunk (staple-free tree straps or a simple drip-loop wire guide) to a low-voltage transformer at the base. This is a weekend project — ladder, strap, fixture, transformer — and the effect from inside the house on a February evening is honestly unreal. Just check the strap tension once a year so it never bites into growing bark.
Suggested budget range: $90 – $250.
5. Build a Warm Pool of Light at the Entry
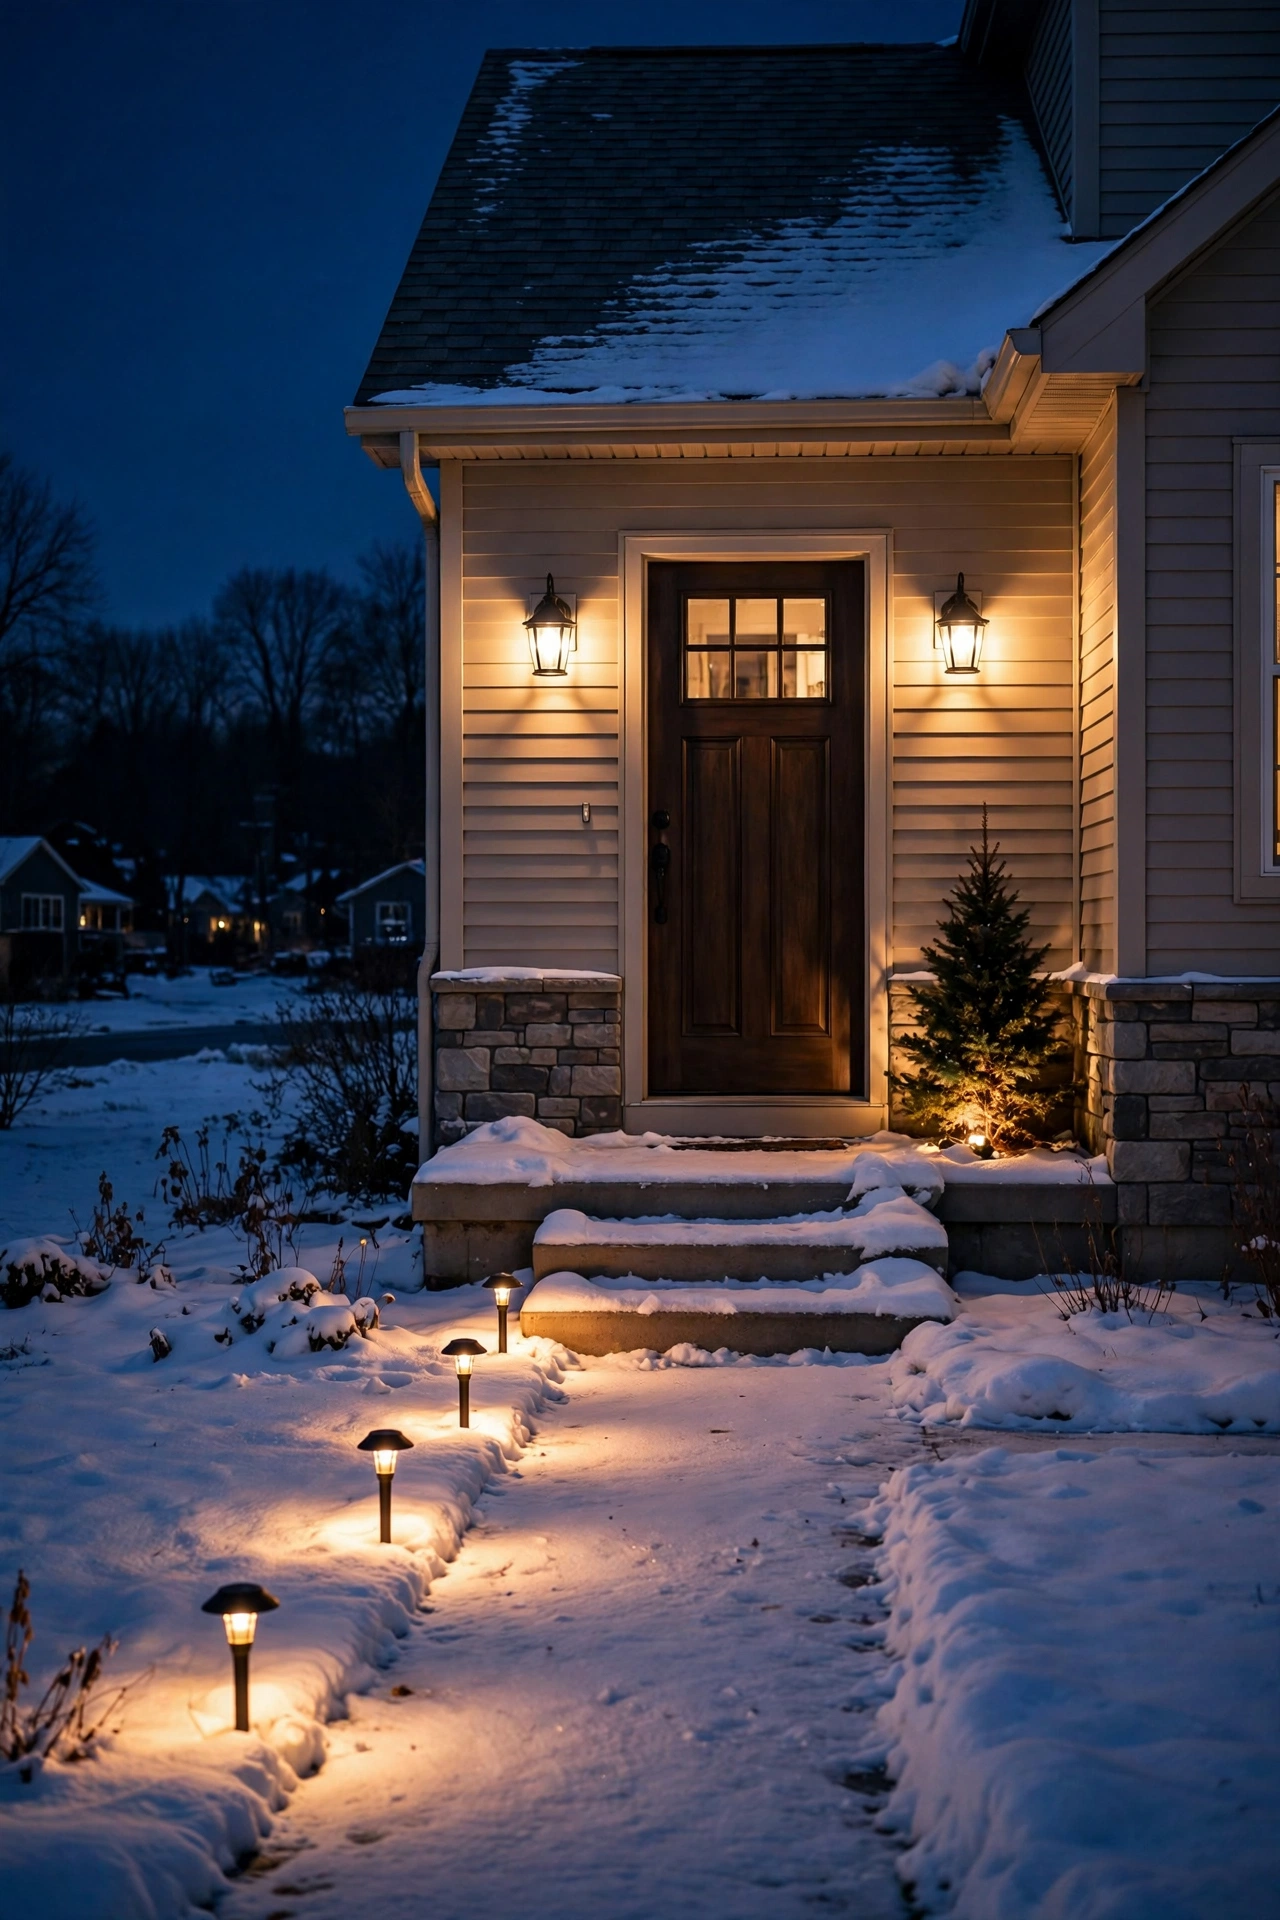
You come home in the dark every single day from December to February, so your entry should feel like a hug. Layer three things: warm sconces flanking the front door (2700K, shaded so the bulbs don't glare), two or three path lights leading from the driveway to the steps, and one small uplight on an evergreen or ornamental shrub beside the door. That combination — entry, path, accent — is the layering philosophy in miniature, and it makes the whole facade feel intentional.
Put it all on one photocell-and-timer combo so everything clicks on at dusk and off around 11 p.m. You never touch it again until March. In my experience, the single biggest entry mistake is going too bright: a door lit like a stadium feels harsh, not welcoming. Keep sconces at 200 to 300 lumens each and let the snow bounce soften everything. If your door is painted a deep color — navy, forest green, charcoal — warm light makes those tones glow richly instead of disappearing into the night.
Suggested budget range: $120 – $400.
6. Recessed Step Lights for Icy Stairs
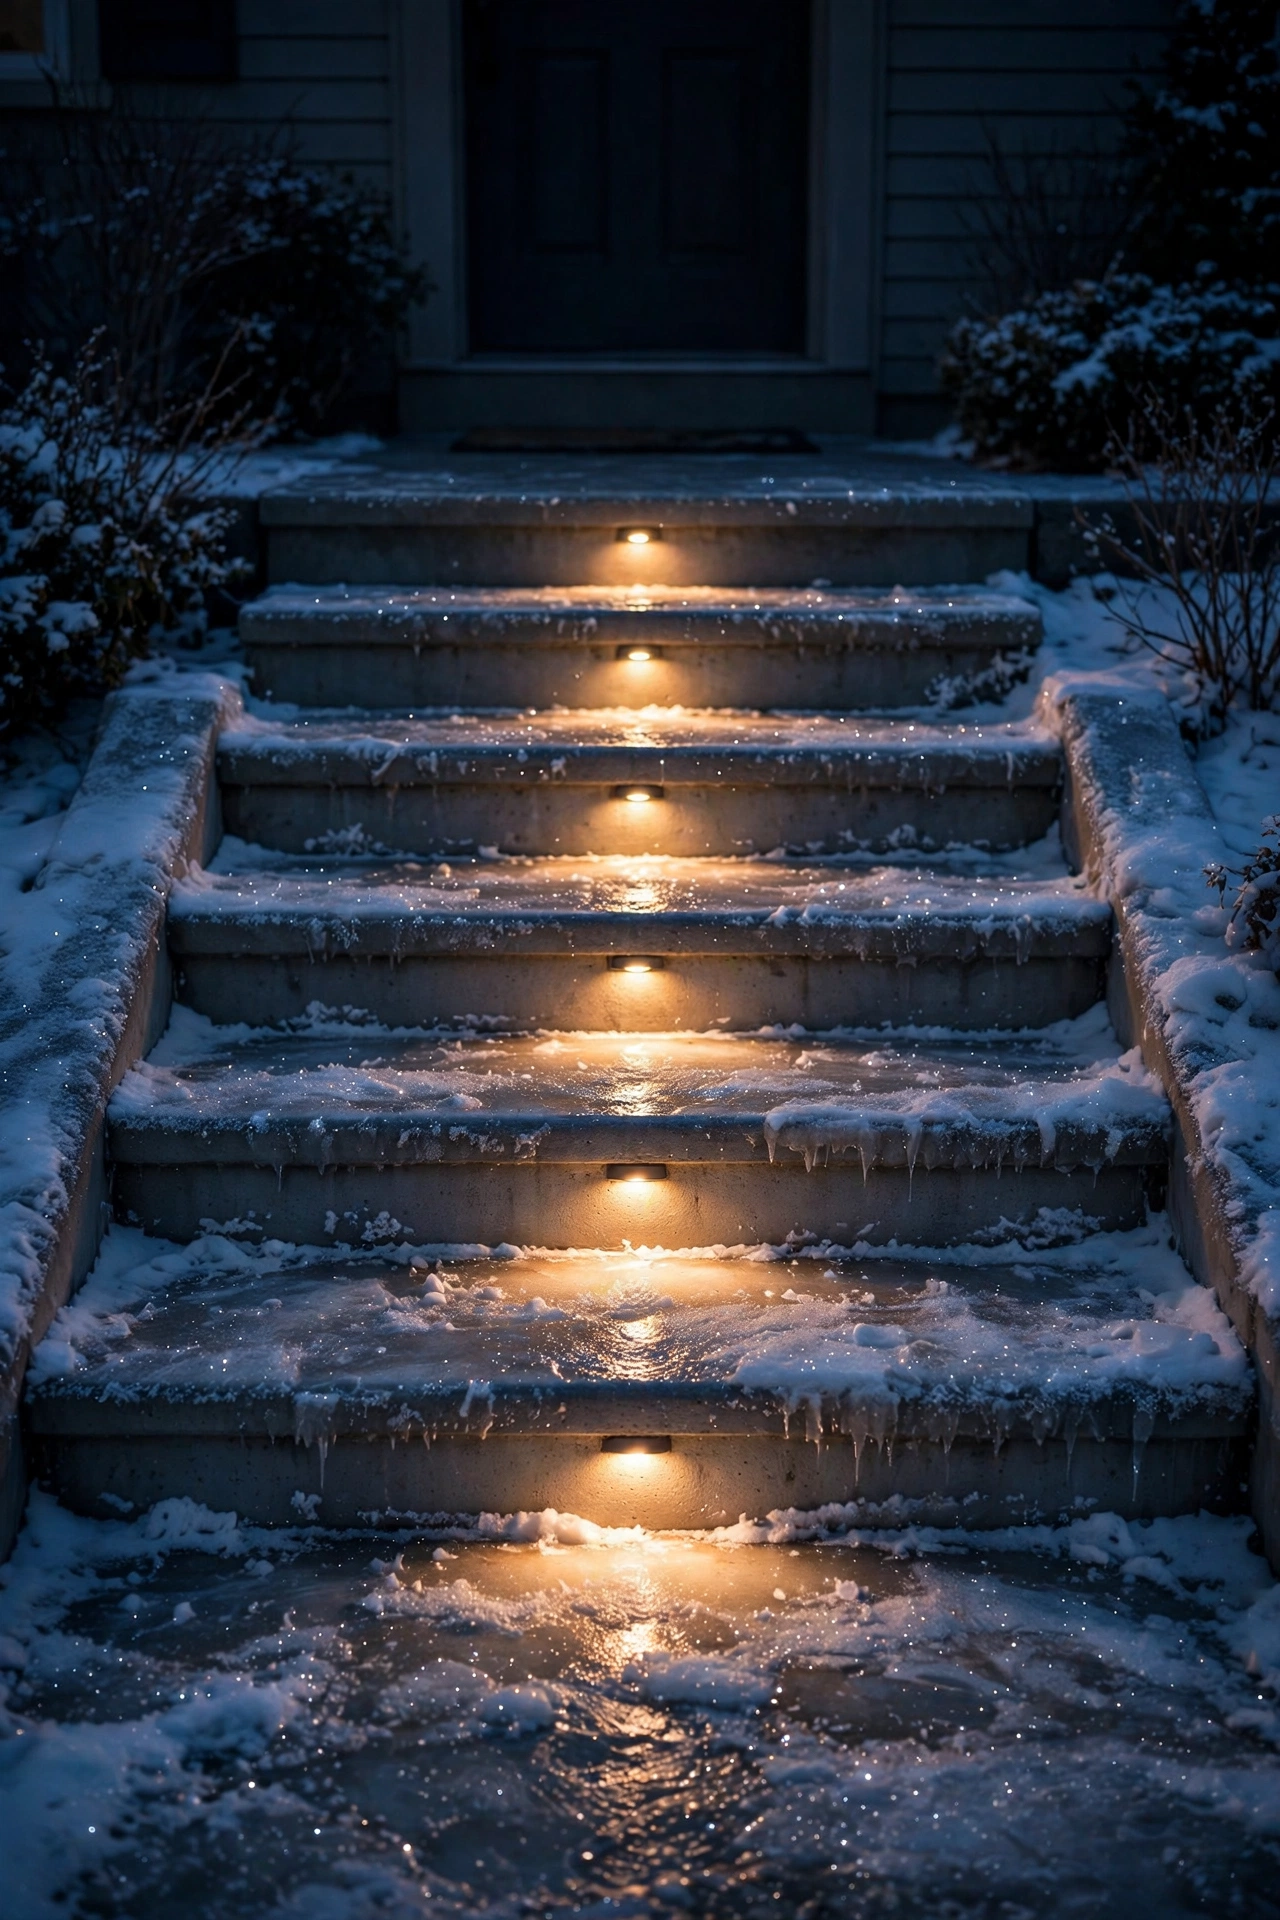
Steps are the most dangerous square footage in a winter yard. A thin film of ice on a dark stair tread is an accident waiting to happen, and this is one place where lighting is genuinely safety equipment. Install low-voltage LED step lights recessed into the risers — one per step, centered, or one every other step on wide stairs — casting light down across the tread. At 2700K to 3000K and just 50 to 100 lumens each, they're subtle, but they define every edge clearly.
Choose fixtures rated for wet locations with a solid IP65 rating or better, and keep the lenses clear of ice with a quick brush after freezing rain. Wire them on the same 12-volt low-voltage loop as your path lights — it's the safest DIY electrical project outdoors, but the transformer still plugs into an outdoor outlet, so make sure that outlet is GFCI-protected and the connections stay dry. Our electrical safety tips for outdoor lighting walk through GFCI, burial depth, and wet-location ratings if you want the full rundown before you start.
Suggested budget range: $60 – $220.
7. Wash a Fence Line for Instant Depth
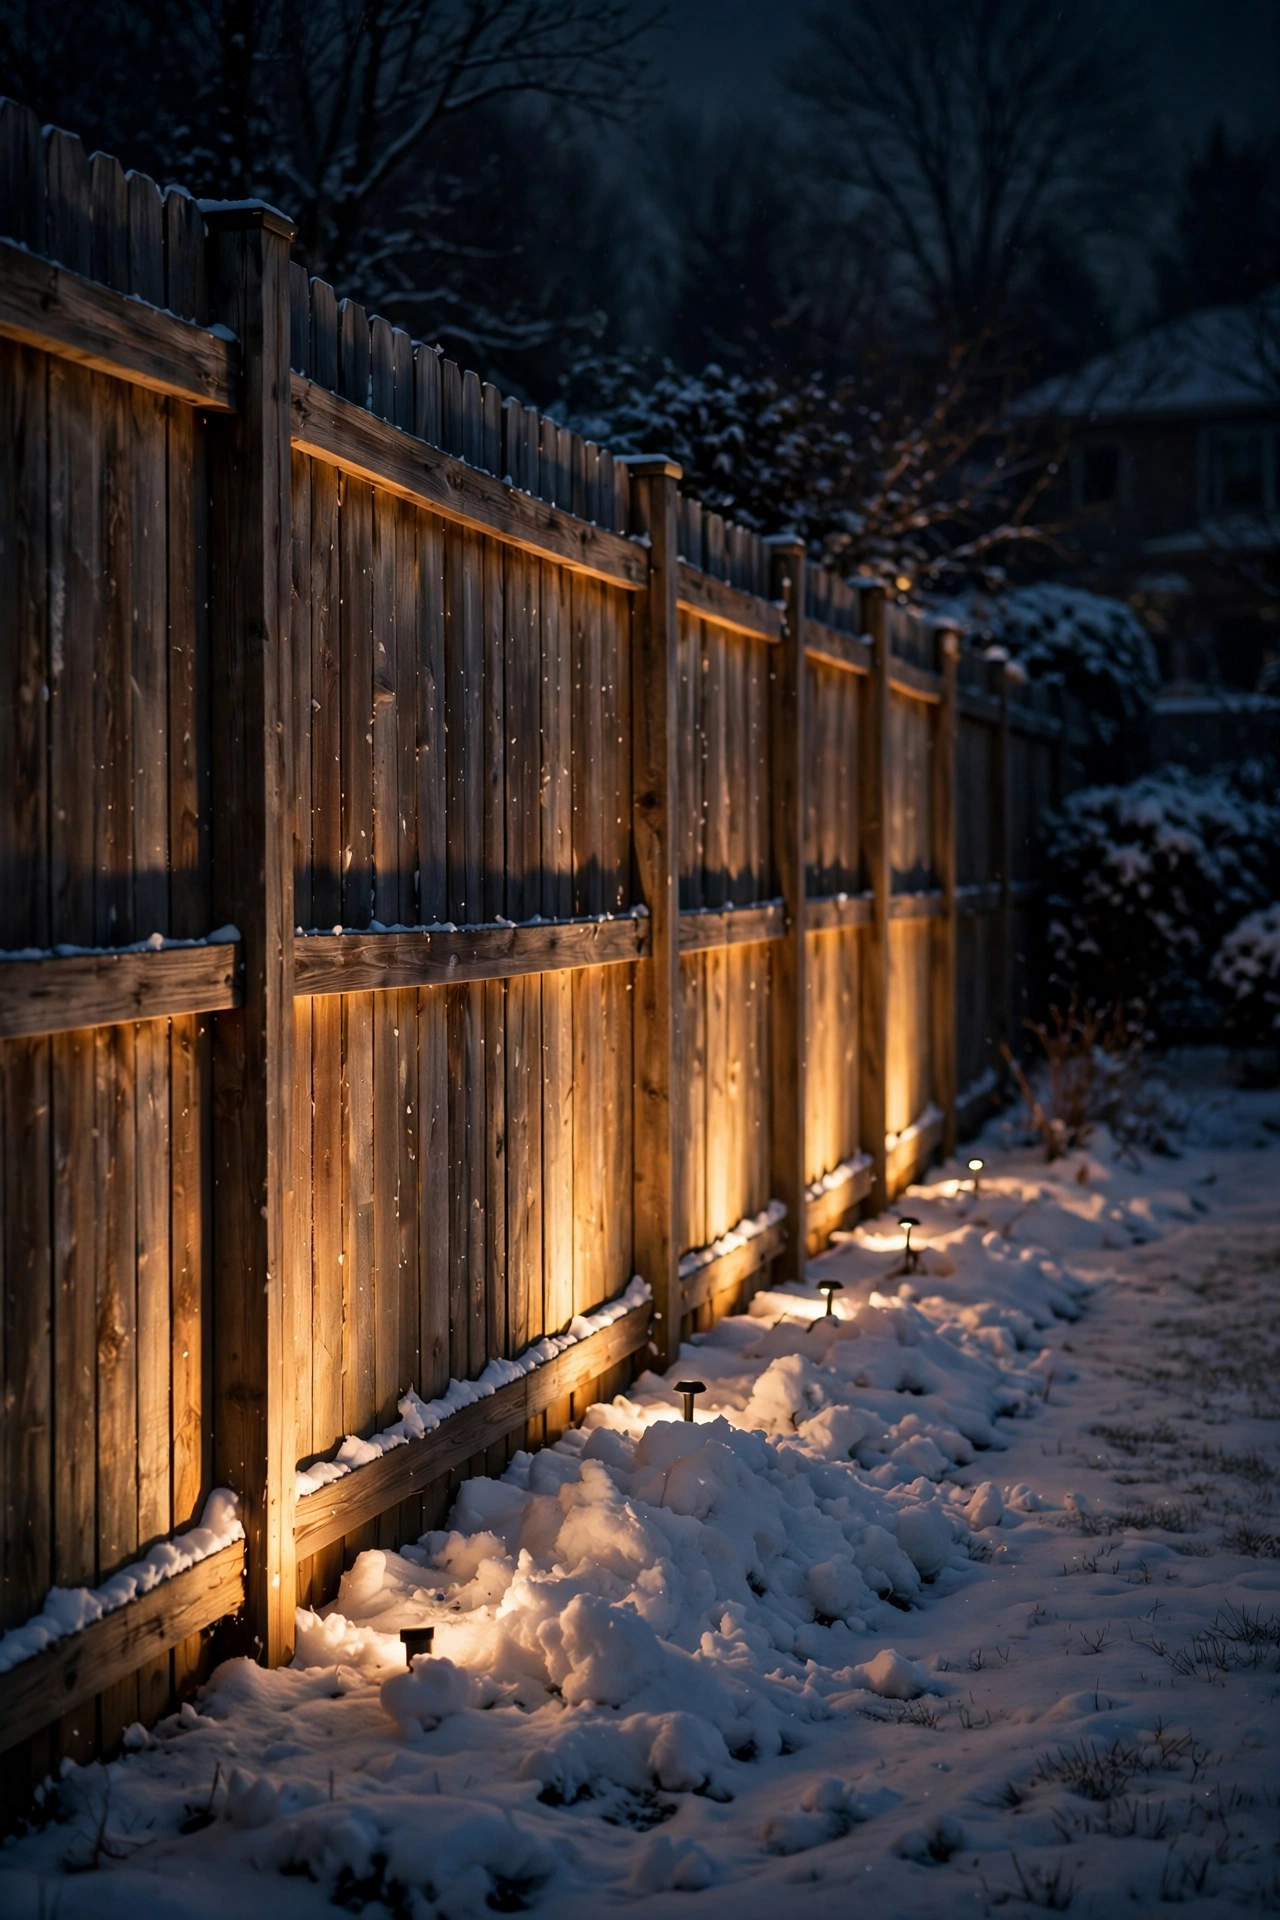
A dark fence is a black void; a washed fence is a backdrop. Place low wall-wash fixtures 12 to 18 inches from the fence face, spaced 6 to 8 feet apart, aimed up at a slight angle. The grazing light catches every board edge and texture, turning a plain cedar or painted fence into a glowing perimeter that makes the whole yard feel bigger. Warm 2700K keeps it cozy; this is not the place for cool tones.
In my experience, you don't need to wash the entire fence — pick the run you see from the living room or patio door and stop there. Eight to ten fixtures along a 60-foot stretch is plenty, at 150 to 250 lumens each. Snow along the fence base actually helps here, bouncing light back up into the boards and softening the beam. Set these on the same timer as your entry lights so the whole perimeter comes alive at dusk together.
Suggested budget range: $150 – $450.
8. Graze a Stone or Retaining Wall
Stone walls are made for grazing light. Mount small LED hardscape or well lights 6 to 12 inches from the wall face, aimed nearly straight up, and the tight angle rakes across every stone, mortar line, and shadow. The texture payoff in winter is enormous because there's no foliage competing for attention — it's just light, stone, and snow.
For a low retaining wall, one fixture every 4 to 6 feet at 100 to 200 lumens keeps the effect continuous without hot spots. Taller walls (3 feet plus) can take a slightly wider beam and a bit more punch. I always recommend 2700K here; warm light makes stone read rich and old, while cool light can make it feel like a parking garage. Tuck the fixtures slightly behind the wall cap or into the bed in front so the source stays hidden — you want to see the wall glow, not the fixture.
Suggested budget range: $120 – $350.

9. Backlight Ornamental Grasses and Seed Heads
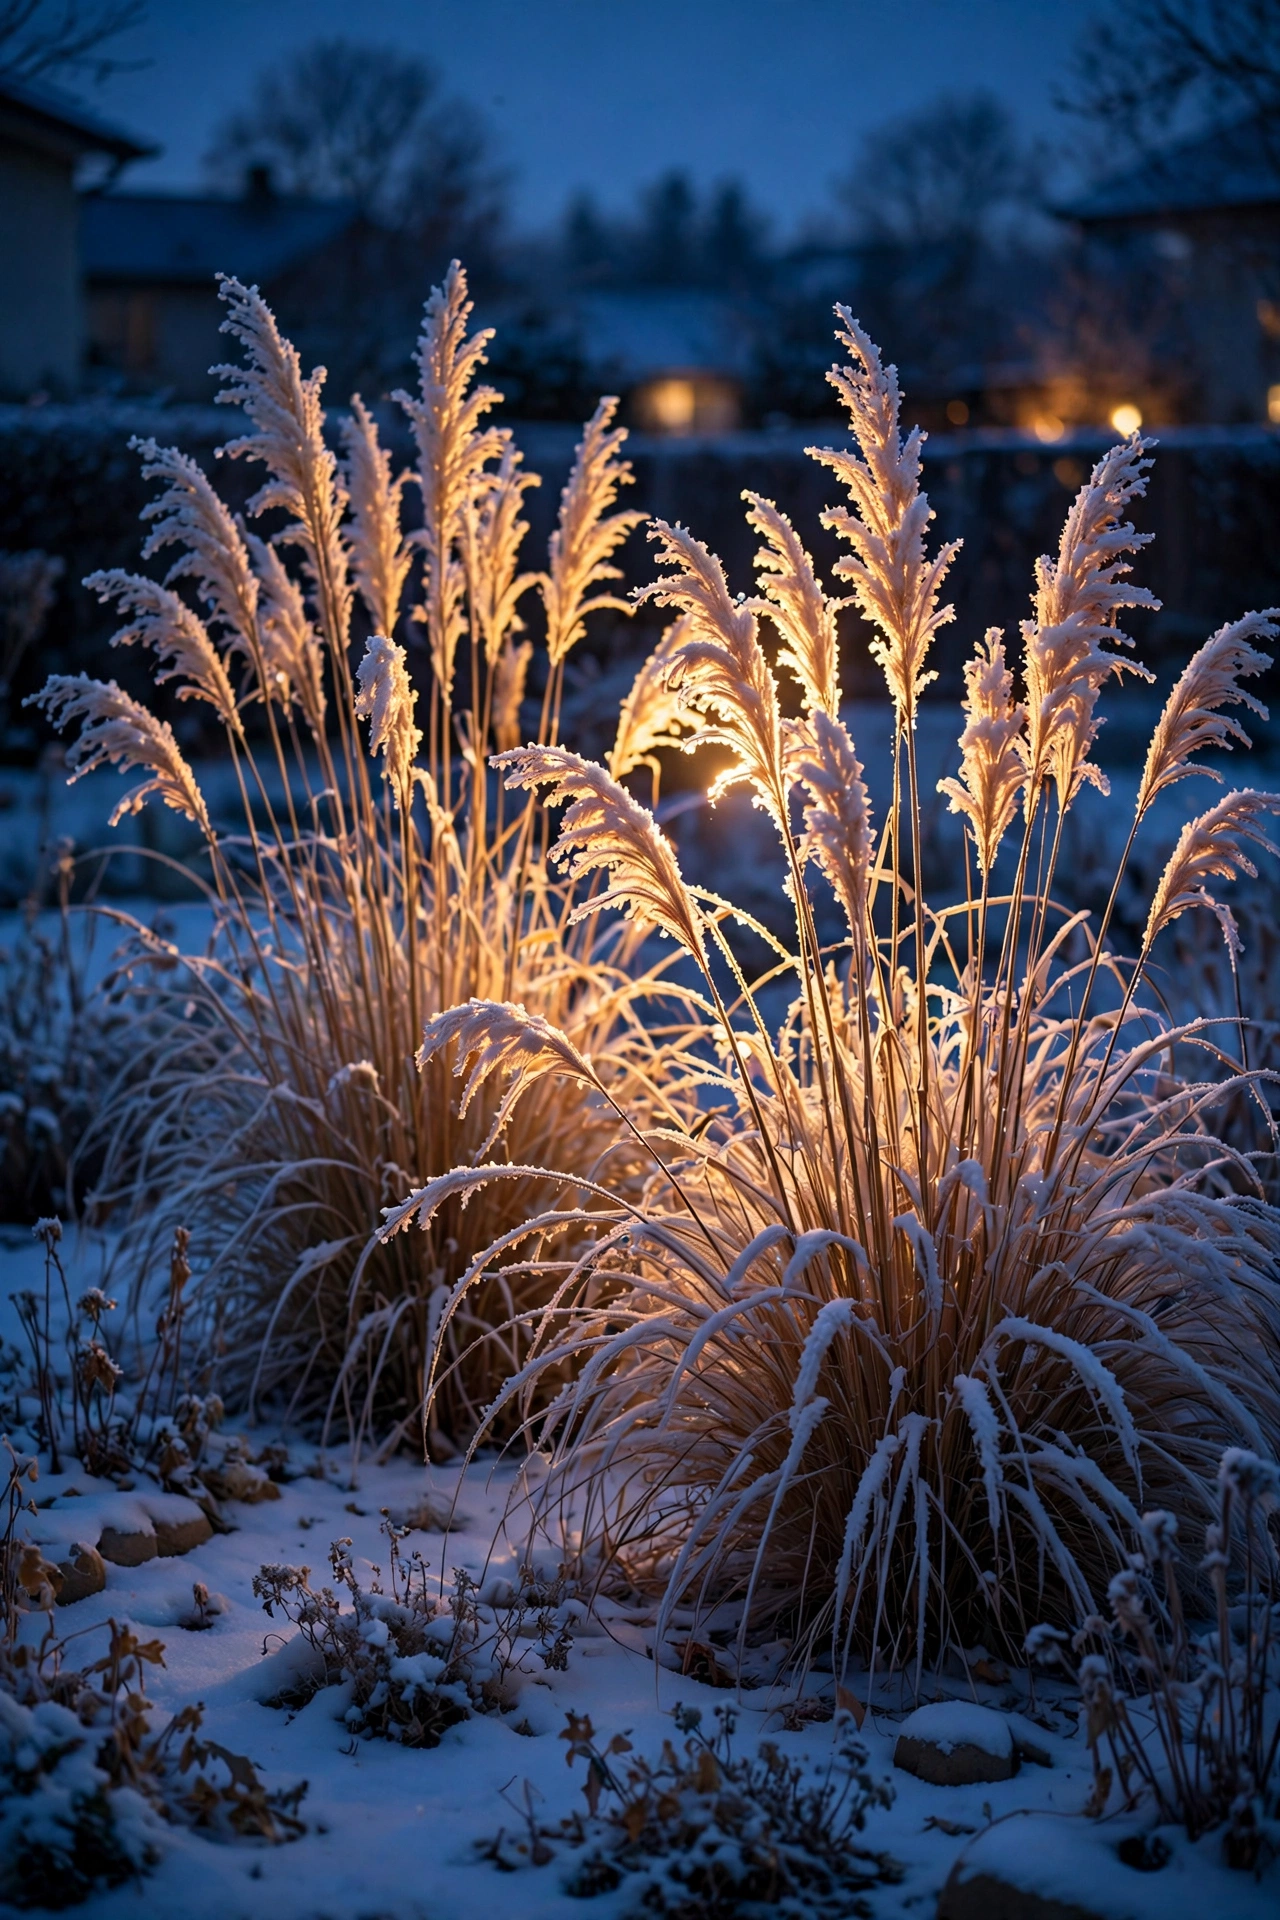
Don't cut back your ornamental grasses in fall — by January, those dried plumes and seed heads are pure gold for lighting. Place a small spotlight behind the clump, aimed back toward the house or the main viewing angle, so the grass reads as a glowing silhouette. Backlighting is the secret here: the lit-from-behind plumes turn translucent and feathery, and every breeze makes them shimmer.
One 150 to 250-lumen fixture with a 35 to 45-degree beam, set 2 to 3 feet behind the clump at ground level, is all it takes. Warm 2700K gives dried grasses a honeyed glow; honestly, this is one of my favorite winter effects because it costs almost nothing and looks like you hired a designer. It works on dried hydrangea heads and sedum stalks too — anything with winter structure. Just keep the fixture out of the irrigation line's path and clear of mulch that could smolder (LEDs run cool, but tidy wiring is still good practice).
Suggested budget range: $30 – $100 per clump.
10. Mark Driveway Edges for Snowplows and Cars
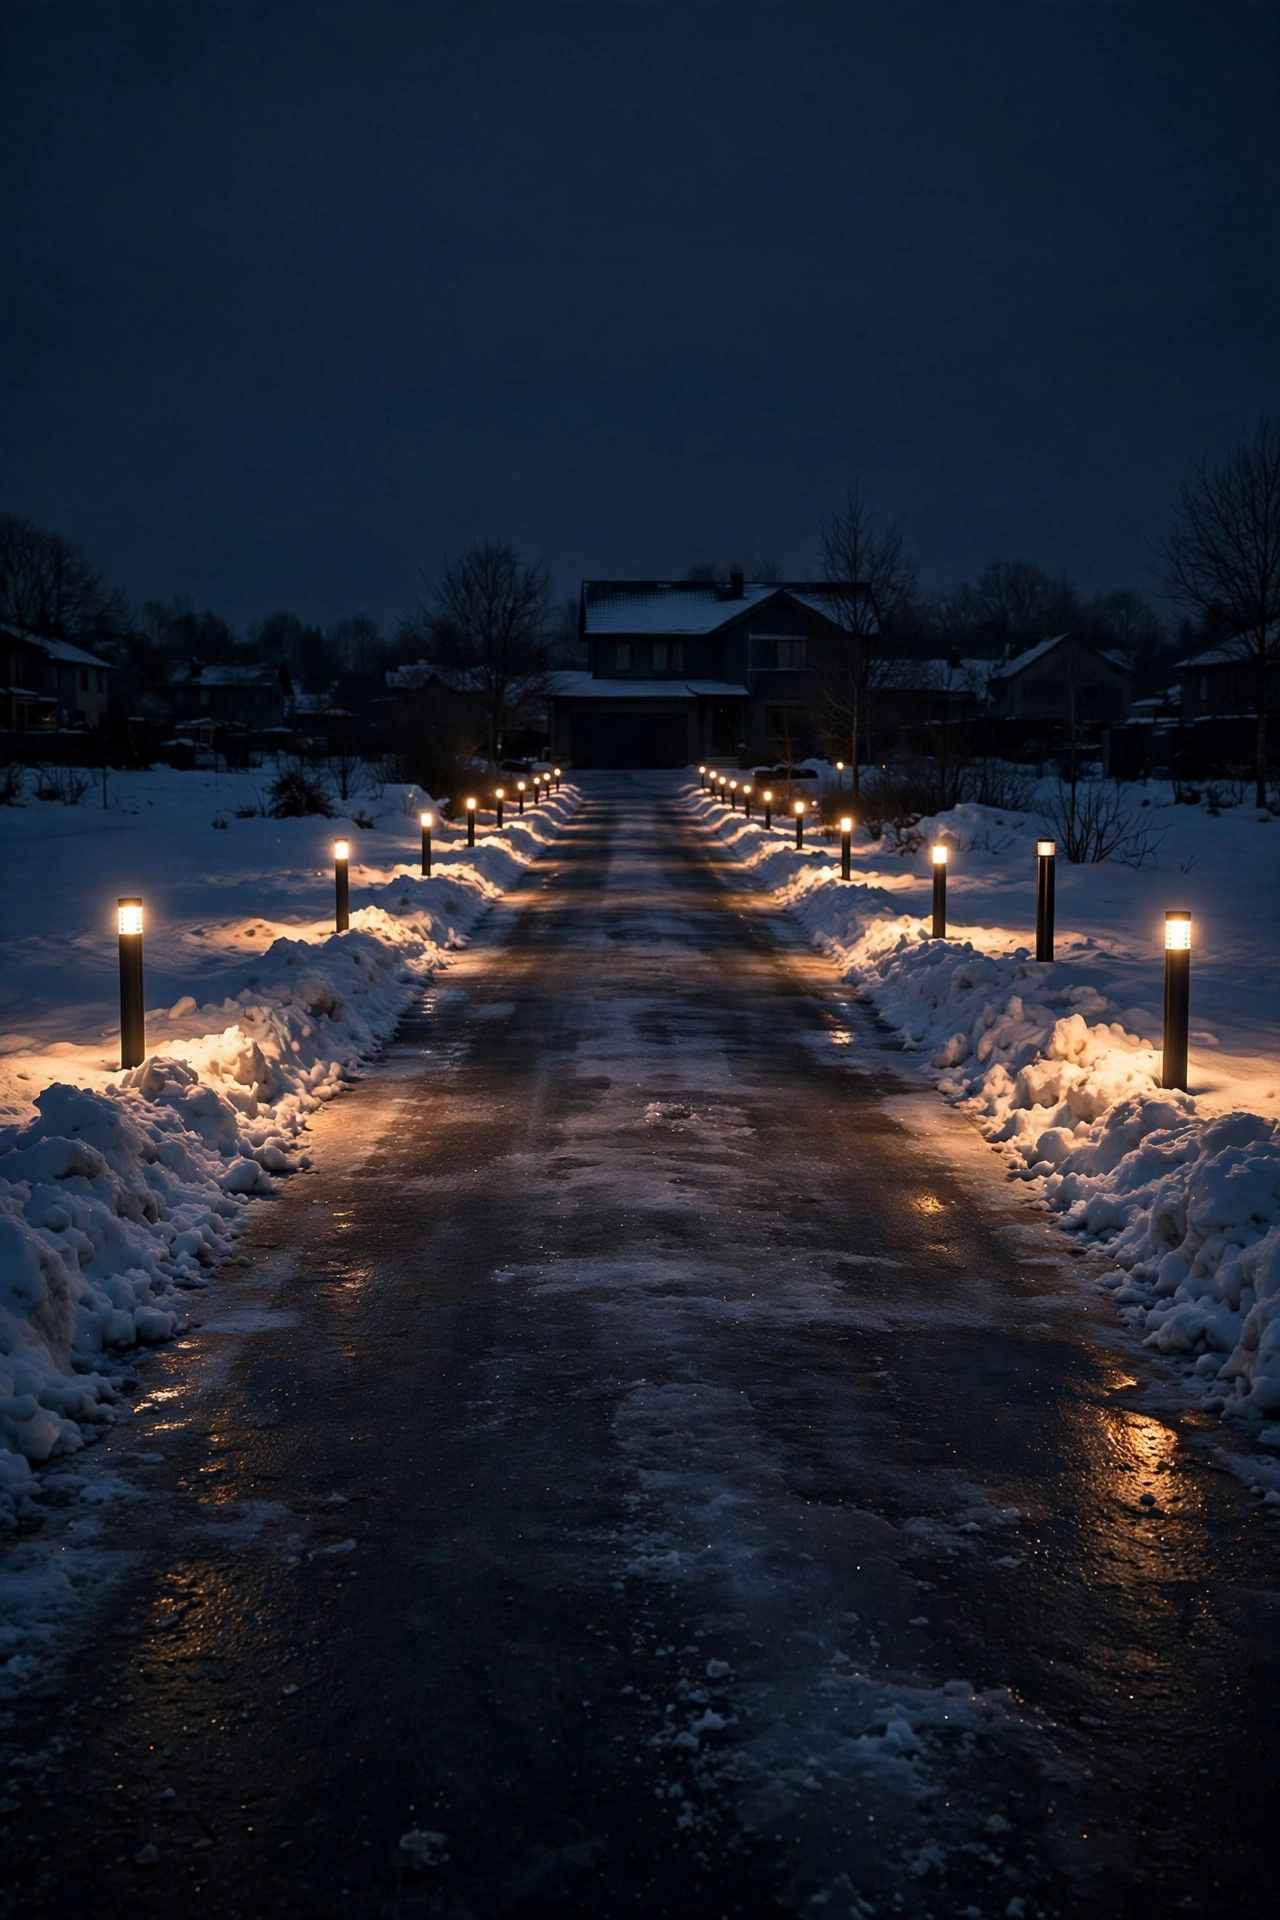
Deep winter means snowbanks eat your driveway edges, and guests pulling in after dark can't tell where pavement ends and lawn begins. Low bollard lights or driveway edge markers every 8 to 10 feet solve it. Place them 12 to 18 inches outside the pavement edge — far enough that the plow blade passes inside them, close enough that the lit line clearly traces the drive.
I recommend sturdy, low-profile fixtures (12 to 18 inches tall) in warm 2700K at 100 lumens or so; you're marking a boundary, not lighting a runway. Reflective-topped bollards pull double duty, catching headlights even if the power's out. In heavy-snow regions, consider the removable kind — the ones that slip into a ground sleeve — so you can pull them before the big storms and pop them back in after. Wire them into the same transformer as the rest of your low-voltage system and put them on the dusk timer.
Suggested budget range: $100 – $350 for a typical driveway.
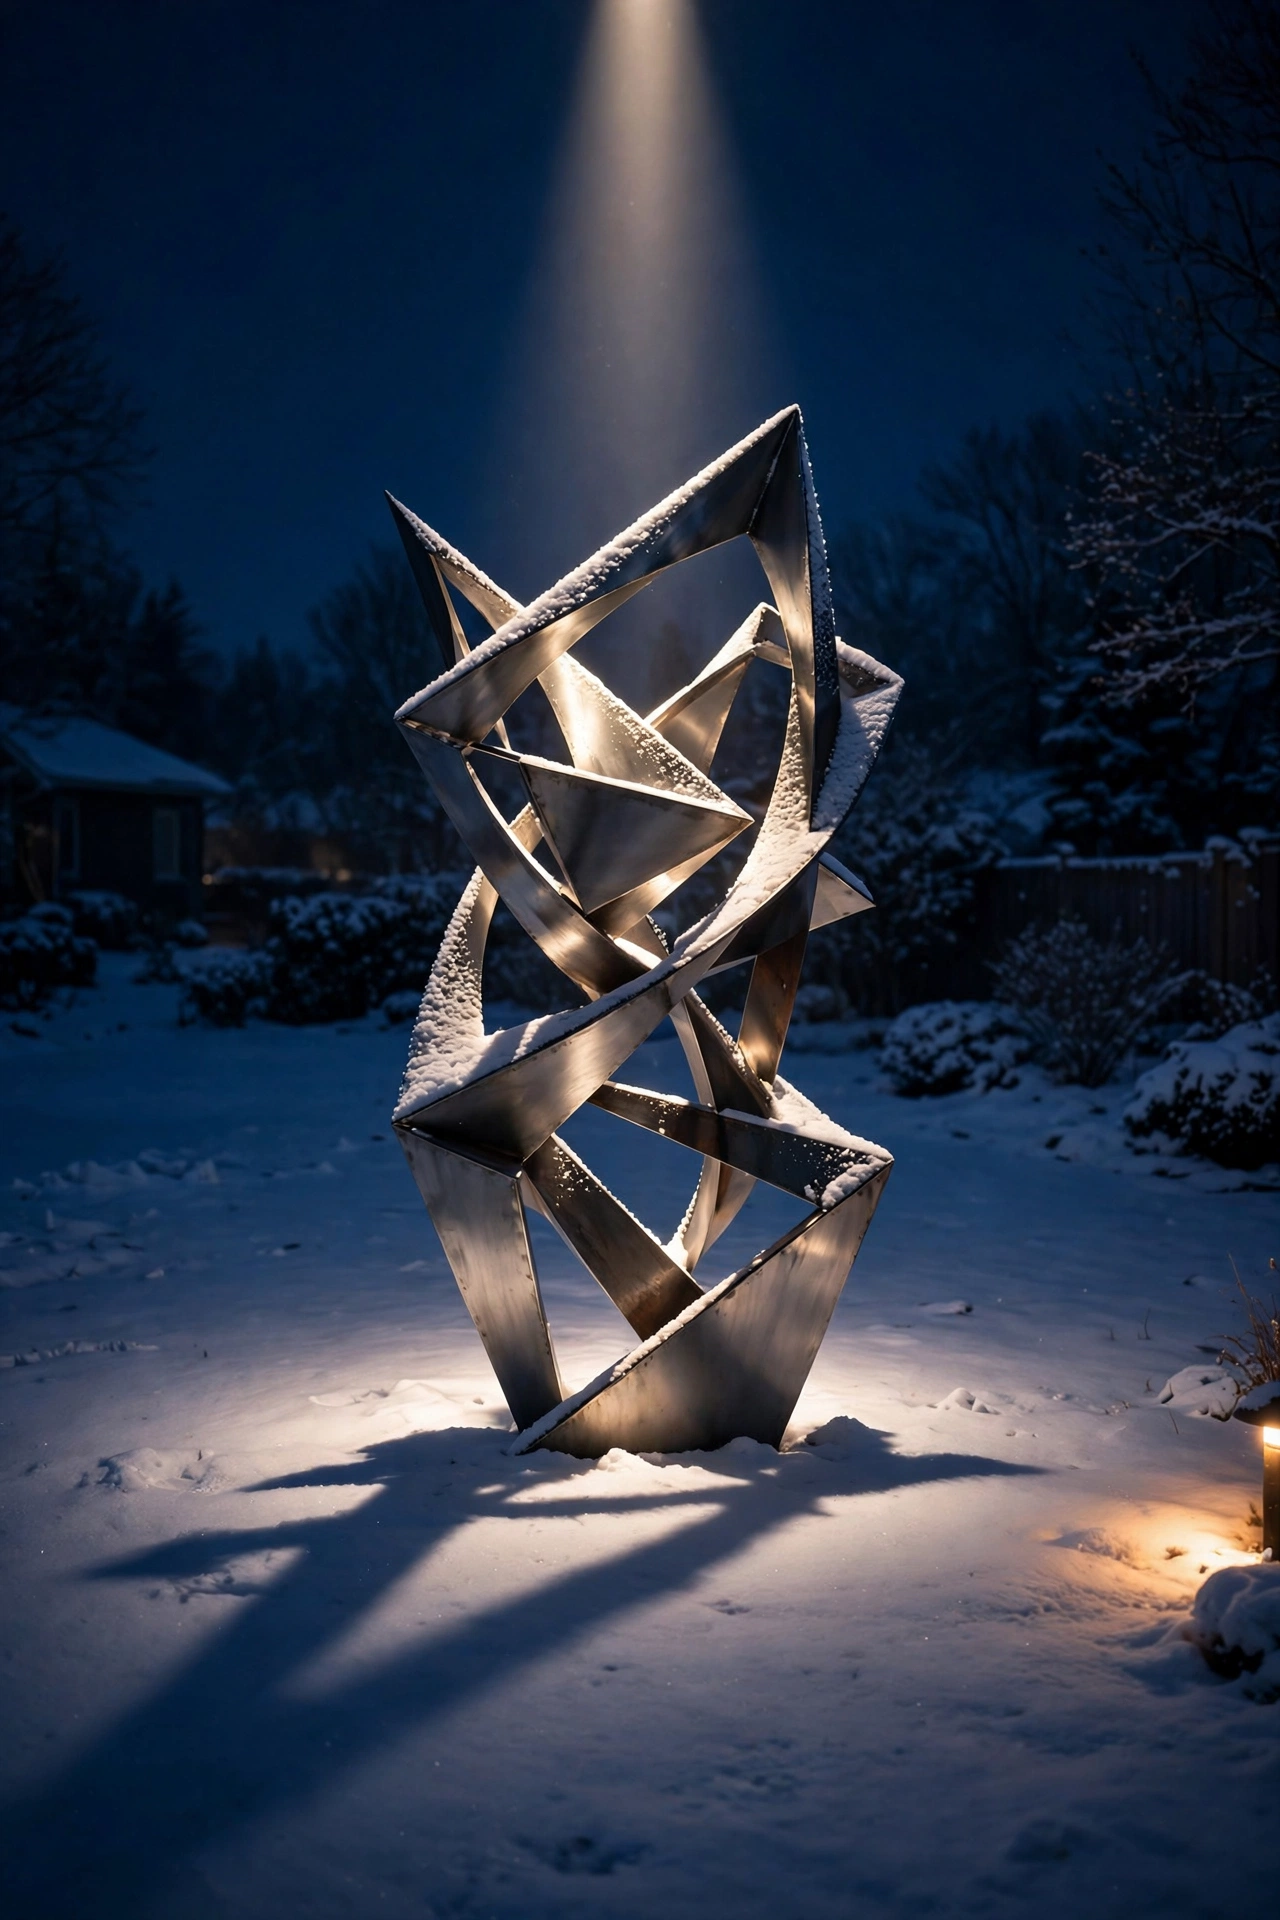
11. Spotlight a Single Winter Focal Point
Every great winter yard needs one hero — an urn, a stone sculpture, a beautiful bare multi-stem birch, even a handsome birdbath frozen mid-season. Pick one object with strong winter structure and give it a dedicated spotlight: one fixture, 200 to 400 lumens, 2700K to 3000K, aimed from 3 to 4 feet away at a slight upward angle. A single well-aimed light on one object reads as confident design; five competing focal points read as clutter.
The trick is isolation. Keep other lights at least 10 feet away from your hero so it holds the eye, and frame it against darkness or snow rather than the lit house. In my experience, a simple stone urn or a sculptural branch arrangement in a big pot does more for a January entry bed than a dozen small decorations. If the object sits in a bed, tuck the fixture behind a low evergreen so the light source disappears and only the glow remains.
Suggested budget range: $35 – $130.
12. Wash Open Snow With Cool White for Sparkle
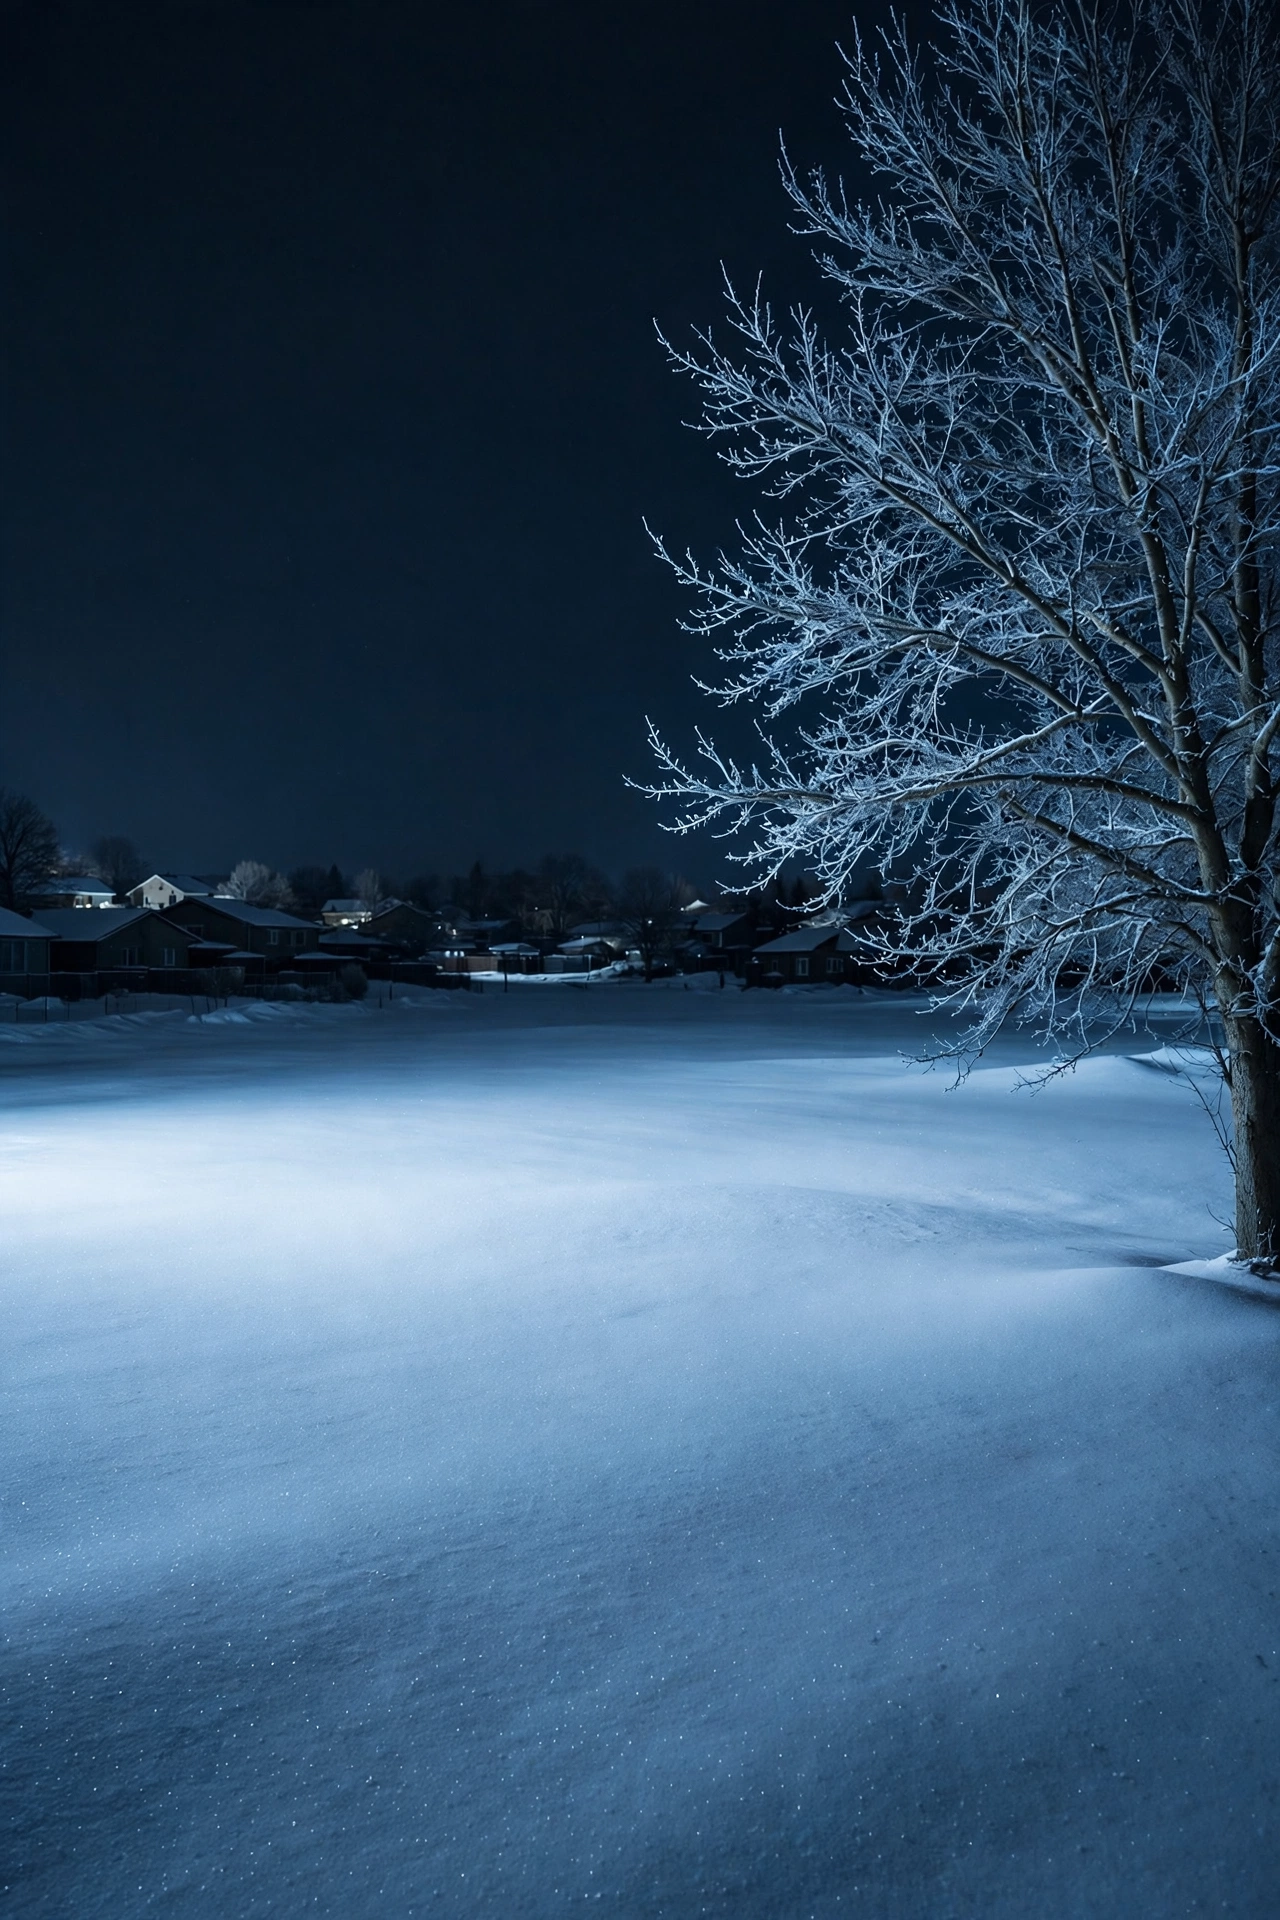
Here's the counterintuitive one: cool white light makes snow sparkle. Aim a wide-beam flood (60 degrees or more) at 4000K to 5000K across an open stretch of lawn, and the snow crystals catch the light like glitter. It's the one place in winter lighting where I'd actually reach for a cooler temperature — it reads crisp, fresh, and almost magical on a clear January night.
Use restraint: one cool wash zone per yard is plenty, and keep it aimed low across the lawn, never up into windows or the street. Pair it with warm 2700K accents nearby (an uplight tree at the lawn's edge, warm path lights along it) so the cool wash feels like a deliberate contrast rather than a security floodlight. Around 700 to 1,000 lumens covers a generous area because snow reflects so much of it back. Set it on the same timer as everything else — this effect is best as part of the evening scene, not an all-night blast.
Suggested budget range: $50 – $180.
13. Mix Warm and Cool Tones — The Secret to Layered Winter Landscape Lighting
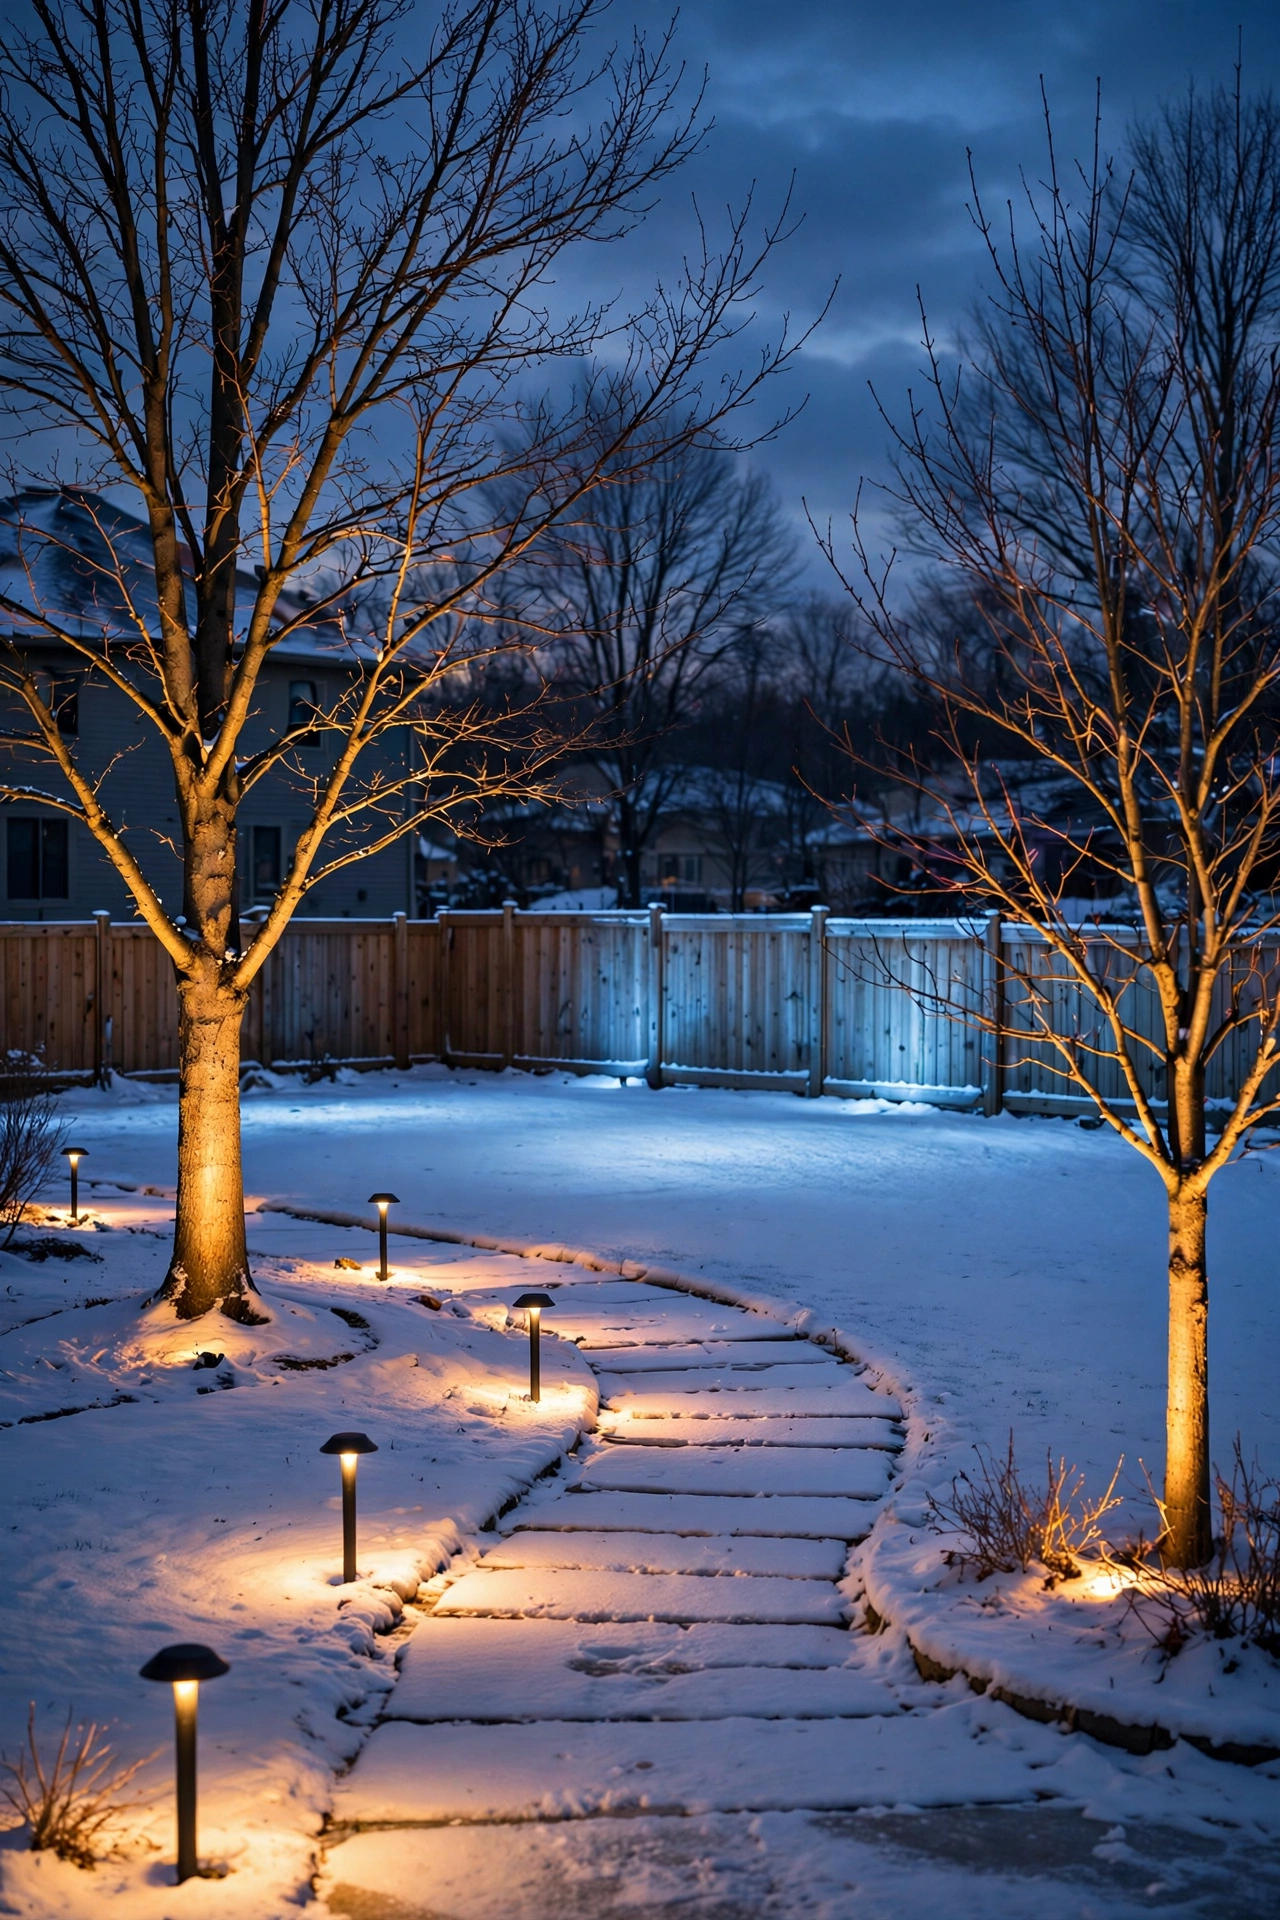
The best winter landscape lighting designs don't pick one color temperature — they layer them. Use warm 2700K to 3000K as your dominant tone for trees, entries, paths, and anything near the house (warmth reads as welcoming), then add one or two cool accents — a 4000K moonlight fixture, a cool snow wash — for contrast and depth. The warm-cool tension is what makes a winter yard look designed instead of just "lit."
My rule of thumb: roughly 80 percent warm, 20 percent cool, and never mix temperatures on the same feature. A tree lit half warm and half cool looks like a mistake; a warm tree beside a cool snow wash looks like art. If your fixtures are fixed-temperature, plan the mix on paper first — sketch the yard, mark W for warm and C for cool. If you go with adjustable color-temperature fixtures, start everything at 2700K and nudge only your chosen accents cooler until it feels right. Honestly, this one decision separates amateur-looking winter lighting from the yards people slow down to stare at.
Suggested budget range: $0 – $200 (mostly a planning upgrade).
14. Cluster Flameless Lanterns Along the Walk
For instant winter charm with zero wiring, cluster flameless LED lanterns in groups of three along the front walk or porch steps. Odd numbers always look better — three lanterns of varying heights (say 8, 12, and 16 inches) grouped at each side of the steps, or a pair of clusters flanking the walkway's start. The flickering "flame" LEDs in warm amber read beautifully against snow and give you that candlelit feel without any fire risk.
Cold-weather note: standard alkaline batteries fade fast below freezing, so look for lanterns that take lithium batteries — they hold their charge far better in the cold — or better yet, rechargeable ones you top up weekly indoors. Many have built-in timers (5 hours on, 19 off), which is perfect for a 5 p.m. to 10 p.m. winter glow. Set them inside glass hurricanes or open-top metal frames so snow doesn't pile directly on the electronics, and bring the whole cluster in during ice storms.
Suggested budget range: $40 – $150 per cluster.
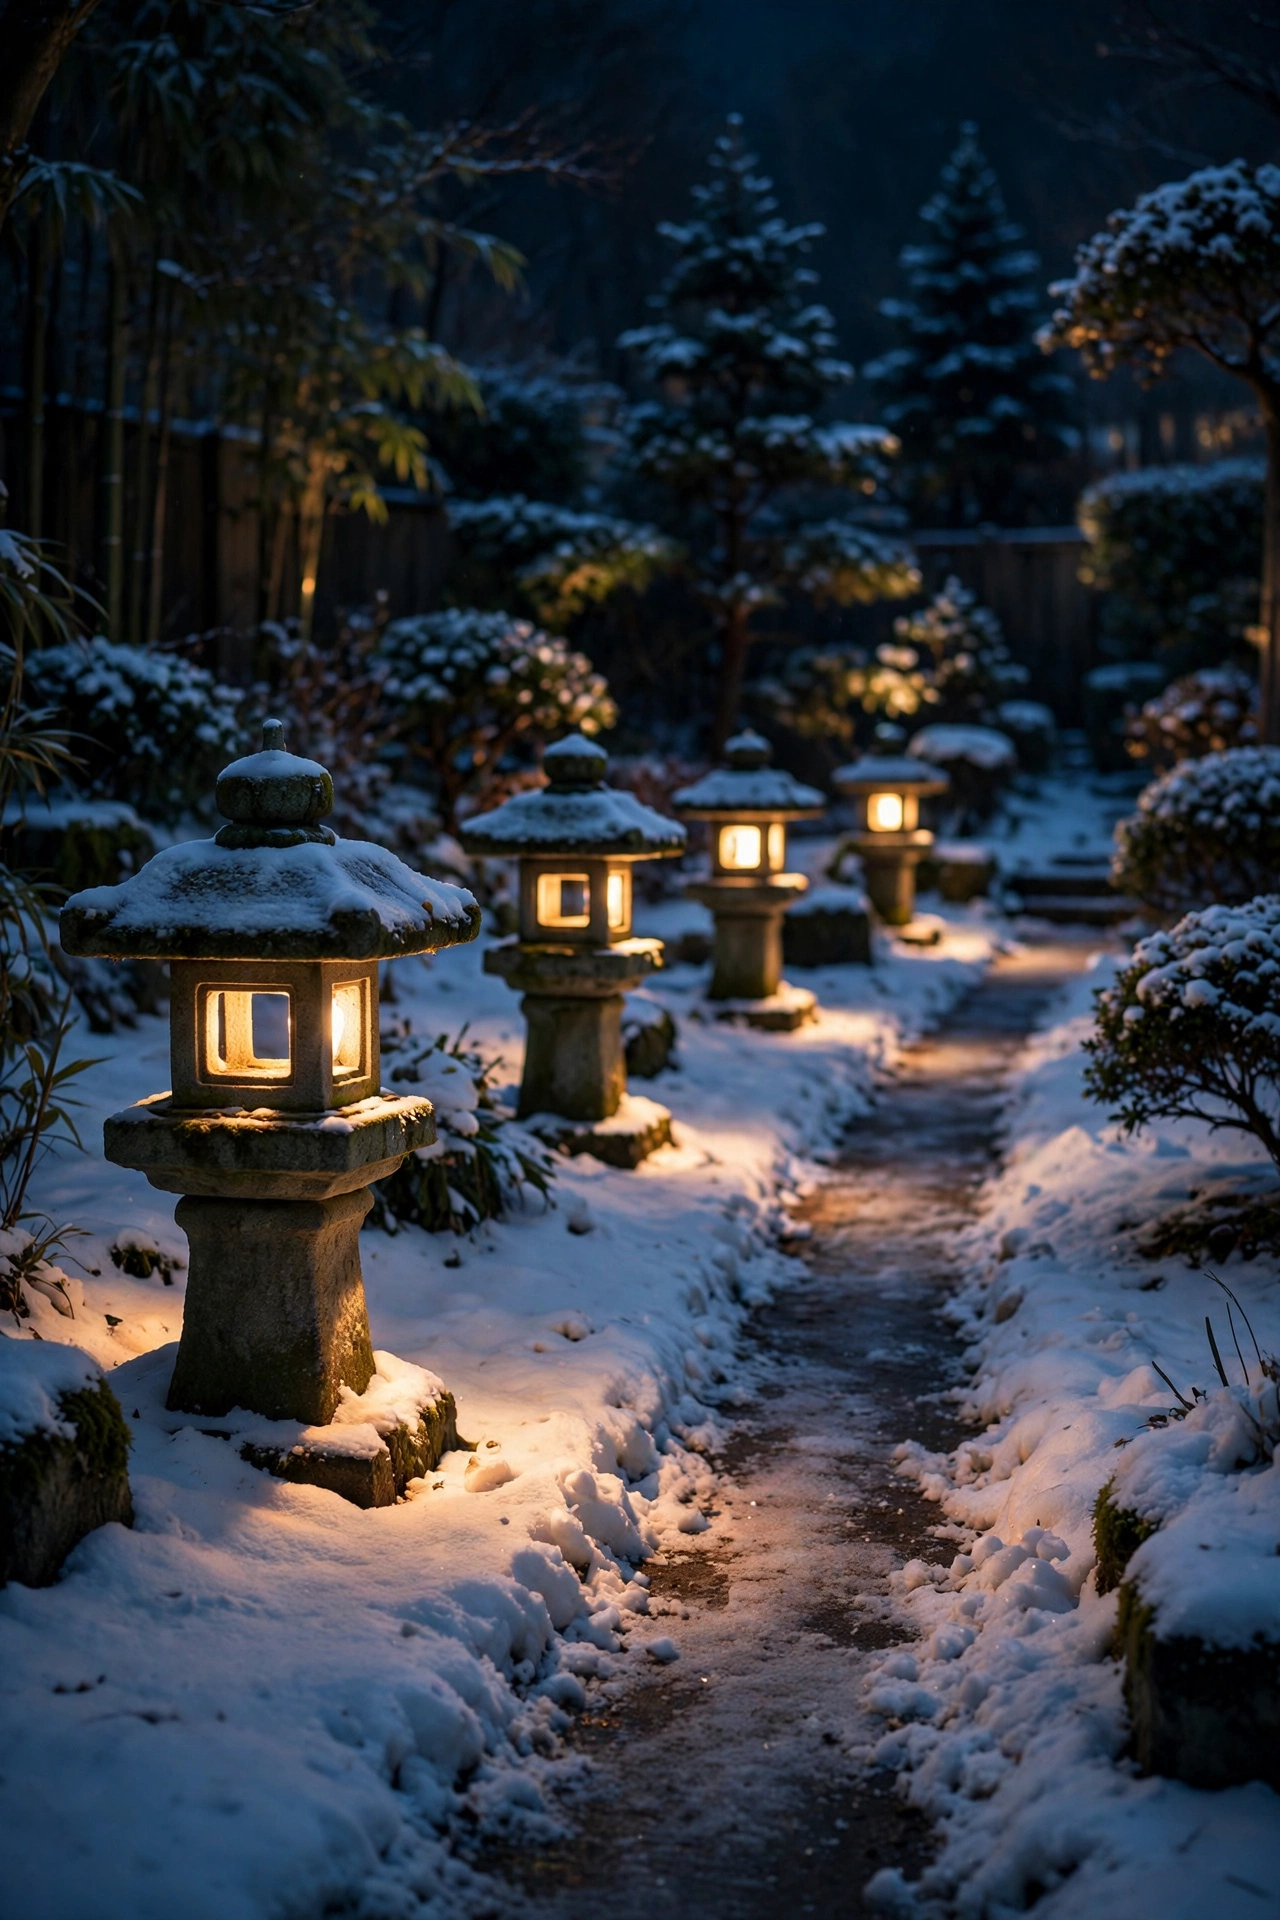
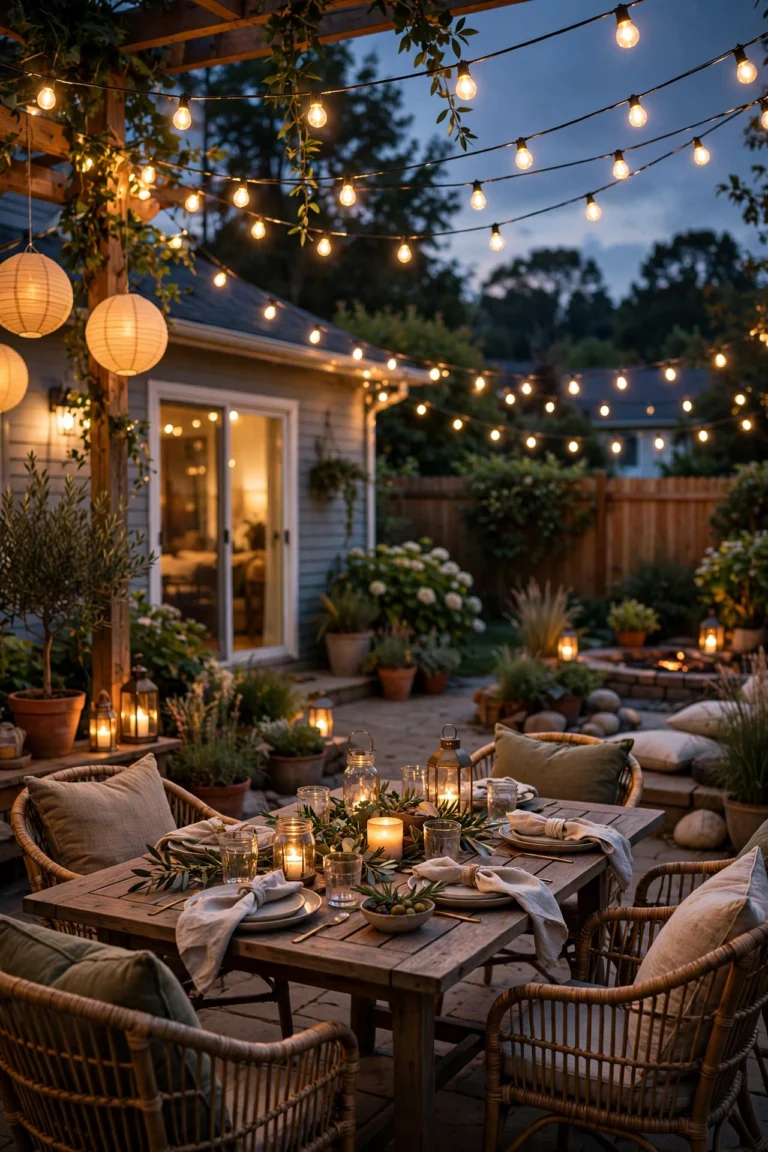
15. Keep String Lights Up on the Pergola All Winter
If you have a pergola, patio cover, or even a simple beam structure, leave the string lights up year-round — winter is when they matter most. Warm white globe or Edison-style LED strings, draped in gentle catenary swags (let them dip 6 to 12 inches between attachment points), turn a snow-dusted pergola into a glowing outdoor room. You won't sit out there in January, but you'll see it from the kitchen window every night, and it transforms the view.
Space the swags 18 to 24 inches apart across the beams, and plug the whole run into a weatherproof outdoor timer or smart plug set for dusk to 10 p.m. Use outdoor-rated, shatterproof LED strings — the plastic globes survive ice and falling snow loads that would crack glass. In my experience, one 48-foot string covers a 10-by-12-foot pergola nicely; two strings let you double up for a fuller canopy of light. Take ten minutes in November to check for dead bulbs and sagging lines, and you're set until spring.
Suggested budget range: $50 – $200.
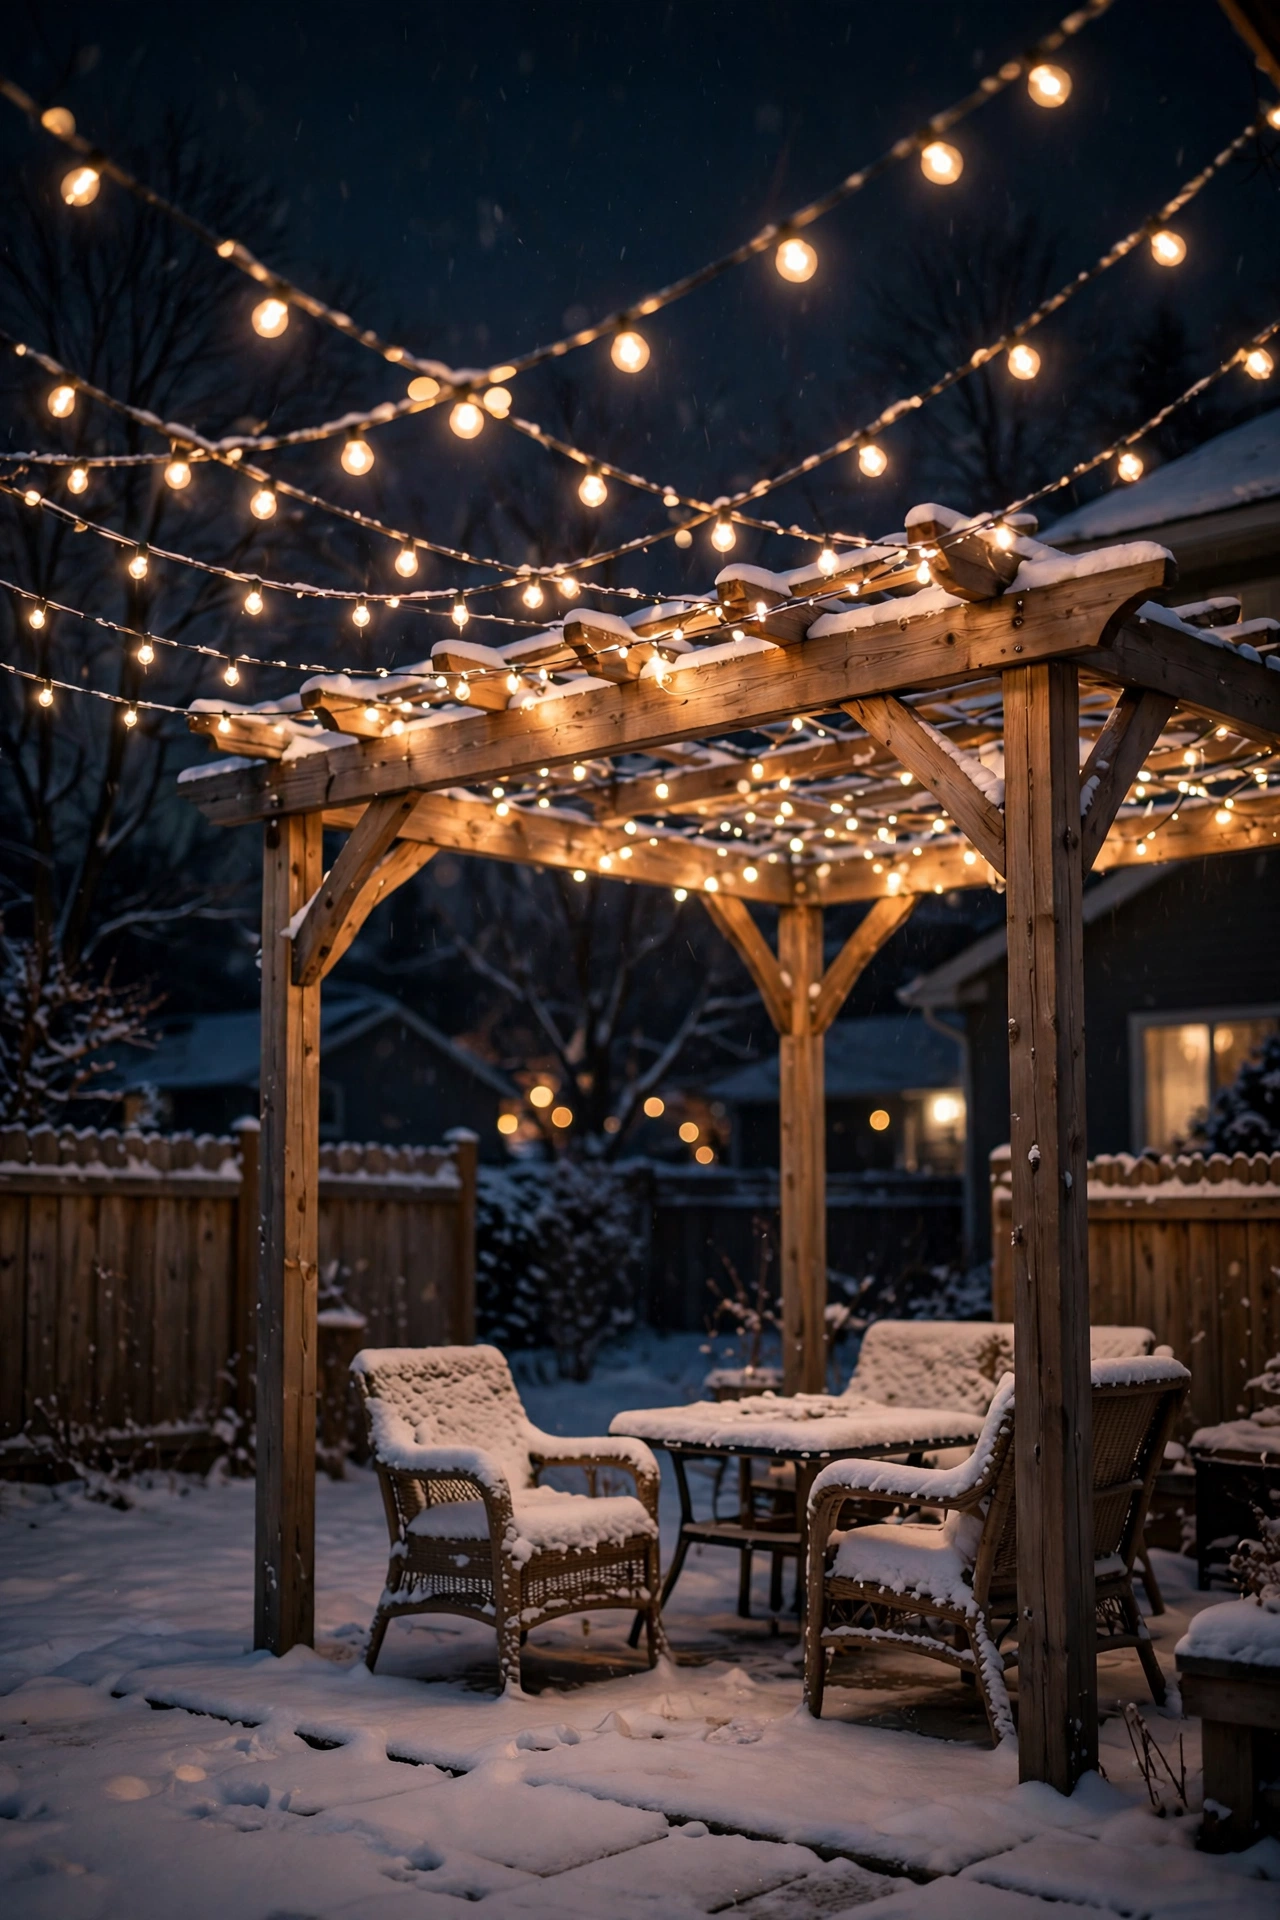
16. Add Under-Rail LED Strips on the Deck
Decks go dark and a little forbidding in winter, but a hidden line of light under the railing brings them back to life. Install a low-voltage LED strip in an aluminum channel tucked beneath the top rail, facing down, so the deck boards and any snow on them catch a soft wash of 2700K light. The fixture itself stays invisible — all you see is the glow, which is exactly the point.
Choose strips rated IP65 or better (fully sealed against snow and ice melt), and mount the channel with the lens facing down so meltwater drips off instead of pooling. A 16-foot deck rail typically needs one 16-foot strip plus a small 12-volt driver tucked in a weatherproof box under the deck. Put it on the same dusk timer as your path lights. The effect from the house is a floating line of warmth that defines the deck's edge beautifully — and as a bonus, it subtly lights the deck surface so you can see ice before you step on it.
Suggested budget range: $70 – $220.
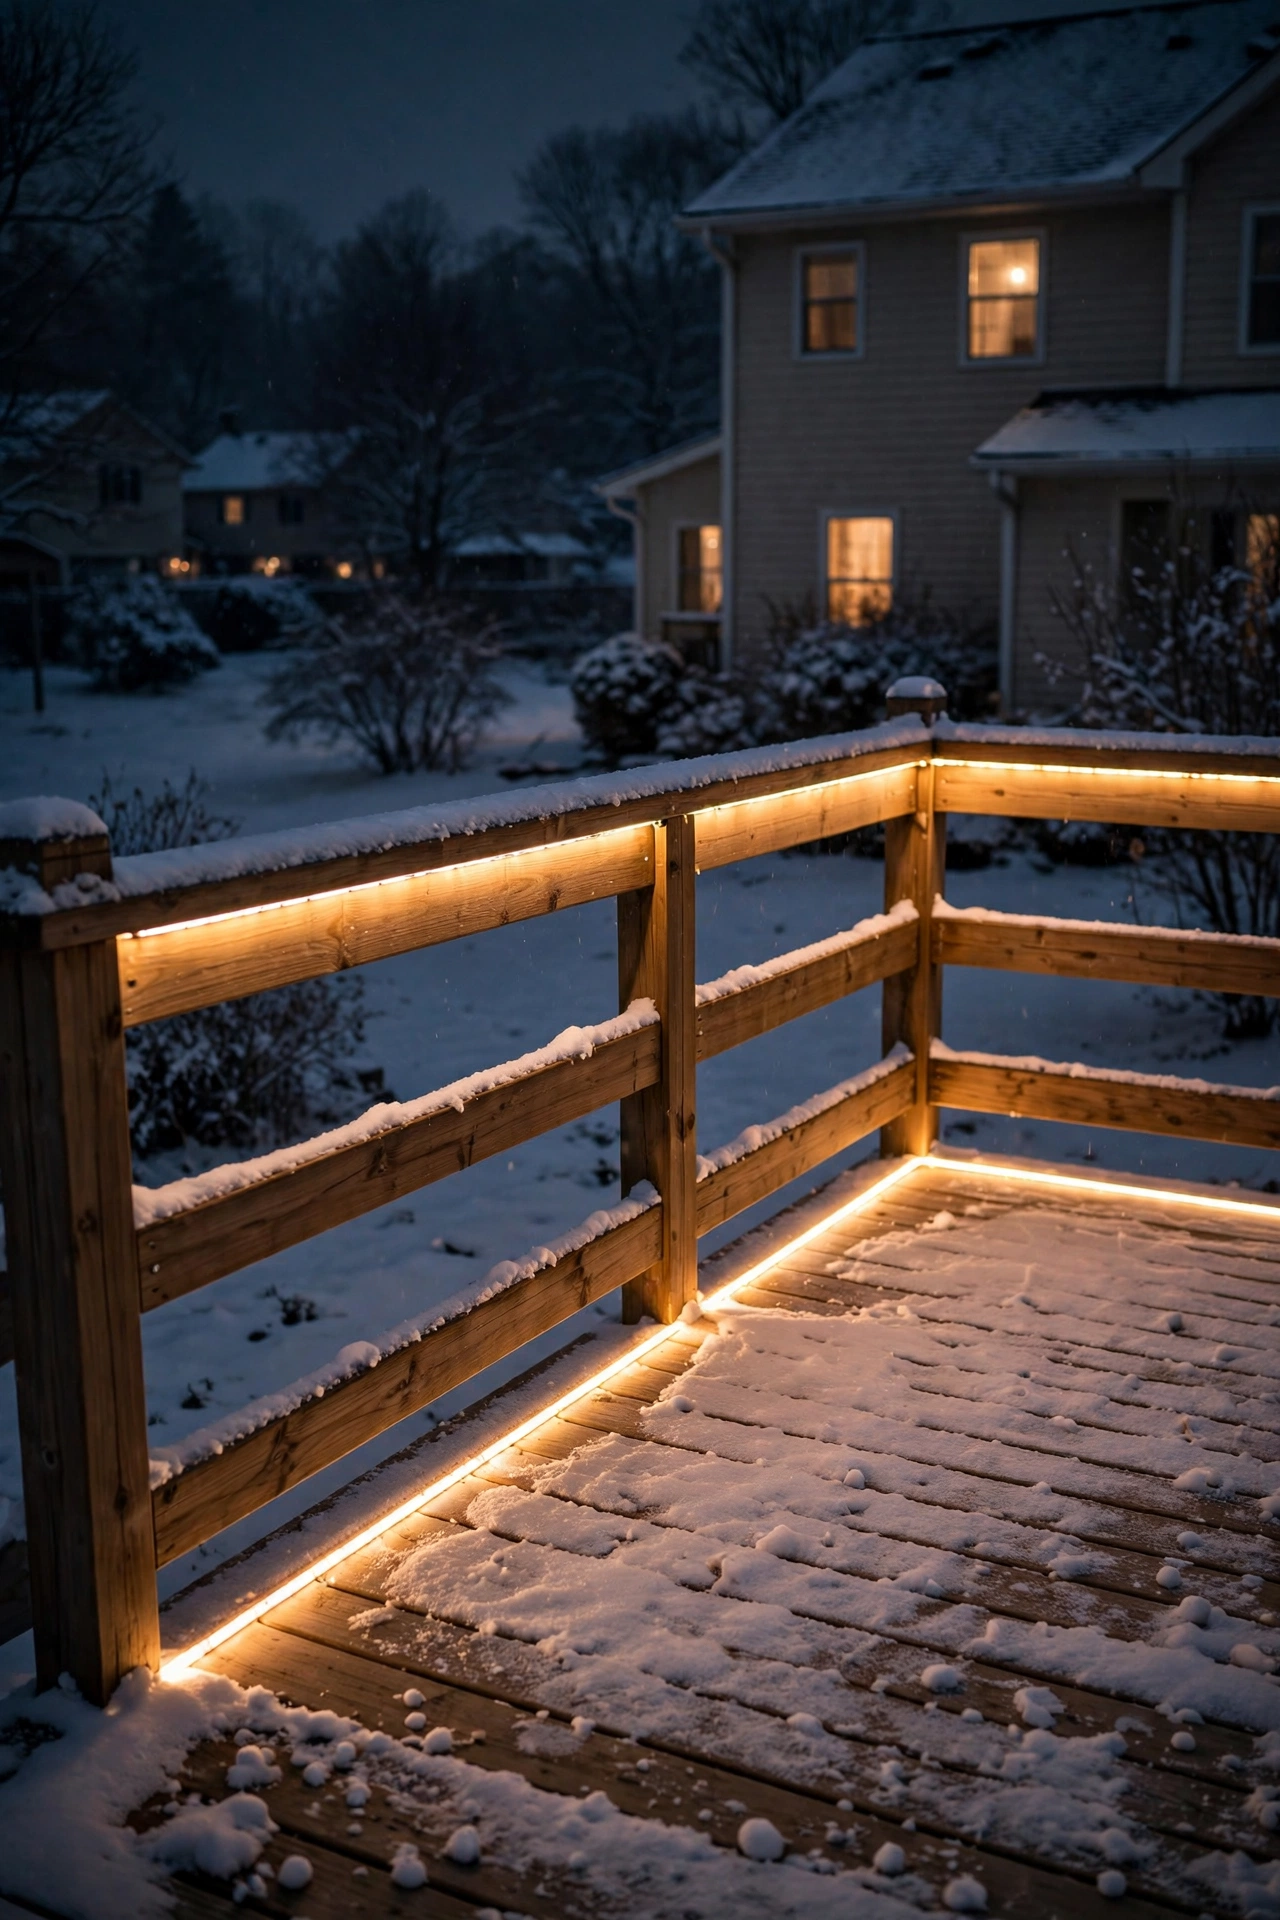
17. Light a Frozen Fountain or Birdbath
A fountain you shut down for winter doesn't have to disappear — ice is gorgeous under light. Aim a small submersible-rated or ground spotlight at the frozen basin so the ice catches the glow; a 200-lumen 3000K spot set 2 feet away makes ice formations and icicles sparkle like crystal. If the fountain has interesting statuary, light that instead and let the ice be the bonus.
Safety first: only use fixtures rated for the job. A standard spotlight sitting in meltwater is a hazard — if the fixture will sit in standing water or ice, it needs a true submersible (IP68) rating. In most cases, the smarter move is a ground-mounted spot aimed at the fountain from outside the basin, well clear of water. Put it on the regular evening timer. And never chip ice away from around a fixture with a metal tool — crack the ice by hand or wait for a thaw, because one slip can smash a lens.
Suggested budget range: $40 – $140.
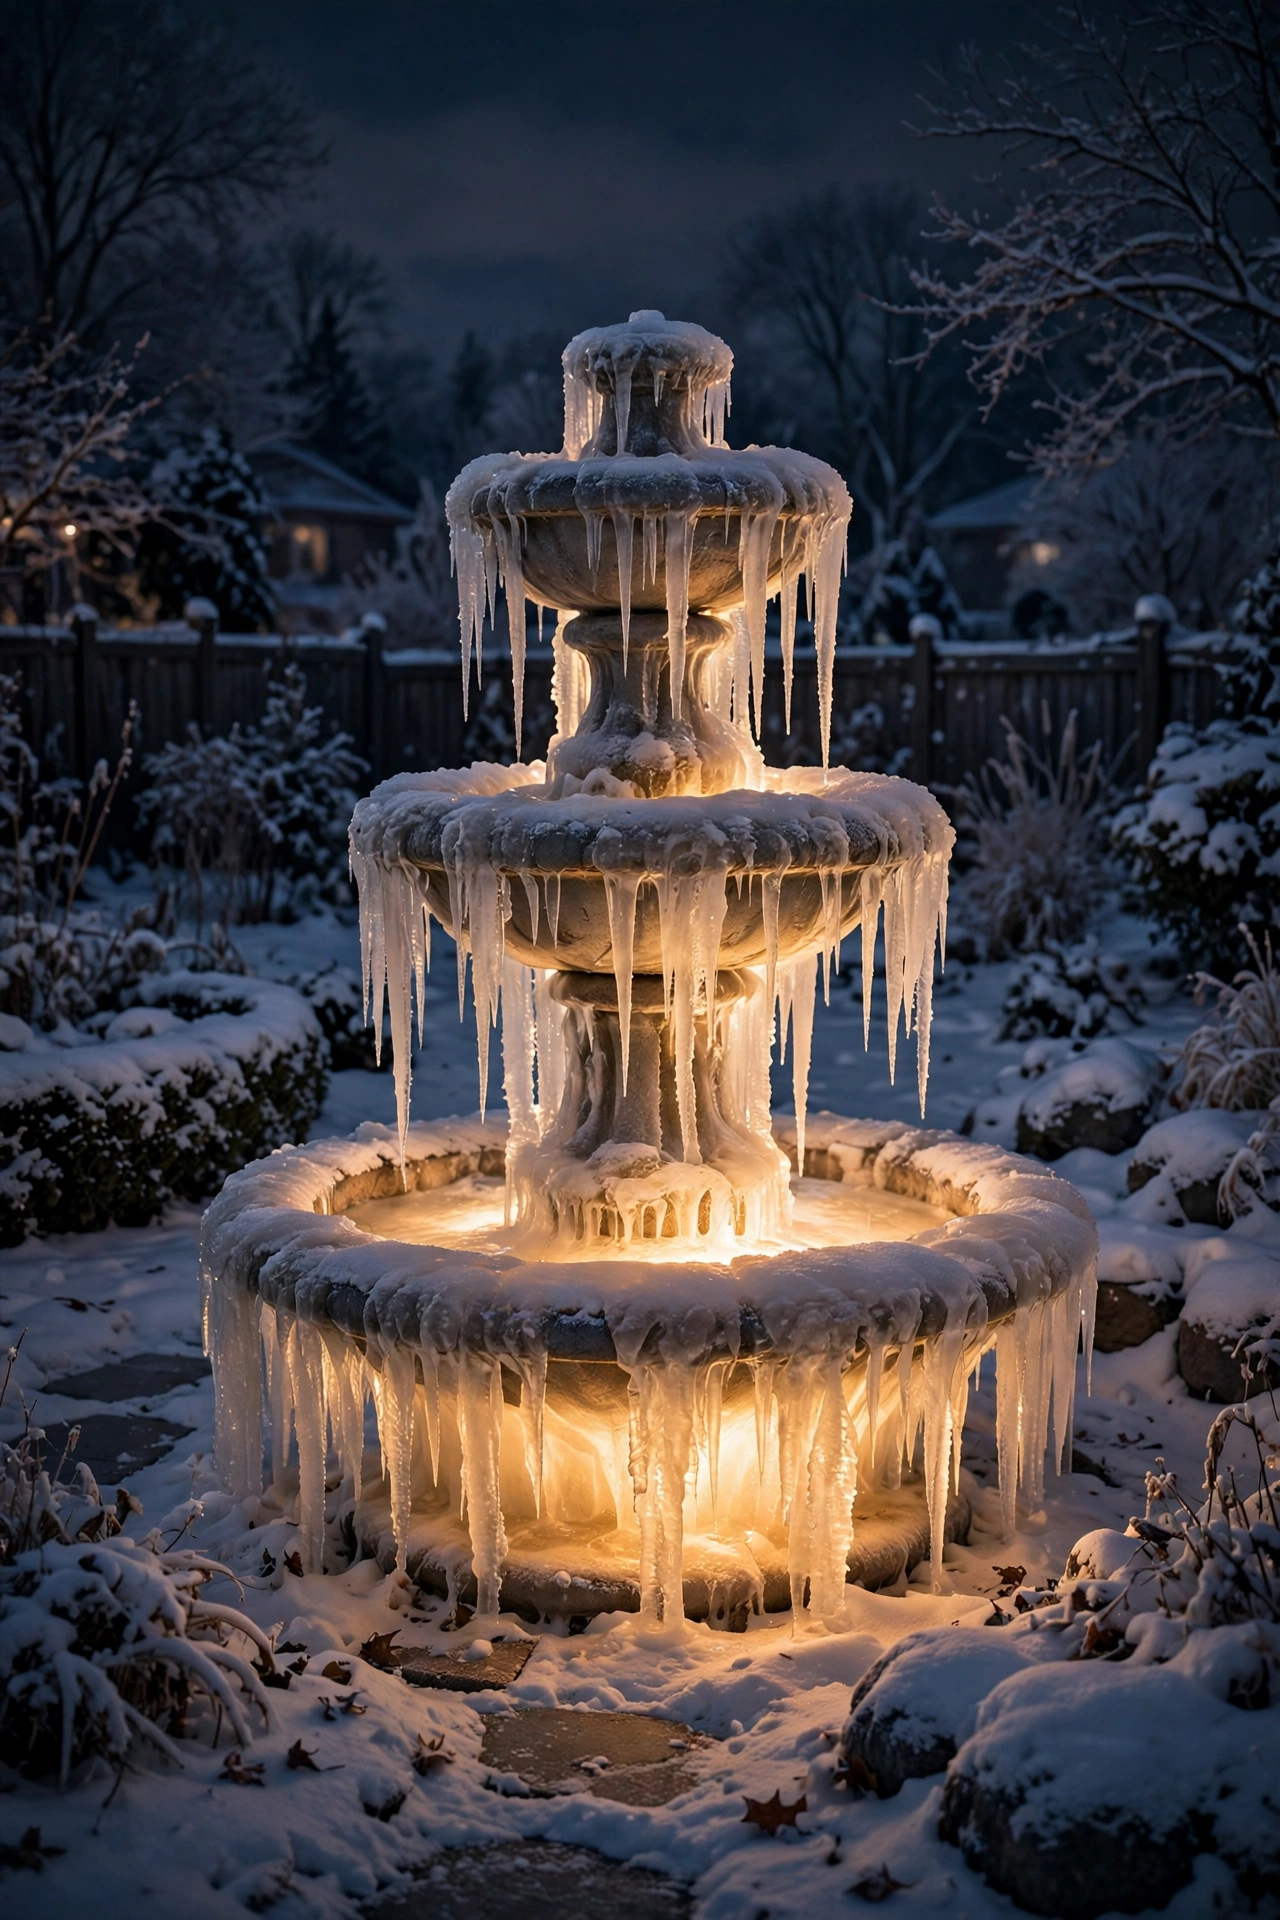
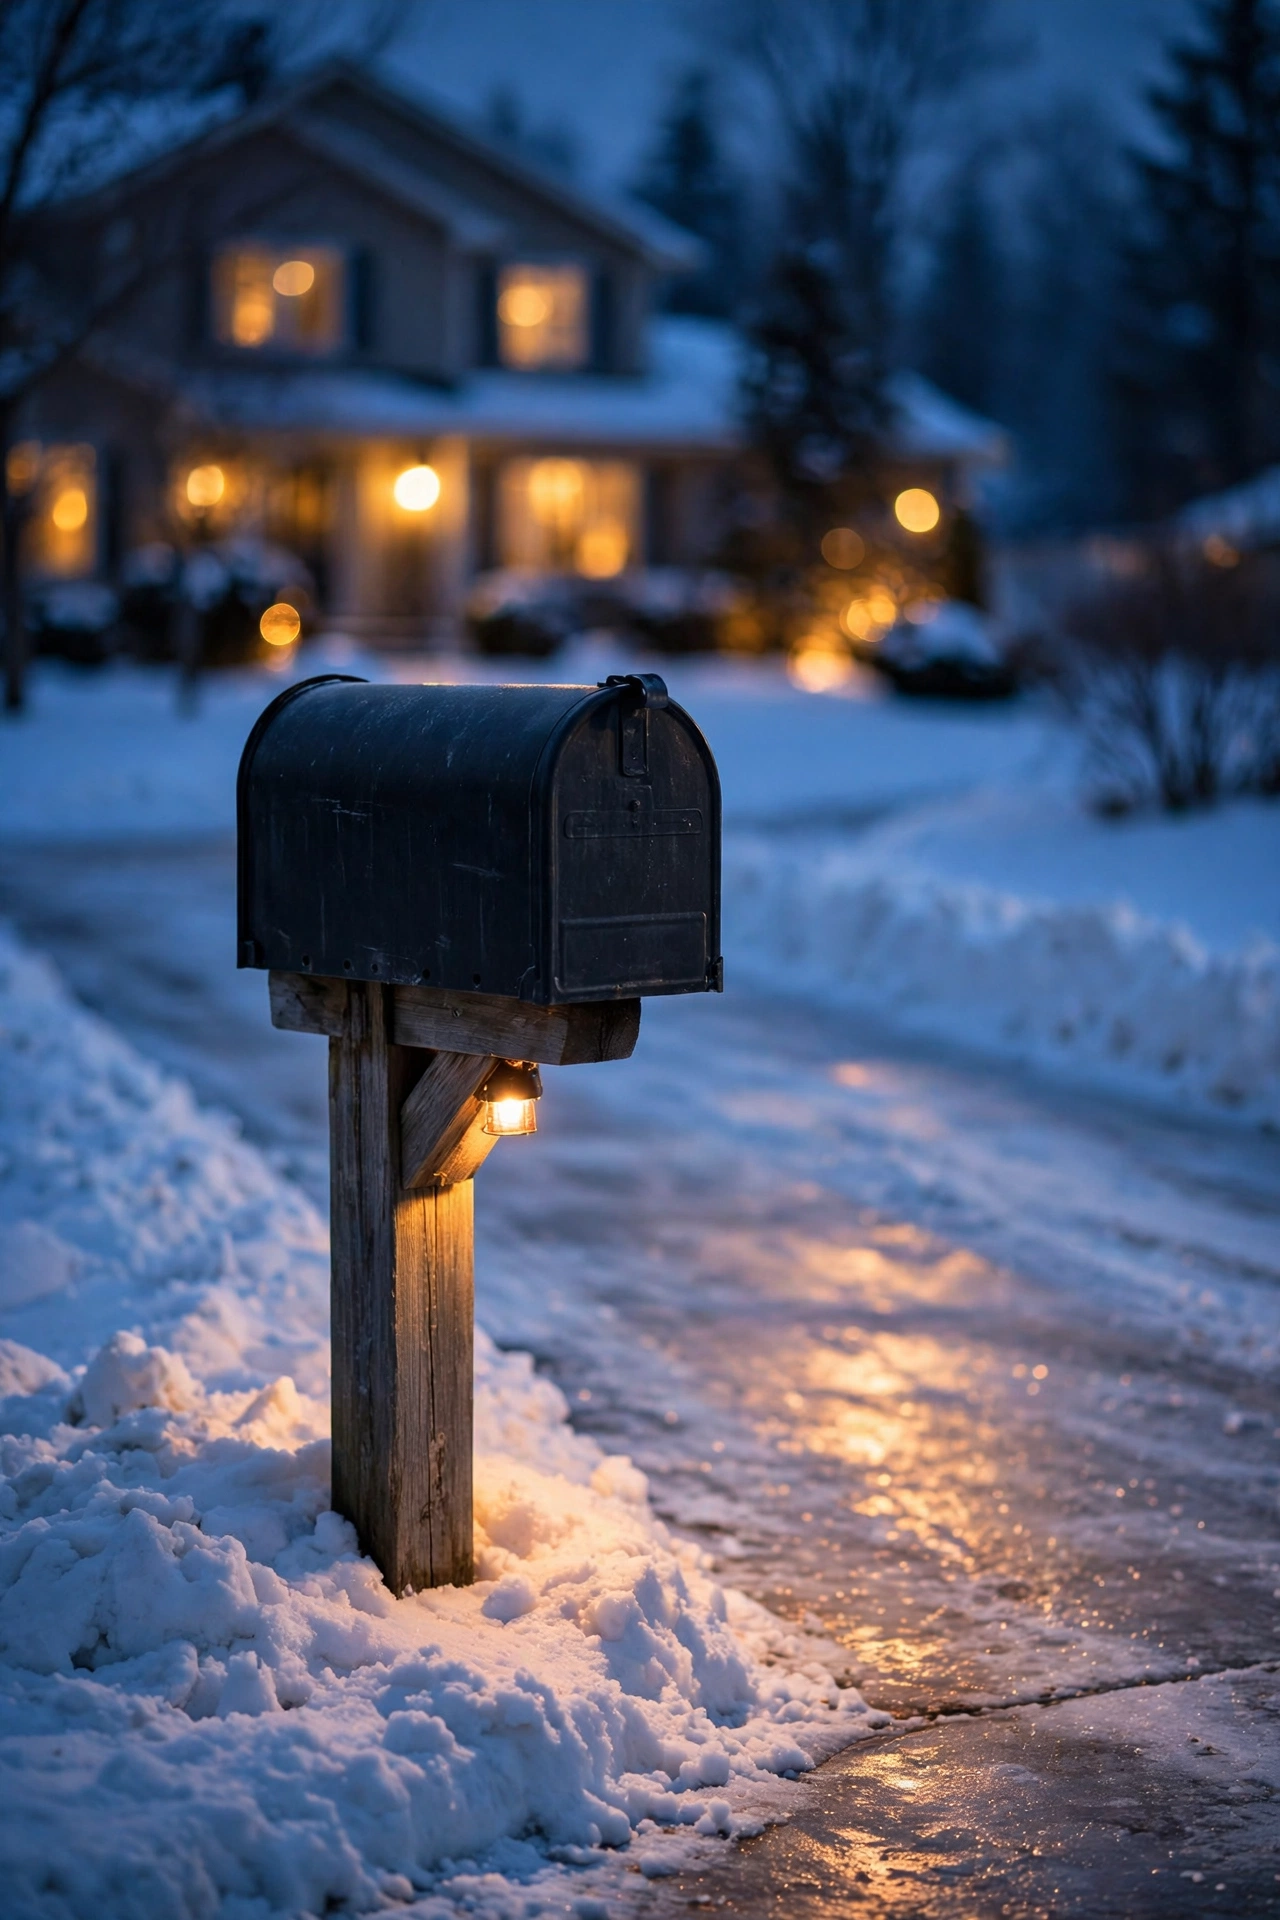
18. Put a Marker Light at the Mailbox
The mailbox is the most-visited spot in a winter yard — you walk there in the dark almost daily — and it's usually the darkest. A small solar or low-voltage post light at the mailbox post does two jobs: it lights your footing on the walk out, and it makes the mailbox visible to delivery drivers pulling up after sunset. A single 100 to 150-lumen fixture at 2700K, mounted at 3 to 4 feet high, is plenty.
Solar works fine here if the panel gets at least a few hours of direct winter sun — mount the panel facing south and tilt it steeply (45 degrees or more) so snow slides off. If your mailbox sits in shade, run a low-voltage line from the nearest transformer instead; it's a 30-minute trench with a flat spade. In my experience, this is one of those tiny upgrades guests notice immediately — a lit mailbox reads as "someone cares about this house" in a way nothing else at the curb quite manages.
Suggested budget range: $25 – $90.
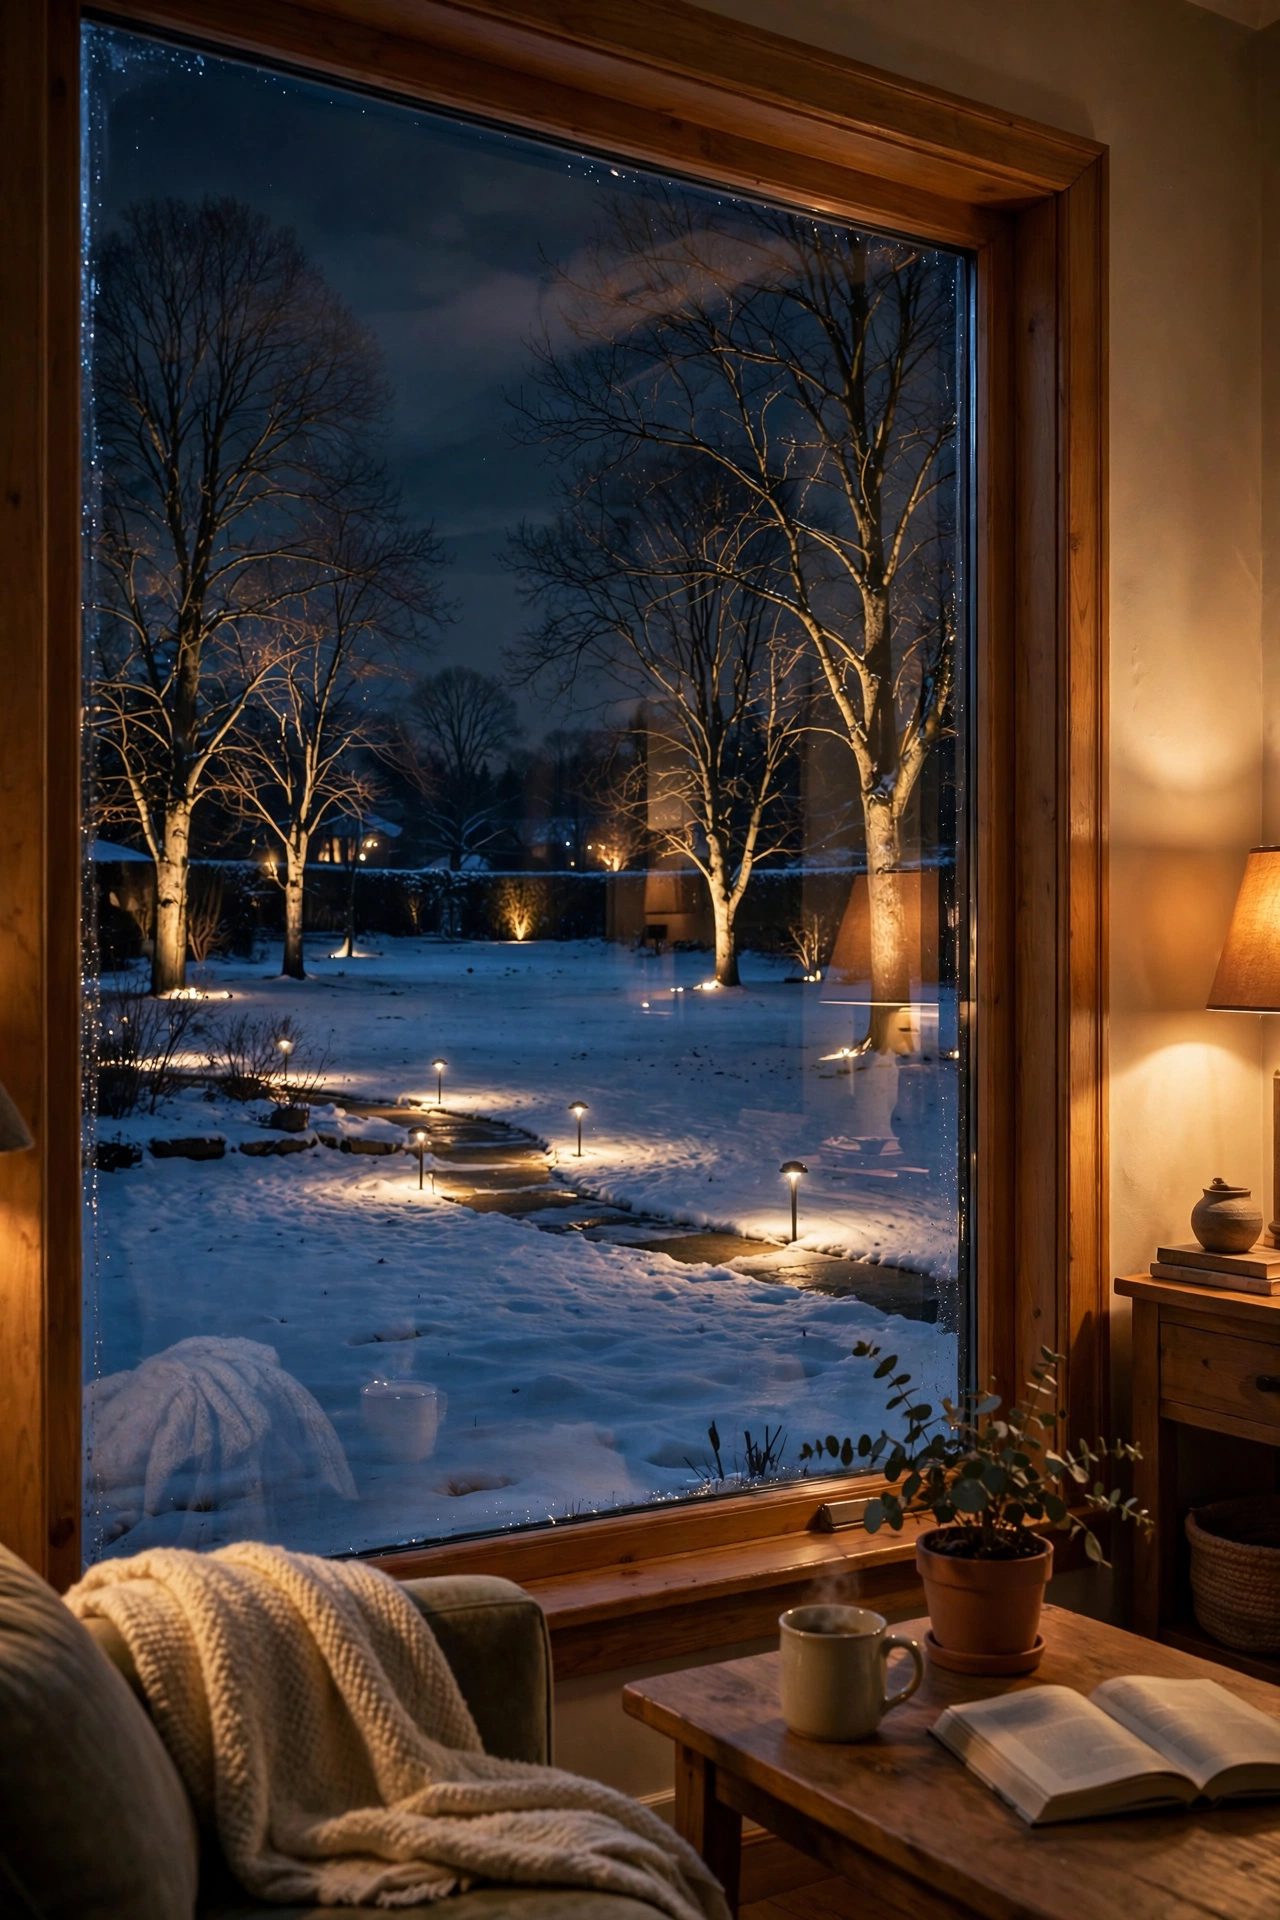
19. Light the View You See From the Couch
Here's a mindset shift: in January and February, you experience your yard mostly from indoors. So light the view, not the yard. Stand at your main living-room or kitchen window after dark, note which trees, beds, and fence lines fall in that frame, and prioritize those for uplights and washes. A single well-placed spotlight on the tree outside the family-room window does more for your winter evenings than a dozen fixtures in the far back corner you never see.
This is where the layering philosophy pays off indoors: a moonlit tree (idea 4) or an uplight evergreen (idea 2) positioned in the window's sightline becomes living art all evening. Keep the interior lights near that window dimmed or off when you want the full effect — your eyes adjust and the yard glows. I always recommend walking the house at night with a flashlight before buying a single fixture; aim the flashlight at candidate trees and shrubs and see what the view could be. Five minutes of scouting saves hundreds of dollars in misplaced fixtures.
Suggested budget range: $40 – $160 (usually just 1–2 fixtures).
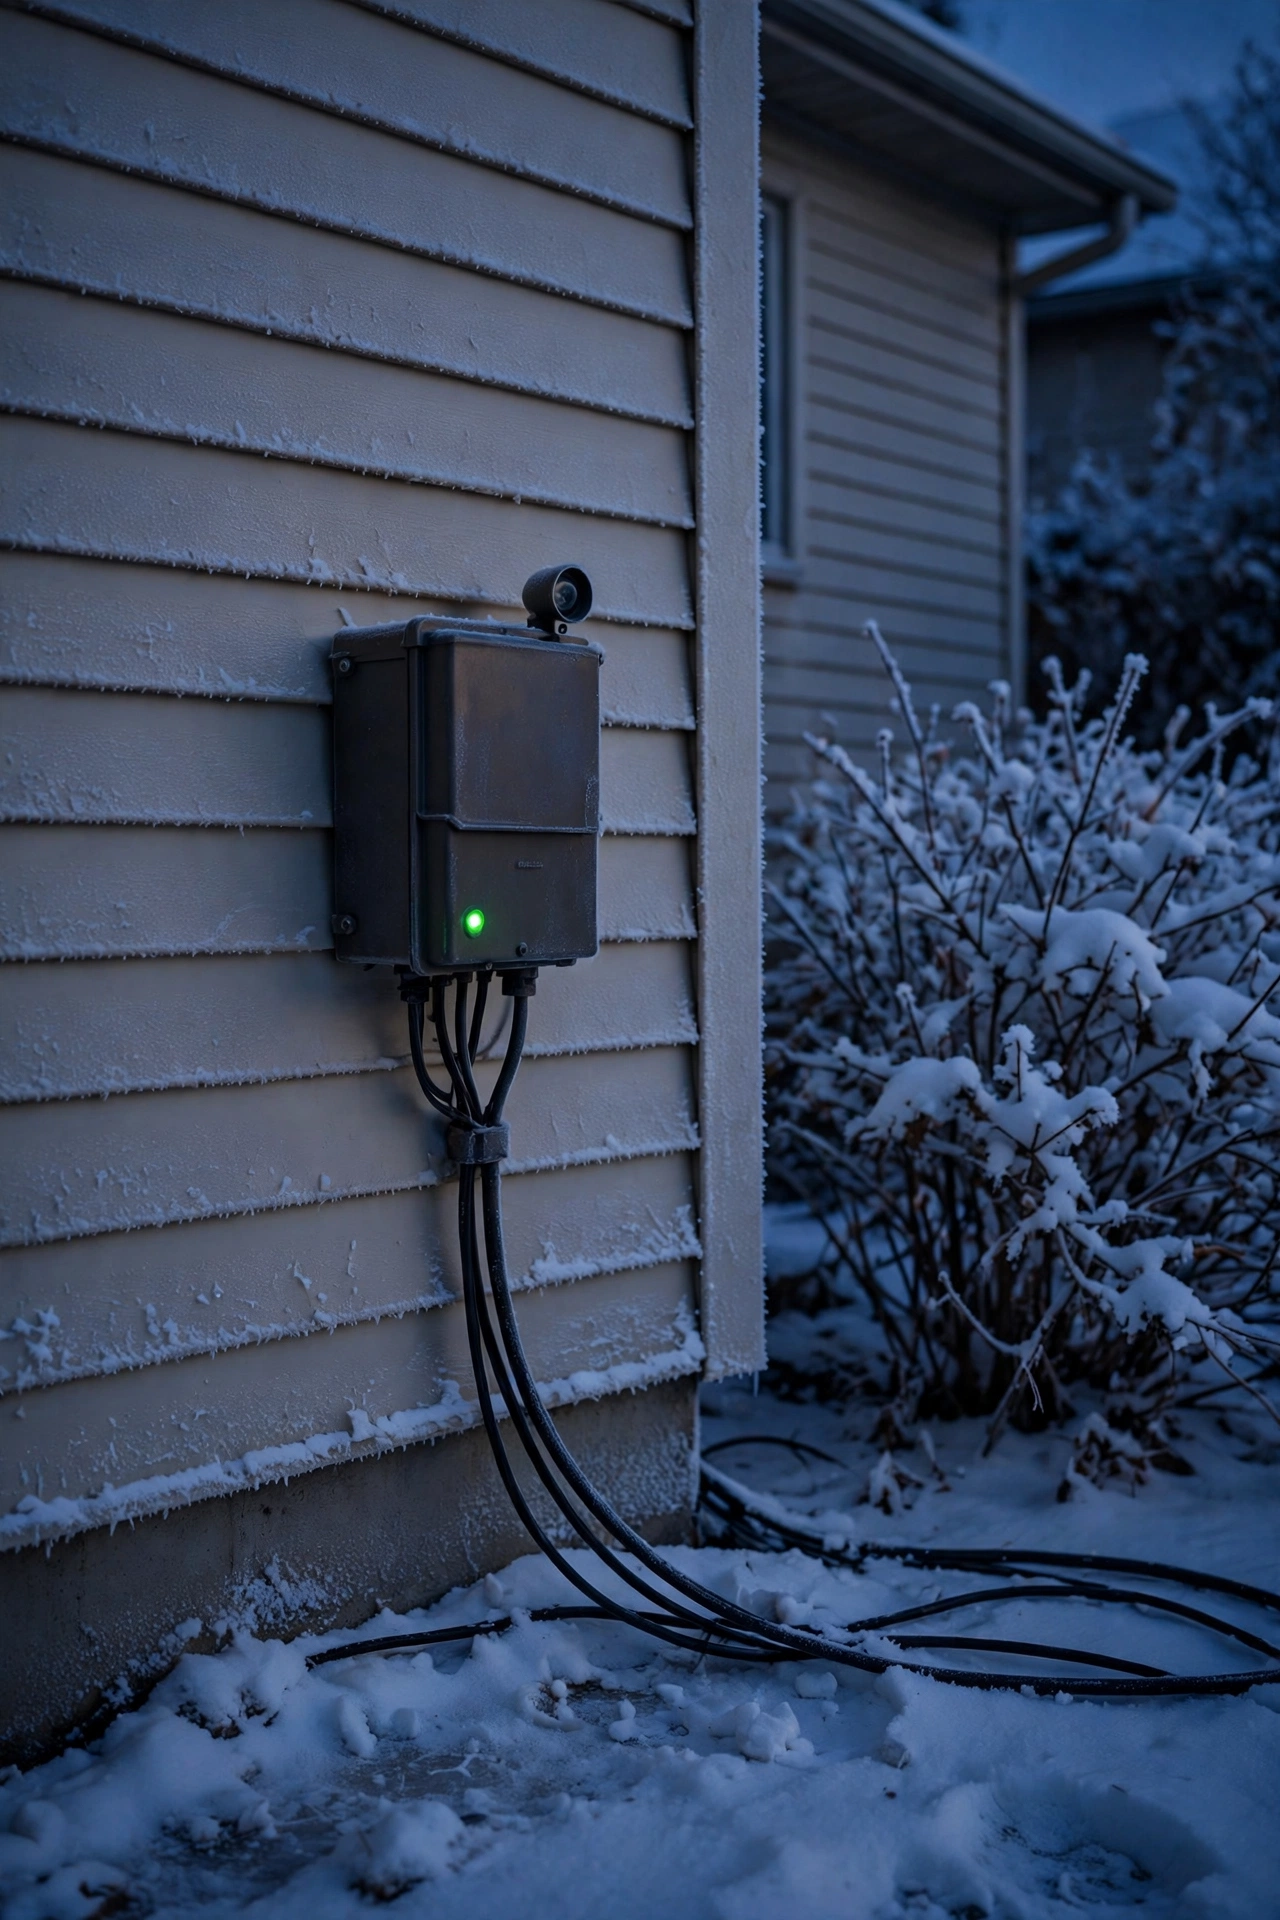
20. Set Photocells and Timers for 4:30 Sunsets
Winter lighting lives or dies on automation. With sunset as early as 4:30 p.m. in December and January, nobody wants to trudge out in the dark flipping switches. The gold standard is a photocell combined with a timer: the photocell turns everything on at dusk automatically (adjusting itself as sunsets shift later through February), and the timer shuts it all off at your chosen time — I recommend 10:30 or 11 p.m. for the full scene, which covers the evening without burning electricity all night.
Wire all your low-voltage zones through one transformer with a built-in photocell-and-timer module — most mid-range transformers include this now, and it's worth the small premium over a basic timer. For plug-in string lights and lanterns, a weatherproof outdoor smart plug with a dusk-to-time schedule does the same job. One caution: photocells need to actually see the sky, so don't mount the sensor under an eave or behind a bush. Test it once at dusk, adjust the off-time to taste, and forget about it until spring.
Suggested budget range: $30 – $120 for timer/photocell upgrades.
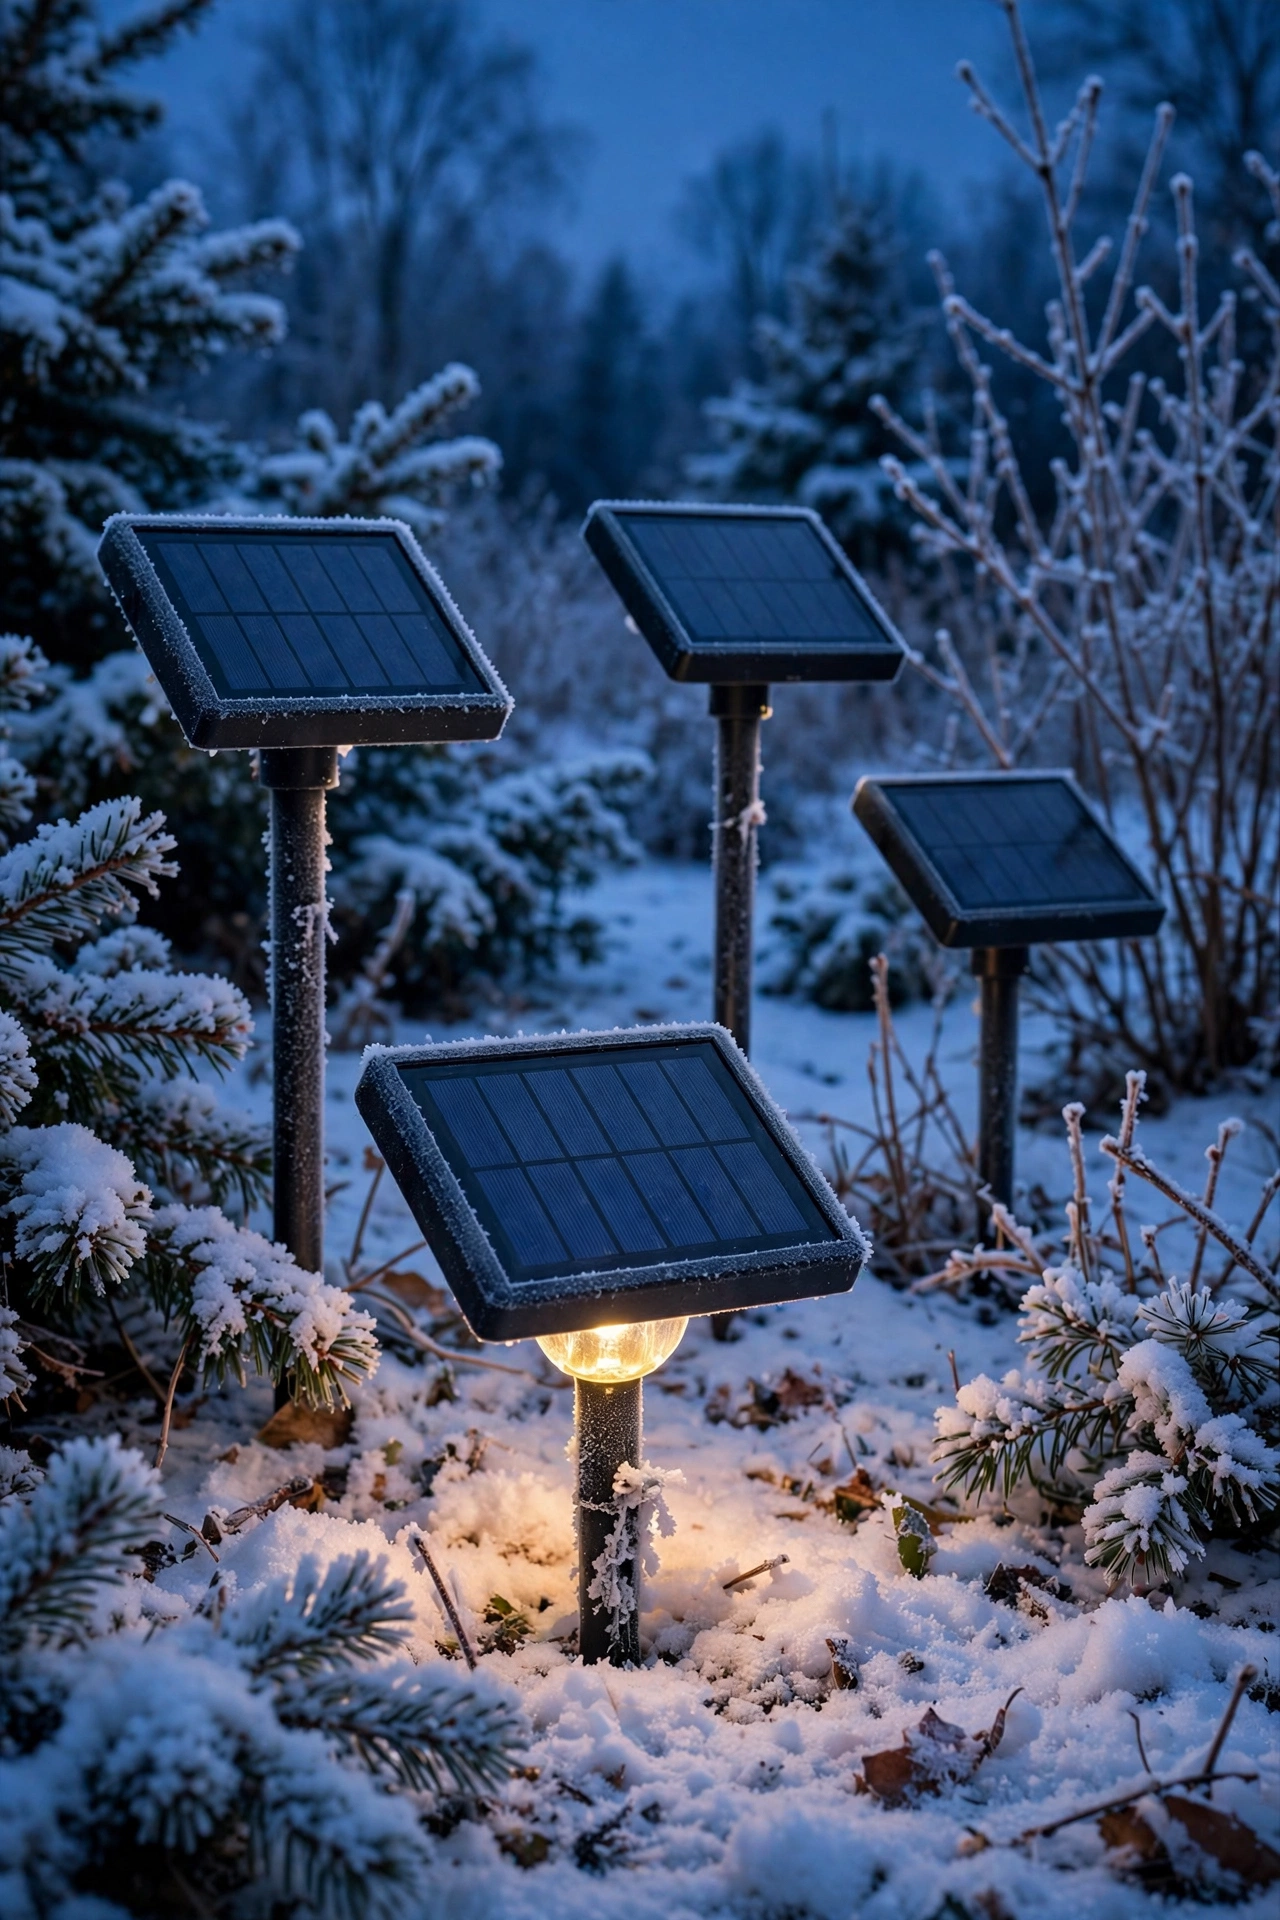
21. Winter-Proof Your Solar Lights
Solar path lights get a bad rap in winter, and honestly, most of the complaints come down to setup, not the technology. Short days, low sun angle, and snow-covered panels starve the batteries — but a few tweaks fix most of it. Tilt panels as steeply as the mount allows (45 degrees or more) facing true south, so snow slides off and the low winter sun hits them squarely. Brush panels clear after every snowfall; a panel under even a dusting of snow charges at nearly zero.
Battery chemistry matters more in winter than any other season. Standard rechargeable batteries lose capacity fast below freezing, while lithium-based ones keep working well into the teens. If your solar lights accept replaceable cells, swapping in cold-tolerant lithium rechargeables is the single best upgrade. And be realistic: in deep shade or far-northern zones, even good solar lights may only run 3 to 4 hours on the shortest days. My honest recommendation is a hybrid yard — wired low-voltage for paths, steps, and entries where reliability matters, solar for accent spots where a shorter runtime is fine.
Suggested budget range: $20 – $80 for battery/panel upgrades.
22. Wash Foundation Beds With Eave Downlights
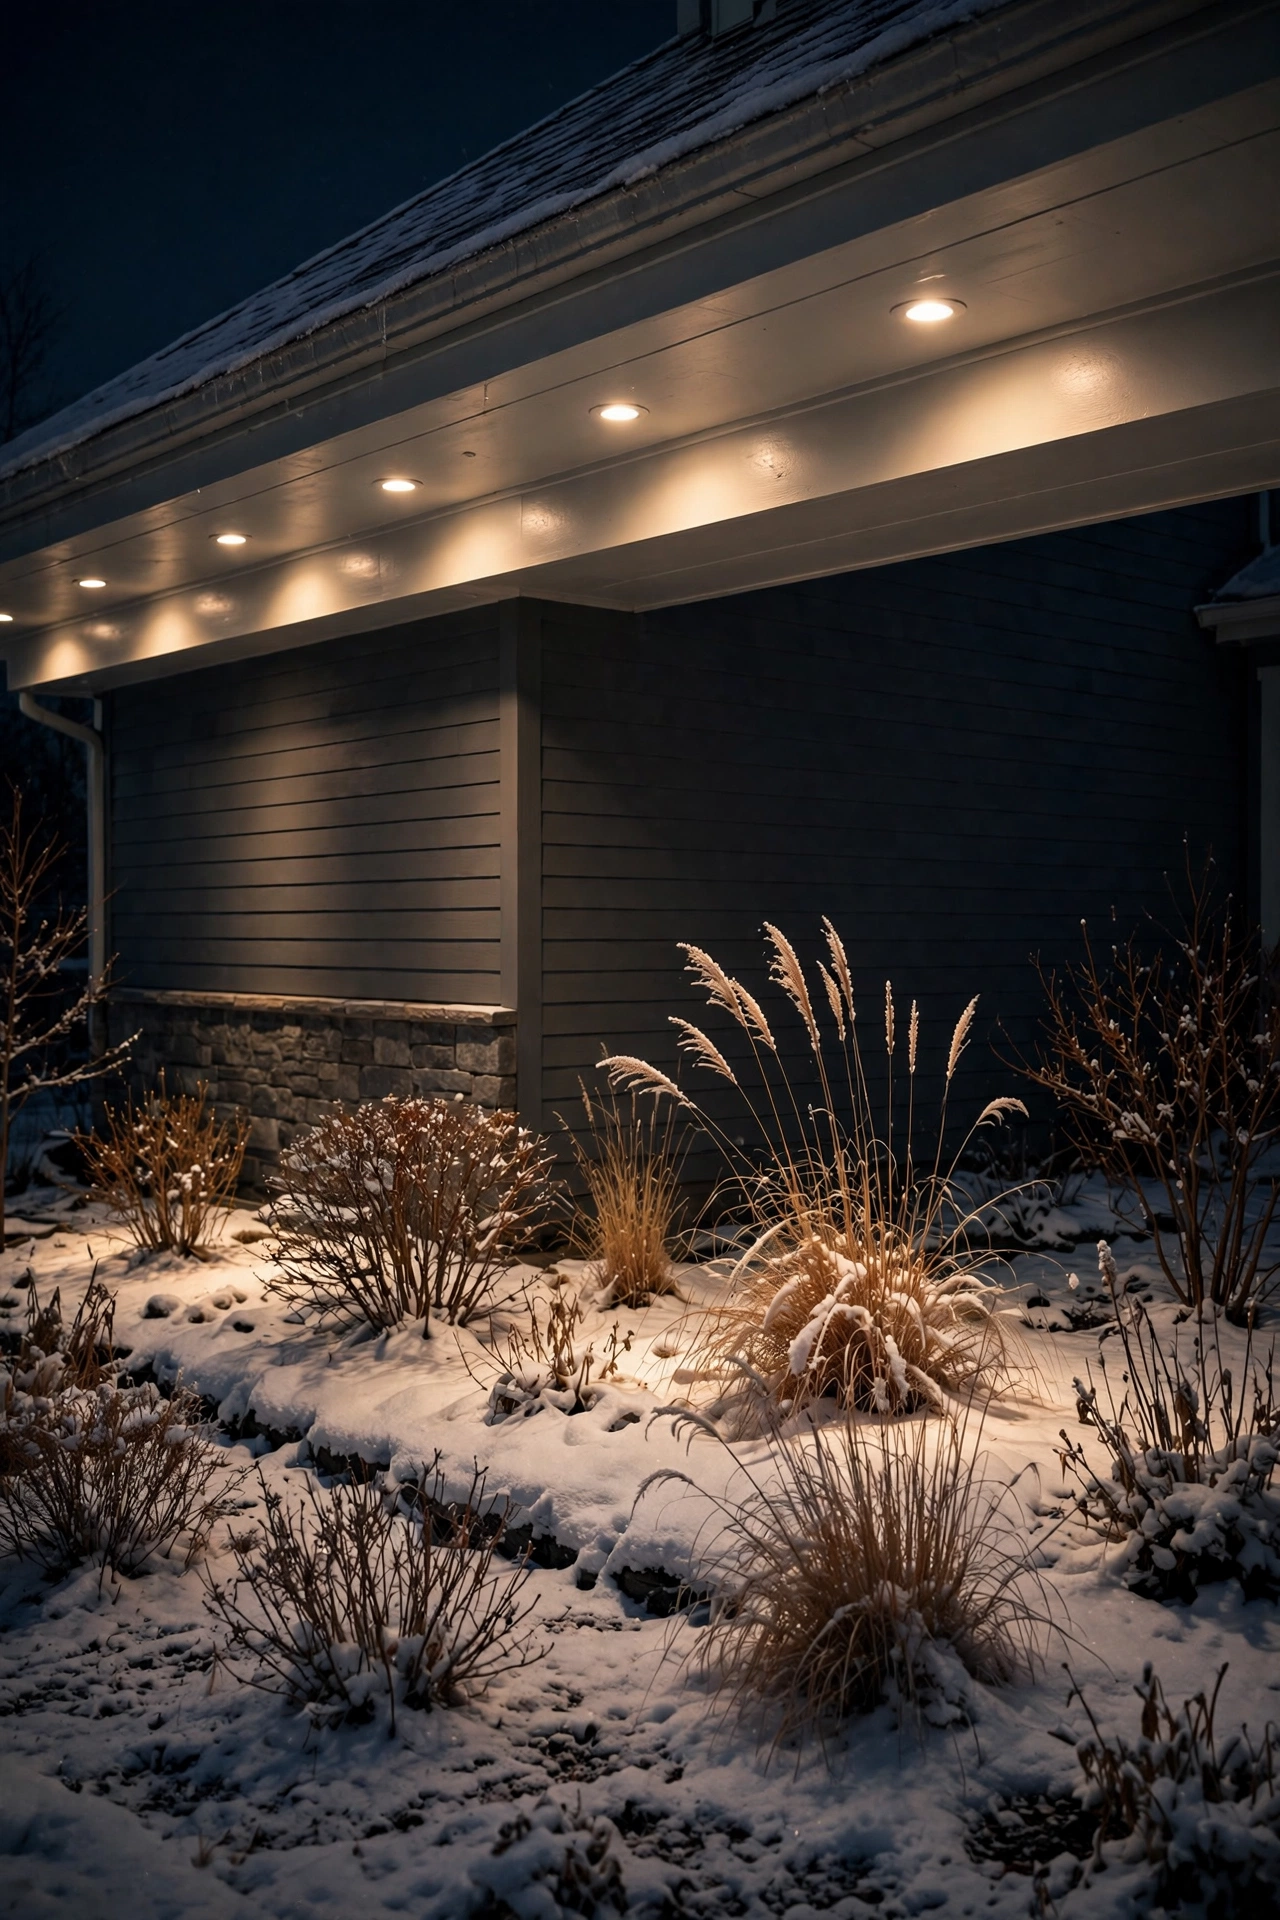
Soffit-mounted downlights under the eaves are the unsung heroes of winter curb appeal. A row of small recessed or surface-mount downlights tucked under the roof overhang washes the foundation beds, shrubs, and the house wall itself in soft 2700K light. Because the source is 8 to 10 feet up and hidden, the effect is a gentle, even glow with no visible fixtures and no glare — just a house that looks warm and cared-for from the street.
Space them 6 to 8 feet apart and aim straight down; each 300 to 400-lumen fixture covers a generous bed area, and snow on the mulch doubles the brightness. These typically run on line voltage (120V), so this is electrician territory unless you're comfortable with in-soffit wiring — budget for a pro if you're adding more than a couple. Put them on the same dusk-to-11 timer as everything else. In my experience, eave downlights plus a lit entry (idea 5) is the entire front-of-house formula — everything else is bonus.
Suggested budget range: $200 – $600 professionally installed.
23. Pull It Together: The Three-Zone Winter Plan
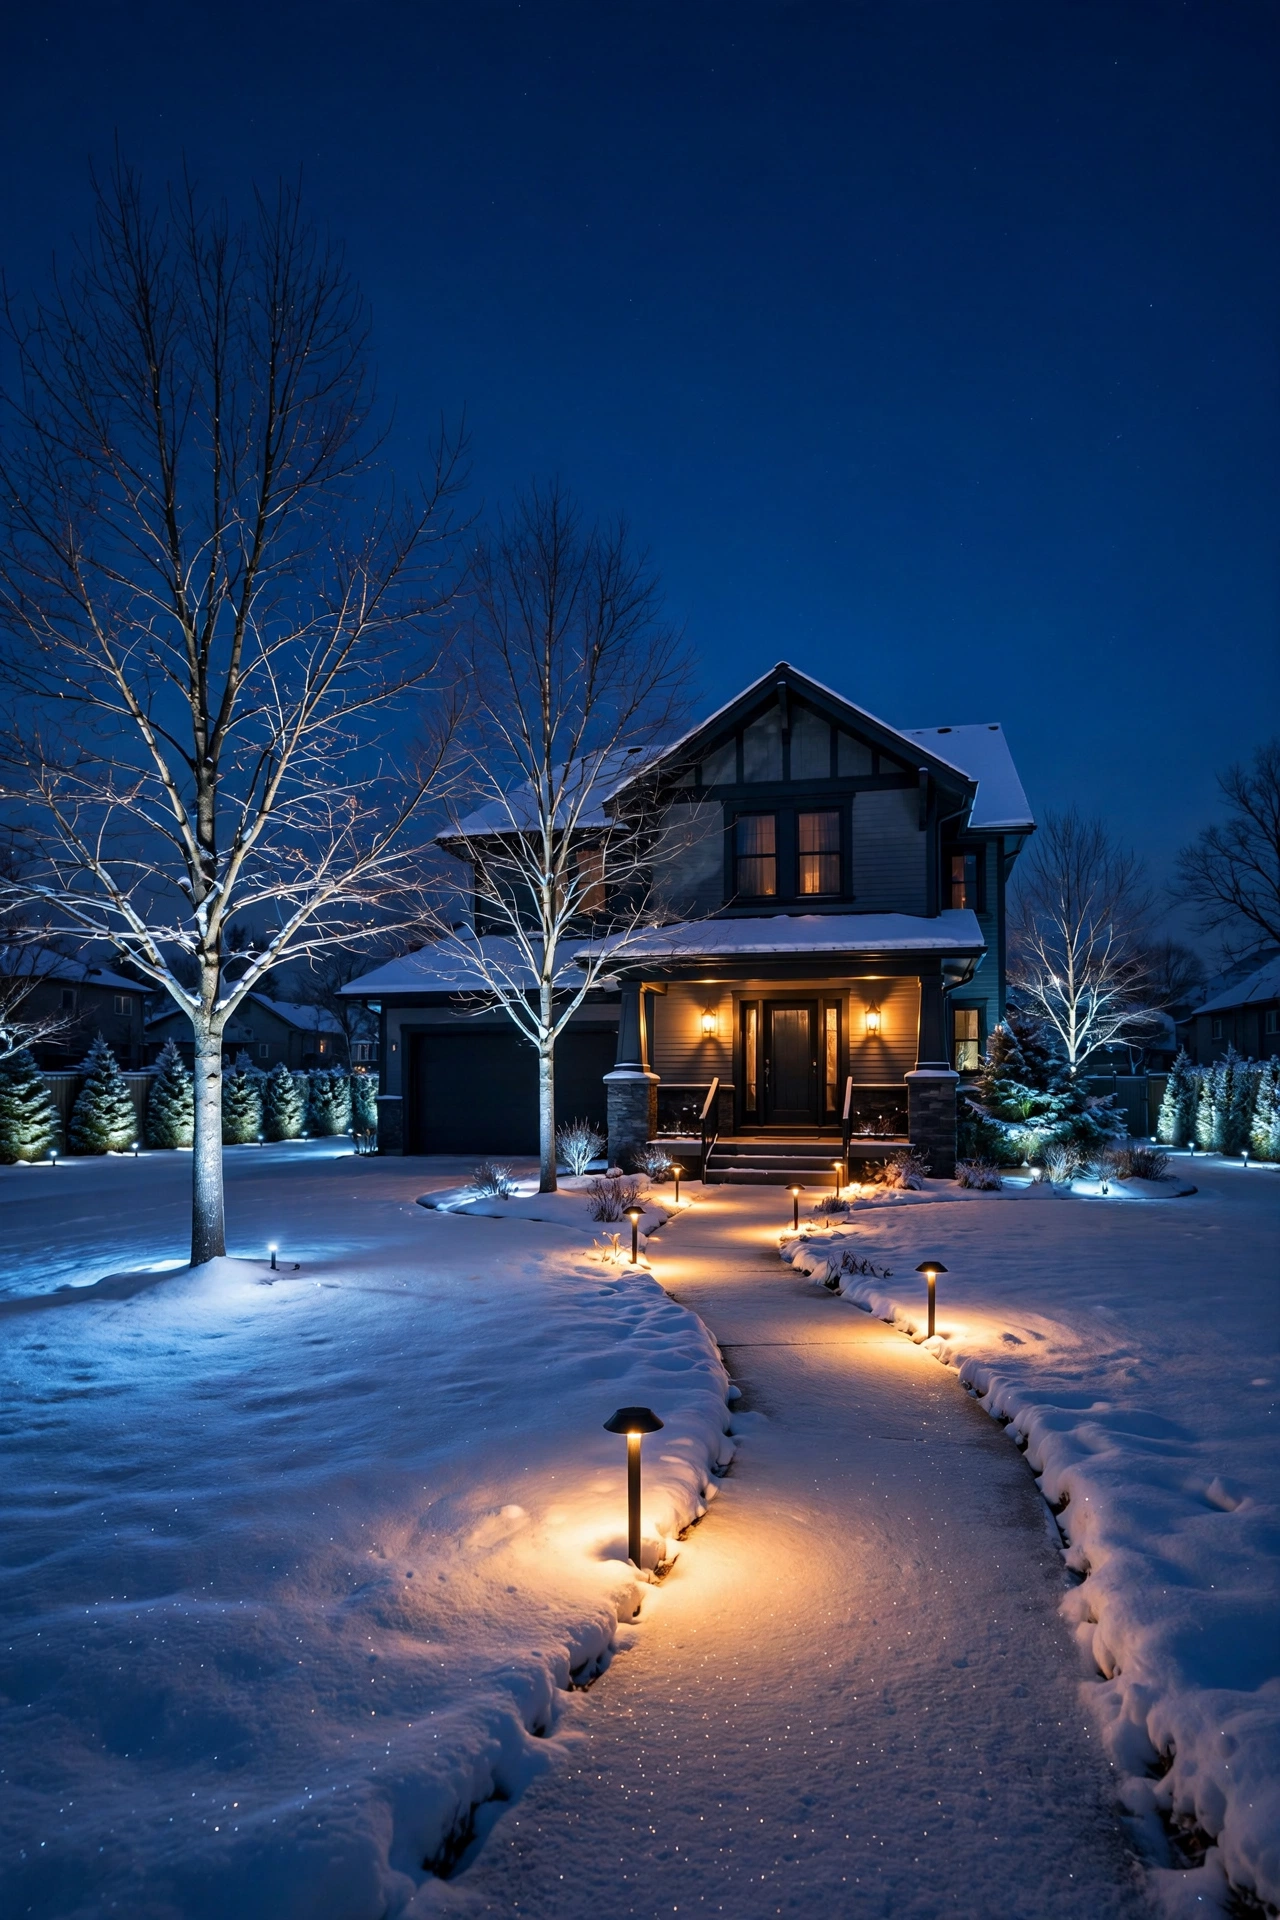
If the 22 ideas above feel like a lot, here's the simple version — divide your yard into three zones and light one layer per zone. Zone one is arrival: the entry, the walk from the driveway, and the first 20 feet of path (ideas 3, 5, 6). Zone two is the view: whatever you see from your main windows — an uplight tree, a washed fence, the moonlit lawn (ideas 1, 2, 4, 19). Zone three is the perimeter: fence washes, driveway markers, and eave downlights that define the property's edges (ideas 7, 10, 22).
Start with zone one for safety, add zone two for beauty, and finish with zone three for completeness — you can build it across two or three weekends or even two seasons. Keep every zone on the same photocell-timer schedule so the whole property wakes up at dusk as one scene. And remember the winter advantages: fewer fixtures than summer, snow as your free reflector, and bare branches doing the sculptural work for you. Honestly, a thoughtfully layered winter yard takes less gear and less money than most people expect — it just takes intention.
Suggested budget range: $300 – $1,200 for a complete three-zone setup.
Frequently Asked Questions
What color temperature is best for winter landscape lighting?
Warm white (2700K to 3000K) should be your dominant tone — it's flattering on bark, stone, entries, and snow, and it reads as welcoming from the street. The one exception is open snow: a cooler 4000K to 5000K wash makes snow crystals sparkle beautifully. My rule is roughly 80 percent warm, 20 percent cool, and never mix temperatures on the same feature. A warm uplight tree beside a cool snow wash looks intentional; a tree lit half-and-half looks like a wiring mistake.
Do solar landscape lights work in winter?
They can, but with caveats. Short days, low sun angles, and snow-covered panels mean shorter runtimes — often 3 to 4 hours on the darkest days. Tilt panels steeply (45 degrees or more) facing south so snow slides off, brush them clear after storms, and use cold-tolerant lithium rechargeable batteries, which outperform standard cells below freezing. For paths, steps, and entries where reliability matters, I recommend wired low-voltage as the backbone and solar for accents where a shorter glow is acceptable.
How do I keep landscape lights working through snow and freezing temperatures?
Three habits cover most of it. First, choose taller fixtures — 30-inch bollards and path lights with lenses well above typical drift lines — so they don't get buried. Second, brush snow and ice off lenses and solar panels after every storm; it takes seconds and restores full brightness. Third, use LEDs rated for wet locations (IP65 or better), keep all low-voltage connections in waterproof wire nuts or gel-filled connectors, and make sure the transformer plugs into a GFCI-protected outdoor outlet. Check the system once in November and once in January, and it'll run all season.
When should winter landscape lights turn on and off?
Let a photocell handle the "on" — it fires at dusk automatically and adjusts as sunsets shift from 4:30 p.m. in December toward 5:30 by late February. For the "off," a timer set to 10:30 or 11 p.m. is the sweet spot for most homes: it covers the whole evening scene without wasting electricity overnight. If security is a concern, keep one or two fixtures (entry, driveway) on a dusk-to-dawn setting and let the decorative layers shut off at 11. Smart plugs and modern low-voltage transformers usually combine both functions in one unit.
Conclusion: Light the Winter You Actually Live In
The whole point of these winter landscape lighting ideas is simple: stop surrendering your yard to the dark months. Layer safety light where you walk, accent light where you look, and warm light where you enter — and let snow, bare branches, and long nights do the heavy lifting for you. A dozen well-placed fixtures will transform how your home feels from December through February, and you'll wonder why you ever let January win.
If this got you thinking about the rest of your outdoor lighting, browse our outdoor lighting ideas for year-round inspiration — and come back when the snow melts, because spring is the perfect time to expand the system you started this winter.