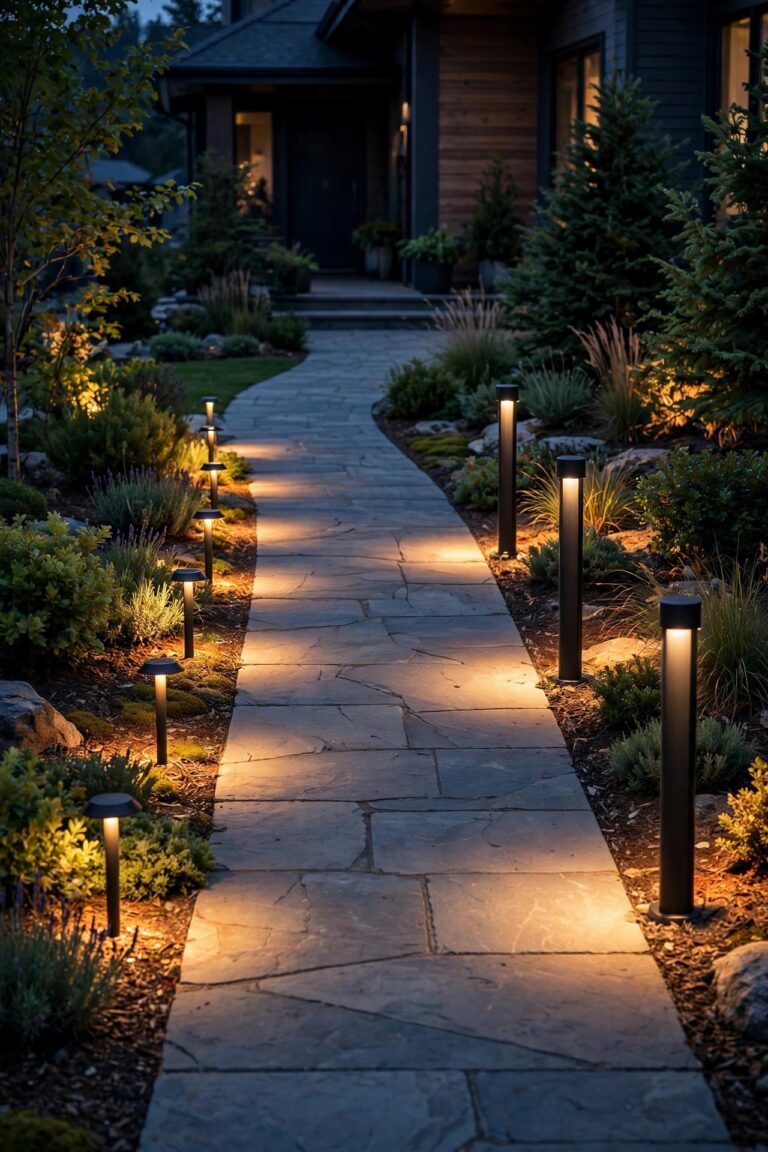
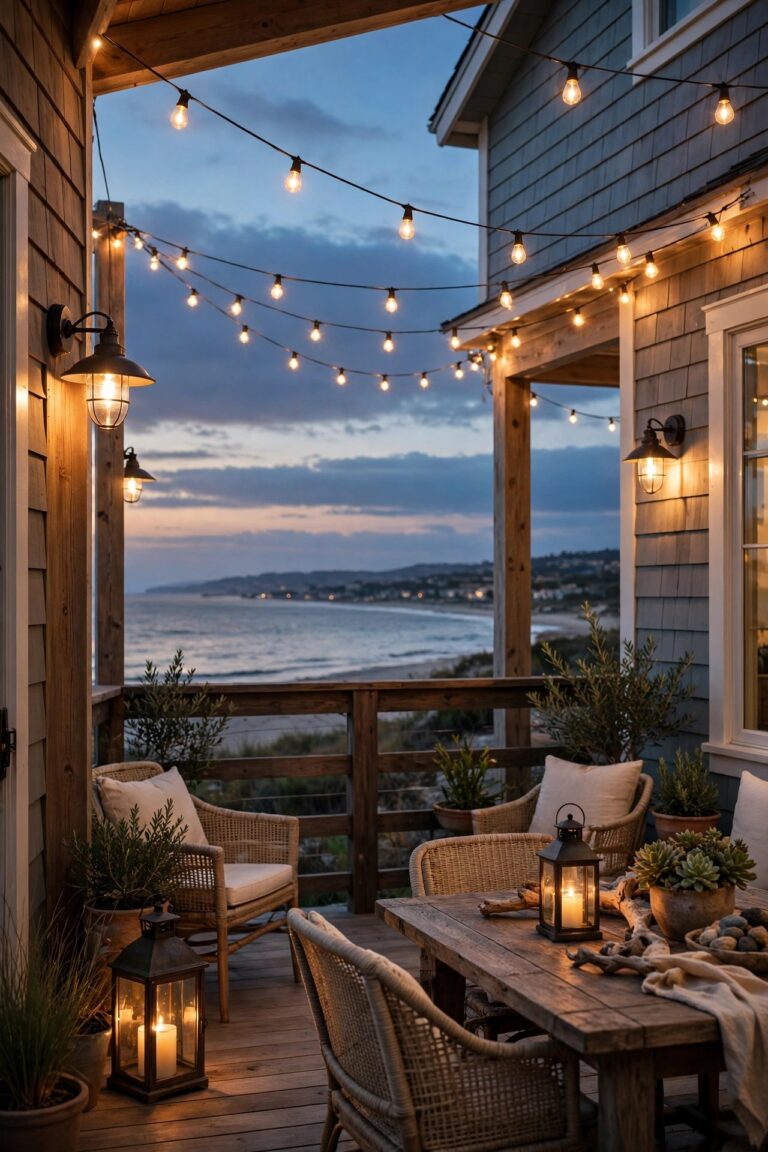
Ten years ago I lined my front walk with the cheapest path lights on the shelf, and I was so proud — for about one season. By the second spring the black finish had peeled to silvery patches, two stakes had snapped at the soil line, and the light itself had gone a patchy green-white that made my house look haunted instead of welcoming. That little failure taught me the real lesson behind budget vs luxury landscape lighting: the gap is not really about looks on day one. Cheap and expensive fixtures can look nearly identical glowing at dusk across a lawn. The gap is about what is still standing, still sealed, and still the same warm color in year five. I have since lit my yard in layers, spending hard in a few places and cheaping out shamelessly in others, and honestly that mix is the whole secret. This guide walks through what the extra money actually buys — materials, optics, and the unglamorous backbone of cable and transformer — and where budget picks are not a compromise at all. By the end you will have a splurge-and-save map for every fixture type in your yard.

The Short Answer
Splurge on the backbone and the stars. A properly sized transformer, heavy cable, and waterproof connectors decide whether any fixture performs, and your hero uplights and entry fixtures are where quality shows every single night. Save on the supporting cast: path lights buried in planting beds, solar accents, and string lights all do their job beautifully at budget prices, and they are the easiest pieces to replace as styles change. Expect materials to decide lifespan more than brightness does. Cast brass and copper shrug off decades outdoors; painted aluminum and plastic are on a countdown from the day you install them.
Budget vs Luxury Landscape Lighting Starts With the Housing
Pick up one fixture from each end of the price shelf and the difference announces itself before you ever wire anything up. A cast brass uplight feels like a doorstop: dense, cool, with machined threads and a lens of real glass. Its plastic counterpart feels like a toy, and a painted aluminum one lands somewhere in between.
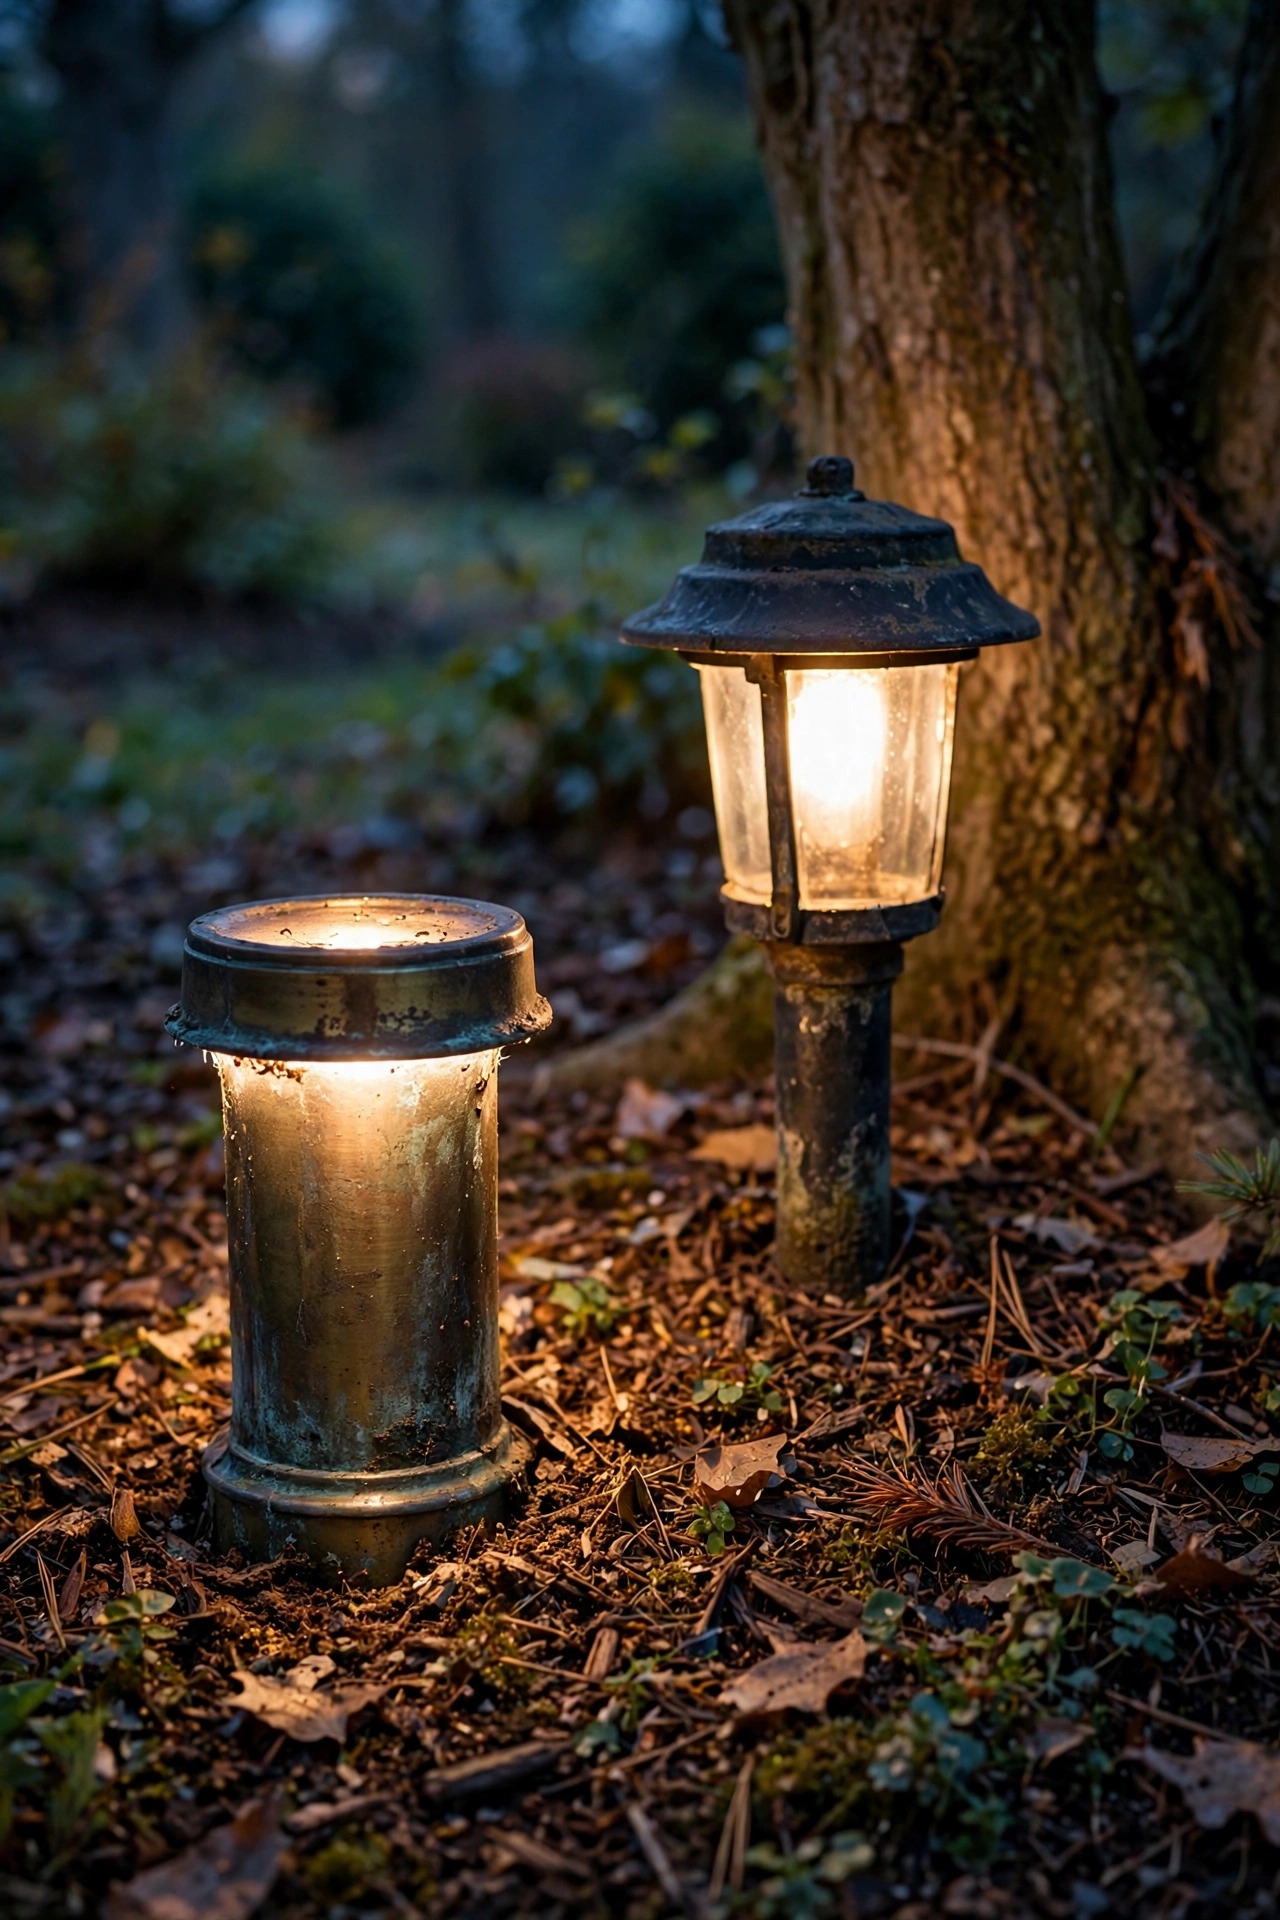
Here is what that weight is buying you. Brass and copper do not rust, period. Left outdoors they deepen into a dark bronze and then a soft patina that most of us find prettier than the showroom shine. Rain, sprinkler overspray, fertilizer, acidic mulch — the metal just shrugs. Painted aluminum survives by its coating, and coatings fail at the edges first: a nick from the string trimmer, a screw hole, the rim where the lens seats. Once water slips under, you get those white, crusty blooms of corrosion creeping beneath the paint until it flakes off in sheets. Plastic skips corrosion and goes straight to UV damage — chalky fading in year one, brittleness by year three, and stakes that snap clean at the soil line when you bump them with a boot.
Two smaller details matter more than shoppers expect. Lenses: glass stays clear for decades, while polycarbonate slowly hazes over. And gaskets: silicone seals stay flexible through winter, while cheap foam seals flatten, crack, and invite the condensation that fogs lenses and kills lamps. Standing in the aisle, buy the fixture your hand believes.
Light Quality: Lamps, Optics and Color
Two fixtures can promise the same lumens on the box and paint completely different pictures on your house. The difference is rarely raw power. It is how the light is made and aimed.
Start with the lamp itself. Better fixtures are built around replaceable lamps: when one fails in year eight, you twist in a fresh lamp and move on, and you can change your mind about beam width or color temperature just as easily. Budget fixtures increasingly use sealed, integrated LED modules. The module is the fixture, so when the LED or its little driver dies — and drivers usually die first — the whole unit goes in the trash, even if the housing still looks fine. Ask one question before buying any fixture: when the light dies, what exactly do I replace?
Then there is the color of the light itself. Inexpensive LEDs are loosely sorted at the factory, so one path light glows slightly green, the next slightly pink, and your walkway reads like a patchwork quilt. Better makers sort tightly, so every fixture matches. Color rendering matters too: a higher CRI rating keeps brick red, skin tones natural, and flower colors true instead of washed-out gray. Finally, optics. Quality fixtures offer real beam control — narrow spots for a tall tree, wide floods for a wall, glare shields so you see the lit garden and not the bare bulb. Cheap fixtures give you one fixed, splashy beam and a lot of glare. None of this shows on a spec sheet at a glance, and all of it shows from your front porch.

The Invisible Splurge: Transformer, Cable and Connectors
If I had to rank where money matters most in a landscape lighting system, the fixtures would come second. First place goes to the parts nobody ever admires: the transformer, the cable, and the little connectors buried in the mulch.
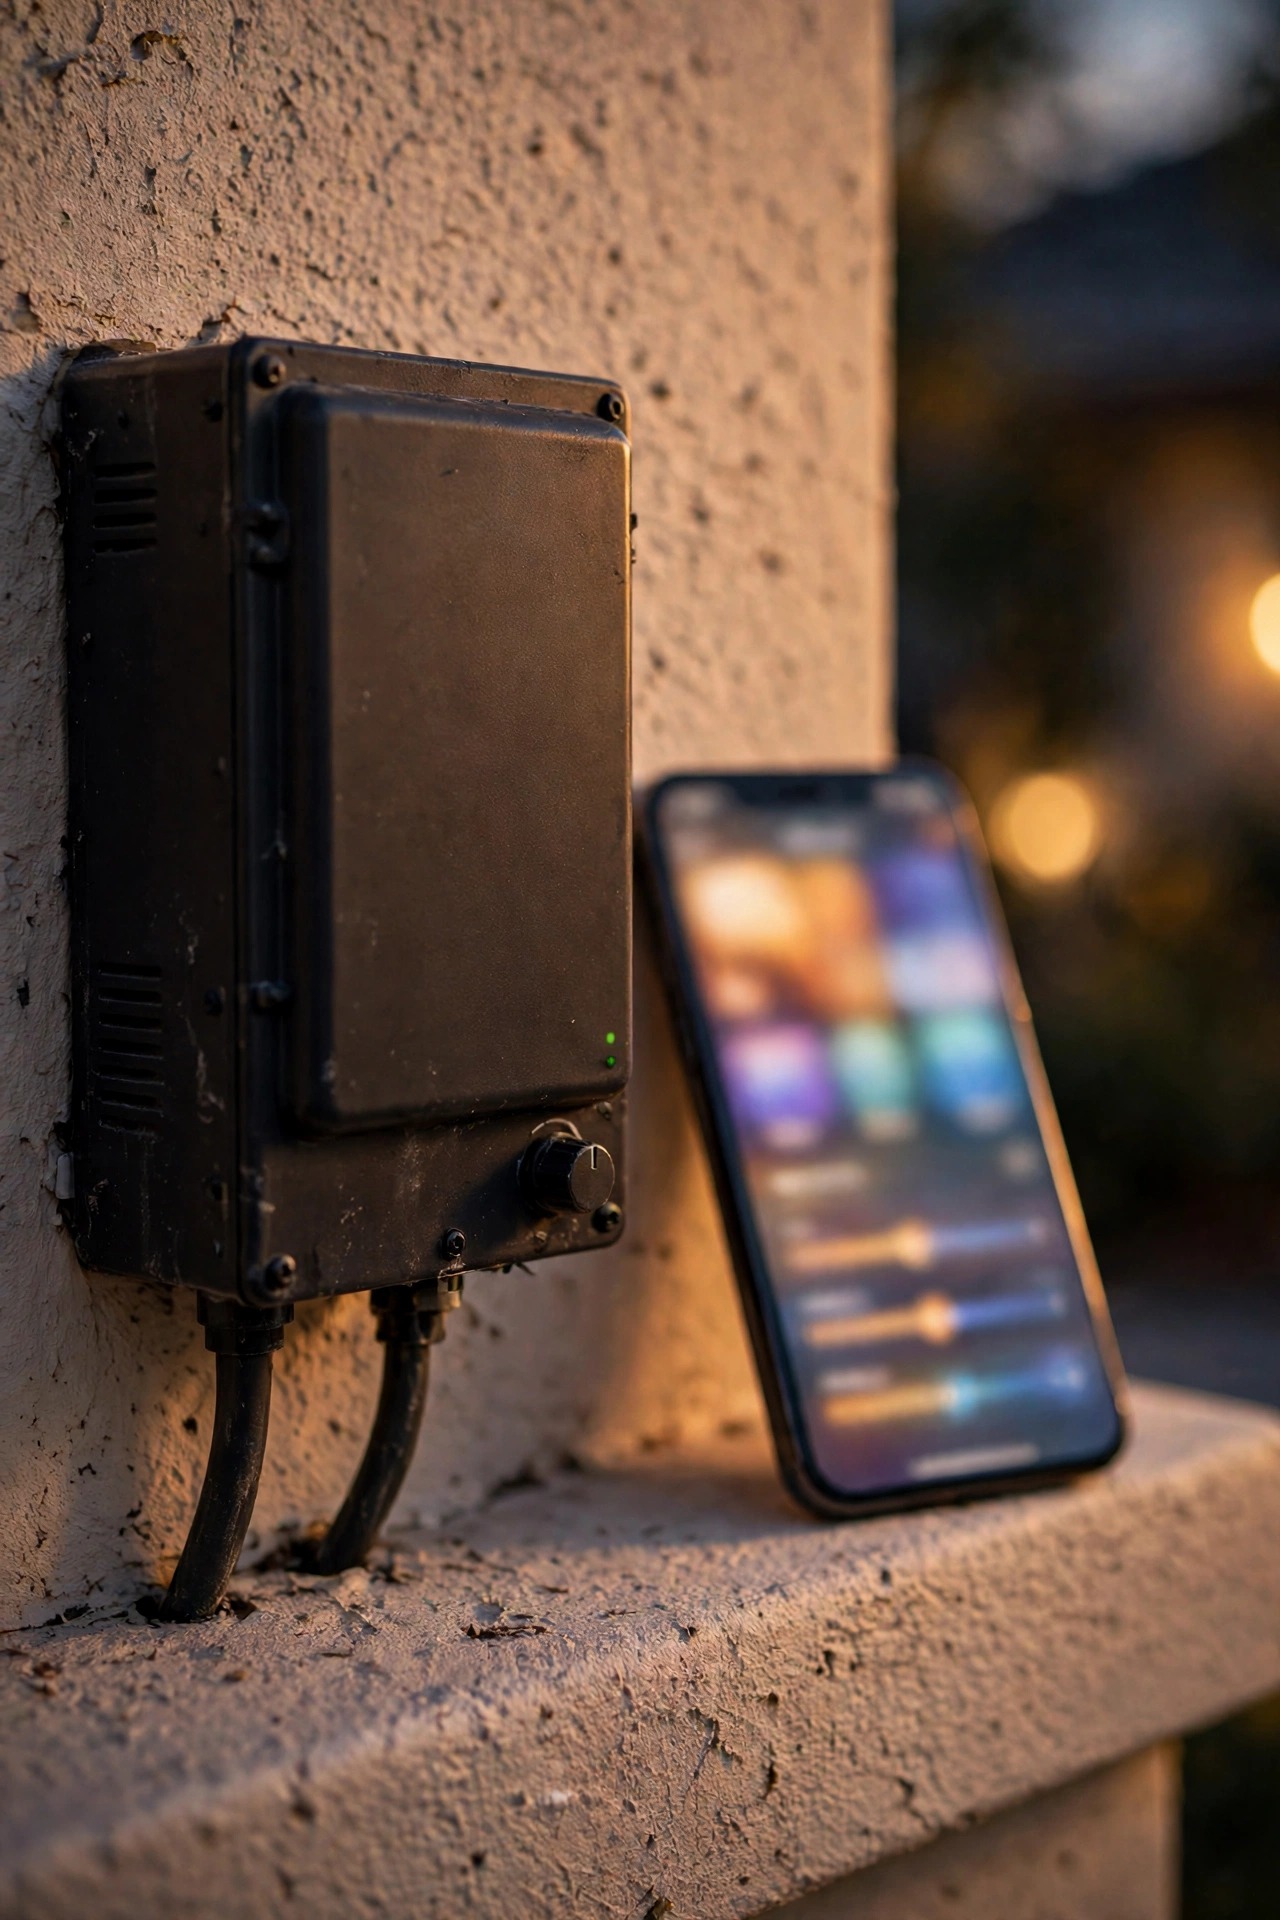
The transformer is the heart. Budget units come in plastic cases with a single output tap and a timer that feels like an afterthought. Step up and you get a stainless steel case that will not crack in a freeze, plus multi-tap terminals — several voltage outputs that let you feed a long run a little extra voltage so the last fixture glows as bright as the first. That one feature quietly fixes voltage drop, the dim, yellow far-end lights that make so many DIY yards look tired. Buy capacity with headroom, too: a transformer loafing at two-thirds load runs cooler and leaves room for the fixtures you will inevitably add.
Cable is the same story. Thicker 12-gauge cable carries voltage farther with less loss than the thin wire bundled into bargain kits, and it survives the occasional shovel nick. Then there are the connections themselves. The pierce-point clips in cheap kits bite through the insulation and corrode within a few seasons, one green crusty joint at a time, until a whole run goes dark. Gel-filled waterproof connectors cost more per piece and seal the copper away from moisture permanently.
None of this is glamorous, and all of it decides whether your yard still lights evenly in ten years. My own transformer placement guide covers sizing and location if you want the details — but the short version is: this is the splurge that protects every other dollar you spend.

Where Luxury Genuinely Shows
Some fixtures perform on a stage every night, and those are the ones worth dressing well. Your hero tree is the clearest case. A big oak or maple lit from below is the portrait your whole yard hangs around, and it asks a lot of a fixture: serious output, a tight controlled beam, and a housing that survives sitting in wet mulch at the mower line for years. That is brass uplight territory, no apology needed.
The entry runs a close second. The fixtures flanking your front door and garage are the ones you and your guests actually see up close, at arm's length, in daylight as much as at dusk. Up close is exactly where peeling paint, hazy lenses, and wobbly stakes confess. A handsome solid fixture here quietly upgrades the whole facade, the way a good front door handle does.
I also splurge on anything I see from my favorite seats — the porch chairs, the kitchen window over the sink. The uplights washing the stone wall outside that window are in my eyeline every morning coffee of the year. And any fixture you physically touch or adjust often, like gate lights and deck post caps, should feel solid, because your hand will grade it daily. The rule I follow: the closer a fixture lives to your eyes, your hands, or your home's first impression, the more it earns the upgrade.

Where Budget Honestly Wins
Now the fun part, because saving money in the right places feels as good as splurging in the right ones. Path lights tucked deep in planting beds are my favorite budget buy. From June through October the perennials swallow the housings whole; all anyone sees is the pool of light on the mulch and the path edge. If the fixture is invisible, only its glow matters, and inexpensive fixtures glow just fine.
Solar accents live in the same category. Garden markers, little staked globes, the sparkle along a fence line — these are seasoning, not structure. If one fades in its third summer, the loss is small and the replacement takes thirty seconds. String lights are consumables by nature: sockets weather, cords stretch, and styles change, so I buy cheerful and mid-priced and expect a few good seasons rather than a decade.
Budget also wins anywhere the audience is basically nobody — the side yard by the bins, the dog run, the far back corner you light for security rather than beauty. And honestly? Budget fixtures are the perfect rehearsal. Before I trench cable and commit to permanent placements, I live with cheap lights in a new bed for a season, moving them at dusk until the layout feels right. Experimentation is a legitimate line item, and it should not cost brass money. Save here, and you free up the budget that makes the splurge zones possible.

The Mid-Tier Sweet Spots
Between the bargain bin and the brass showcase sits the tier I recommend most often to friends: fixtures that borrow the features that matter from luxury and skip the ones that do not.
The sweetest spot is the die-cast aluminum fixture with a genuinely good powder-coat finish and a replaceable lamp inside. You lose the lifetime housing of brass, but you keep the serviceability, the glass lens, and the beam options — most of the nightly experience at a friendlier price. The feature checklist I shop by matters more than the tier label: replaceable lamp, silicone gasket, real glass lens, metal stake instead of plastic, and a finish warranty in writing. A mid-tier fixture that ticks those boxes will outlive a careless luxury purchase.
Transformers have a sweet spot too: a metal case and multi-tap outputs, without paying extra for smart controls you may never open in an app. Buy the dumb, sturdy box and add a simple timer or smart plug later if you want scheduling.
If you want help sorting your own yard into tiers before you shop, my breakdown of landscape lighting budget tiers walks through three full-yard plans at three spending levels. The pattern that emerges there is the pattern everywhere: tier by zone and by job, never by a single blanket decision. A yard lit in one tier only — all bargain or all luxury — is almost always money pointed in the wrong places.
Lifespan Math: Buy It Twice or Buy It Once
The fairest way to compare a budget fixture and a luxury one is not price — it is price divided by seasons of good service. Run that math and the shelves rearrange themselves.
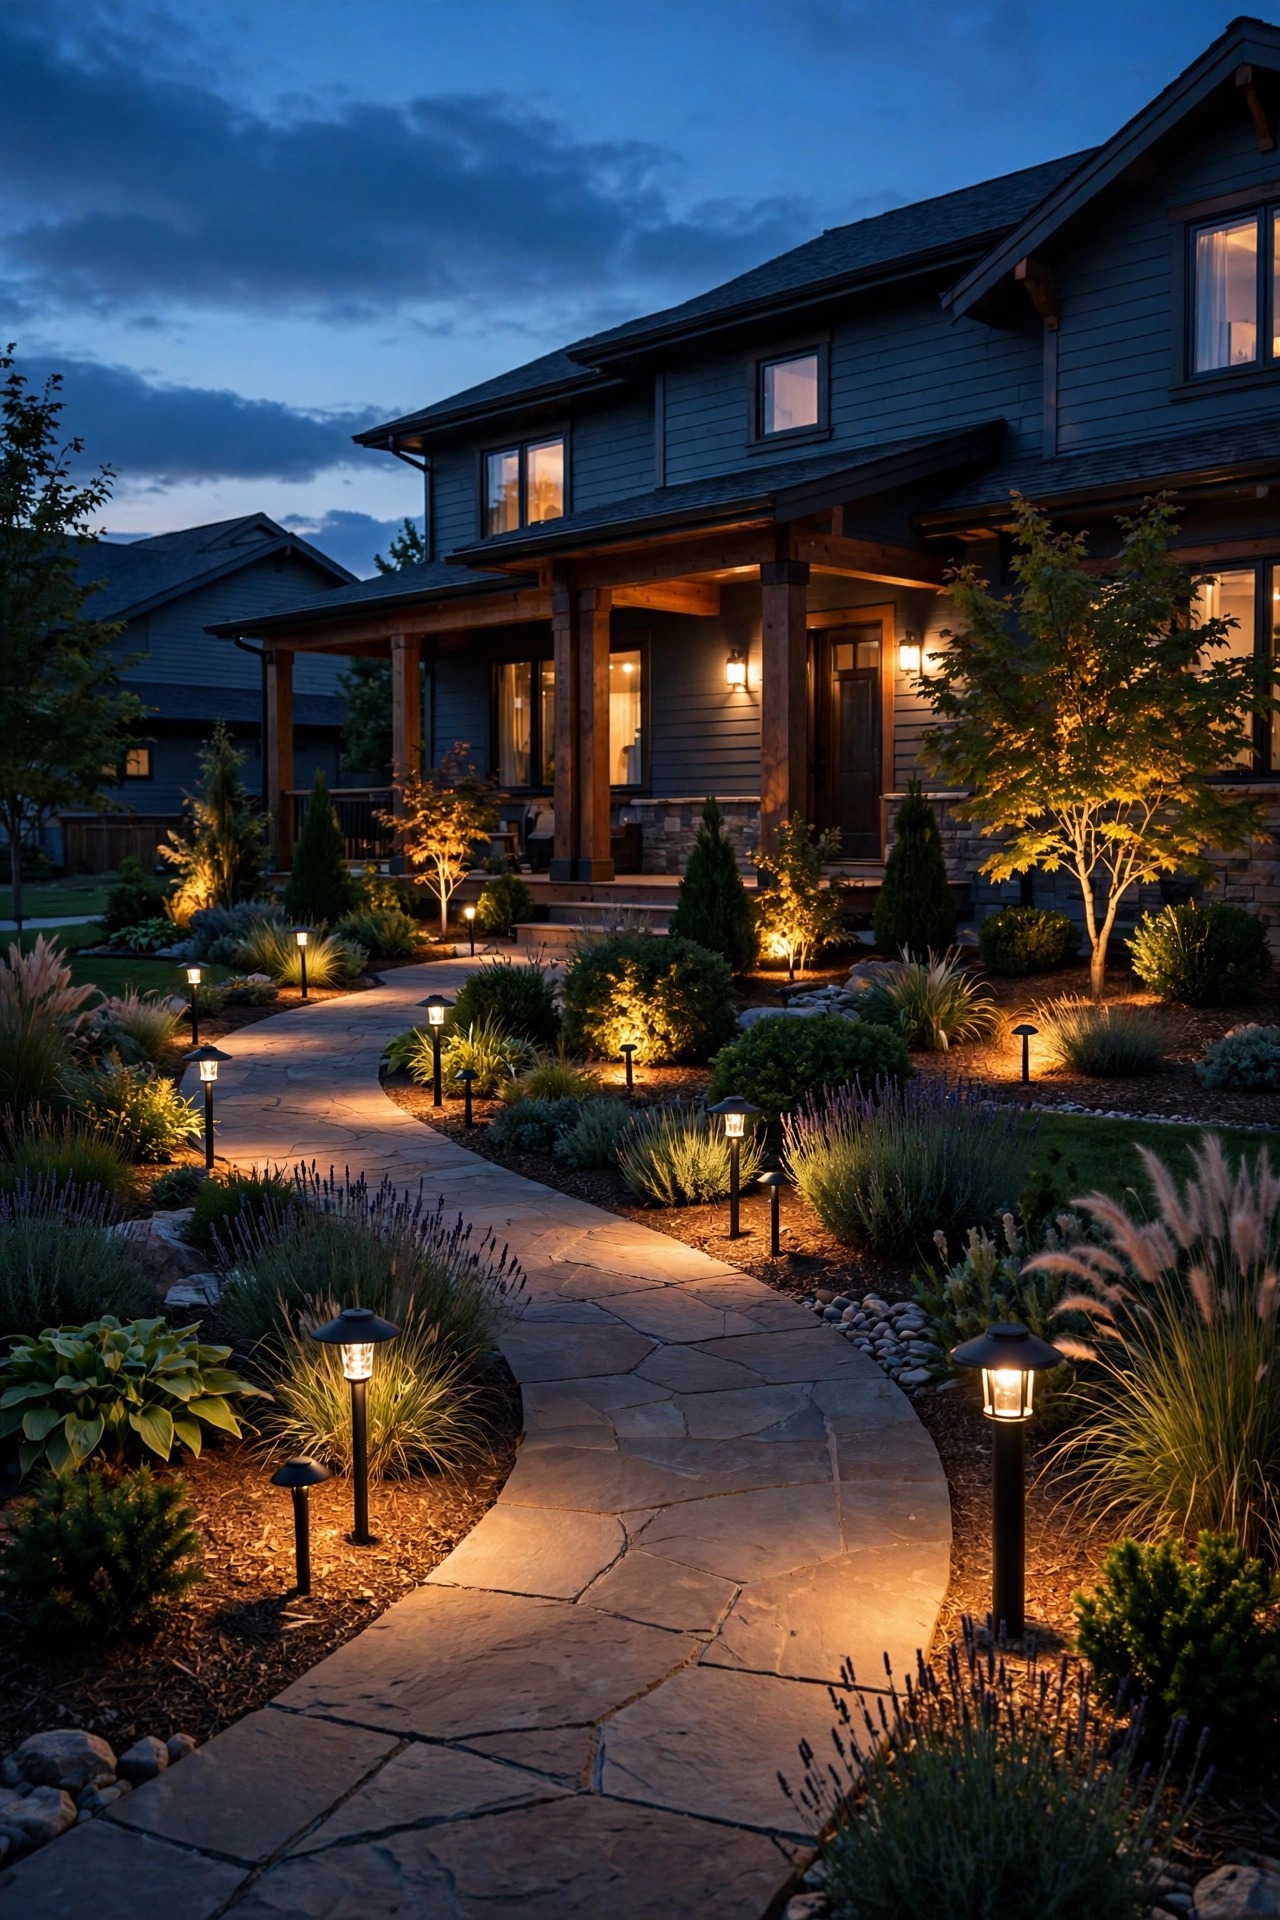
In my experience, plastic fixtures give two to three good seasons before UV and weather make them brittle and chalky. Painted aluminum stretches to five to seven years before the finish starts failing, though the light itself often soldiers on, looking tired. Solid brass and copper are playing a different sport entirely: fifteen to twenty-five years is realistic, with a lamp swap now and then, because the housing simply has no failure mode short of a direct hit from the mower deck. I dig into realistic numbers in my guide to how long landscape lights last, but the pattern is consistent across every yard I know.
So the budget path light that costs a third of the brass one is not cheaper if you buy it four times over — and each replacement costs you an hour of a Saturday along with the money. Warranty length is the manufacturer's own confession here: a one-year warranty and a ten-year or lifetime warranty are telling you exactly how long each maker expects the product to live.
One exception keeps me honest: buy budget when the placement itself is temporary — a young garden still being rearranged, a rental, a bed you plan to replant. Permanence is what makes luxury pay. Match the fixture's lifespan to the landscape's lifespan and the math takes care of itself.
What It Costs in 2026
Numbers vary by store and season, but these are the ranges I see consistently, and they make the tiers concrete.
For path lights, budget plastic and thin-metal models run $8 to $20 each. Mid-tier die-cast aluminum with a replaceable lamp lands around $35 to $60 each, and solid brass path lights run $90 to $160 each. Spotlights and uplights follow the same ladder: $15 to $30 for budget versions, and $110 to $220 for cast brass with real optics. Solar accent lights are the cheapest glow in the yard at $3 to $10 each.
The backbone has its own ladder. A basic plastic-case transformer around 150 watts costs $50 to $90, a stainless multi-tap unit around 300 watts runs $180 to $280, and pro-grade smart transformers reach $350 to $600. Heavy 12/2 cable runs roughly $0.60 to $0.90 per foot in 100 to 250 foot rolls, and gel-filled waterproof connectors are $2 to $4 each. String lights sit at $25 to $60 for a 48-foot strand.
Now the worked example, because totals persuade better than unit prices. Take a typical 12-fixture front yard, DIY installed. All-budget comes in near $400 to $550. The zoned approach I recommend — brass at the entry and hero tree, mid-tier path lights, a proper transformer — lands near $900 to $1,300. All-luxury everything reaches $2,200 to $3,000. Hiring a pro installer typically adds $1,500 or more in labor to any tier. And the running cost is the happy ending: a full LED yard usually adds only $15 to $30 per year in electricity.

Budget vs Luxury Landscape Lighting: My Verdict by Fixture Type
After a decade of buying both ways, here is the cheat sheet taped inside my garage cabinet door:
– Transformer, cable and connectors: splurge, always. The backbone decides brightness, evenness and reliability for every fixture downstream of it.
– Hero tree uplights: splurge. High output, tight beams and housings that live in wet mulch earn their brass.
– Entry, porch and garage fixtures: splurge. These live at arm's length and set the home's first impression in daylight and dark alike.
– Drive-over well lights: splurge. Tire loads and mower traffic destroy cheap housings fast.
– Path lights: save or go mid-tier. Beds hide the hardware; spend only to get a replaceable lamp and a metal stake.
– Deck and step lights: mid-tier. You see them up close on the deck, but the duty is gentle and the runs are short.
– Solar accents: save without guilt. They are seasoning, and easy swaps when one fades.
– String lights: save. Consumable by nature; buy cheerful, expect a few seasons, replace without pain.
– Anything seasonal or experimental: save. Rehearse with cheap fixtures, commit with good ones.
Notice the pattern: splurge where a fixture is permanent, visible up close, or holding up the whole system. Save where it is hidden, temporary, or trivial to replace. Tape that pattern inside your shopping list and the store stops being overwhelming — every product on the shelf sorts itself into a zone of your yard.

5 Mistakes That Waste Money at Any Tier
Mistake 1: luxury fixtures on a bargain transformer. A weak single-tap transformer starves the far end of the run, so your beautiful brass uplights glow dim and yellow while the near ones blaze. The whole system looks cheap no matter what the fixtures cost.
Mistake 2: budget fixtures at the front door. The entry is the one place every visitor stands within arm's reach. Peeling finishes and hazy lenses there announce themselves daily, and they drag the whole facade down with them.
Mistake 3: mixing finish qualities in a single sightline. One flaking black fixture beside a handsomely aged brass one makes both look wrong — the brass reads dirty, the budget piece reads broken. Keep one finish family per view, even if the tiers differ behind the plants.
Mistake 4: falling for the luxury look without the luxury guts. Some heavy, handsome fixtures hide sealed LED modules that cannot be replaced when they fail. Weight is not serviceability. Always ask what you replace when the light dies.
Mistake 5: choosing one tier for the whole yard. All-budget yards look tired in three years; all-luxury yards waste money in beds nobody sees. The blanket decision is the most expensive mistake of all, in both directions.
Frequently Asked Questions
Is it worth splurging on landscape lighting if my yard is small?
Honestly, a small yard is where splurging per fixture pays off fastest. Every fixture sits close to your eyes, so finish quality and clean color show constantly — and with only a handful of fixtures, the total difference between tiers stays modest. Splurge on the few you have, especially whatever frames the door.
Can I mix budget and luxury fixtures on the same system?
Yes, and I recommend it. Fixtures of any tier run happily on the same low-voltage transformer. The two rules are consistency of light and finish: match color temperature across everything, ideally 2700K warm white, and keep one finish family within each sightline so the mix looks intentional rather than accidental.
What should I upgrade first in a cheap system that looks tired?
Start with the backbone, not the fixtures. A right-sized multi-tap transformer and proper waterproof connectors fix dim far ends, flicker, and dead runs all at once. After that, replace lamps for consistent color, then upgrade the hero fixtures at the entry and your main tree.
Do luxury landscape lights need professional installation?
No. Low-voltage systems are genuinely DIY-friendly at every tier — the digging, laying cable, and connecting fixtures are the same weekend work whether the fixture is plastic or brass. Consider a pro for design help, very long runs, or anything involving line voltage, and always use GFCI-protected outlets outdoors.
Conclusion
The yards that glow best in my neighborhood are not the ones with the most money buried in them. They are the ones where the spending followed a plan: brass where eyes and weather are hardest, honest budget pieces where plants and darkness hide the hardware, and a backbone strong enough to run it all. That is the real answer to budget vs luxury landscape lighting — it is not a side you pick, it is a map you draw. Start with your hero spots, protect them with a proper transformer, and let the supporting cast save you money. Then browse the other lighting ideas here whenever you are ready to plan your next zone; your yard, lit in layers, will thank you every single evening.