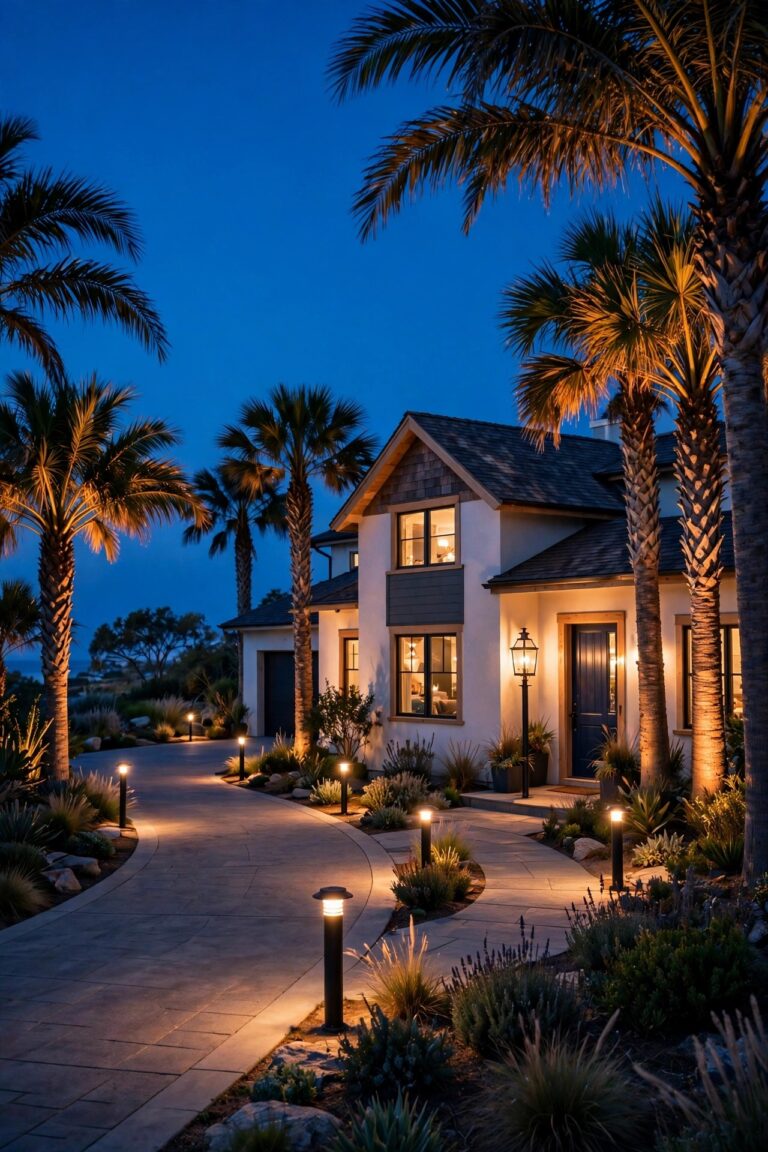
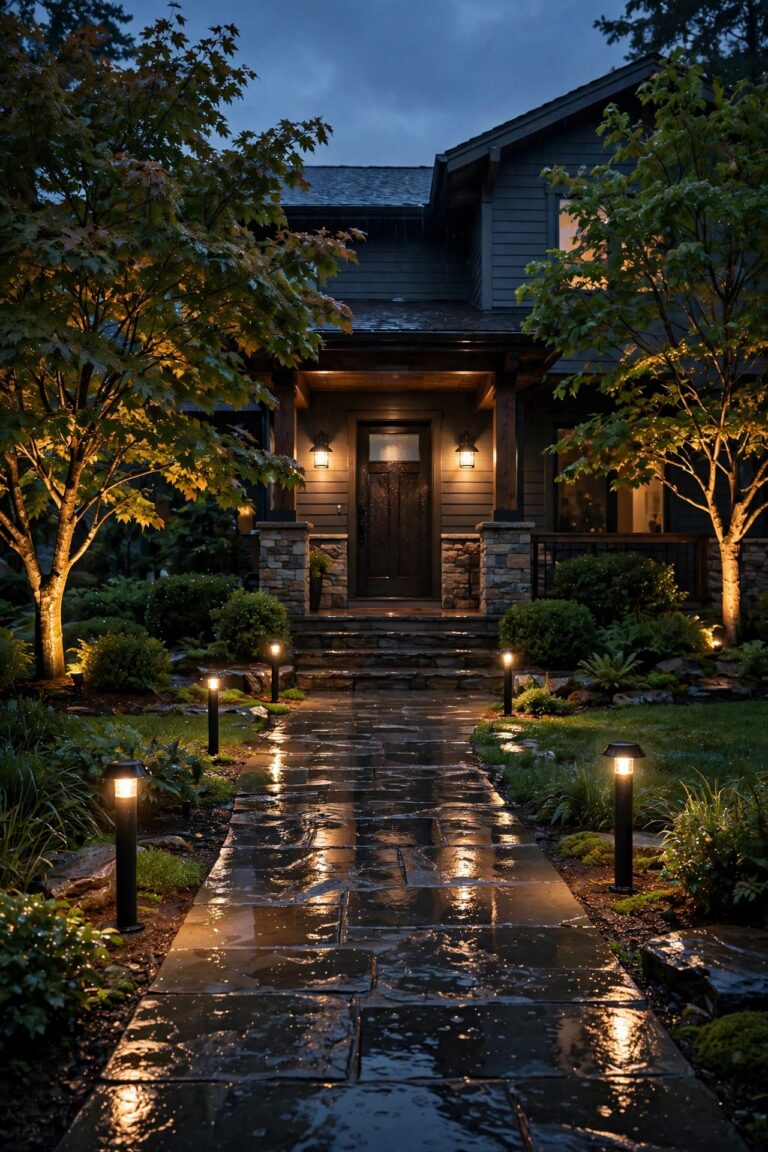
There is a moment every evening when our house either looks like a magazine cover or like a parking lot, and honestly, the difference is the driveway. It is the first design statement your home makes, yet most of us light it as an afterthought. The best modern driveway lighting ideas treat that long ribbon of concrete or pavers like a runway: crisp edges, low glare, and light that pools exactly where wheels and feet need it. In my experience, a sleek arrival comes from layering — a calm line of guidance light along the edges, a confident glow at the apron and garage, and one or two architectural accents that make the facade look intentional after dark. In this post I am sharing the 15 setups I reach for on contemporary homes: flush markers, knife-edge bollards, linear LED strips, and smart controls that run everything quietly in the background. You will get spacing numbers, lumen levels, and a budget range for every idea, so you can plan a driveway that feels less like parking and more like pulling up to a boutique hotel.
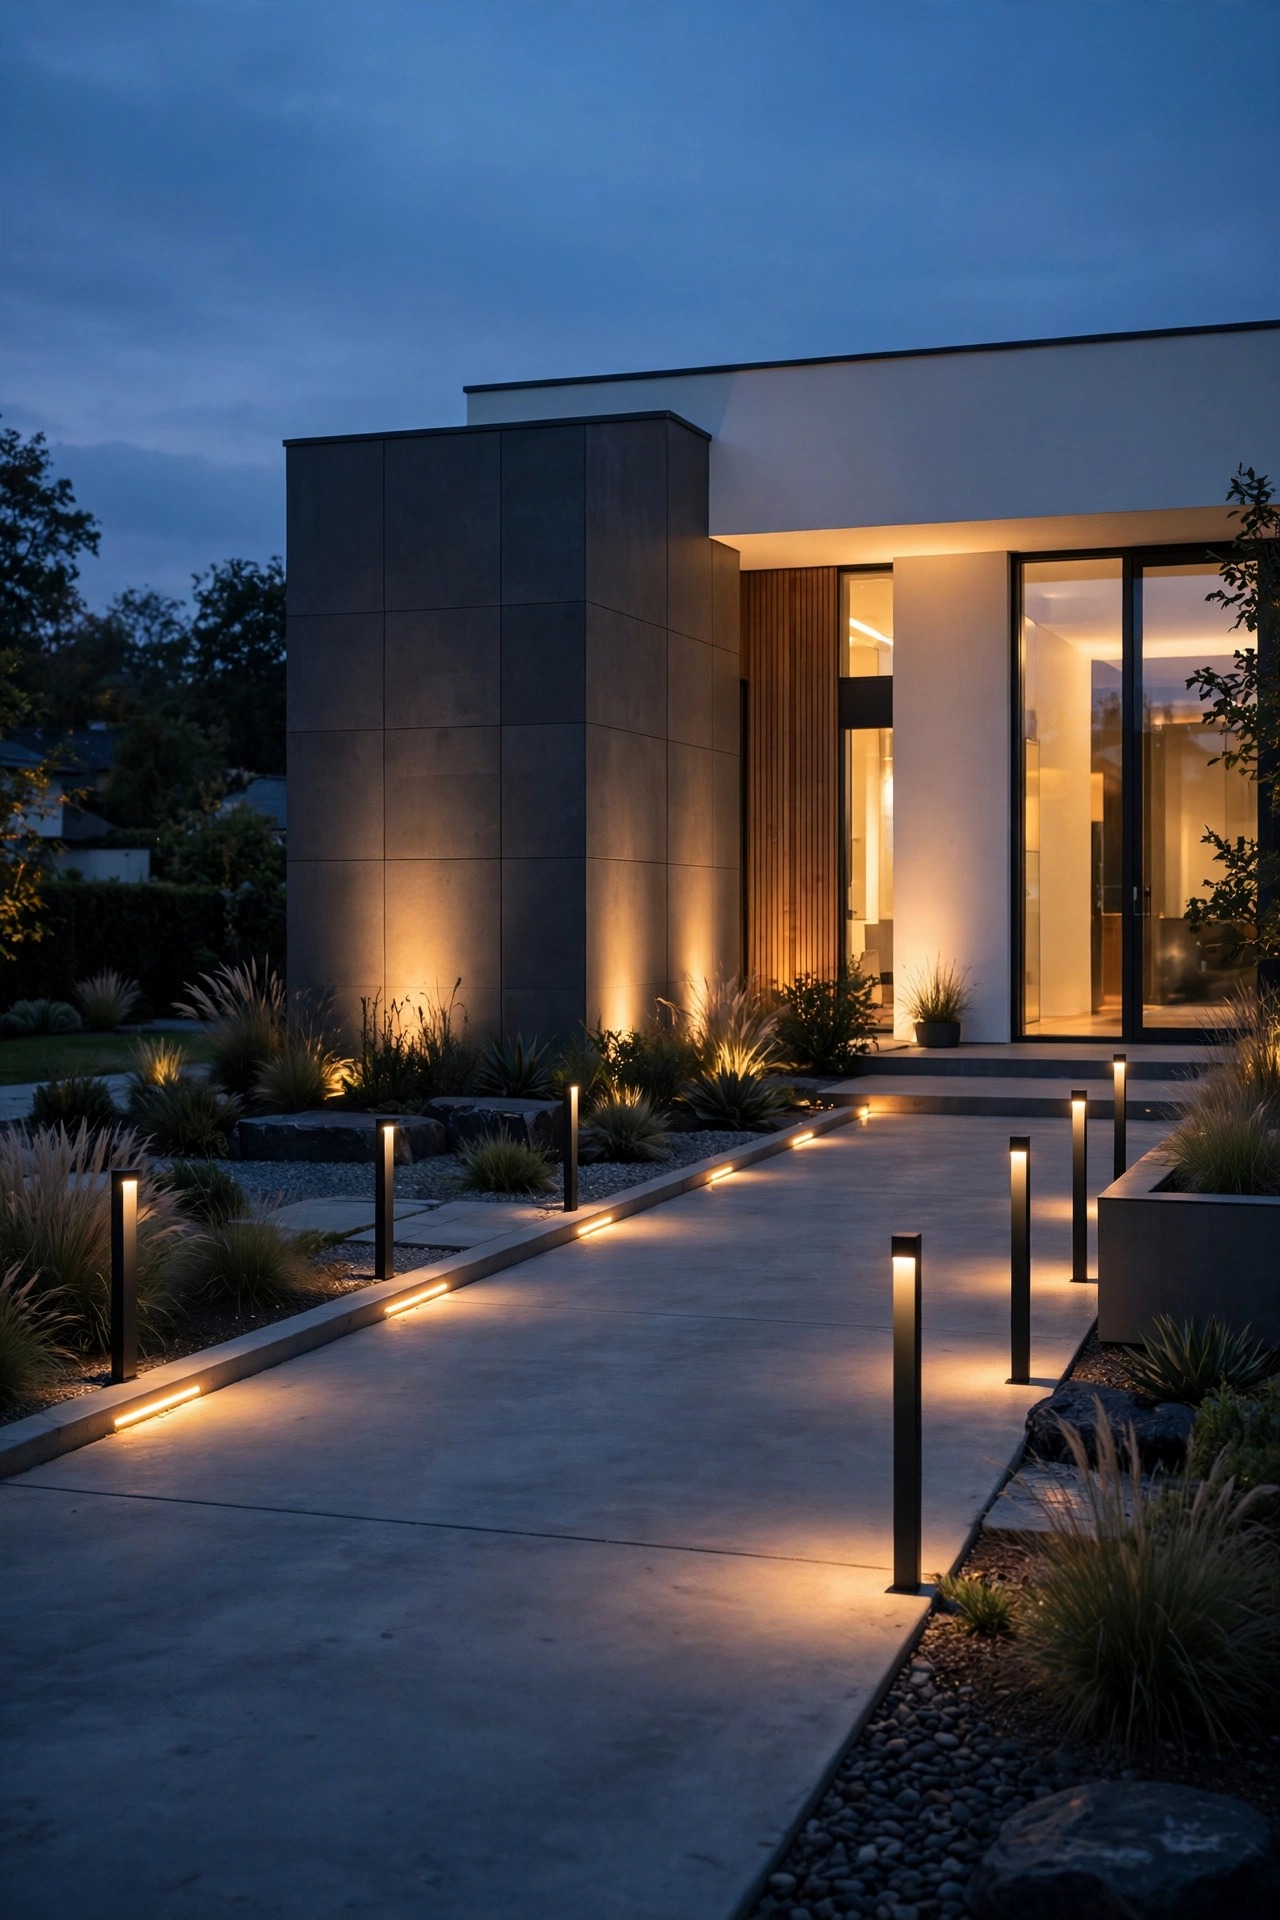
1. Start With a Layered Plan for Modern Driveway Lighting Ideas
Every sleek driveway I have lit started on paper, not at the hardware store. I sketch the drive and mark three layers: guidance light along the edges so the route reads clearly at night, welcome light at the apron and garage where people actually get out of the car, and accent light on one architectural feature, a tree, a wall, or the entry. Modern design lives or dies on restraint, so I also fix the finish palette right here — matte black, graphite, or brushed aluminum, never a mix — and choose one color temperature for the whole property. Plan your transformer location near an outdoor GFCI outlet, and run cable along bed edges or under the driveway edge band where mulch and gravel hide the trench. If you want to see this same restraint applied across a whole yard, my roundup of modern outdoor lighting ideas shows the look at full scale. Twenty minutes with a tape measure and a sketch saves you from the classic modern mistake: beautiful fixtures in the wrong order, leaving bright pools and dark gaps down the drive.
Suggested budget range: $0 – $40.
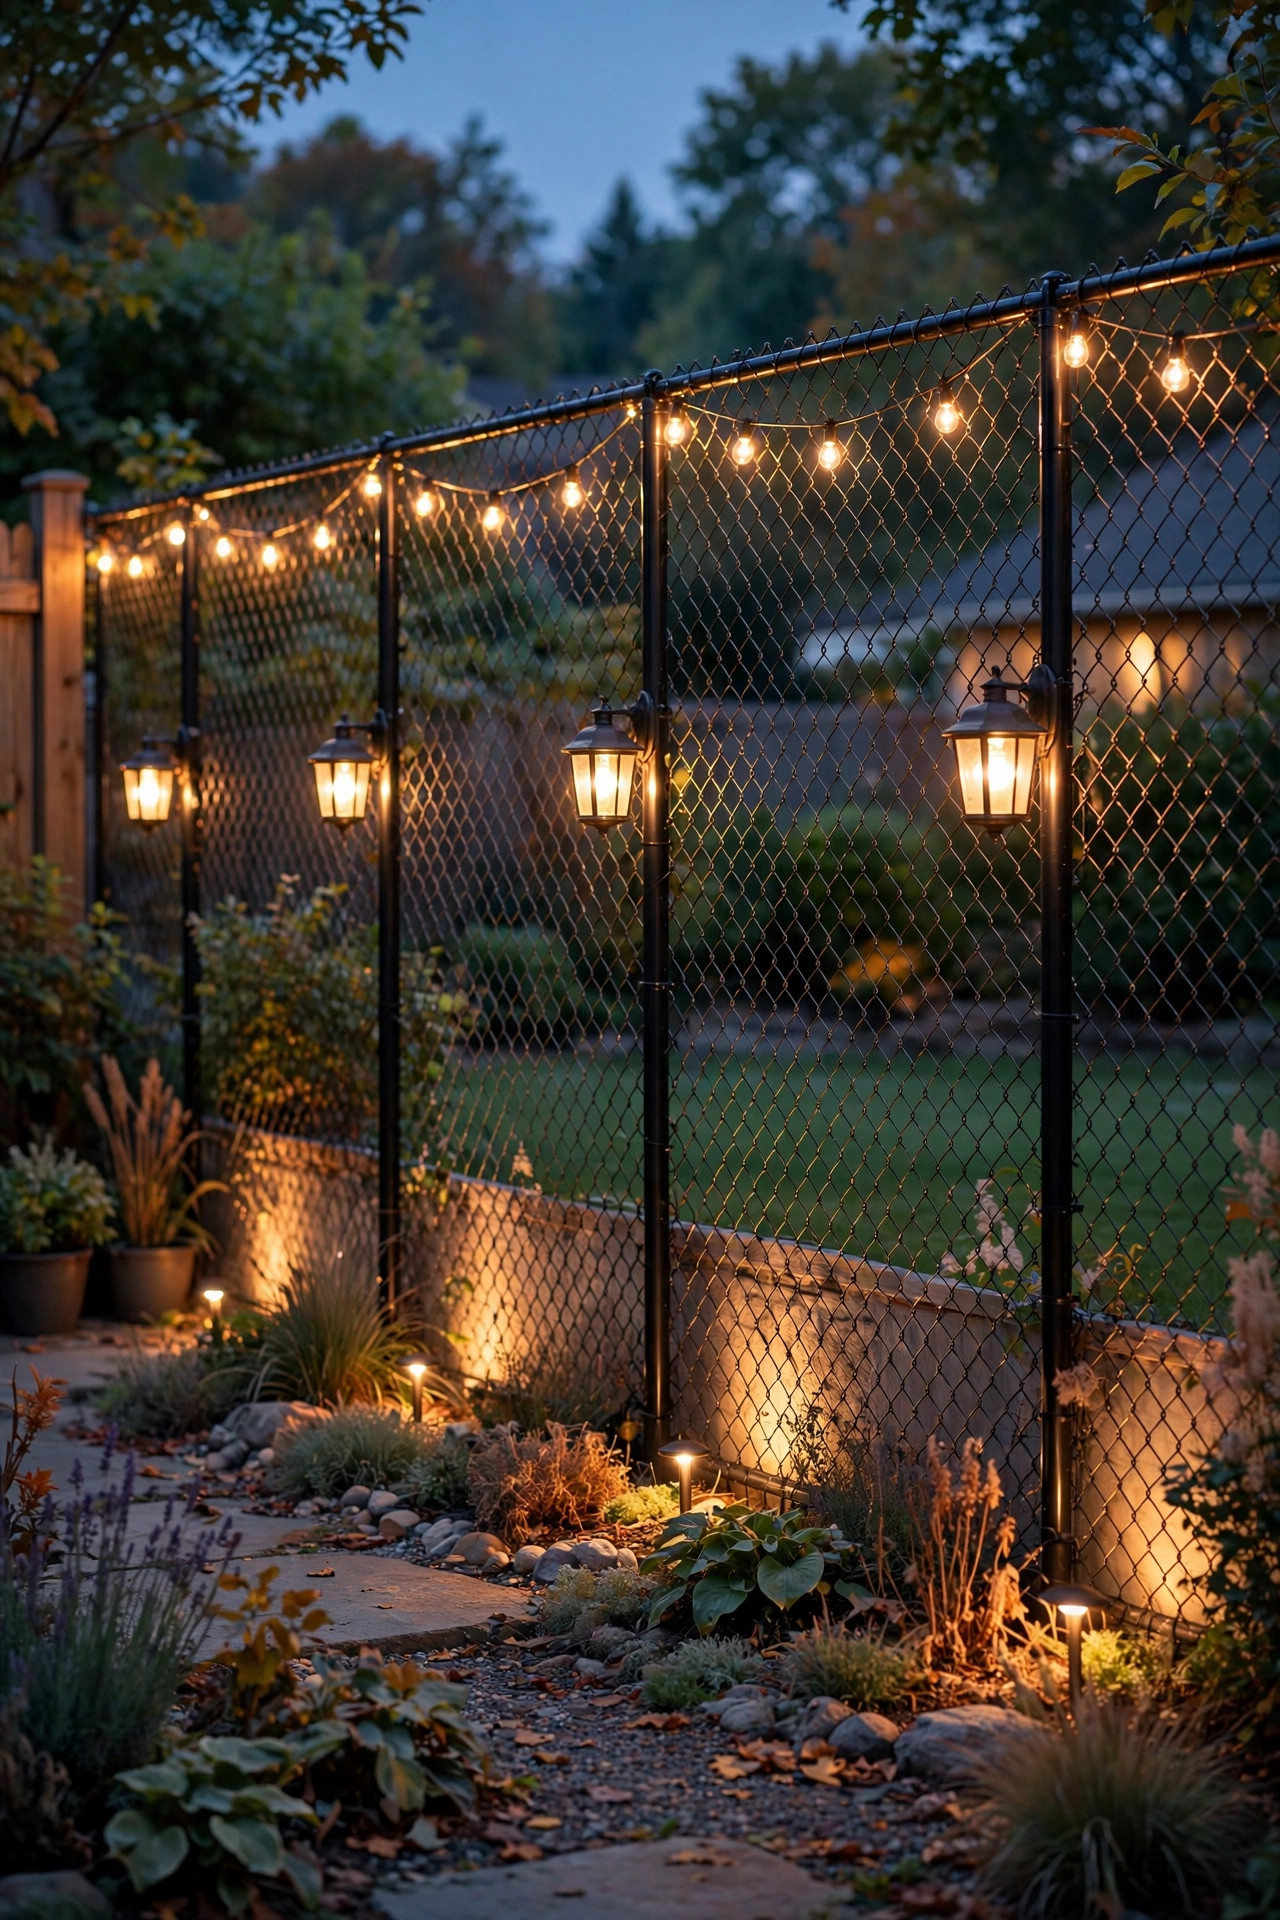
2. Run a Clean Line of Low-Voltage LED Bollards
If modern driveway lighting has one signature fixture, it is the bollard: a slim vertical post, usually 24 to 36 inches tall, with a shielded LED tucked under the cap so the light falls down and out instead of into your eyes. I space bollards 8 to 12 feet apart along one edge of the drive for a calm, gallery-like rhythm, or stagger them on both sides of a wide drive so the pools of light overlap gently. Look for 200 to 400 lumens per fixture — plenty to read the edge without turning the drive into a runway at an airport. Matte black powder coat is my default finish, and I always choose fixtures with replaceable LED modules so one failure does not orphan the whole row. My deep dive on driveway bollard lights compares heights and beam spreads if you want the details. Low-voltage cable buries just 6 inches deep along the bed edge, and I set each bollard in a small gravel bed so it stays plumb through freeze and thaw. The result is the single most modern-looking upgrade on this list.
Suggested budget range: $240 – $620.

3. Set Flush In-Ground Markers Along the Driveway Edge
For the most minimal look possible, skip posts entirely and set small recessed markers flush with the driveway edge. These puck-sized fixtures sit in a sleeve at pavement level and wash a low fan of light across the surface, so the drive reads as a glowing outline and nothing sticks up to catch a snow shovel or a tire. I space them 4 to 6 feet apart and choose fixtures rated IP67 or IP68 with tempered glass lenses, because they will live in puddles and road salt all winter. Anywhere a car might roll over one, confirm the drive-over load rating on the box — the good ones handle full vehicle weight without cracking. Keep the lens color warm, around 2700K, and avoid the blue-white solar pucks that make a driveway look like a landing strip. Wiring is the fiddly part: each marker needs a gel-filled waterproof connector, and I daisy-chain them along one cable run tucked into a saw-cut joint or the gravel shoulder. In my experience, flush markers paired with one accent layer beat tall fixtures for pure modern calm.
Suggested budget range: $160 – $420.
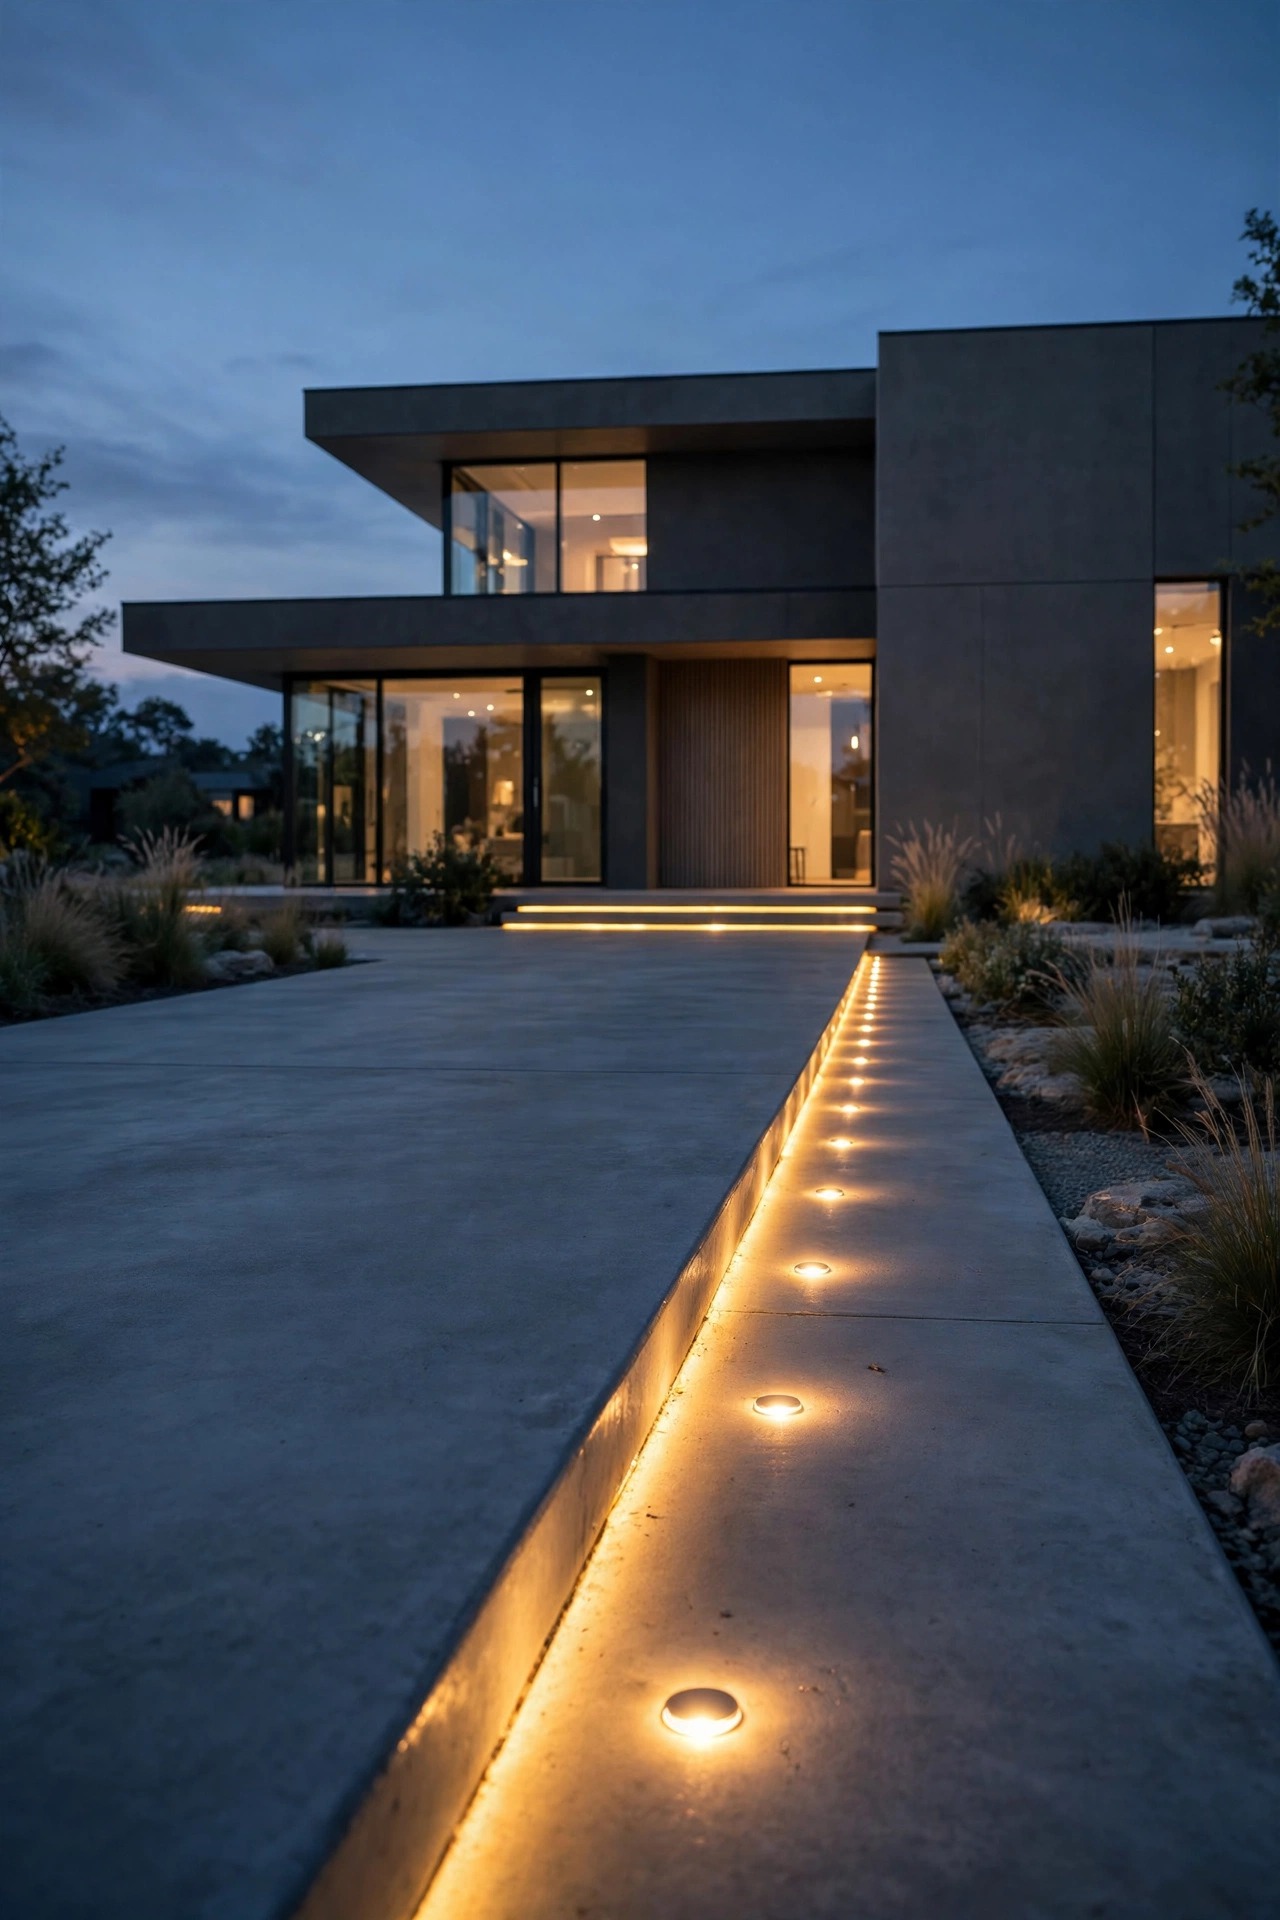
4. Hide a Linear LED Strip Under a Retaining Wall or Curb Lip
The most expensive-looking trick on this list costs the least per foot: an outdoor LED strip hidden in an aluminum channel under the cap of a low retaining wall or along a curb lip beside the drive. You never see the source, just a continuous ribbon of warm light that grazes the pavement and makes the whole edge look drawn with a ruler. The aluminum channel matters — it protects the strip, acts as a heat sink, and its frosted diffuser cover blends the individual diodes into one smooth line. Choose a strip rated IP65 or better, cut it only at the marked points, and seal every end and connection with silicone and the manufacturer end caps. I run the strip at 2700K to match the rest of the plan, and I keep the power supply in a weatherproof box near the transformer. Around 300 to 450 lumens per foot gives a strong wash; dim it down if your wall runs the full length of the drive. This is the idea guests describe as looking like a hotel, and it survives winters beautifully because there is nothing exposed to plows or boots.
Suggested budget range: $120 – $340.
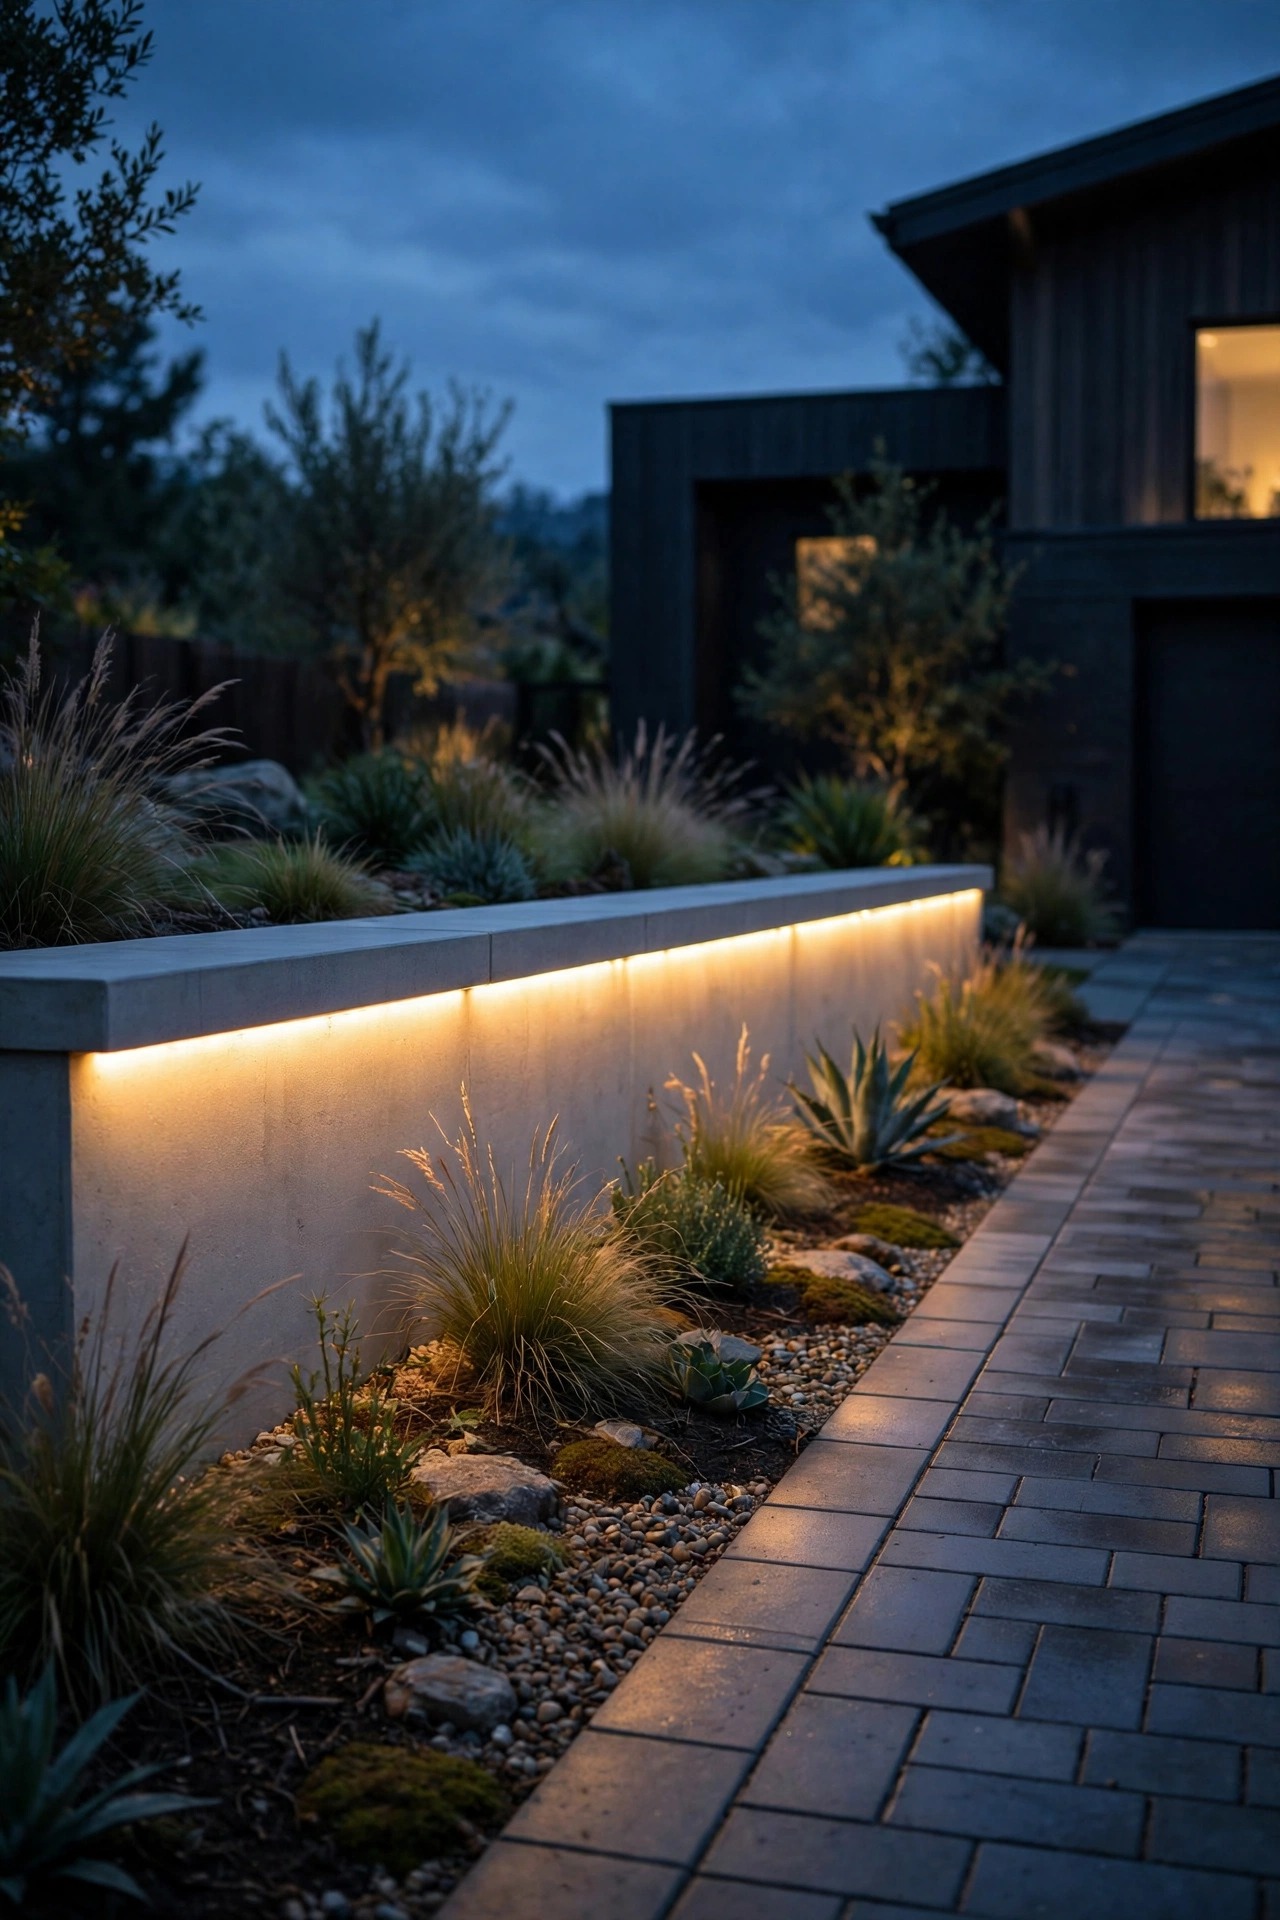
5. Light the Apron With Recessed Paver Lights
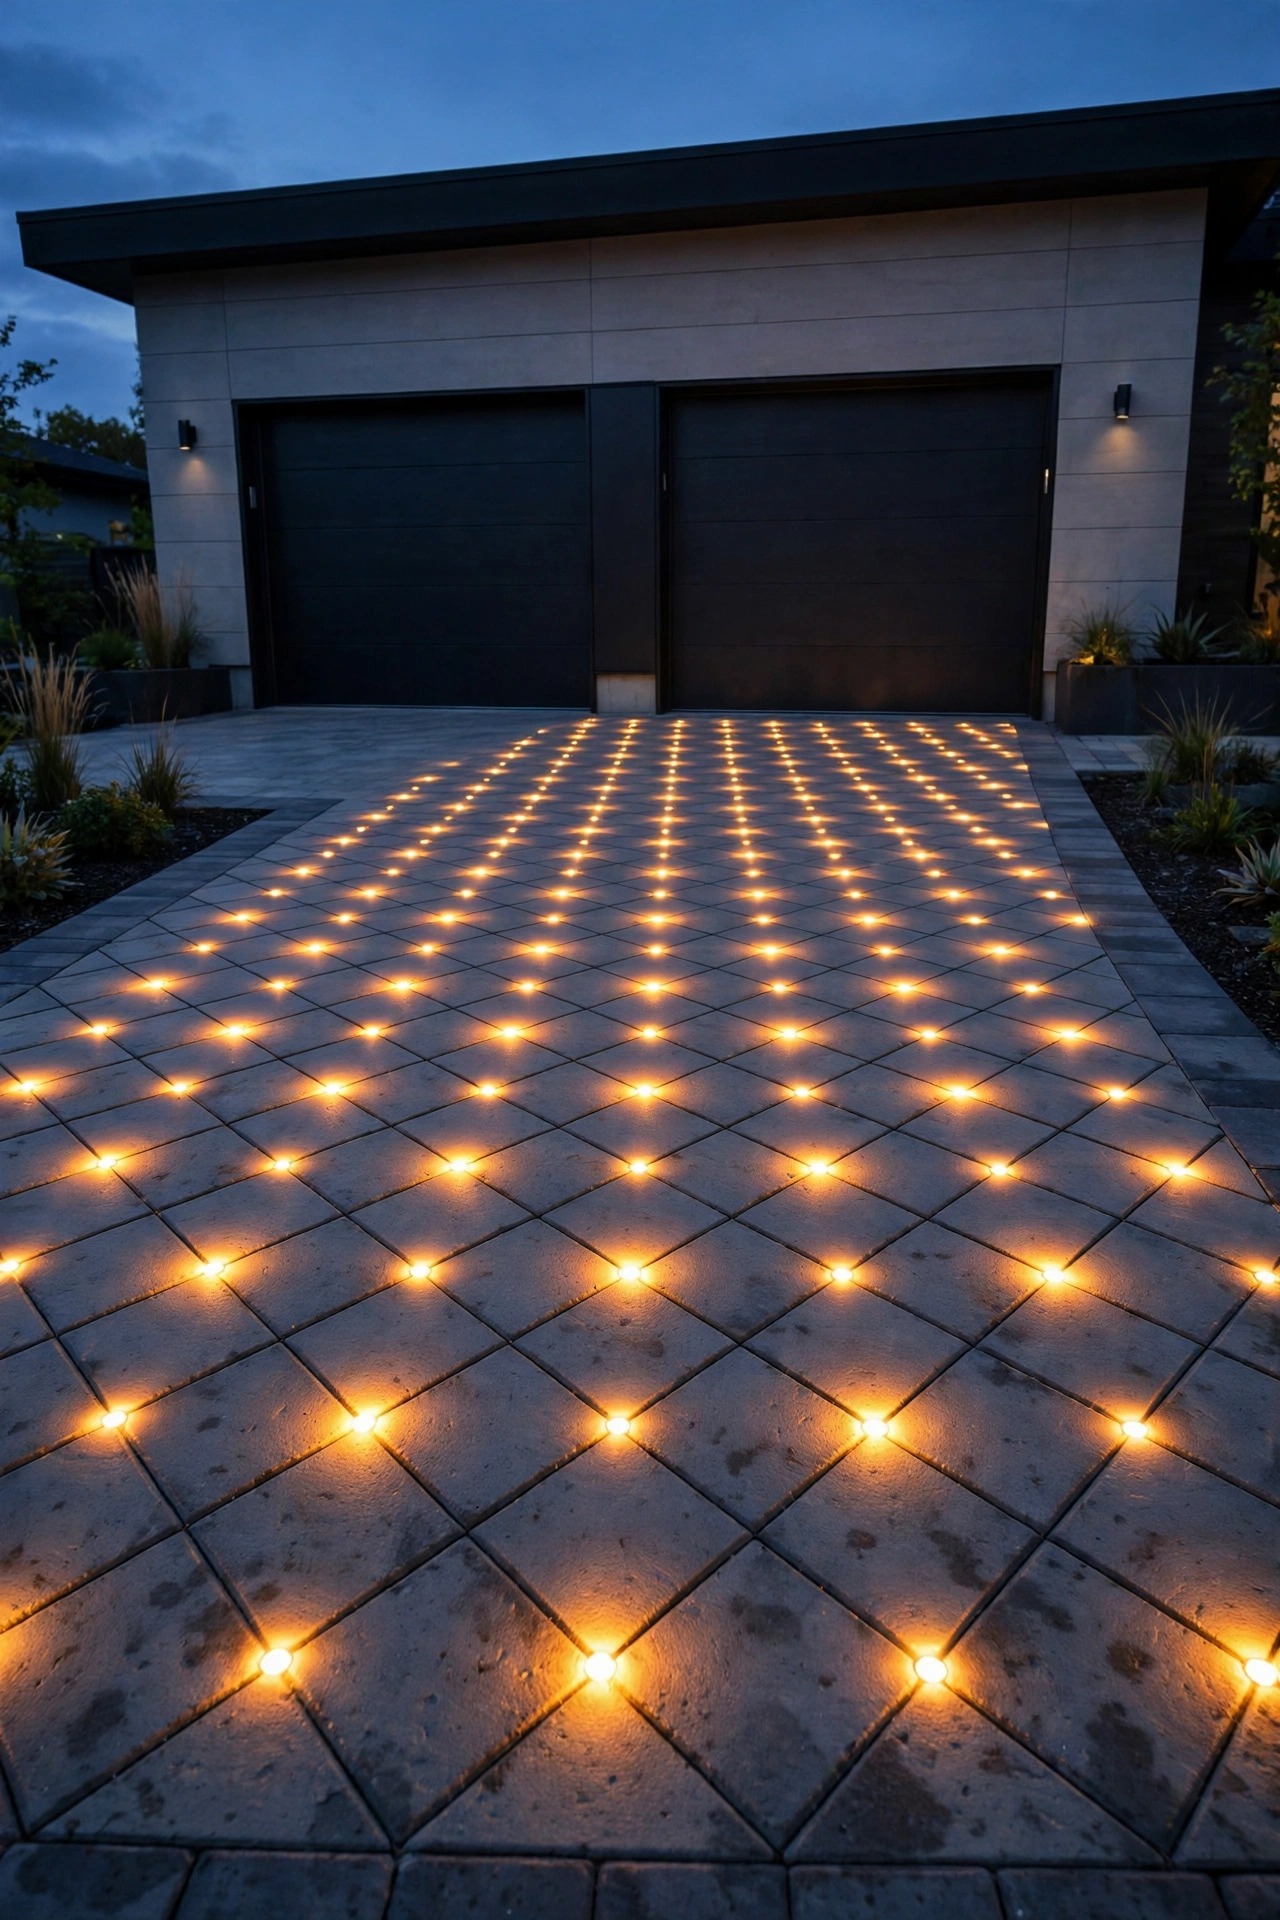
The apron — that wider pad where the driveway meets the garage or the street — is where guests step out, kids unload bikes, and everyone actually stands around. Recessed paver lights were made for it: brick-sized fixtures that replace a single paver and sit perfectly flush, washing the surface with soft light from ground level. I set them in a loose grid or a diamond pattern across the apron, roughly 4 feet apart, and always choose fixtures with a stated drive-over rating since cars will cross them daily. Because they point up, keep the output modest, around 100 to 200 lumens, and choose frosted lenses so nobody stares into a bare diode while walking to the door. Low-voltage versions wire in with the rest of your system and bury their cable in the sand bed under the pavers, which makes future repairs surprisingly easy — lift one paver and the connector is right there. Match the housing color to your paver tone, charcoal with charcoal, sand with sand, and the fixtures all but disappear by day. Sleek, safe, and quietly dramatic at night.
Suggested budget range: $140 – $380.
6. Wash the Garage Doors With Slim Up-Down Sconces
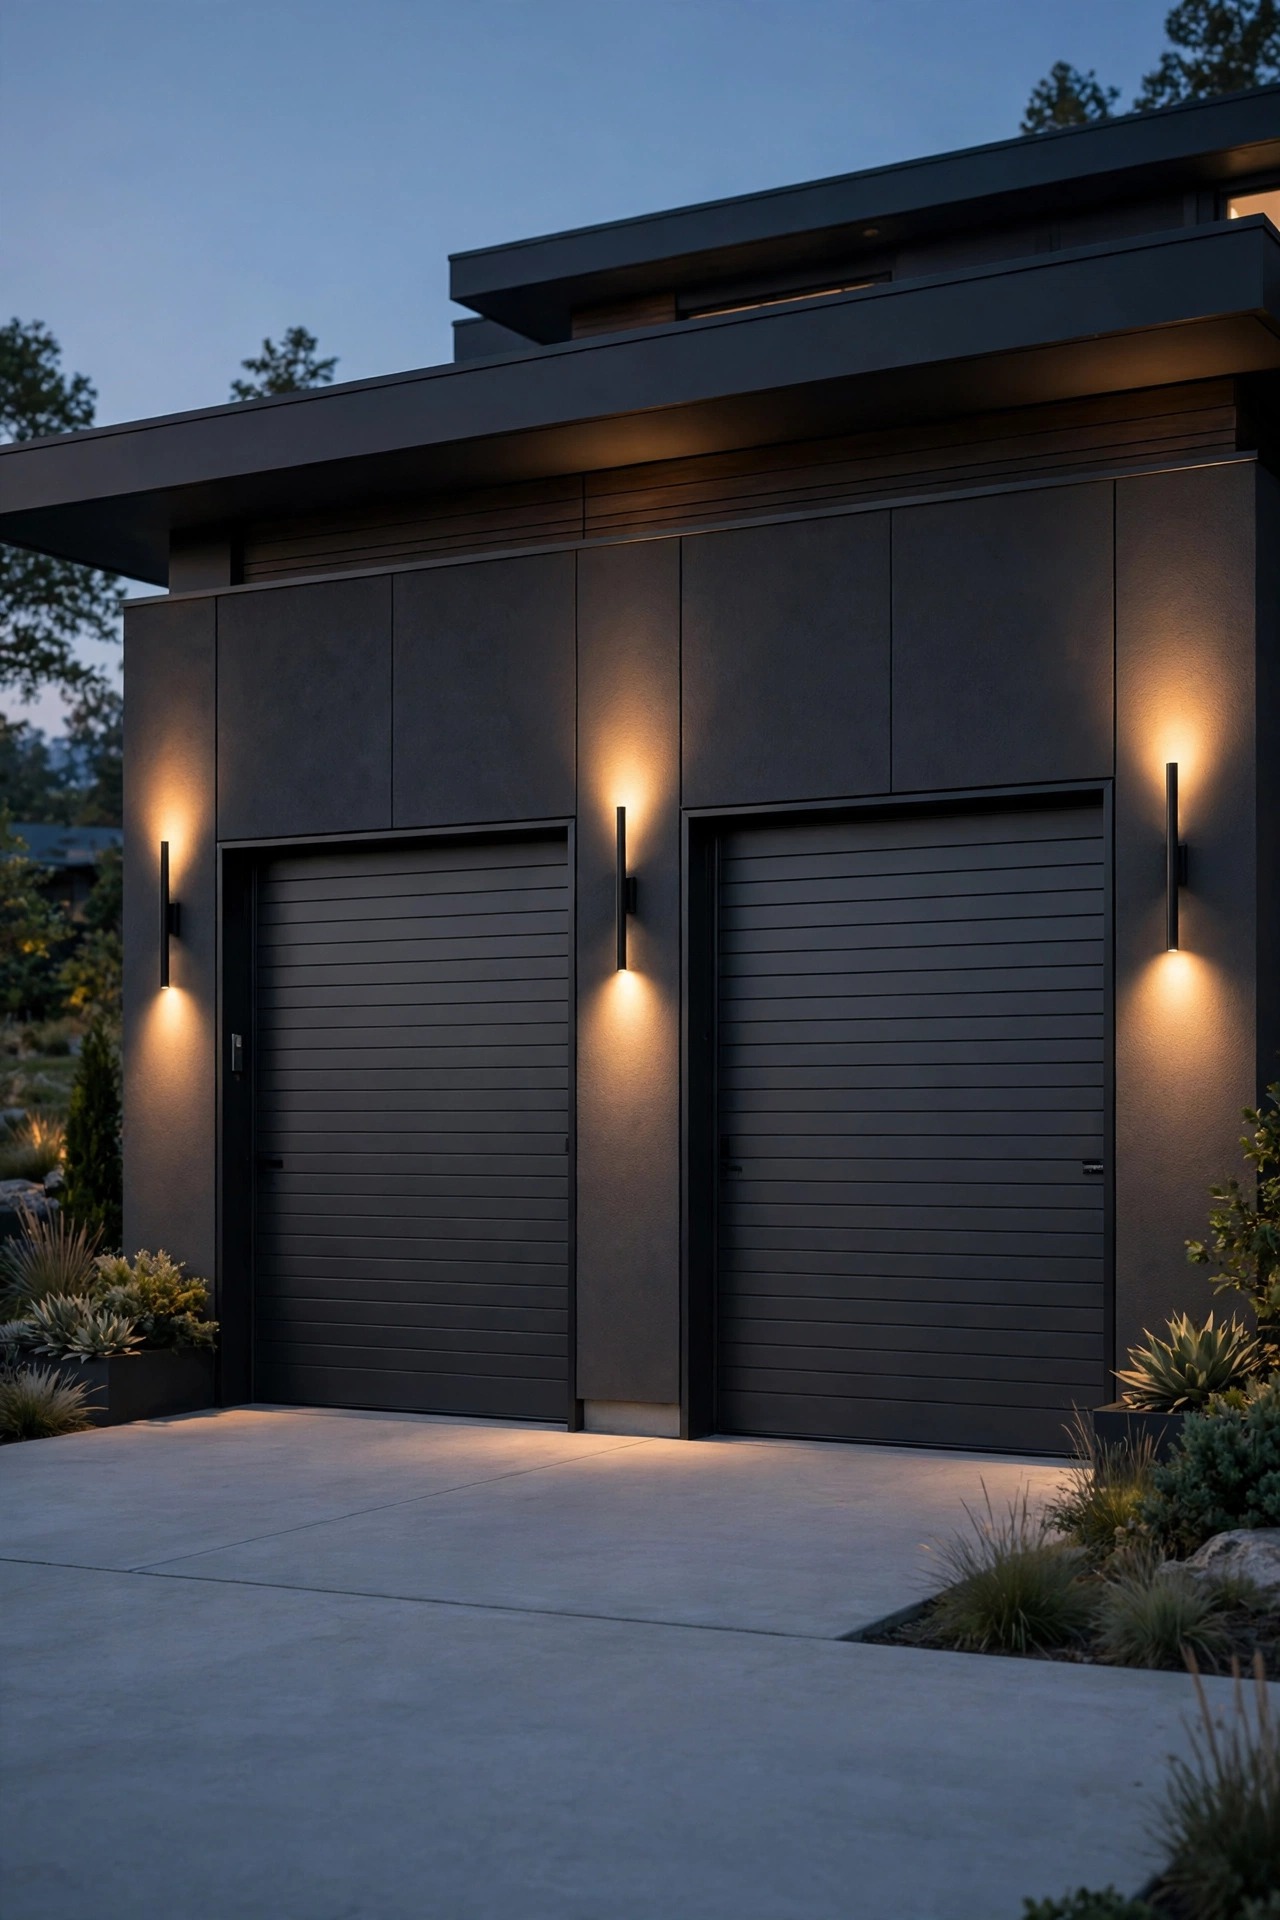
Garage doors eat half the front of most modern homes, so leaving them dark makes the whole facade fall flat. My fix is a pair — or a trio, on a three-car garage — of slim cylindrical up-down sconces mounted on the pillars between the doors. Each fixture throws a narrow blade of light up and down the wall, turning a flat door into architecture after dark. Mount them at about 6 feet, centered on the pillars, and pick 2700K to 3000K bulbs with a high color rendering index so painted doors and wood tones read true. Around 300 to 500 lumens per direction is plenty; more just paints stripes on the driveway. I wire sconces into the same timer as the rest of the system, and if the circuit is line voltage, that part belongs to an electrician — no exceptions around garage wiring. Choose fixtures with sealed optics and a damp or wet location rating, since door pillars catch plenty of wind-driven rain. In my experience this is the fastest way to make a plain garage elevation look designed rather than delivered.
Suggested budget range: $130 – $360.
7. Add Motion-Sensor Floods That Stay Invisible by Day
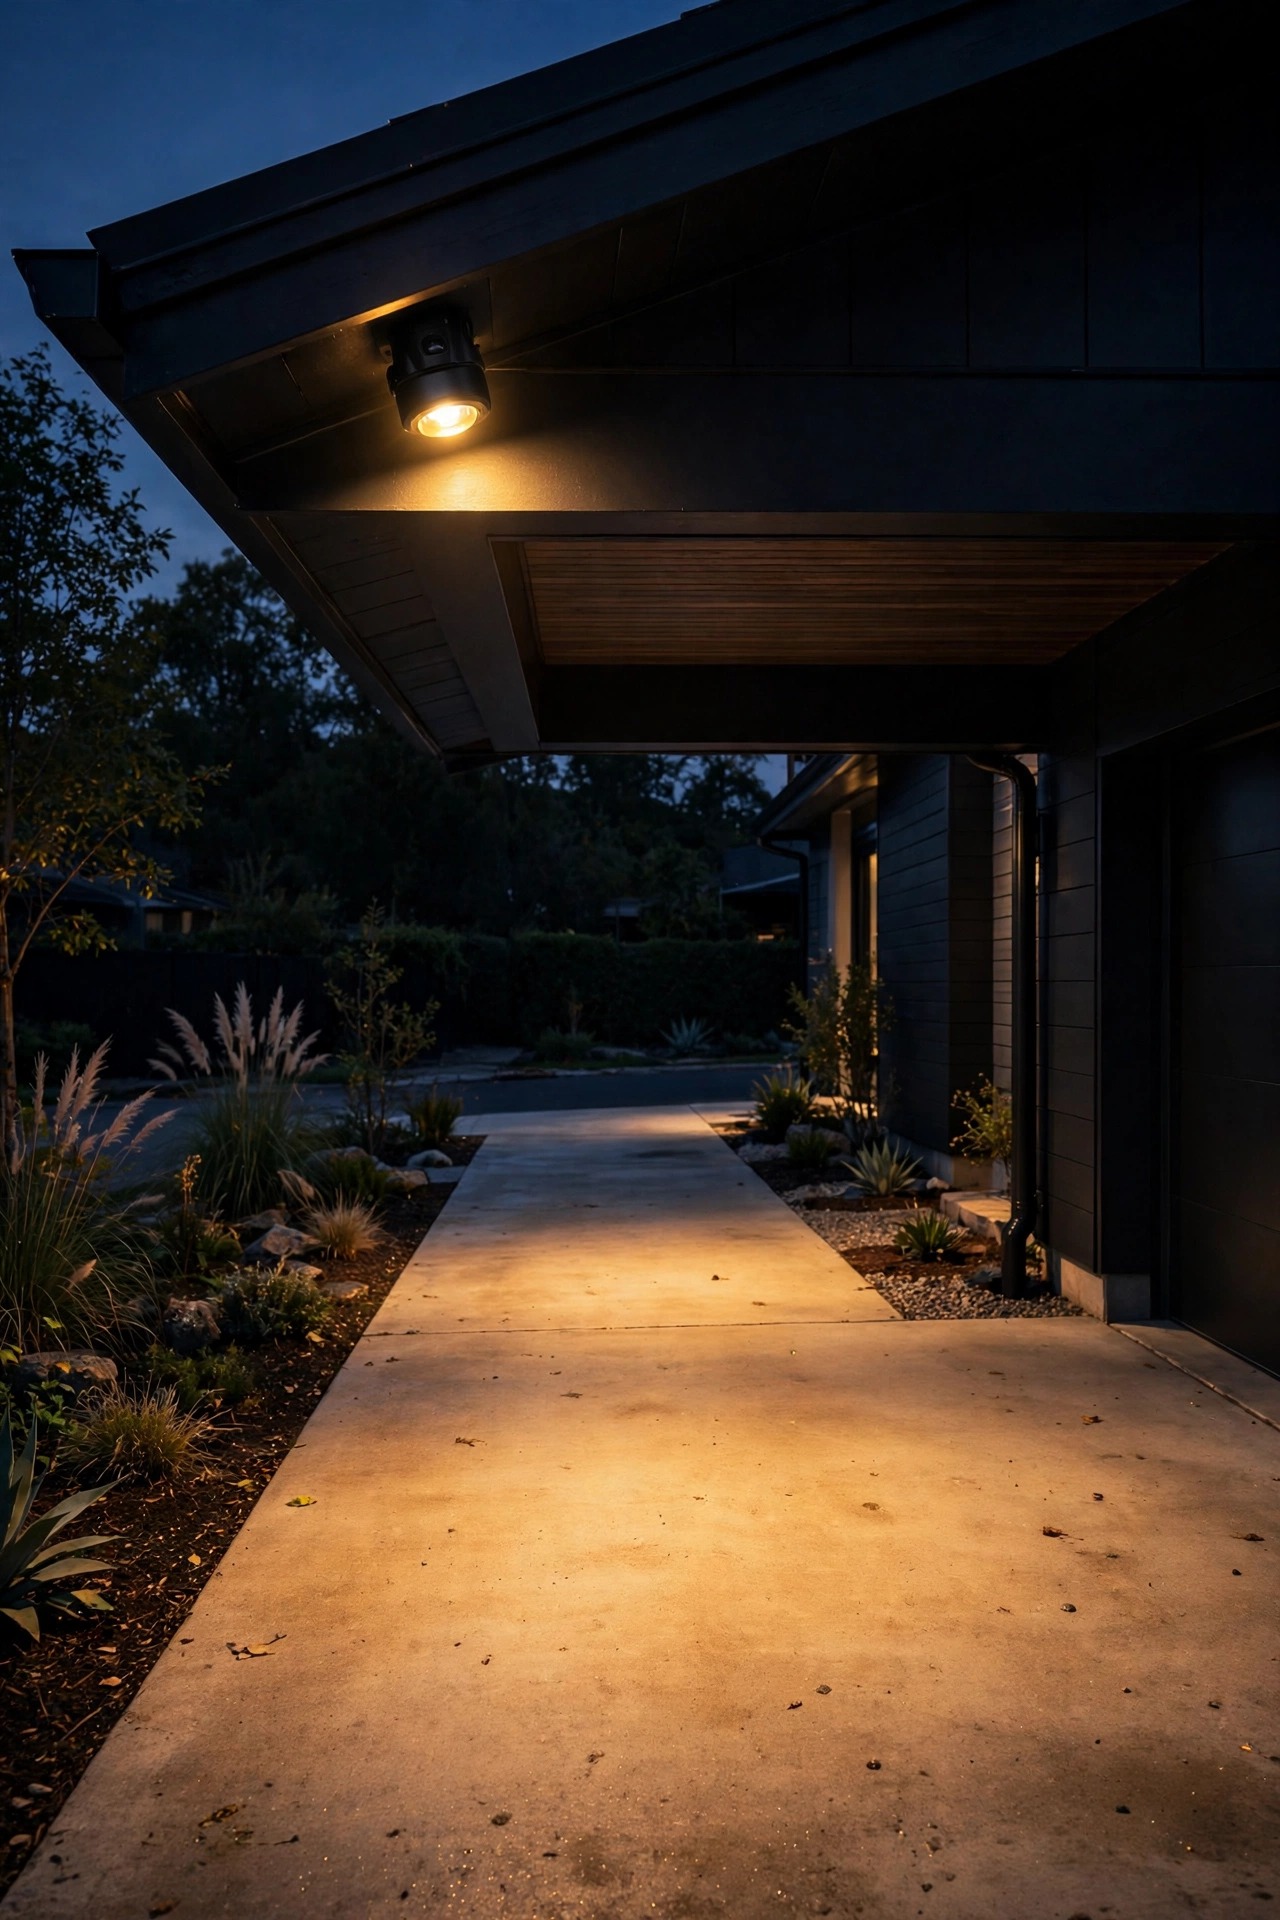
Every driveway needs honest security light, but a giant twin flood glaring over the garage door ruins the modern look by day and blinds guests by night. The compromise I use is a compact matte black LED flood with a built-in motion sensor, tucked under the eave or high on the garage wall where it reads as part of the trim. Aim it down at about 45 degrees so it covers the apron and drive without throwing light into the street or a neighbor bedroom window. Set the range so it triggers when a car noses in — usually 20 to 30 feet — and set the on-time to one or two minutes, not ten. Modern units let you dial sensitivity so passing raccoons stop hosting light shows. Aim for 1,200 to 2,000 lumens: bright enough to unload groceries safely and see faces clearly, not so bright it feels like an interrogation. Because it sleeps dark all night, your calm layers from the other ideas stay in charge, and the flood only speaks up when someone actually arrives. Practical, polite, and nearly invisible.
Suggested budget range: $60 – $180.
8. Use High-Lumen Solar Stakes on a Long Driveway
Let me be honest about solar, because long driveways are where it tempts everyone: trenching 200 feet of cable is nobody idea of a fun weekend. Good modern solar stakes have earned a place here — but only the serious ones, with large separate panels, replaceable batteries, and a stated output of 100 lumens or more per stake. The cheap ten-pack will give you dim blue dots and heartbreak by February. I choose geometric flat-top or short bollard styles in black, space them 6 to 8 feet apart on the sunniest edge, and angle panels toward the southern sky with nothing shading them after mid-morning. Solar light is guidance, not task light, so pair it with wired fixtures at the apron and garage where brightness really matters. Expect six to eight hours of light on a good charge, less in deep winter, and plan to swap batteries every two to three years. For renters and long rural drives, though, nothing else delivers this clean edge line for zero wiring. In my experience, honest expectations are what make solar feel like a success instead of a compromise.
Suggested budget range: $80 – $260.

9. Edge a Gravel Driveway With Low Discreet Fixtures
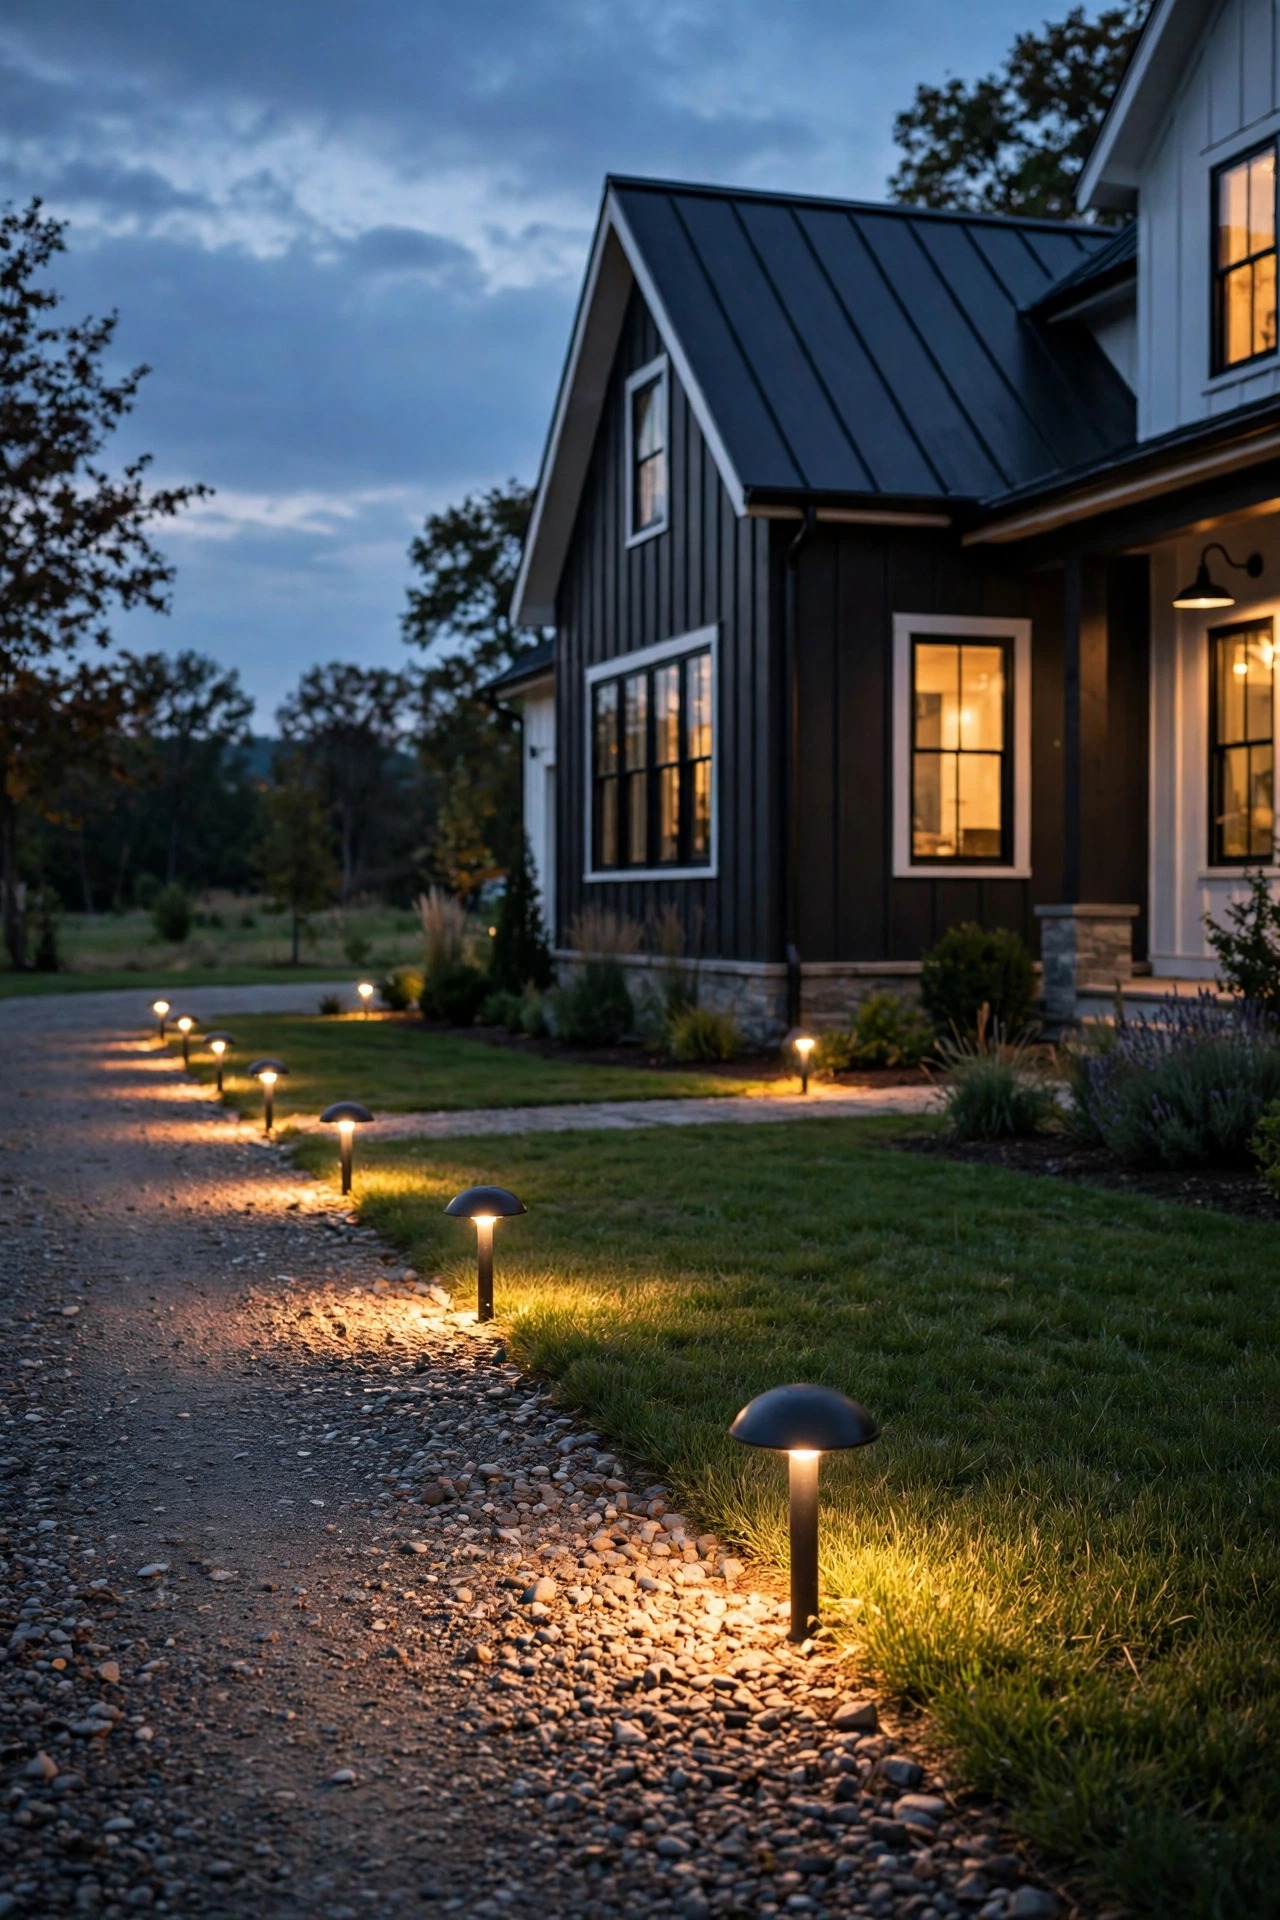
Gravel drives and tall fixtures do not mix — stakes wobble, bollards lean, and every tire track rearranges your careful lines. Low, heavy fixtures are the answer: dome or mushroom-style path lights with wide squat bases that sit stable on the gravel surface, or short bollards set in small concrete footings at the edge where the gravel meets the lawn. I keep fixtures under 14 inches tall so headlights sweep over them and the light stays pooled on the stone, where the texture does half the styling work for you. Space them a little closer than on pavement, about 6 to 8 feet, because gravel swallows light instead of reflecting it. Bury the low-voltage cable along a landscape edging strip at the border; it pins the cable line straight and keeps it out of the rake path when you regrade in spring. Choose sealed fixtures rated for dust as well as water, since gravel dust coats everything by August. The look is quiet and modern-rustic, and the footing trick means your line stays ruler-straight season after season.
Suggested budget range: $150 – $400.
10. Put the Whole Driveway on Smart Timers and Photocells
Sleek is partly a schedule. A modern driveway should glide on at dusk, burn at full welcome brightness during the evening, then dim or drop to a minimal guidance level late at night — all without you touching a switch. An astronomical timer handles the first job beautifully, since it tracks sunset through the seasons with no photocell to fool. I layer a photocell on the bollard circuit as backup and set the accent layer to shut off around midnight, when nobody is admiring the tree but the moths. Dimming to 40 or 50 percent after 11 p.m. keeps the edge line readable for late arrivals while cutting the electric bill and light spill. App-controlled systems use generic schedules the same way, and my only rule is to avoid color-changing party modes on the driveway; a modern arrival is monochromatic and calm. Keep the manual override switch somewhere sensible, like inside the garage door, for the nights you are unloading in the dark. Automation is invisible design, honestly, but it is the difference between a lighting system and a lighting habit you abandon by March.
Suggested budget range: $40 – $160.
11. Keep Every Bulb at One Warm Temperature
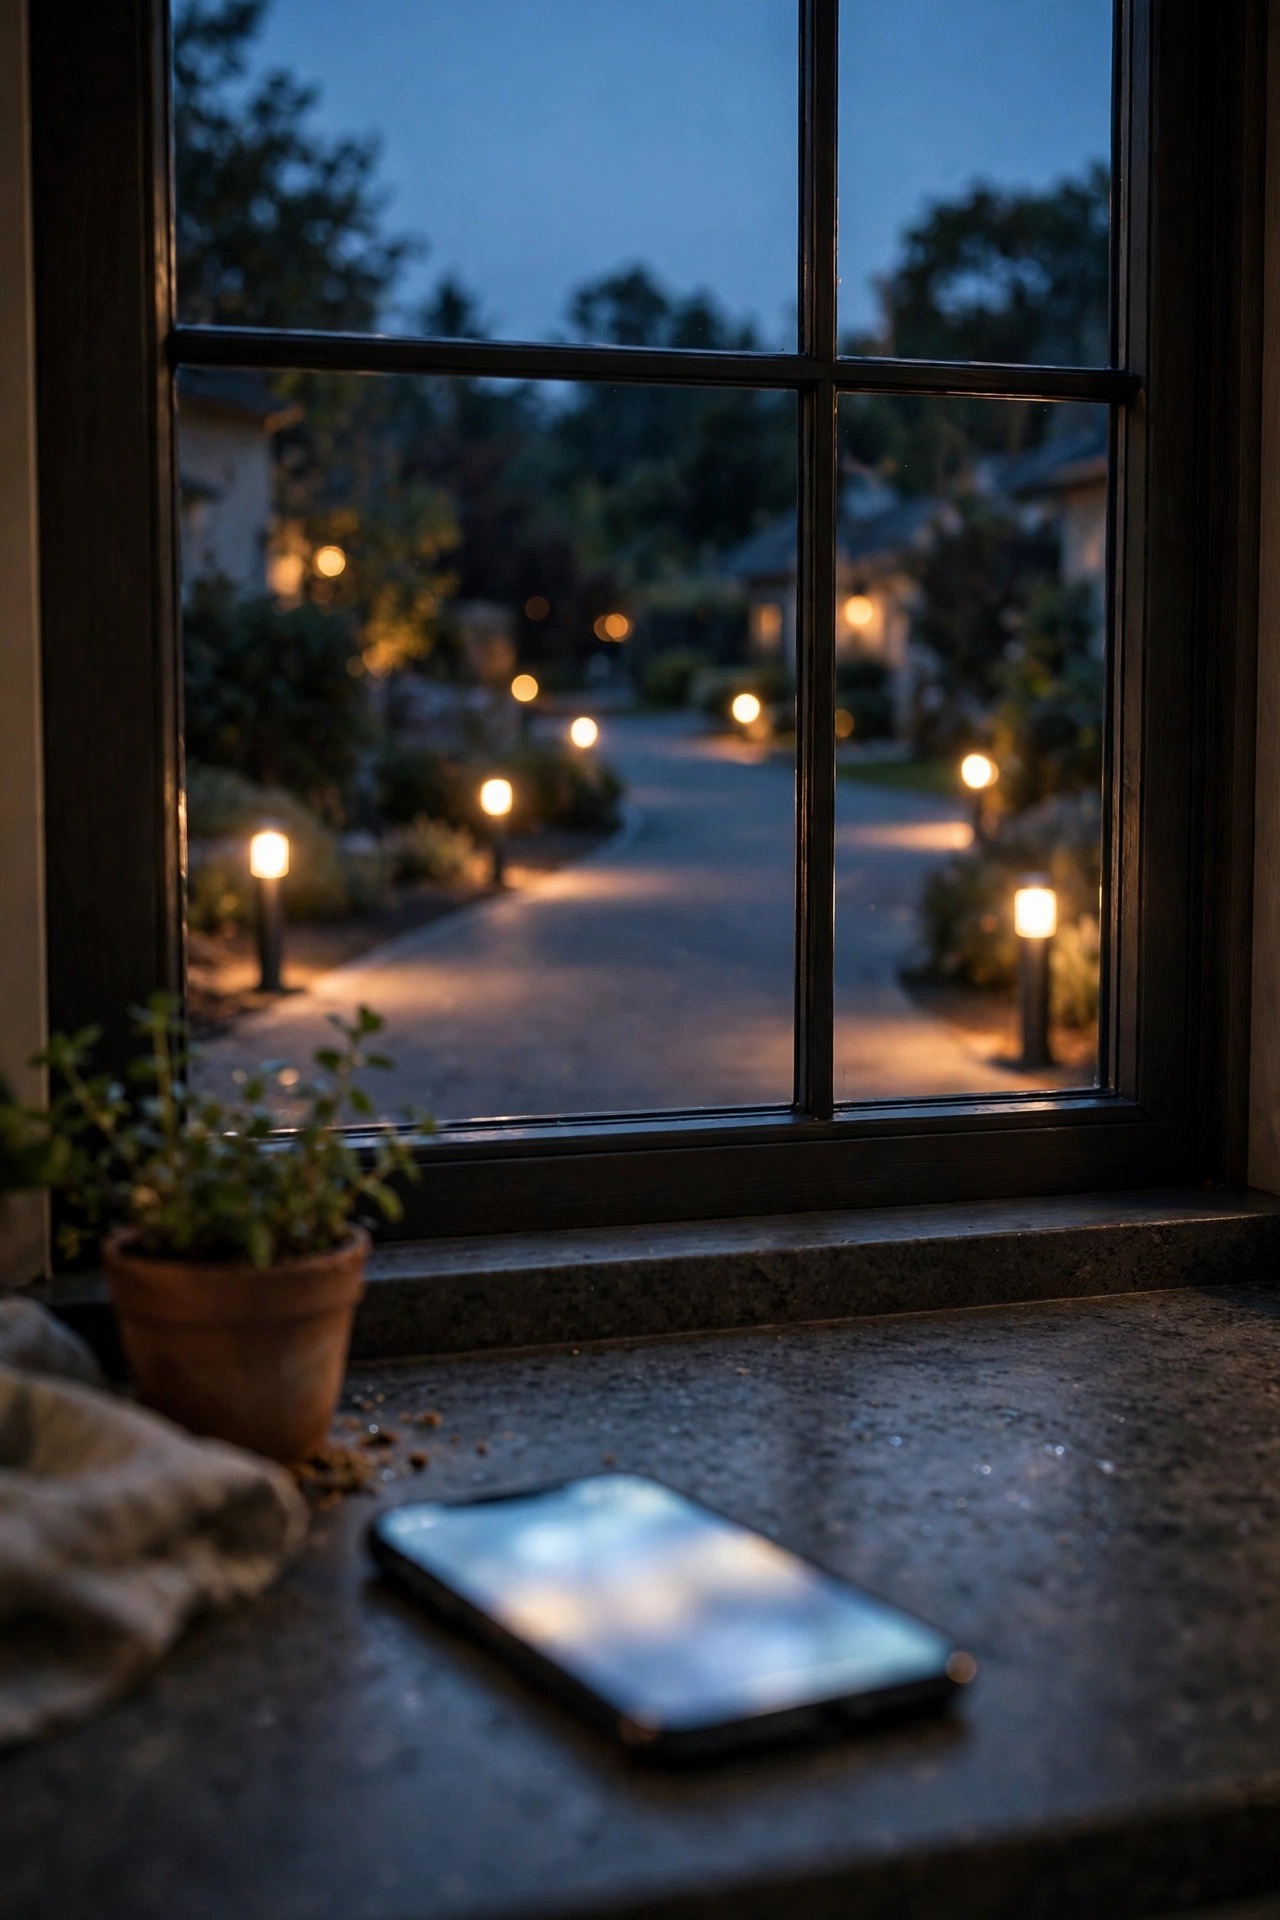
Nothing breaks a modern scheme faster than a patchwork of bulb colors — one bollard glowing amber, the next shining hospital white. I buy every fixture and replacement bulb on a driveway at exactly 2700K, or 3000K if the home has a lot of gray stone and steel and wants a slightly crisper edge. Then I check the color rendering index, because a CRI of 90 or above keeps cedar, brick, and car paint looking rich instead of muddy. Integrated LED fixtures solve most of this by baking the temperature in, which is one more reason I favor them for bollards and markers. For sconces and pendants with replaceable bulbs, I write the temperature on a strip of tape inside the fixture and keep two spares in a labeled drawer, so a midnight replacement never introduces a stranger. Walk the drive after any swap and look at the line as a whole; your eye catches a mismatch instantly from the street. One temperature, one finish, one rhythm — that discipline is most of what people mean when they call lighting modern.
Suggested budget range: $25 – $90.
12. Uplight One Sculptural Tree or Architectural Planting
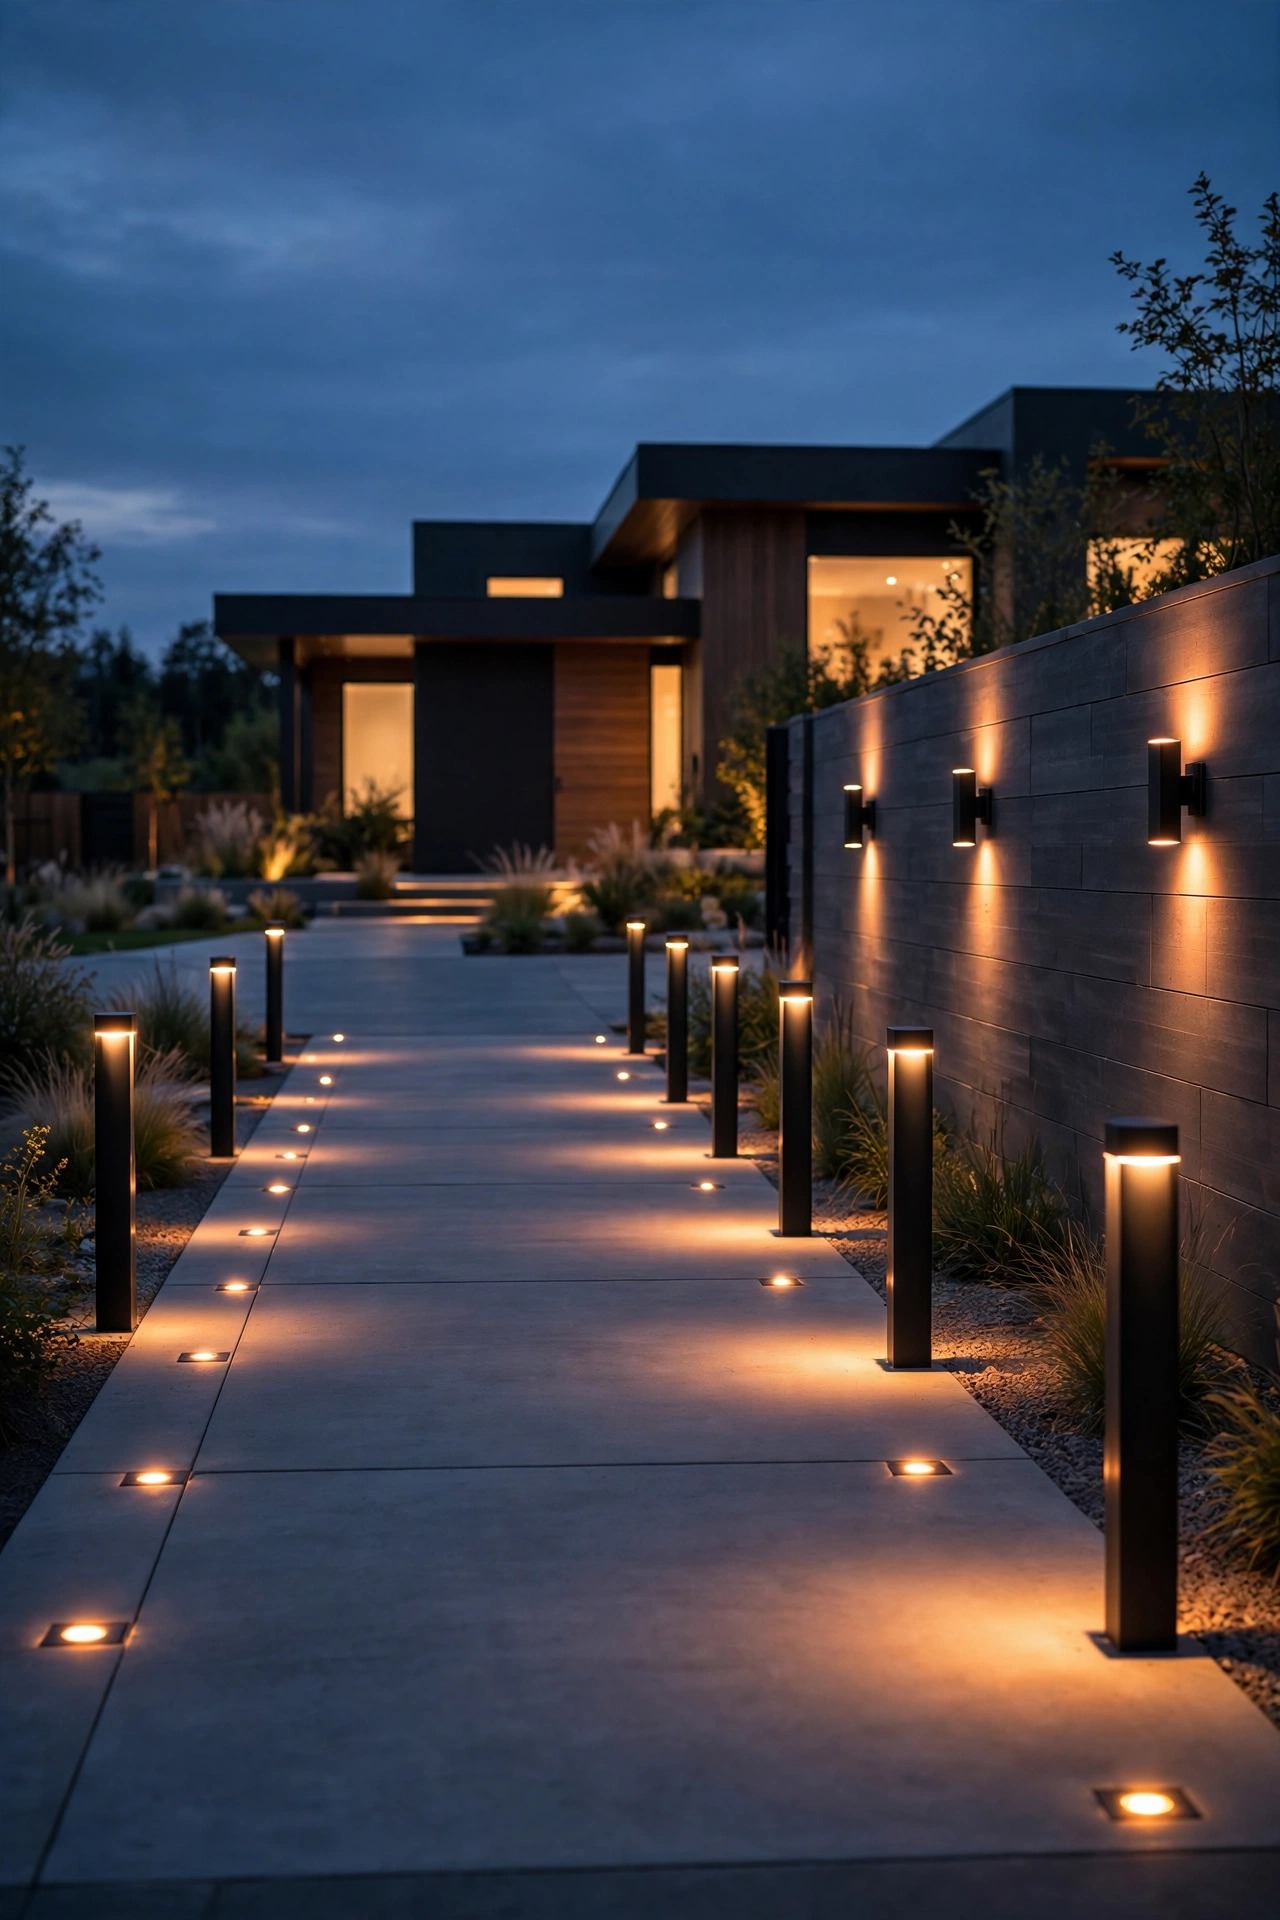
A modern driveway needs an exclamation point, and one dramatically lit tree beats ten timid ones. I pick the most sculptural planting near the drive — a multi-stem birch, a Japanese maple, an olive-style ornamental — and give it a single narrow-beam spotlight or a flush well light set 12 to 18 inches from the trunk, aimed up through the canopy. Around 400 to 600 lumens is plenty for a small ornamental; more flattens the shadows that make it interesting. The well light version disappears completely by day, which suits minimalist yards, and there is nothing for a mower or a tire to clip. Keep the beam off the street and out of the driver sightline as cars turn in — glare undoing your welcome at the last second is a real thing. If there is no tree, a tall ornamental grass clump or a clipped columnar shrub takes the same treatment beautifully. I put the accent on the timer layer that shuts off at midnight from idea 10, so the drama runs for the evening crowd and the tree gets its rest after. One accent, aimed well, carries the whole arrival.
Suggested budget range: $70 – $200.
13. Tie the Driveway Into the Entry With Modern Driveway Lighting Ideas
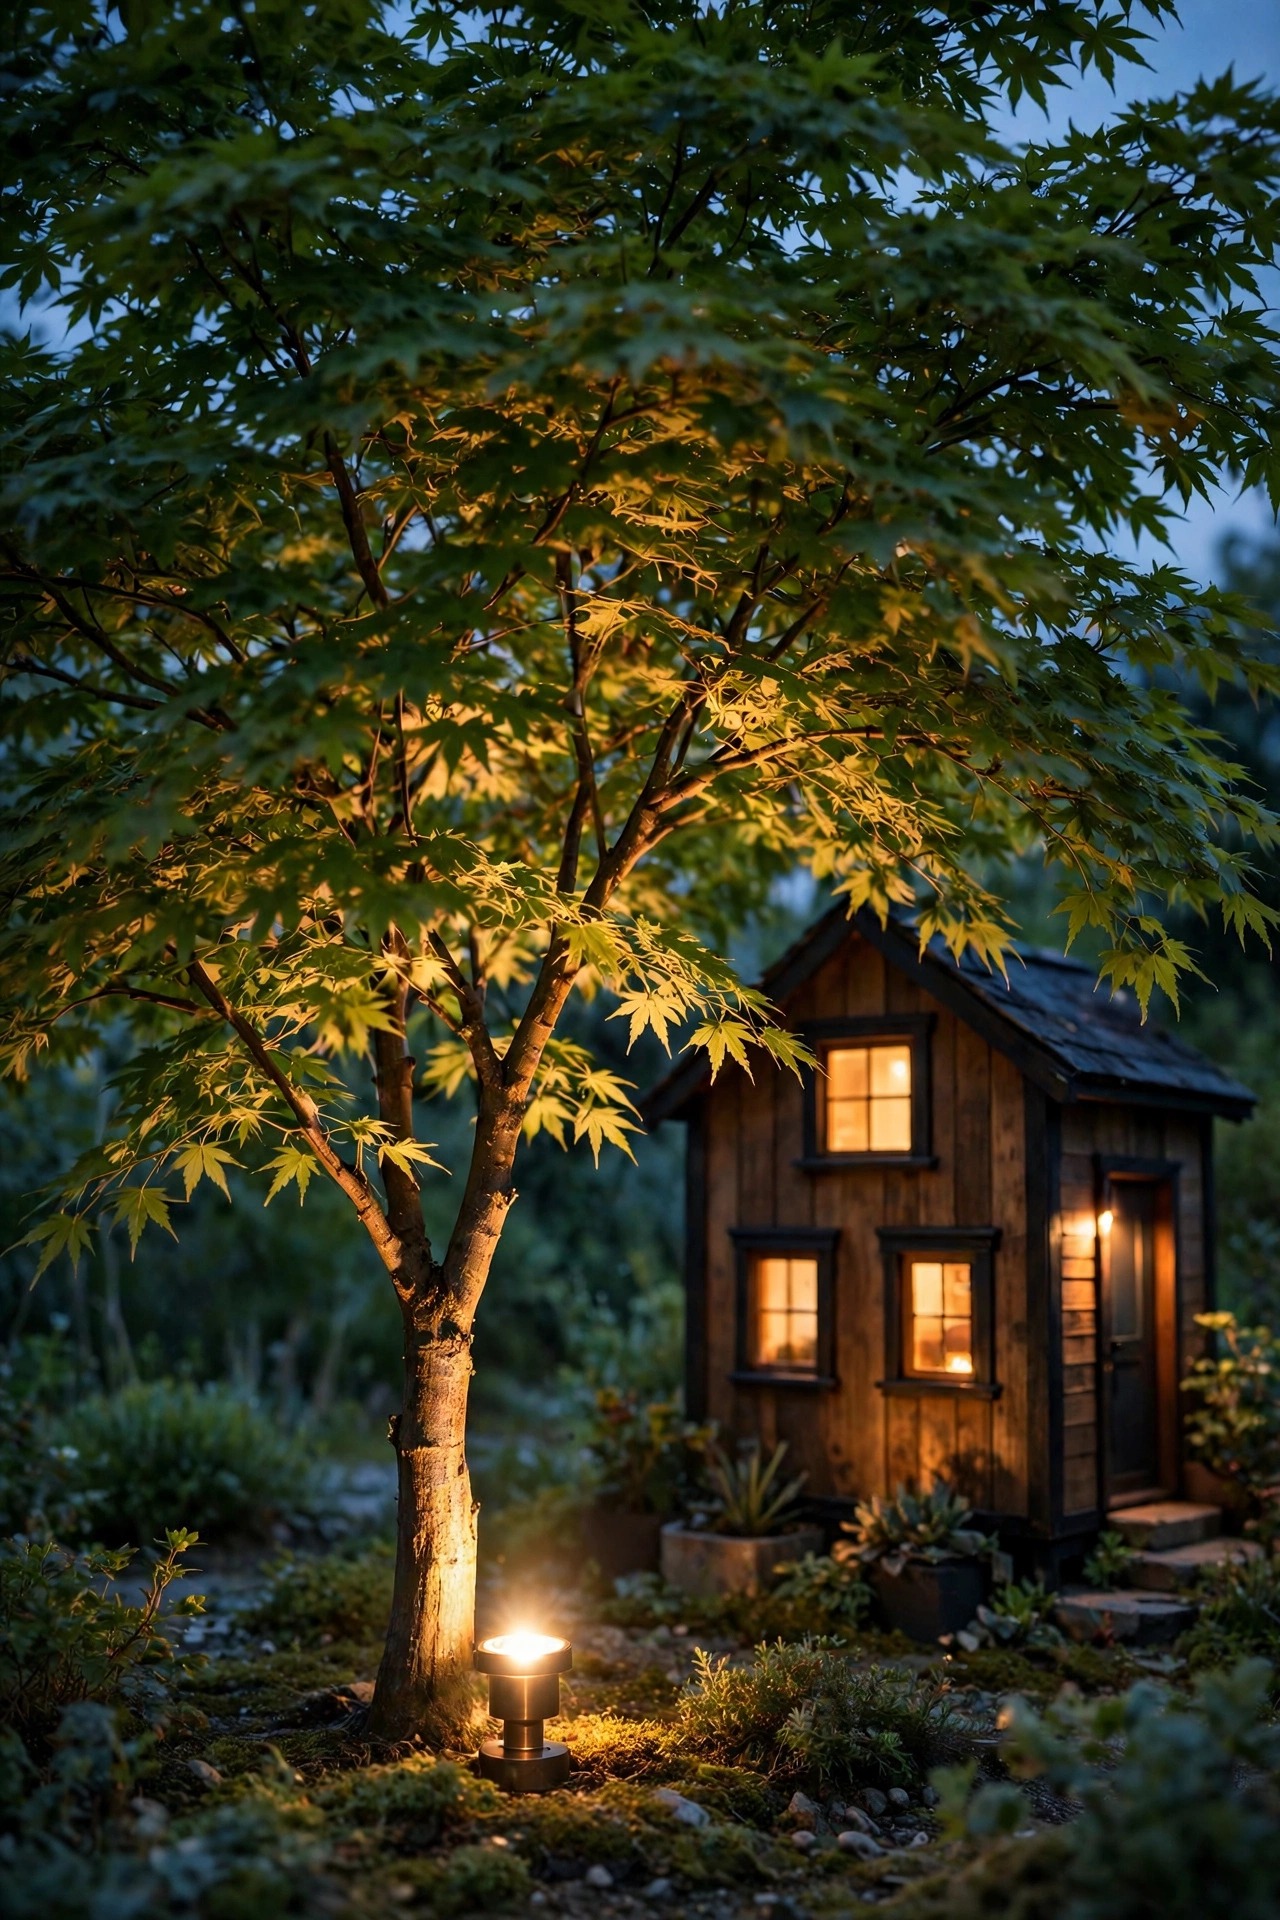
The driveway does not end at the garage — the arrival ends at the front door, and the lighting should walk guests there without a dark break. I continue the same fixture family from drive to door: the bollard rhythm becomes two or three matching path lights along the front walk, in the same finish and the same 2700K, spaced so the pools of light just touch. A lit house number near the door, backlit or edge-lit in a clean modern style, closes the loop for guests and delivery drivers alike; mount it where the sconce light can rake across it for extra readability. Keep brightness levels consistent as you move from drive to walk to stoop, because a sudden bright porch bulb after a calm drive feels like a stage entrance. If your entry has steps, borrow the flush marker idea from the driveway edge and set one small step light per tread, aimed down. In my experience, visitors never notice this continuity consciously — they just describe the house as feeling put together. That invisible thread from street to doorstep is the quiet signature of modern driveway lighting ideas done right.
Suggested budget range: $90 – $280.
14. Hide the Wires and Mind the Voltage Drop
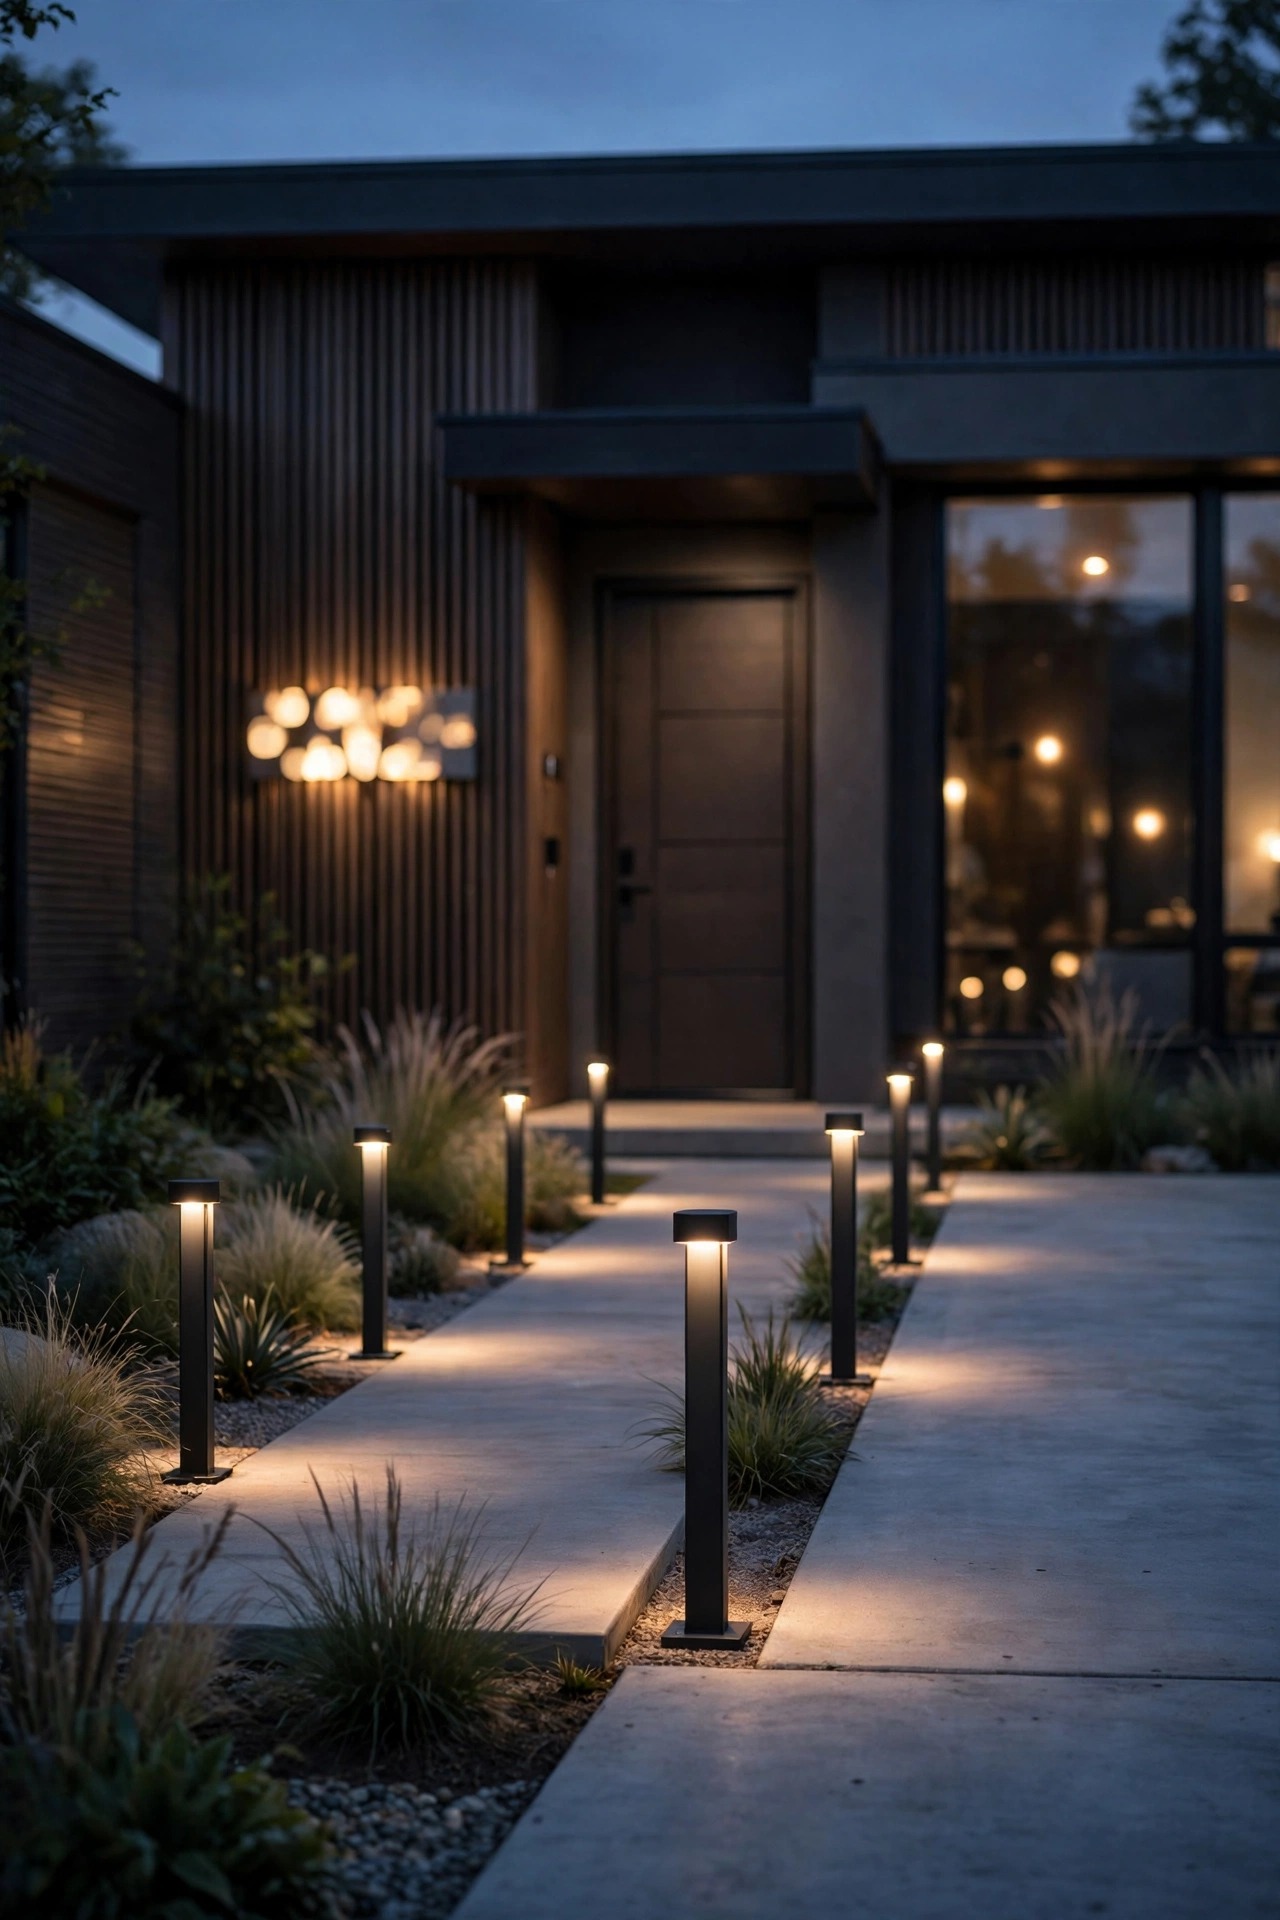
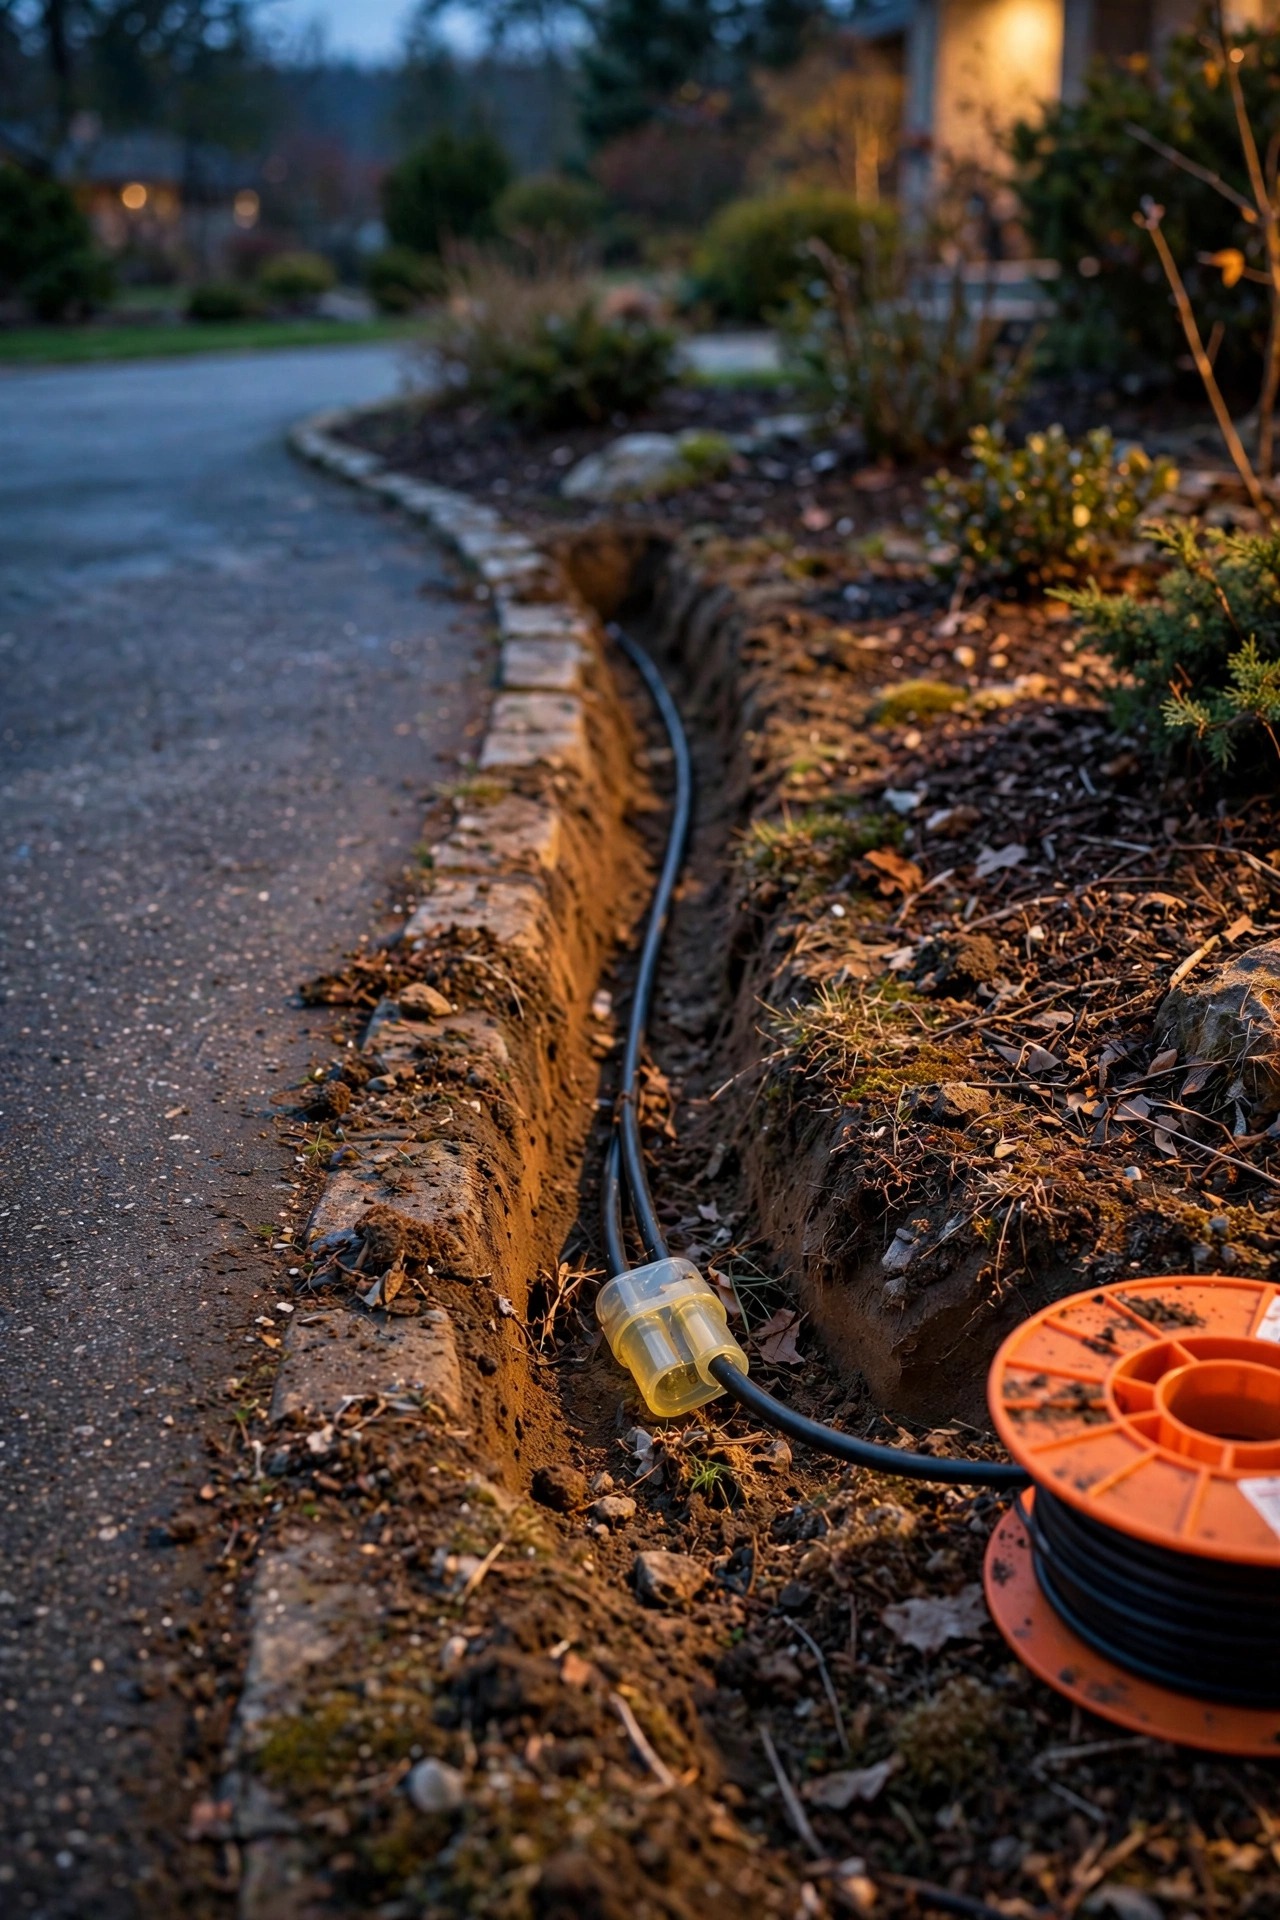
Modern design shows no working parts, so wire discipline matters as much as fixture choice. I bury low-voltage cable a full 6 inches deep along bed edges, never loose under gravel where rakes and tires find it, and I use gel-filled waterproof connectors at every splice — the twist-on kind from the bargain bin corrode green by the second season. Long runs need respect for voltage drop: lights at the far end of a 150-foot run on thin cable will glow noticeably dimmer and warmer than the first ones. The fixes are simple — step up to 12-gauge cable for long home runs, split the drive into two shorter circuits, or use the hub method, running equal-length leads from one central connection point so every fixture sees the same voltage. Before you backfill anything, power the system at dusk and compare the first and last fixture side by side. Sleeving the cable where it crosses under the driveway in a conduit offcut saves a future excavation if a wire ever fails. Invisible, even, and boring underground is exactly what lets the visible part look effortless.
Suggested budget range: $60 – $220.
15. Test Your Modern Driveway Lighting Ideas From the Street
The last step costs nothing and saves the whole project: after everything is in, drive past your own house at night, slowly, the way a guest would. Then pull in, get out, and walk the route to the front door. You will see things no daytime install reveals — a bollard aimed a degree too high glaring through the windshield, a dark gap at the apron corner where guests step out, a sconce reflecting in a car mirror. I keep a small notebook in the glove box for one week and adjust one thing per evening: nudge an aim, dim a circuit, shift a bollard a foot. Check the view from inside the house too, because a marker that looks perfect from the street can shine straight into a front window. Take a photo from the curb on the first night and another after adjustments; the difference usually shocks people. In my experience, this slow test-and-tune week is what separates a driveway that was installed from one that was designed. Give your modern driveway lighting ideas that final honest look, and they will greet you beautifully for years.
Suggested budget range: $0 – $30.
Frequently Asked Questions
What color temperature looks best for a modern driveway?
I recommend 2700K for most homes, because it reads warm and welcoming against concrete and landscaping while still looking crisp and architectural. If your house leans heavily into gray stone, steel, and white siding, 3000K gives a slightly cooler, sharper edge without tipping into blue. Whatever you choose, use that one temperature across every fixture on the driveway, and look for a color rendering index of 90 or above so surfaces and car paint look rich. Mixed temperatures are the fastest way to make an expensive install look accidental.
How far apart should driveway bollard lights be spaced?
My working rule is 8 to 12 feet apart along one edge of the driveway, which lets the pools of light overlap gently without bright spots. For short bollards under 24 inches, stay closer to 8 feet; taller bollards with wider beam spreads can stretch to 12. On wide drives, stagger fixtures on both sides instead of doubling them in pairs, which keeps the rhythm modern and the cost sane. Set each bollard back 12 to 18 inches from the pavement edge so mirrors and snowplows clear them easily.
Are solar driveway lights bright enough?
Honestly, it depends on the job you give them. Quality solar stakes and bollards with outputs of 100 lumens or more are bright enough for edge guidance on long driveways, and they save a fortune in trenching. They are not bright enough as your only light at the garage apron or front steps, where guests actually need to see. My hybrid approach wires the key zones and lets solar handle the long simple edges. Expect shorter run times in winter, and choose models with replaceable batteries so the fixtures last.
How much does modern driveway lighting cost in 2026?
A focused DIY refresh — a row of low-voltage bollards, a timer, and cable — typically lands between $400 and $900 in materials. Adding flush markers, paver lights, and garage sconces pushes a full layered driveway to roughly $1,200 to $2,800, while professionally installed systems with long runs and smart controls commonly reach $3,500 to $6,000. Running costs stay tiny with LED, usually a few dollars a month. My full breakdown in the driveway lighting cost guide walks through the numbers by fixture type and driveway length.
Conclusion
A sleek arrival is never about one heroic fixture. It is layers — calm guidance down the edges, confident light where people step out, one architectural accent, and every bulb agreeing on a single warm temperature. Start with the plan, add the ideas that fit your driveway shape and budget, and give the finished work that honest drive-by test at night. Done well, modern driveway lighting ideas turn the most ordinary part of your front yard into the moment guests remember. Browse the rest of our outdoor lighting ideas here on the site for matching path, porch, and garden layers, and I will see you out there at dusk.