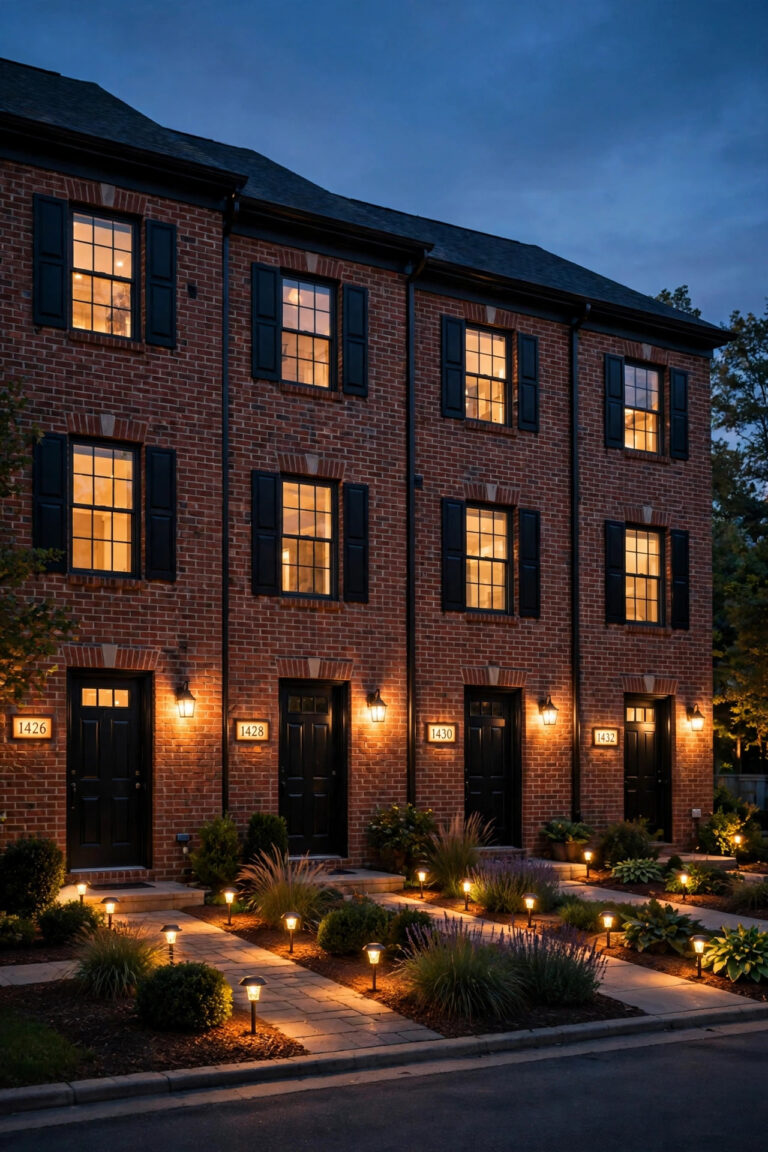
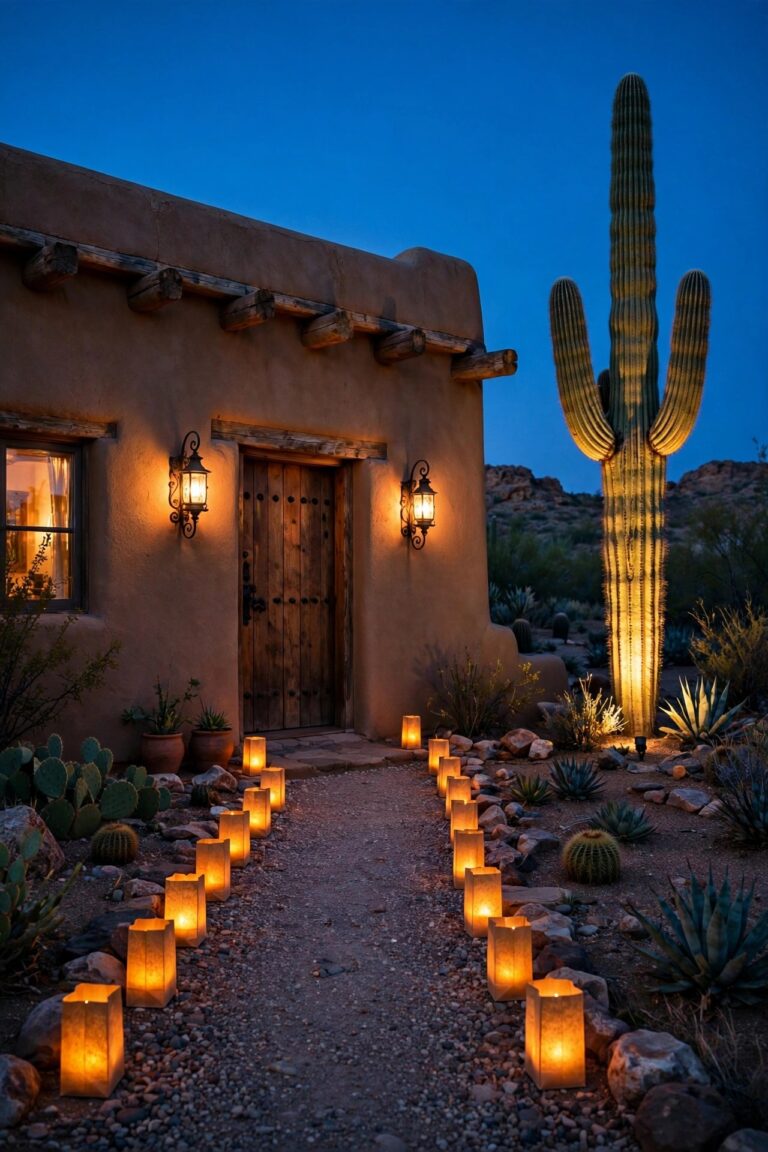
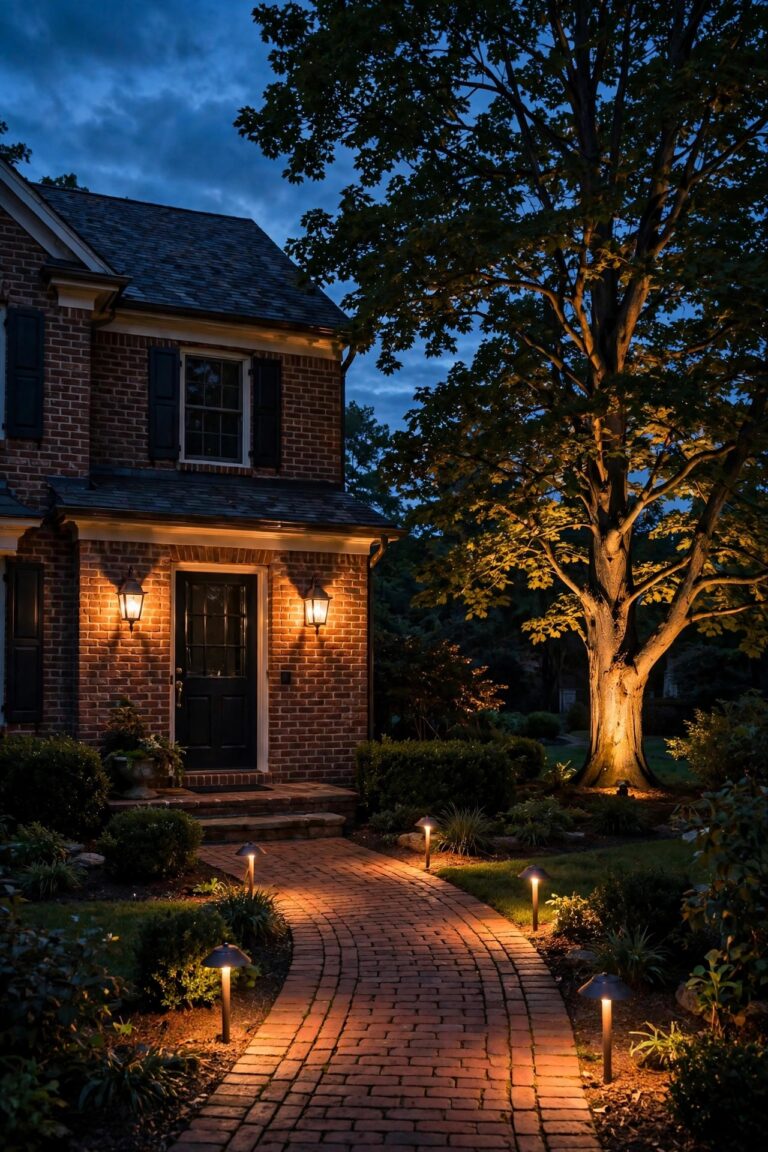
Honestly? The front yards that stop me mid-walk are never the brightest ones on the block. They are the ones where the light looks built into the house itself, as if the architect planned every glow on purpose before the first brick was laid. That is exactly what these modern front yard lighting ideas are about: clean lines, deliberate layers, and fixtures that disappear into the design all day, then switch the whole facade on at dusk like a piece of architecture. I always start with layers. A soft wash for guidance along the walk and drive, a warm pool of welcome at the front door, and one or two sculptural accents on a tree, a stone column, or a row of ornamental grasses. Get those three layers right and even a modest ranch looks intentional. Below I am sharing the 19 ideas I come back to again and again, from in-ground well lights to smart zoning that runs the whole scene on a schedule. Every idea includes placement measurements, finish notes, and a realistic budget, so you can steal one section this weekend or plan the full transformation.
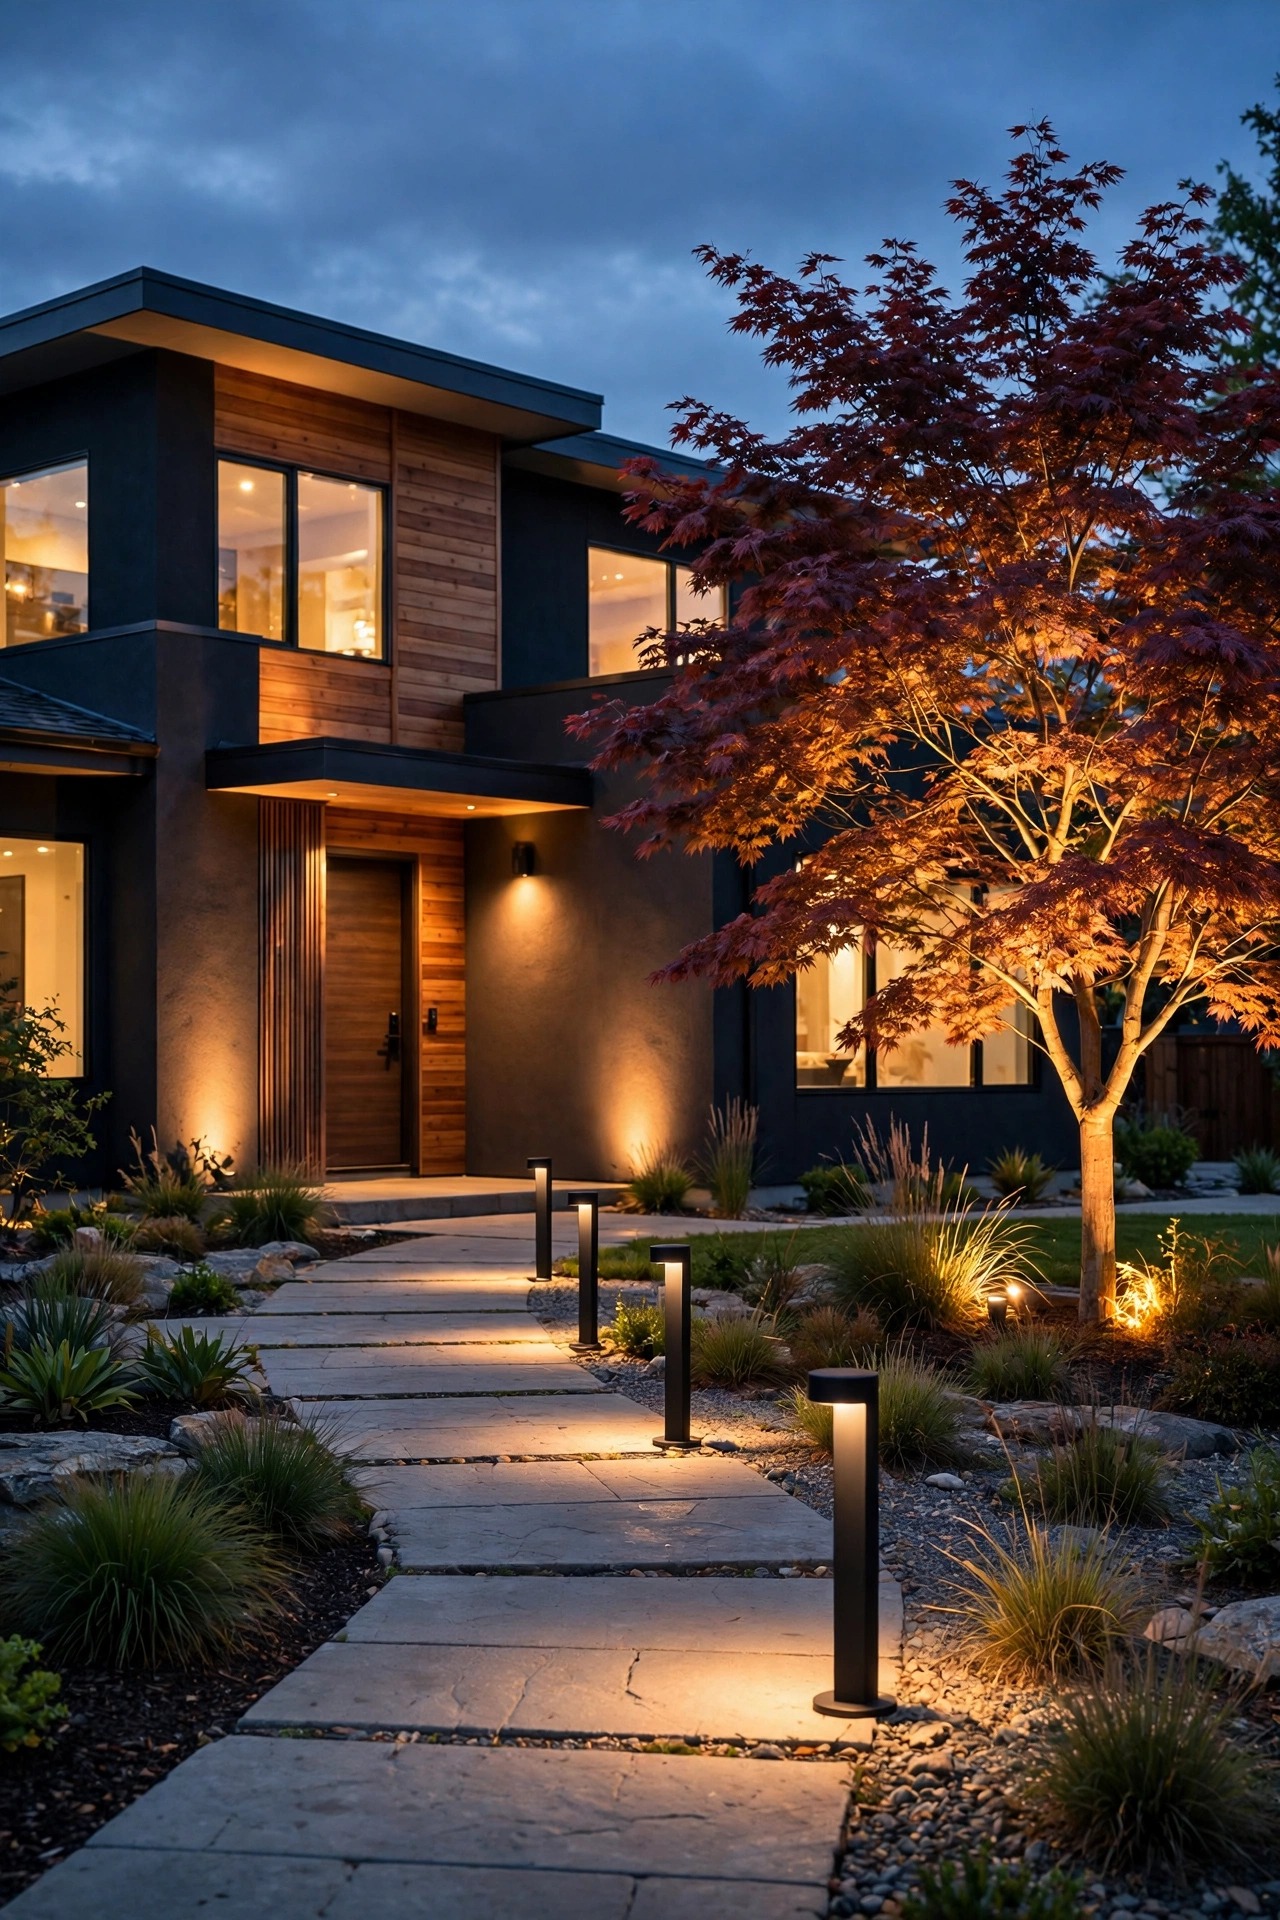
1. Plan Modern Front Yard Lighting Ideas in Three Clean Layers
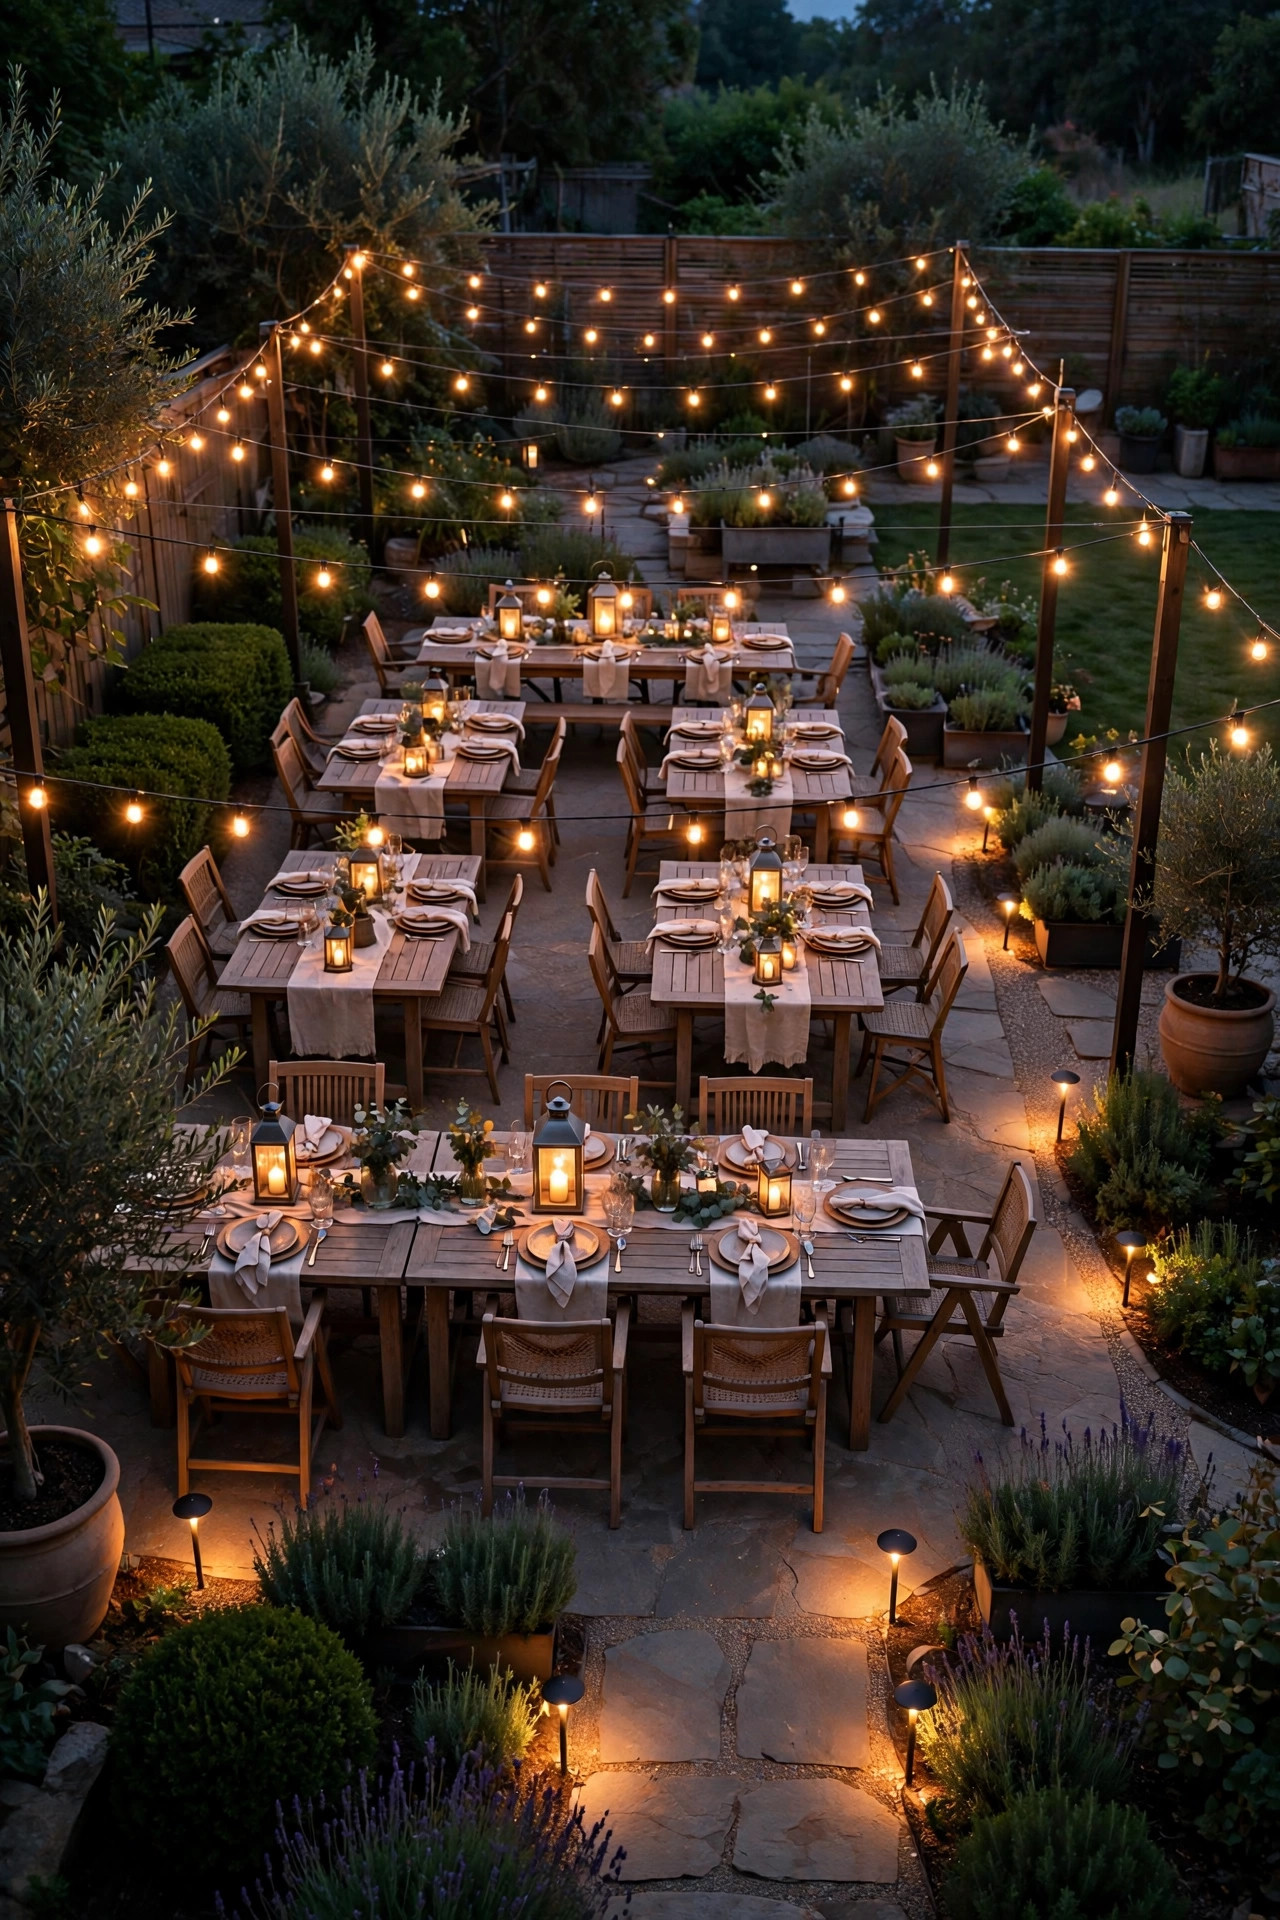
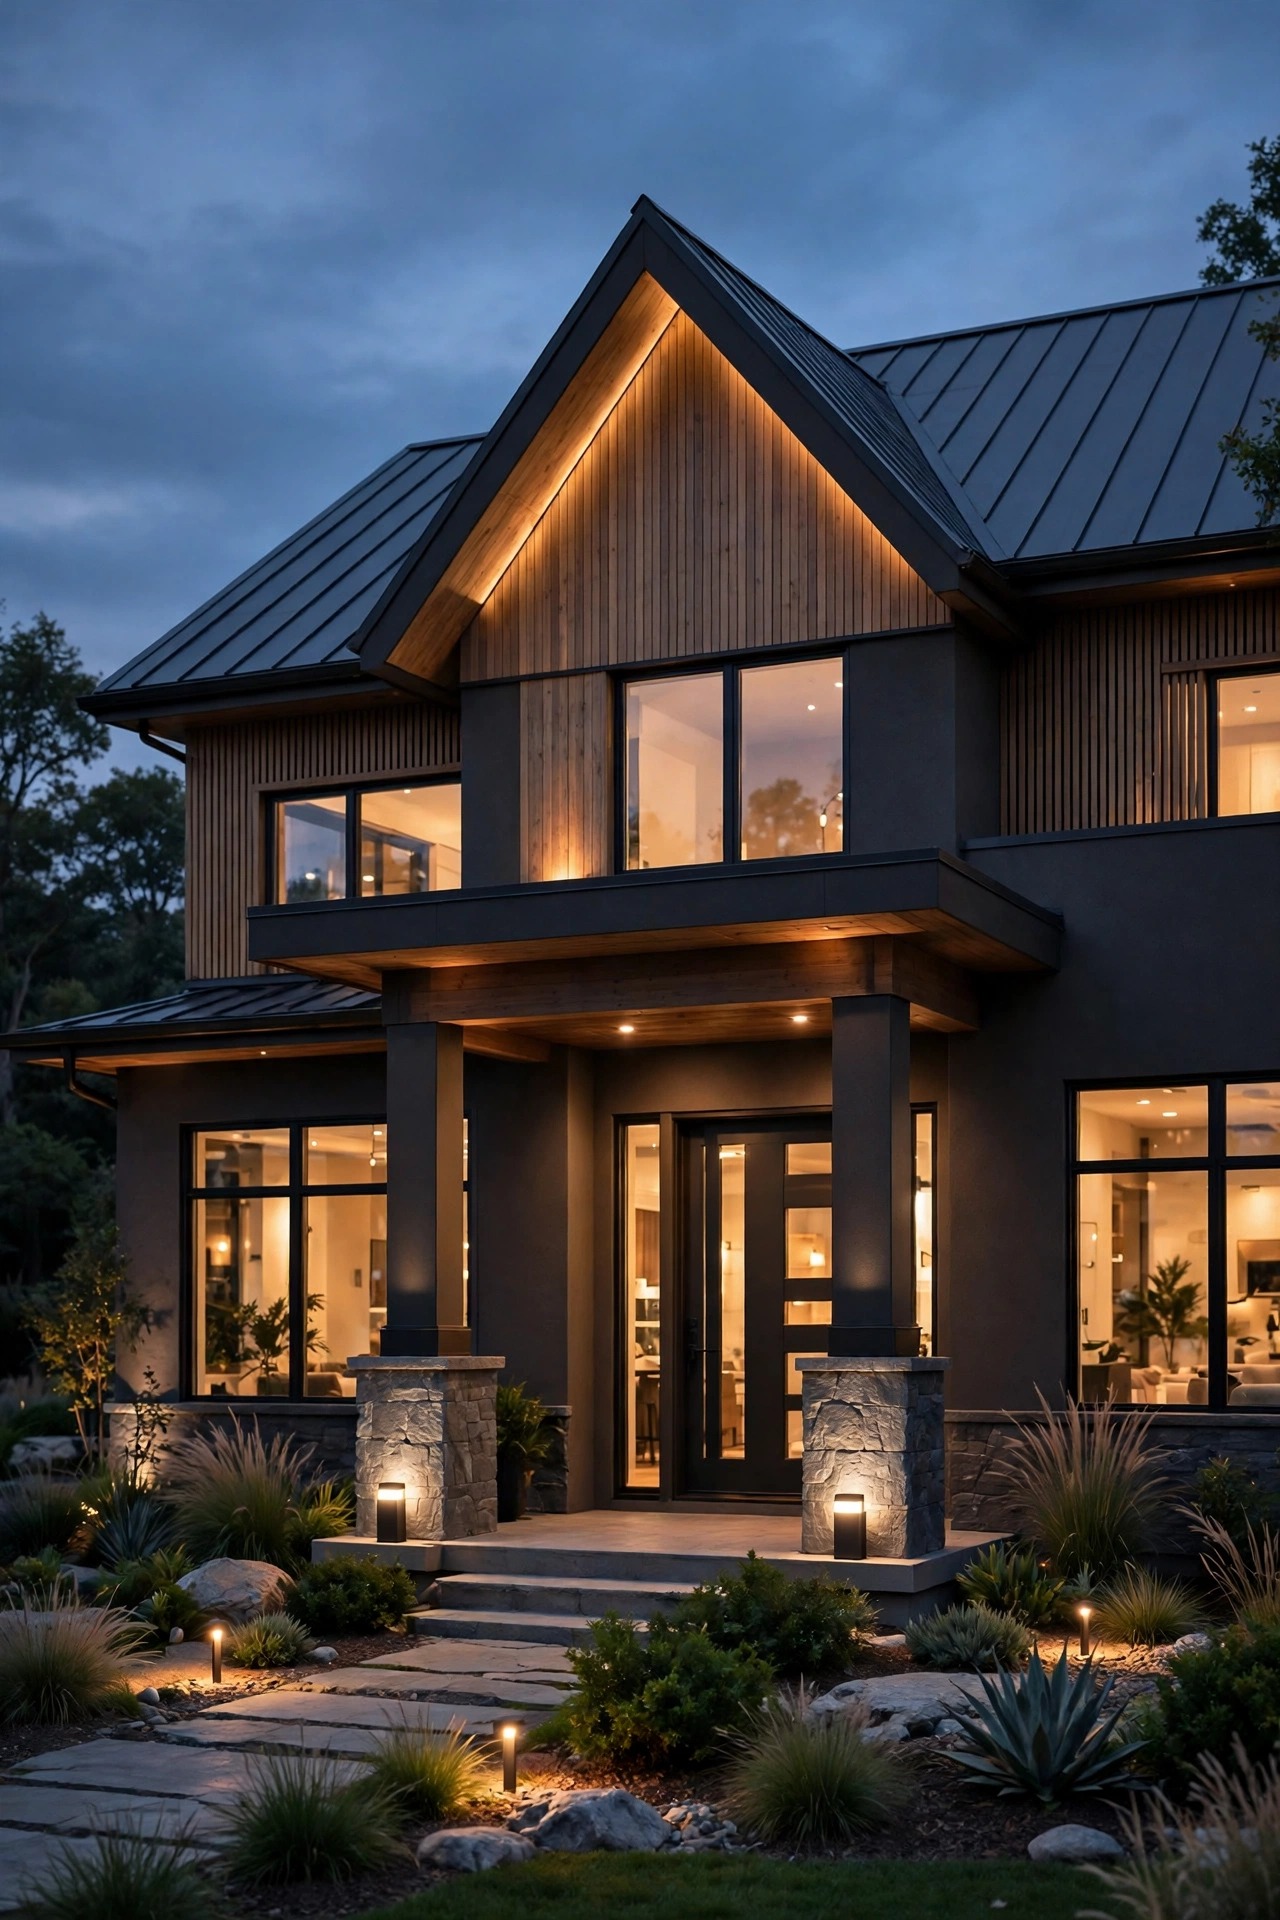
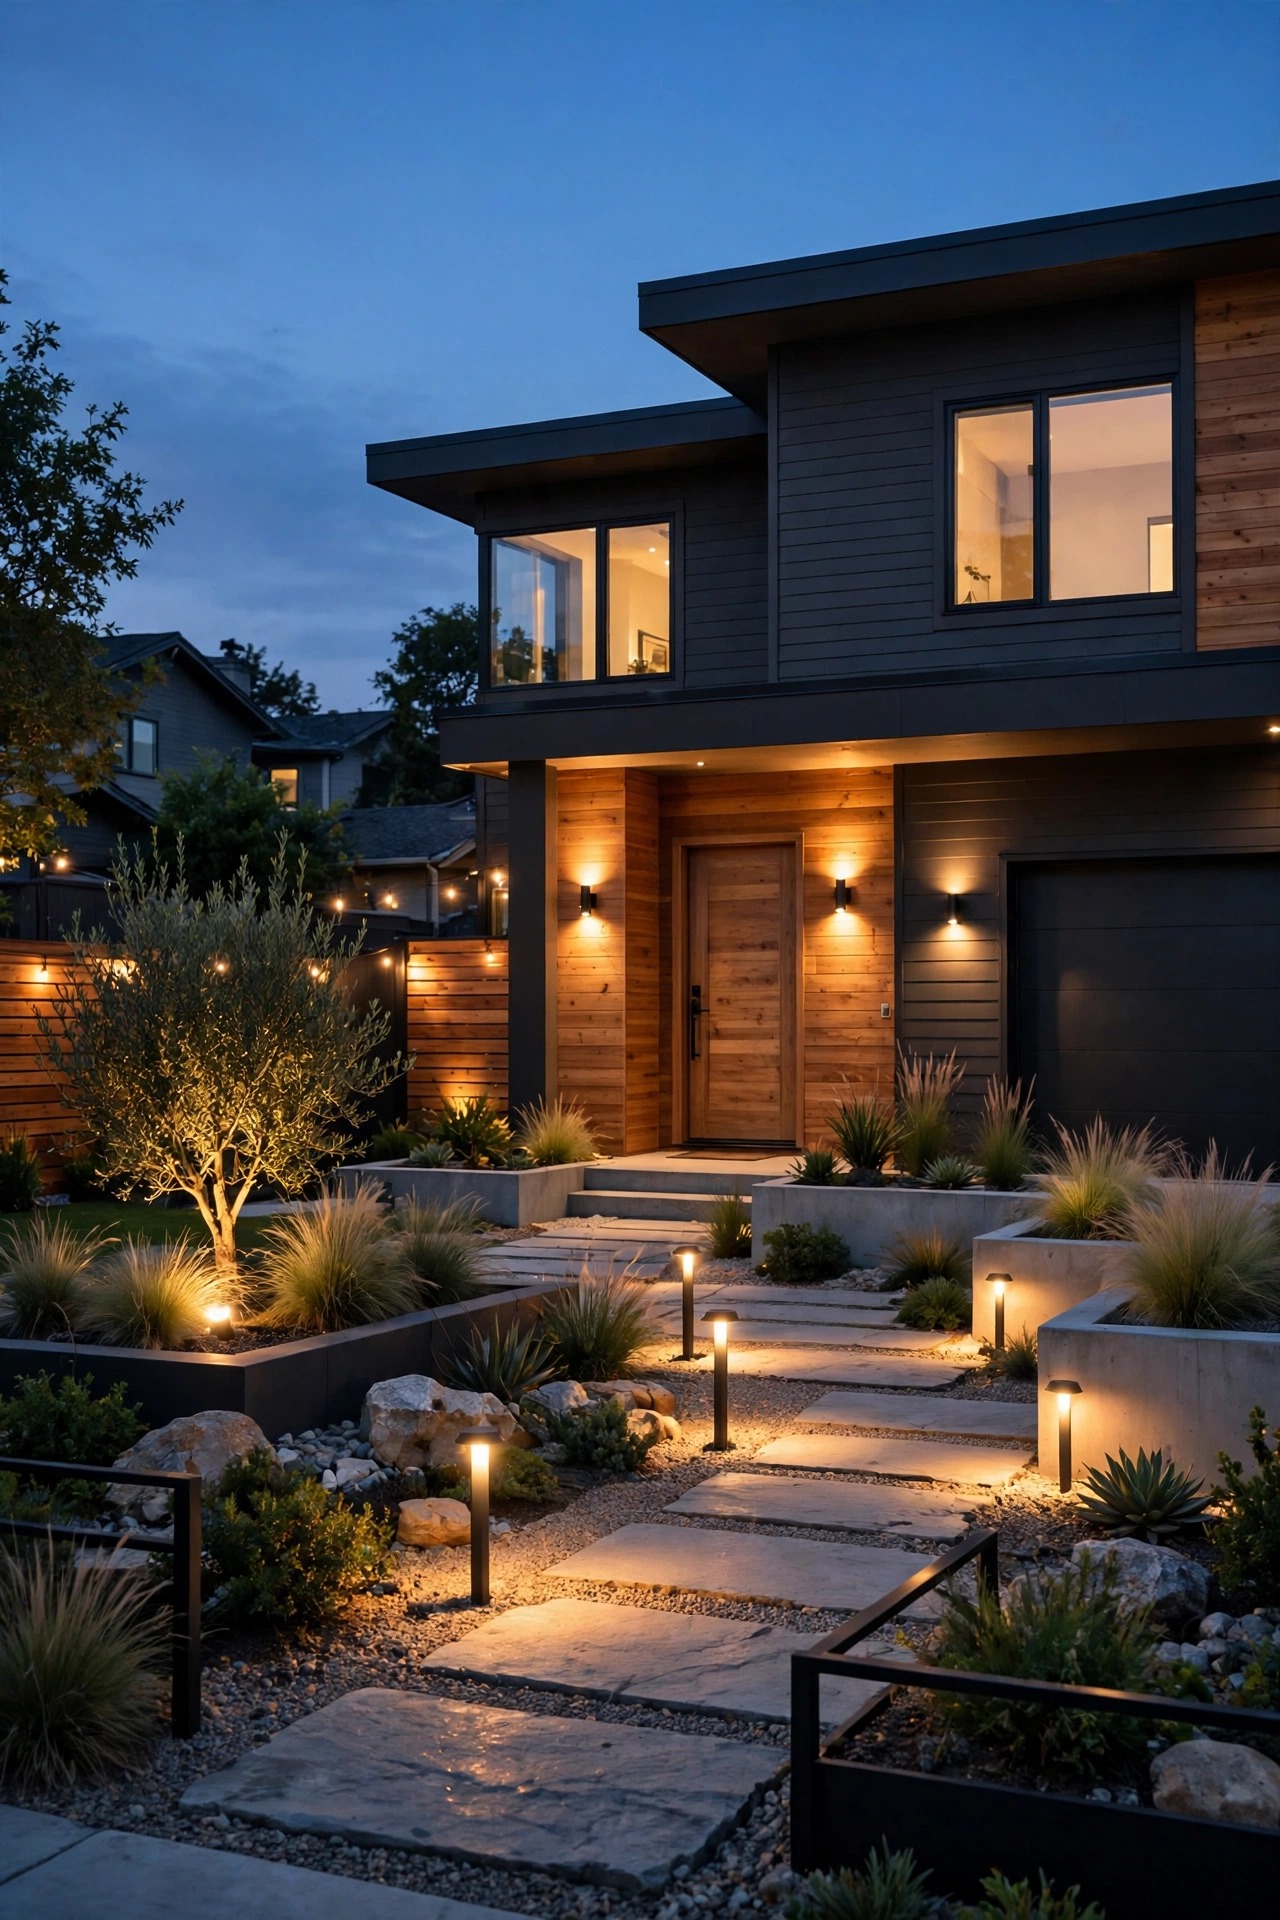
Every architectural-looking yard I have ever admired follows the same quiet formula, and it is the first of these modern front yard lighting ideas I want you to steal: light in three layers, never one. The guidance layer is low and even, a gentle ribbon along the walkway and driveway edge that tells feet where to go. The welcome layer lives at eye level near the door, warmer and slightly brighter, because that is where faces are. The accent layer is pure sculpture: a beam up a column, a graze across stacked stone, a halo inside a tree canopy. In my experience, most front yards fail because they only buy the first layer, a row of matching stakes, and call it done. Sketch your yard from the street and mark one fixture per layer before you spend a dollar. Keep every fixture on the same finish, matte black or dark bronze, and the same 2700K color temperature, and the three layers read as one designed system instead of three shopping trips. A simple three-zone plan like this typically covers a standard 40-foot frontage beautifully.
Suggested budget range: $150 – $400.
2. Line the Walk With Sleek Rectangular Bollards
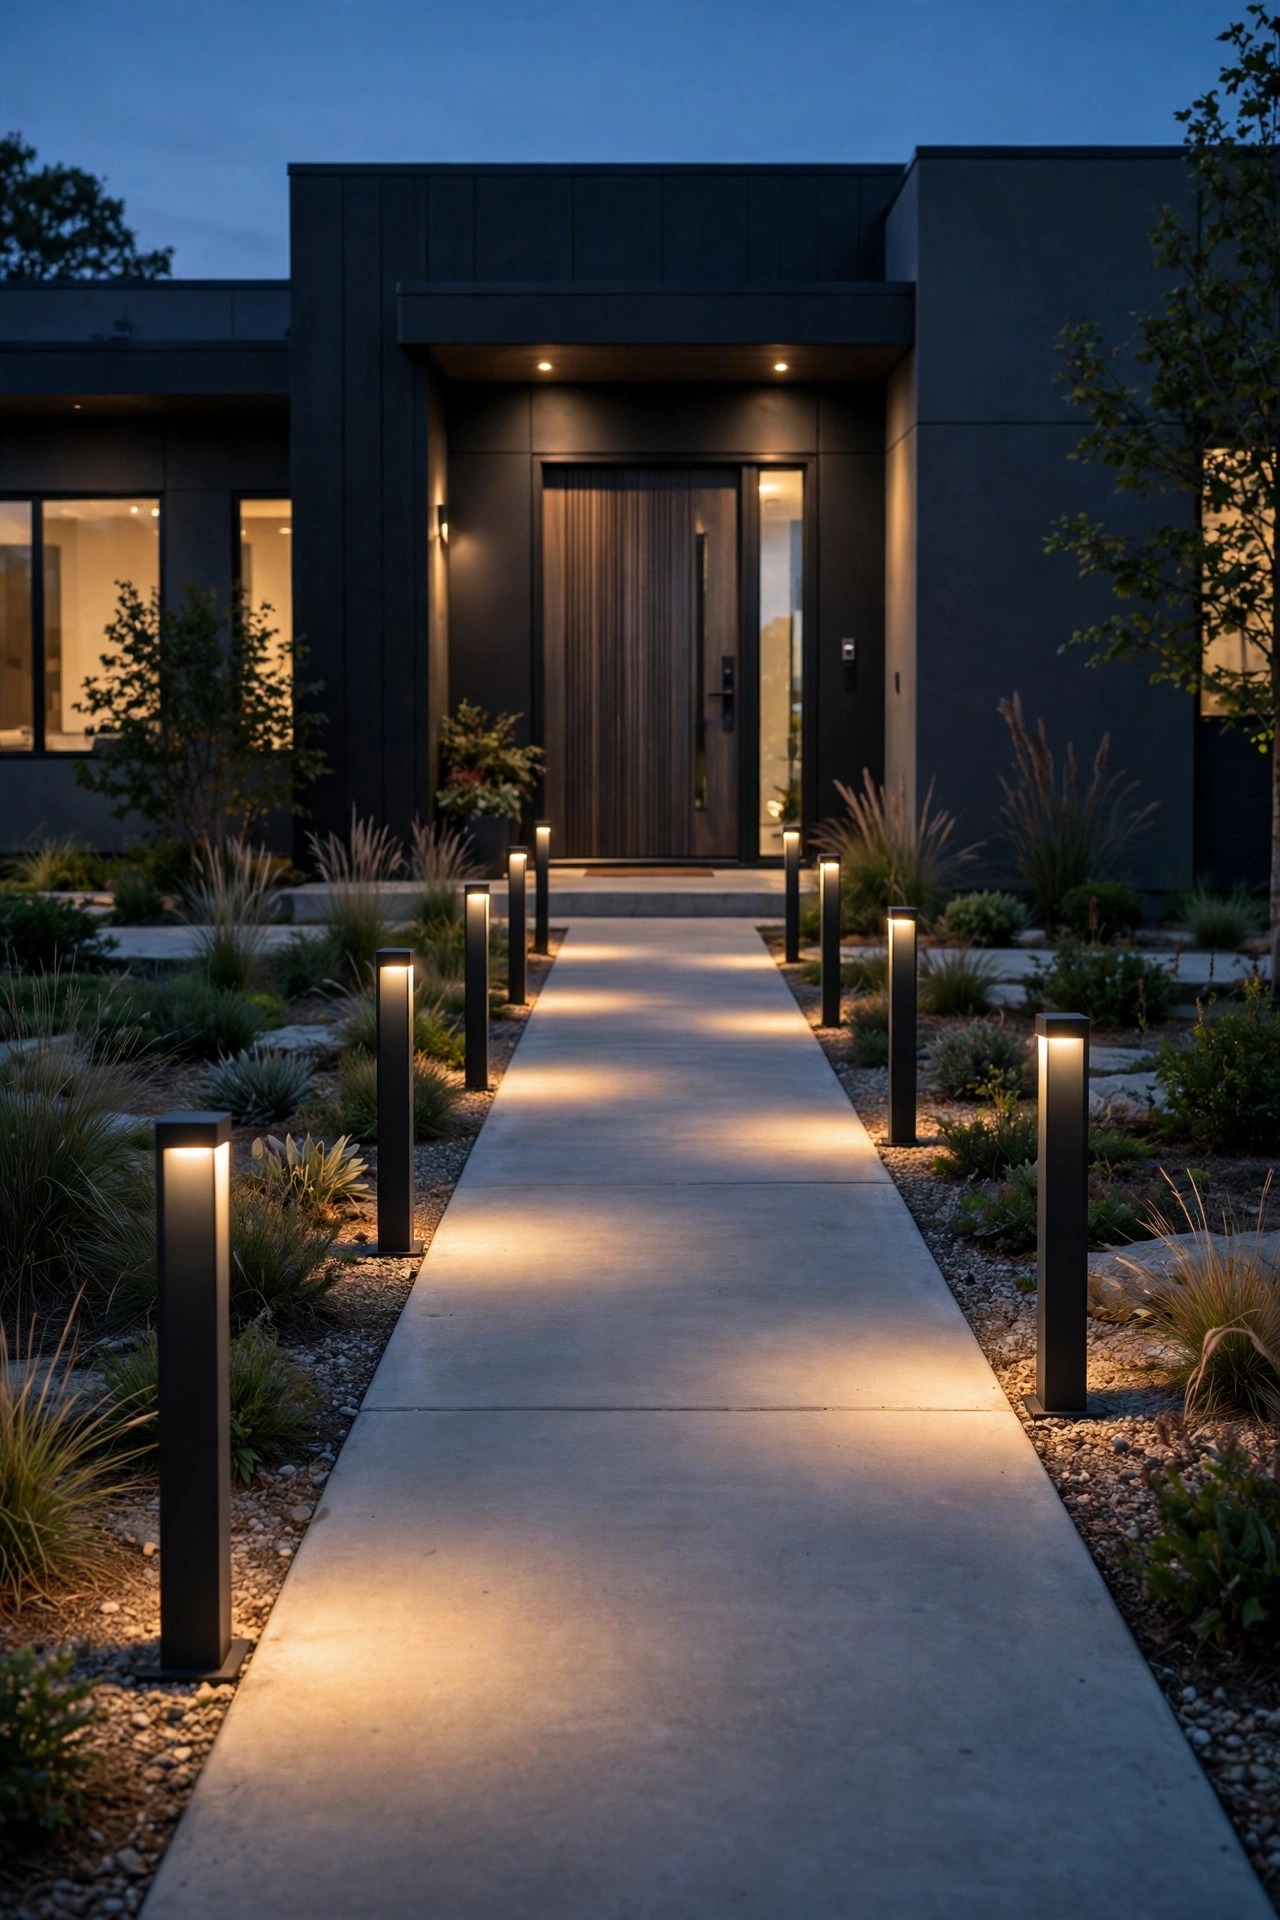
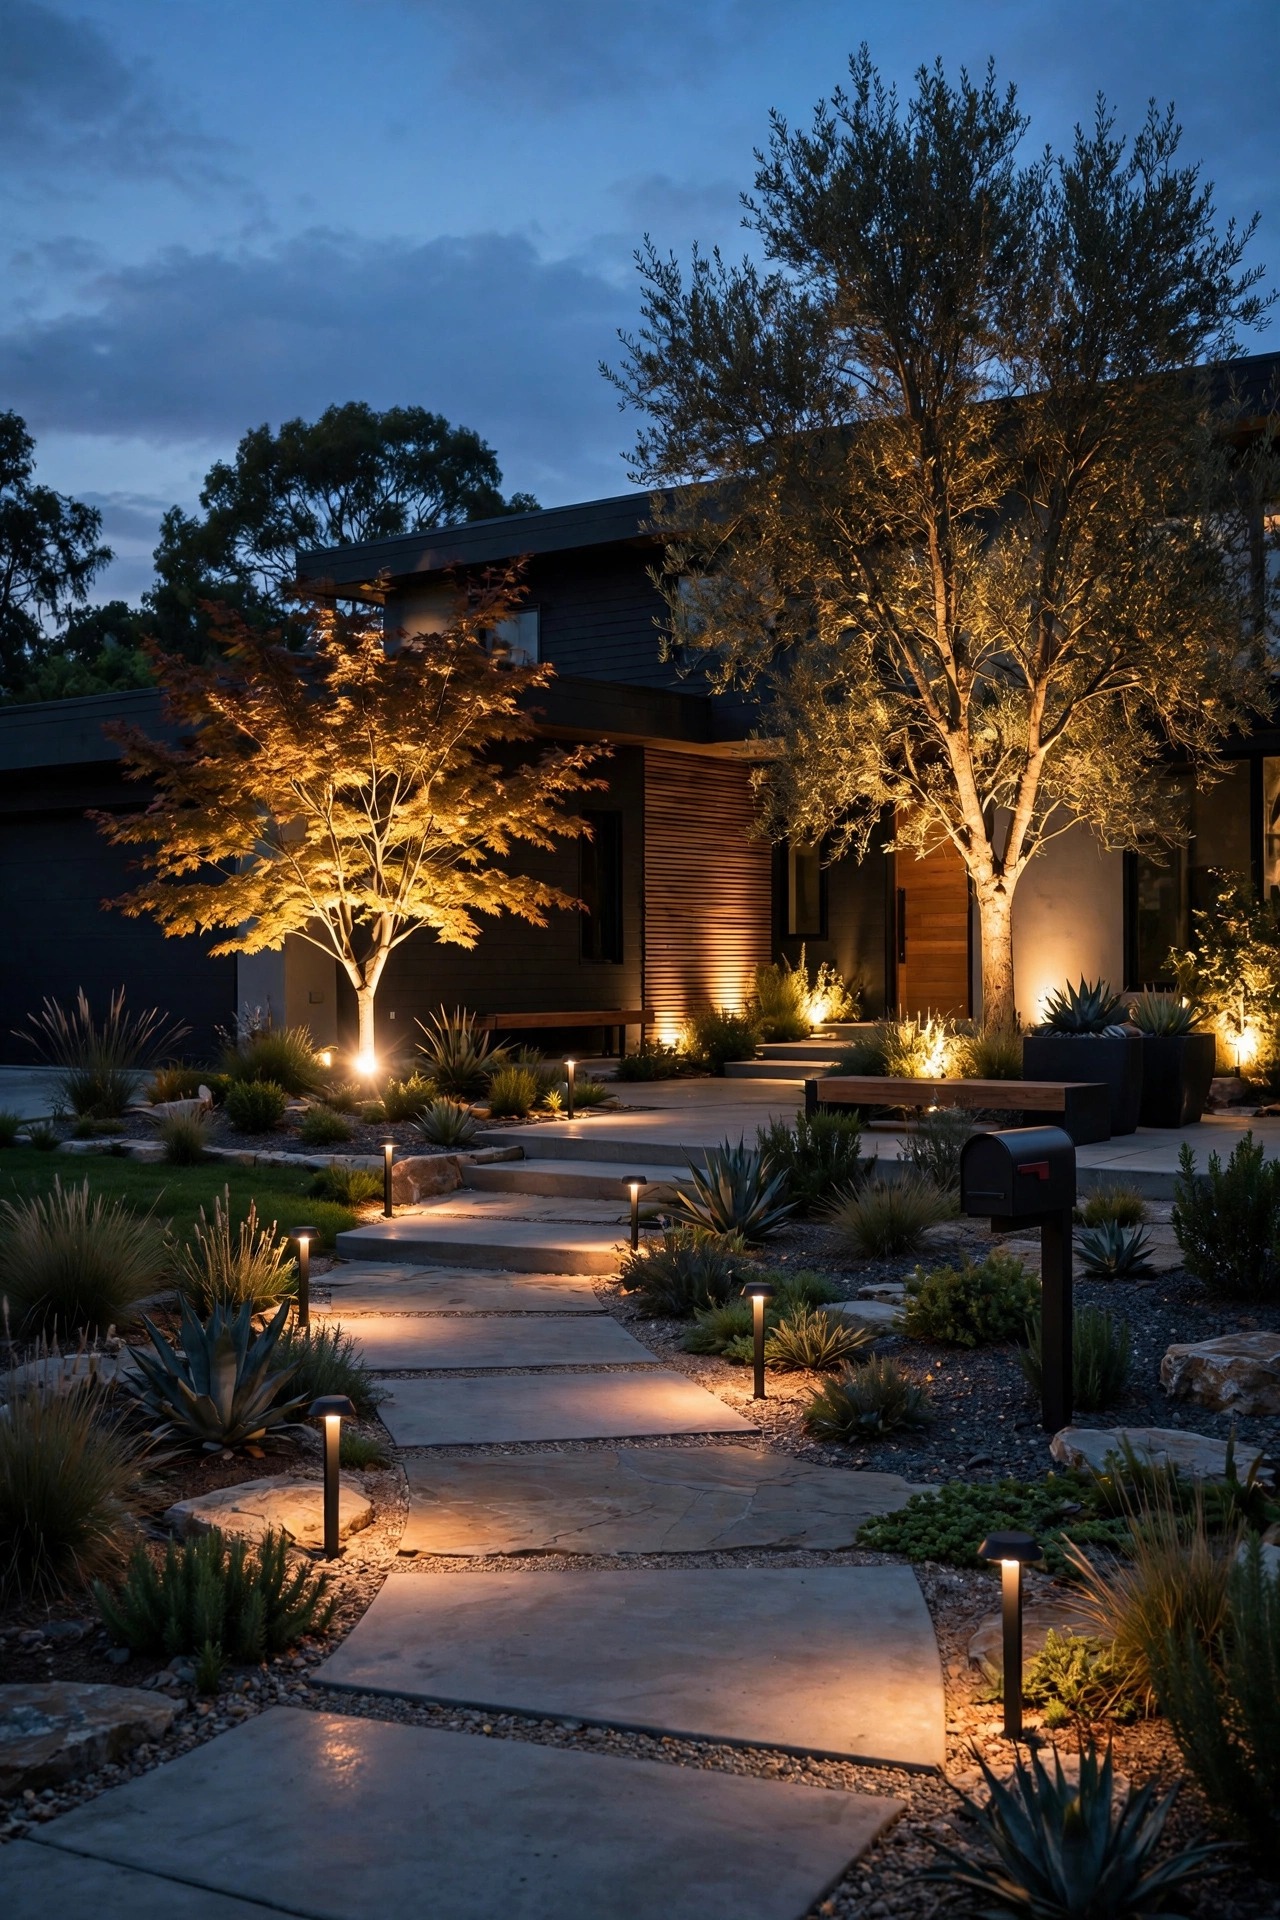
If a fixture could win a design award, it is the modern bollard: a slim rectangular post, usually 18 to 24 inches tall, that throws a clean fan of light downward instead of spraying glare into the street. I space mine 6 to 8 feet apart along a straight walk, staggered slightly only if the path curves, and I always choose a shielded model so you see the lit pavement, never the bare bulb. Powder-coated aluminum in matte black or charcoal disappears against dark mulch and reads like part of the architecture. For a straight modern walk, resist the urge to line both sides like an airport runway; one side, evenly spaced, looks far more designed. If you want to compare styles before committing, my roundup of modern path light ideas walks through the shapes that hold up best outdoors. Low-voltage wired bollards stay my first choice for brightness and consistency, and they dim beautifully when the whole scene feels a touch too bright at full power.
Suggested budget range: $60 – $150.
3. Bury In-Ground Well Lights at the Base of Trees
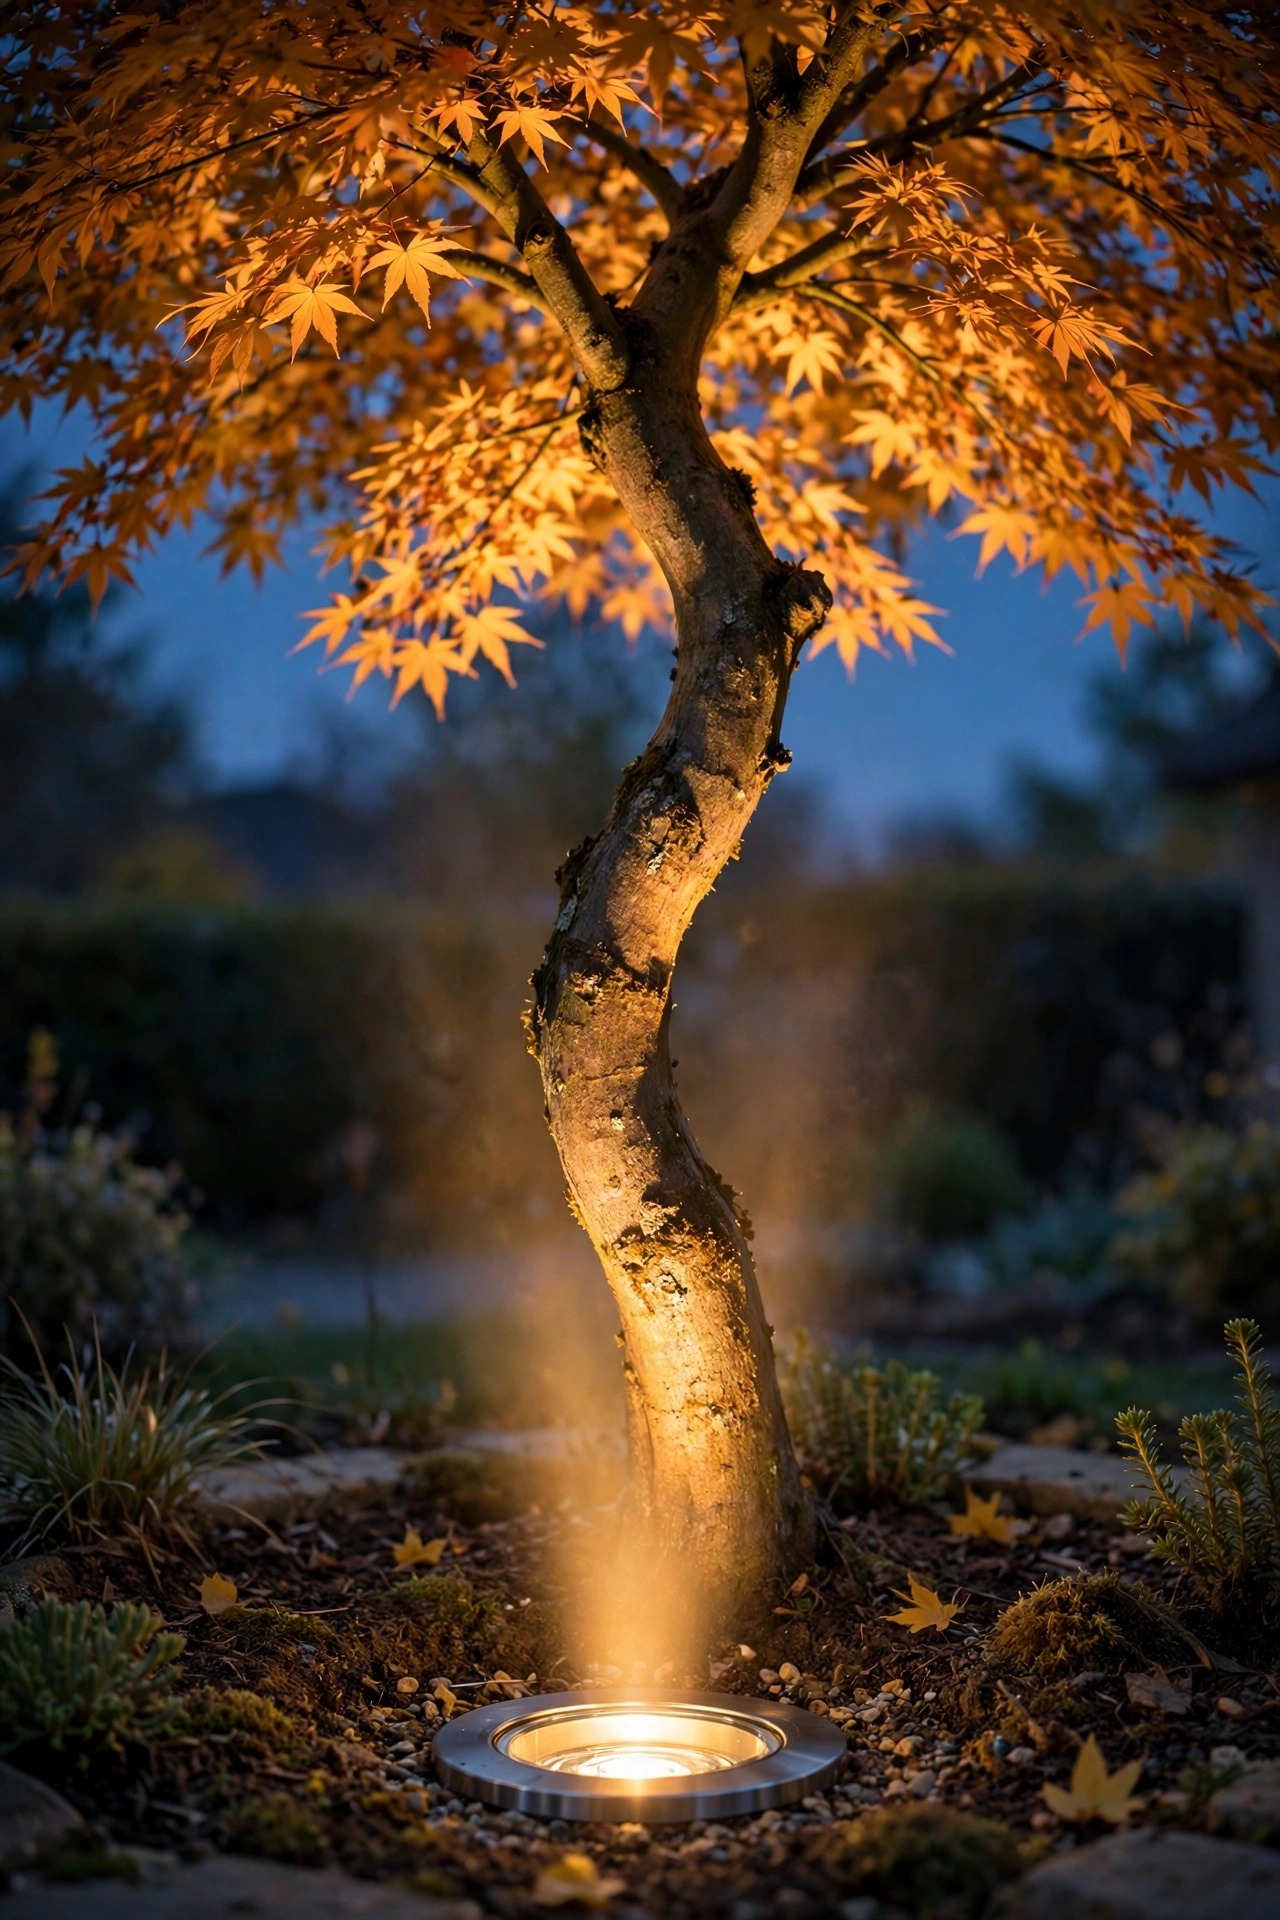
Well lights are the invisible workhorses of architectural lighting. The fixture sits flush in the soil or lawn, nothing but a glass lens at ground level, and a narrow beam climbs straight up a trunk and explodes softly into the canopy. During the day there is literally nothing to see, which is the whole point. For a single ornamental tree like a Japanese maple or a sculptural olive, one 20 to 35-degree beam placed 12 to 18 inches from the trunk is enough. Larger shade trees take two or three wells spaced around the root flare, aimed to cross slightly in the branches so the canopy glows instead of looking spotlit. Choose fixtures rated for burial and full weather exposure, with a lens that sheds water rather than puddling it, and mulch around, never over, the lens. I clean the glass every spring because a dusty lens quietly steals a third of your light. Done right, the tree becomes a glowing sculpture the whole street enjoys.
Suggested budget range: $45 – $120.
4. Tuck LED Strip Light Under Porch and Entry Steps
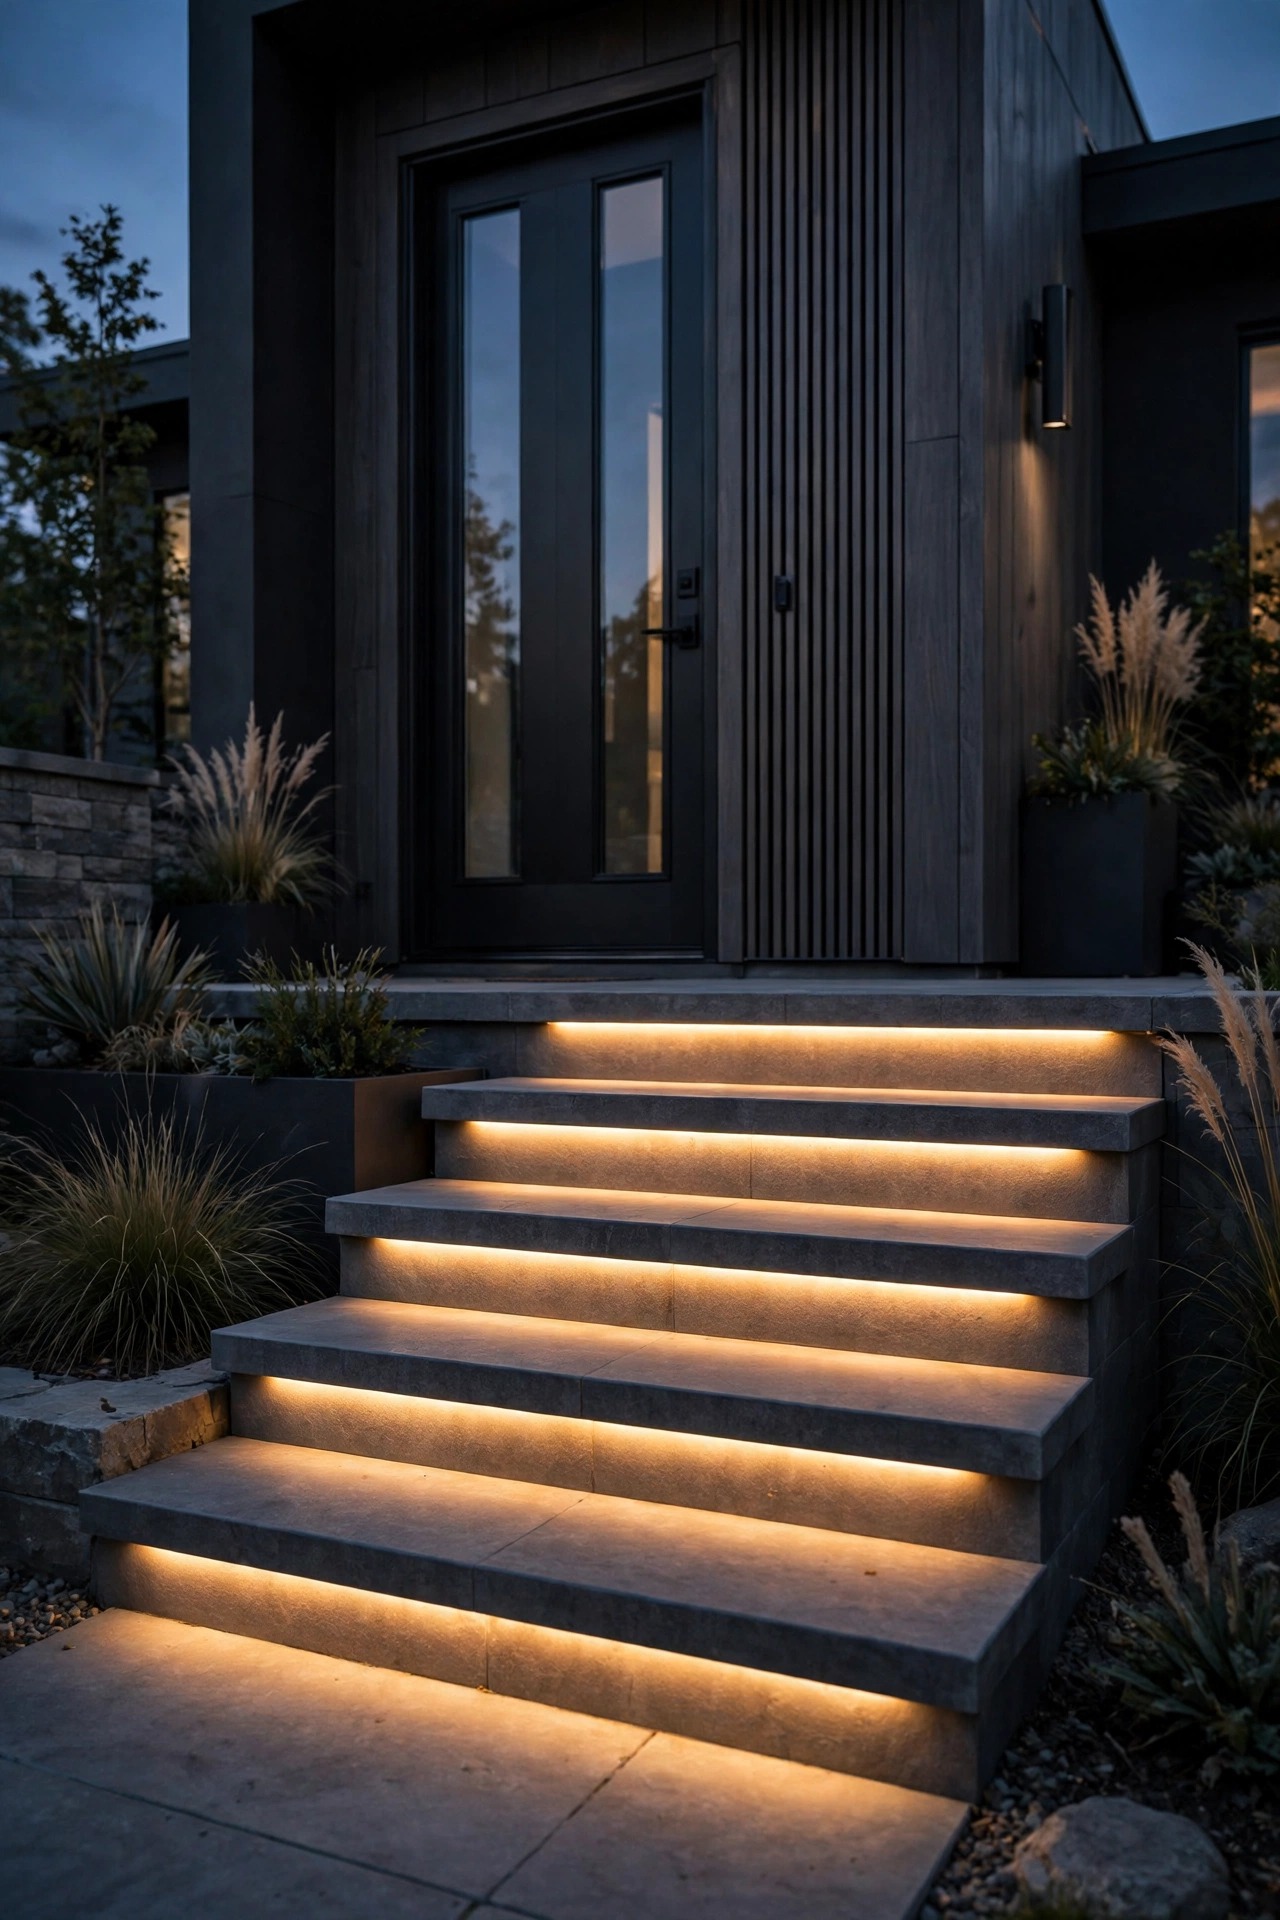
Few details feel more custom than a step that glows from underneath its own lip. A weatherproof LED strip or a slim recessed step light tucked beneath each tread nosing washes the step below in soft light, so guests read every rise without a single visible fixture. I aim for a continuous line of light rather than dots: it reads architectural, photographs beautifully, and is genuinely the safest way to light exterior stairs. Use strips rated for outdoor wet locations, mount them in an aluminum channel with a frosted diffuser to kill the dotted diode look, and keep the color at 2700K so concrete and stone stay warm instead of hospital white. Two or three steps need surprisingly little power, and the whole run can piggyback on the same low-voltage transformer as your path lights. If your steps are masonry, plan this during construction or a re-tread; retrofitting a channel under an existing nosing is doable but fiddly. The payoff every single evening is worth the one fiddly afternoon.
Suggested budget range: $80 – $220.
5. Graze the Facade With a Tight Wall Wash
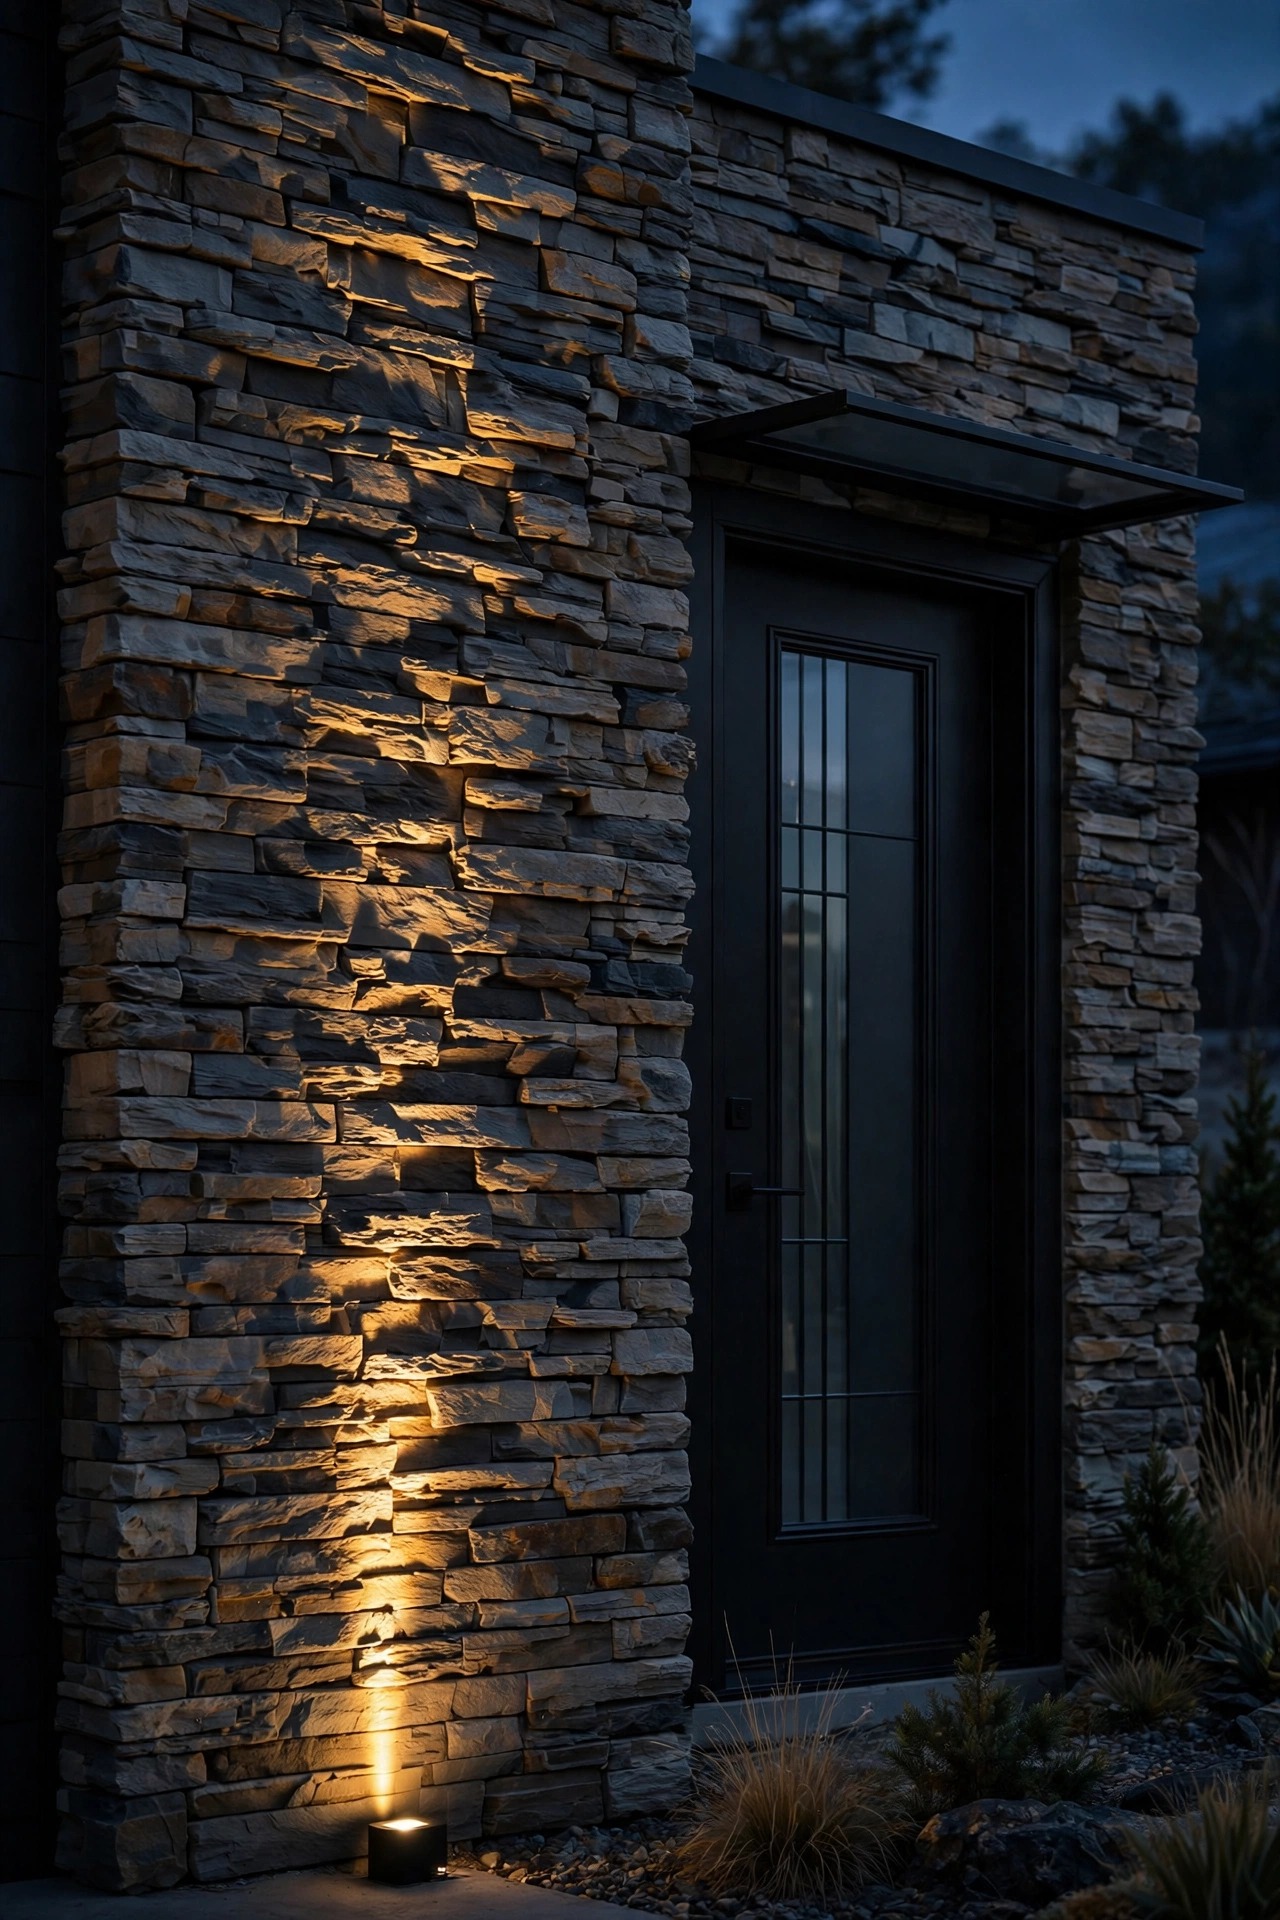
Texture is free drama, and grazing is how you cash it in. Place a narrow-beam uplight just 6 to 12 inches out from a stone, brick, or board-formed concrete wall and aim it straight up, nearly parallel to the surface. Every ridge and mortar joint throws a tiny shadow, and a flat wall suddenly looks carved. This is the single most architectural move on this list, and it costs one fixture. Smooth stucco and siding prefer the opposite treatment: pull the fixture 2 to 3 feet back and use a wide flood so the wall reads as an even backdrop panel instead of a harsh spotlight blob. I graze only one feature wall, usually the one flanking the entry, and leave the rest of the facade quiet; contrast is what makes it feel designed. Keep the beam off windows, both for the people inside and because lit glass from the street just looks like a television left on.
Suggested budget range: $40 – $110.
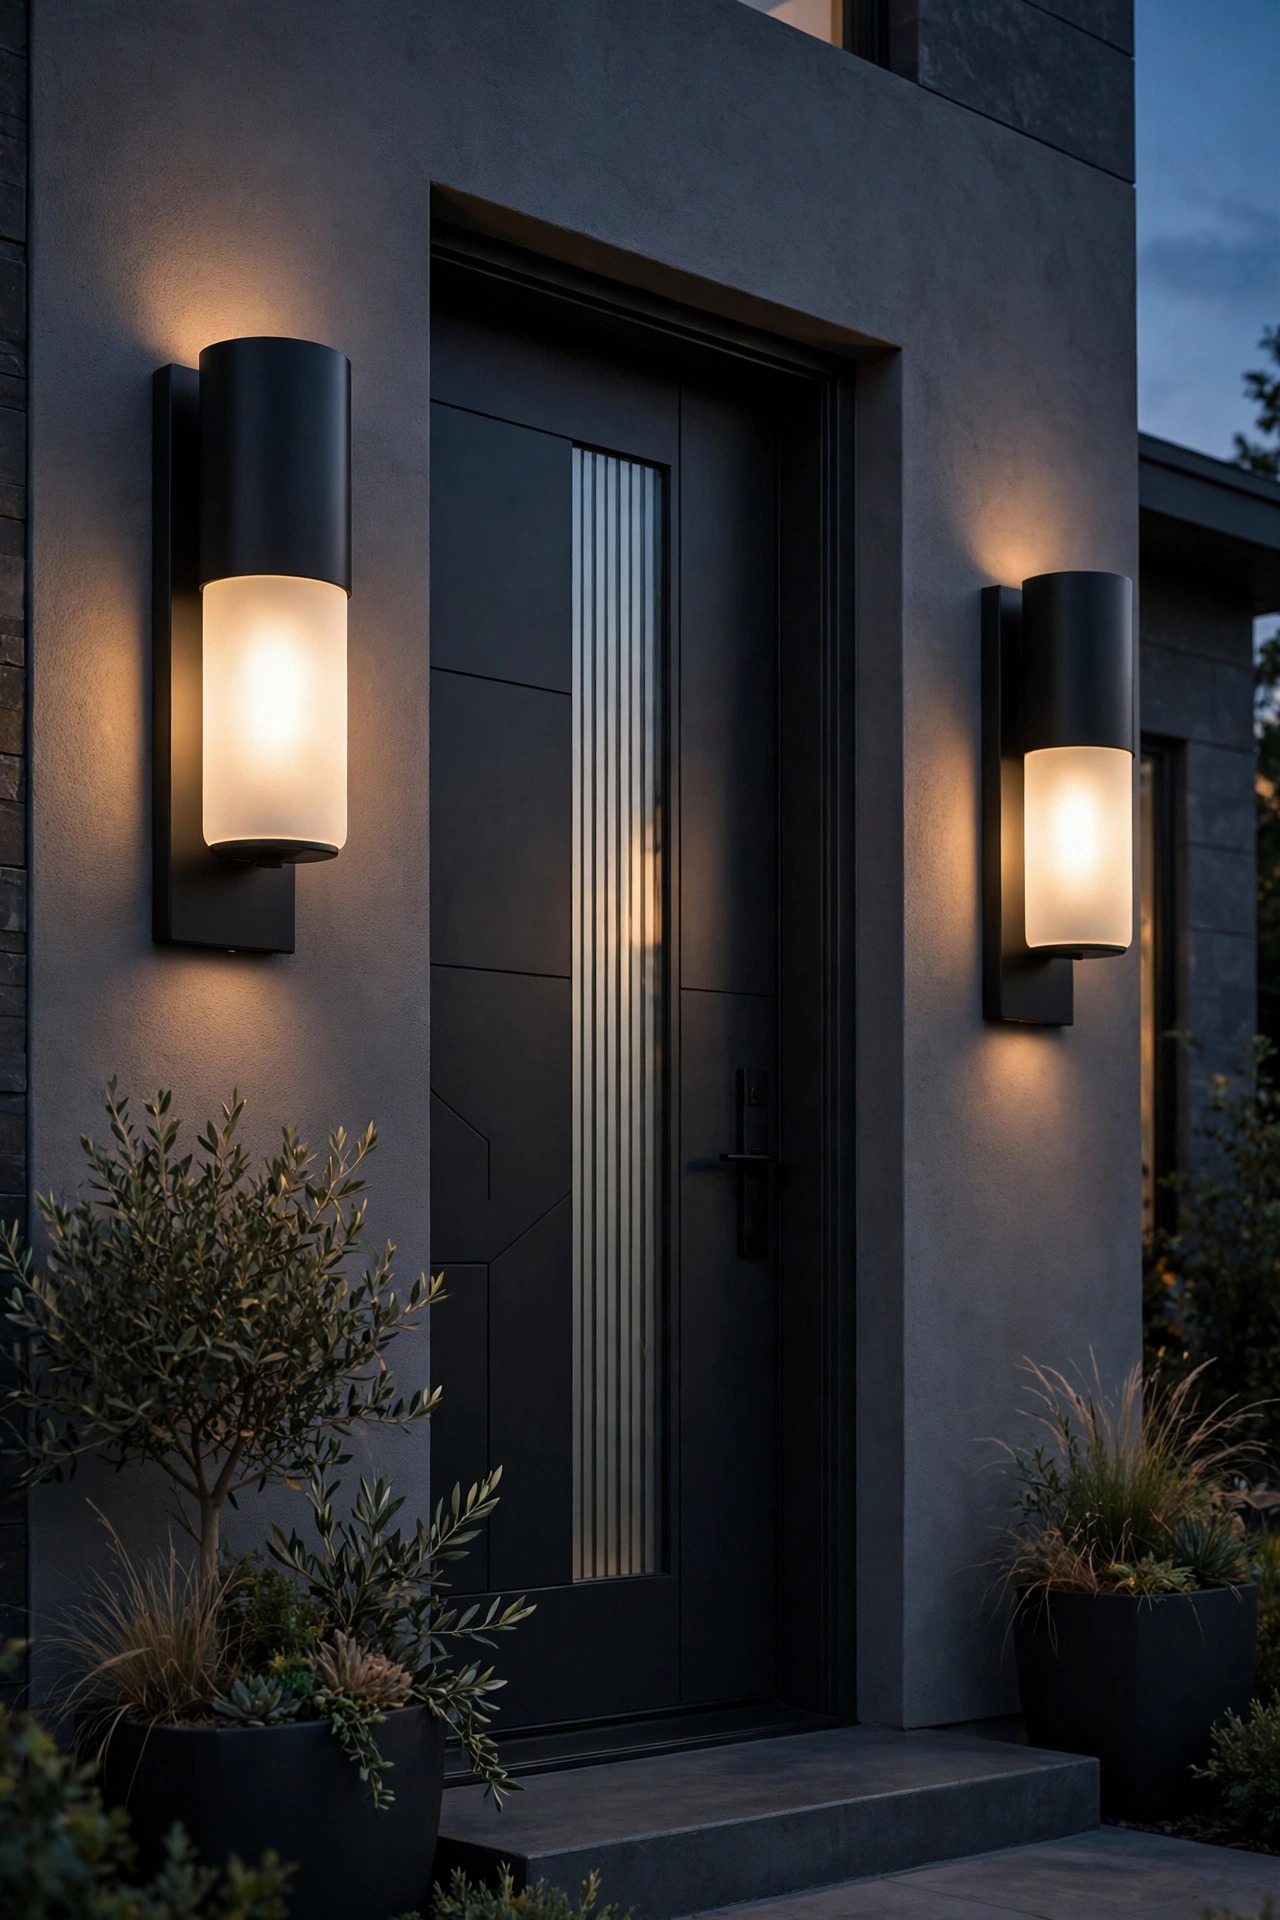
6. Flank the Front Door With Oversized Minimalist Sconces
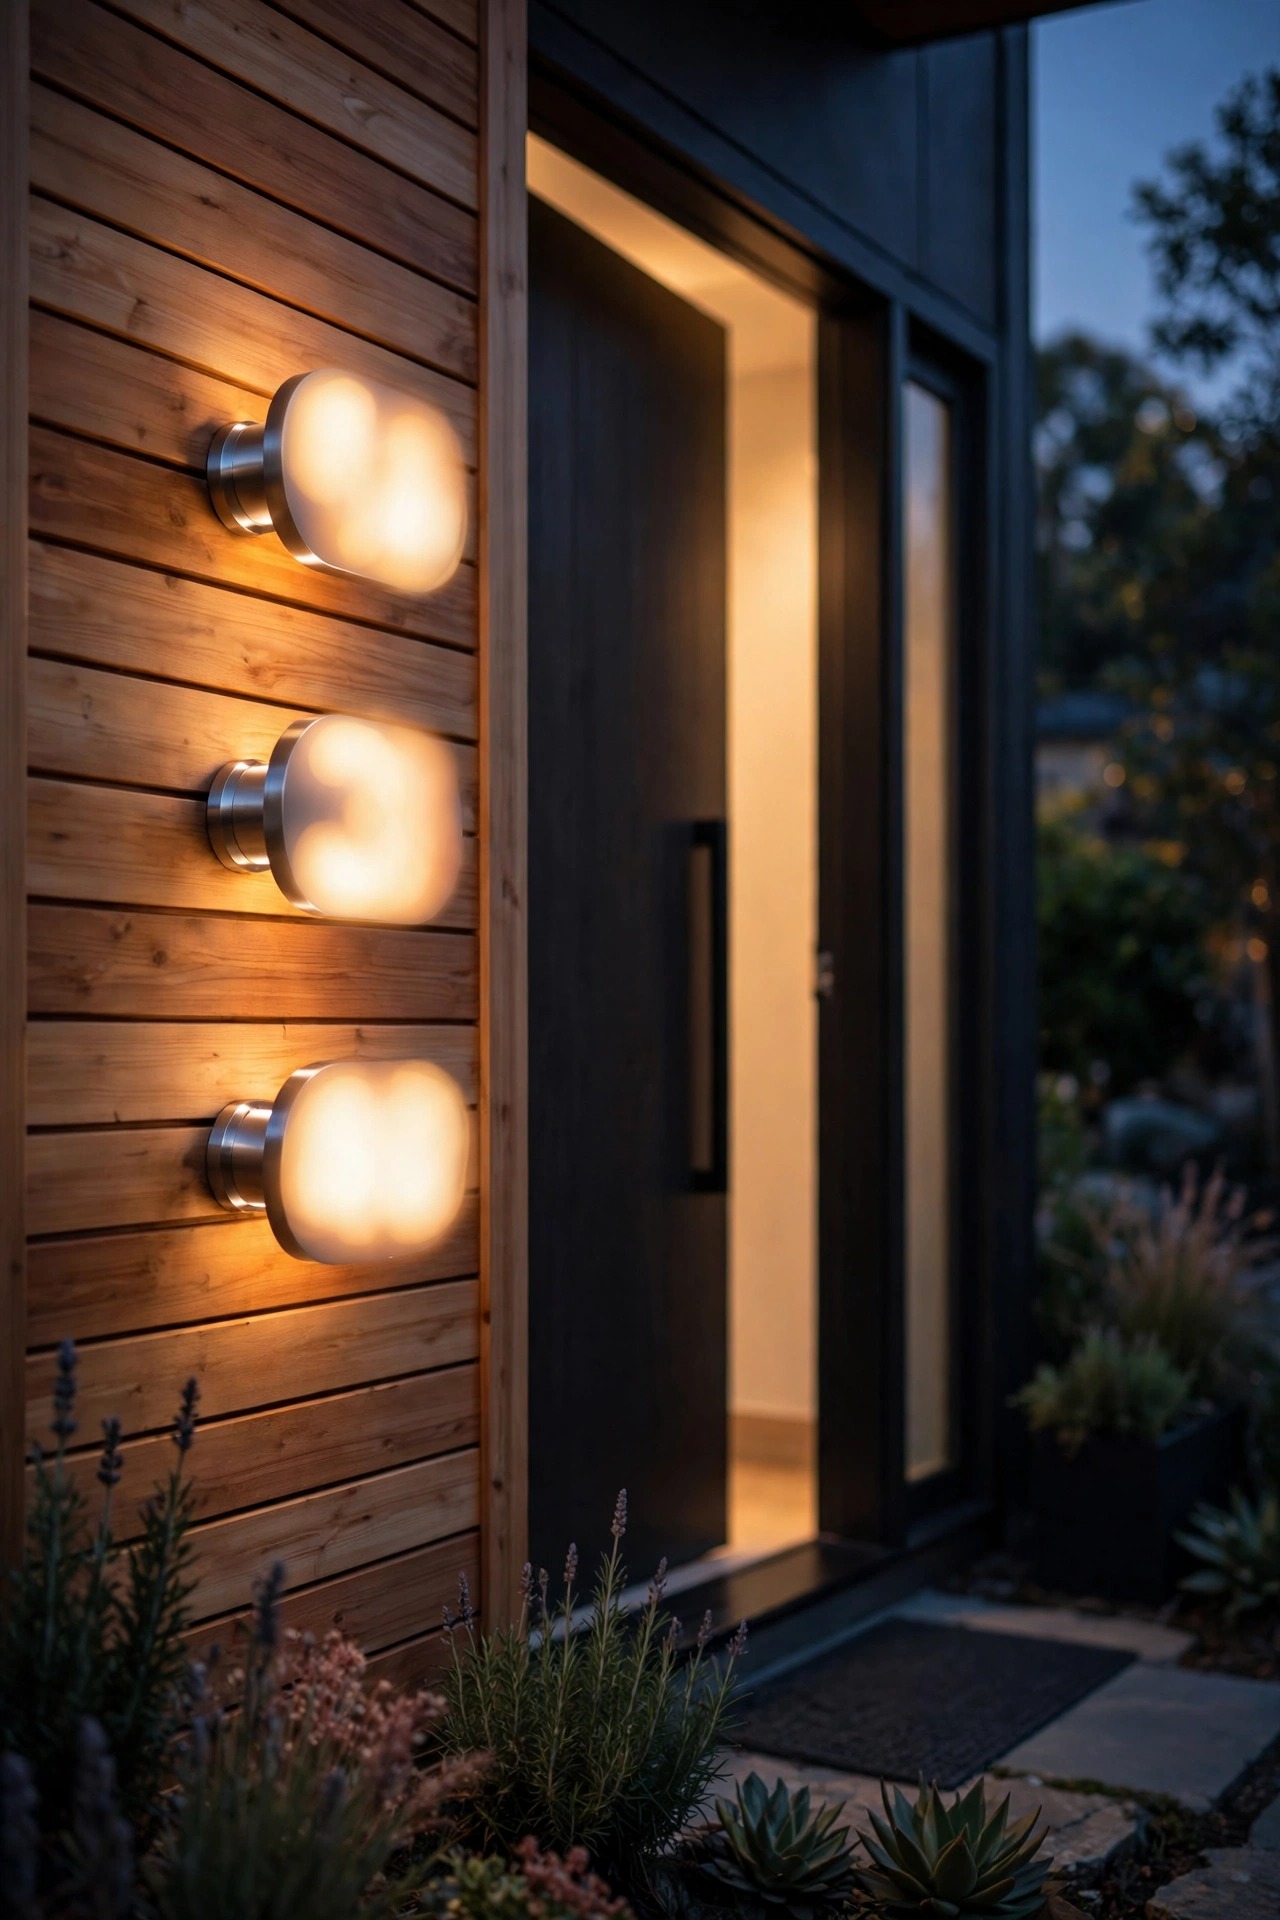
The front door is the face of the house, and in a modern scheme it deserves exactly two things: symmetry and scale. I hang a matched pair of oversized, dead-simple sconces, elongated boxes or slim cylinders in matte black, one on each side of the door, mounted about 66 inches from the ground to the center of the fixture. Going one size larger than feels safe is the decorator secret here; small sconces vanish on a two-story facade and read as an afterthought. Frosted or opal glass keeps the look soft and glare-free for anyone standing at the door, and a downlight-weighted design keeps light on the landing instead of in visitors' eyes. If your entry has a single off-center door with no room for a pair, one long vertical sconce beside the handle side looks deliberate, while one centered above the door looks like a compromise. Match the finish to your house numbers and door hardware and the whole entry reads as one composed panel.
Suggested budget range: $120 – $320.
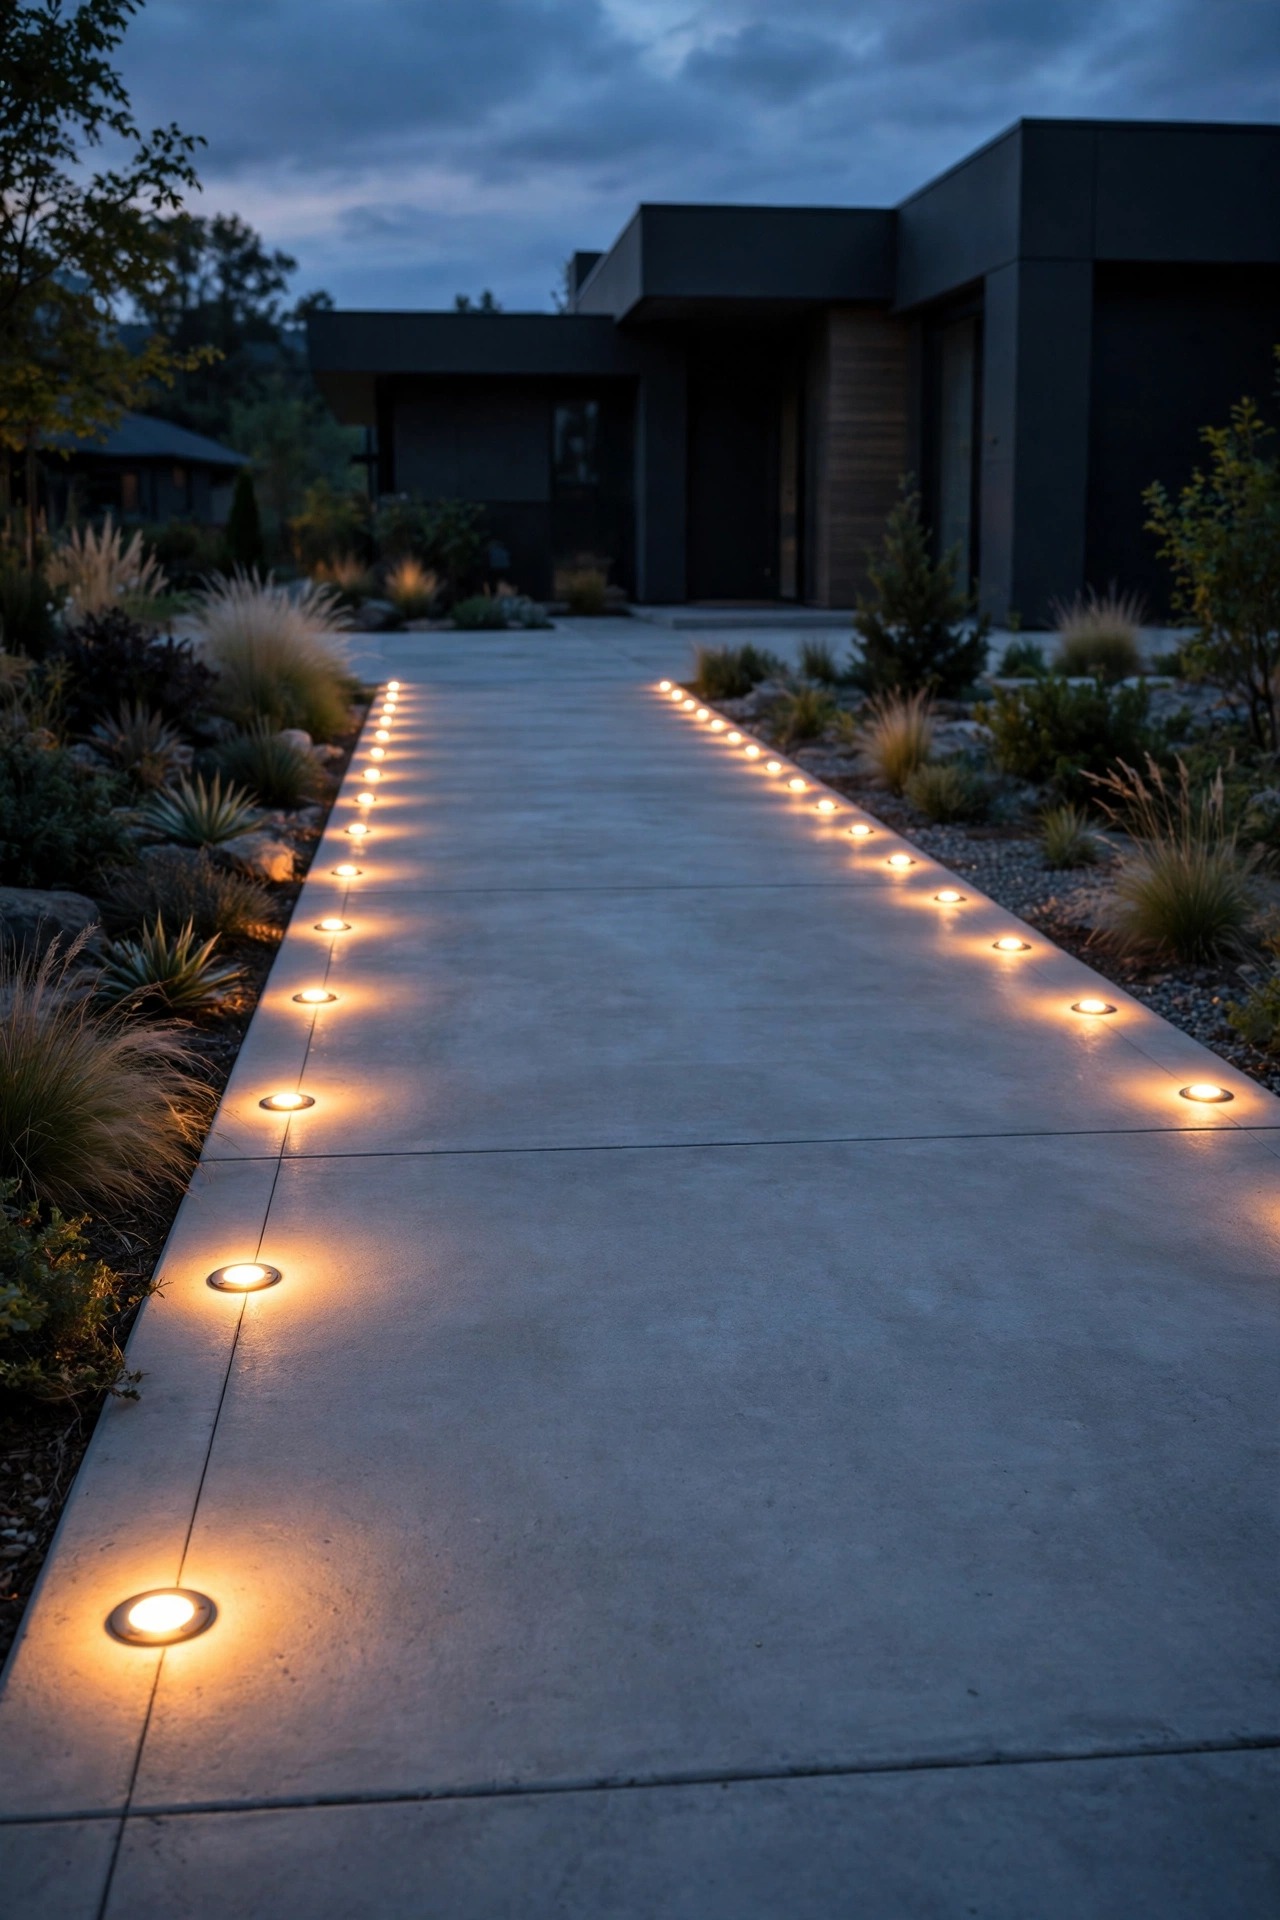
7. Set Flush In-Grade Markers Along the Driveway Edge
Driveways are where modern yards quietly fall apart, because a big slab of concrete eats light and shows every harsh shadow. Flush in-grade marker lights fix it with pure geometry: small round or square pucks set level with the pavement along one or both edges, drawing two calm dotted lines that guide cars in like a boutique hotel forecourt. Because they sit in the surface, choose drive-over rated fixtures with tempered lenses, and space them 8 to 10 feet apart; closer reads busy, farther reads broken. Warm 2700K markers look elegant, and I steer clients away from cool blue-white versions that feel like a parking garage. This is a during-paving or core-drill project, so it suits new driveways and hardscape remodels best, but the result is the most permanent, zero-maintenance-looking lighting on this entire list. Mow strips, leaf blowers, and snow shovels pass right over them. One honest note: have an electrician handle any line-voltage work near the garage apron.
Suggested budget range: $90 – $200.
8. Hang Moonlighting High in a Mature Tree
Moonlighting is the most natural-looking trick in landscape lighting and the one guests never figure out. A single downlight mounted 20 to 30 feet up in a mature front-yard tree, fitted with a soft wide beam and a glare shield, filters through branches and dapples the lawn and walk with shifting patches of light, exactly like a full moon. The fixture disappears completely, so the yard looks lit by weather rather than hardware. Because the light comes from above, it also covers a huge area gracefully, and one well-placed moonlight can replace half a dozen path stakes. The honest caveats: this is a hire-a-pro or confident-climber job, the fixture needs a quality mounting strap that will not girdle the branch, and you will re-aim it as the tree grows. Use a cool-neutral lamp around 3000K if you want a true moonbeam feel, or stay at 2700K to match the rest of your scene; mixing the two slightly is the one place I break my own one-temperature rule.
Suggested budget range: $180 – $450.

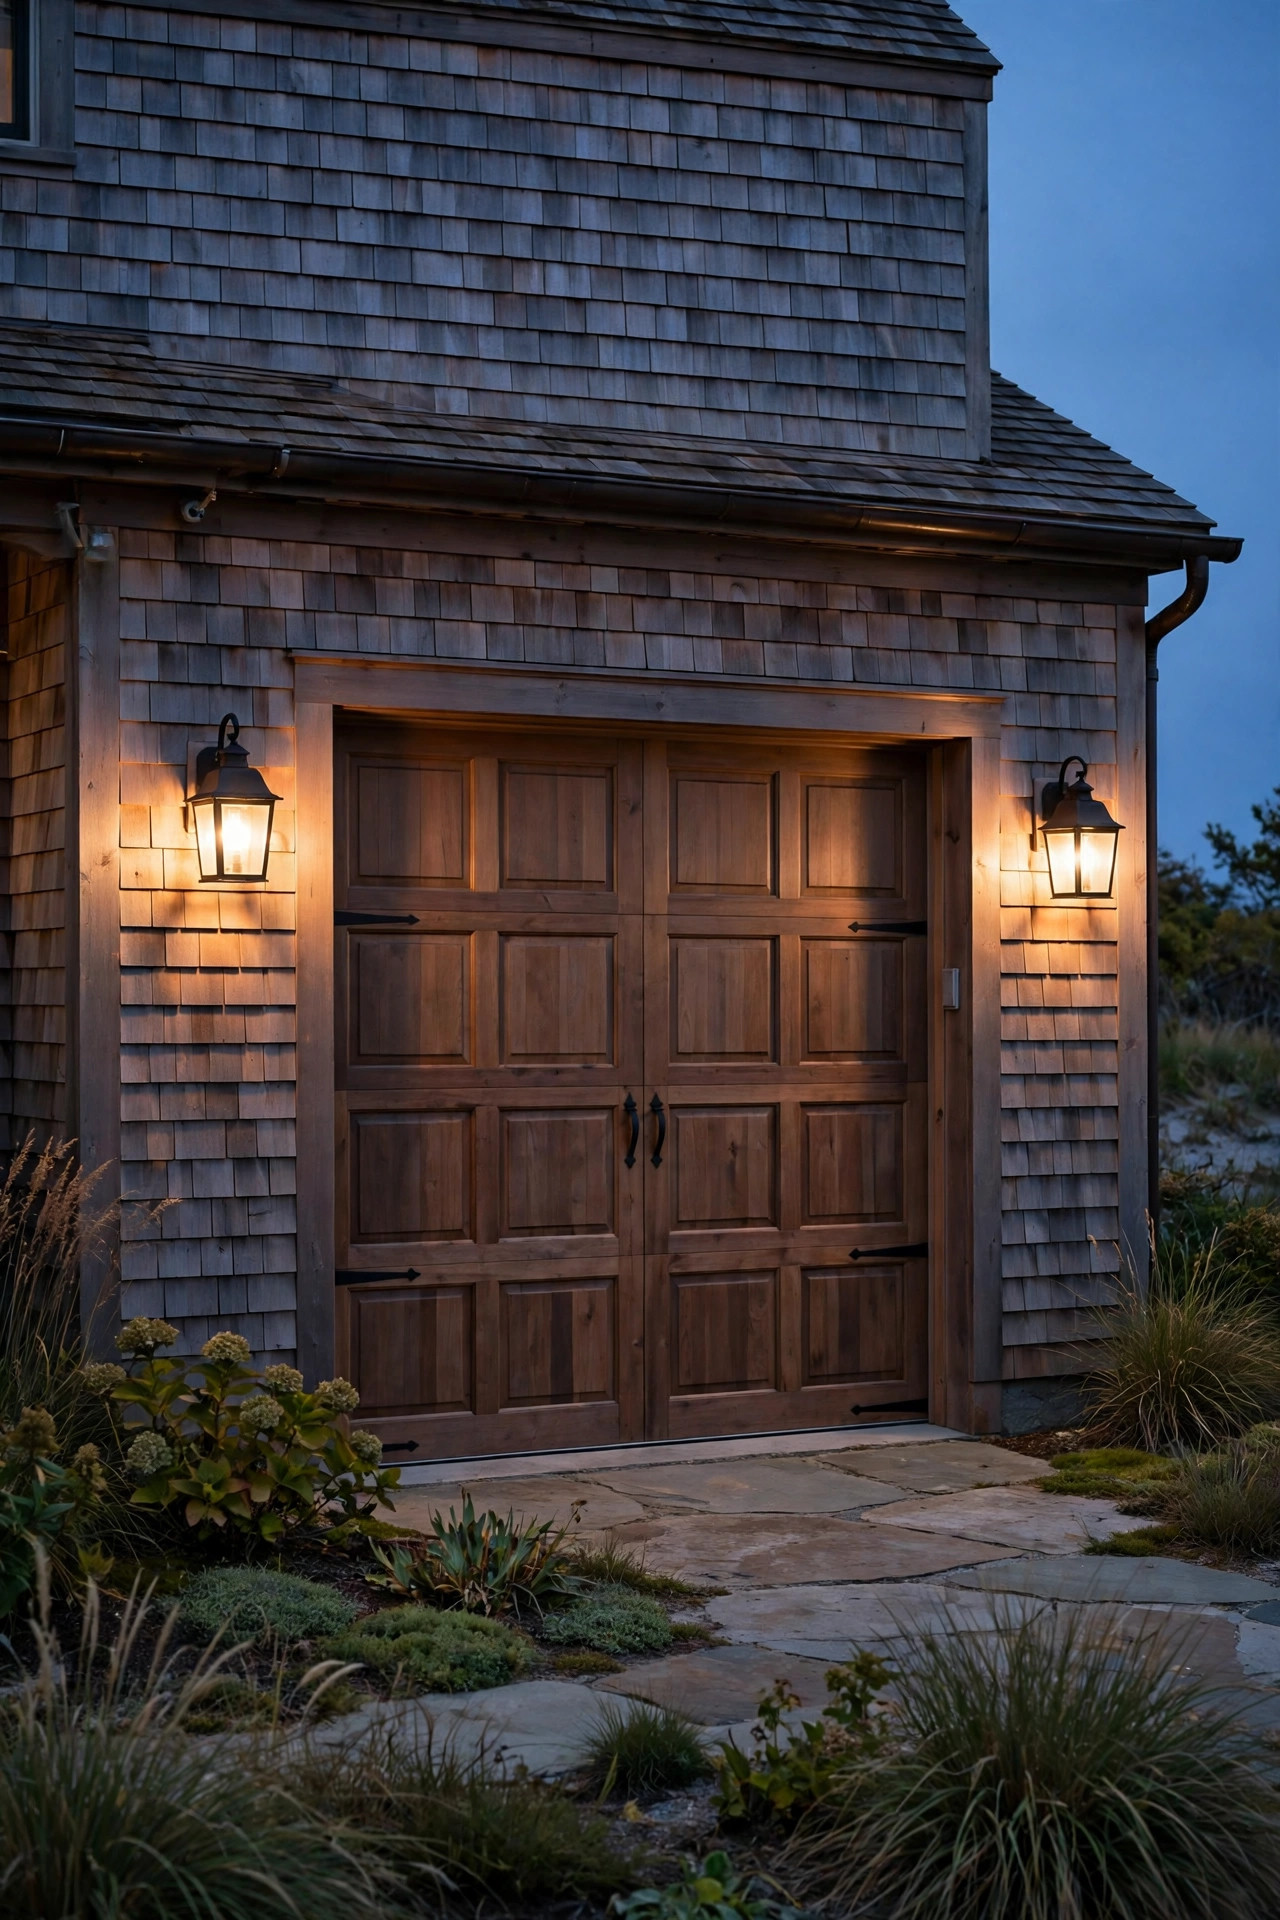
9. Choose Geometric Garage Sconces That Echo the Entry
The garage door is the biggest flat surface on most facades, and the two builder-grade lanterns flanking it are usually the least modern objects on the house. Swapping them for geometric sconces, crisp cubes, hexagons, or open rectangular frames in the same finish as your entry pair, instantly pulls the whole front elevation into one design language. Scale matters even more here: on a standard 16-foot double door, I like fixtures at least 12 to 14 inches tall so they hold their own against all that slab. Mount them at roughly three-quarters of the door height, and if the facade allows it, add a third fixture between double doors or above the center for a composed trio. Downlight or up-down designs keep the driveway pool soft and avoid throwing glare into drivers' eyes as they pull in. Photocell bulbs in these fixtures are my favorite lazy upgrade: the architectural look, on at dusk and off at dawn, with zero programming.
Suggested budget range: $100 – $280.
10. Backlight the House Numbers for a Floating Glow
Tiny detail, enormous design signal. A backlit address plaque, individual numbers on standoffs with a slim LED behind them, or a frosted acrylic panel lit from within turns the most forgettable object on the facade into a piece of signage worthy of a gallery. The numbers appear to float on a halo of warm light, visitors and delivery drivers find you after dark without the porch-light squint, and the whole entry composition feels finished. Keep the panel small and the font a clean sans serif; this is one place where a script font breaks the modern spell completely. Hardwired low-voltage versions tie into your landscape transformer and run on the same schedule as everything else, which I strongly prefer over solar plaques that fade by midnight. Mount beside the door at eye level or on a pillar at the street if your house sits far back. Check local rules first, since a few municipalities specify number size and placement for emergency visibility.
Suggested budget range: $70 – $180.
11. Spotlight Architectural Plants Like Living Sculpture
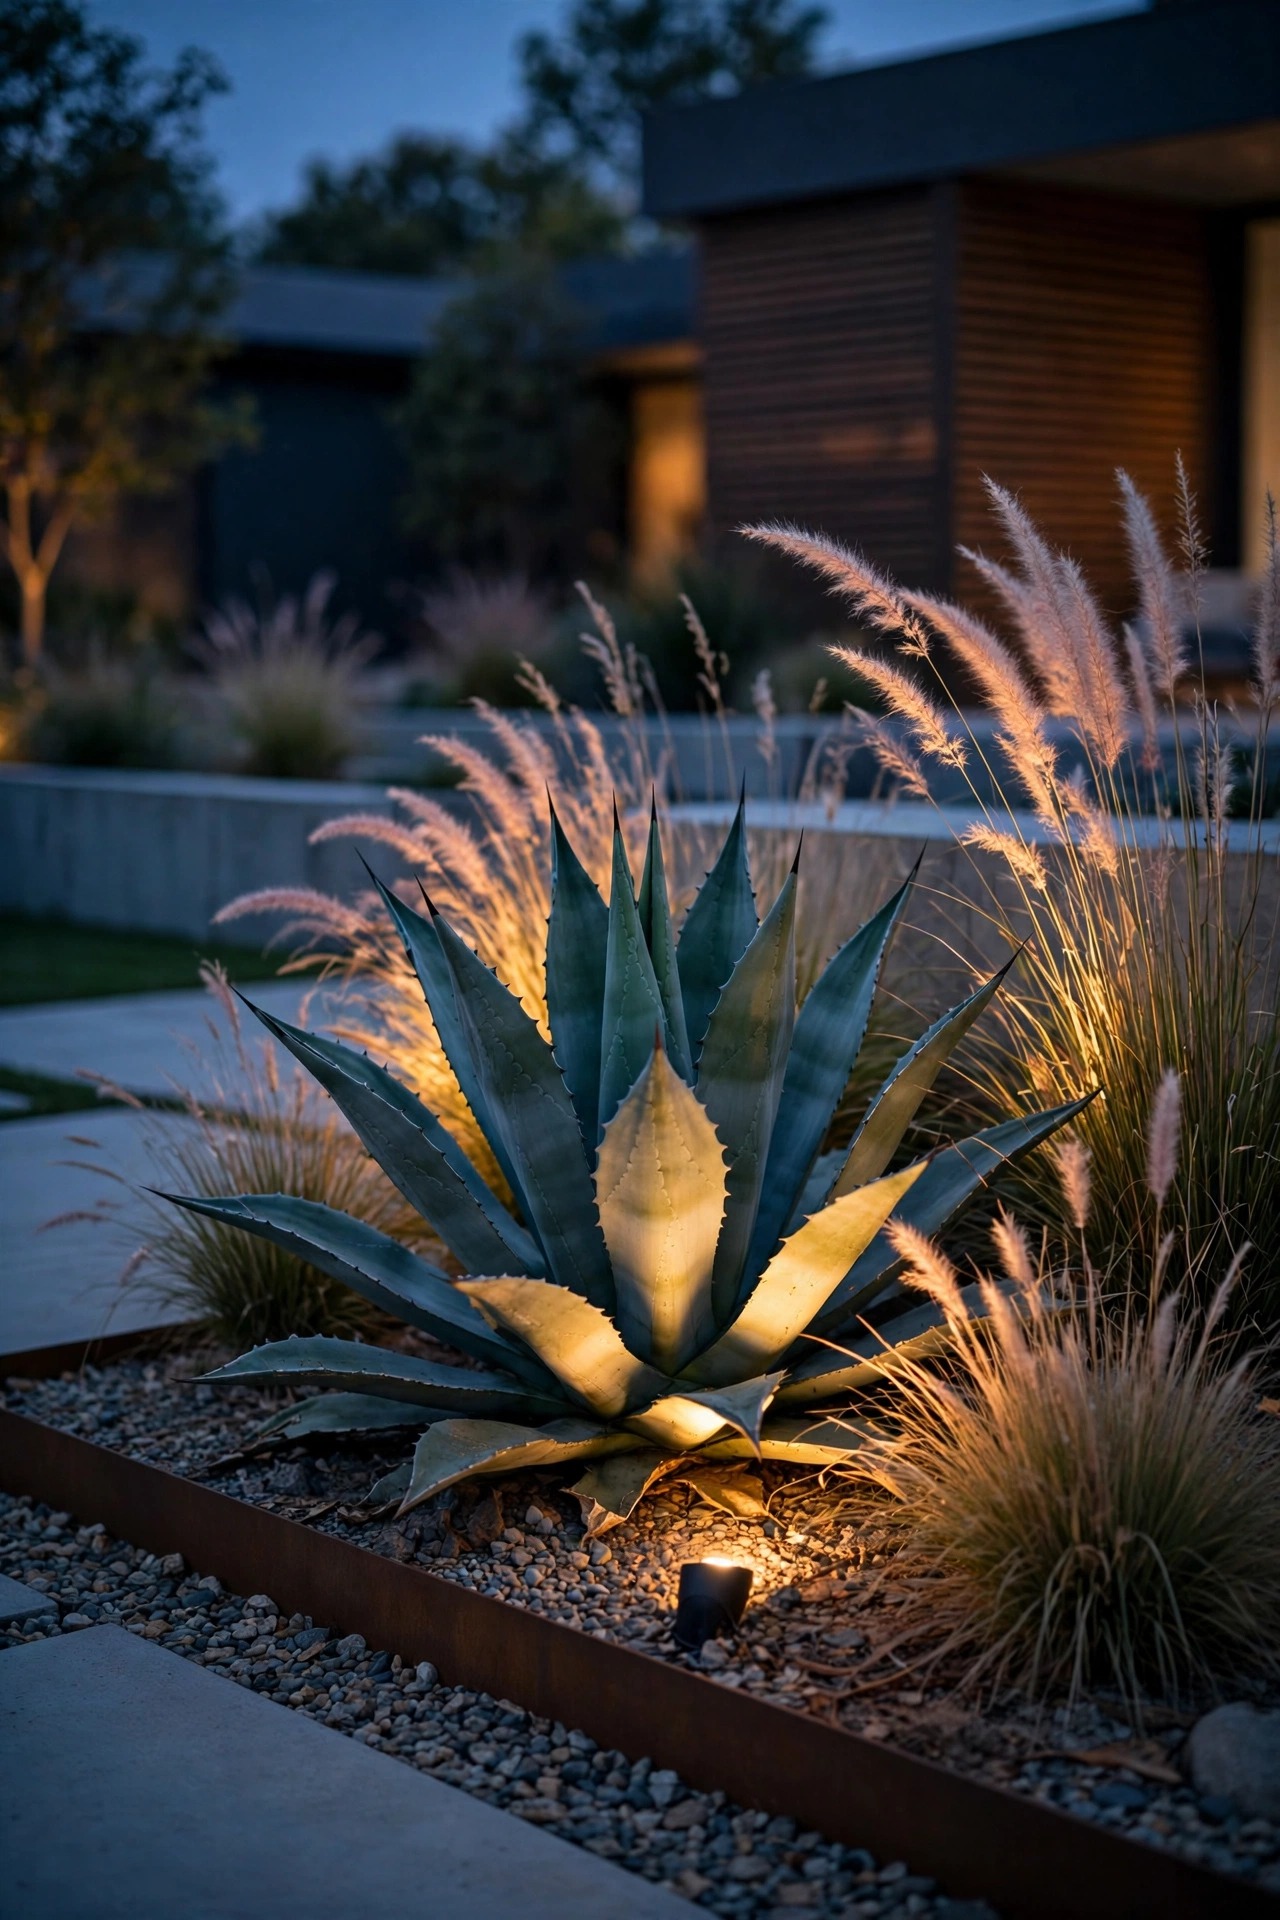
Modern planting design is already sculptural: a clump of ornamental grass, a multi-stem agave, a neatly clipped boxwood sphere. One narrow spotlight per specimen, placed 12 to 24 inches in front and aimed up through the form, turns each plant into a glowing object against the dark. The restraint is the point. Choose three plants, maximum, and let the rest of the beds fall to shadow; a yard where everything is lit is a yard where nothing is. Grasses look best lit from slightly behind so the blades rim-light and shimmer when they move. Agaves and yuccas want a beam from the front-low angle to rake across their geometry. Clip evergreens take a soft wash from directly below. As plants grow, widen the beam or swap the lens rather than adding fixtures; a 36-degree lens today might be a 60-degree next summer. This layered restraint is exactly what separates a designed modern front yard from a well-lit parking lot.
Suggested budget range: $35 – $90.
12. Run a Linear Light Line Along the Walkway Edge
For the most unmistakably contemporary look on this list, skip individual fixtures entirely and run one continuous line of light along the edge of the walk itself. Outdoor rope light or a rigid linear LED channel set into a slim recess beside the path draws a glowing rule line from sidewalk to door, and the geometry photographs like a magazine cover. In my experience this works best on straight or gently angled walks; tight curves fight the rigid channel and look improvised. Keep the line on one side only, keep it dim, roughly bollard brightness or less, and pair it with a soft wash at the door so the entry still feels welcoming rather than runway-like. Wet-location rating is non-negotiable here, and a frosted diffuser matters even more than usual because the source sits right at ankle height. If a full channel feels like a construction project, a neat row of low-profile mini markers at tight 4-foot spacing gets you eighty percent of the effect for a weekend of work.
Suggested budget range: $150 – $400.

13. Uplight Columns, Gables, and the Roofline Rhythm
Architects design facades in rhythm: column, window, column, gable. Lighting that rhythm, with small uplights at the base of each repeated element, makes a house look twice as expensive after dark. I place a compact ground spotlight 18 to 24 inches out from each porch column or pilaster, aimed straight up its face, and the repetition does all the design work. A single gable peak gets one wider flood from farther back so the triangle reads as a lit shape rather than a hot spot. Stop there. The mistake is uplighting every element until the facade looks like a wedding cake; pick the dominant rhythm, usually the verticals, and let the rest go dark. Brick and stone columns take grazing beautifully, while smooth painted columns want the fixture pulled back a foot or two to soften the beam edge. This is also the easiest idea to test before committing: one clamp light, one extension cord, one evening of standing at the curb squinting.
Suggested budget range: $40 – $100.
14. Put It All on Smart Zones, Timers, and Dimmers
The most architectural yards I know are not the ones with the most fixtures; they are the ones where the light changes on a schedule nobody touches. Zoning is the trick: path and drive lights on one zone that comes on at dusk, accent uplights on a second that can stay off for a quiet Tuesday, entry sconces on a third tied to a photocell. A modern low-voltage transformer with built-in astronomical timing handles the seasons automatically, and app-controlled zones let you dim the accents to sixty percent for everyday evenings and run full brightness when guests arrive. Dimming is the underrated half of this idea; most LEDs at full power are twenty percent brighter than a designed scene wants. Set it once, honestly evaluate from the street at full dark, then leave it alone. My own yard runs dusk to 11 p.m. nightly and dusk to dawn only when we are expecting late arrivals, which keeps the scene feeling special instead of becoming wallpaper nobody notices.
Suggested budget range: $120 – $350.
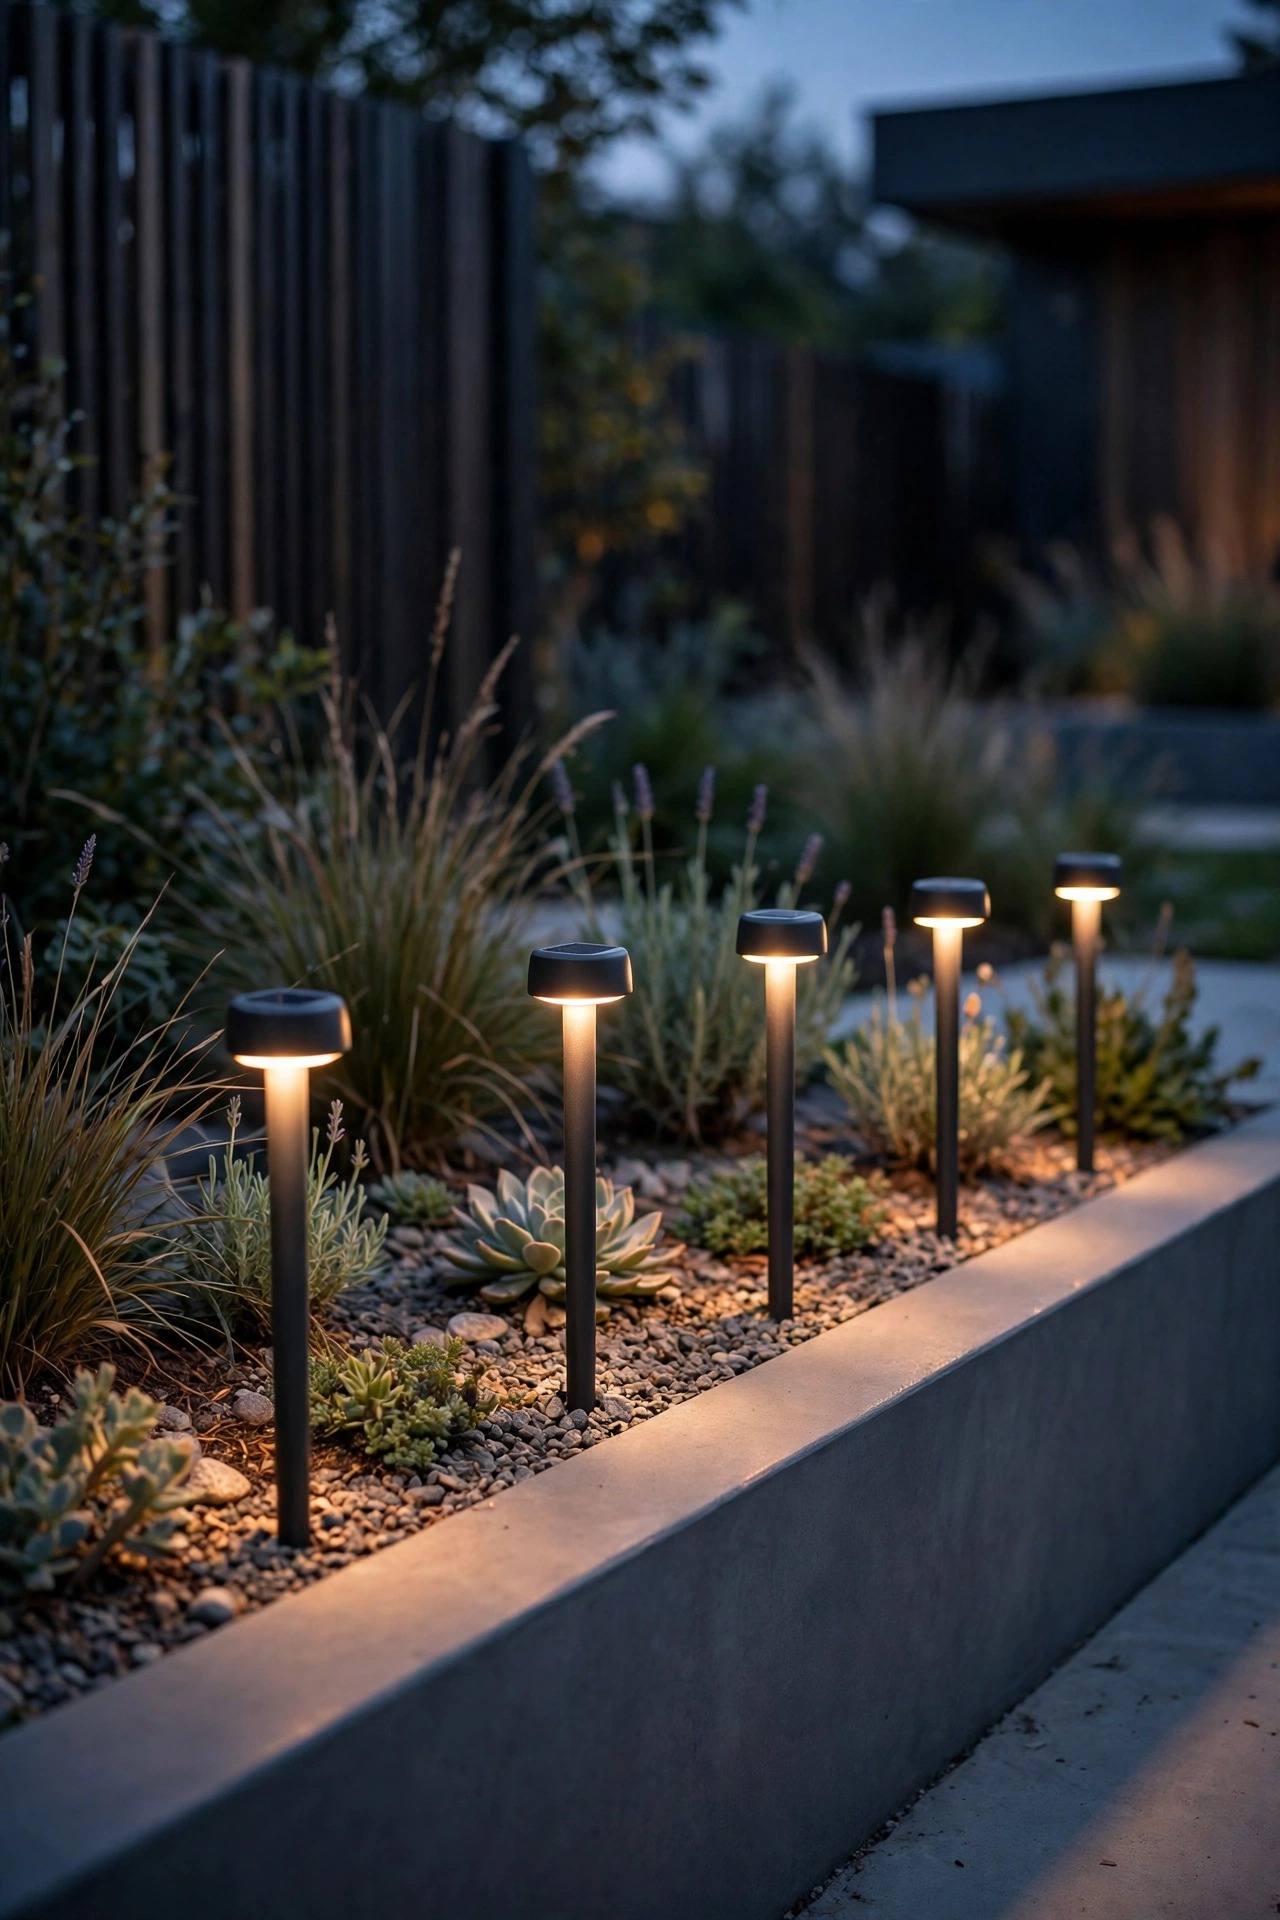
15. Try Minimalist Solar Stakes in the Planting Beds
Solar has finally grown up. The newest minimalist solar stakes are simple matte posts with a clean downward glow, no plastic fakery, no color-changing nonsense, and in a sunny front bed they are a genuinely good way to wash the front of plantings without a wire in sight. I use them as bed lighting only, never as the main walkway source, and I space them 4 to 6 feet apart tucked at the front edge of the bed so the light grazes foliage and spills a little onto the lawn edge. Brightness varies more than wired fixtures, so buy two extra and expect to rotate the weakest performers to the back garden. South and west-facing beds charge best; under a dense maple canopy, solar will disappoint you by 9 p.m. and wired is the honest answer. Wipe the little panels monthly, since a dusty panel is the number one reason solar lights get unfairly blamed. Used where they belong, they are the fastest, cheapest layer in this whole post.
Suggested budget range: $15 – $40.
16. Add a Slim Reflecting Pool or Fountain Glow
Water is the one element that doubles every lumen you give it. A slim modern reflecting pool, a simple bubbler bowl, or a clean-lined fountain near the entry, lit with one submersible warm LED, shimmers across the whole front yard and makes every nearby fixture look intentional. The light belongs in the water, aimed up through the movement, so the surface dances instead of the fixture glaring. Keep the surrounding area deliberately under-lit; the reflections are the show. Safety basics matter here: any fixture in or near water goes on a GFCI-protected circuit, submersible lights must carry the correct rating for continuous immersion, and low-voltage is the smart default anywhere near a feature kids can reach. Even a large ceramic bowl with a small recirculating pump gives you ninety percent of this effect on a rental-friendly budget. In winter climates, drain and store the submersible or choose a fixture rated to freeze in place, and check the rating twice before the first hard frost.
Suggested budget range: $120 – $450.

17. Commit to One Color Temperature: 2700K Everywhere
Nothing unravels a modern scheme faster than mismatched light color, one warm sconce, one blue-white path light, one amber solar stake, all arguing in the same view. Architectural lighting looks designed largely because it is disciplined, so commit: 2700K warm white for every fixture in the front yard, full stop. It flatters brick, stone, wood, and skin tones, and it matches the glow spilling from your windows so indoors and outdoors read as one house. When you shop, the number on the box matters more than the words; "warm white" can mean anything from 2700K to 3200K depending on the maker, so check the Kelvin rating and keep receipts until the whole yard matches. Buy spares of every bulb and fixture finish at install time, because models change and a discontinued bollard in year three is a genuine headache. The single exception I allow is moonlighting, covered earlier, and even there I blend carefully. Discipline here is free; it costs nothing but attention, and it pays off every night.
Suggested budget range: $0 – $60.
18. Hide Security Lighting Inside a Clean Motion Fixture
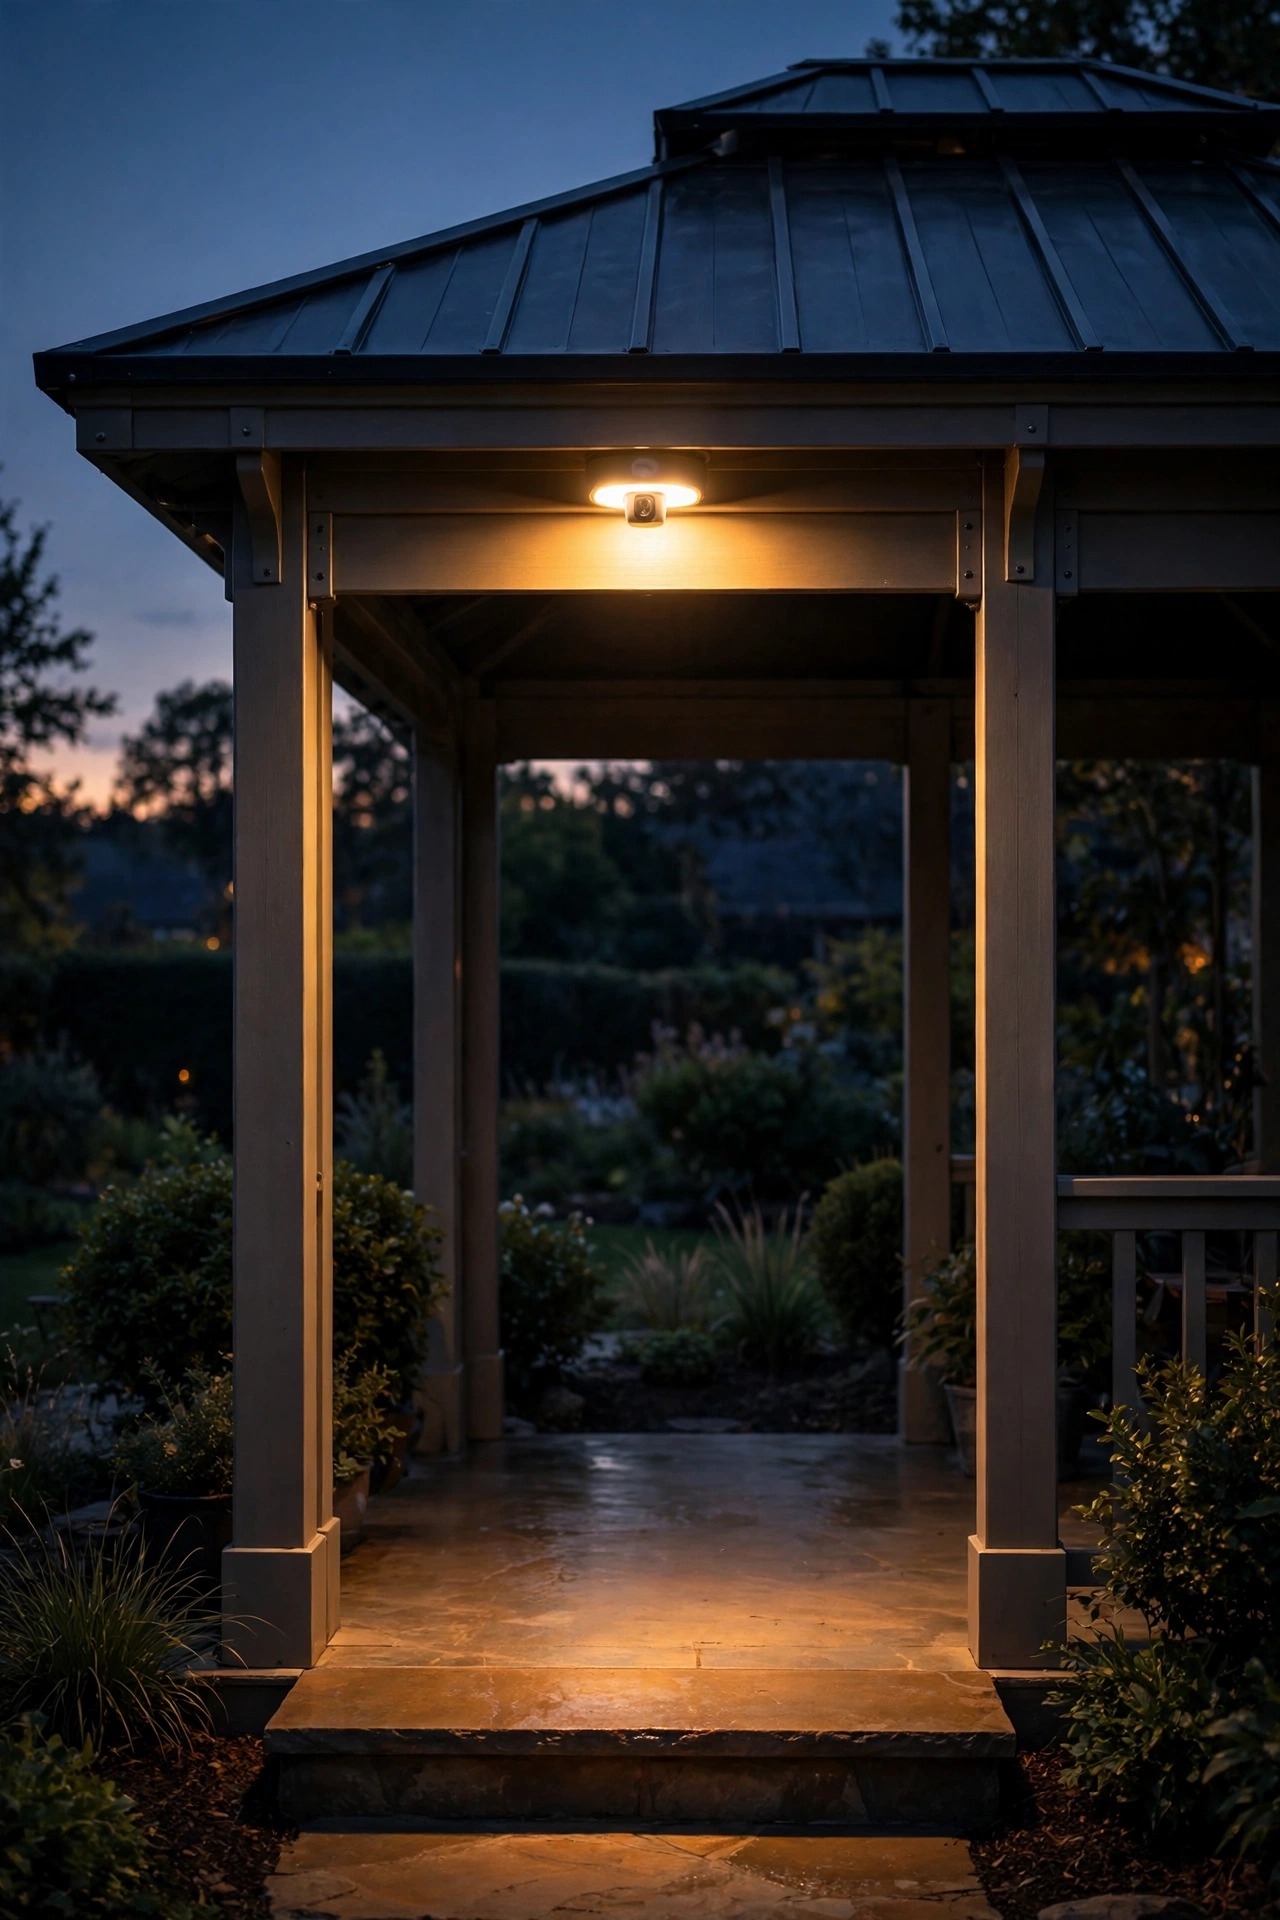
Every front yard needs security light, and nobody wants it to look like a prison yard. The modern answer is a compact motion-sensor fixture with a frosted lens and a downward beam, matched to your sconce finish, mounted at the garage corner or the side gate where it watches the driveway without announcing itself. Set the sensitivity so a passing cat does not trigger it, angle the beam to stay on your own pavement, and put it on a warm 2700K lamp like everything else, because a sudden blast of blue-white light reads as an alarm, not a welcome. Dual-brightness models are my favorite: a soft ten-percent glow all evening that rises to full when someone approaches, which looks like pure hospitality and works like security. Tell your neighbors the plan if the beam can spill toward their windows; good lighting etiquette keeps the whole street on your side. Done this way, the safety layer simply disappears into the design until the moment it is needed.
Suggested budget range: $60 – $160.
19. Finish With a Dusk Walk-Through of Your Modern Front Yard Lighting Ideas
The last of my modern front yard lighting ideas is not a fixture at all; it is a ritual. On the first fully dark evening after any install, walk the yard slowly with every zone on, then stand across the street and look at your house the way every guest, neighbor, and future buyer will. You are hunting for three things: glare, meaning any bare bulb your eyes can find; imbalance, meaning one side of the facade working harder than the other; and orphans, meaning fixtures lighting nothing in particular. Adjust angles before you adjust shopping lists, because half of all lighting problems are a spotlight tilted ten degrees wrong. Then dim the whole scene about twenty percent and look again; designed yards are almost always dimmer than their owners first guess. Photograph it from the street, too, because the camera finds hot spots your eyes forgive. Repeat the walk each spring when you clean lenses and re-aim what winter shifted. This twenty-minute habit is what keeps a modern yard looking architectural for years instead of slowly drifting into clutter.
Suggested budget range: $0 – $50.
Frequently Asked Questions
What color temperature looks best for modern front yard lighting?
Warm white at 2700K is the sweet spot for almost every modern home. It flatters brick, stone, wood, and landscaping, matches the light spilling from your windows, and keeps the facade feeling like a residence rather than a showroom. Cooler 4000K and 5000K lamps can work on ultra-modern gray and white exteriors, but they turn most planting blue-green and make warm materials look dirty, so I only use them when the architecture truly demands it. Whatever you choose, buy every fixture and bulb to the same Kelvin number and keep spares, because one mismatched replacement lamp will draw your eye every single night.
How far apart should I space modern path lights?
For most straight modern walks, 6 to 8 feet between fixtures on one side gives you overlapping pools of light with no dark gaps and no runway effect. Narrower shielded bollards can sit closer, around 5 to 6 feet, while brighter fixtures stretch to 10. The real test is the light pattern on the pavement, not the tape measure: pools should just touch. My landscape lighting spacing guide covers spacing math for paths, beds, and uplights in detail if you are laying out a full system, and it is worth ten minutes before you trench a single wire.
Can solar lights really look architectural?
Yes, with honest limits. Modern minimalist solar stakes with matte finishes and downward, shielded beams look genuinely designed in planting beds, along lawn edges, and anywhere the job is a soft accent rather than true task lighting. They are not the right tool for a dark main walkway, a shaded north-facing yard, or anywhere you need reliable brightness past midnight, because output depends on the day's charge. My rule: solar for the accent layer, low-voltage wired for guidance and welcome layers. Mixed that way, most visitors will never guess which fixtures are solar, and your transformer stays smaller and cheaper.
How much does a modern front yard lighting system cost in total?
A tasteful DIY setup covering the walk, entry, and two or three accents typically lands between $600 and $2,000 in fixtures and a transformer, depending on how many bollards and uplights you choose. Hardscape work like in-grade driveway markers or a reflecting pool pushes a project higher, and professional design and installation commonly runs $2,500 to $6,000 for a full front yard. Running costs are the pleasant surprise: an all-LED low-voltage system usually adds only a few dollars a month. For a deeper breakdown by fixture count and yard size, see my front yard lighting cost guide before you set your budget.
Conclusion
If you take one principle from all 19 of these modern front yard lighting ideas, make it this: restraint plus layers beats brightness every time. A dim, disciplined scene with a guidance layer, a welcome layer, and one or two sculptural accents will always look more architectural than a yard flooded with light. Start with the plan, commit to one finish and one color temperature, and finish with that honest dusk walk-through from the street. Your house already has good bones; the right light simply reveals them after dark. Browse the rest of my outdoor lighting ideas here on the site for the driveway, porch, and backyard versions of this same layered approach, and your whole property will glow like it was designed in one sitting, because now it was.