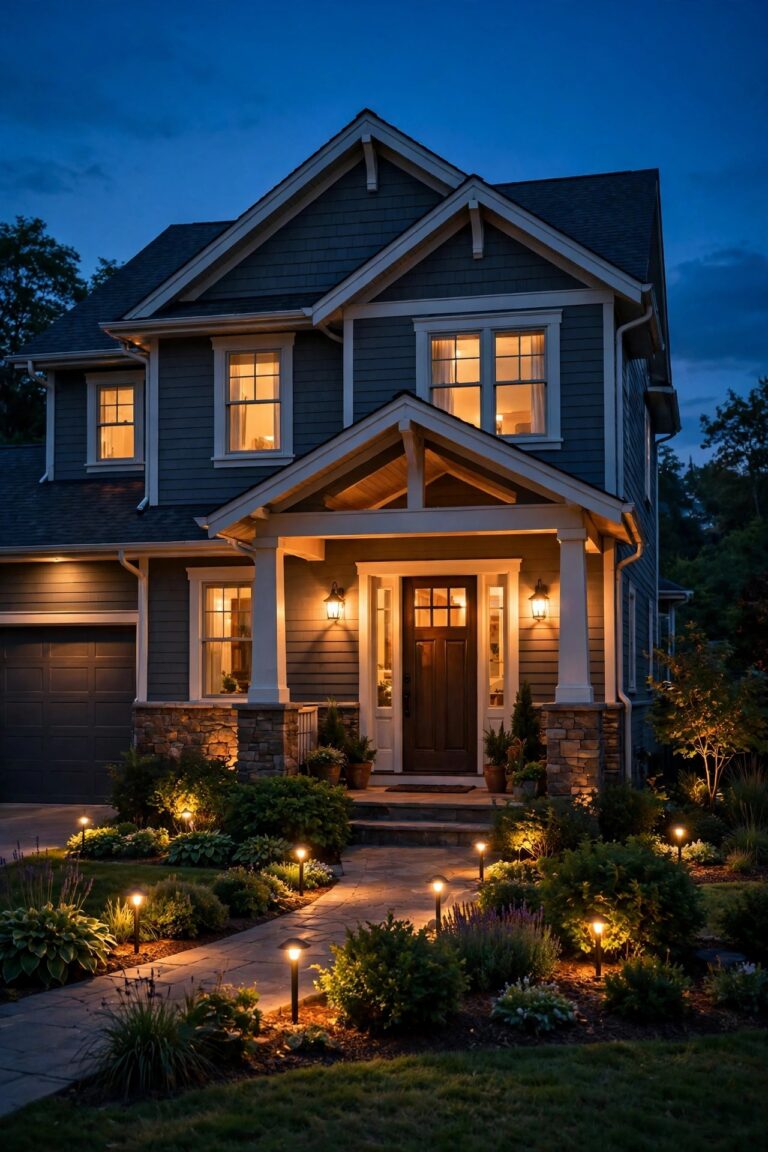
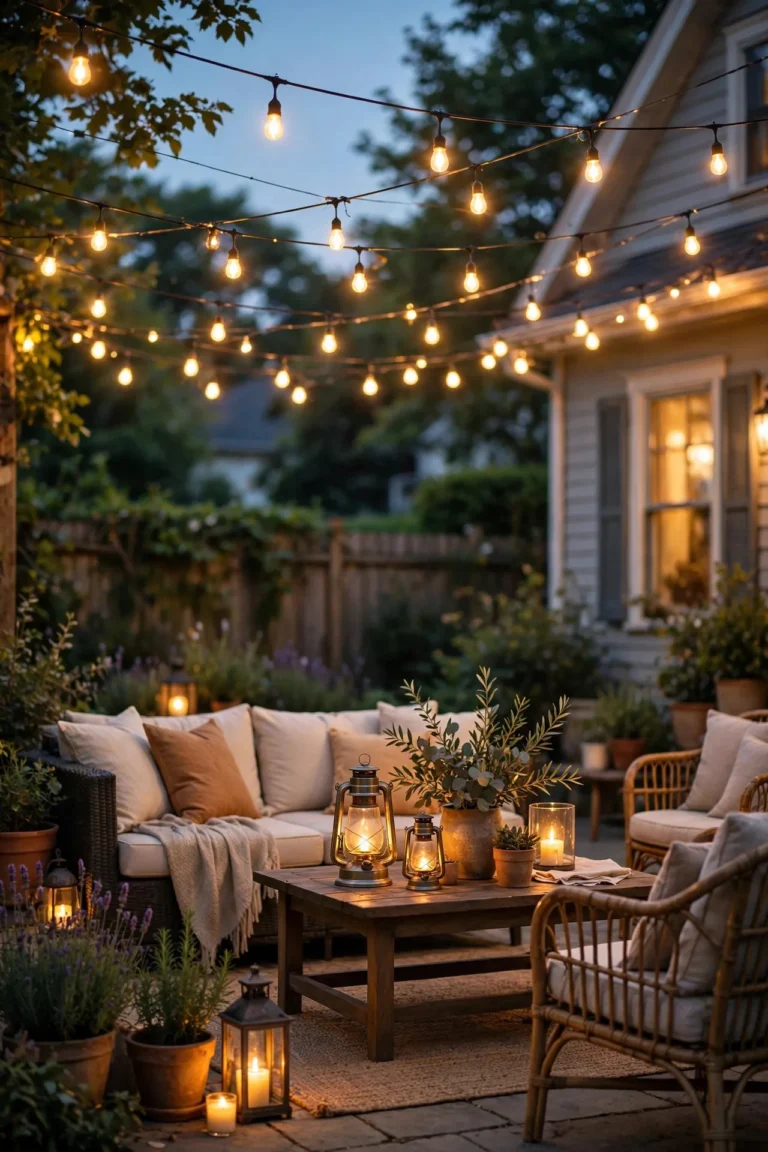
Some yards chase every new trend that shows up in the catalog, and honestly? They end up looking dated faster than the rest of us. The homes I admire most on my evening walks are the ones lit the way houses have been lit for a hundred years: a lantern by the door, a soft path to the street, one beautiful tree glowing from below. That is the heart of traditional outdoor lighting ideas — nothing gimmicky, nothing that will embarrass you in five years, just warm layers in the right places. In my experience, classic lighting works in three layers: guidance light low along paths and steps, welcome light at eye level by doors, and accent light to show off the tree, the brick, the garden statue you love. Get those three layers right, in one warm color temperature and finishes that age gracefully, and the whole property feels settled and intentional. Below I have gathered the 23 traditional outdoor lighting ideas I reach for again and again — the fixtures, placements, and little discipline tricks that keep a classic scheme looking classic.
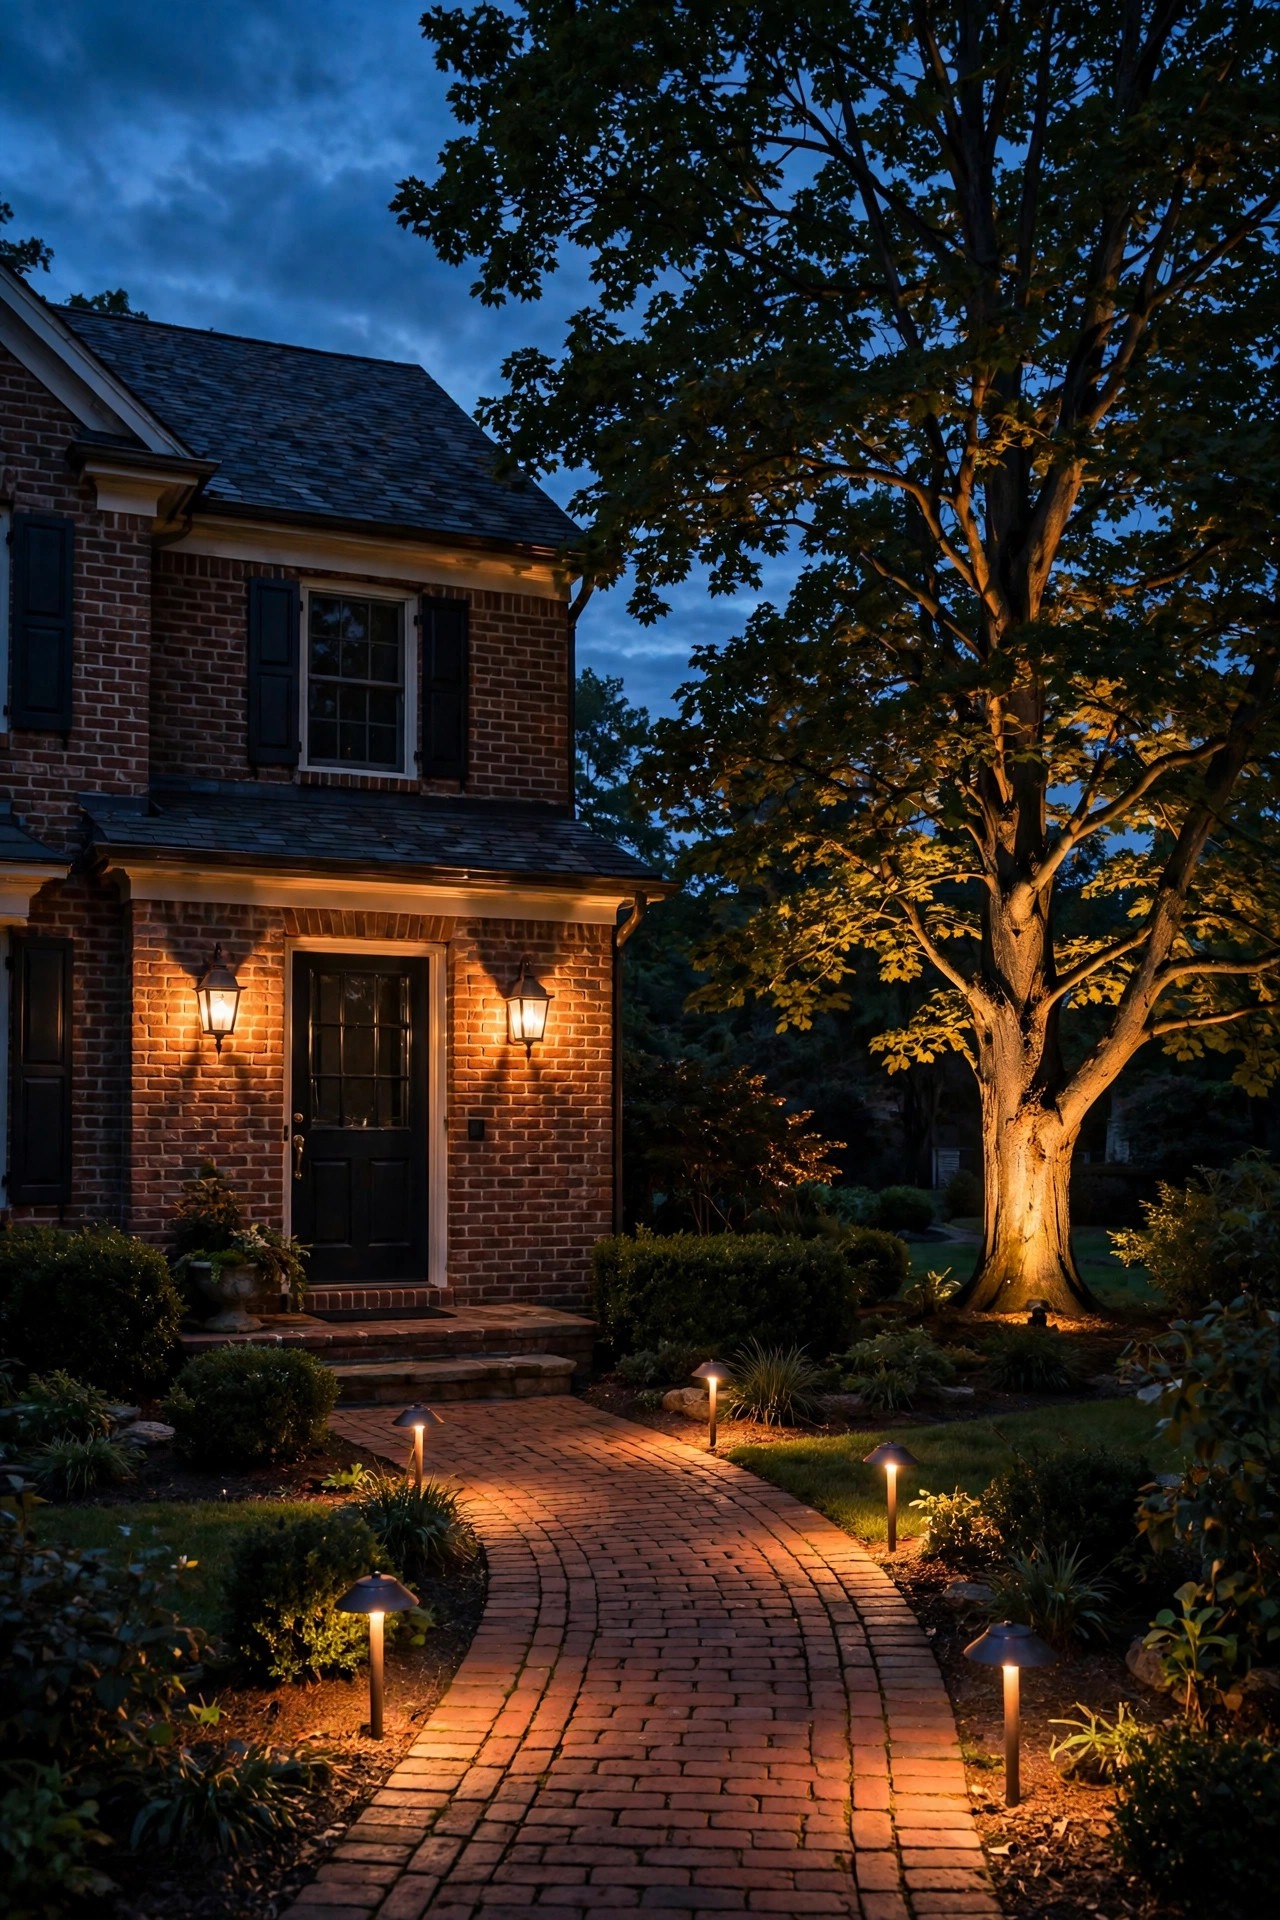
1. Traditional Outdoor Lighting Ideas Start With Three Layers
Every classic scheme I have ever admired follows the same quiet recipe, so start here before you buy a single fixture. Layer one is guidance: low, gentle light along the walkway, the driveway edge, and any step a guest might miss. Layer two is welcome: eye-level light at the front door, the garage, and the porch, roughly 5 to 6 feet up, where faces get lit and nobody squints. Layer three is accent: a wash of light on the oak, the stone chimney, or the fountain, purely for beauty. Sketch your yard on paper and mark which layer each spot belongs to before you shop. Most failed schemes I see are heavy on one layer and missing another entirely — all path lights and no door light feels like a runway, while all accent and no guidance is pretty but impractical. Keep each layer on the dimmer side and let them add up together; three soft layers always look richer than one bright one. Once the plan is drawn, the rest of this list is just filling it in, one timeless piece at a time.
Suggested budget range: $0 – $50.
2. A Symmetric Pair of Lantern Sconces at the Front Door
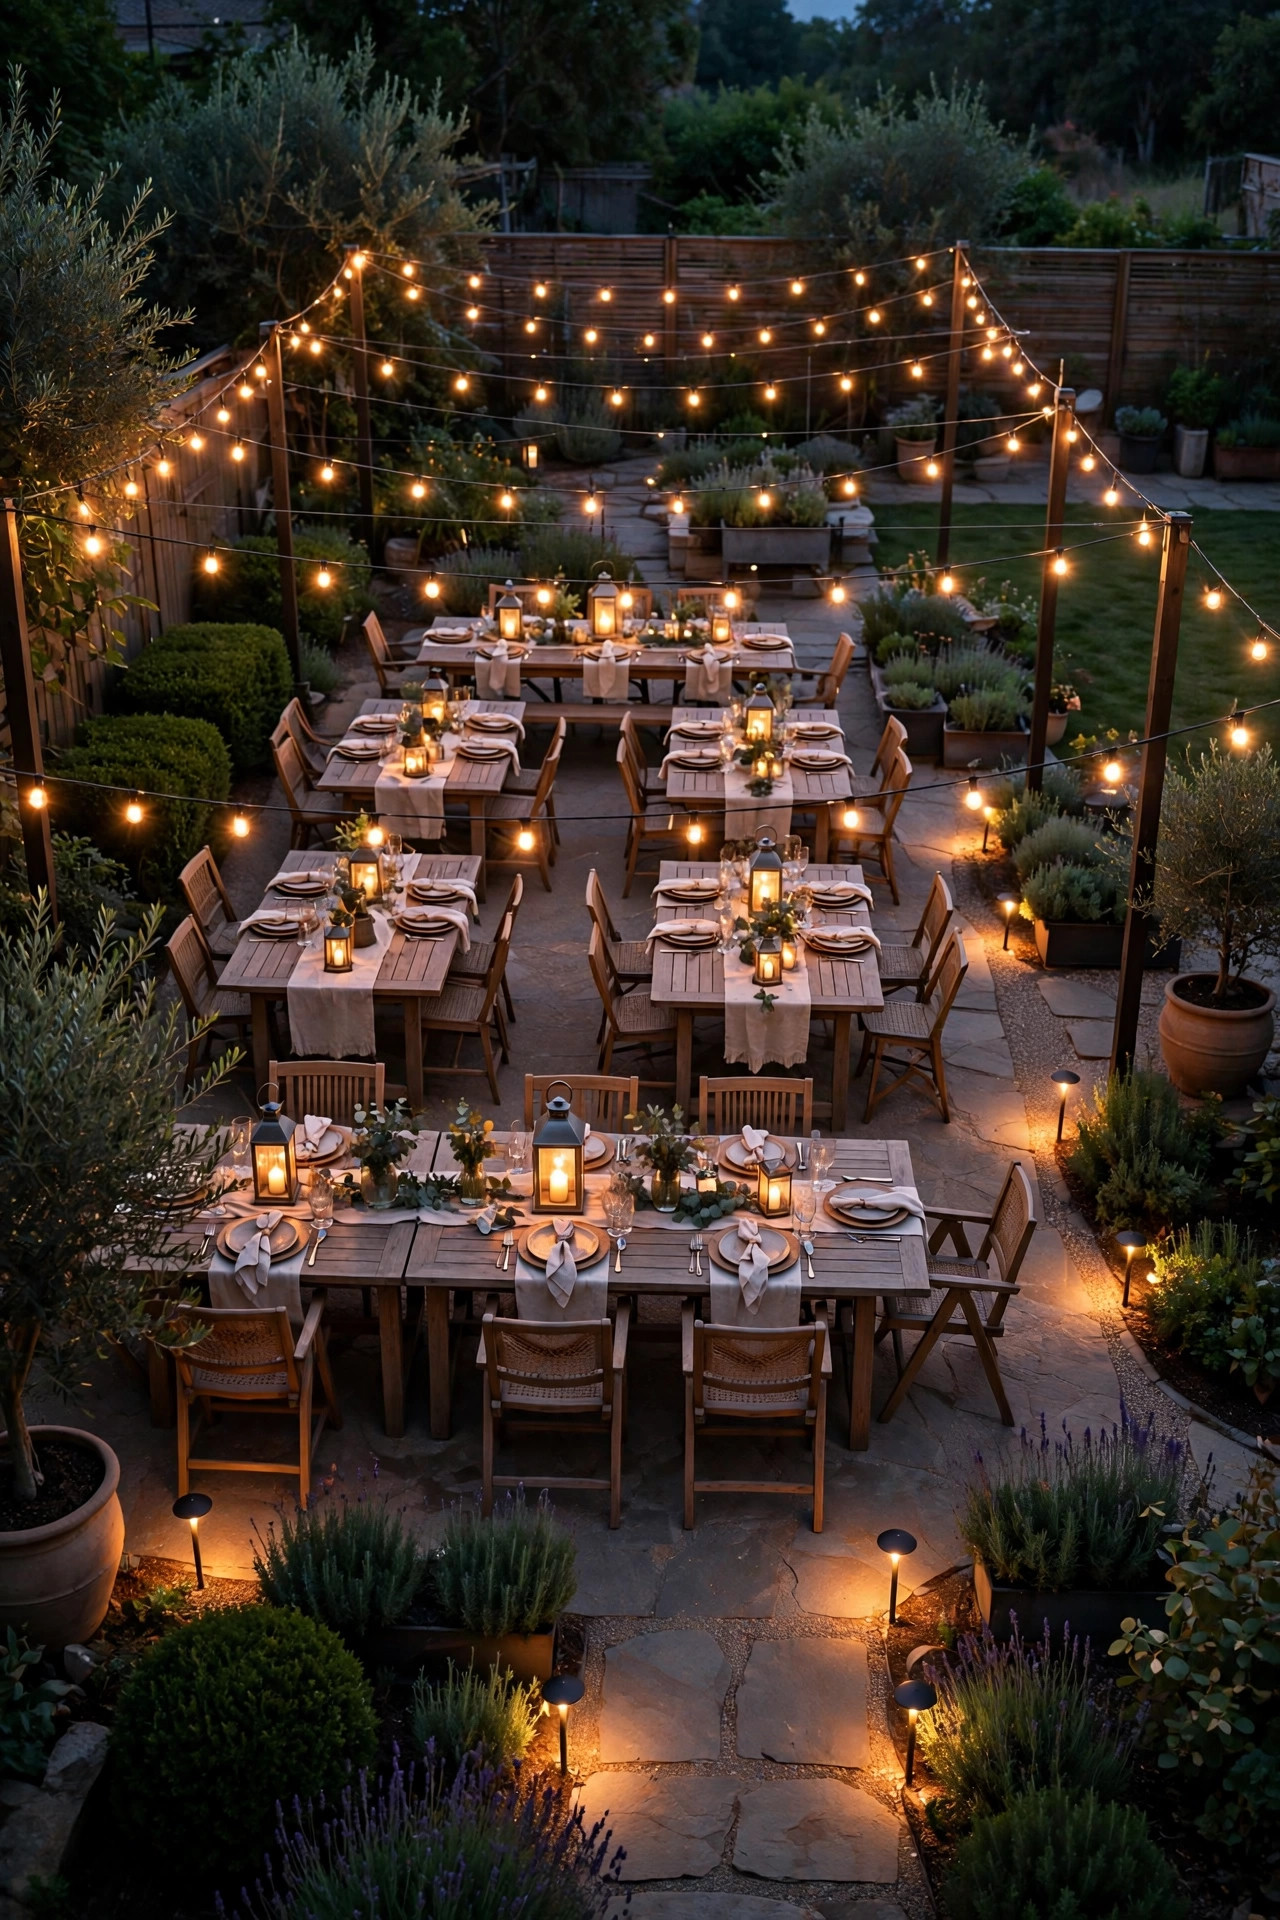
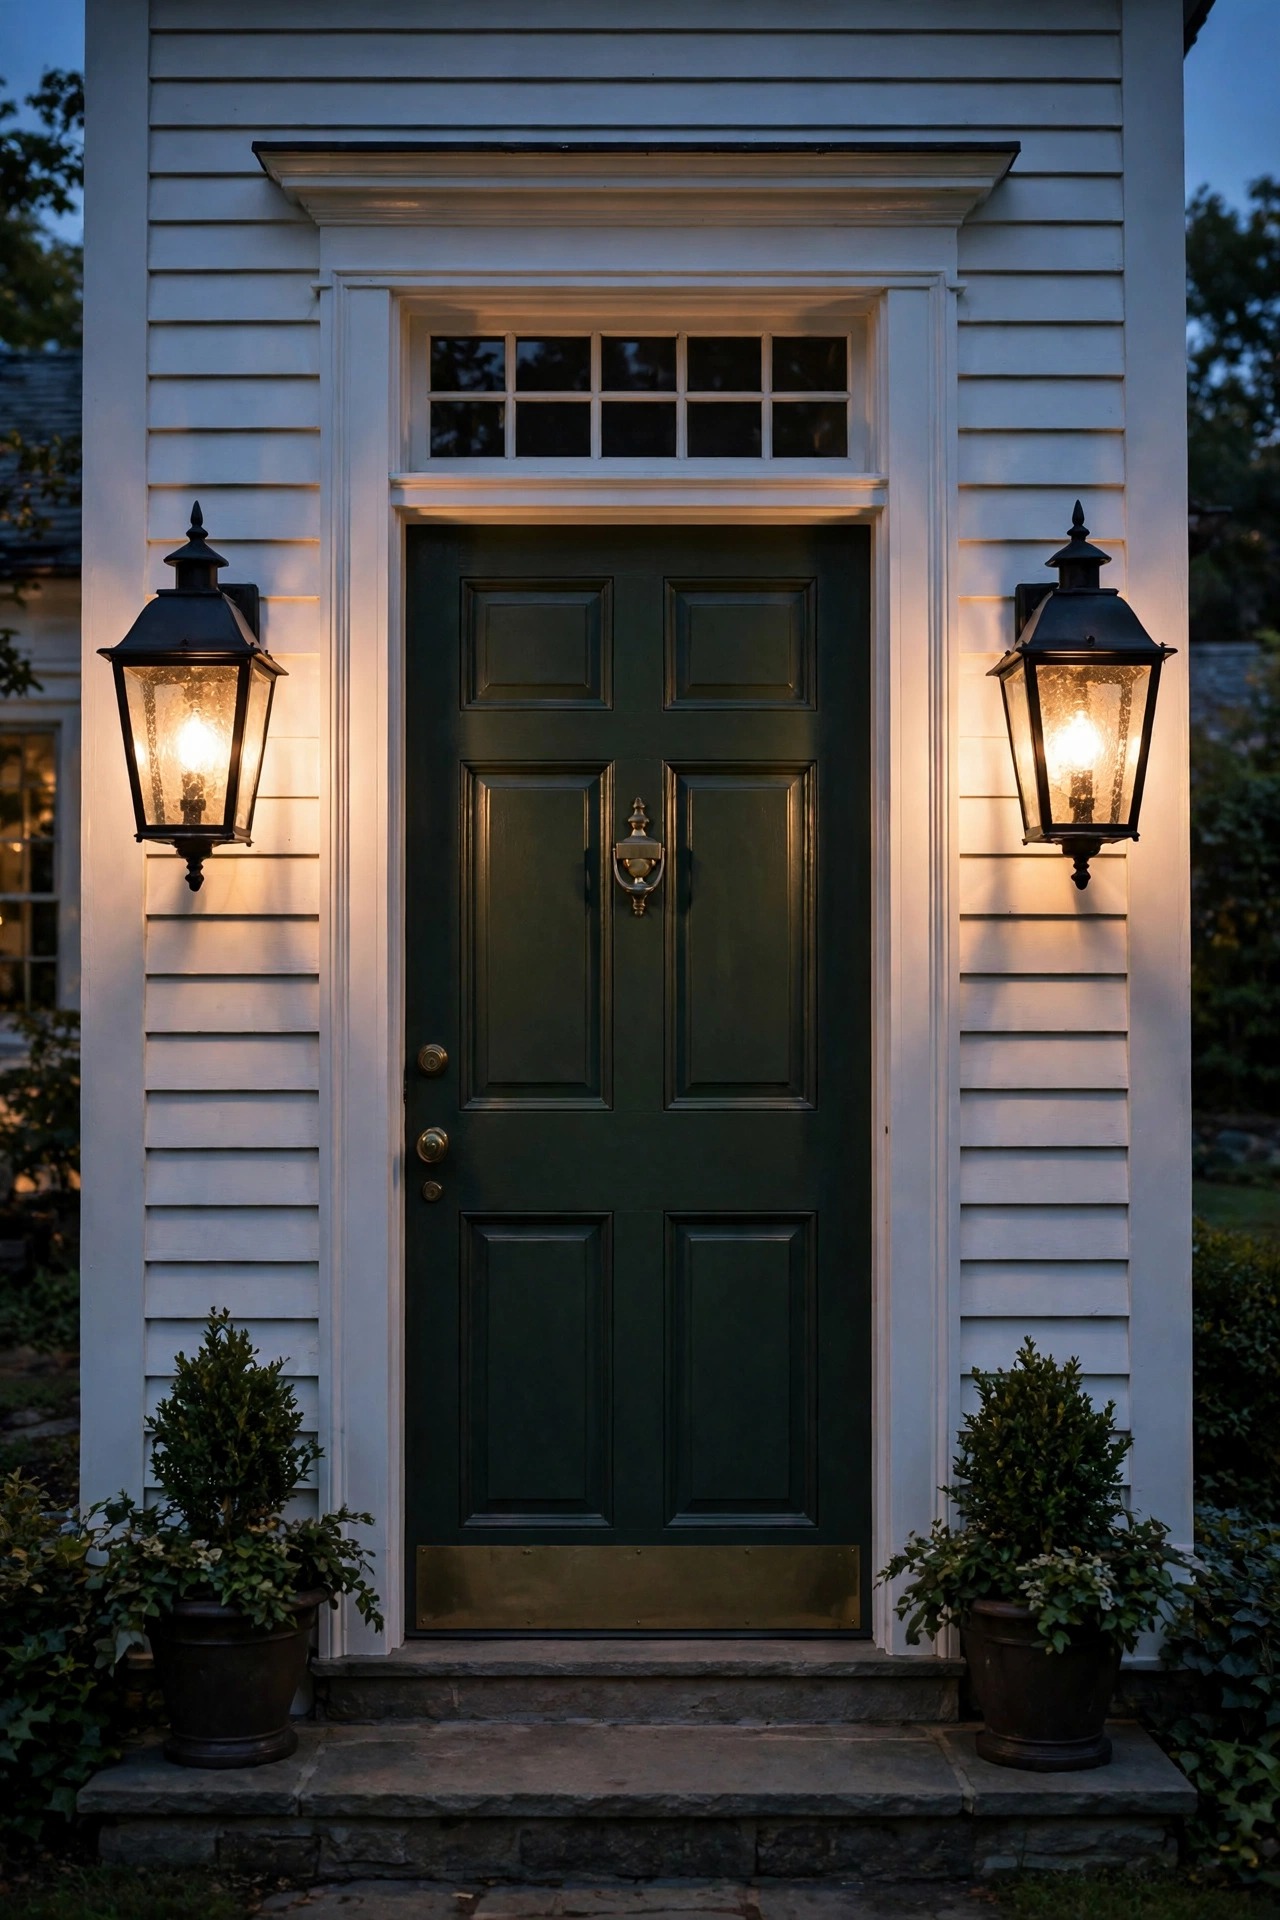
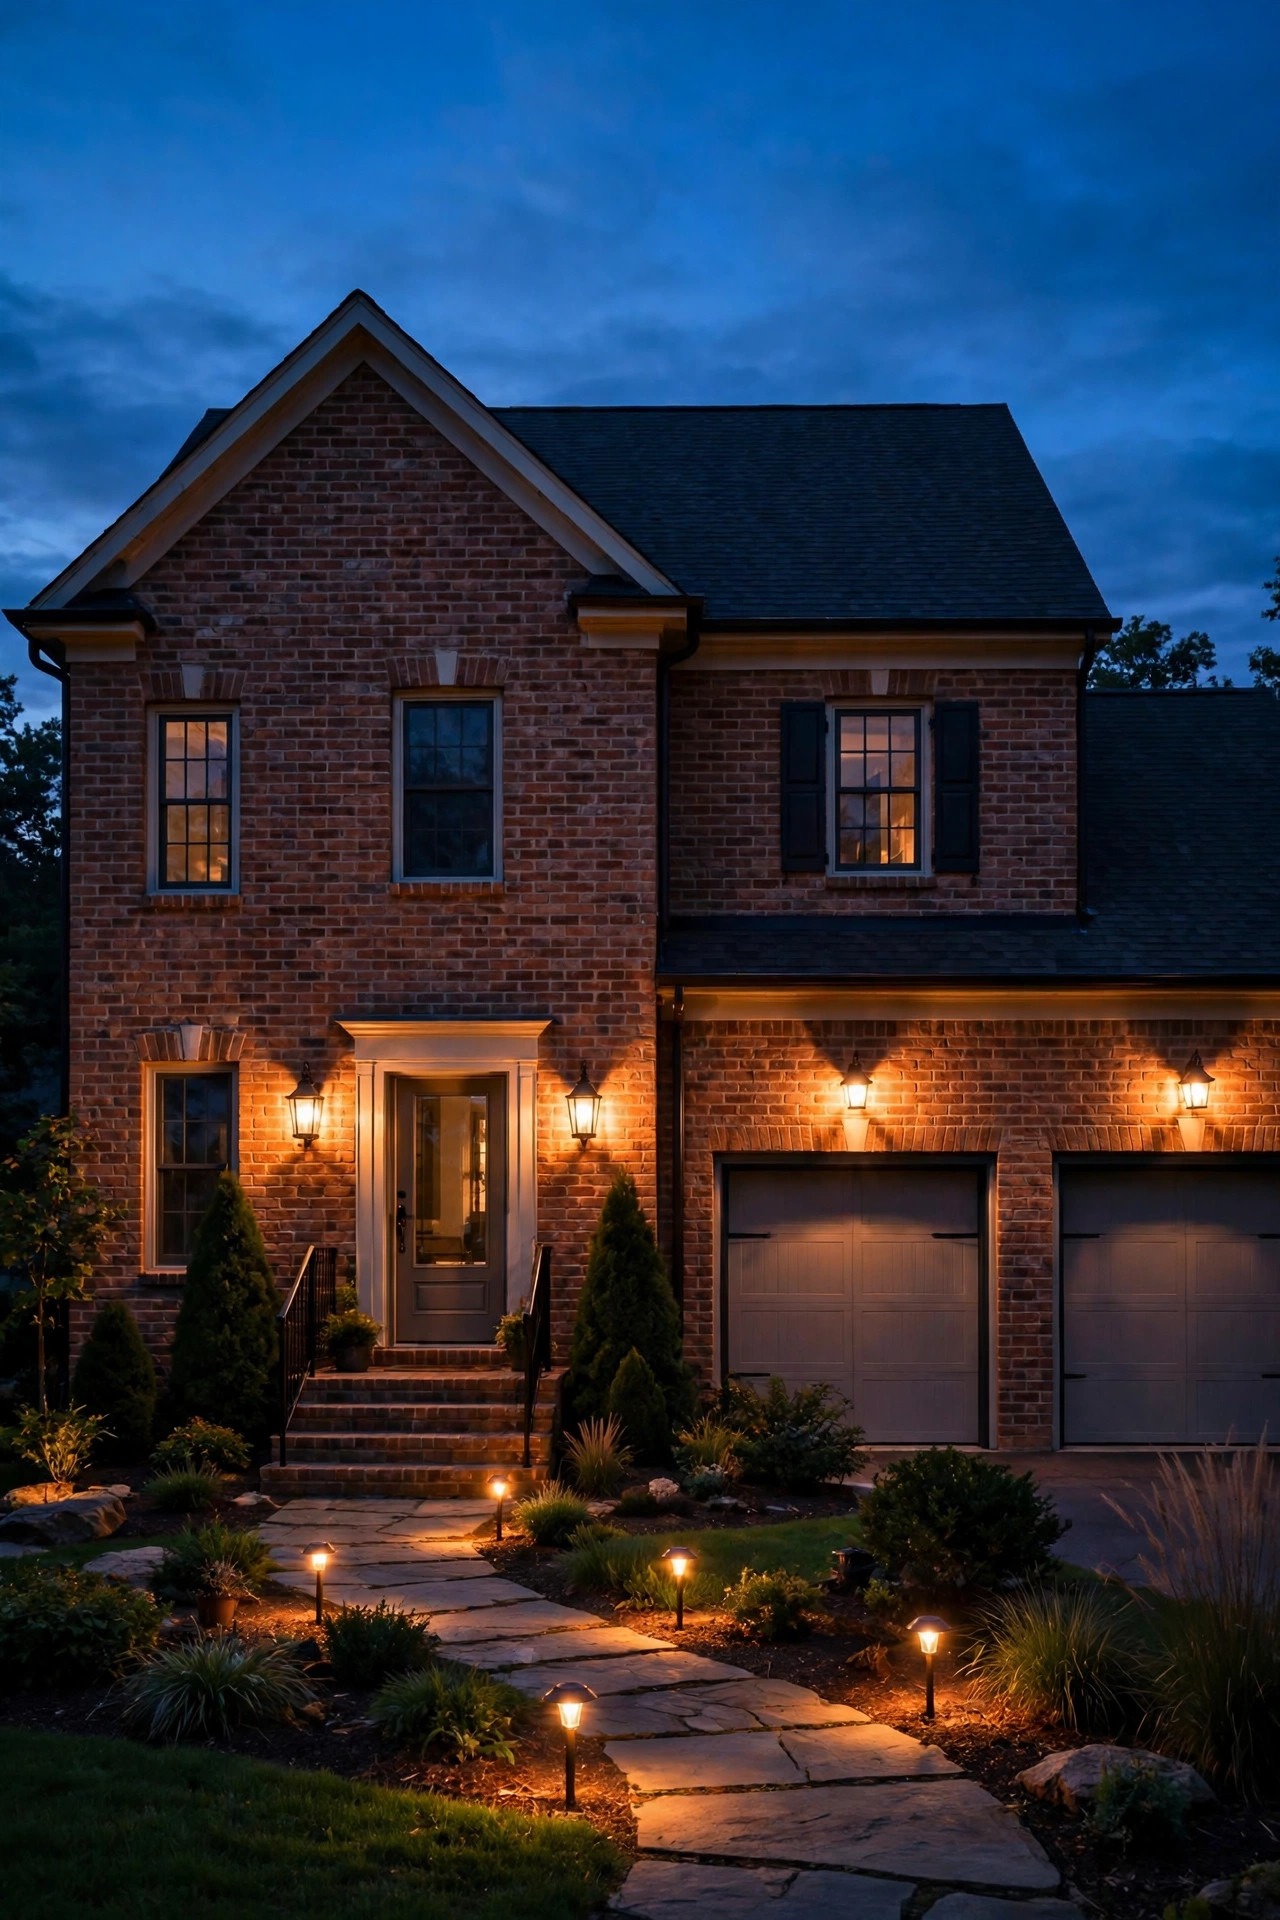
If I could give every house exactly one upgrade, it would be a matched pair of lantern-style sconces flanking the front door. Symmetry is the oldest trick in traditional design, and it instantly makes an entry look deliberate. Choose a lantern shape with a metal top and clear or seeded glass panels, sized generously — my rule is a sconce roughly one-quarter the height of the door looks right, and most people buy too small. Mount the pair so the bulb sits about 66 inches from the porch floor, level with each other, and wire them to the same switch and dimmer. On brick or stone, a black or oil-rubbed bronze finish disappears beautifully; on painted siding, match the door hardware instead. Keep the bulbs warm and modest, around 2700K and 40-watt equivalent each, so the glass glows instead of glaring. A single sconce on the hinge side works on narrow entries, but if you have the width, the pair is what gives that storybook, always-been-there feeling guests notice without knowing why.
Suggested budget range: $120 – $320.
3. A Classic Coach Light by the Garage
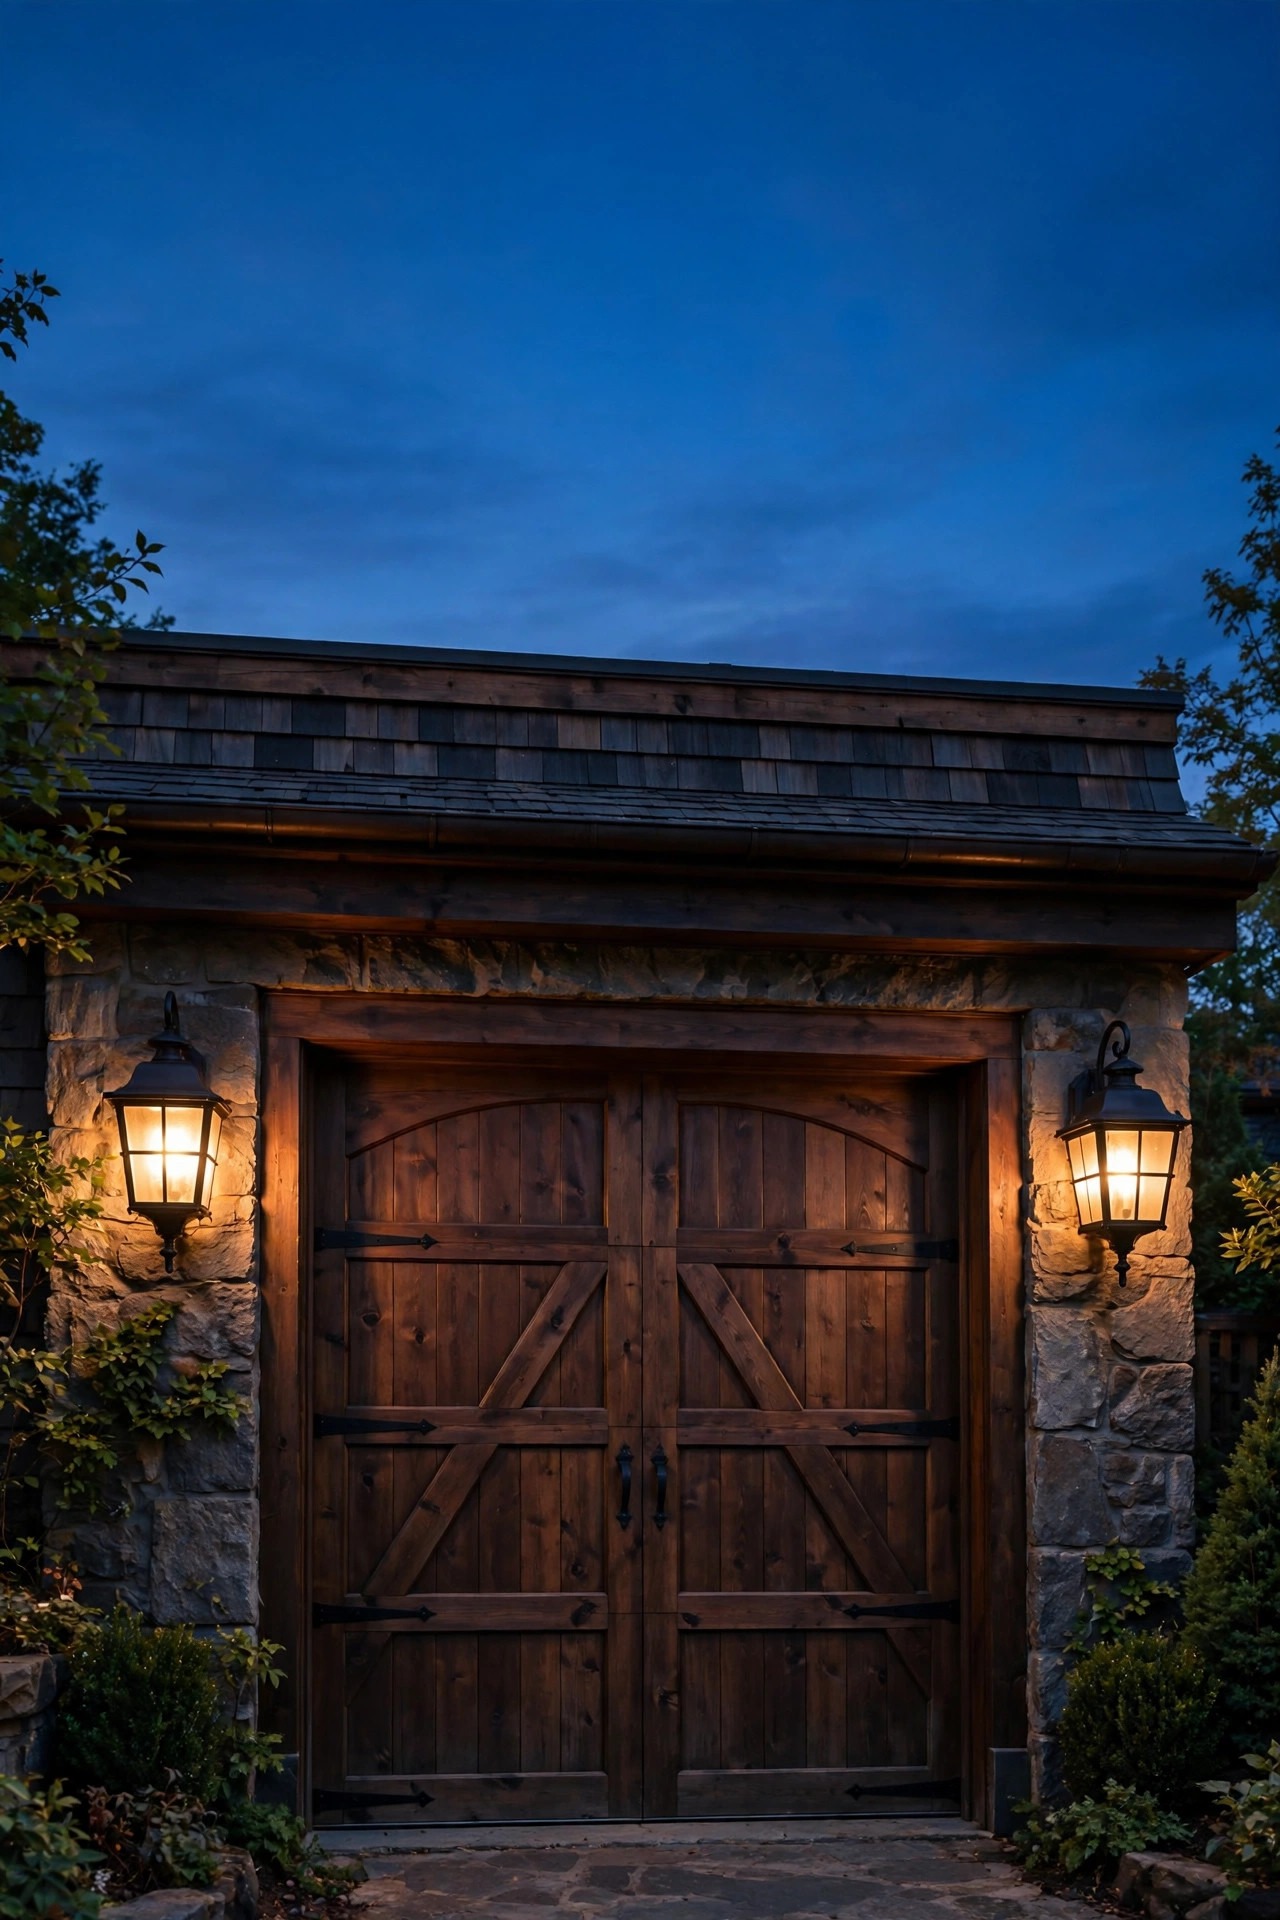
The garage door eats up half of most front elevations, and a pair of coach lights is the traditional answer to all that flat, blank space. Coach lights borrow their shape from carriage lamps — a tapered lantern body, a little finial or loop on top, and glass on all four sides — and they have looked right on American houses for generations. Flank the garage door with two, or center one above it on wide single doors, mounted about a third of the way down from the top of the door frame. Size matters even more here than at the front door because you are viewing them from the street; go bigger than feels safe. I shared more sizing and placement detail in my roundup of coach light ideas for outdoor walls if you want a second opinion. Match the finish to your door sconces so the whole facade reads as one family, and put the garage pair on a photocell so they wake up on their own at dusk. Few things say "kept up and classic" from the curb like coach lights glowing on schedule.
Suggested budget range: $140 – $380.
4. Copper Path Lanterns Along the Walkway
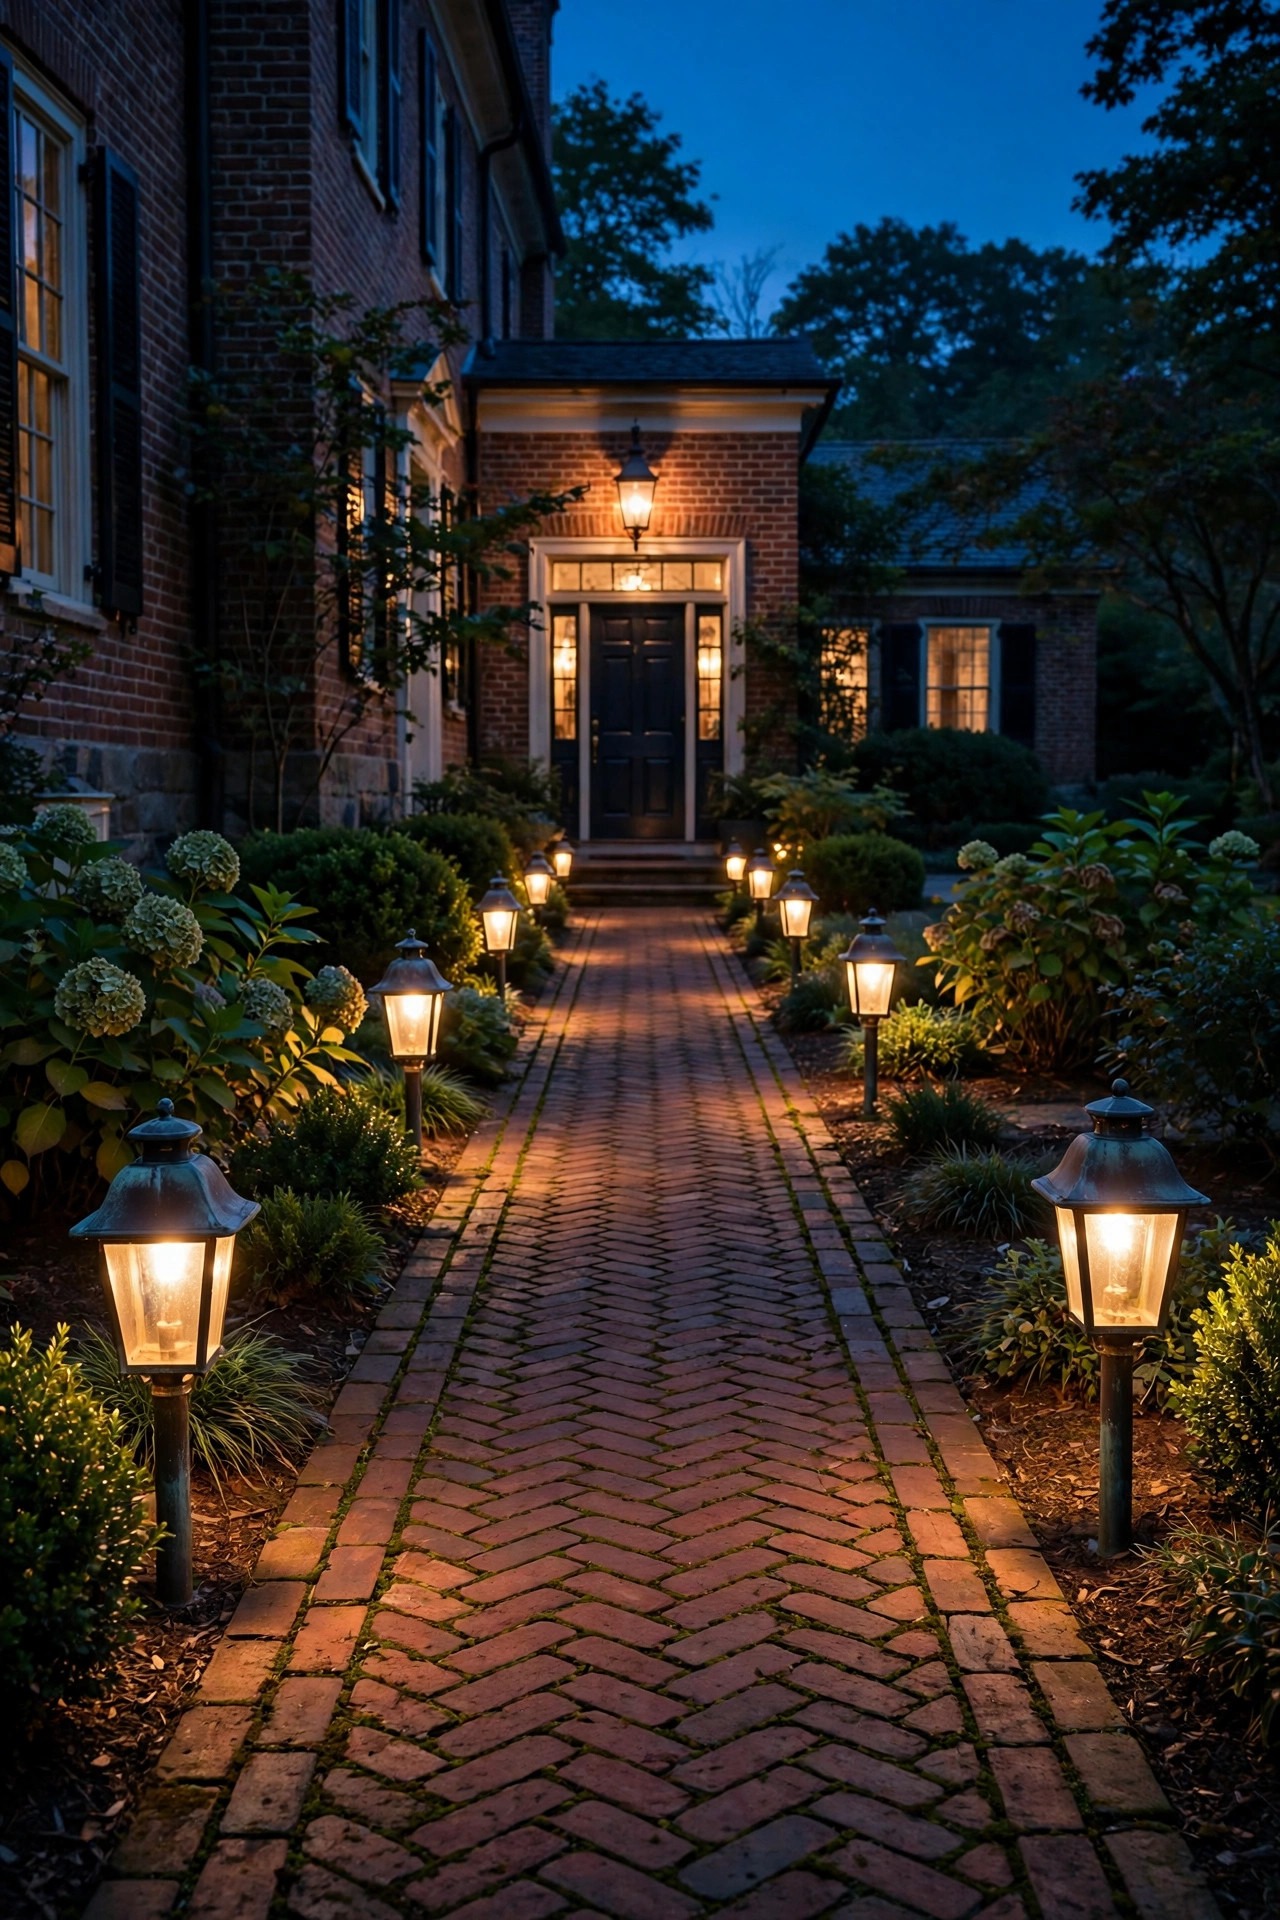
A front walk lit by a row of small lanterns is about as traditional as it gets, and copper is my favorite material for the job because it starts warm and bright, then slowly deepens into that lovely brown-green patina that looks like it has always been there. Look for lantern-style path lights — a little roofed cap over clear glass — rather than modern mushroom or bollard shapes if you want the classic read. Space them 6 to 8 feet apart, staggered slightly rather than in a soldier-straight line, and keep them 12 to 18 inches back from the walk edge so mower wheels and snow shovels miss them. Low-voltage wired fixtures give the steadiest, warmest light and let you run the whole path on one transformer and timer. I keep a whole collection of lantern path light ideas for different walk shapes, from straight colonial entries to curved garden paths. Aim the light down at the path surface, not out at eye level: guests should see where to step, not the bulb itself. Done right, the walk feels like it is escorting people to your door.
Suggested budget range: $180 – $450.
5. A Gas-Style Flame Lantern for Old-School Charm
Real gas lanterns are gorgeous but pricey to run and maintain, so for most of us the sweet spot is an electric lantern with a flame-effect bulb that flickers like a real gas mantle. Park one at the front door or on a post by the gate and it becomes the signature of the whole house — the light people describe when they give directions to your place. The better flame bulbs move slowly and unevenly, closer to 2000K amber than standard warm white, and they look most convincing behind clear glass in a black or copper lantern body. Reserve the flicker for one or two hero spots only. A whole facade of dancing flames tips from charming into theme-park faster than you would think, and your steady sconces and path lights will make the one flame look more real by contrast. Check that the lantern is rated for wet locations and that the flame bulb is approved for enclosed fixtures if the design is fully sealed. On a dimmerless circuit it just runs whenever the light is on, which is exactly the set-and-forget behavior a classic scheme wants.
Suggested budget range: $90 – $260.

6. Seeded Glass for a Soft, Period Glow
Clear flat glass is what makes so many new fixtures look harsh and modern, even when the metal shape is traditional. Seeded glass — the kind full of tiny bubbles, like old handmade panes — softens and blurs the bulb inside, so a lantern reads as a gentle glow instead of a bare filament on display. It is a small detail that changes everything about how a fixture feels at night. When you shop, hold out for genuinely seeded or lightly frosted panes on your door lanterns, coach lights, and porch pendants, and skip the water-glass and geometric textures that belong to other styles. Seeded glass also hides a multitude of sins: dust, a dead moth, a bulb that is slightly the wrong shape. It pairs especially well with LED filament bulbs, whose warm coils blur into something very close to a candle flame behind the bubbles. If your existing lanterns have plain glass you love otherwise, replacement seeded panes or a light frosted-glass spray inside can get you halfway there for a few dollars. It is the cheapest way I know to make new fixtures feel a generation older, in the best way.
Suggested budget range: $15 – $90.

7. A Hanging Lantern on a Chain Over the Porch
Covered porches and porticos were built for a hanging lantern, and a chain-hung pendant centered over the door or porch table is the most traditional ceiling light there is. The chain matters: a rod mount reads modern, while a few links of black chain with the cord woven through reads instantly classic. Size the lantern so its bottom hangs about 7 feet above the porch floor — high enough for tall guests and wreath-topped doors, low enough to feel like a presence. Center it on the door, not the porch, unless you are lighting a seating area instead, in which case center it over the chairs. A single medium lantern usually beats a pair of small ones overhead. Choose clear or seeded glass so the light spreads to the ceiling and floor, and keep the bulb at a gentle 2700K. If wind swings your porch fixtures, a slightly heavier lantern body or a shorter chain fixes the wobble. On a dimmer, this becomes the light I leave glowing low all evening — the porch feels occupied and welcoming even when nobody is sitting in it.
Suggested budget range: $110 – $300.

8. A Colonial Post Light at the Driveway Entrance
A single post light where the driveway meets the walk — or at the end of a long drive — is pure colonial Americana, and it does real work: it marks the turn-in for guests, lights the mailbox run, and anchors the whole front yard. Choose a lantern-head post light in black or aged bronze, with the classic cap-and-finial silhouette, and set it on a 6 to 8 foot post so the light sits above hedge height. In my colonial exterior lighting notes I go deeper on matching these to brick and clapboard homes, but the short version is: one post light, generously sized, beats two small ones every time. Keep the bulb modest and warm so it glows like a lamp, not a streetlight — around 60-watt equivalent at most. Wire it with the front path lights so the arrival sequence comes on together, and bury the cable a good 6 inches down with a clear run marked on your plan for future digging. It is a slightly bigger project than most on this list, and it is the one neighbors will ask you about.
Suggested budget range: $220 – $520.

9. Traditional Outdoor Lighting Ideas Favor One Warm Color Temperature
Nothing unravels a classic scheme faster than a patchwork of bulb colors — a blue-white porch light, a yellow path light, and a greenish garage bulb all arguing with each other. Traditional light is firelight and gaslight, so pick one warm color temperature and hold the whole property to it: 2700K is my standard, with 2200K to 2400K reserved for flame-effect and candle accents. When you replace a bulb anywhere, the new one matches the family or it goes back to the store. Write the number on a sticky note inside your breaker panel if you have to. Buy a few spares of each bulb type when you find ones you like, because manufacturers quietly change tints between production runs. Pay attention when mixing brands of LED filament bulbs; two bulbs both labeled 2700K can still differ, so test a new brand in one fixture before committing to a dozen. The payoff for this small discipline is huge: one consistent amber warmth from the street to the back gate is what makes a yard feel designed rather than accumulated, and it costs nothing but attention.
Suggested budget range: $20 – $80.

10. Uplight One Specimen Tree
Every traditional yard has one tree doing the heavy lifting — the oak by the drive, the magnolia by the porch — and a single well uplight turns it into a nighttime landmark. Place one or two low-voltage well lights or spotlights 12 to 18 inches from the trunk, aimed up into the lowest branches at a fairly steep angle, so the light rakes the bark texture and pools in the canopy. A warm 2700K beam, medium-wide, works for almost everything; very tall trees want a narrower beam so the light actually reaches the top. Keep the fixtures tucked into the mulch bed where they disappear by day, and angle them so no beam spills into a bedroom window or a neighbor's yard — traditional is also considerate. I always recommend testing with a flashlight or a temporary stake light for a night or two before burying cable, because moving a light six inches changes the whole portrait. One beautifully lit tree, glowing against a dark sky, does more for curb appeal after dark than any fixture you can screw to the house.
Suggested budget range: $60 – $180.

11. Moonlighting From a High Branch
Moonlighting is the quiet cousin of uplighting: instead of shining up into a tree, you place a small fixture high in the canopy and let soft light filter down through the leaves, dappling the lawn and walk below like the real moon. It is one of the oldest landscape lighting effects and still one of the most natural, because it imitates something our eyes already know. A single downlight 15 to 20 feet up, in a slightly cooler warm white if you like the moonlit feel or 2700K to match the rest of the house, covers a surprisingly wide circle. This is the one job on the list I hand to a pro or at least an arborist for the climb and the mounting — fixtures go on with straps or stainless hardware that will not girdle the branch, and cable runs down the back of the trunk. The effect is pure atmosphere rather than task light, so pair it with your path lanterns doing the real guidance work below. Sitting under a moonlit tree on a summer night, you will understand why this technique has never gone out of style.
Suggested budget range: $250 – $600.

12. Grazing Brick and Stone Walls With Light
Traditional homes often have their best feature built right in: a brick facade, a stone chimney, a low garden wall. Grazing — placing a light close to the surface and aiming it nearly straight up or down — rakes across that texture and makes every bump and mortar line cast a tiny shadow. The wall looks twice as rich as it does in daylight. Well lights or small uplights set 6 to 12 inches from the base work best; from farther away the effect flattens into a plain wash, which is fine for siding but a waste on stone. Keep the beams matched in pairs flanking a chimney or centered under a stretch of wall, because symmetry suits this style. Watch out for windows: a grazer under a window will flood the room inside, so shift it to a blank stretch or shield it. Two grazers on a chimney breast, glowing warm at 2700K, give a house that settled, country-estate feeling I never get tired of. It is also forgiving — textured masonry hides imperfect aiming better than any other surface.
Suggested budget range: $90 – $240.

13. Window Candles, the Oldest Welcome of All
A single candle in each front window is a colonial tradition older than electricity — it signaled welcome and safe harbor, and it still reads that way today. Modern versions are simple: a slim candlestick base, a warm flickering or steady LED candle bulb, and a timer so the whole row wakes at dusk. The discipline is in the consistency. Every front-facing window gets the same candle, at the same height, centered in the same way — one bare window in the row ruins the rhythm from the street. Choose the warmest bulb you can find, ideally a soft 2200K amber, and the smallest silhouette that still shows; these are supposed to be pinpricks of welcome, not lamps. Battery candles with dusk sensors have gotten genuinely good and save the cord Tetris, though I still prefer plug-in timers on the main floor for perfect sync. Use them year-round, not just at the holidays — that is what separates a traditional touch from seasonal decorating. From the curb on a winter evening, few sights are warmer than a row of candlelit windows.
Suggested budget range: $40 – $120.
14. Lanterns Down the Porch Steps
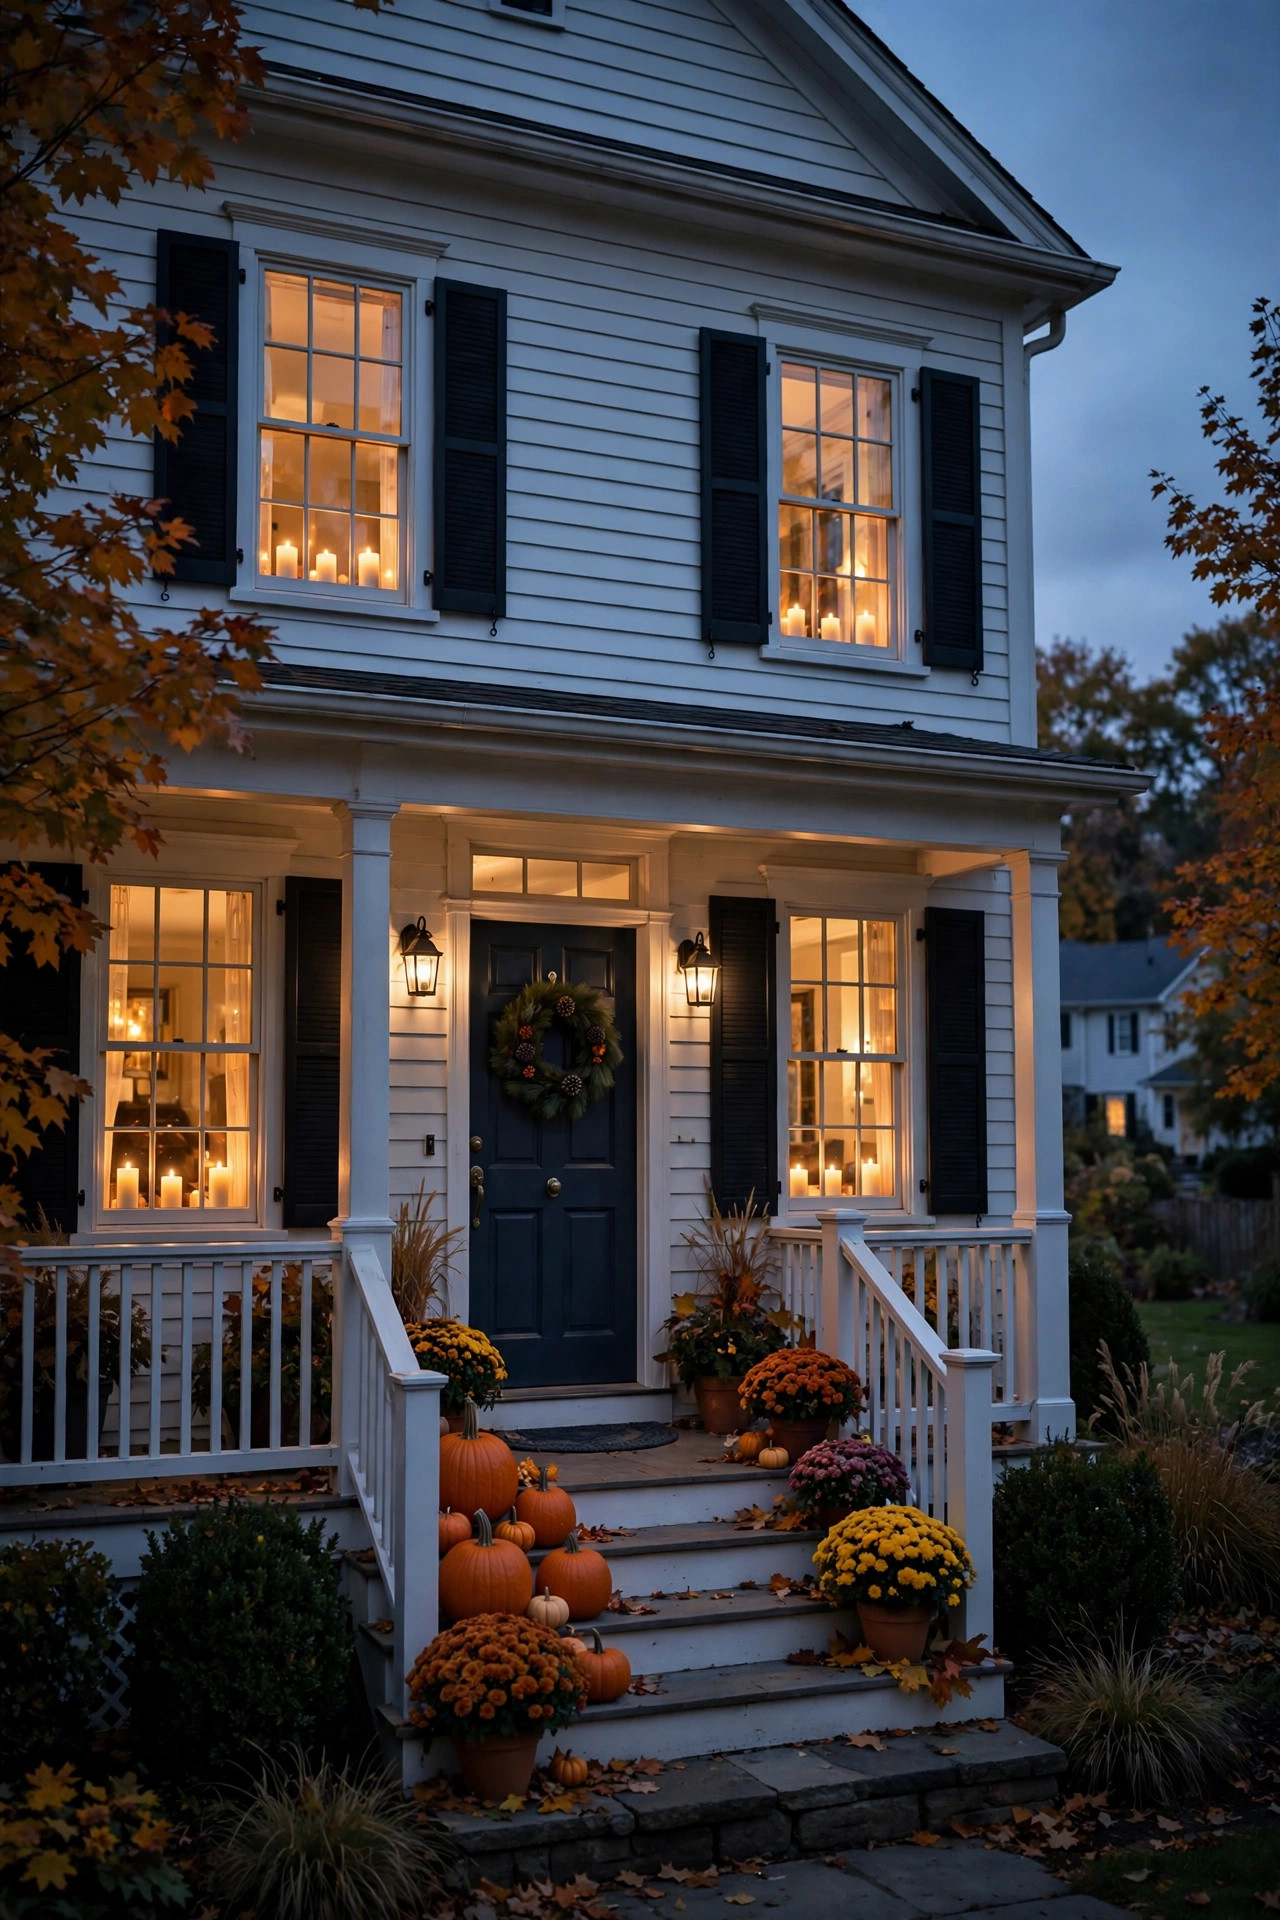
Steps are where guests actually fall, so they earn their own light — and the traditional way to do it is with lanterns, not recessed step lights. A pair of hurricane lanterns flanking the top step, or one lantern on each side every two or three steps on a wide staircase, looks like something from a storybook while quietly doing safety work. Flameless candles inside are my only recommendation here: real flame on a step, near hems and handbags and dry leaves, is a risk with no payoff, and the good flameless pillars flicker convincingly behind seeded glass. Keep lanterns tight to the edges so feet and railings clear them, and pick a size that reads from the street without blocking the tread. If your steps are narrow, mount small lantern sconces on the railing posts or the wall beside the stairs instead — same look, zero footprint. Solar lanterns work on sunny steps but porch roofs shade most stairs, so battery flameless candles on timers are the reliable choice. Elegant and practical is the whole point of this list, and step lanterns are both.
Suggested budget range: $50 – $160.
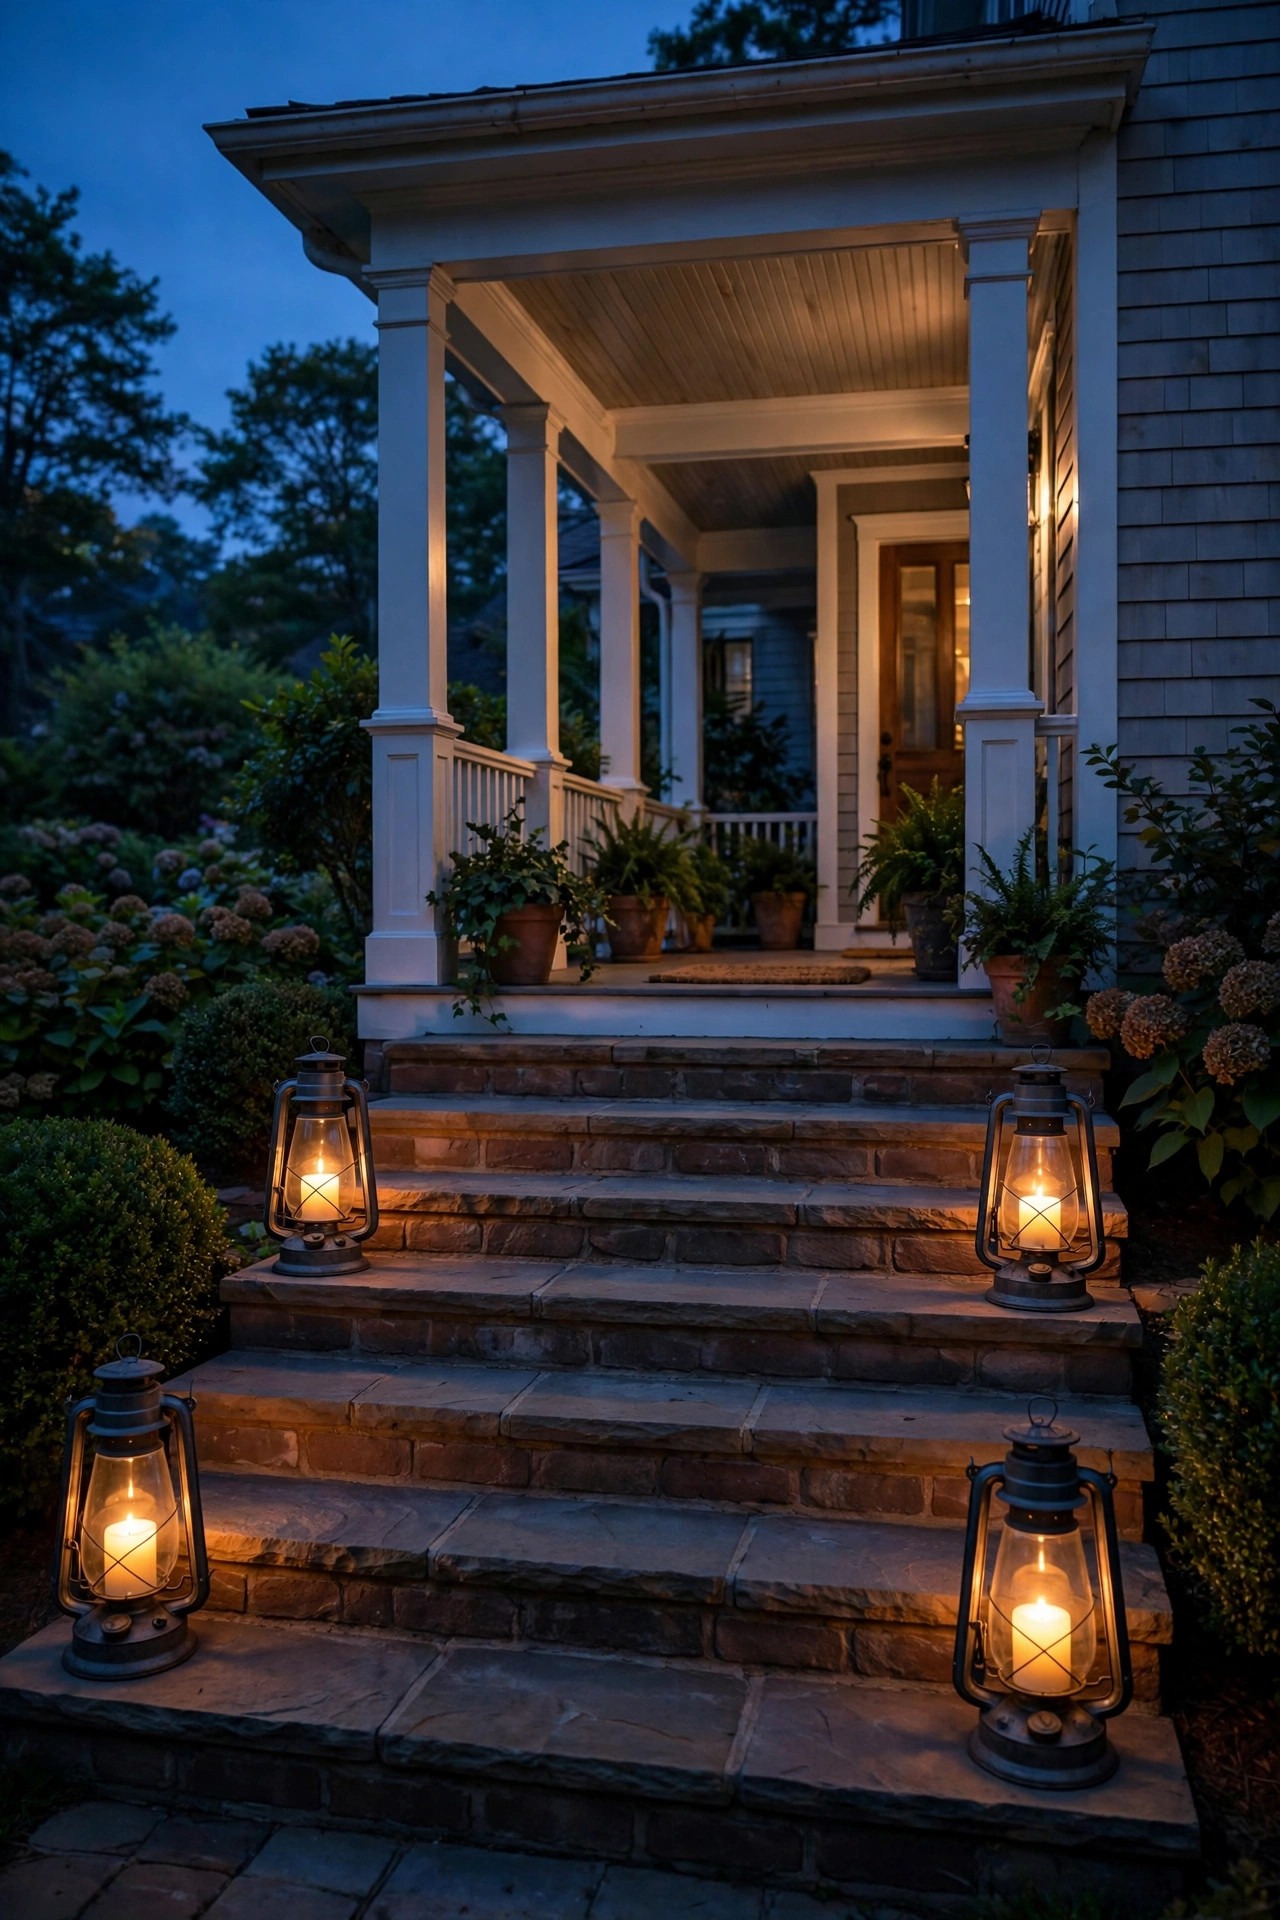
15. Oil-Rubbed Bronze and Aged Finishes That Never Date
Finish is where traditional schemes quietly succeed or fail. Shiny chrome, bright polished brass, and trendy matte-anything all belong to a decade; oil-rubbed bronze, aged copper, antique brass, and plain blackened iron belong to the ages. My test when shopping: could this finish have existed in 1920? If yes, it will still look right in 2040. Living finishes like unlacquered brass and real copper go one better — they patina and change with the weather, which makes a ten-year-old fixture look more traditional than the day it went up, not less. Pick one main finish for everything visible from the street and let it repeat: door sconces, coach lights, post light, house numbers. A second finish is allowed to visit in the garden, but the facade should speak one language. If you are mixing metals you already own, the seeded-glass trick and matching bulb color will pull the family together surprisingly well. And skip the matching-set trap of buying every fixture from one product line in different shapes — same finish, classic shapes, different jobs reads collected, not catalogued.
Suggested budget range: $0 – $100.

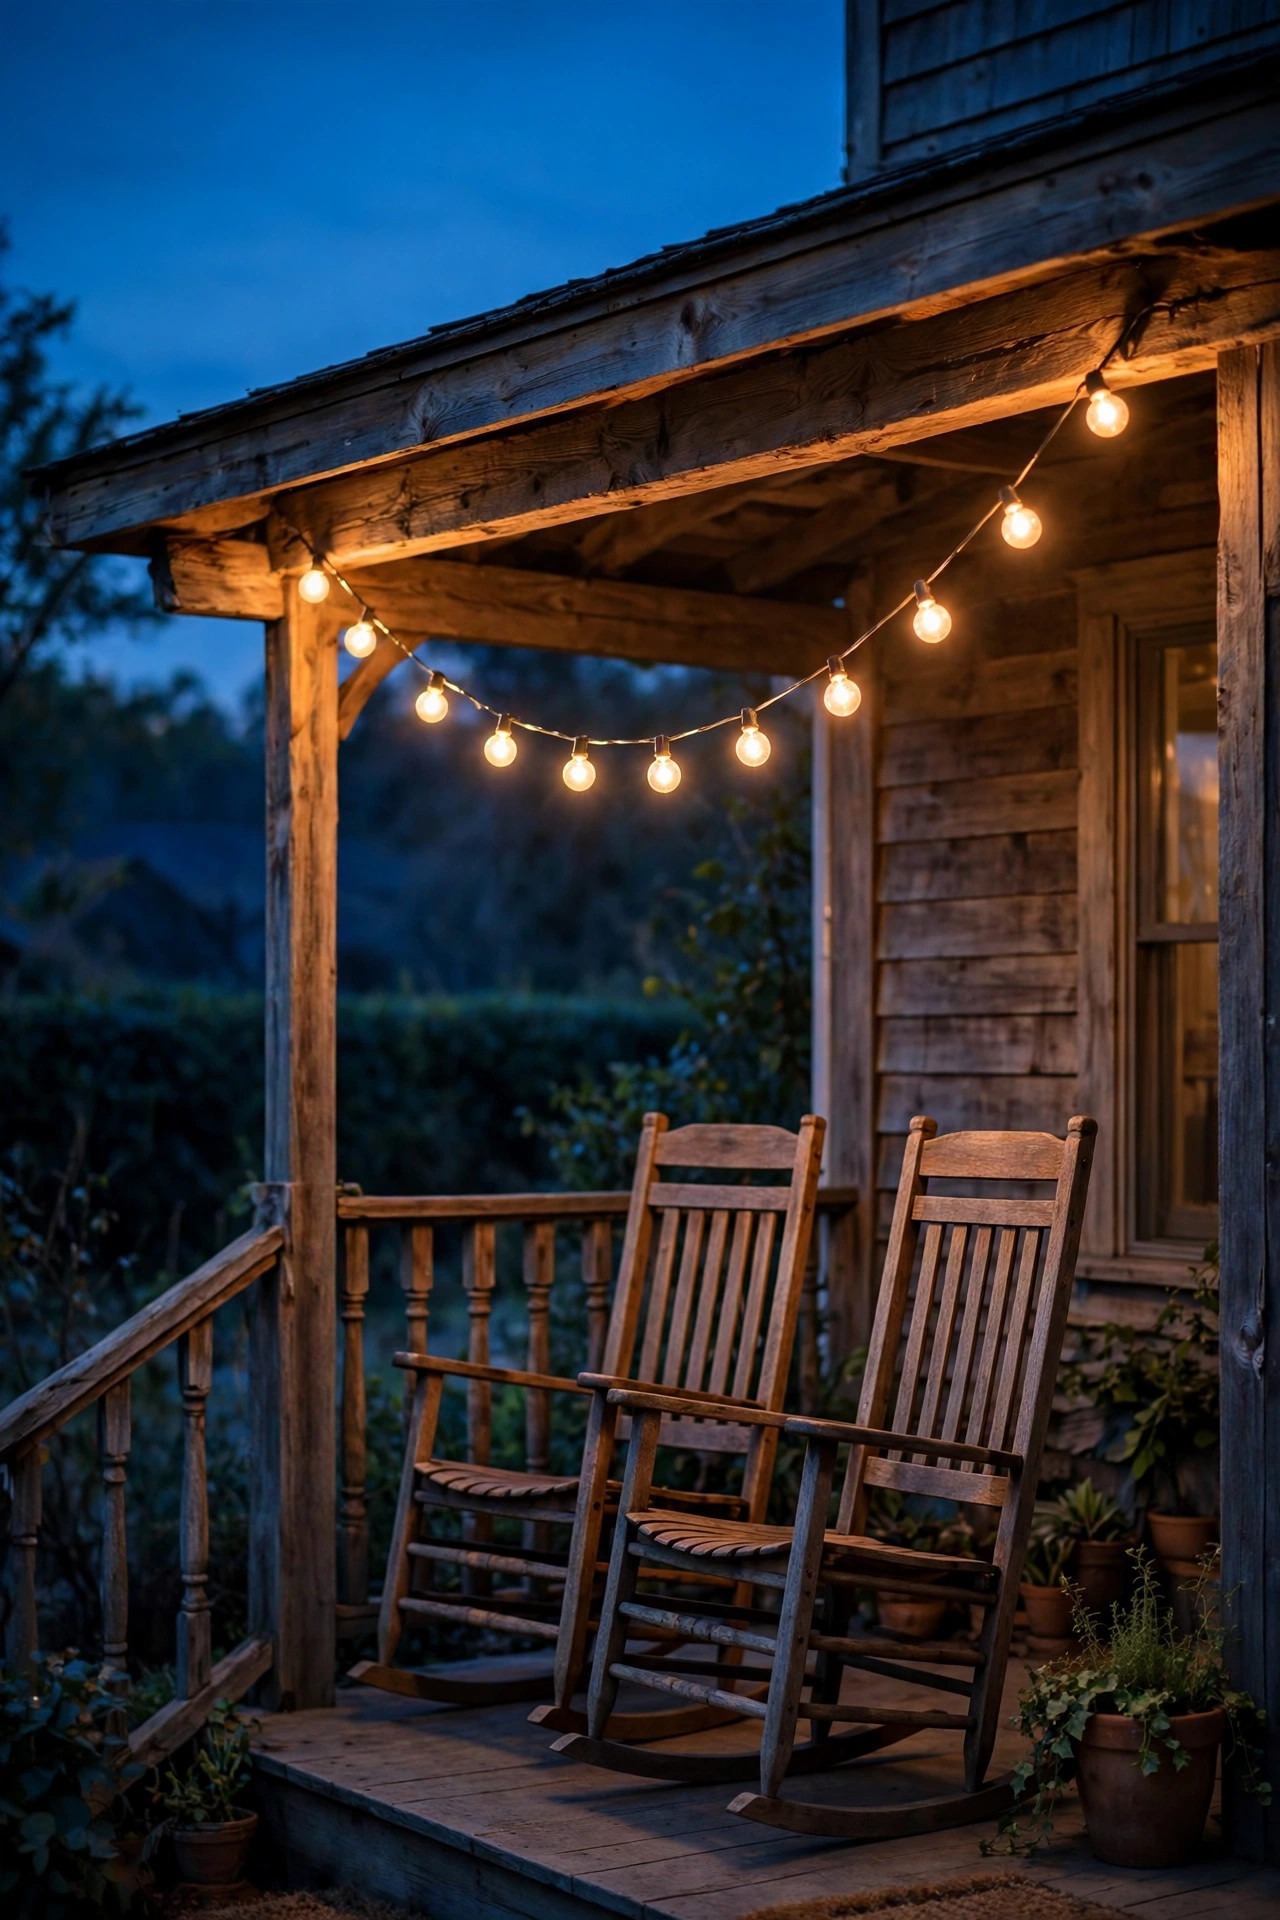
16. One Discreet Strand of Globe String Lights on the Porch
String lights can absolutely live in a traditional scheme — they just have to behave. One single strand of warm globe bulbs, swagged gently along the porch beam or between two posts over a seating corner, reads like a garden party at a country house. Five strands zigzagged overhead reads like a food truck patio. The rules are restraint and warmth: commercial-grade cord in black or dark green, G40-style globes with warm 2700K or warmer LED filaments, and a swag with a graceful dip rather than a tight straight line. Clip the cord to the beam; never staple through it, and plug into a GFCI outlet with the connection sheltered from drips. Keep the strand out of the arrival path — it belongs over the rockers, not the front door, where your hanging lantern should be the star. On a dimmer or a smart plug timer, one strand glowing low over the porch chairs on a summer night is as traditional as sweet tea. When a bulb dies, replace it with the exact same one from your spares box.
Suggested budget range: $35 – $110.
17. A Spotlight for the Garden Urn or Statue
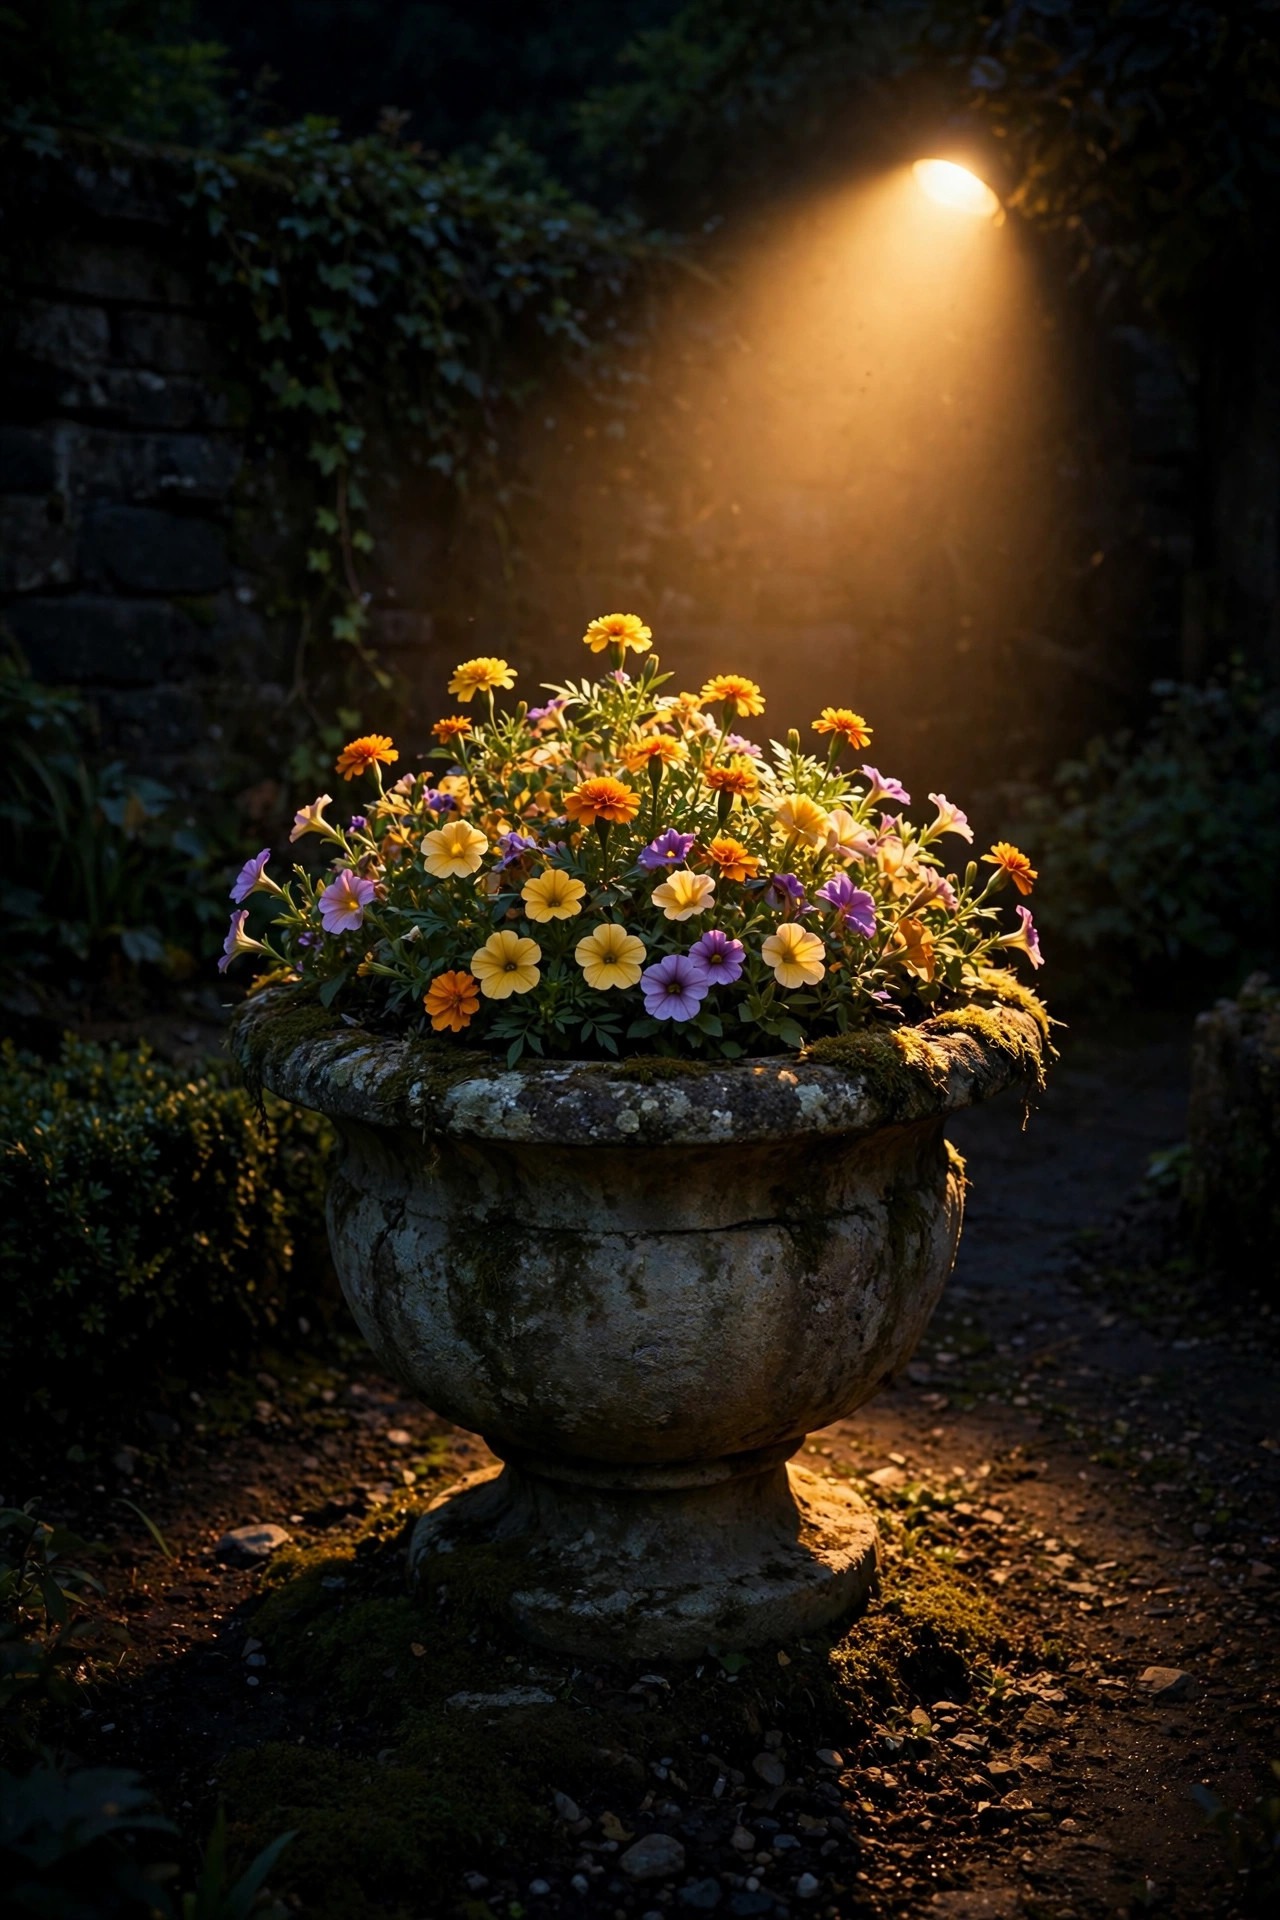
Traditional gardens almost always have one beloved object — a stone urn spilling with geraniums, a birdbath, a small statue tucked in the border — and lighting it after dark is the easiest accent in this whole list. One narrow-beam spotlight from a few feet away, hidden in the planting in front, turns that urn into a glowing focal point you can see from the street and the living room window. Aim across the object slightly rather than straight at its front; side light carves the curves and keeps the look sculptural instead of flat. For pale stone, warm 2700K is perfect; for a birdbath, a tiny submersible light in the water adds a shimmering reflection that feels downright magical and costs almost nothing. Keep the beam tight — spill onto the hedge behind just muddies the picture. This is also the most forgiving place to try solar: a good solar spotlight on the urn frees you from running cable for a single fixture. One lit treasure, glowing at the end of the garden, pulls the whole night yard together.
Suggested budget range: $25 – $95.
18. A Lit House Number and Mailbox Guests Can Find
Traditional does not have to mean hard to find. Delivery drivers and first-time guests bless the houses with a clearly lit address, and the classic way to do it keeps the charm: a small lantern-style light over or beside the house numbers, or a number plaque with a lantern mounted above it near the door. Standalone backlit number boxes can look modern, so I prefer a little shaded fixture that washes the plaque from above — the numbers read clearly, and the hardware matches your sconces. At the street, a small solar lantern on the mailbox post solves the last-fifty-feet problem and looks like something from a New England village. Keep the light warm and downward so it reads the numbers without shining into drivers' eyes. Whatever you choose, test it from a slow-moving car at night; if you cannot read the address at 15 miles per hour, neither can anyone else. It is a five-minute check that turns a pretty scheme into a genuinely hospitable one — and hospitable is what traditional lighting has always been about.
Suggested budget range: $30 – $130.

19. Photocells and Timers for a Set-and-Forget Schedule
Classic houses have always looked lit at dusk, as if someone attentive walks the house at twilight flipping switches. Photocells and timers are how you fake that someone. A photocell on the door and garage lights brings them on at dusk and off at dawn with zero effort, and an astronomical timer on the low-voltage transformer learns the sunset all year, so your path and accent lights keep perfect hours in June and December alike. I set the transformer to run from dusk to about 11 p.m.; a traditional house does not need to glow at 3 a.m., and the dark hours save energy and let the garden sleep. Smart plugs can run the porch strand and window candles on the same schedule. The real gift of automation is consistency — the house looks cared for on the nights you are on vacation, sick, or simply forgetful, and nothing about a classic scheme depends on expensive technology showing off. Keep one manual override switch you understand, label it, and you will never touch the system again except to change a bulb. Set it, forget it, enjoy the compliments.
Suggested budget range: $25 – $120.
20. Solar Lantern Stakes Tucked Into the Flower Beds
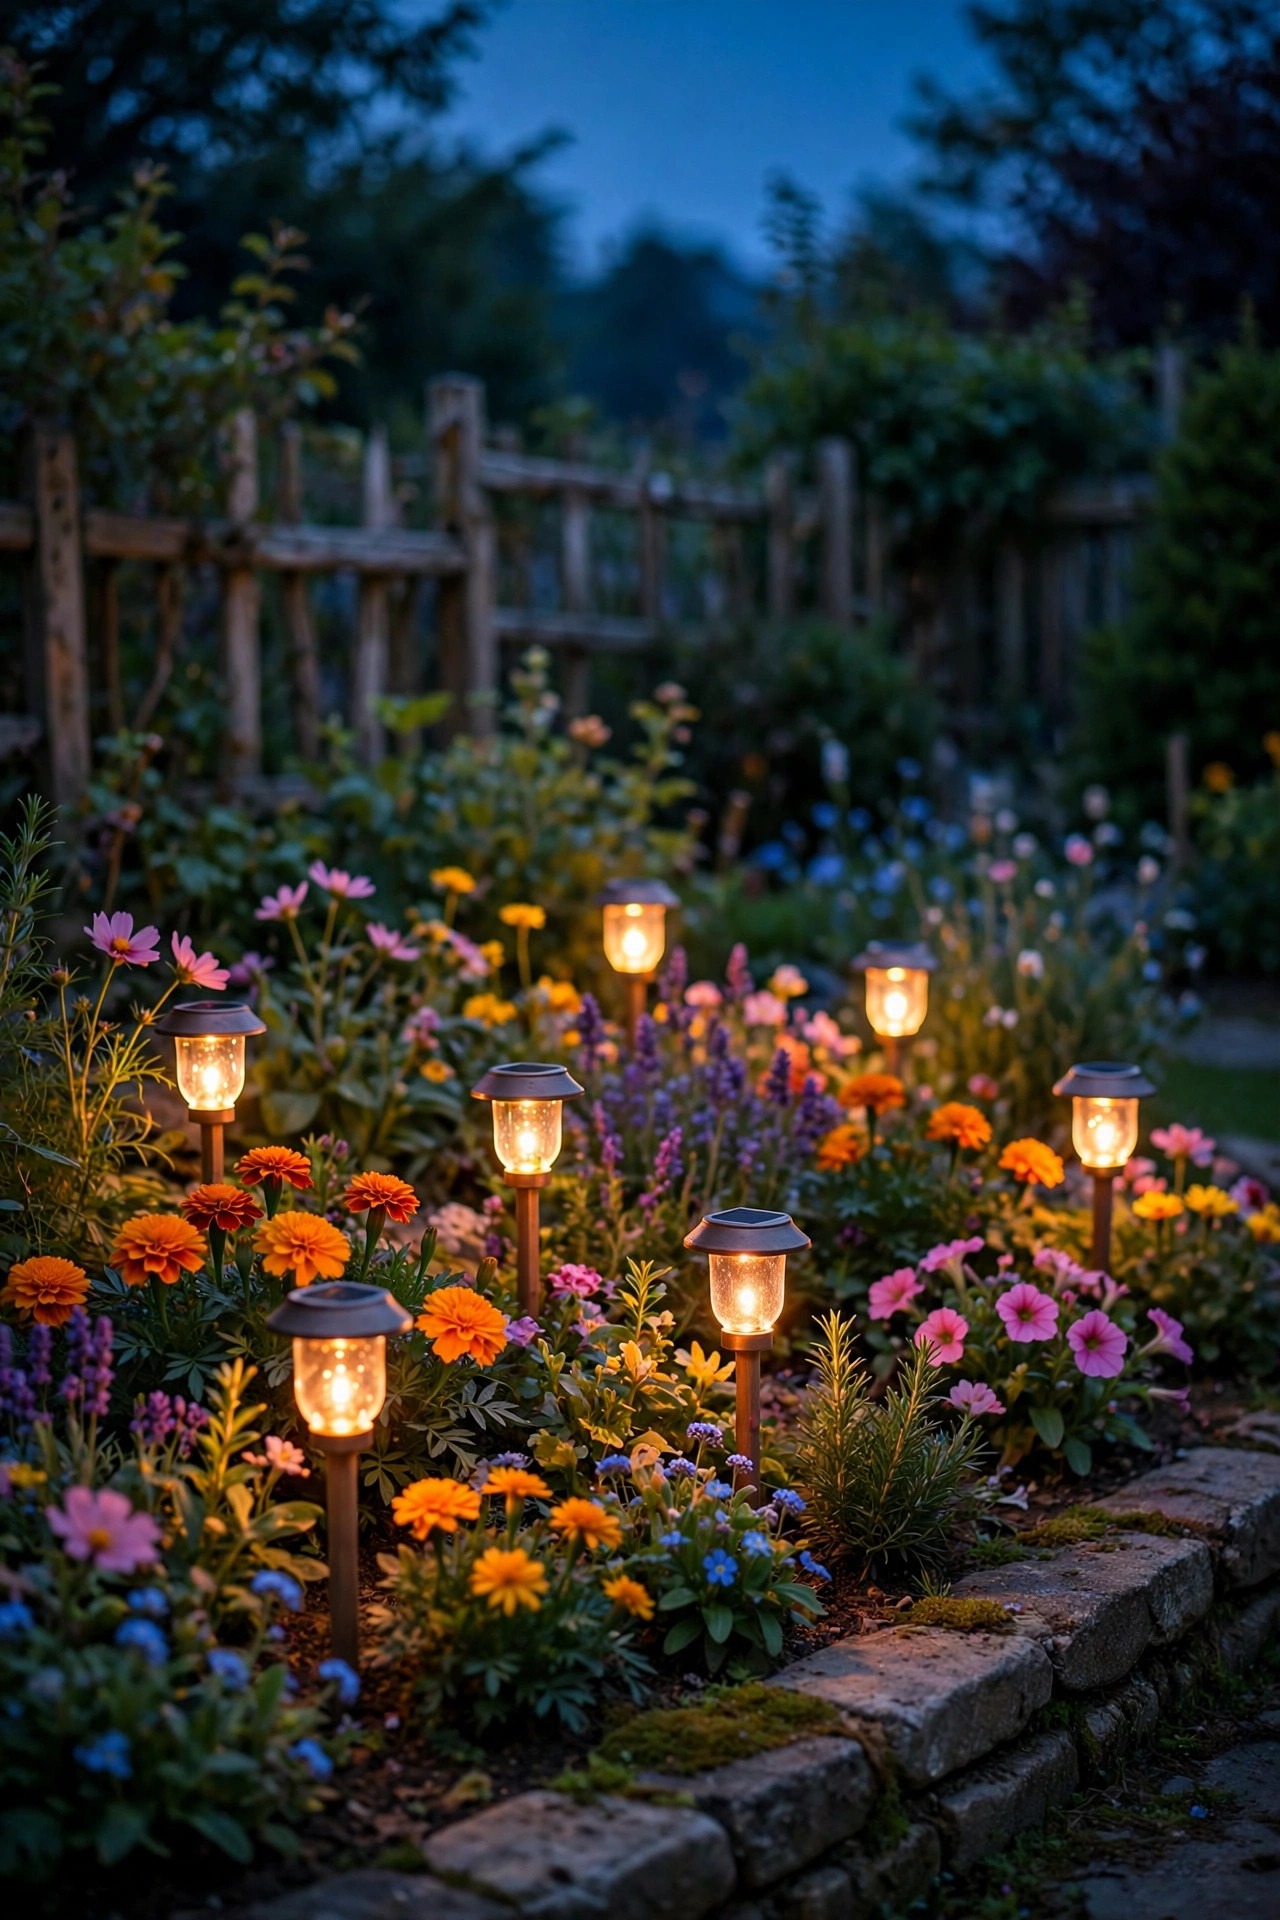
Solar lights have shaken off their blue-tinted early years, and the lantern-style stakes — little roofed lanterns on shepherd-crook stems — are the traditional gardener's friend. Tucked into flower beds along a path or border, they give that scattered, firefly-ish sparkle that wired path lights, in their neat rows, cannot. Use them where they genuinely get six hours of sun: open beds and south borders, not under the porch roof or the magnolia. Warm-white versions in the 2700K family exist now; hunt for them specifically and avoid anything labeled daylight. Honestly, solar brightness will not match your wired path lights, and that is fine — treat stakes as jewelry, not guidance, and let the wired lanterns do the safety work. They are also the perfect trial run: live with stakes in a bed for a season, and if you love the effect, that is exactly where your future wired accents belong. Group them in loose threes and fives near plantings rather than marching them evenly — gardens were never meant to be symmetrical, even traditional ones.
Suggested budget range: $30 – $100.
21. Lanterns on the Gate and Fence Piers
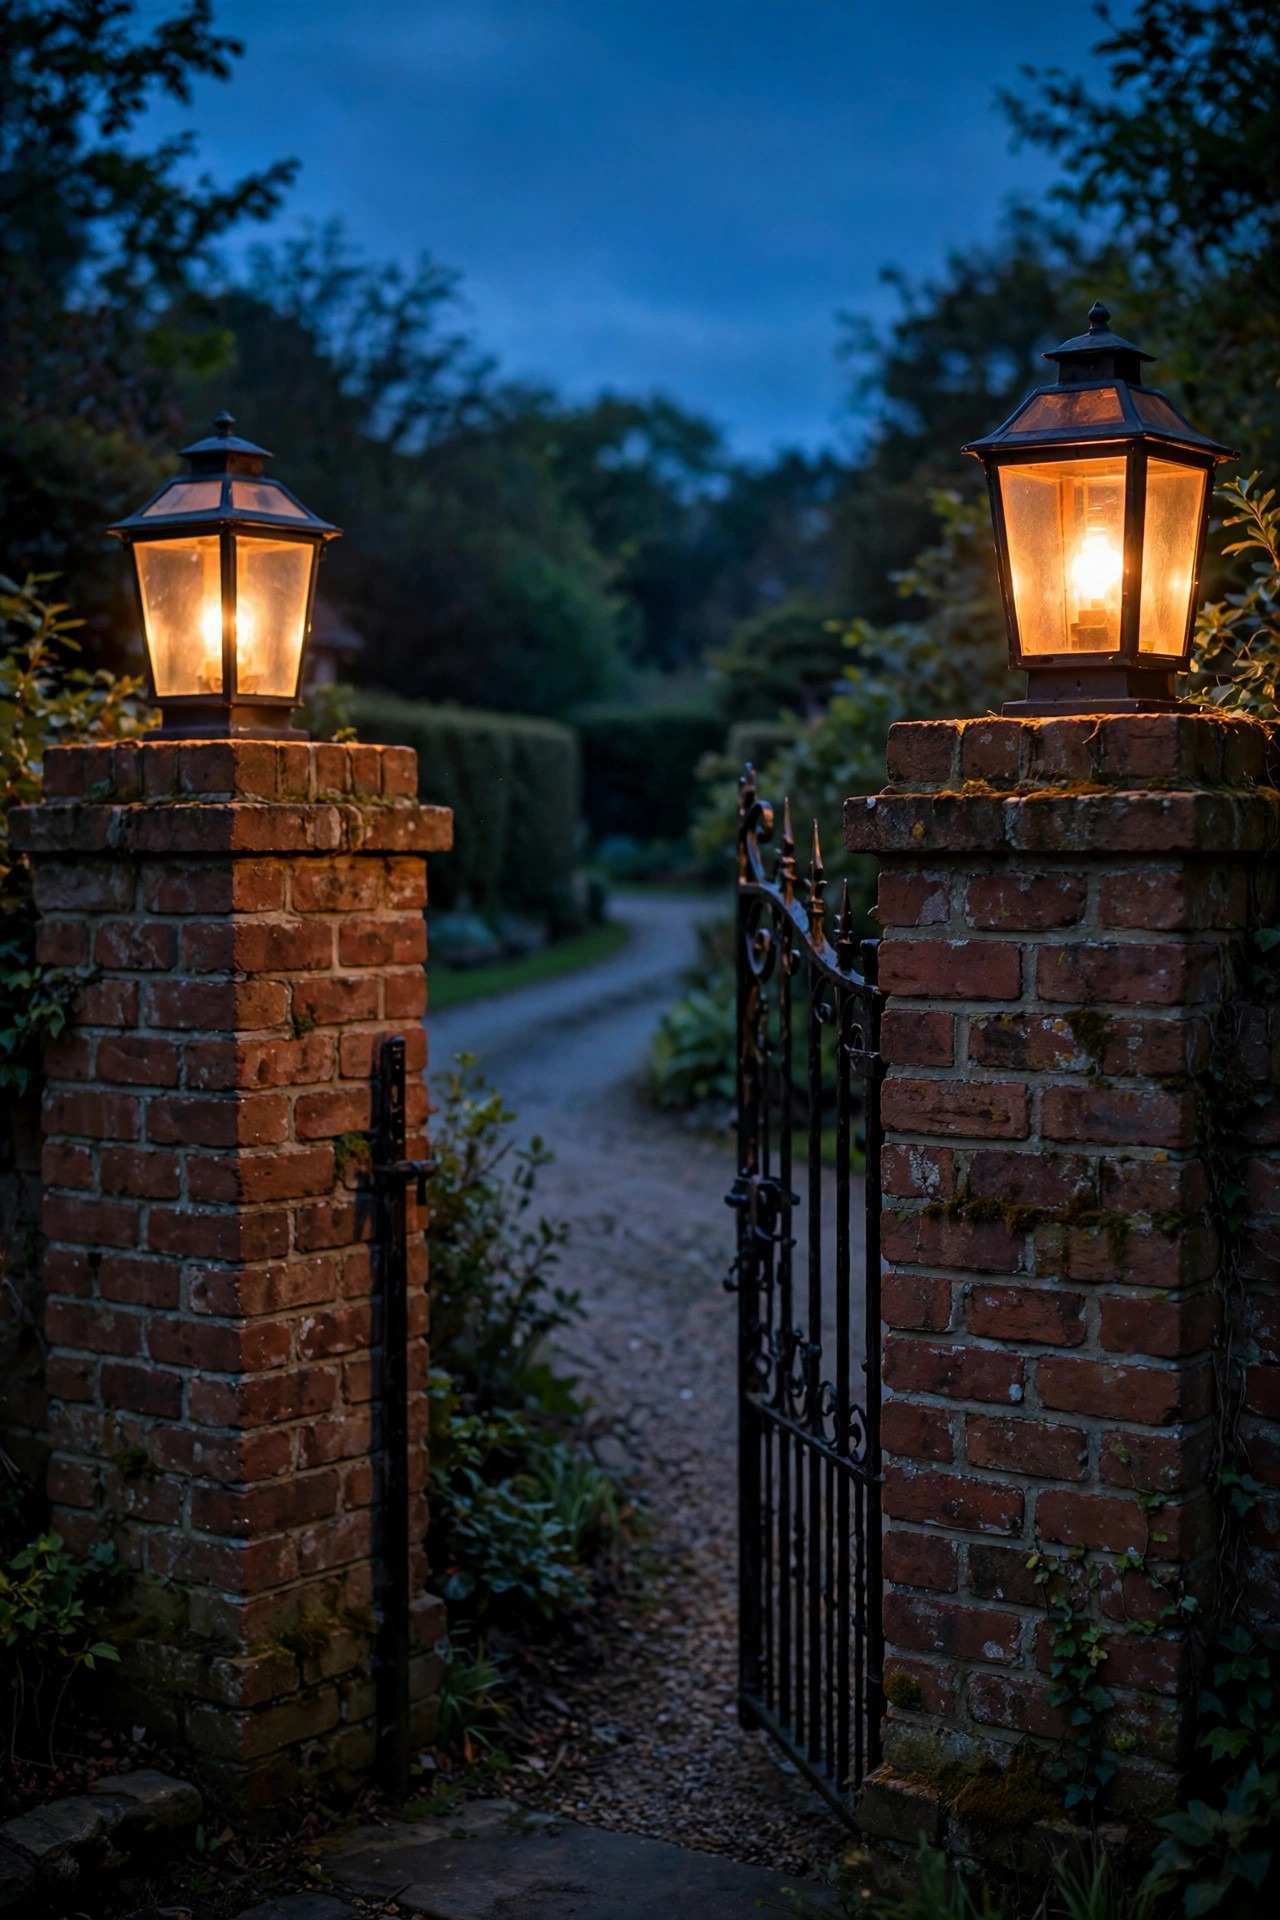
If your yard has a gate, a fence opening, or brick piers where the drive begins, a lantern on each post turns a boundary into a welcome. This is how old estates and farmhouses have marked their entrances forever: two points of warm light that say "the place starts here." Cap-style lanterns sit right on the post or pier; on wooden fence posts, a small bracket lantern hung at the gate works just as well. Solar versions finally make sense here, since gates are usually far from an outlet and get good sun — choose warm-white, lantern-shaped models and accept their gentle brightness as atmosphere rather than security light. Wire them if you can, though: the gate is where guests arrive after dark, and steady light helps with latches, steps, and the occasional muddy patch. Match the lantern shape to your door sconces in miniature, keep the pair level with each other even if the ground is not, and resist adding a third anywhere nearby. Two gate lanterns, glowing at the property line, give the whole scheme a beginning — and every good story needs one of those.
Suggested budget range: $60 – $220.
22. Seasonal Touches That Respect the Classics
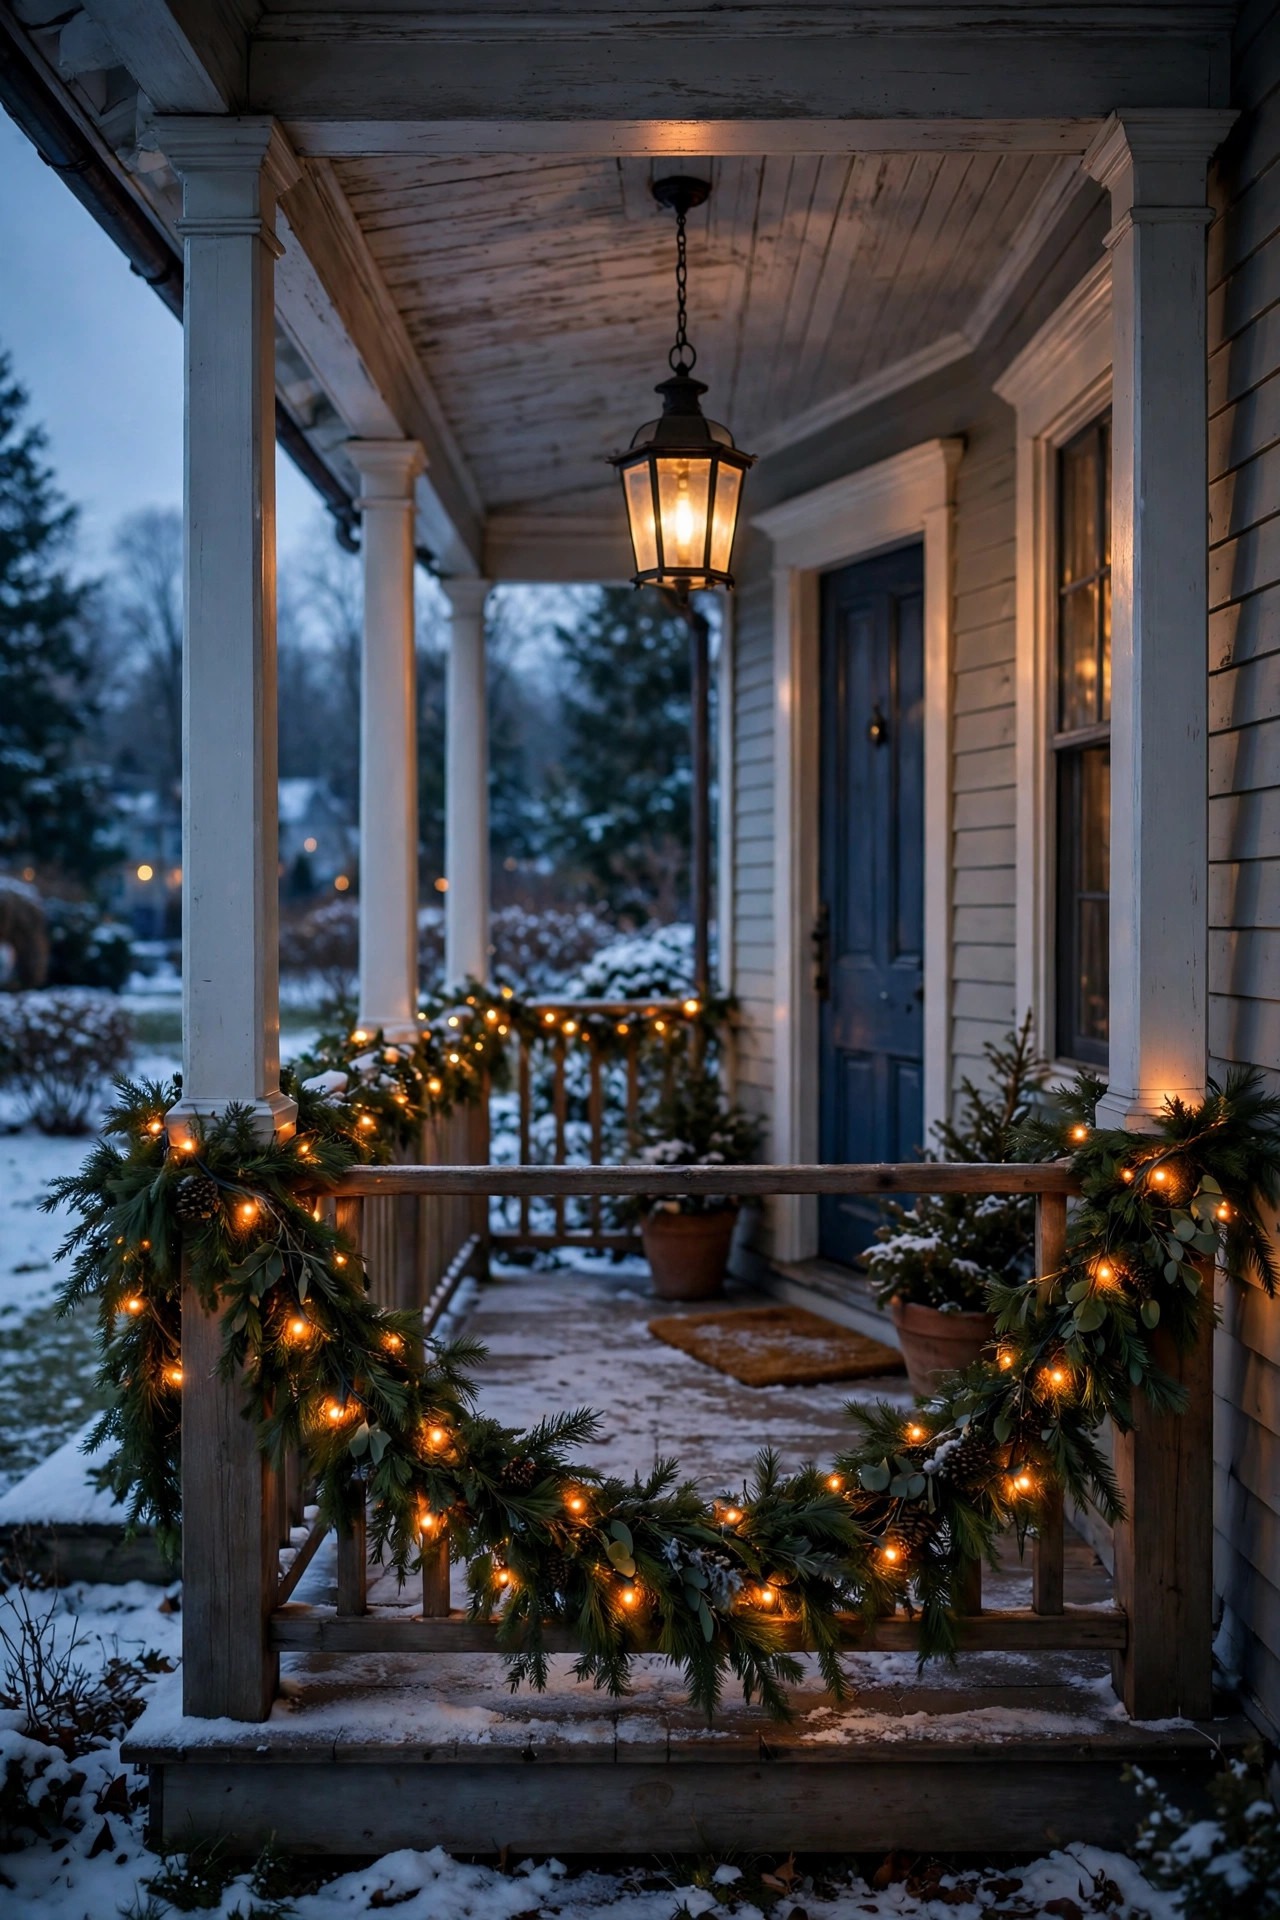
A traditional scheme dresses for the seasons without changing its bones. In fall, your lanterns glow through a wreath of dried leaves and the porch gets pumpkins lit by the step lanterns. In winter, a simple green garland along the railing with warm fairy lights woven in sits comfortably under the hanging lantern — the garland borrows the fixtures you already have instead of competing with them. Spring means fresh flowers in the urn you spotlight, and summer is the globe strand's season over the porch chairs. The discipline is addition, not substitution: never swap your warm bulbs for colored ones, never drape anything over a hot fixture, and keep flameless candles near dried wreaths and garlands, always. LED bulbs run cool enough for most decor, but clearance is still the rule — an inch of air between bulb and greenery, and garlands clipped, never wedged against glass. When the season turns, the decorations go back in their boxes and the house returns to its calm, classic self underneath. That steady baseline is exactly why the seasonal moments feel special instead of chaotic.
Suggested budget range: $20 – $90.
23. Walk Your Traditional Outdoor Lighting Ideas at Dusk and Edit
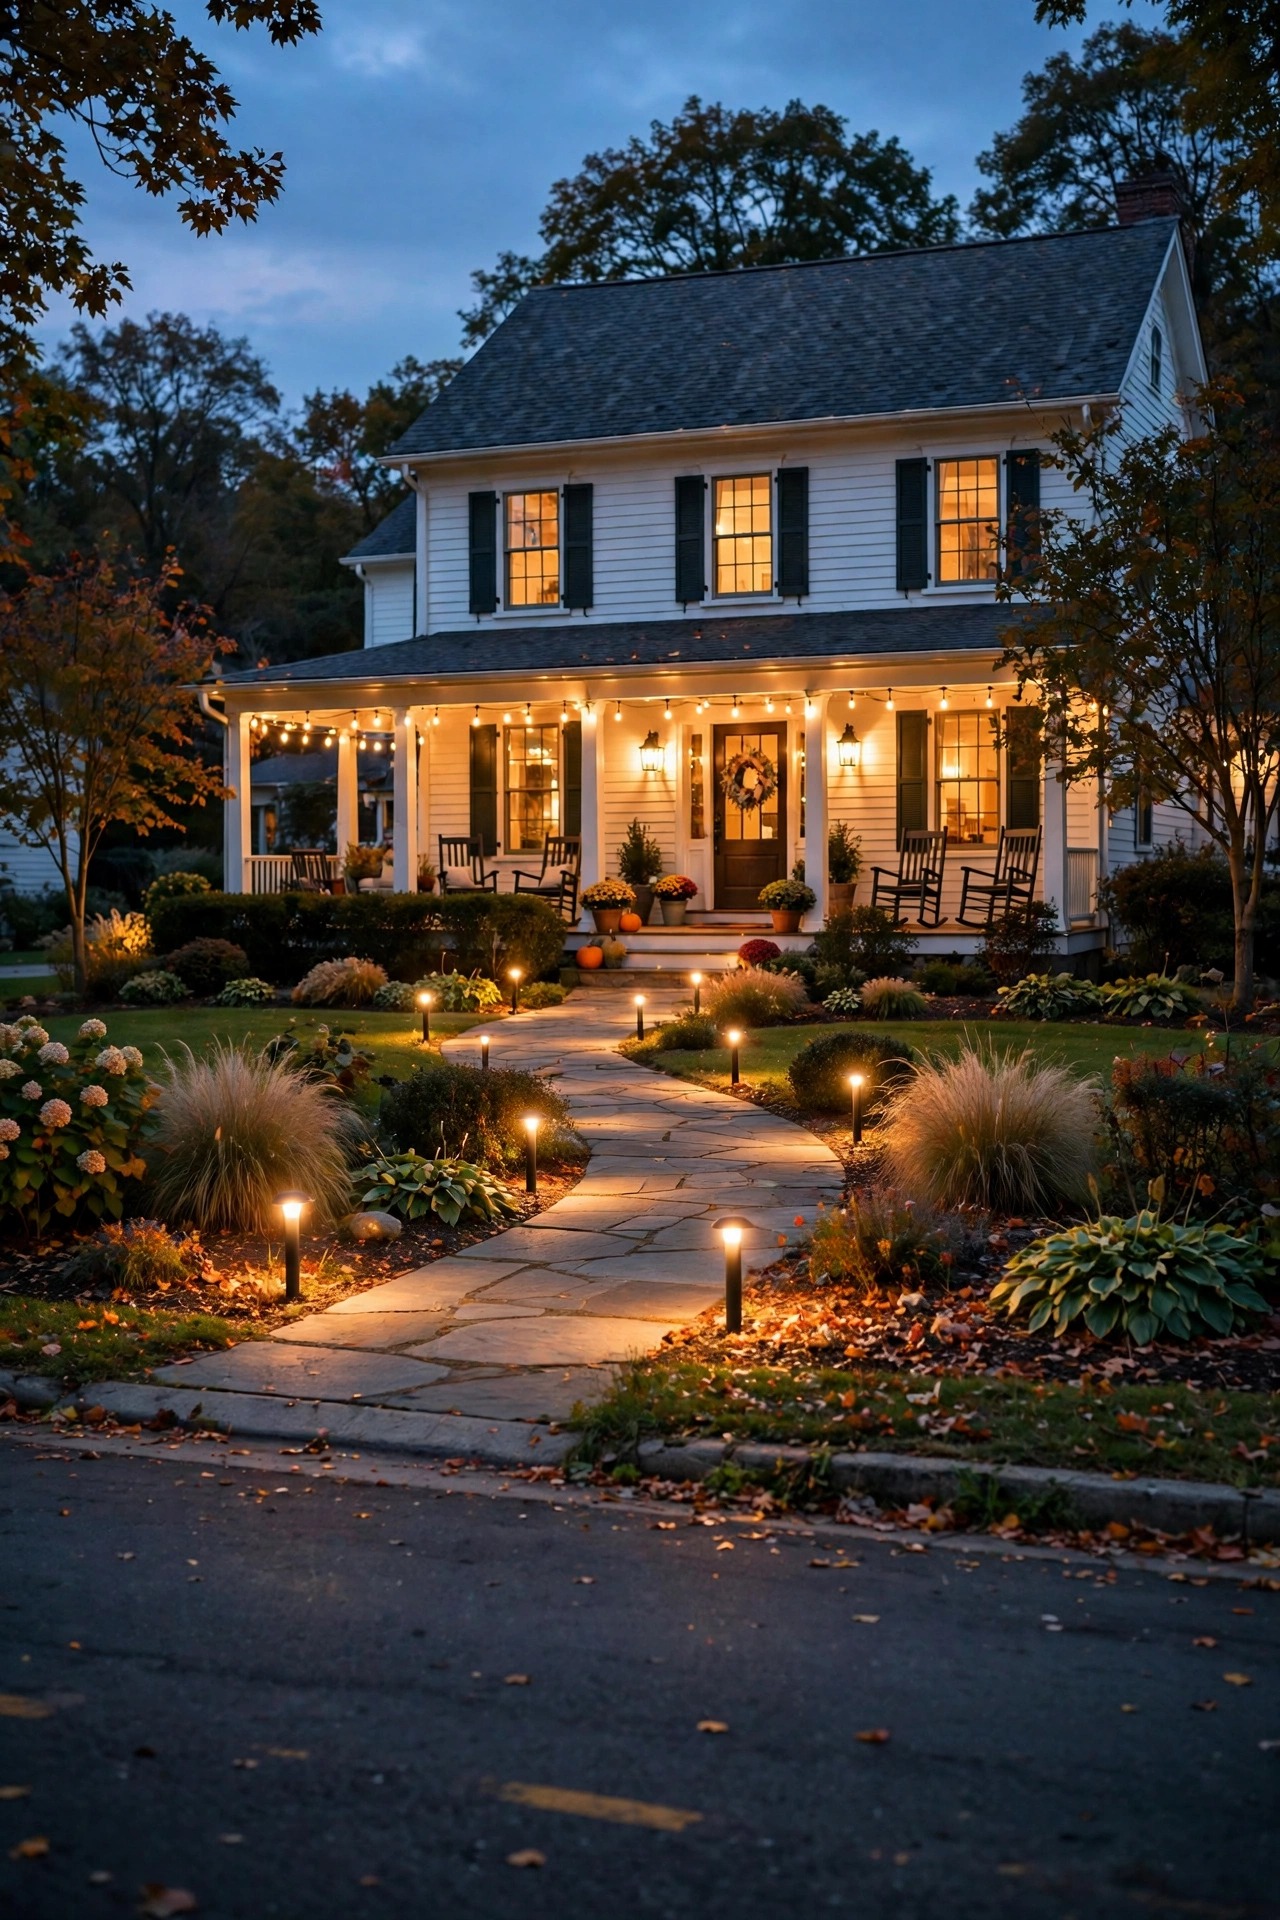
The last step is the one that keeps a scheme classic for decades: once everything is installed, walk it at dusk, from the street, slowly, the way a guest arrives. You will see things the daytime never showed you — a path light glaring into your eyes, one sconce bulb brighter than its twin, a tree light that misses the tree. Fix the glares first; a traditional yard should never make anyone squint. Warmth second: stand at the curb and check that every light reads the same amber family, and note any bulb that has drifted cool. Then look for the holes: a dark step, a gate latch in shadow, the mailbox floating in blackness. Add nothing on the spot — write it down, live with the list a week, and only then adjust, one change at a time. Editing is also subtraction. The fixture that seemed essential in the store may be the one crowding the door. Traditional style is not about having the most light; it is about every light earning its place. Repeat the walk each spring, and your yard will look timeless on purpose, not by luck.
Suggested budget range: $0 – $50.
Frequently Asked Questions
What color temperature looks most traditional outdoors?
Warm, always. Traditional light imitates candlelight, gaslight, and early incandescent bulbs, so 2700K is the classic all-purpose choice for sconces, path lights, and porch pendants. Flame-effect and candle bulbs go warmer still, around 2000K to 2200K, which is why they look so convincing as accents. Anything at 3000K or above starts to read modern and a little clinical against brick, wood, and garden greenery. Whatever you choose, hold the whole property to one temperature family — consistency matters more than the exact number.
Can I mix solar and wired lights in a traditional scheme?
Yes, and most classic yards quietly do. Let wired low-voltage fixtures handle the important jobs — path guidance, door light, tree uplighting — because they are brighter, warmer, and perfectly consistent. Use solar lantern stakes, gate lanterns, and bed sparkle as accents where running cable is awkward, and choose warm-white solar models in lantern shapes so the style matches. The mix works as long as the wired lights carry the structure and the solar pieces stay in the supporting roles.
How do I make brand-new fixtures look aged and classic?
Start with finishes that age honestly: oil-rubbed bronze, aged or unlacquered copper and brass, and matte black all look better in year five than year one. Seeded or lightly frosted glass blurs the modern LED inside and mimics old handmade panes. Keep bulbs warm and slightly dim rather than maximum bright, and choose simple lantern silhouettes without decorative extras. Finally, let time help — a season of weather on real metal does more than any faux finish, so resist the urge to polish the patina away.
How much does a full traditional outdoor lighting setup cost?
A focused front-yard scheme — door sconces, a few path lanterns, one tree uplight, and window candles — usually lands between $600 and $1,500 in fixtures, plus an electrician for an hour or two if new hardwired points are needed. Adding a post light, coach lights, and a moonlighting fixture can bring a full property to $2,000 to $4,000. Running costs stay small with LEDs and timers: a typical low-voltage system uses a few dollars of electricity a month. The traditional approach spreads well over seasons, too — start with the door and path, then add one layer a year.
Conclusion
The secret of traditional outdoor lighting ideas is that there is barely a secret at all: warm light, classic shapes, honest finishes, and three calm layers doing their quiet jobs. A lantern pair at the door, copper lanterns down the walk, one beloved tree glowing from below — these moves worked for our grandparents and they will work for whoever owns your house next. Resist the patchwork of temperatures and trends, dress the scheme gently with the seasons, and take that slow dusk walk once in a while to keep every light earning its place. Start with the entry, where guests actually arrive, and build outward as time and budget allow. If you are hungry for more, browse the rest of my lighting ideas here on the site — the classics play well with almost every style of home, and I keep adding new ways to make them glow.