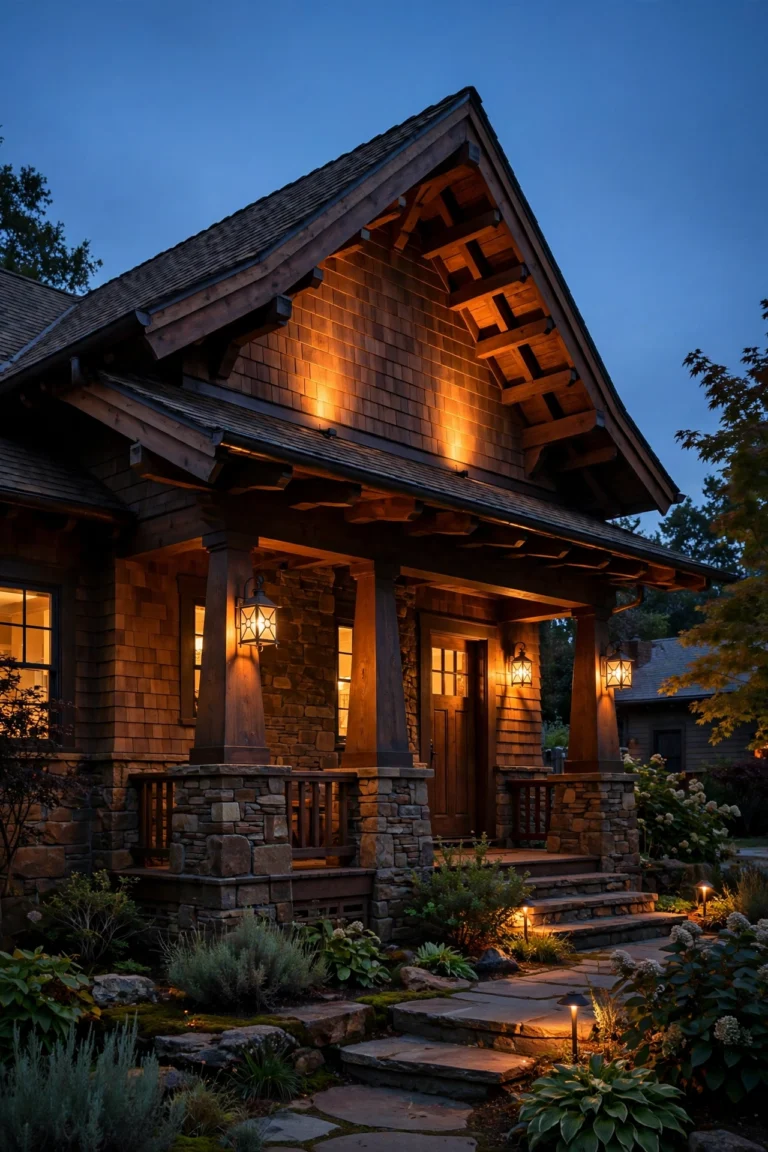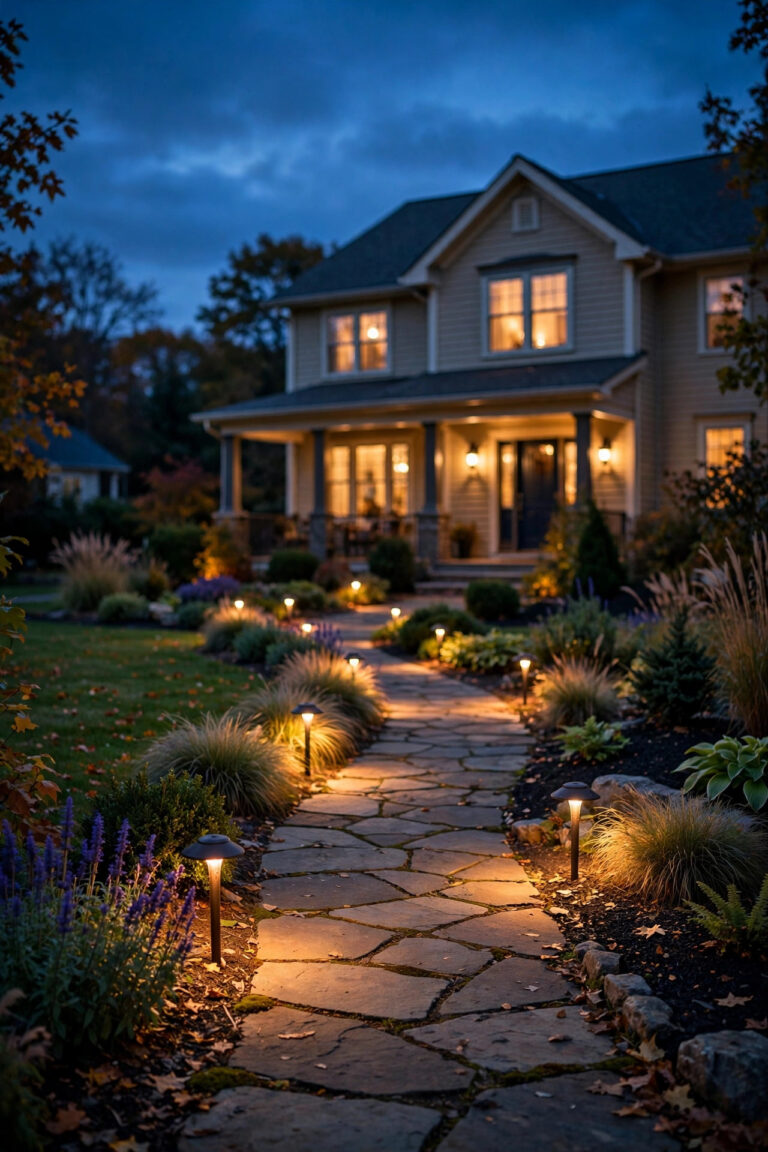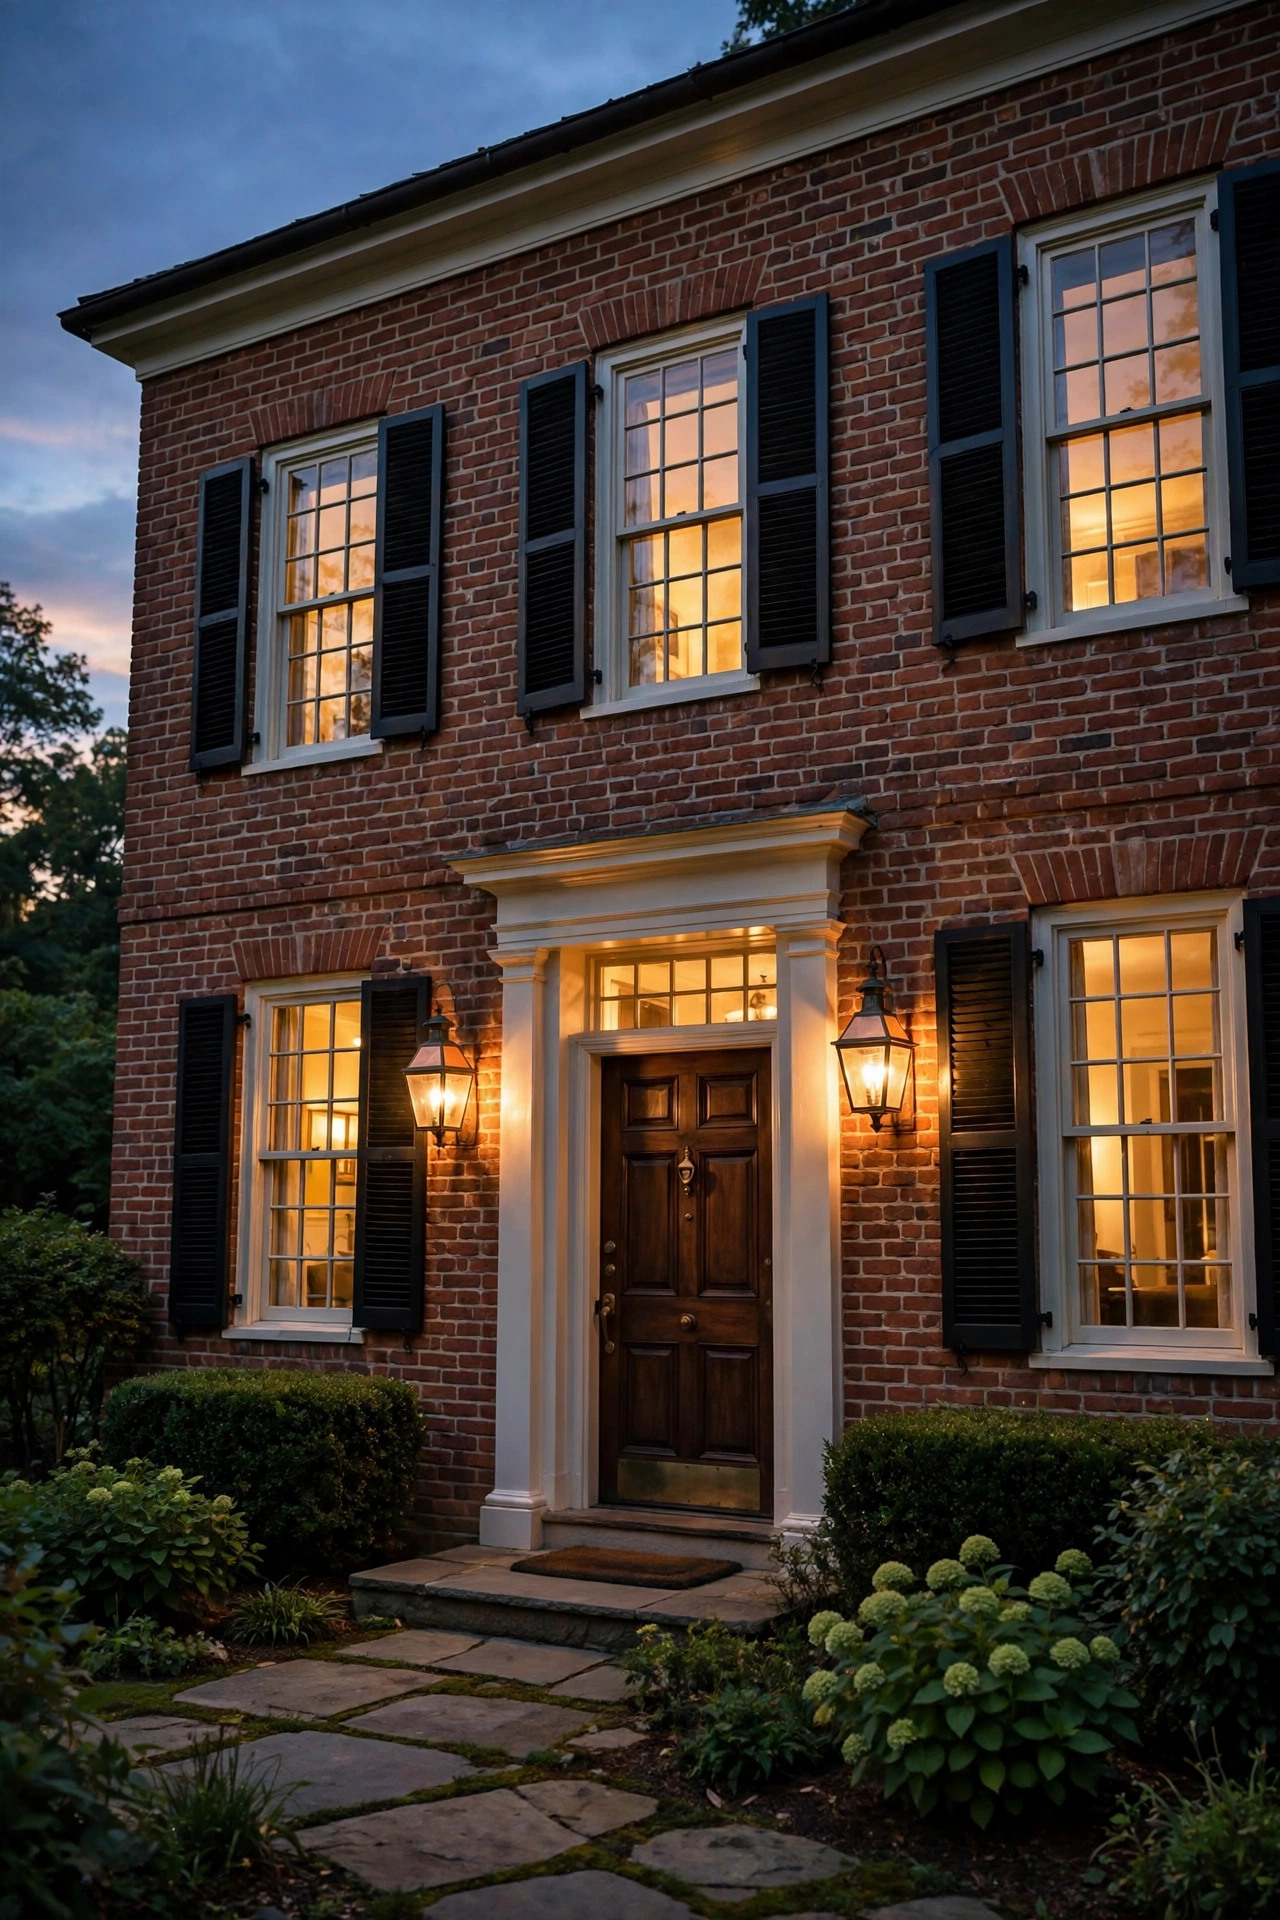
There's something about a brick colonial at dusk that stops me mid-walk, every single time. The symmetry, the shutters, that deep-set front door — and when the lighting is right, it's pure magic. If you ask me, colonial exterior lighting is the least trendy and most forgiving style you can choose: no chasing fads, no ripping out fixtures in three years. It just quietly looks expensive and welcoming forever.
In my experience, the secret isn't one showpiece fixture. It's layering — entry lanterns, a soft wash across the brick, gentle path light, and maybe a flickering window candle or two. Colonials were built for symmetry, so lighting them is honestly intuitive: mirror everything, keep your color temperature warm and consistent, and let the brick do the talking.
I always recommend starting with the front door, then working outward to the walkway, fence line, and facade. What follows are 19 colonial exterior lighting ideas that respect the architecture — copper lanterns, carriage sconces, gaslight-style LEDs, and all the placement rules I've learned the hard way so you don't have to.
1. Flank the Front Door With Twin Lantern Sconces
This is the look every brick Georgian was born for: two matching lantern sconces, one on each side of the front door, mounted at the same height like sentries. In my experience, nothing says colonial exterior lighting more clearly than this single move. For sizing, measure your door height and pick fixtures roughly one-quarter to one-third as tall — a 36-inch-wide door with a 7-foot opening wants lanterns in the 18- to 24-inch range. Mount them so the center of each fixture sits 66 to 72 inches off the porch floor, about 6 to 12 inches from the door casing.
Choose fixtures with clear or seeded glass and an open bottom — solid-bottom lanterns trap heat and bugs, and seeded glass softens the glow beautifully on brick. Use warm-white LED bulbs at 2700K, 400 to 800 lumens each, and skip anything labeled "daylight" unless you want your colonial to look like a dental office. Outdoor-rated fixtures (wet or damp location listed) are non-negotiable, and I always recommend a photocell timer so they click on at dusk without a second thought. For safety, kill the breaker before installing, and keep bulbs at least 2 inches from any shade edge.
Suggested budget range: $80 – $400.
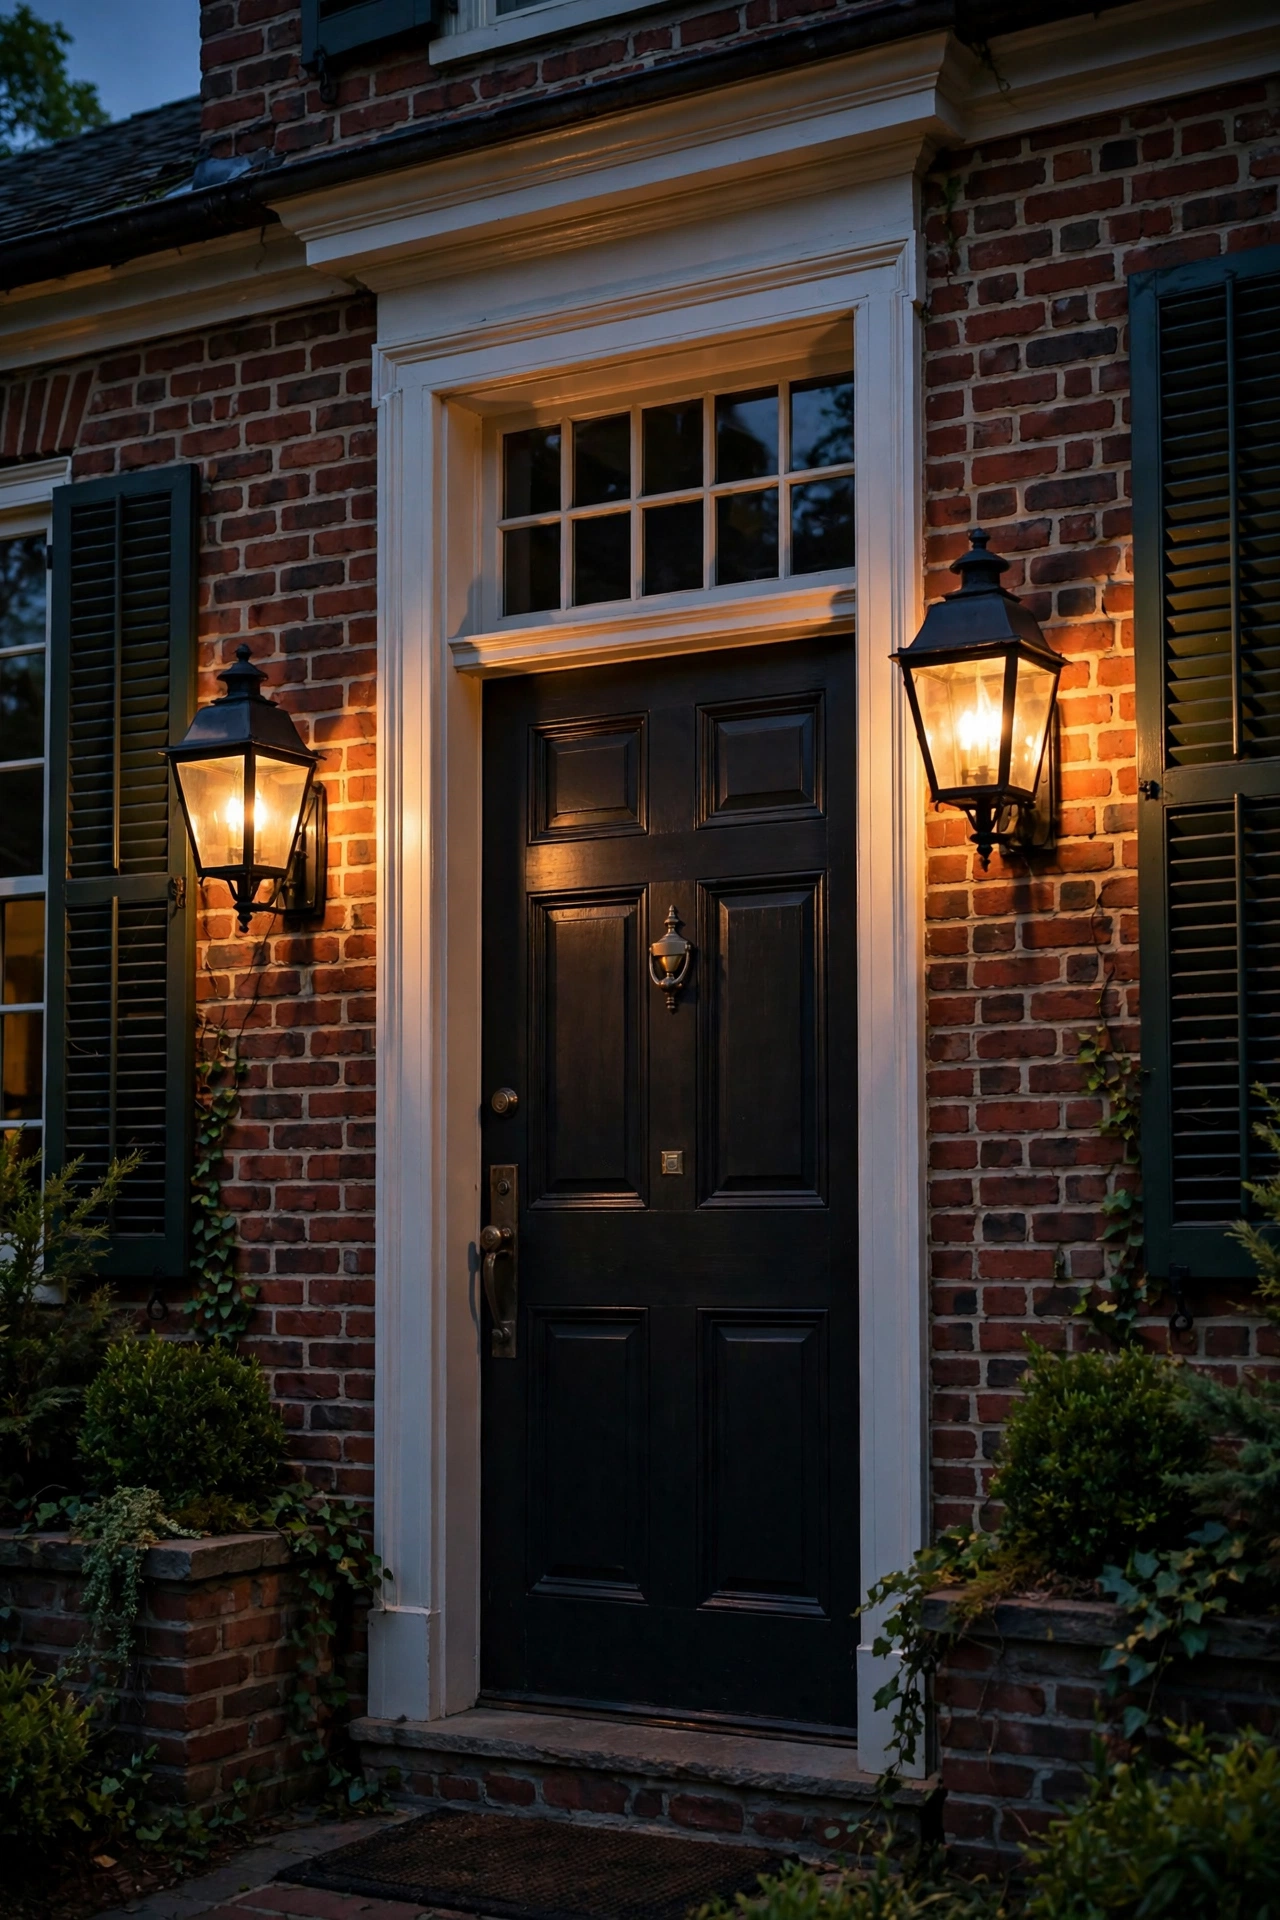
2. Try Gaslight-Style LED Sconces for Old-World Flicker
If your colonial leans historic — a true 18th-century reproduction or a lovingly kept antique — gaslight-style fixtures are the most authentic touch you can add. Modern versions use flickering LED bulbs that mimic a real gas flame without the gas line, the soot, or the $200-a-month bill, honestly. These typically come as wall lanterns with curved mantel-style bulbs or tiny flame-tip LEDs inside a glass chimney.
In my experience, the flicker setting is best used sparingly: one pair flanking the door is perfection; wrapping the whole house in fake flame looks like a theme restaurant. Place them exactly like traditional lantern sconces — 66 to 72 inches to center, mirrored pair — and choose a fixture finish that echoes your hardware, like aged bronze or matte black. For bulbs, look for "flame effect" LEDs in the 2200K to 2400K range; they're dimmer than standard LEDs (often 100 to 300 lumens), which is the point — gaslight was moody. Wire them to a dusk-to-dawn photocell so the flicker is always there when it matters.
Suggested budget range: $120 – $500.
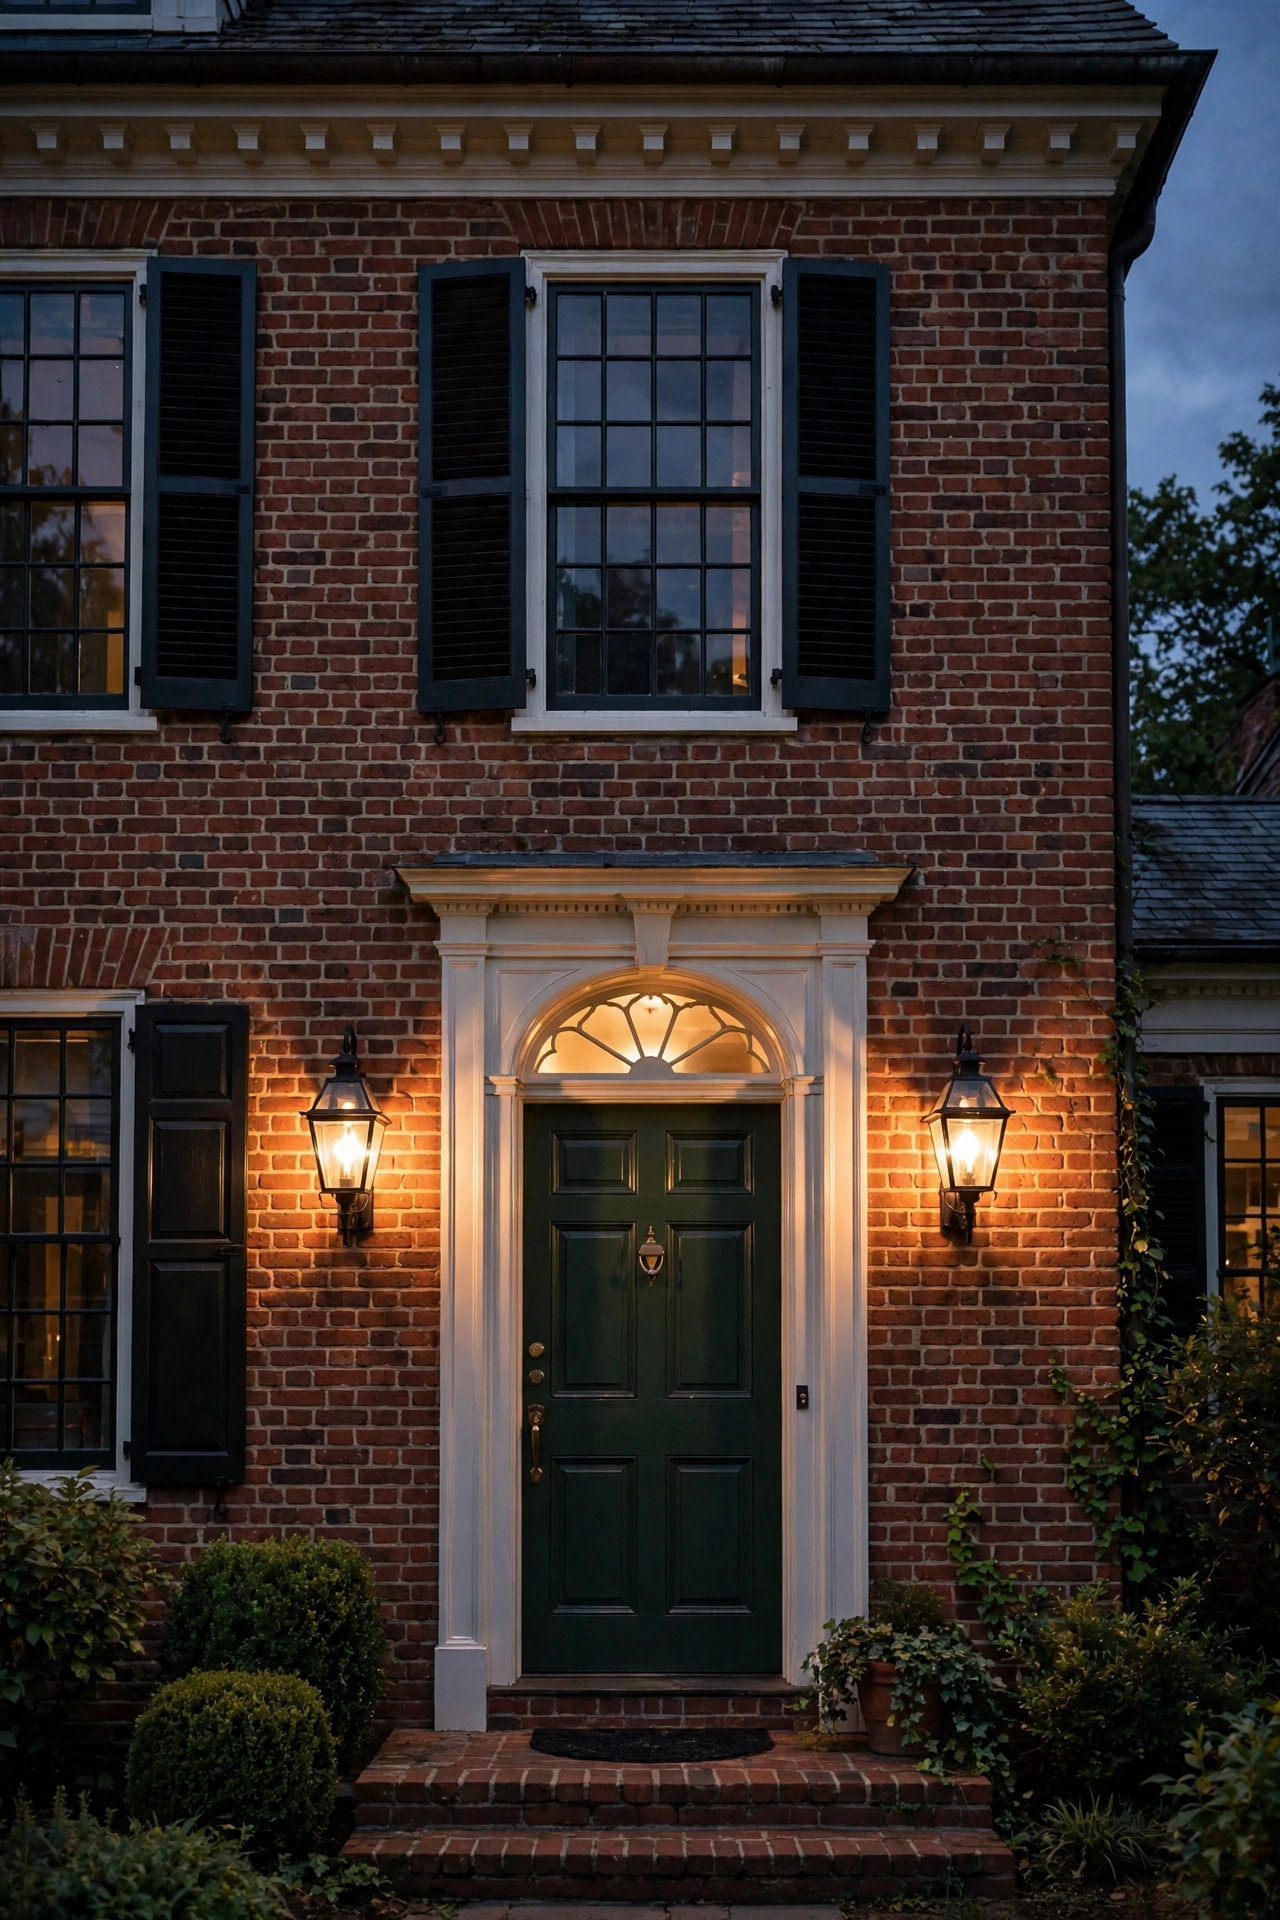
3. Choose Copper Lanterns That Age Into Patina
Copper is the colonial material — it shows up on gutters, cupolas, and weather vanes, so carrying it into your lighting ties the whole house together. New copper lanterns arrive bright and penny-shiny, and over 5 to 10 years they mellow into that soft brown and eventually a blue-green patina. Honestly? Both stages are gorgeous, and you don't need to do a thing.
In my experience, solid copper fixtures are worth the splurge at the front entry where people see them up close; powder-coated "copper finish" is fine for secondary spots like the garage. Mount a matched pair flanking the door with 2700K LED filament bulbs, and keep the glass clear so the copper frame gets its moment. Maintenance is easy: hose them down twice a year and check that mounting screws stay snug as seasons change. If you want to slow the patina, a light coat of clear lacquer buys you a few bright years — but I always recommend letting copper do what copper does. Use wet-rated fixtures anywhere they'll catch direct rain.
Suggested budget range: $150 – $600.
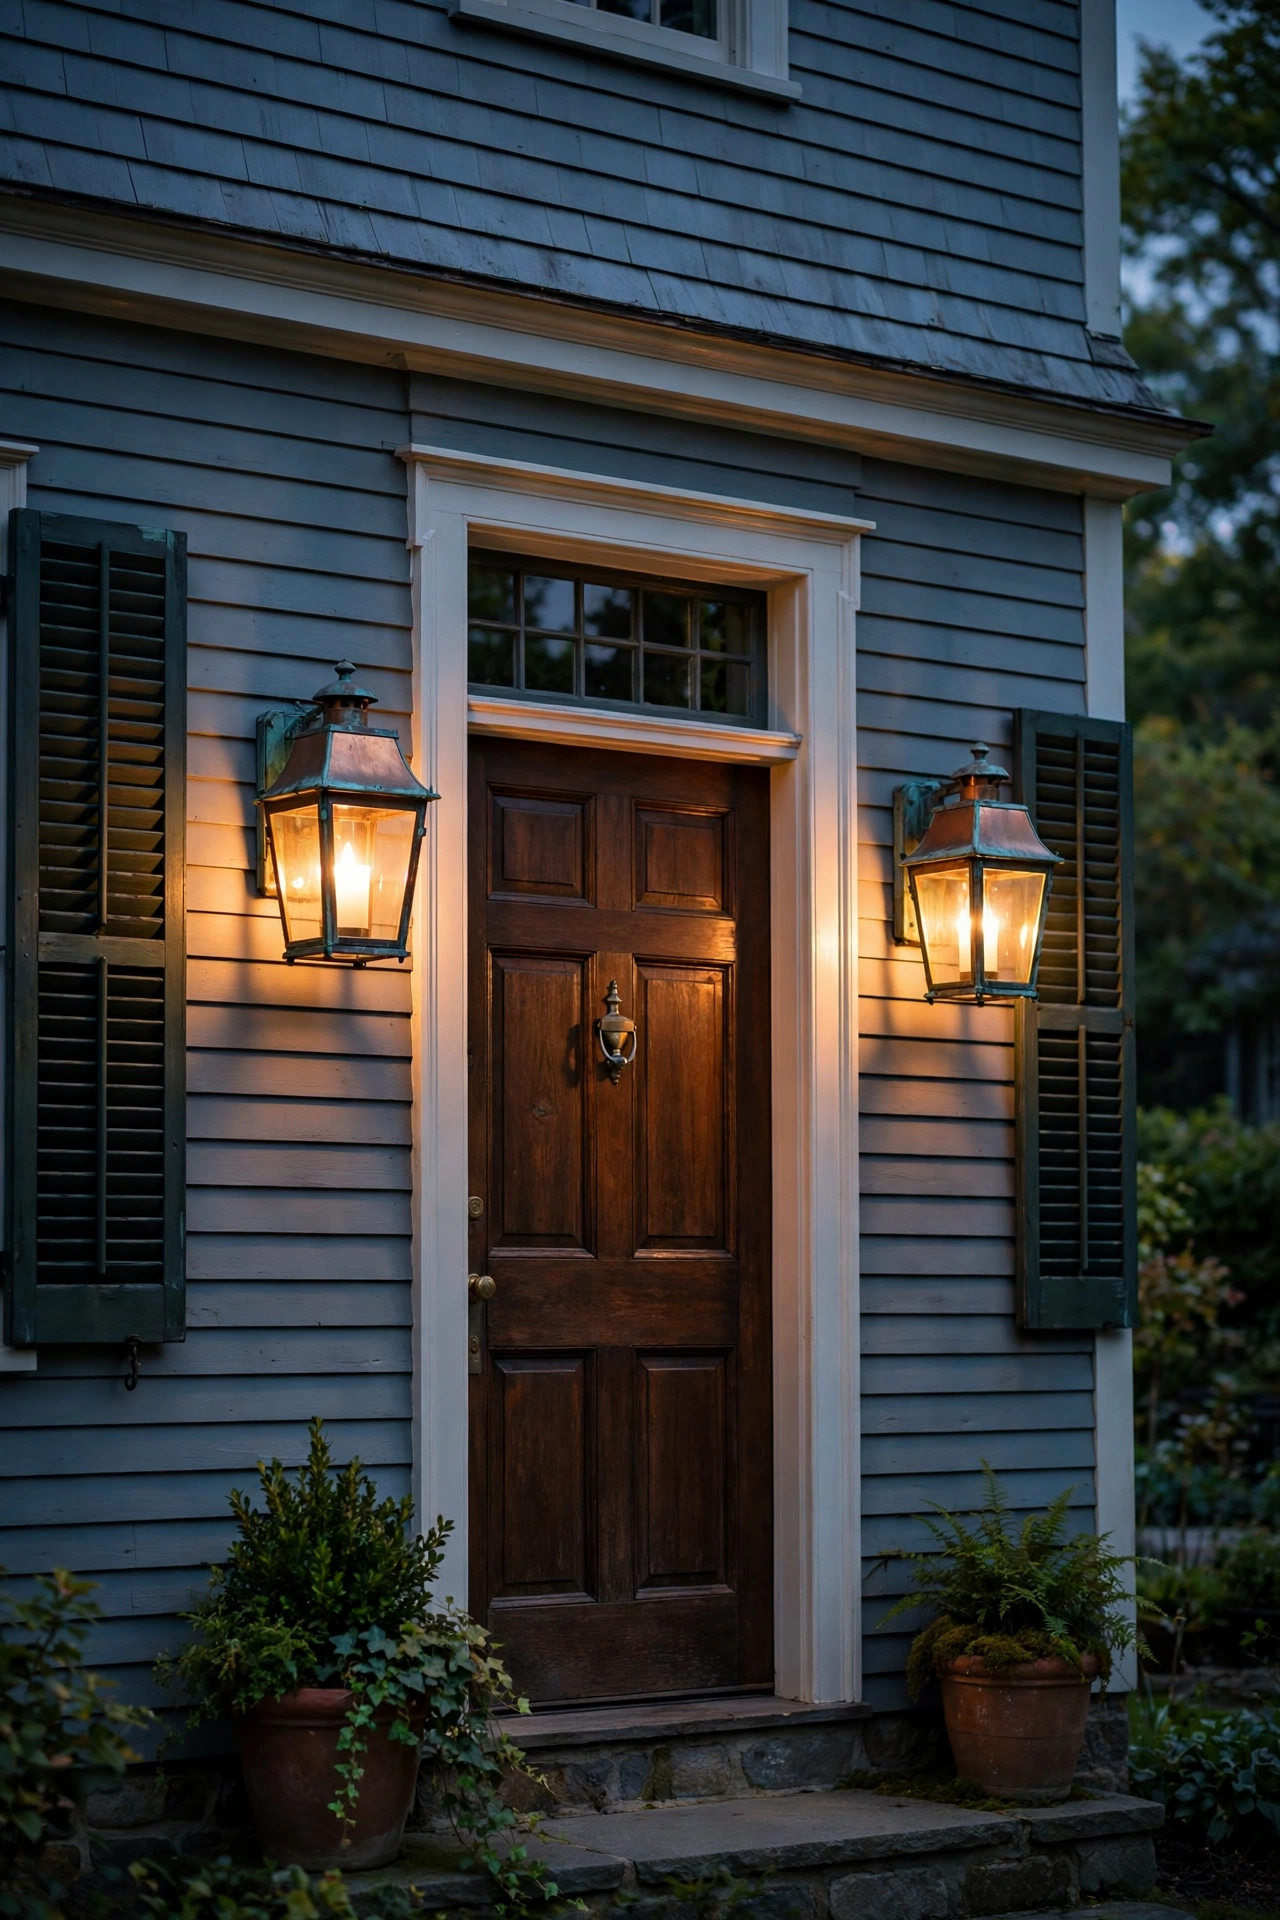
4. Hang a Carriage Lantern Pendant Over the Entry
Many colonials have a covered entry or a portico — even a small one — and that ceiling is begging for a hanging carriage lantern. This is the fixture that greets guests at eye level from the street, so proportion is everything. Measure the entry: the pendant should hang so its bottom sits about 7 feet above the porch floor, and its height should be roughly one-third the height of the door it hangs before.
I always recommend chain-hung lanterns over rigid stems for covered entries, since you can adjust the drop. Use a clear-glass, four-sided lantern in black or aged bronze with a 2700K LED, 600 to 900 lumens — bright enough to unlock the door safely, soft enough to flatter. In my experience, a dimmer switch on the entry circuit is a game changer: full brightness when you're fumbling for keys, a low glow the rest of the night. Outdoor damp-rated fixture required, and anchor the mounting box into framing, not just ceiling board — lanterns are heavier than they look. A photocell timer keeps it automatic.
Suggested budget range: $90 – $450.
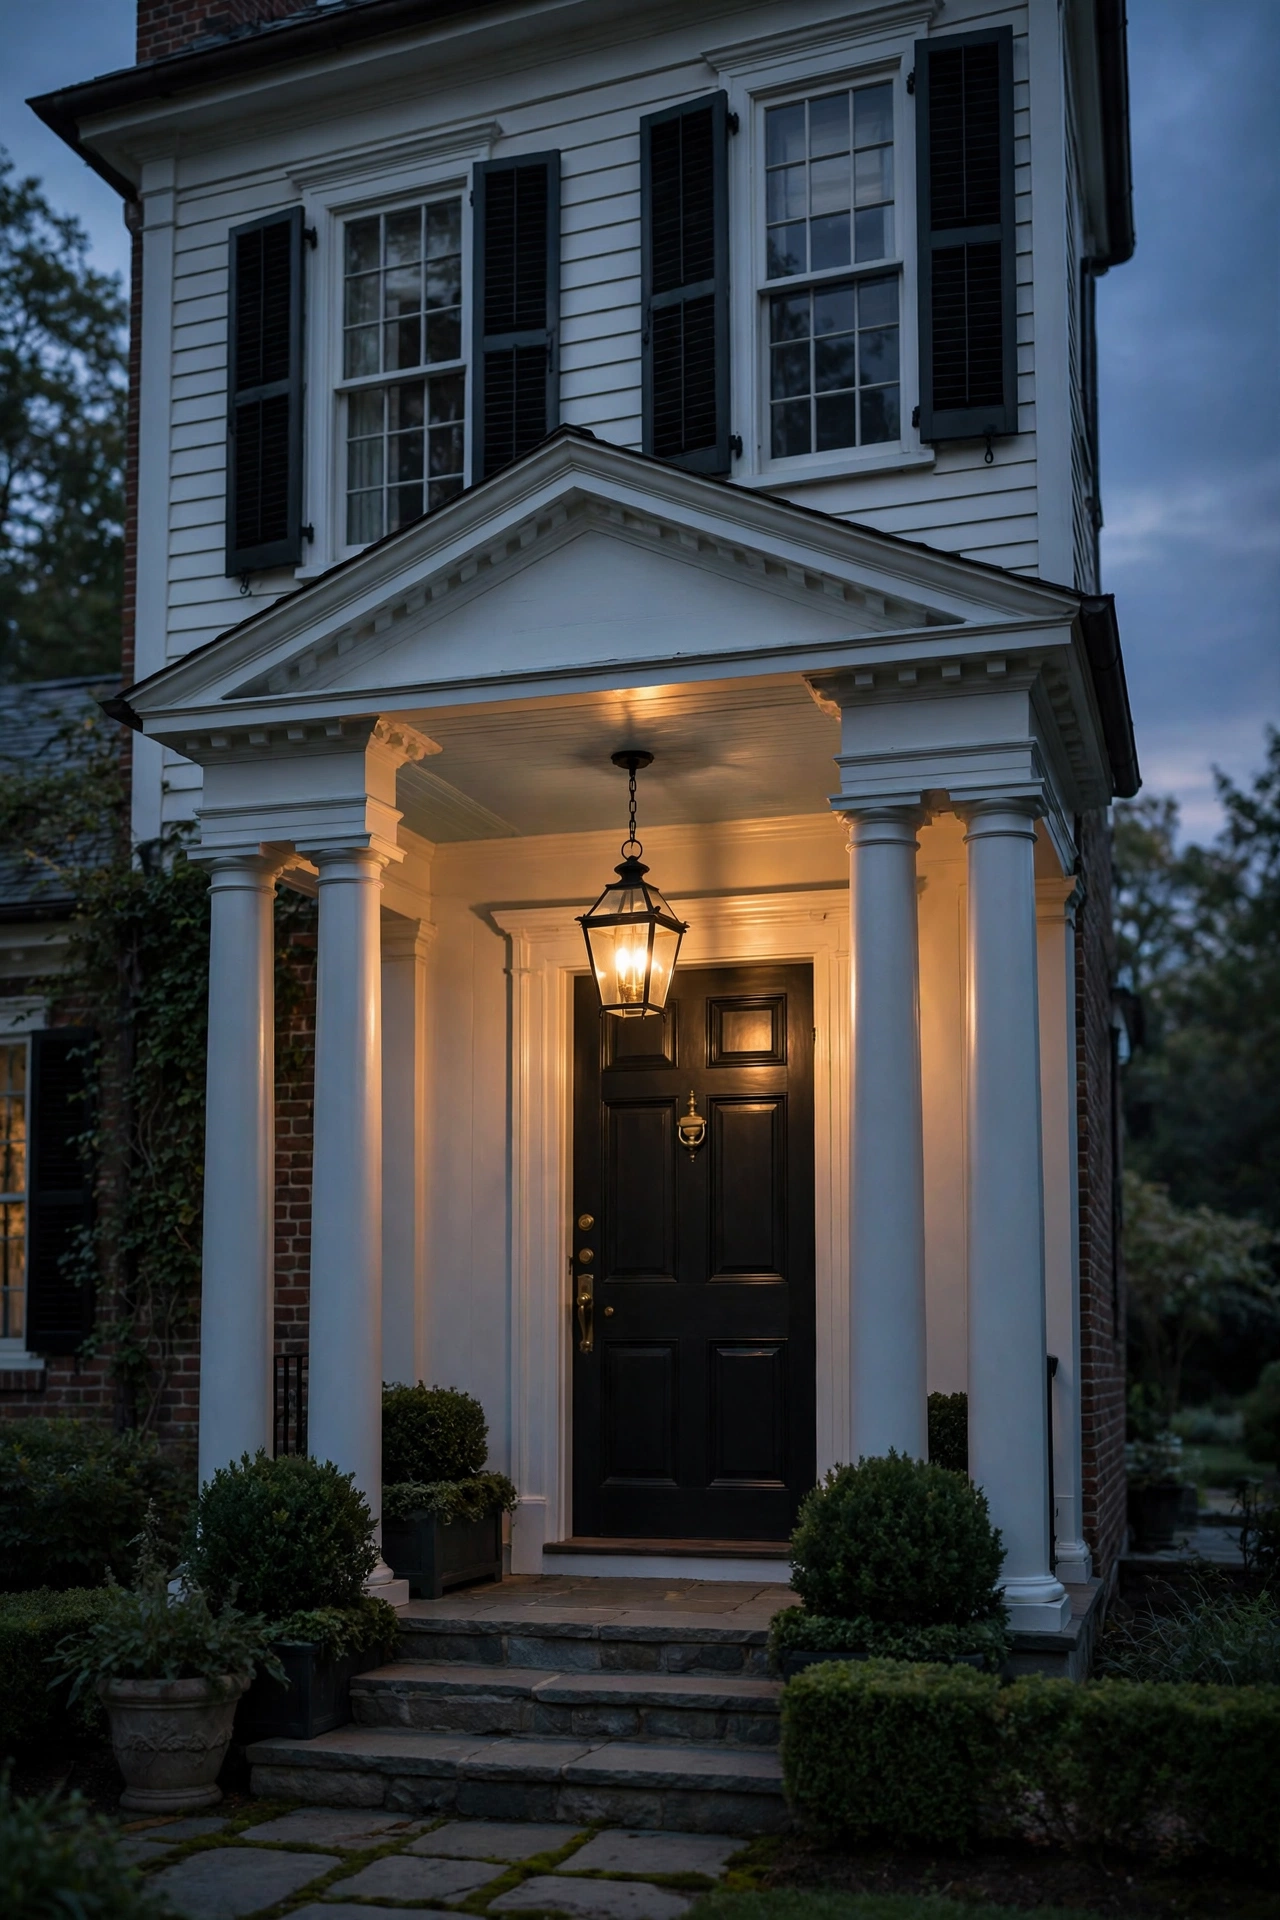
5. Size Every Fixture to the Facade
Here's the mistake I see most: a gorgeous brick colonial with sconces that look like night-lights. Colonial exterior lighting lives or dies on proportion, and the rule is simple — the lantern should be about one-quarter to one-third the height of the front door, and wall lanterns on wide garage bays can go a bit larger. A standard 80-inch door wants an 18- to 26-inch fixture. When in doubt, I always recommend going one size up; undersized fixtures read as cheap from the curb, while slightly generous ones read as custom.
Stand at the sidewalk at dusk and look — seriously, this is the best test. The fixture should hold its own against the shutters and the brick mass, not disappear into it. For symmetry-obsessed colonials, buy the pair together so the finish and glass match exactly; finishes drift between batches. Measure twice, and if you're between sizes, the larger lantern wins every time. And keep bulb brightness proportional too — a 24-inch lantern with a 200-lumen bulb looks like it's broken. Match big glass with 600+ lumens of warm LED.
Suggested budget range: $100 – $500.
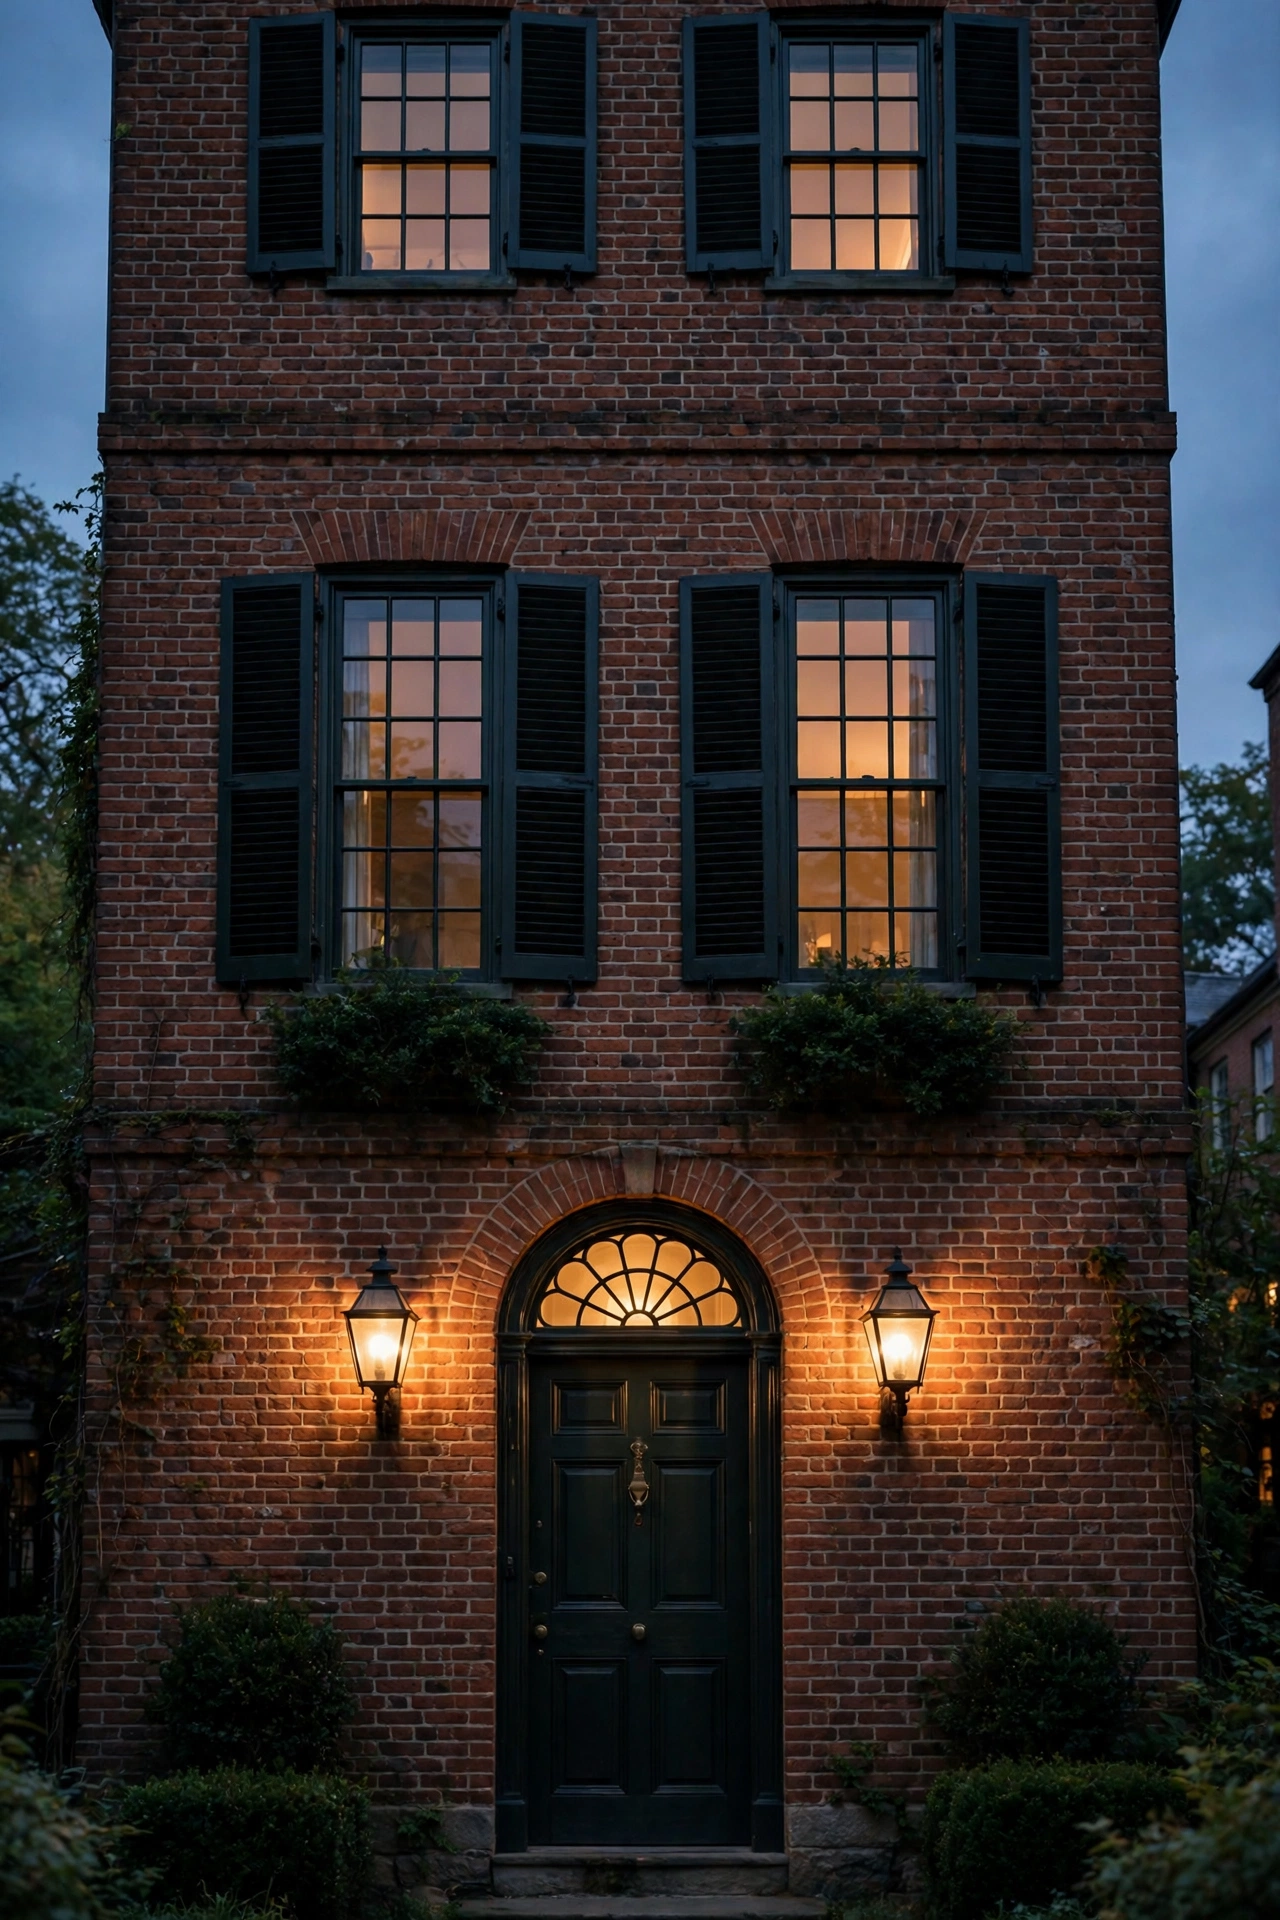
6. Light the Transom Window for a Golden Halo
The transom window above the front door is a colonial signature, and lighting it from inside creates the loveliest halo effect — a rectangle of warm gold that reads as "welcome home" from the street. The trick is a small, warm light source placed just inside the transom, aimed so it washes the glass without creating a hot spot. In my experience, a slim LED puck or strip tucked along the interior header at 2700K does this perfectly.
Honestly, this is the cheapest idea on the list and one of the highest-impact. Use a plug-in LED strip on a timer so it clicks on at dusk with your exterior fixtures — consistency matters. Keep the light warm (2700K max) and dim it to about 50 percent; you want glow, not glare. Safety-wise, LED strips run cool, but keep them away from curtain fabrics and use only the adhesive or clips rated for the surface. If your transom has divided lites, the muntin shadows create gorgeous patterning on the porch ceiling. Pair it with your flanking sconces and the whole entry composes itself.
Suggested budget range: $25 – $120.
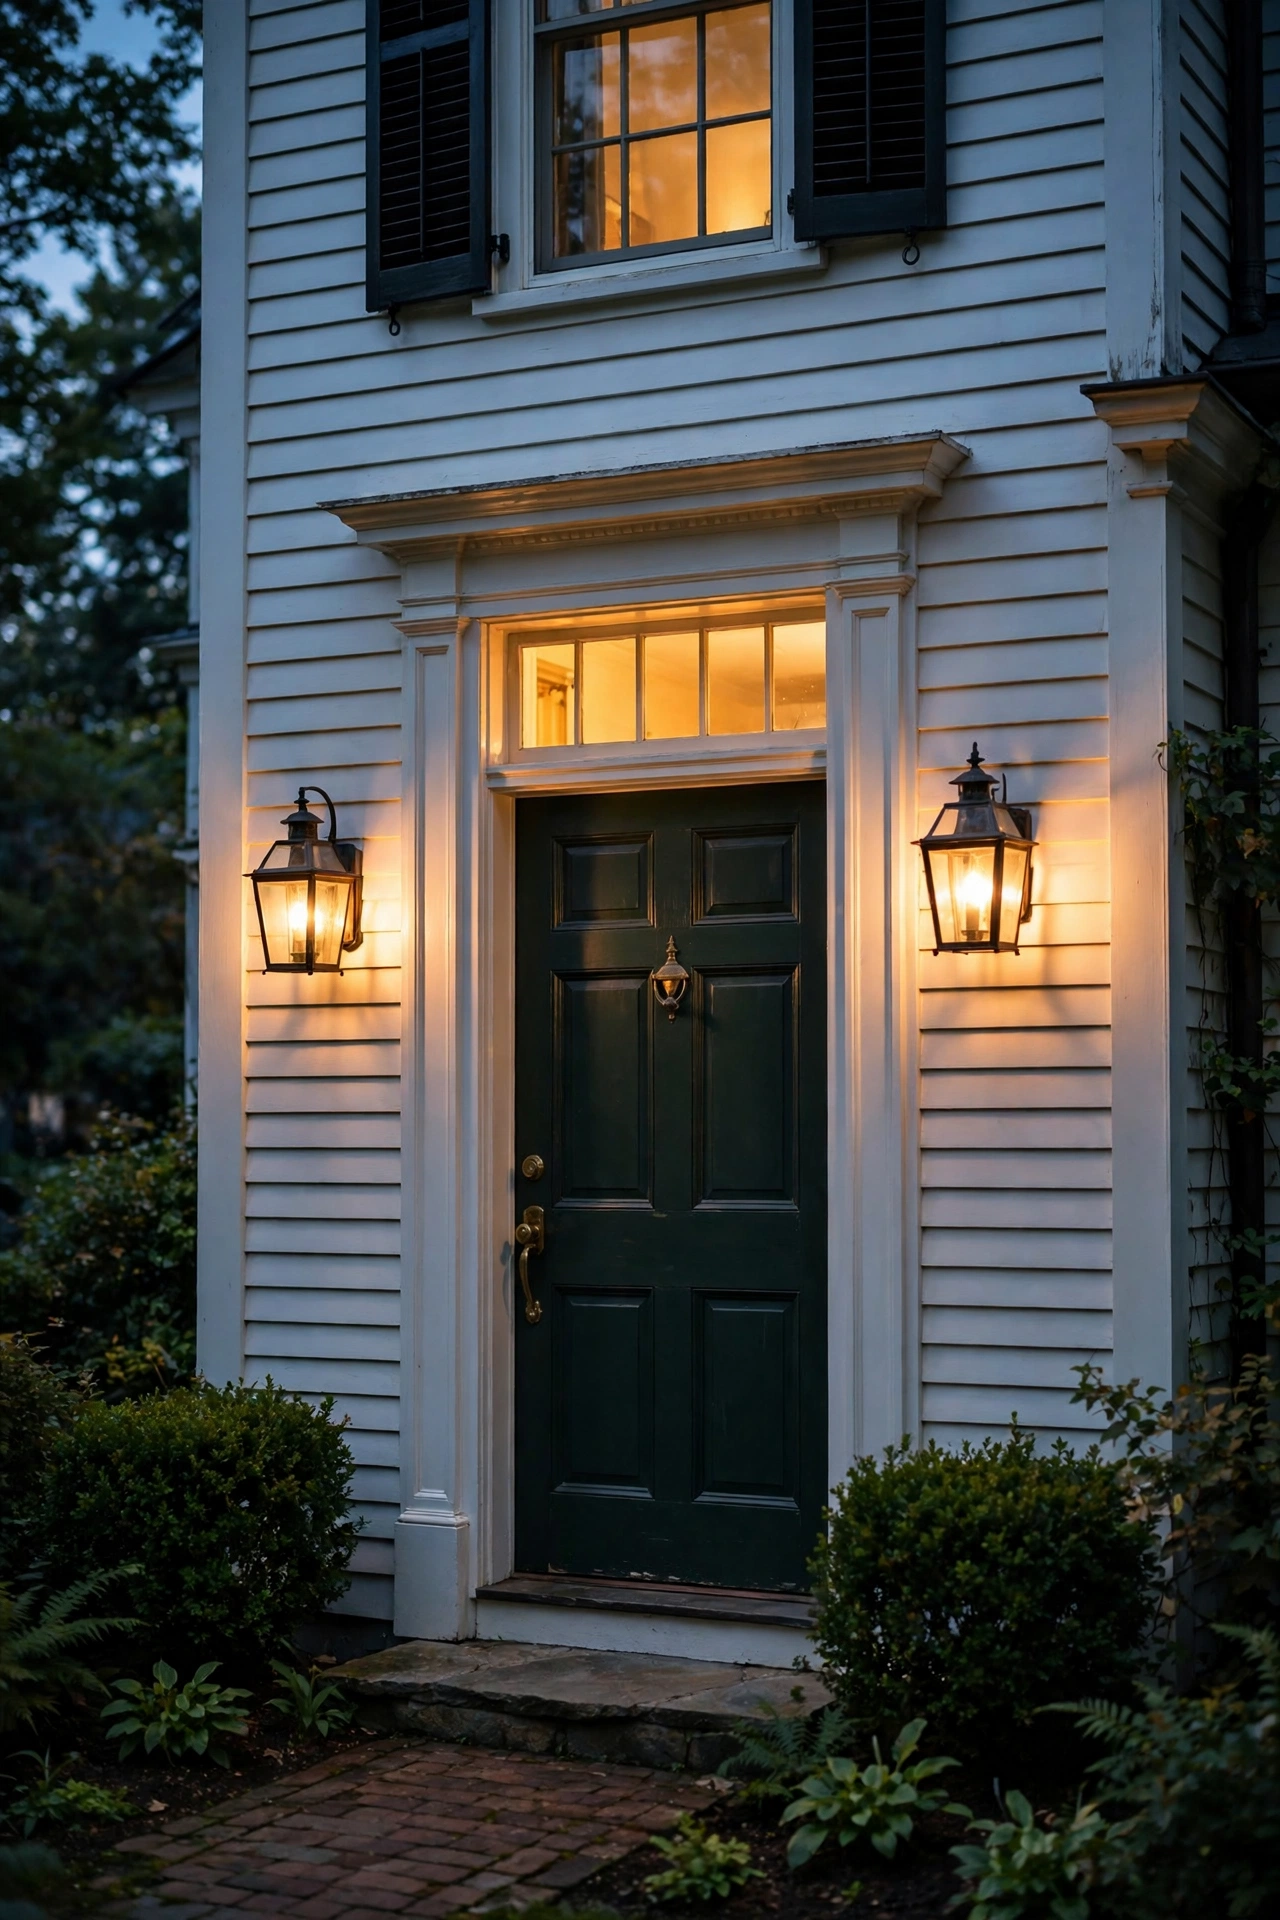
7. Uplight the Facade With Symmetrical Wash Lights
A colonial's symmetrical facade is practically designed for uplighting: two or three well lights or bullet spotlights at the base of the brick, mirrored around the front door, turning that flat evening wall into a warm, textured canvas. In my experience, this is the single biggest curb-appeal upgrade you can make — it makes the house look finished in a way sconces alone can't.
Place fixtures 18 to 24 inches out from the foundation, aimed up at a slight angle to graze the brick. Spacing matters: put one near each corner of the facade and one flanking the entry, keeping the layout mirrored. Use warm-white 2700K LED spotlights, 300 to 500 lumens each, with a 30- to 60-degree beam spread — narrow beams create dramatic columns of light, wider beams wash evenly. Low-voltage 12V systems are the DIY-friendly choice: a single 150-watt transformer on a GFCI outlet can run the whole facade. Bury cables 6 inches deep in planting beds and use waterproof wire nuts. I always recommend a photocell timer here so the wash and the sconces switch on together.
Suggested budget range: $150 – $500.
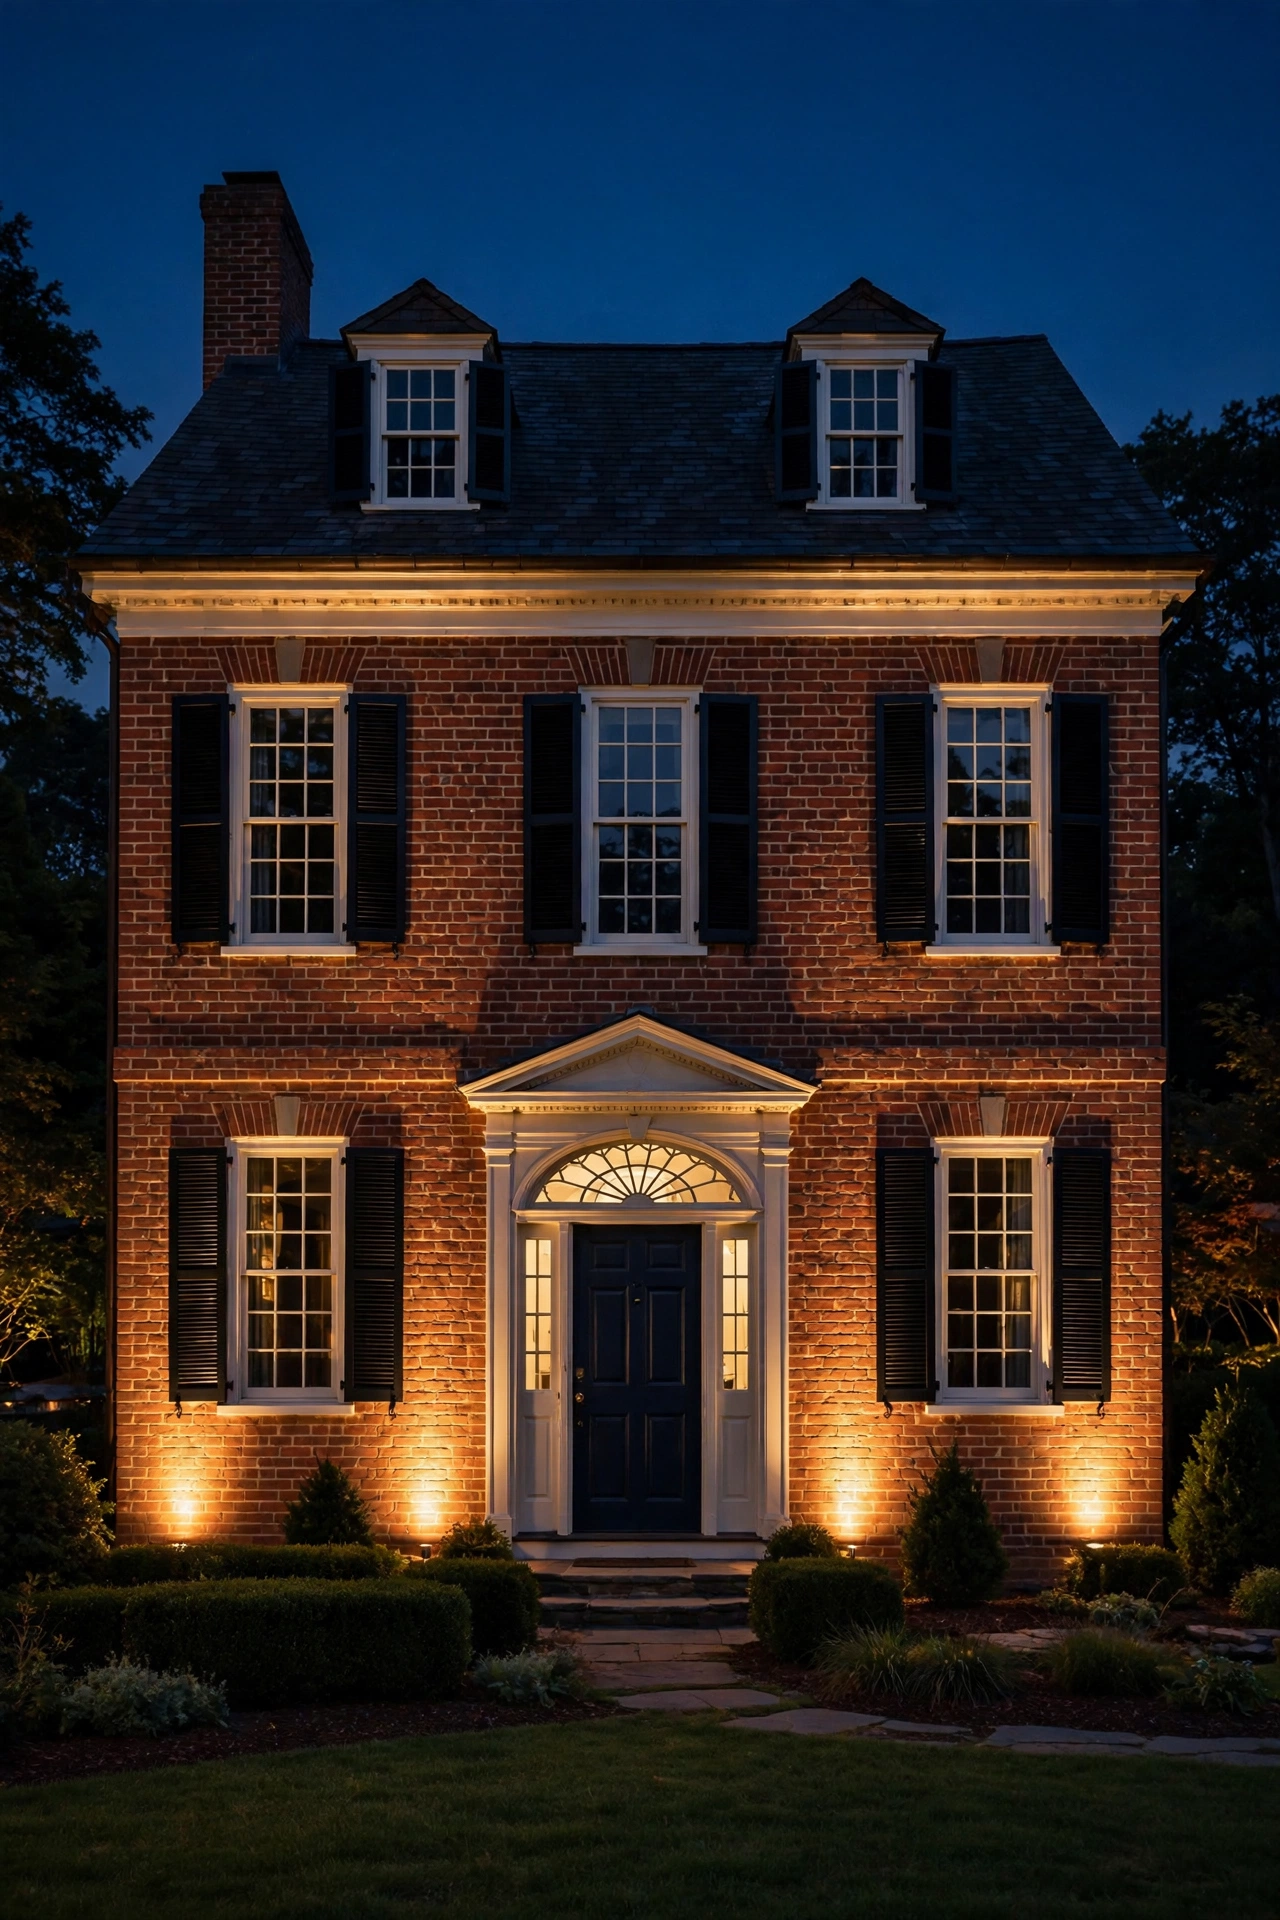
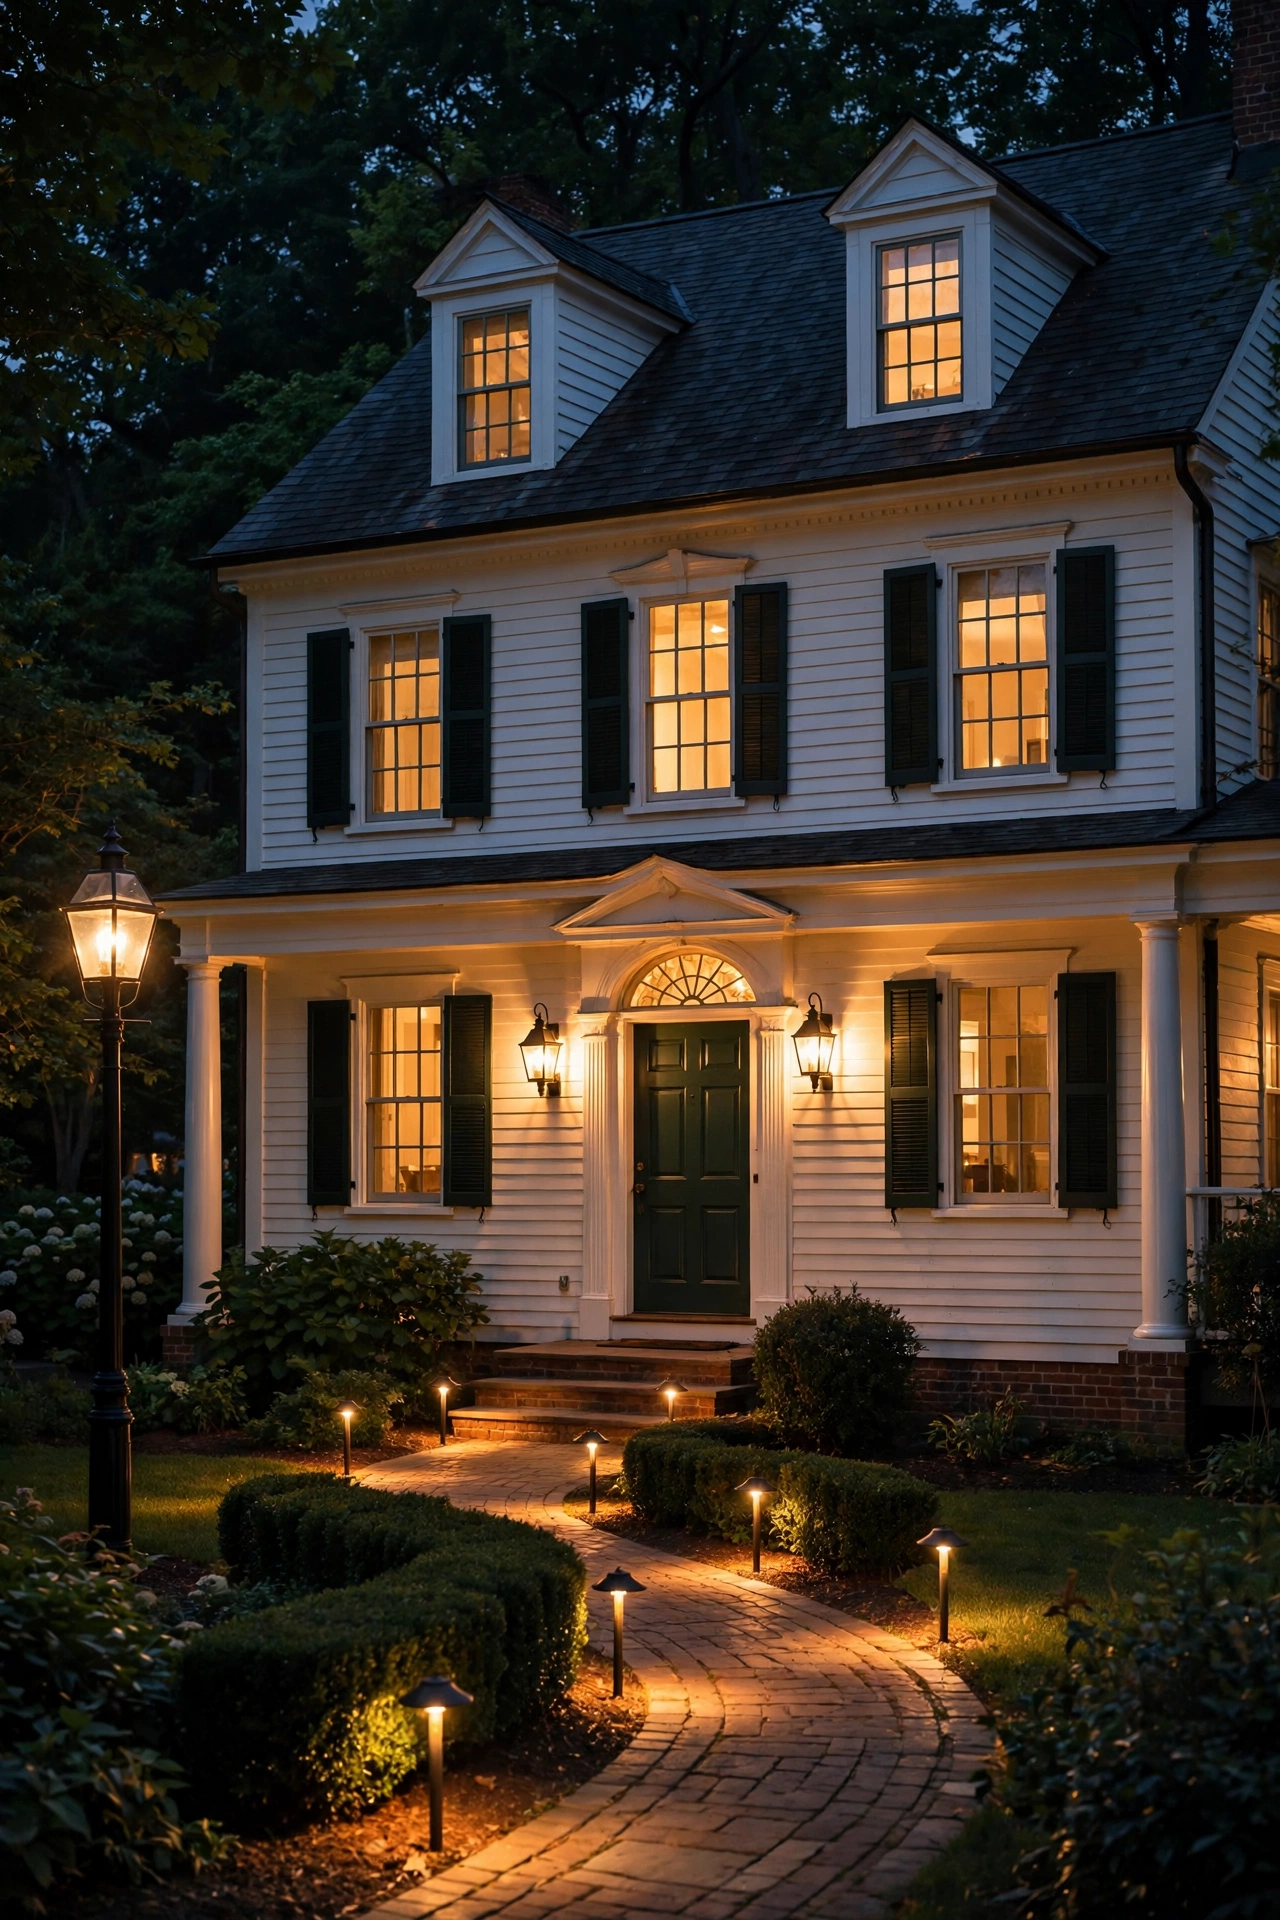
8. Line the Brick Walkway With Low Lantern Path Lights
The walk from the sidewalk to a colonial front door should feel like a processional, and low path lights in a lantern or carriage style keep the period mood all the way to the curb. In my experience, the classic mistake is lining both sides of the walk like an airport runway — instead, stagger the fixtures, alternating sides every 6 to 8 feet, so the light feels organic and you use fewer fixtures.
Choose path lights 18 to 24 inches tall with a lantern-style head in black or bronze, warm 2700K LEDs at 100 to 200 lumens. Keep the heads' light directed downward — hooded tops prevent glare and keep the night sky happy, which also keeps neighbors happy. For installation, 12V low-voltage kits are weekend-DIY territory: lay the cable along the walk, stake the fixtures, and connect to a transformer sized 20 percent above your total wattage. Solar versions exist, but in my experience they underperform in shaded colonial lots with mature trees — wired is worth it. Bury cables where foot traffic crosses, and keep fixtures 12 to 18 inches back from the walk edge.
Suggested budget range: $120 – $450.
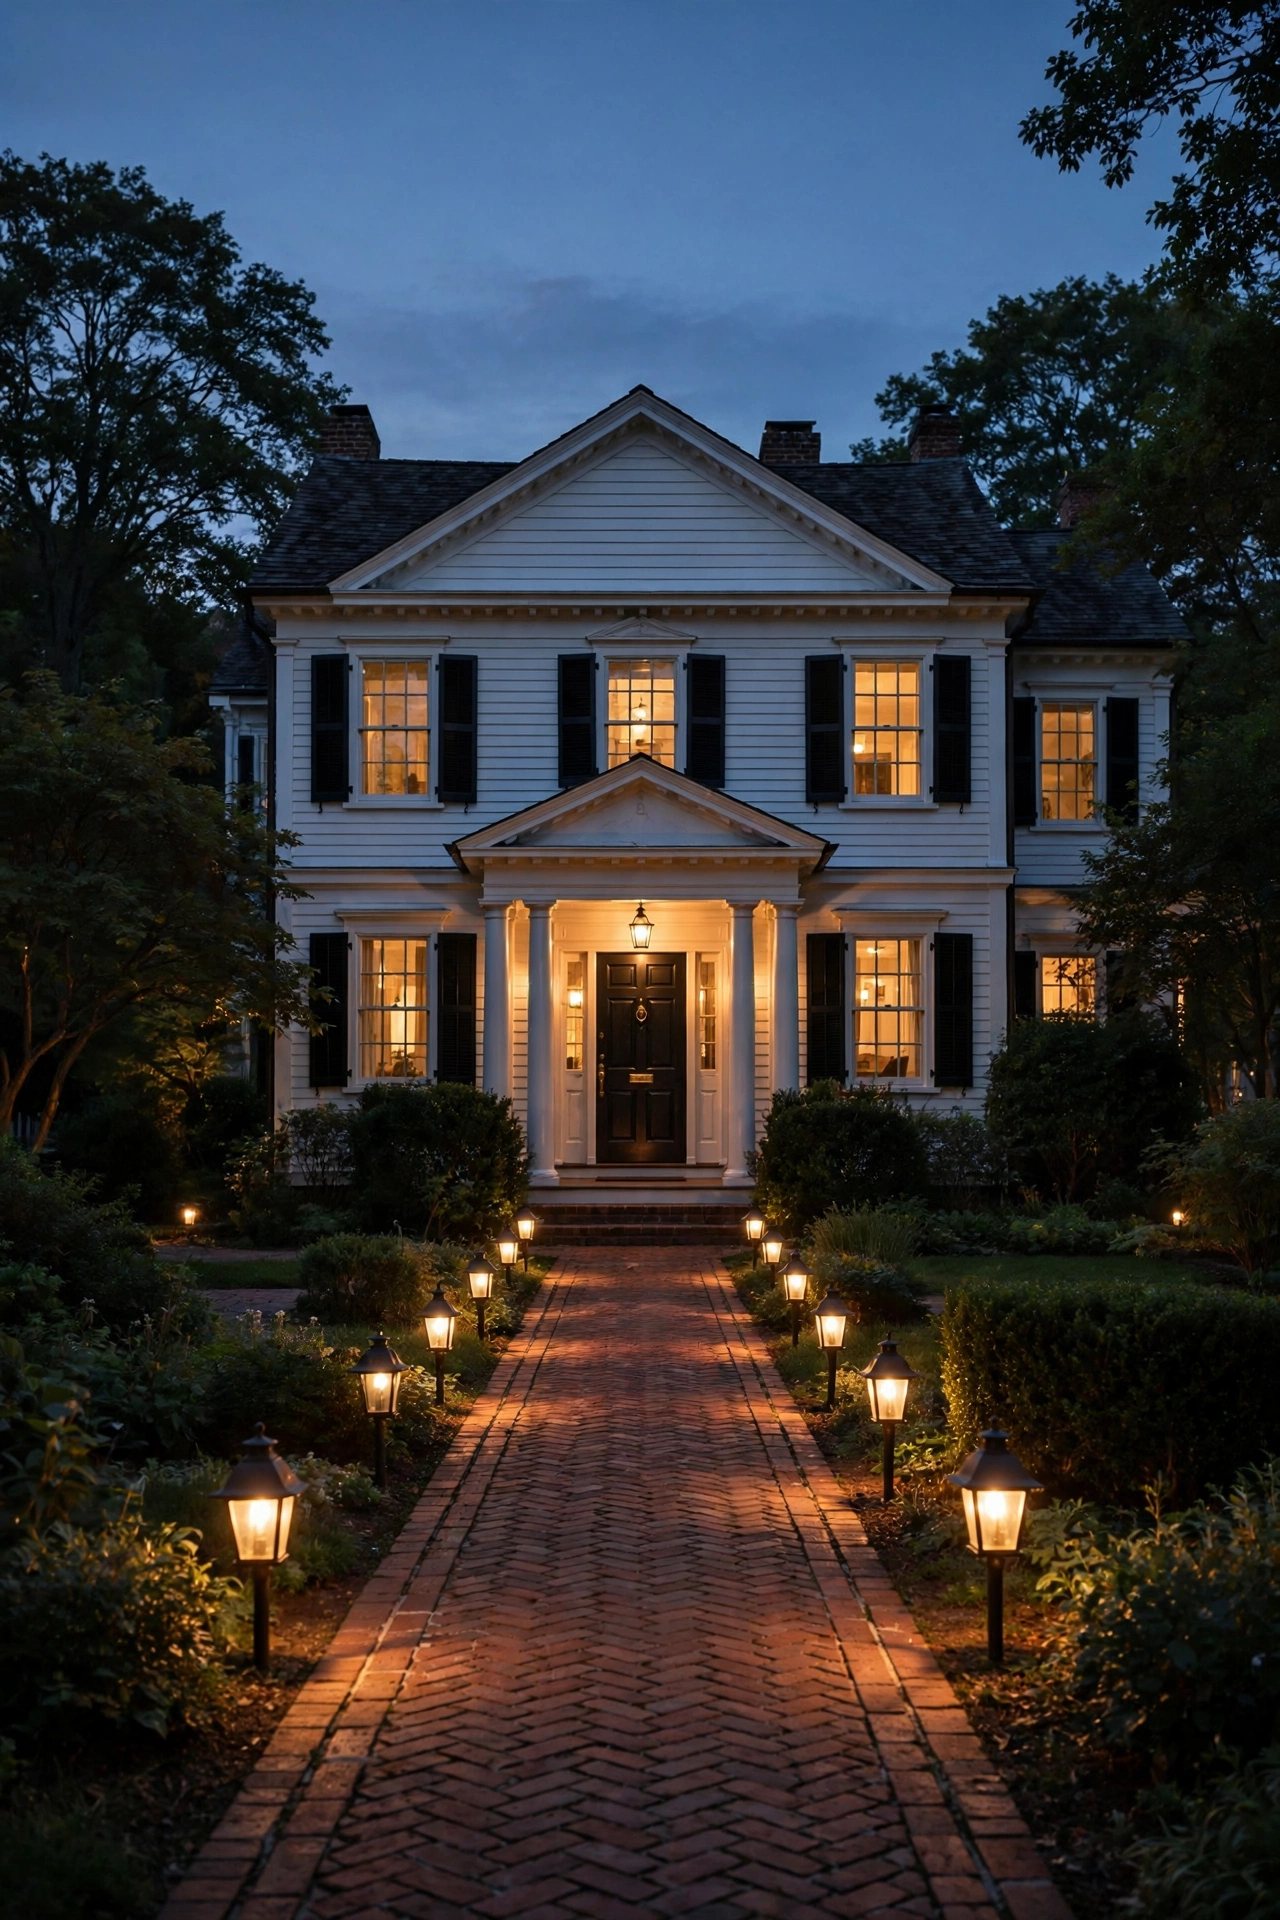
9. Cap the White Picket Fence With Post Lights
If you're lucky enough to have a white picket fence — the colonial cliche that never gets old — post-cap lights turn it into a glowing frame for the whole property at night. These are small fixtures that sit on top of fence posts, and in a colonial setting I always recommend simple lantern or colonial-cap styles in white or black, never modern mushroom tops.
Measure your post spacing: a light on every post is lovely but pricey; every other post still gives a beautiful rhythm, especially on runs of 30 feet or more. Solar post caps are actually great here — the fence line usually gets full sun, and there's no wiring to trench across the lawn. In my experience, look for solar caps with replaceable rechargeable batteries; cheap sealed units die in two seasons. Choose warm 2700K, and check the caps' fit against your post dimensions (4×4 posts are standard, but older fences vary). Keep the light output modest — 50 to 100 lumens per cap — so the fence glows rather than glares. Wipe the solar panels twice a year.
Suggested budget range: $60 – $300.
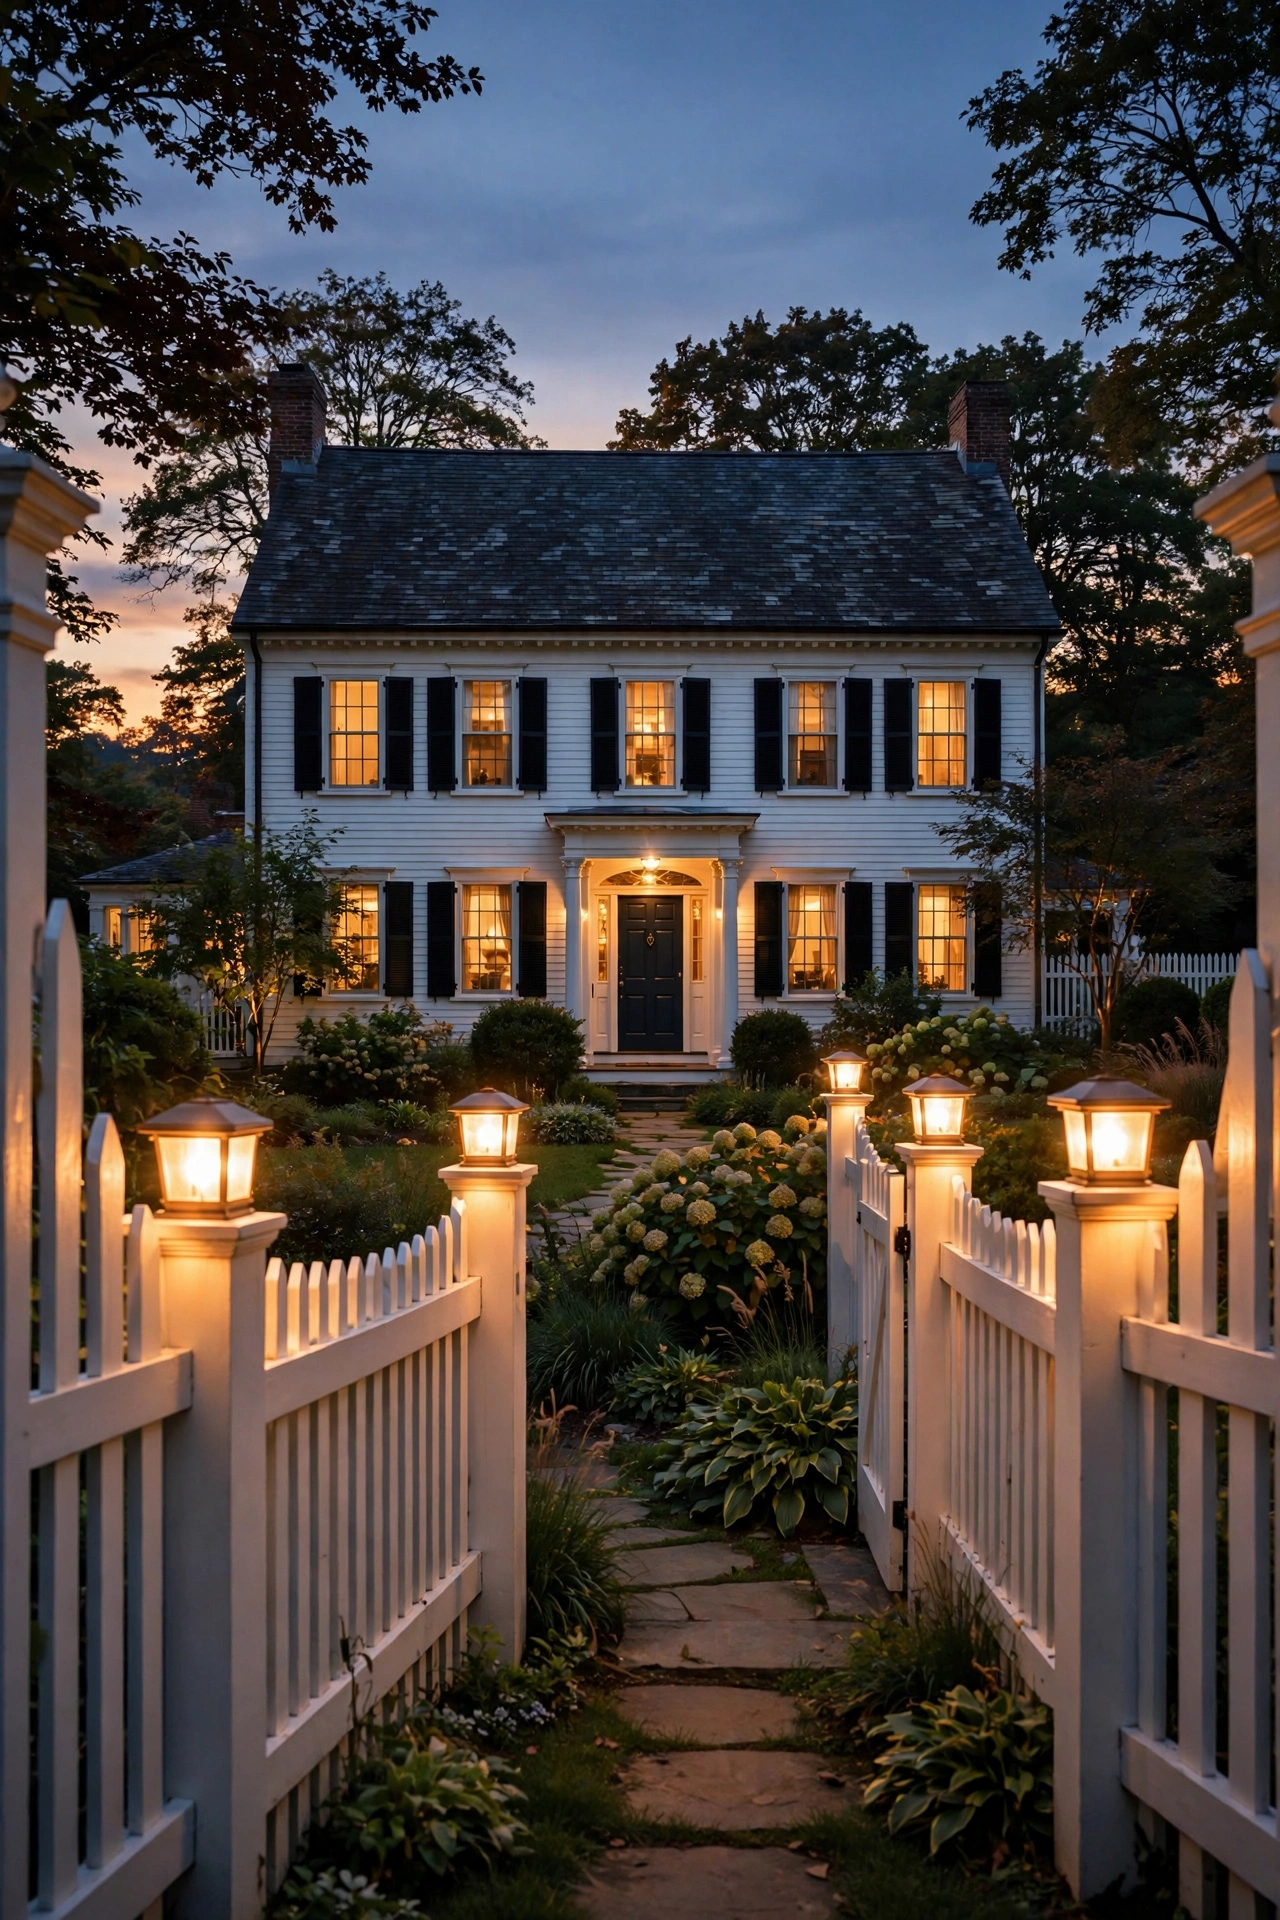
10. Wash the Shutters With Accent Spotlights
Shutters are the jewelry of a colonial facade, and a soft wash of light makes them pop after dark instead of disappearing into the brick. The technique: small low-voltage spotlights or well lights placed in the planting beds, aimed up and across the shutter pairs beside the front windows. In my experience, this is where "layering" pays off — the sconces handle the door, the uplights handle the brick, and these accents handle the architectural details.
Keep it symmetrical, obviously — mirror every fixture on both sides of the house. Use 2700K LEDs, 200 to 350 lumens, and aim them so the shutter gets the brightest wash and the window glass stays relatively dark; lit windows at night look odd and kill the cozy effect. Shielded bullet fixtures with a 40-degree beam work well, placed 2 to 3 feet from the wall. If you have operable louvered shutters, the light raking across the louvers creates beautiful texture — honestly one of my favorite effects. Tie these into the same low-voltage transformer and timer as your facade wash so everything fades on together.
Suggested budget range: $100 – $400.
11. Illuminate House Numbers in a Period Style
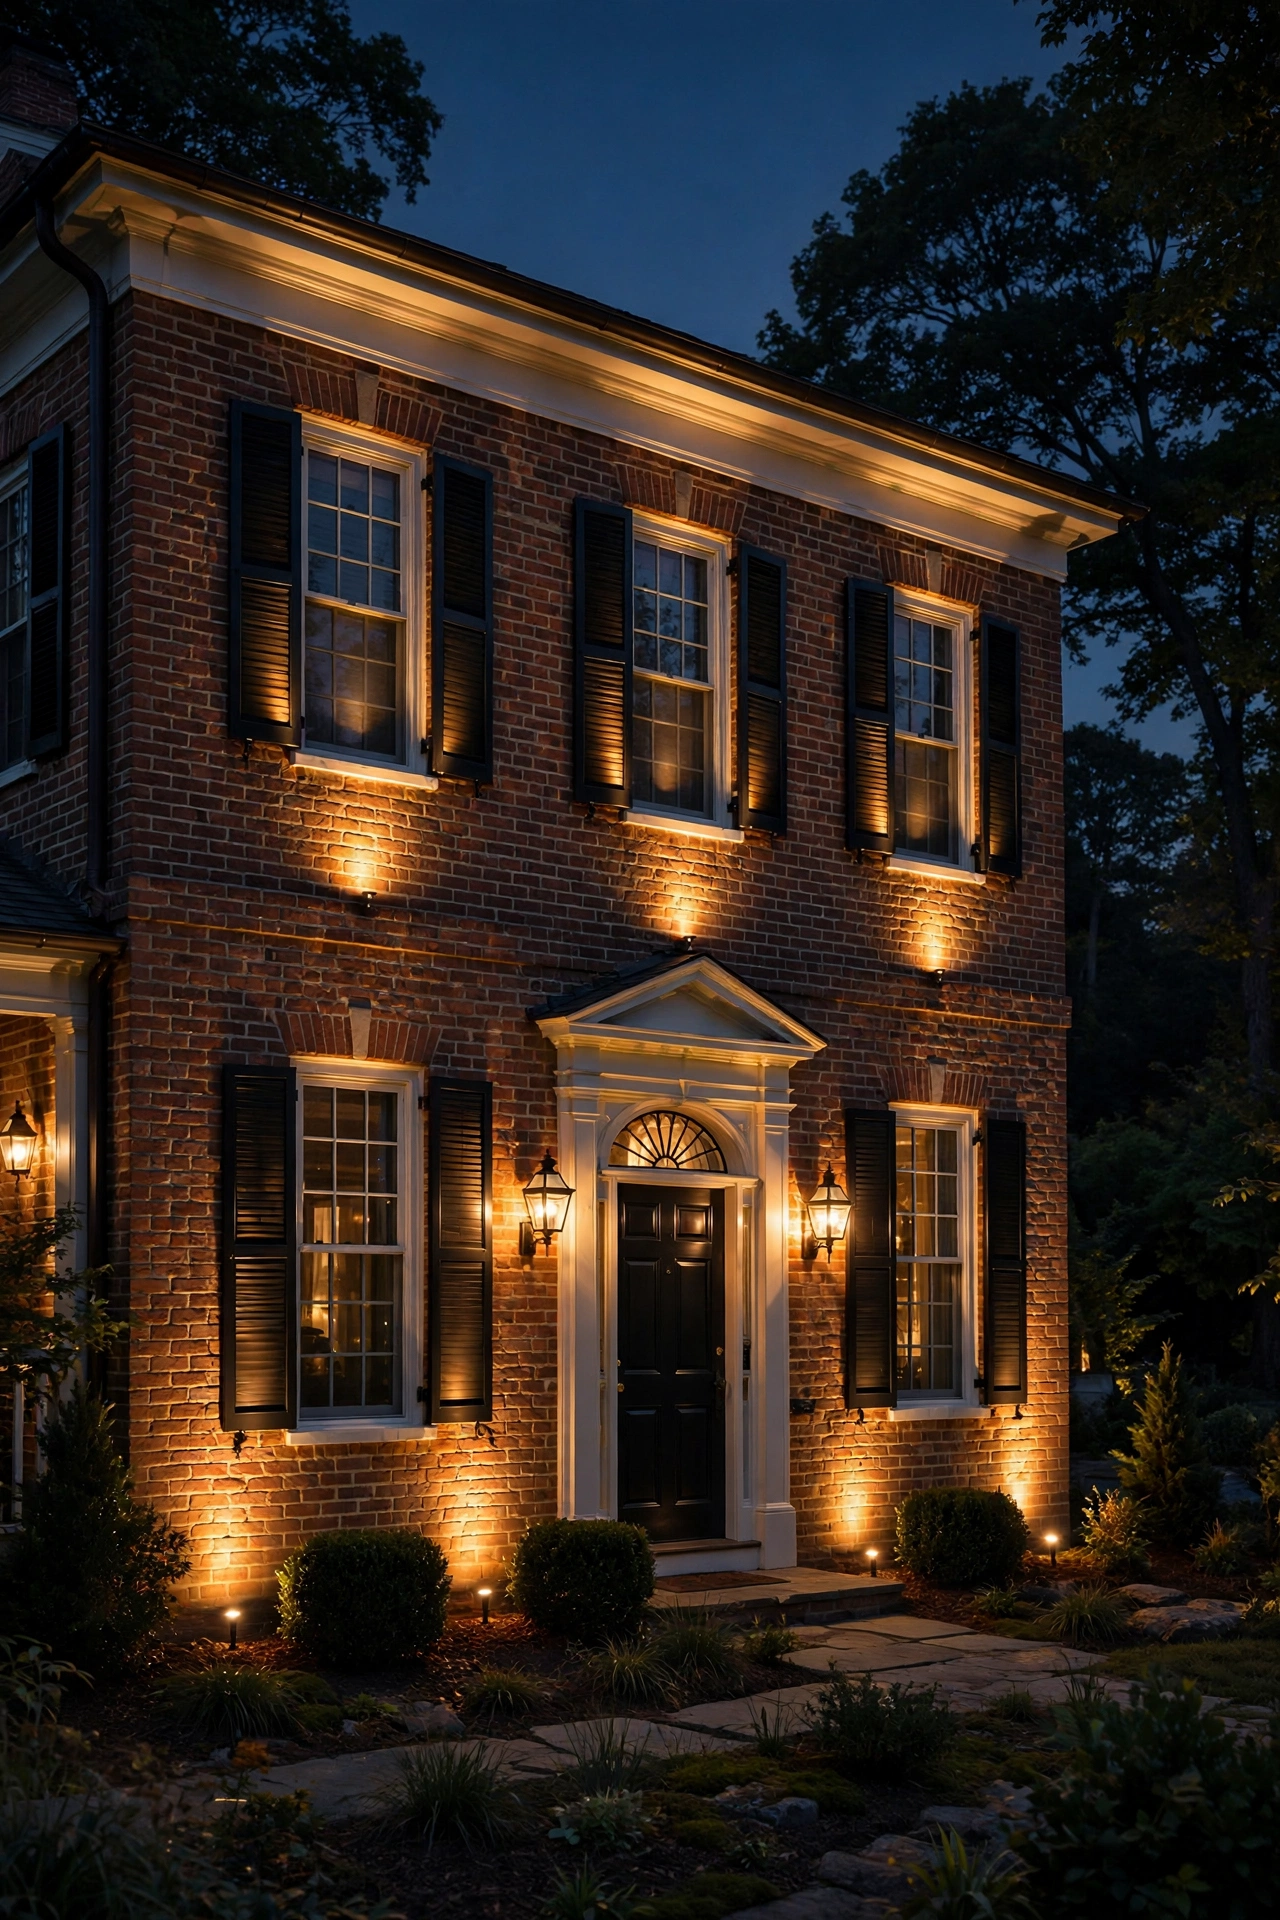
Colonial homes and tiny, unreadable house numbers are a tale as old as time — charming by day, a real problem for deliveries and first responders at night. The period-appropriate fix is a small backlit or spotlighted number plaque in brass or black, mounted beside the door or on a gate pier. In my experience, illuminated numbers are the one colonial lighting idea that's genuinely about safety, so don't skip it.
Mount numbers 4 to 6 inches tall (check your local code — many towns require 4-inch minimums) at 60 to 72 inches off the ground, near the front door or on the mailbox post. A small brass plaque with a built-in LED halo looks perfect against brick; alternatively, a tiny 2700K spotlight aimed at painted numbers works. If you want maximum authenticity, white-painted numbers on the transom glass lit from the transom glow (idea 6) is the old-school move. Keep the light warm and focused — you want readability, not a billboard. Solar number lights exist but are often too dim; a low-voltage tap off your path-light transformer is more reliable.
Suggested budget range: $40 – $180.
12. Place Electric Window Candles in Every Front Window
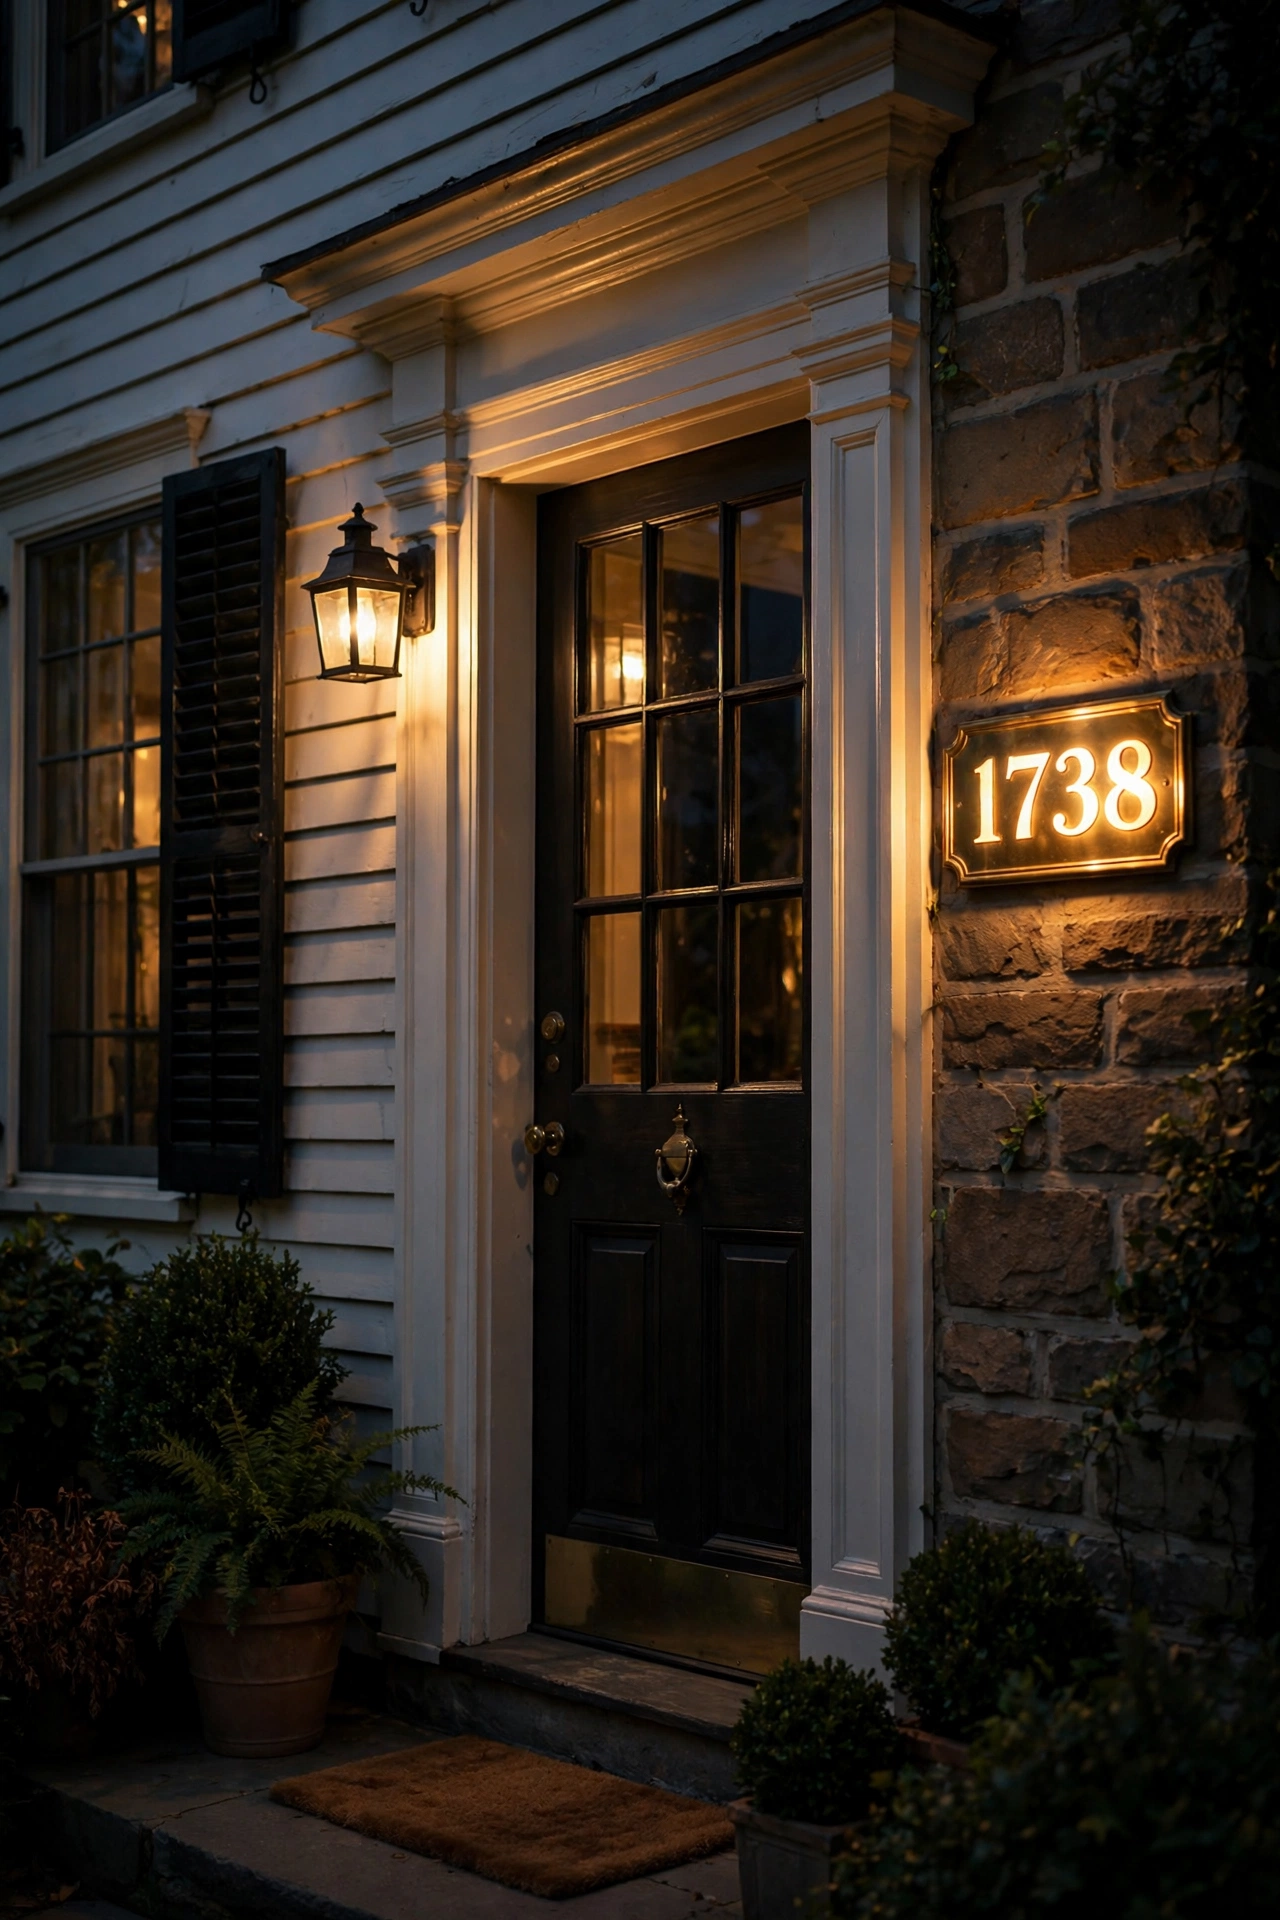
The electric window candle is pure colonial tradition — it goes back to the real candles colonists set in windows as a welcome sign. Today, plug-in or battery LED candles with dusk sensors do the job without the fire hazard, and honestly, nothing photographs a colonial at Christmas (or any night) like a row of glowing candles behind dark shutters.
In my experience, consistency is the whole game: every front-facing window gets one, all the same style, all warm 2200K to 2700K, all switched on together. Brass or pewter bases suit colonials best. Plug-in candles on a single timer-controlled power strip per floor are the most reliable — battery versions eat batteries and drift out of sync. Place each candle centered in the window, set back 6 to 8 inches from the glass, with the flame tip roughly at the window's vertical midpoint. Use LED-only candles — never real flame near curtains, and even battery tea lights should stay clear of fabric. For a two-story colonial, matching candles upstairs and down is what creates that iconic glowing-grid look.
Suggested budget range: $50 – $200.
13. Anchor the Driveway With a Colonial Lamppost
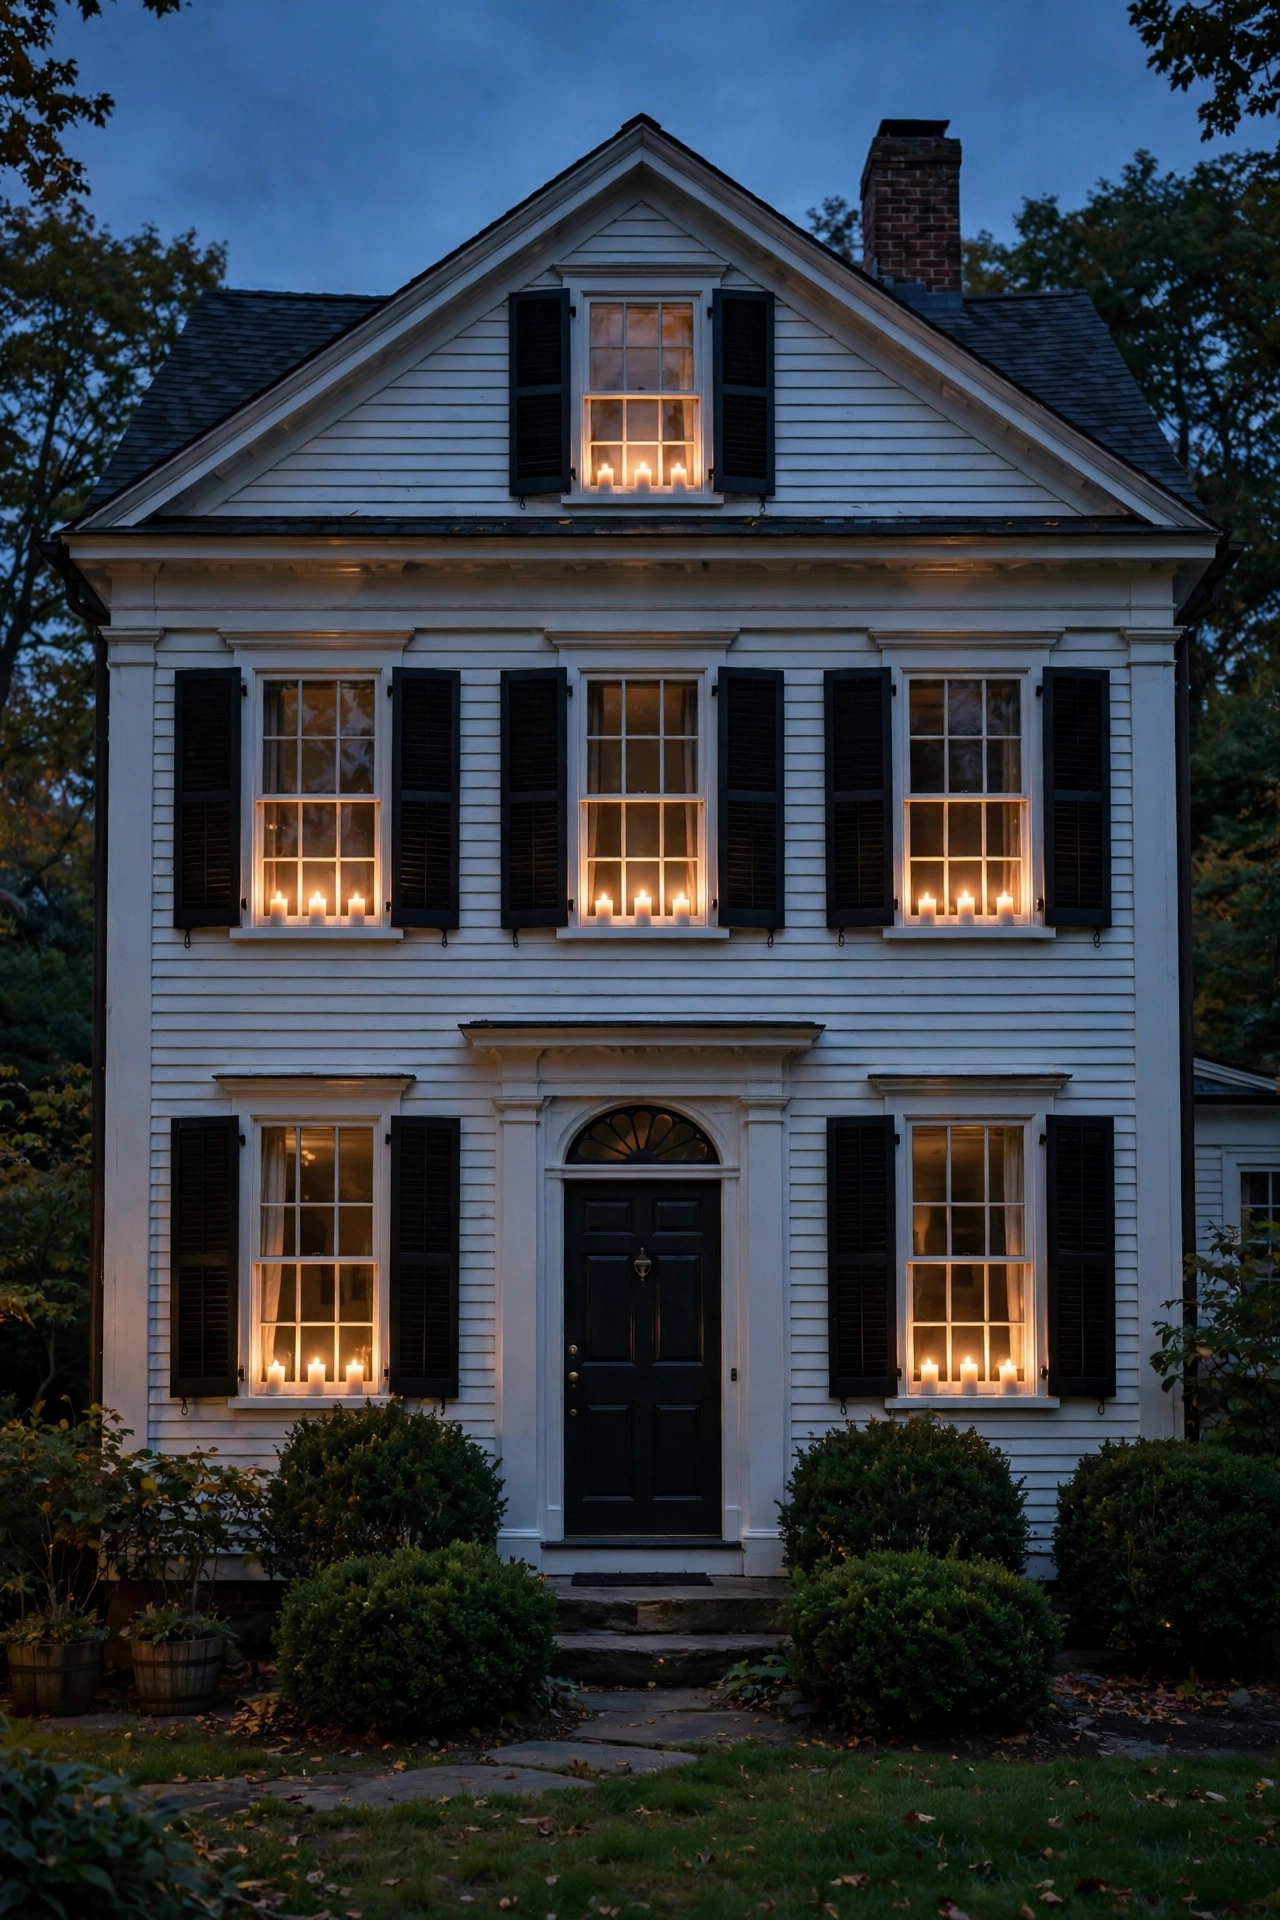
A freestanding lamppost at the end of the driveway or where the walk meets the street is the exclamation point of colonial exterior lighting — it echoes the old gas street lamps and gives the whole property a finished, estate-like feel. In my experience, this is the fixture guests remember, so pick a good one: a classic lantern head on a fluted post in black, 7 to 9 feet tall overall.
Placement: set it 3 to 4 feet back from the driveway edge or walk, on a concrete footing 24 inches deep (below frost line in most of the northern US). The classic look uses a warm 2700K LED, 800 to 1200 lumens — bright enough to actually light the area, not just decorate it. Wire it on its own circuit or tap your landscape transformer; a photocell top is standard. Check local codes and HOA rules before you dig — some neighborhoods restrict post height or require setbacks from the street. And call 811 before digging, every time. Honestly, this is a weekend project with a post-hole digger and a bag of concrete.
Suggested budget range: $150 – $600.
14. Keep Every Bulb at 2700K for a Unified Glow
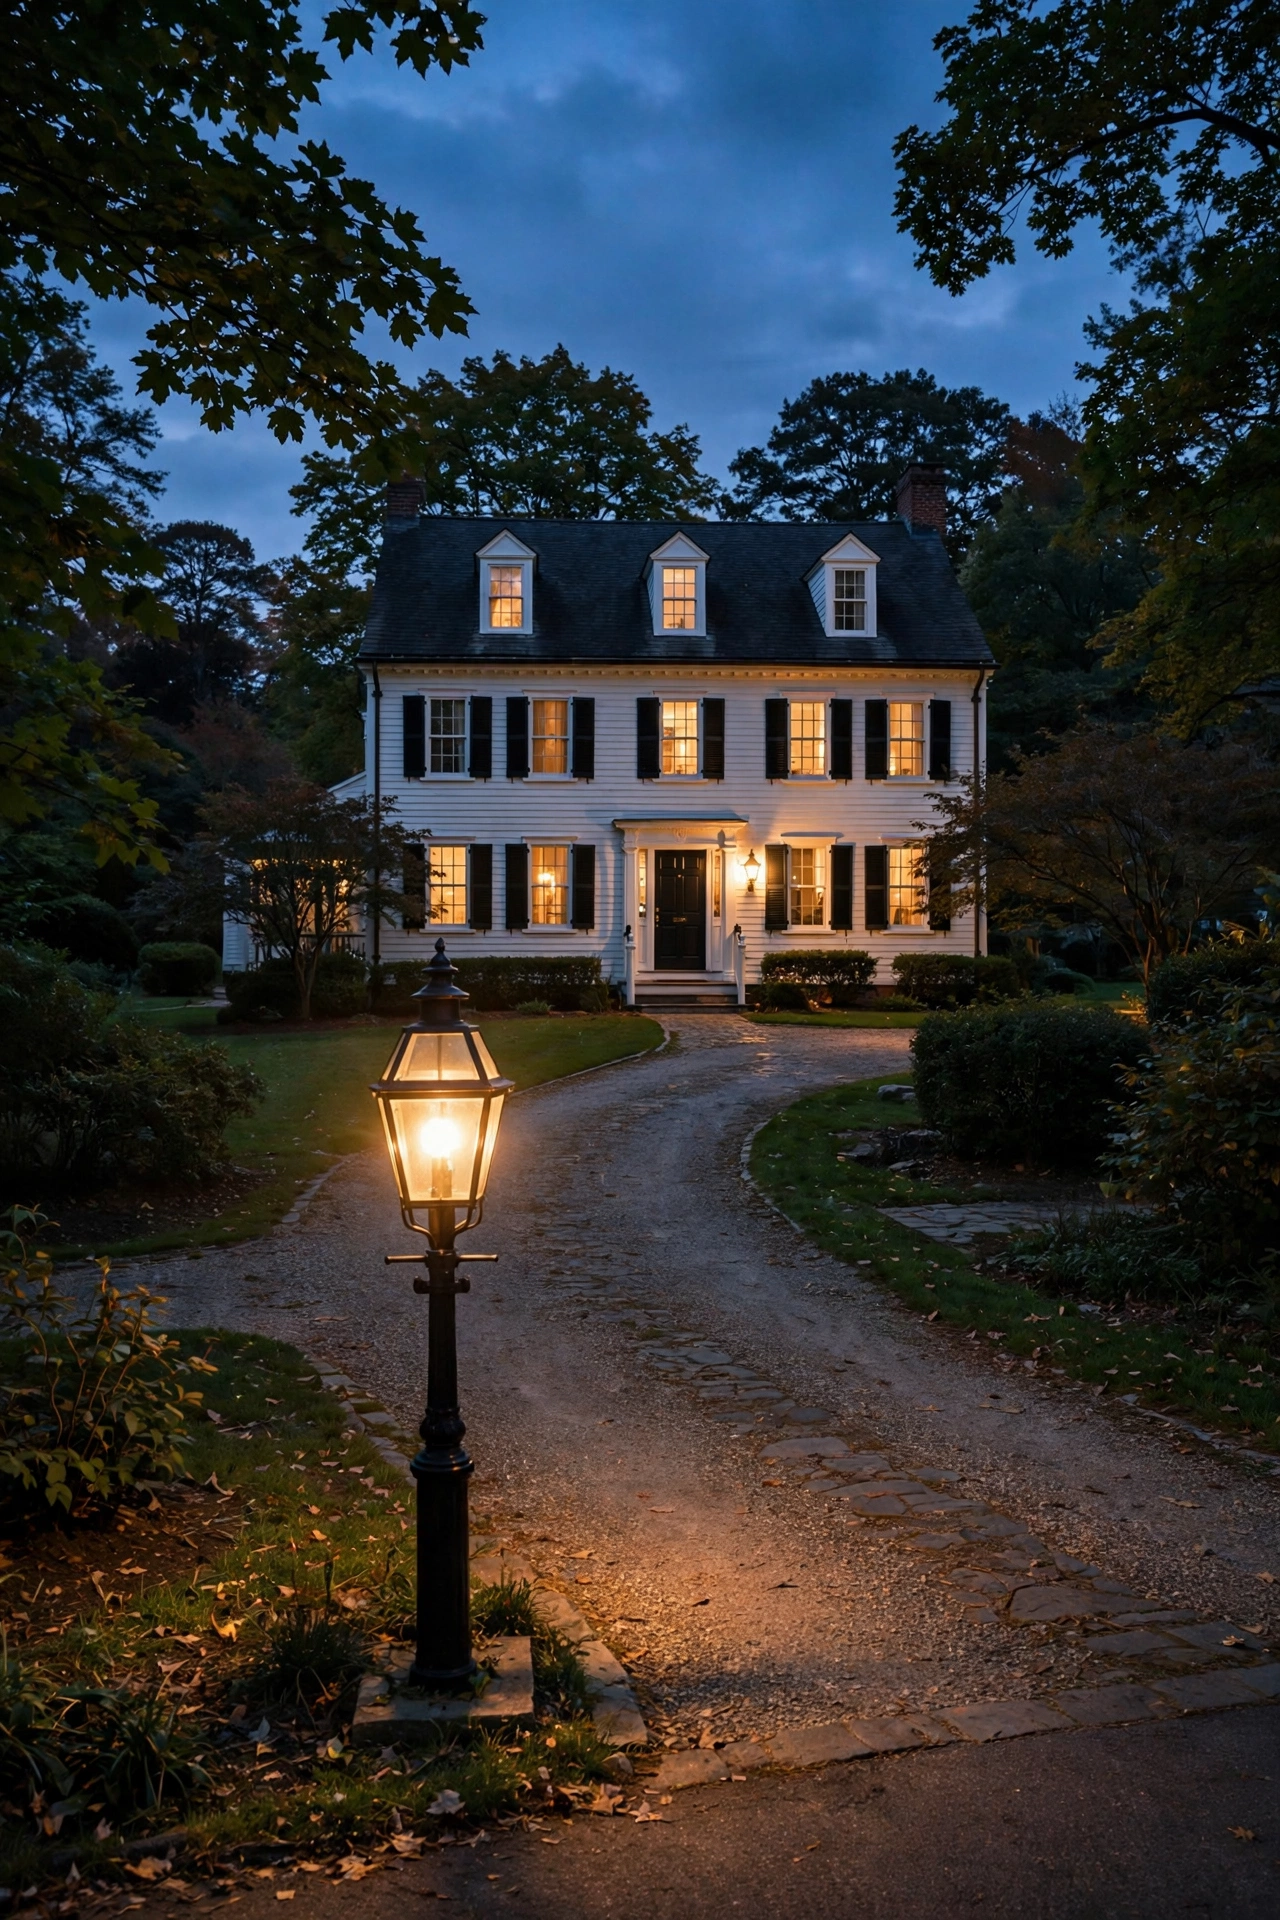
This one isn't a fixture — it's a rule, and breaking it is the fastest way to make a colonial look off. Every bulb in your colonial exterior lighting plan should be warm white at 2700K: sconces, path lights, uplights, window candles, the lamppost, all of it. In my experience, mixed color temperatures (a cool-white floodlight next to warm lanterns) read as sloppy from the street even when people can't name why.
When you buy bulbs, check the actual Kelvin rating on the package, not just the word "warm" — manufacturers stretch that word. Stick to one brand of LED bulb across fixtures if you can; color consistency between brands at the same Kelvin rating is usually fine, but CRI (color rendering index) of 90+ keeps brick and foliage looking natural. Honestly, this is also the moment to audit: walk your property at night once a season and replace any bulb that's drifted cool or dim. A $30 box of matched 2700K LEDs and twenty minutes with a ladder keeps the whole composition singing. Future-you will be grateful.
Suggested budget range: $30 – $80.
15. Automate Everything With Photocells and Timers
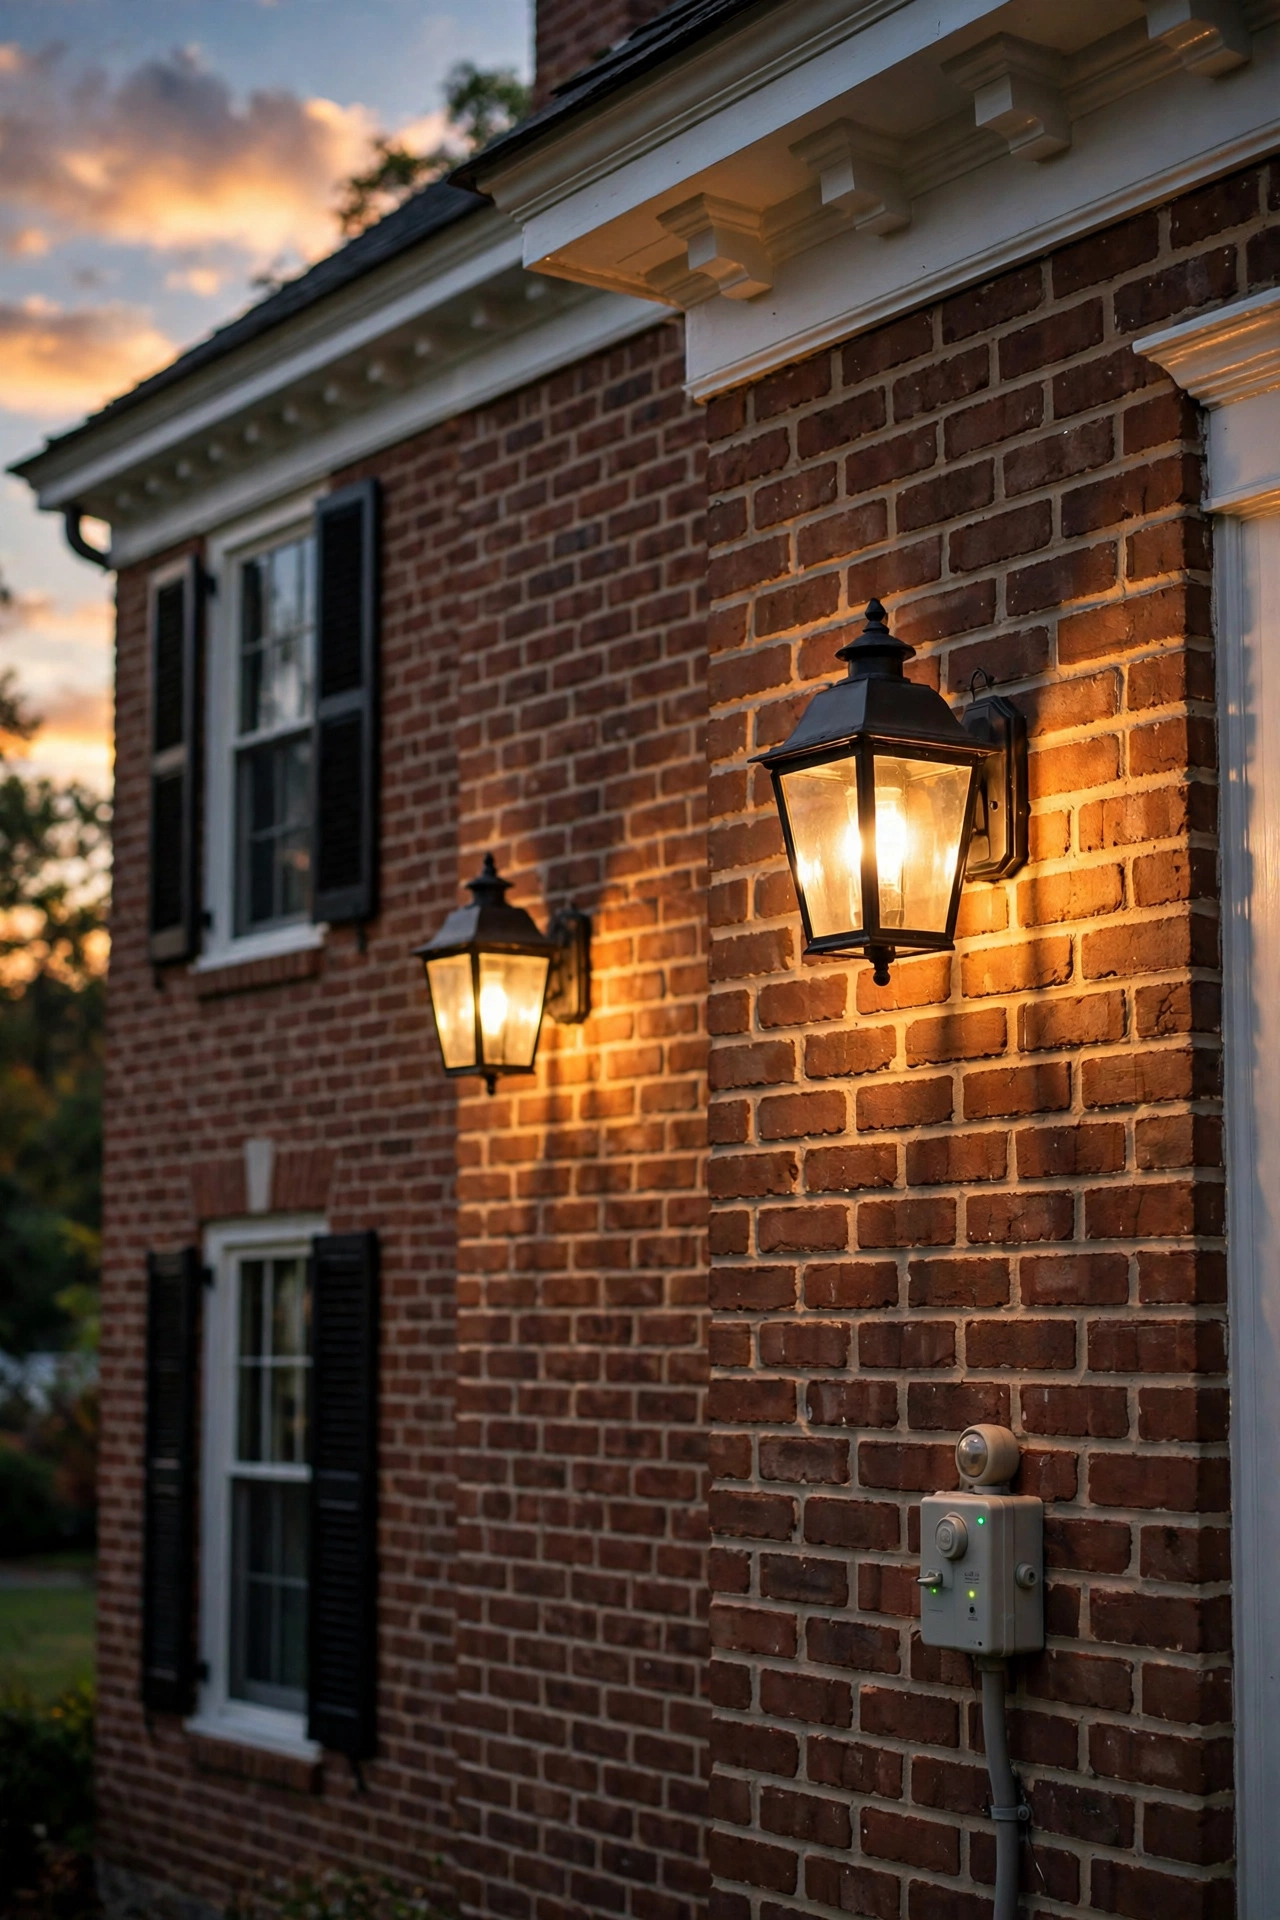
Colonial lighting looks best when it's on every single night, dusk to bedtime, without anyone remembering — and that's what automation is for. A photocell sensor switches fixtures on at dusk automatically, and a timer switches them off at, say, 11 p.m. or midnight. In my experience, the photocell-plus-timer combo beats either one alone: photocells handle the seasons, timers handle your electric bill.
For hardwired sconces and pendants, a wall-switch timer with an astronomic setting (it knows local sunset times) is the cleanest option — about $40 and a fifteen-minute swap if you're comfortable with basic wiring. For low-voltage landscape lighting, most transformers now include built-in photocells and timers. Smart plugs work great for window candles and plug-in accents. I always recommend putting the entry sconces on dusk-to-dawn and the accent lighting on dusk-to-midnight — the house stays welcoming all night while the yard rests. Safety note: any timer or smart device controlling outdoor fixtures should be outdoor-rated or installed indoors, and keep all connections dry.
Suggested budget range: $40 – $200.
16. Dress the Garage With Carriage Sconces
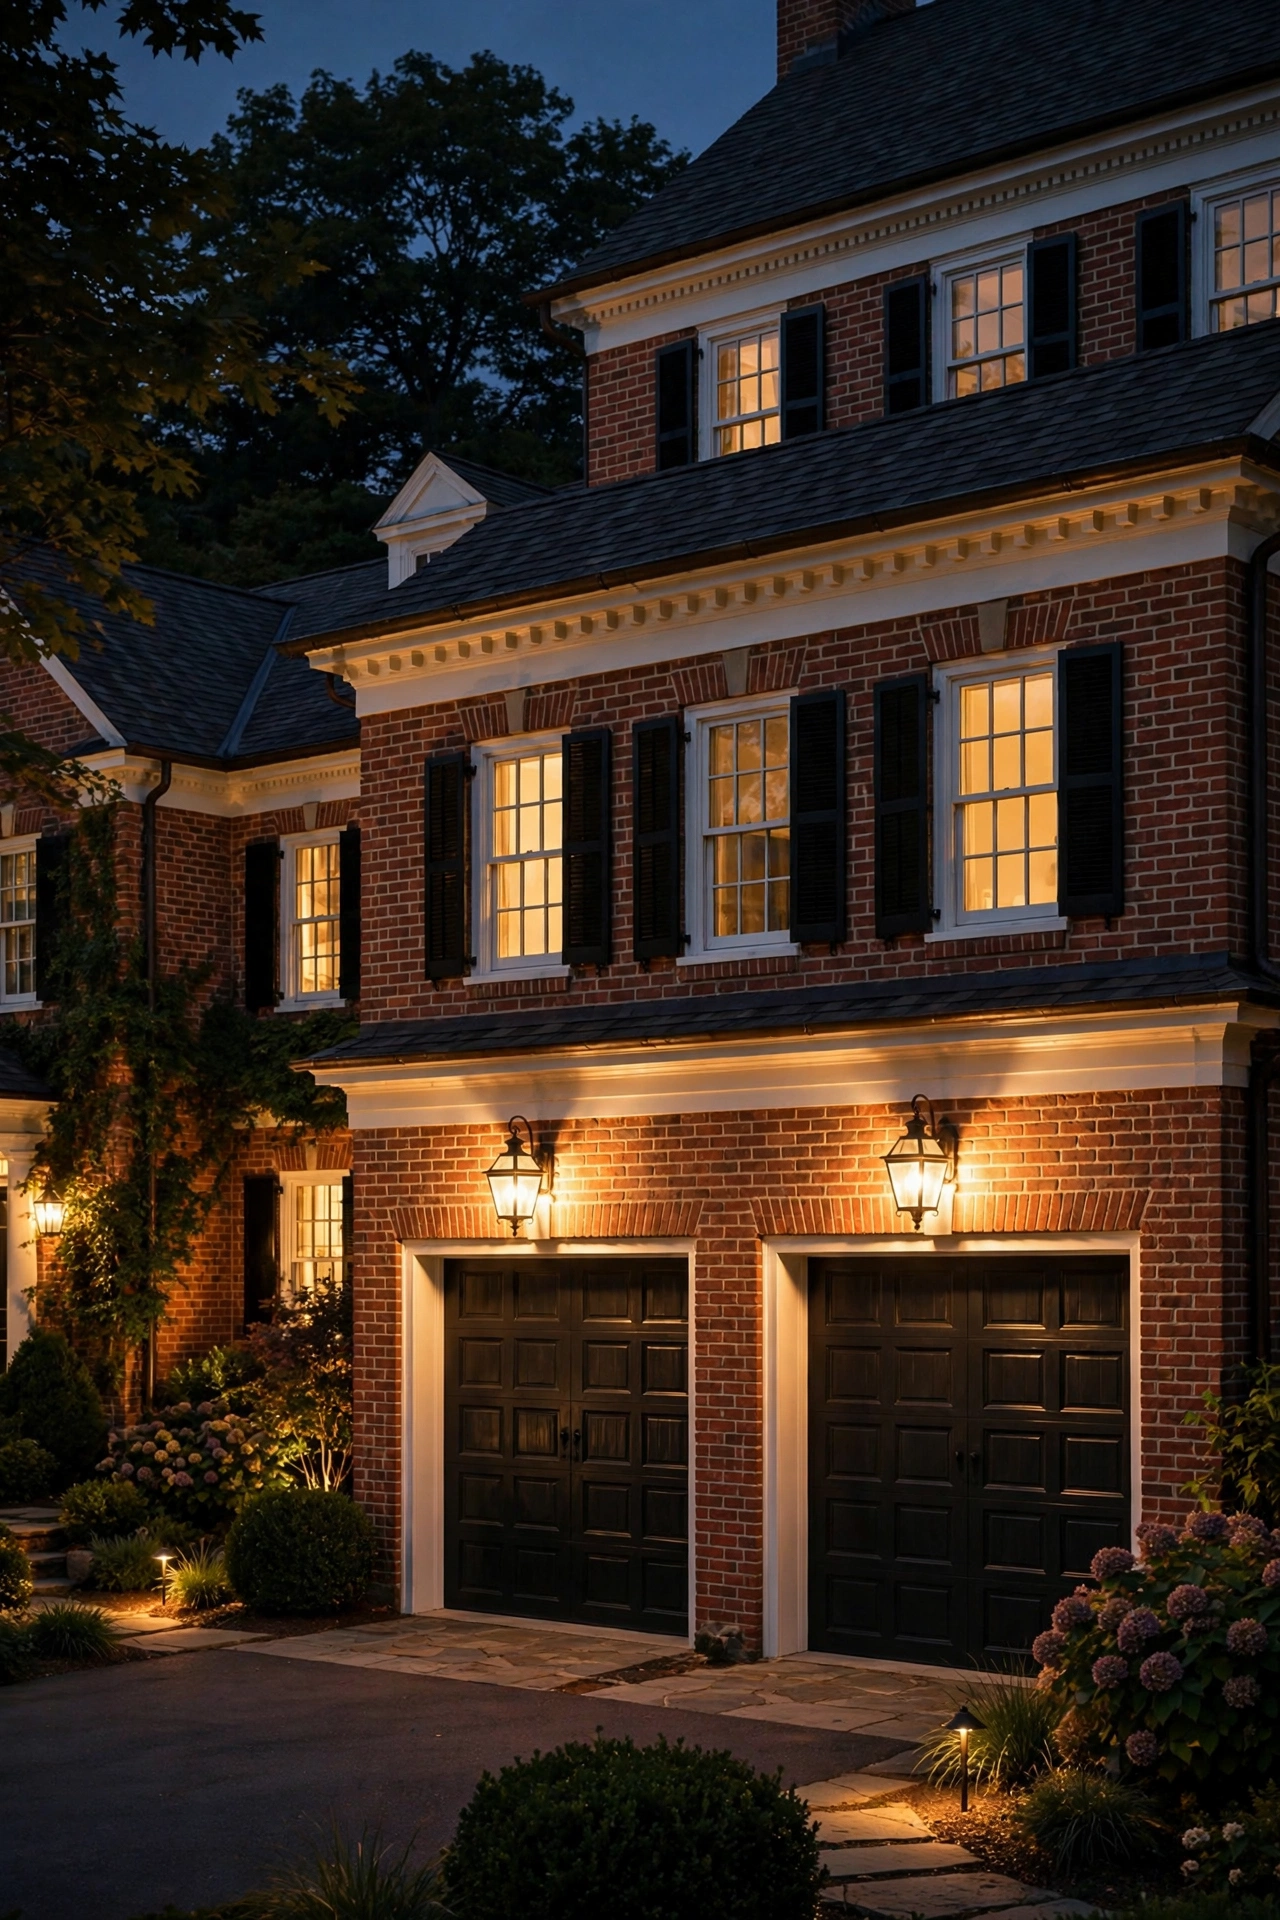
The garage doors on a colonial are a big, blank, often-ignored surface — and a pair of carriage sconces on the garage face pulls it into the lighting composition instead of leaving a dark hole. In my experience, garage sconces should match your front-door lanterns exactly (same fixture, possibly one size up), because mismatched styles across the facade break the colonial spell fast.
Mount one fixture on each side of the garage bay — or one centered above a single door — at 72 to 78 inches to center, slightly higher than entry sconces since there's no door casing to reference. Use 2700K LEDs, 600 to 800 lumens each; garages benefit from real task light for pulling in at night. If your garage faces the street, keep the fixtures aimed to avoid glare into passing cars — hooded lantern styles help. Wire them into the same timer as your entry lighting so the whole front of the house wakes up together. For a two-car garage, I always recommend flanking the outer edges rather than cramming fixtures between the doors.
Suggested budget range: $100 – $450.
17. Light Brick Gate Piers With Lantern Tops
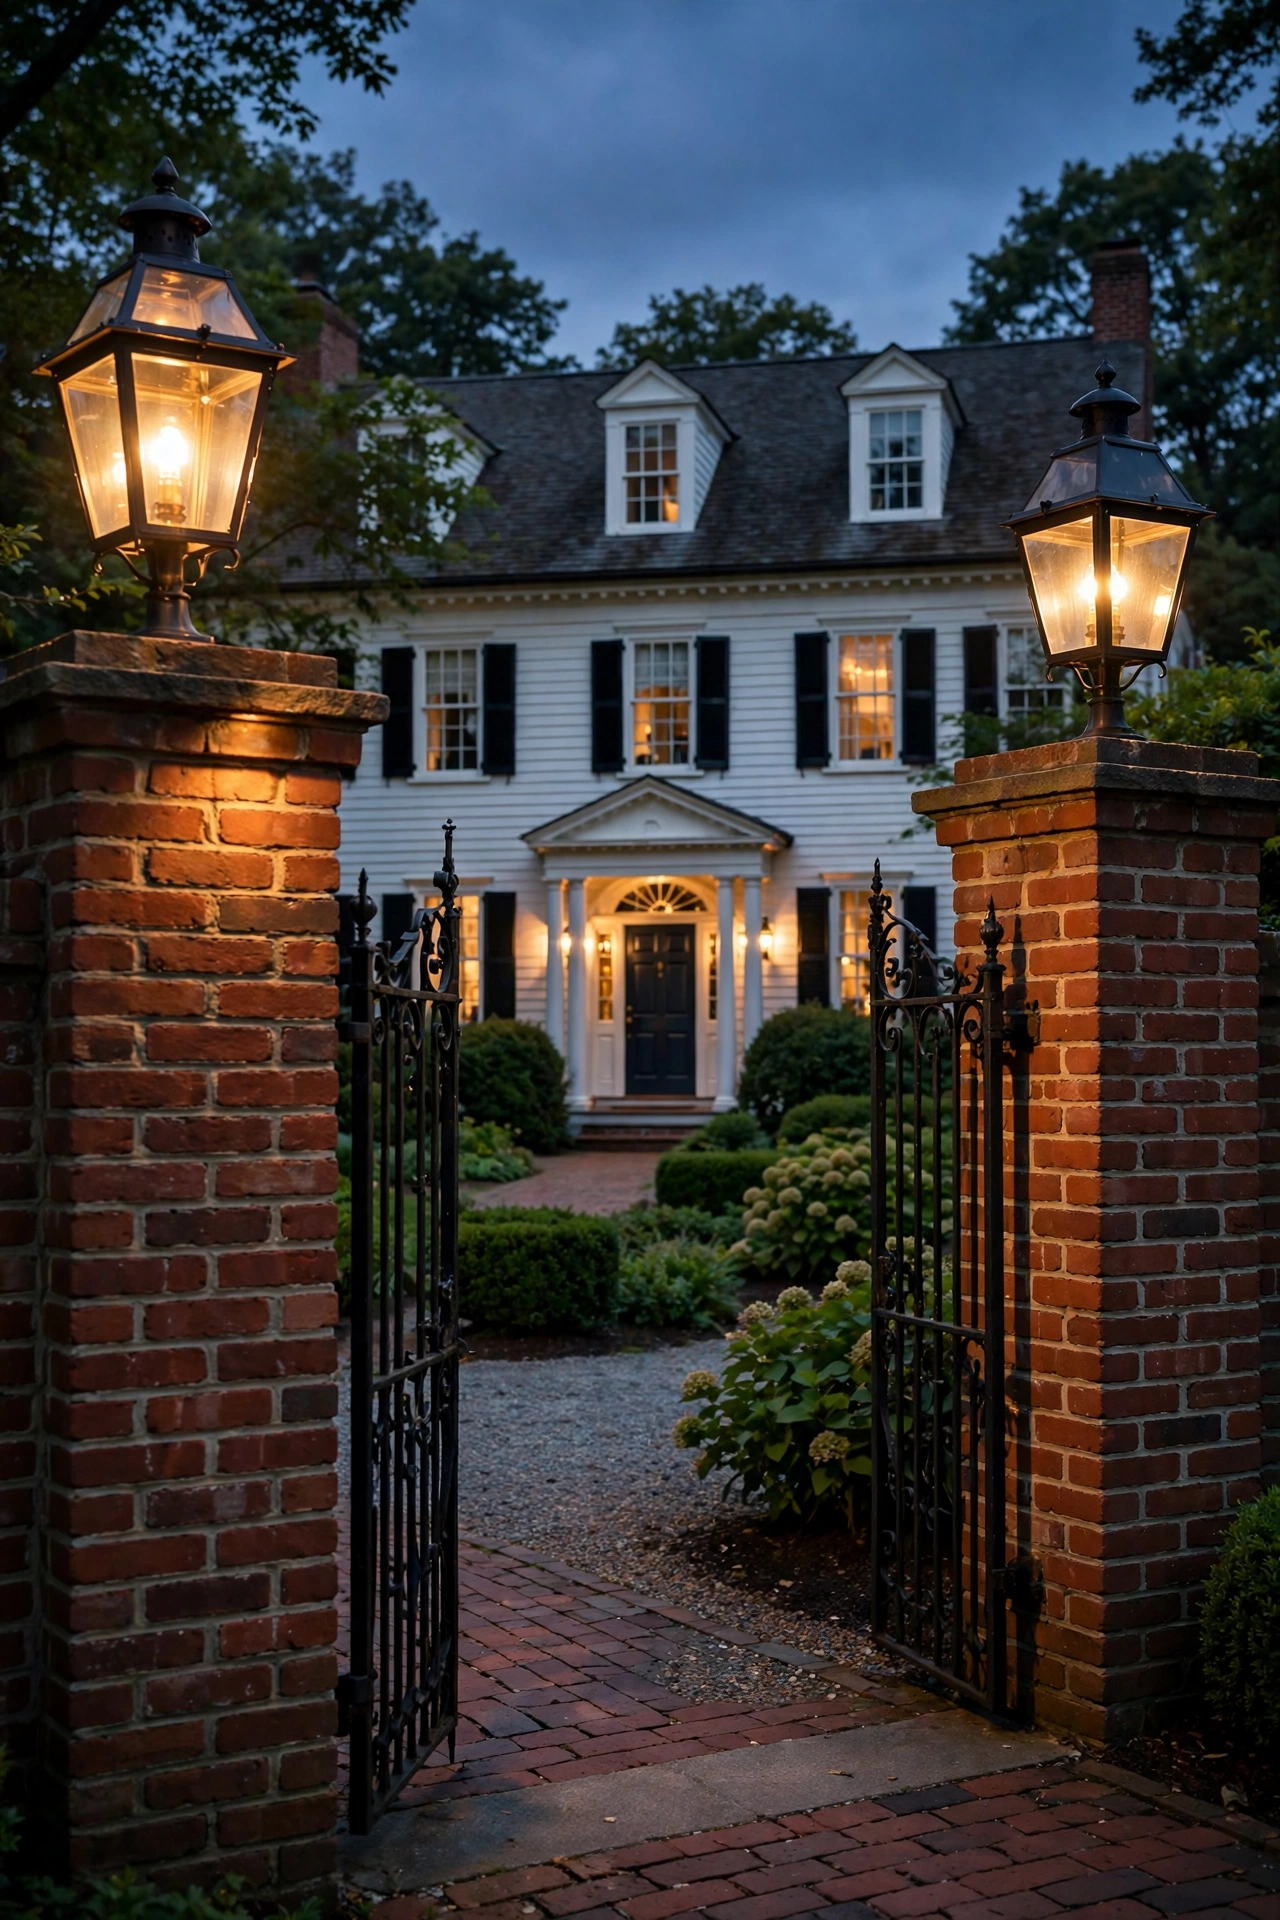
If your property has a brick entry wall or gate piers — common on Georgian-style colonials — topping each pier with a small lantern turns the property line into a grand entrance. These pier-mount lanterns sit flat on the brick cap, and the look is pure estate: symmetrical, substantial, and visible from way down the street.
In my experience, proportion to the pier: a 24-inch-square pier wants a 10- to 14-inch lantern; anything smaller looks like a toy. Choose the same finish family as your door sconces — black on black brick caps, copper if you've gone copper at the door. Wiring piers is the trickiest part: conduit run through the pier during construction is ideal, but retrofit solar lantern tops have gotten genuinely good and avoid trenching entirely. Use warm 2700K, 200 to 400 lumens per pier, and keep the pair (or set of four) identical. Check that the lantern base includes a weep hole or drainage so rain doesn't pool — standing water and freeze-thaw will crack a cheap fixture in one winter.
Suggested budget range: $120 – $500.
18. Extend the Style to the Back Patio
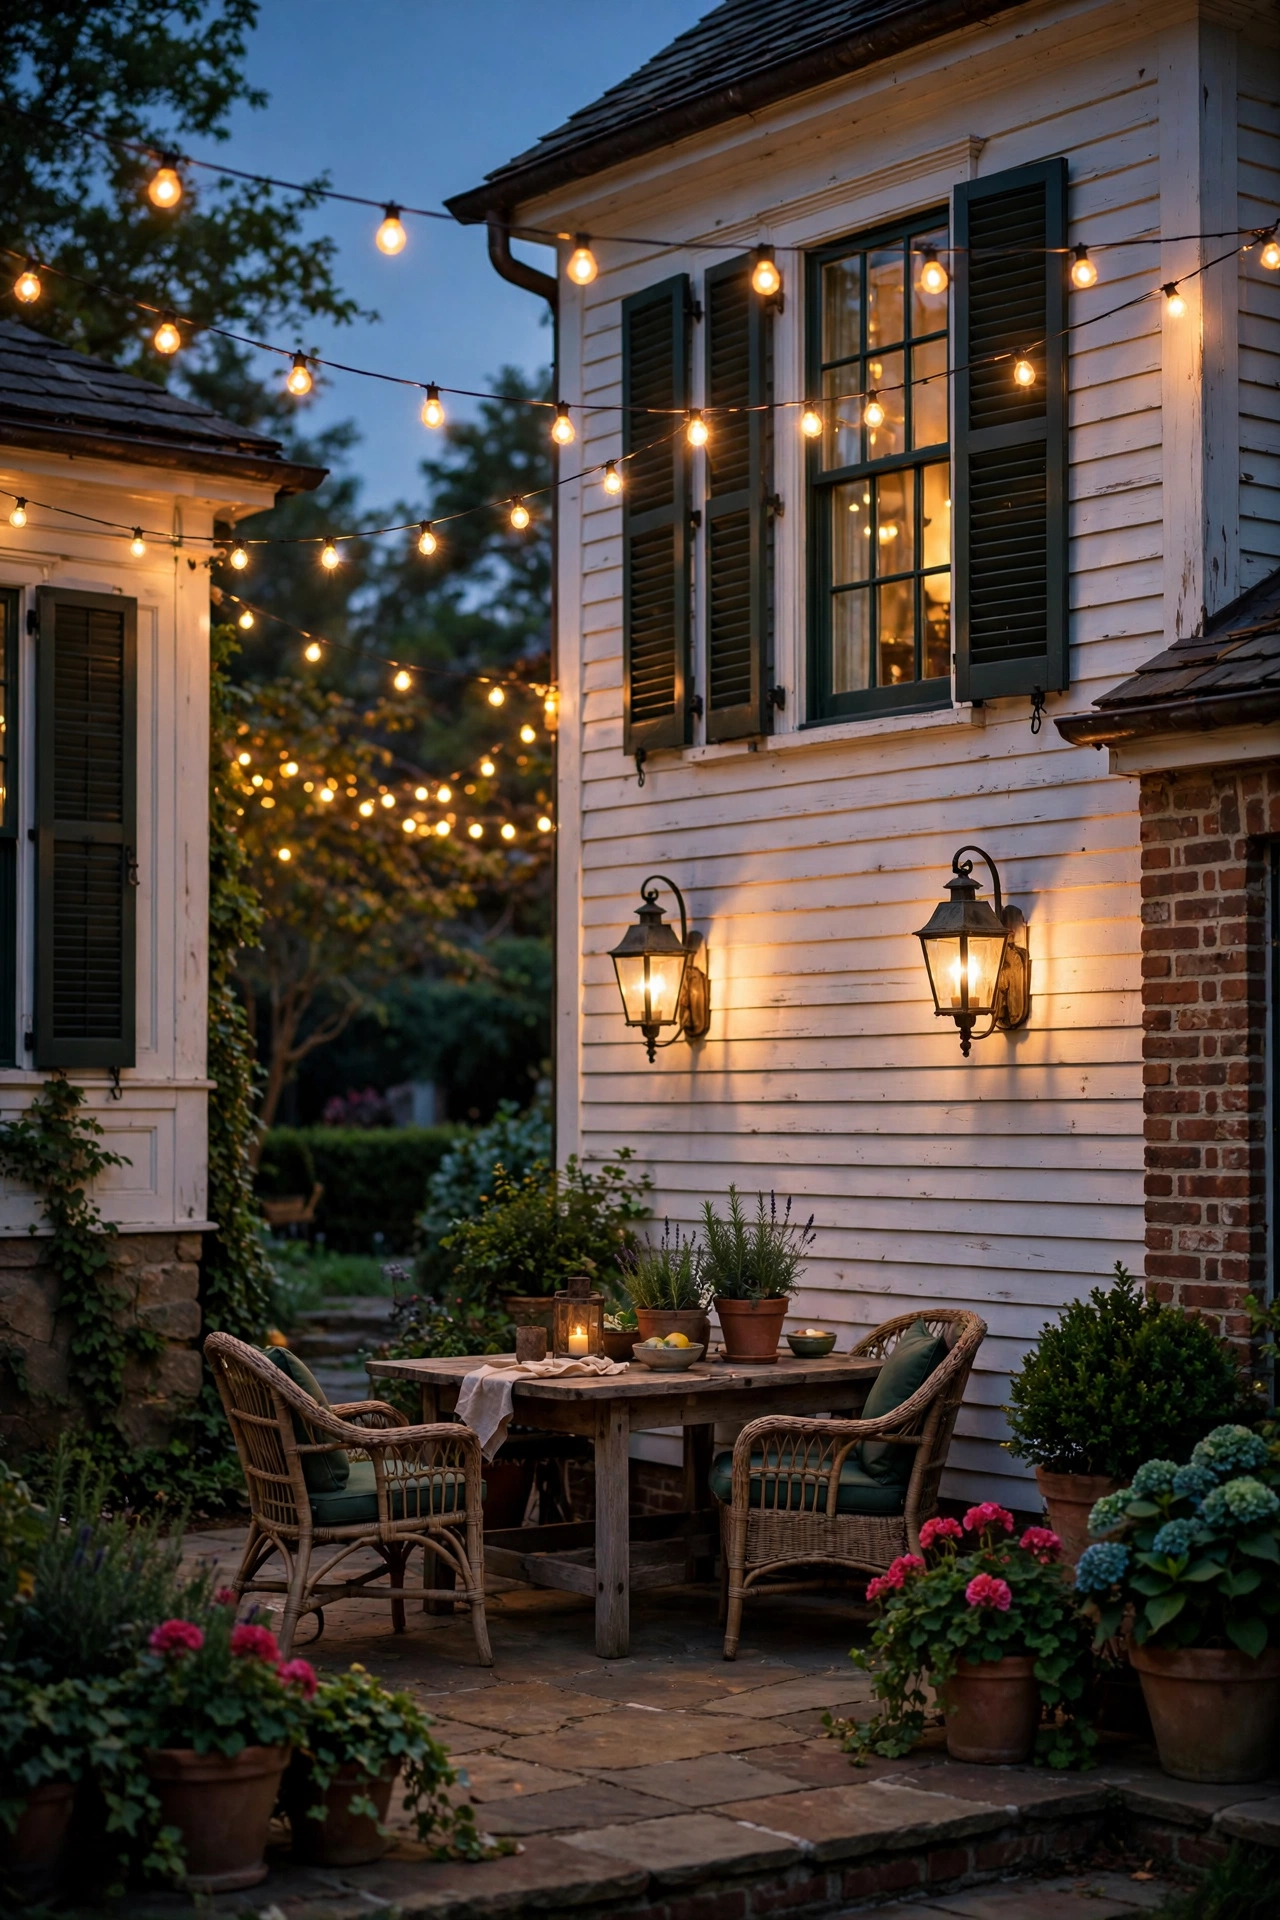
Colonials have a formal front and a lived-in back, and the back patio deserves the same lantern language — just relaxed a notch. Carry the carriage-lantern style onto the patio with wall sconces on the rear facade, a lantern pendant over the dining area if you have a covered porch, and low-voltage path lights along the garden beds. In my experience, keeping the back in the same 2700K warm family makes the whole property feel designed rather than decorated room by room.
String lights can work on a colonial patio, but choose them carefully: warm-white café strands with visible filament bulbs read period-appropriate, while multicolor or oversized globes don't. Hang them in a gentle swag between the house and a pergola or trees, 9 to 10 feet at the lowest point so nobody clotheslines themselves. Add a couple of flameless lanterns on the dining table for the centerpiece layer. Keep the rear lighting on its own timer zone so you can run "patio mode" independently of the front-of-house show. Outdoor-rated everything, GFCI-protected outlets, and secure all overhead strands against wind.
Suggested budget range: $150 – $600.
19. Spotlight the Holiday Wreath on the Door
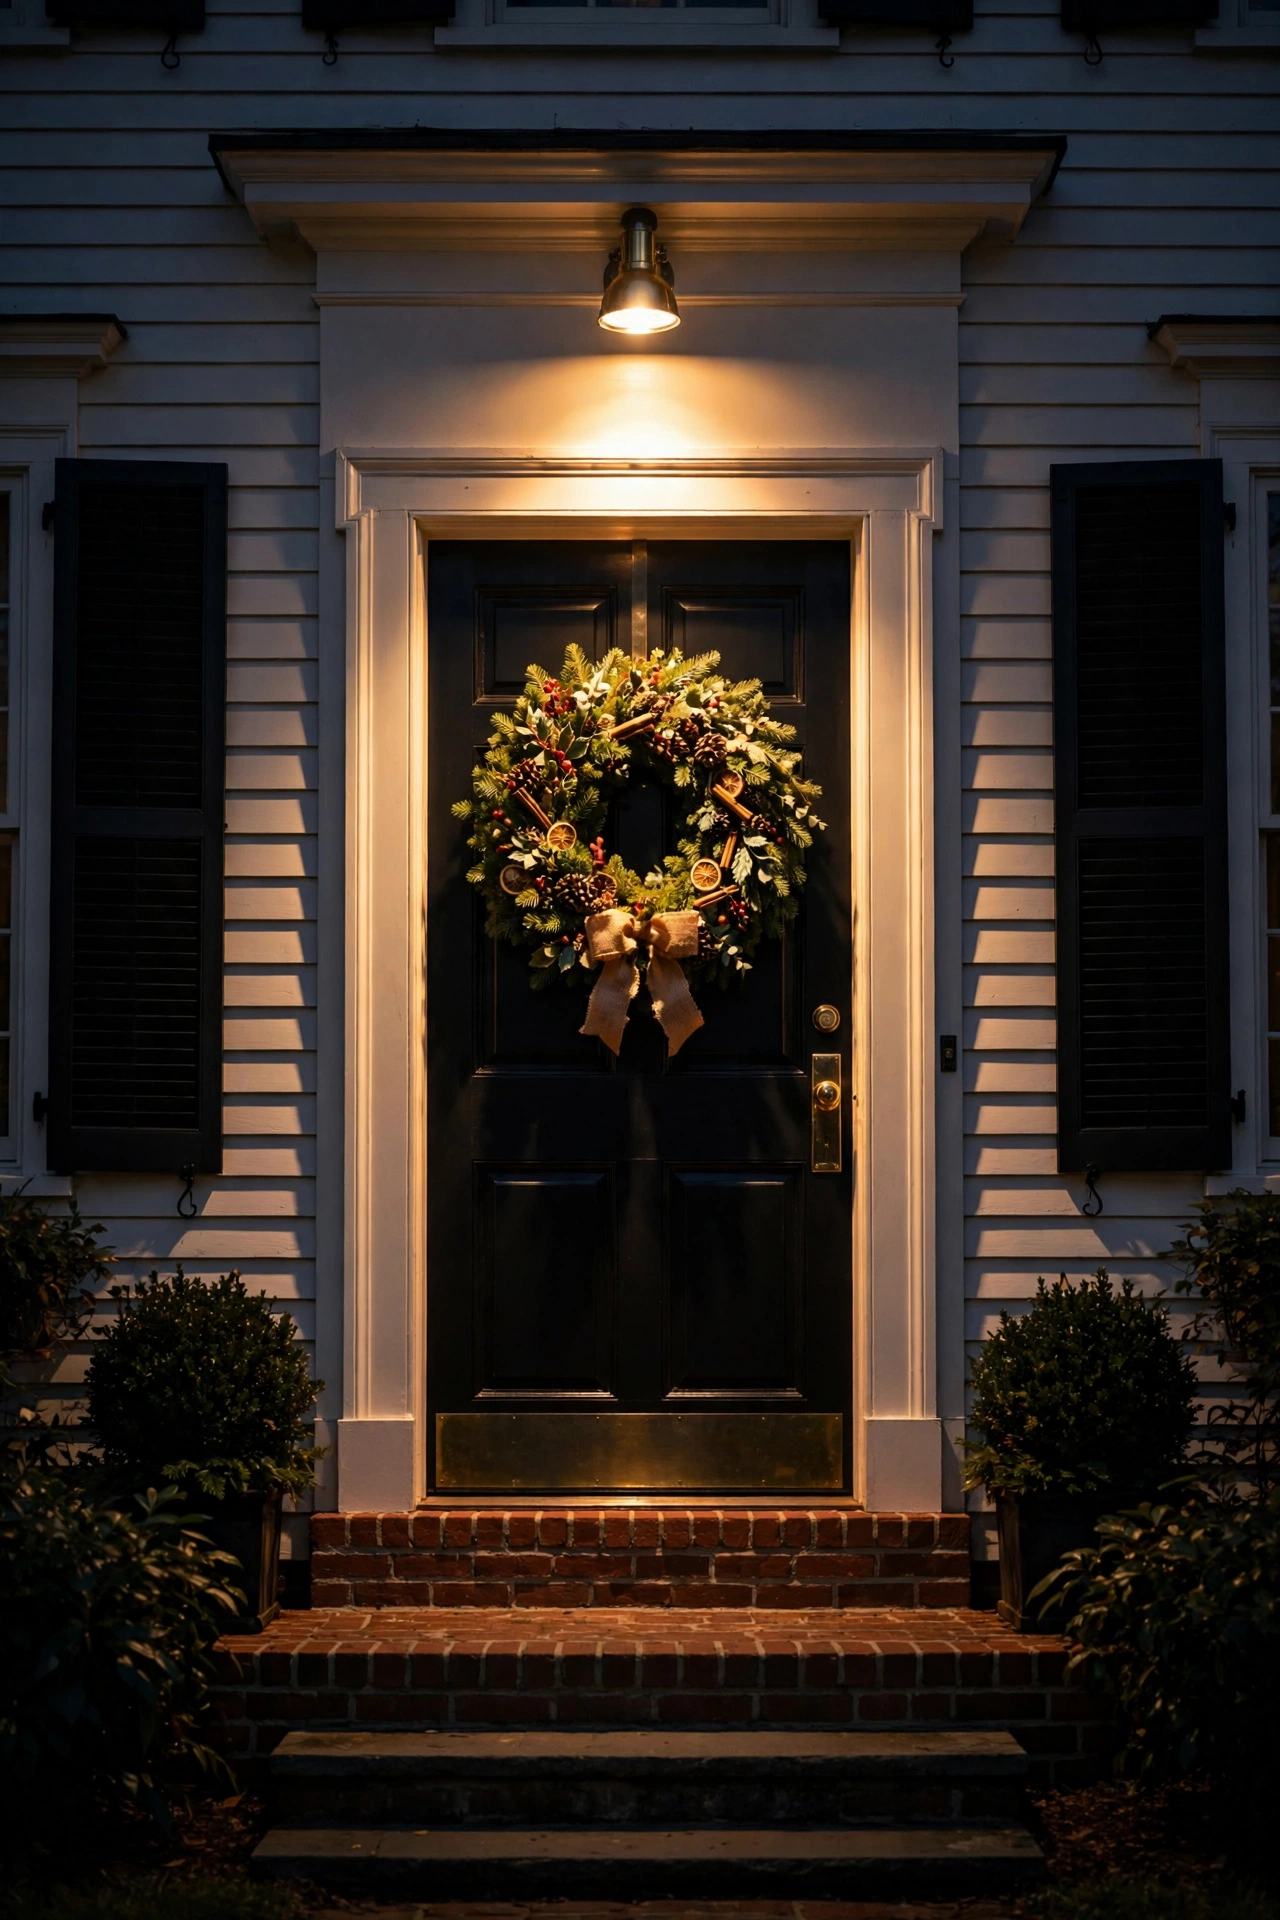
A colonial front door with a wreath is iconic, and a small spotlight aimed at it after dark makes the whole entry feel intentional through the holidays. This is the easiest seasonal layer you can add: one adjustable low-voltage spotlight staked in the planting bed or mounted under the portico, aimed up at the door and wreath. In my experience, a 2700K narrow-beam spot at 200 to 300 lumens is plenty — you're accenting, not interrogating.
Time it with the season: plug the spot into your landscape transformer on a timer, or use a solar spot for a no-wire option (place the panel where it gets real sun). Aim carefully so the beam catches the wreath and door but doesn't blast through the sidelights into the house — a little trial and error at dusk gets it right. When the holidays end, repoint the same fixture at an urn, a topiary, or the door itself for year-round use; that's the beauty of an adjustable spot. Honestly, one fixture doing double duty all year is the most Sarah-approved move on this list.
Suggested budget range: $30 – $120.
Frequently Asked Questions
How big should exterior lanterns be on a colonial home?
The classic rule: your lantern should be about one-quarter to one-third the height of your front door. For a standard 80-inch door, that means an 18- to 26-inch fixture. When you're between sizes, go larger — undersized lanterns are the most common colonial lighting mistake I see, and they read as cheap from the curb. For garage bays and wide facades, you can scale up slightly since there's more wall to balance.
Should colonial exterior lighting be perfectly symmetrical?
Yes — symmetry is the soul of colonial architecture, so mirror your fixtures: matched sconce pairs flanking the door, uplights spaced evenly on both sides of the facade, identical window candles in every front window. The one place you can relax is the walkway, where staggered path lights look more natural than a rigid double row. Think of it as formal at the house, relaxed in the landscape.
How do I care for copper lanterns as they develop patina?
Barely at all, honestly. Hose them down a couple of times a year, tighten mounting screws seasonally, and let the copper age naturally from bright penny to brown to blue-green over 5 to 10 years. If you want to keep the bright finish longer, apply a clear lacquer made for exterior metal — but most colonial homeowners I know love the patina. Just make sure the fixture has drainage so water never pools inside.
What fixtures are HOA-friendly for a colonial-style home?
Stick to the classics HOAs rarely object to: black or bronze lantern sconces flanking the door, warm 2700K bulbs everywhere, shielded path lights that don't spill glare onto neighbors' property, and window candles. Avoid cool-white or colored bulbs, oversized floodlights, and anything that looks modern or commercial. When in doubt, submit a photo of the fixture to your HOA board before buying — a classic carriage lantern gets approved far faster than anything trendy.
Conclusion
At the end of the day, colonial exterior lighting works because the architecture does half the job for you — the symmetry, the brick, the shutters, they're all begging for warm, balanced light. Start with the twin lanterns at the door, keep every bulb at 2700K, mirror everything, and layer outward from the entry to the walk, fence, and facade. You don't need the most expensive fixtures on the block; you need the right proportions and the discipline to keep it all matching.
If you're ready to keep going, browse more lighting ideas on the site — from front door sconce pairings to outdoor wall lantern inspiration and tips for installing exterior wall lights safely. Your colonial has looked good for two hundred years — let's make sure it glows like it for two hundred more.