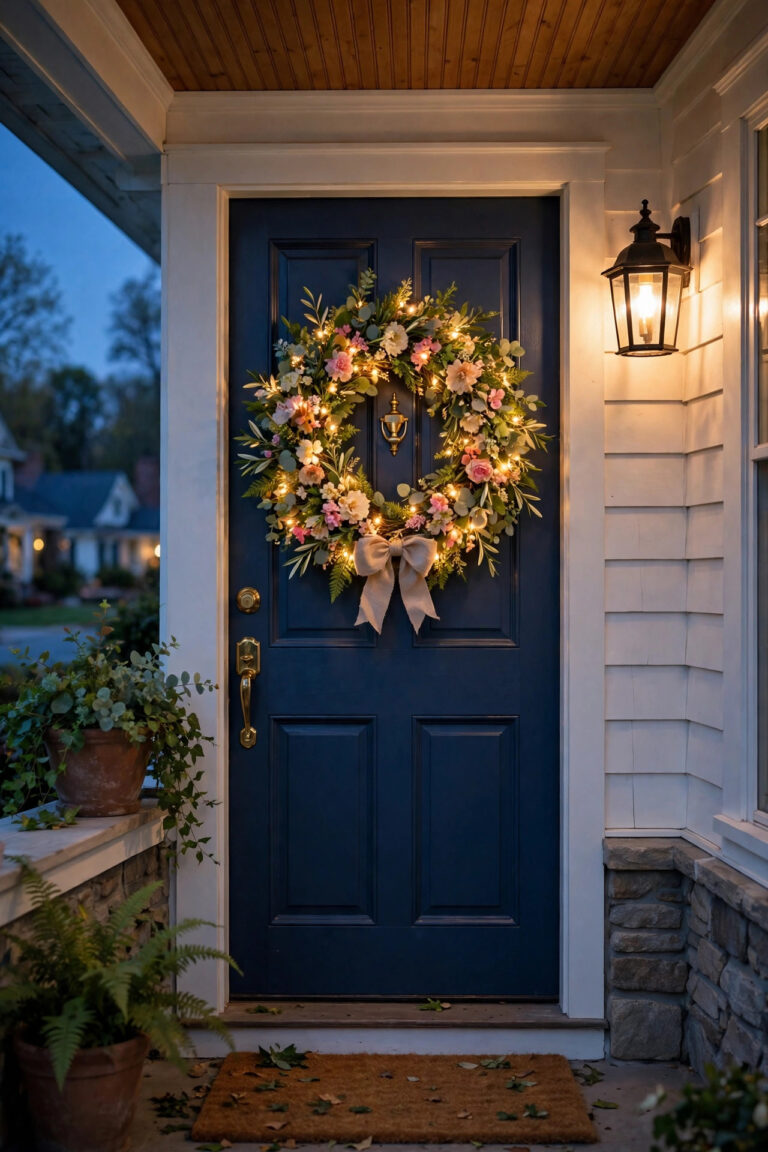
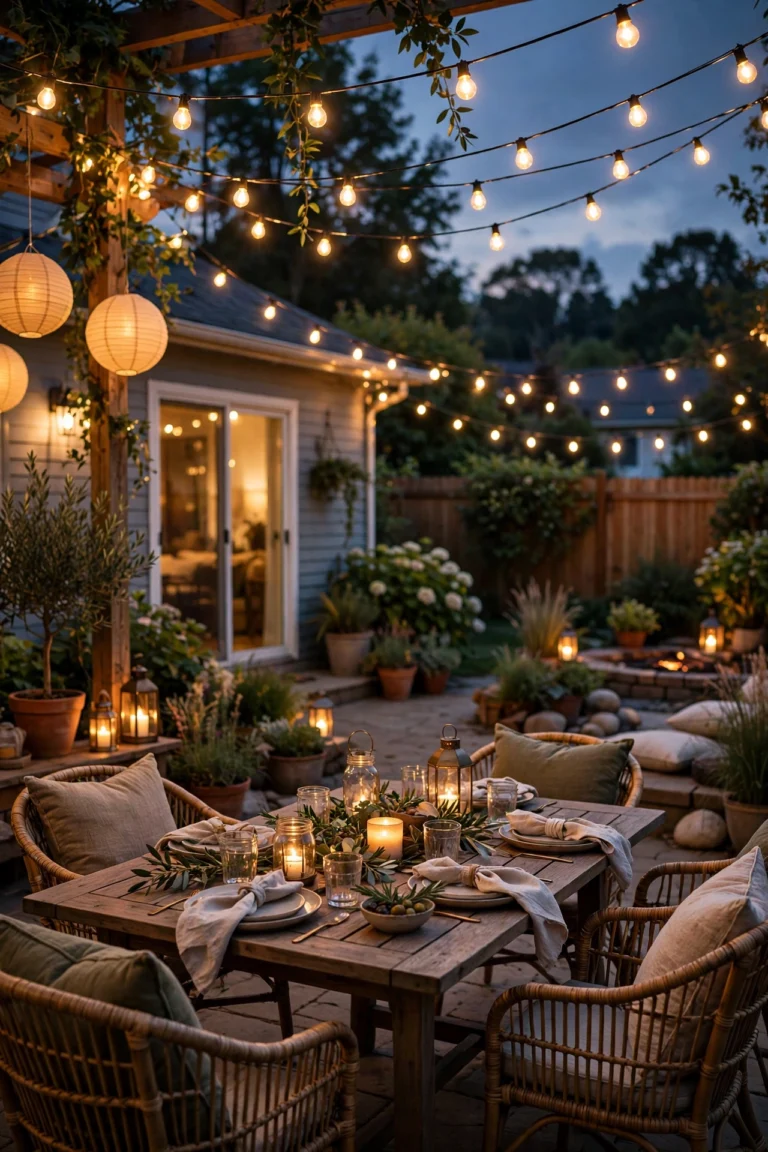
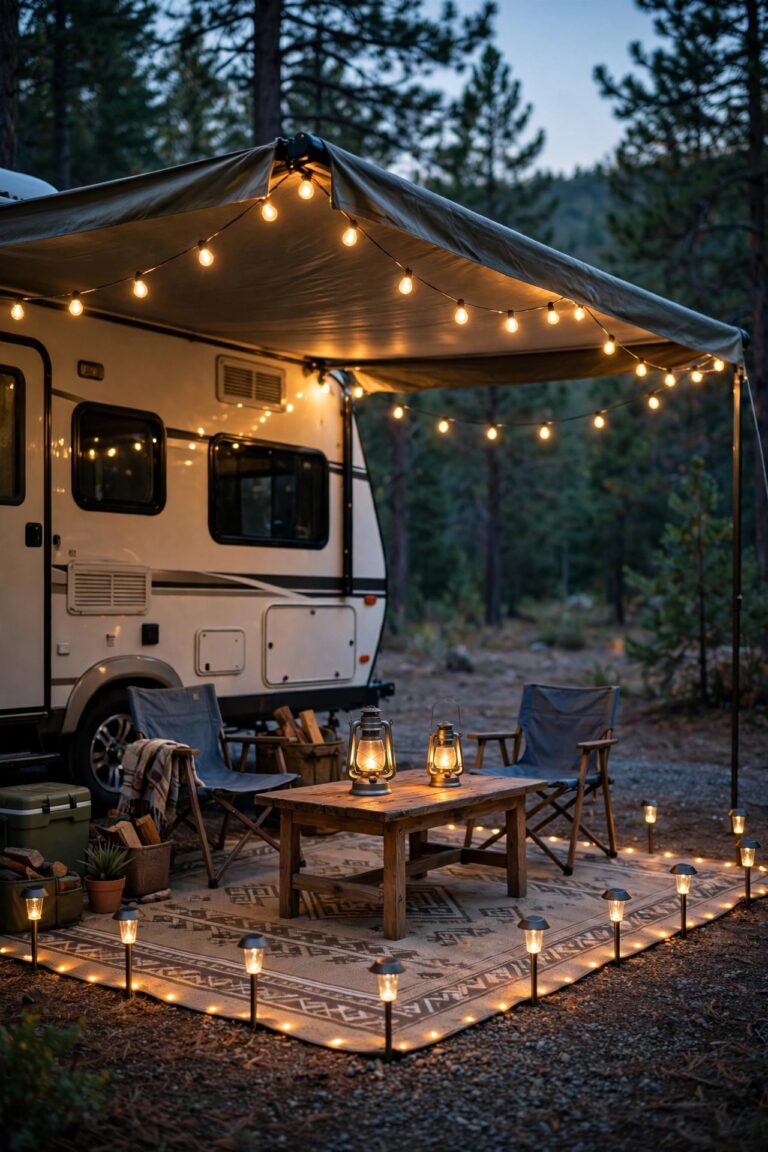
A backyard guest house can be the prettiest structure on your property and still feel like an afterthought after dark. I have watched it happen: the main house glows, the patio by the ADU goes black, and guests end up picking their way across the yard with a phone flashlight. Good adu patio lighting ideas fix that in one weekend, because a small patio does not need much light — it needs the right light in the right three places. My approach is the layering I use everywhere: a low, steady layer at ground level so feet find the path, a warm middle layer at sitting height where faces, drinks and conversation live, and a gentle overhead layer that makes the little space feel finished instead of forgotten. The seventeen ideas below are scaled for ADU and guest house patios specifically — compact footprints, close neighbors, renters and in-laws arriving after dark — and every one comes with a budget range so you can plan the whole patio before you spend a dime.
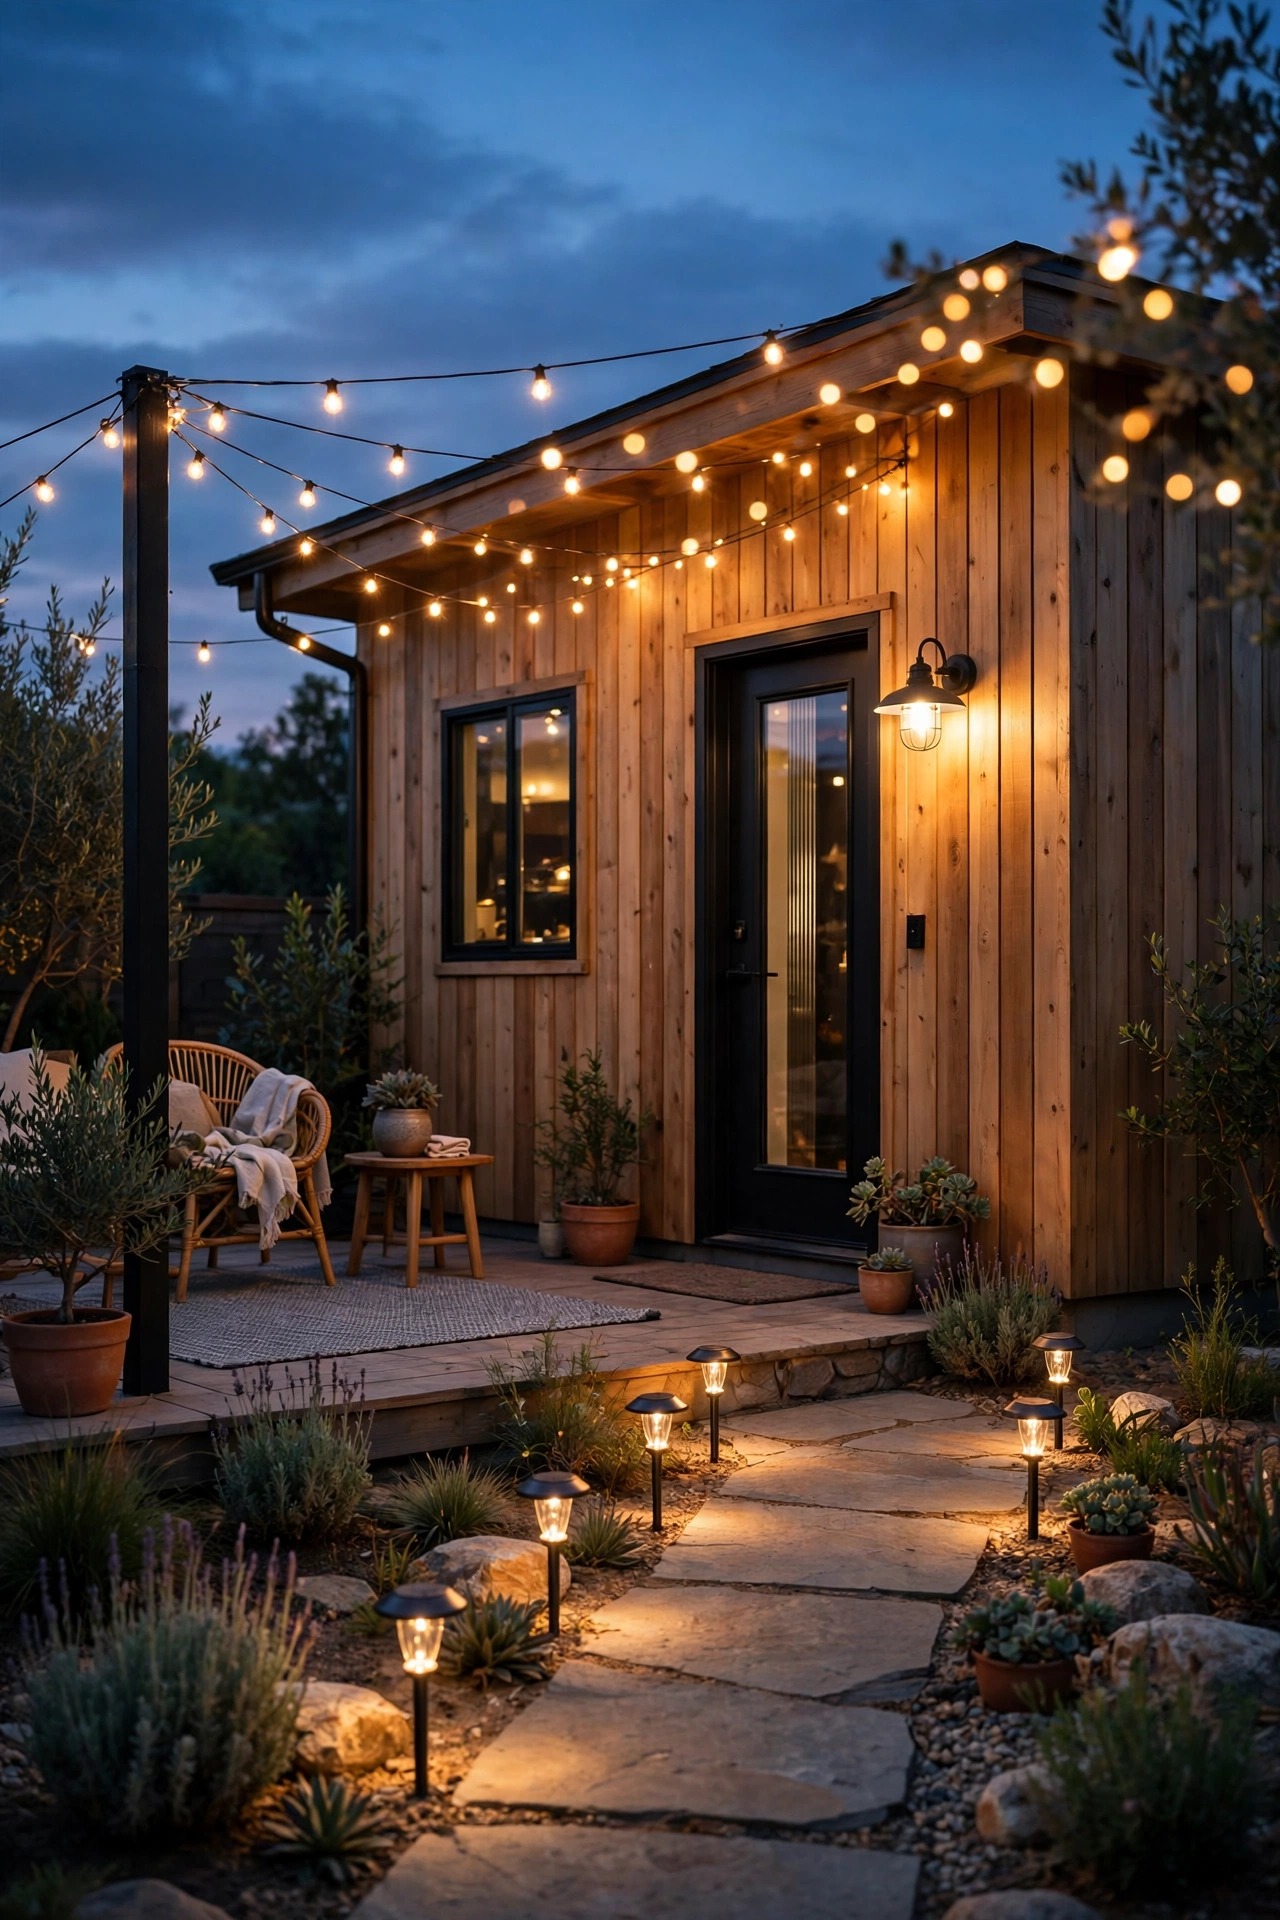
1. Layer Your ADU Patio Lighting Ideas in Three Levels
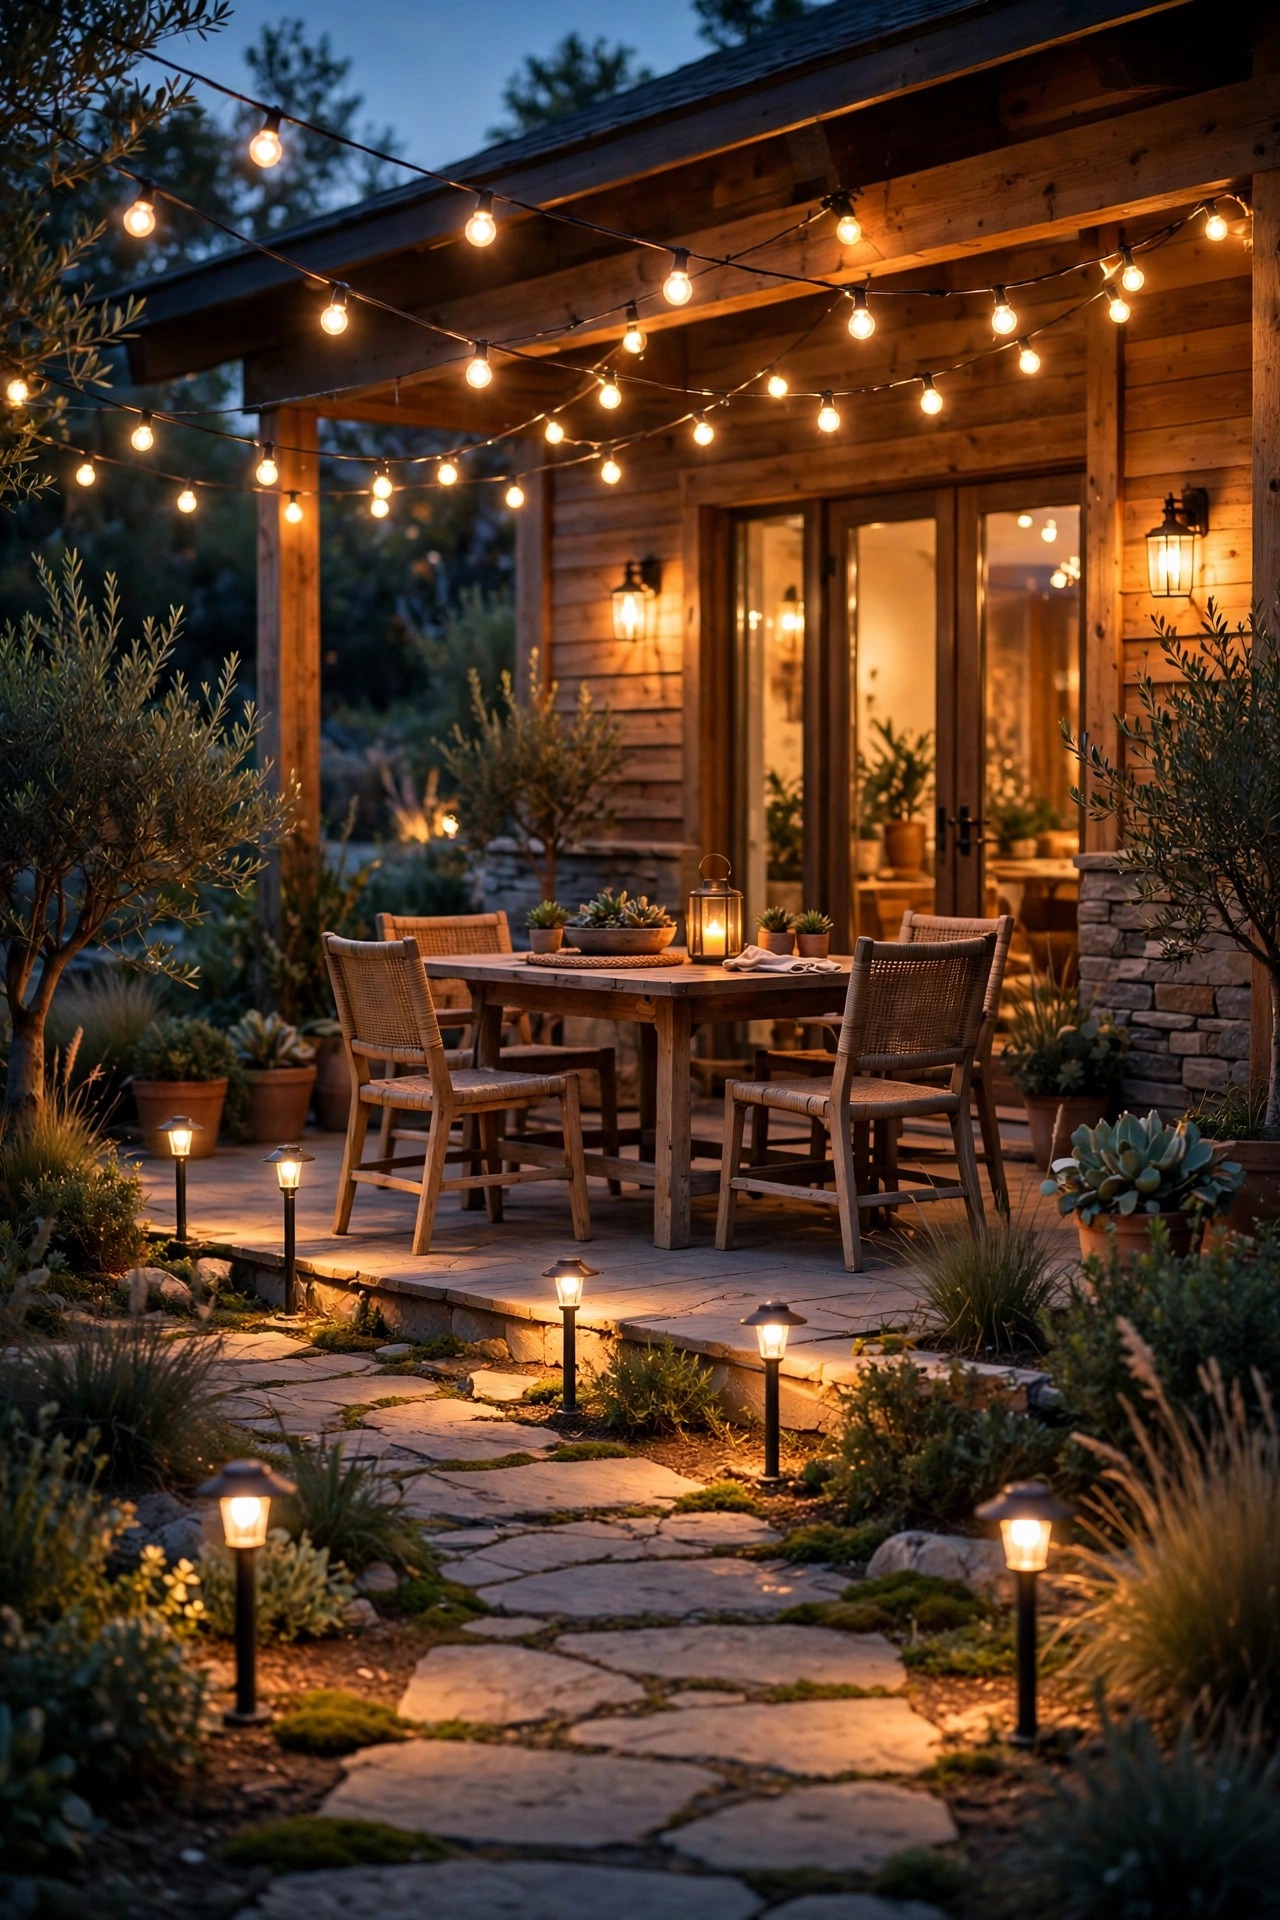
Every small patio that feels magical at night is doing the same quiet trick: it is lit in three layers, not one. The ground layer is your safety net — path lights, step lights and low stakes that guide guests from the gate to the door without a single trip hazard. The middle layer, roughly knee to eye height, is where the mood lives: a door sconce, lanterns on the table, a soft wash along the fence. The top layer is atmosphere — string lights or a shaded ceiling fixture that gives the space a ceiling of glow. On an ADU patio the layers matter more, not less, because the footprint is small: one bare bulb just creates a harsh interrogation pool surrounded by darkness, while the same wattage spread across three levels reads as one warm, welcoming room outdoors. I literally sketch three horizontal bands on paper before buying anything and make sure each band has at least two light sources. Start with the ground layer, live with it for a week, and your eyes will tell you exactly where the other two layers are missing.
Suggested budget range: $120 – $350.
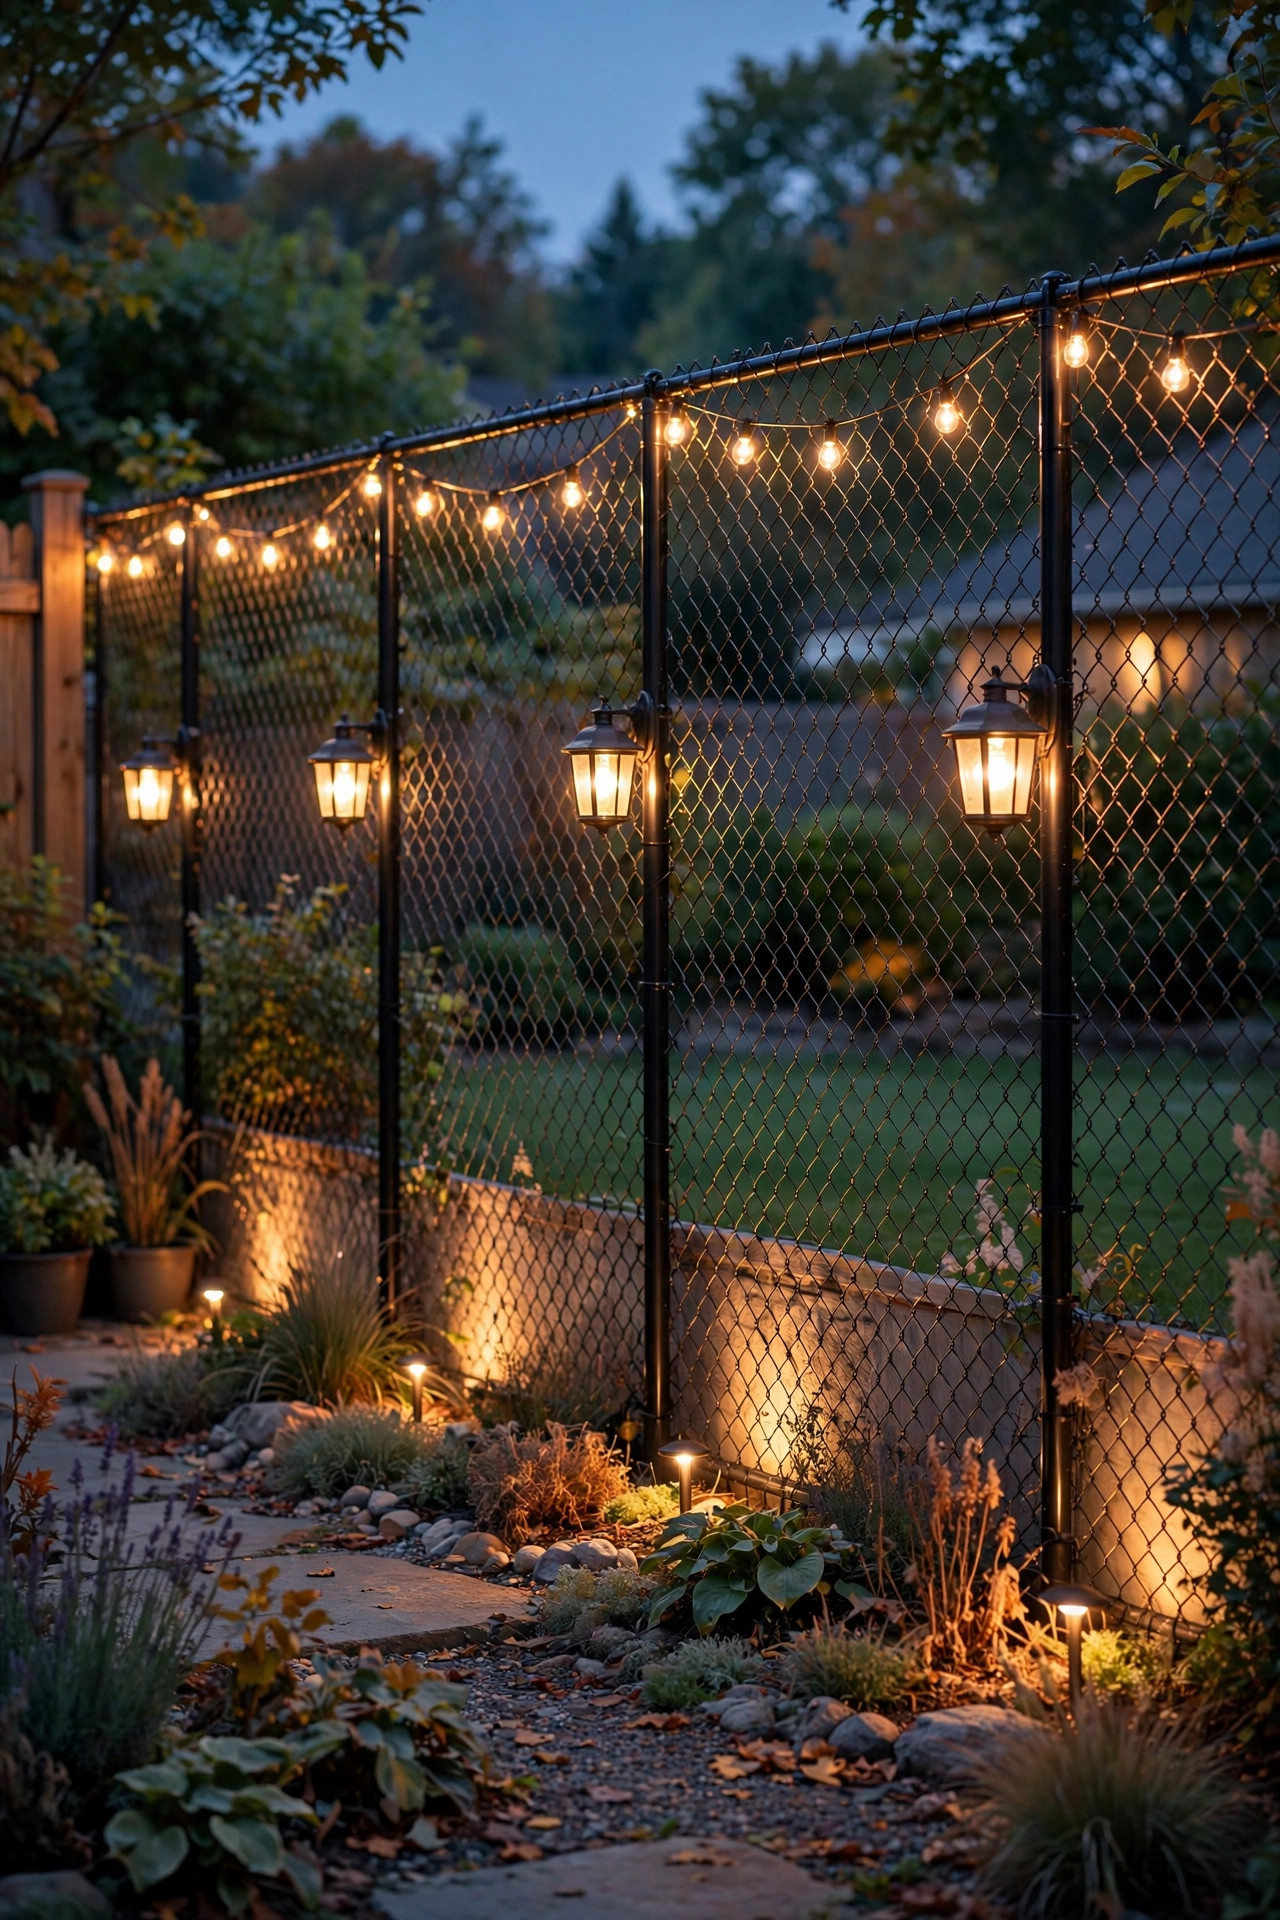
2. Swag String Lights From Freestanding Poles
String lights are the fastest way to give an ADU patio a ceiling, and freestanding poles solve the classic guest house problem: there is often nothing tall enough to hang from, and you may not want to drill into a new structure. Set two or three sturdy poles in weighted planters or ground sleeves at the patio corners, then swag commercial-grade string lights between the poles and one anchor point on the ADU wall. Keep the lowest dip of each swag at least 7 feet above the ground so tall guests never duck, and use shatterproof LED filament-style bulbs rated for outdoor use. A 48-foot strand usually covers a small patio in two graceful swags. Our full rundown of patio string light pole ideas covers pole heights, planter weights and tension tricks if you want the details. Put the strand on a plug-in dimmer and the whole patio shifts from bright arrival mode to soft evening glow in one slide — in my experience, guests linger noticeably longer under dimmed string lights.
Suggested budget range: $60 – $180.

3. Put a Proper Sconce Beside the ADU Door
If the guest house gets only one hardwired fixture, make it a sconce beside the door. It is the light guests actually use — for the key, the code pad, the step they forgot was there — and it is the fixture that makes the little building read as a home instead of a shed. Mount the center of the fixture about 66 inches above the patio surface, and choose a design with the bulb shielded or frosted so nobody gets a bare-bulb glare in the eyes at close range; small patios put faces nearer to fixtures than big ones do. A warm 2700K LED in the 450 to 800 lumen range is plenty. Match the finish to the door hardware and the whole entry suddenly looks intentional. Choose a fixture rated for wet locations, not just damp, since ADU entries rarely sit under deep porches. I treated the door of my own backyard studio exactly this way — the same approach I used in our she shed lighting ideas — and it changed how the whole building feels after dark.
Suggested budget range: $40 – $120.
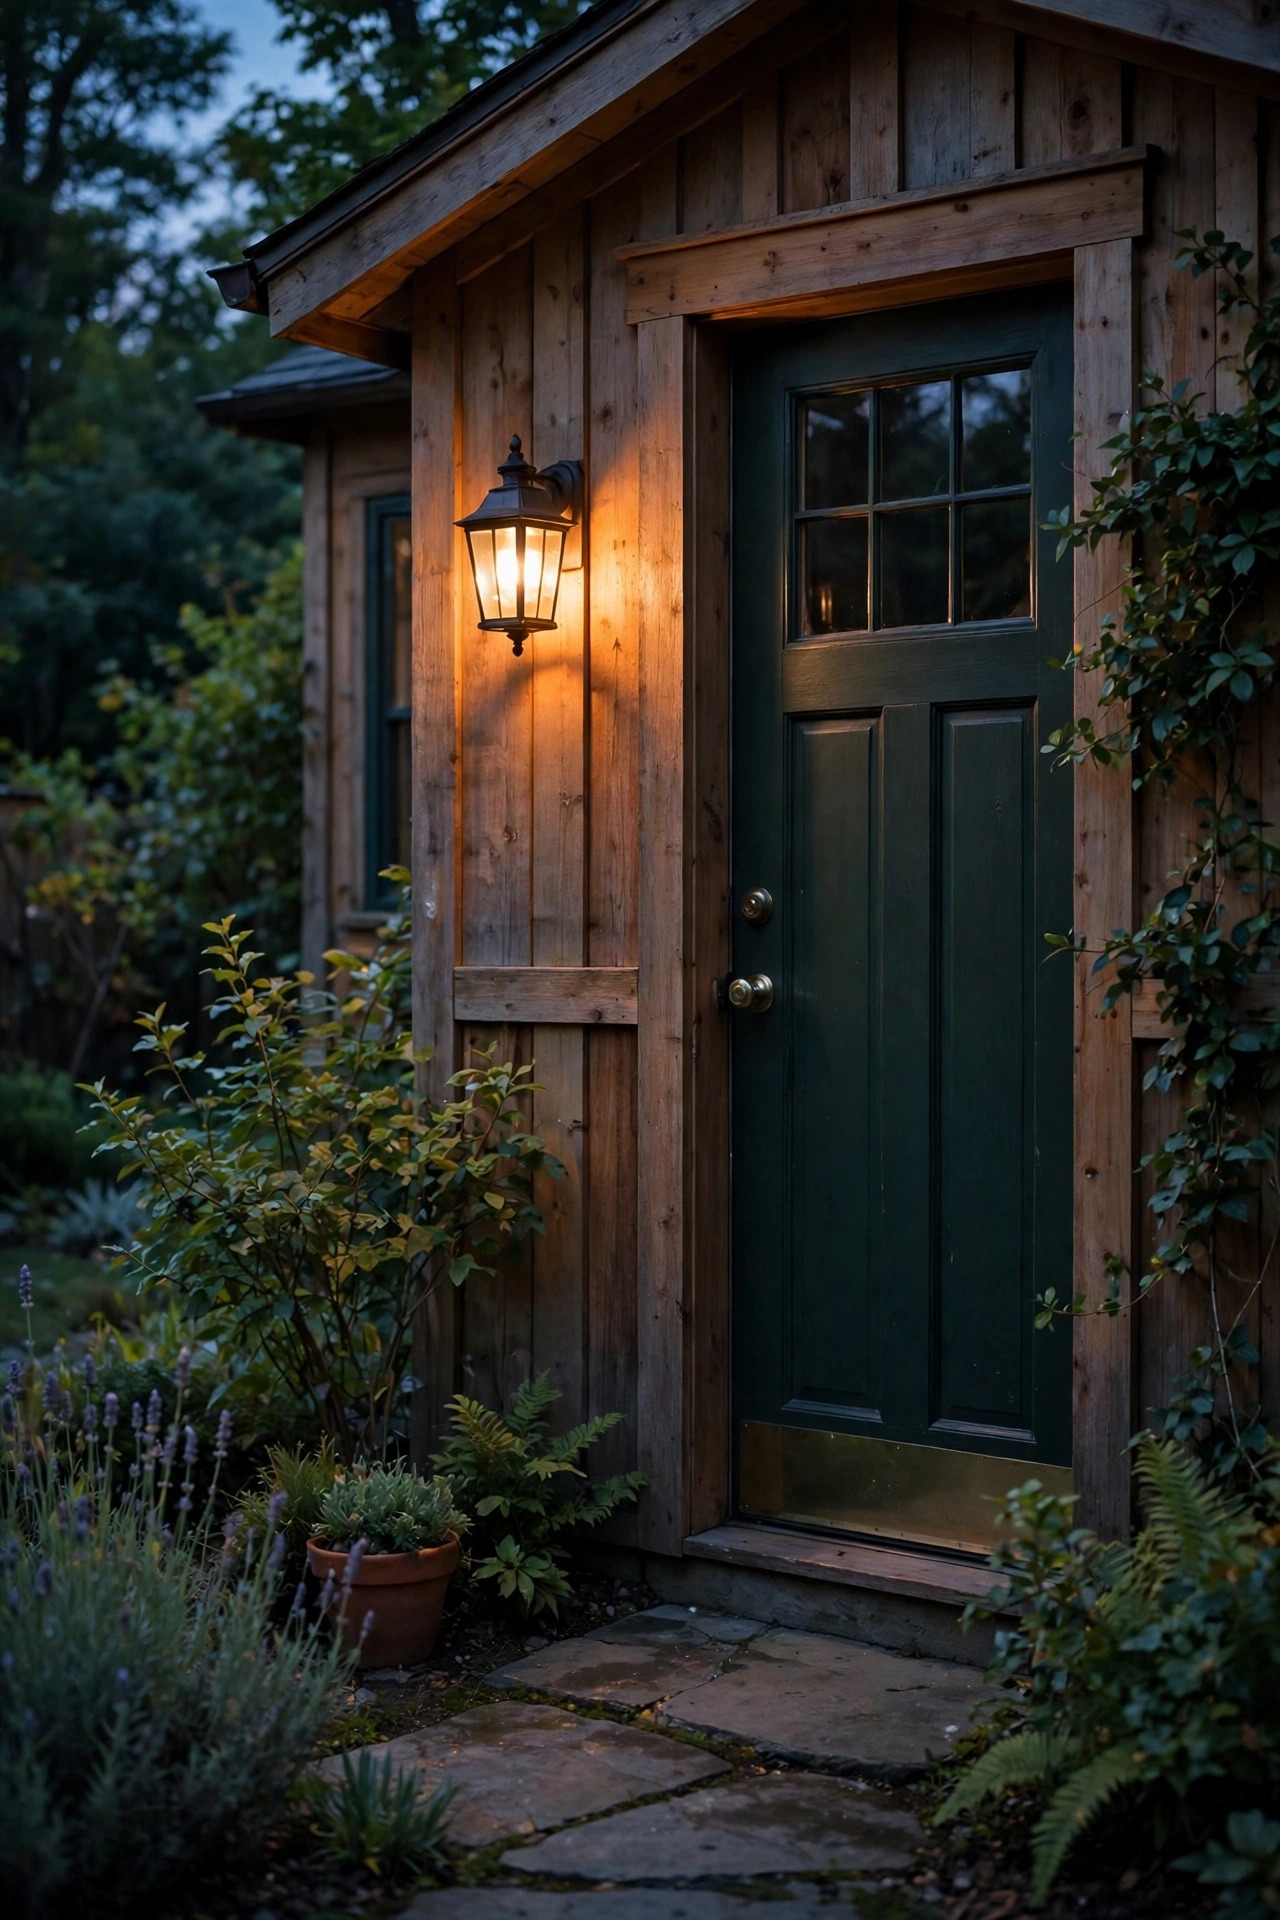
4. Light the Path From the Gate to the Door
A guest arriving after dark should never have to guess the route. Line the walk from the gate, driveway or main house to the ADU door with low path lights spaced 5 to 6 feet apart, alternating sides so the light pools overlap into a gentle ribbon instead of a runway. Keep fixtures low — 12 to 18 inches tall — and shielded downward, because on a short path the bulbs sit right in the sightline of anyone walking. Solar path lights are honestly perfect here: no trenching across a finished yard, no transformer math, and modern panels hold a charge through a cloudy day or two. Where the path crosses a shadowed stretch under trees, switch those two or three fixtures to low-voltage wired so the route never goes dark on a grey week. Aim for guidance, not brightness — 100 to 200 lumens per fixture is plenty. This is the single most appreciated upgrade I ever make for hosts, because it removes the one awkward moment every guest house visit starts with: standing in a dark yard, unsure where to walk.
Suggested budget range: $50 – $150.
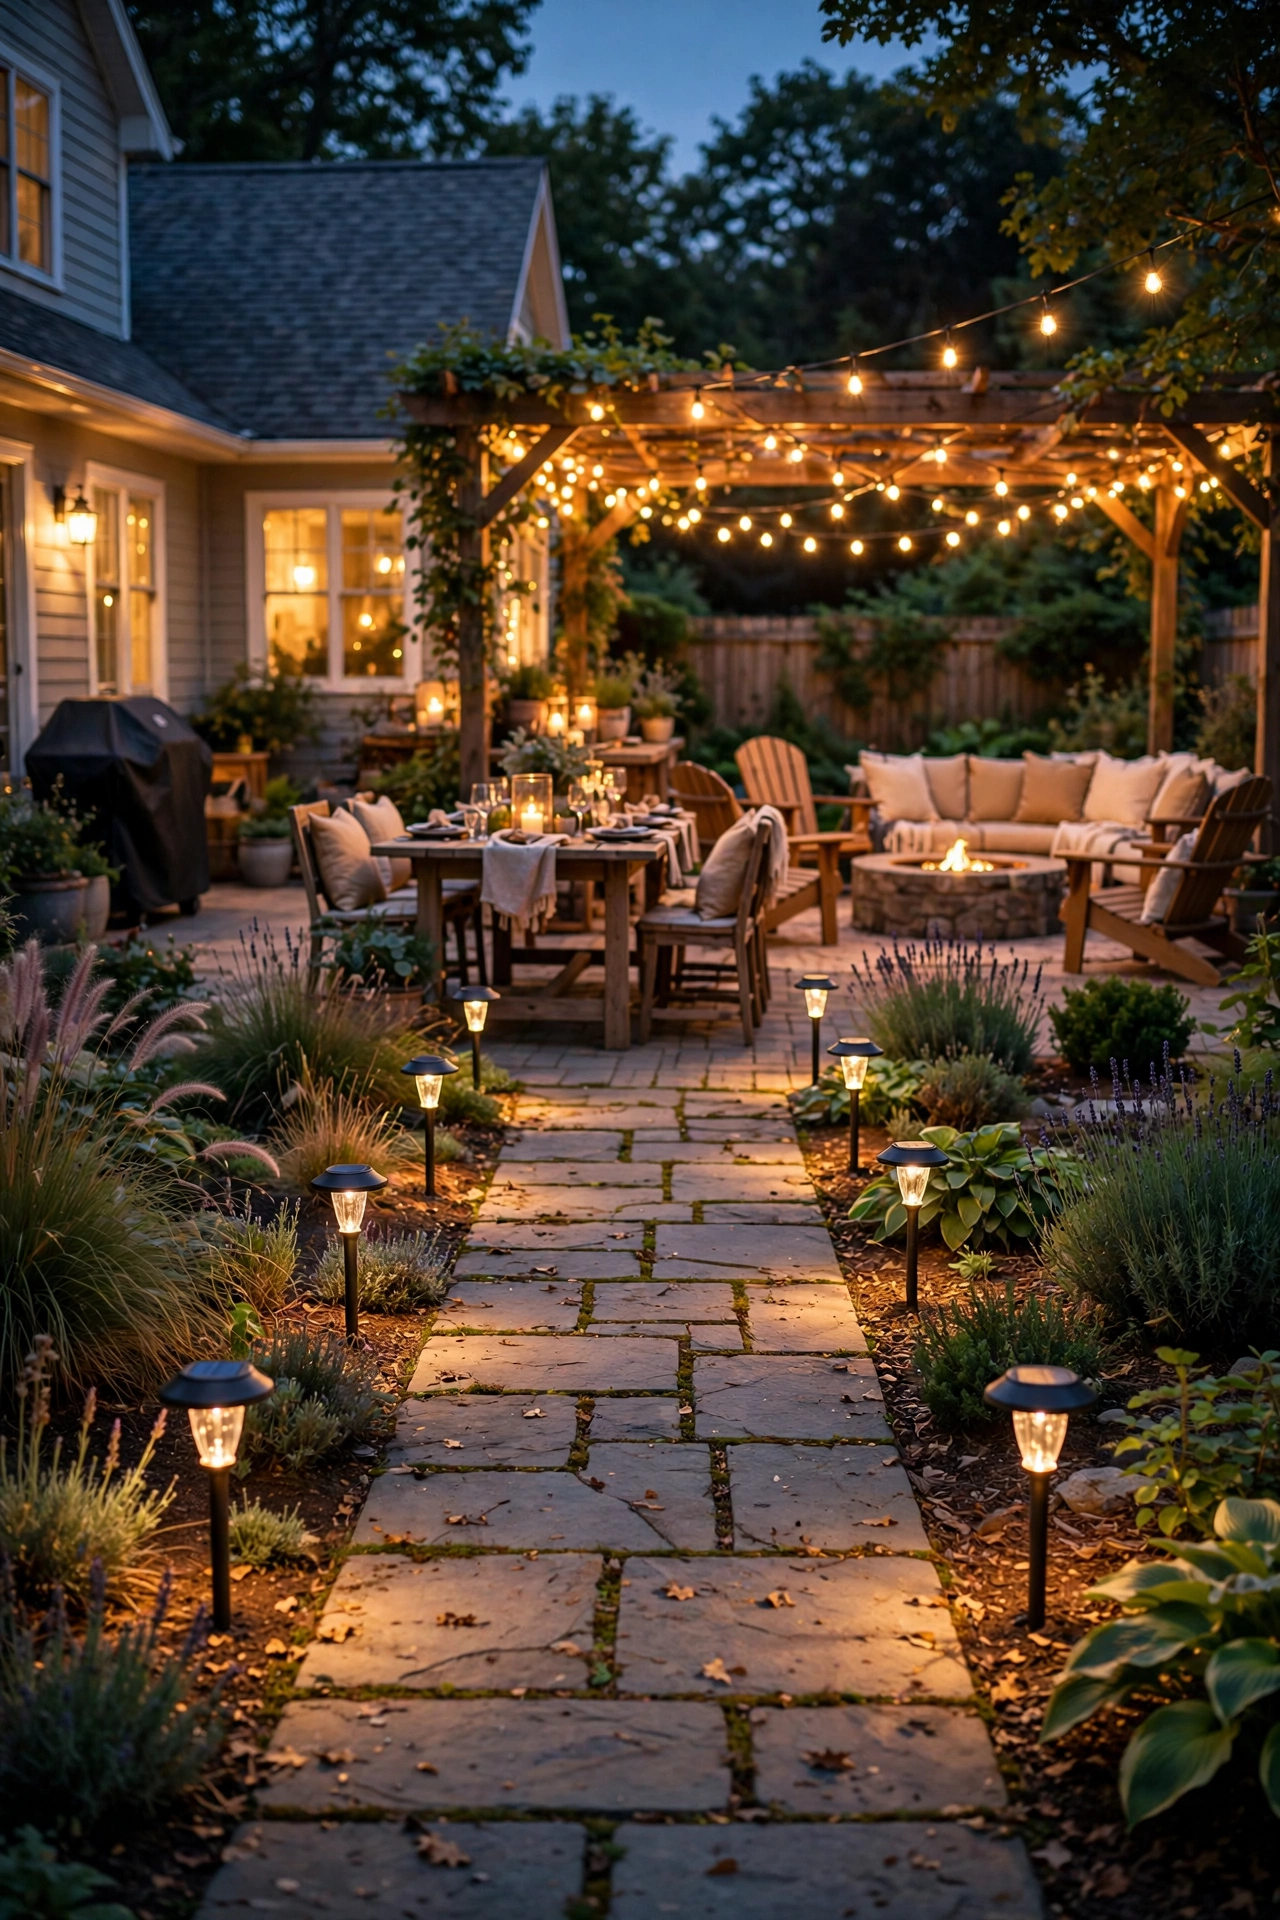
5. Add a Flush-Mount Ceiling Light Under the Overhang
Many ADUs and guest houses have a shallow roof overhang or a small covered stoop over the patio door, and that ceiling is prime real estate. A flush-mount LED fixture there gives you honest, even task light for the whole patio — the kind you want when someone is grilling, unlocking a bike or reading on a lounger. Pick a low-profile design so it never feels like it is looming over a small space, and insist on an integrated LED with a rated life of 25,000 hours or more, because nobody wants to drag a ladder out to the guest house twice a year. A fixture in the 1,000 to 1,500 lumen range lights a 10 by 12 foot patio comfortably. Put it on its own switch just inside the door so guests control it without instructions. If glare is a worry at that close distance, choose a frosted diffuser or a fixture with an opal glass shade. It will not be the prettiest light on the patio, but it is the one that makes every other light optional instead of necessary.
Suggested budget range: $35 – $110.
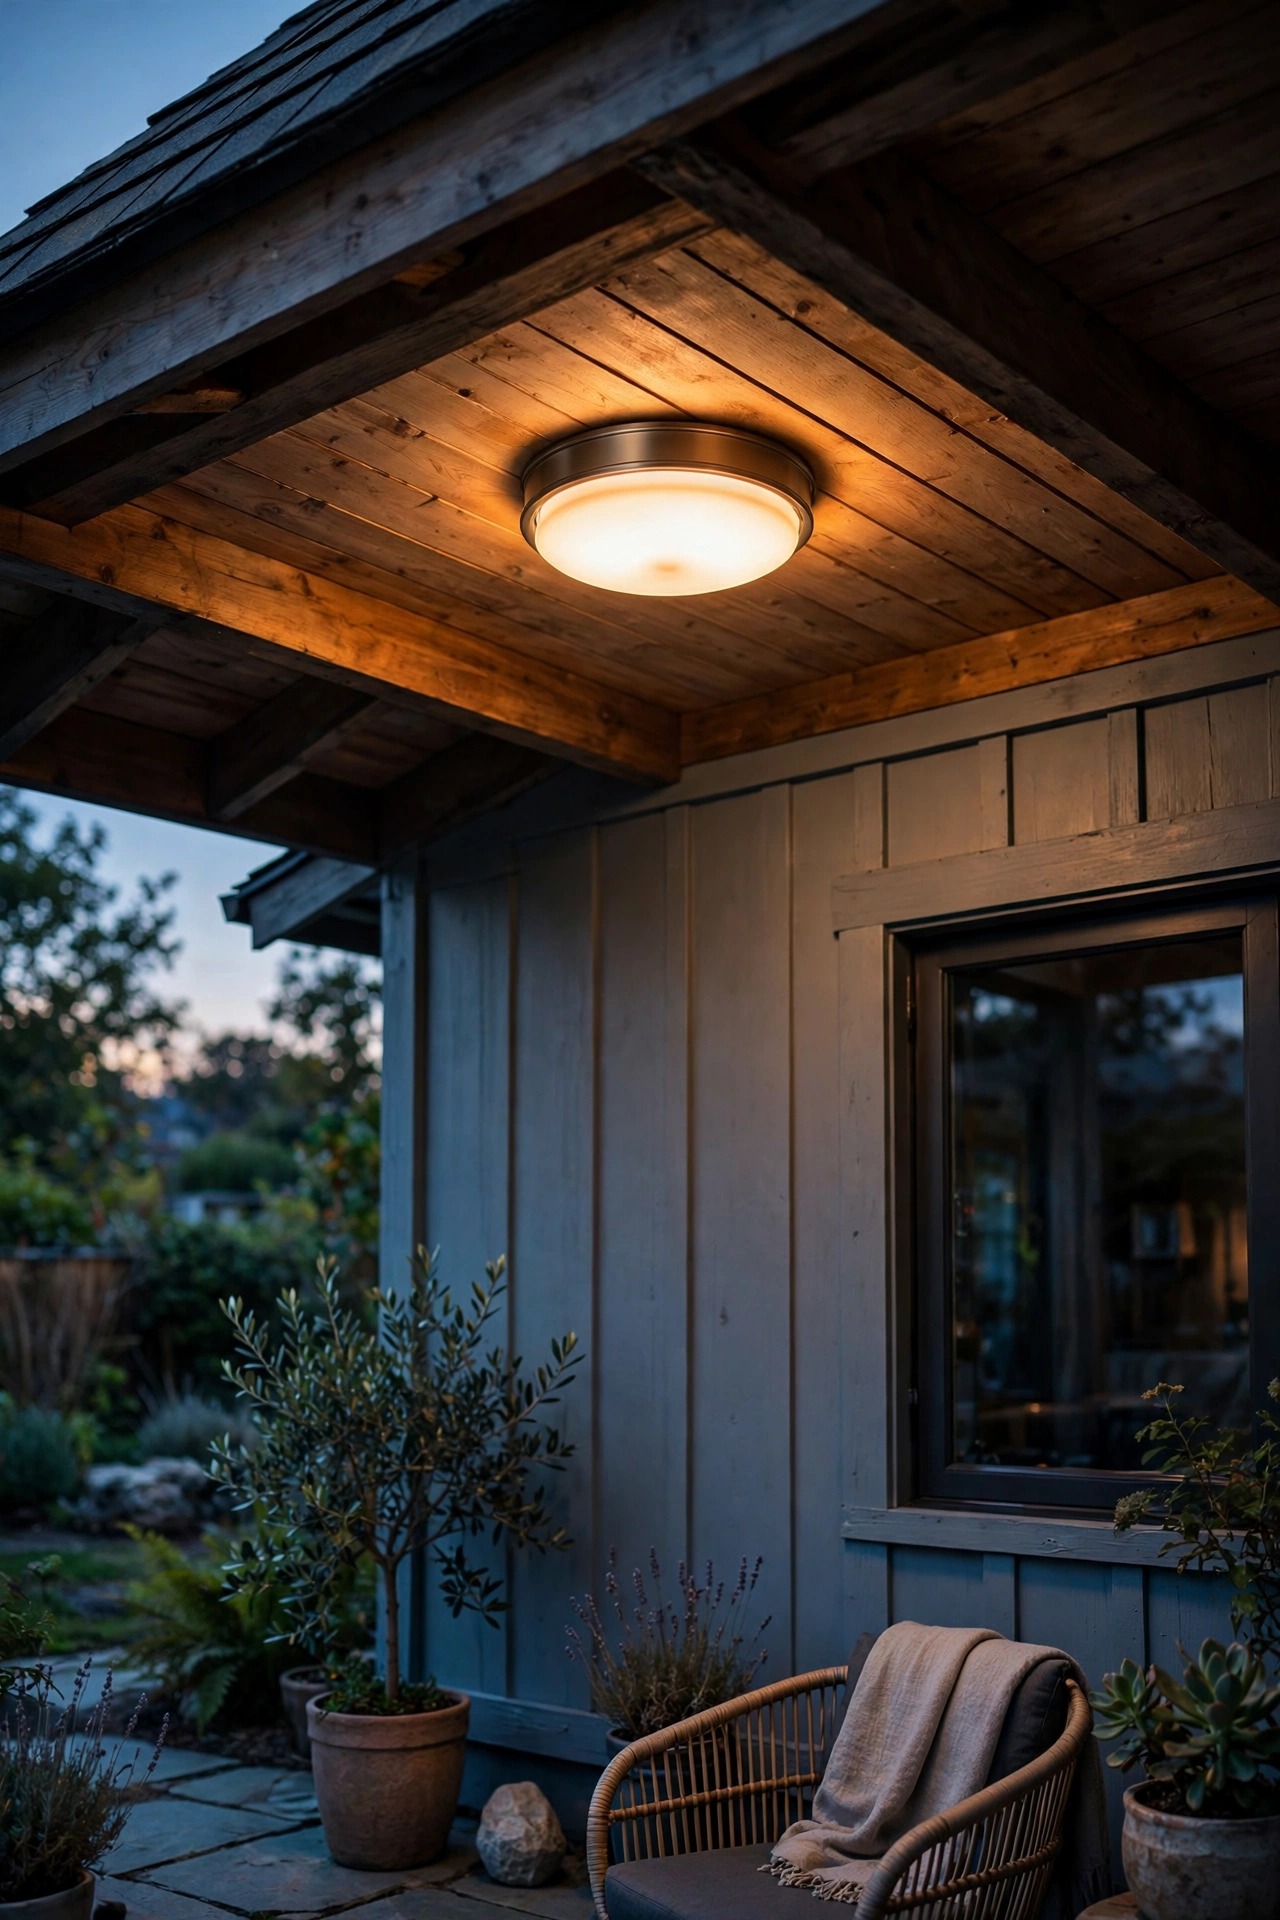
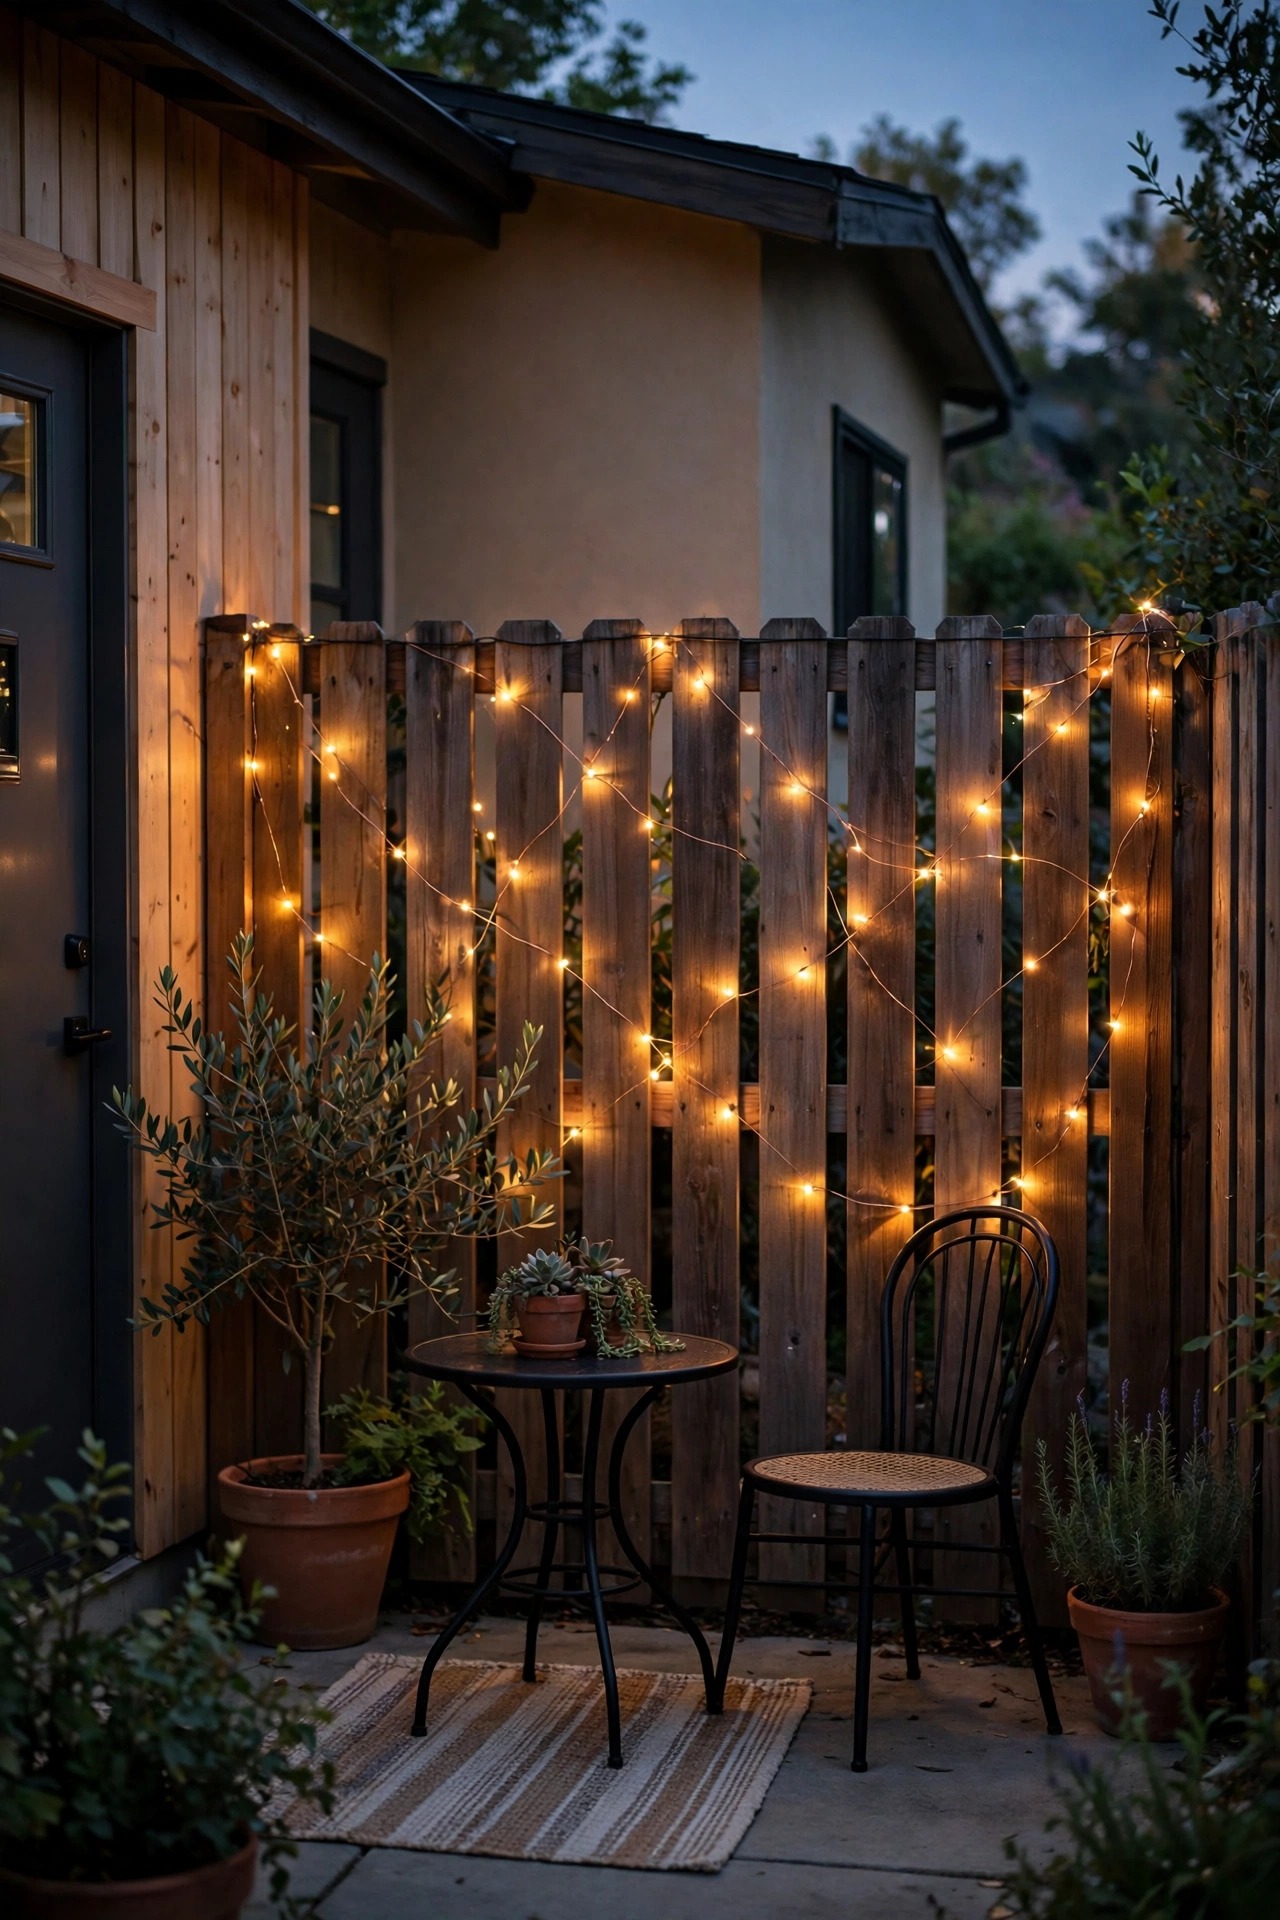
6. Weave Fairy Lights Into the Privacy Fence
ADU patios usually trade size for privacy, and that fence or hedge doing the screening can double as your prettiest light source. Weave two or three strands of copper-wire fairy lights through the fence slats, a trellis panel or the branches of the privacy hedge, and the whole boundary turns into a soft, sparkling backdrop instead of a dark wall. Copper-wire strands are nearly invisible by day, bend around anything, and sip so little power that battery and solar versions genuinely work here. Space the weaving loosely — a gentle zigzag every 12 to 18 inches looks richer than a tight, fussy grid. Keep the power pack or solar panel at the sunniest, most reachable end of the run so you are never untangling the whole fence to change batteries. This is atmosphere, not task light: it will not help anyone find a dropped key, and that is fine. Its job is to make a 10-foot patio feel like a private garden room, and in my experience it does that job better per dollar than anything else on this list.
Suggested budget range: $25 – $80.
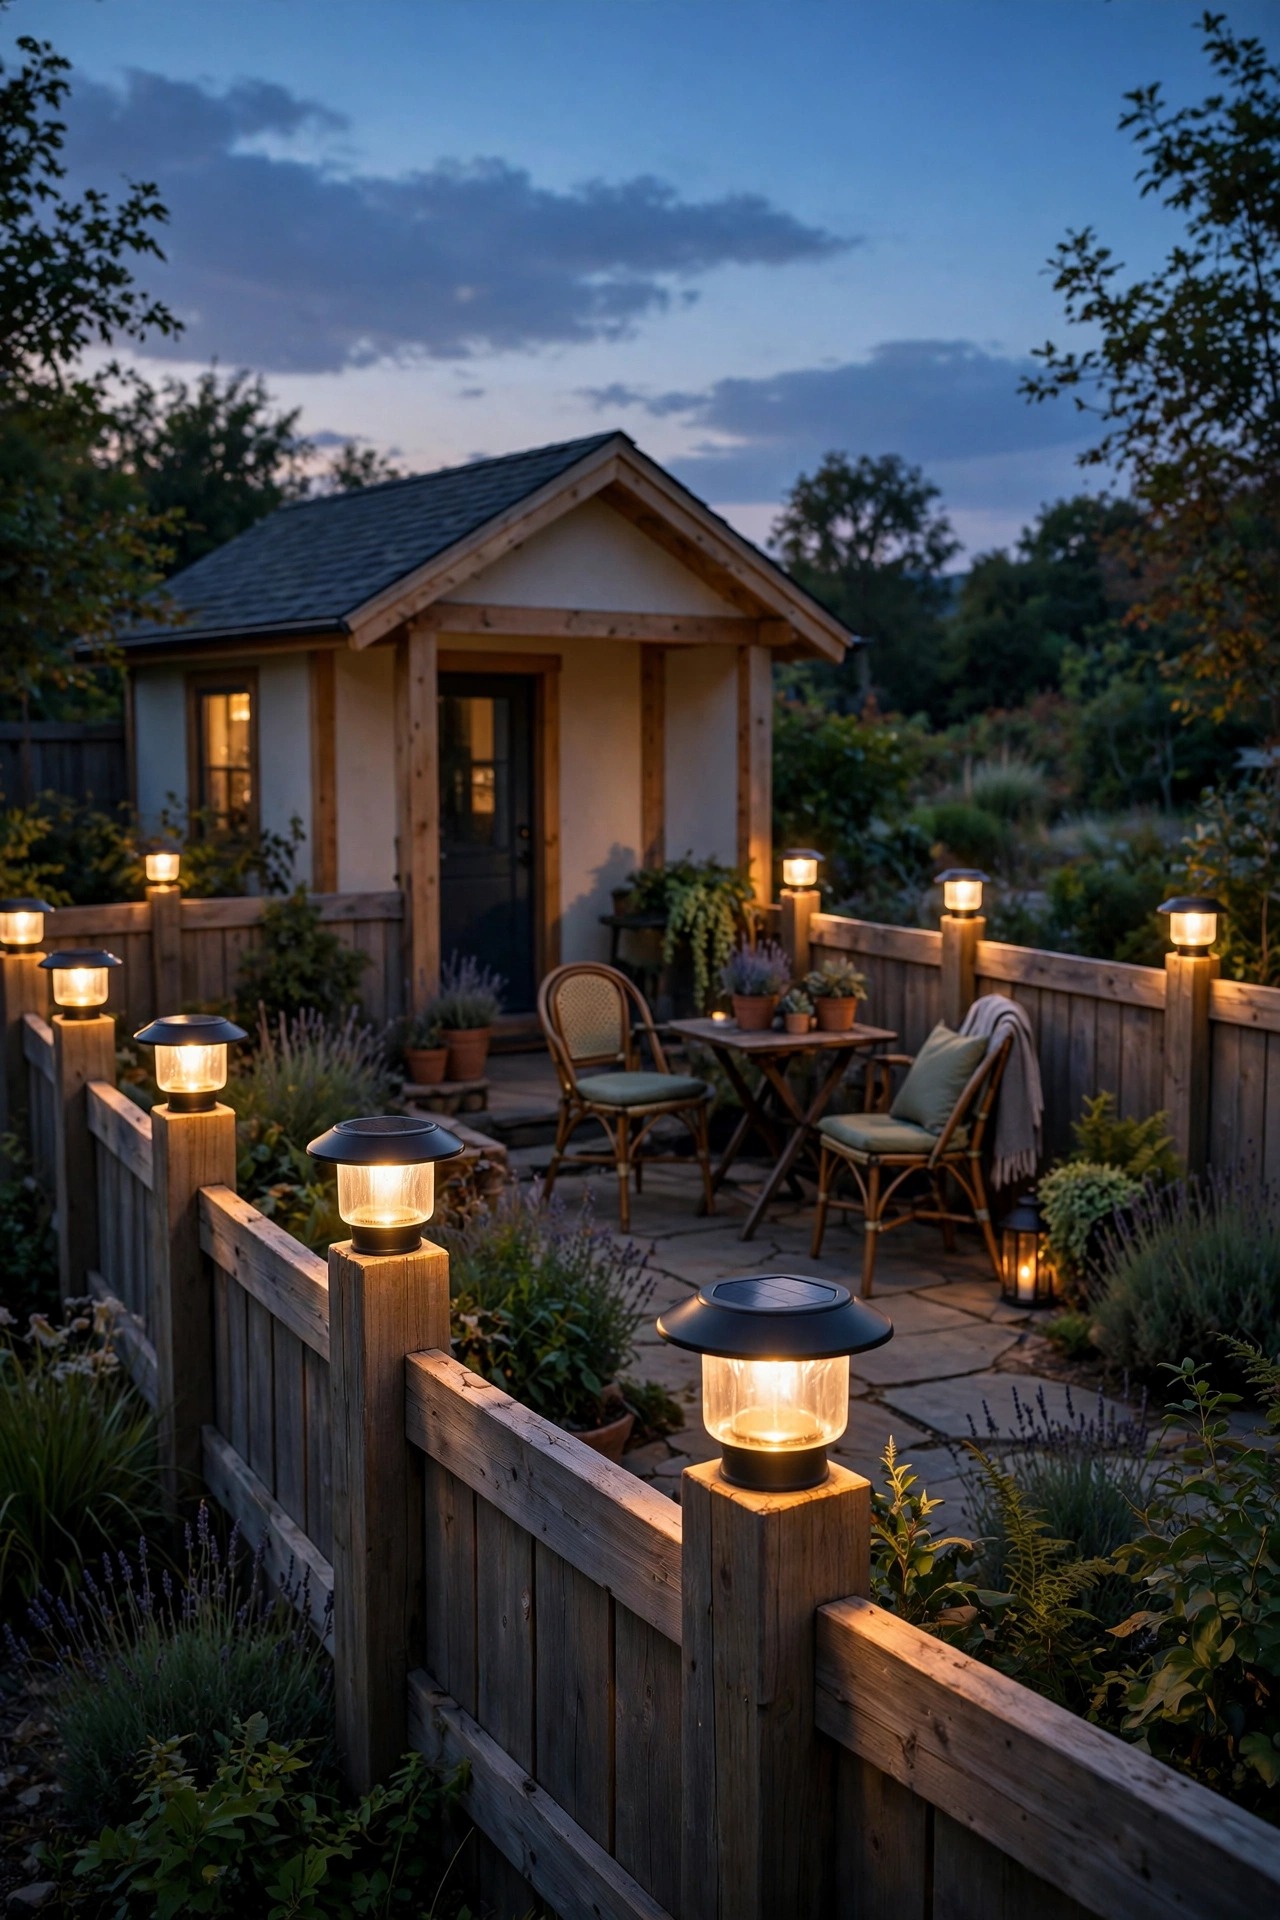
7. Cap the Fence Posts With Solar Lights
If the guest house patio is fenced, the posts are already standing exactly where you want light: at the corners and along the edges, evenly spaced, at a height that washes the whole space. Solar post cap lights turn that existing structure into a lighting plan with zero wiring. Measure your posts before ordering — caps come sized for standard 4×4 and 6×6 posts, and a sloppy fit rattles in the first storm. Look for caps rated at 10 lumens or more with a warm white LED; the cheapest caps glow a bluish white that makes everything look like a gas station. Expect a soft perimeter definition rather than real illumination: caps mark the shape of the patio and pair beautifully with the fairy lights above or the path lights at ground level. Solar panels on caps get decent sun even in tight yards because they sit on top of everything. Wipe the little panels clean every month or so — pollen film is the number one reason solar lights seem to die young when they are actually just dirty.
Suggested budget range: $30 – $90.
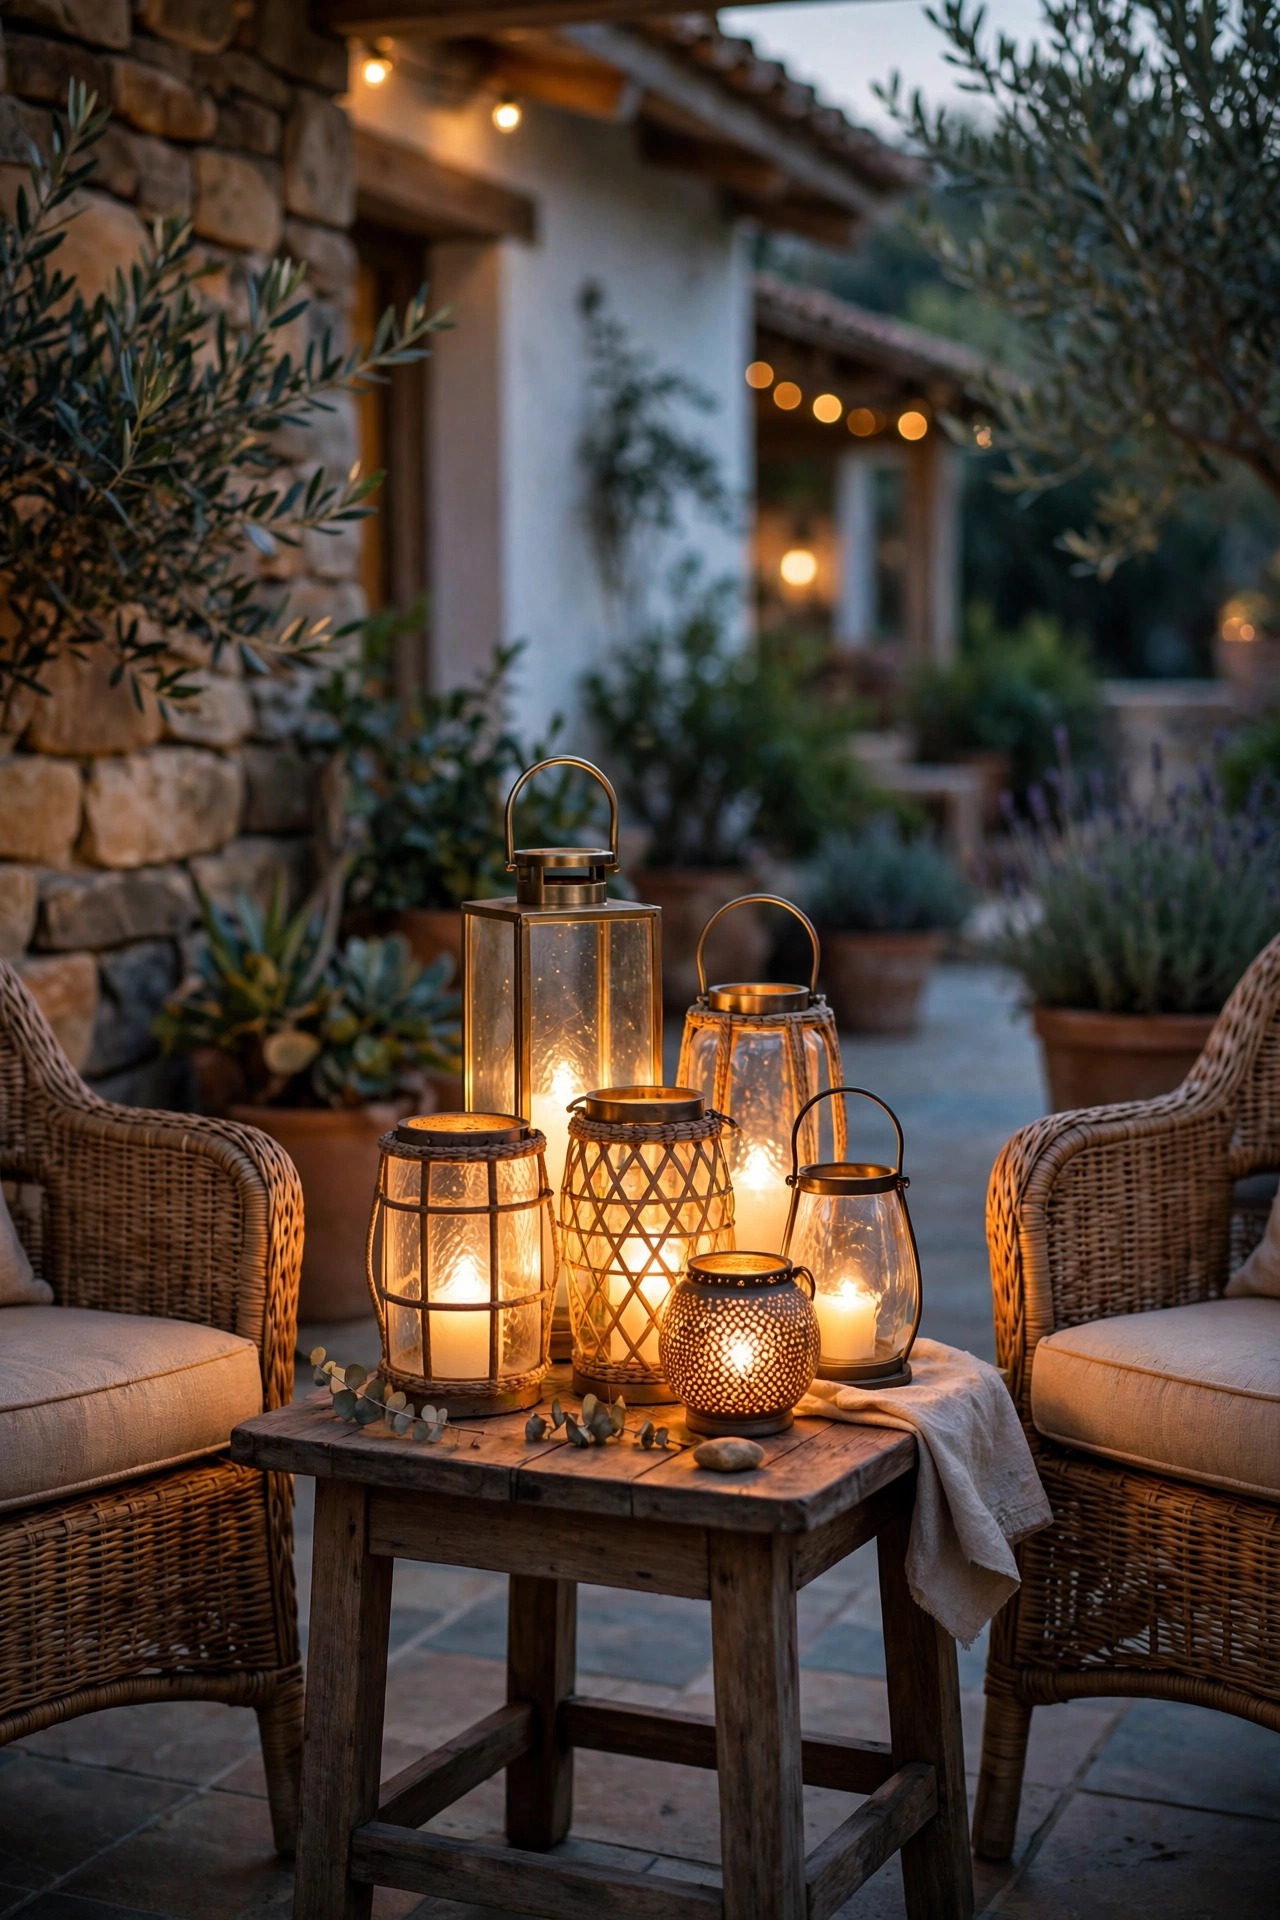
8. Cluster Lanterns at Sitting Height
The middle layer of a great patio is the one at sitting height, and nothing builds it faster than a cluster of lanterns. Group three flameless LED lanterns in staggered heights on the side table, the step or the corner of the patio where the chairs gather, and faces instantly look warmer and more relaxed — light at eye level flatters people the way overhead light never does. Lanterns suit guest houses especially well because they are portable: guests can carry one to the outdoor shower, the garden bench or back inside for a midnight snack run. Choose weatherproof designs with a timer mode, so they click on at dusk and off at bedtime without anyone remembering a switch. Mix one metal lantern, one woven or rope-textured one and keep the bulbs the same warm temperature so the cluster reads as a set. In my experience this is the layer guests photograph. Nobody posts a picture of a well-lit pathway; they post the table where the lanterns are glowing and the evening feels like a boutique hotel.
Suggested budget range: $30 – $100.
9. Choose a Shielded Motion-Sensor Light for Late Arrivals
A guest house needs one practical security light, but it has to be a polite one — your guests are sleeping ten feet from it, and your neighbors may be twenty. Choose a motion-sensor fixture with a shielded, downward-aimed head and an adjustable brightness, then set it to its lowest useful level and the shortest sensible timer, about one to two minutes. Mount it over the path or the ADU door at 7 to 8 feet high, aimed along the route rather than out into the yard, so it lights arrivals without sweeping the windows of the main house every time a raccoon passes. Modern fixtures with a dusk-to-dawn low-glow mode are my favorite compromise: the fixture idles at 20 percent as a gentle marker light, then steps up when it senses movement. That soft idle glow also means guests walking back at night always see a lit destination. Test it yourself after dark from the guest bed if you can — if the light wakes you through the curtains, it needs a lower setting or a steeper downward angle.
Suggested budget range: $25 – $75.

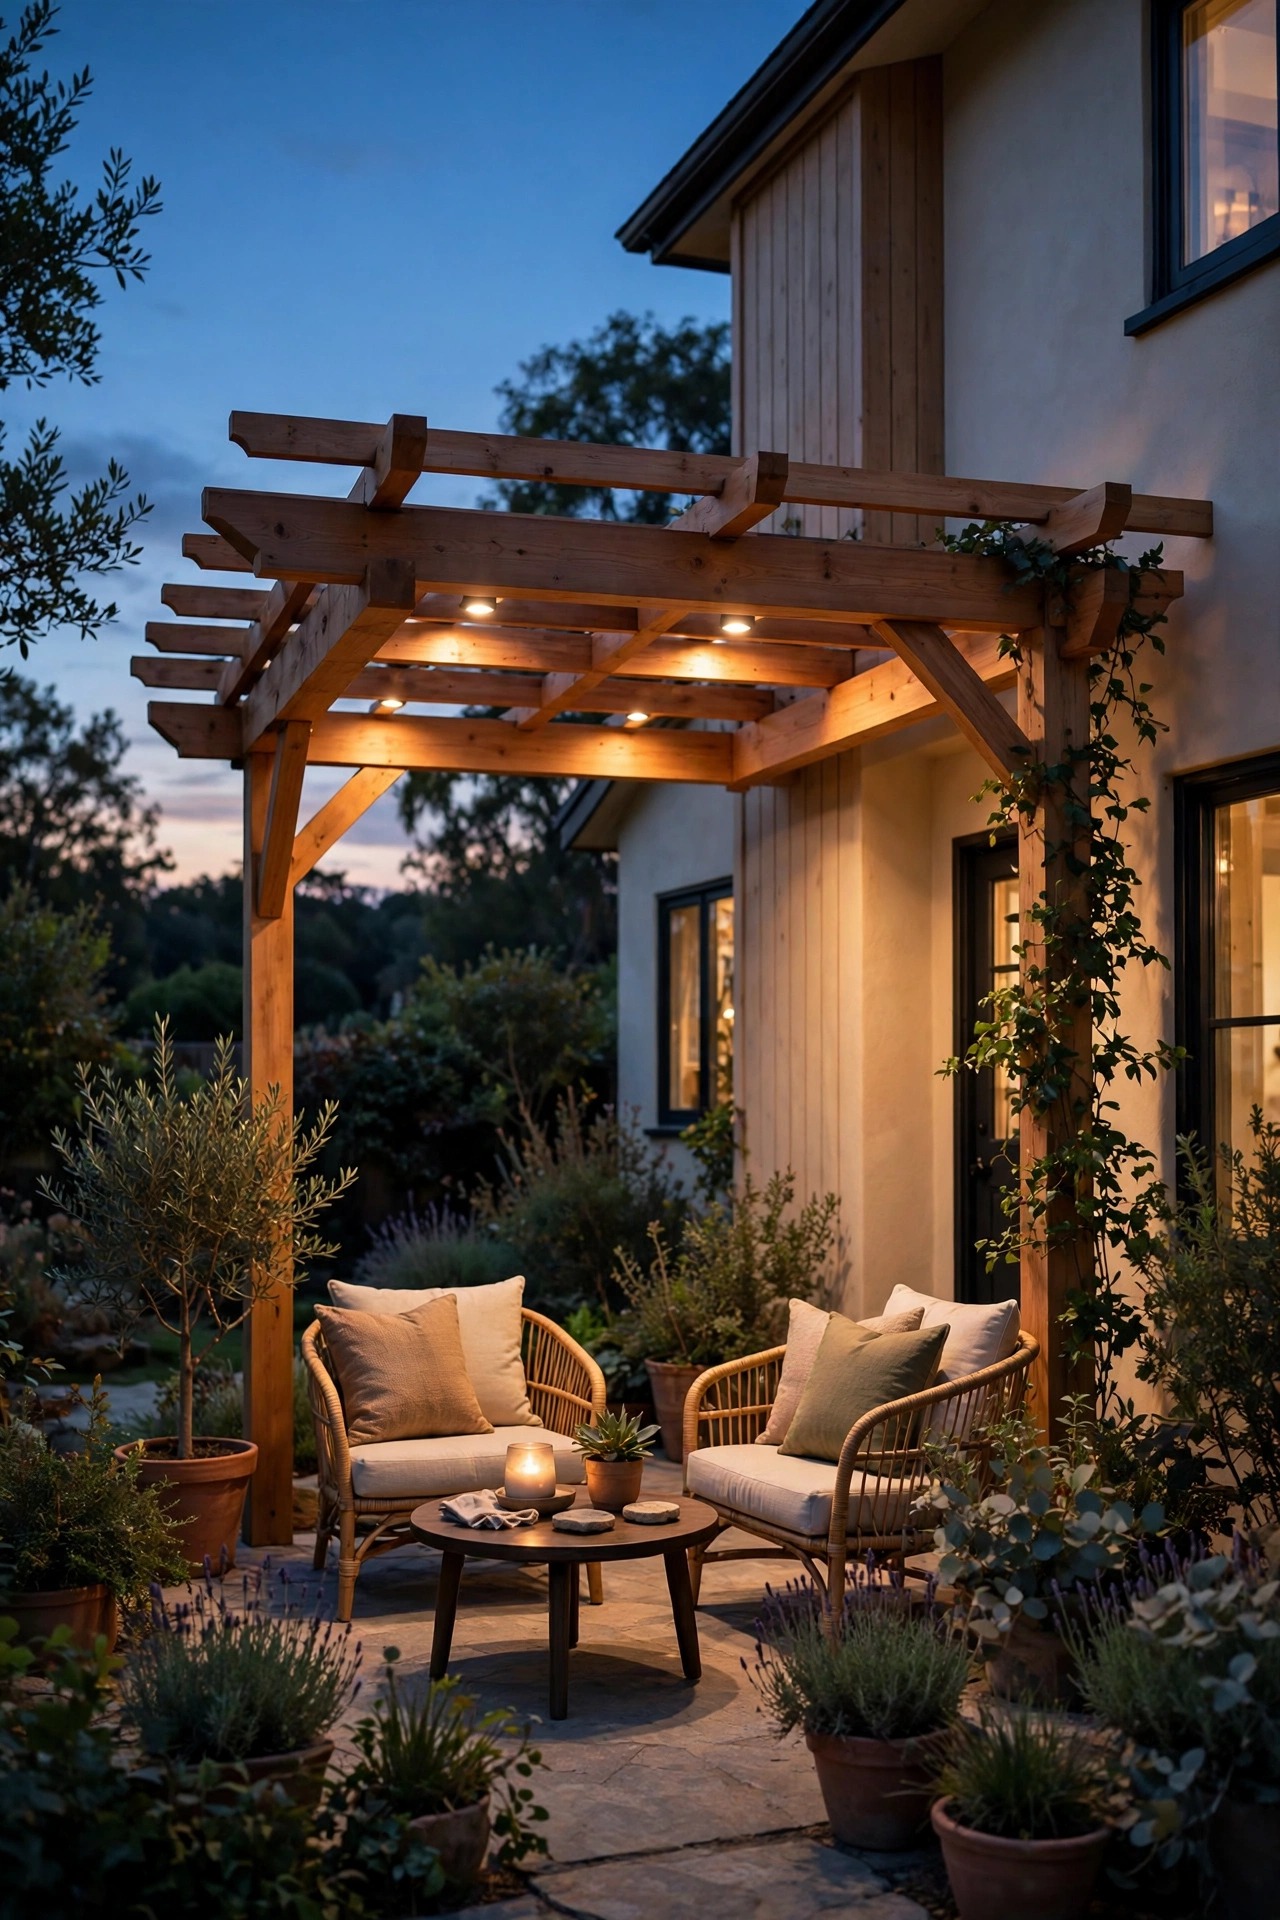
10. Downlight From a Pergola, Awning or Shade Sail
If the ADU patio has any kind of cover — a little pergola, a retractable awning, a shade sail — you have a ceiling to light from, and downlighting is the most flattering light a small patio can get. Clip or recess small warm downlights into the pergola beams, or mount two compact spot fixtures at the corners aimed down at the seating and dining spots. The trick is restraint: on a small patio, two downlights do the work of six, and they should land on surfaces — the table, the rug, the deck boards — not in eyes. Our guide to covered patio lighting ideas digs into beam placement for every kind of roof. If your cover is just an awning, a rechargeable or solar downlight bar mounted under the front rail works beautifully with no wiring at all. Keep every fixture LED and comfortably clear of fabric: awnings and shade sails scorch and fade under hot halogen bulbs, while LEDs stay cool enough to touch. Downlight plus the string lights from idea two is, honestly, the combination I would choose if I could only pick two.
Suggested budget range: $80 – $250.
11. Mark Steps and Thresholds Where Guests Trip
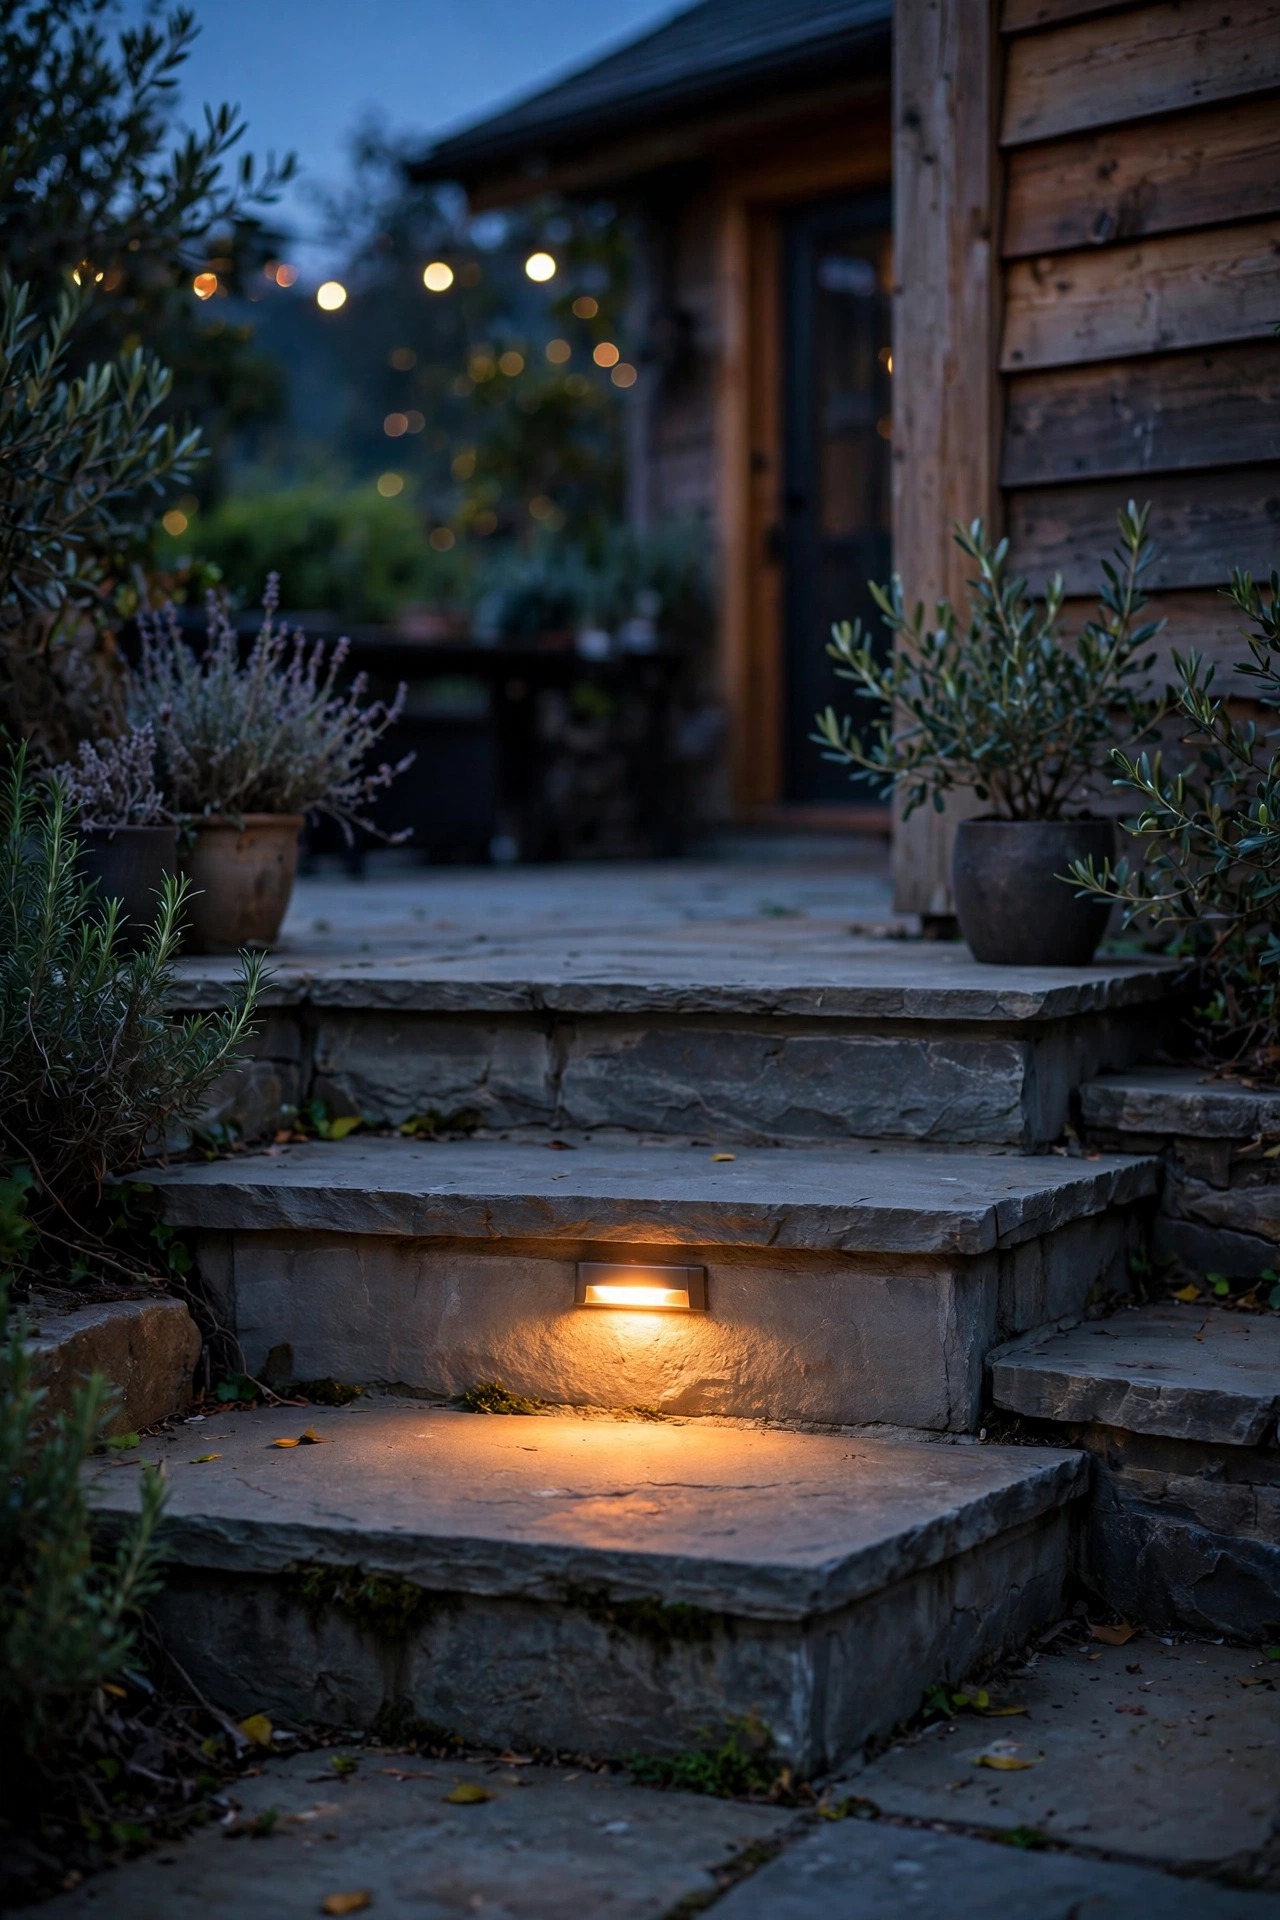
Every guest house has one: the single step down from the patio door, the raised threshold, the two deck boards that sit a half inch proud. Guests find them all at midnight. Mark each level change with a small step light — recessed into the riser if the step is built, or a slim surface-mount or solar step light if it is not. Place one fixture per step, offset to the side guests naturally approach from, and choose a louvered or hooded design that throws light down onto the tread instead of out into faces. Solar step lights earn their keep here because the runs are tiny and the light needed is minimal; just confirm the panel gets a few hours of sun or pick a model with a remote panel you can angle toward the sky. Threshold strips — low LED tape in an aluminum channel under the door sill — are the modern version and look genuinely high-end for very little money. This is the least glamorous idea on the list and the one your future self, and your liability-conscious heart, will thank you for most.
Suggested budget range: $20 – $70.
12. Use Flameless Candles Where Wind and Guests Mix
Real candles and guest houses are a risky romance: renters fall asleep, in-laws knock things over, and a small patio puts every flame within elbow distance of a cushion. Flameless candles give you the entire flicker with none of the supervision. Group them in hurricane glass on the dining table, line two or three along a windowsill, and drop one inside a frosted jar for the outdoor side table. Modern flameless candles with a realistic moving wick and a warm 2200K glow are convincing enough that guests reach to shield them from the wind — I have watched it happen. Buy the rechargeable kind with a remote, and one charge carries a whole rental weekend. Because there is no flame, they are also the only candlelight you can safely leave glowing on a wooden deck, near dry leaves or beside gauzy patio curtains. One firm rule from my own patio: keep the flicker color consistent across every candle. Mixed amber and white flickers look like a clearance bin; one warm tone looks like a boutique stay.
Suggested budget range: $15 – $60.

13. Uplight One Small Tree or Tall Shrub
A small patio needs one moment of depth — one thing that pulls the eye beyond the fence line and makes the space feel bigger than its square footage. A single uplight at the base of the small tree, tall shrub or ornamental grass clump nearest the patio does exactly that. Use one low-voltage or solar spot fixture with a 35 to 45 degree beam, set 10 to 12 inches out from the trunk or base, aimed up through the canopy. The light catches the branch structure, throws moving shadows on the fence behind it, and suddenly the patio has a backdrop instead of a boundary. Keep it to one plant. On a big lawn you can uplight a whole grove; on an ADU patio, three uplights compete and the magic thins out. Solar spots work if the panel can sit in a sunny pocket a few feet away on its little stake — deep shade is the one situation where I spring for the wired version. Wipe the lens monthly; uplights collect every leaf and spider web the yard produces.
Suggested budget range: $25 – $85.

14. Hang a String-Light Curtain for Privacy and Glow
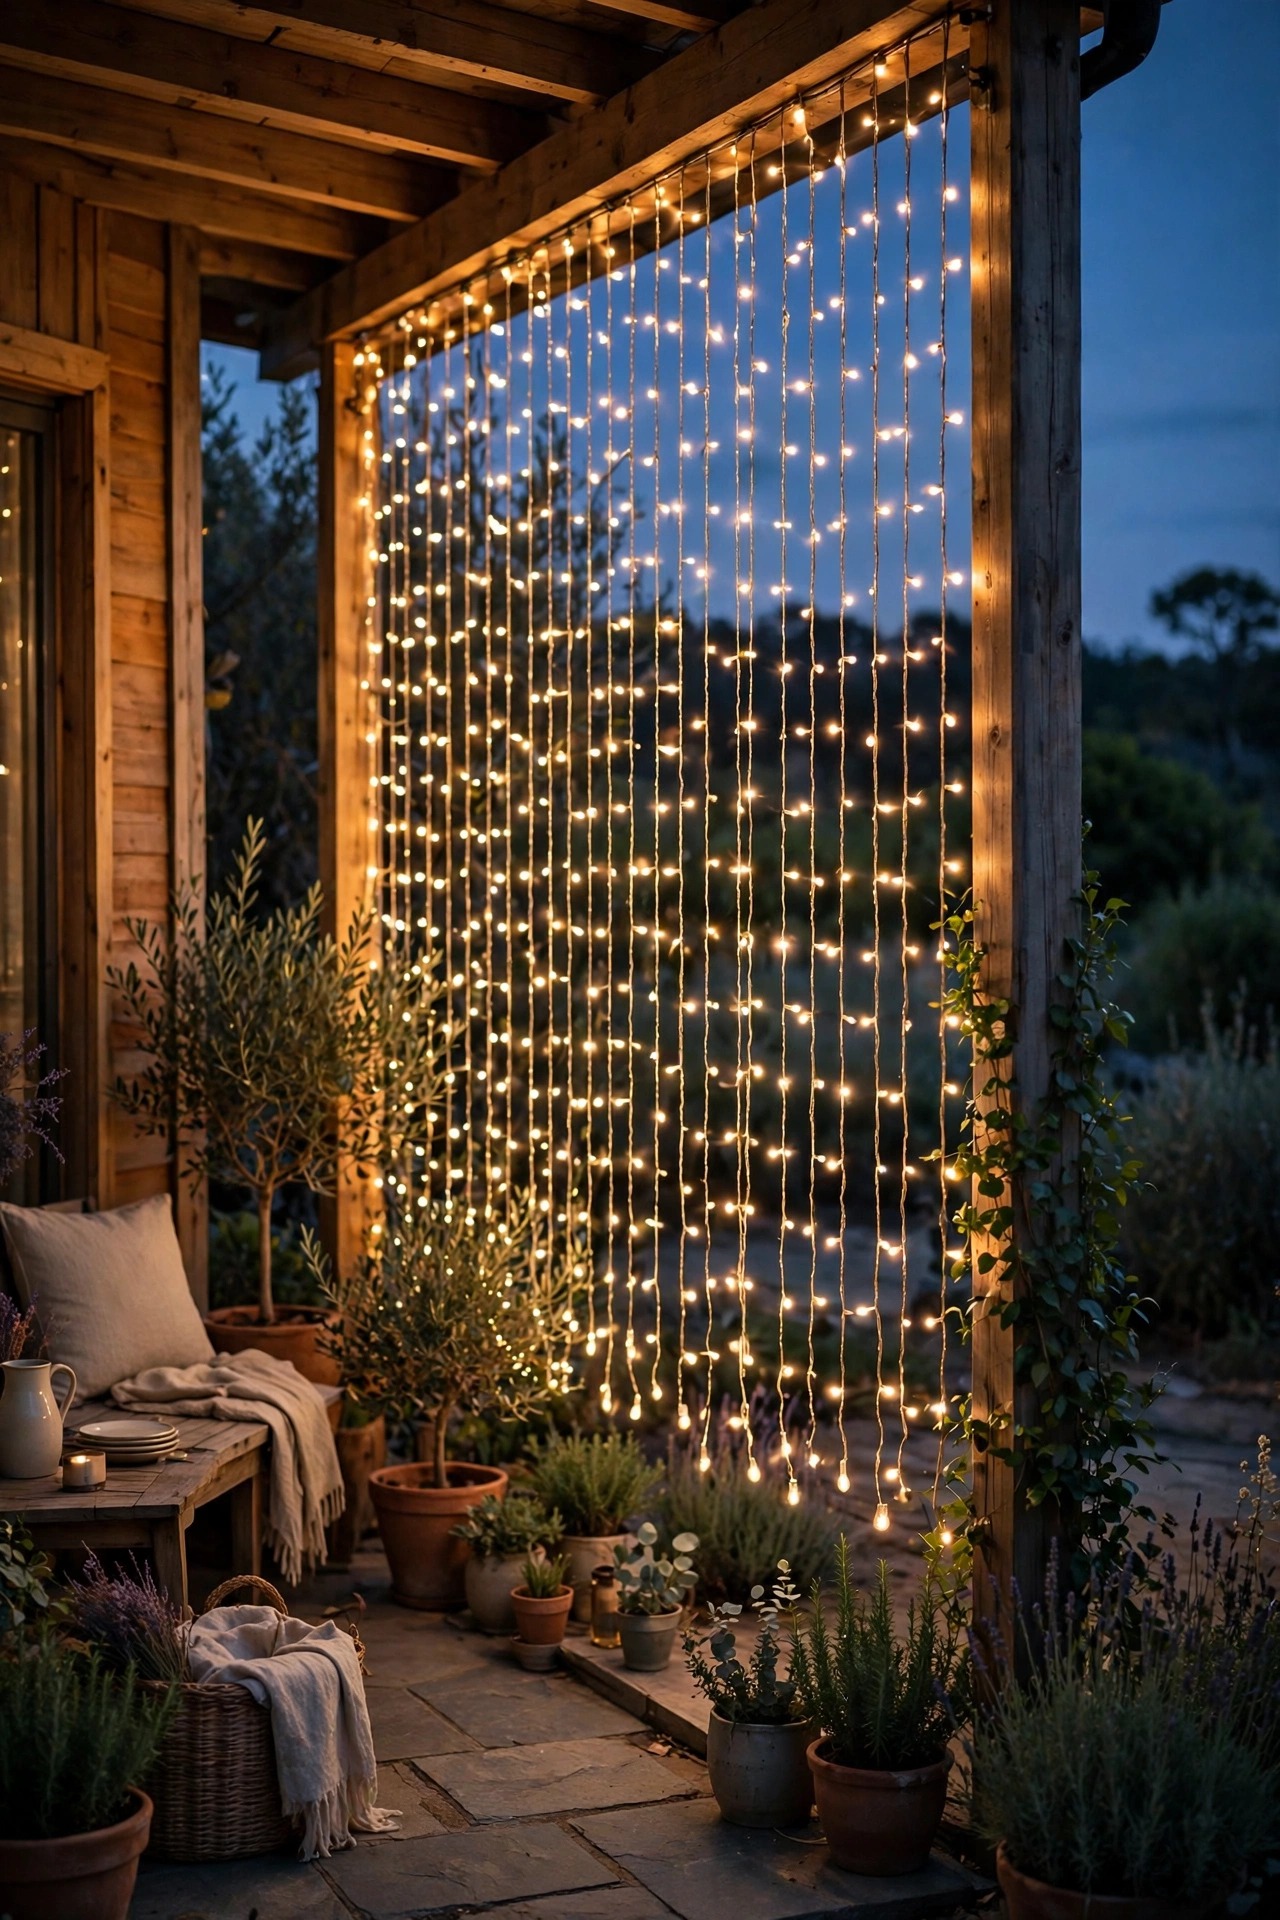
When the ADU patio faces the main house or a close neighbor, a curtain of string lights solves two problems at once: it screens the view and it lights the space. Hang a net-style or vertical-strand curtain light along the open side of the patio — from a pergola beam, a tension wire between posts, or the fence top rail — and let the strands fall to about chair height. The effect from inside is a wall of warm sparkle you can half-see through; from outside, it reads as cheerful decoration rather than a blackout screen, which keeps things friendly with the main house. Solar curtain lights exist and work if the top edge gets real sun. Keep the bottom of the strands at least 18 inches off the ground so they never tangle with chair legs, pets or a robot mower. One honest note: a light curtain is a backdrop, not a reading light, so pair it with the lanterns from idea eight. Together they turn the most exposed small patio into the coziest seat on the property.
Suggested budget range: $35 – $95.
15. Automate Your ADU Patio Lighting Ideas With Timers and Smart Plugs
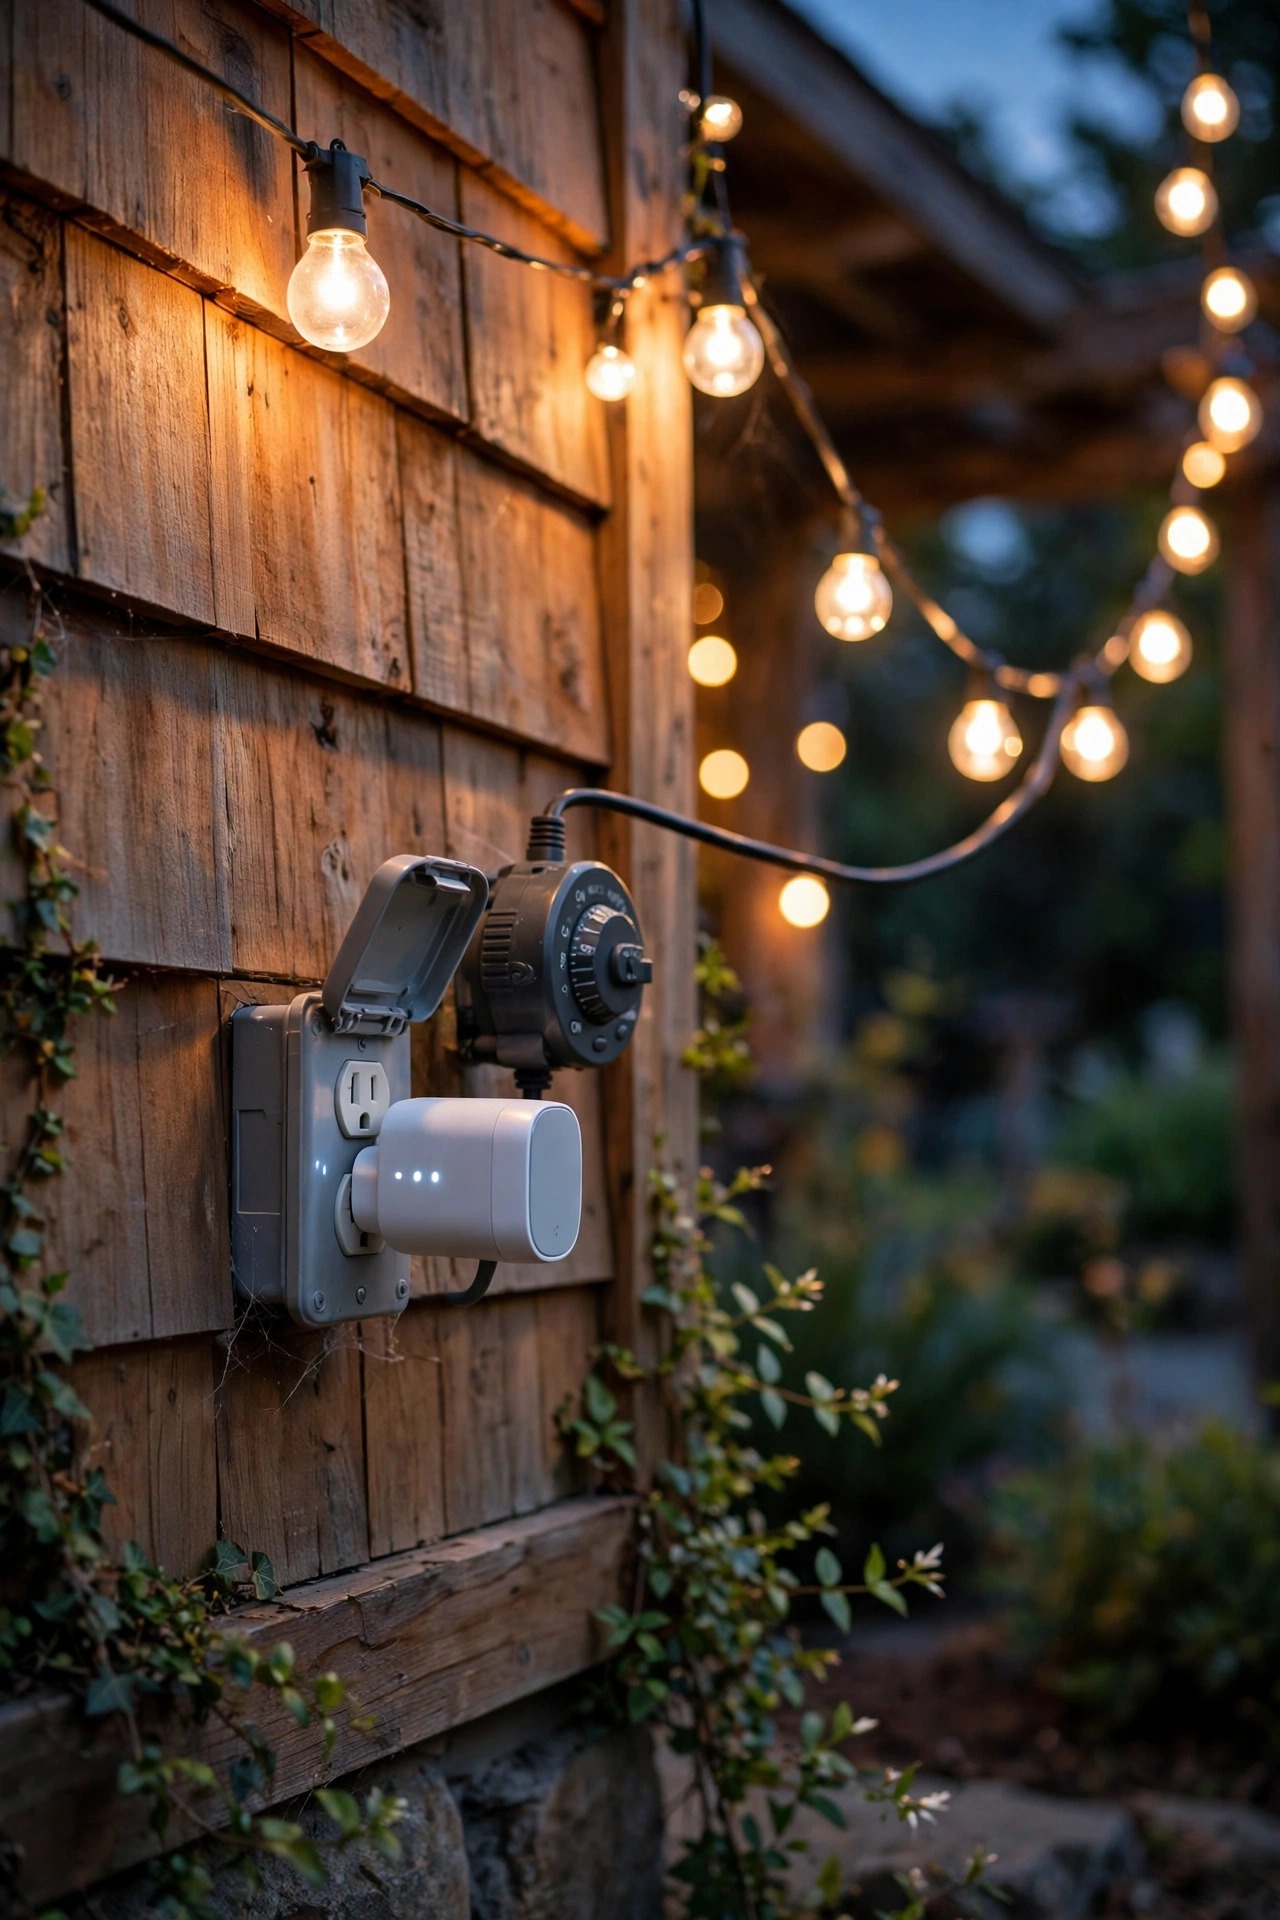
A guest house patio should light itself. Guests do not know your switches, in-laws should not have to ask, and a rental unit that glows warmly at check-in photographs itself. The cheapest automation is a plug-in timer or smart plug on the string lights and the door sconce circuit: set them for dusk to 11 p.m. and the patio runs its own evening show whether anyone is home or not. Photocell adapters screw between bulb and socket in open fixtures and handle the job for about the price of lunch. Solar fixtures automate themselves by design. My one caution is control: give guests a simple way to override — a labeled switch inside the door, or the smart plug on a schedule they can pause from a printed note. Nobody enjoys sleeping beside a patio they cannot turn off. Dusk-to-dawn with a midnight shutoff is the sweet spot in my experience: welcoming at arrival, dark for sleeping, and easy on the power bill, since a whole evening of LED patio light costs only a few cents.
Suggested budget range: $20 – $80.
16. Stake Solar Lights Through the Planting Beds
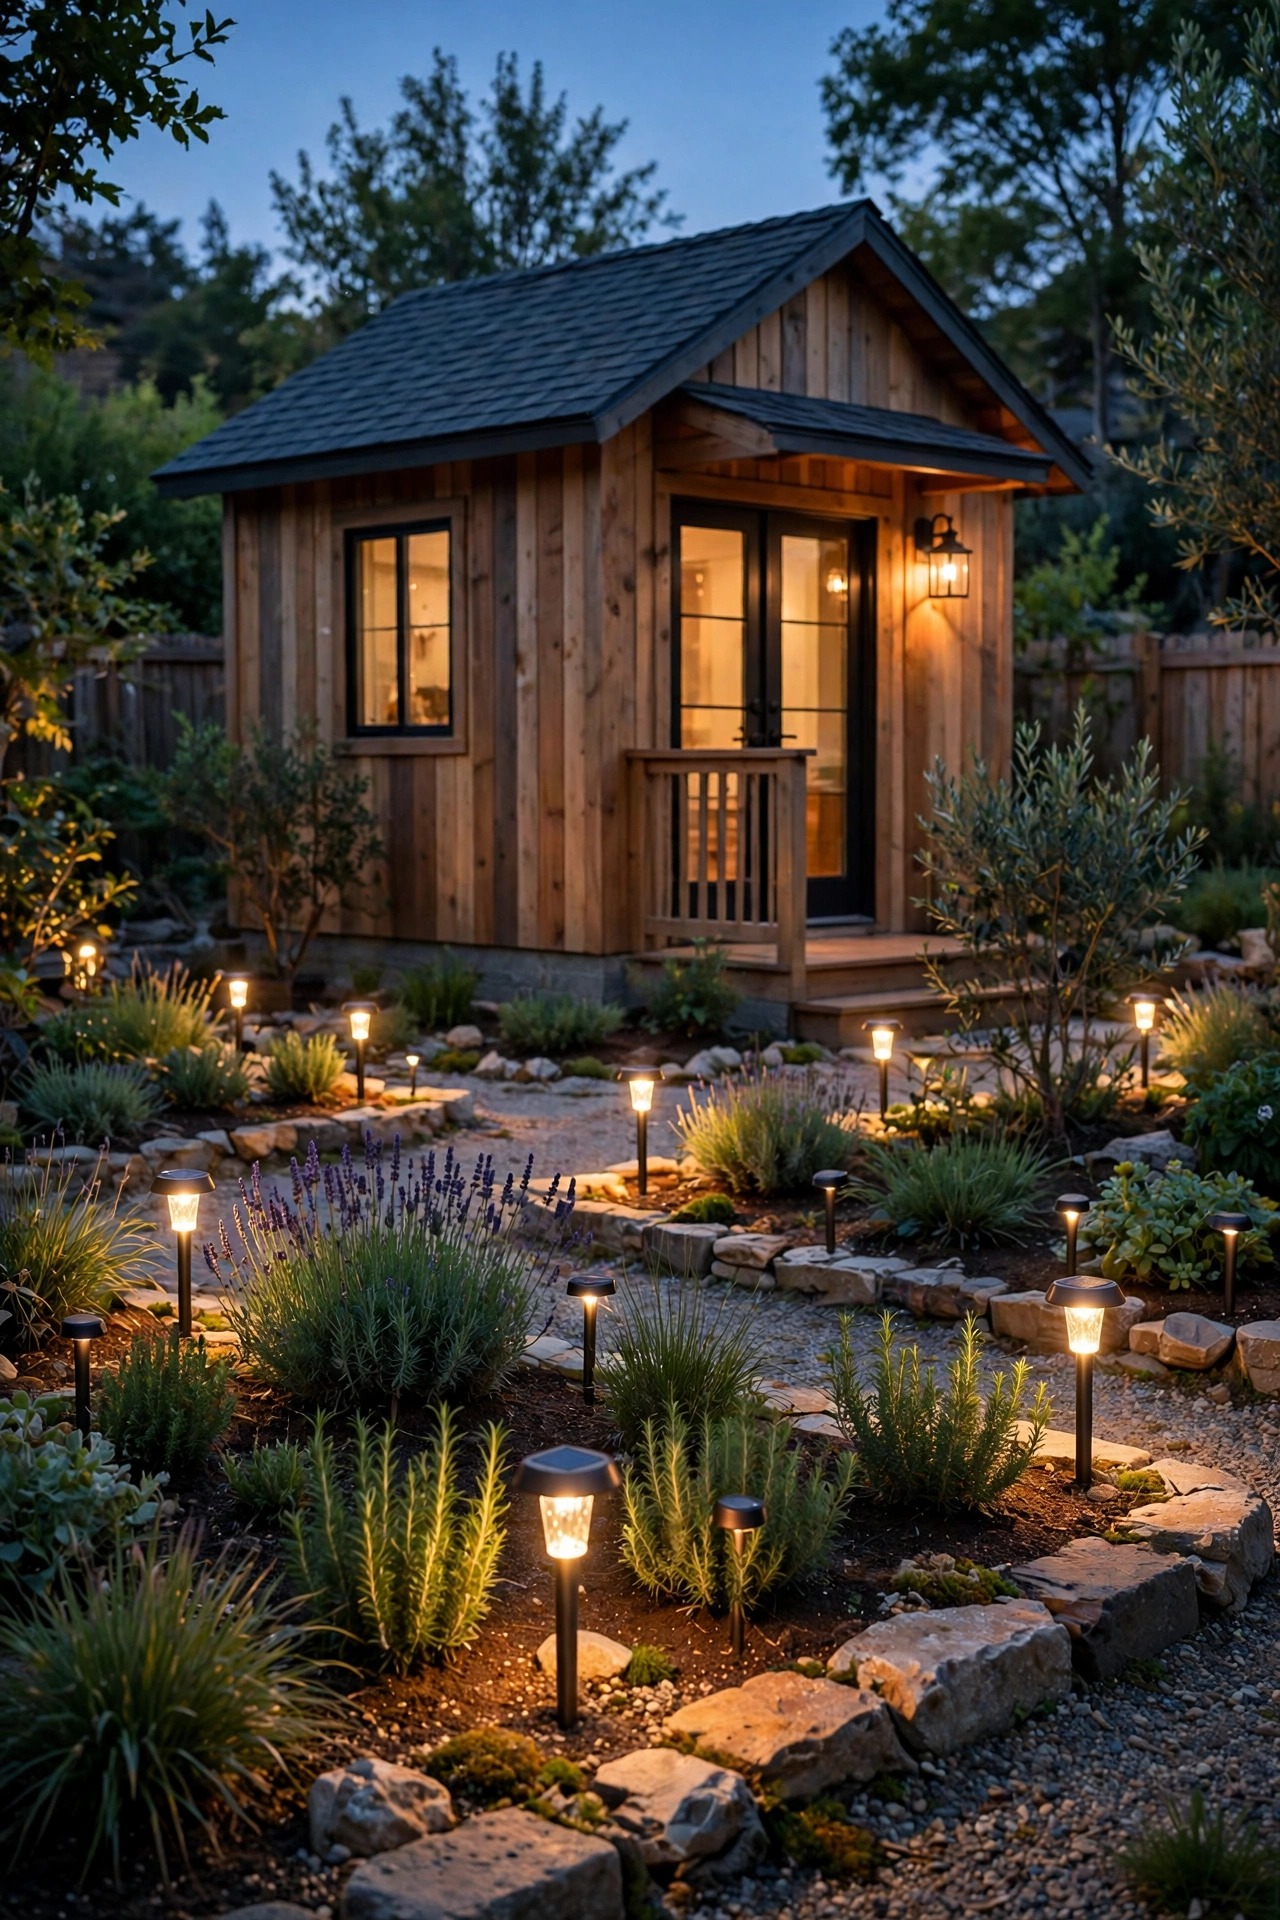
The planting beds around an ADU do double duty — they soften the little building and hide its foundation — and a row of solar stake lights turns them into the patio border. Push stakes in at the bed edges nearest the seating, spacing them 3 to 4 feet apart and staggering the heights slightly so the line feels planted rather than installed. Choose stakes with the panel on top of a warm white LED and a metal or heavy resin stem; the thinnest plastic stems snap the first time a suitcase wheel or a dog finds them. In the beds, solar beats wired for a practical reason: beds get replanted, divided and remulched, and every one of those jobs finds buried cable the hard way. If a bed sits in building shade all day, cheat the panel — many stakes let you angle the head, and even two extra hours of direct sun doubles the evening runtime. Expect a soft defining glow rather than real illumination, which is exactly the ground layer doing its quiet job around the patio edge.
Suggested budget range: $25 – $75.
17. Tie Your ADU Patio Lighting Ideas Together With One Warm Temperature
Here is the finale that makes the other sixteen ideas look like one design instead of a shopping list: pick one color temperature — 2700K warm white — and hold every bulb, strand, stake and sconce on the patio to it. Mixed temperatures are the invisible reason a patio feels off: a cool white path light beside warm string lights makes both look wrong, like two parties colliding. When you shop, read the Kelvin number on the box, not the words soft white, which mean different things to different makers. If an older fixture glows cooler than the rest, a replacement bulb is a five-dollar fix that unifies the whole patio in one evening. Warm light also flatters everything a guest house patio holds: skin tones, wood, food, brick and foliage all read richer at 2700K, and it draws fewer insects than blue-heavy light. Stand at the gate at dusk when you finish and squint. If every glow could be the same candle, you did it right — and that little squint test has never once lied to me.
Suggested budget range: $10 – $50.
Frequently Asked Questions
What color temperature is best for a guest house patio?
Warm white at 2700K is the sweet spot for a small ADU patio. It flatters faces, food and wood, feels like candlelight rather than a security flood, and attracts fewer insects than cooler light. Whatever temperature you choose, hold every fixture on the patio to the same number so the space reads as one design.
Can I light an ADU patio without an electrician?
Usually, yes. Solar path lights, stake lights and post caps need no wiring at all, string lights and lanterns run from a single outdoor GFCI outlet, and smart plugs add automation in minutes. Call an electrician only for new hardwired circuits or a new outlet, and always use fixtures rated for wet locations outdoors.
How do I keep patio lights from bothering the main house or the neighbors?
Aim everything down or at a surface, never out into the yard. Choose shielded fixtures, keep brightness modest, and put the whole setup on a timer that shuts off around 11 p.m. Low, warm, downward light gives guests a welcoming patio while windows on every side stay dark and private.
How much does it cost to light a small ADU patio?
A solid solar-and-string-light setup lands between $150 and $350 all in. Adding a hardwired sconce, a ceiling fixture and a low-voltage path system brings a full three-layer patio to roughly $400 to $800, and the LEDs involved cost only a few cents per evening to run.
Conclusion
A guest house patio does not need more light — it needs layered light: a safe path in, a warm glow at sitting height, and one soft layer overhead, all at the same 2700K warmth. Start with whichever of these adu patio lighting ideas solves your darkest moment, live with it for a week, and let your eyes pick the next one. Before long the smallest patio on the property will be the seat everyone asks for. Browse the rest of our outdoor lighting ideas here on the site for the main yard, and give your guests an arrival they remember for the right reasons.