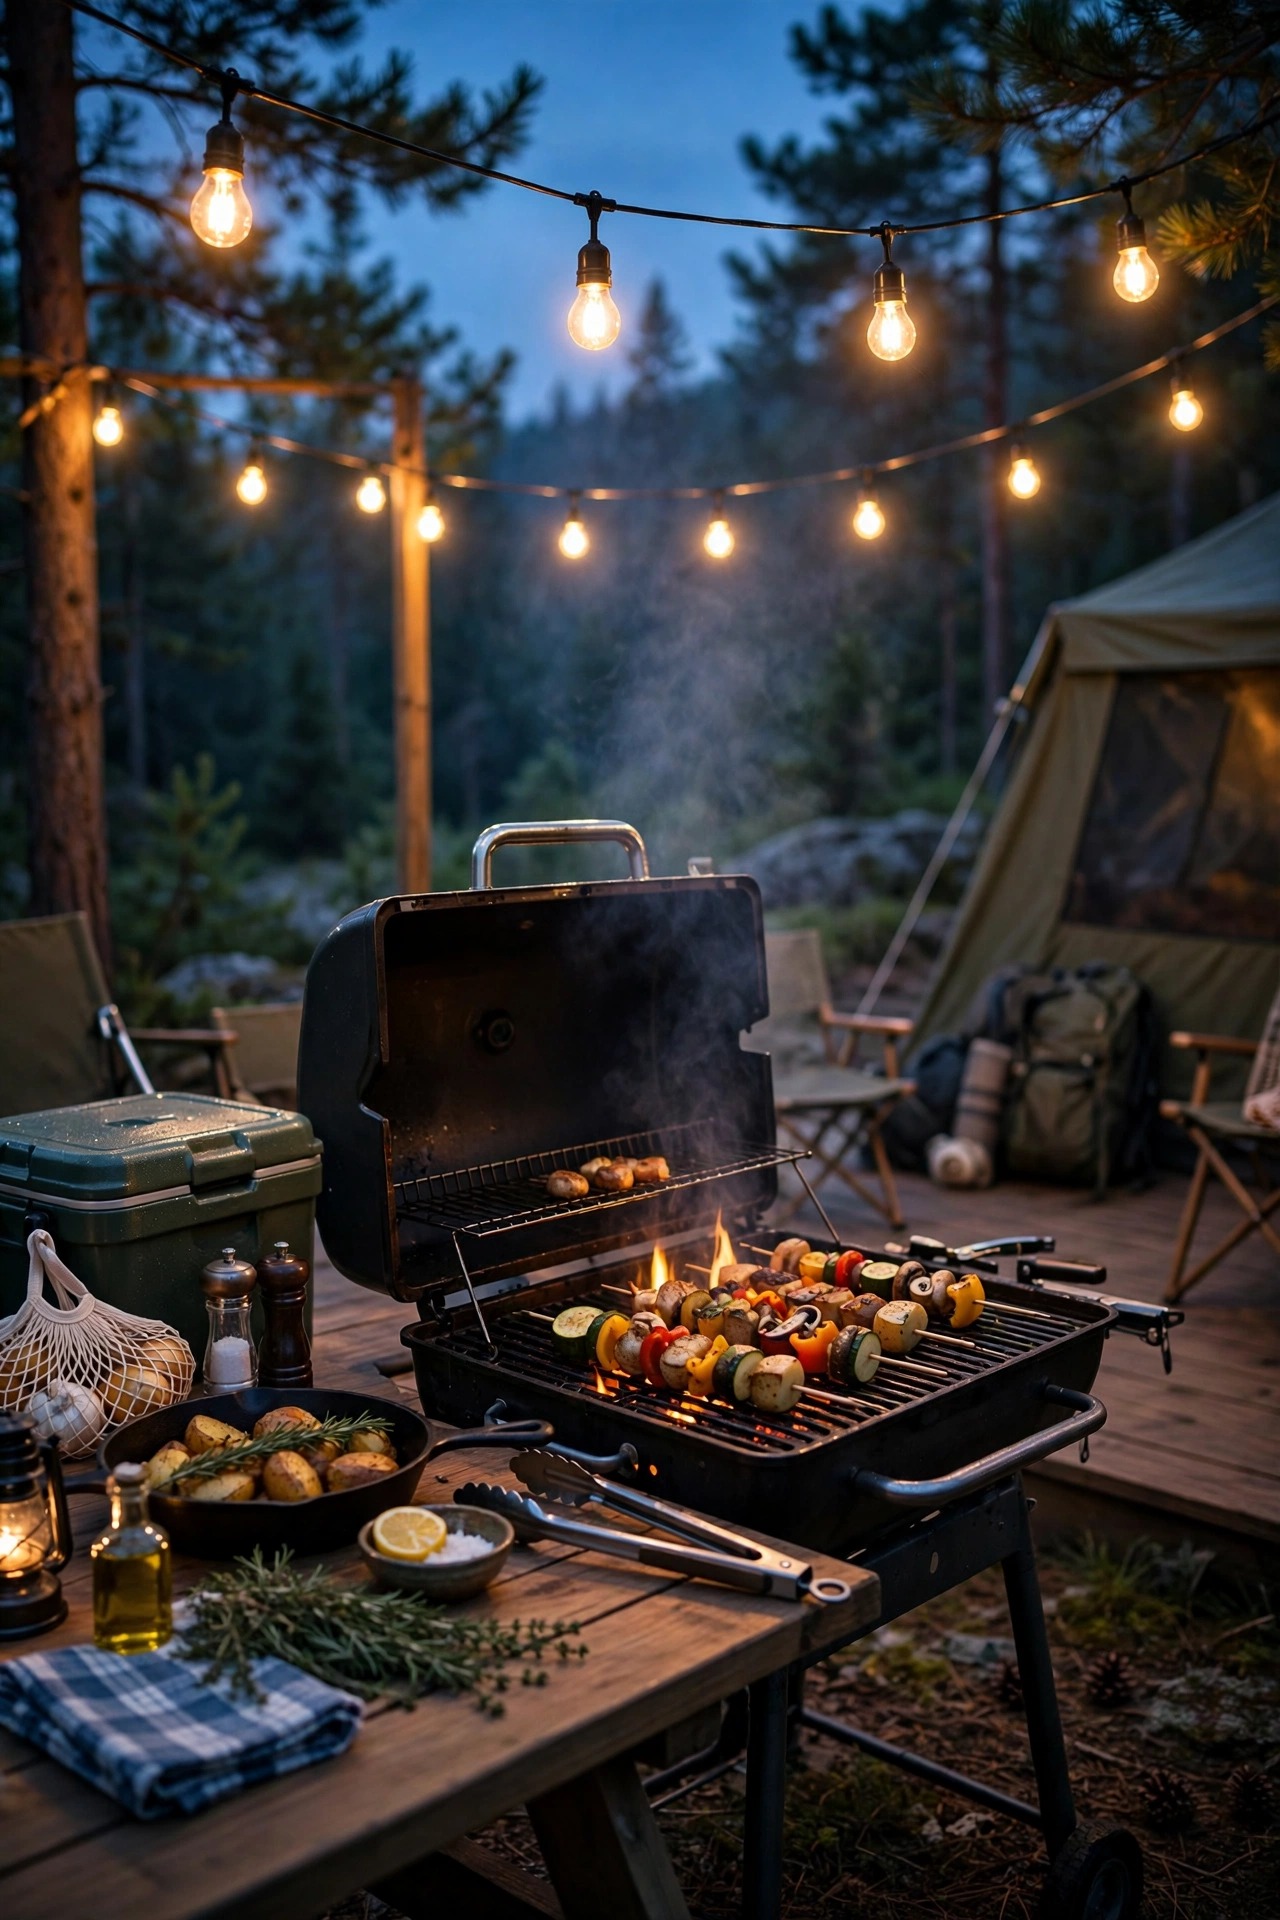
There is a moment every RVer knows well: the sun drops behind the trees, the grill is sizzling, and your little patch of campground suddenly feels like the coziest living room in the whole park. That moment never happens by accident. After years of weekends in everything from wooded state parks to wide-open desert boondocking spots, I have learned that the best rv patio lighting ideas are the ones that pack small, set up in minutes, and layer light the same way I layer it at home. One soft wash overhead, a warm glow at table height, and a gentle ground layer to show everyone where the steps and stakes are. Everything on this list runs on solar, batteries, or your rig power system, so you never go hunting for an outlet or trip over cords in the dark. And because storage space in an RV is precious, every idea here either folds flat, nests inside something else, or weighs next to nothing. Here are the nineteen setups I reach for again and again.

1. Start With Layers: The RV Patio Lighting Ideas That Always Work
Before you buy a single bulb, decide on your layers. At home I always say good lighting comes in threes, and the same rule works beautifully on a campsite pad. You want one soft source up high, like string lights under the awning, one friendly glow at table height, and a low layer that shows people where the ground changes. When I plan rv patio lighting ideas for a trip, I sketch the pad in a notebook: awning on one side, mat in the middle, chairs around the edge. Then I give each layer a job. The overhead layer is for mood, the middle layer is for faces and food, and the ground layer is pure safety, marking steps, tent stakes, and guy lines so nobody trips at midnight. Sticking to one color temperature, warm white around 2700 to 3000K, makes mismatched pieces look like a matching set. I also keep one spare strand and spare batteries in the same tote, because the prettiest plan fails if a strand dies on night one. Do one full test setup in your driveway before the first trip. You will learn exactly how long setup takes and what you are missing.
Suggested budget range: $40 – $120.

2. Clip String Lights Along the Awning Edge
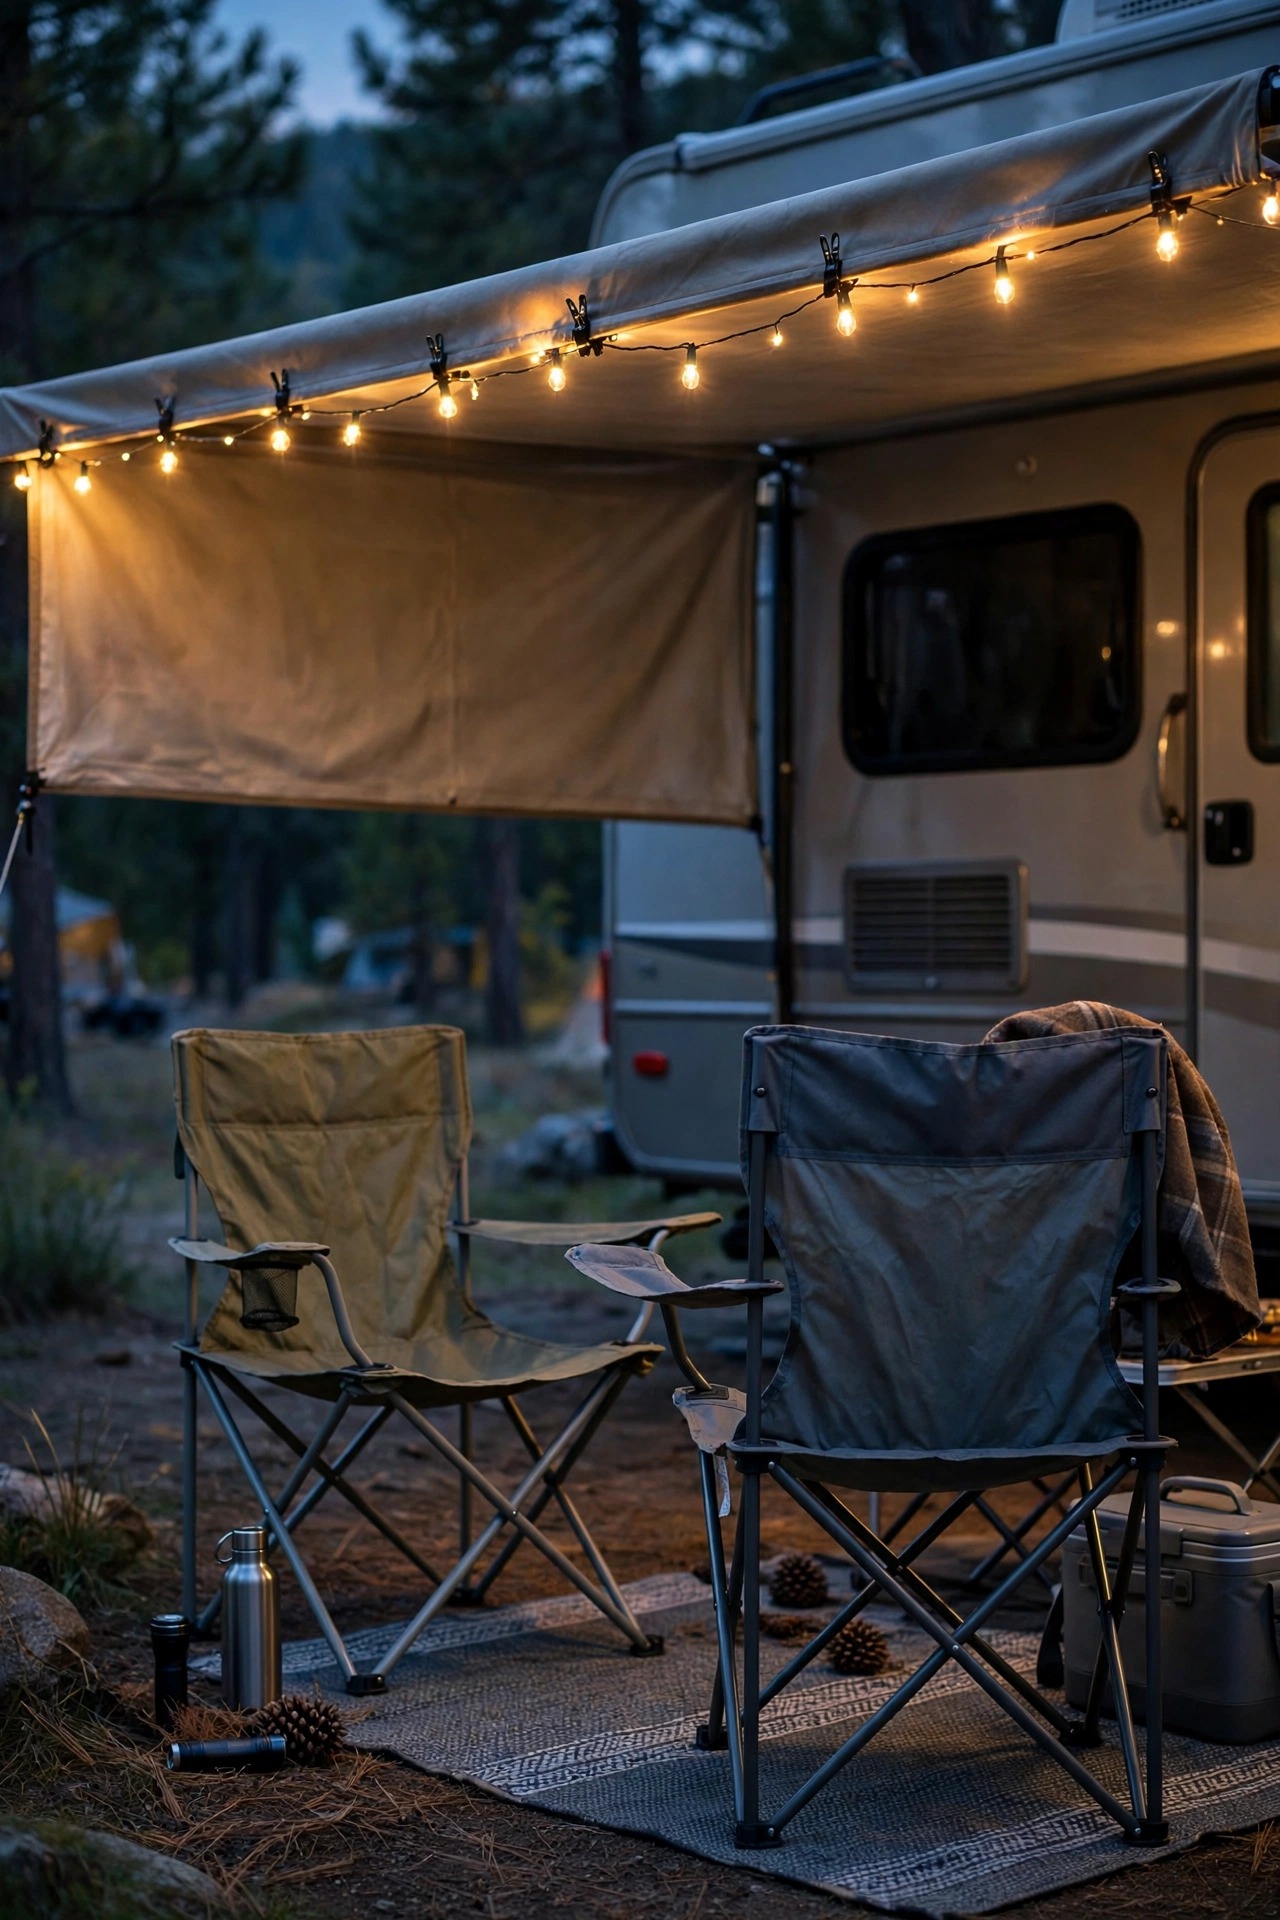
The awning is the ceiling of your outdoor room, so it is the natural place for your overhead layer. I use plastic awning clips that slide onto the rail or grip the fabric edge, spaced about every 12 to 18 inches, and I never drill a single hole in the rig. Look for LED string lights with shatterproof plastic bulbs, because glass bulbs and gravel pads are a bad combination. A 25-foot strand covers most awnings nicely; let it swag gently, about 6 inches of dip between clips, instead of pulling it drum-tight. That relaxed curve is what makes it feel like a cafe patio instead of a work site. If your awning has a built-in LED strip already, run the string lights along the front edge anyway, since the softer, warmer points of light are far more flattering. One safety habit: route the cord so it never crosses the doorway at head height, and plug into an outdoor-rated outlet or run the strand on battery power. When you break camp, the strand coils into a one-gallon zip bag in about two minutes.
Suggested budget range: $15 – $45.
3. Hang a Lantern From a Hook by the Door
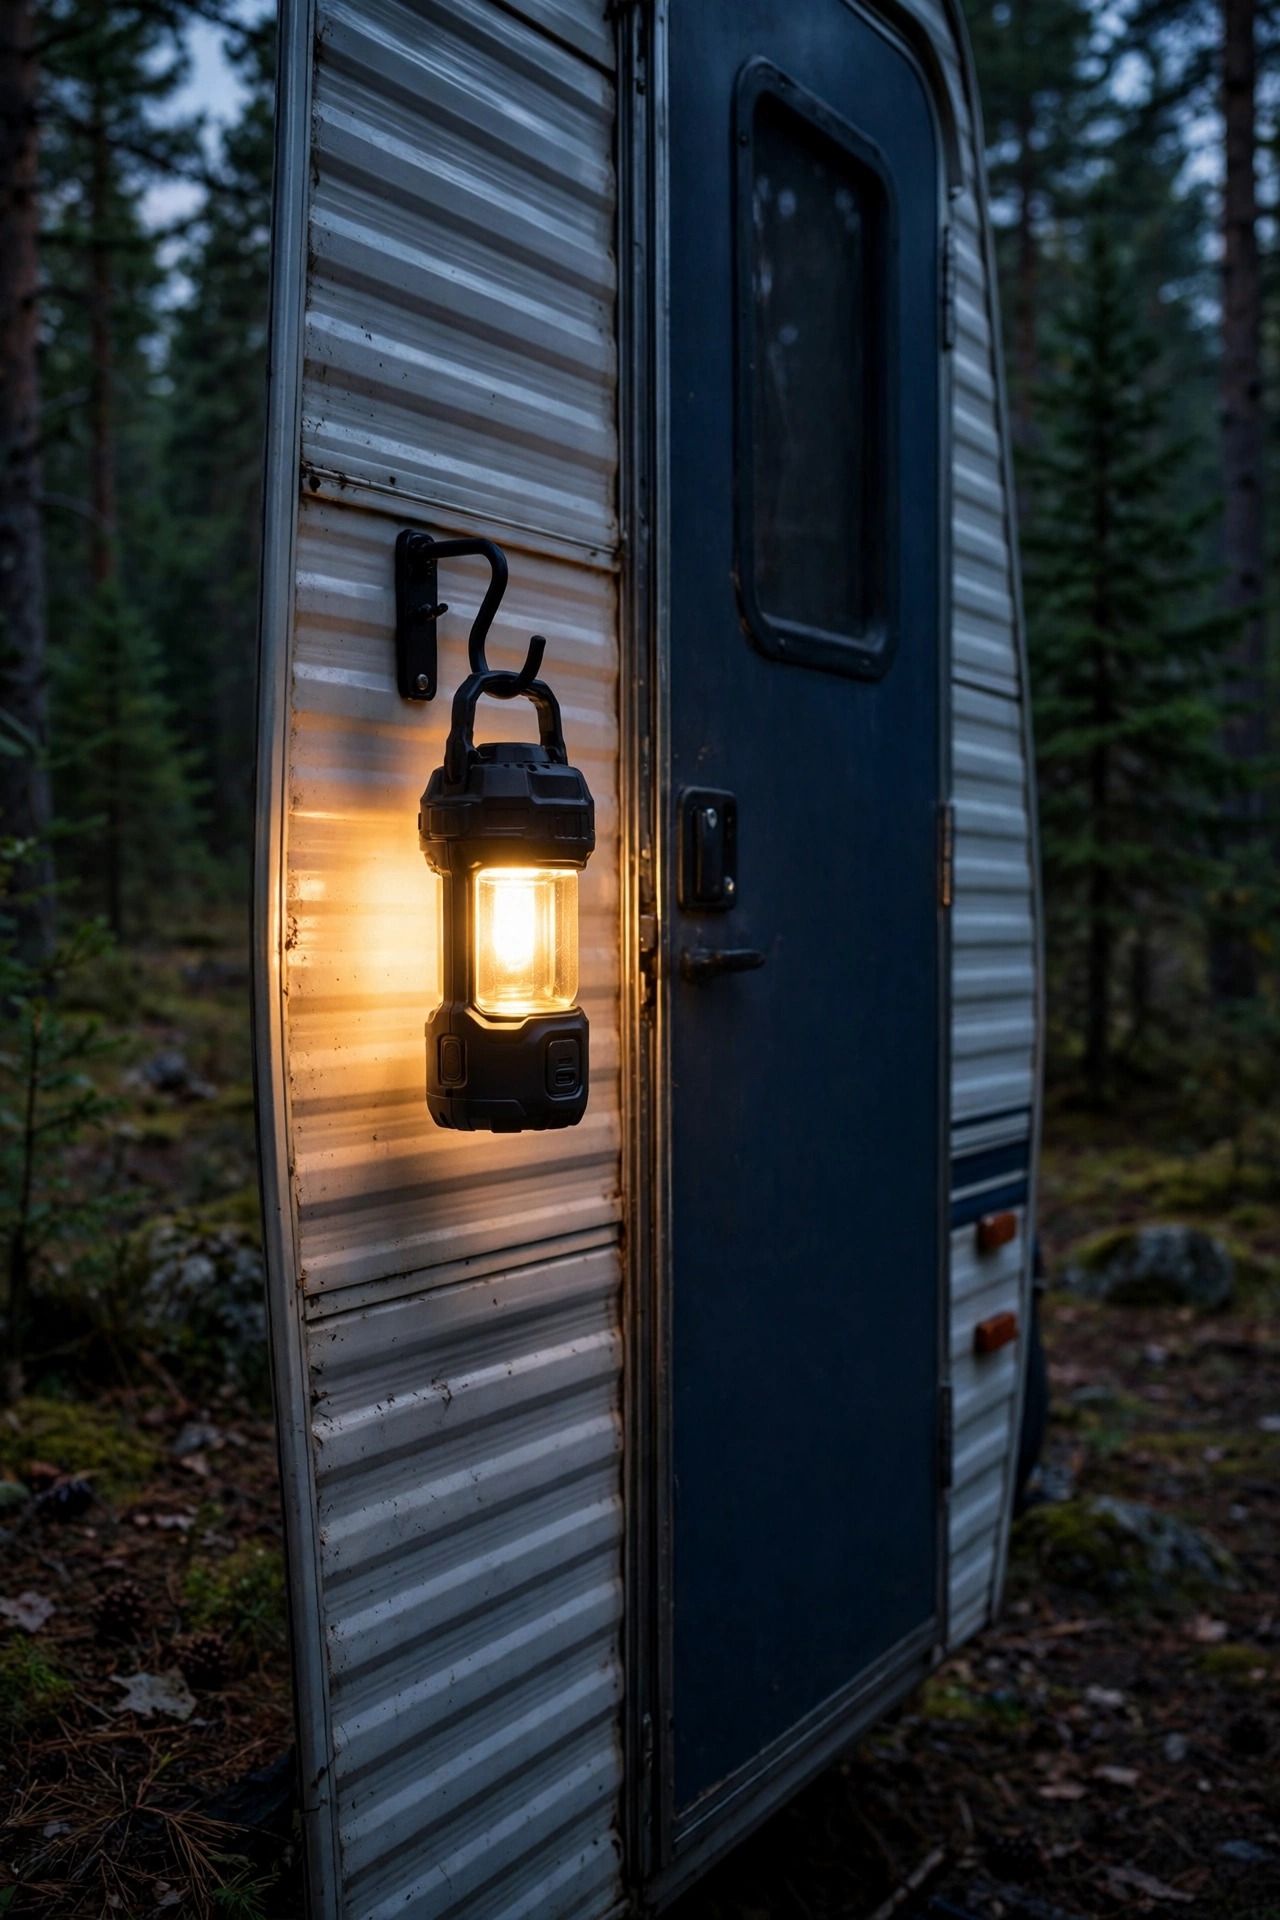
Every patio needs one welcoming focal point, and mine is a lantern hanging right beside the door. A heavy-duty shepherd's hook staked into the ground works at most campsites, while a clamp-on hook that grips the awning arm is better on paved pads where nothing goes into the ground. Hang the lantern about 5 to 6 feet high so the glow lands on faces instead of blinding anyone walking up. I choose a rechargeable lantern with a warm dim setting, because full brightness on white plastic is harsh, and a soft amber glow feels like candlelight. The hook also solves a storage puzzle: it breaks down into two short pieces that ride in the same tote as the lights. This is also the light I leave on when we walk the dog after dark, since it marks home from three sites away without lighting up the whole loop. If you camp where hooks are not allowed, a suction-cup or magnetic lantern on the side of the rig does the same job.
Suggested budget range: $20 – $50.
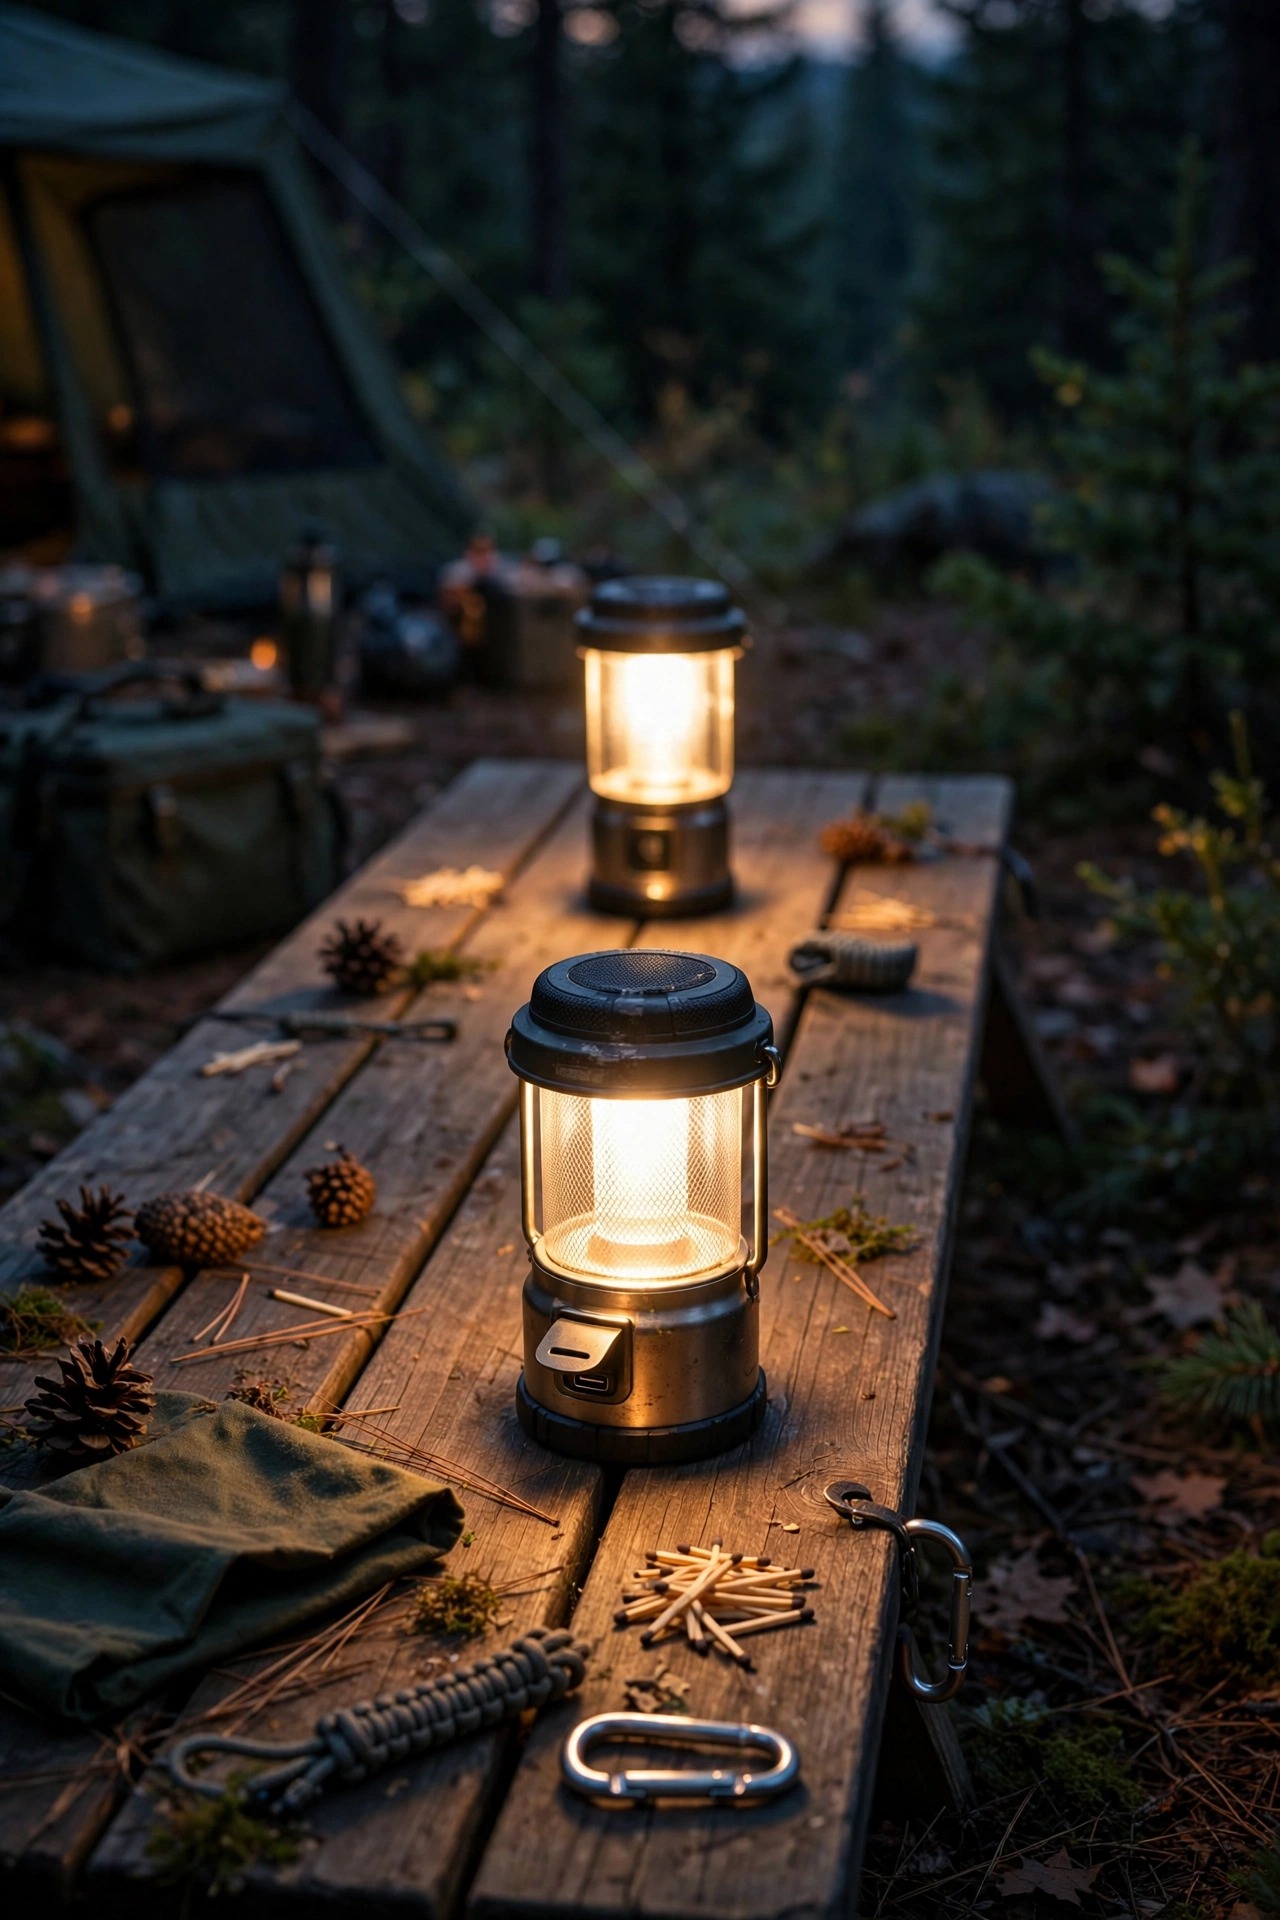
4. Set Rechargeable Lanterns Down the Middle of the Table
Table light is the layer that makes dinner look delicious and card games possible, so I skip candles and go straight to rechargeable LED lanterns. Two or three small ones down the center of the camp table, set to their lowest warm setting, beat one blazing lantern every time. Look for models that charge by USB, because one charging cable in the rig handles phones, fans, and lanterns alike. Most give 8 to 24 hours of light per charge depending on brightness, which means a weekend trip needs no charging at all if you start full. I like lanterns with a frosted shade that spreads light sideways rather than beaming it into eyes across the table. They also pull double duty: one lives by the door for midnight trips, and one goes inside the tent for the grandkids. Flameless means no fire risk near paper plates, napkins, and curious little hands, which matters a lot in dry, windy campgrounds. When the trip ends, they nest into a shoebox-size bin, charged and ready for the next weekend.
Suggested budget range: $25 – $60.
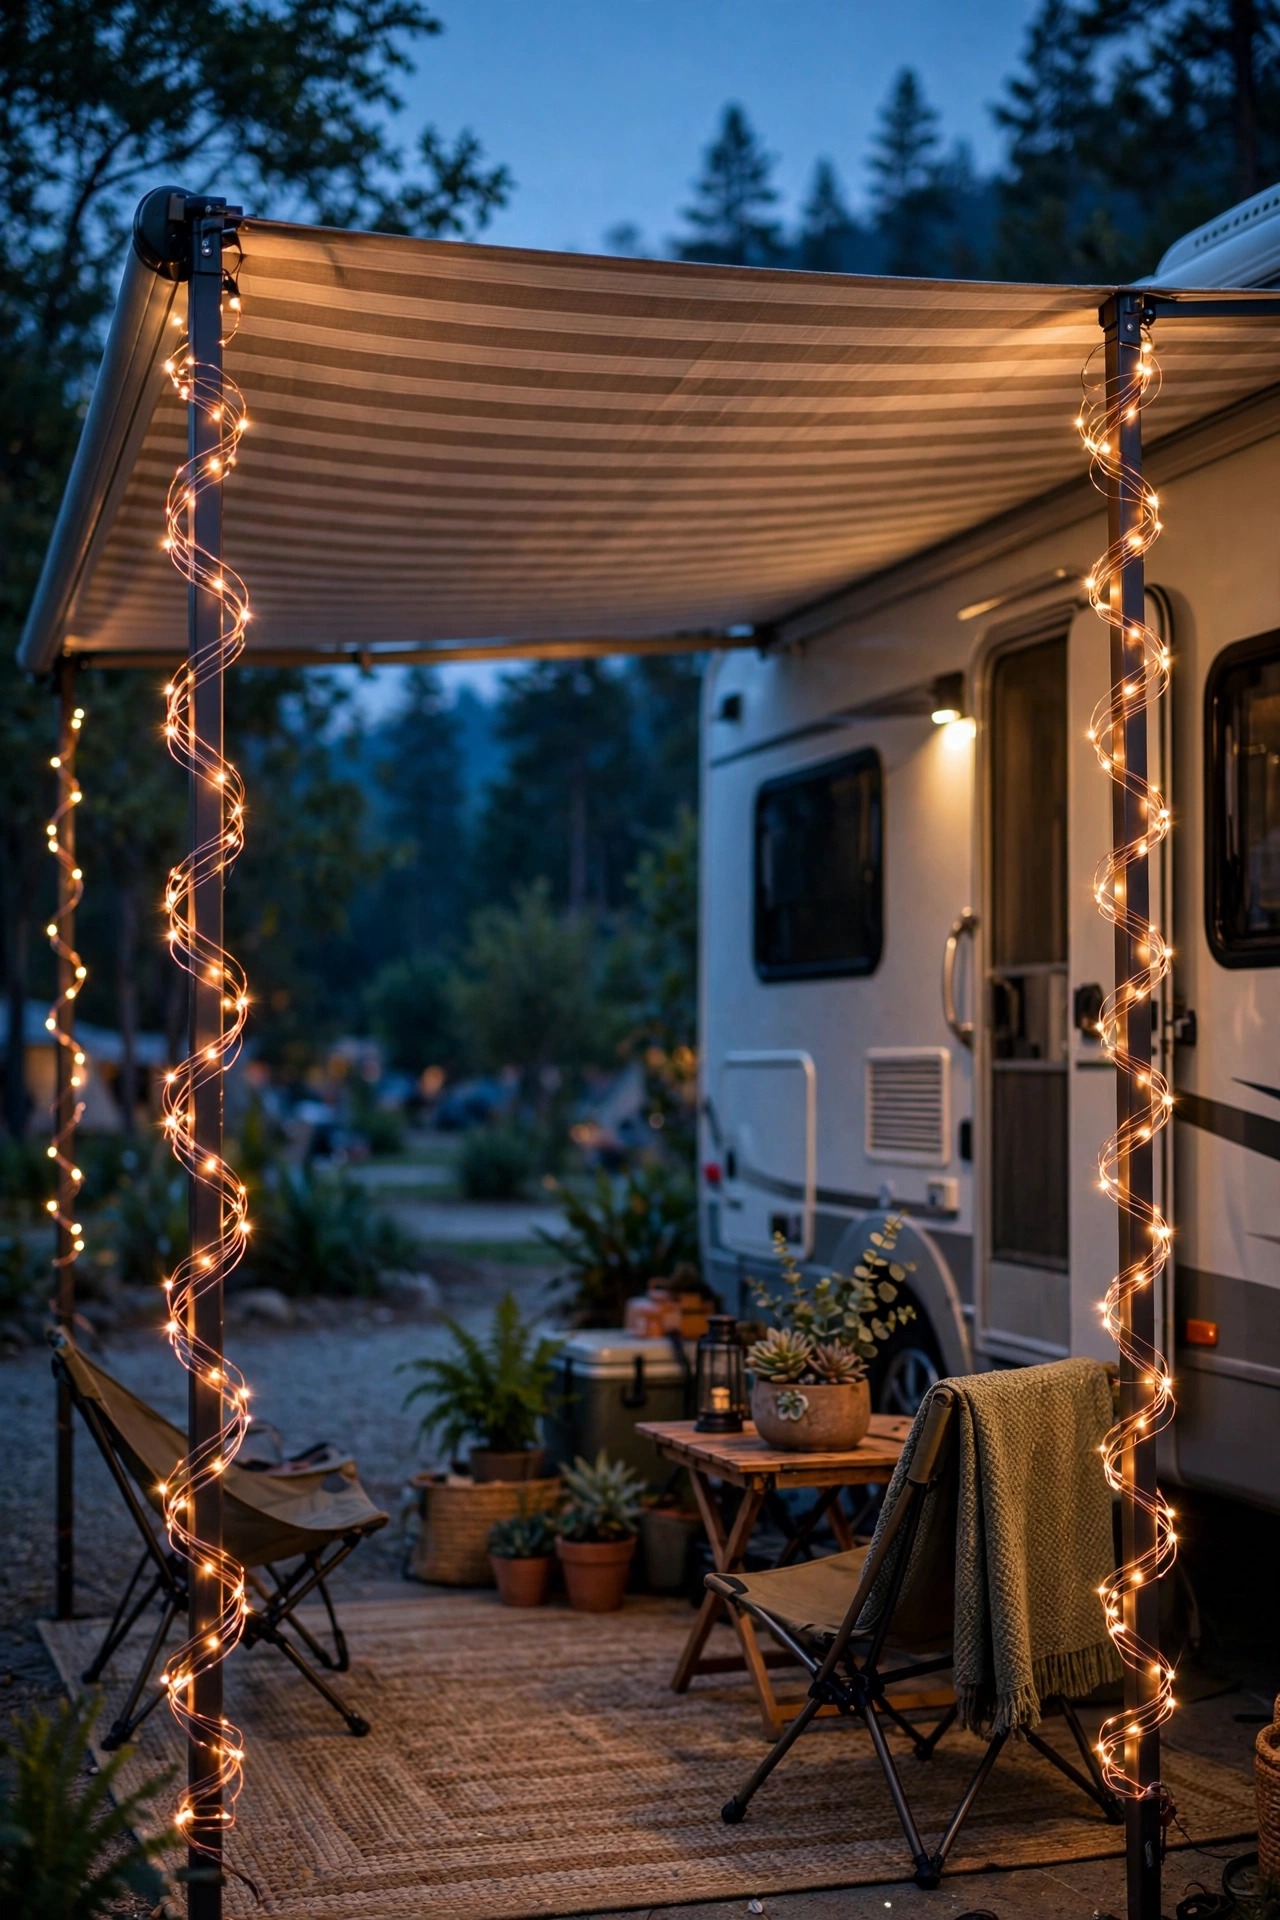
5. Wrap Copper-Wire Fairy Lights Around the Awning Poles
Copper-wire fairy lights are my secret weapon for making a plain campsite look magical in five minutes. The wire is so thin you barely see it during the day, and at night you just see a spiral of warm sparks climbing each awning pole. I wrap one 16-foot battery strand per pole, spacing the turns about 4 inches apart, and tuck the battery pack into a small waterproof box or zip bag clipped at the base. Choose the kind with a built-in timer, six hours on and eighteen off, and you will never crawl out at midnight to switch them off. Battery sets usually run a week of evenings on one set of AA batteries, so there is no cord running to the rig at all. The same strand works wrapped around a camp chair frame, stuffed into a mason jar as a centerpiece, or threaded along the edge of the outdoor mat. Because the whole thing weighs a few ounces, it is the first light I pack and the last one I would ever leave behind.
Suggested budget range: $8 – $20.
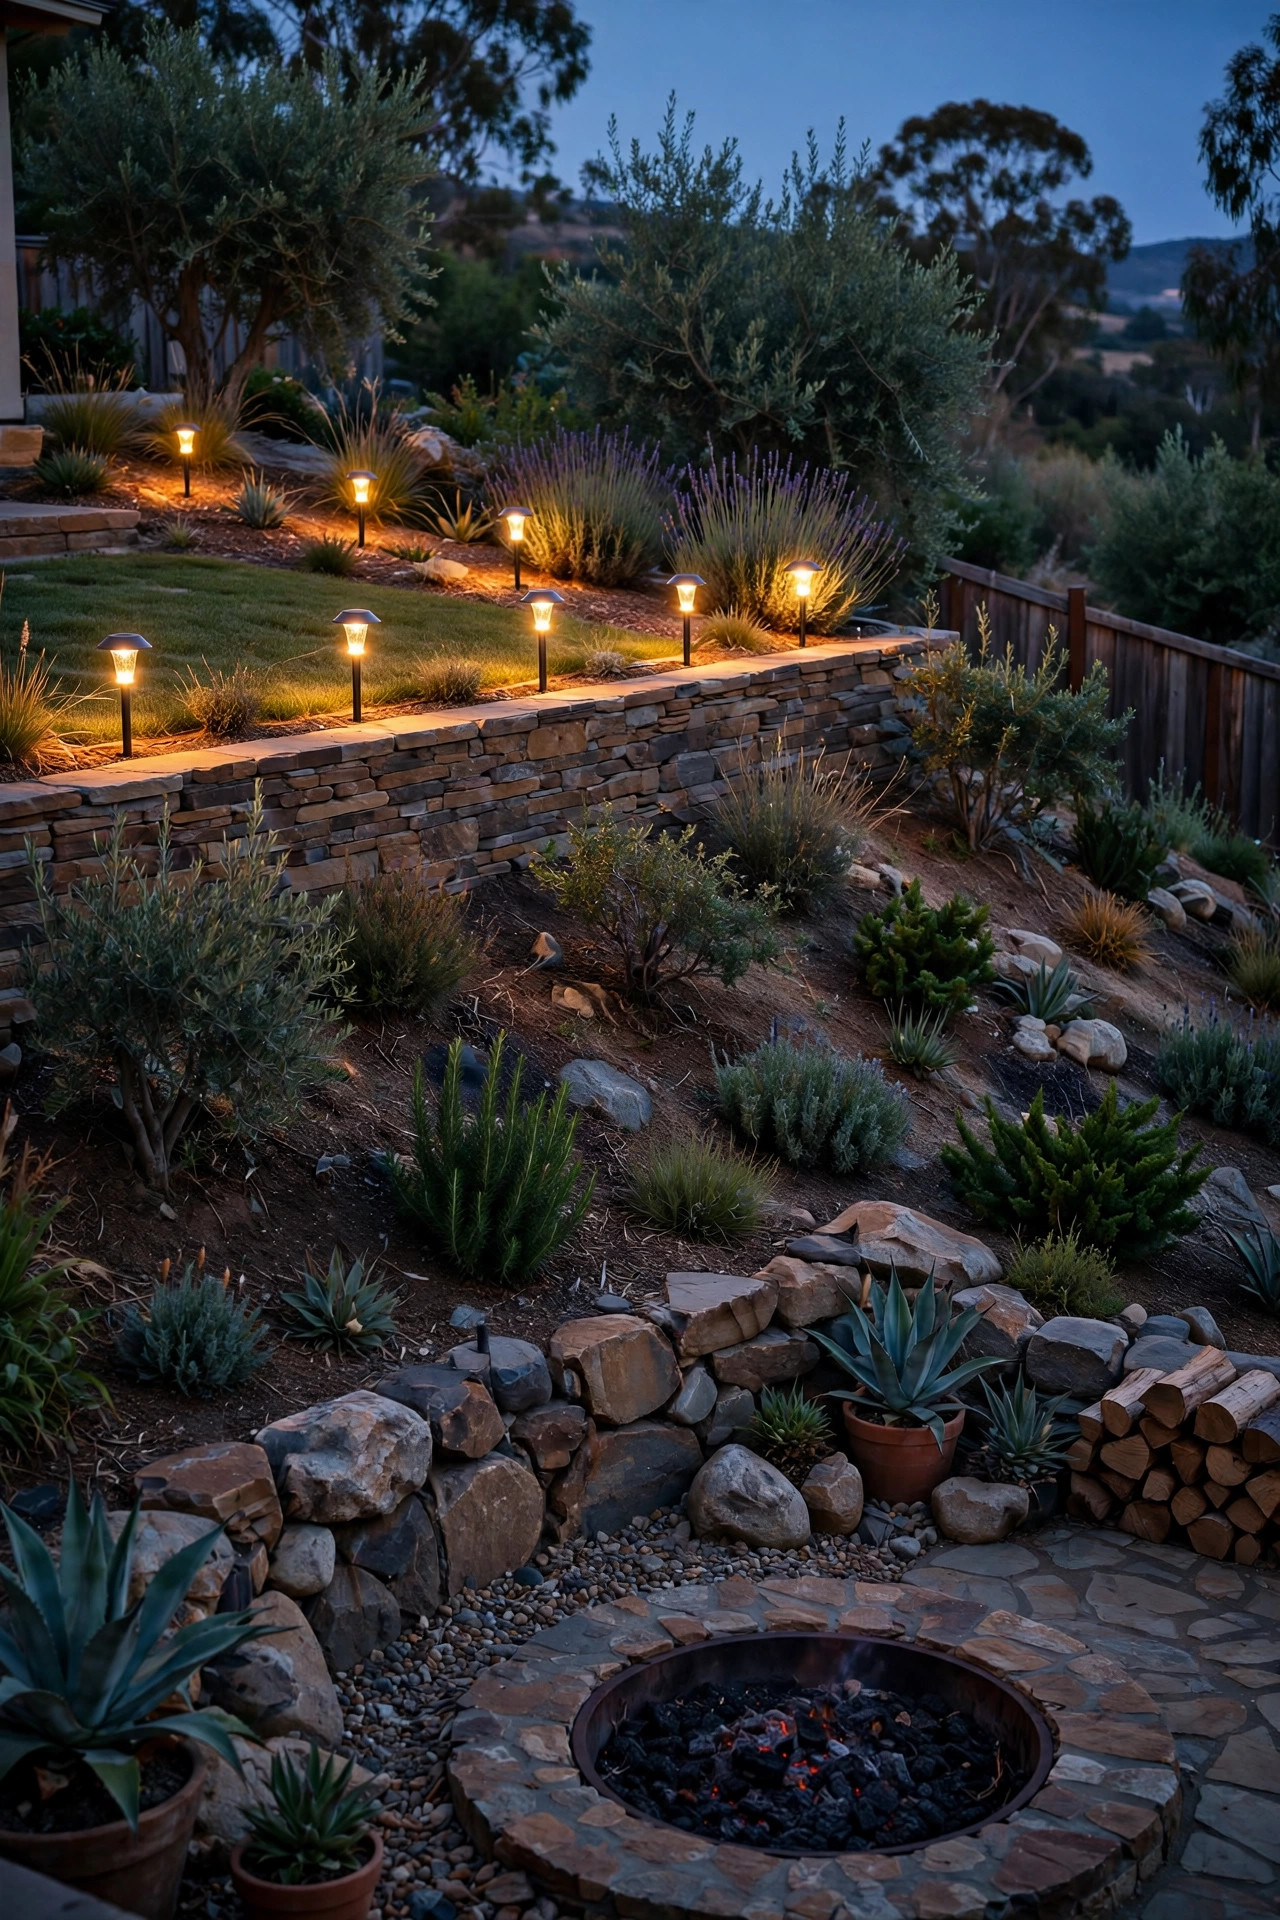
6. Mark the Patio Edge With Solar Stake Lights
Ground-level light is your safety layer, and nothing does it more simply than solar stake lights pushed in around the corners of your outdoor mat. I place four to six of them: two at the mat corners nearest the road, two flanking the steps, and a couple along any path feet actually travel. Choose warm white versions, not the blue-white ones, so they blend with the rest of your setup instead of looking like runway beacons. Stakes that charge all day in full sun will glow for 6 to 10 hours, plenty for an evening of sitting out. The trick is placement: they need real sun during the day, so if your site is deeply shaded, set them in the sunny patch by the road each morning like little sunbathers. In my experience this five-minute walk-around at dusk, checking each corner, prevents the stubbed toes and tripped-over cooler corners that ruin trips. Pull them up on departure day and they ride home in a coffee can, dirt and all, ready for the next site.
Suggested budget range: $15 – $35.
7. Stick LED Strip Lights Under the Step and Awning Rail
The entry step is the single most tripped-over spot on any rig, and a short run of LED strip light fixes it beautifully. Peel-and-stick strips rated for outdoor use stick under the step edge, along the awning rail, or beneath a cabinet lip inside the door, and you can trim them to length with scissors at the marked cut points. I power mine from a small USB battery pack or the rig battery system through a fused lead, and add a simple inline switch so it is one tap on and off. The light points down, washing the step treads in a soft pool instead of shining into anyone's eyes. Look for strips with an IP65 rating or better so road spray and rain are not a worry, and press them onto clean, dry surfaces with the adhesive plus a few small clips for insurance. One roll usually covers the step, the rail, and a bonus strip under the outdoor kitchen hatch. It all stores in a sandwich bag, which still amazes me.
Suggested budget range: $12 – $30.

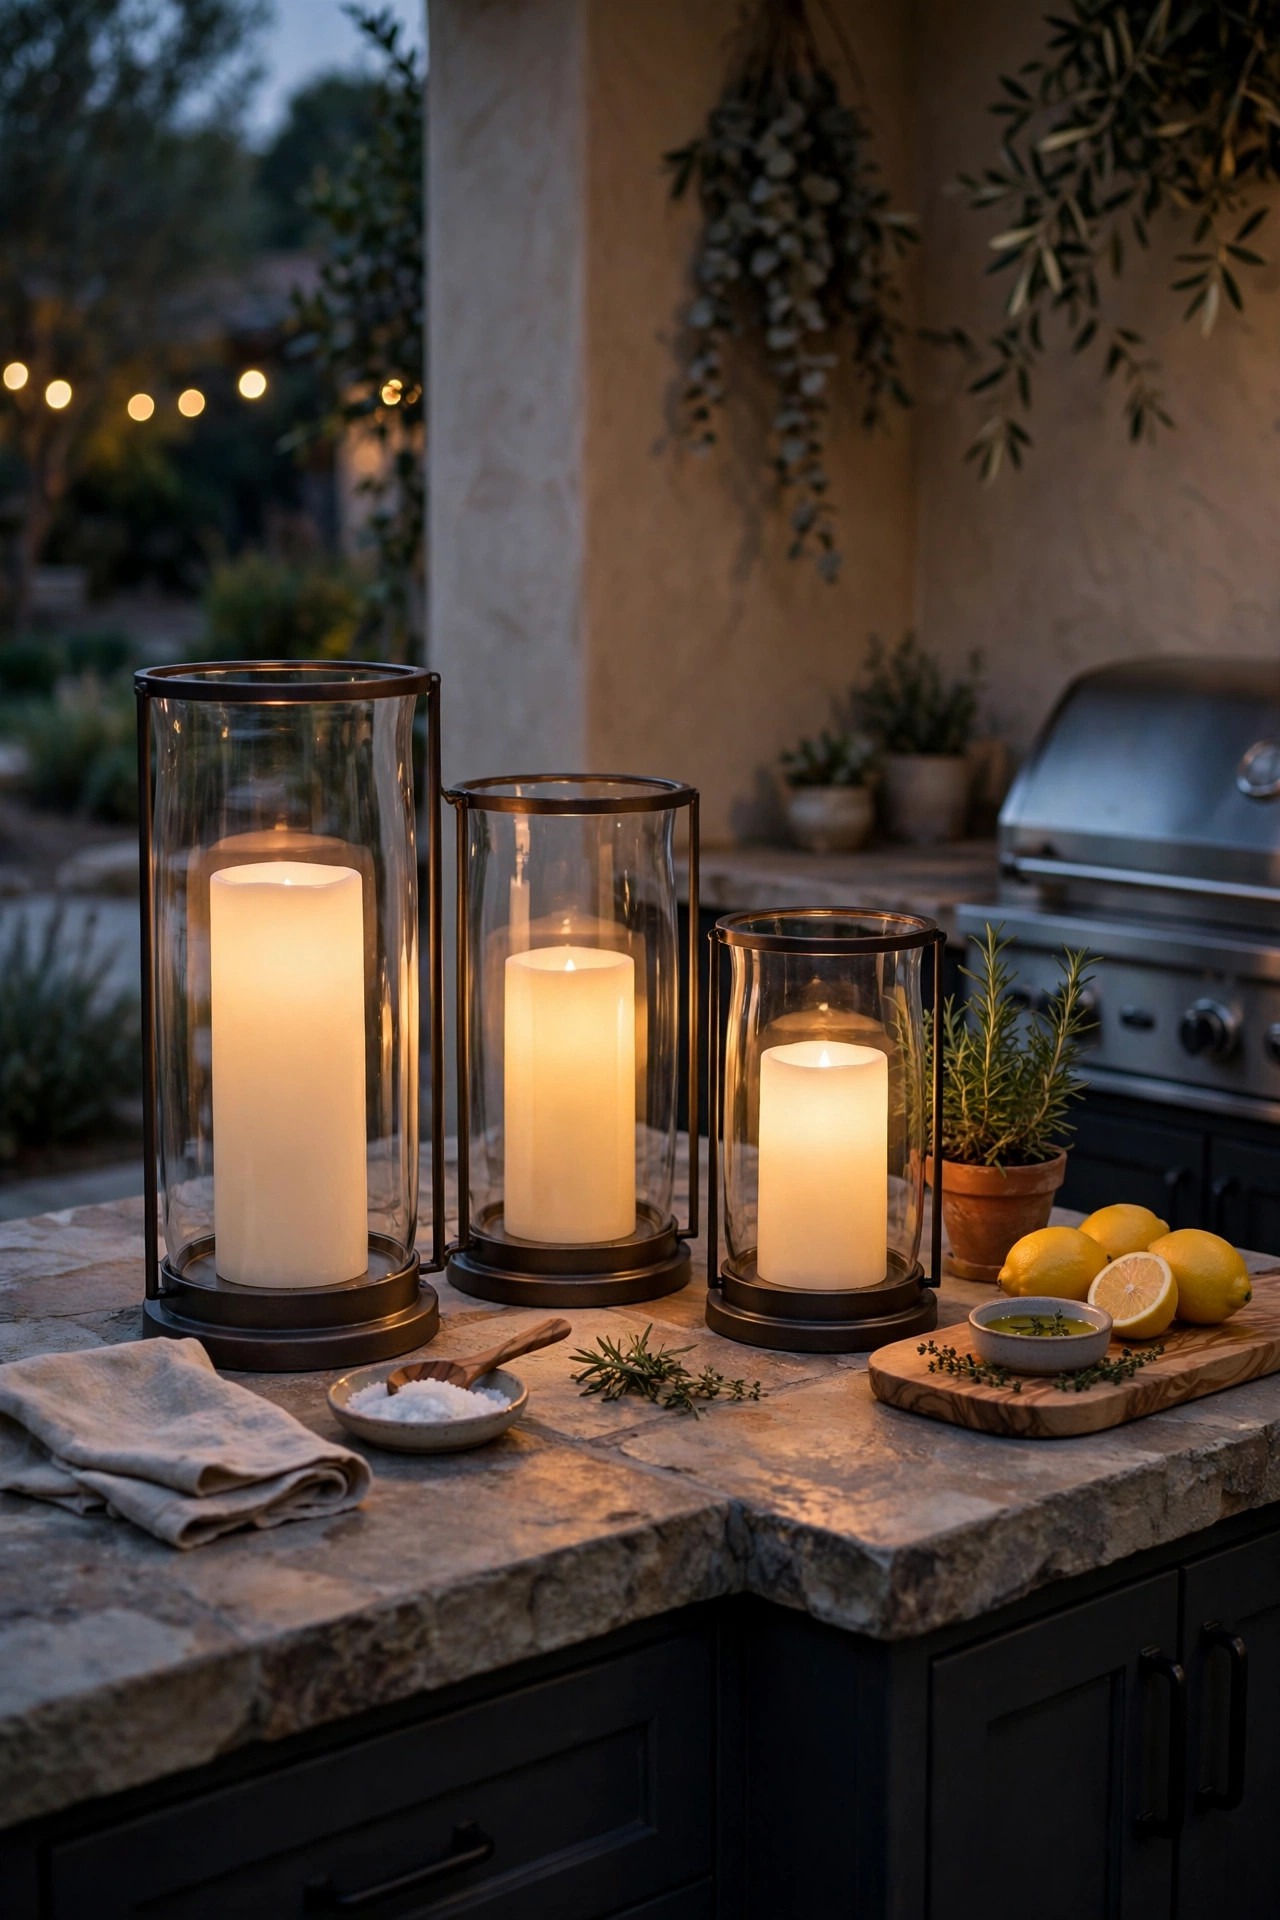
8. Use Flameless Candles When the Wind Picks Up
Real candles and camp life mix poorly: one gust and you have wax on the mat, a tipped flame near dry leaves, or a lantern glass too hot to move. Flameless LED candles give me the same flickering warmth with none of the worry, and I scatter them everywhere. A cluster of three inside a hurricane lantern on the table, a couple on the steps, one in the bathroom window so it glows like a nightlight from outside. The timers are the magic part, since most turn themselves on at dusk once you set them, then shut off four or five hours later while you are still mid-conversation. Choose ones with a realistic warm flicker rather than a steady stare, and mix heights for that collected-over-time look. They are also the one light I happily hand to kids for tent reading. A set lives permanently in the rig, another rotates in from the house for holidays, and red or orange ones come out for fall trips. Zero fire risk near awning fabric, paper goods, and dry leaves makes them welcome at every campground I have ever visited.
Suggested budget range: $10 – $25.
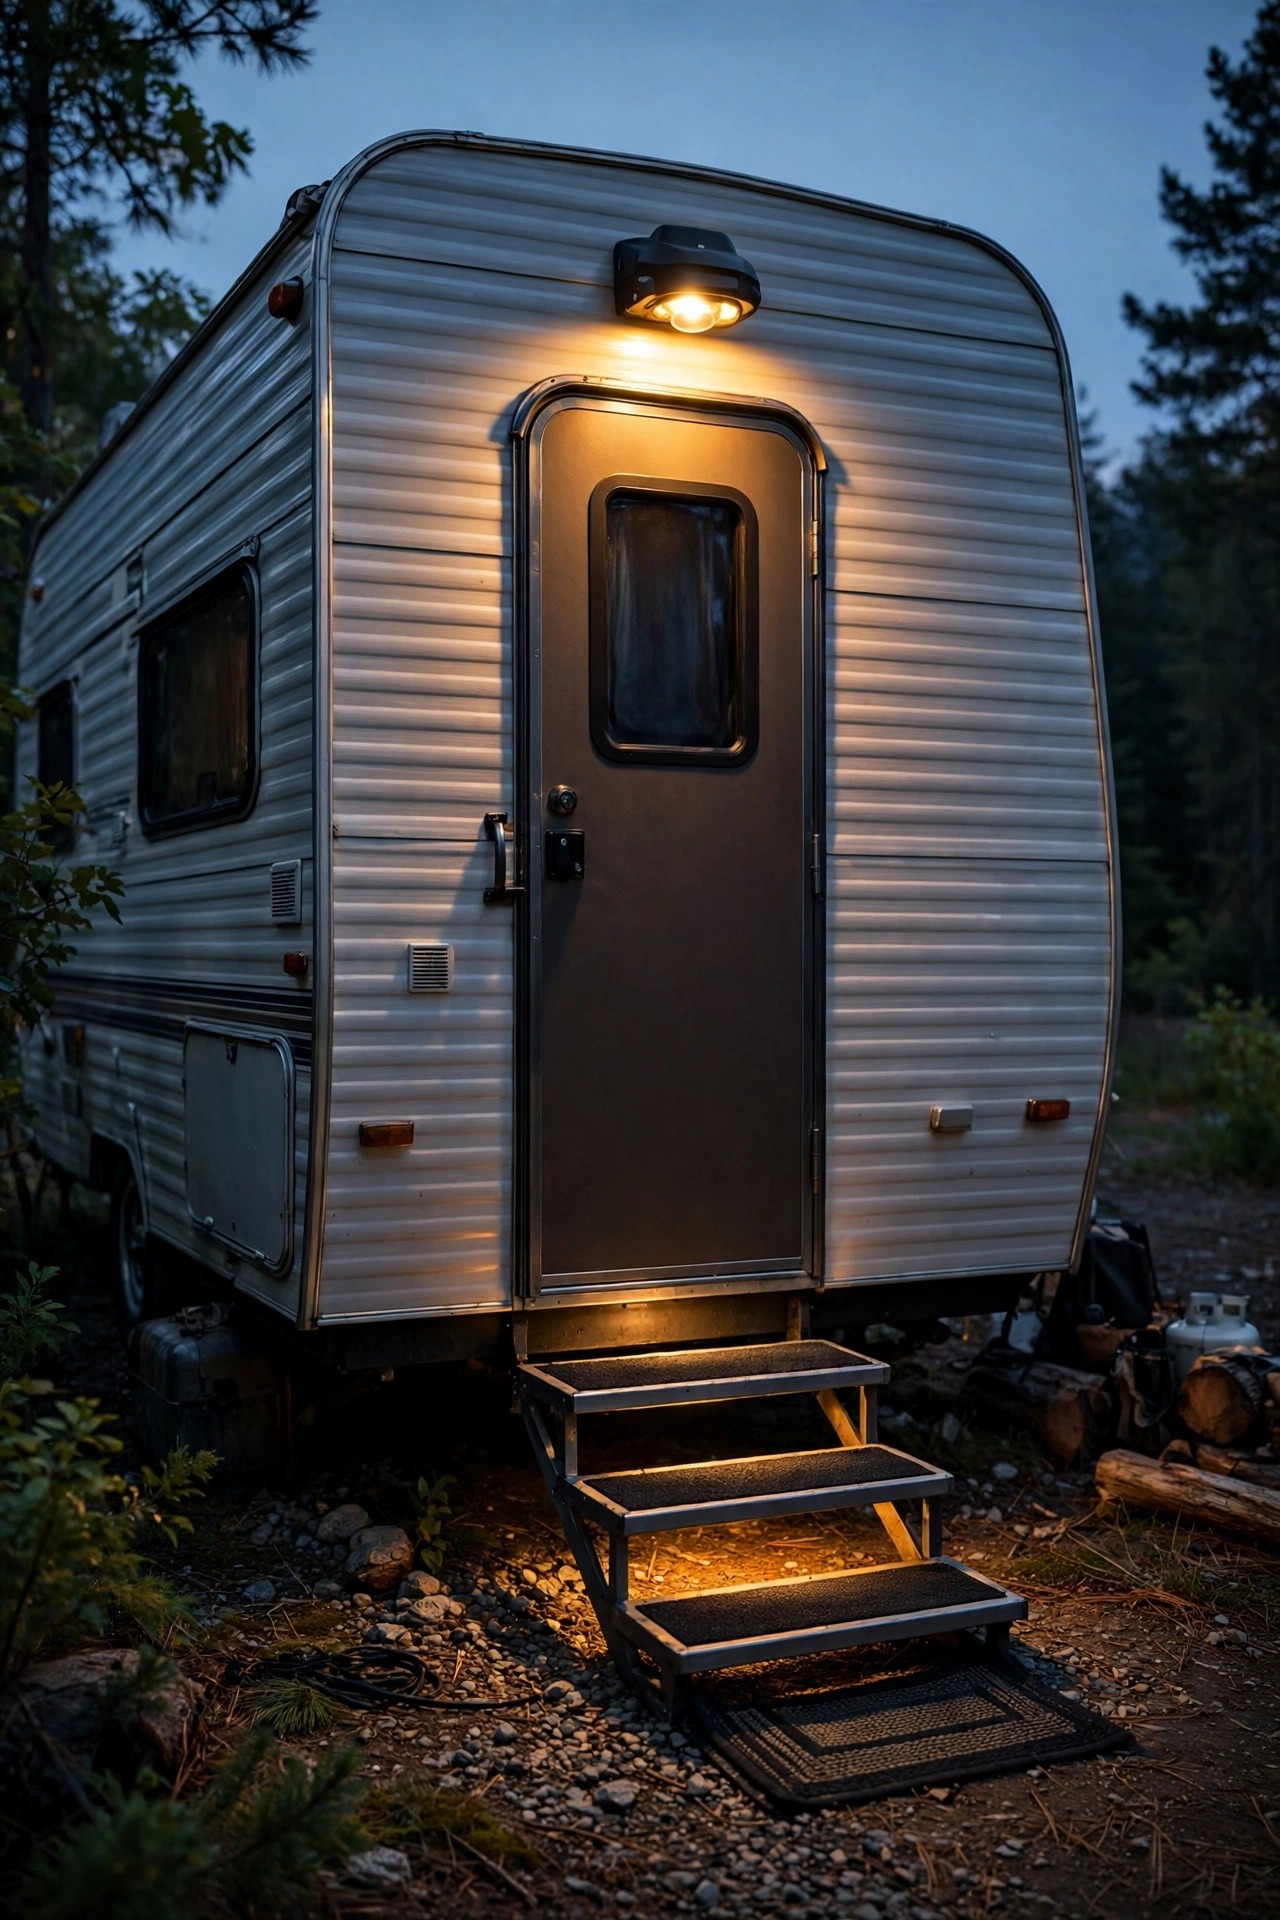
9. Add a Motion-Sensor Light Over the Door
A small motion-sensor light above the door is the hardest-working light on our rig. It clicks on when we step out for the dog, when the kids come back from the bathhouse, or when something rustles the trash can at 2 a.m. Battery and solar versions both stick on with heavy-duty outdoor mounting tape or a couple of screws into the door frame trim, no wiring required. Aim it to cover the steps and the first few feet of pad, and set the timer short, 15 to 30 seconds, so it does not drain itself shining on every passing moth. I look for a warm white output and a sensor you can switch fully off in daylight. This is also a gentle security layer: a dark campsite that suddenly glows when approached feels occupied, because it is. Honestly, the best part is hands-free arrivals with arms full of firewood or a sleepy toddler. One light, installed in ten minutes, and you will wonder how you ever fumbled with keys in the dark.
Suggested budget range: $15 – $40.
10. Try Solar RV Patio Lighting Ideas for Zero-Wiring Glow
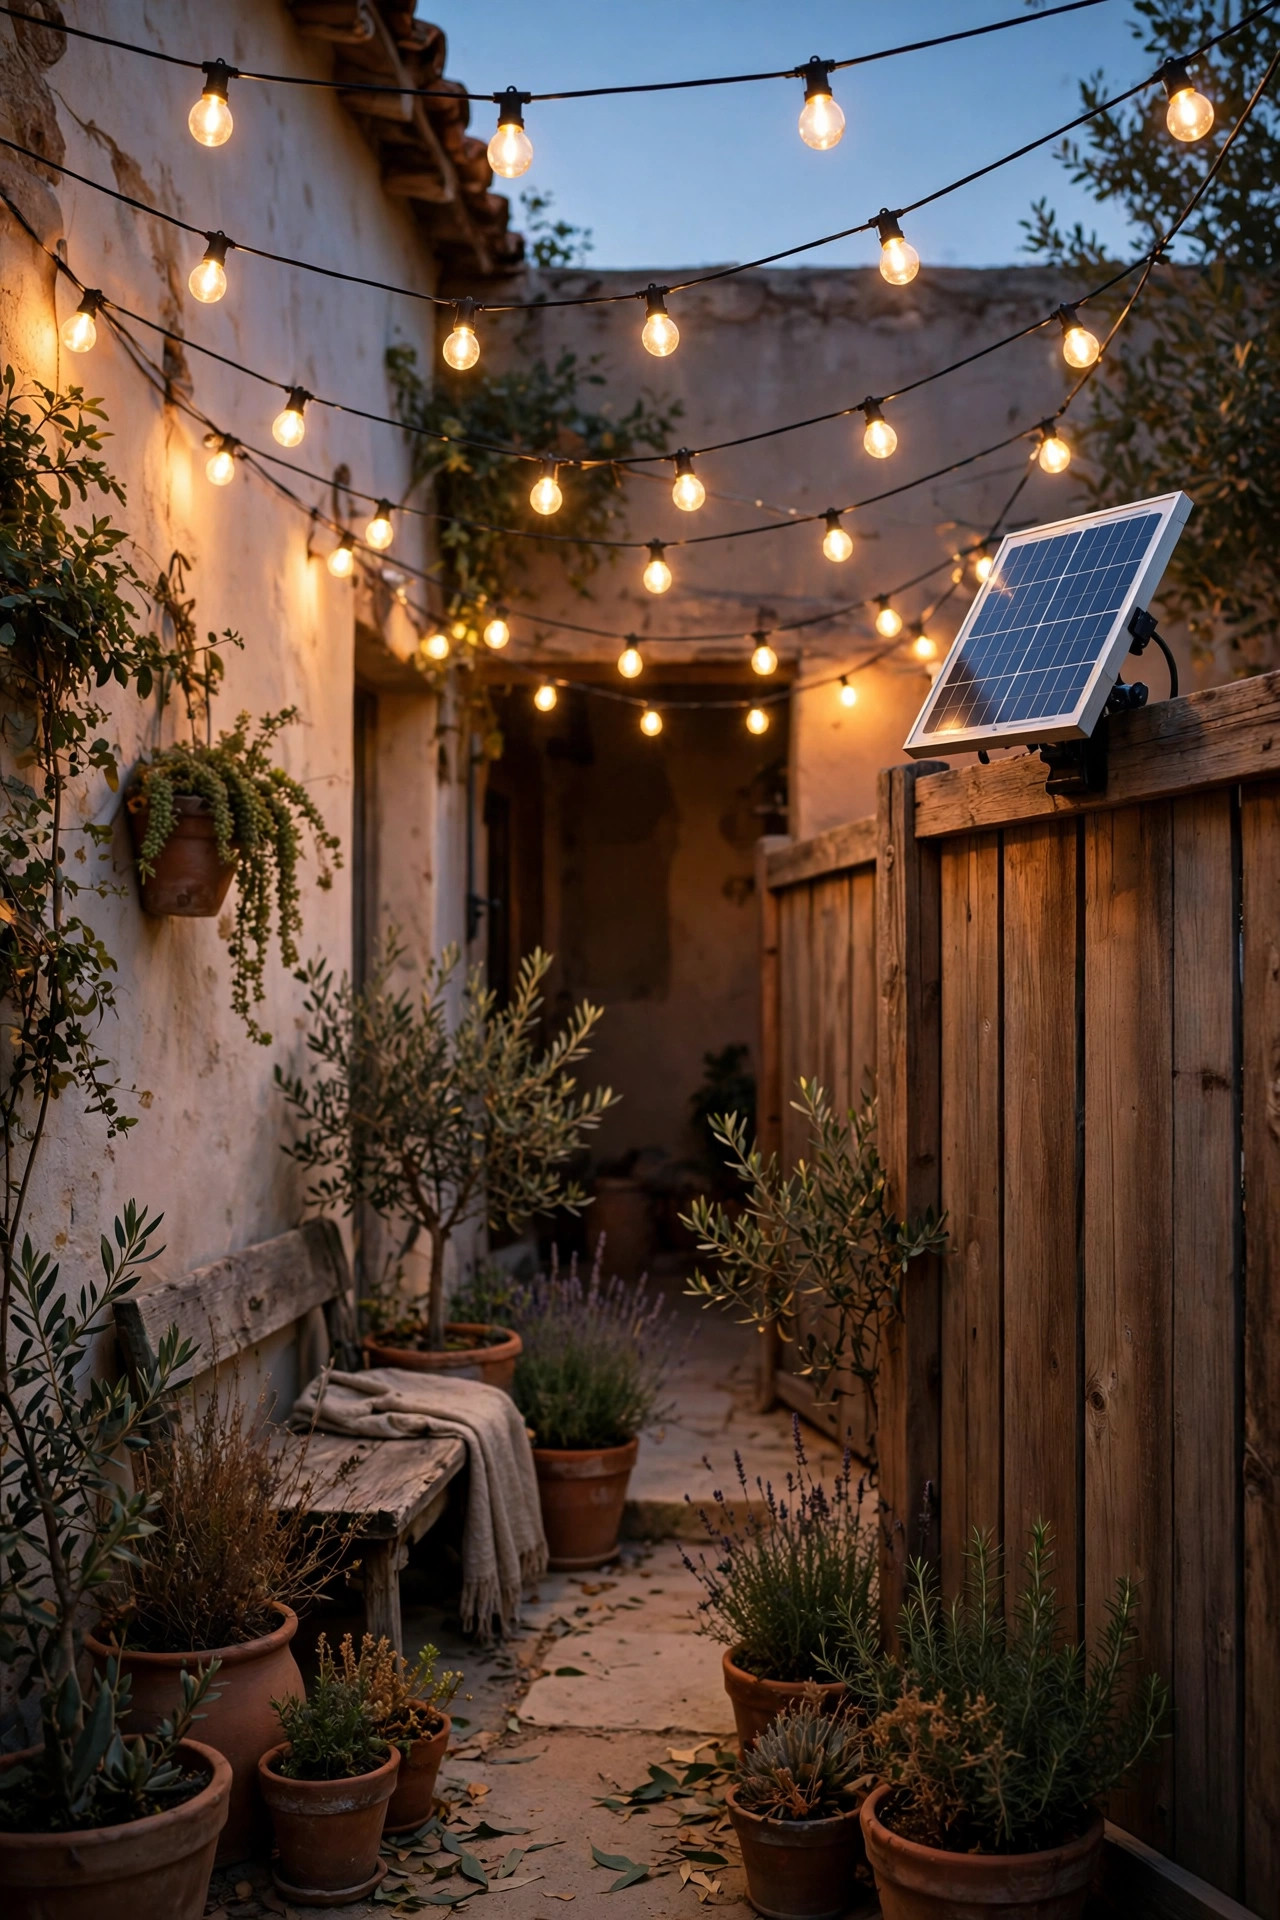
When I want more glow without touching the rig battery, solar does the heavy lifting. Solar string lights with a separate ground-stake panel are the most flexible of all the rv patio lighting ideas I own: the panel stakes into the sunniest corner of the site while the strand runs wherever I want it, awning, fence rail, even draped over a camp kitchen. Panel position matters more than anything, so I give it the full-sun spot and rotate it once at lunch toward the afternoon sun. Good sets store enough charge for 8 to 10 hours of light after a bright day, and most have a steady mode plus a gentle twinkle. If your site is shaded, honesty time: solar will dim early, so pair it with one battery strand for insurance. The freedom is worth it, though. No cords crossing the pad, no draw on the house battery while boondocking, and nothing to unplug when a storm rolls in fast. I own three sets in slightly different lengths, and between them I can dress any site from a tight pull-through to a sprawling lakeside pad.
Suggested budget range: $20 – $50.
11. Outline Your Outdoor Mat With a Rope Light
An outdoor mat defines your living room, and a rope light around its edge defines it after dark. I run a flexible LED rope light along the two long sides of the mat, held down with a few low-profile clips, and the whole space reads as one intentional room from the road. The light is low and indirect, perfect for finding your chair, your drink, and the dog without ever feeling lit up on a stage. Choose a warm white rope rated for outdoor use, and coil the extra length under the rig rather than cutting it, since sites change size every trip. It also quietly solves a real problem: guests see exactly where the patio ends and the guy lines begin. Setup takes maybe four minutes once you have done it twice, and the rope coils into a flat spiral that stores under the dinette bench. For holidays I swap in a colored rope, orange for October trips and red for the Fourth of July, which is the kind of silly tradition the grandkids now insist on.
Suggested budget range: $15 – $35.

12. Hang Collapsible Lanterns for Party Nights
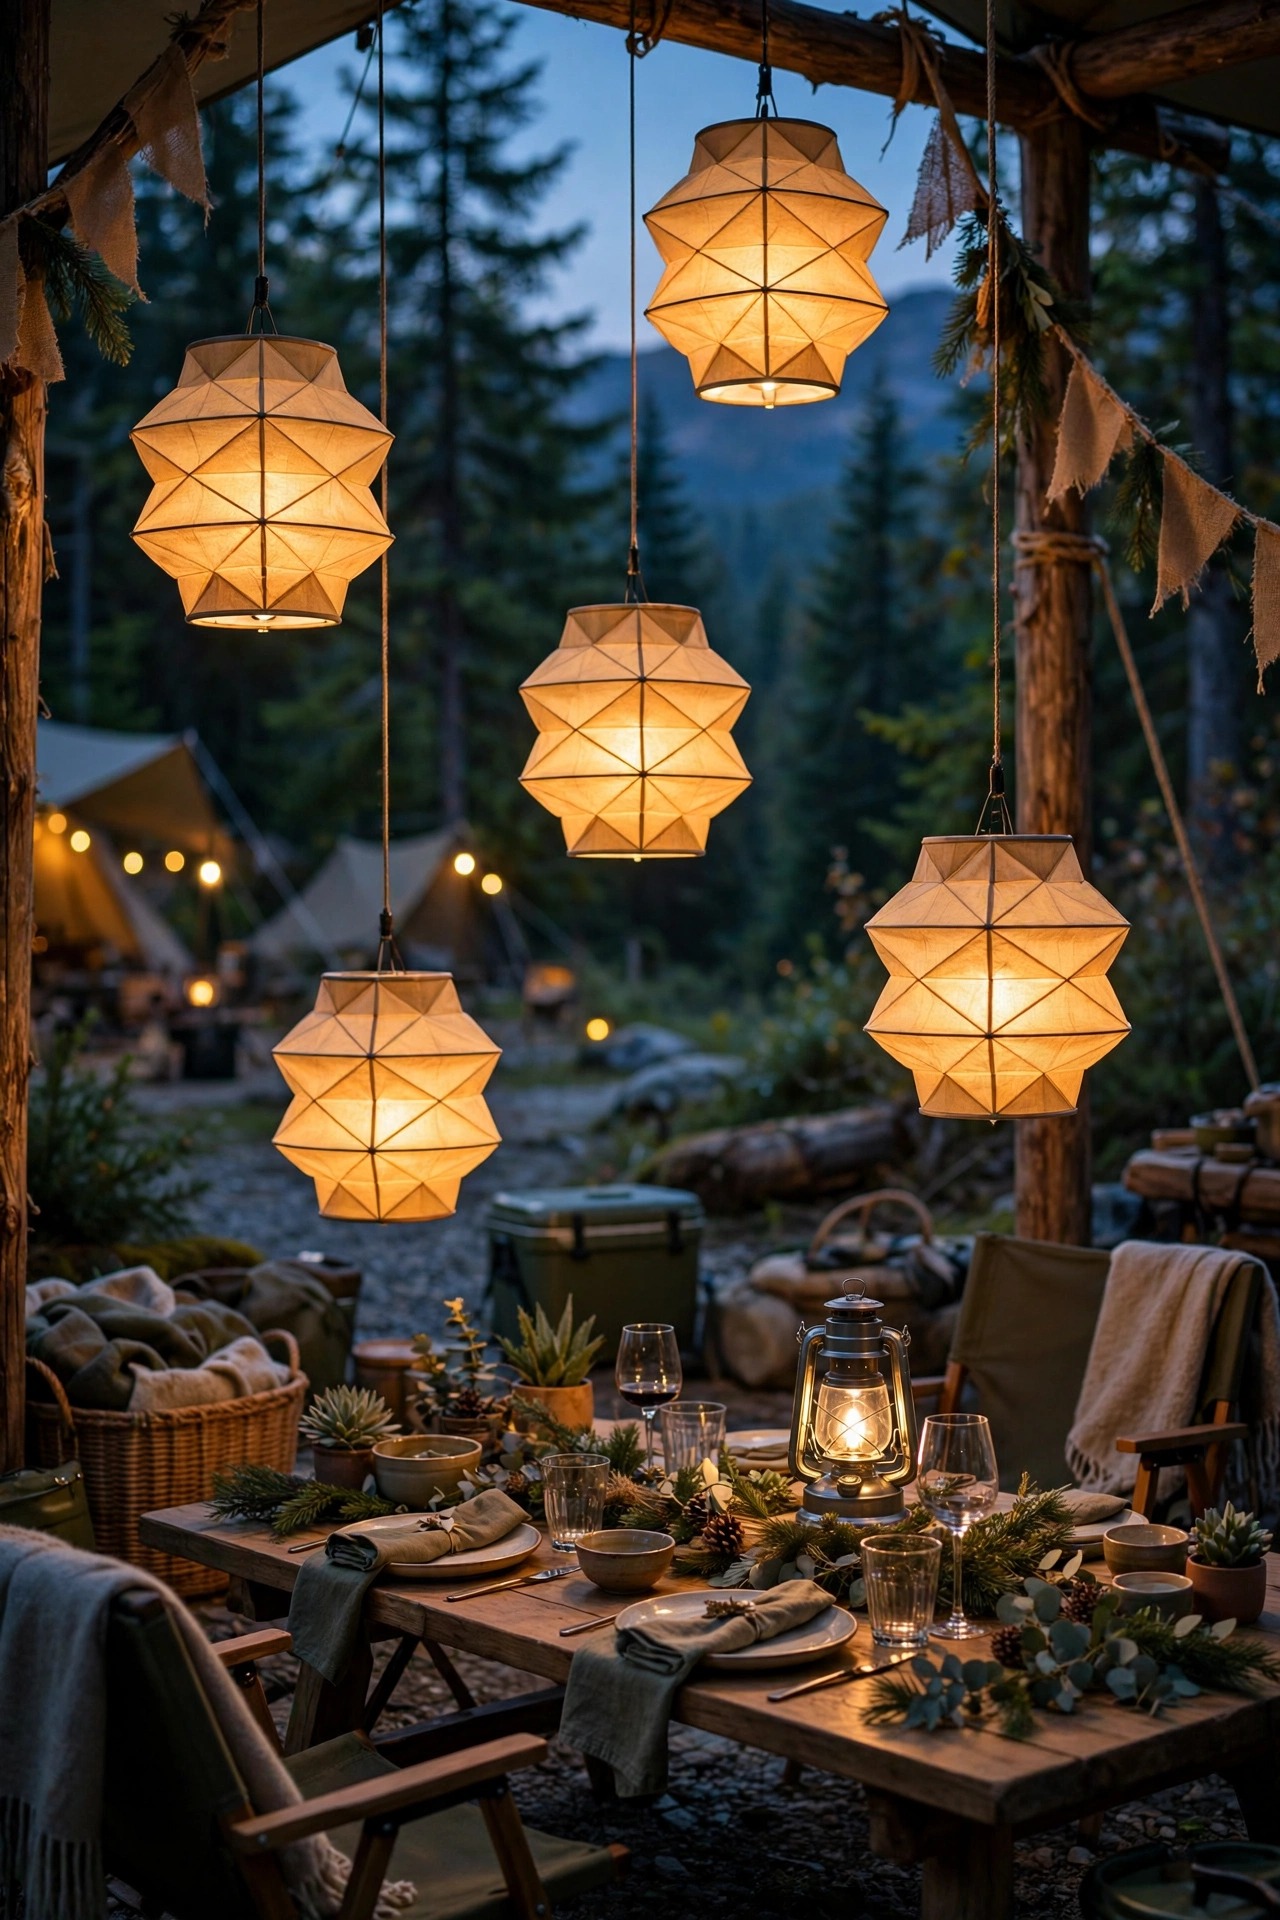
Some nights call for a little extra celebration, and that is when my collapsible lanterns come out. These nylon or paper-style lanterns fold completely flat, about the thickness of a paperback book, then pop open into glowing orbs with a battery LED puck inside. I hang three or five from the awning edge or a nearby tree branch at different heights, and the whole patio feels like a festival. White ones keep it classic, while colored sets are wonderful for birthdays and holiday weekends. Because each lantern has its own light and batteries, there is no strand to untangle and no cord to route. They also pack a small lesson I learned the hard way: keep them out of heavy rain, since even the nylon versions fade and sag after a soaking. On fair weekends, though, nothing transforms a $30 campsite into the prettiest spot on the loop faster. When the party ends, they collapse back into the tote and take up less room than the marshmallow bag.
Suggested budget range: $12 – $30.
13. Go Amber Near the Food to Keep Bugs Away
Warm white light is pretty, but insects read it as an invitation, especially around the grill and the snack table. My fix is a small zone of amber light wherever food lives. A strand or lantern fitted with amber bulbs attracts noticeably fewer bugs than bright white, so I hang one short amber strand over the cooking area and keep the prettier warm white lights for the sitting circle a few feet away. You can also buy amber sleeves or replacement bulbs for lanterns you already own, which keeps the cost tiny. This is not magic, and a determined mosquito will still find you, but the cloud of gnats hovering over the potato salad shrinks dramatically. It also keeps the cook's area visually separate, a little kitchen zone of its own. I learned this trick from a full-timer in Arizona who swore her whole desert setup ran amber, and while I still love warm white for looks, amber over the food is now nonnegotiable on our trips from June through September.
Suggested budget range: $10 – $25.
14. Bring One Good Area Light for Cooking and Games
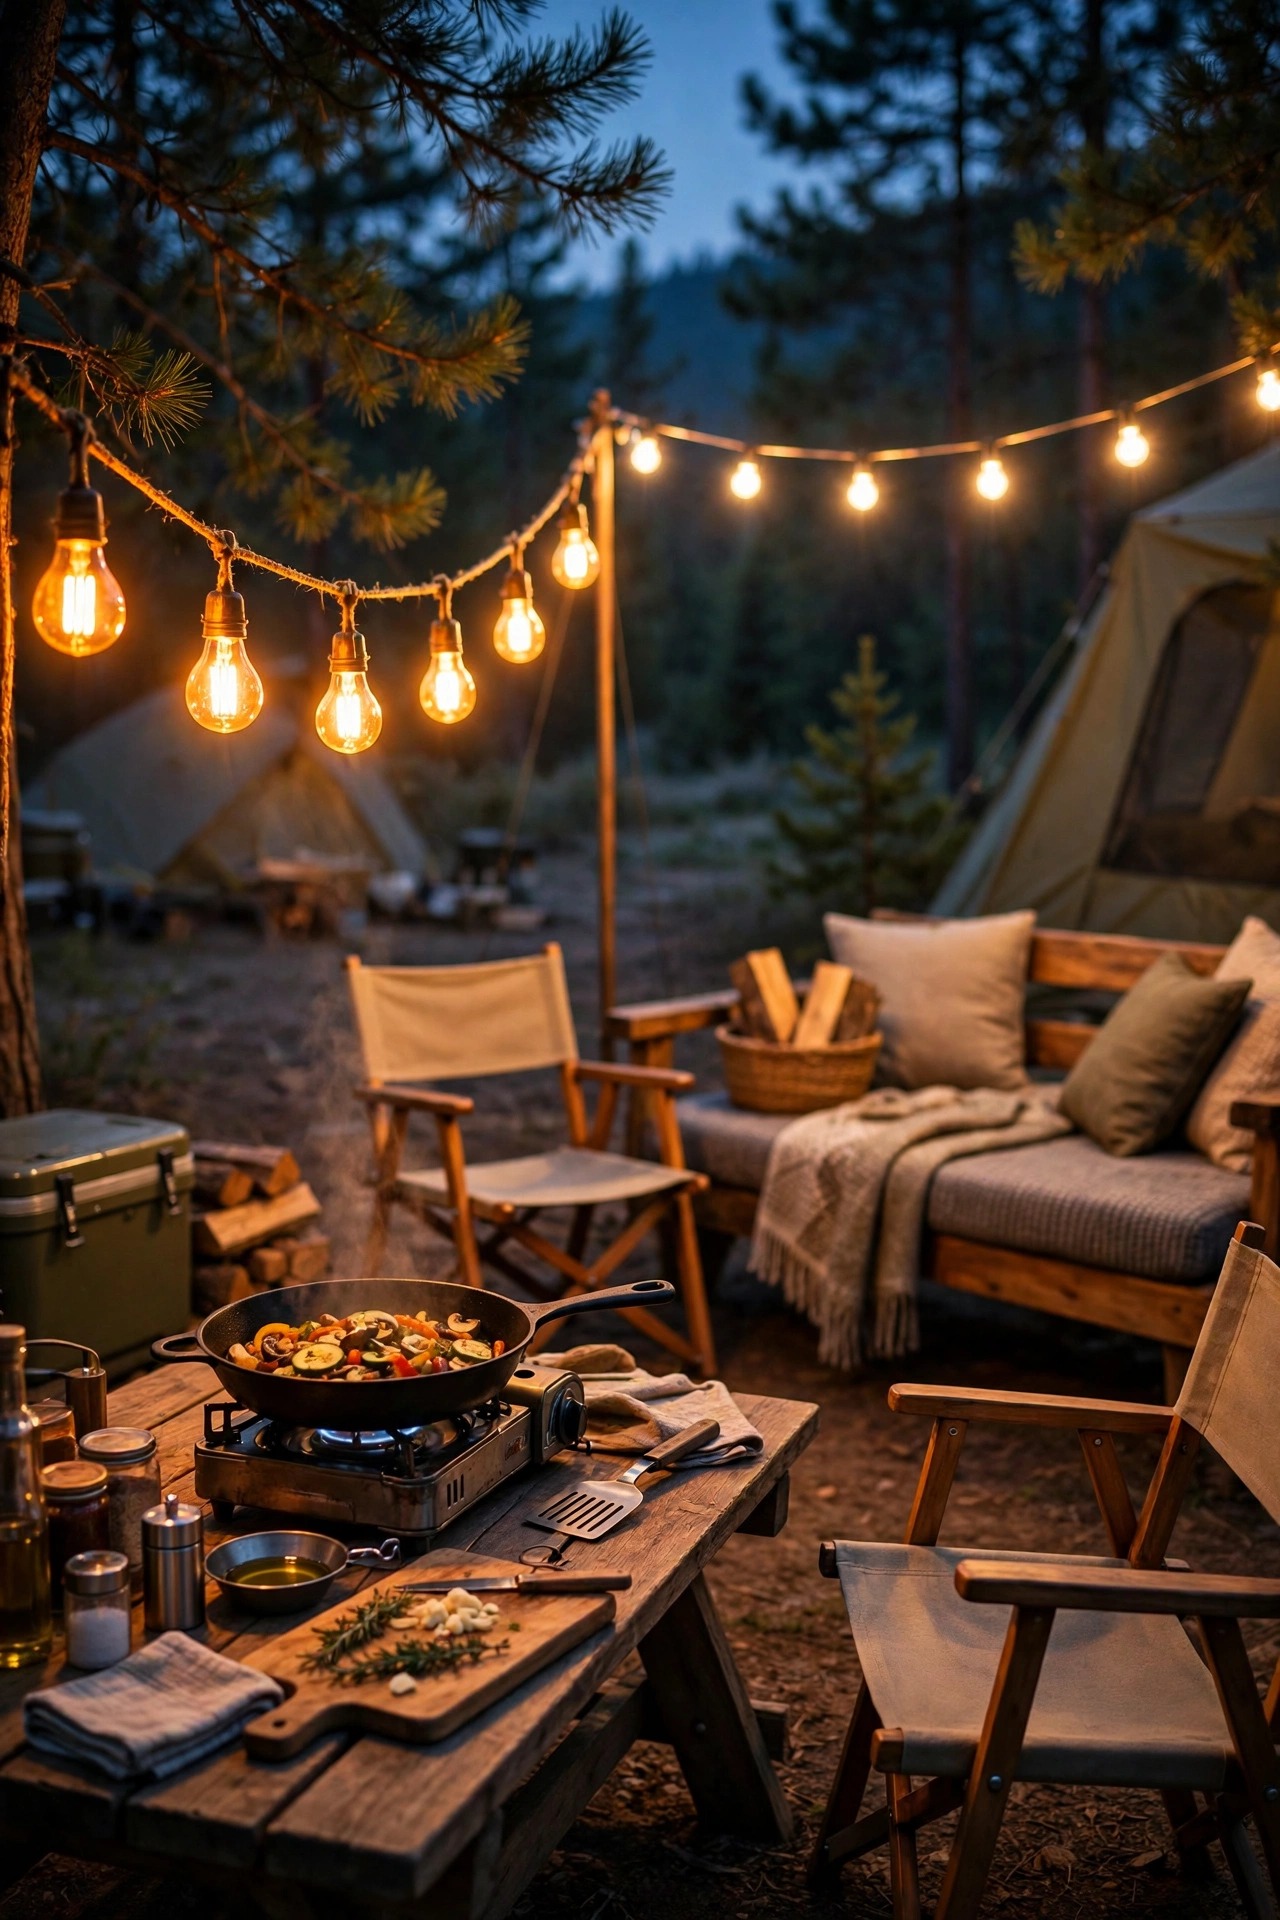
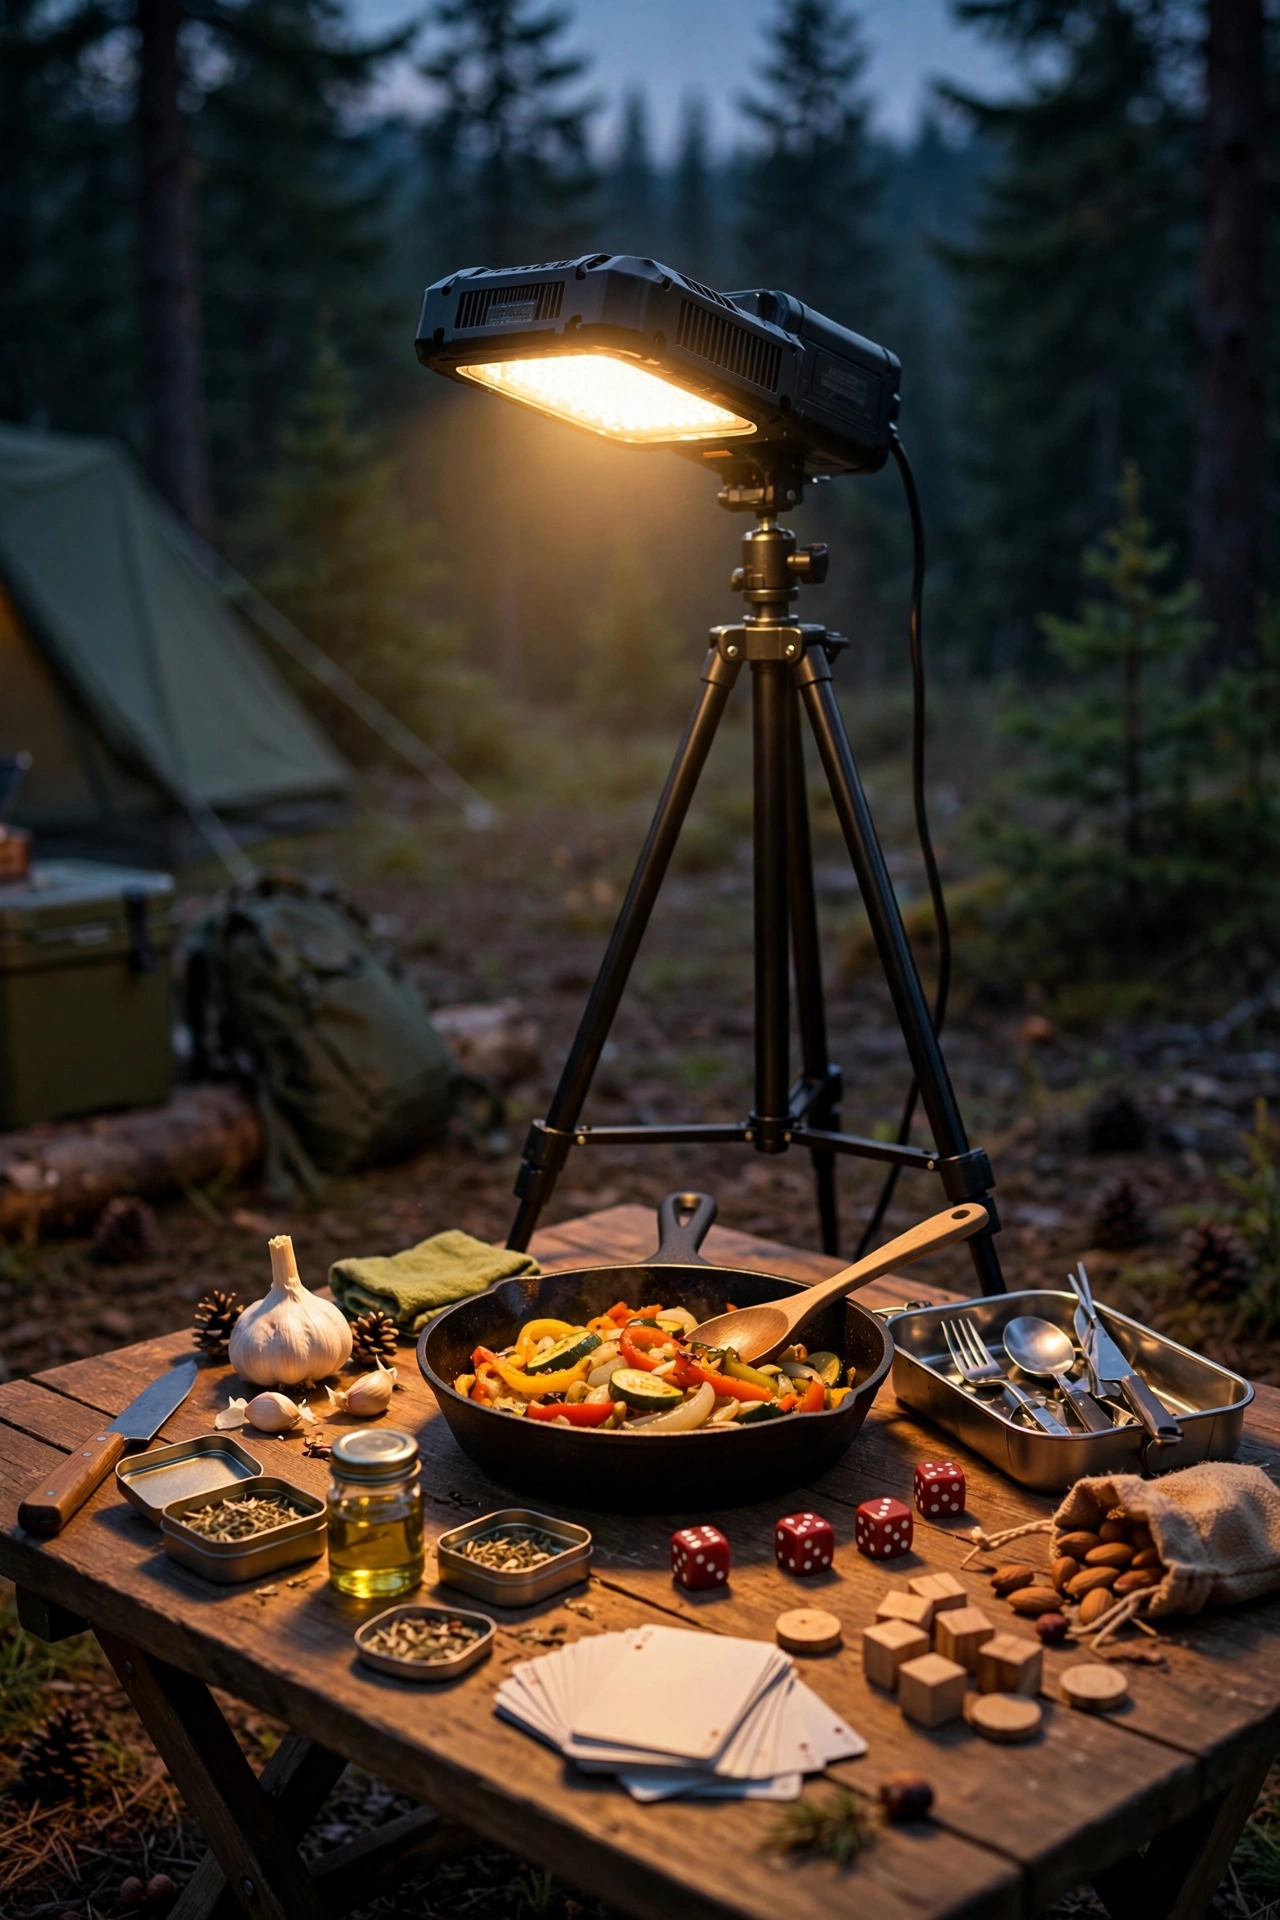
Ambient glow is lovely until you need to actually see: slicing onions, dealing cards, or finding the marshmallow skewer someone dropped. That is why I always pack one serious area light, either a bright rechargeable lantern on a telescoping tripod or a panel light that clamps to the awning arm. Raised 5 to 6 feet and tilted down, it lights a whole table without shining in anyone's eyes. Look for adjustable brightness so it can run low as a nightlight or high as a work light, and a runtime of at least 6 hours on the middle setting. The tripod folds to about 18 inches and slides into the storage bay beside the camp chairs. I also reach for it during setup on late arrival nights, when one strong light turns a stressful dark parking job into a calm ten-minute routine. It is the least decorative light I own and the one my husband refuses to travel without, which tells you everything.
Suggested budget range: $30 – $70.
15. Clip Small Lights Onto Chairs and Table Edges
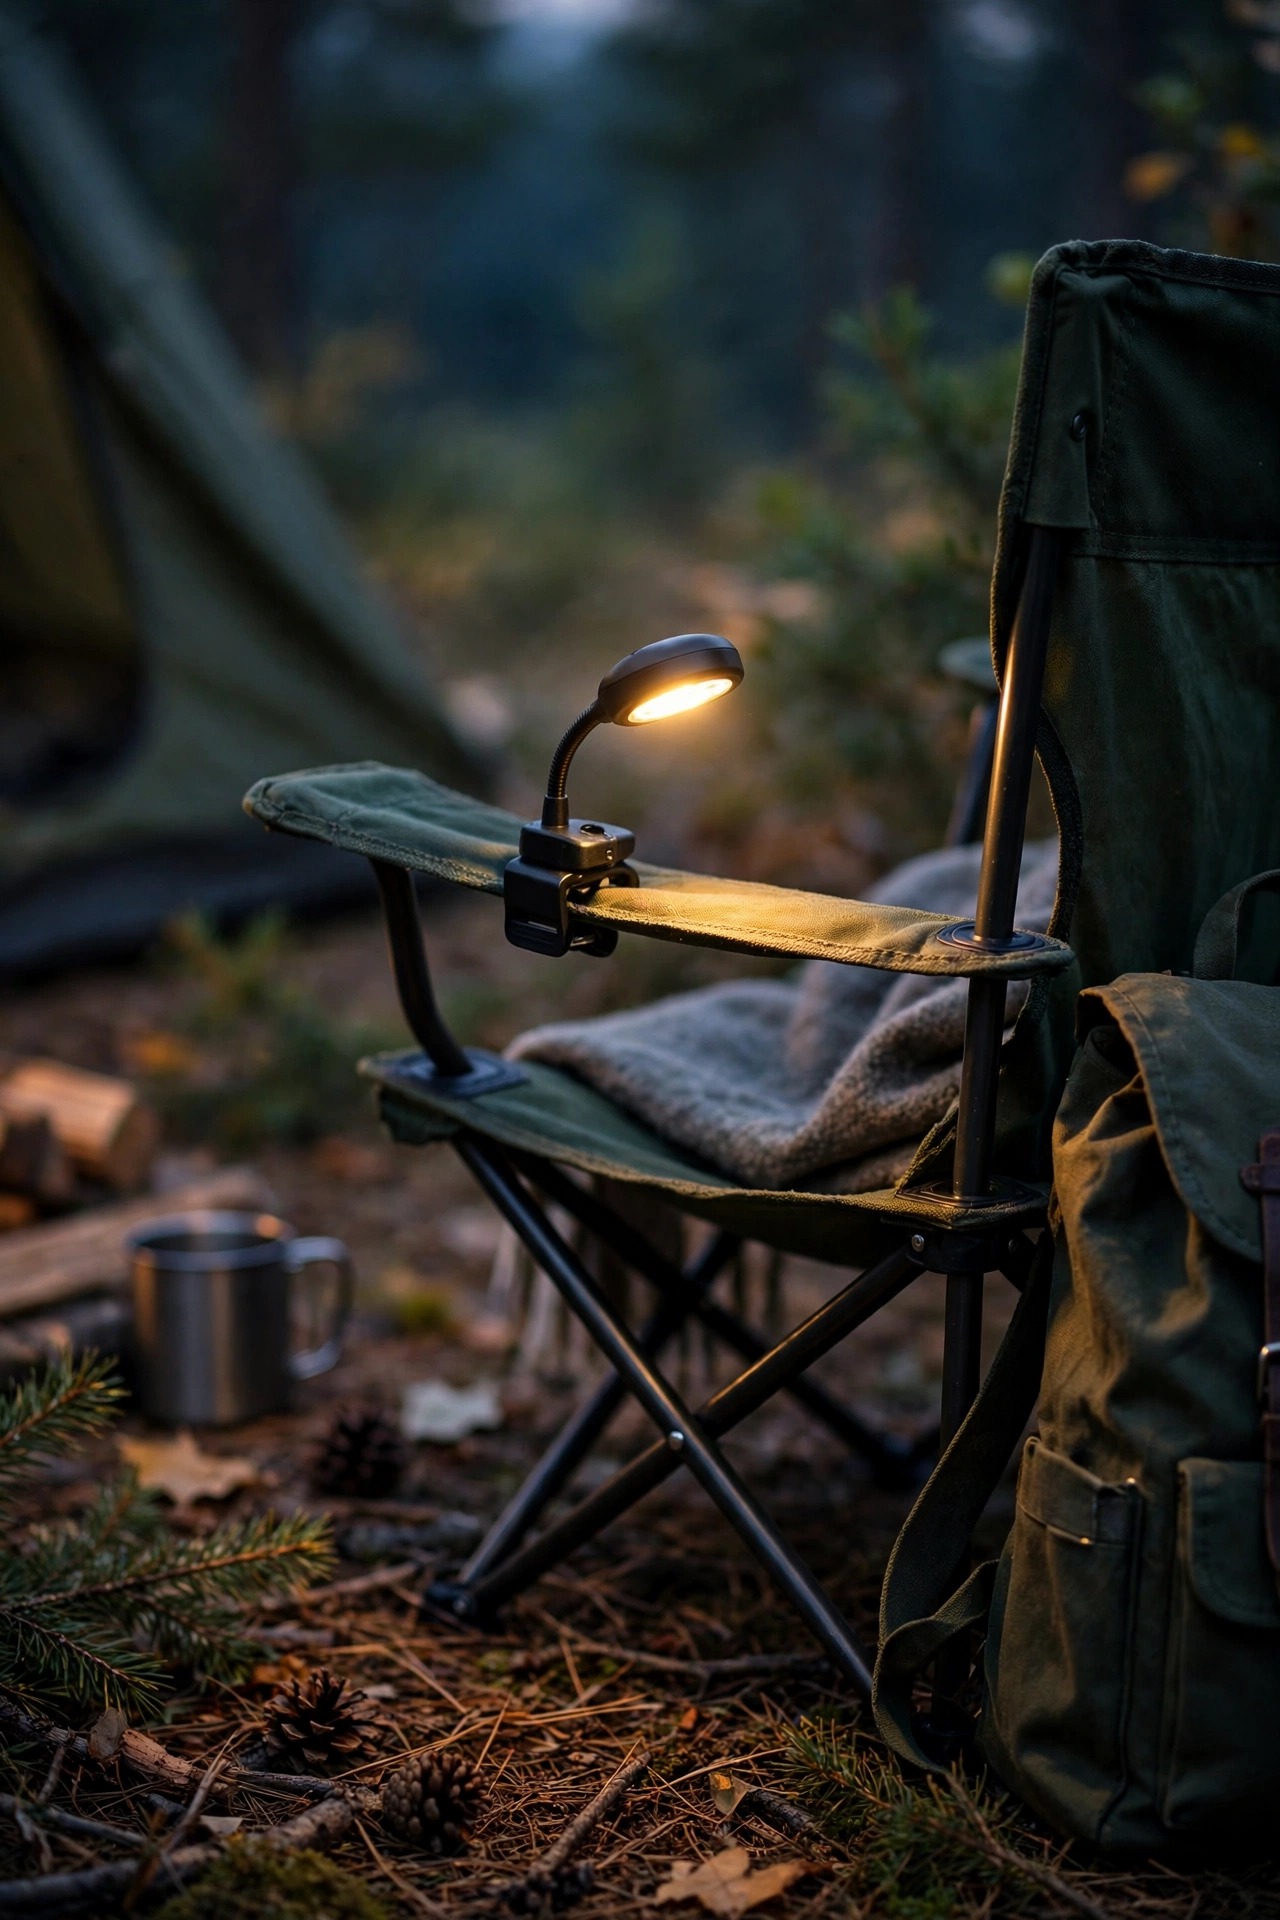
Sometimes the best seat at the campsite is the one in the corner with a book, and a tiny clip-on light makes that corner work. These little lights, sold for reading and grills, clamp onto chair arms, table edges, and awning poles, then bend on a flexible neck to aim exactly where you want. I keep three in the tote: one for my reading chair, one for the grill master, and one spare that migrates to wherever a puzzle or craft project lands. Rechargeable versions last several evenings per charge, and the low setting is plenty for reading without bothering your neighbor's stargazing. They weigh almost nothing and take up less space than a deck of cards, which makes them the easiest yes in my whole lighting kit. One caution from experience: clip them where the clamp will not pinch awning fabric or scratch the rig finish, and bring them in before towing day, because a forgotten clip-on will absolutely rattle off somewhere on the interstate.
Suggested budget range: $10 – $28.
16. Light the Path to the Bathhouse and Hookups
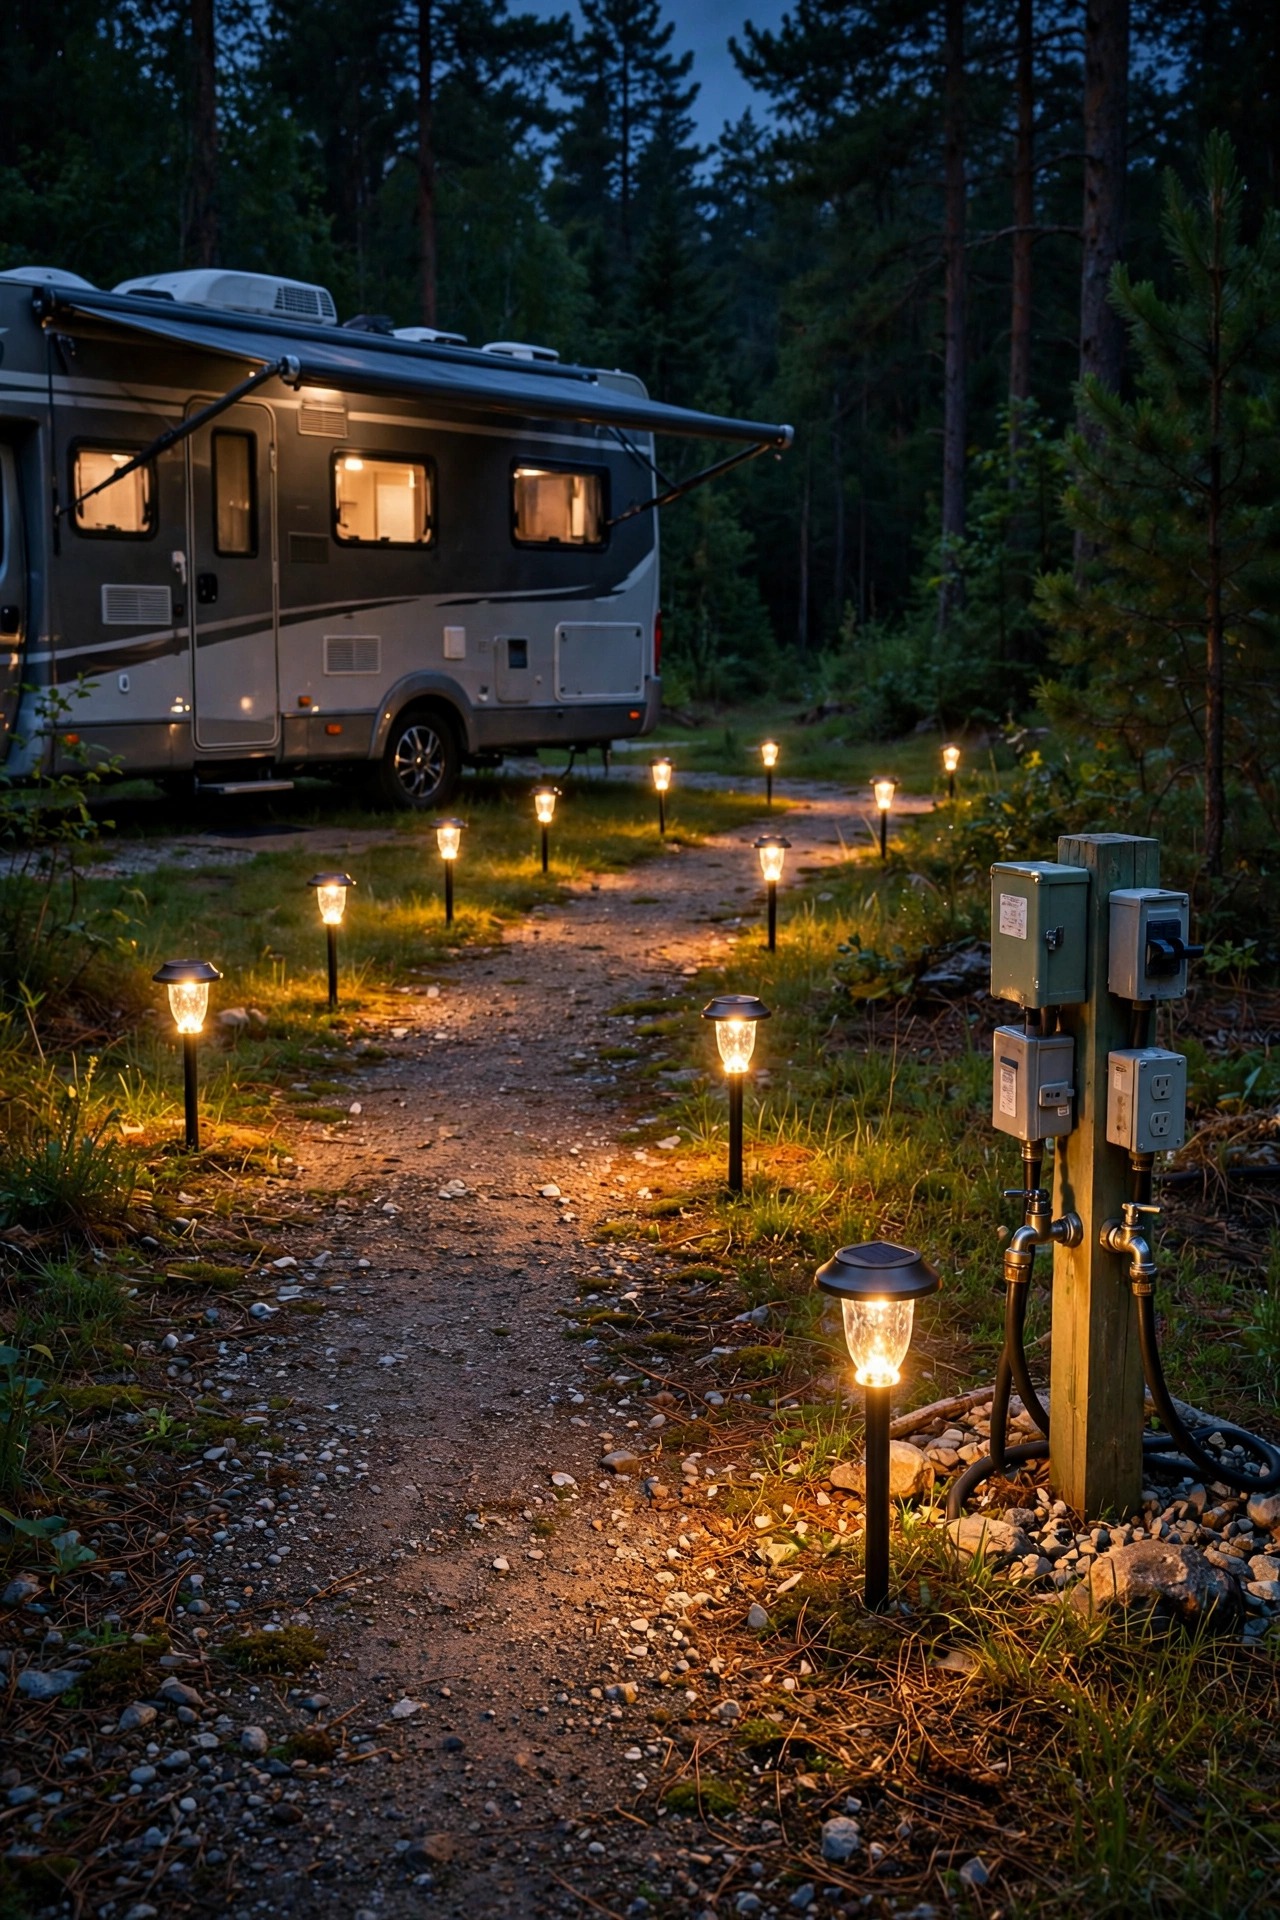
Every campsite has a route you walk a dozen times: to the bathhouse, the water spigot, the dumpster, the hookup post. Marking that little trail makes the whole site feel safer and more settled. I use two or three solar stake lights along the path, the same ones from my patio-edge set, just moved to where feet actually go. If the ground is gravel or pavement and stakes will not push in, a lantern hung on the hookup post or set on the picnic table's far end does the job. This is also where I appreciate lights with a dusk-to-dawn sensor, since the path stays readable without me remembering a switch. When we camp with the grandkids, we make a game of it, calling it the runway, and suddenly nobody is scared of the dark walk to brush their teeth. As with my backyard campout lighting setup at home, the rule is the same: light the path, not the sky, and keep every source low and warm.
Suggested budget range: $10 – $30.
17. Add Color-Changing Lights for Theme Nights
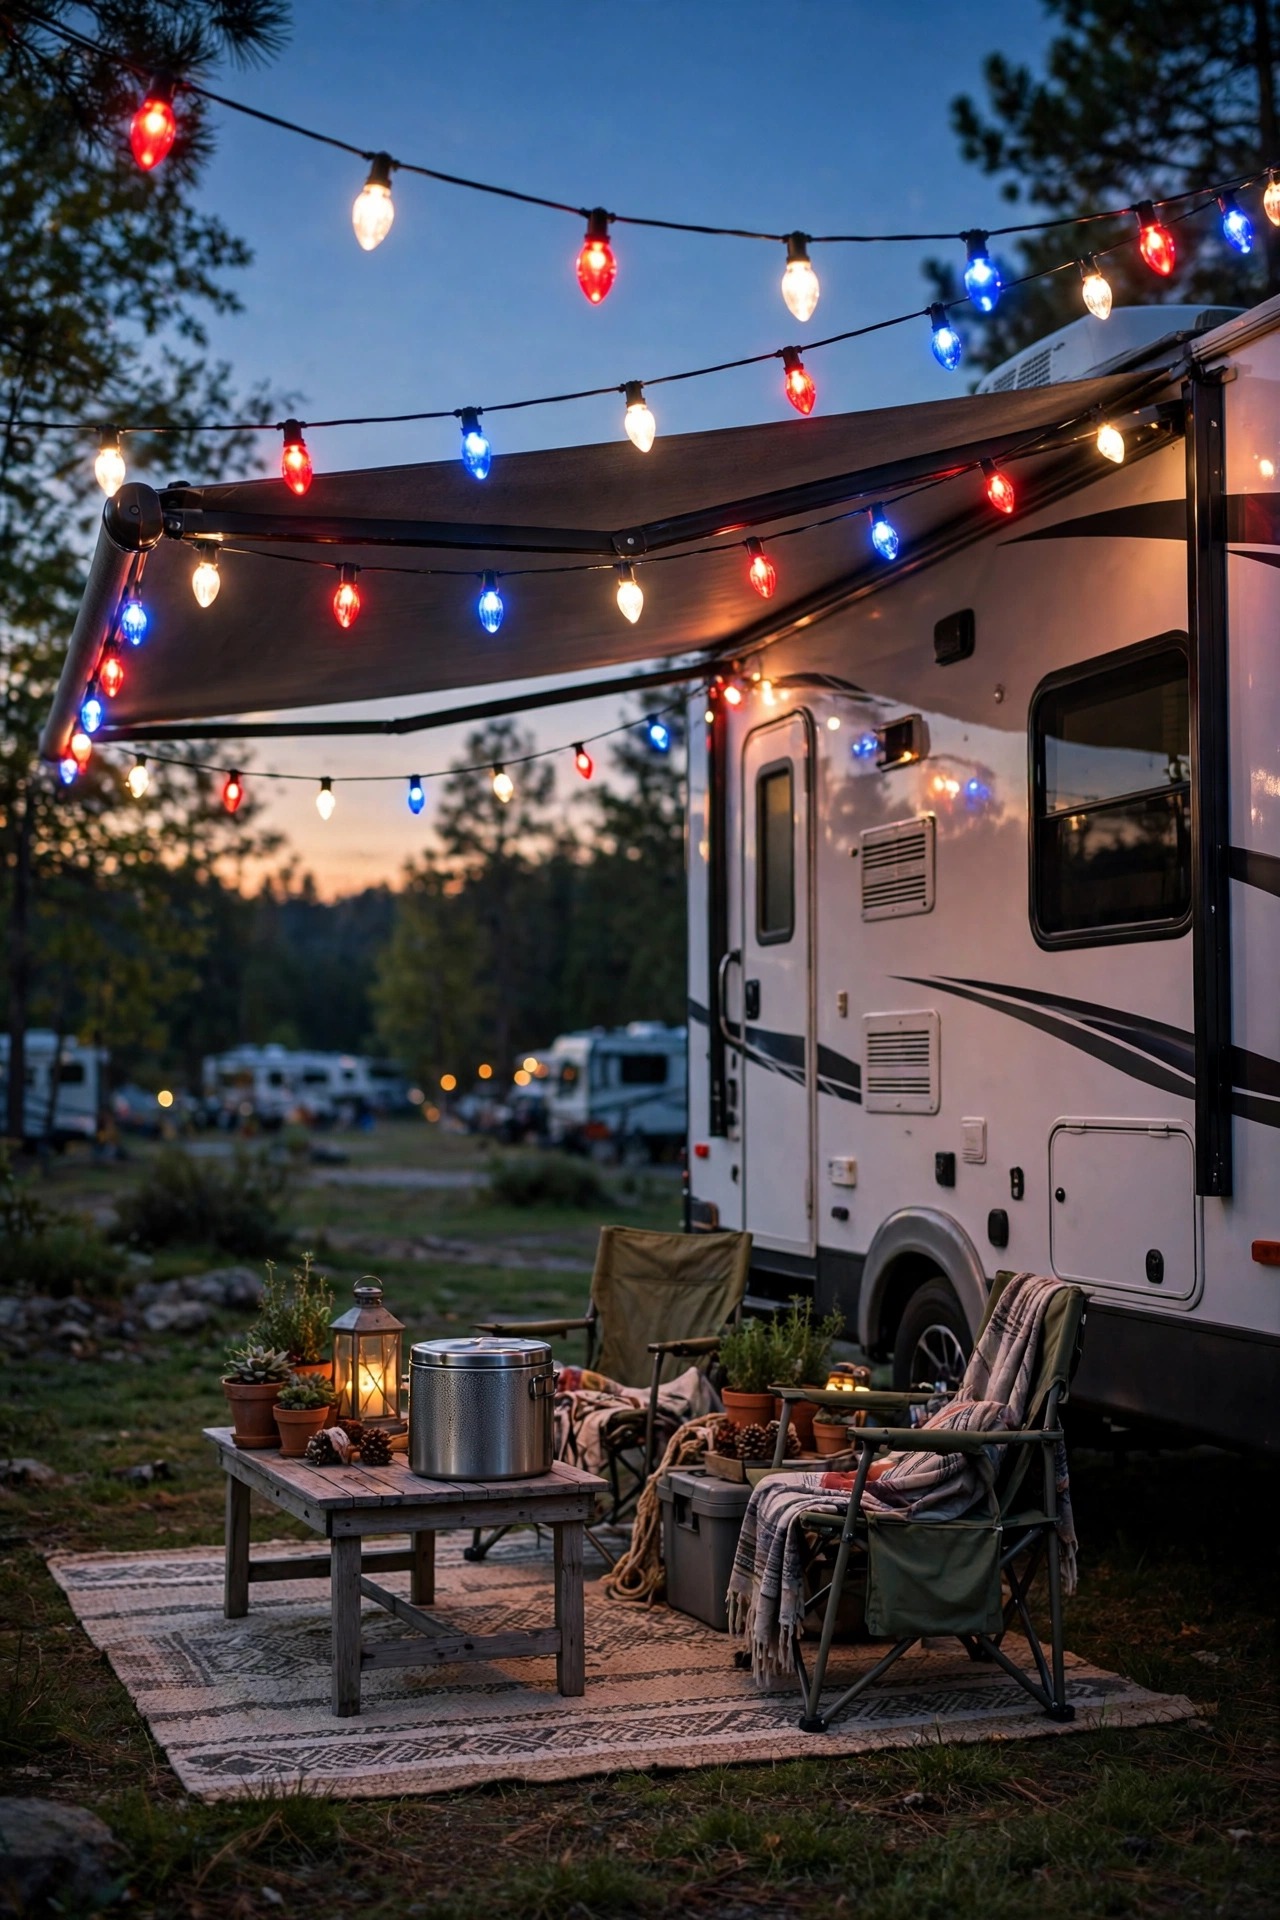
Most nights I am a warm-white purist, and then a holiday weekend arrives and all bets are off. A color-changing string light set with a little remote lets the patio go red, white, and blue for the Fourth of July, orange for a fall football Saturday, or soft pink for a granddaughter's birthday campout. The trick is using them as an accent, one strand mixed into your normal setup, so the site looks playful instead of like a carnival midway. These sets usually store their last setting, so you are not reprogramming colors every evening. If you are browsing bistro string light styles for shape ideas, the same silhouettes often come in color versions. Battery and USB-powered sets are easy to find and pack exactly like regular strands. I will admit the neighbors' kids rate our site by which color is showing, and honestly, so do I. One strand, endless excuses to celebrate something.
Suggested budget range: $18 – $45.
18. Put Everything on Timers So Camp Runs Itself
The difference between a lighting setup and a lighting system is a timer. Fairy lights with built-in six-hour timers, solar lights that wake at dusk on their own, and flameless candles that strike up at sunset mean the campsite glows to life while I am still flipping burgers. Nothing needs me, and nothing stays on all night draining batteries because I forgot a switch. I set everything to run about five to six hours, which covers dinner, cards, and the last dog walk, then lets the campground go properly dark for stargazing and sleep. Smart plugs are overkill for most campsites, but a simple plug-in timer works if you are on shore power and running a 120-volt strand. My rule: if a light needs me to remember it twice a day, it does not come on the trip. Replace it with a timer or sensor version and the whole patio feels effortless. That effortlessness is the entire point of packing these lights in the first place.
Suggested budget range: $8 – $20.
19. Pack It All in One Flat Tote (My Exact System)
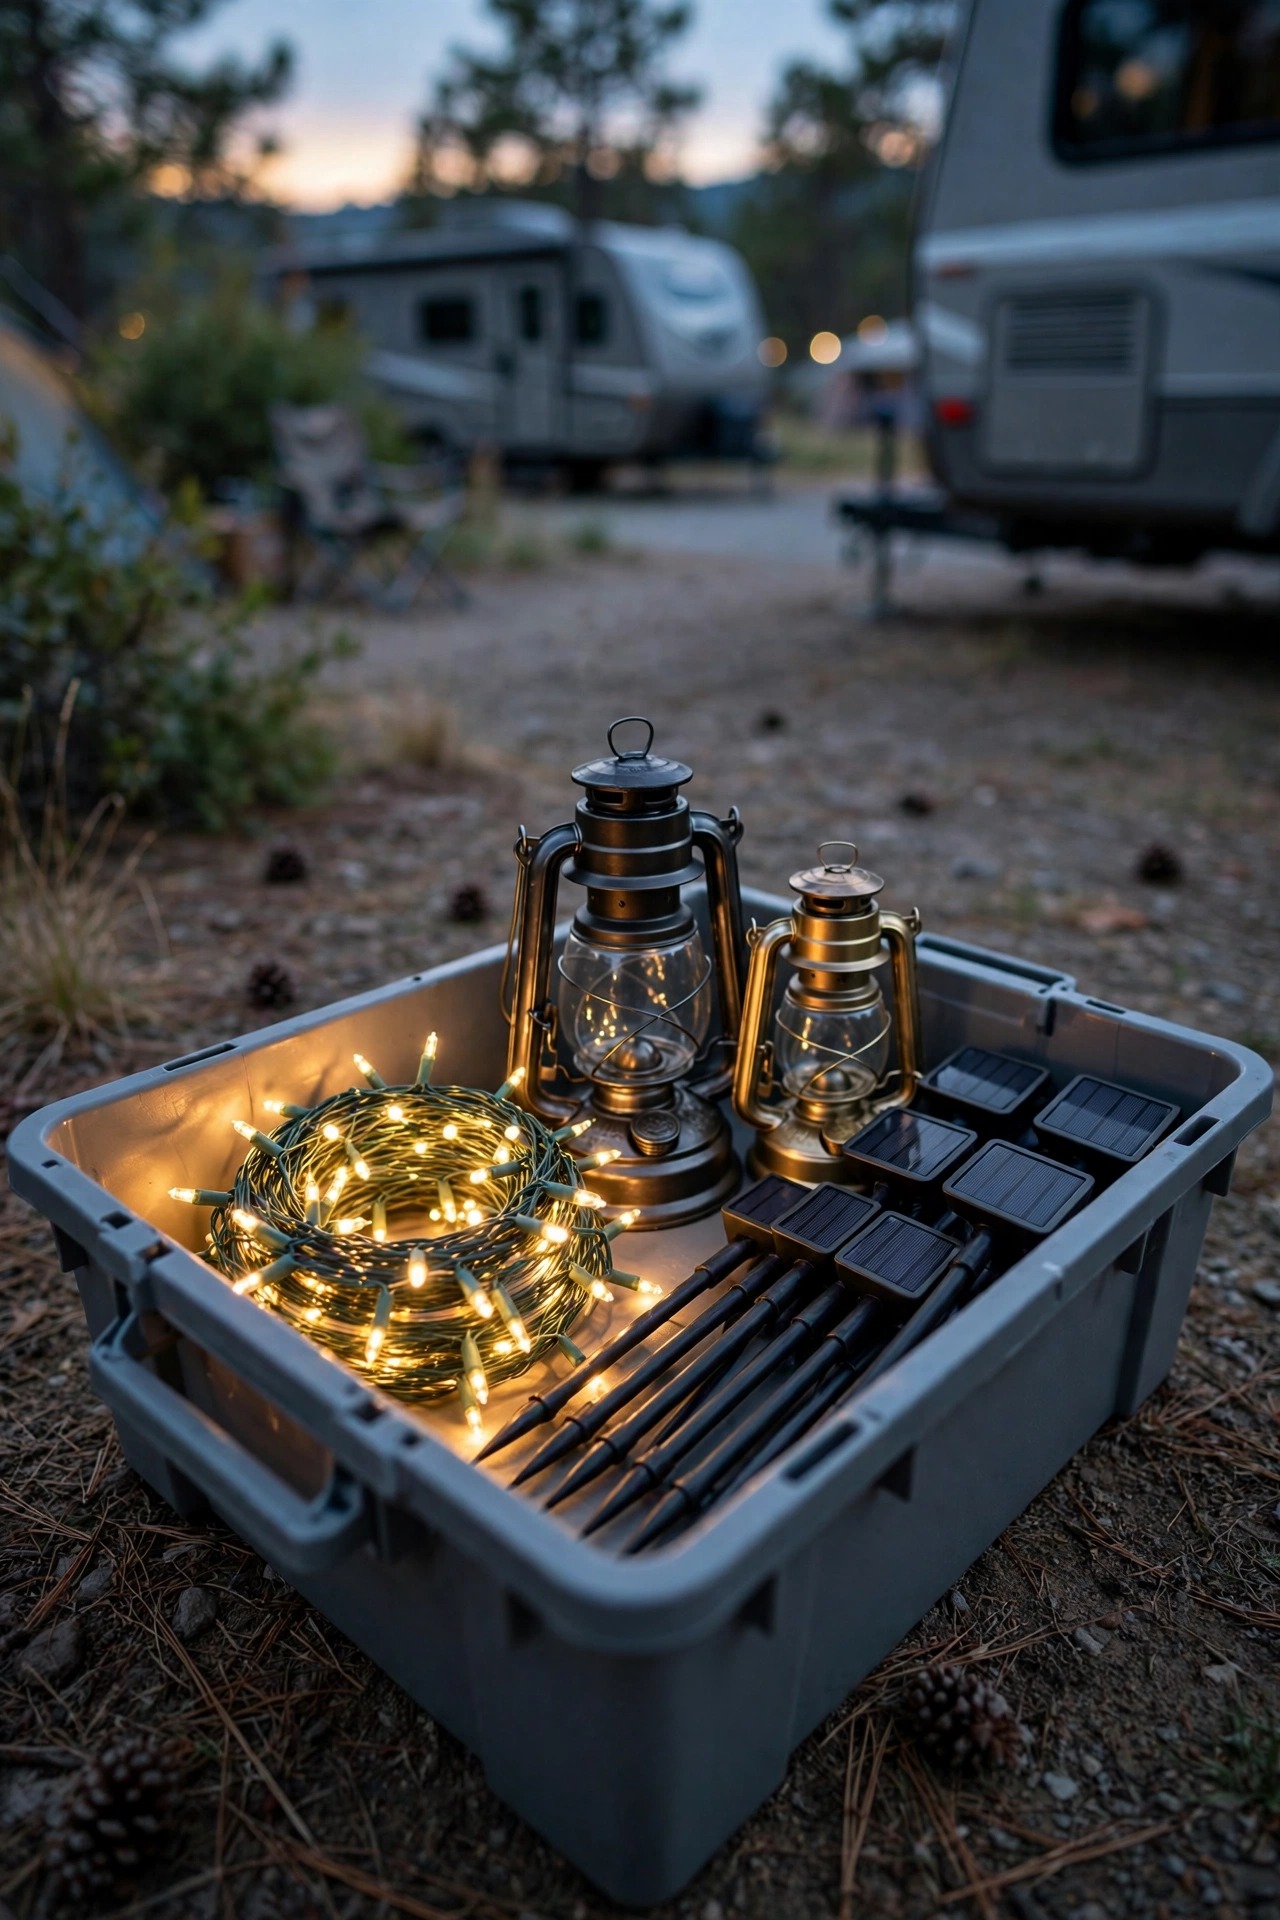
Every idea above fails if the lights live in four different bins and half of them miss the trip. So my last idea is the system itself: one flat tote, about the size of a storage ottoman, that lives in the pass-through bay and holds nothing but patio lighting. Inside, strands are coiled and held with reusable ties, each in its own labeled zip bag. Lanterns nest in a small padded box with their charging cable. Stakes go in a coffee can, clips in a jar, spare batteries in a pouch. On top sits a laminated checklist: hang, clip, stake, charge, timers on. Setup now takes fifteen relaxed minutes, and teardown is the checklist in reverse. I recharge everything the week before a trip while the tote sits by the garage door, so nothing arrives dead. If you are building your first kit, the solar lantern styles I use at home travel just as well. One tote, fully stocked, is the difference between a patio that happens and a patio you hope for.
Suggested budget range: $15 – $40.
Frequently Asked Questions
What color temperature is best for campsite lighting?
Warm white, around 2700 to 3000K, is the sweet spot for campsites. It flatters faces and food, feels like firelight, and bothers neighbors far less than blue-white light. Mixing temperatures looks messy, so pick warm and stick with it across strands, lanterns, and stakes. Save bright daylight tones for a task light you only switch on when you truly need to see.
How can I light my RV patio without shore power?
Lean on three power sources: solar for stakes and strands with separate panels, rechargeable lanterns charged by USB before the trip, and battery fairy lights that run a week on one set of batteries. Together they cover a long weekend with nothing plugged in. For longer boondocking stays, rotate solar panels into the sunniest spot each morning and keep lantern brightness on low or medium.
Are string lights actually allowed at campgrounds?
At most campgrounds, yes, as long as they are reasonable. The common rules are about courtesy: keep light inside your site, avoid shining into neighboring rigs, and respect quiet hours by dimming or switching off around 10 p.m. Some parks restrict anything attached to trees, so use awning clips and freestanding hooks instead. When in doubt, ask at check-in and glance at what your neighbors are doing.
How long do solar campsite lights stay lit at night?
After a full sunny day, most solar strands and stakes run 6 to 10 hours, which carries you from dusk past midnight easily. Cloudy days, deep shade, and winter sun can cut that in half. Panels placed in direct sun and cleaned of dust charge noticeably better. If a light fades by 9 p.m., its panel probably spent the day in shadow.
Conclusion
A great campsite patio is never about owning the most lights. It is about layers: something warm overhead, something friendly at the table, something low to guide your feet, and every piece earning its storage space by packing flat and setting up fast. Start with two or three of these rv patio lighting ideas, run them for a weekend, and add the pieces your family actually missed. Warm light, on timers, in one tote by the door. That is the whole secret. Browse more of my lighting guides here on the site, then go claim the prettiest site on the loop.