There is a particular kind of magic in the hour after dinner, when the air cools down and the patio becomes the best seat in the house. But as our eyes change over the years, that magic only works when the lighting is doing its job properly — bright enough to see every step and chair leg, soft enough that nothing glares, and simple enough that nobody has to think about switches. After helping my own parents rework their patio, I put together the senior friendly patio lighting ideas that made the biggest difference for them. The secret is layering: a gentle wash of light overhead, warm light at eye level where people sit, and a steady, even glow low along the ground so every edge and step is easy to read. None of it needs to be fancy, and most of it can be in place in a single weekend. These 19 ideas focus on comfort, confidence, and fixtures that practically run themselves.
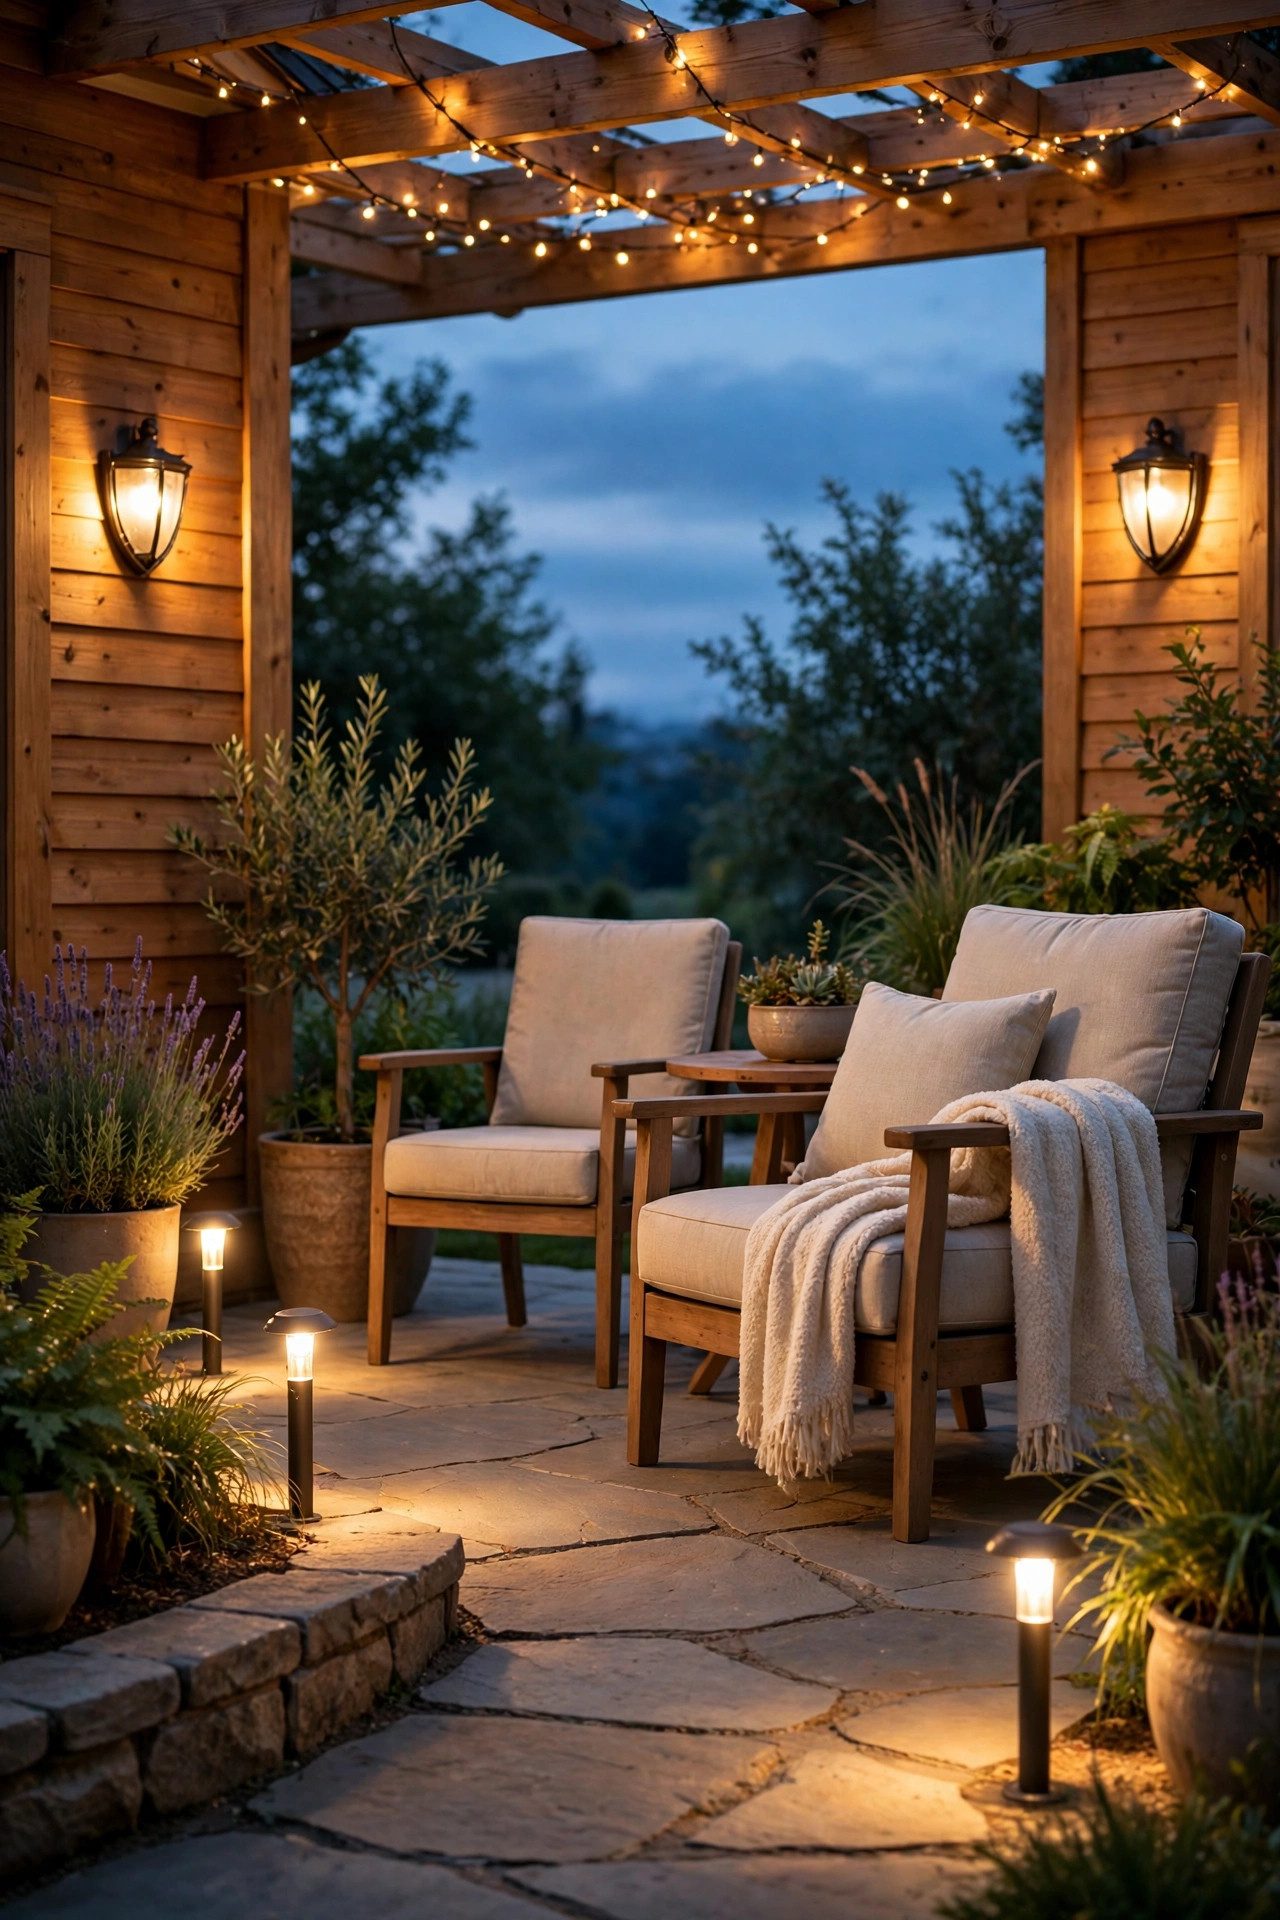
1. Start With Layers: The Foundation of Senior Friendly Patio Lighting Ideas
Every good patio lighting plan, and especially senior friendly patio lighting ideas, starts with three layers working together. The top layer is a soft overhead wash — a ceiling fixture, a pergola strand, or a wall pack mounted high — that fills the whole space so there are no dark corners. The middle layer sits at eye level: sconces and lanterns around 5 to 6 feet high that put a warm glow on faces and make conversation easy. The bottom layer is the safety layer, low lights along paths, steps, and edges that show exactly where the ground changes. When all three layers are on, the eye never has to adjust between bright pools and black gaps, and that constant adjustment is what tires older eyes fastest. In my experience, you do not need much wattage at all — you need evenness. Walk your patio at dusk before you buy anything and note where you squint and where you hesitate. Those hesitation spots are where your ground layer belongs. Add the layers one at a time, testing each evening, and stop when the whole patio reads clearly from the door to the farthest chair.
Suggested budget range: $120 – $400.
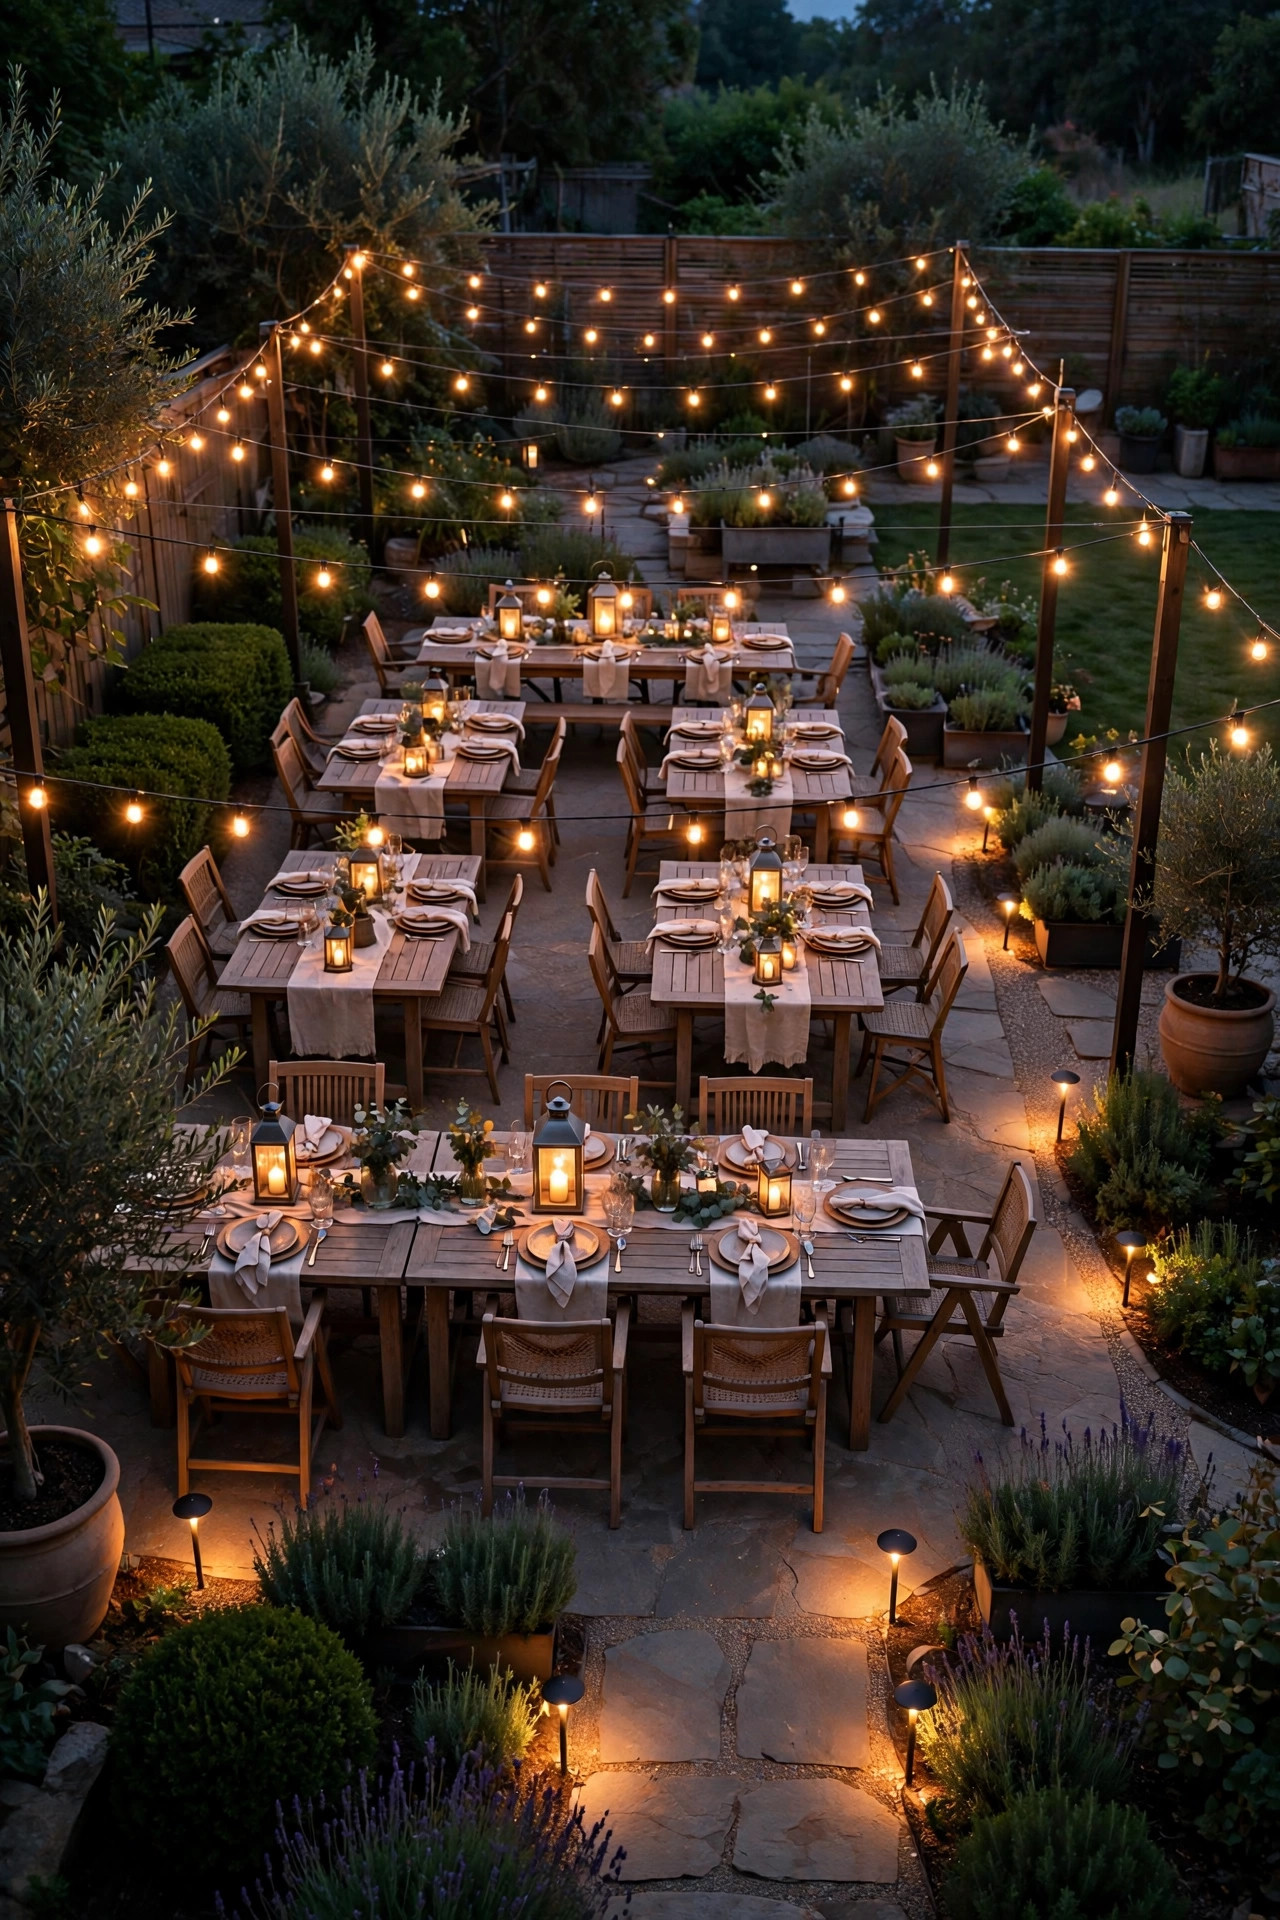
2. Choose Shielded, Glare-Free Fixtures
Bare bulbs are the enemy of comfortable evening light, and they are the first thing I change on any patio. A exposed filament at eye level forces aging eyes to work around a bright spot, and everything beyond it goes black by comparison. Choose fixtures with frosted glass, downward-facing shades, or louvered covers so the light source itself is hidden and only the glow shows. Wall sconces with an opaque top cap throw light down the wall where it is needed instead of out into faces. For table lamps and lanterns, look for diffused shades rather than clear glass. The same thinking applies to string lights: softer, frosted globe bulbs are far kinder than clear ones at close range. When you shop, a quick test helps — if you can stare at the fixture comfortably for five seconds without squinting, your guests will be fine all evening. This one swap honestly makes a budget patio feel twice as expensive, because everything looks calmer. It also helps with light trespass complaints from neighbors, since shielded fixtures keep the light on your patio where it belongs.
Suggested budget range: $25 – $90.
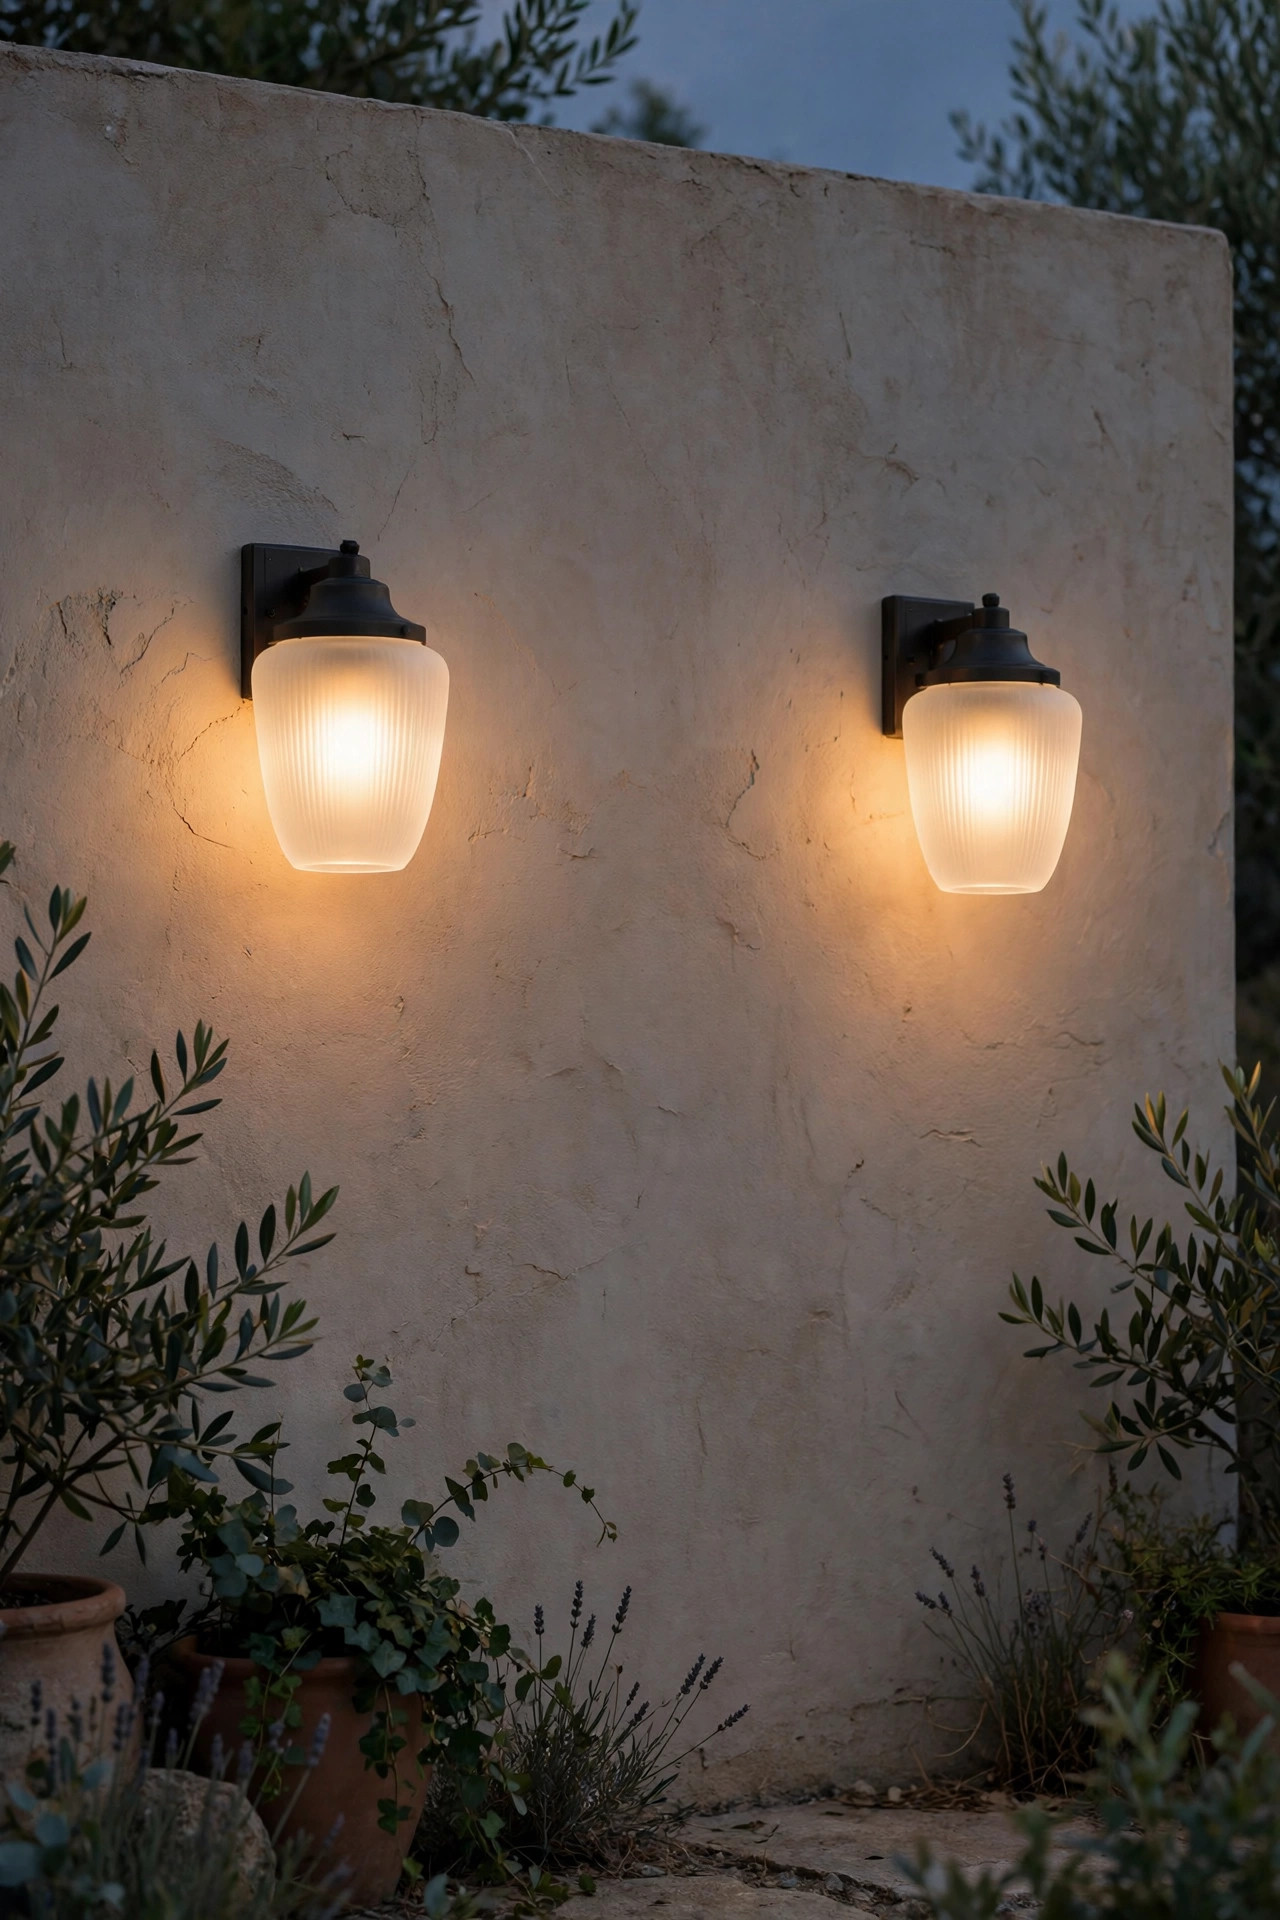
3. Line Walkways With Even, Well-Spaced Path Lights
The walk from the back door to the patio, and from the patio to the garden gate, deserves the same care as a hallway inside the house. Path lights spaced evenly — every 5 to 6 feet, alternating sides or in a straight line — create a rhythm the eye can follow without thinking. Fixtures 12 to 18 inches tall with downward-aimed, shielded heads are ideal because they paint the walking surface instead of shining into eyes. Avoid the common mistake of spacing solar stakes 10 feet apart, which leaves dark gaps exactly where a hose, a sprinkler head, or a raised paver might hide. Consistency matters more than brightness: a steady 100 to 200 lumens per fixture is plenty when the spacing is even. I always recommend staggering a few extra lights at decision points — where the path turns, meets a step, or passes a gate latch. Those are the places people pause, and a little extra light there buys real confidence. If your path crosses a lawn edge, add one light right at the transition so the drop from pavement to grass is unmistakable.
Suggested budget range: $60 – $220.
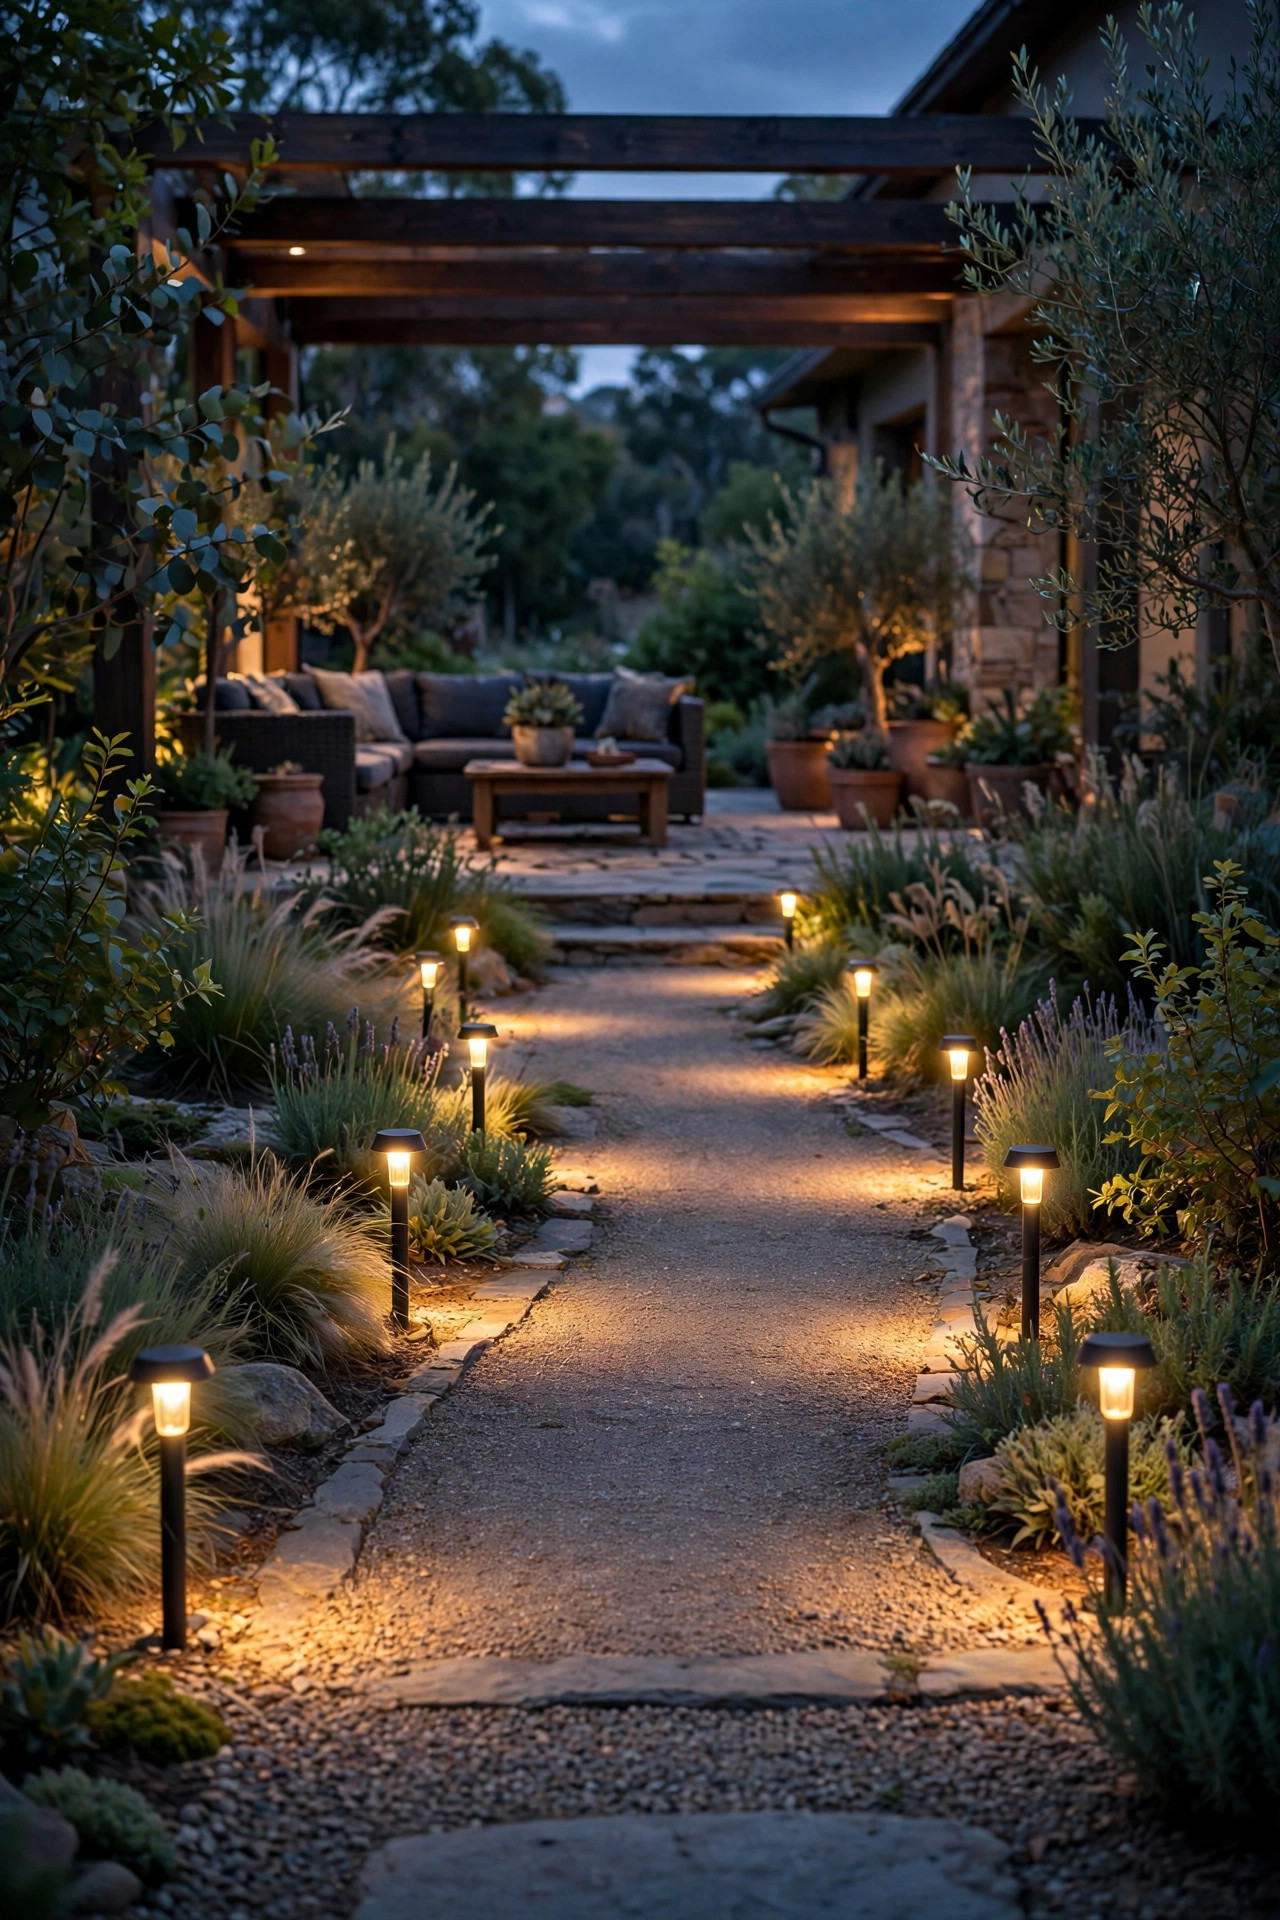
4. Light Every Step and Level Change
More evening falls happen at a single unexpected step than anywhere else outdoors, so treat every level change like it deserves its own spotlight. Recessed step lights set into the riser, small surface-mount fixtures on the side wall, or a strip of LED tape tucked under the tread nosing all work — the goal is a clear bright line that shows exactly where each tread begins. Light the top step and the landing too, not just the middle ones, because the first step down is the one that surprises people. If your patio has a raised deck edge or a single step into the house, that threshold needs the same treatment. My full notes on fixture placement live in my guide to porch step lighting ideas, which covers heights and spacing in detail. One extra tip from my parents' patio: paint or tape is not a substitute for light, but pairing a light-colored nosing strip with a step light makes the edge readable even for eyes that struggle with contrast. Test at night in your regular shoes, not slippers.
Suggested budget range: $40 – $180.

5. Add Motion-Sensor Lights for Hands-Free Arrivals
Nobody should have to cross a dark patio carrying a tray, a cane, or a grandchild. Motion-sensor fixtures solve that completely — step outside and the light is simply there. Place one over the back door, one covering the main path, and one near the grill or storage area so every routine trip is covered. Modern sensors let you adjust how long the light stays on; 3 to 5 minutes is the sweet spot, long enough to settle in without leaving lights blazing all night. Choose a wide detection angle, around 180 degrees, and mount the fixture 7 to 9 feet high so it catches movement early rather than at the last second. I prefer models with a dusk-to-dawn mode that glows dimly all evening and brightens when someone approaches — it is the best of both worlds. For a deeper comparison of sensor types and settings, my motion sensor outdoor lights guide walks through the options honestly. Angle the sensor slightly away from the street so passing cars do not trigger it all night.
Suggested budget range: $30 – $110.

6. Use Dusk-to-Dawn Photocell Bulbs That Never Need a Switch
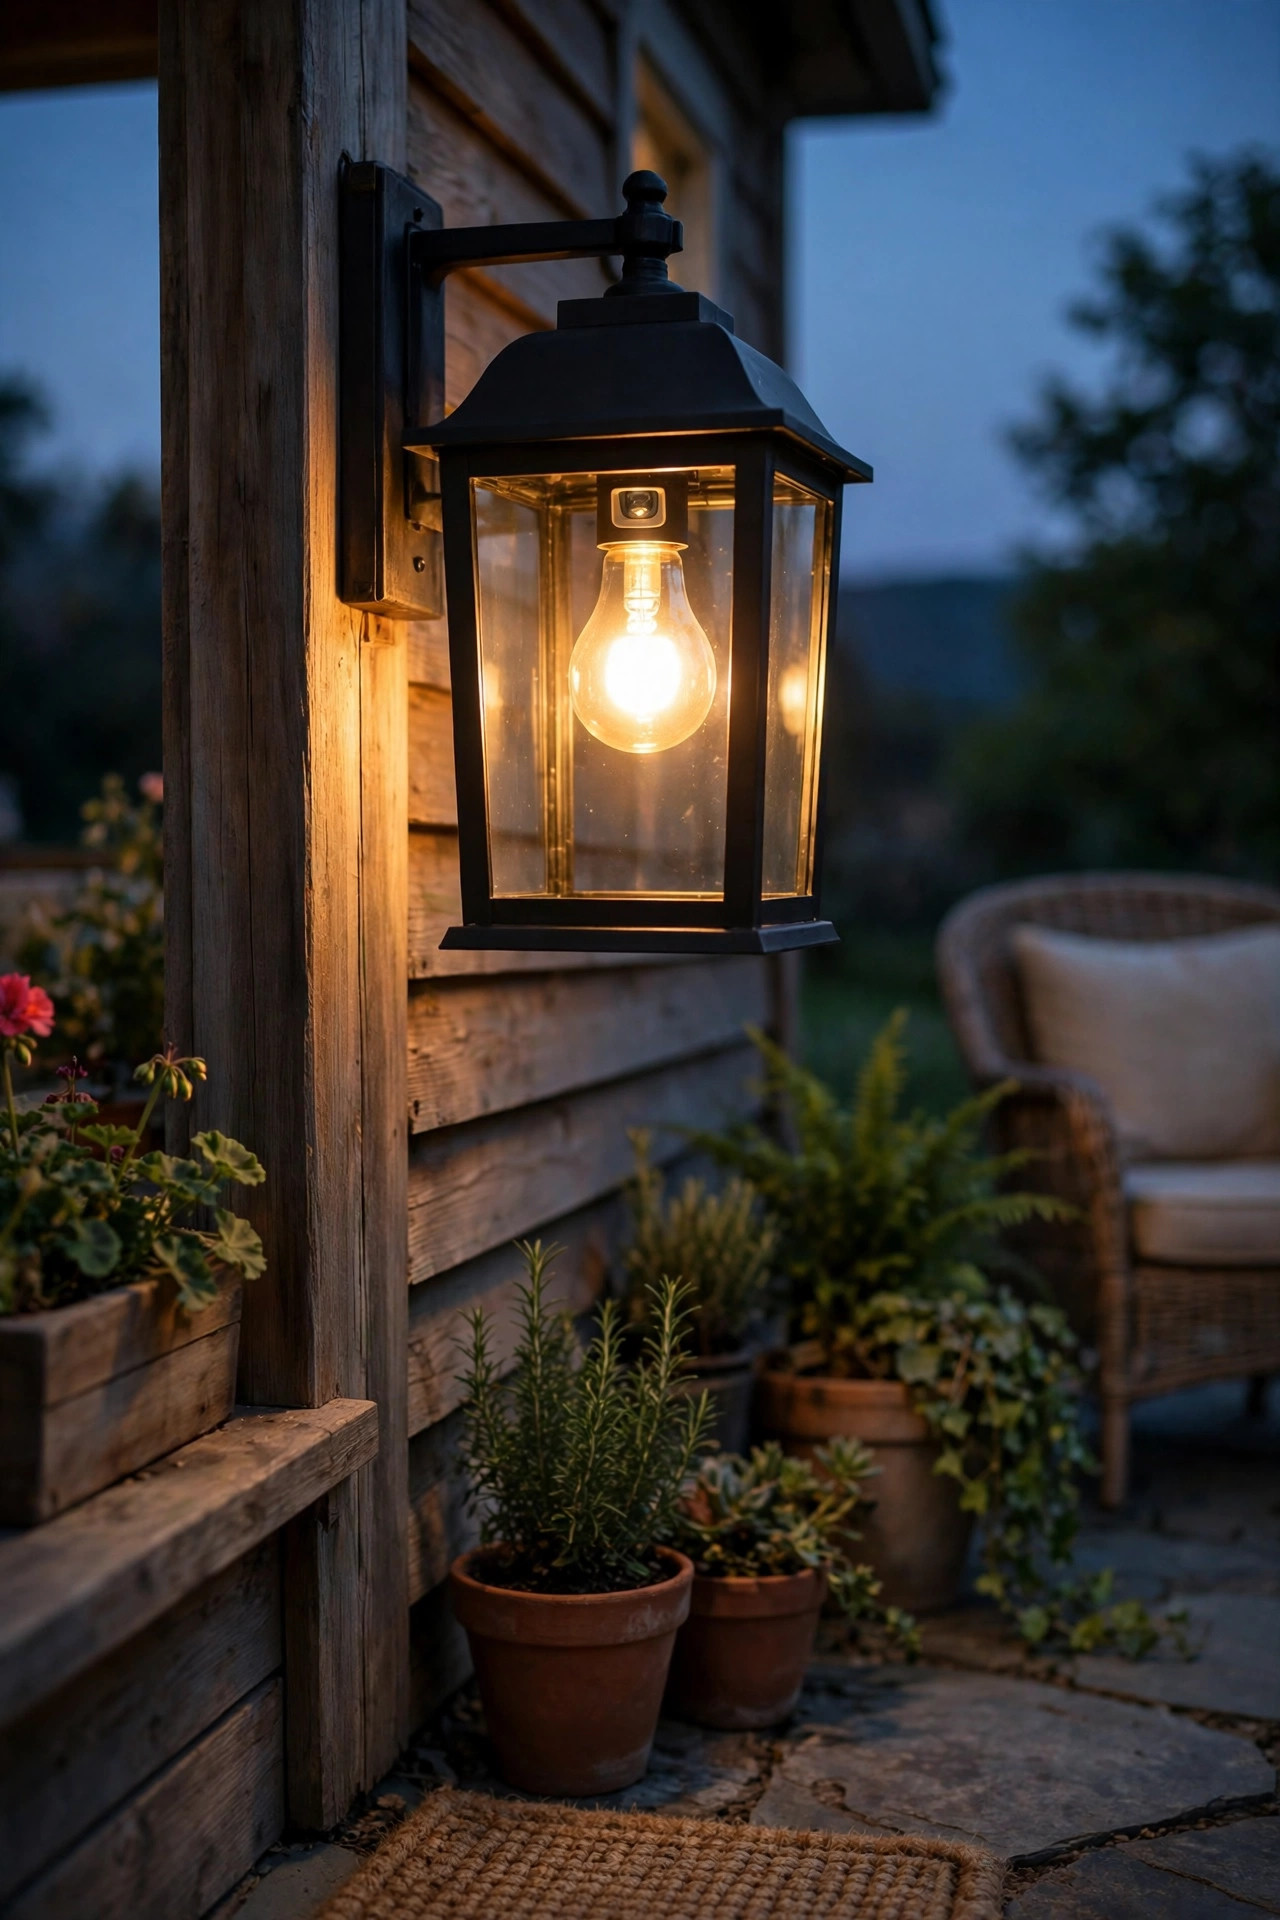
Some of the most senior-friendly technology is also the simplest: a bulb with a tiny built-in light sensor that turns itself on at dusk and off at dawn. Screw one into the porch fixture and any always-on lanterns, and those lights simply handle themselves forever — no switches to remember, no coming home to a dark house, no leaving lights burning all day because someone forgot. They are especially good for a fixture by the door and one at the far end of the patio, the two anchor lights that define the space. Modern photocell bulbs are LED inside, so they sip electricity and last for years, which also means nobody is climbing a step stool to change them each season. Honestly, this is the first thing I installed at my parents' house, and it removed more friction than any gadget since. If a fixture is on a switch, just leave the switch on and let the bulb do the thinking. Look for bulbs rated for enclosed fixtures if your lantern has a closed top, and keep the little sensor window clean with a wipe each spring.
Suggested budget range: $8 – $20.
7. Put the Whole Patio on Timers or Smart Plugs
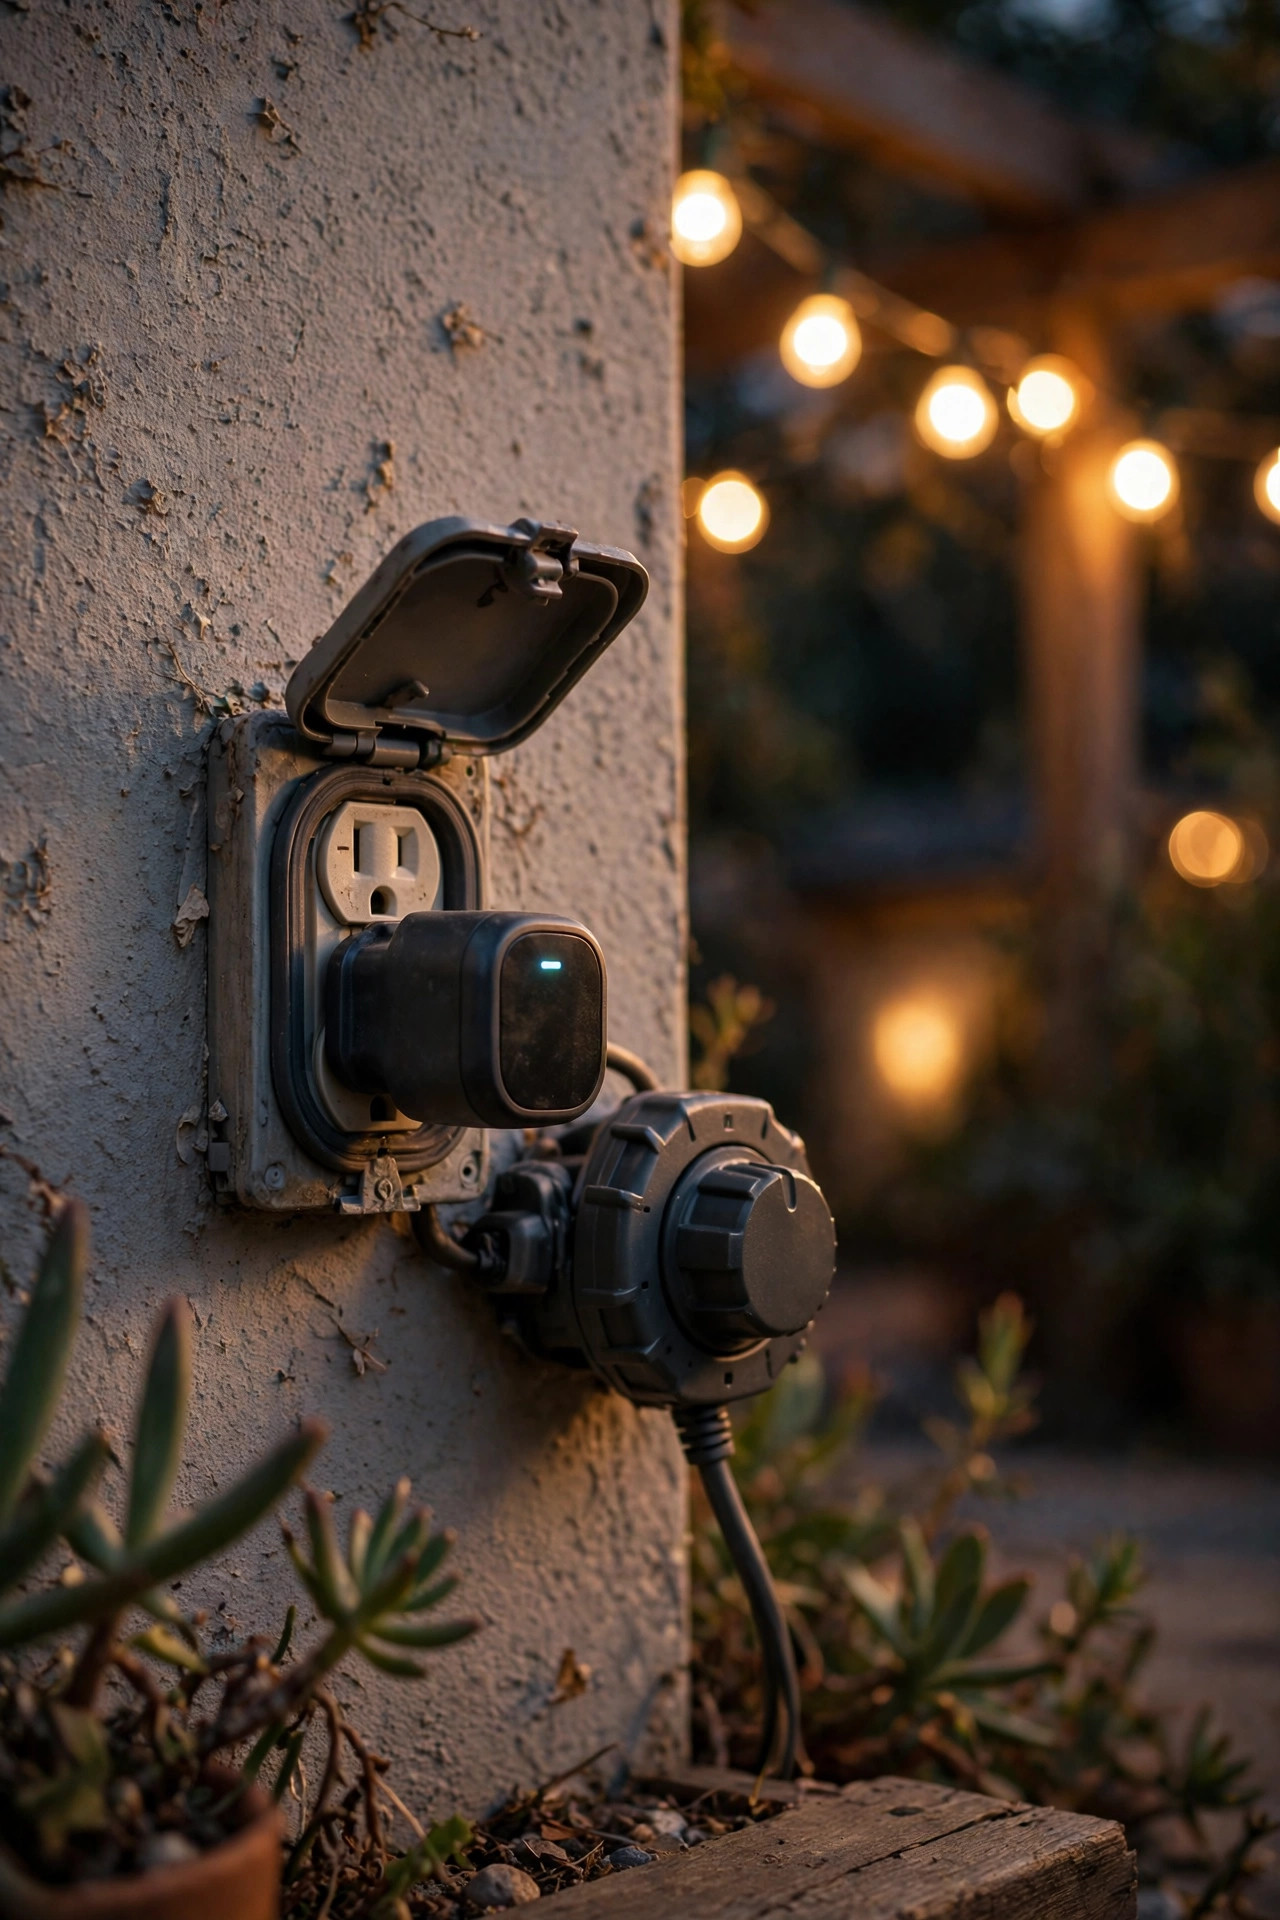
For lights that plug in — string lights, lanterns, a fountain pump, decorative strands — a timer removes the nightly routine entirely. A simple mechanical timer with chunky pins is genuinely easy to set, and weatherproof smart plugs go one step further by following sunset automatically, adjusting all year without anyone touching them. Set the patio lights to come on 20 minutes before dusk and go off at bedtime, and the space is always ready when it is wanted and never wasteful when it is not. This is also a wonderful security feature on nights out or vacations, since a lit patio looks lived-in. I round up the best options, including ones with big readable displays, in my page on outdoor lighting timers and automation. One practical note: put the timer where it can be reached from a seated position if possible, or choose a plug with a manual override button on the side, so nobody has to kneel behind a planter to make a change. Outdoor-rated models only, and keep connections under an eave.
Suggested budget range: $15 – $45.
8. Install Big Rocker Switches and a Remote by the Door
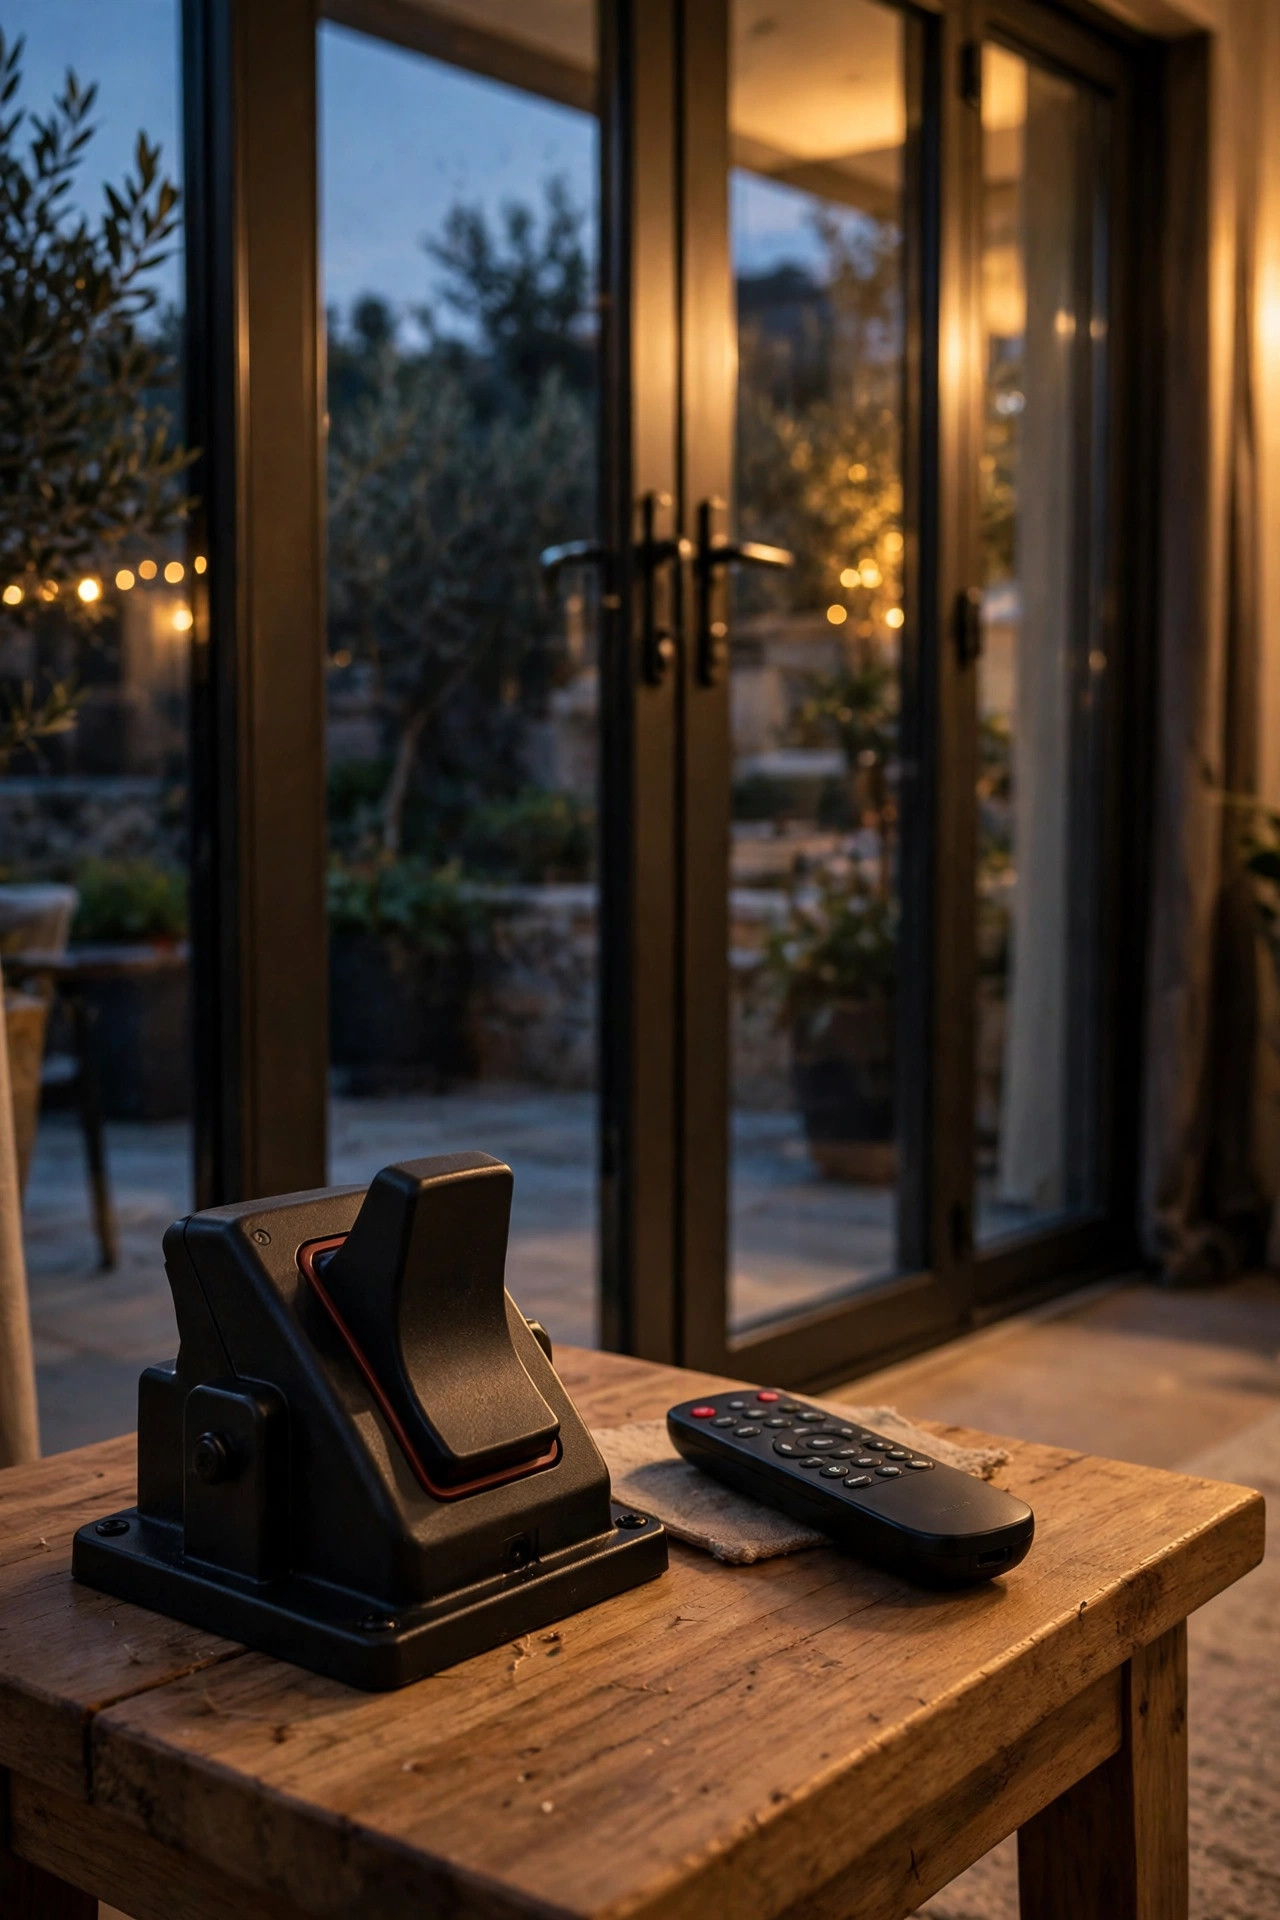
When a light does need a switch, make it the easiest switch in the house. Large paddle-style rocker switches can be worked with a palm, a knuckle, or an elbow when hands are full — a small kindness that matters every single night. Swap the indoor switch that controls the patio at the same time you upgrade the fixtures, and put it at comfortable height right inside the back door. Even better for many households: a wireless remote switch. The receiver wires into the fixture or plugs in at the outlet, and the remote itself can sit in a cradle by the door, on the side table, or on a lanyard by a favorite chair, so the patio lights answer from wherever a person already is. No electrician is needed for the plug-in versions. I always recommend labeling anything that looks similar with large-print labels — two matching switches for the patio and the floodlight cause nightly confusion otherwise. Tactile, obvious, and reachable beats clever every time.
Suggested budget range: $20 – $70.
9. Choose Solar Stake Lights Where Wiring Is a Hassle
Solar path and stake lights ask for nothing — no trenching, no transformer, no electrician, and no cords crossing the walkway to trip over. Push them into the soil along paths, around planters, and at the corners of steps, and they charge all day and glow all evening. They are the easiest possible way to add the ground layer of light to an existing patio. Choose models with a separate, slightly larger solar panel or panels that tilt toward the sun, and place them where they truly get six hours of direct light, not under a dense shrub. Quality has improved a lot: look for warm-white 2700K to 3000K options with real glass or sturdy construction rather than the cheapest thin plastic. Expect a gentler glow than wired lights — think guidance light, not floodlight — which is exactly right for marking edges. They are also wonderfully forgiving to rearrange: if a gap appears in your lighting plan, you just move a stake. Replace tired rechargeable batteries every year or two and they keep going.
Suggested budget range: $25 – $80.

10. Keep Color Temperature Warm and Consistent
Here is a detail that sounds fussy and turns out to matter enormously: keep every bulb on the patio between 2700K and 3000K, and never mix in a blue-white bulb. Cooler, daylight-toned light creates harsh shadows and glare for aging eyes, while warm light is gentler and makes skin, food, and wood tones look good. Consistency matters too — a patchwork of warm and cool bulbs makes the space feel unsettled and makes edges harder to judge. When you replace a bulb, match the Kelvin number on the box to what is already there, and buy spares from the same pack so replacements blend in. Frosted bulbs in that warm range give the soft, flattering glow that makes people linger. If some fixtures feel too dim, raise the lumens rather than the color temperature; brightness and warmth are separate dials. This is one of those senior friendly patio lighting ideas that costs nothing extra at all — it is simply buying the right bulbs the first time and writing the Kelvin number on a note inside the kitchen cabinet.
Suggested budget range: $10 – $30.
11. Light the Edges of Seating So Furniture Is Easy to Read
Chair legs, low tables, and ottoman corners are classic shin-level hazards after dark, and they disappear completely in dim, uneven light. A low line of light fixes it: short bollard lights aimed at the seating zone, a strip of LED tape under a bench or planter edge, or small lantern lights placed at the corners of the rug zone so the whole seating area reads as one clear, defined space. The goal is that anyone crossing the patio can see the outline of every piece of furniture without studying the ground. Waist-high obstacles like a grill cart or a plant stand deserve a light nearby too. At my parents' house, two low lanterns flanking the seating group ended the nightly game of guessing where the coffee table ended. Keep this light low and warm — it is furniture definition, not interrogation. Solar puck lights pressed into the soil at the corners work beautifully and cost almost nothing to run. Test by walking the space at your normal evening pace and noting anything your shin finds before your eyes do.
Suggested budget range: $35 – $120.

12. Add Light Under Handrails and Along Railings
A handrail you can see is a handrail you will actually use. Slim LED strip lights tucked under a deck or patio handrail wash the steps and the walking surface below with a continuous, shadow-free glow, and they make the rail itself easy to find in the dark. This is one of the most genuinely helpful upgrades for anyone who steadies themselves on the way down, because the light and the support arrive together. Use outdoor-rated, waterproof strip with a proper channel or diffuser so you see a smooth line of light rather than individual dots, and run the low-voltage cable neatly along the underside where it cannot snag. The same trick works along a ramp, a garden wall cap, or the edge of a raised planter beside a path. Because the strips are low voltage, they are a comfortable weekend DIY for most people, and a dimmer lets you keep the glow gentle. Warm white only, again — the railing line should feel like candlelight, not a runway. On long rails, power the strip from the middle or both ends to keep brightness even.
Suggested budget range: $45 – $160.

13. Swap Real Candles for Flameless Lanterns
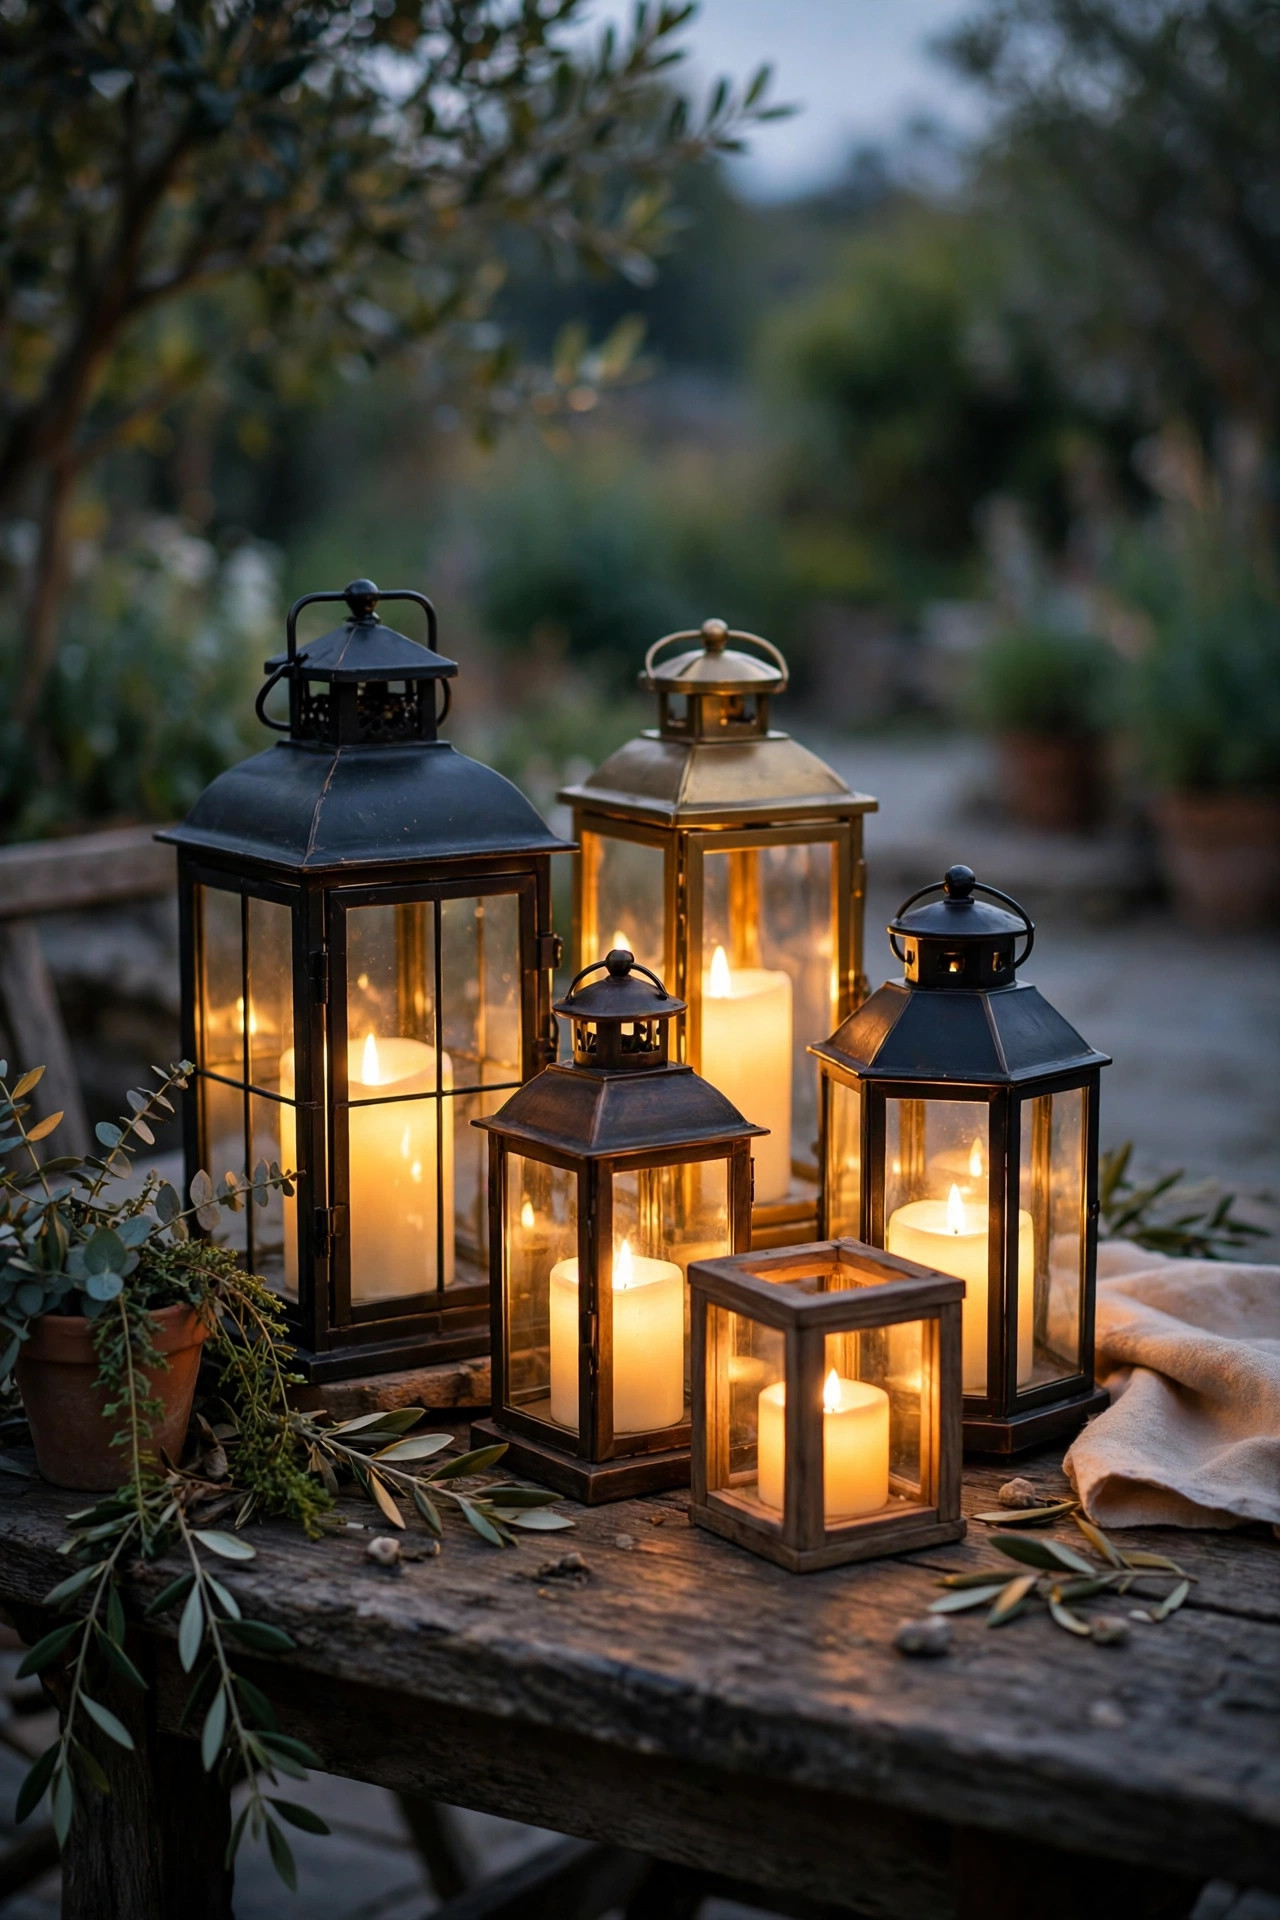
Candlelight is the prettiest light on any patio, but real flames bring real worries — a knocked-over hurricane, a sleeve brushing a tea light, a candle forgotten when everyone goes in. Modern flameless candles and lanterns have honestly become so good that guests rarely notice the difference: a warm, flickering LED flame, realistic wax, and often a built-in timer that turns them on at the same time every evening for five hours and then off again. Group three lanterns of different heights on the table and a couple by the door and the entire patio feels dressed up with zero fire risk and zero wax on the cushions. They are light enough to carry one-handed, cool to the touch, and unbothered by a breeze, which real candles never are. Choose the versions with a simple slide switch on the base rather than a tiny remote-only control, and keep a spare set of batteries in the drawer by the door. This is the swap I recommend first to anyone who loves the ritual of lighting candles at dusk but not the fuss.
Suggested budget range: $20 – $75.
14. Hang String Lights High, Taut, and Out of the Way
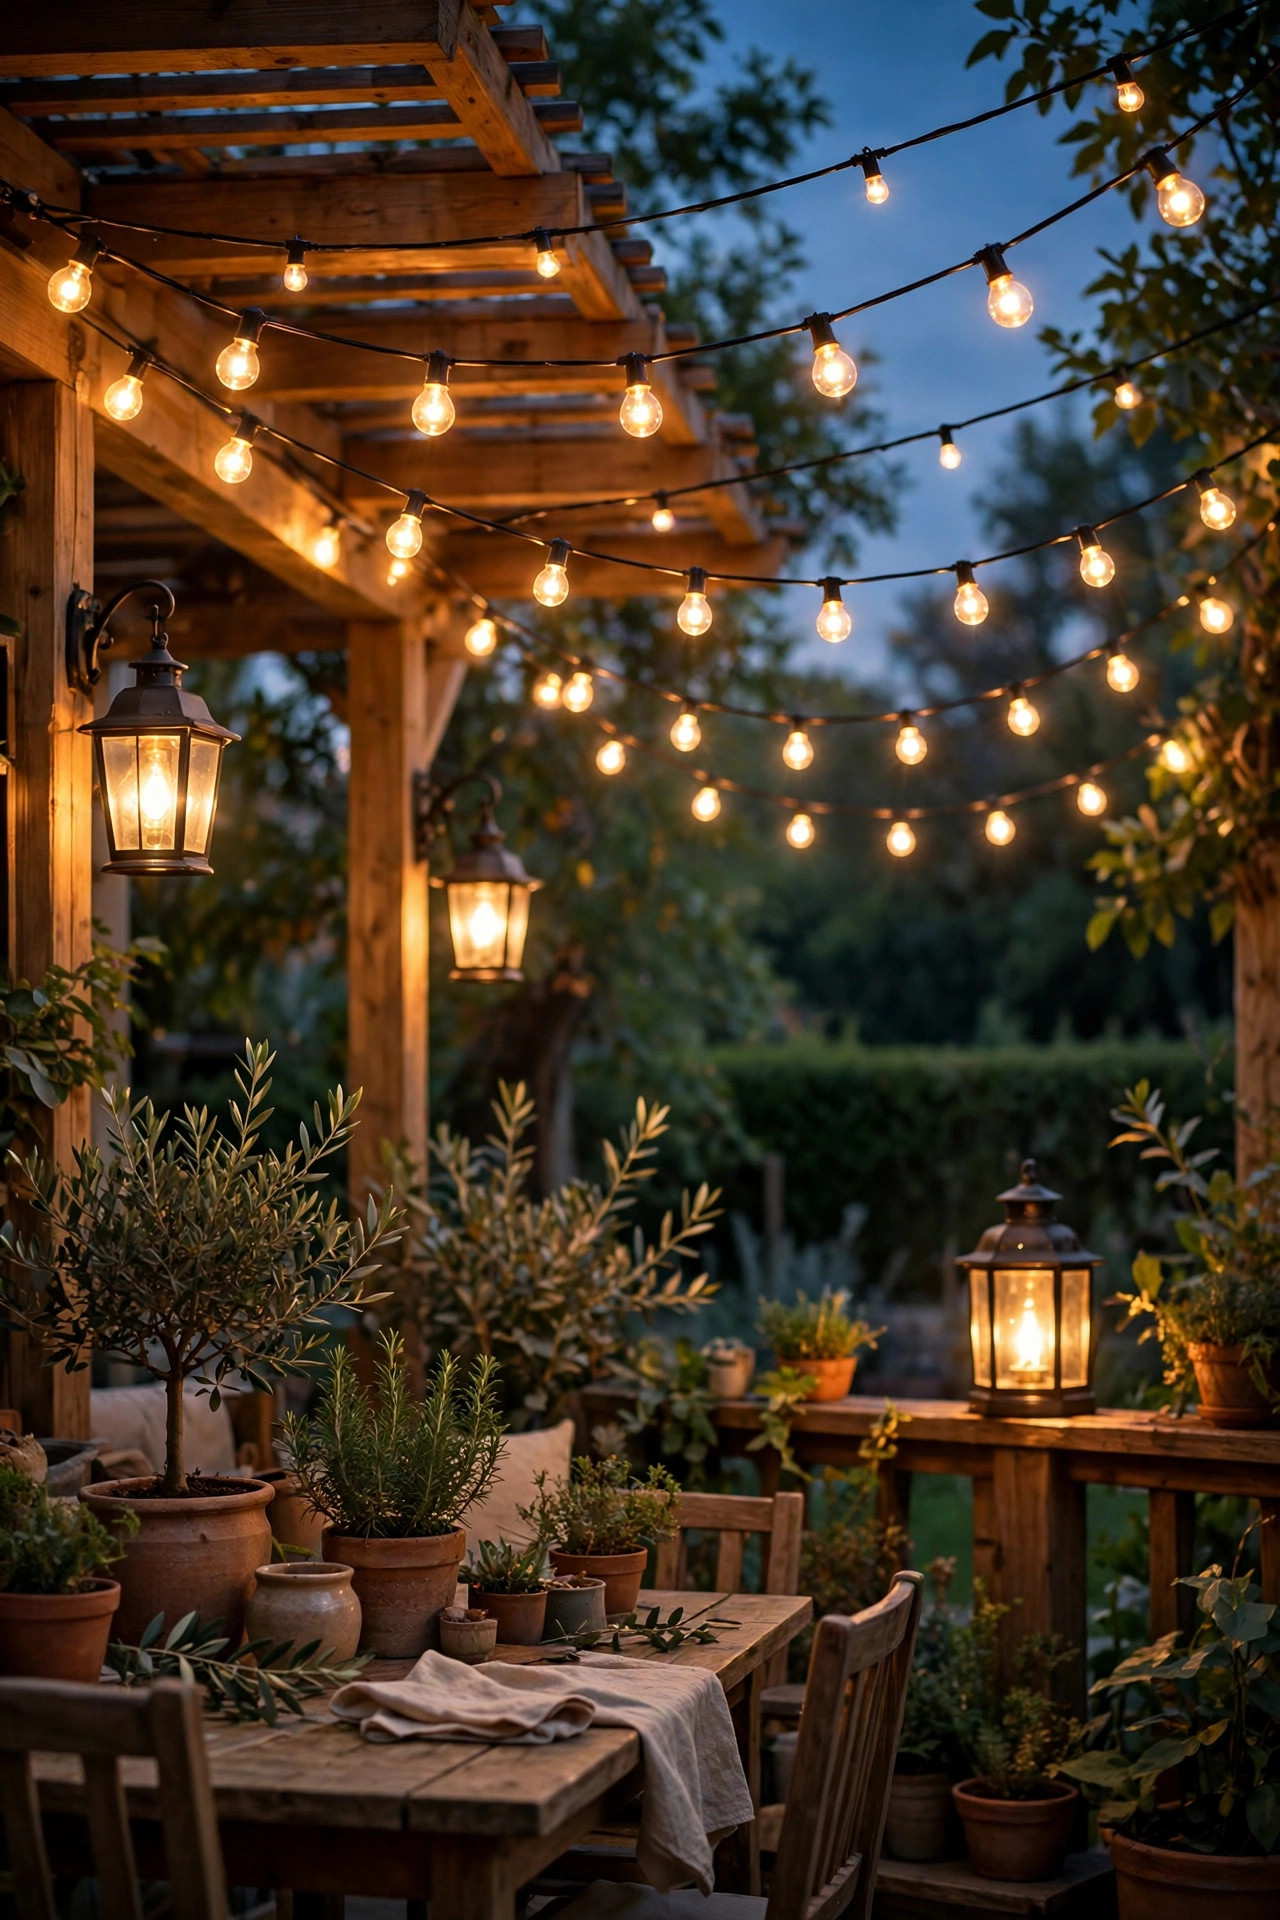
String lights give the overhead layer a festive softness that a single ceiling fixture cannot match, but they need to be hung with a senior-friendly eye. Keep every strand at least 7 feet above the walking surface, pulled reasonably taut on a proper guide wire so nothing sags to head height, and anchored to the house, a pergola, or sturdy poles — never draped low across a doorway or path. The electrical side matters just as much: the cord should run up and over, never across the floor where a cord cover becomes its own trip hazard, and the plug should land on a timer so they run themselves. Choose shatterproof plastic bulbs rather than glass overhead; if one ever falls, it bounces instead of shattering. Frosted globes in warm white keep the glow kind to the eyes. Commercial-grade strands with thicker wire and suspended sockets cost a little more and survive years of weather, which beats annual replacement on a ladder. Hung this way, string lights are pure pleasure: all of the charm, none of the ducking or worrying.
Suggested budget range: $35 – $130.

15. Put a Real Task Light Where Reading and Games Happen
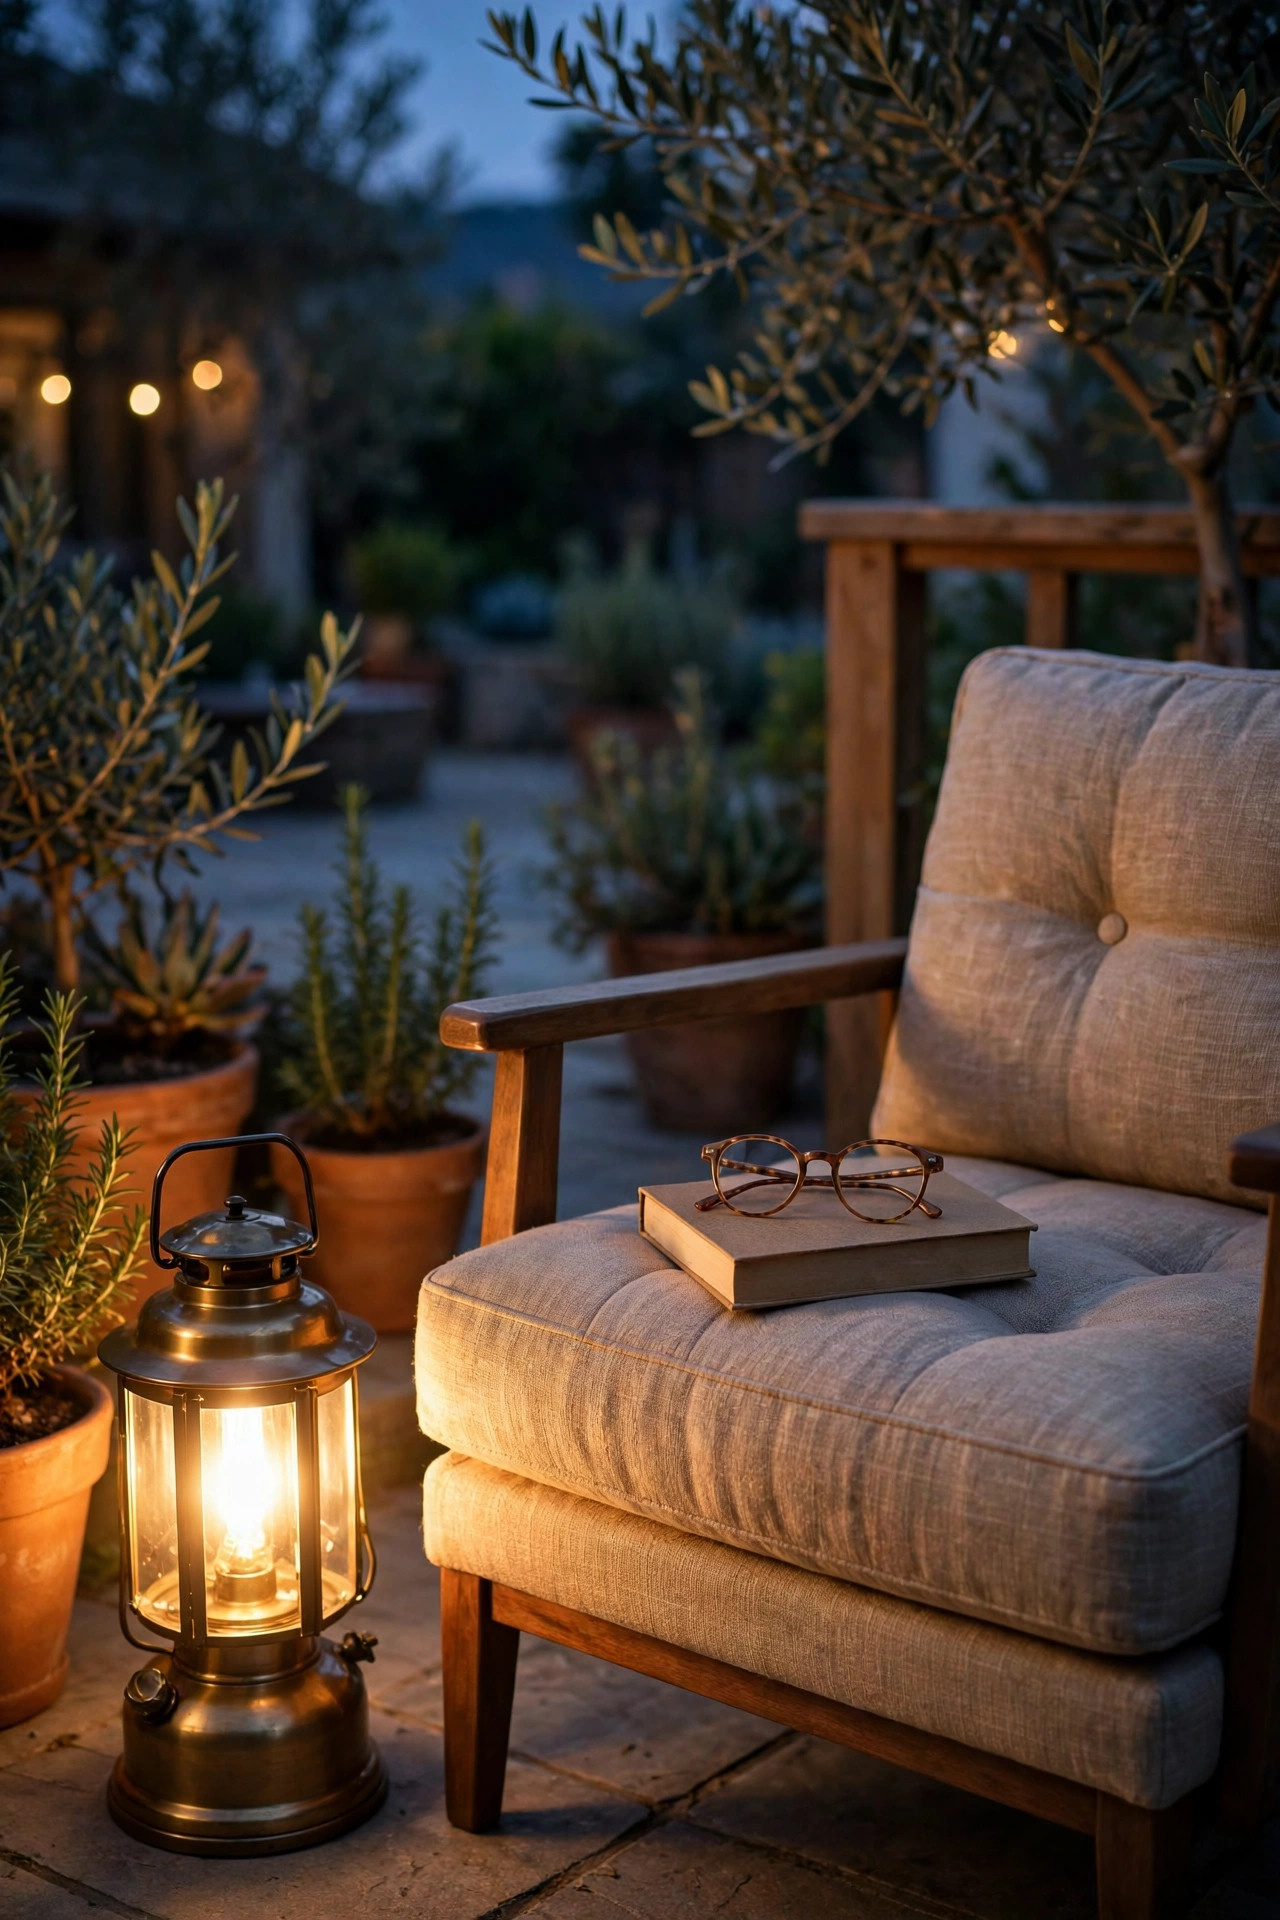
Ambient glow is lovely for conversation, but reading the newspaper, shelling peas, or finishing a crossword needs a proper light aimed at the page. A sturdy outdoor table lamp or a rechargeable lantern with a big, easy dial — not a fiddly little button — placed right beside the favorite chair solves it. Look for a lamp that gives 400 to 800 lumens of warm light with a shade that throws it downward, and a control that can be found by touch. Battery lanterns have the advantage of going wherever the evening goes: the card table, the potting bench, the porch swing. Choose one with a handle big enough for a comfortable grip and a base that will not tip on a breezy night. I keep a small tray by my parents' door with the lantern, reading glasses, and a magnifier together, so the whole reading kit travels in one trip. Bright task light at the chair, gentle light everywhere else — that contrast is exactly what aging eyes handle best.
Suggested budget range: $30 – $95.
16. Try Voice-Controlled Bulbs for Lights That Answer Out Loud
For anyone who finds switches, timers, and phone apps equally annoying, a voice-controlled smart bulb in the main patio fixture can feel like a small miracle: say the words and the patio lights come on, dim, or turn off without anyone getting up, crossing the room, or hunting for a remote in the dark. It is genuinely valuable on evenings when mobility is limited or hands are full. Setup is a one-time job — screw in the bulb, connect it to the home Wi-Fi through a simple voice assistant speaker, and give it a plain name like "patio" so the command is easy to remember. Dimming by voice is the feature people end up loving most, taking the light from bright for dinner cleanup to soft for stargazing in one sentence. Keep one ordinary switch or remote as a backup for Wi-Fi hiccups, and choose bulbs rated for outdoor fixtures. Start with a single bulb in the most-used fixture; if it earns its keep, expand. Honestly, my father was skeptical for exactly one evening.
Suggested budget range: $15 – $40.
17. Pick Long-Life LEDs So Nobody Climbs to Change a Bulb
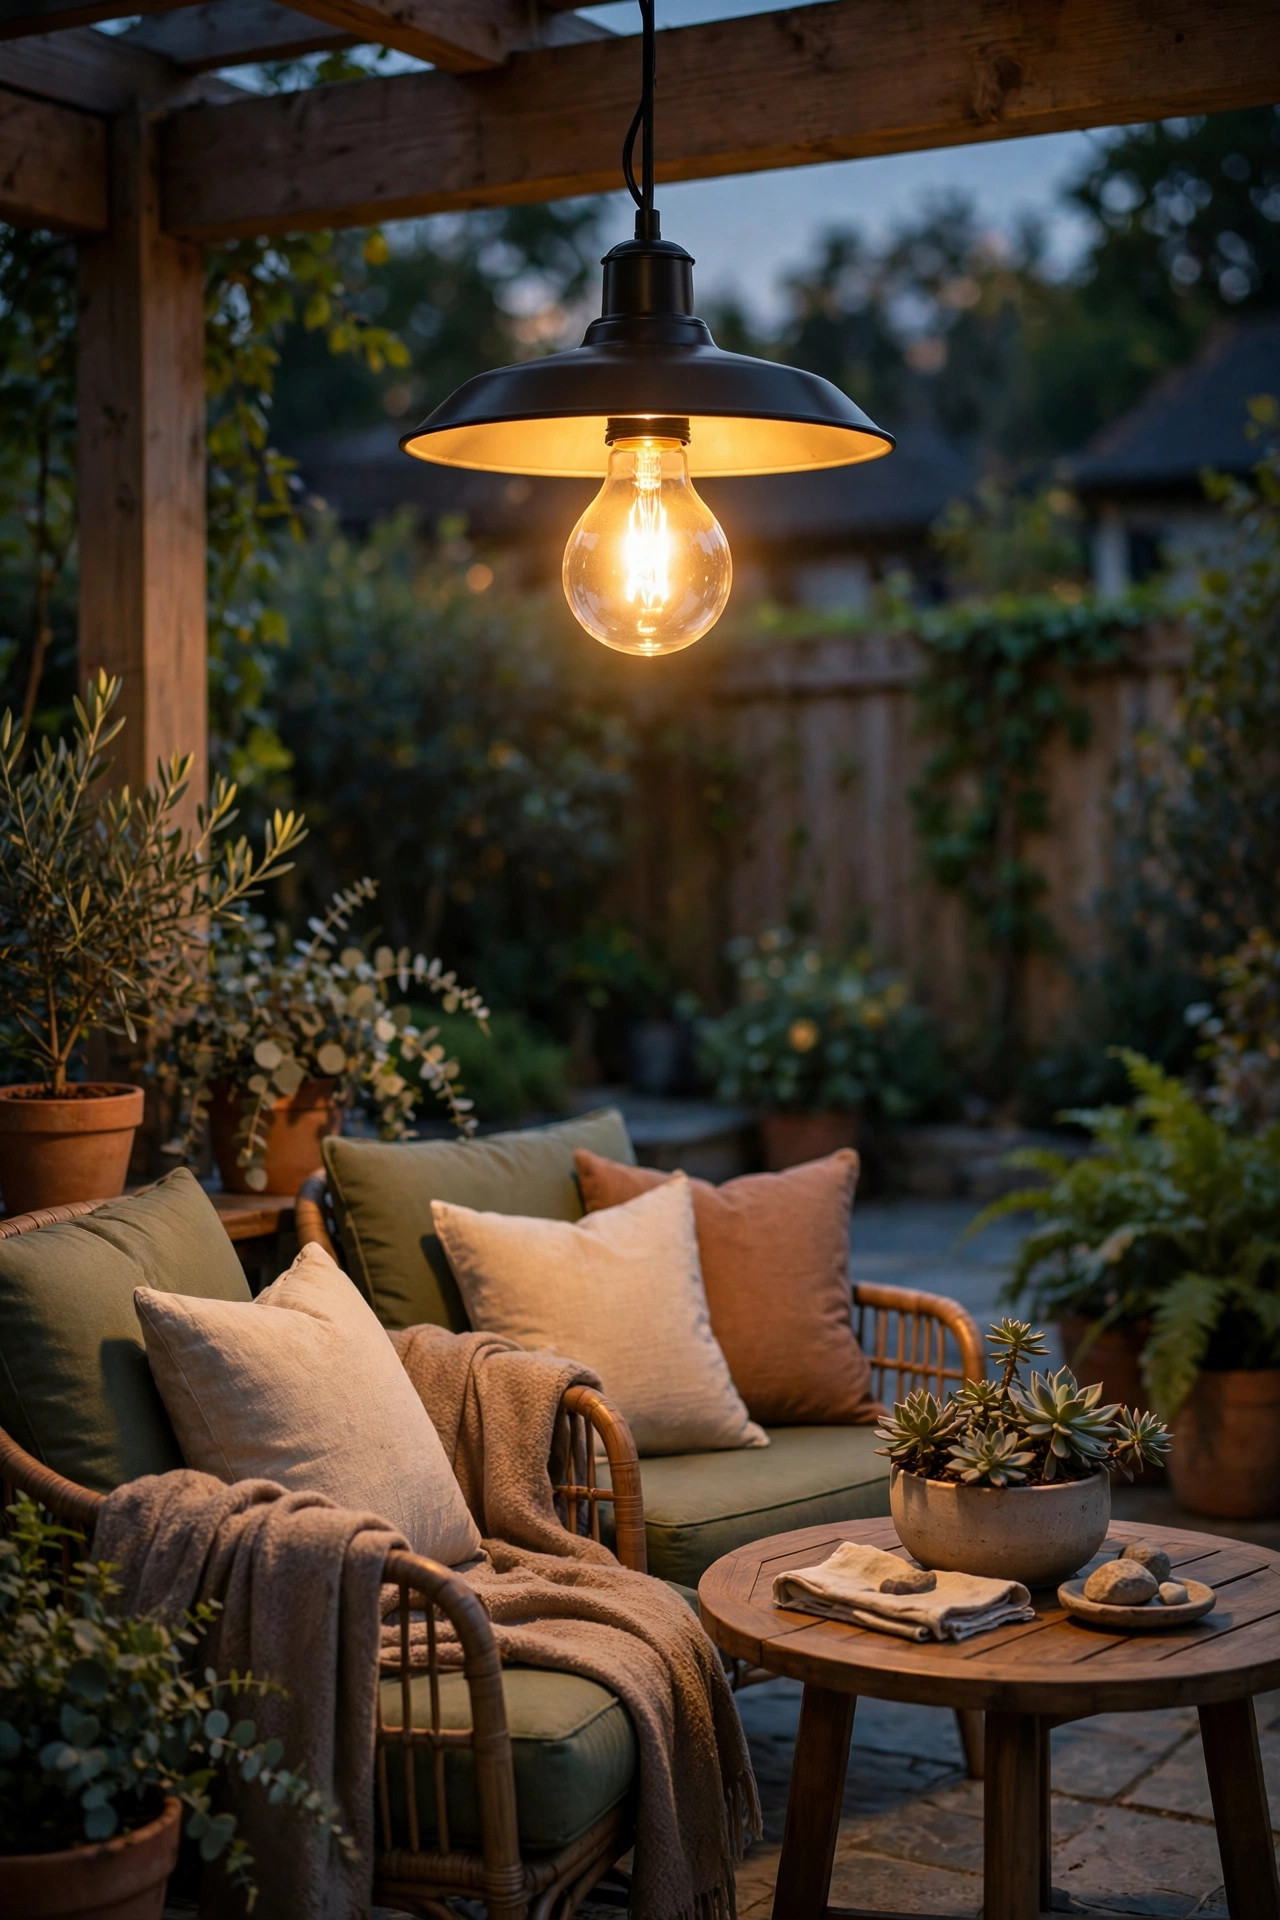
Every bulb on the patio should be one nobody has to think about for years. Quality LED bulbs and integrated LED fixtures are rated for 15,000 to 25,000 hours, which at patio hours works out to a decade or more of evenings — no step stool, no reaching over a railing, no asking a neighbor's teenager. When you do a lighting refresh, replace everything at once and write the date on a piece of tape inside the fixture or on the bulb base, so future-you knows the whole system's age at a glance. Sealed, integrated fixtures have no bulb to change at all and shrug off moisture better than open sockets. If one fixture in a matching pair dies, replace both so the color and brightness stay even — mismatched light is exactly what we are avoiding. Keep one spare bulb of each type in a labeled kitchen drawer for the rare early failure. The small extra cost of good LEDs over bargain bulbs is repaid the first time you do not spend a Saturday on a ladder. Long life is not a luxury feature here; it is the whole point.
Suggested budget range: $12 – $35.
18. Light the Doorway, Threshold, and House Number
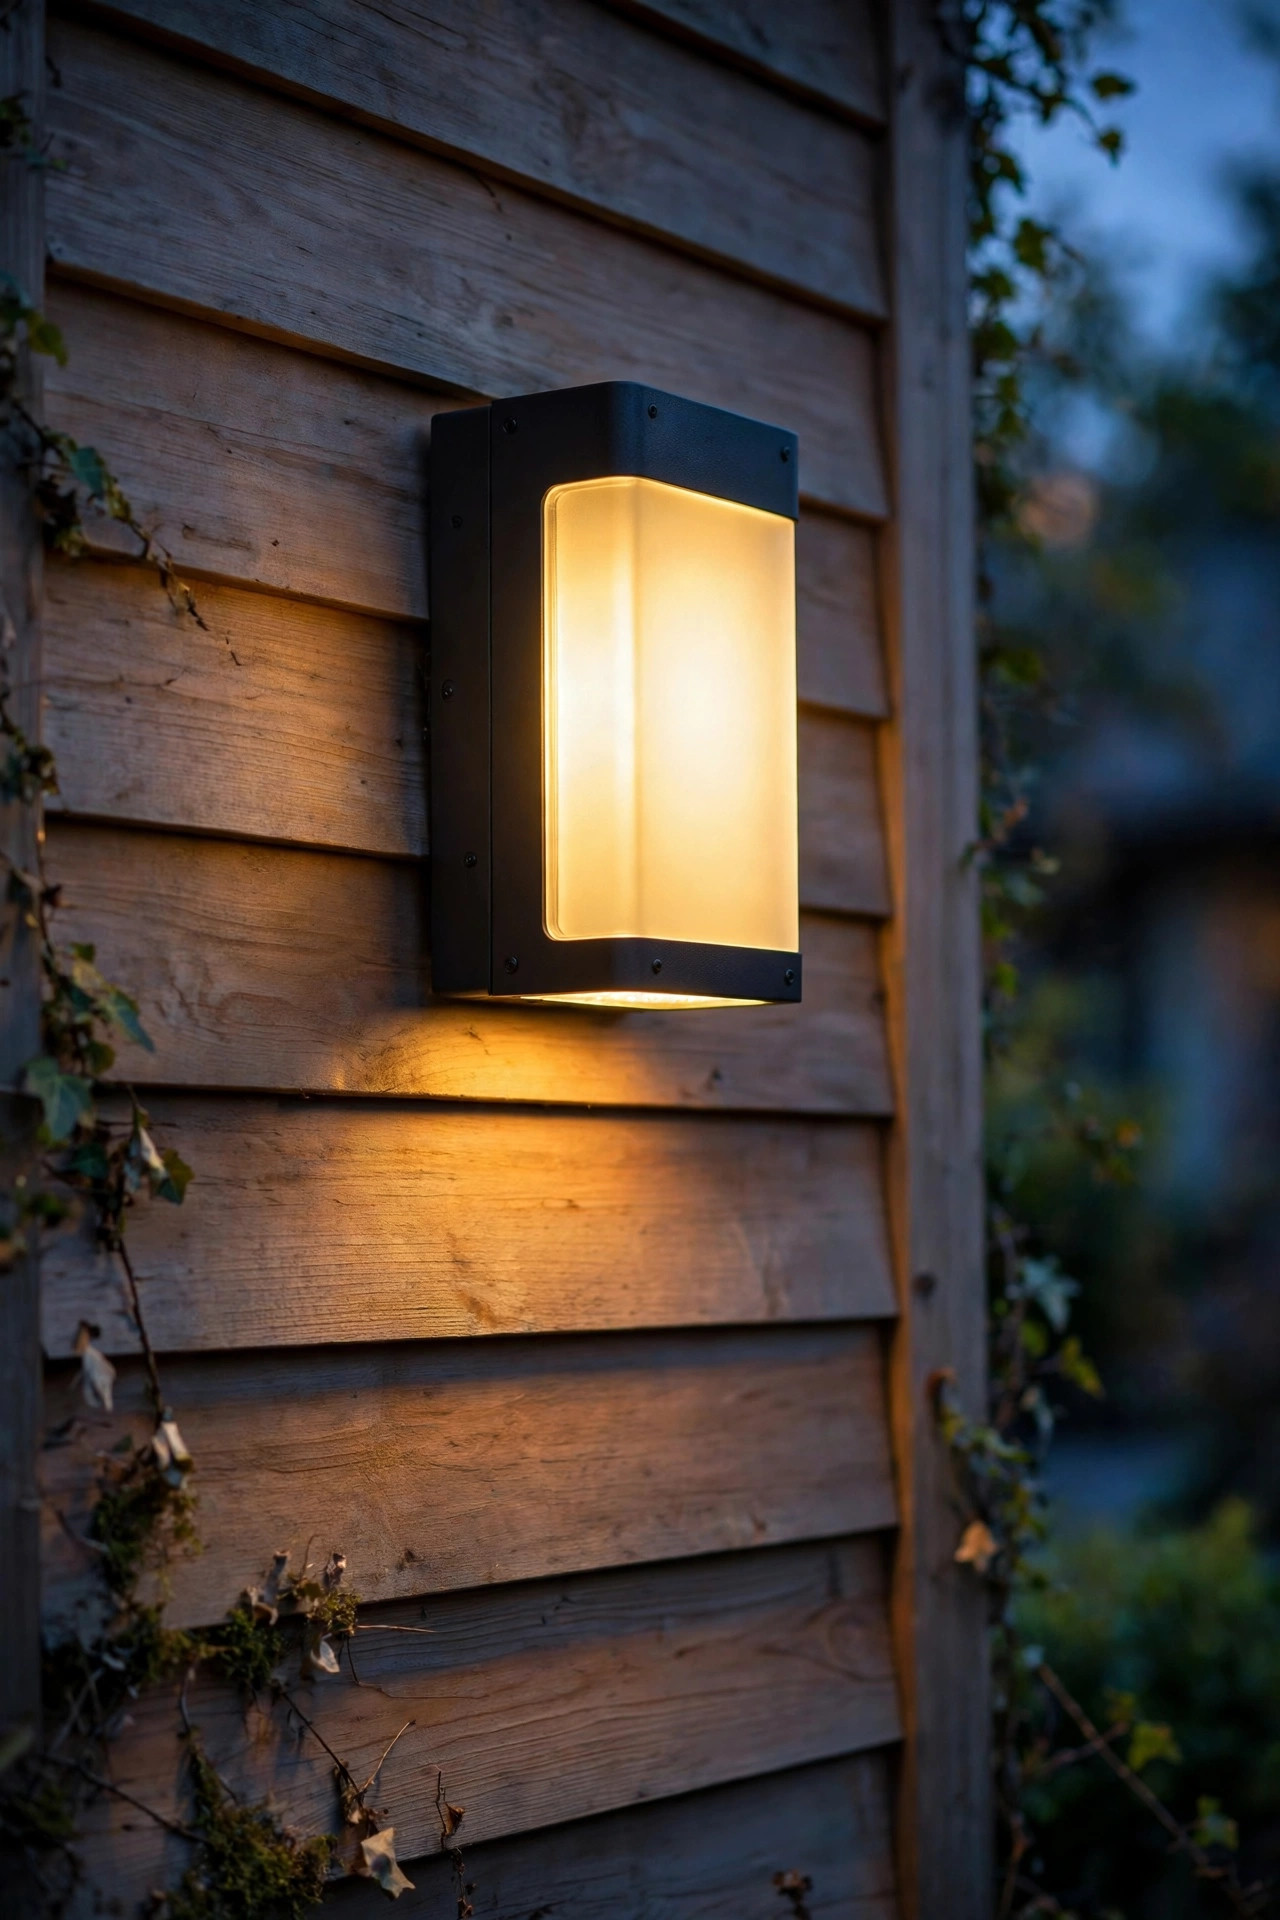
The most important few feet of the whole system are the ones right at the door. A warm fixture beside the door handle side — not just centered above it — lights the lock, the threshold, and the first step all at once, which is exactly the sequence of things a person manages with a key in one hand. The threshold itself should be clearly readable, since a raised door sill is a classic trip point; a small step light or a bright wash across it removes the guesswork. Add an illuminated house number visible from the street while you are at it: it helps visitors, delivery drivers, and, most importantly, emergency services find the house quickly at night. Numbers with warm backlighting or a small downlight above them stay readable without glare. Keep this fixture on a photocell bulb or timer so it is reliably on every single evening, independent of memory. This little cluster — door light, threshold light, lit number — is inexpensive, unglamorous, and quite possibly the highest-value lighting on the whole property.
Suggested budget range: $40 – $150.
19. My Full Senior Friendly Patio Lighting Ideas Checklist
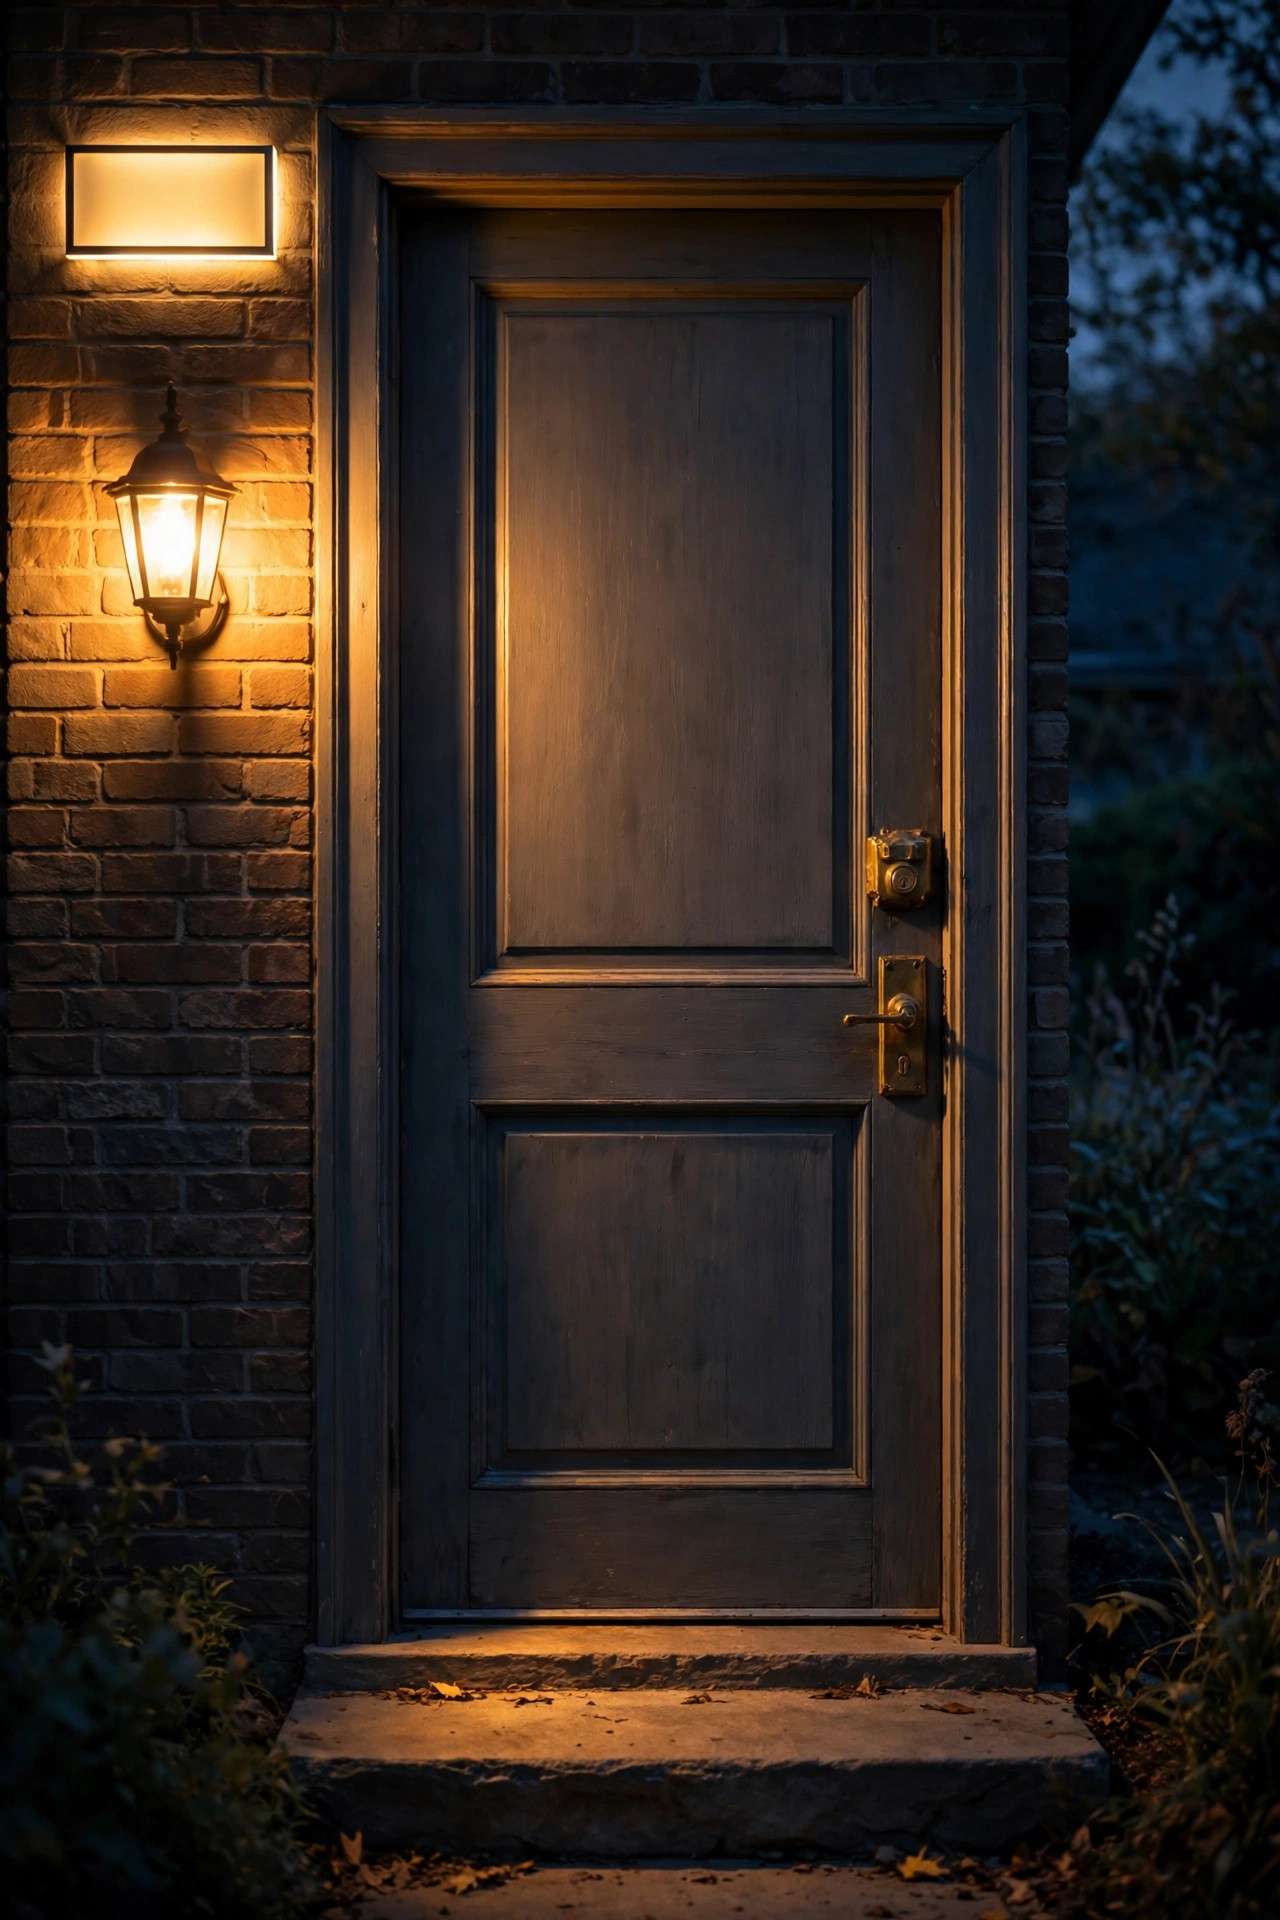
Let me pull it all together the way I did at my parents' house, because the best senior friendly patio lighting ideas work as a system, not a shopping list. Start at the ground: even path lights, every step lit, thresholds washed in light, furniture edges defined. Then the middle: glare-free sconces and flameless lanterns at eye level, a real task light at the favorite chair. Then overhead: string lights hung high and taut, or a warm ceiling fixture, all in matching 2700K to 3000K. Finally, the invisible layer that makes it effortless — photocell bulbs at the anchors, a timer on the strands, motion sensors on the routes, and long-life LEDs everywhere so nothing needs attention. Walk the finished patio on the darkest evening you can, in your everyday shoes, carrying a cup of tea in one hand. Anywhere you slow down, squint, or reach for support is a spot that needs one more small light. That walkthrough, honestly, is worth more than any single product. Do it twice a year, in spring and fall, and small fixes stay small.
Suggested budget range: $250 – $900.

Frequently Asked Questions
What color temperature is best for older eyes on a patio?
Warm white, between 2700K and 3000K, is the kindest range for aging eyes. It gives enough contrast to read steps and edges clearly without the harsh glare and hard shadows that cooler, blue-white light creates. Keep every bulb in that range and match the number when you buy replacements, so the whole patio has one consistent, comfortable glow.
How bright should patio lights be for safe walking?
Brightness matters less than evenness. Path and step lights around 100 to 200 lumens each, spaced closely enough that their pools of light nearly touch, will show the ground clearly. Seating areas do well with a soft overall wash, while a reading or task spot deserves 400 to 800 lumens aimed at the page or table. If you find yourself squinting, the problem is usually glare or a dark gap, not total brightness.
Are solar lights bright enough for seniors?
For marking paths, steps, and edges, good-quality solar lights are absolutely up to the job, and their wire-free design removes trip hazards and installation fuss. They are gentler than wired lights, so I would not rely on them as the only light at a stairway or doorway. Pair solar stakes along the routes with a wired or photocell fixture at the key spots, and place panels where they receive at least six hours of direct sun.
Can patio lights really turn on and off by themselves?
Yes, and it is simpler than it sounds. Photocell bulbs switch on at dusk and off at dawn on their own. Timers and smart plugs can run string lights and lanterns on a set schedule or follow sunset automatically. Motion sensors handle the routes you only use in passing. Combined, these mean the patio can be lit every evening without anyone remembering a switch.
Conclusion
Comfortable evenings outside should never depend on perfect eyesight, a steady ladder, or remembering a switch. The best senior friendly patio lighting ideas all follow one principle: even, warm, glare-free light at every level, running itself quietly in the background. Start with the ground layer and the doorway, add automation a piece at a time, and do the dusk walkthrough to catch what your eyes notice before your list does. If you would like more inspiration for the rest of the yard, browse the other lighting ideas here on the site — your patio is only the beginning.