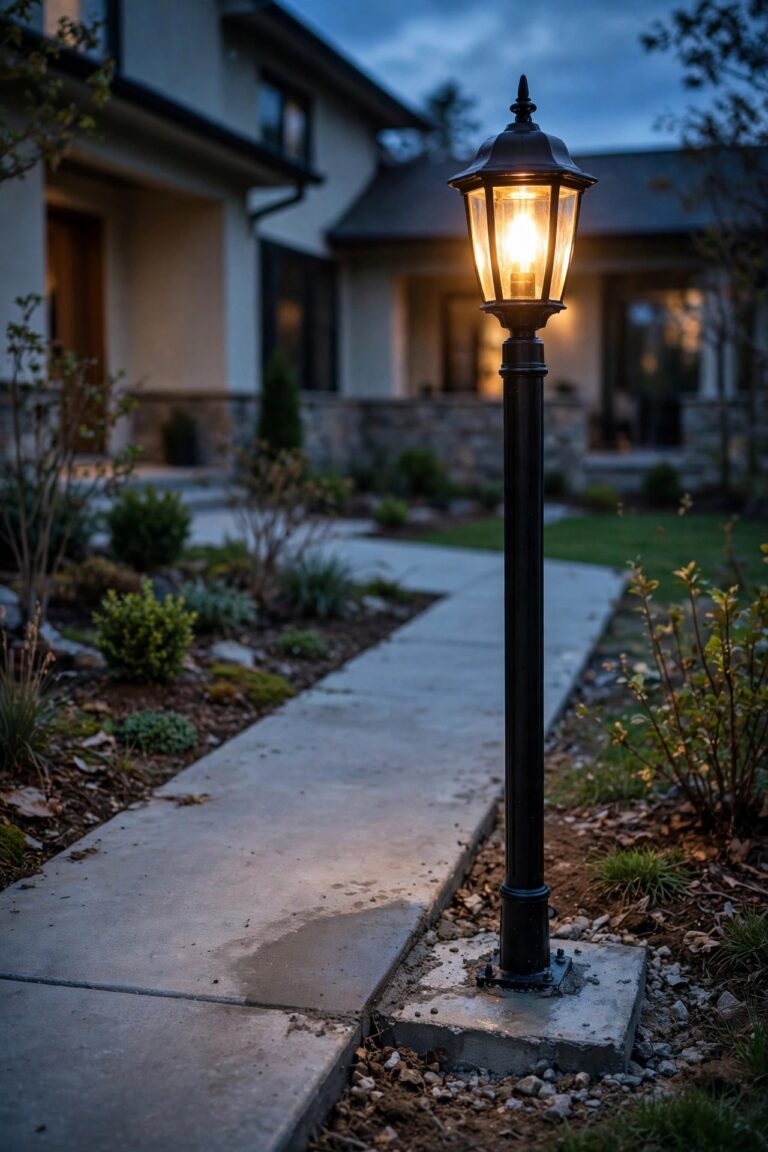
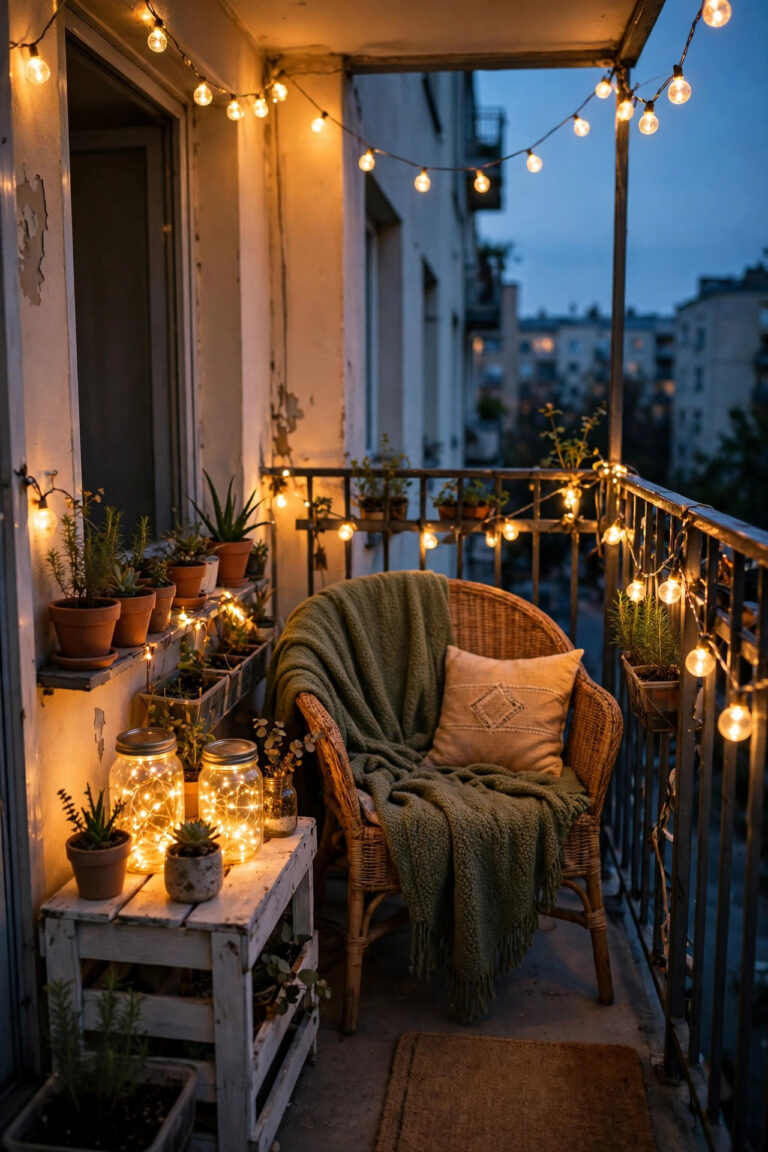
There is a special kind of magic to making things outside after dark — the air cools down, the cicadas start up, and suddenly nobody is checking their phone. But the first time I hosted friends for an evening of watercolor and wreath-making on my patio, I learned the hard way that pretty string lights alone will not cut it. We could barely tell navy thread from black, and somebody glued her project to the tablecloth. That night sent me down a rabbit hole, and these outdoor craft night lighting ideas are what came out of it. The secret is the same layering I use everywhere in my yard: a soft ambient layer so the space feels warm, a real task layer bright enough to work by, and small accents that keep the mood going. Below you will find fifteen setups that cover all three layers, from clamp lamps that render color honestly to battery bars that need no outlet at all. Mix two or three and your table will be ready for painters, knitters, scrapbookers, and one very determined whittler.
1. Start With the Three Layers Behind Great Outdoor Craft Night Lighting Ideas
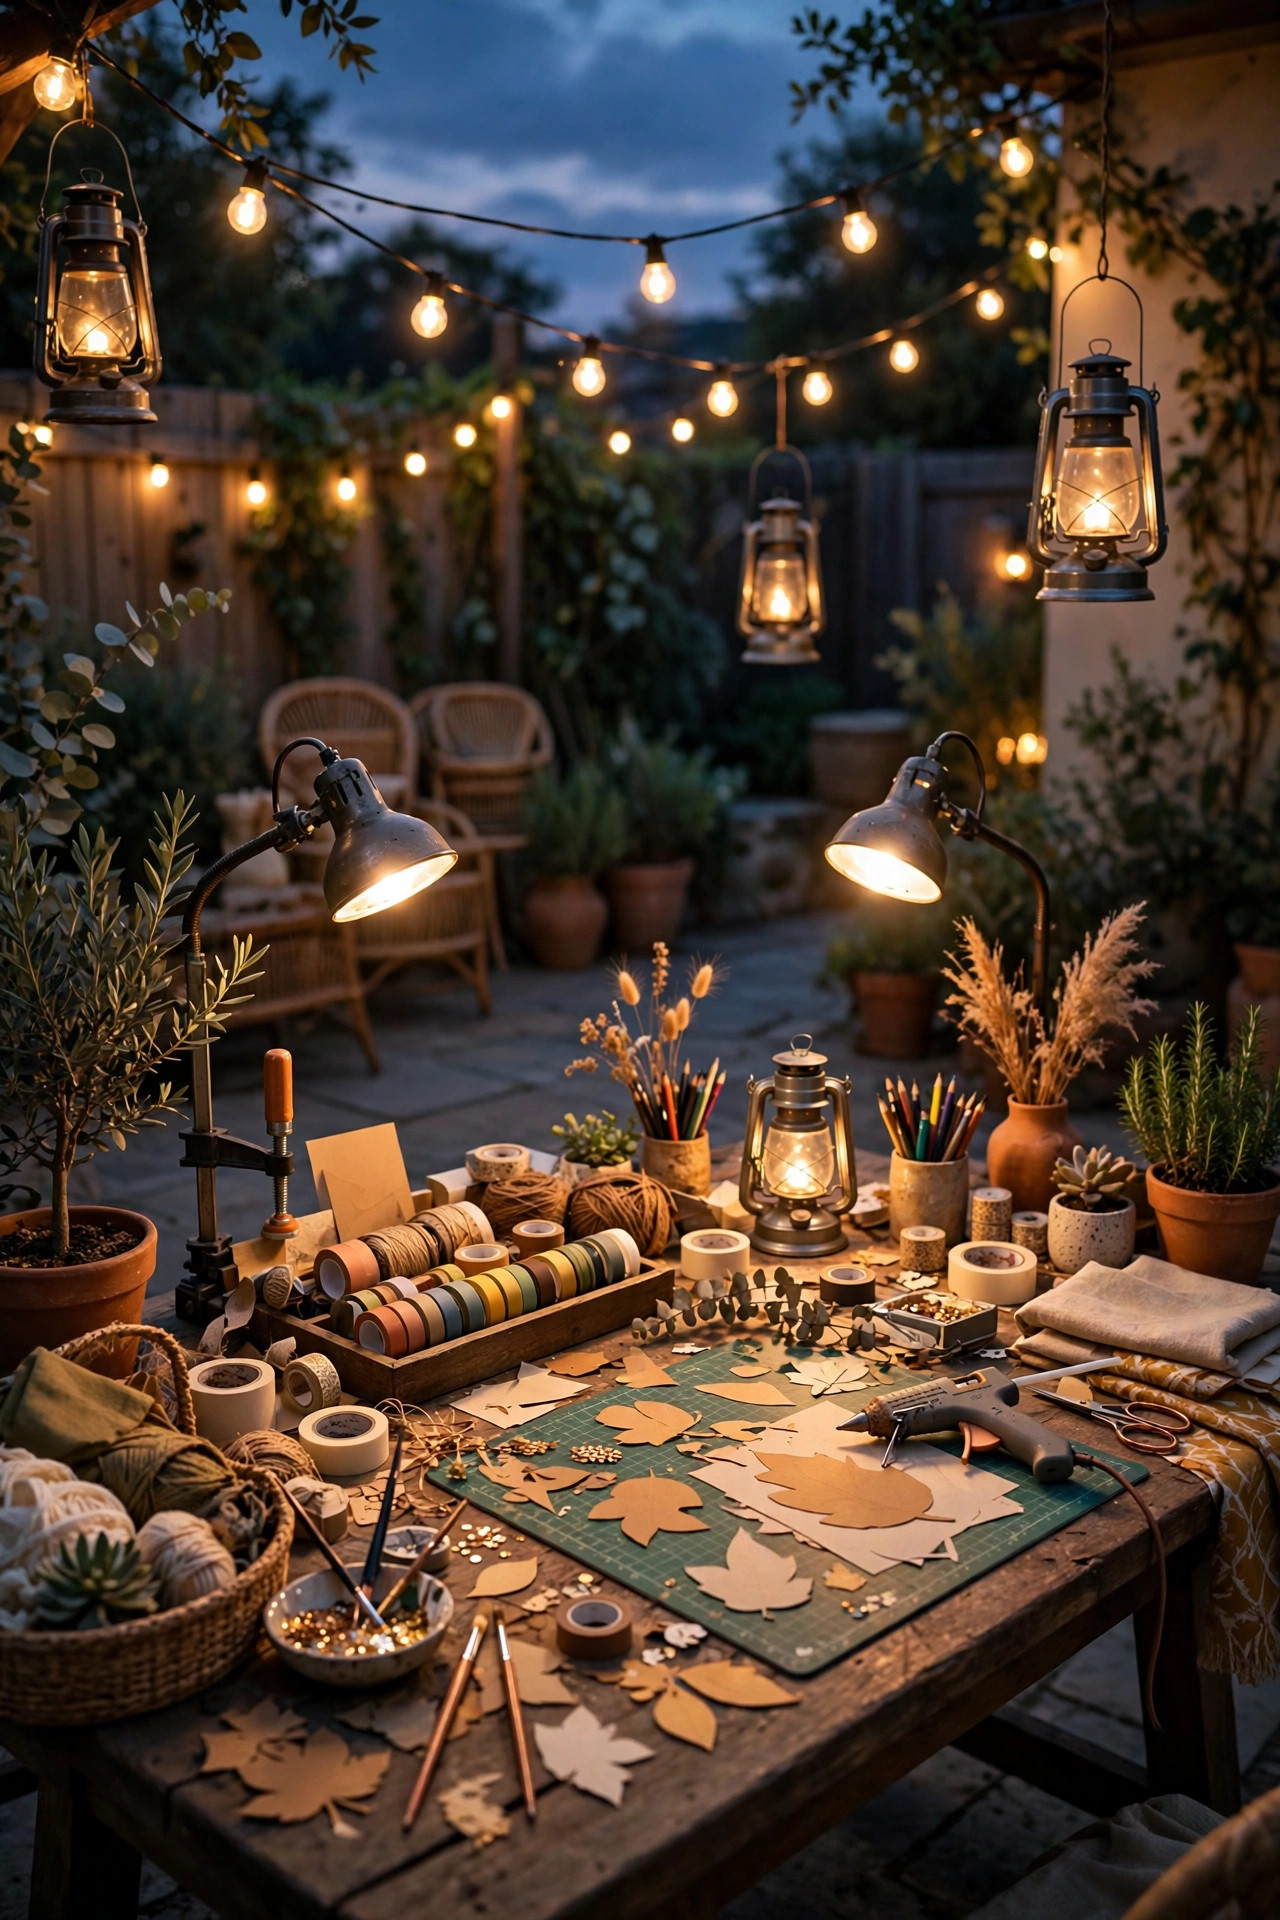
Before you buy a single bulb, plan your outdoor craft night lighting ideas in the same three layers I use for every space in my yard. Layer one is ambient: a gentle overall glow from string lights, lanterns, or wall sconces so nobody is sitting in a cave. Layer two is task light, and this is the one most people skip — a focused, brighter source aimed right at the work surface, roughly three times brighter than the ambient layer. Layer three is accent: tiny points of sparkle, fairy lights in jars or a lit centerpiece, that make the table feel like an event instead of a workshop. When I set up, I hang the ambient layer first, then place task lights at each seat, then scatter accents last. Aim for about 50 lumens per square foot over the table itself and far less around the edges, so eyes are not fighting glare. Keep every cord taped down or run under the table, and plug into a GFCI outlet only. This framework makes every idea that follows easy to mix and match.
Suggested budget range: $40 – $120.
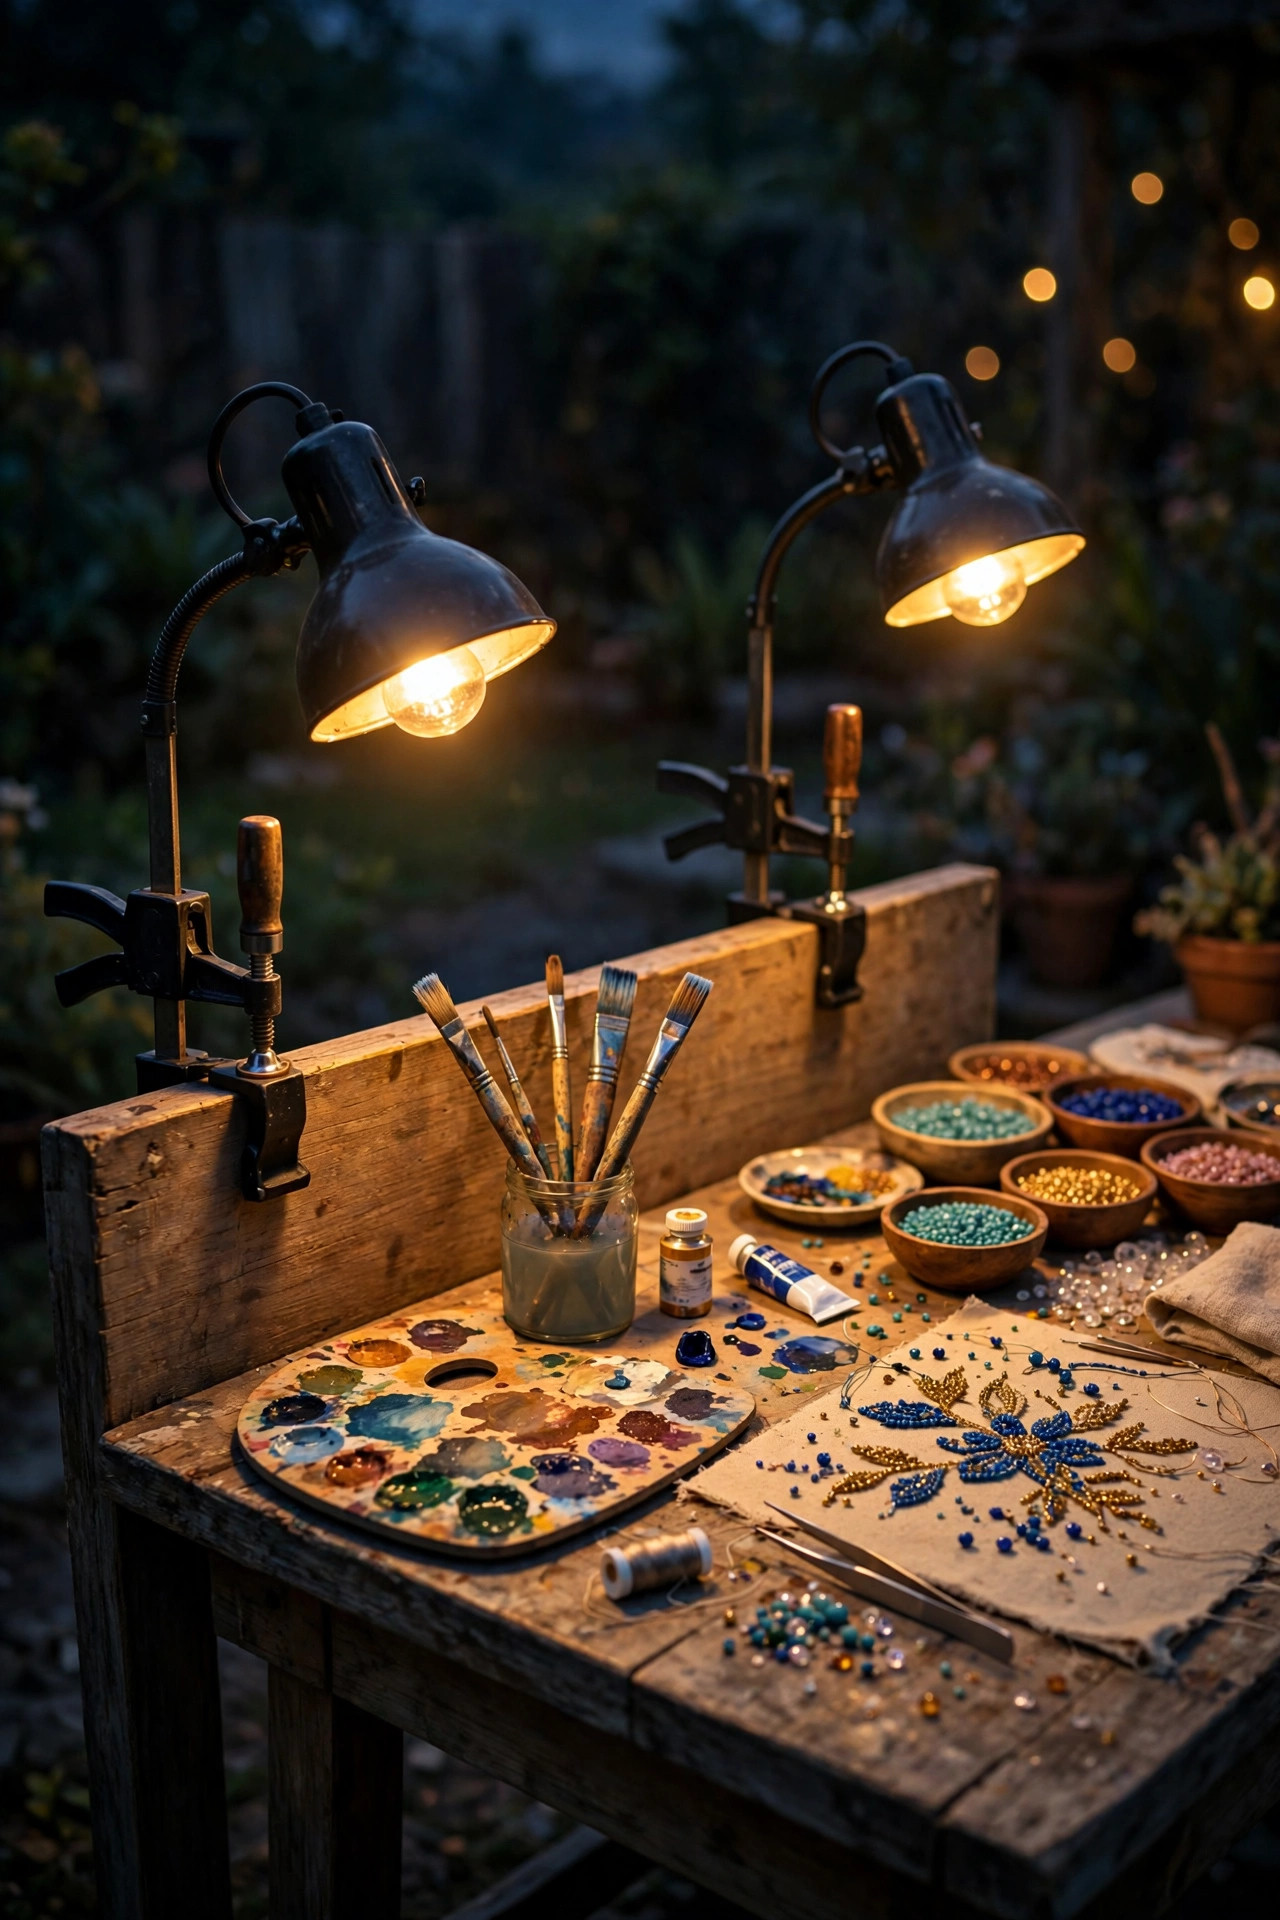
2. Clamp High-CRI Work Lamps Onto the Table Edge
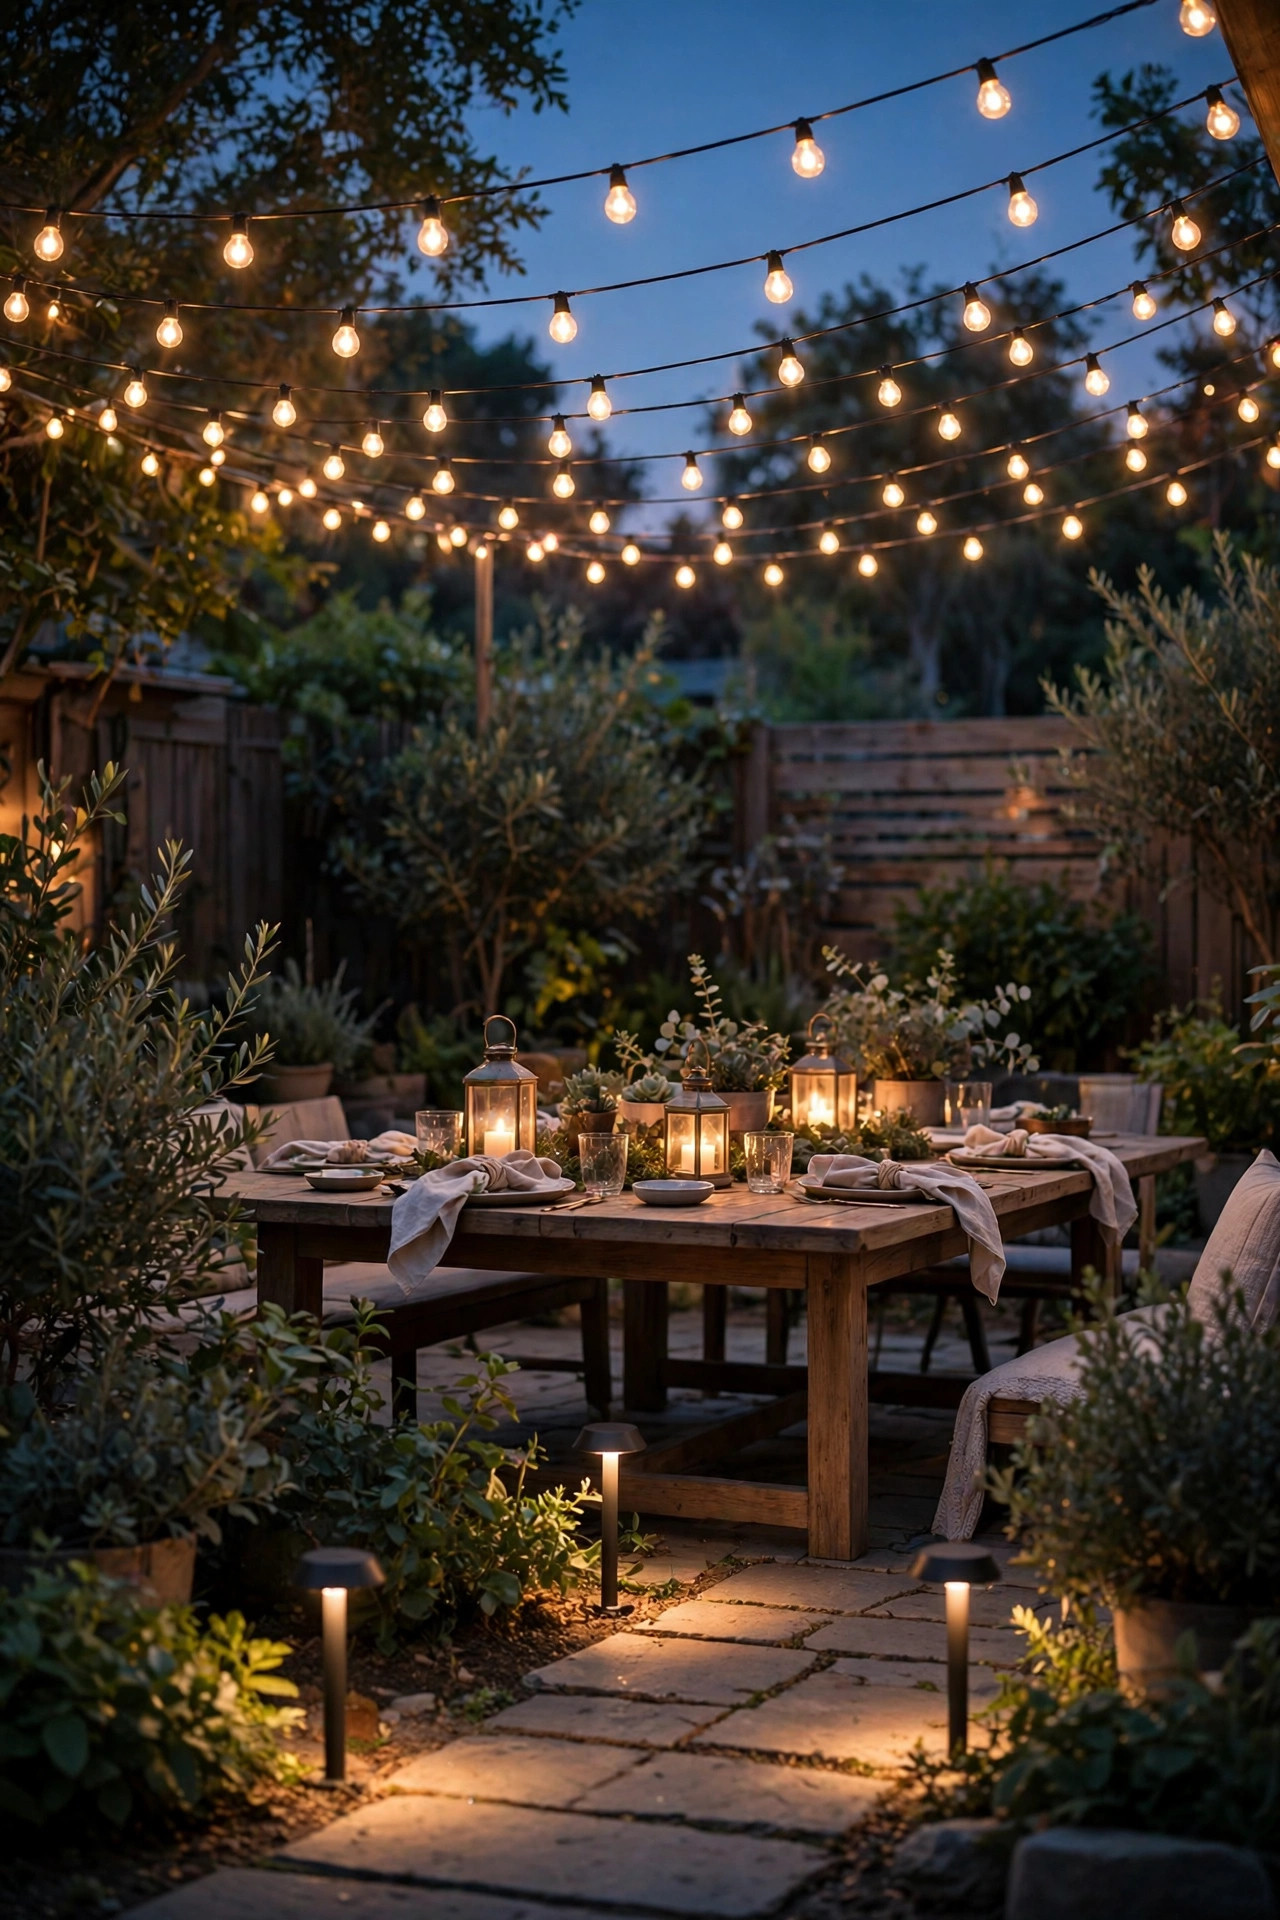
If you buy one thing for craft night, make it a set of clamp-on work lamps with high-CRI LED bulbs. CRI stands for color rendering index, and it decides whether your burgundy yarn looks burgundy or muddy brown after sunset. Look for bulbs rated CRI 90 or higher, in the 4000K neutral range for color-critical crafts like painting, beading, and fabric work. The clamp style matters outdoors: they bite onto the table edge or a nearby railing, angle exactly where hands are working, and stay put in a breeze. I use one lamp for every two seats, positioned behind and slightly above shoulder height so the light falls over the work instead of into anyone's eyes. Choose lamps with metal shades and a simple inline switch, and confirm the bulb is replaceable so you are not stuck with a dim integrated LED. Pair them with a surge-protected outdoor power strip under the table and coil the slack so nobody kicks a plug loose mid-project.
Suggested budget range: $25 – $60.
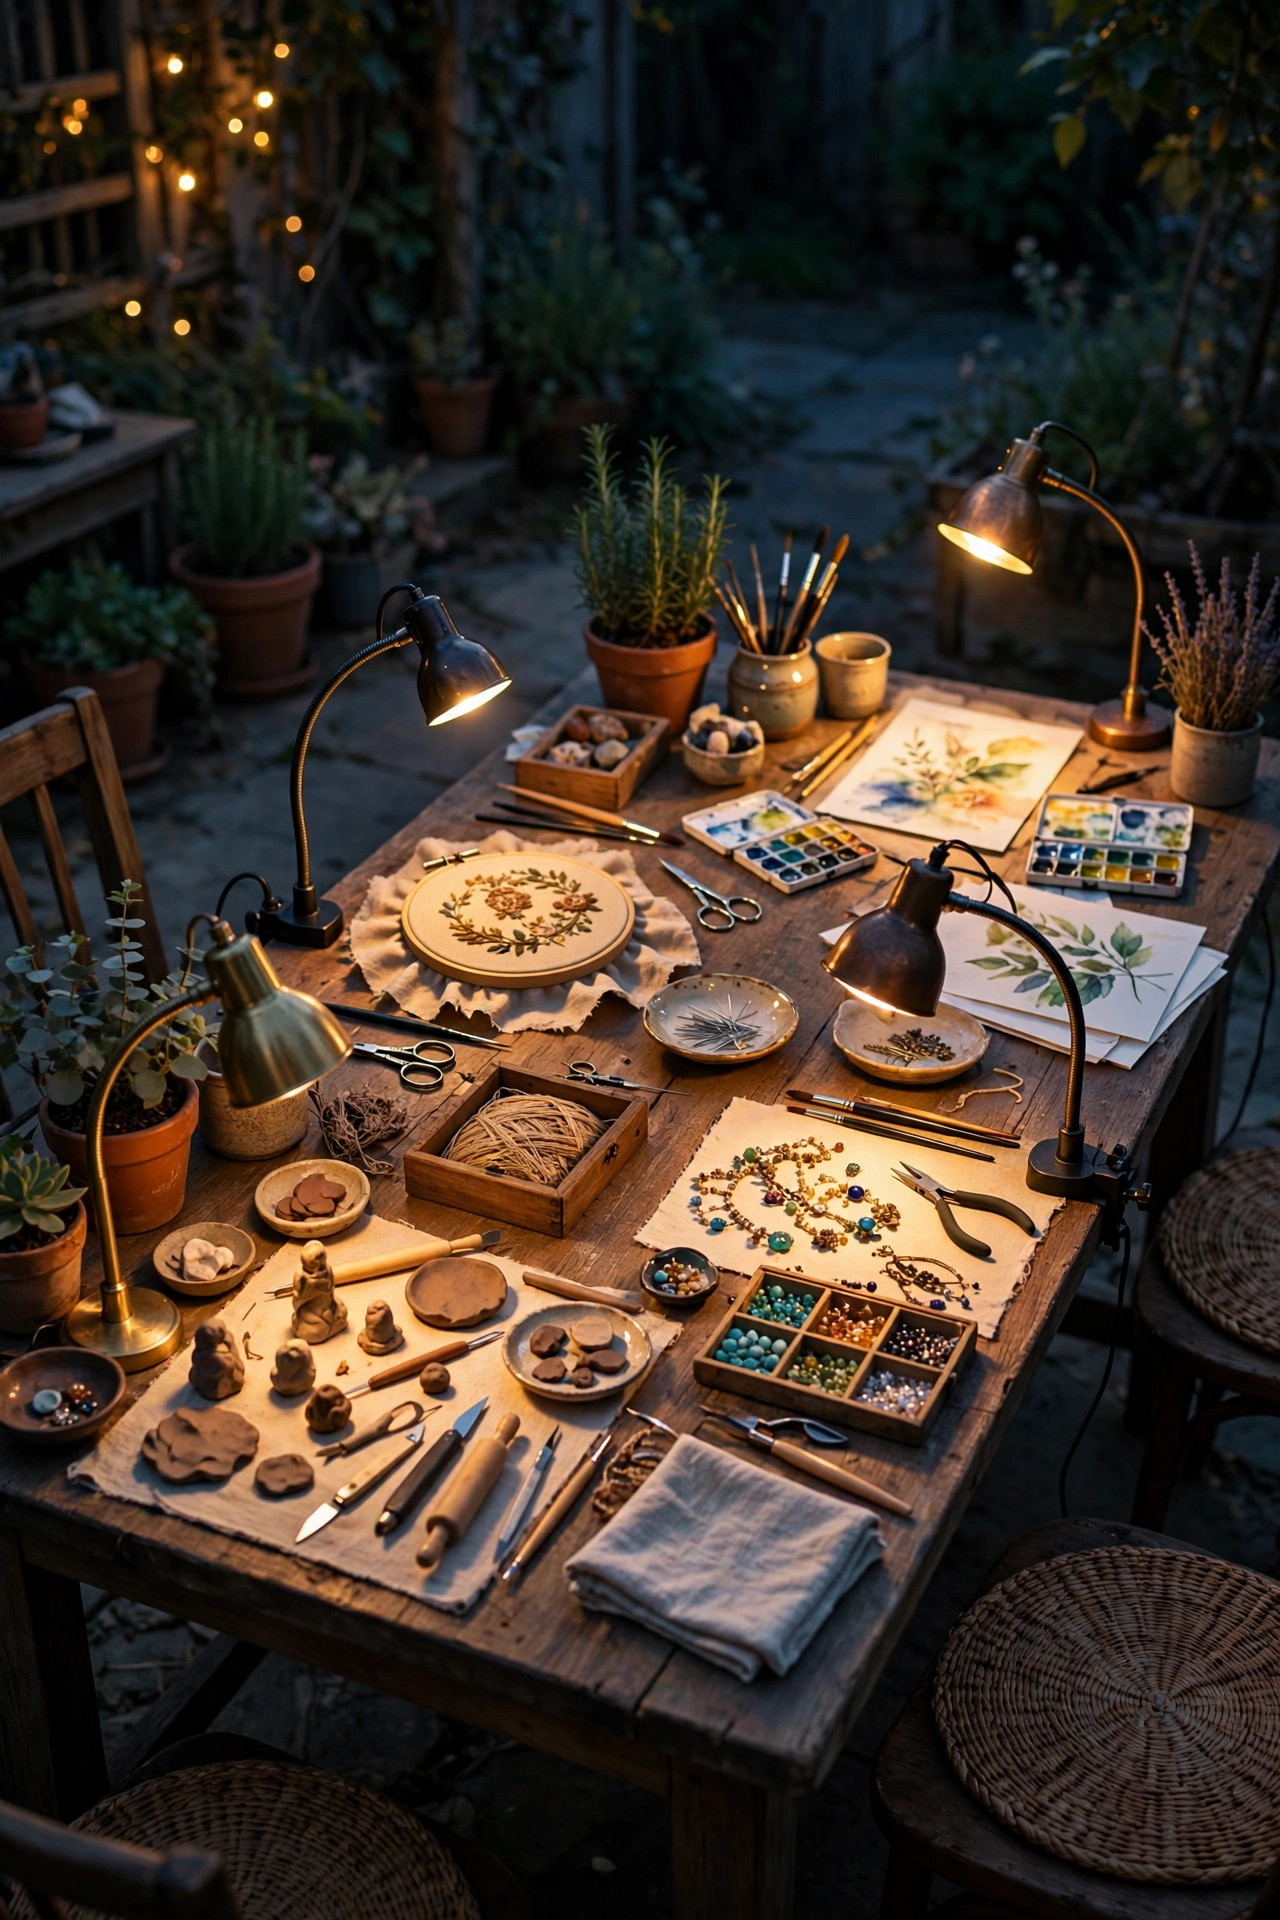
3. Hang a String Light Canopy for the Ambient Layer
Every craft table needs its soft ceiling of light, and a swagged string light canopy is still my favorite way to get it. Run two or three strands of shatterproof LED café lights in gentle swags above the table, anchored to the house, a fence, or freestanding poles — my guide to backyard string light ideas covers the pole setups if you have nothing to tie to. For crafting, choose warm white 2700K bulbs and space the swags so no single strand hangs directly over the center of the table; the task lamps should own that real estate. The canopy's job is mood and general visibility, so you can see faces, find the snack bowl, and move around safely. Keep strands at least 7 feet above the table surface so taller guests and raised arms never tangle with them, and use commercial-grade cord with proper support cable on spans over 15 feet. A plug-in dimmer lets you drop the canopy to a whisper once the task lights come on.
Suggested budget range: $30 – $90.

4. Give Every Seat an Adjustable Gooseneck Lamp
Clamp lamps light the table; gooseneck lamps light the person. A small battery or plug-in gooseneck lamp at each place setting lets every crafter bend the beam onto her own project, which is a blessing for detail work like embroidery, model painting, and jewelry making. I keep a basket of inexpensive goosenecks with weighted bases — no clamp needed, so they work on any table — and rechargeable versions mean zero cords across the workspace. Look for a flexible neck at least 12 inches long, a head that stays where you aim it, and two or three brightness levels so guests can tune their own pool of light. A 300 to 500 lumen output per lamp is the sweet spot: bright enough for seed beads, gentle enough not to blind the neighbor across the table. Set them out like place cards before guests arrive. It looks intentional, feels luxurious, and honestly? It ends the one complaint every craft night used to have, which was somebody always landing in the dim seat.
Suggested budget range: $15 – $40.
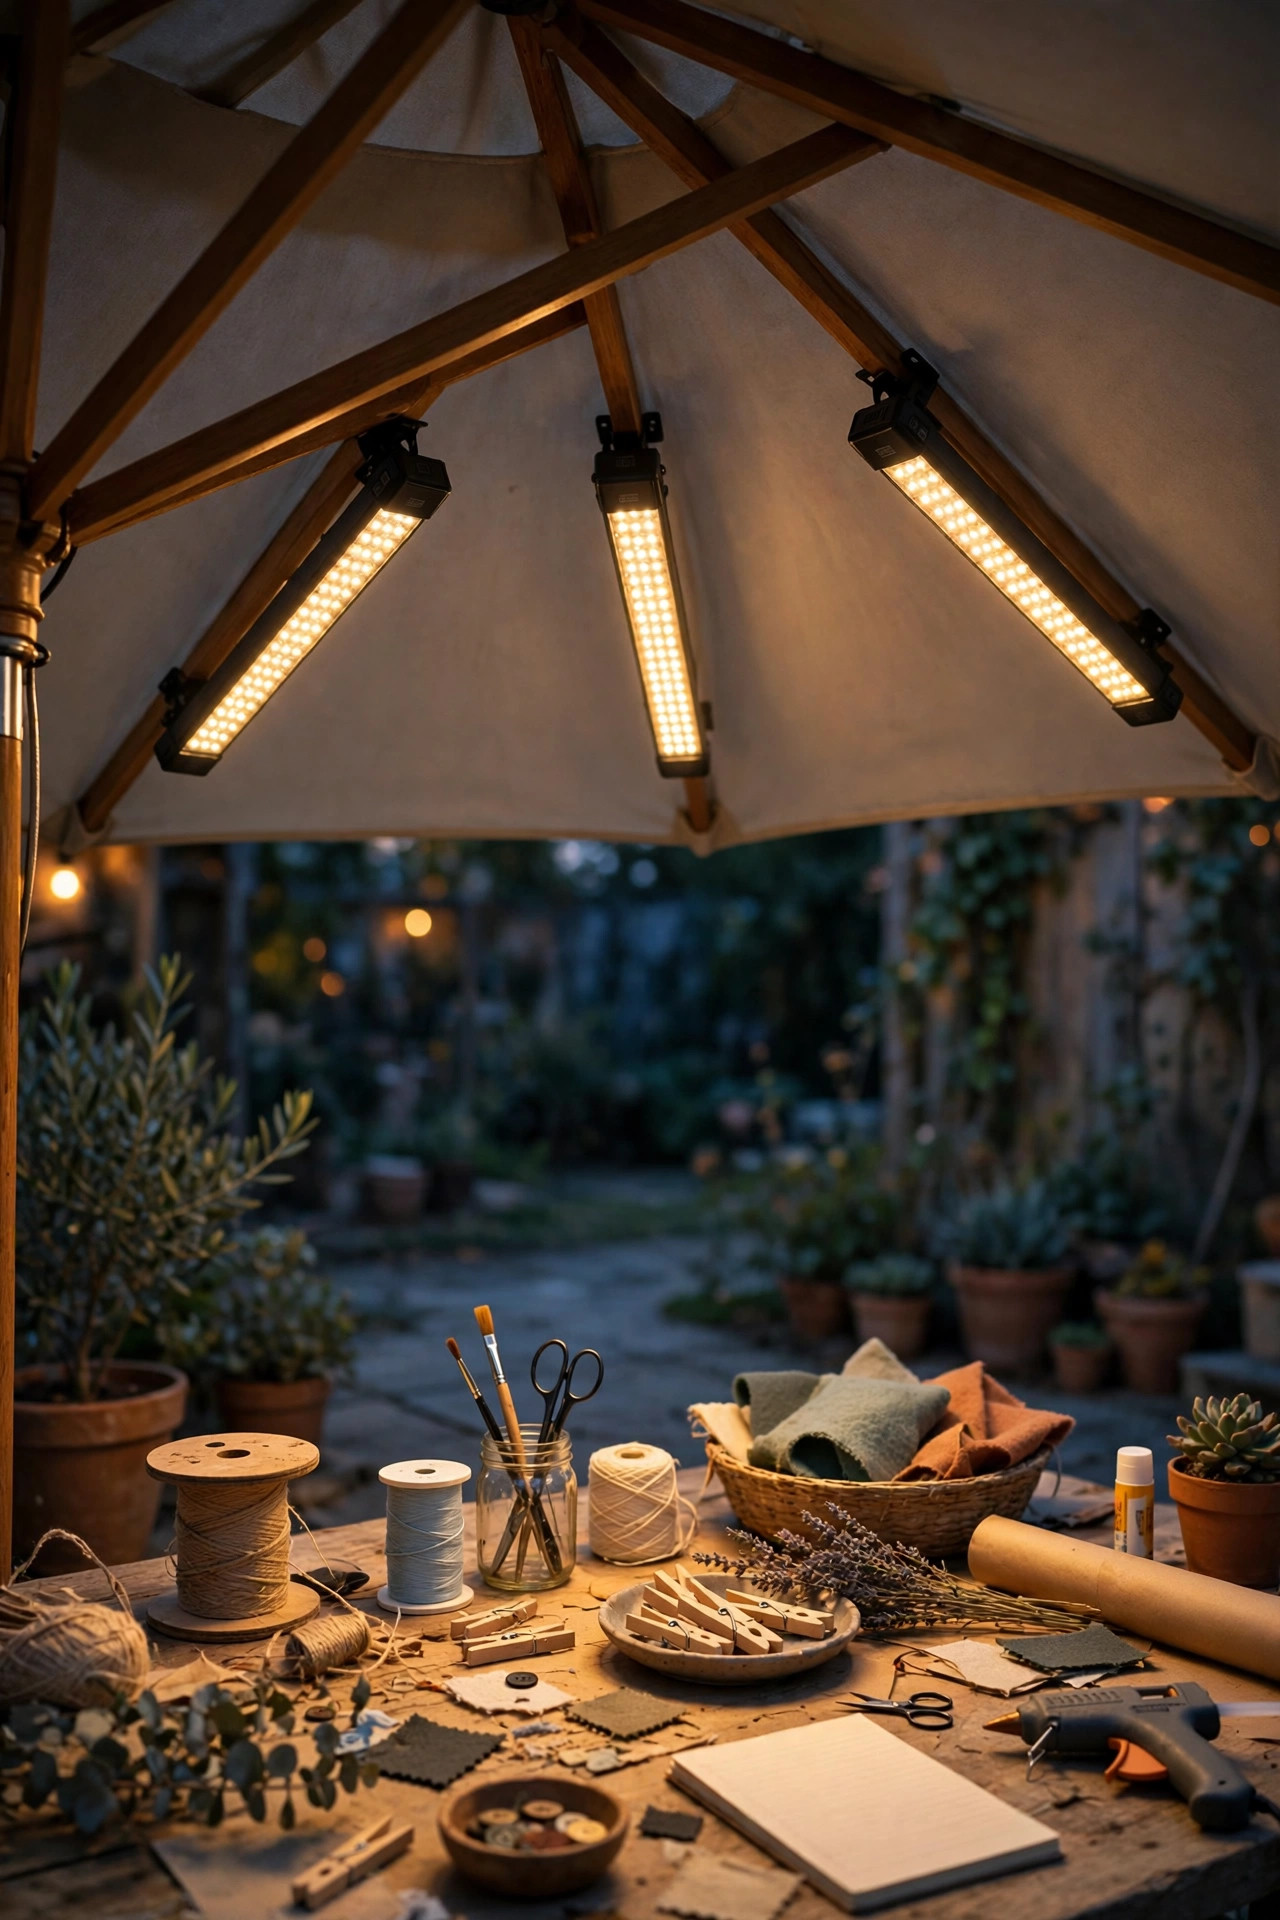
5. Mount Battery Bar Lights Under the Umbrella or Canopy Frame
Here is a trick I borrowed from my outdoor kitchen: adhesive or magnetic LED bar lights stuck to the underside of the patio umbrella ribs or canopy frame, aimed straight down at the table. They wash the whole work surface in even, shadow-light that string lights alone cannot deliver, and because they run on rechargeable batteries, there is no cord dangling into anyone's paint water. Choose bars 12 to 18 inches long with a warm-to-neutral output around 3000K to 4000K, and mount one bar per 2 feet of table length. The magnetic versions pop off for charging and snap back in seconds. Even light from directly overhead is exactly what you want for flat crafts — scrapbooking, card making, drawing, and stenciling all read better without the raking shadows a side lamp throws. Just be honest about runtime: most bars give four to six hours per charge, which covers a craft night with room to spare if you charge them that afternoon.
Suggested budget range: $20 – $50.
6. Keep One Daylight-Balanced Spot for Honest Color Checks
Warm light is flattering, cozy, and a liar. Under 2700K bulbs, teal reads green, lavender reads gray, and the quilt square you matched so carefully at midnight clashes at breakfast. My fix is a single daylight-balanced checking station: one clamp lamp or small flood fitted with a 5000K high-CRI bulb, set up at the end of the table or on a side stool away from the main work zone. Crafters walk over, hold the project under it for ten seconds, and see the colors the way morning will. It sounds fussy until the first time it saves a project. Keep the daylight spot physically separate so its cool beam never washes over the warm table — mixing color temperatures in the same pool of light is worse than either one alone. Label the switch if you have to. In my experience, painters and anyone matching fabric or thread will use it constantly, and the rest of the group will start checking too once they see it work.
Suggested budget range: $15 – $35.

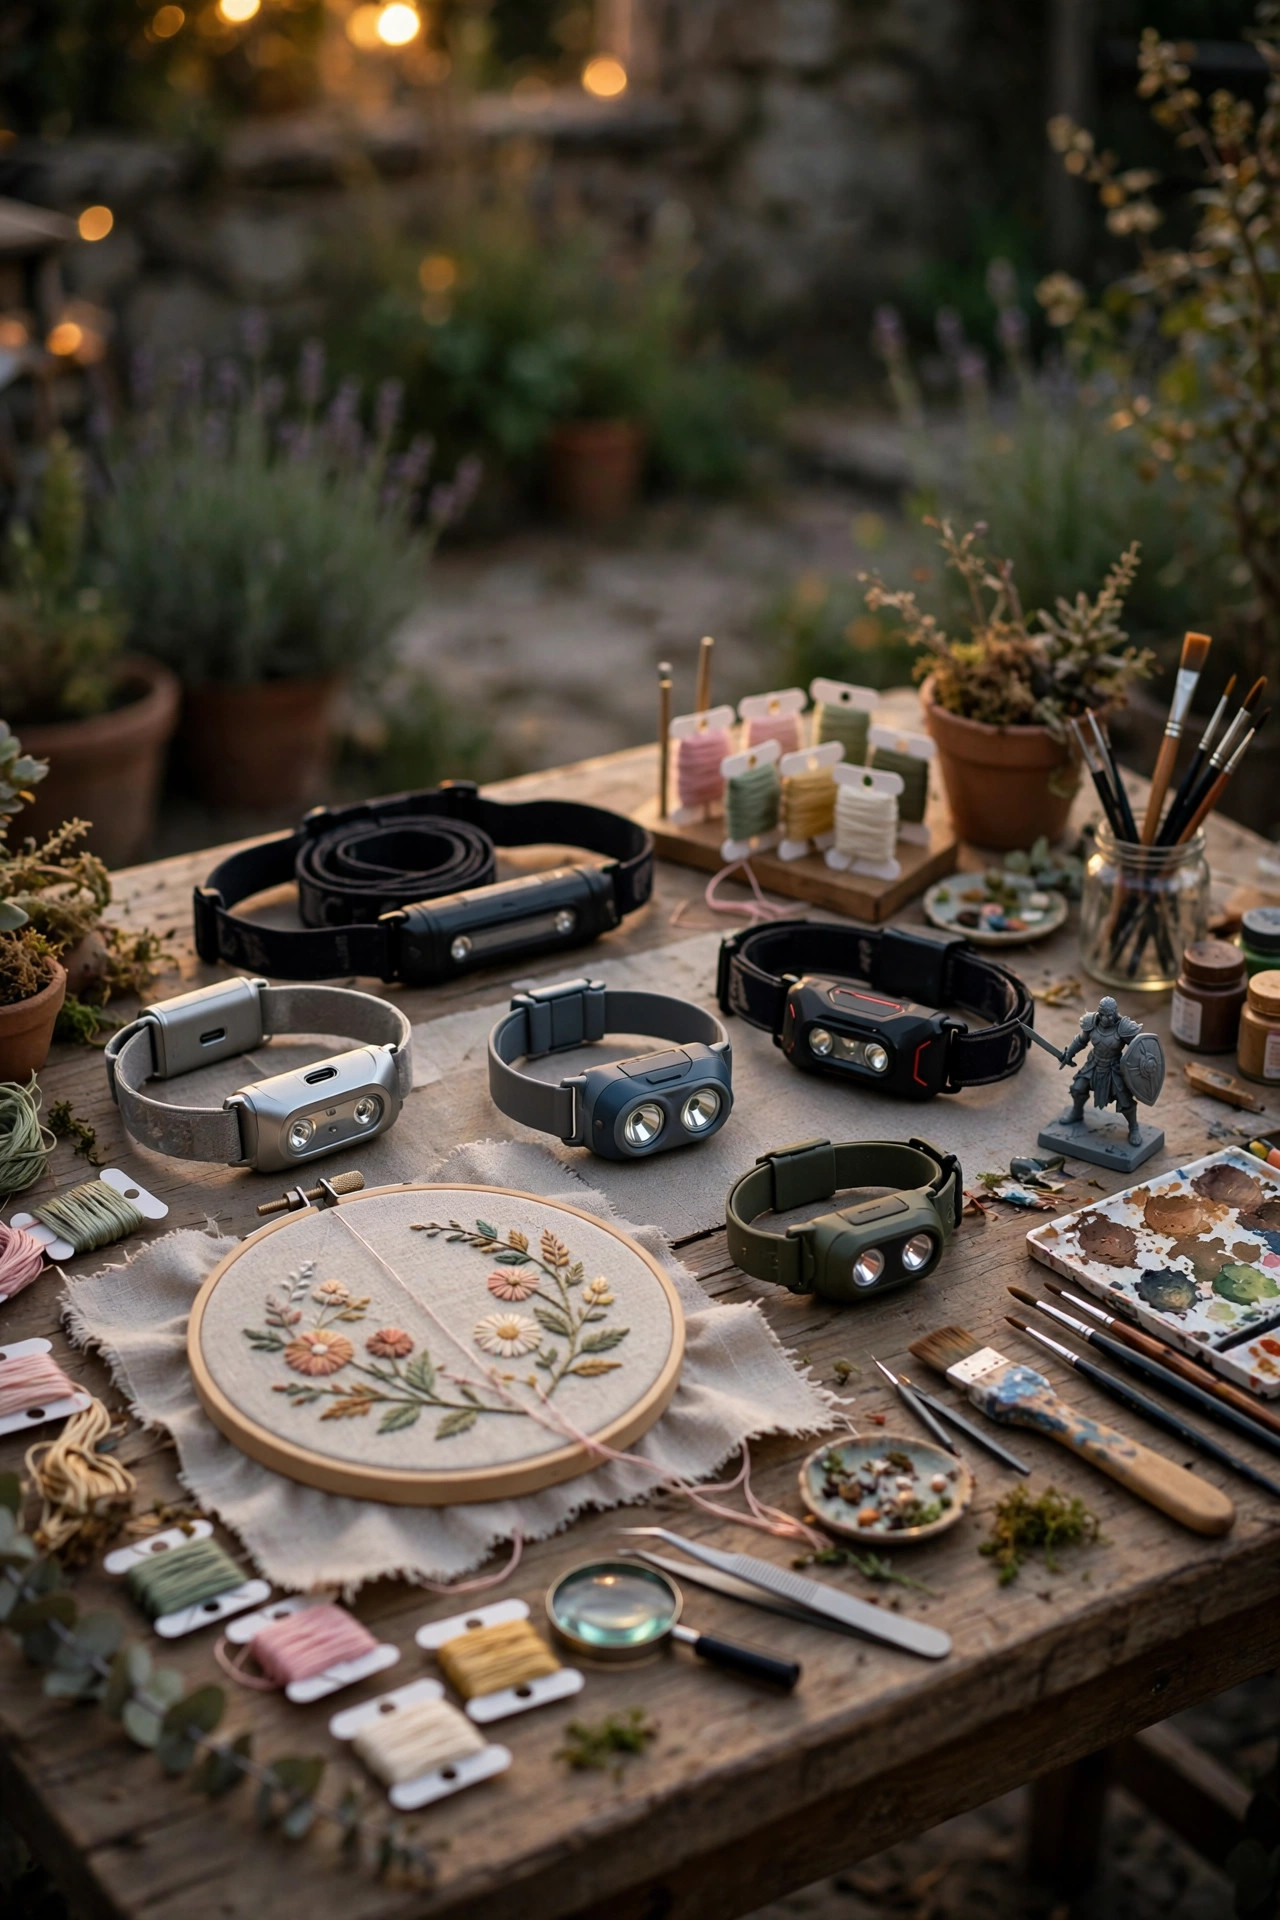
7. Hand Out Headlamps for Fine Detail Work
For the tiniest work — threading needles, painting miniature figures, untangling beading wire — nothing beats a headlamp, because the light follows your eyes and both hands stay free. I keep a handful of inexpensive rechargeable headlamps in the craft basket, the kind with a tilting head and a low, medium, and high setting. The low setting, around 50 to 100 lumens, is plenty for close work and will not dazzle the person sitting opposite when you look up to chat. Honestly, guests laugh when I hand them out and then refuse to give them back at the end of the night. Choose models with a warm or neutral beam if you can find them; the harsh blue-white of cheap camping headlamps distorts color almost as badly as warm light does, just in the other direction. A red-light mode is a nice bonus for anyone stepping away to the garden without ruining the group's night vision. Wash the straps between parties and recharge everything the day before, not the hour before.
Suggested budget range: $10 – $30.
8. Set Lantern Centerpieces That Double as Table-Level Fill Light
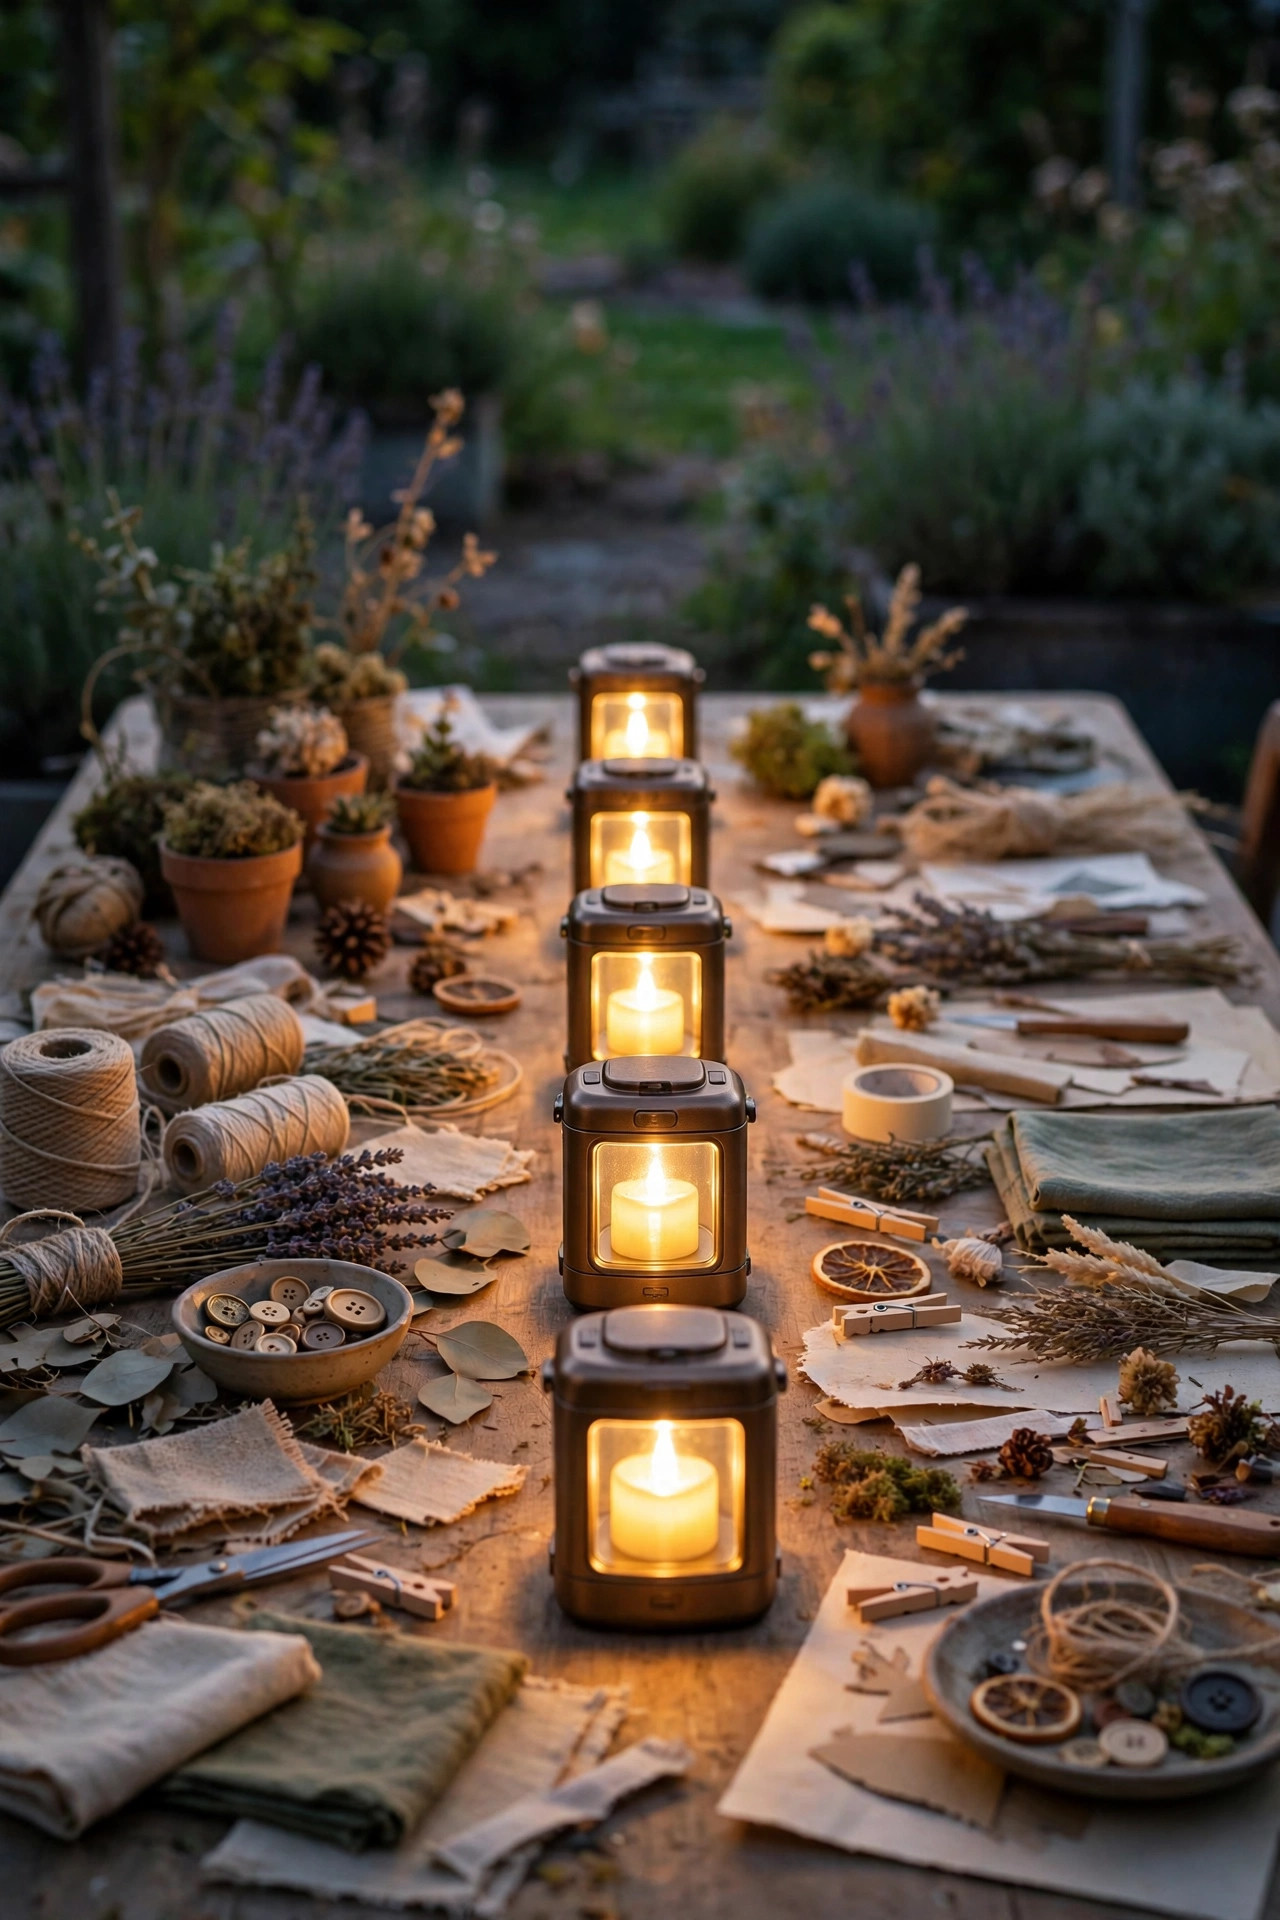
The prettiest outdoor craft night lighting ideas earn their keep twice, and lantern centerpieces are my favorite example. A row of battery lanterns with flameless candles down the center of the table gives you a soft, low fill light that lifts shadows under chins and hands while looking like pure decoration. Keep them short — under 8 inches — so sightlines across the table stay open and nobody has to peer around a glowing tower to talk. Flameless is non-negotiable here: paper, yarn, dried flowers, and open glue bottles do not belong near real flame, and LED candles have gotten good enough that nobody misses the real thing. I tuck a few sprigs of greenery and spare craft supplies around the bases so the centerpiece matches the night's project. The gentle flicker setting does something else useful, too: it signals wind-down. When the task lamps click off and only the lanterns remain, the table naturally shifts from making to lingering, which is exactly how a good craft night should end.
Suggested budget range: $20 – $55.
9. Build a Light Pad Station for Tracing and Paper Crafts
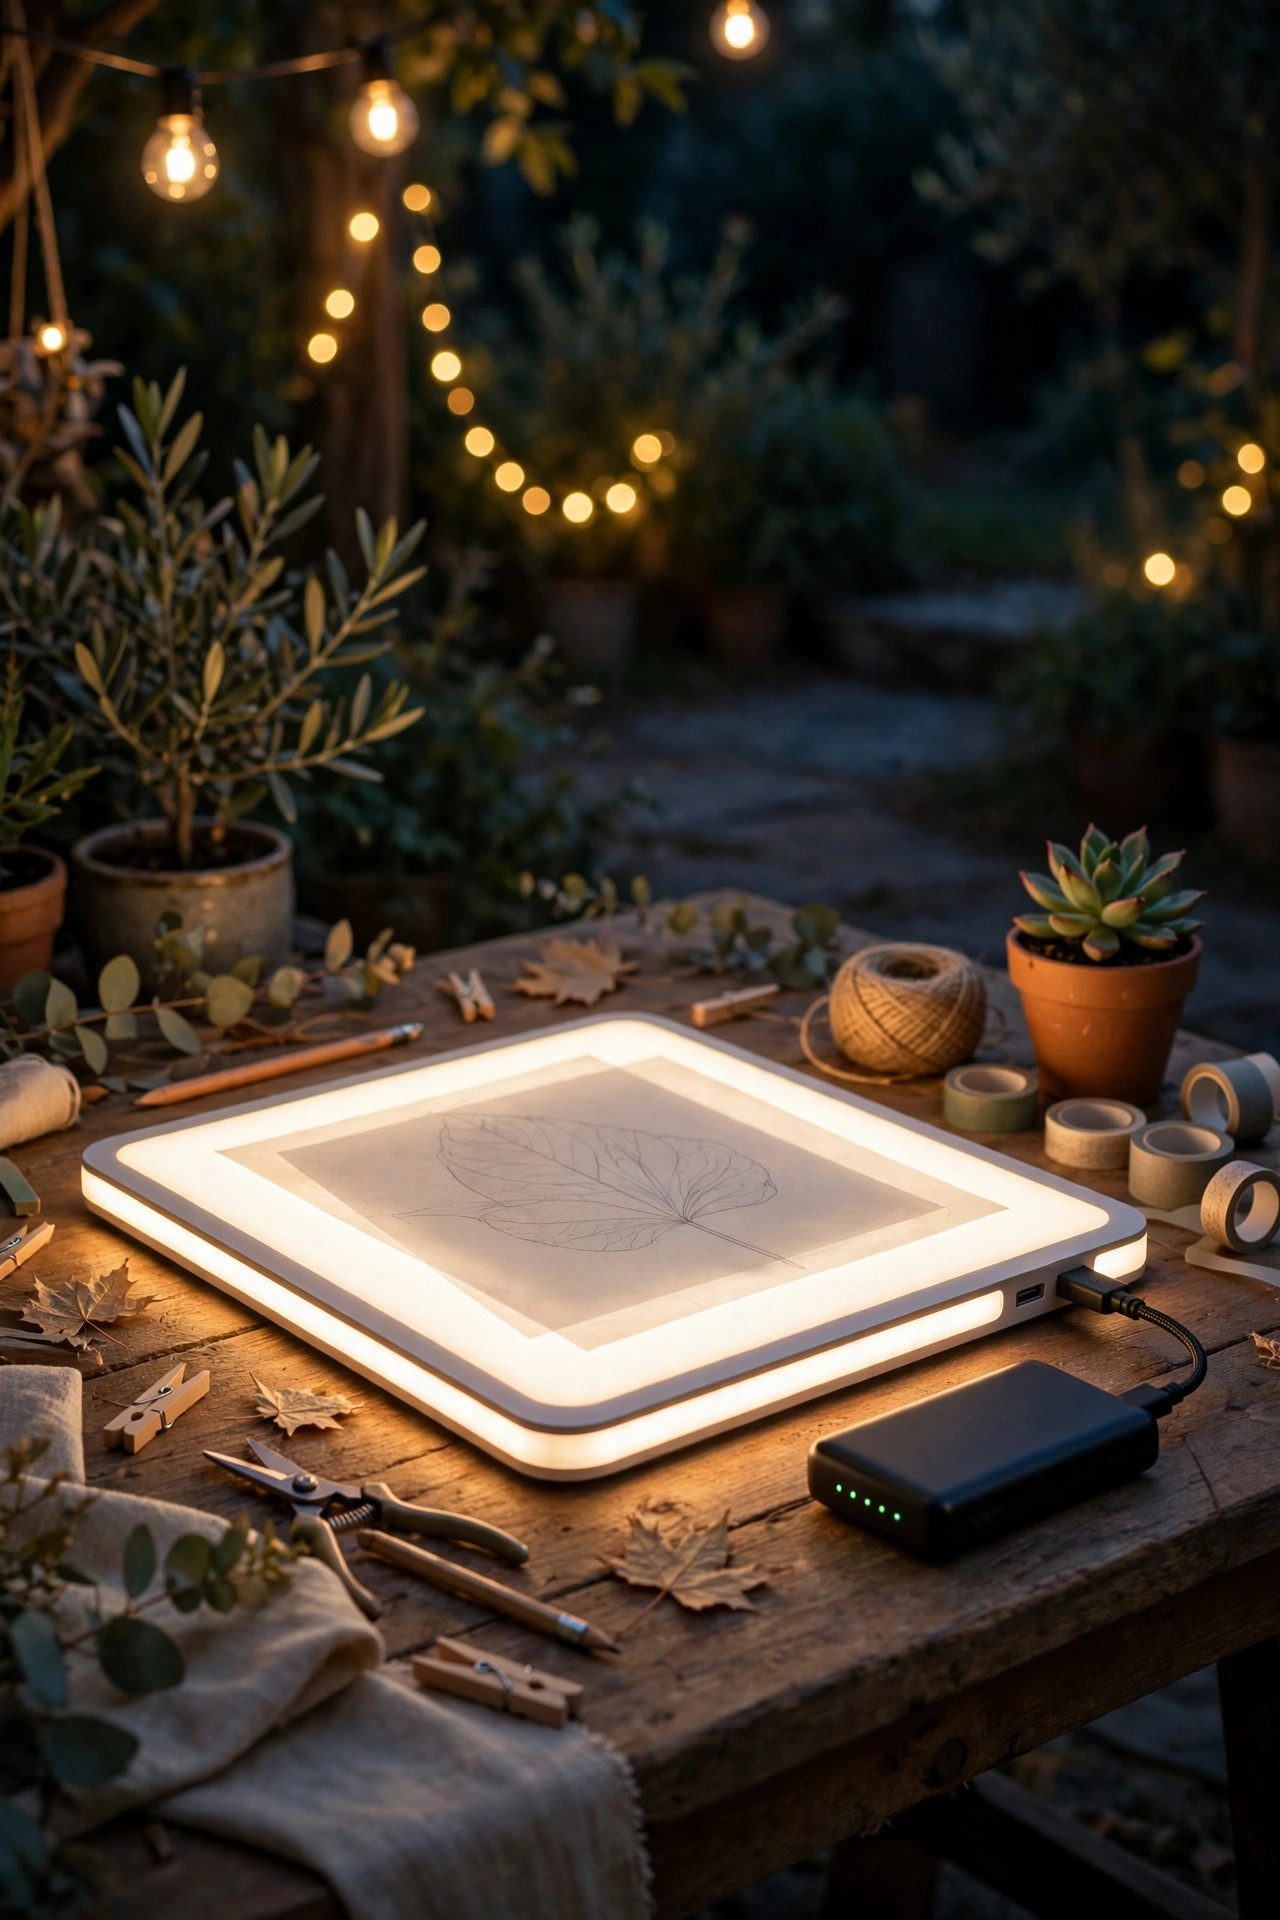
If your group loves paper crafts, appliqué, or calligraphy, a slim LED light pad is the station everyone will fight over. These drawing-tablet-sized panels shine evenly through paper, making patterns, templates, and pencil lines easy to trace in the dark — work that is nearly impossible under ordinary table light outdoors. Set up one or two pads at a side station with a small power bank each; most pads sip power through USB and run for hours on a 10,000 mAh bank. Choose a pad with at least three brightness levels and a surface around 9 by 12 inches, which handles most patterns without going oversized. Tape a small task lamp nearby for anyone layering thick cardstock, since very heavy paper needs more punch. I always recommend testing the setup before the party with your actual project paper — tracing tissue and copy paper glow beautifully, while watercolor paper may need the brightest setting. It is a specialty idea, but for the right group it becomes the star of the night.
Suggested budget range: $25 – $60.
10. Scatter Fairy Light Jars for Gentle Fill and Sparkle
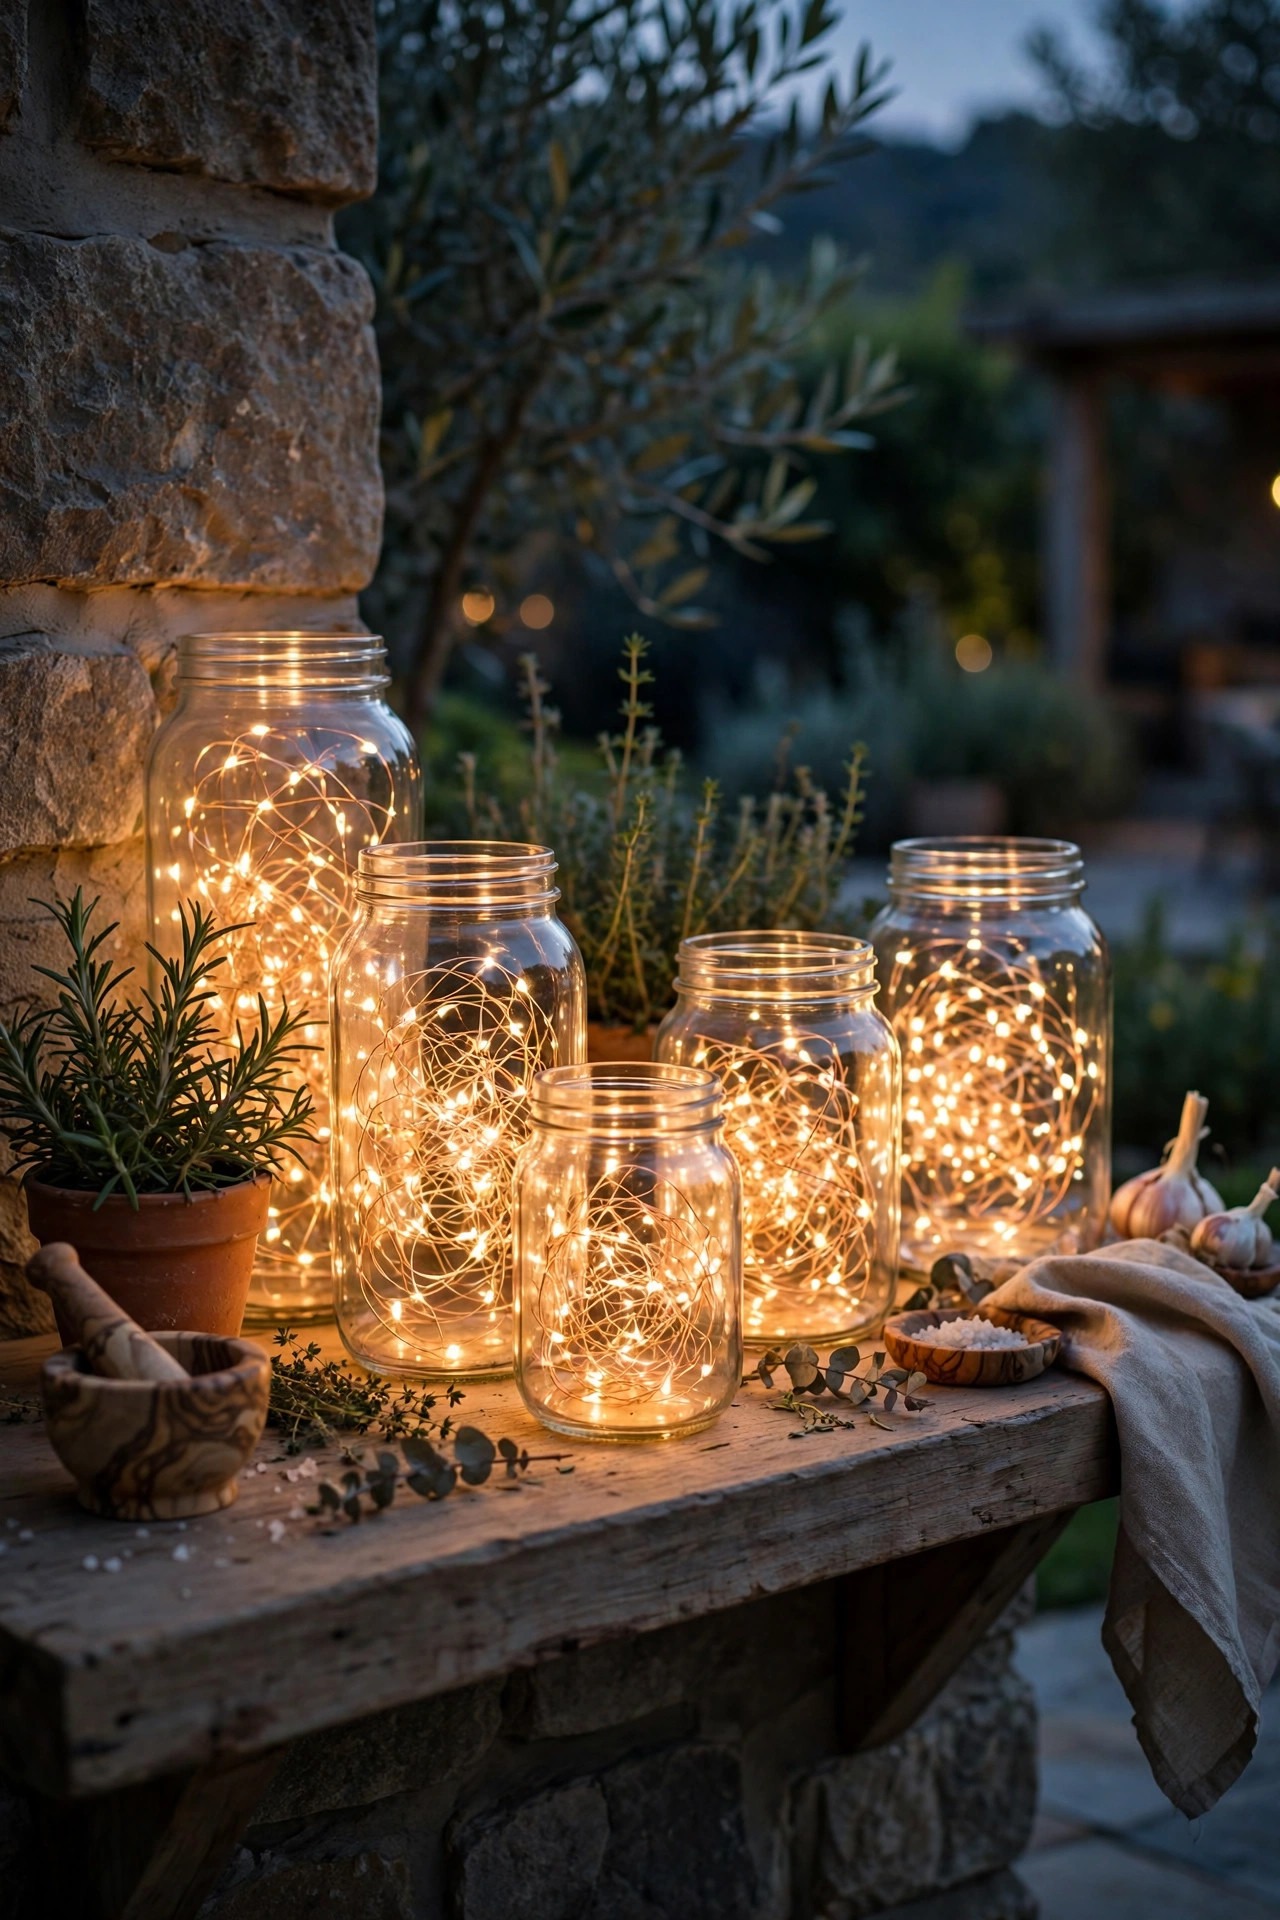
Copper-wire fairy lights coiled inside mason jars are the hardest-working accent in my whole yard, and craft night is where they shine. Set four to six jars along the table and a few on the ground around the seating area. Each one throws a soft, shadowless glow for about a foot in every direction — not enough to work by, but exactly enough to find dropped beads, read a pattern photo on a phone without blasting your eyes, and keep the table edges visible. The warm sparkle also does quiet psychological work: guests relax, photos look gorgeous, and the whole setup reads as a party rather than a class. Battery packs tuck under the jars, and a strand with a six-hour timer means they switch themselves off after everyone has gone in. Keep the jars clear glass for maximum light; the frosted and tinted ones are prettier in daylight but eat too much glow at night. In my experience, one 10-foot strand per quart jar gives the full, rich coil without crowding.
Suggested budget range: $12 – $30.
11. Clip a Book Light to Every Pattern Stand and Recipe Card
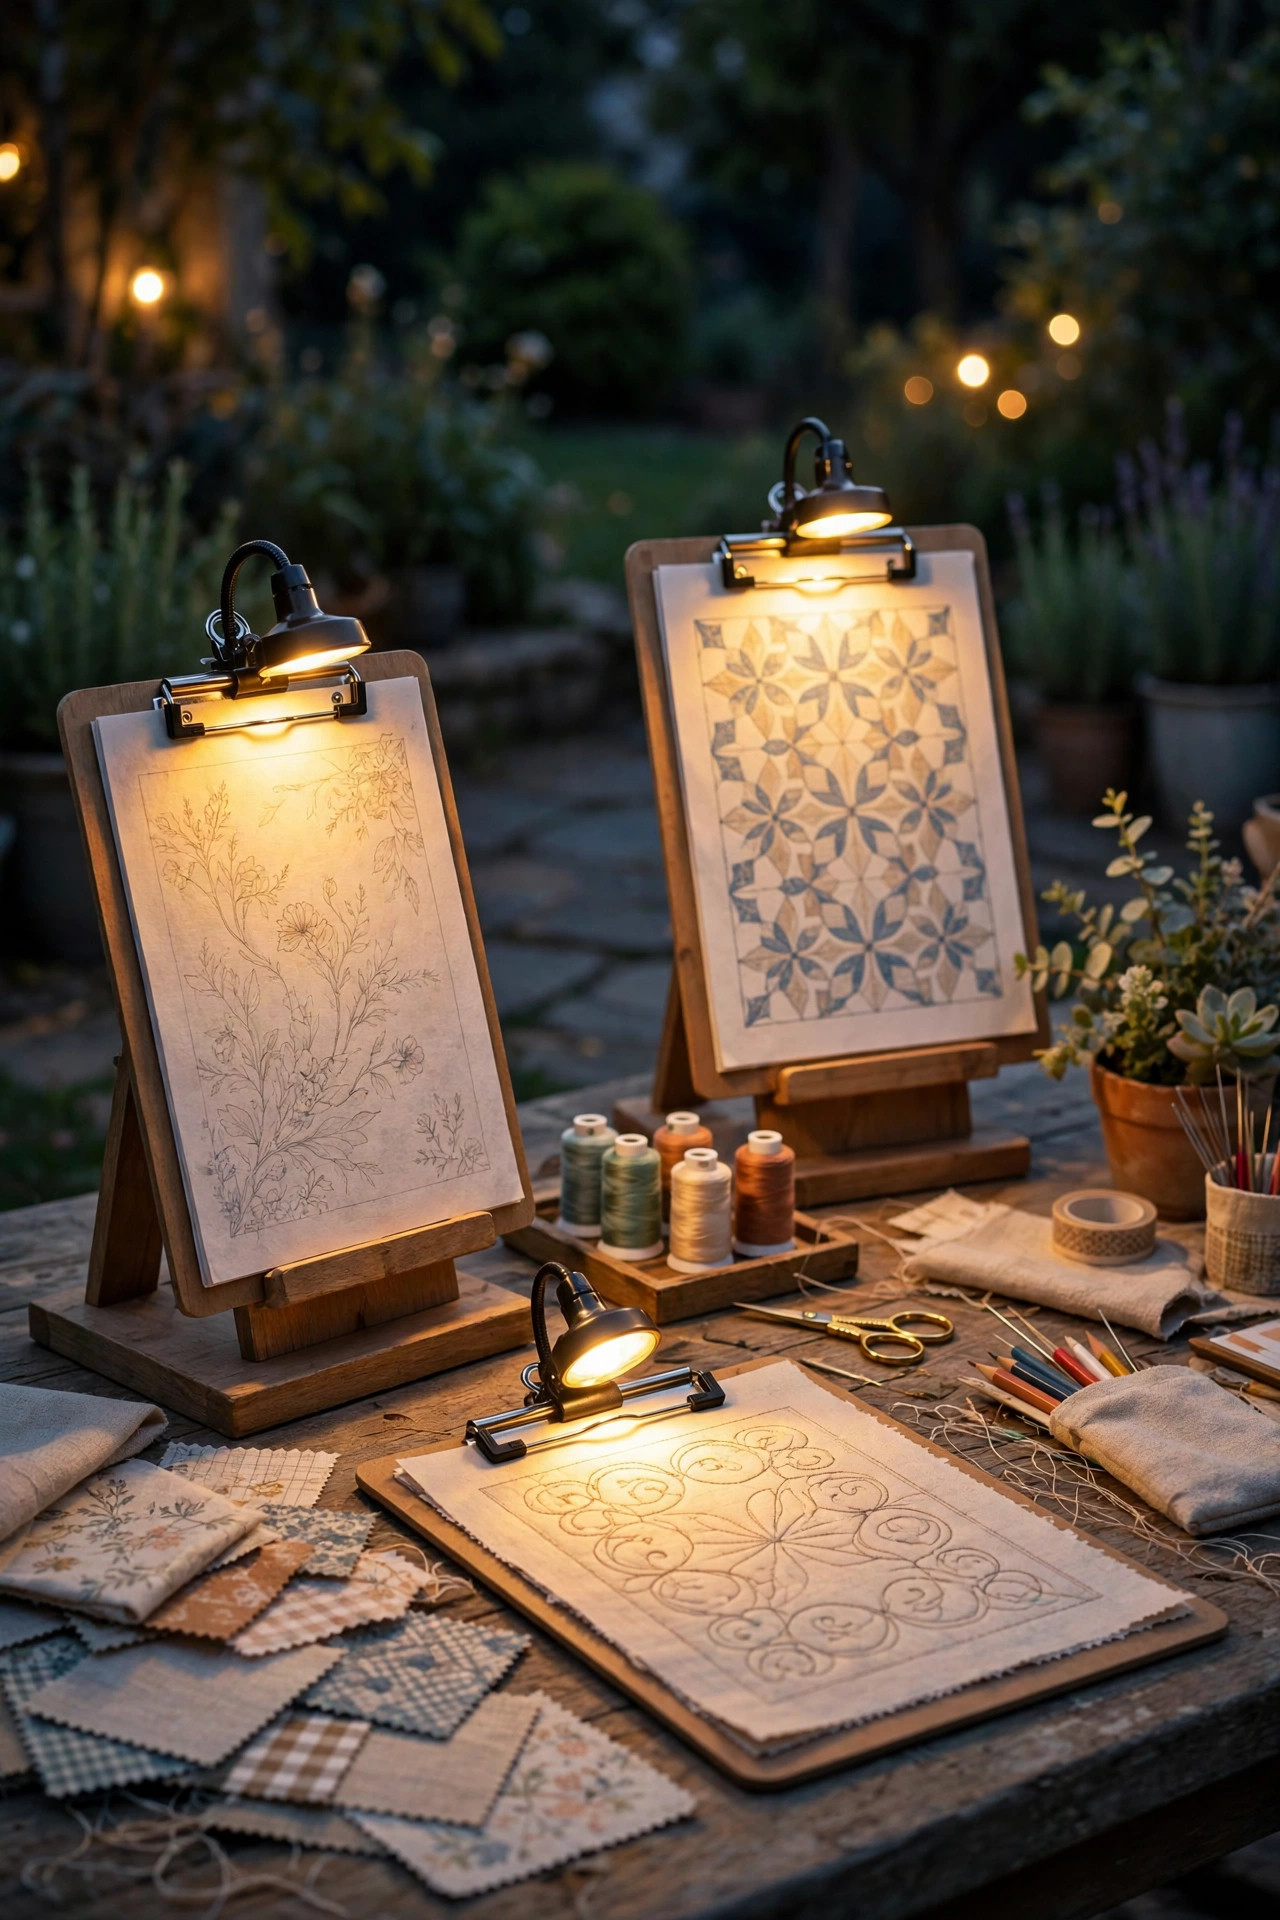
Patterns, instruction sheets, and knitting charts are the unsung heroes of craft night, and they deserve their own light. Small clip-on book lights — the kind with two flexible arms — clamp onto a pattern stand, a clipboard, or the edge of a project bin and throw a tight, private pool of light exactly on the page. They matter more than you would think: under overhead light alone, your own head and hands shadow the very instructions you are trying to read. I pass out one per crafter with her supplies, and the rechargeable ones last a solid eight to ten hours on the middle setting. Look for clips with padded jaws so they do not chew up cardstock, and a beam you can dim — full brightness bouncing off glossy pattern paper creates glare that tires eyes fast. This is also the cheapest fix on the whole list, which makes it my standard answer when someone says the table lighting budget is already spent. A ten-dollar clip light has saved more projects than any fancy fixture I own.
Suggested budget range: $8 – $20.
12. Light the Path and the Supply Run, Not Just the Table
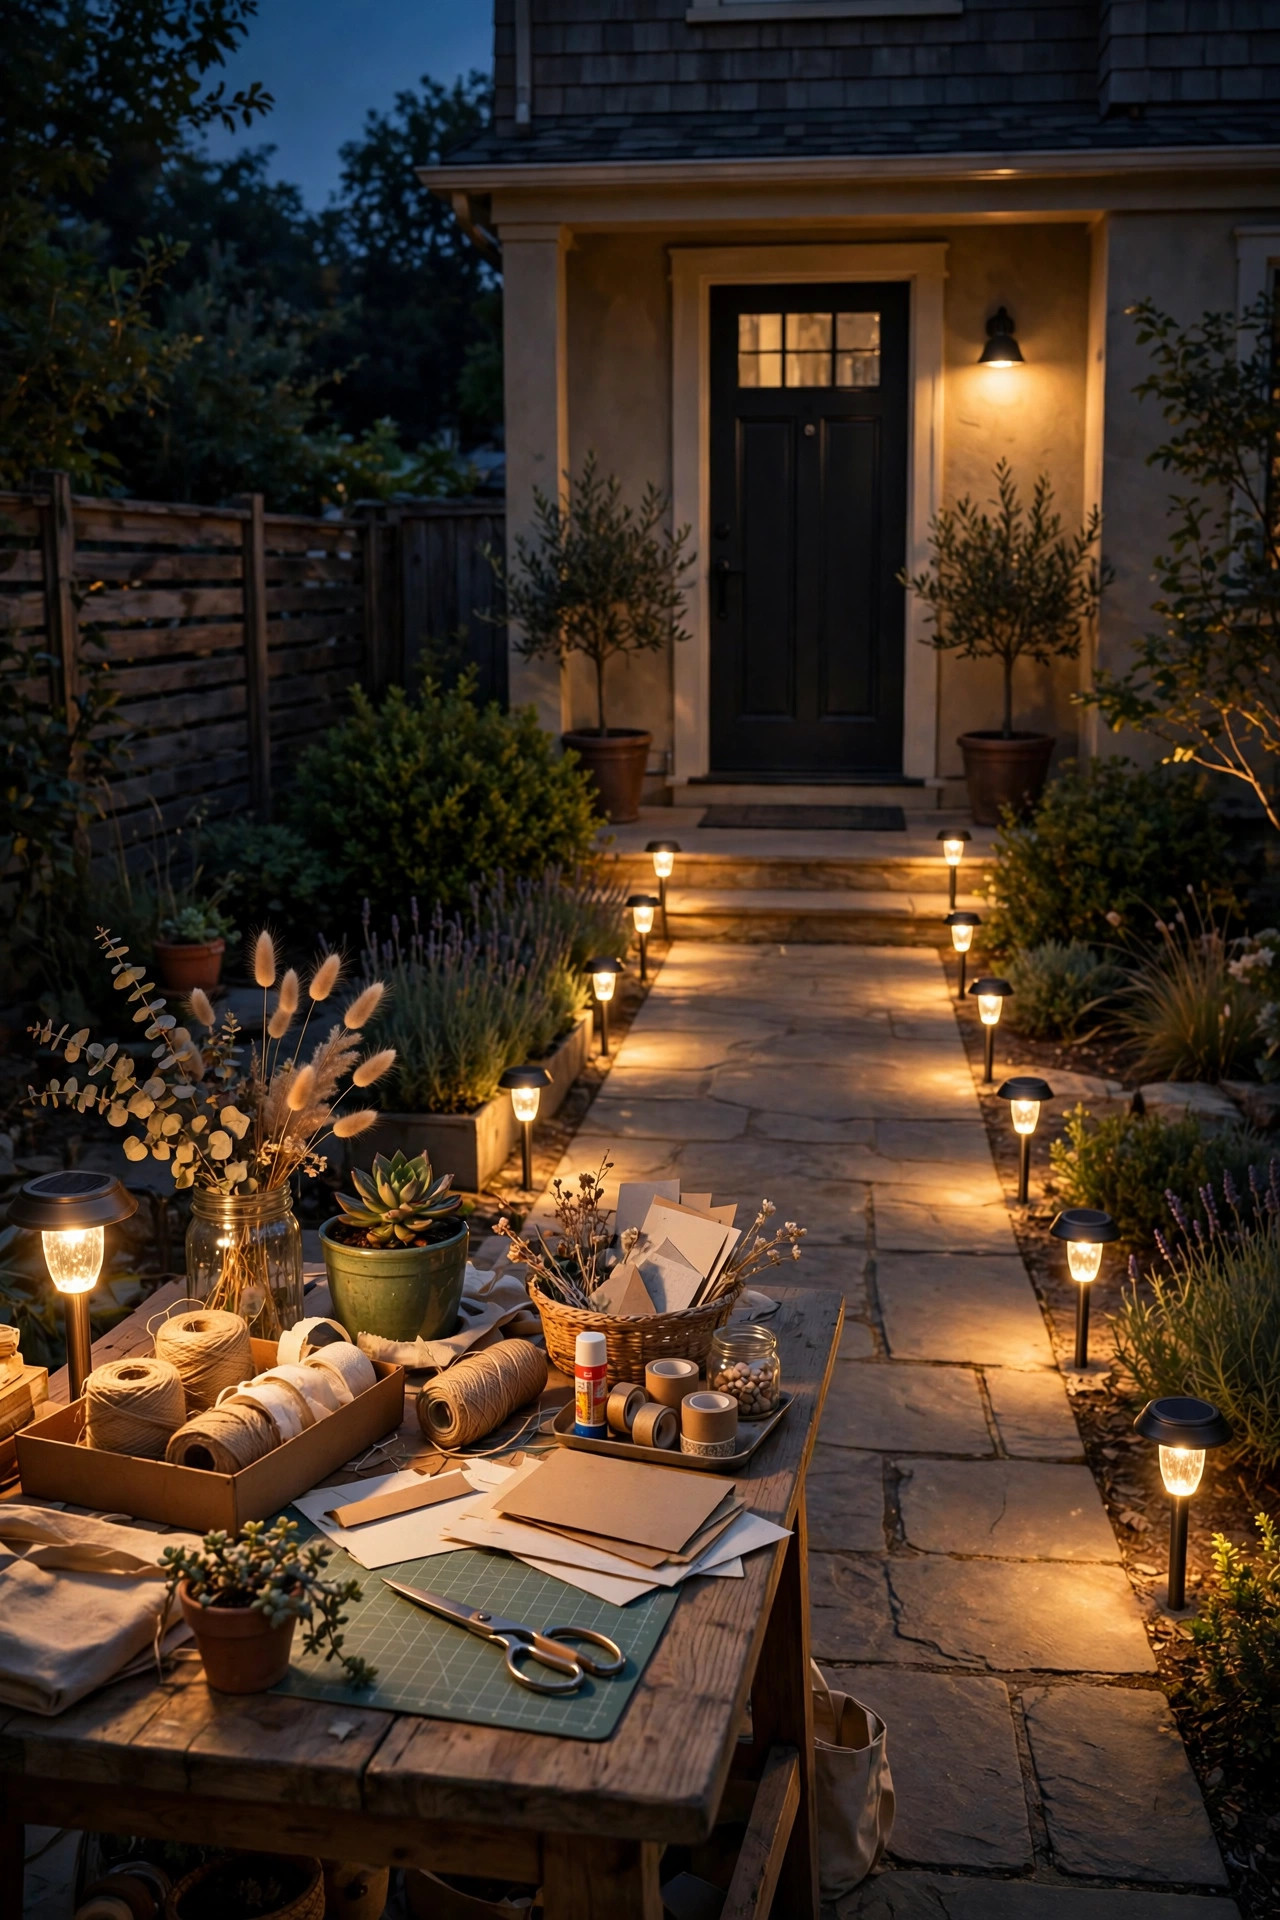
Every craft night involves trips: to the kitchen for ice, to the garage for the spare glue gun, back inside for the good scissors. If the route is dark, somebody eventually trips over a garden hose while carrying a finished project, and I speak from sorrowful experience. A simple line of solar path lights from the patio to the door solves it — spaced about 6 feet apart, staked on the walking side, and chosen in the same warm 2700K tone as the table lighting so the whole yard feels like one place. My post on path basics applies here: fixtures 12 to 18 inches tall, lenses clean, and panels wiped so they charge through the afternoon. Add one brighter solar spotlight aimed at the supply shelf or bin area so the mid-project supply run does not require a phone flashlight. This is the least glamorous idea on the list and the one guests thank me for most, usually while carrying two drinks and a plate back to the table without a single spill.
Suggested budget range: $25 – $70.
13. Go Fully Cordless With a Power Station and LED Panels
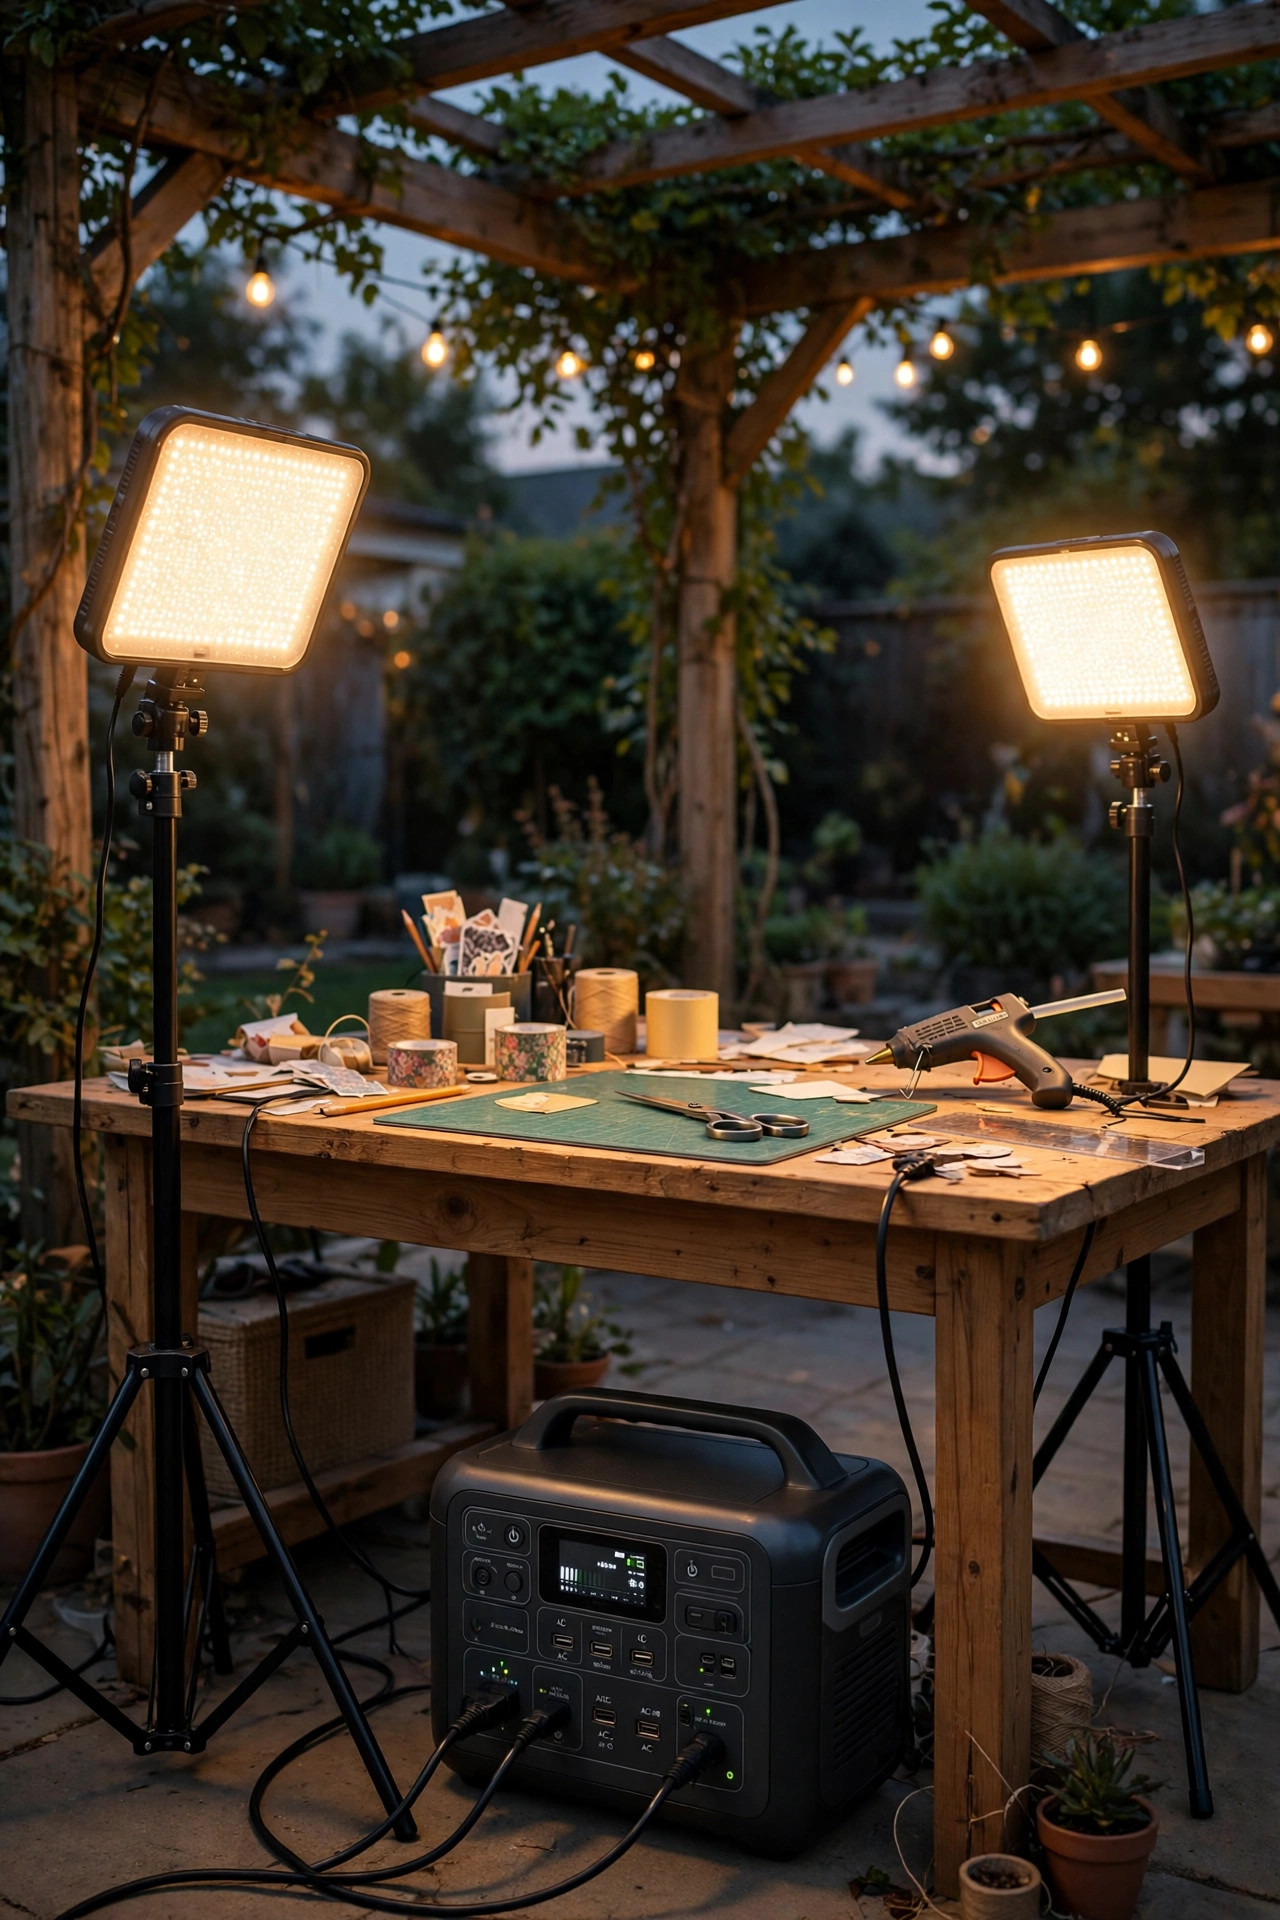
No outlet near the table? That used to end the conversation; now it just changes the gear list. A mid-size portable power station — 300 to 500 watt-hours — will run a set of LED work panels and lamp chargers for a full evening with capacity to spare, and it sits silently under the table with no generator roar and no extension cord snaking across the lawn. Pair it with two adjustable LED panel lights on tripod stands, the video-style kind with barn doors and a color range from 2700K to 5000K. Panels throw broad, soft light that flatters group crafts like wreath-making and sign painting, where a whole project needs even coverage. Set the tripods behind the seats, angled down at about 45 degrees, and sandbag the legs if there is any breeze. Everything charges in the house afterward, stores in one bin, and travels to a friend's yard when she hosts. Honestly, this setup liberated our group — the best craft spot in my yard is now the far pergola, which has no power at all.
Suggested budget range: $180 – $450.
14. Use Dimmable Smart Bulbs to Shift From Work Mode to Party Mode
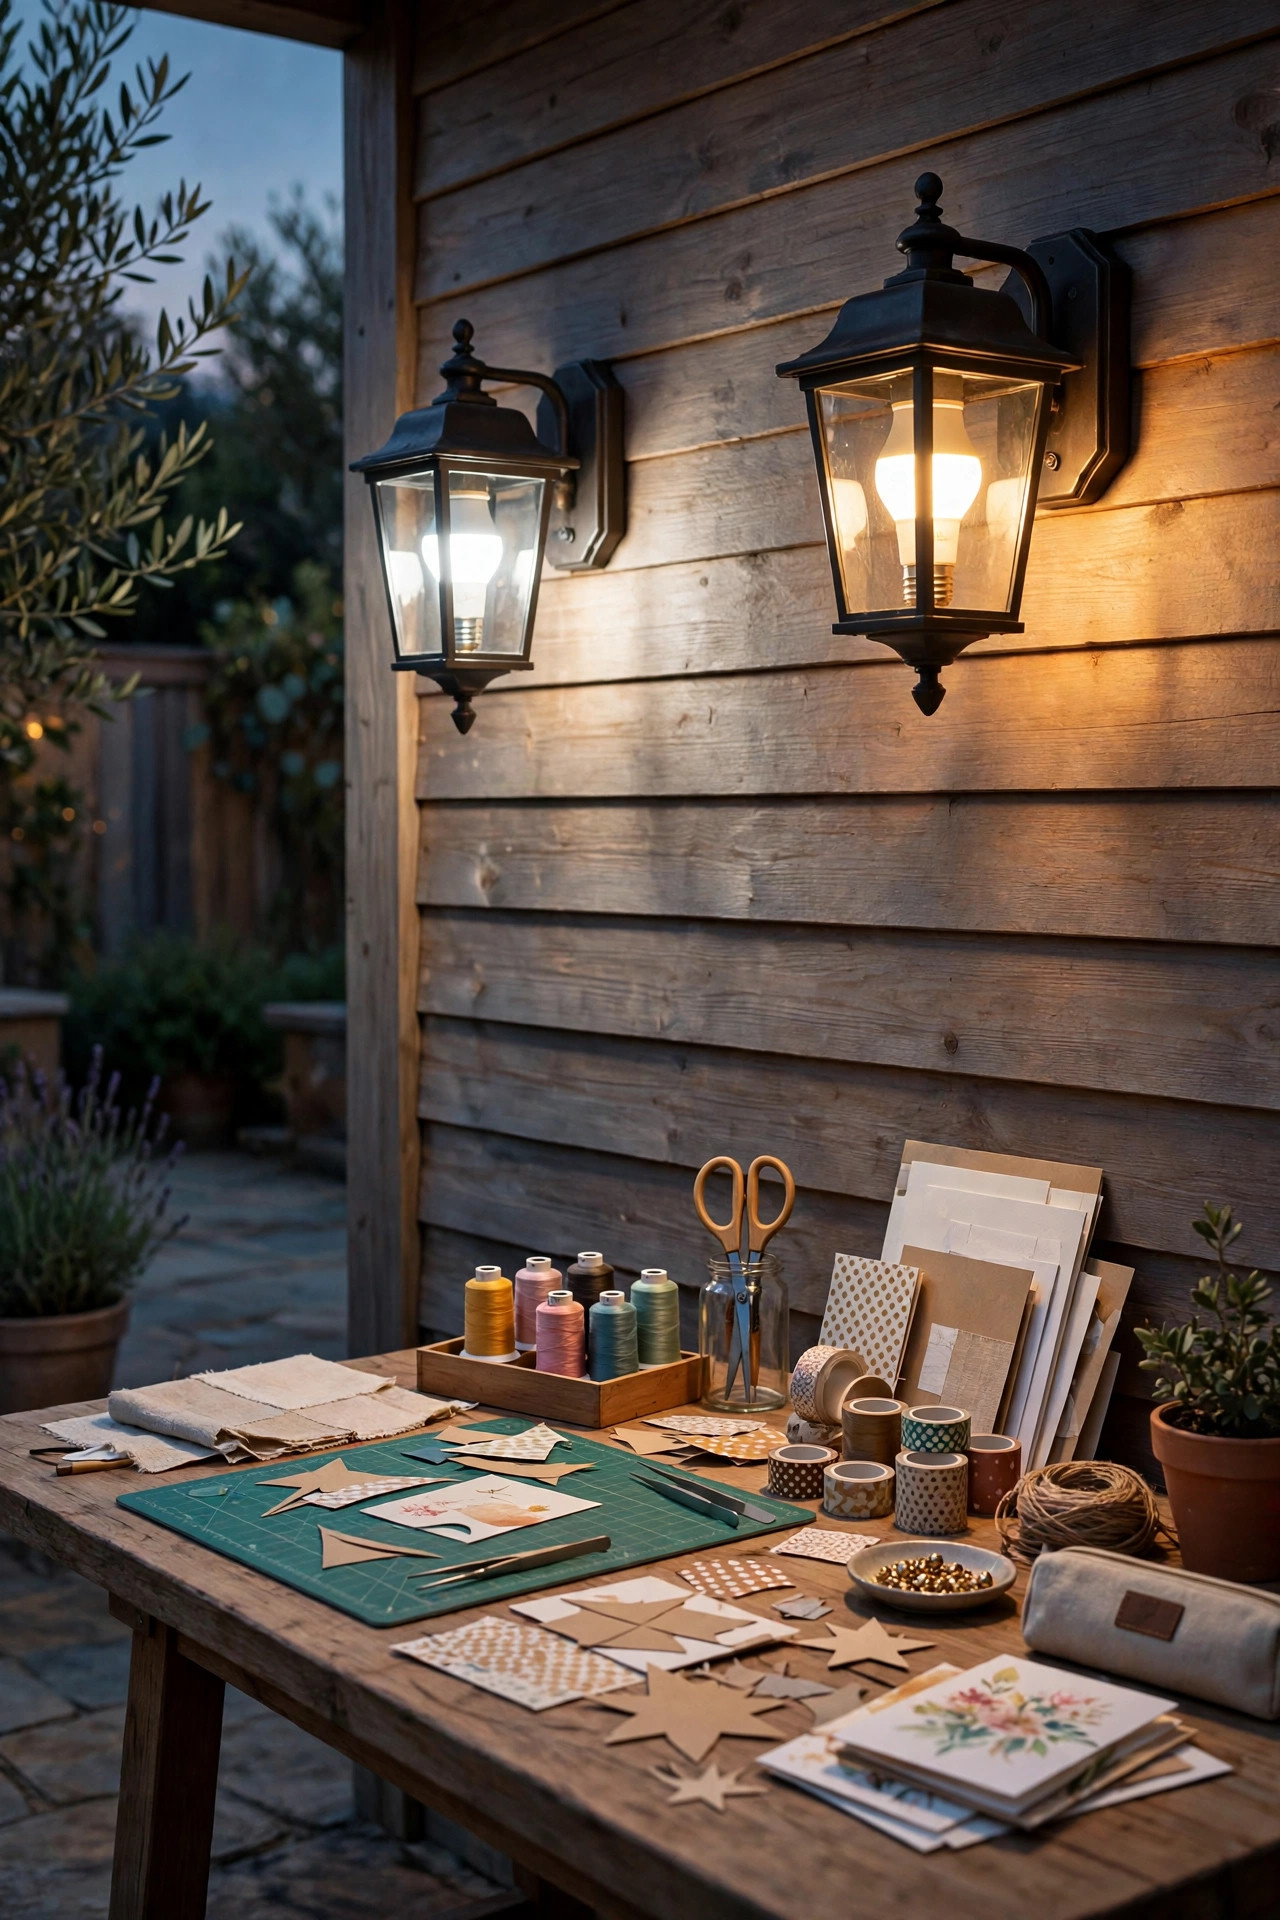
A craft night has two acts: heads-down making, then the proud show-and-tell with snacks. Dimmable smart bulbs in your existing patio fixtures let one setup serve both. Screw warm-white smart bulbs into the porch sconces or a couple of table lamps, group them in the app, and save two scenes — "Crafting" at full brightness with the task lamps on, and "Linger" at thirty percent for after. If you want the full menu of options, my roundup of dimmable outdoor light ideas walks through bulbs, plugs, and switches in plain English. Smart plugs work too: put the string light canopy on one and it joins the scene without smart bulbs at all. One caution from experience — set the scenes up in daylight and test them before guests arrive, because nobody wants to watch you wrestle an app while the ice melts. Voice control is a genuine delight here, since the person with glue on her fingers is always the one who wants the lights changed.
Suggested budget range: $30 – $85.
15. Put It All Together: Outdoor Craft Night Lighting Ideas Need One Color Temperature
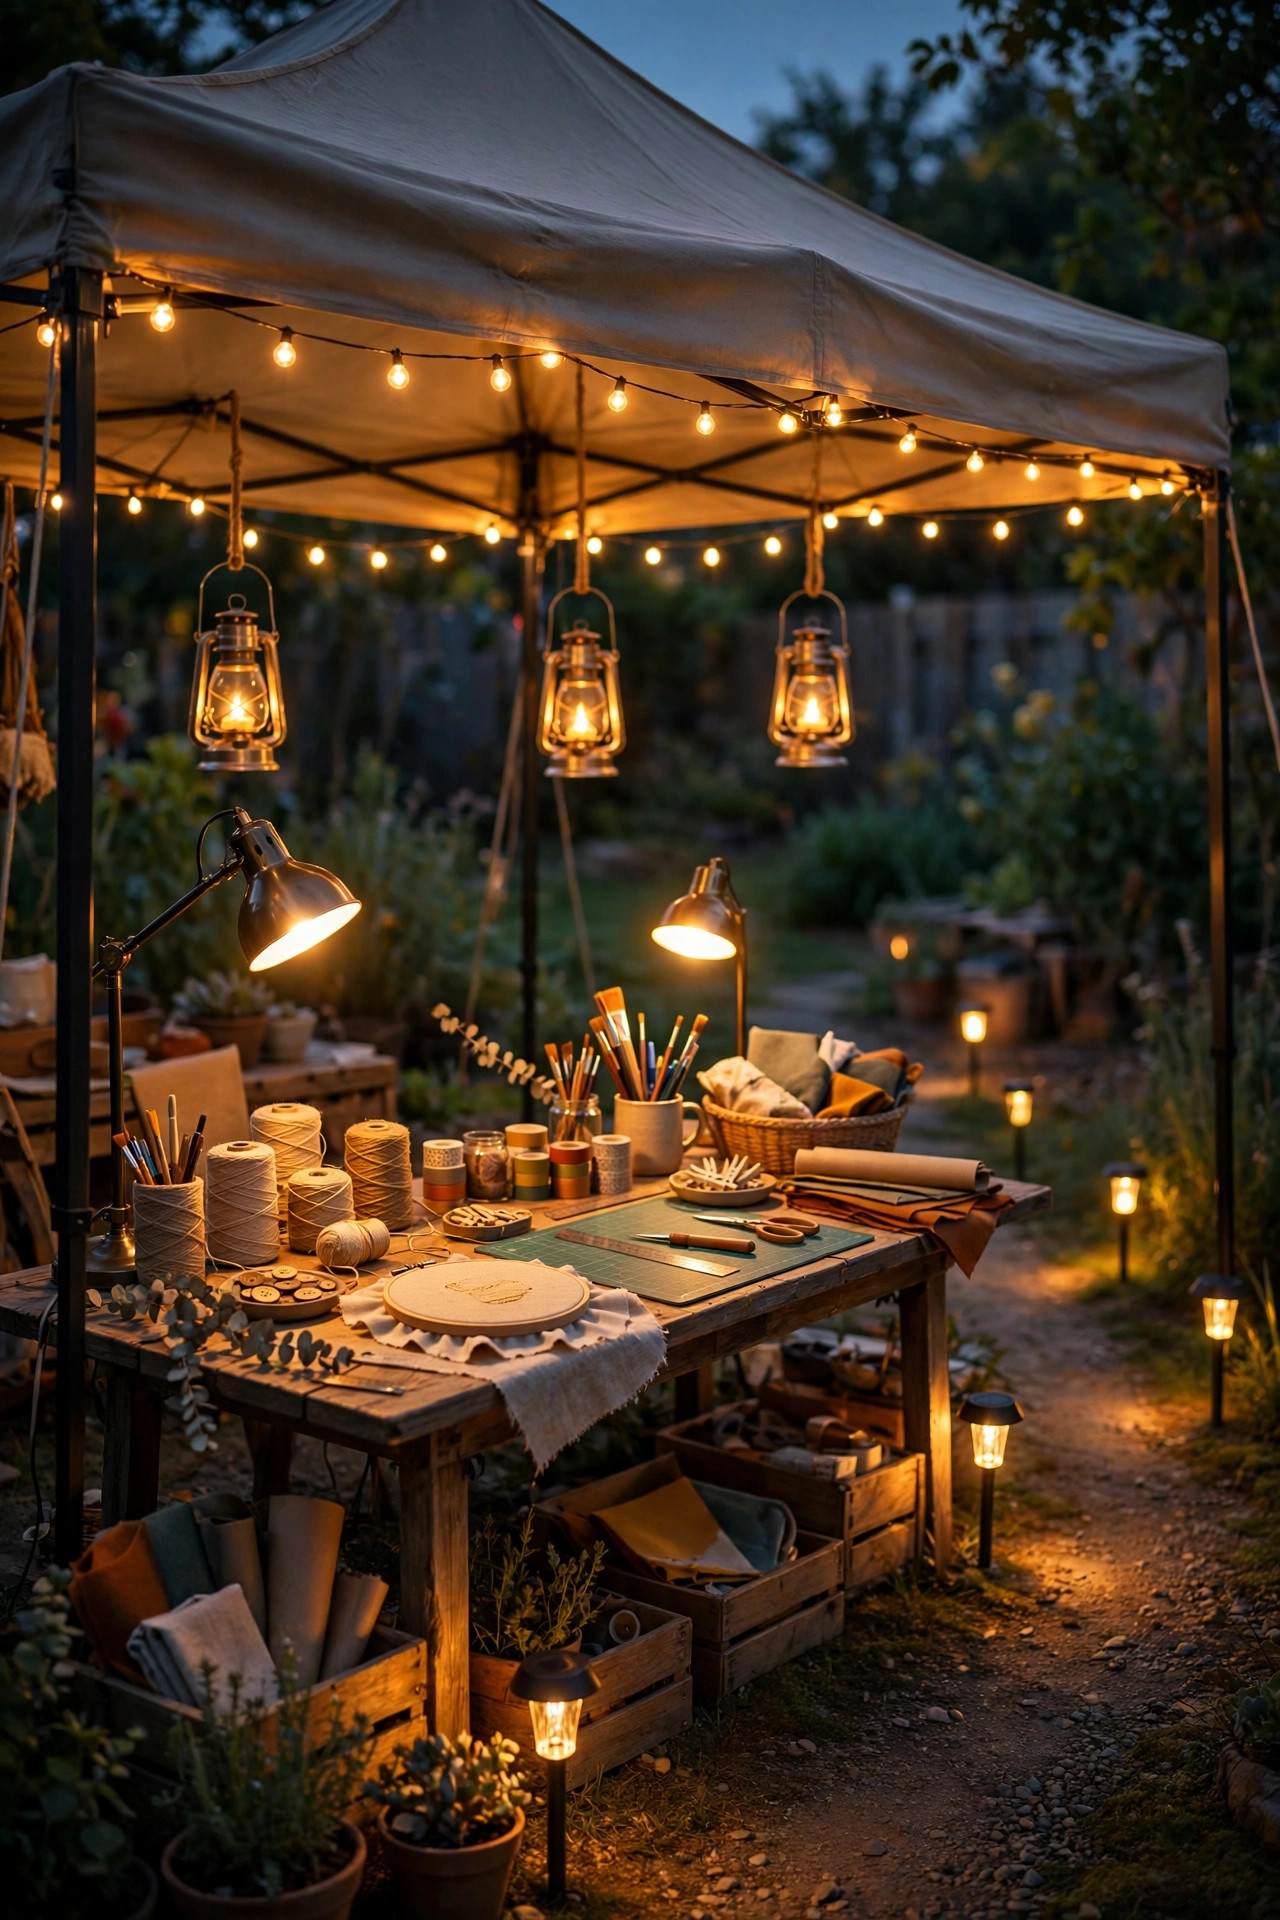
The last of my outdoor craft night lighting ideas is really a discipline: pick one color temperature for the whole table zone and defend it. When the canopy is 2700K, the task lamps are 4000K, and somebody's bargain string lights are bluish daylight, your eyes never settle and every color looks wrong somewhere. My working rule is warm ambient at 2700K, task light at a consistent 3500K to 4000K high-CRI, and the single 5000K checking lamp quarantined at its own station. Everything else — jars, lanterns, path lights — stays warm. If Kelvin numbers make your head spin, the outdoor light color temperature guide translates them into plain buying advice. Before guests arrive, do my dusk walkthrough: sit in every seat, hold up the actual project materials, and check that colors read true and no beam hits you in the eyes. Ten minutes of adjusting angles now saves a whole evening of squinting. That little ritual, more than any single fixture, is what makes a craft night feel effortless.
Suggested budget range: $10 – $40.
Frequently Asked Questions
What color temperature is best for crafting outdoors at night?
For the work surface, 3500K to 4000K with a CRI of 90 or higher gives the truest colors without the clinical feel of daylight bulbs. Keep the surrounding ambient light warmer, around 2700K, so the space still feels like an evening in the yard. If a project involves exact color matching, check it briefly under a 5000K lamp before you commit.
How bright should the light over a craft table be?
Aim for task lighting in the range of 300 to 500 lumens per seat, falling directly on the work. That is roughly three times brighter than the ambient light around the table. If guests are squinting, leaning in close, or casting shadows with their own hands, the task layer is too weak or aimed from the wrong side.
Can I run a craft night with no outdoor outlet?
Yes. A 300 to 500 watt-hour portable power station runs LED lamps and panels for a full evening, and a fully battery setup — rechargeable goosenecks, bar lights, and lanterns — works for smaller groups. Charge everything the afternoon before, and keep one battery lantern in reserve for the inevitable lamp somebody forgets to switch off at full brightness.
Are string lights alone enough light for a craft night?
Honestly, no. String lights are the ambient layer — wonderful for mood and for seeing faces and tabletops in general, but far too dim and diffuse for reading patterns, threading needles, or matching colors. Pair the canopy with real task light at each seat or two, and keep a clip light handy for instructions. The combination is what makes the night work.
Conclusion
Great outdoor craft night lighting ideas all come back to the same simple recipe: a warm ambient layer for mood, honest task light where hands are working, and tiny accents that make the table feel special. Start with the layers, add high-CRI lamps and one daylight checking spot, light the path back to the house, and your patio can host painters, knitters, and glue-gun artists long after sunset. Pick two or three ideas from this list for your first night, notice what your group reaches for, and build from there. Then browse the rest of my outdoor lighting ideas here on the site and start planning the next project — I will save you the good seat under the canopy.