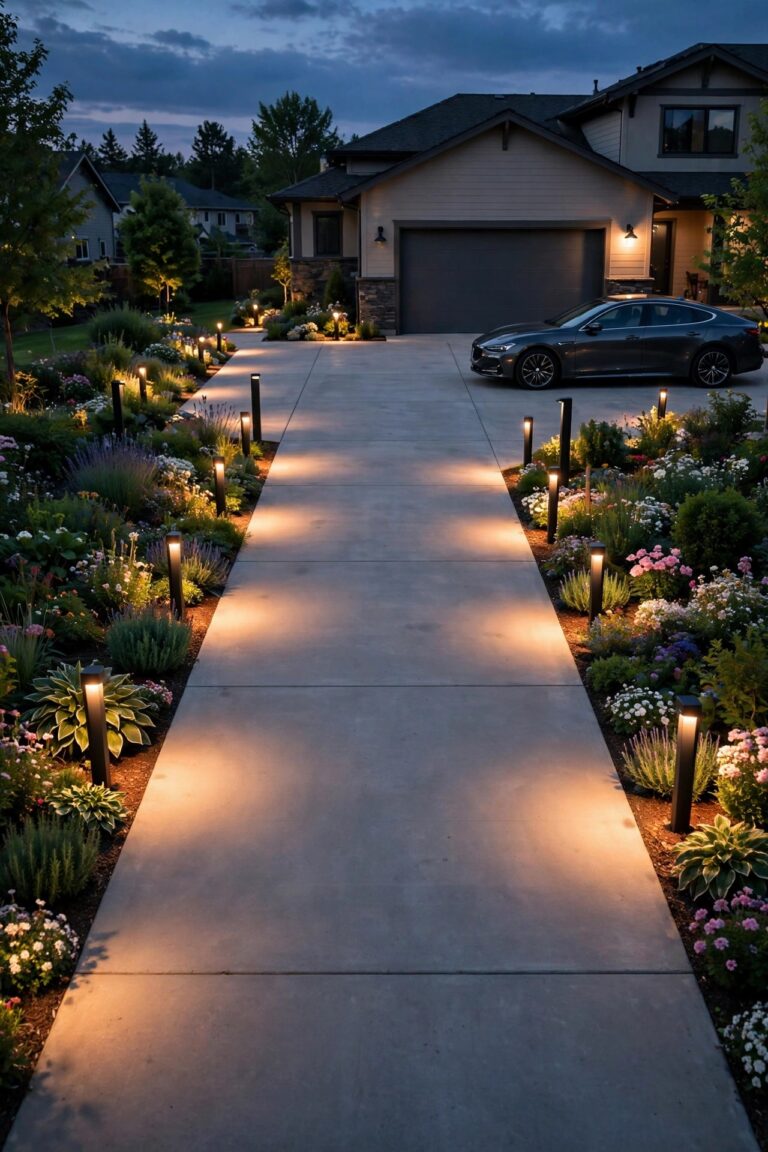
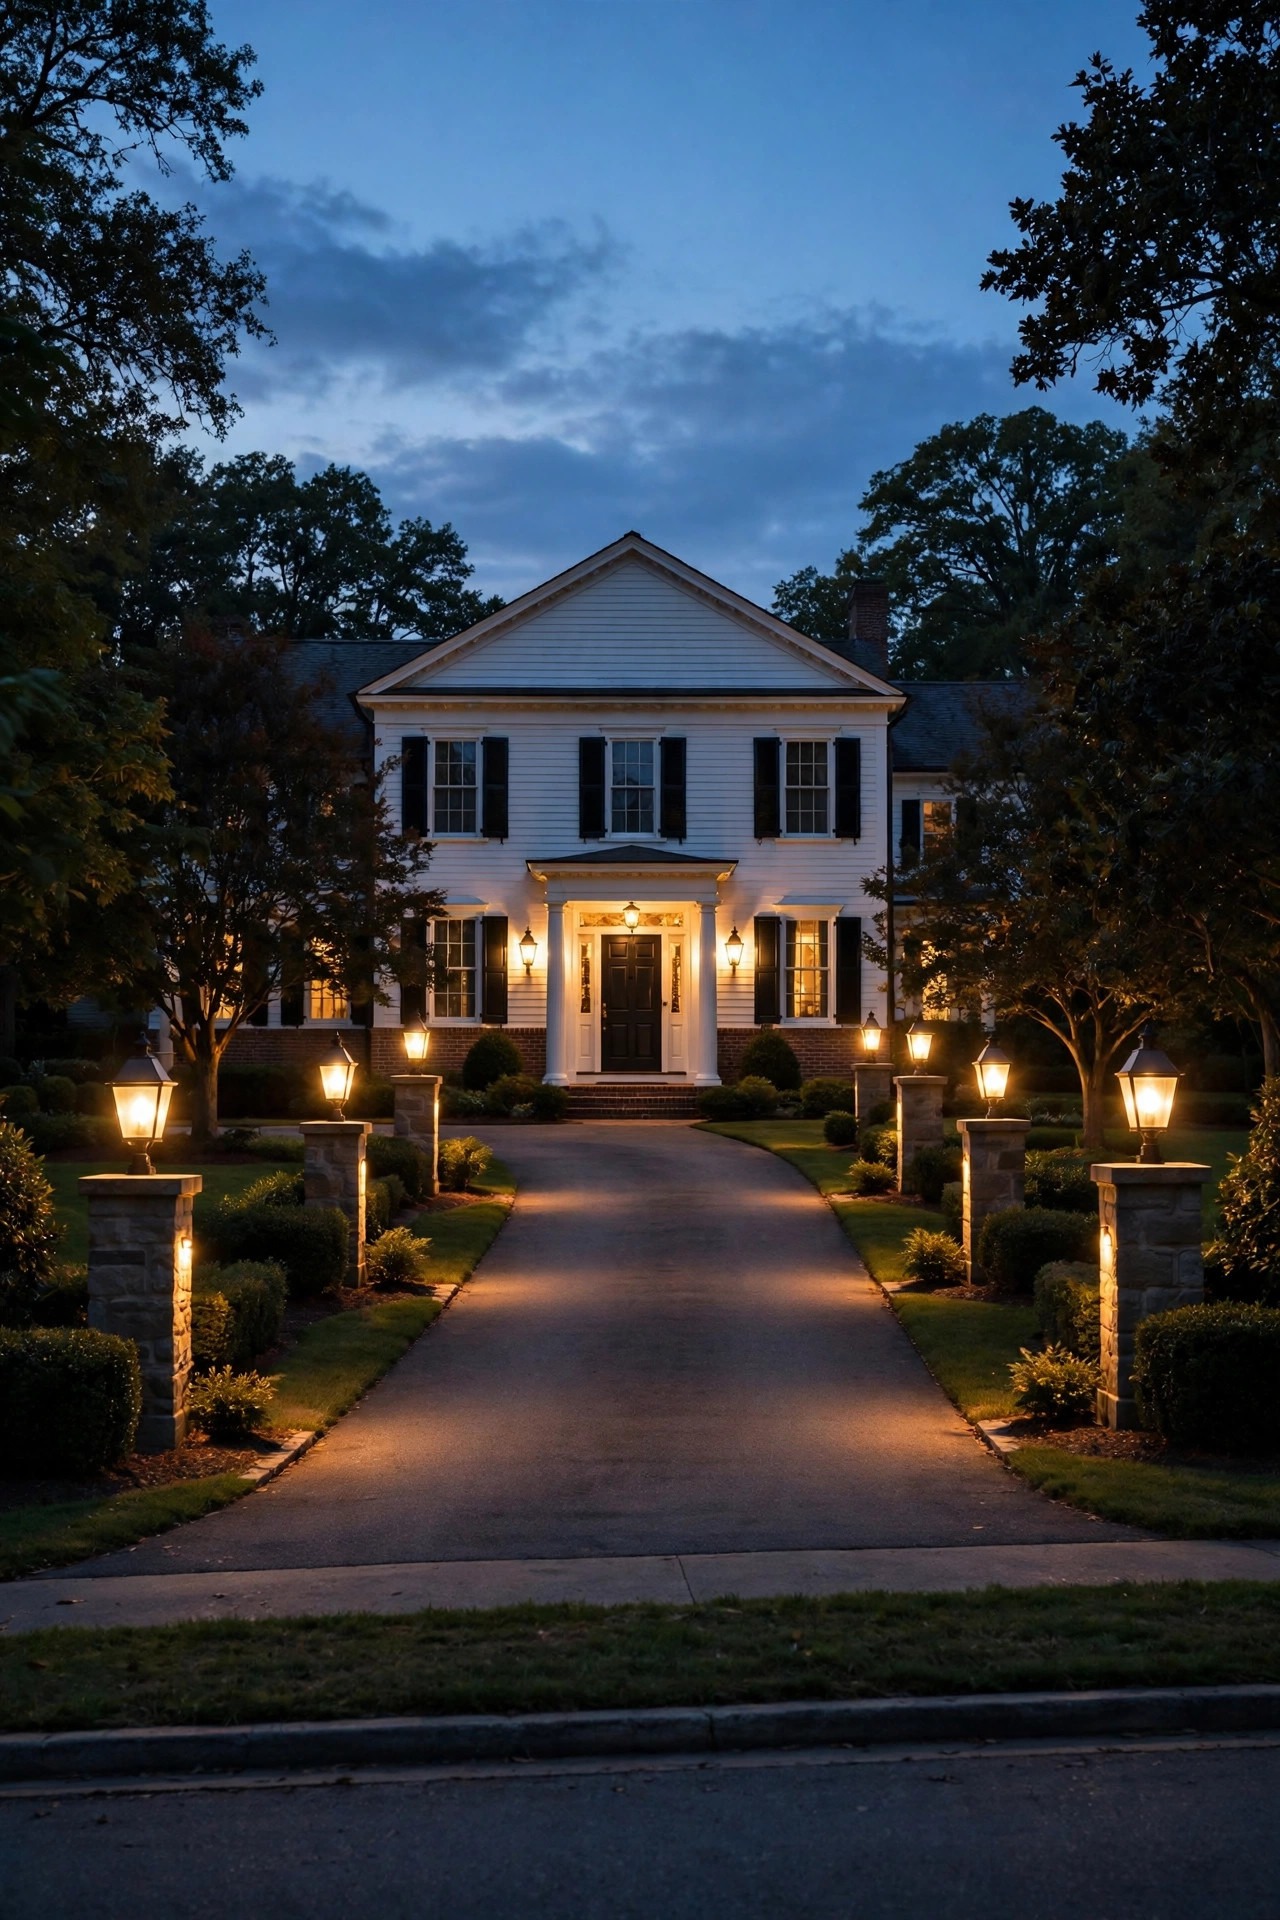
There is a moment I wait for every evening: the sky goes that deep blue, the lanterns click on, and our brick colonial looks like it is expecting company. A driveway does so much quiet work for a home — it is the first thing guests see and the last thing they remember — and the right colonial driveway lighting ideas turn that plain strip of pavement into a gracious arrival. In my experience, colonial style lives and dies on symmetry and restraint: matched pairs, warm white light, classic black or aged-bronze finishes, nothing flashy. In this post I am sharing the 15 ideas I reach for again and again, built on the layering approach I use in every yard — a soft ambient base, clear task light where tires and feet actually land, and gentle accent light that picks out the brick, columns, and plantings. You will find spacing numbers, bulb temperatures, and an honest budget range for every single idea, plus the small habits that keep pairs burning evenly. Whether your drive is short and brick or long and tree-lined, these will help it feel composed, safe, and quietly grand.
1. Start Your Colonial Driveway Lighting Ideas With a Symmetrical Plan
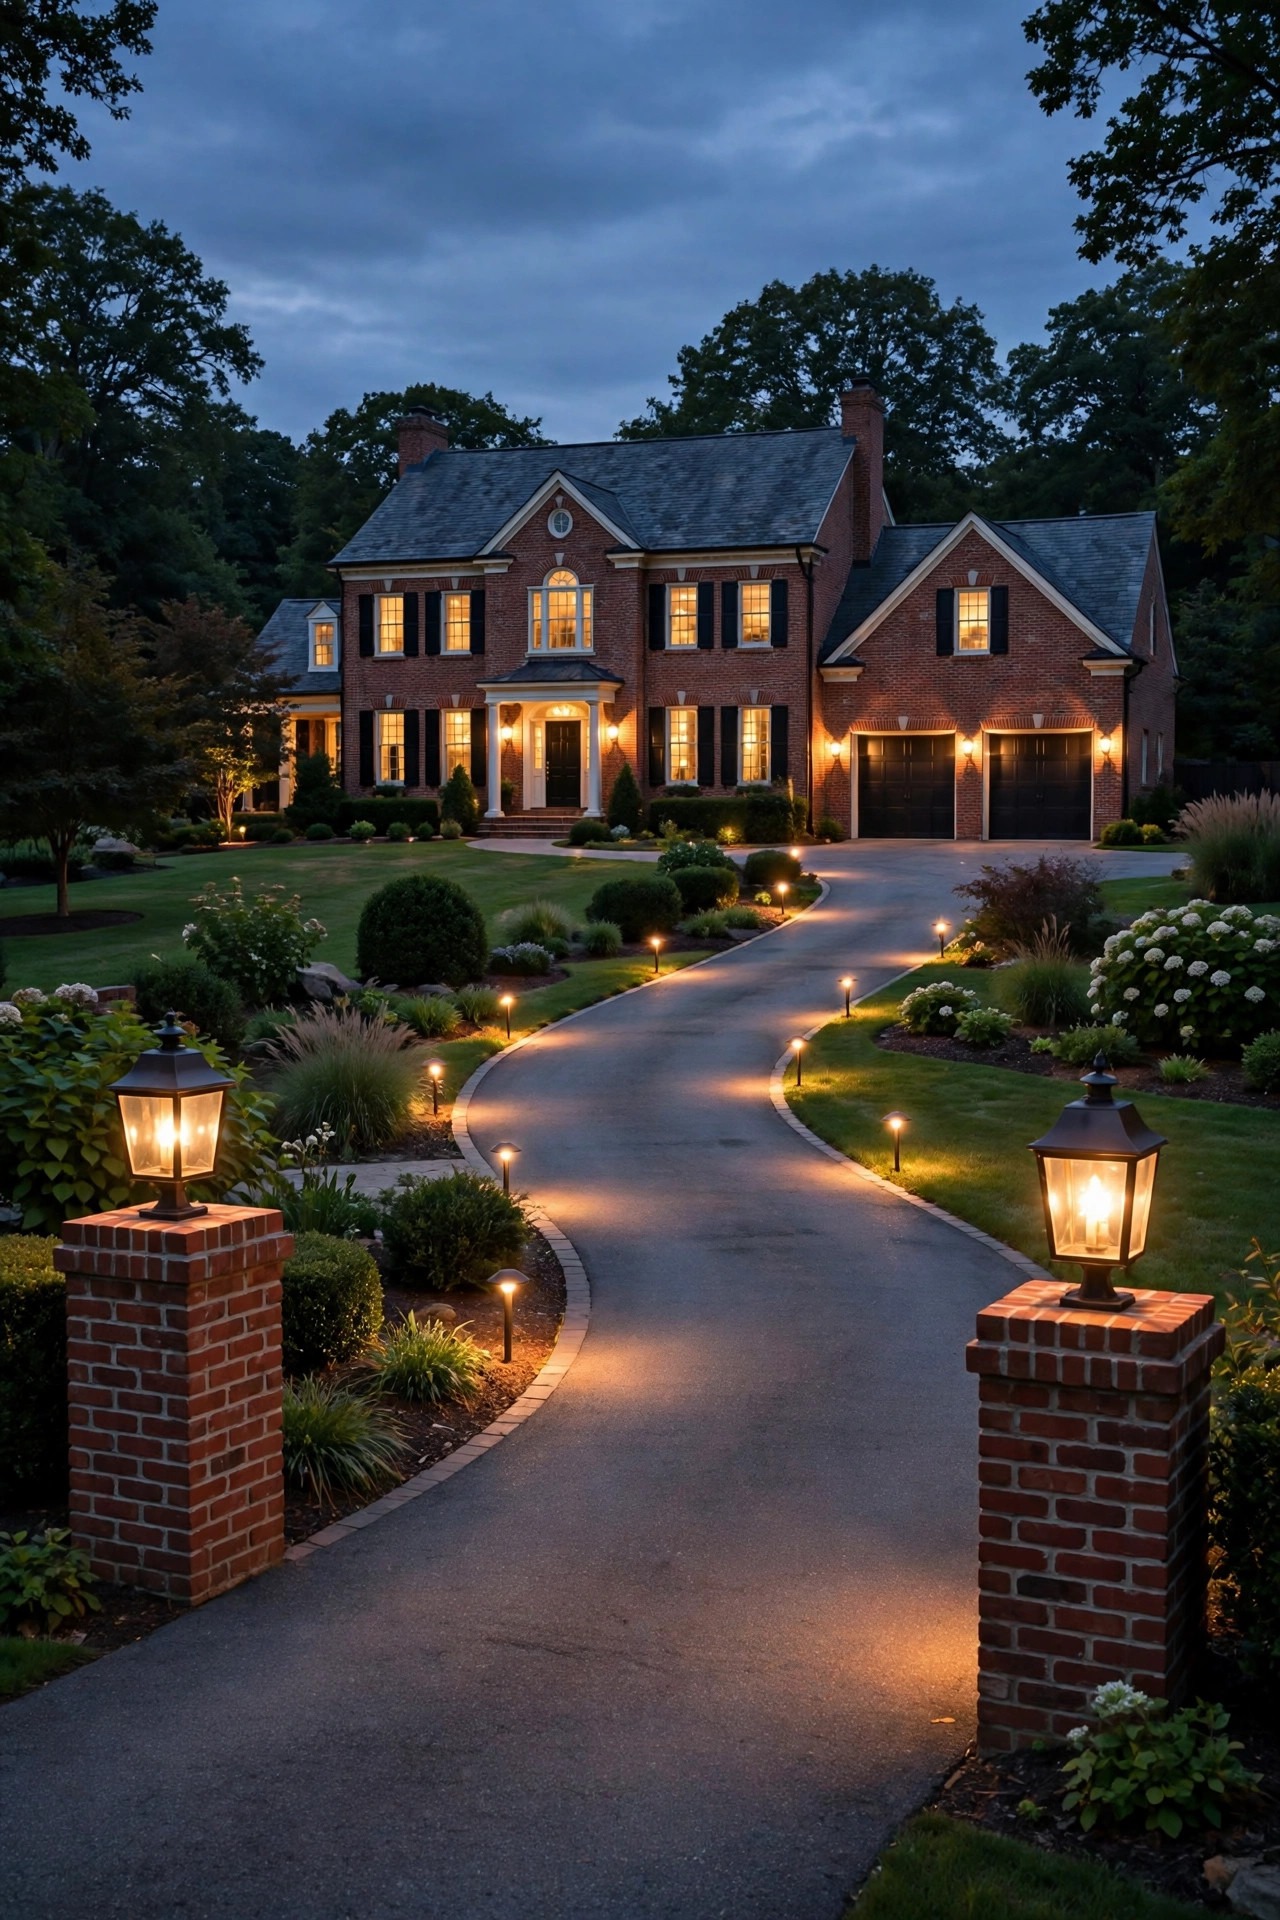
Every gracious colonial arrival starts on paper, not in the garden center. I sketch the driveway, the garage, and the front walk, then draw a center line down the middle of the drive — because colonial design is a mirror game, and every fixture I place on the left gets a twin on the right at the exact same distance. I work in three layers: ambient light for a soft general glow, task light along the edges where tires roll and guests step out, and accent light on the facade, pillars, or a specimen tree. Decide the focal point first — usually the front door or the garage doors — and let every pair lead the eye toward it. I also mark transformer and cable runs now; symmetrical layouts often need two equal runs, one down each side, so voltage drop and brightness stay even. One more habit that has saved me real money: count the pairs before you buy. Driveway lighting is sold in singles, and it is painfully easy to come home one fixture short of a matched set. Twenty minutes with a tape measure and a sketch beats a weekend of moving stakes.
Suggested budget range: $0 – $40.
2. Crown the Entrance With Brick Pillar Lanterns
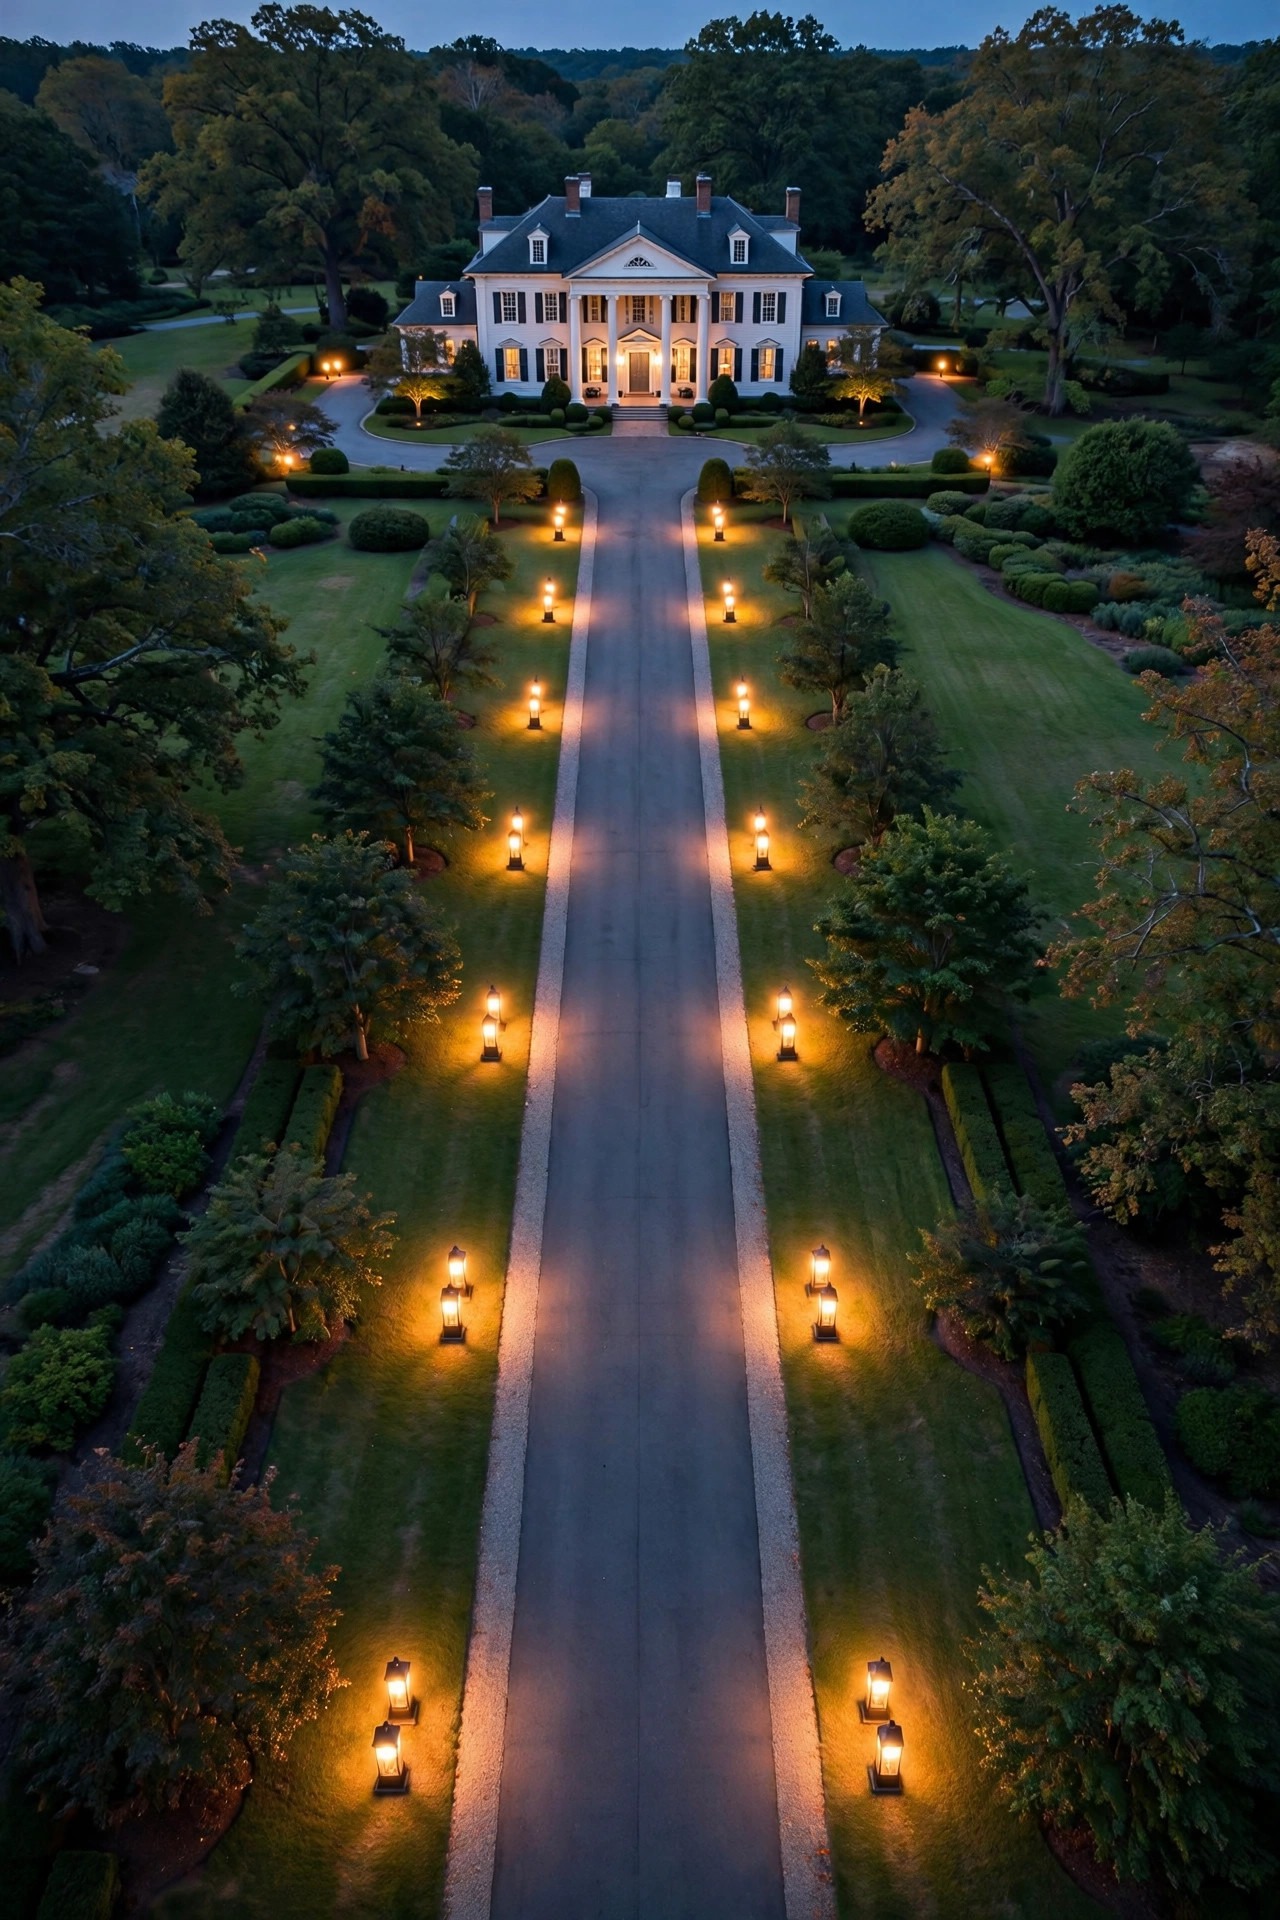
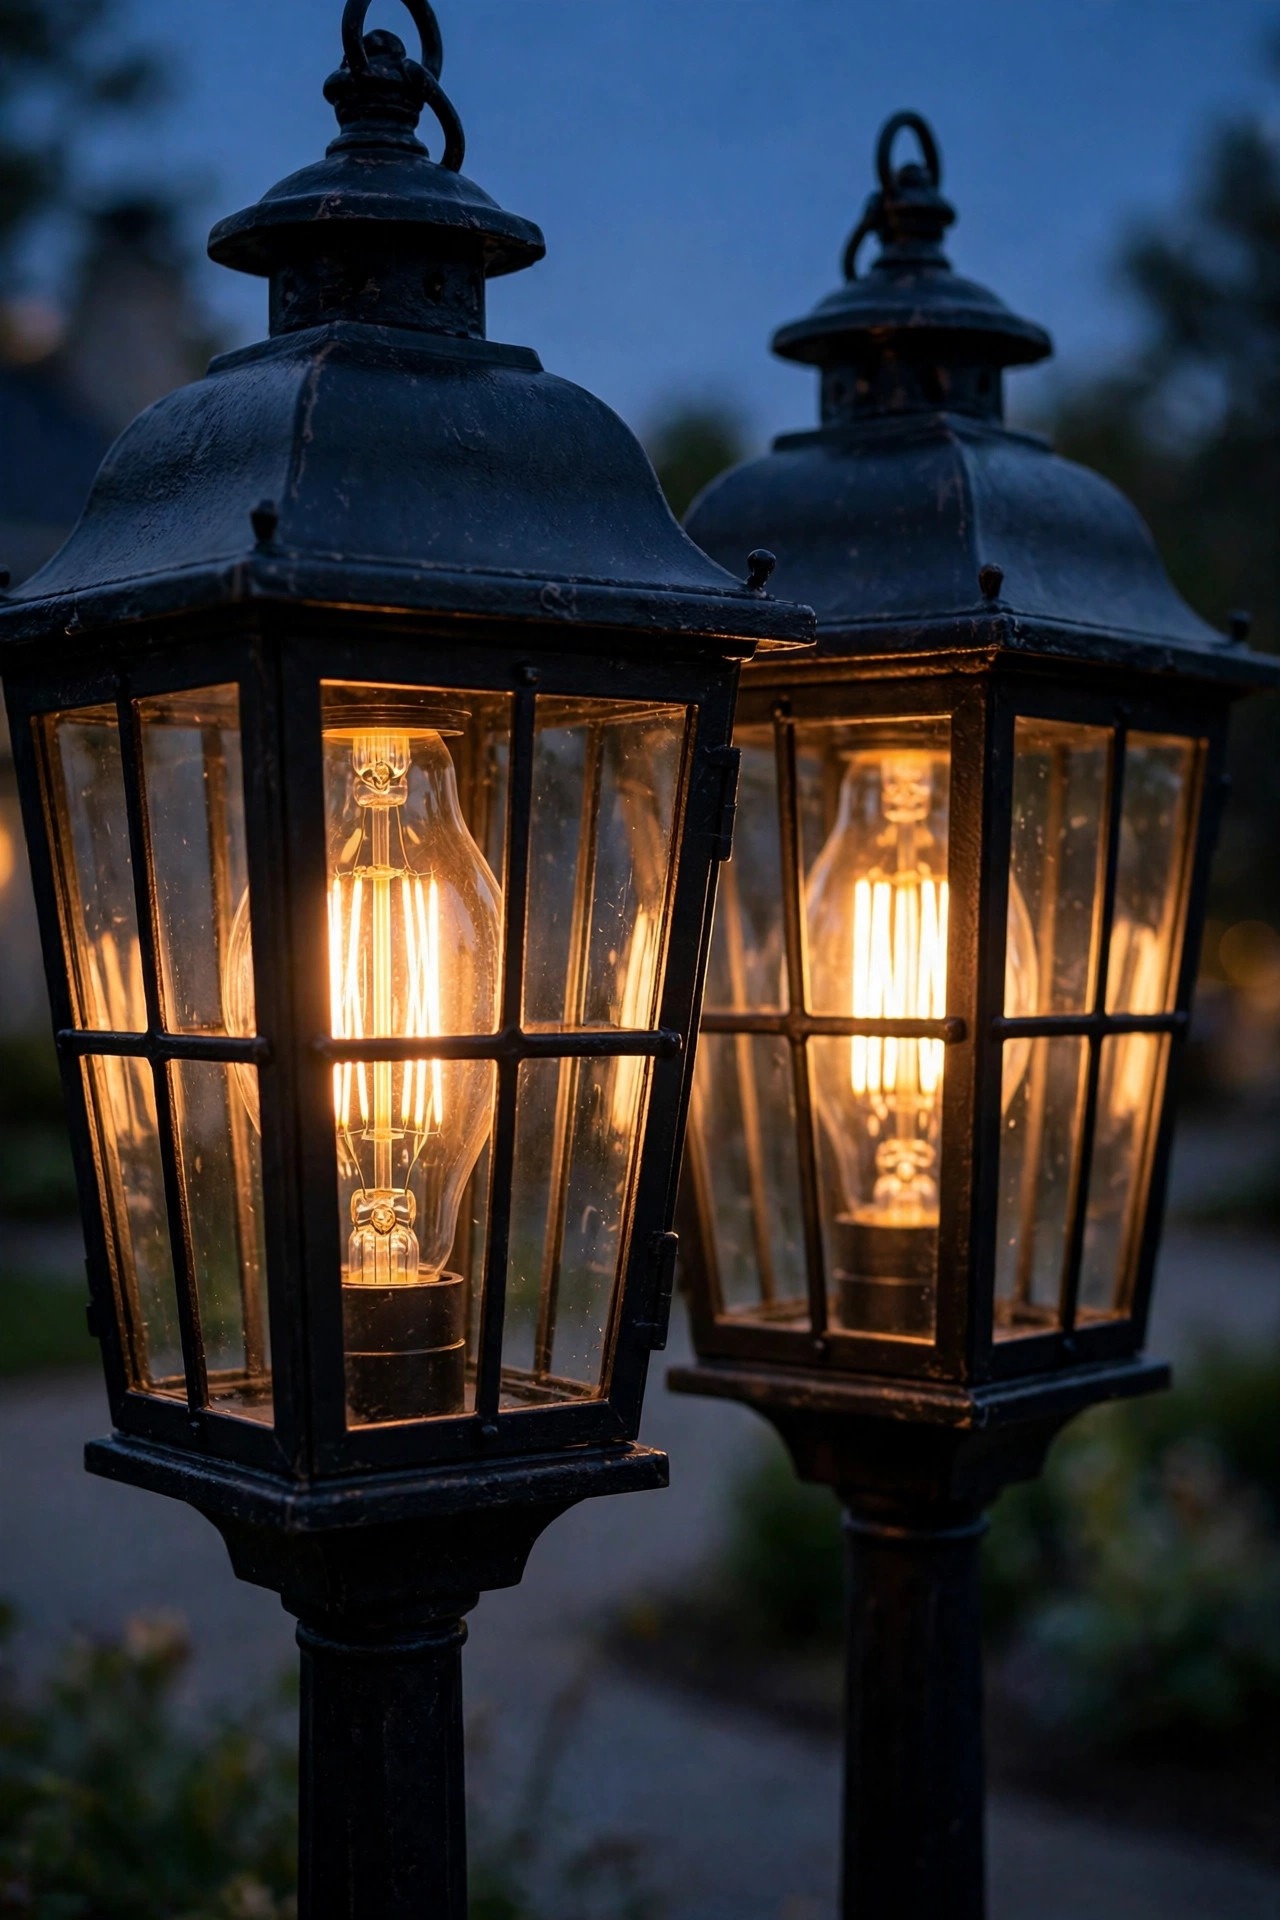
If a colonial driveway has one signature move, this is it: two brick pillars at the street, each topped with a classic lantern. I build or cap pillars about 30 to 36 inches tall so the lantern sits roughly 4 feet above the pavement — high enough to announce the entrance, low enough to feel welcoming instead of institutional. Choose lanterns with clear glass and warm LED filament-style bulbs around 2700K, and size them generously; a too-small lantern on a brick pillar looks like an afterthought. My fuller guide to driveway entrance lighting ideas walks through pillar proportions in detail. Wiring matters here: line-voltage pillar lights need a licensed electrician and conduit buried to code, while low-voltage versions are a friendlier weekend project with cable buried at least 6 inches deep. Either way, put both lanterns on the same circuit and timer so they always switch on together — one lit pillar and one dark one reads as a mistake, not a style choice. Add a low boxwood or a pair of urns at the base and the whole entrance suddenly feels like it has always been there.
Suggested budget range: $350 – $900.
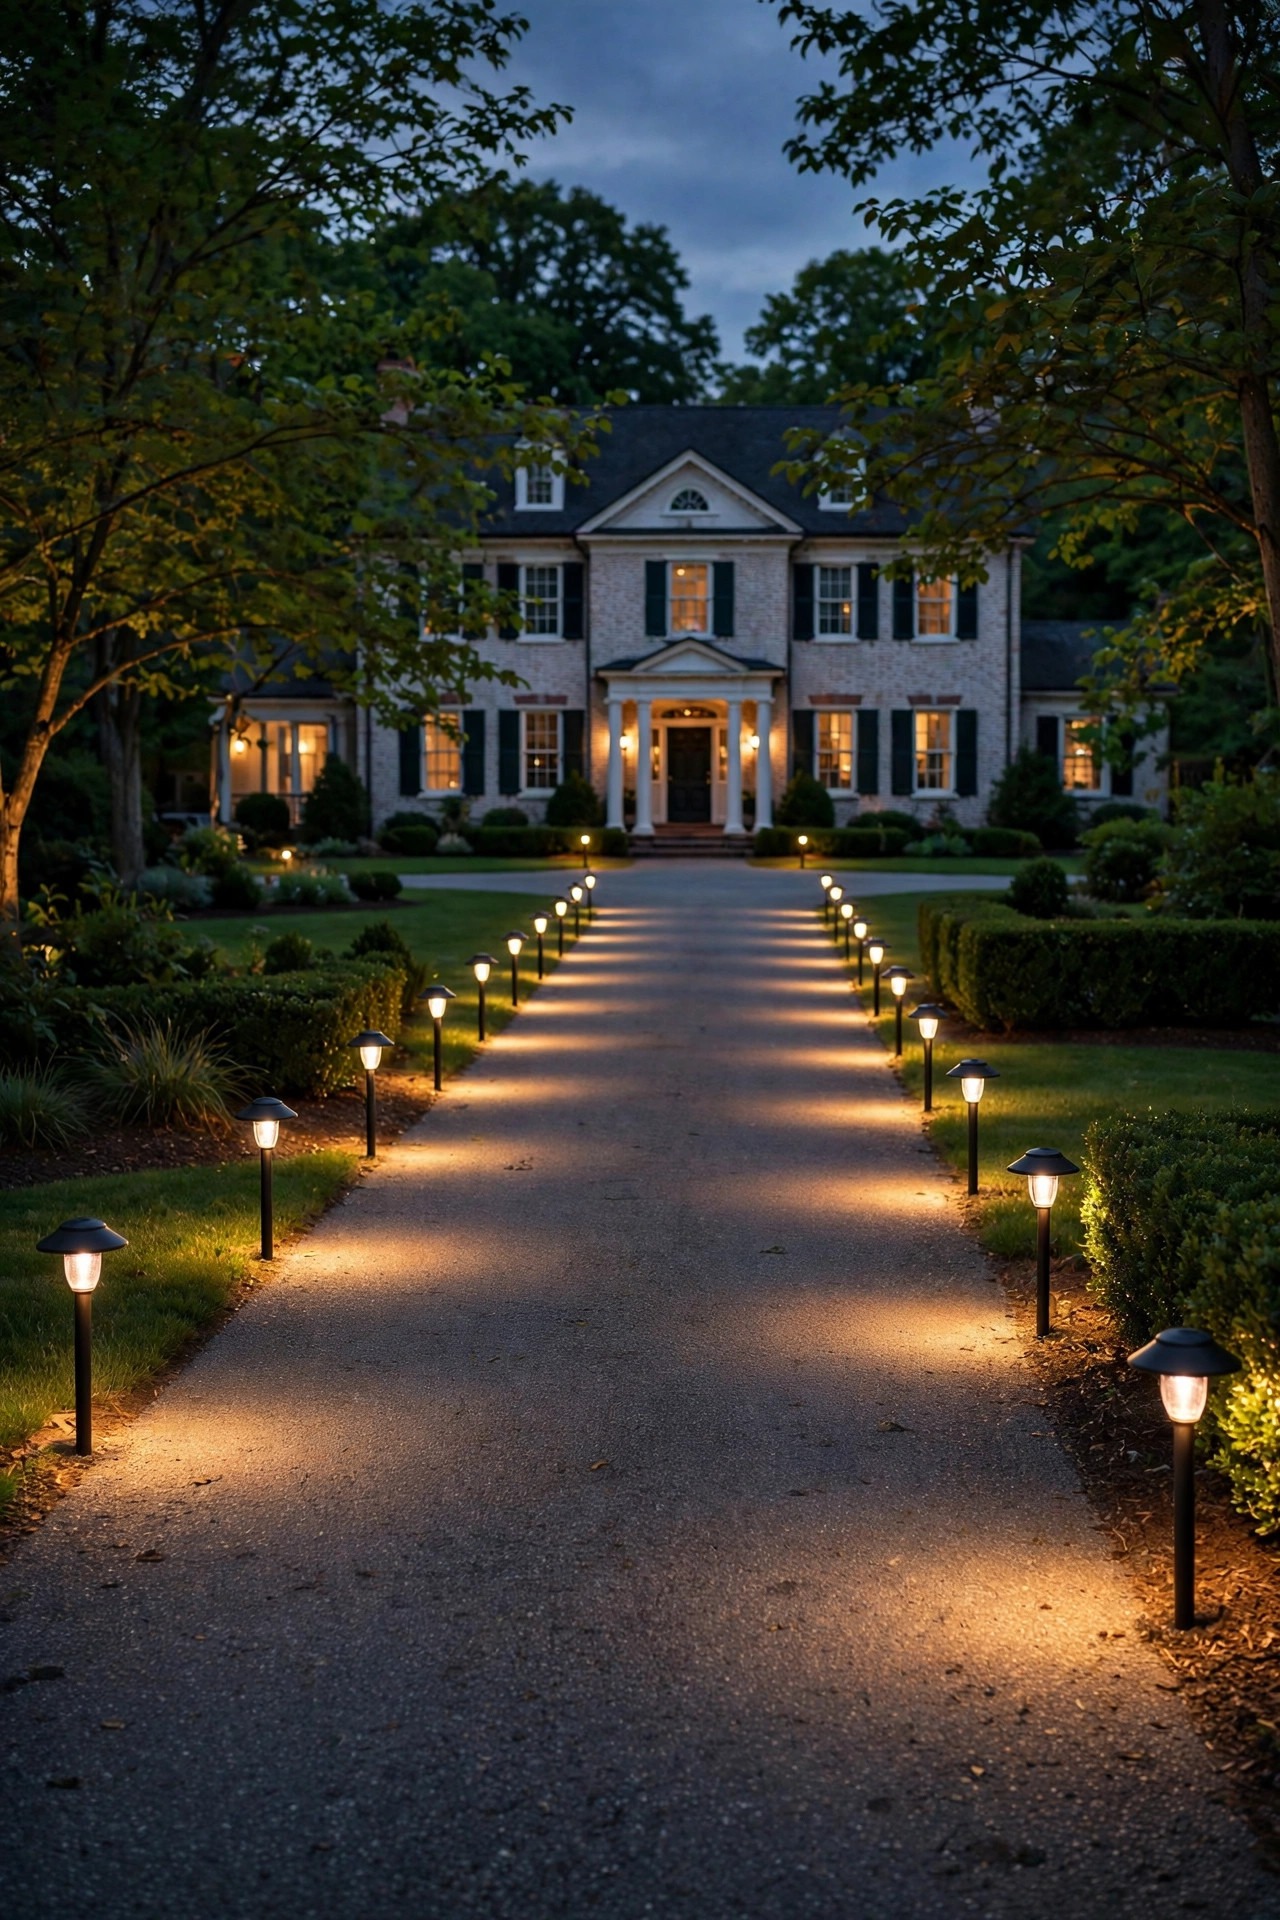
3. Run Paired Low-Voltage Path Lights Down Both Edges
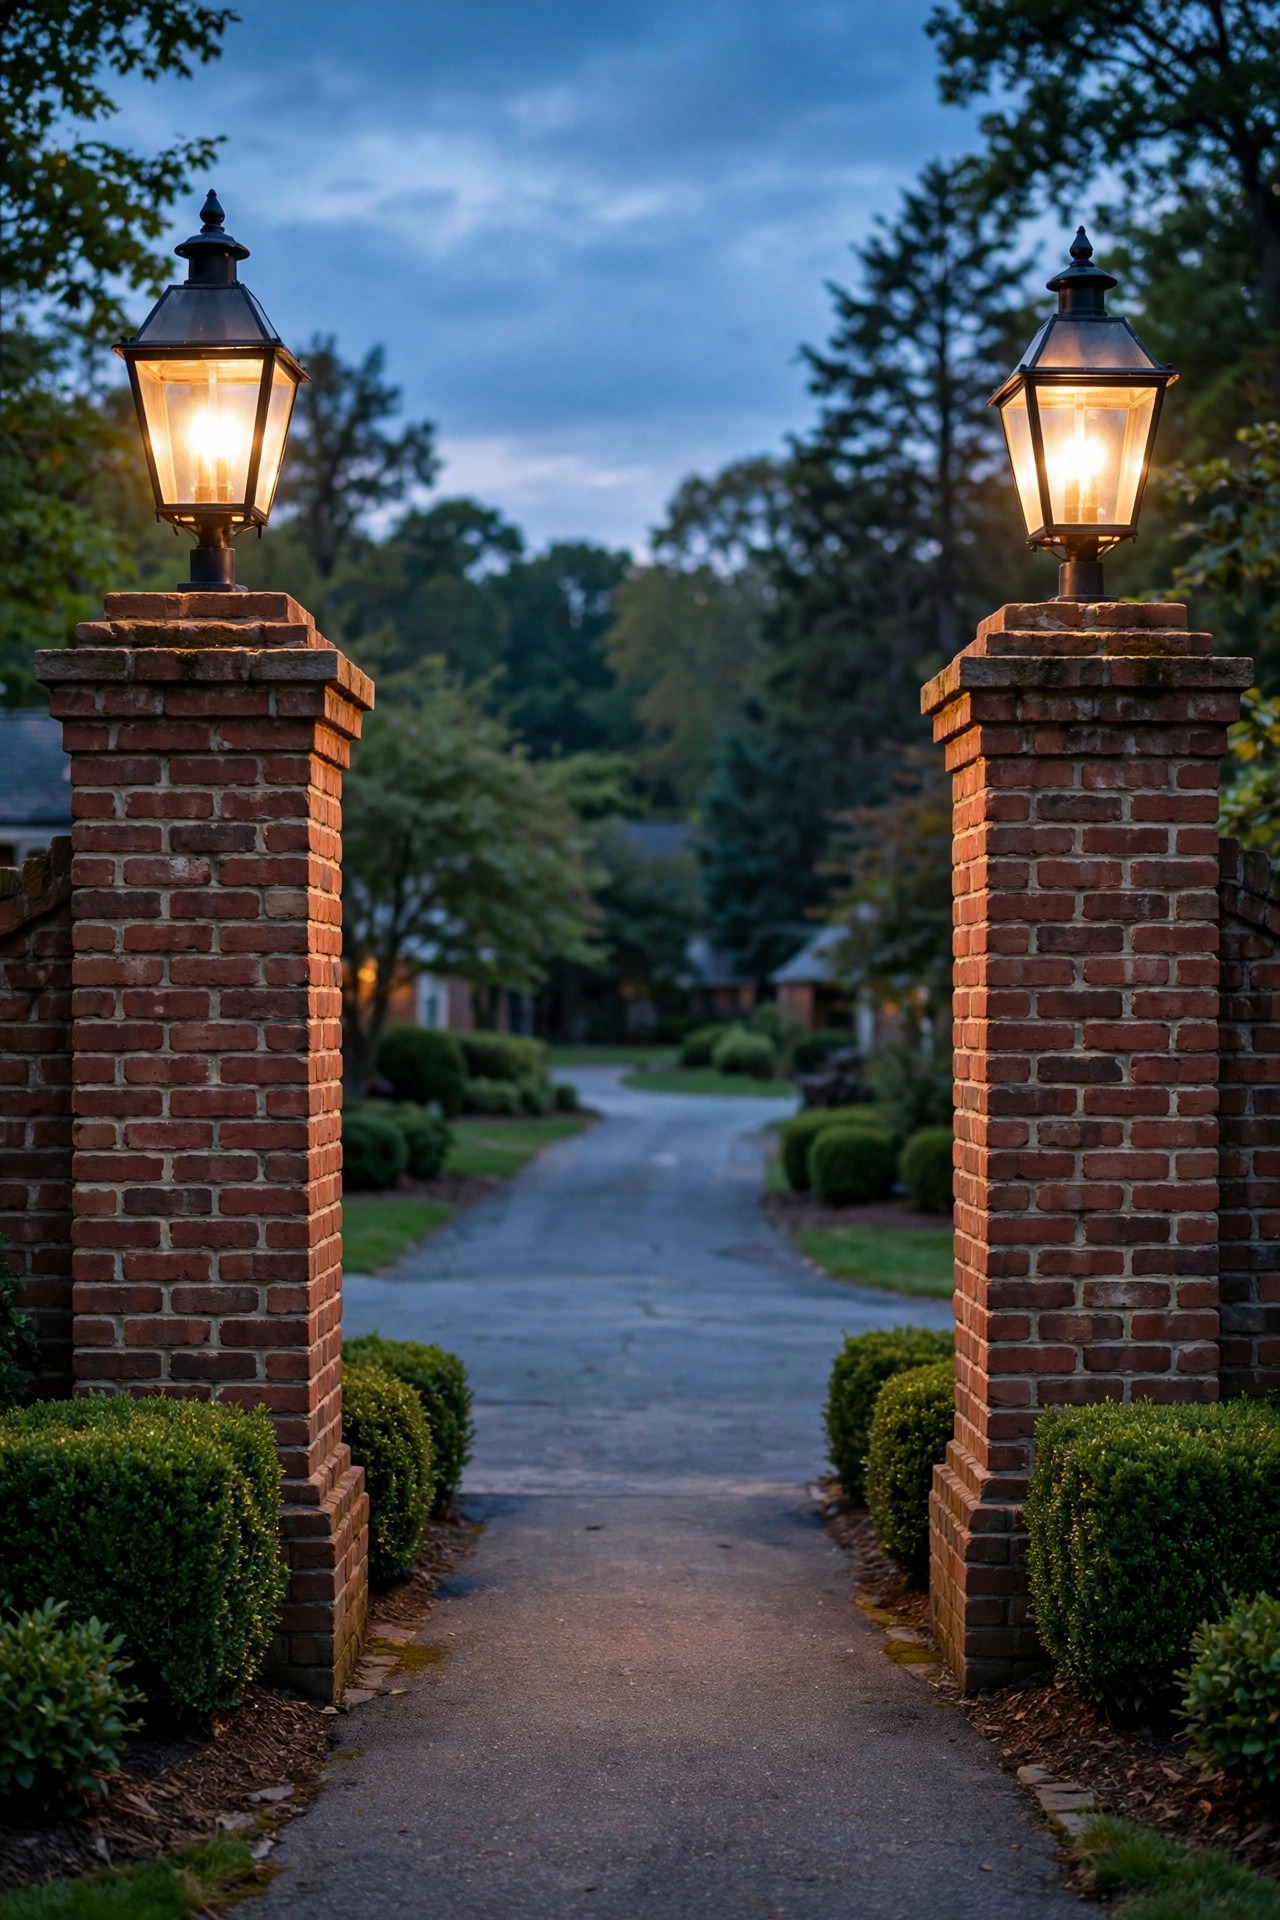
Path lights are where a colonial driveway gets its rhythm. I run low-voltage fixtures down both edges of the drive, placed directly opposite each other rather than staggered — staggering suits cottage gardens, but a formal layout wants pairs that line up like soldiers. Space them 8 to 10 feet apart on a driveway (wider than a garden path, since the scale is bigger) and set them back 12 to 18 inches from the pavement edge so car doors and snow shovels clear them. I choose low, hooded fixtures in black or aged bronze, about 14 to 18 inches tall, that throw light downward into soft pools instead of glaring at drivers. Keep each fixture modest, around 100 to 200 lumens; a runway of bright dots looks modern, not colonial. Low-voltage is the sweet spot for DIY — a transformer, a spool of 12-gauge cable, and connectors you can crimp by hand. Honestly, the single best tip I can give you is to buy two spares from the same production run. Finishes weather, models get discontinued, and a mismatched replacement in a mirrored row sticks out forever.
Suggested budget range: $200 – $600.
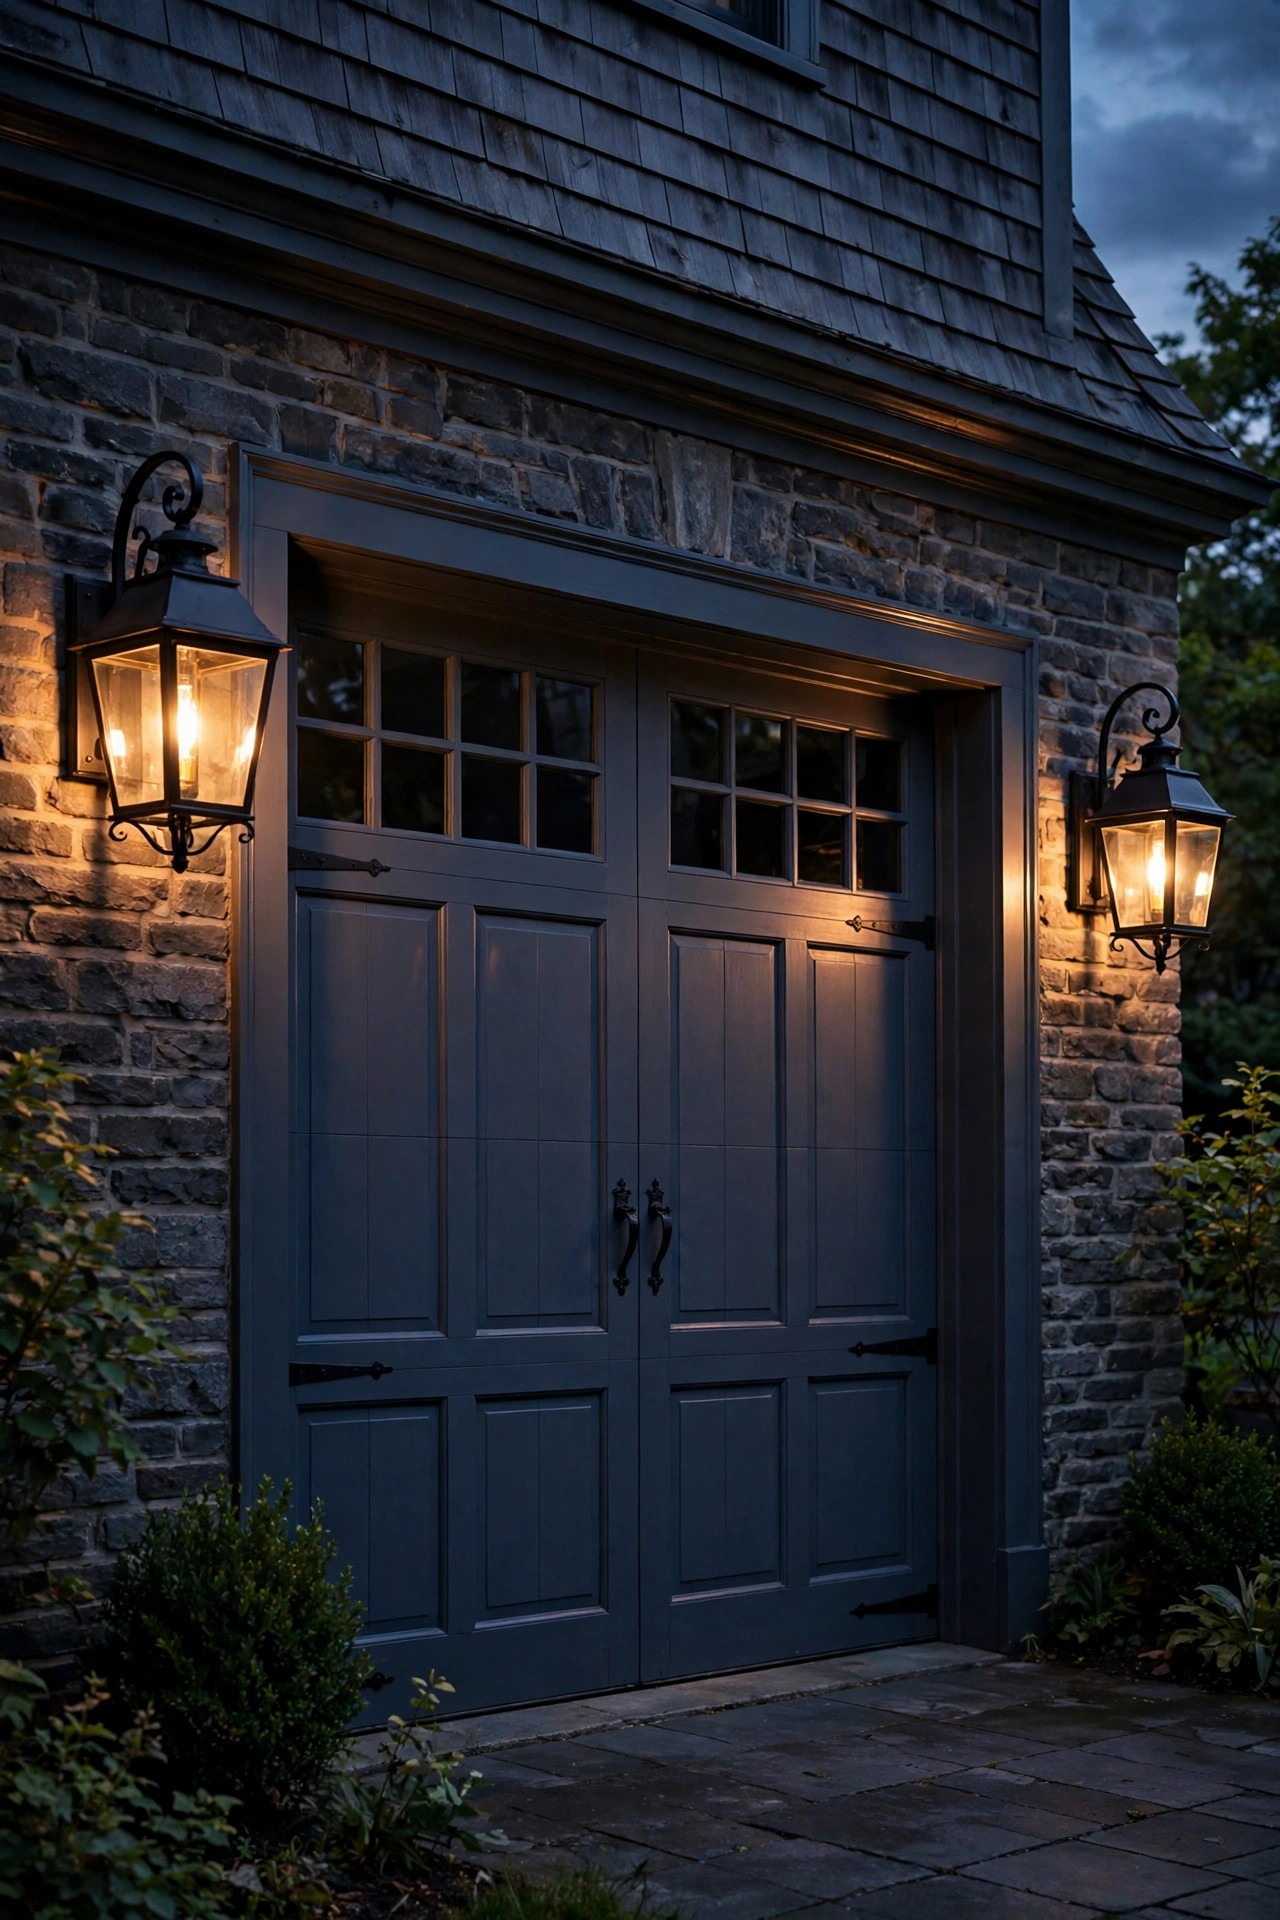
4. Flank the Garage With Carriage-Style Lantern Sconces
The garage doors are the working end of the driveway, and carriage-style lantern sconces make them look intentional. I mount a pair flanking the main door — or one between each bay on a three-car garage — with the center of the lantern about 66 inches above the pavement, roughly eye level. Black or aged-bronze finishes with clear seeded glass and a visible filament-style LED bulb give that coach-house feel colonial homes do so well. Proportion is everything: the lantern should be about one quarter to one third the height of the garage door, so a standard 8-foot door wants a lantern in the 16-to-24-inch range. Undersized sconces are the most common mistake I see on colonial facades. Look for wet-location ratings, since these fixtures take direct rain, and consider dusk-to-dawn photocell bulbs so the pair keeps the same schedule as the rest of the driveway. If your garage faces the street, these sconces carry a lot of the curb appeal after dark, so this is one place I happily spend a little more for heavier, real-metal fixtures.
Suggested budget range: $120 – $400.
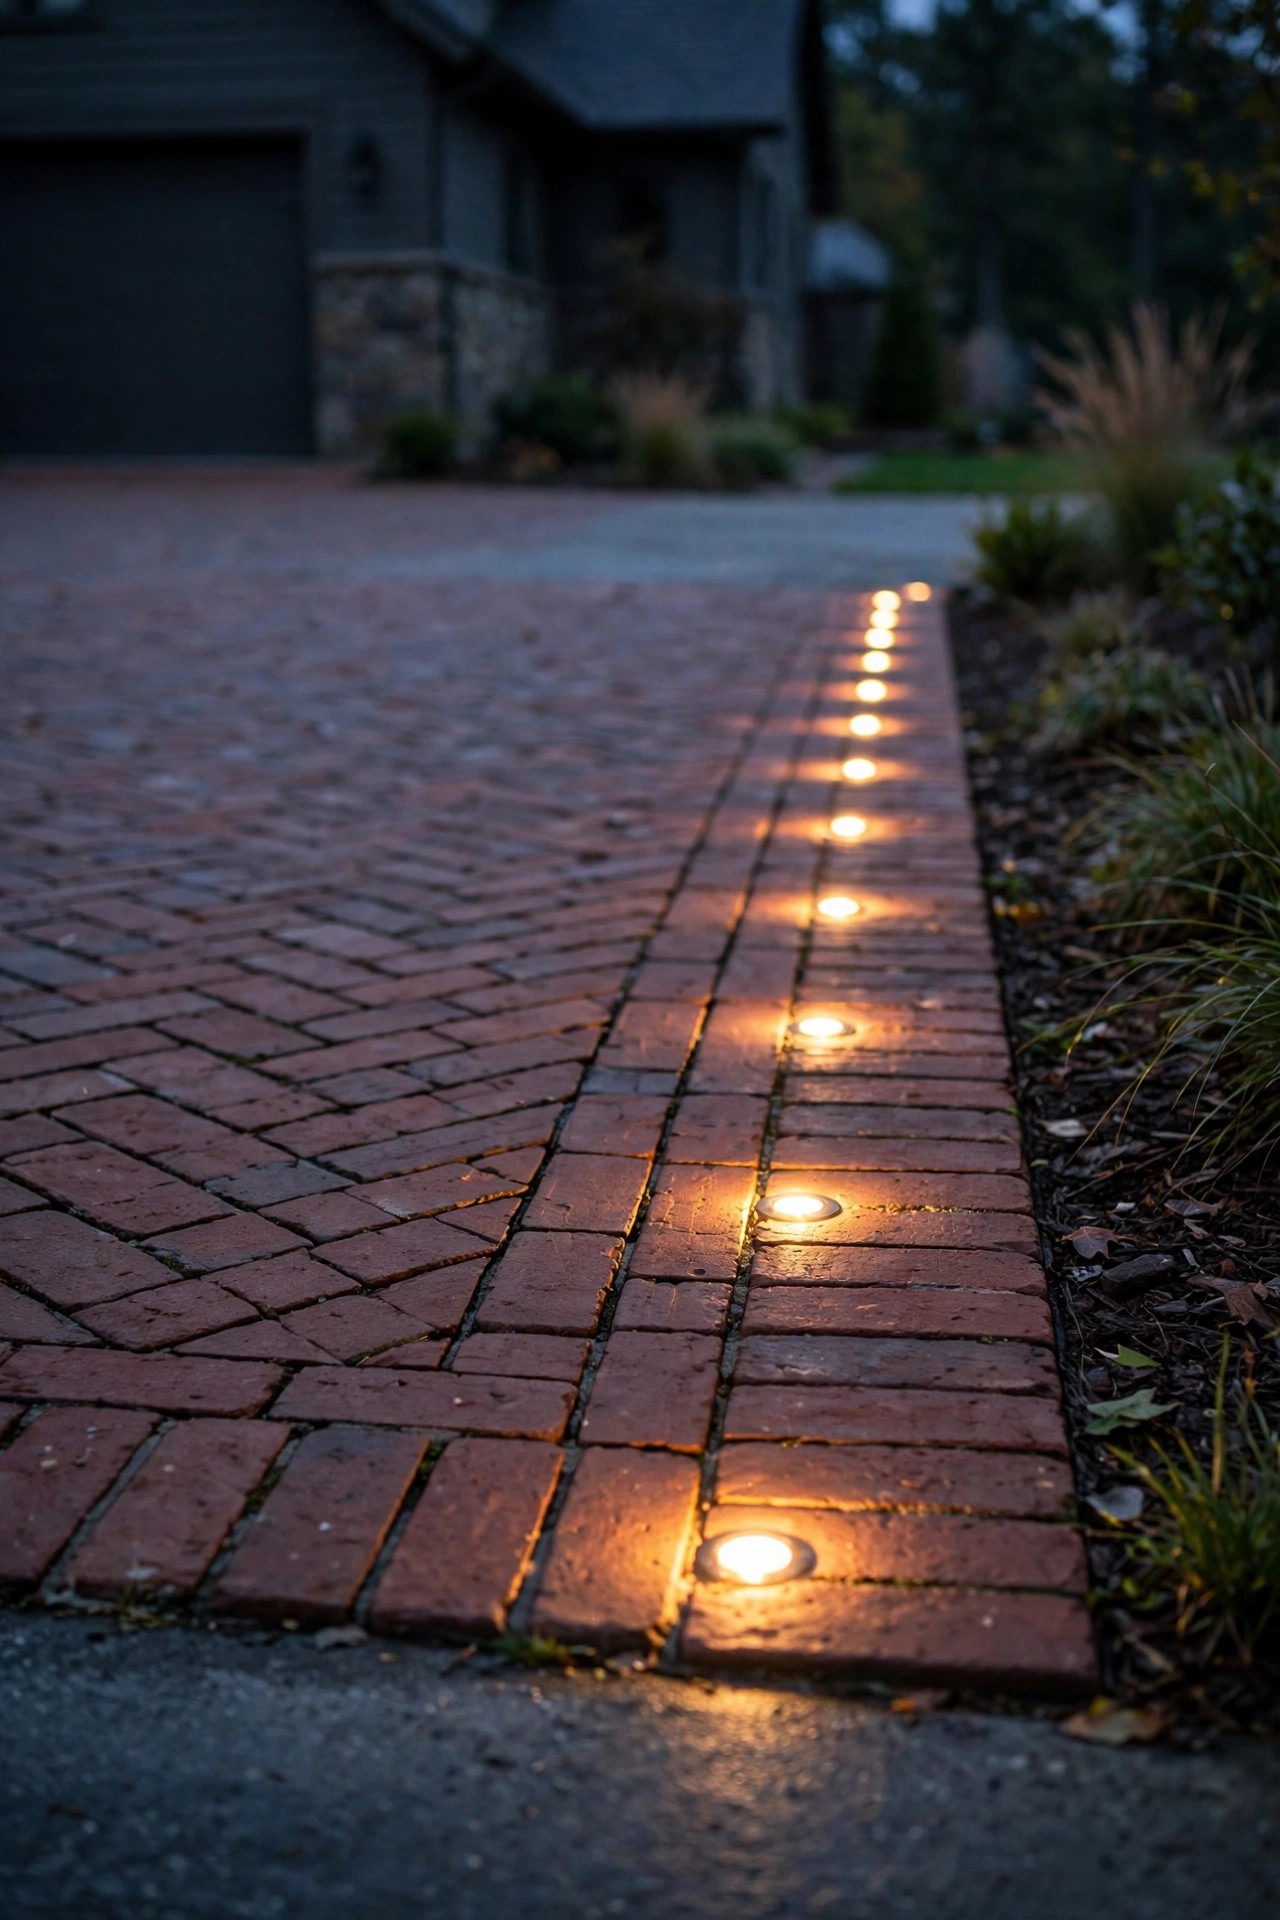
5. Set Flush In-Ground Markers Along the Apron
Some driveways cannot take a row of path lights — the apron is tight, the plow comes close, or the homeowners association frowns at fixtures near the street. That is where flush in-ground markers earn their keep. These small round or rectangular fixtures sit level with the pavement and wash a low ribbon of light across the concrete or brick, marking the apron edge without anything sticking up to hit. I space them 6 to 8 feet apart, set into the border course or just outside the paved edge in a gravel bed, and I insist on drive-over-rated housings with tempered lenses — check the load rating, not just the waterproof rating, before you buy. Aim for warm white around 2700K and modest output; the goal is a readable edge line, not a landing strip. Installation is the fussy part: each fixture needs a proper gravel drainage bed so water never pools inside the housing, and connections should be gel-filled and waterproof. Renting a concrete saw for a retrofit is doable but dusty — if your apron is being poured or re-laid anyway, that is the moment to add these.
Suggested budget range: $250 – $700.
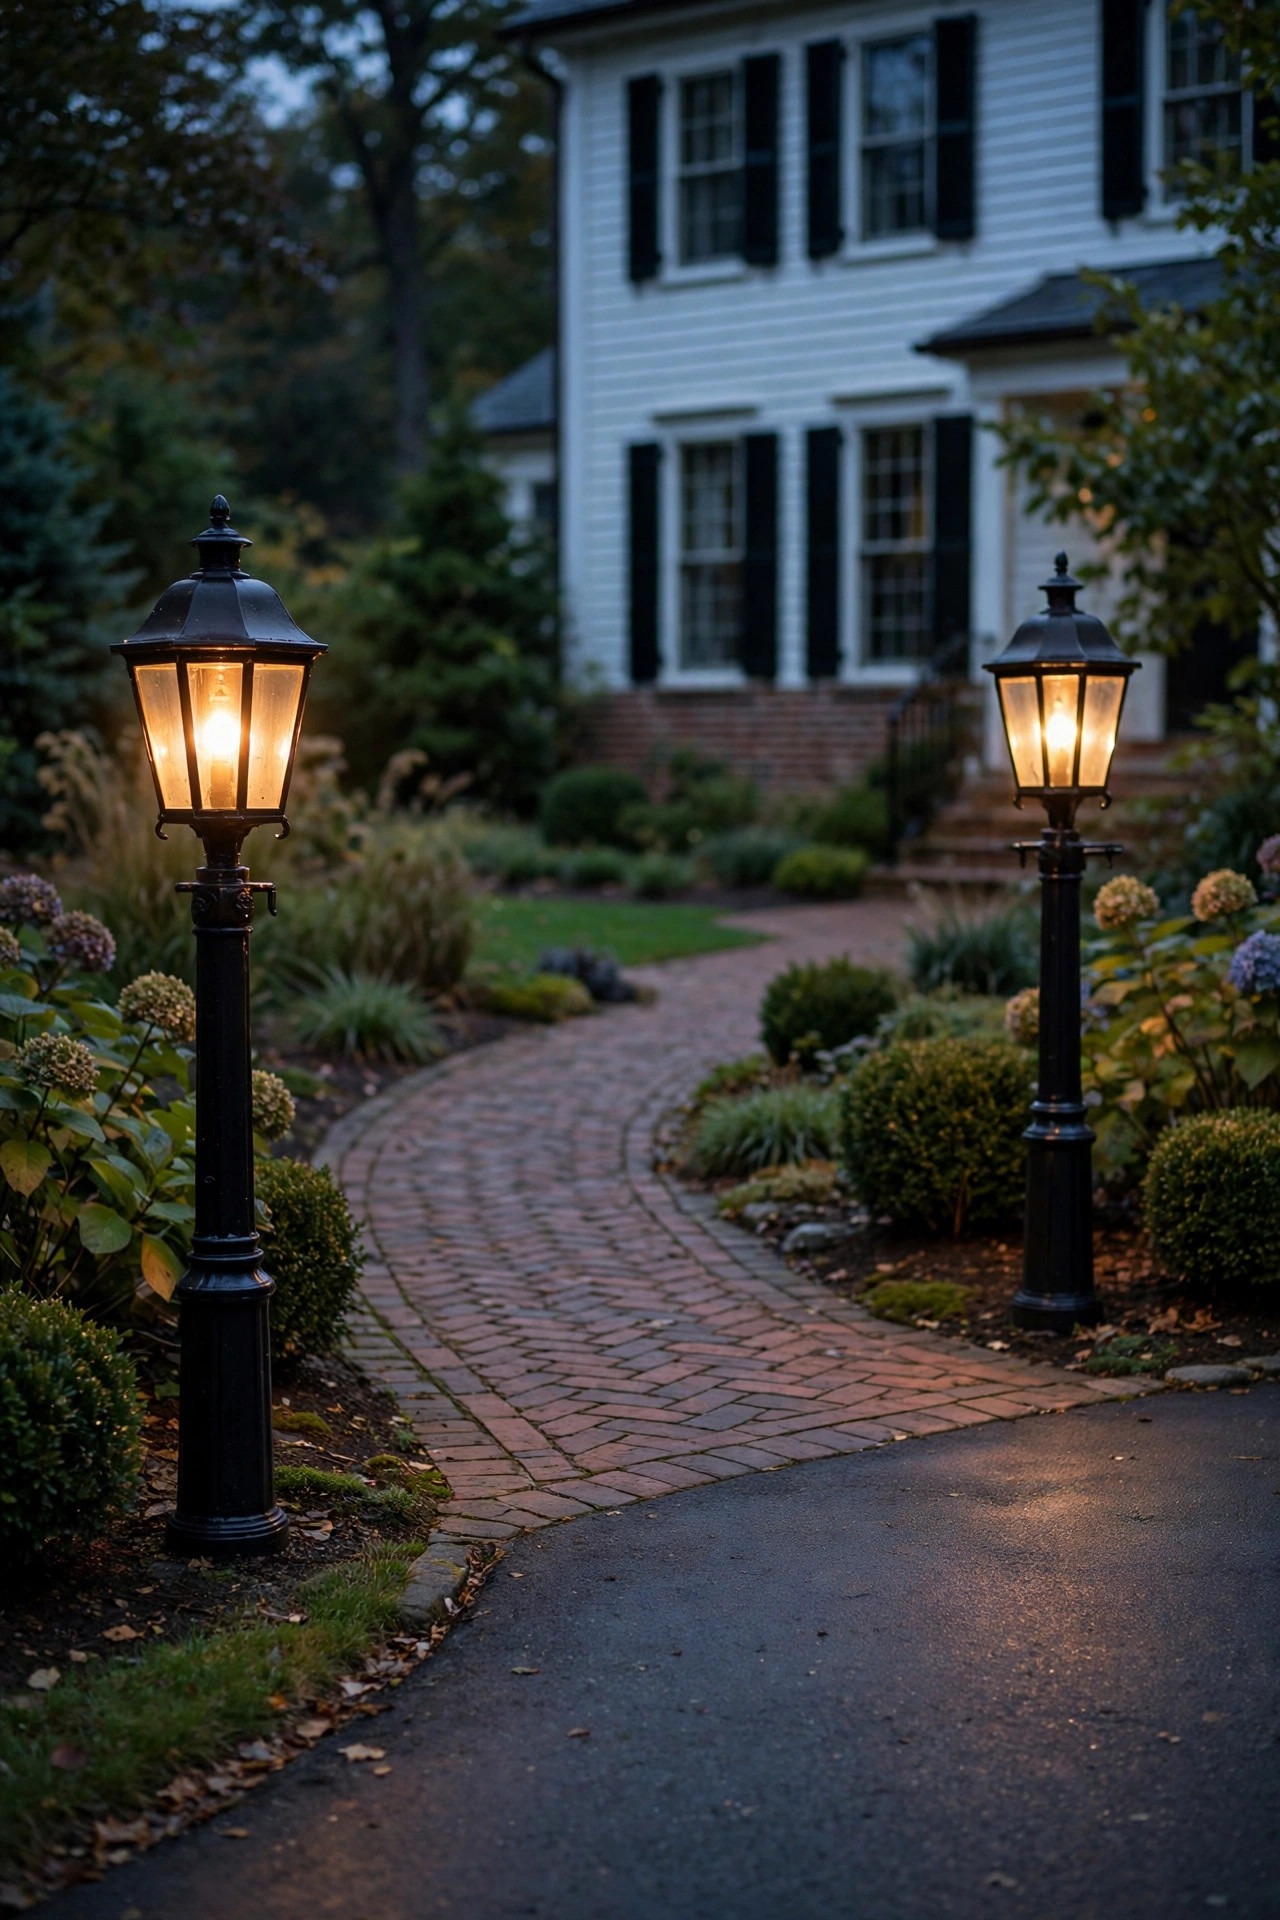
6. Add a Matched Lantern Post Pair Where the Drive Meets the Walk
On longer colonial properties there is a natural pause point where the driveway meets the front walk, and a matched pair of lantern posts turns it into a little ceremony. I use full-height posts, 5 to 6 feet tall, set the same distance back from the drive edge — usually 18 to 24 inches — with classic black lantern heads and clear glass. At that height the light pools wide enough to help guests out of cars and onto the walk, which makes these the hardest-working task lights in the whole scheme. Put the pair on the main timer circuit with the pillar lanterns so the arrival sequence lights up as one composition. A detail I love: choose post lanterns from the same family as your garage sconces and pillar caps. Matching silhouettes across three fixture types is what makes a driveway look designed rather than accumulated. Keep the posts plumb — a leaning lantern post in a symmetrical layout is impossible to unsee — and set them in concrete if your soil is soft or your winters heave. One coat of paste wax on the finish each fall keeps black paint looking deep instead of chalky.
Suggested budget range: $220 – $550.
7. Wash the Facade and Columns With Gentle Uplights
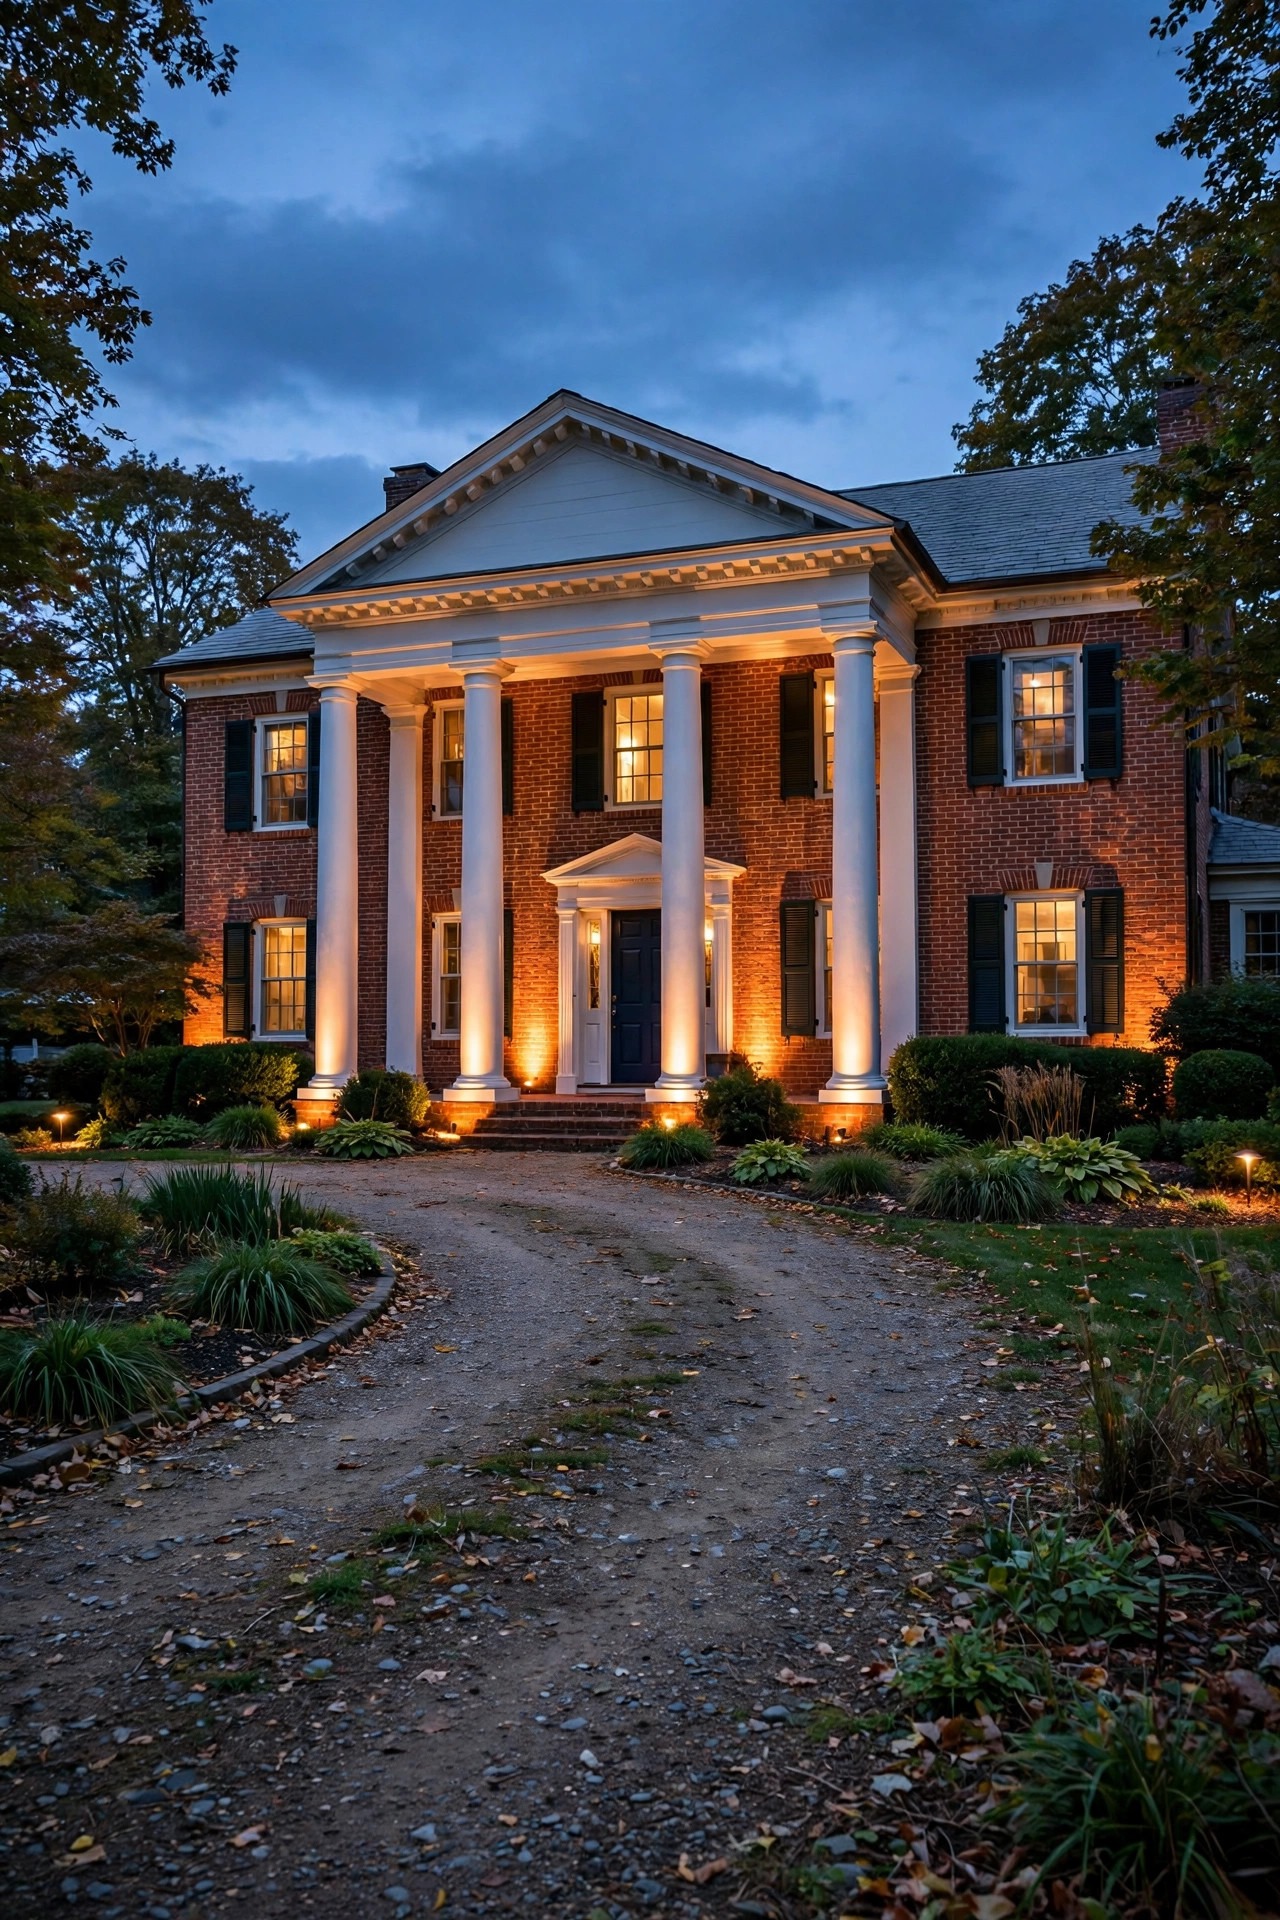
A driveway does not exist in isolation — it points at the house, and the house should answer with a soft wash of light. I place two well lights or bullet uplights at the base of the facade, aimed up the brick or clapboard and across any columns, keeping the beams matched in angle and distance so the wash reads evenly. This is accent layer work: you want the architecture to glow, not glare, so I use warm 2700K fixtures around 200 to 300 lumens with a moderate 36-to-60-degree beam, and shield them with glare guards if the drive points straight at them. My overview of colonial exterior lighting covers facade proportions for the whole front of the house. Mind the windows — an uplight aimed into a bedroom is a nightly annoyance — and tilt fixtures slightly off any glass. Bury low-voltage cable at least 6 inches deep and keep fixtures a few inches out from mulch, since hot lenses and dry mulch are a poor combination; LED fixtures run cool, which is one more reason I specify LED here. The effect at dusk is quiet and expensive-looking.
Suggested budget range: $90 – $300.
8. Put Your Colonial Driveway Lighting Ideas on Timers and Photocells
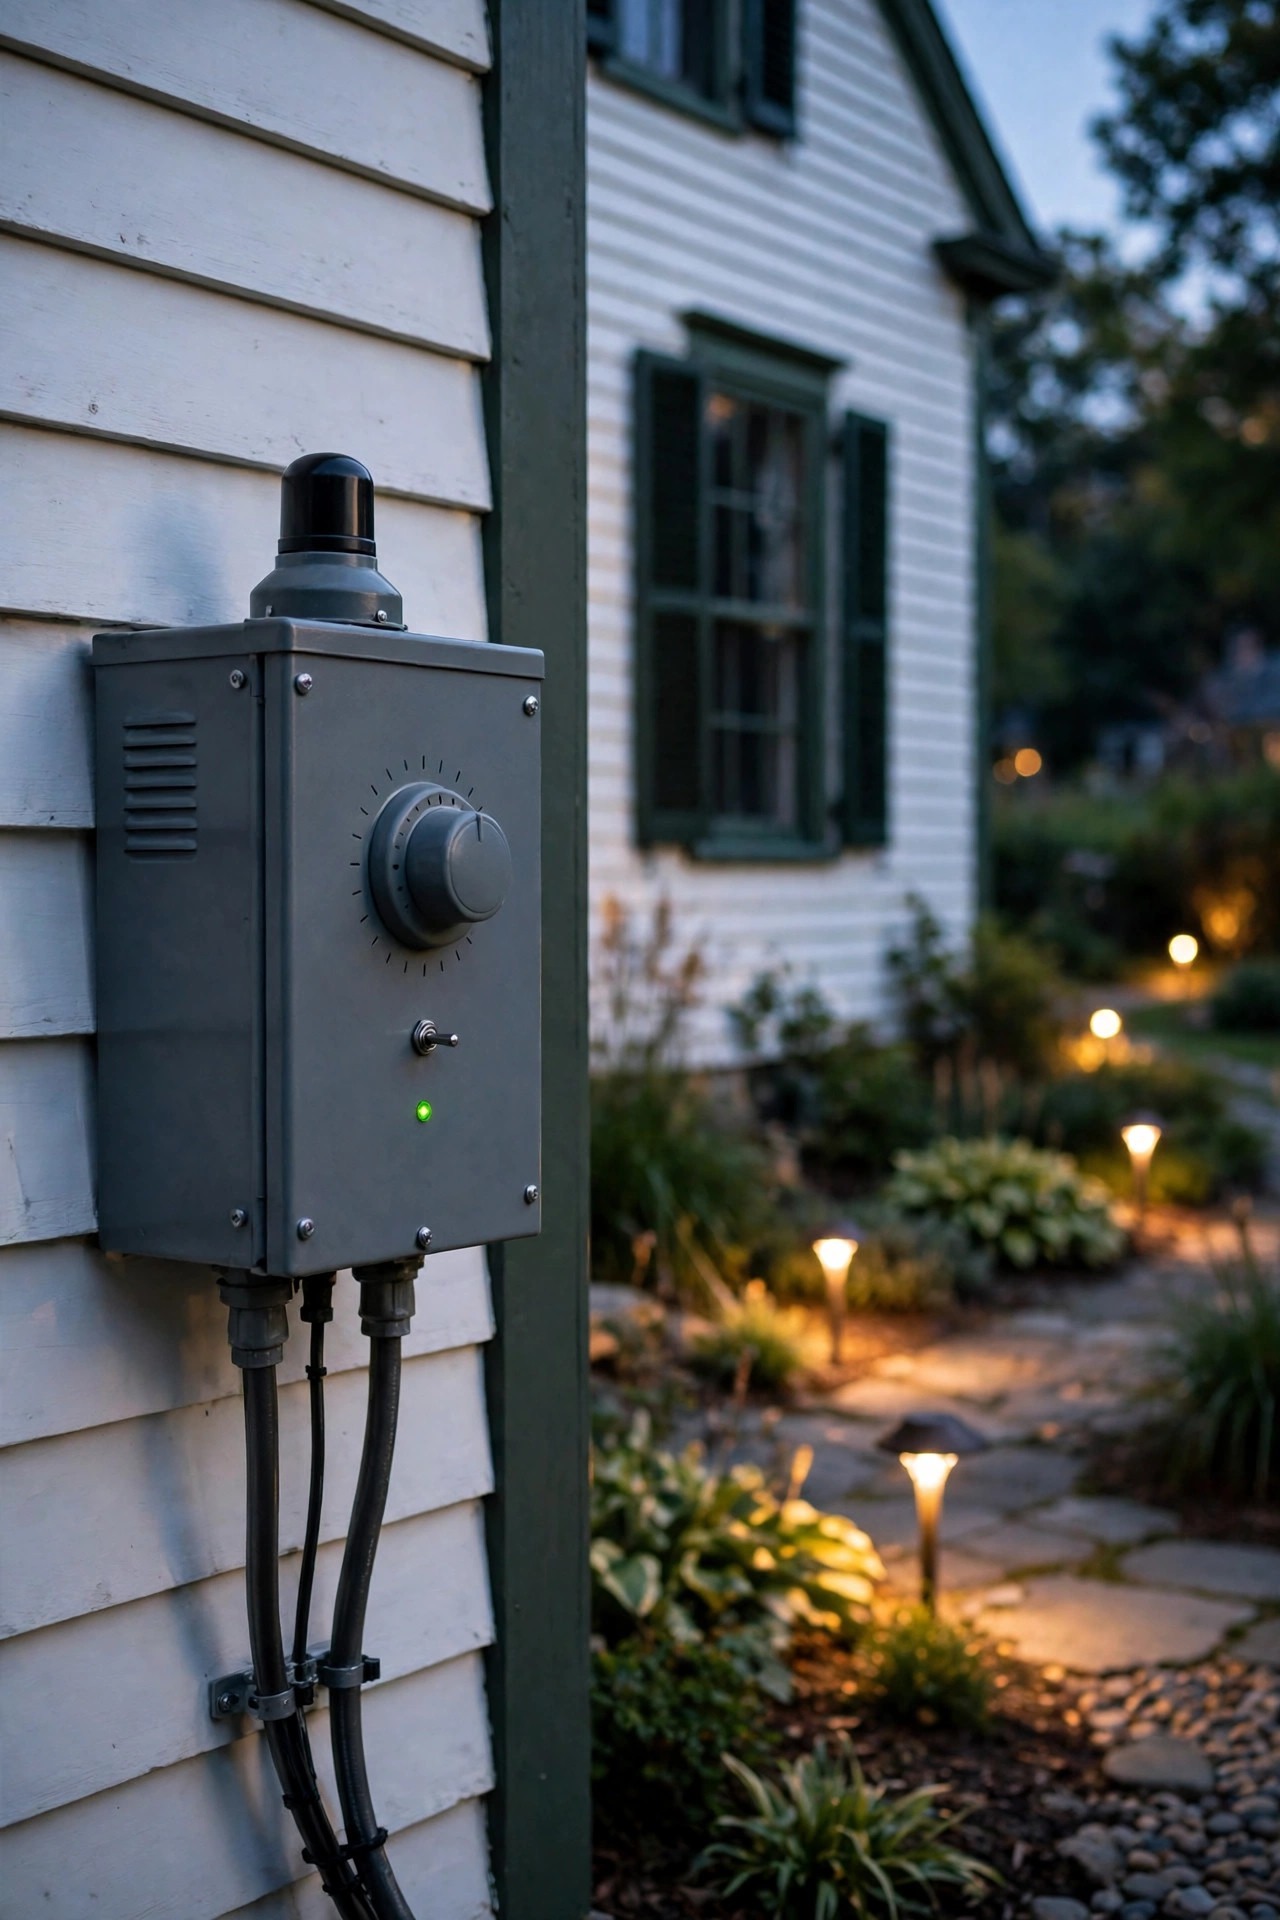
The most elegant driveway in the world looks careless if half of it is dark because someone forgot a switch. I put the entire scheme — pillars, path lights, posts, sconces — on timers or photocells so it wakes up as one composition every evening. A transformer with a built-in photocell and timer is the simplest route for low-voltage runs: on at dusk, off at midnight or after six hours, which covers the arrival hours for most households. Line-voltage sconces can use dusk-to-dawn bulbs or a smart switch on an astronomical timer that tracks sunset through the seasons. Whatever you choose, the rule is consistency: every pair shares a circuit and a schedule, no exceptions, because a single dark twin breaks the symmetry instantly. I also keep one evening a month as my walk-the-drive check (more on that in idea 15) to catch a bulb that has drifted warmer, dimmer, or dead. Replacement bulbs should come from the same box, ideally bought in pairs, so color and output match exactly. Automation is unglamorous, but honestly? It is the difference between a driveway that looks styled for a photo and one that looks styled every single night.
Suggested budget range: $30 – $150.
9. Layer In a Shielded Motion-Sensor Light for Late Arrivals
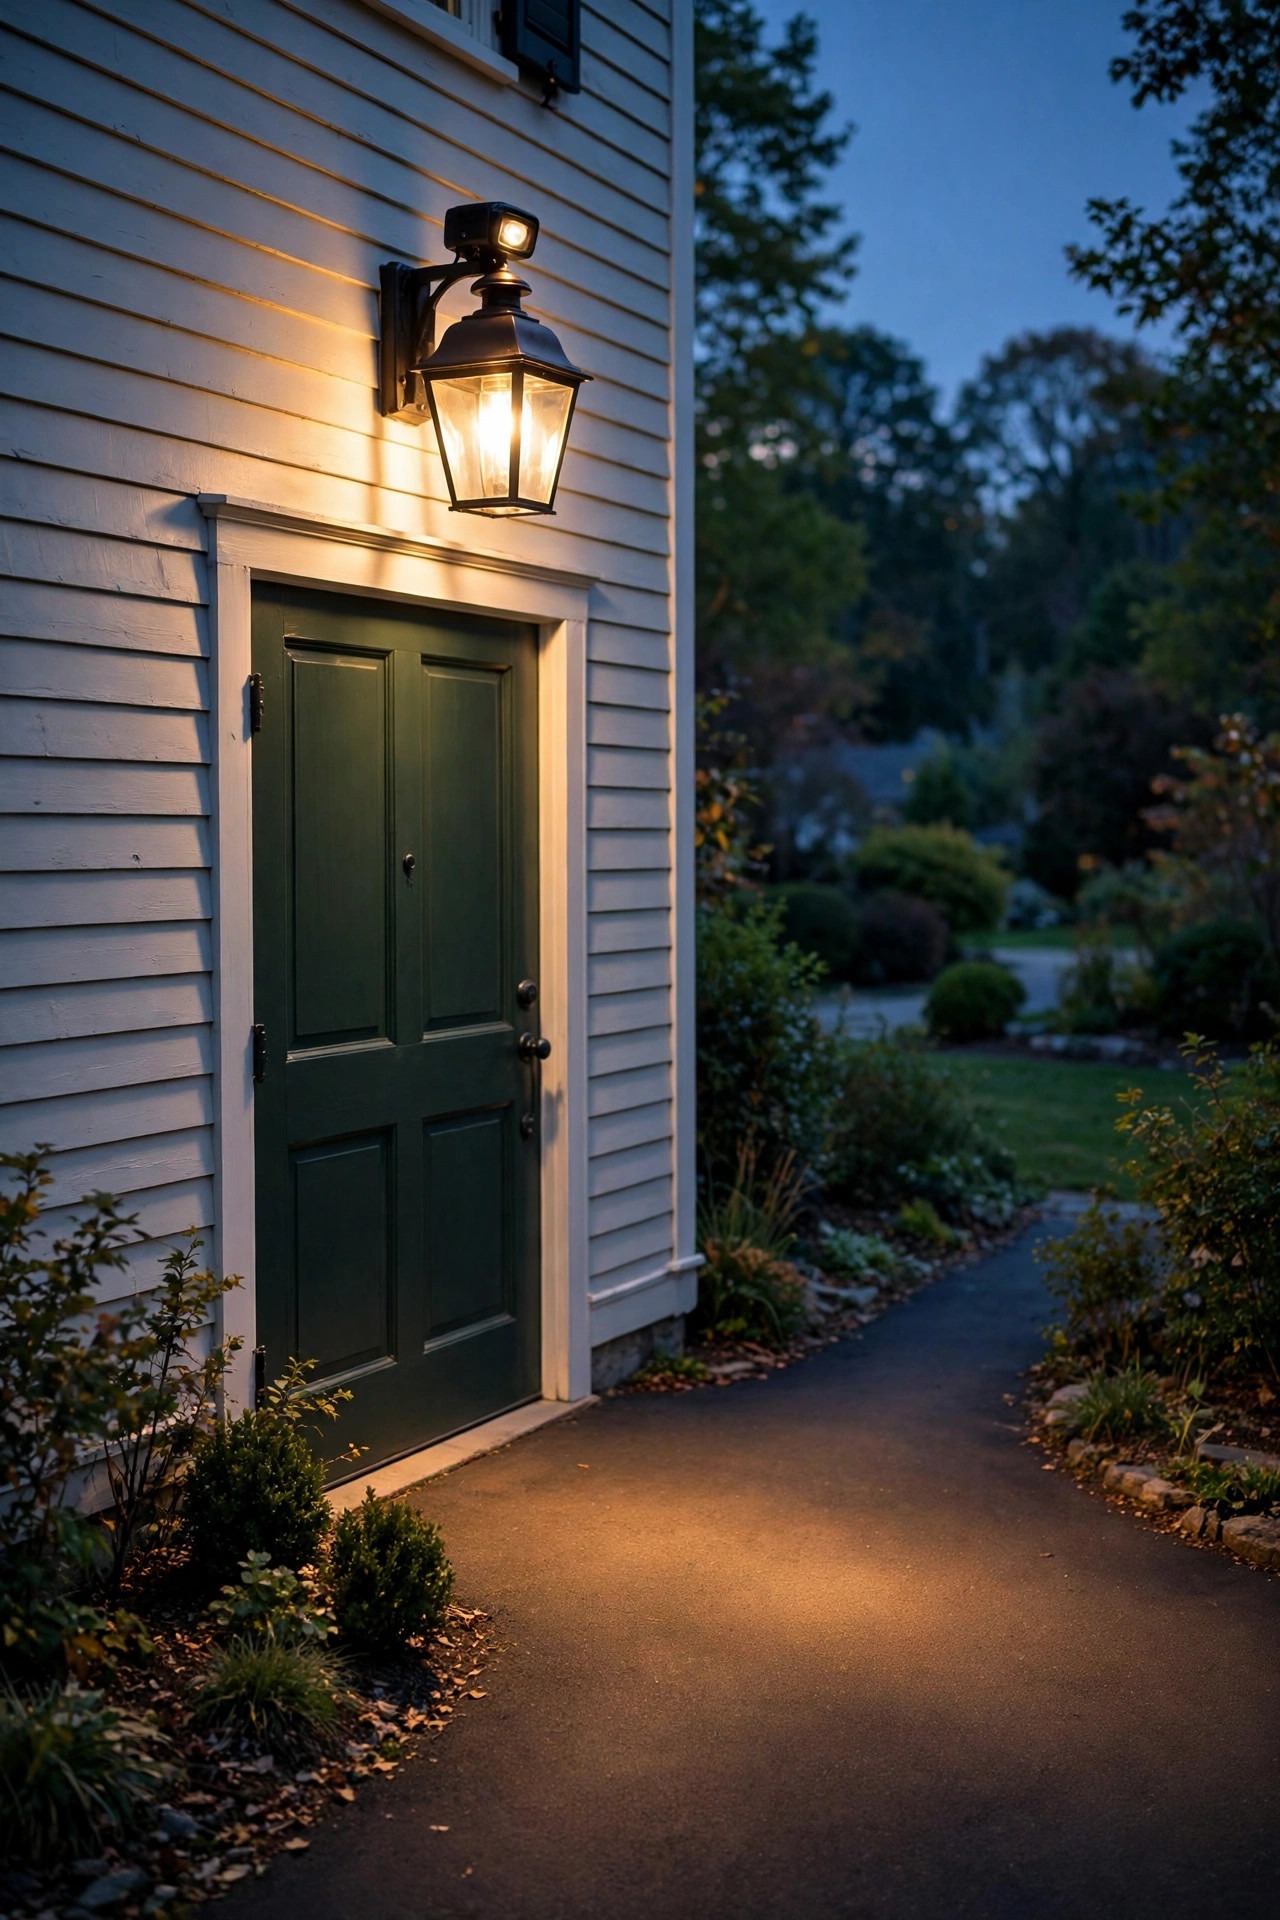
Colonial style is about welcome, but a driveway also has a job to do at 11 p.m. when someone comes home late. I add one shielded motion-sensor fixture — usually a carriage-style flood or a sensor-equipped lantern near the garage or the side door — set to a warm color temperature so it blends with the rest of the scheme when it fires. The trick is restraint: mount it 7 to 9 feet high, aim it down the drive rather than across it, and dial the sensitivity so passing sidewalk traffic does not trigger it. A 30-to-60-second run time is plenty for unloading groceries. Shielded, downward-aimed fixtures keep the light on your pavement instead of in a neighbor's bedroom window, which matters in close colonial neighborhoods. Keep the sensor lens clean — a wipe every few months — because pollen and spiderwebs are the usual cause of a sensor that seems to have a mind of its own. This is the one fixture allowed to be purely practical, but with a carriage silhouette and warm light, nobody will ever call it that.
Suggested budget range: $40 – $140.
10. Use Solar Stakes to Extend Light Down a Long Drive
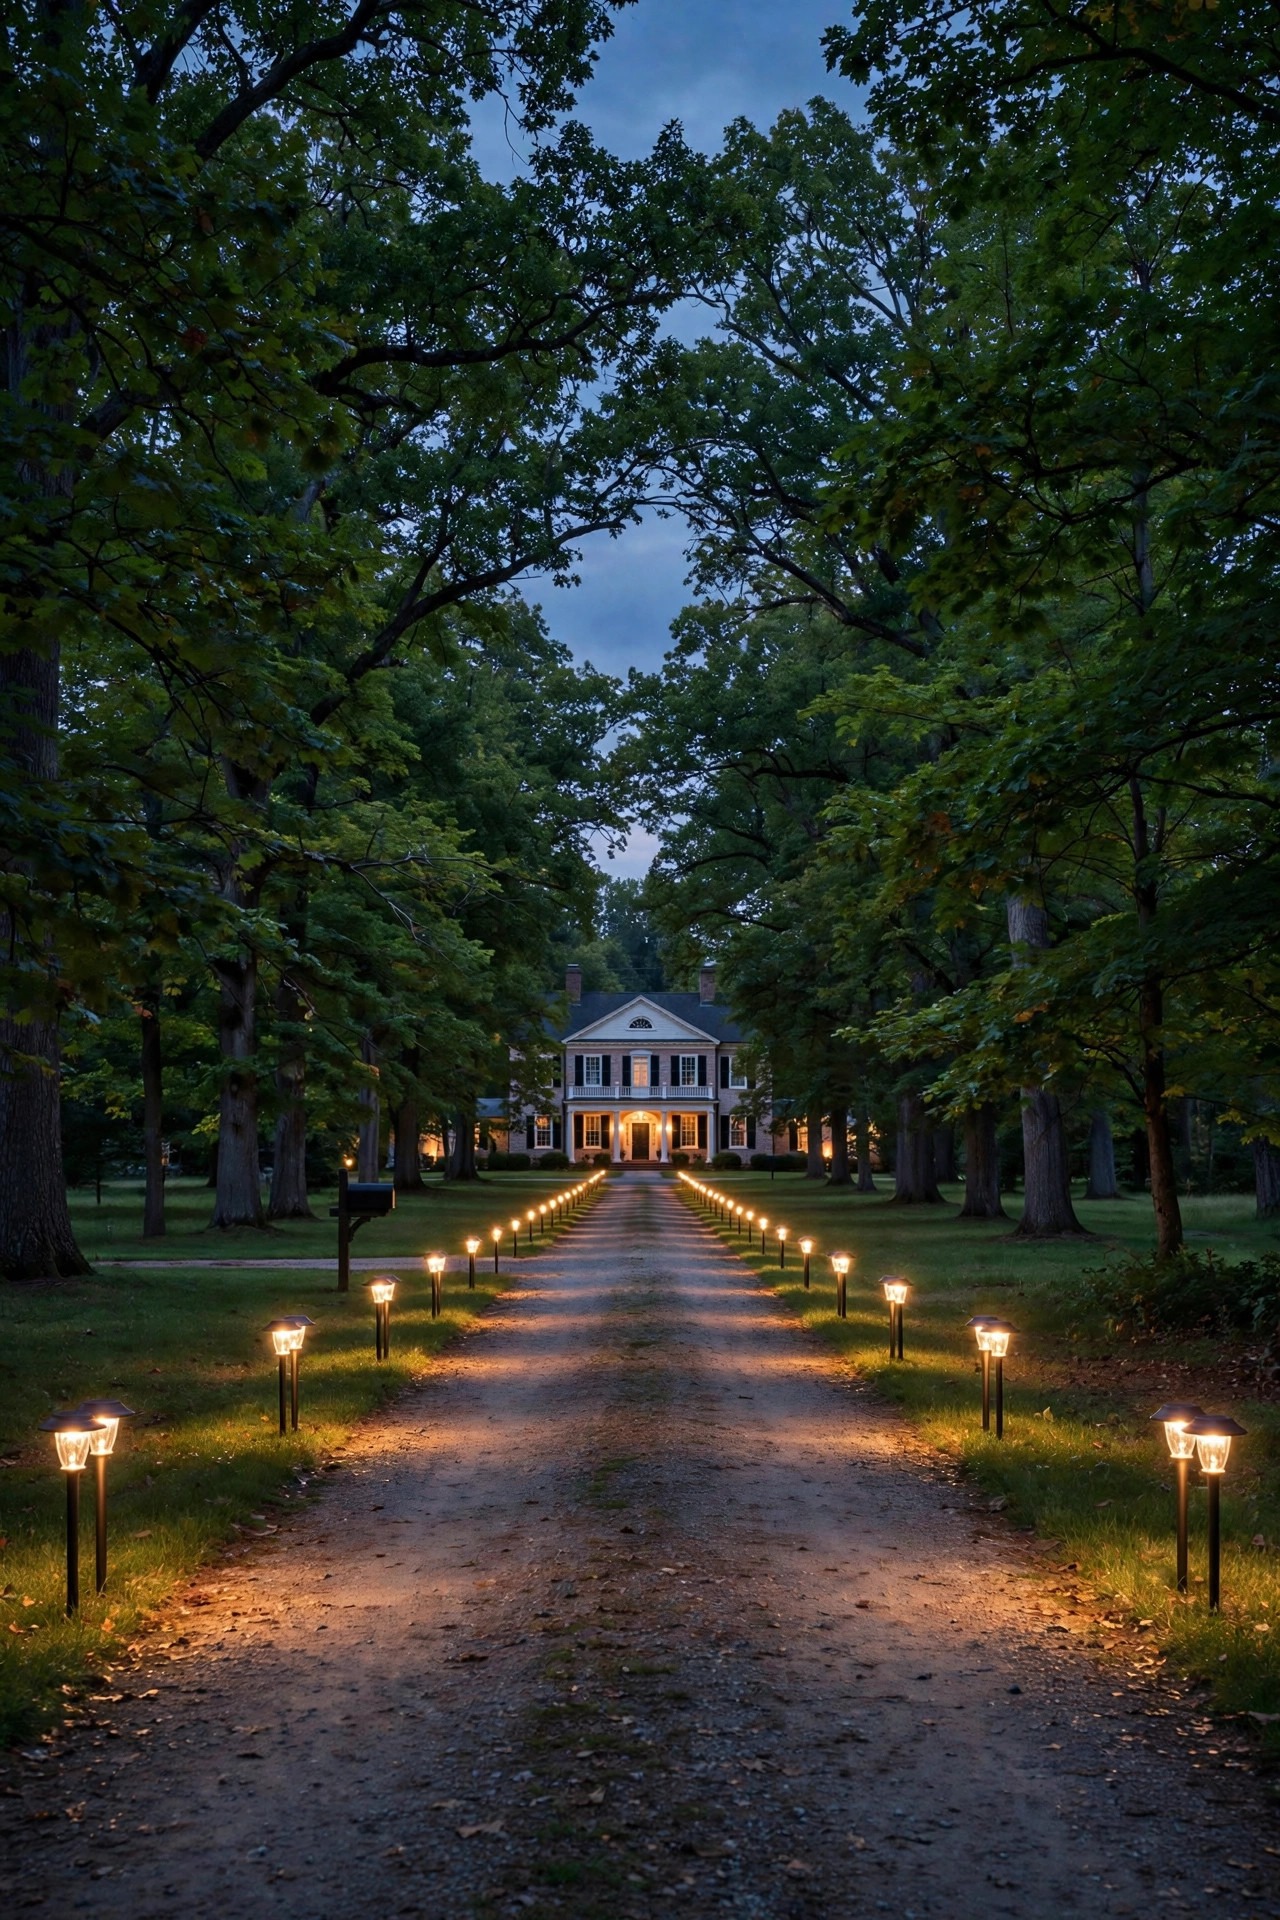
Long driveways are glorious and expensive to wire. Trenching cable 200 feet gets old fast, so for the far reaches I switch to solar stakes and reserve the wired low-voltage system for the house end, where brightness and reliability matter most. Modern solar fixtures with separate panels and replaceable batteries do honest work if you place them with discipline: full sun on the panel for at least six hours, stakes spaced in the same 8-to-10-foot mirrored rhythm as the wired section, and brightness expectations kept realistic — solar marks the edge, it does not flood it. Choose black or bronze housings with warm-white output around 2700 to 3000K so the two systems read as one design from the street. I clean the panels with a damp cloth every month or two; a film of pollen can cut charging dramatically. Expect to replace batteries every one to two years, and bring stakes in or cover them if your snow load is heavy. Used this way, solar is not a compromise — it is the tool that lets a quarter-mile colonial drive glow all the way to the road.
Suggested budget range: $80 – $300.
11. Hold One Warm Temperature Across Every Fixture
If I could give colonial homeowners only one rule, it would be this: every bulb on the driveway burns at the same warm temperature, 2700K, full stop. Colonial architecture is warm to begin with — brick, brass, painted wood — and cool daylight bulbs make all of it look blue and chilly. The danger zone is replacement time. A 3000K or, heaven forbid, 5000K bulb swapped into one pillar lantern will glow a different color from its twin, and in a mirrored layout the eye goes straight to the mismatch. My habits: I buy bulbs in matched multi-packs, write the temperature and purchase date on a strip of tape inside the transformer box, and replace paired bulbs together even when only one has failed, keeping the survivor as a spare for a non-paired fixture elsewhere. When shopping, match three numbers, not one: color temperature, lumens, and bulb shape, since a clear filament bulb and a frosted one at the same temperature still look different through seeded glass. Do this one thing and even a budget driveway reads as deliberate, composed, and quietly expensive.
Suggested budget range: $15 – $60.
12. Light the Crossing Where the Walk Meets the Drive
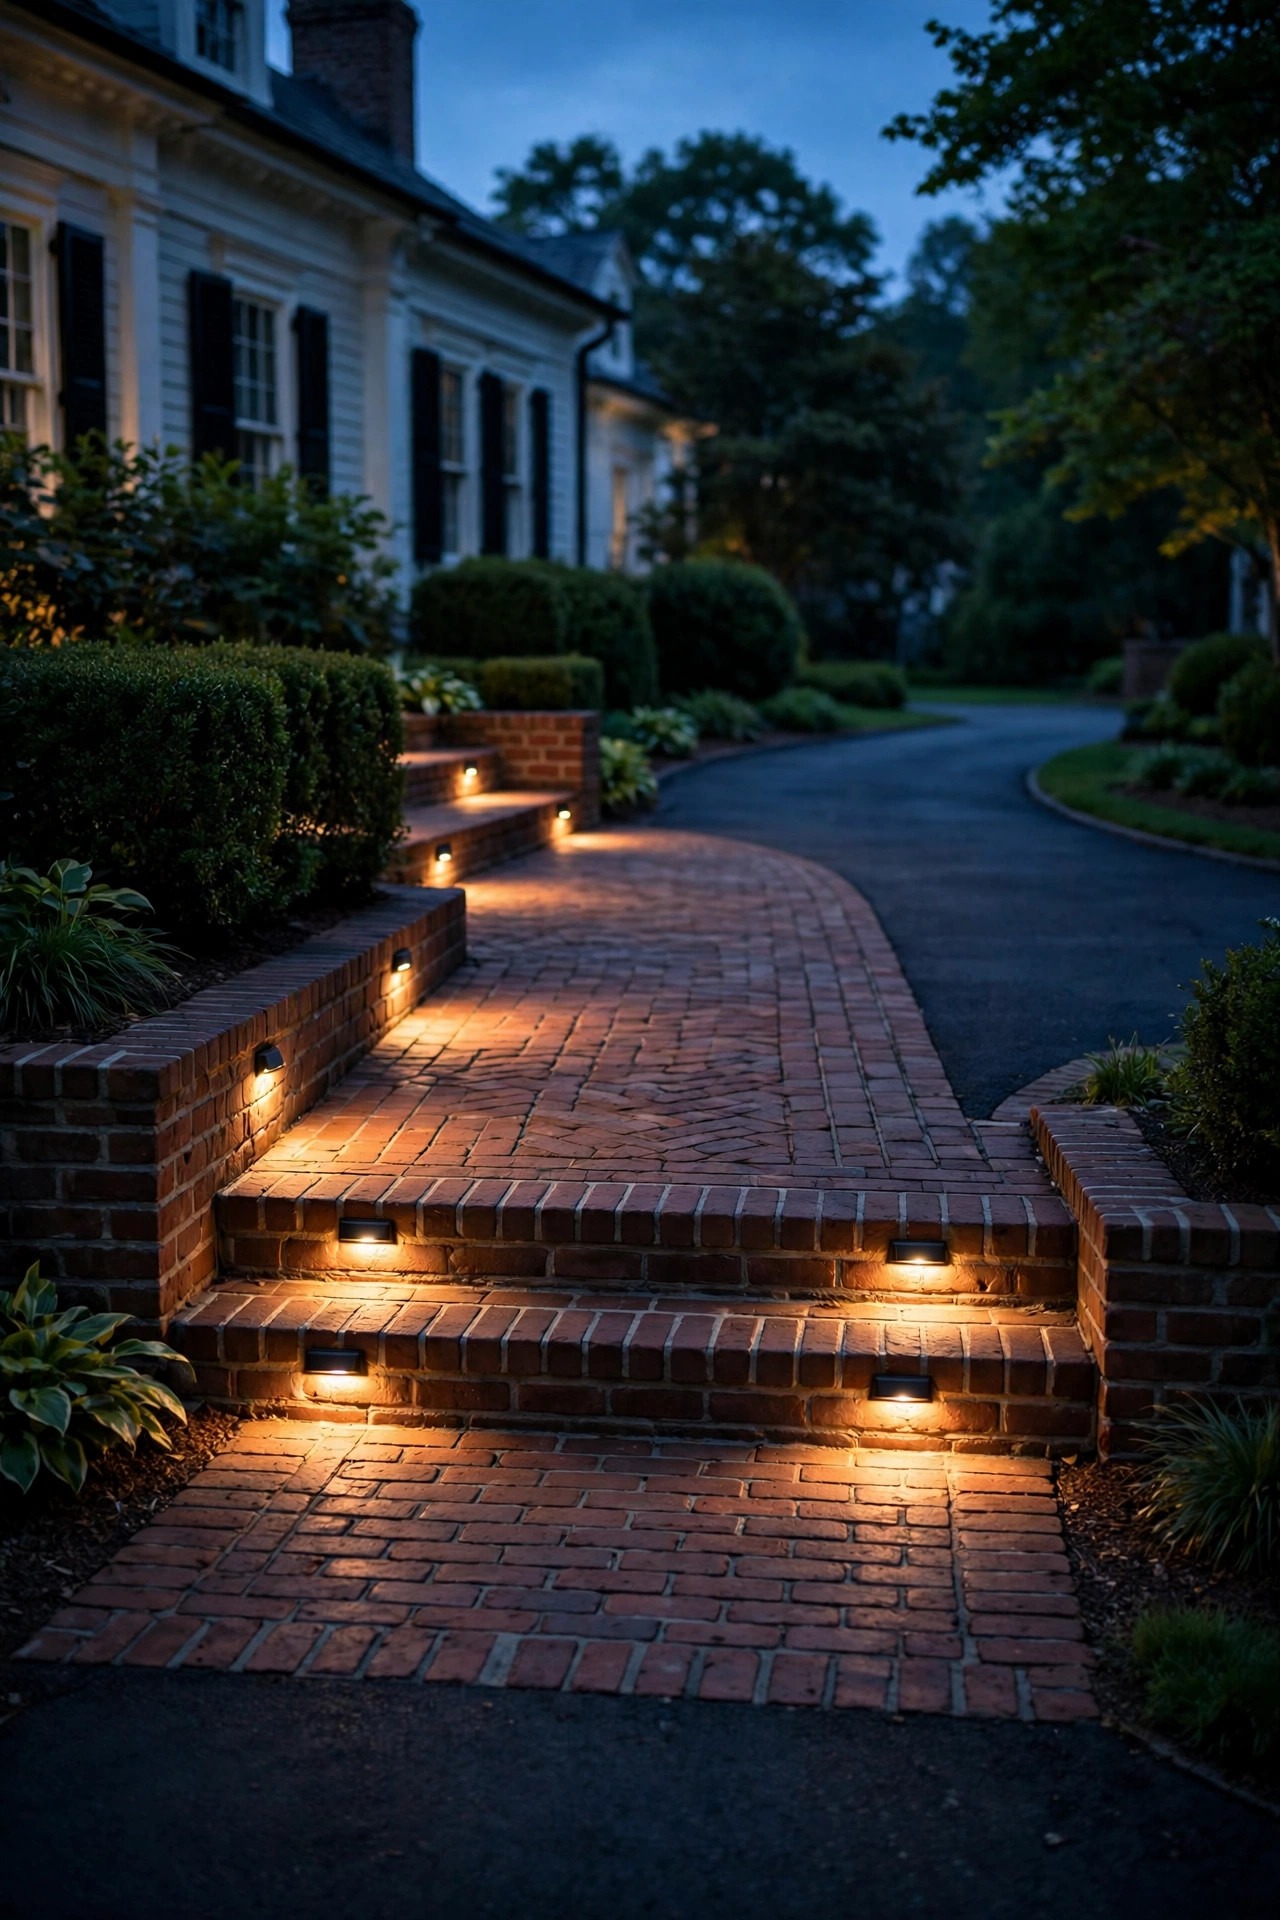
Guests arrive by car but finish the journey on foot, and the spot where the front walk crosses the driveway is exactly where a heel catches an edge in the dark. I treat that crossing as its own little lighting moment. Two low step or marker lights flanking the walk where it meets the pavement, set flush or no more than a few inches tall, wash the transition so the change in surface is obvious without a word being said. If the walk has a step down to the drive — common on older colonial lots — a recessed tread light on the riser is worth every penny for older guests and anyone carrying a casserole. Keep fixtures shielded and aimed down; at a crossing, glare in a driver's eyes is the real hazard, so nothing should shine above horizontal. Wet-location ratings are non-negotiable here, since this is the wettest, saltiest corner of the whole property in winter. It is a small, unglamorous idea, and it is the one guests unconsciously thank you for every single time.
Suggested budget range: $60 – $220.
13. Dress the Pillars and Posts for the Season
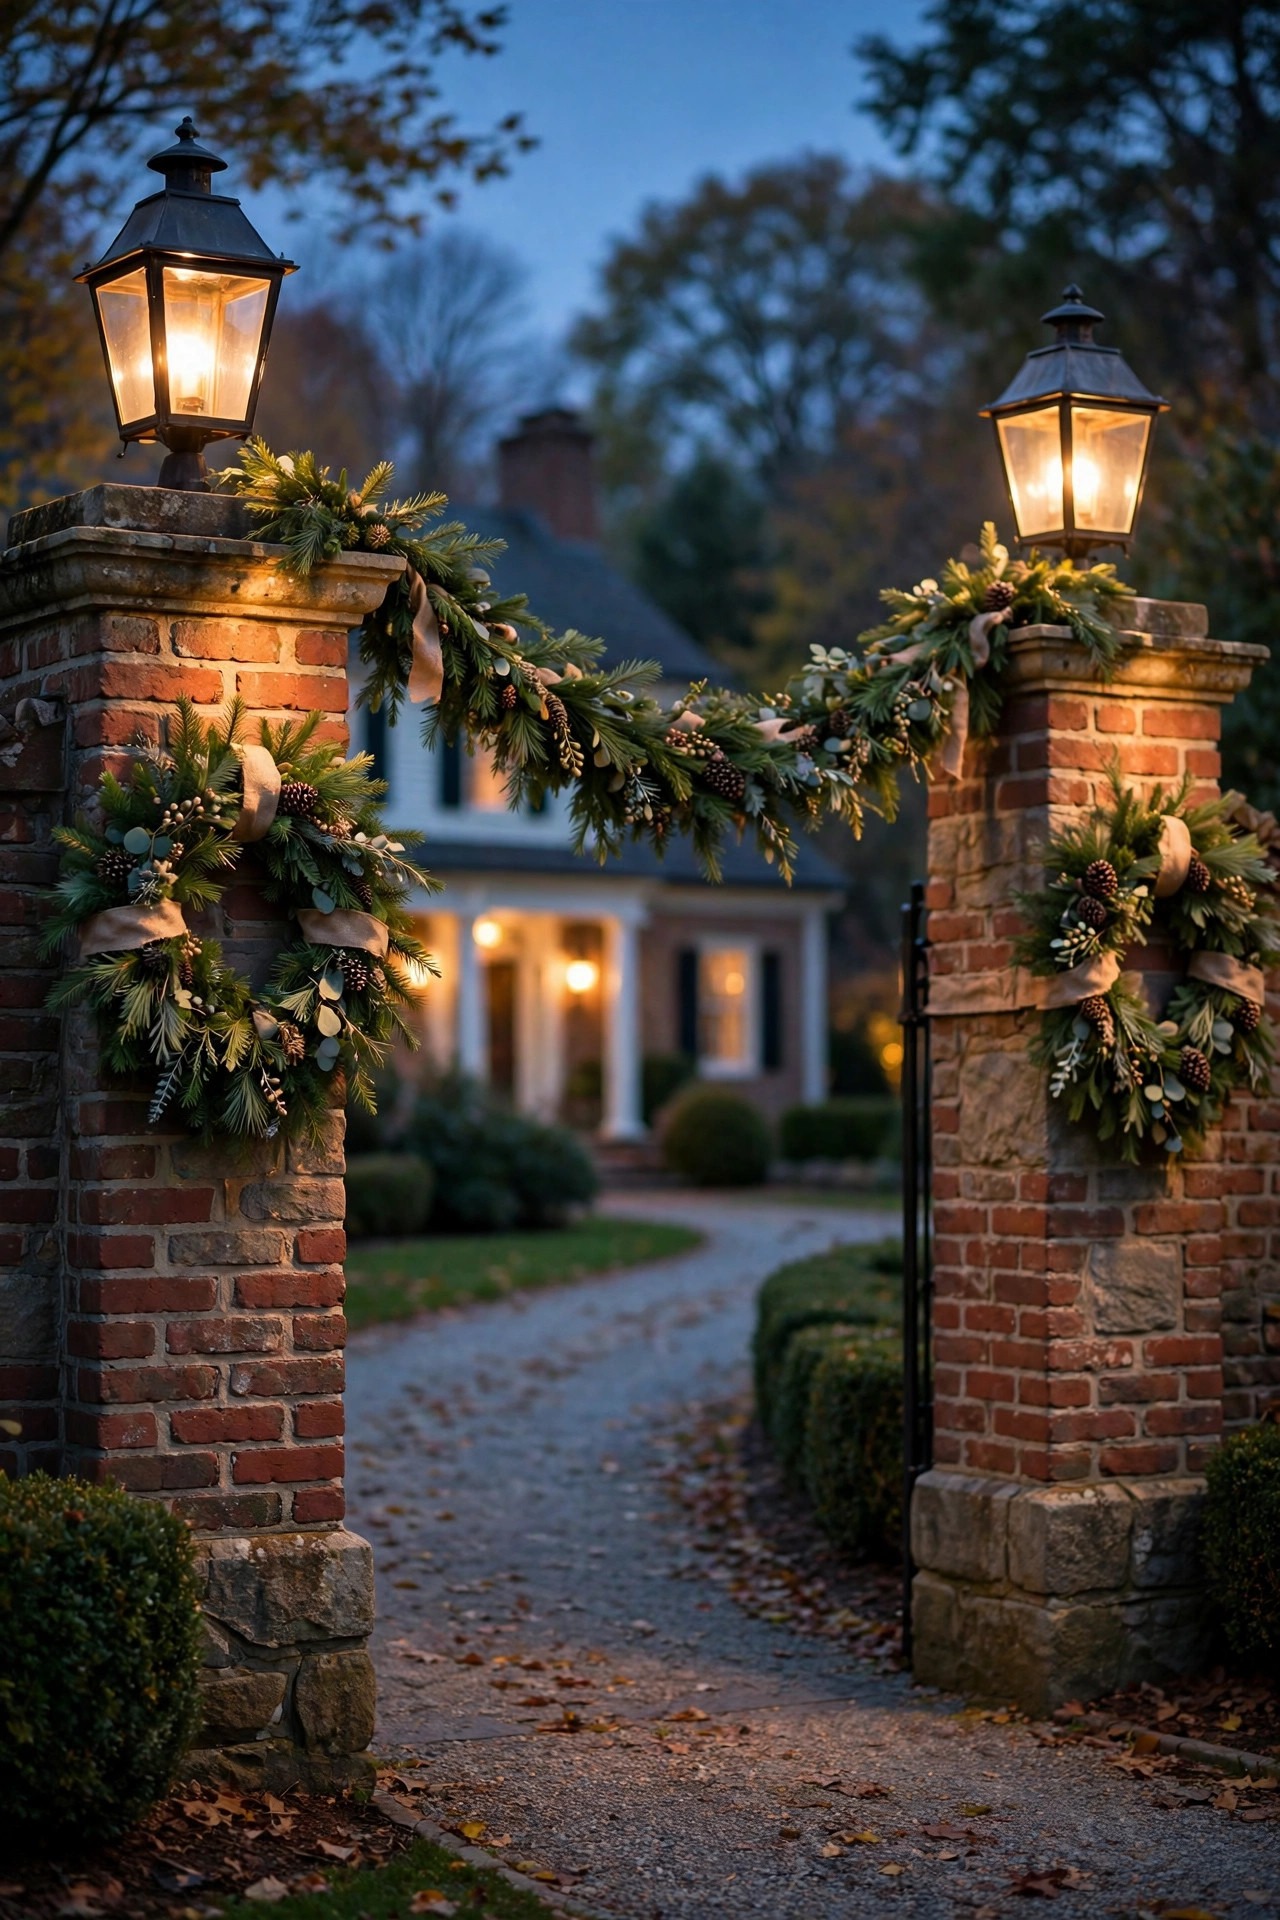
Colonial style was made for seasonal dressing, and the driveway fixtures give you the structure to hang it on. In December I wrap the entrance pillars with fresh garland and a pair of matching wreaths, letting the lantern light catch the greenery from above — use LED-only string accents anywhere near real or faux foliage, and keep cords off the pavement where tires roll. In autumn, a pair of pumpkins or lanterns with flameless candles at the pillar bases echoes the season without touching the fixtures themselves. Spring gets urns of flowers flanking the entrance instead. The discipline is the same as everything else in this post: whatever you add, add it in pairs, and keep it below or beside the light rather than draped across the glass, which blocks output and can scorch. Battery-operated flameless candles on timers are my secret weapon here — they join the driveway schedule, glow at the same 2700K-ish warmth, and never blow out in a November wind. Restraint is the goal: two wreaths, two urns, done. A colonial entrance should look dressed, never decorated within an inch of its life.
Suggested budget range: $40 – $180.
14. Light the House Numbers From the Lantern Glow
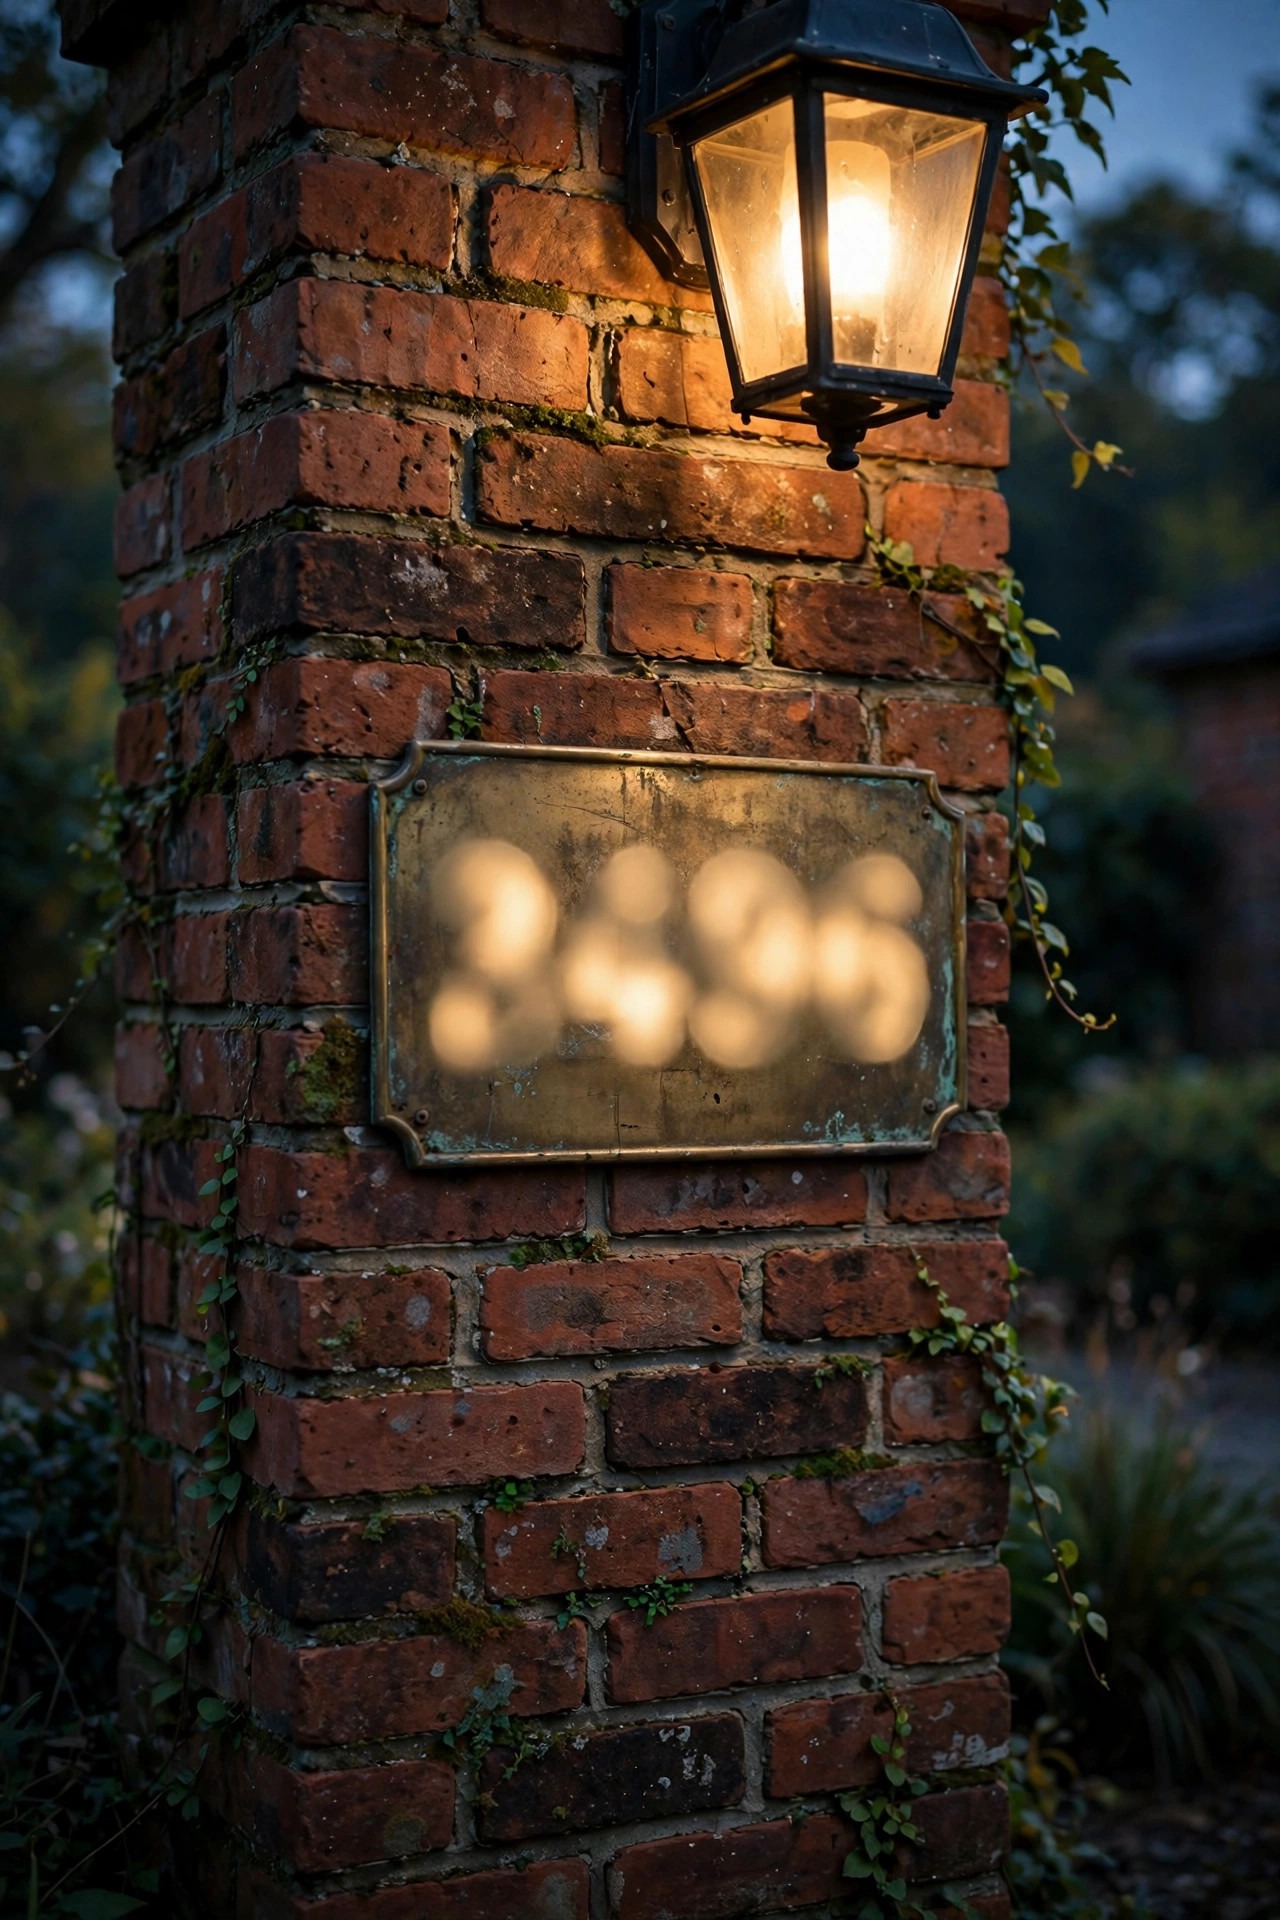
Delivery drivers, guests, and — on the night you really need them — emergency crews all look for the same thing: readable house numbers. Colonials traditionally mount numbers beside the front door or on a plaque at the drive, and I make sure the existing lantern light actually reaches them. The simplest approach is placement: numbers on the pillar face or the wall section washed by a sconce, in a finish that contrasts with the surface behind them — aged brass on brick, black on white clapboard. If no fixture lands nearby, a small dedicated plaque light or a low-voltage spotlight aimed across the numbers does the job; aim across, not straight on, so the raised numerals cast tiny shadows and read crisply. Numbers should be at least 4 inches tall to read from the street, and bigger on a long drive. Avoid backlit modern number boxes on a colonial facade — they fight the architecture. Test yours the honest way: drive past your own house at dusk at normal speed and see whether a stranger could find you. If you squint, adjust the aim, not the bulb brightness.
Suggested budget range: $25 – $120.
15. Review Your Colonial Driveway Lighting Ideas From the Street
Here is the ritual that keeps all fifteen of these ideas honest: once a month, at full dusk, I walk to the street, turn around, and look at my own driveway the way a guest sees it. From out there, problems announce themselves — one path light dimmer than its twin, an uplight that has crept off the column, a pillar lantern with a bulb drifting a shade cooler than its partner. I check that every pair fires together, that no fixture glares into the road, and that the brightest point is the front door, with the driveway leading the eye home. Then I walk the drive itself, looking for dark seams between pools of light where a guest steps out of a car. Most fixes take five minutes: reseat a stake, clean a lens, swap a matched pair of bulbs. This is also when I clean glass and wipe solar panels, because a season of pollen quietly steals a third of your light. Your colonial driveway lighting ideas only stay gracious if somebody curates them — and ten quiet minutes a month is a small price for an arrival that still makes you smile.
Suggested budget range: $0 – $30.
Frequently Asked Questions
What color temperature is best for a colonial driveway?
Warm white at 2700K, everywhere, with no exceptions. Colonial materials — brick, painted wood, aged brass — were made for warm light, and cooler temperatures make the whole composition look blue and modern. Match temperature, lumens, and bulb shape across every paired fixture, and replace twins together so one never drifts a different shade from the other.
How far apart should driveway path lights be spaced?
For a driveway, 8 to 10 feet apart works better than the tighter spacing used on garden paths, because the scale is larger and cars need a readable edge rather than a continuous ribbon. Place pairs directly opposite each other, set back 12 to 18 inches from the pavement, and mark both sides with flags before installing so the rhythm stays perfectly mirrored.
Is solar lighting bright enough for a long driveway?
Solar is bright enough to mark the edges of a long drive, which is usually the job that matters out by the road. It will not match wired low-voltage for output or all-night consistency, especially after cloudy days. My honest recommendation is a hybrid: wired low-voltage near the house where guests park and walk, quality solar in matched pairs for the far reaches.
How much does colonial driveway lighting cost in 2026?
A focused refresh — garage sconces, a timer, and a few path lights — can land between $300 and $800. A full scheme with brick pillar lanterns, two dozen low-voltage fixtures, and facade uplights typically runs $1,500 to $4,000 in fixtures and materials, with electrician time extra for line-voltage work. My driveway lighting cost guide breaks the numbers down by project size if you want to plan in detail.
Conclusion: An Arrival Worth Coming Home To
A gracious arrival is never an accident — it is pairs, warmth, and restraint, repeated all the way down the drive. Start with symmetry, hold every bulb to 2700K, put the whole scheme on one schedule, and let these colonial driveway lighting ideas do the quiet work of welcoming everyone home. If you are planning the rest of the front of the house, browse the other lighting ideas here on the site — the porch and facade deserve the same composed glow.