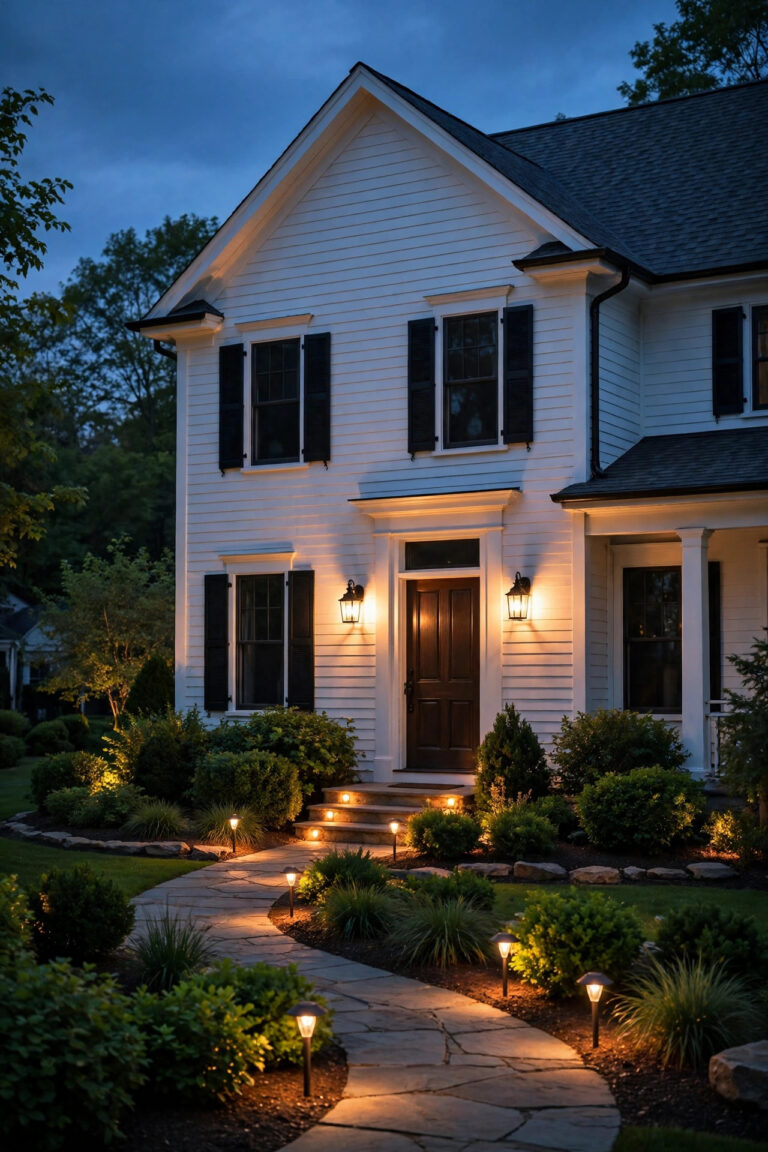
Pull into almost any neighborhood after dark and you can spot them: driveways lit like airport runways, one blinding floodlight over the garage, a row of sad little stakes crushed flat by tires. After a decade of helping friends and neighbors redo their front yards, I can tell you that most driveway lighting mistakes are not about buying the wrong fixtures. They are about placement, spacing and aim — the free decisions you make before anything even goes in the ground.
The good news? Every mistake on this list is fixable, most in a single weekend afternoon, and none of the low-voltage or solar fixes needs an electrician. My own rule is simple: light the edges, not the middle; aim down, never out; and layer two or three gentle sources instead of leaning on one harsh one. Below are the thirteen mistakes I see most often, what each one costs you in safety and curb appeal, and exactly what to do instead — with honest fix-it budgets so you can plan your weekend. Start anywhere: fixing even two or three of these changes how your whole front yard feels at night.
1. The Runway Look: Driveway Lighting Mistakes Start With Spacing
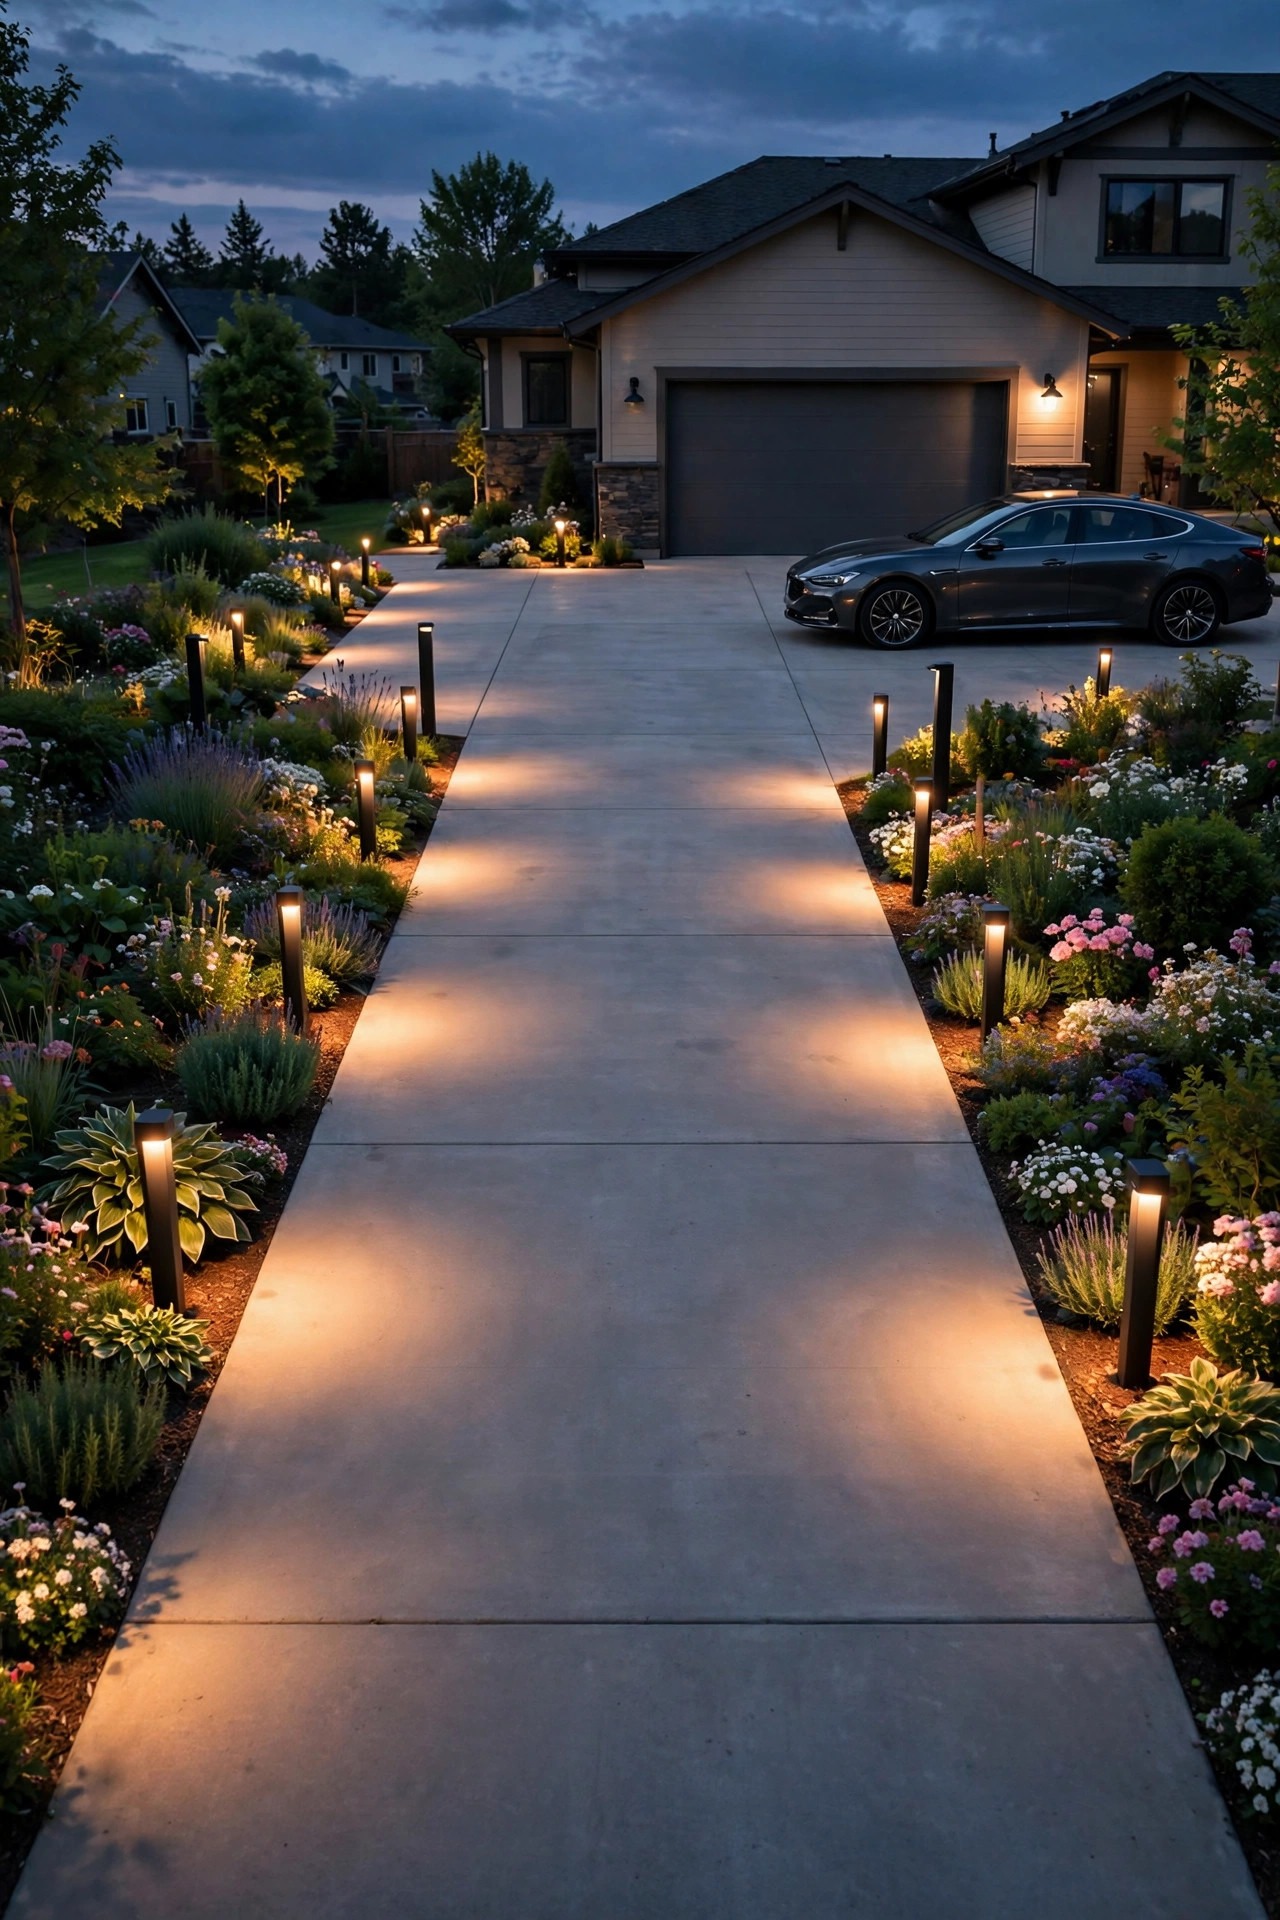
It is the first thing I installed at our old house, so I say this with love: a double row of little lights marching up both sides of the drive does not read as elegant — it reads as a landing strip. When lights sit every three or four feet, their pools overlap into one flat glare, your eyes follow the dots instead of the house, and you have spent real money on twelve fixtures doing the job of five. Guests also drive worse, not better, because brightness right at wheel height hides the actual pavement edges in shadow contrast.
What to do instead: light one side only, and stagger the fixtures 8 to 12 feet apart so the soft pools of light just touch. On a curved drive, put them on the outside of the curve, where the edge is hardest to judge. Choose shielded path lights or low bollards that throw light down onto the concrete, never out toward the street. If you already own the runway set, pull half of them and store the extras as spares — the drive will instantly look calmer and more expensive, and the remaining lights will finally read as guidance instead of decoration. Honestly? Fewer, warmer, wider-spaced lights win every single time.
Suggested budget range: $30 – $90.
2. Aiming Lights Up the Drive and Into Drivers' Eyes
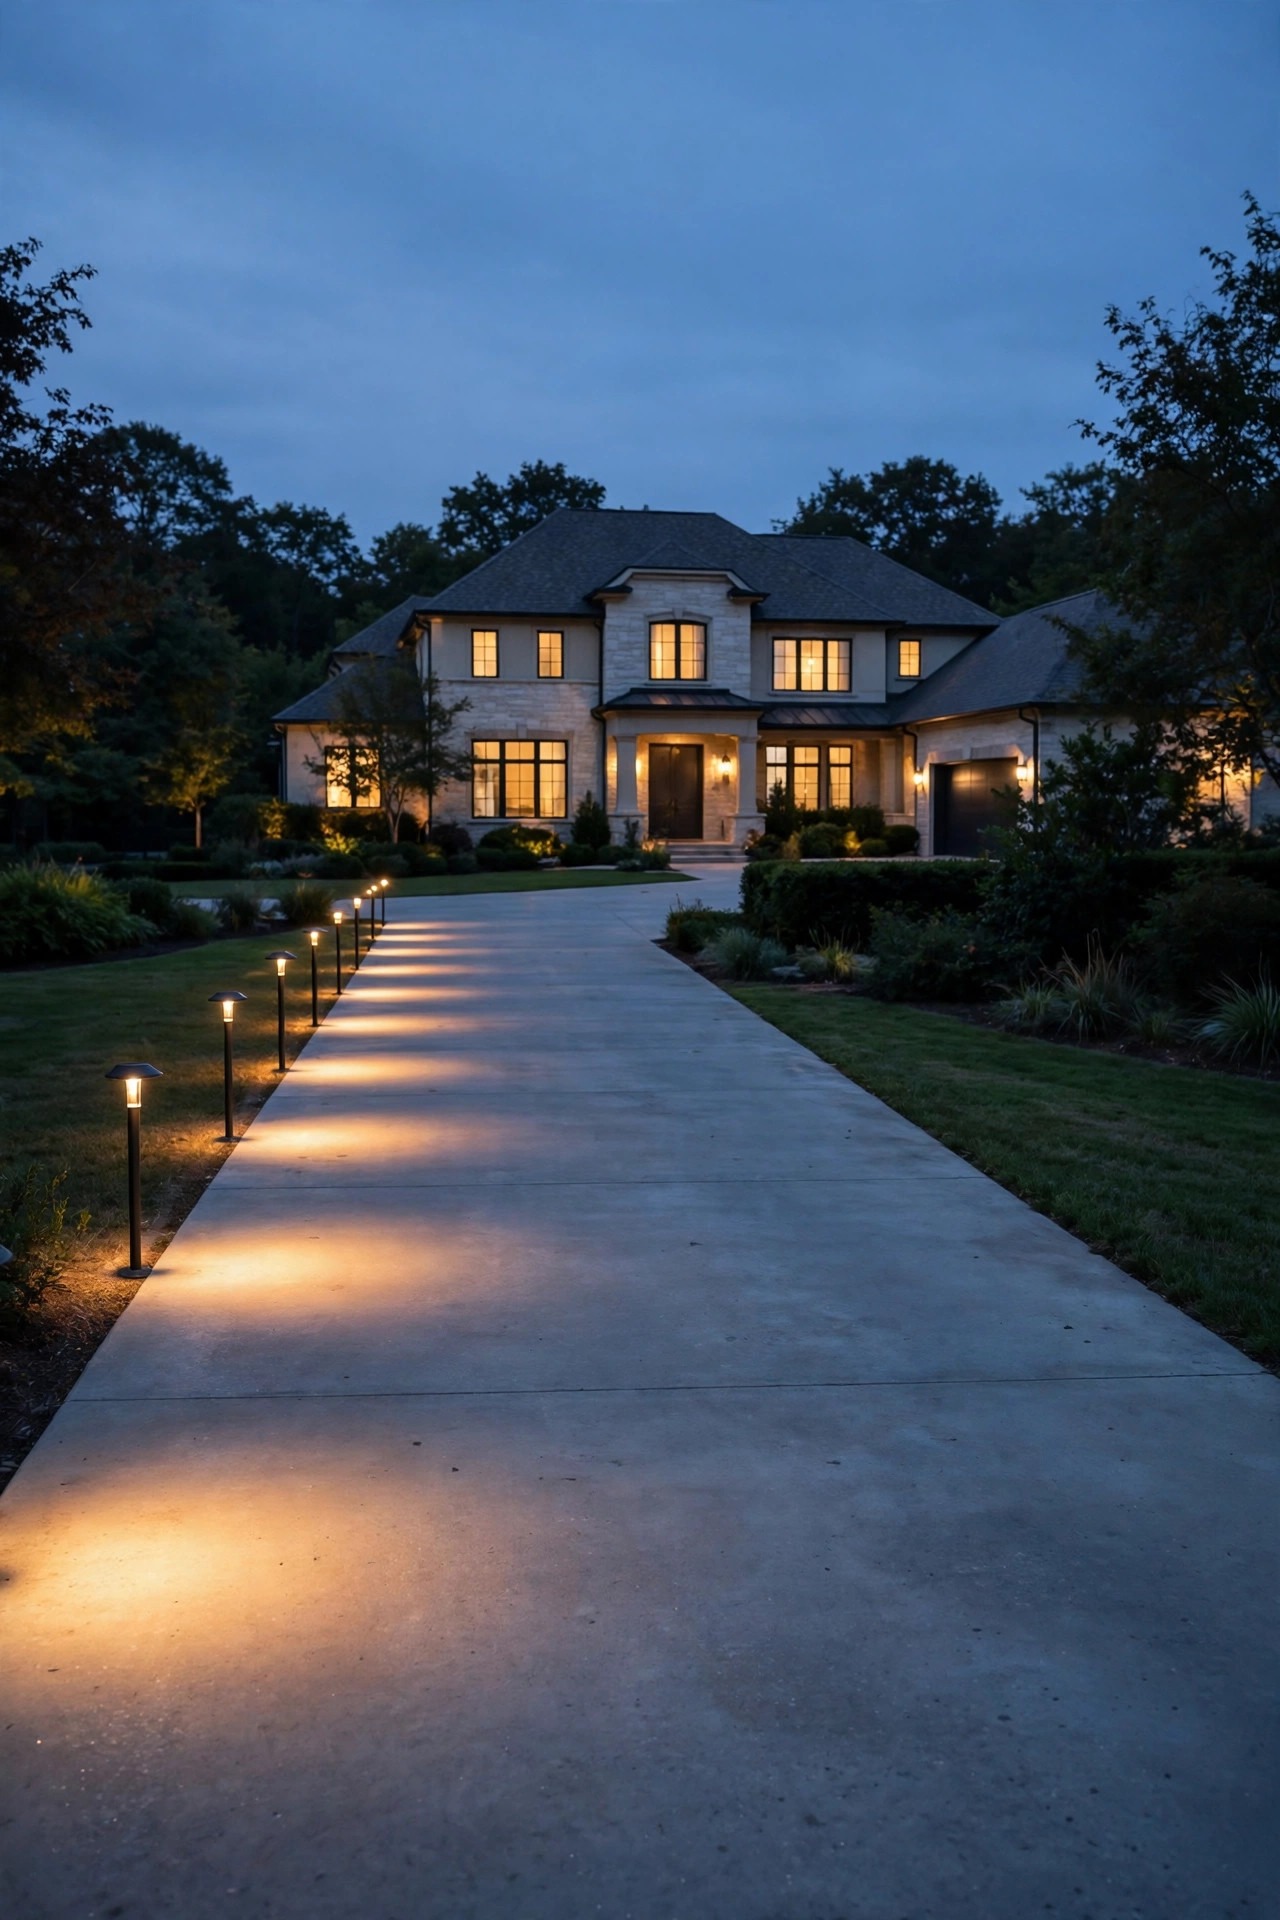
Bullet spotlights and well lights aimed up the drive toward the street feel dramatic when you stand in the yard looking at them. From the driver's seat, though, they are a flashlight in the face — your pupils clamp down, the dark edges of the drive vanish, and you are effectively backing in blind. I learned this visiting a friend whose beautiful uplights had me inching down her drive at walking pace, genuinely terrified of her mailbox.
What to do instead: every beam on a driveway should point down at the pavement or across it at a low angle, never up its length. Tilt bullet fixtures to graze the surface from the side, add inexpensive glare shields or honeycomb louvers to exposed lamps, and keep mounting heights low. Then do the test nobody does: sit in the car at the street, lights on, and drive in slowly. If you can see any bare bulb or lens directly, your guests can too, and it needs re-aiming. Shielded fixtures with the light source tucked up inside cost barely more than open ones, and that one change kills the glare while keeping all the drama on the ground, where it belongs.
Suggested budget range: $10 – $40.
3. Planting Path Lights Right in the Tire Line
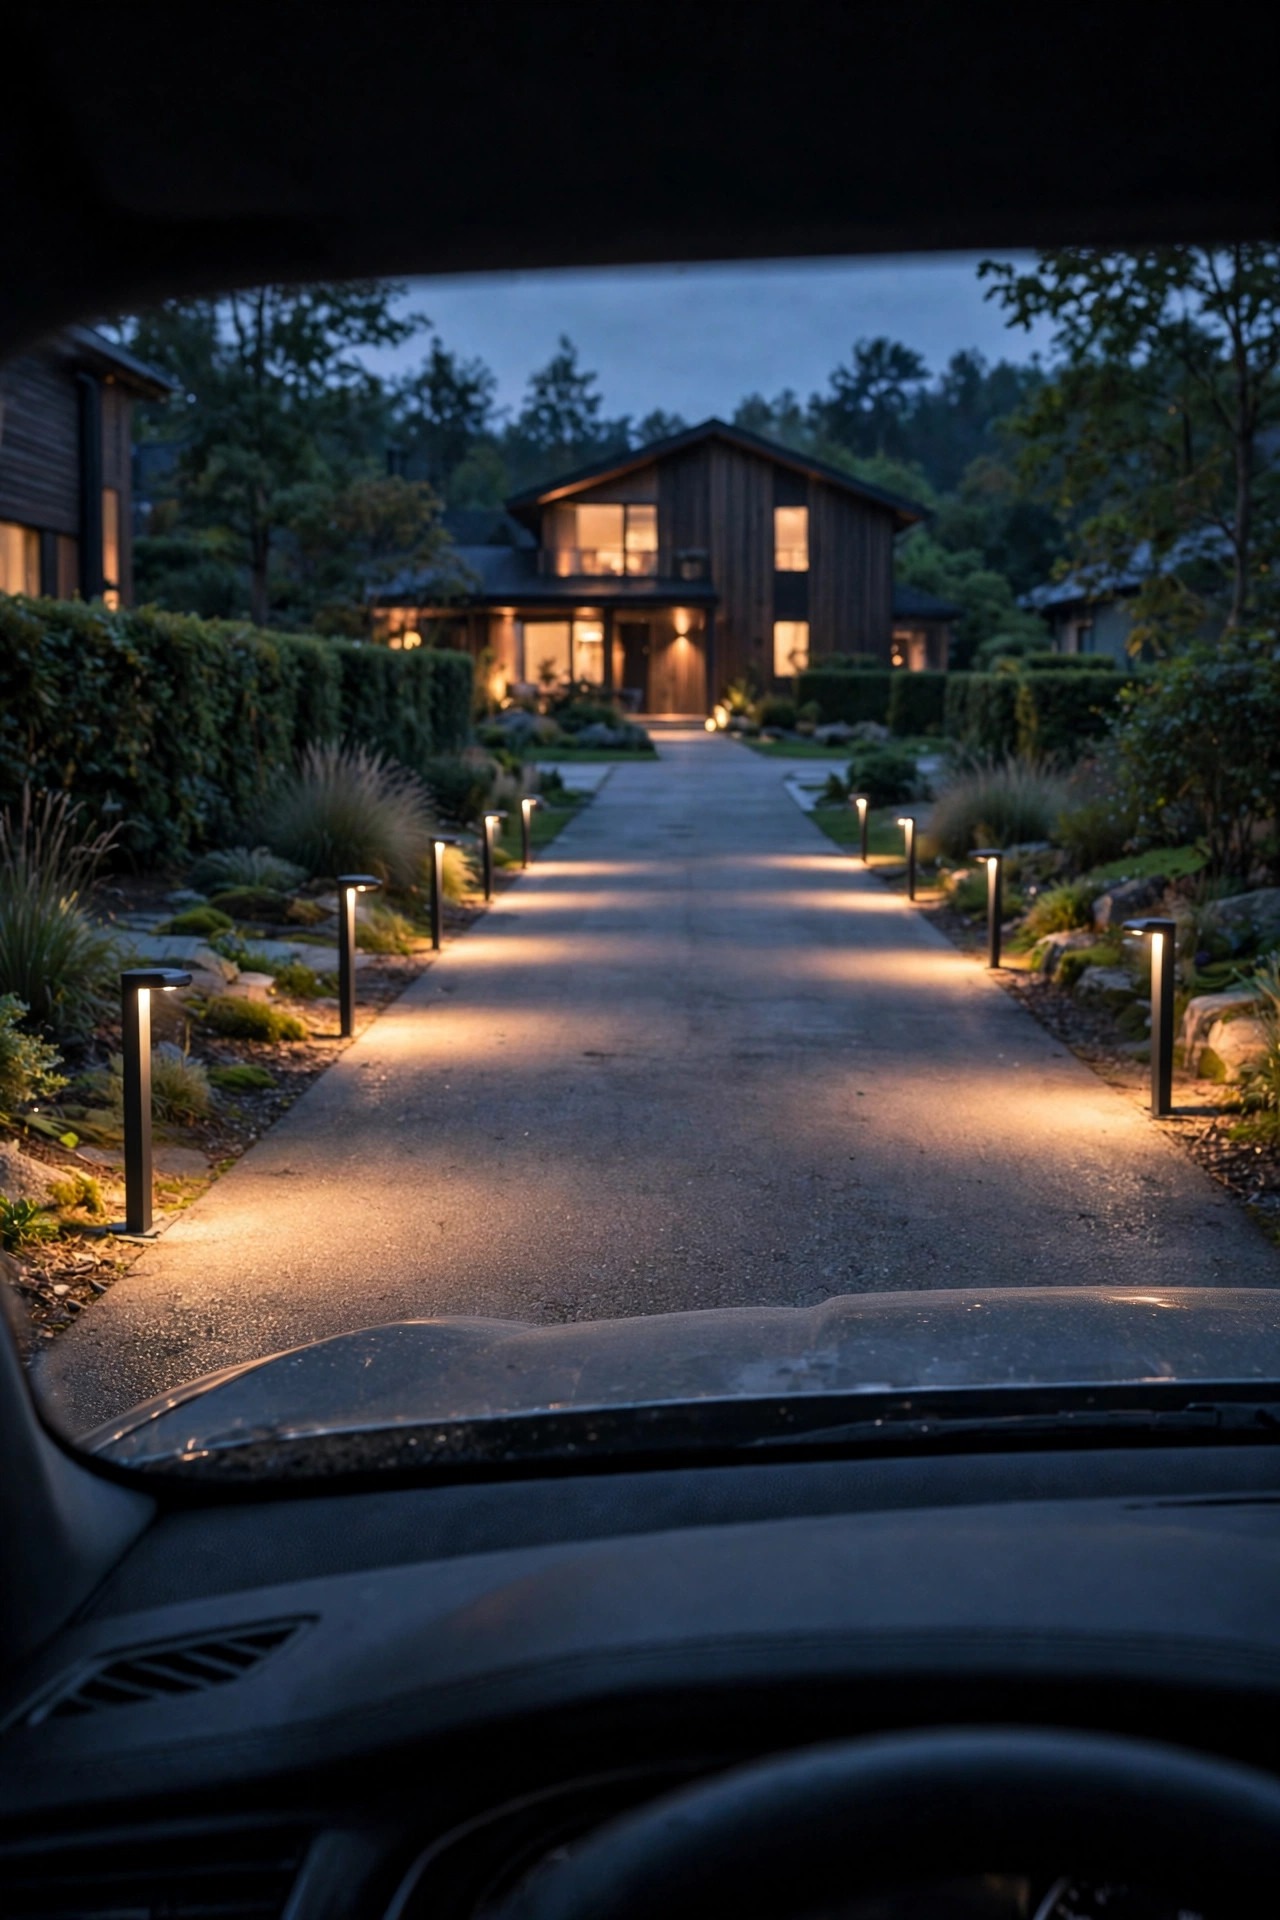
Walk any street a month after a fresh install and you will find them: cute little path lights leaning at drunken angles, snapped stems, one already flat in the grass. They were planted exactly where tires track — the outer foot of pavement where drivers cut the corner turning in, plus the strip guests use when they park half on the drive. A fixture in the tire line is not a lighting choice; it is a subscription to replacements.
What to do instead: set every fixture back at least 12 to 18 inches from the pavement edge, and further out at the apron, where turning angles are worst. In tight spots, swap stakes for flush in-ground markers or short, sturdy bollards rated to take a nudge, and keep delicate solar stakes for the garden beds where they belong. Before you dig a single hole, have someone turn into the drive while you watch where the tires actually travel at night — it is almost never where you assumed. That five-minute check saves the whole row. In my experience, the lights that survive a driveway are boringly placed, solidly built, and just far enough back that nobody ever thinks about them at all.
Suggested budget range: $25 – $80.
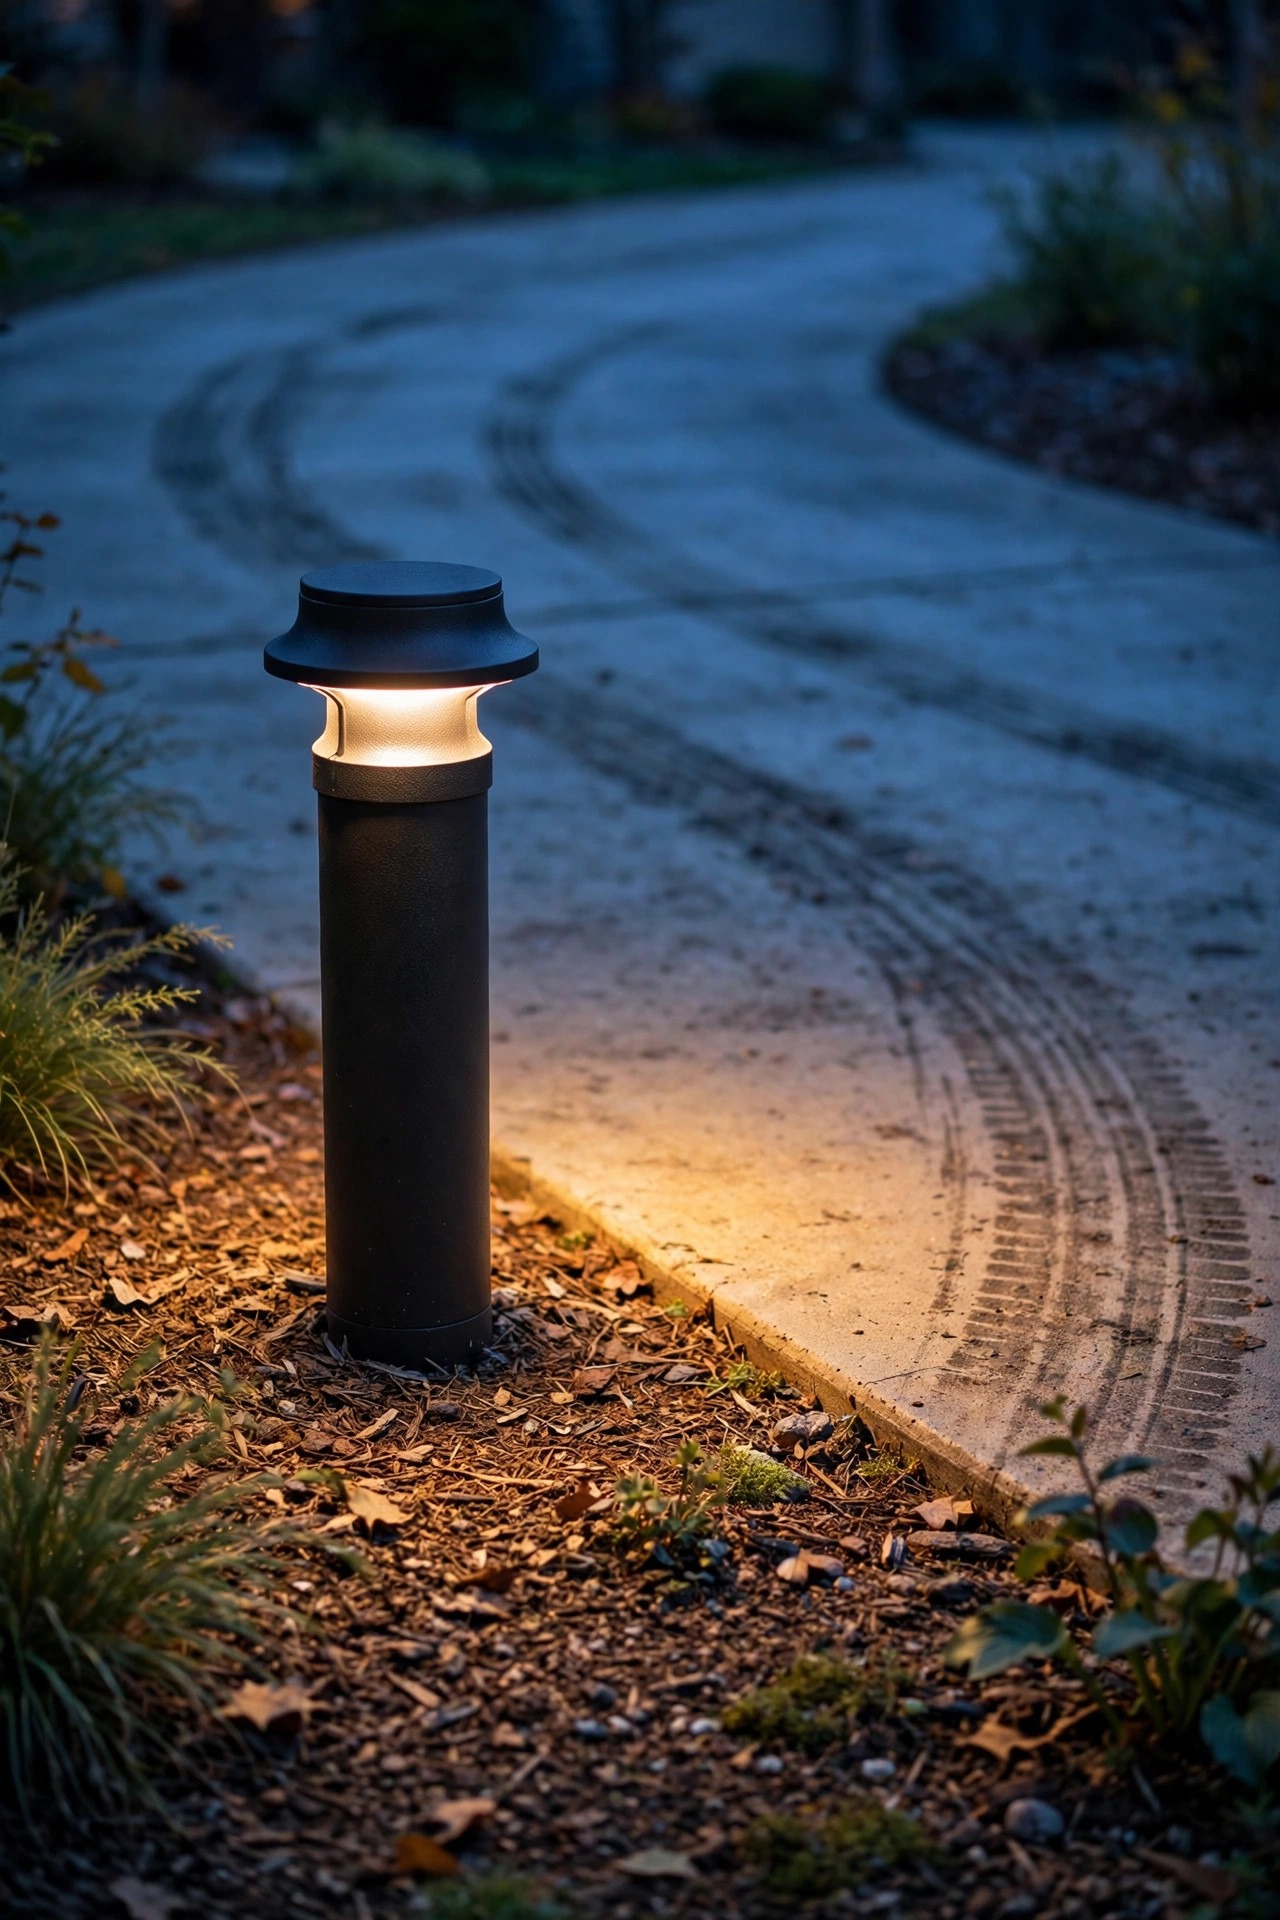
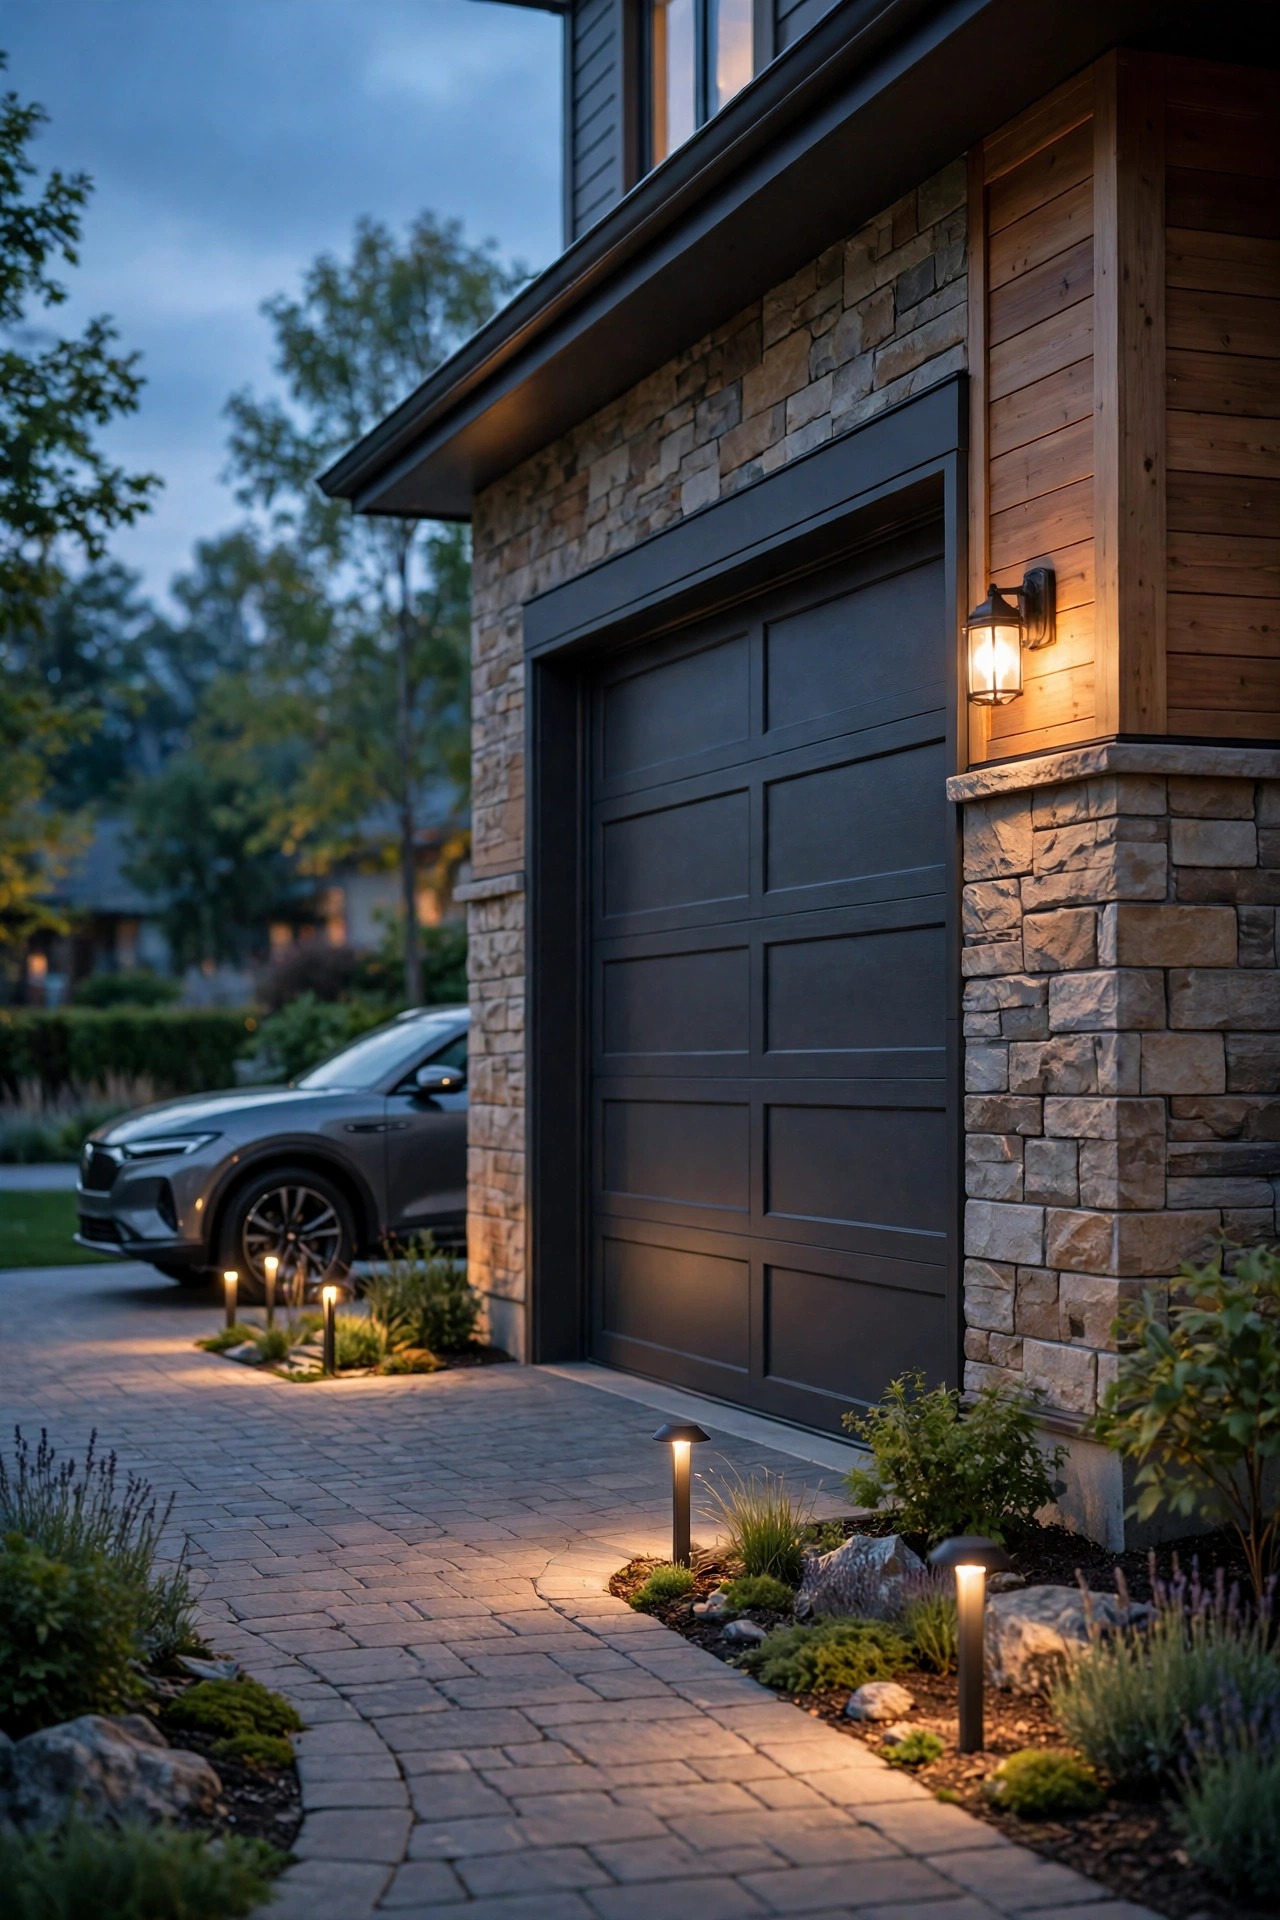
4. Asking One Floodlight to Do the Whole Job
A single motion floodlight over the garage door is the default American driveway: blinding in the middle, pitch black at the edges, and a hard shadow pooled behind every car. It lights the top of your hood beautifully and the ground you actually walk on not at all. Worse, the contrast is so extreme that the dark areas look darker by comparison — which is the exact opposite of security.
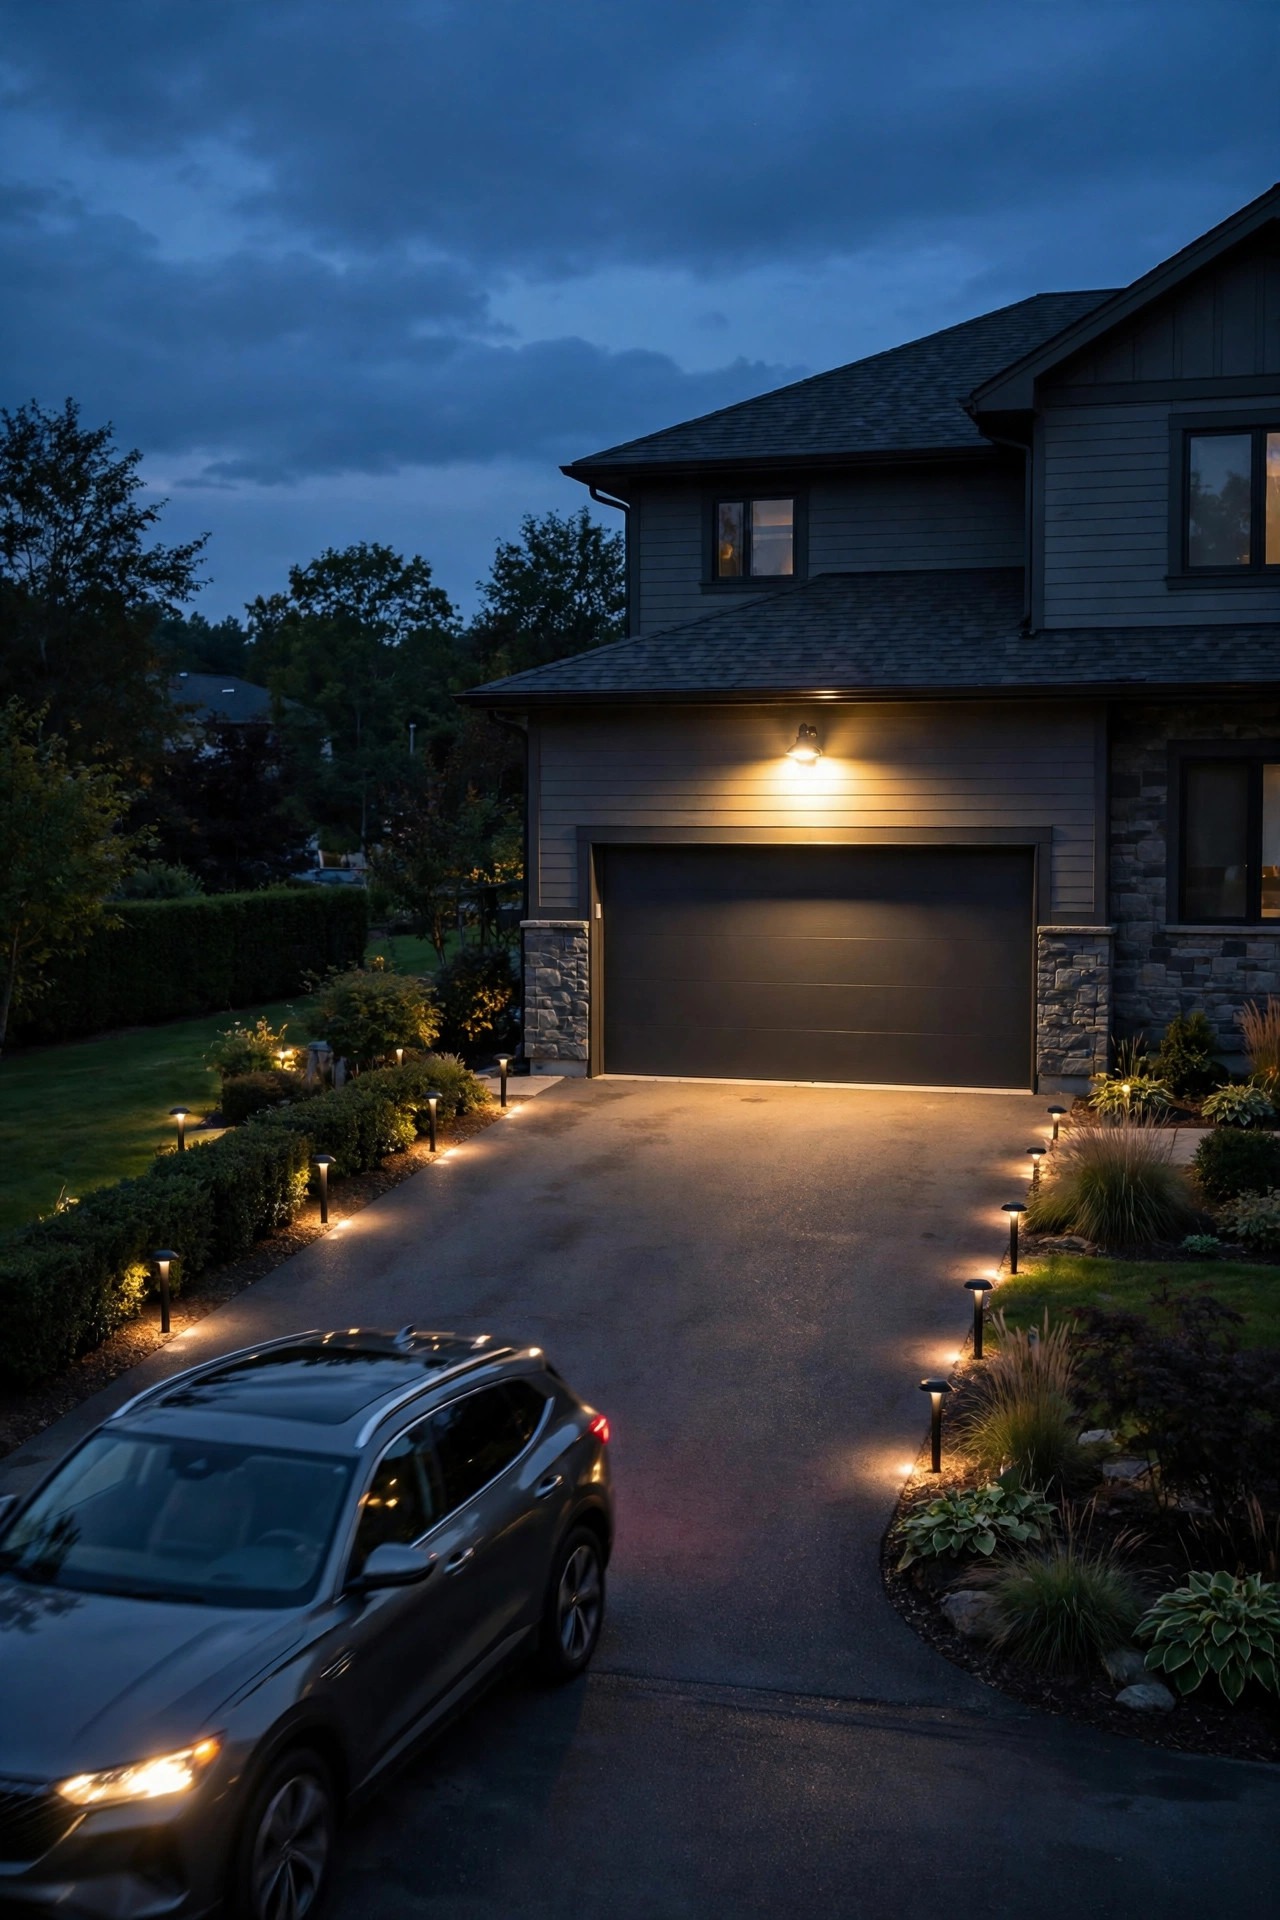
What to do instead: think in layers. Keep a flood for real task light when you are unloading groceries, but add a gentle always-on layer — two or three low fixtures marking the edges and one soft sconce by the garage or side door — so the drive reads clearly without the blast. Put the flood on a motion sensor and the soft layer on a dusk-to-dawn timer, and the two systems stop fighting each other. If you want to see how a layered plan comes together, browse these driveway lighting ideas and notice how no single fixture does all the work. In my yard, swapping the flood to a warmer bulb and adding just two edge lights made the whole drive feel twice as wide — and my headlights-off test at midnight finally passed.
Suggested budget range: $60 – $180.
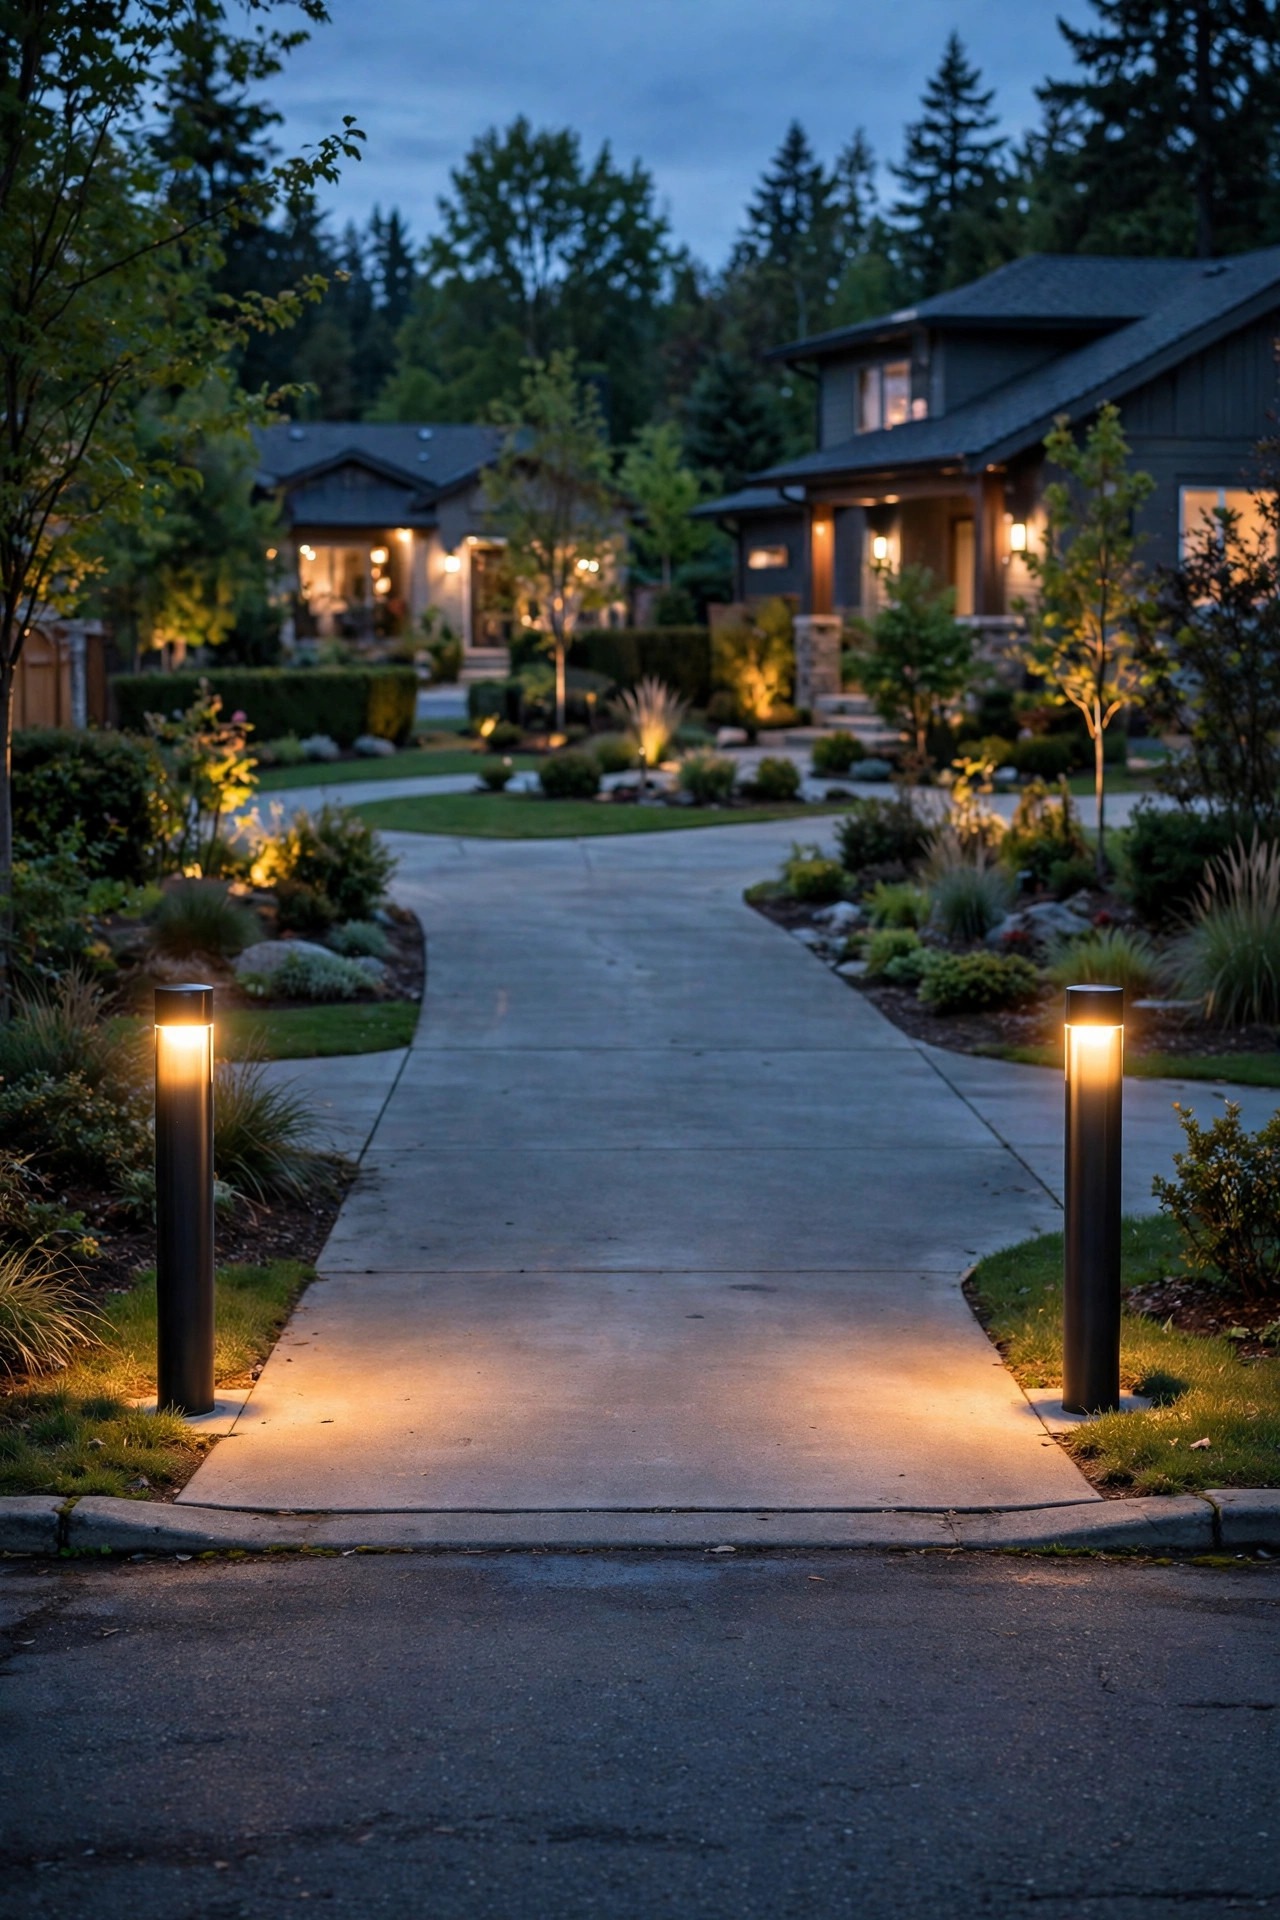
5. Leaving the Street Entrance Completely Dark
Here is the moment that matters most: a guest, at night, in the rain, trying to find your driveway mouth from a dark street while traffic waits behind them. If the entrance is unmarked, they will overshoot it, brake late, or swing wide across your lawn edge — I have done all three at other people's houses. The apron is where the drive is widest, least familiar and most dangerous, yet it is the spot most of us forget to light.
What to do instead: mark the entrance like you mean it. A matched pair of fixtures flanking the apron — stout bollards, low posts, or bright solar markers on both corners — tells drivers exactly where the turn begins. Keep them back from the street edge so plows and passing mirrors clear them, and make them slightly brighter or taller than the rest of the run so they read as the gateway. Pairing them with your house number on a softly lit plaque is the kindest version of all. For layouts that work on corners and slopes, I keep coming back to these driveway entrance lighting ideas. Two entrance lights cost less than one scraped bumper, every single time.
Suggested budget range: $35 – $110.
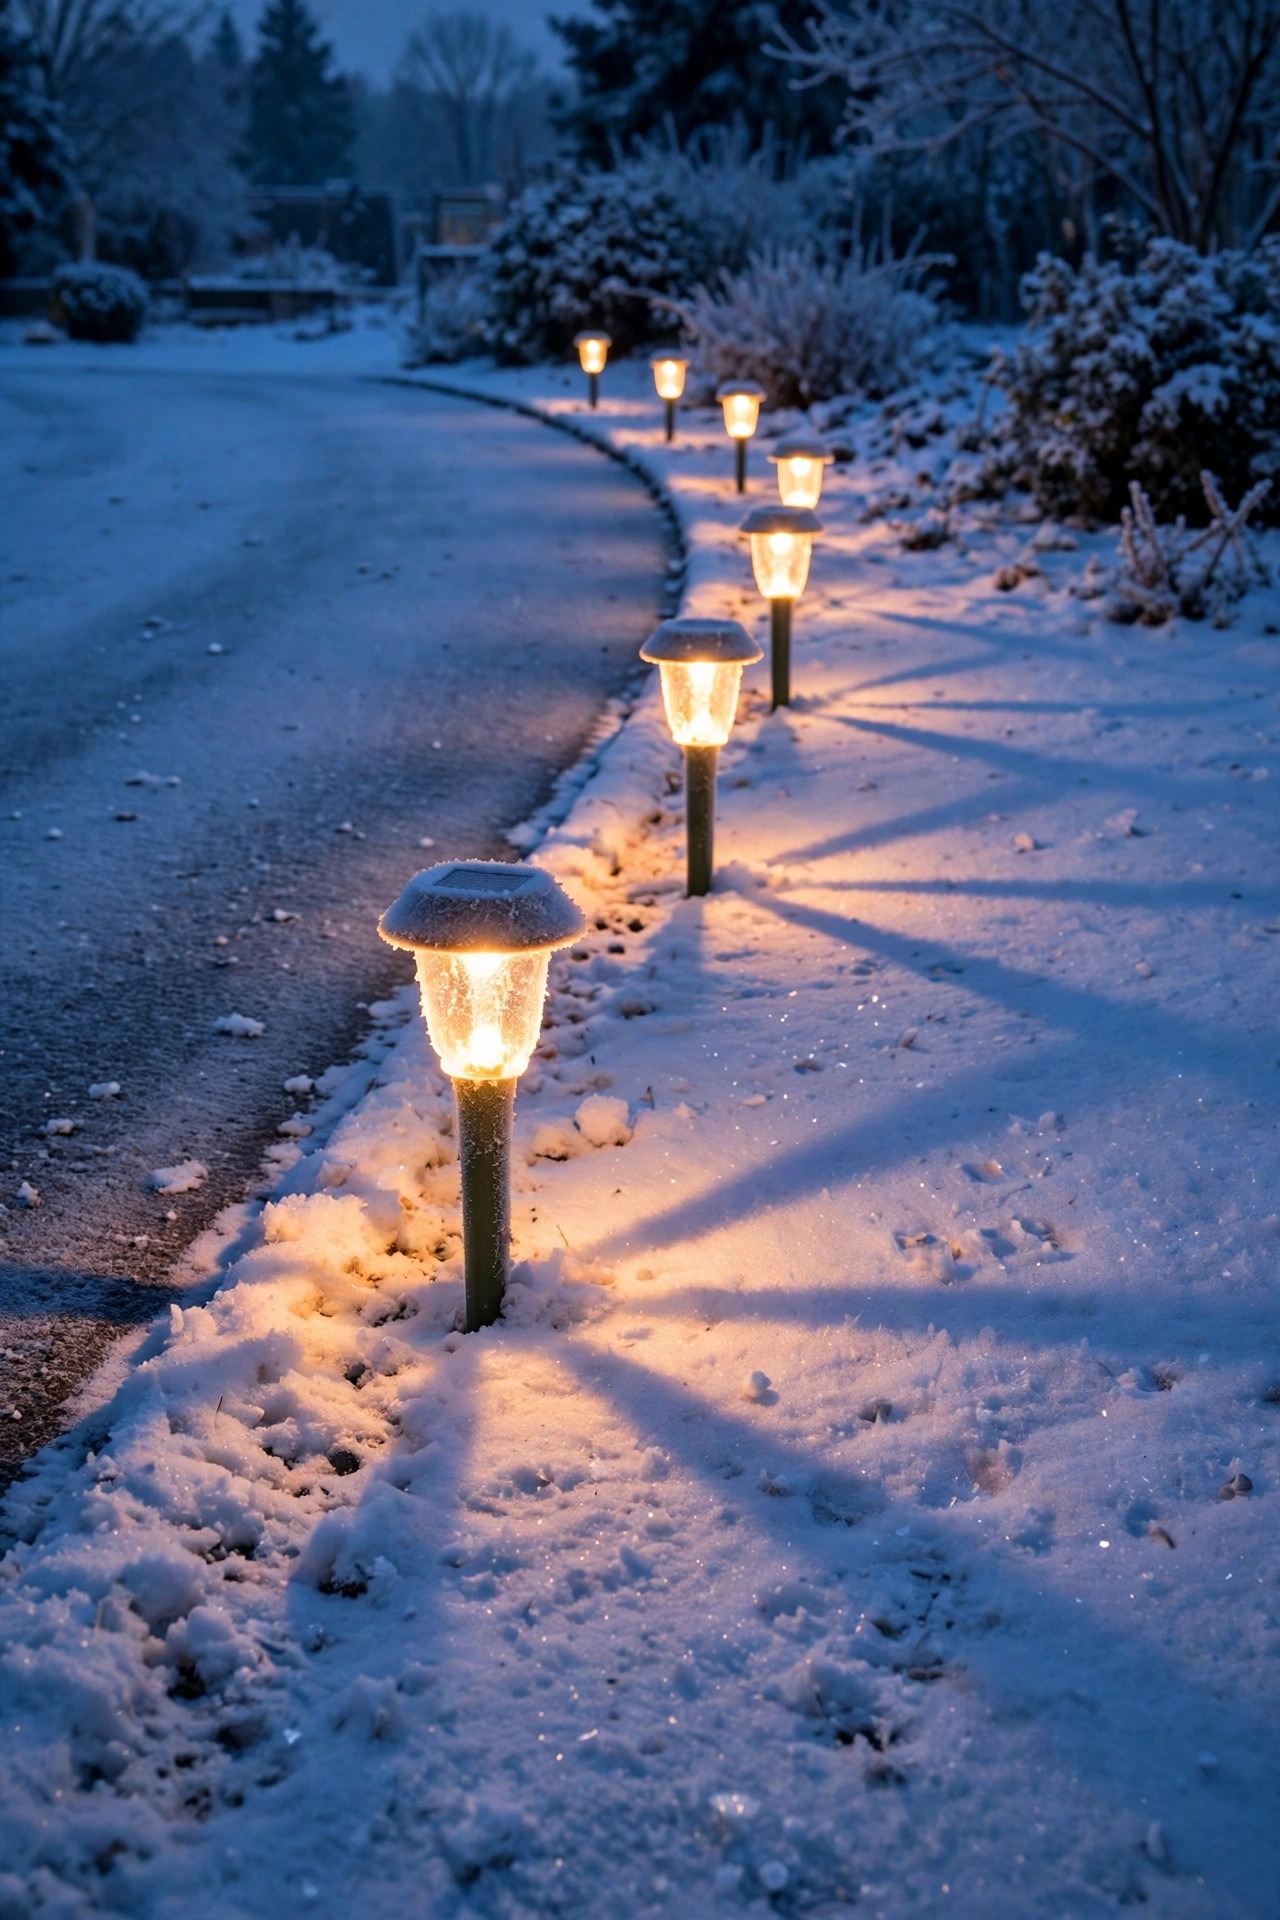
6. Trusting Dim Solar Stakes to Mark Winter Edges
Solar stakes are wonderful in June. Then December arrives: four o'clock sunsets, panels crusted with frost, batteries cold and tired — and your driveway edges are marked by the faintest blue-grey sigh of light, dead by nine in the evening. Cheap solar fixtures, the kind sold in shrink-wrapped six-packs, often put out under 10 lumens. That is candlelight, and you cannot judge a pavement edge by candlelight from a moving car.
What to do instead: be honest about the job. Solar is fine for soft decoration deep in the beds, but the working edges of a driveway deserve wired low-voltage fixtures — or genuinely bright solar units with big panels and replaceable batteries, where you look for 100+ lumens and lithium cells. A hybrid layout works beautifully: wired lights on the tire-side edge and the entrance, where accuracy matters, and solar accents filling in everywhere else. If your current stakes fade by dinner, upgrading just the four corner and entrance positions changes everything; the rest can stay decorative. In my experience, winter is the audit every solar setup eventually faces — plan for the shortest day of the year, not the longest, and you will never be disappointed.
Suggested budget range: $50 – $150.
7. Setting Fixtures in the Snowplow Line
If you get real snow, your driveway has two invisible lines: where the plow blade rides, and where the blower throws. Fixtures planted in either one get sheared, buried, or launched into the lawn — and the buried ones sit in meltwater all spring, quietly corroding their connections. I lost three fixtures our first northern winter before I understood that the plow does not negotiate.
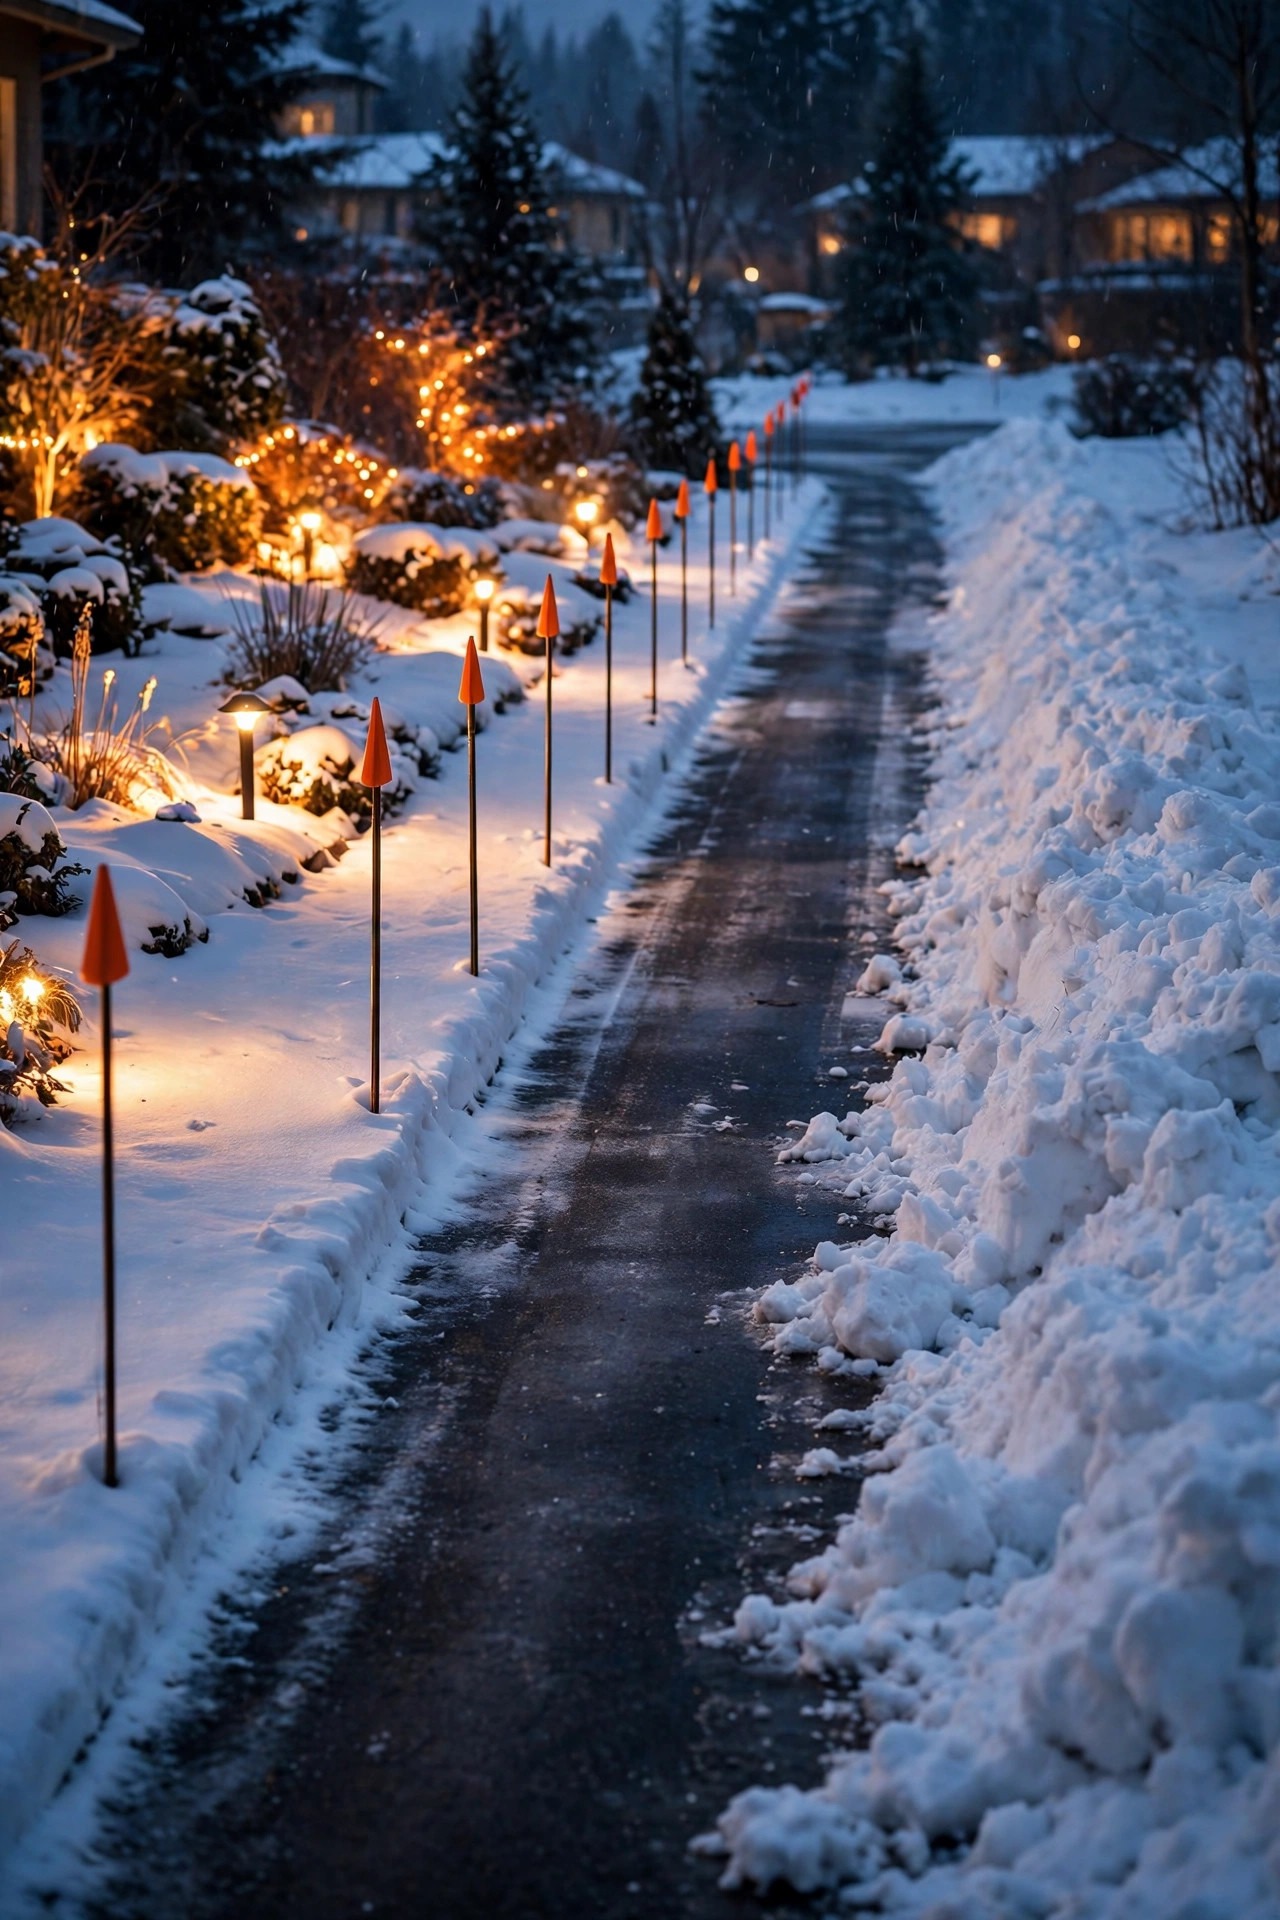
What to do instead: learn your snow lines before you install. Set fixtures back behind the blade's path — usually 18 inches or more from the pavement — and out of the blower's throw zone on the downwind side. Tall, inexpensive driveway markers on flexible rods, the kind plow drivers use, tell everyone where the edges are in a storm better than any light can, and they flex instead of snapping. For the lights themselves, choose fixtures you can pull in November if your winters are brutal, or place permanent ones on the house side of the drive, where the plow never reaches. Spring ritual at my house: markers out in October, one flashlight walk after the first big storm, and zero surprises in the melt.
Suggested budget range: $15 – $60.
8. Lighting the Drive but Forgetting the Walk to the Door
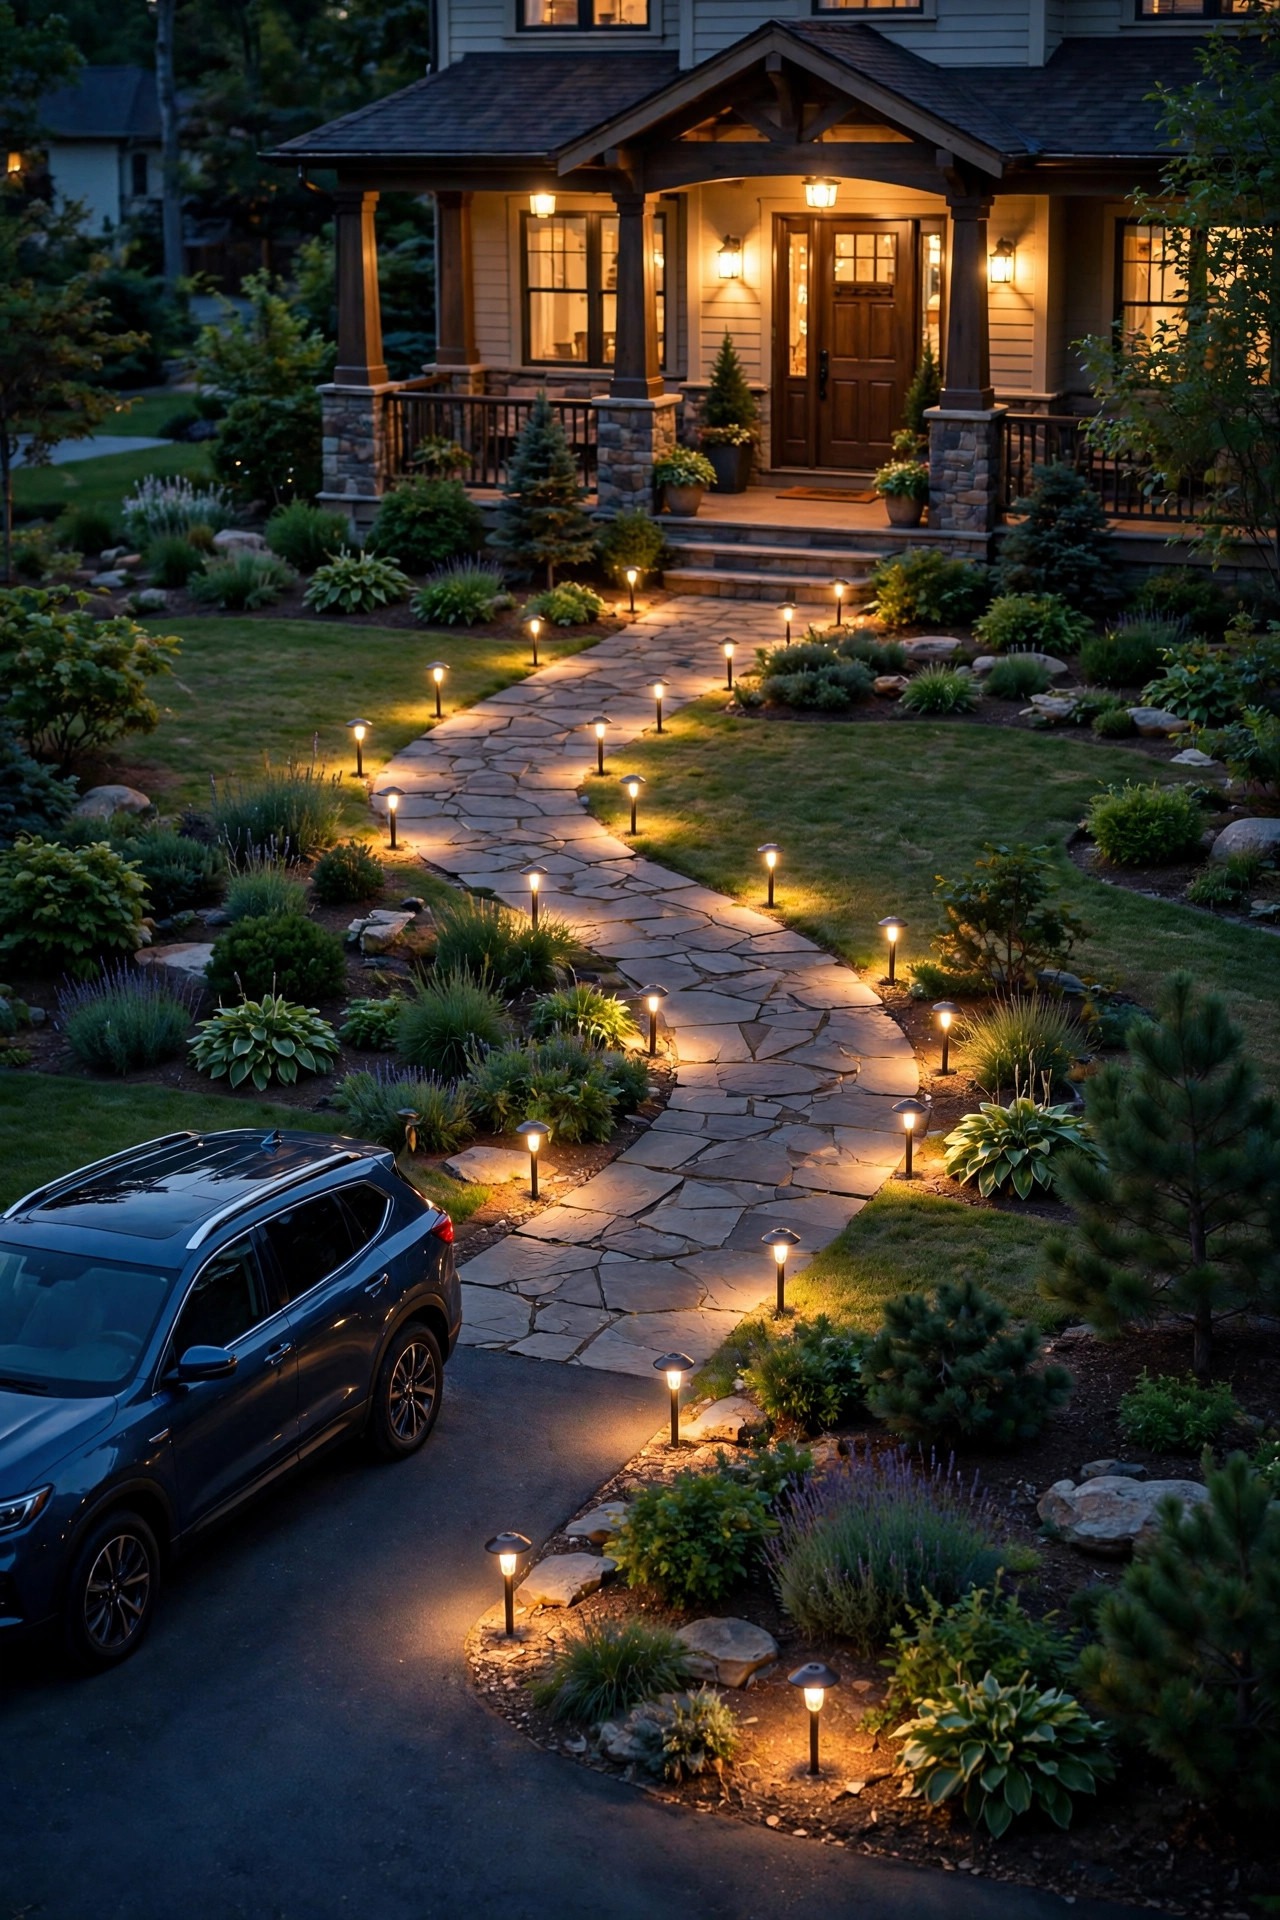
We light the driveway so guests can park, then send them across a pitch-black lawn to find the front door. I have watched visitors pick their way from car to porch on phone flashlights more times than I can count — over sprinklers, edging stones, and one memorable garden hose. The drive and the walk are a single journey, and lighting only half of it is like paving half a road.
What to do instead: run a thread of light the whole way. Two or three path lights along the route from the parking spot to the door, a step light if there is any grade change, and the porch light on the same timer or sensor logic as the drive lights, so the whole welcome switches on together. Keep the brightness consistent — a gentle 100 to 200 lumens per fixture is plenty for walking — and the color temperature matched, so the route reads as one designed path instead of a trail of leftovers. If your guests park in the street instead, light that route too, from curb to door. It is a small spend for the single biggest hospitality upgrade a front yard can get, and it ends the flashlight shuffle forever.
Suggested budget range: $45 – $130.
9. Mixing Color Temperatures at the Garage and Porch
Stand at the street and look at your house the way a buyer would. If the garage sconces glow warm amber, the driveway stakes shine blue-white, and the porch burns daylight white, the front of your home reads as three unrelated projects stapled together. Mismatched color temperature is the fastest way to make good fixtures look cheap, because our eyes notice the clash even when we cannot name it.
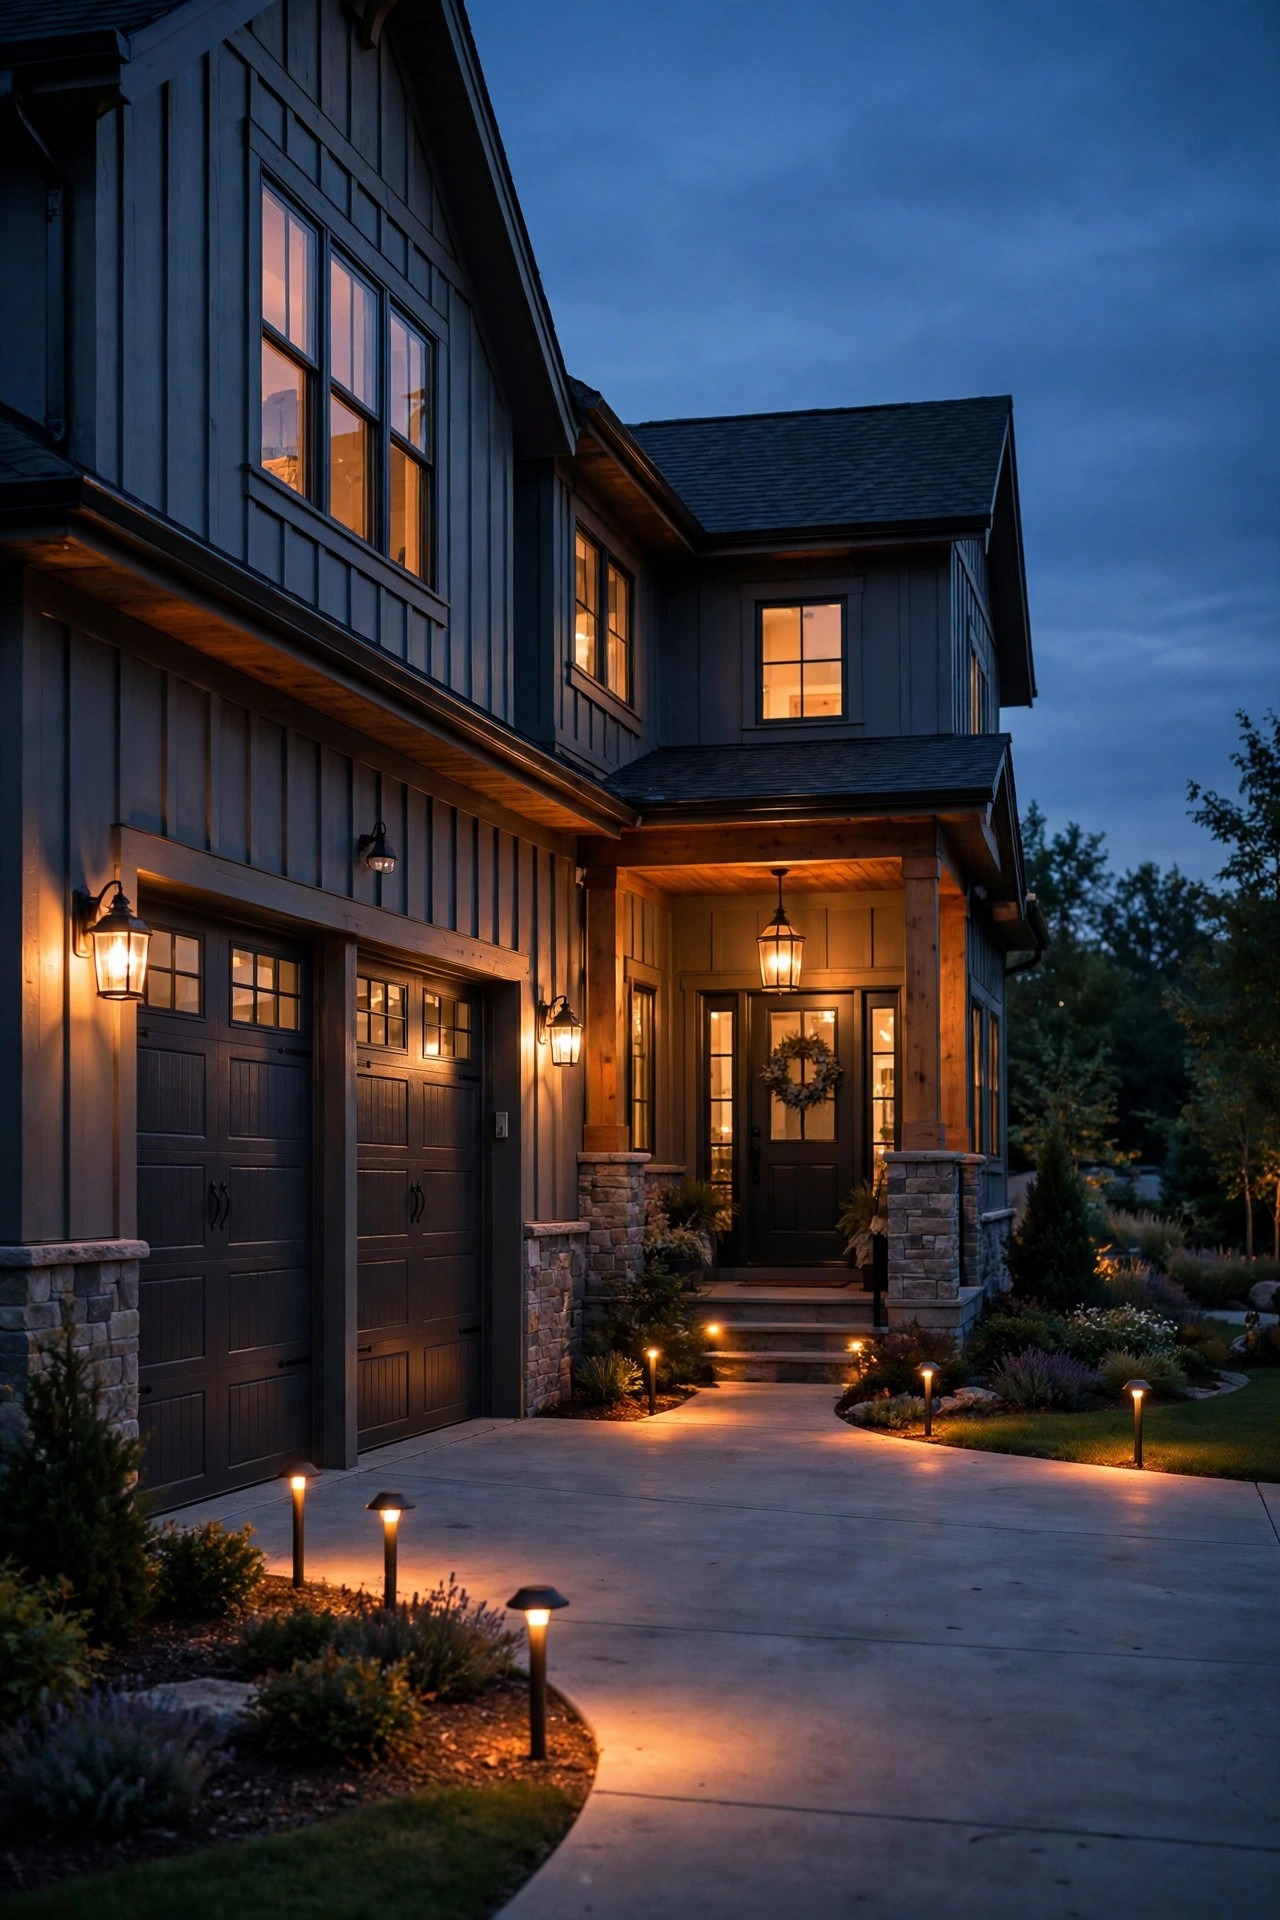
What to do instead: pick one temperature for the entire front of the house — 2700K to 3000K is the warm, welcoming range that flatters brick, stone and siding — and hold the line everywhere: drive, garage, porch and landscape. When you replace a bulb or add a fixture, check the Kelvin number on the box, not just the words warm white, which mean different things to different makers. LEDs do not drift toward each other over time, sadly, so the discipline has to happen at purchase. The cheap fix, if your yard is a patchwork right now, is bulbs first: swapping three mismatched bulbs costs almost nothing and unifies the whole scene in one evening. New fixtures can then join the palette one at a time, all speaking the same warm language.
Suggested budget range: $20 – $70.
10. Placing Bollards Where Car Doors Swing Into Them
A handsome bollard, placed with pure intentions, exactly wrong: right where the driver's door swings open. The first week it earns a paint chip and a scrape; by spring it leans five degrees and everyone in the family hates it. Doors need room — a full swing is roughly a three-foot arc from the car's side — and driveways are where doors open widest, what with armfuls of groceries and kids escaping out the back.
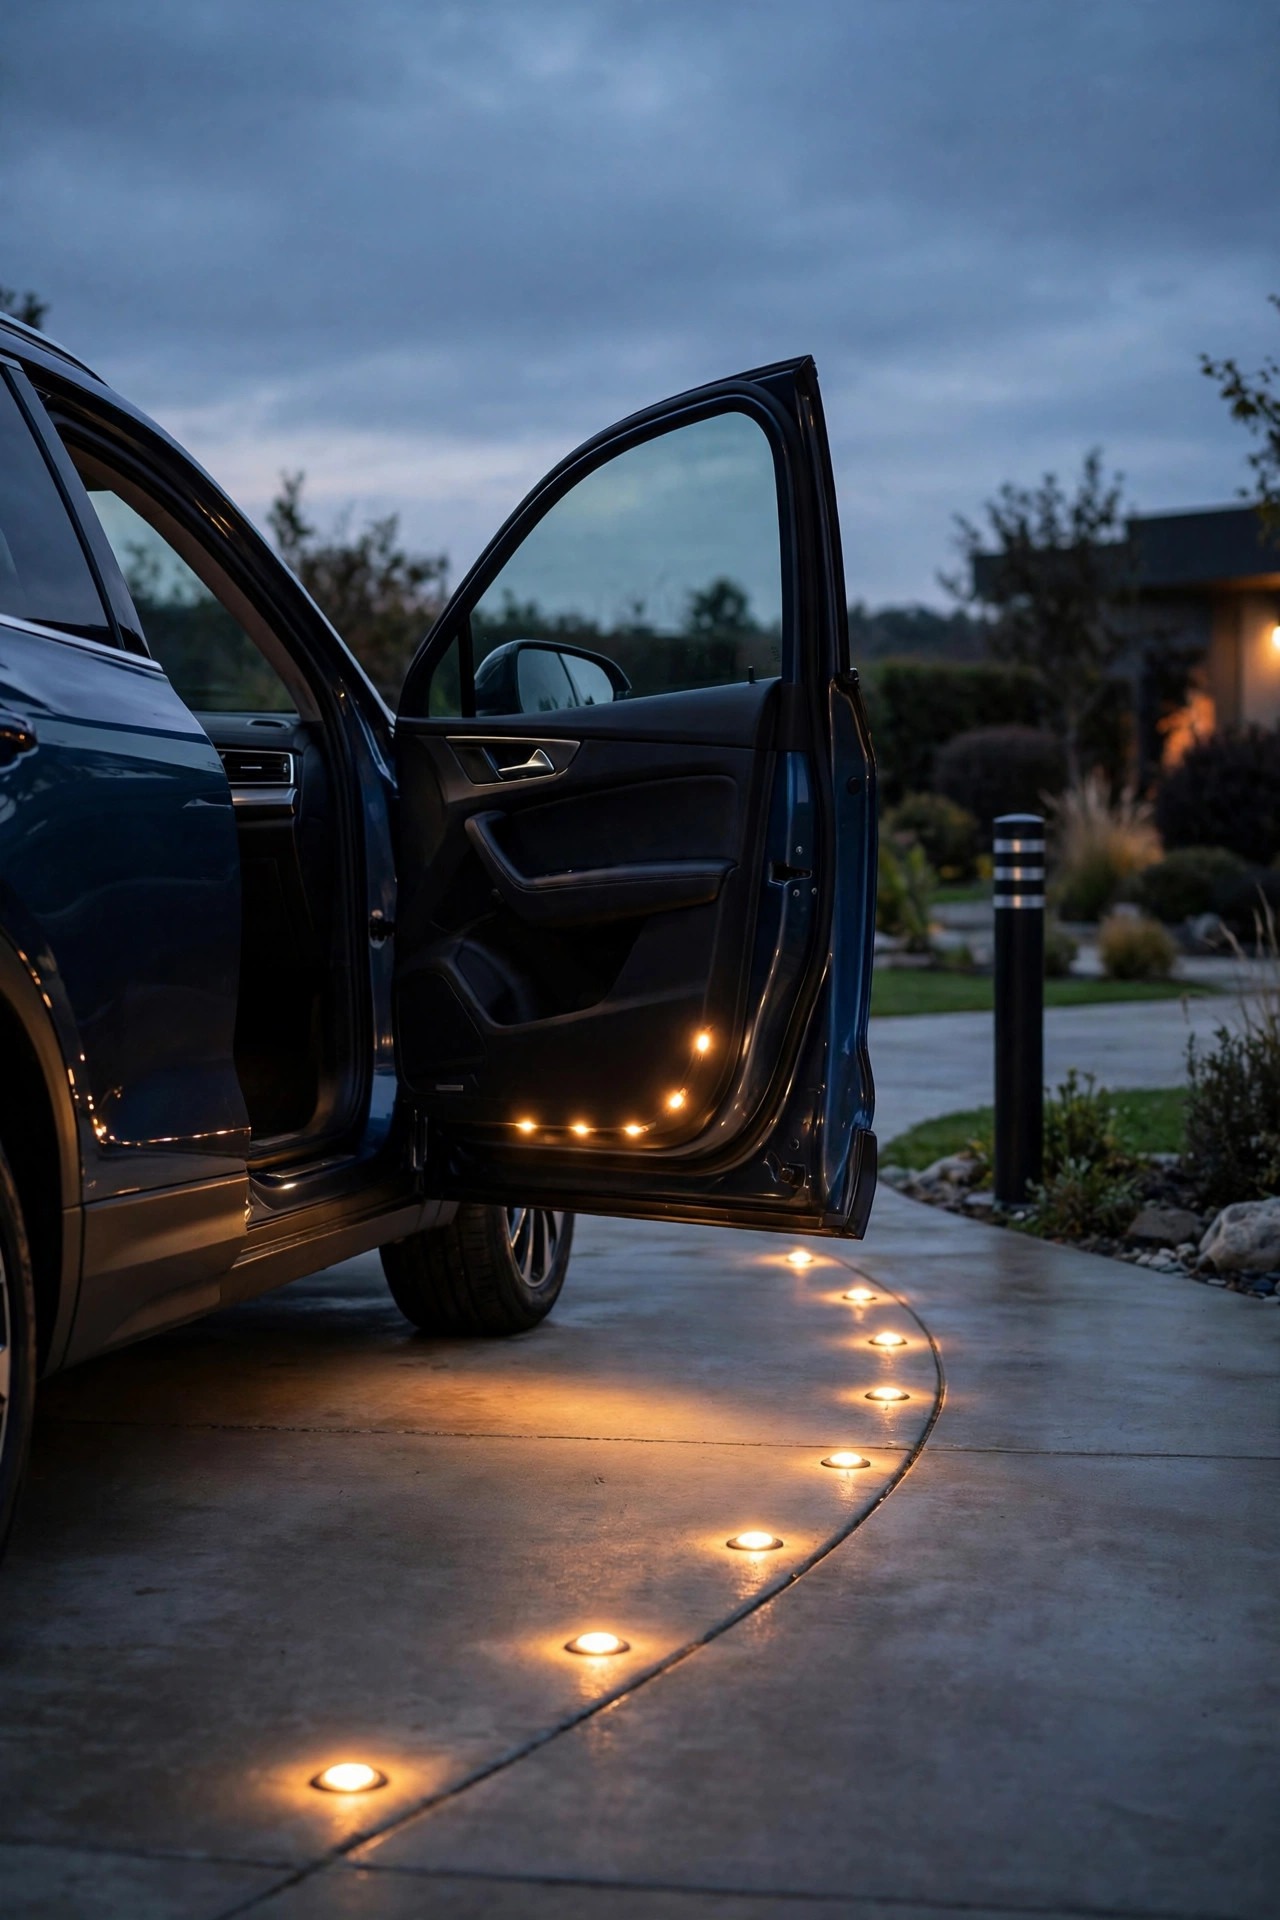
What to do instead: map the parking positions before placing anything tall. Mark where cars actually stop, open every door fully, and keep bollards and posts outside those arcs — usually tight against the far edge, beside the garage, or flanking the entrance, where cars pass but never park. Where you truly need a marker inside a door zone, go low and flush: in-ground lights or short markers under 6 inches read perfectly from the driver's seat and never touch a door. And build in forgiveness — a surface-mounted fixture you can re-set in minutes beats a concreted post when (not if) somebody misjudges. Measure the swing, respect the swing, and your beautiful bollards will still be standing straight in five years.
Suggested budget range: $30 – $100.
11. Putting Everything on One Switch With No Motion Zone
Many drives are wired as a one-switch democracy: a single switch by the front door controls everything, so the driveway is either lit like a stadium all evening or pitch black when you actually pull in at eleven. All-night full brightness wastes energy and annoys the neighbors; all-dark fails the one moment that matters. What you really want is a driveway that notices you.
What to do instead: split the system into zones with different jobs. Put the soft edge and entrance layer on a timer or photocell, so the drive always reads as occupied from dusk to bedtime. Put the garage and apron work light on a motion sensor, so it wakes when a car turns in or a person walks up, then sleeps again. Smart plugs and sensor fixtures make this a Saturday job, with no rewiring for most of us. If you are choosing sensors, this motion sensor outdoor lights guide walks through ranges and angles honestly. Aim the sensor at the apron, not the street, or every passing car becomes a light show. My own setup: edges on at dusk, motion over the garage, and a manual override for unloading nights — for less than one month of the old floods burning dusk to dawn.
Suggested budget range: $35 – $90.
12. Running the Cable Straight Across the Drive
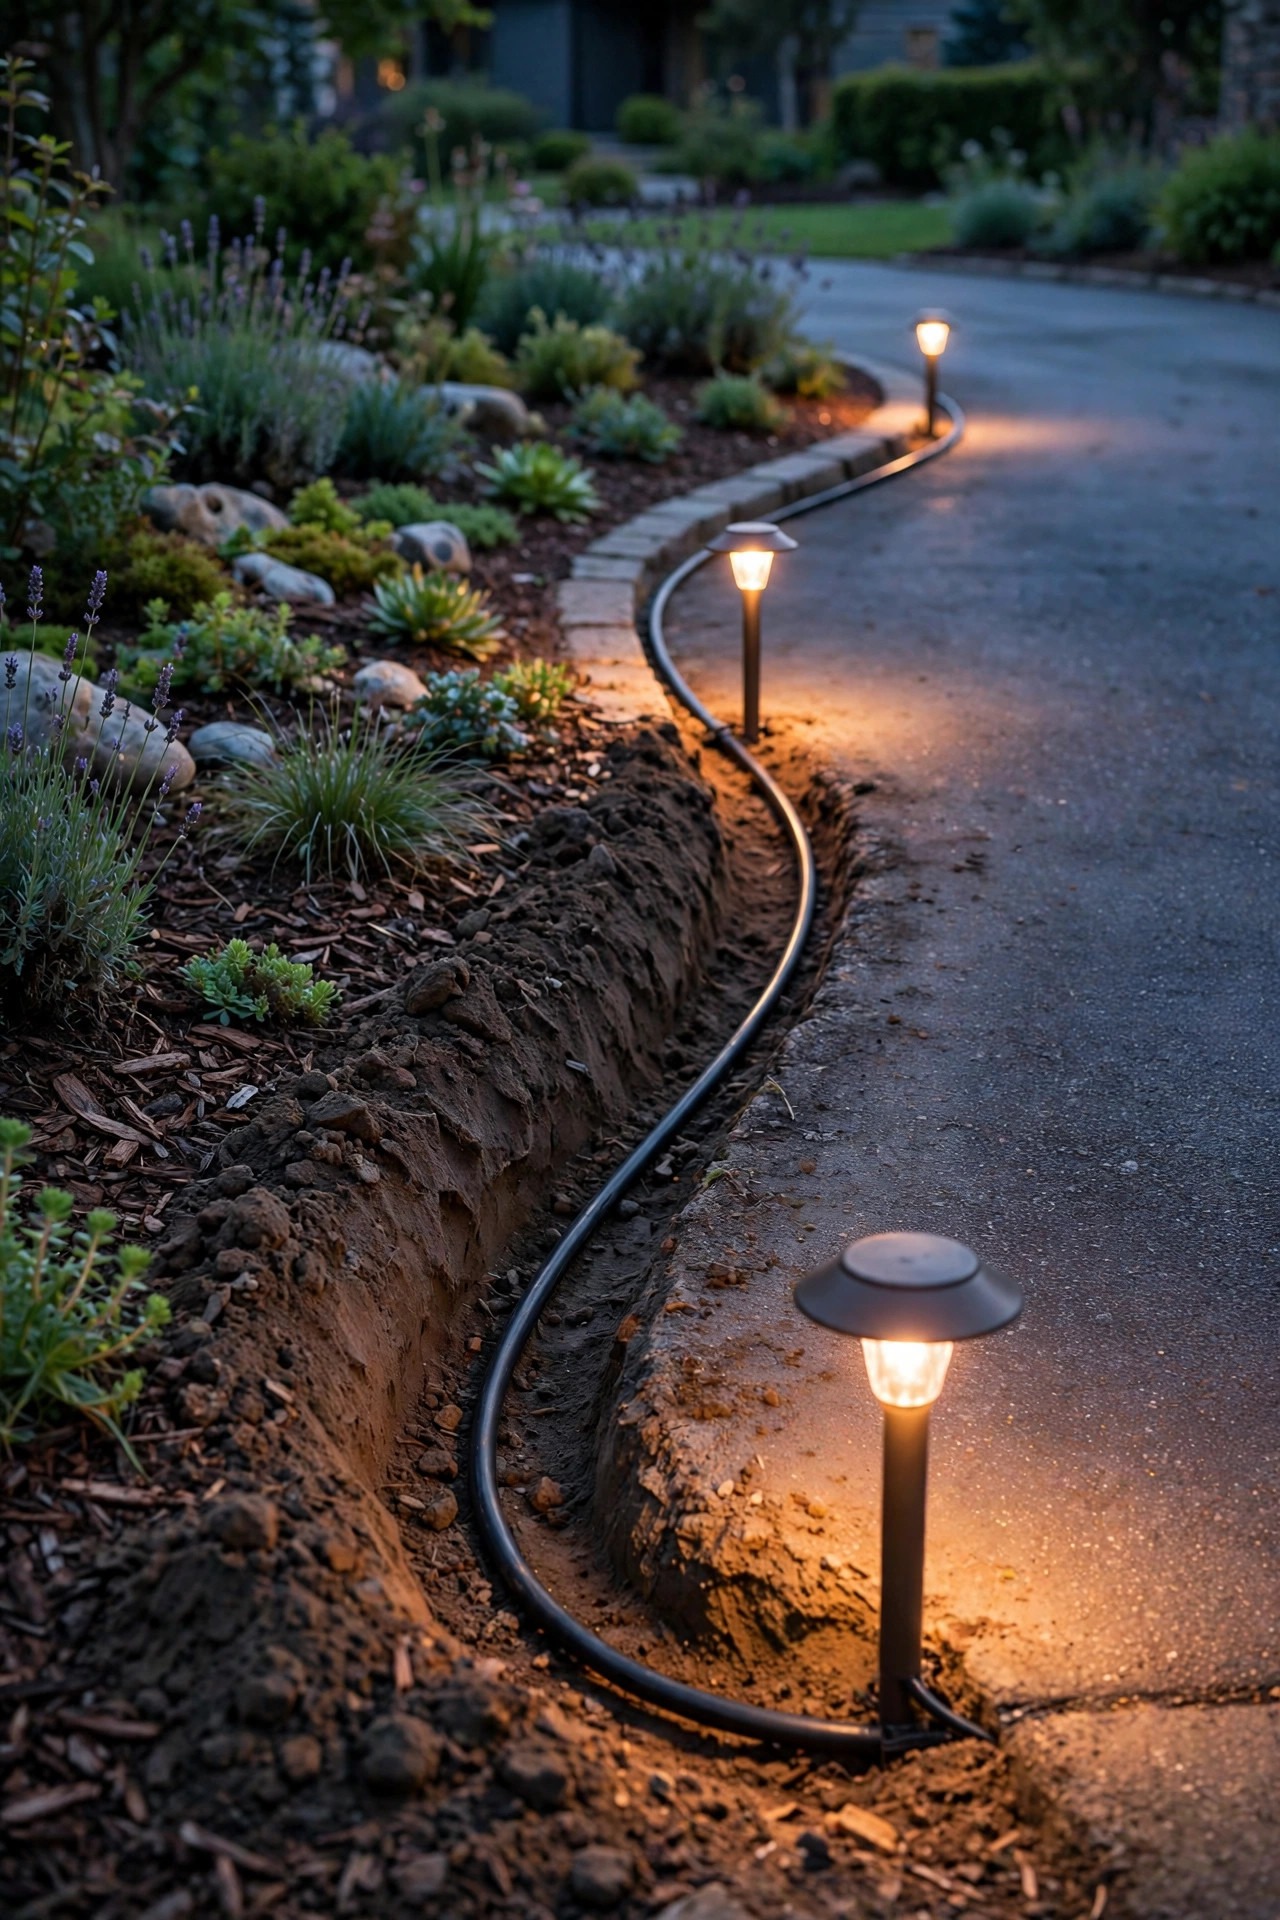
Low-voltage cable is tough stuff, but it is not tire-rated. A cable run straight across the driveway under a skim of gravel or soil gets rolled over hundreds of times a year; the insulation fatigues, water finds the copper, and by the second season your far-side lights flicker like a haunted house. I have dug up exactly this failure at two different houses — and the break is never, ever where you hope it is.
What to do instead: route the cable around the driveway perimeter through the beds, where the worst it ever meets is a careful shovel. If a crossing is truly unavoidable, run it inside rigid conduit or a proper cable sleeve buried at least 6 inches down — ideally in the trench while a drive is being built or replaced, or slipped through an expansion joint you seal afterward. Leave a gentle service loop at each fixture, so one nick does not cost you the whole run, and sketch the route on paper for future you. Ten extra minutes and a length of conduit at install time beats a weekend of fault-finding with a multimeter every single spring. Your future self, standing in the April mud with a dead string of lights, thanks you.
Suggested budget range: $20 – $75.
13. Marking Only One Side — the Quietest of the Driveway Lighting Mistakes
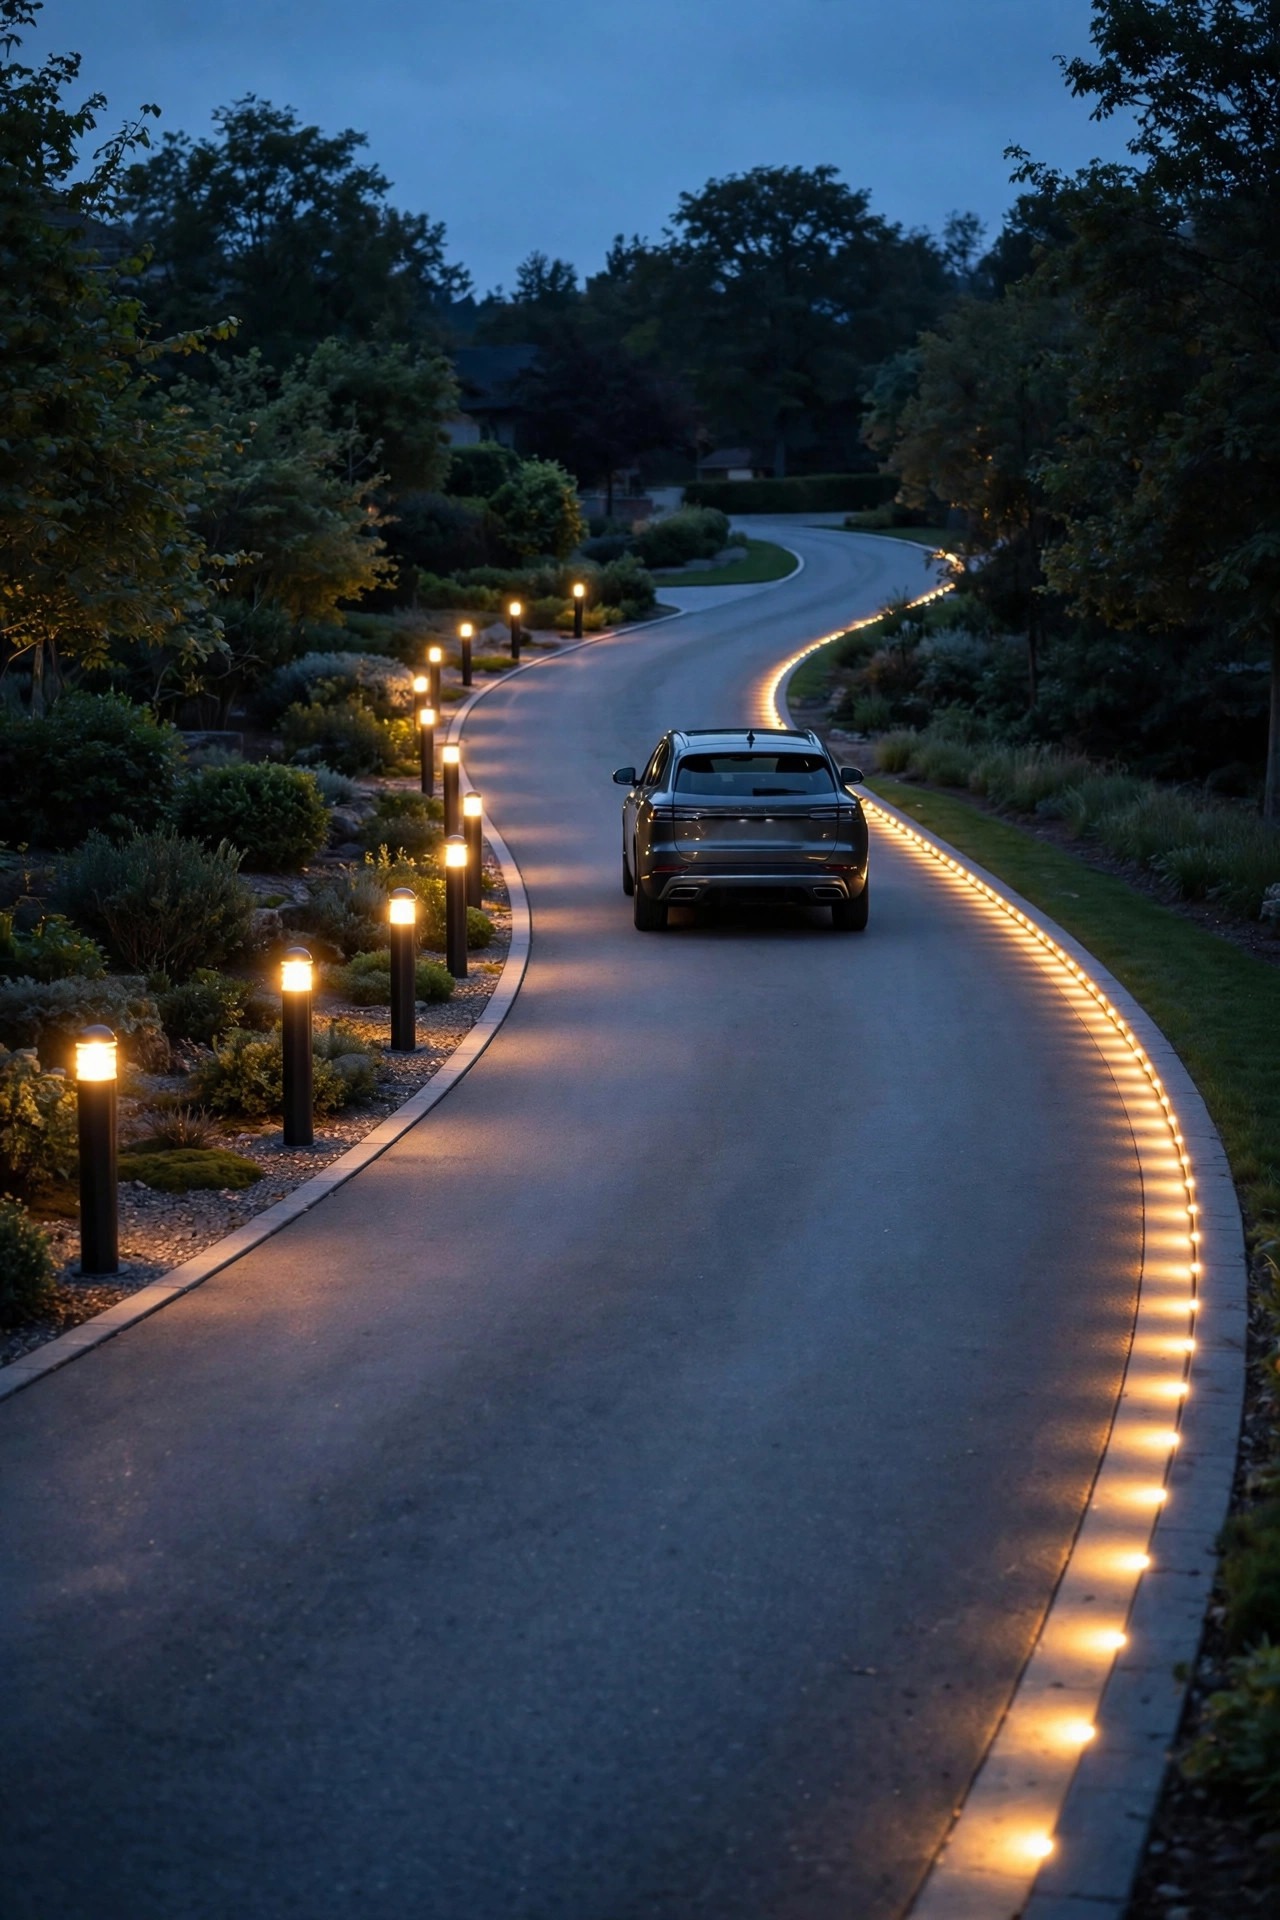
It feels economical: light the left edge well and let drivers infer the right. They cannot. On a dark, wet night, a single lit edge gives your brain a line but no width, so guests drift toward the light — the way drivers unconsciously steer toward whatever they can see — and drop a wheel off the unlit side. Lawns get rutted, edging gets crushed, and on narrow drives, mirrors meet mailboxes.
What to do instead: a driveway needs two rails of information. They do not need to match fixture for fixture — one side can carry the real lights while the other gets simple reflective markers, flush in-ground pucks, or a low hedge washed by a single wide-beam light — but both edges must say where they are. On curved drives, mark the outside of the curve most clearly, since that is the edge drivers misjudge worst. Then stand at the street on the darkest night you can and honestly ask whether a stranger could thread your drive without guessing. If one side vanishes, it is not finished. Fixing this was the cheapest transformation at our house: four flush markers on the dark side, and suddenly every guest parks straight, centered and relaxed.
Suggested budget range: $40 – $120.
Frequently Asked Questions
How many lights does a typical driveway actually need?
Fewer than the box sets want you to buy. Most single driveways work beautifully with five to eight fixtures total: two at the entrance, three to five gentle edge lights, plus a work light at the garage. Double drives and long country lanes need more, but the principle holds — if every fixture has a job and the pools of light just touch, you are done. Add one more only when a specific dark gap bothers you on a real night drive-in.
How far apart should driveway lights be spaced?
For low path lights and bollards, 8 to 12 feet apart on one side, staggered, is the sweet spot for most homes. Spacing both sides evenly can stretch to 10 to 15 feet because the pools overlap across the pavement. Tighter than about 6 feet and you are building the runway from mistake number one. Judge it from the driver's seat at night, not from the sidewalk at noon — gaps that look huge at noon disappear completely after dark.
Are solar lights bright enough to mark a driveway in winter?
For decoration, yes; for working edges, usually not. Short days, low sun and cold batteries can cut a small solar fixture's output and runtime in half by December. If solar is your only option, choose units rated at 100 lumens or more with replaceable lithium batteries and the largest panel you can find, and reserve them for the entrance and corners. For edges your guests must judge from a moving car, wired low-voltage is still the honest answer.
What color temperature looks best on a driveway?
Warm white, 2700K to 3000K, matched across every fixture at the front of the house. It flatters brick, stone, concrete and skin tones, and it reads as welcoming rather than institutional. Cool 5000K daylight bulbs have their place over a workbench, but on a driveway they glare harder and clash with every warm window in the house. Whatever you choose, choose it once — consistency matters more than the exact number.
Conclusion
The pattern under all thirteen fixes is the same: edges before decoration, aim before brightness, and zones before raw power. Work through your own driveway lighting mistakes two or three at a time — re-aim what glares, move what gets clipped, mark the side that disappears — and the drive will quietly start doing its job: guiding cars in, walking guests up, and making the house look like somebody thoughtful lives there. When you are ready to go further, browse the rest of the lighting ideas here on the site and plan your next layer. See you out there after dark — Sarah.