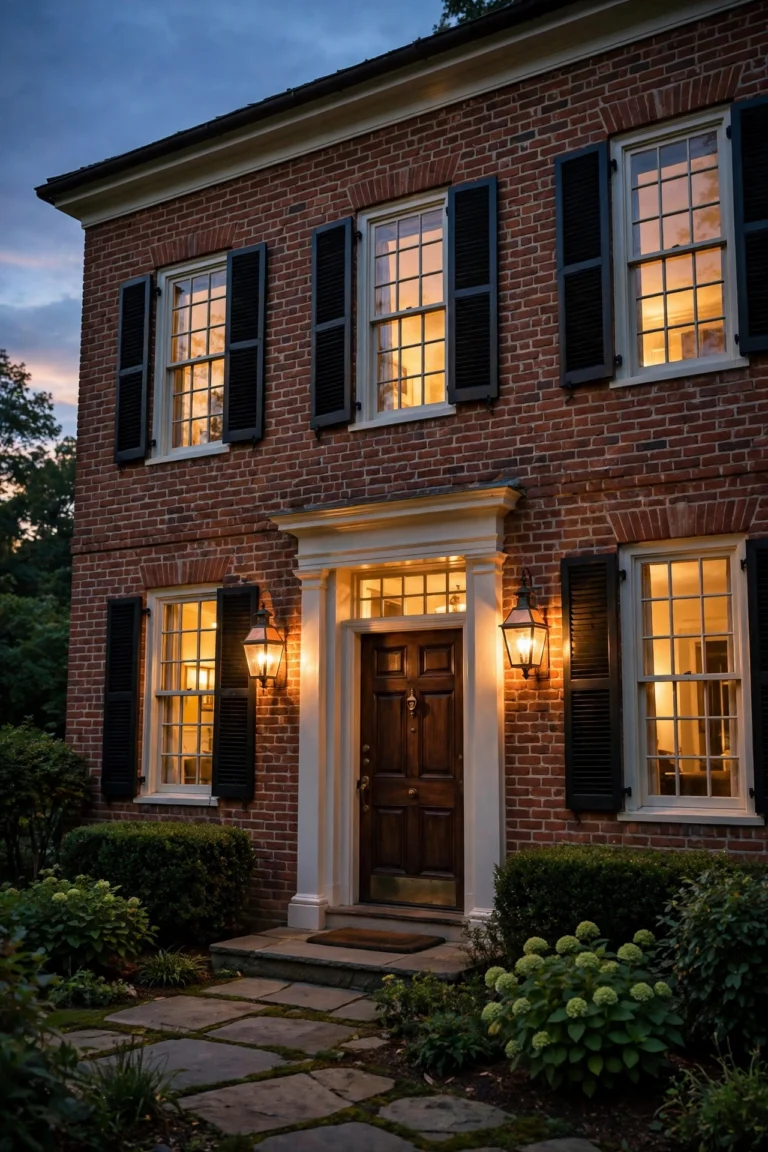
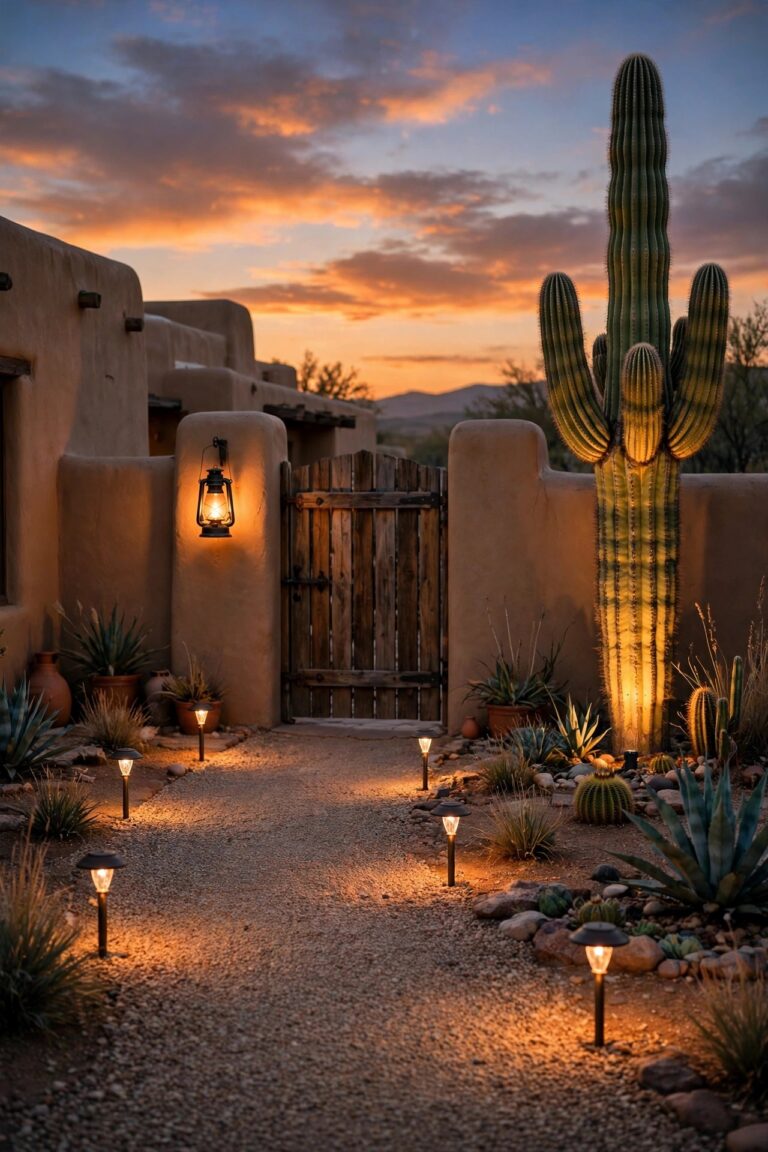
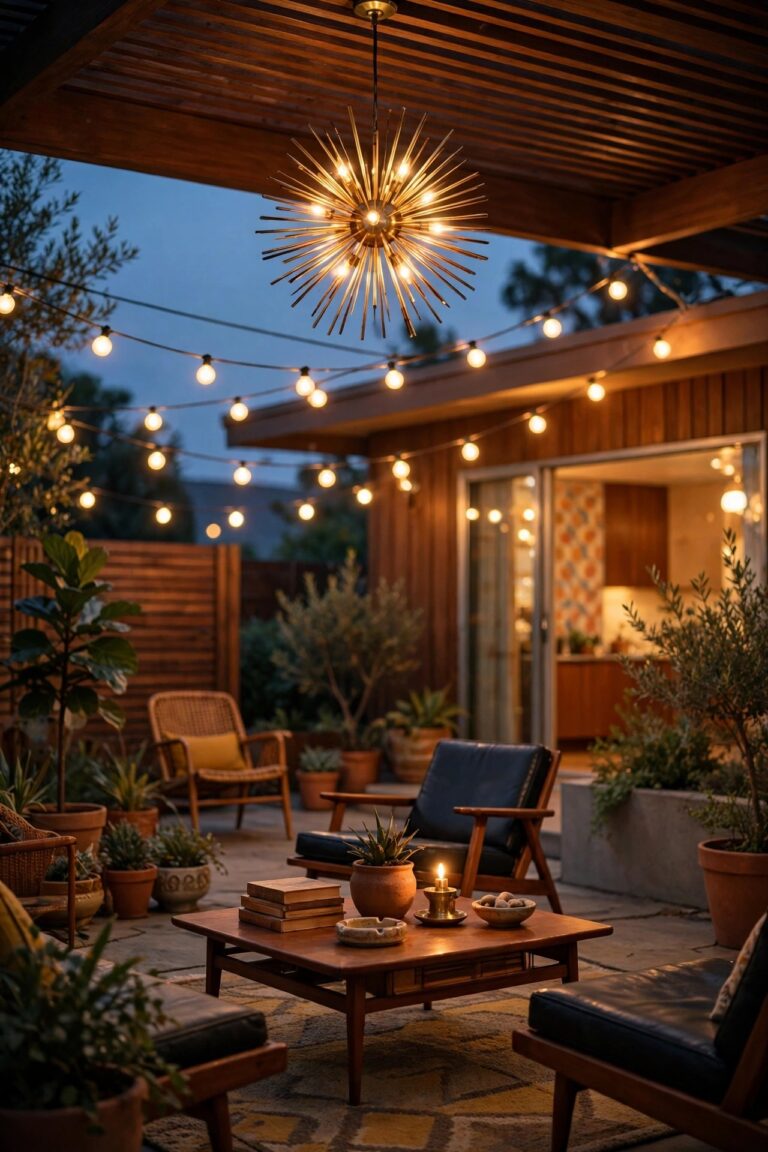
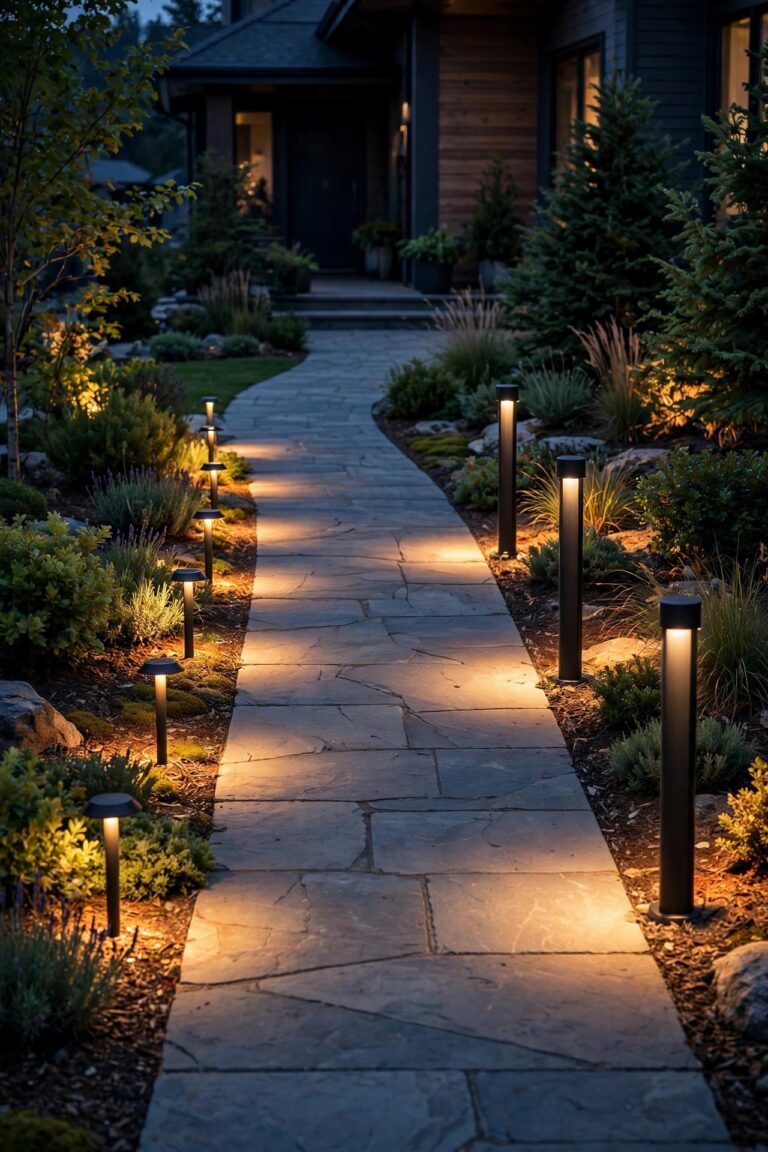
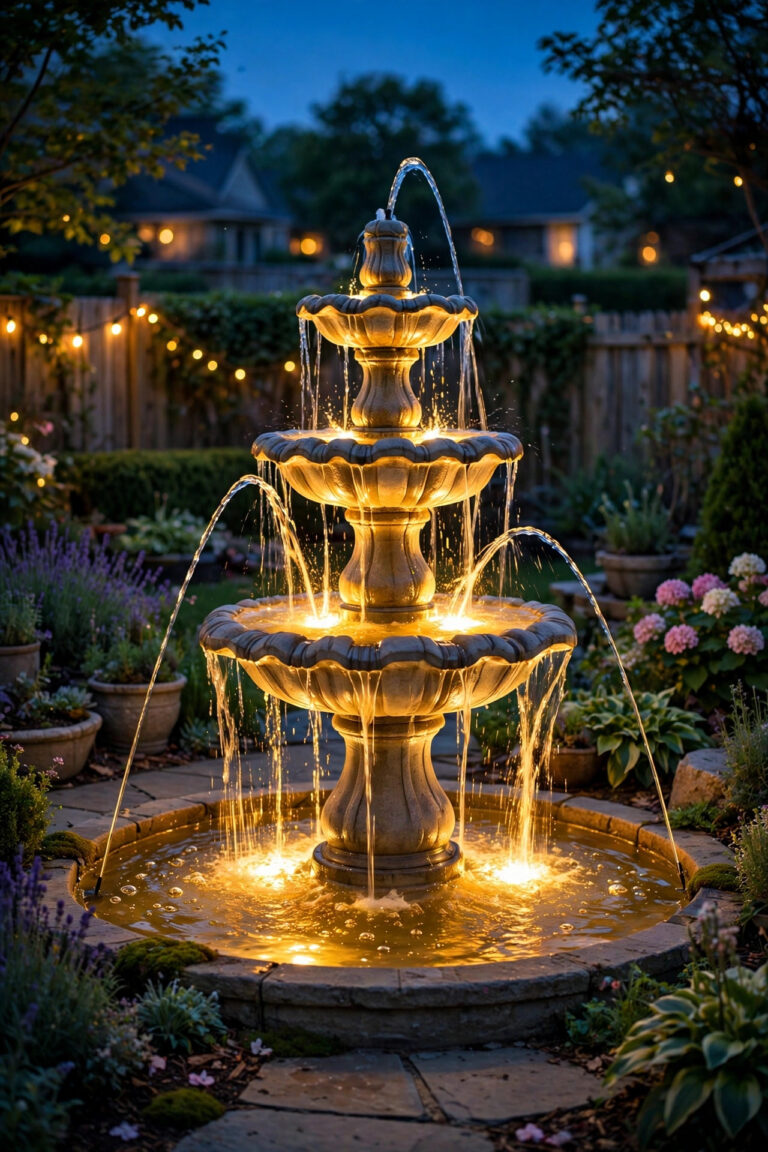
I have stood in the lighting aisle with a cart full of maybes, and I have come home with fixtures that fought each other all summer. The difference was never taste. It was whether I had decided the important things before I spent a dime. That is exactly what this outdoor lighting buying checklist is for. Outdoor lighting looks simple from the curb: a few path lights, a porch lantern, maybe a spotlight for the oak tree. But every fixture drags a dozen decisions behind it — power source, brightness, beam, color temperature, controls, cable. Decide them in the aisle, under the fluorescent lights, and you pay twice: once in returns, and once in a yard that never quite glows the way you pictured. Below are the 17 decisions I now make before buying anything, in the order I make them, each with the option I default to for a typical home. Work through them with a notepad, or right on your phone in the store, and you will buy once, install once, and enjoy the result for years.

1. Start Your Outdoor Lighting Buying Checklist With One Job Per Light
Every light in your yard should have exactly one job, and you should be able to say it out loud: those two walk the path, that one washes the brick, this one watches the driveway. The four jobs are safety (steps, paths, edges and grade changes), task (the grill, the keyhole, the house numbers, the trash pad), accent (trees, stone texture, architecture, a fountain) and security (motion coverage over doors and dark corners). Trouble starts when one fixture is asked to do two jobs at once. A blazing security floodlight makes a terrible accent light, and a pretty little accent spot leaves a real step in dangerous shadow. In my experience, most disappointing yards are not under-lit, they are mis-assigned: money spent on fixtures doing jobs nobody needed while the one genuinely dark step stayed dark. So before you shop, walk your yard at dusk with your phone flashlight off. Note where you hesitate, where you squint, and where a guest would struggle. That honest ten-minute walk writes your real shopping list. My default for a typical home: safety first, then the entry task light, then one or two accents, and security only where a door or window truly sits in darkness.
Suggested budget range: $10 – $40.
2. Pick the Power Source Before You Fall for a Fixture
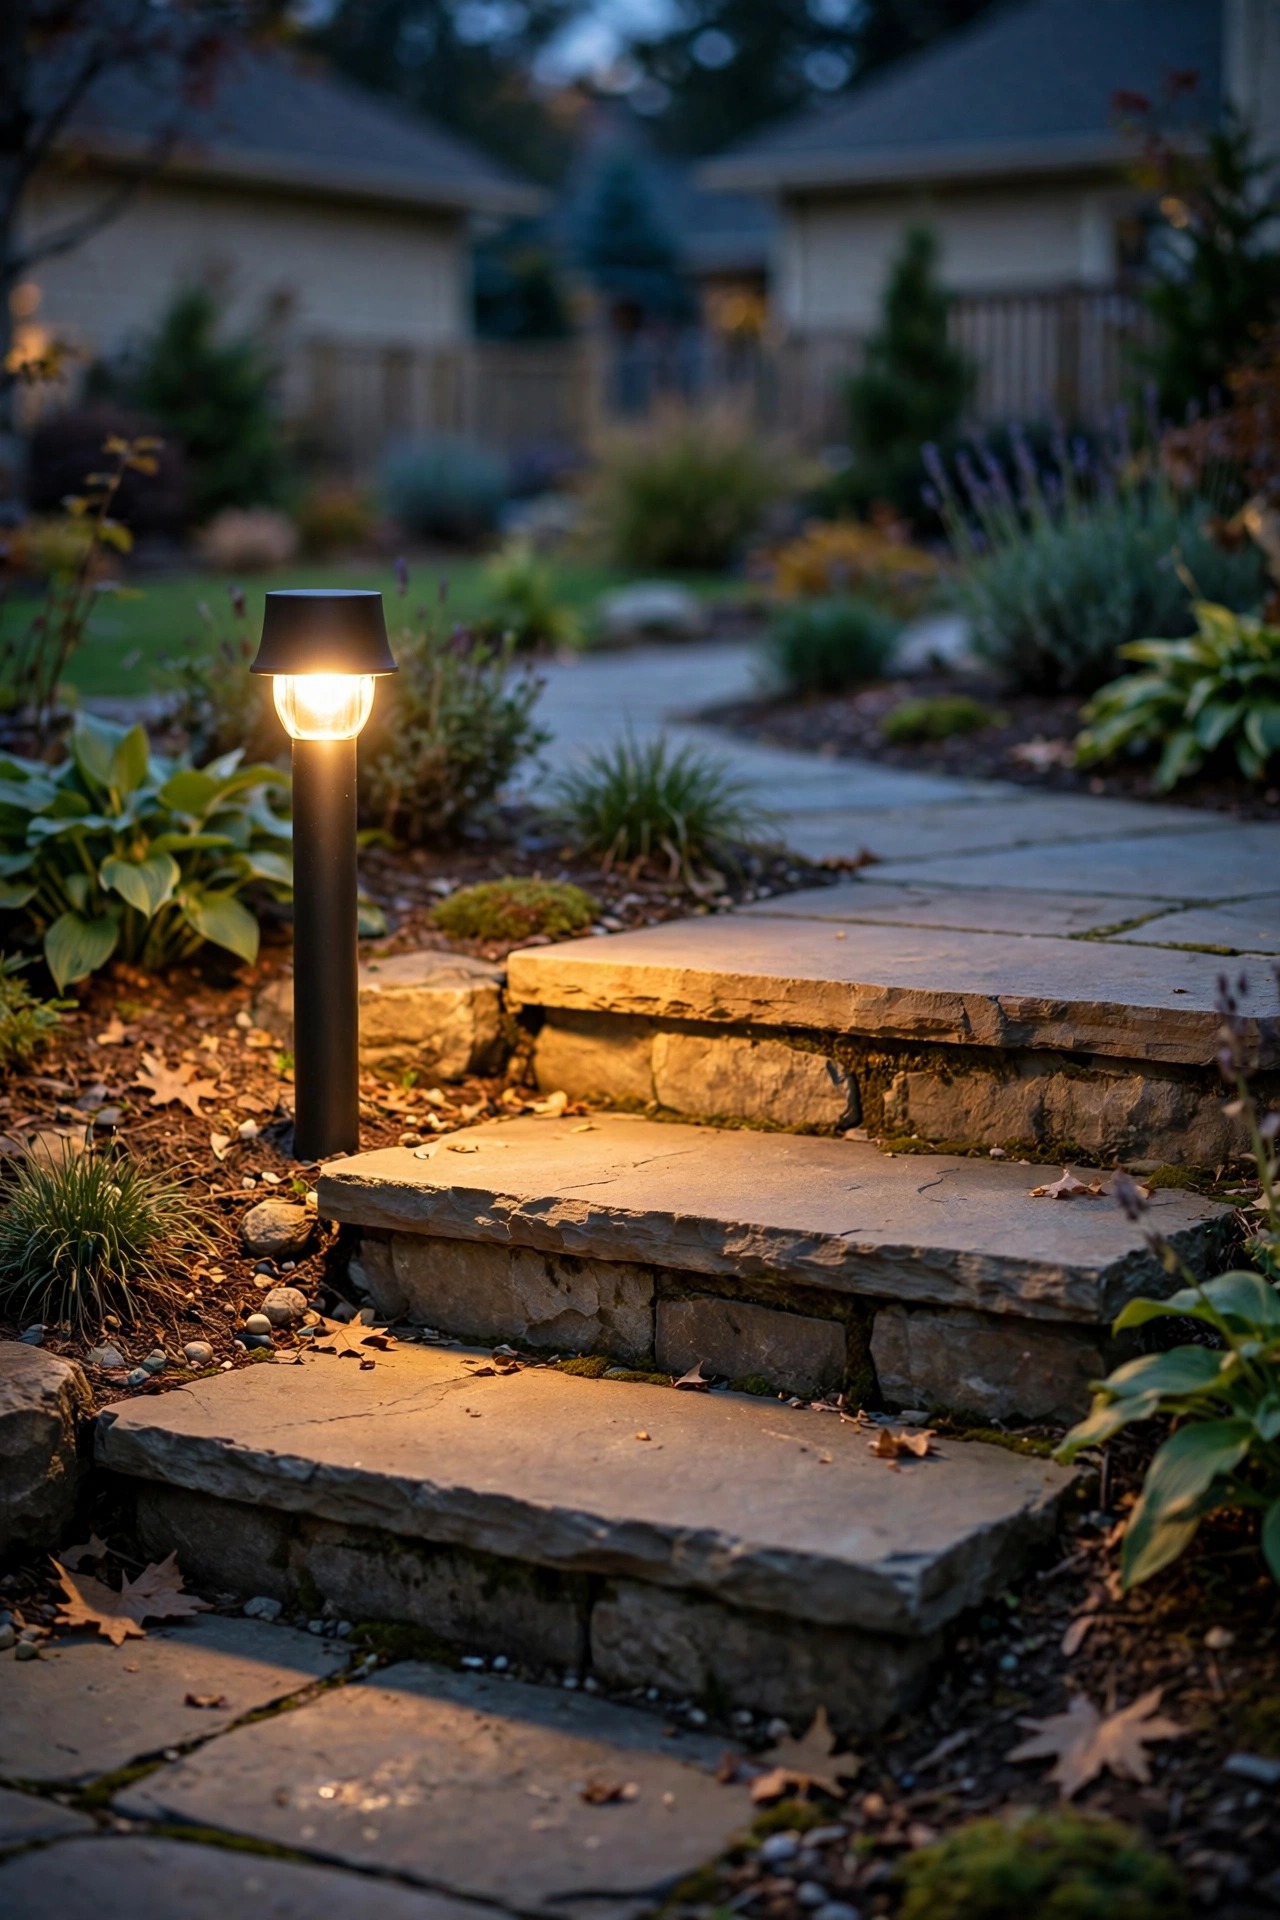
Power decides almost everything downstream — brightness, reliability, running cost, how much digging you do — so settle it before a pretty fixture talks you into the wrong system. Solar is the easiest install on earth and perfect for accents in full sun, but output drops in winter and shade. Battery lights suit rarely used spots like shed doors and gate latches, though you will be changing cells. Low-voltage wired systems (12V from a plug-in transformer) are my default for most homes: safe to handle, bright enough for real work, dimmable, and endlessly rearrangeable. Line voltage (120V) is the heavy lifter for tall trees, big floods and permanent hardwired fixtures, but it means permits, buried conduit rules and usually an electrician. Honestly, the honest question is how permanent this lighting is. Renting, testing a layout, or lighting a sunny path? Solar. Building the system you want to still love in ten years? Low-voltage wired, with line voltage reserved for the two or three fixtures that genuinely need household current. Mixing is fine too — most of my favorite yards run wired bones with solar accents sprinkled where cable could never reach.
Suggested budget range: $15 – $300.

3. Set the Real Budget, Including the Boring Parts
Here is where good plans quietly die: the fixtures get a budget, and the transformer, cable, connectors, stakes, timer and replacement bulbs get whatever is left over, which is usually nothing. Price the whole system before you buy the first pretty thing. For a wired setup, a sensible rule is that fixtures take about half to two-thirds of the total, and the infrastructure takes the rest — and that infrastructure is exactly what decides whether the lights burn bright and even or sulk at half power. My guide to landscape lighting budget tiers breaks down what each spending level realistically buys, and it is worth a look before you set your number. Also decide your phasing now: a smaller, complete, well-powered system you can expand beats a yard-wide skeleton of cheap fixtures you will replace one by one. Write the total down and hold it in the store, because lighting is sold in irresistible singles. My default for a typical front yard: a firm total that includes 15 percent slack for the connectors, extra cable and mounting bits you will inevitably need on install day. Decide it here, on paper, not at the register.
Suggested budget range: $150 – $600.
4. Decide Brightness in Lumens, Zone by Zone
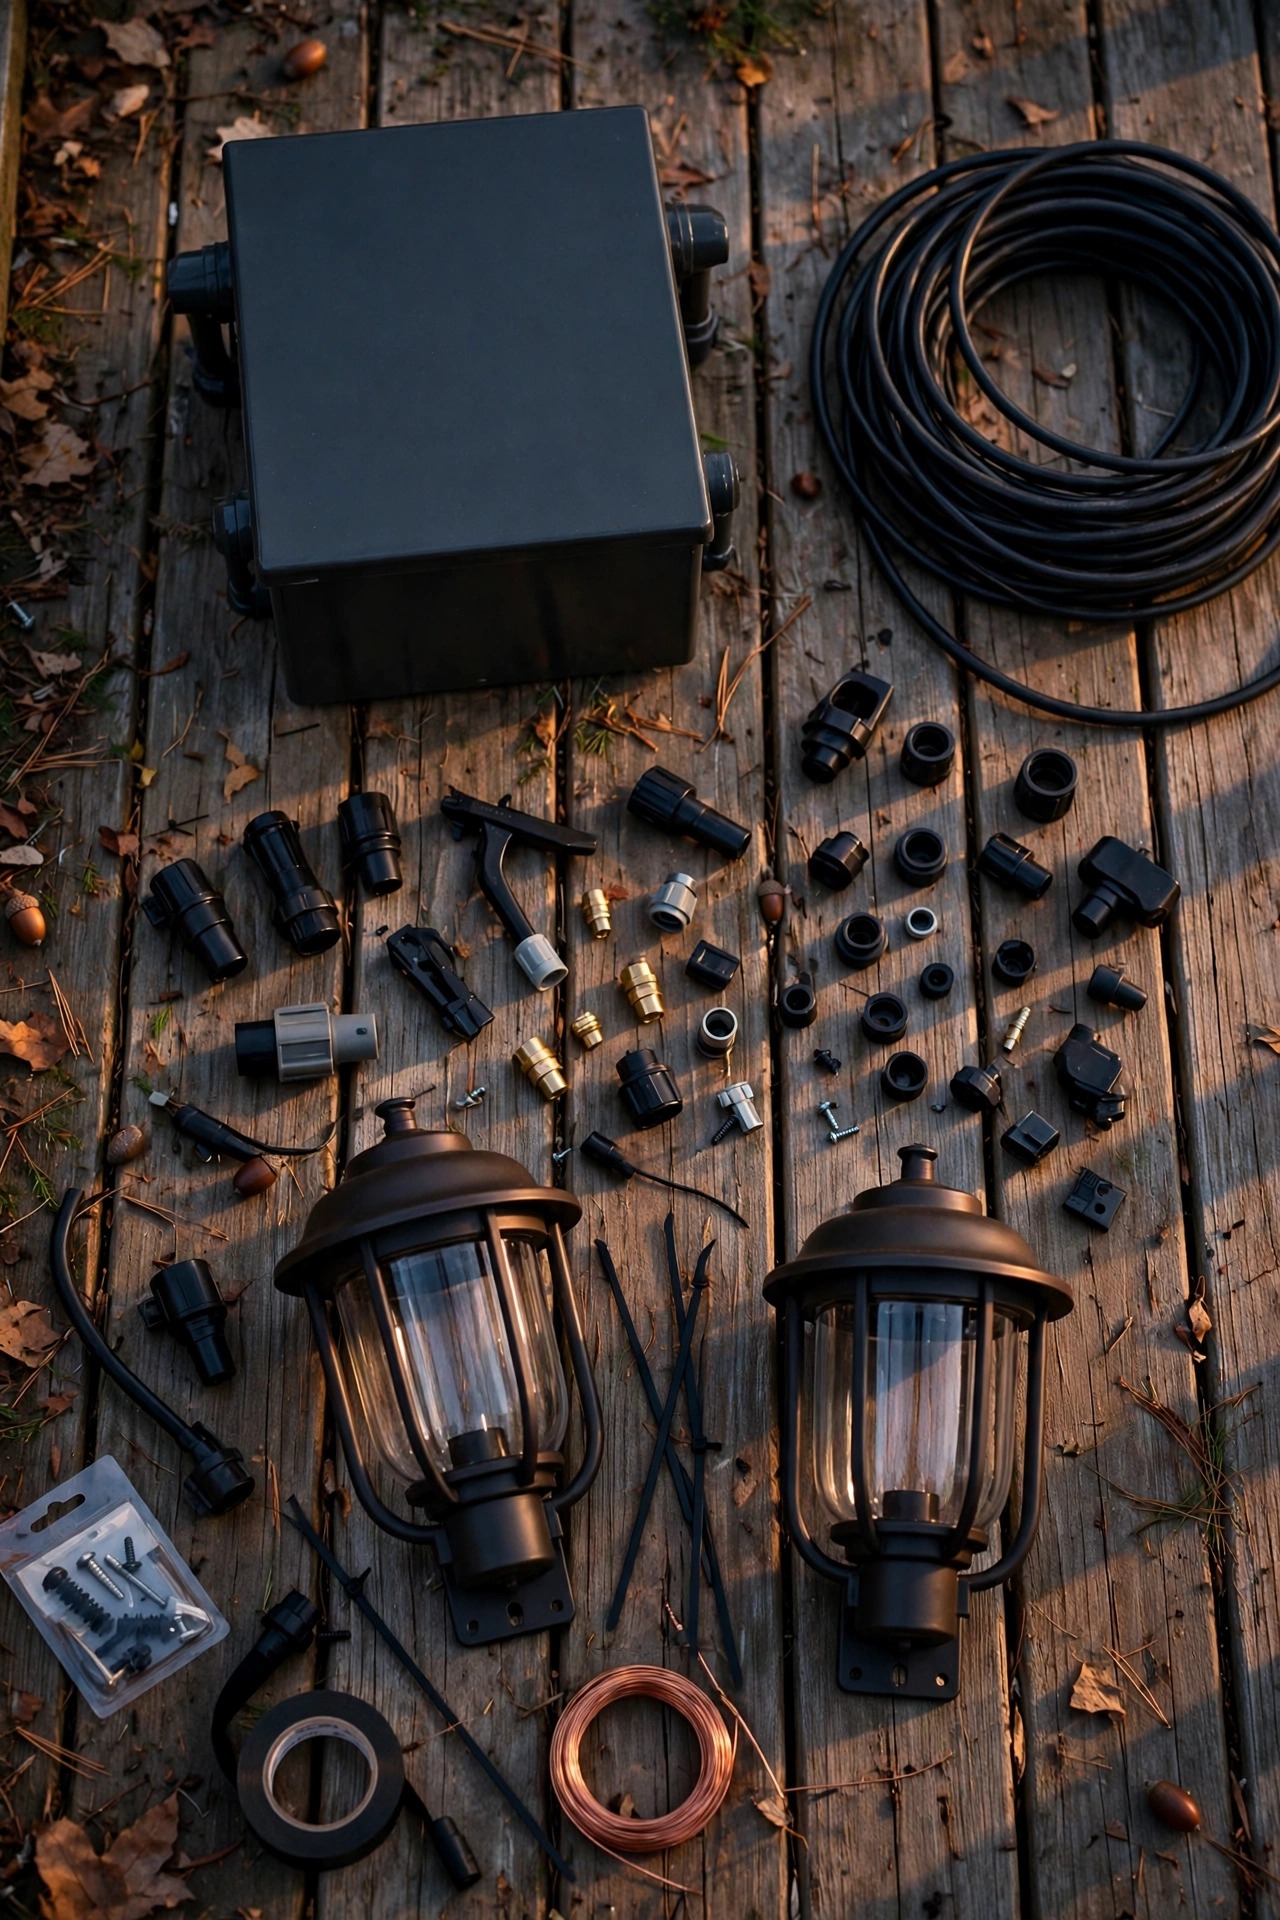
The box photo lies. Every fixture looks like a stadium in the marketing picture, so shop by lumens — the actual measure of light output — and set a target range for each zone before you go. My working numbers: path and step lights, 50 to 150 lumens each, enough to pool light on the treads without glare. Porch and entry fixtures, 300 to 800 lumens, so faces and keyholes read clearly. Accent spotlights, 200 to 500 lumens depending on tree size and bark color — dark bark and tall canopies drink light. Security and flood duty, 1,000 lumens and up, ideally on motion so the brightness is a brief event, not a nightly broadcast. Deck and patio ambient, a soft 100 to 300 per fixture, layered from several sources. Notice the pattern: most of a beautiful yard lives at surprisingly low lumens, because contrast does the heavy lifting after dark. One over-bright fixture flattens everything around it and makes the rest look broken. My default: buy to the low end of each range, live with it a week, and add or swap up only where a zone truly reads dark. You can always add light. Subtracting glare means returning fixtures.
Suggested budget range: $20 – $80.

5. Choose One Color Temperature and Hold the Line
If I could tattoo one rule on every lighting shopper, it would be this: pick one color temperature and buy nothing that strays from it. Warm 2700K gives the candlelit, golden look that flatters brick, wood and skin — it is what most people picture when they say a yard looks cozy. 3000K is a touch crisper and cleaner, lovely on modern homes, gray stone and blue-green foliage, and still warm enough to feel residential. Either is a fine choice. What ruins a yard is mixing them: a 2700K porch lantern beside 4000K path lights beside a bluish solar stake, each one making the others look wrong. Check the Kelvin number on every box, because brands use words like "warm" loosely. It matters most where fixtures share one sightline, like a path leading to a porch. My default is 2700K everywhere for a classic home, 3000K everywhere for a contemporary one — and when I add a fixture two years later, I check the number before I check the style. Keep the receipt photo on your phone; bulb shopping from memory is how the odd one sneaks in.
Suggested budget range: $8 – $25.

6. Match Beam Angle to the Job
Two fixtures with identical lumens can light a yard completely differently, because beam angle decides where those lumens land. A narrow spot beam, around 15 to 30 degrees, throws a focused column — that is your tree uplight, your flag light, your beam that grazes up a chimney. A medium flood, 40 to 60 degrees, washes shrubs, short walls and garden beds. A wide flood, 90 degrees and beyond, spreads soft coverage over patios, driveways and play areas. Buying by fixture shape alone is the classic mistake: that cute bullet light may hide a wide flood that splashes the whole facade when you wanted a slim ribbon of light on the oak. Grazing deserves a mention too — a narrow beam placed close to stone or bark rakes across the surface and turns texture into drama, while the same fixture pulled back goes flat. Check the stated beam angle or beam spread on the spec panel, and picture the cone hitting your target from the real mounting distance. My default kit for a typical yard: narrow spots for accents, wide floods for living areas, and nothing in between unless a bed truly needs it.
Suggested budget range: $25 – $90.
7. Choose Fixture Materials That Suit Your Climate
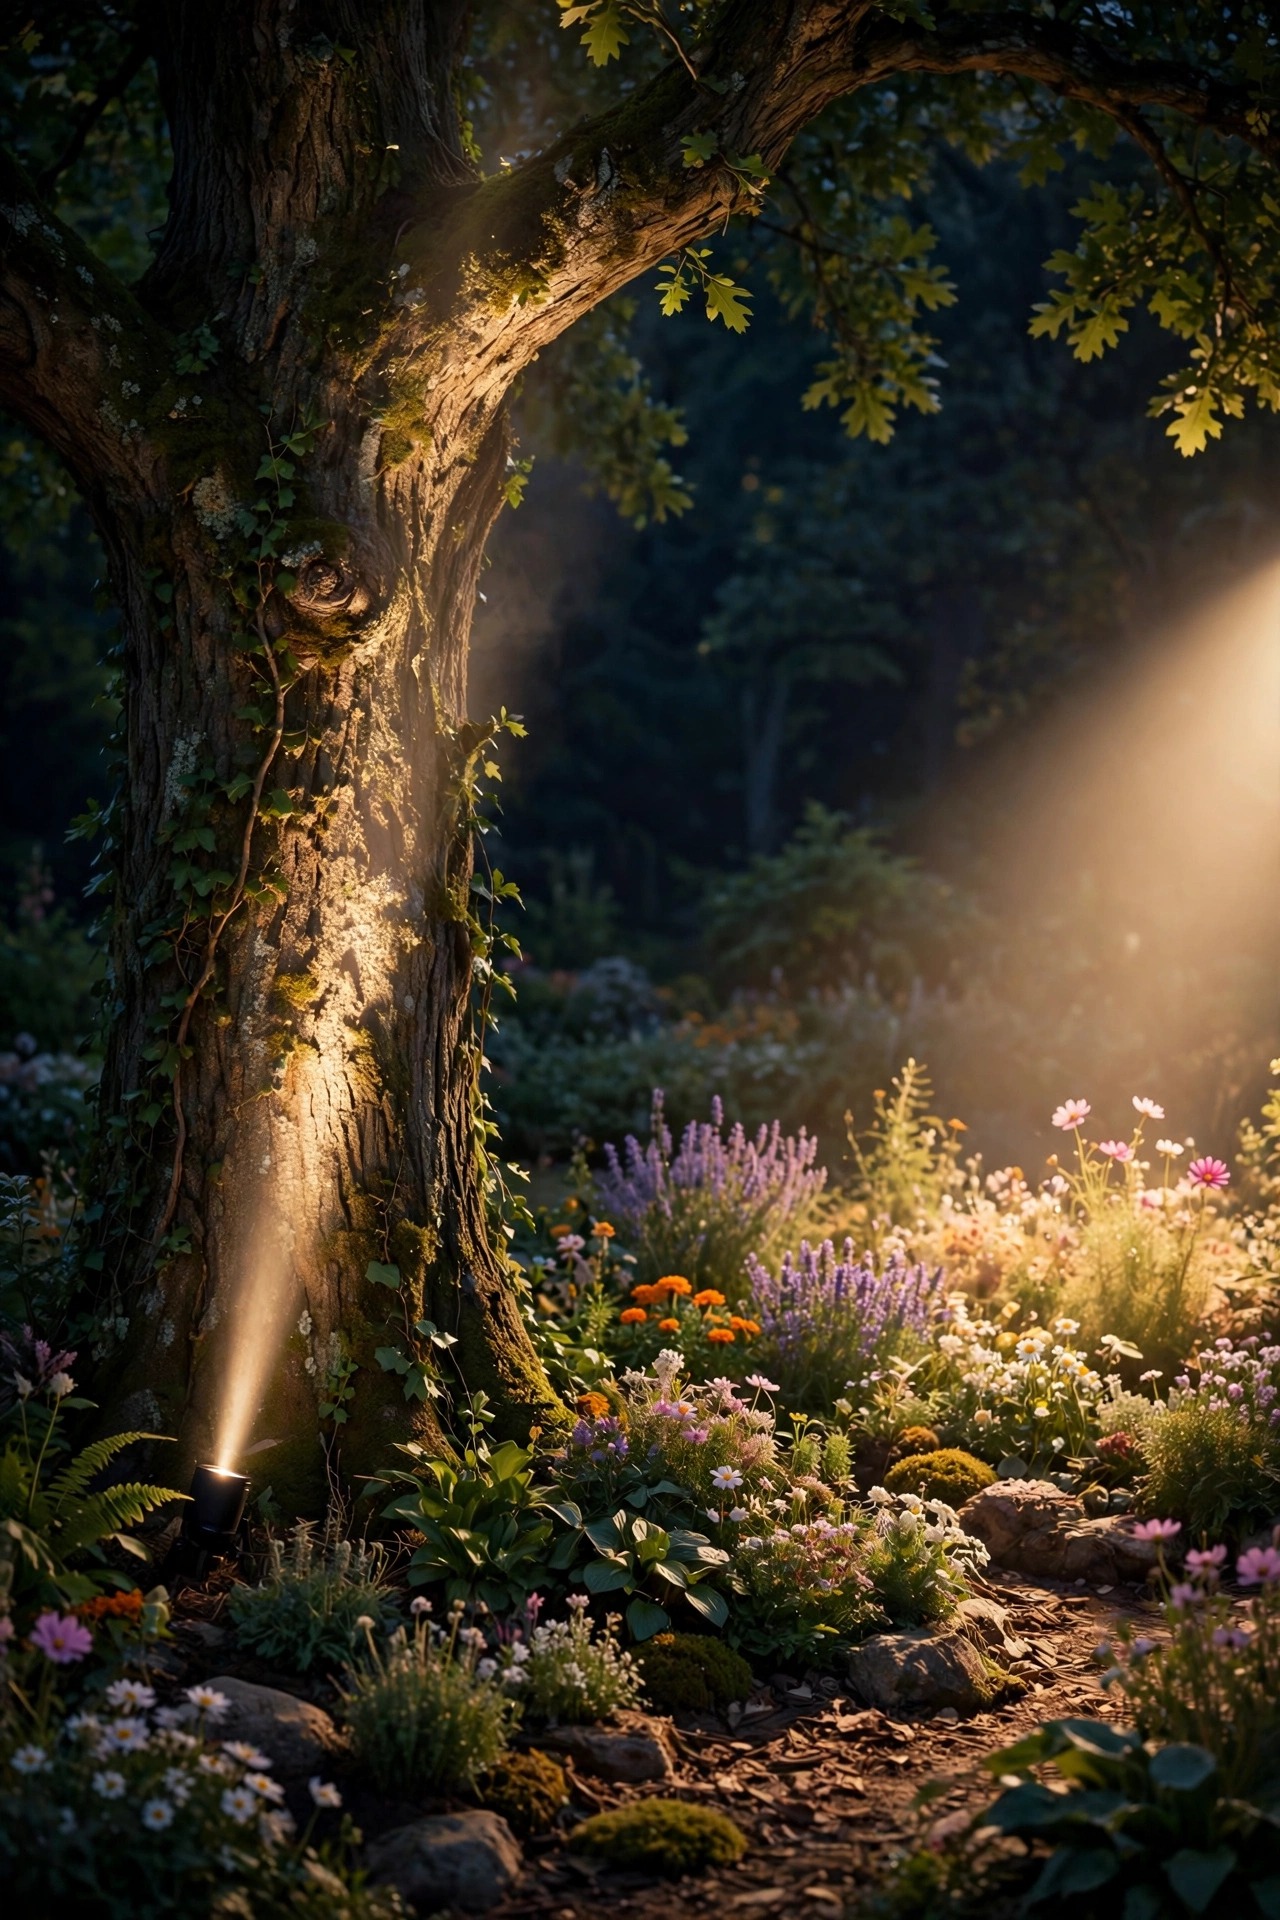
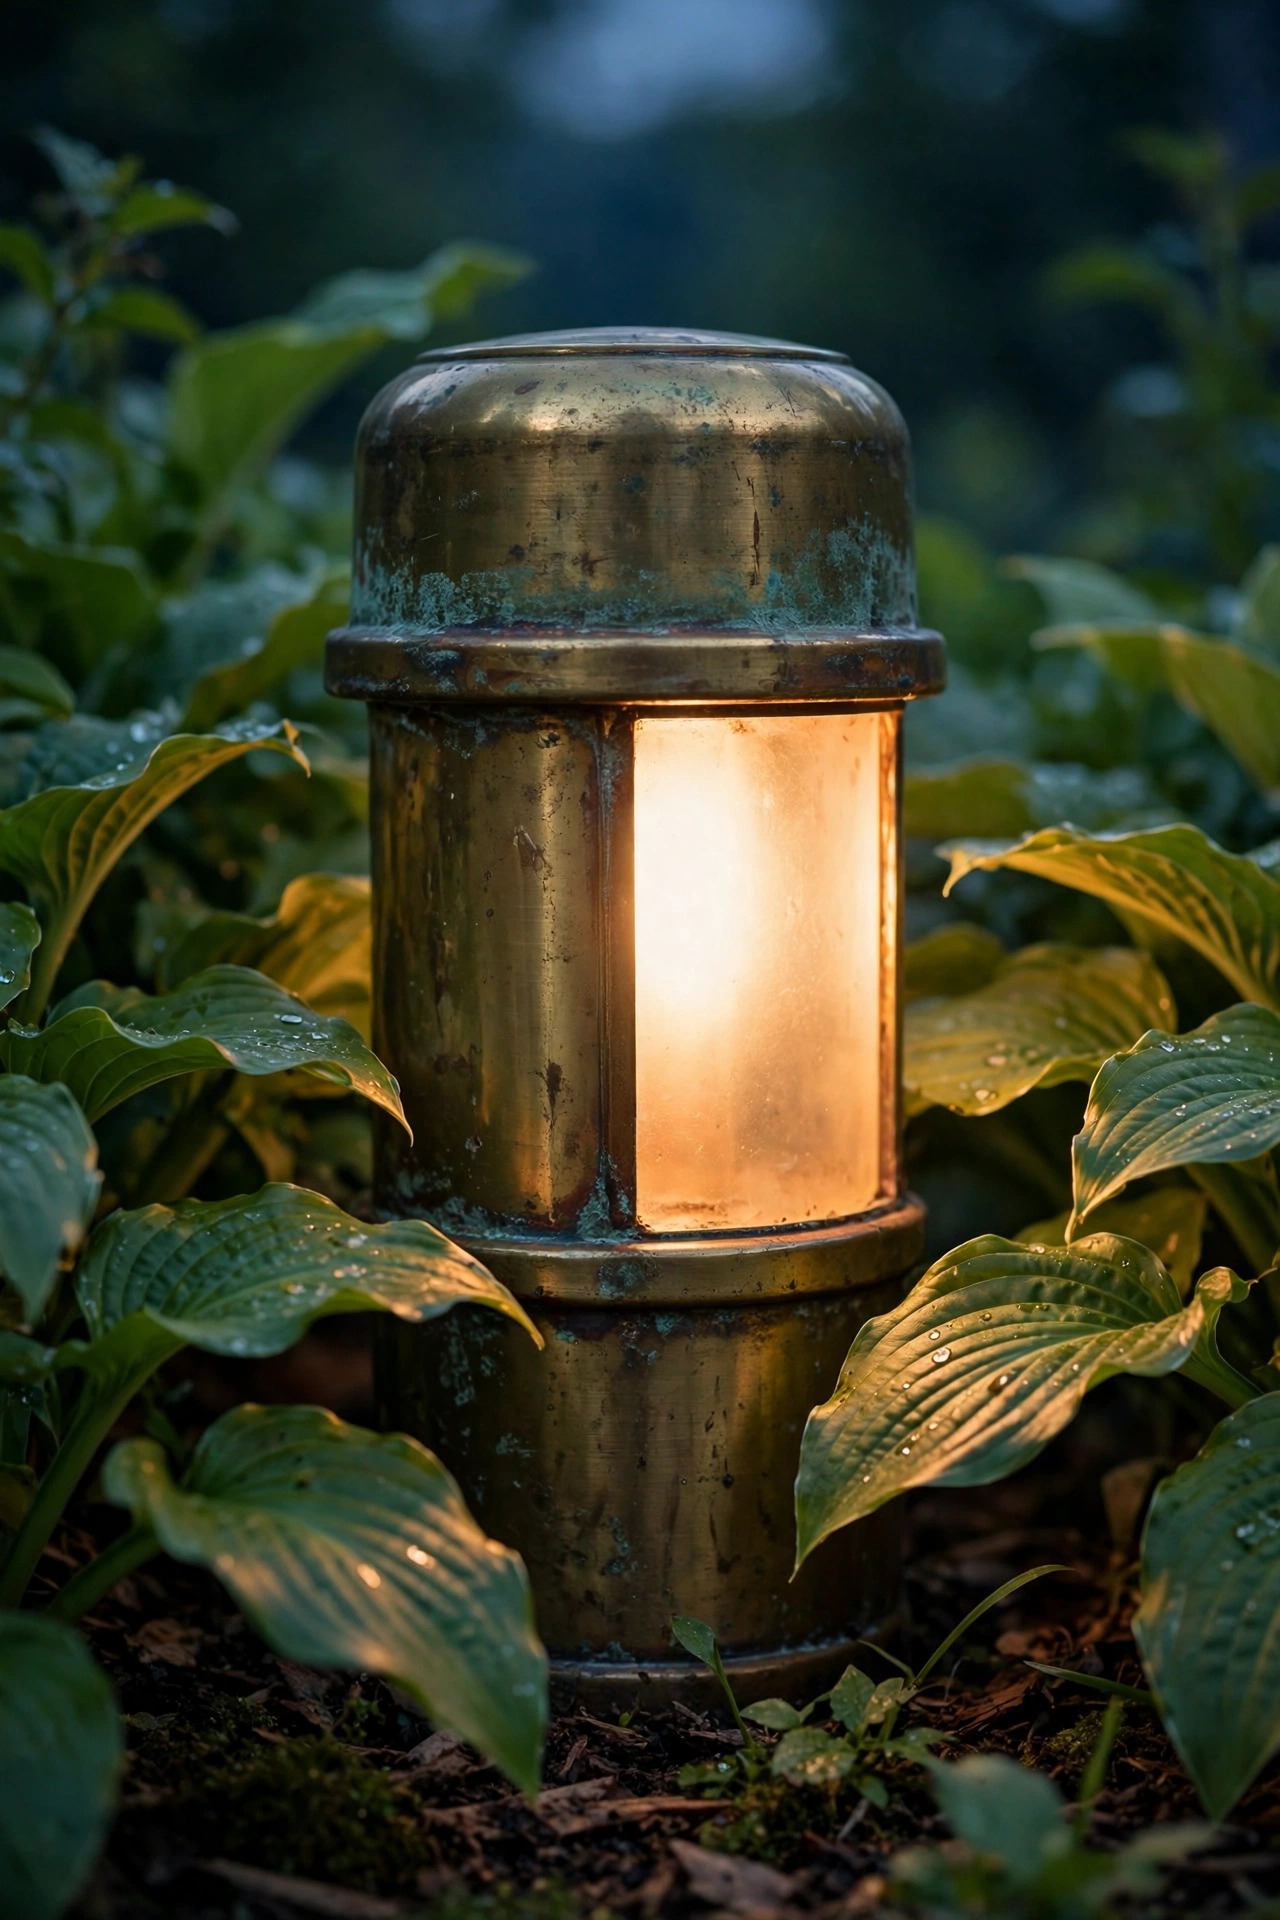
A fixture is a small machine that lives outside in the rain, so material is not a style question, it is a lifespan question. Solid brass and copper sit at the top: they will not rust, they shrug off mower bumps and sprinkler hits, and they age into a handsome patina instead of peeling. Cast aluminum with a good powder coat is the honest middle — light, strong, and happy for years in most climates. Painted steel and thin stamped metal are the budget tier, fine under a covered porch, tired-looking after a few wet seasons anywhere else. Plastic solar stakes are consumables, and that is fine as long as you buy them knowing it. Climate sharpens the choice. Coastal salt air eats cheap finishes fast, so brass earns its price near the shore. Freeze-thaw country cracks brittle housings and heaves lightweight stakes. Desert sun chalks plastic in a single summer. In my experience, the smart spend is uneven: premium material where the fixture is seen up close and touched — the entry, the steps, the hero uplight — and honest mid-tier everywhere the foliage hides it by June. Decide your tiers zone by zone now, and the aisle gets much simpler.
Suggested budget range: $30 – $150.
8. Check the IP Rating and Location Rating
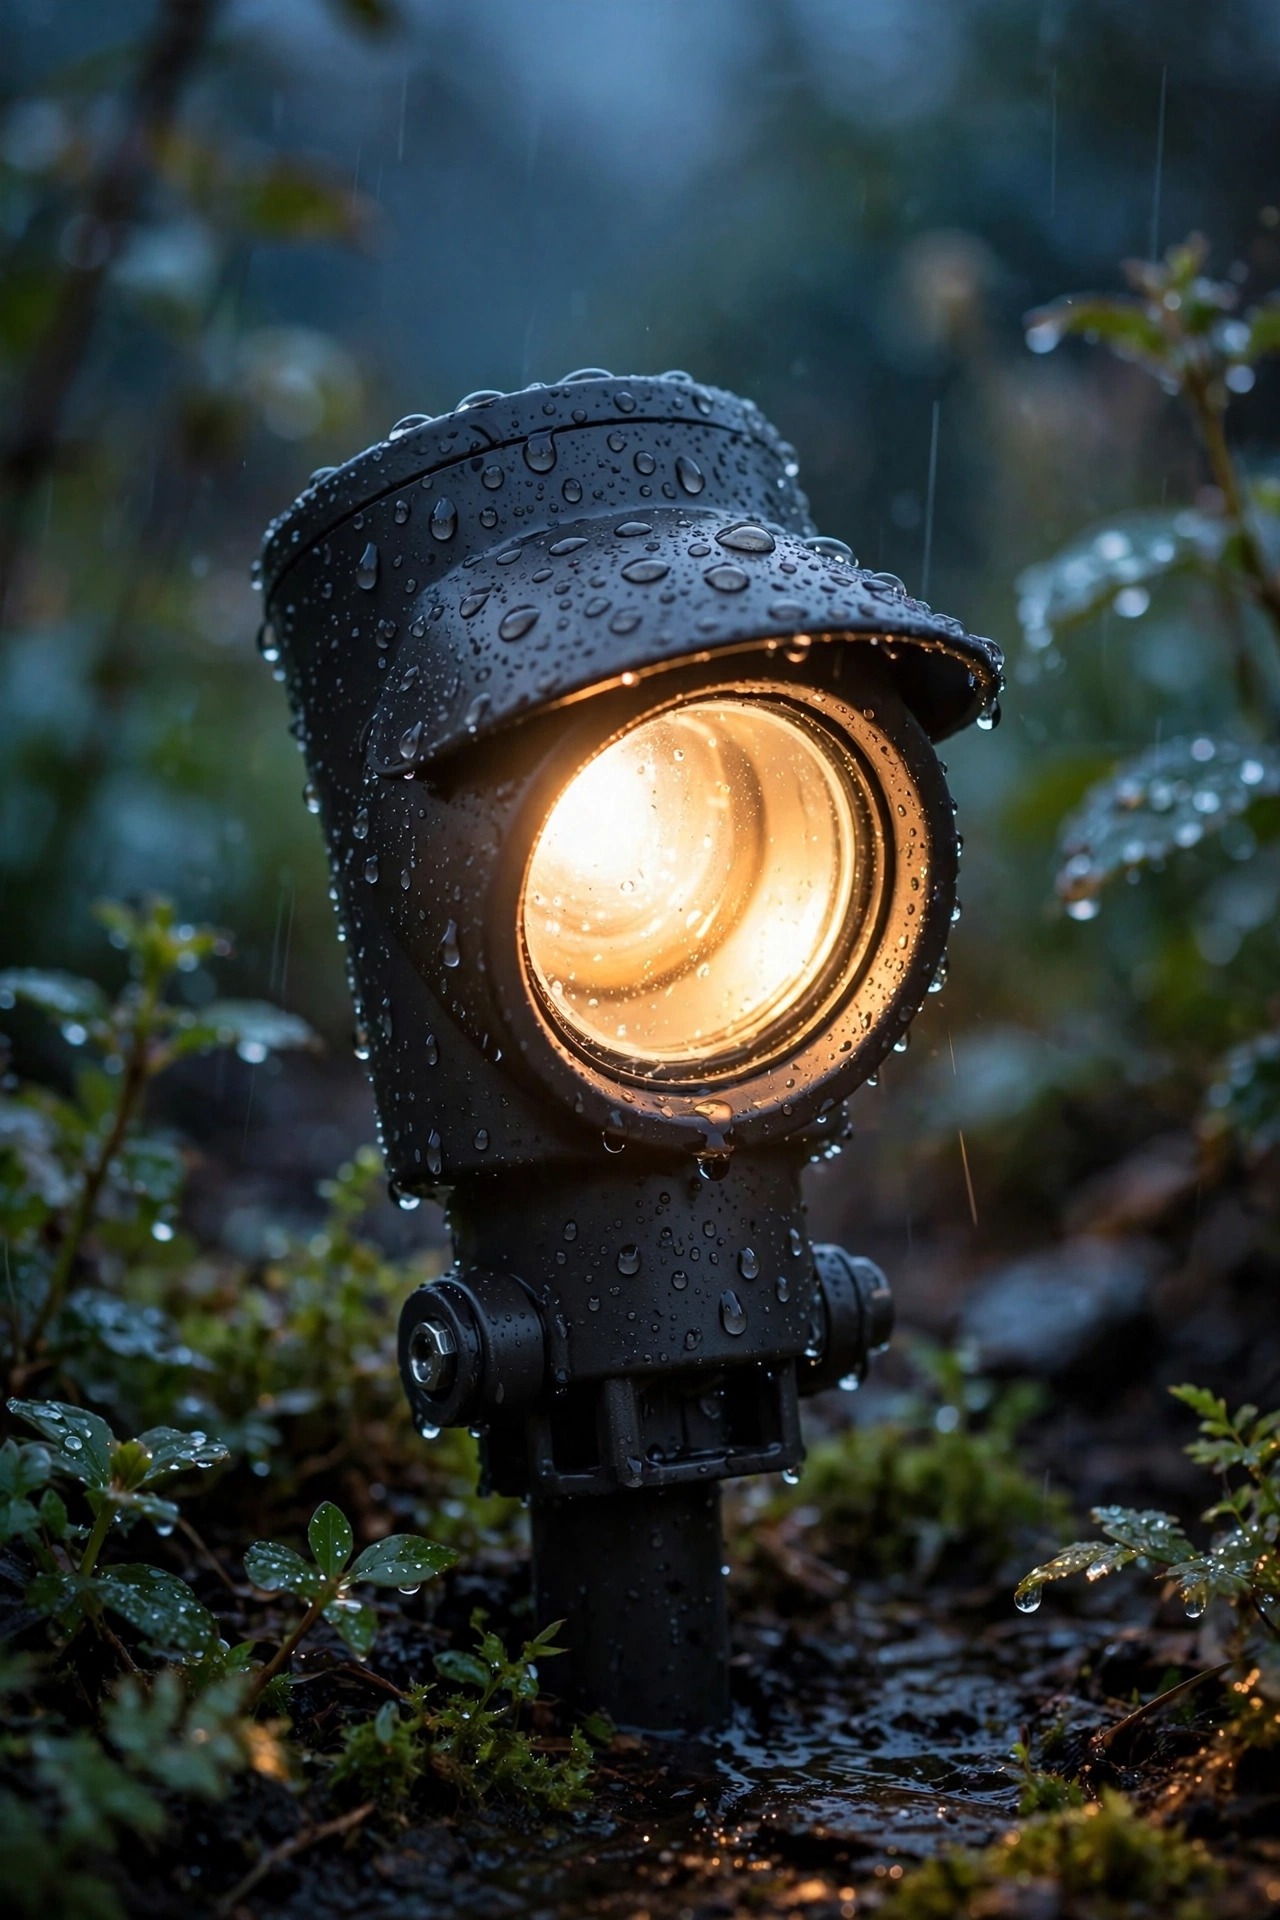
Two labels decide whether a fixture survives its first storm, and both are printed in tiny type. The IP rating is two numbers: the first for dust, the second for water. IP44 shrugs off splashes and suits covered porches. IP65 handles direct rain jets and is my floor for anything fully exposed in the yard. IP67 and IP68 fixtures can sit in soggy soil, near sprinklers, even shallow water features. The second label is the location rating: damp-rated fixtures tolerate humidity and indirect moisture under cover, while wet-rated fixtures are built for direct rain and snow. A damp-rated lantern under a deep porch roof is a smart save. That same lantern on an exposed deck post is a return waiting to happen. While you are reading tiny type, check the fixture against your real conditions — sprinkler arcs count as direct water, eaves drip lines are wetter than they look, and in-ground wells live the hardest life of any fixture you will ever buy. My default: wet-rated and IP65 or better for anything beyond the porch roofline, and I never let a bargain talk me into installing a damp rating in open weather.
Suggested budget range: $20 – $70.
9. Decide: Replaceable Bulbs and Batteries, or Sealed Units
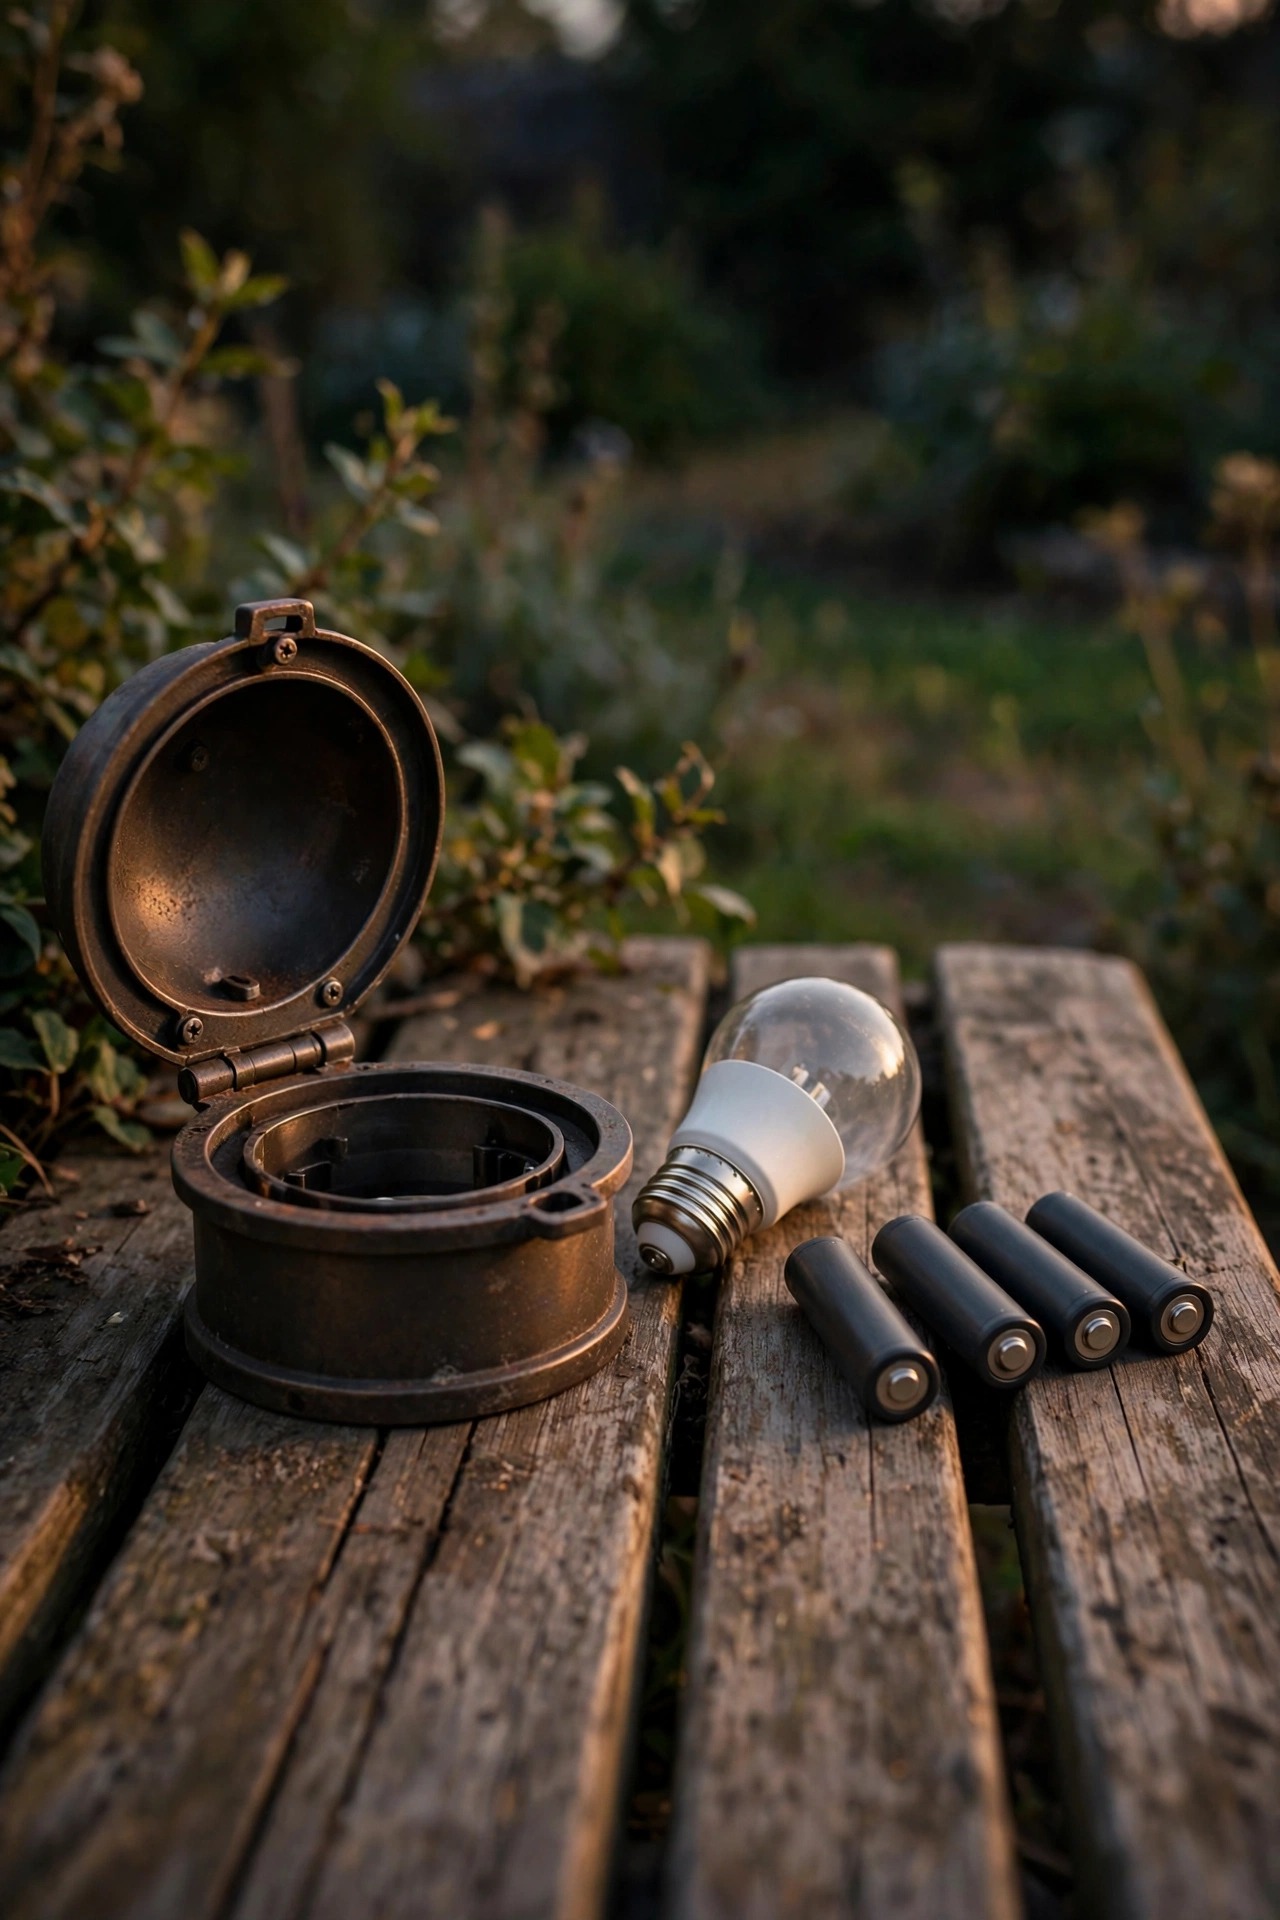
This is the quietest decision on the list and the one that decides what your lights cost in year five. A fixture with a replaceable bulb lets you swap a failed lamp for a few dollars, change brightness, or warm up the color — the housing you paid for keeps working. A sealed integrated-LED fixture is sleeker and often better sealed against weather, but when the diode fades or fails, the whole fixture goes in the trash, housing, lens and all. Solar lights split the same way: models with a standard replaceable rechargeable battery can be revived each spring for pocket change, while sealed solar units are done the day the battery is. Neither is automatically wrong. Sealed makes sense for spots you will genuinely refresh in a few seasons, and for fixtures in brutal locations where gaskets matter more than serviceability. But for your core wired system — the transformer-fed path lights and uplights you want for a decade — choose replaceable lamps and standard sockets every time. My default: if I cannot open it, I do not build my permanent system on it. Check in the store: if there is no visible way to change the bulb, there is your answer.
Suggested budget range: $12 – $45.
10. Choose Your Controls: Photocell, Timer, Motion, Smart or Manual
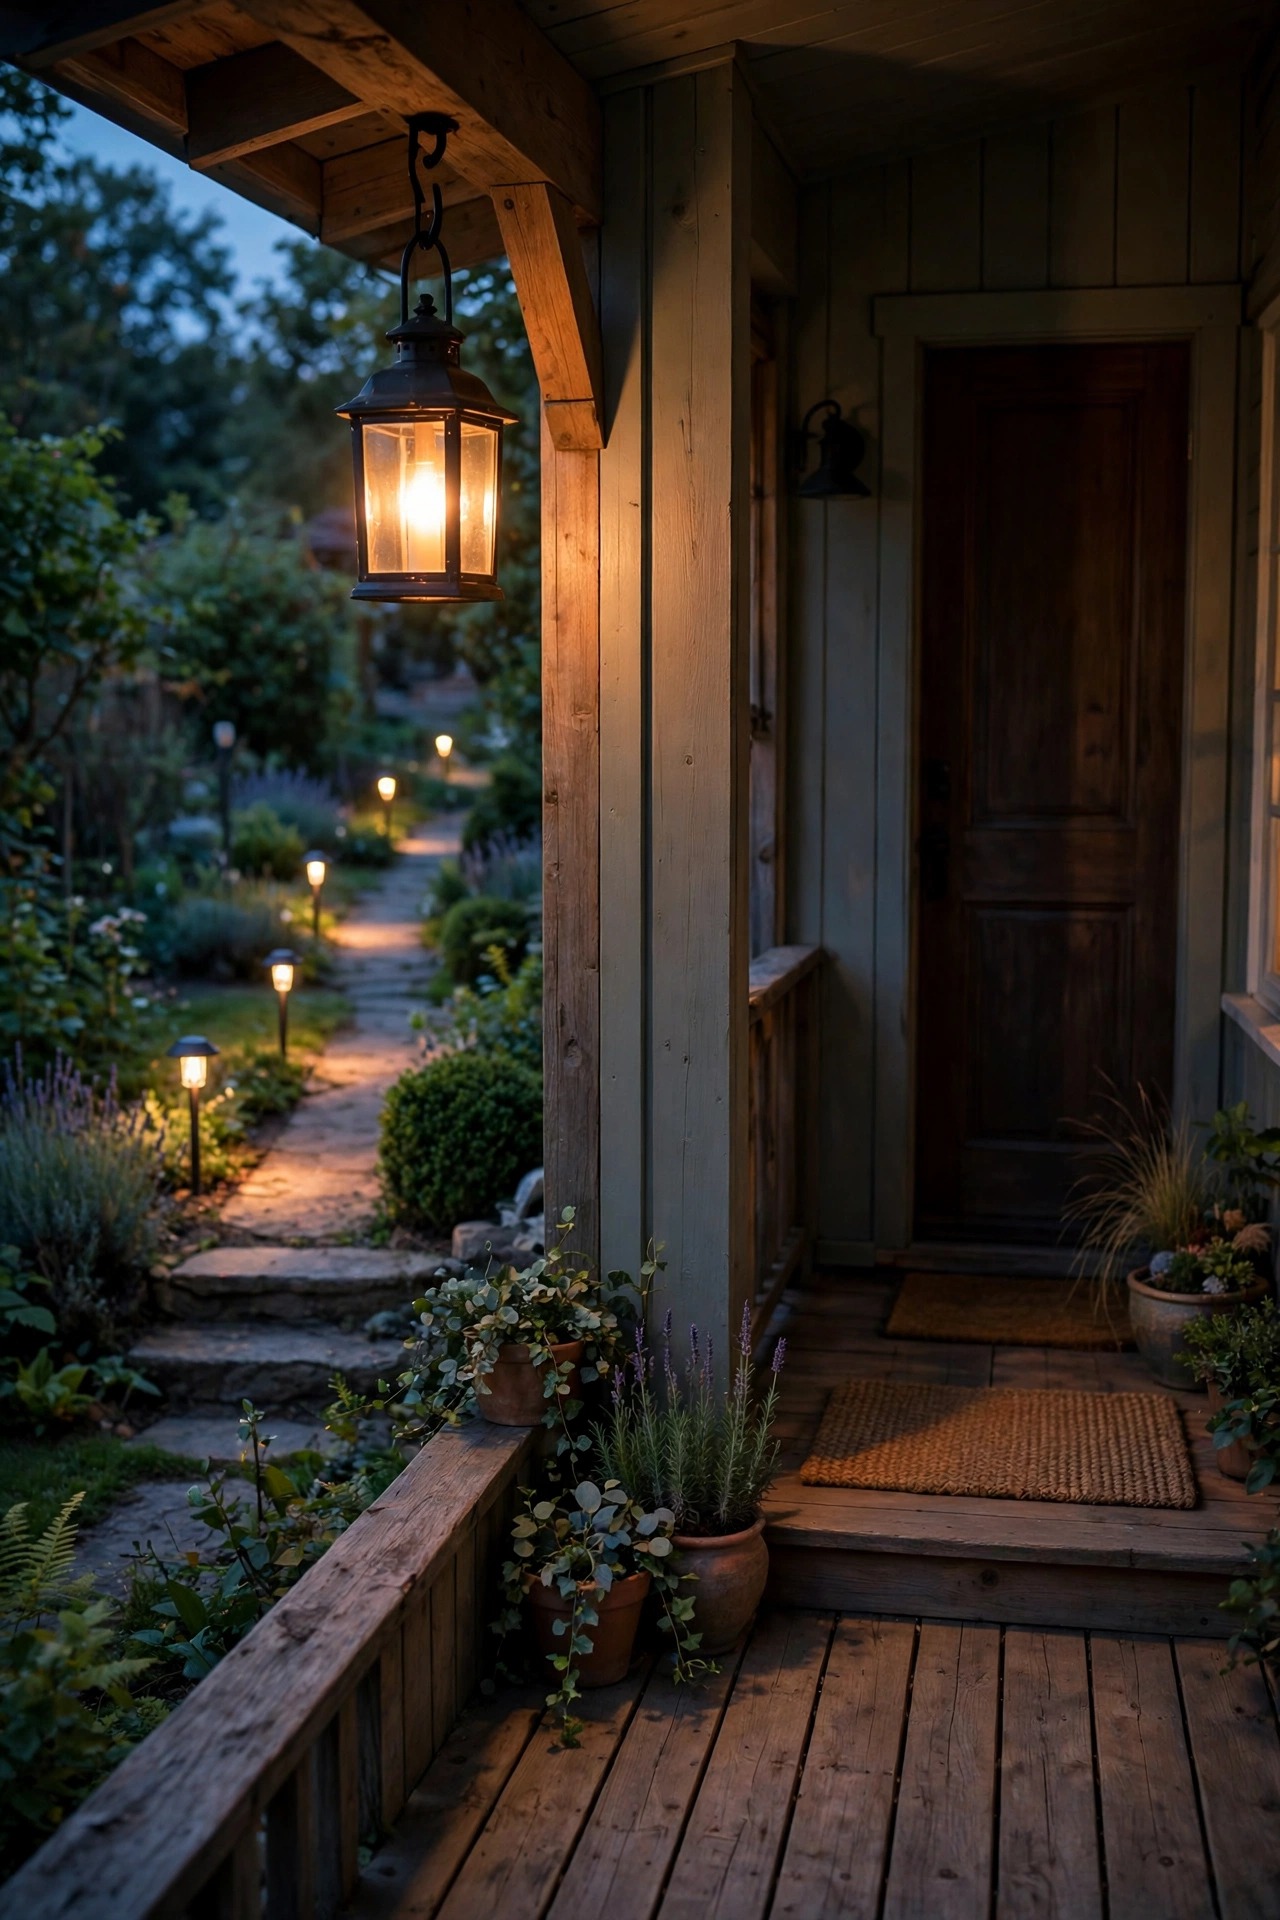
Decide how each light turns on and off before you buy, because control is half of what makes lighting feel effortless or feel like a chore. Photocells are the set-and-forget classic: lights wake at dusk and sleep at dawn, adjusting themselves across the seasons — perfect for entries and paths. Timers let you call lights off at 11 pm instead of burning all night, which neighbors and moths both appreciate. Motion sensors belong on security and utility zones: driveway aprons, side gates, the walk to the trash bins, where light is welcome as an event, not an ambience. Smart controls — app, voice, schedules, vacation modes — are genuinely lovely for patios and porches you use at odd hours, and dimming smart bulbs can carry a whole seating area through an evening. Plain manual switches still win for task lights like the grill zone, where you want light exactly when you are standing there and never otherwise. Mixing is normal and smart: photocell for the bones, timers on the transformer, motion at the edges. My default: no light in my yard runs all night unless it is on a photocell and low — everything else has a planned off-time.
Suggested budget range: $15 – $120.
11. Size the Transformer With Headroom to Spare
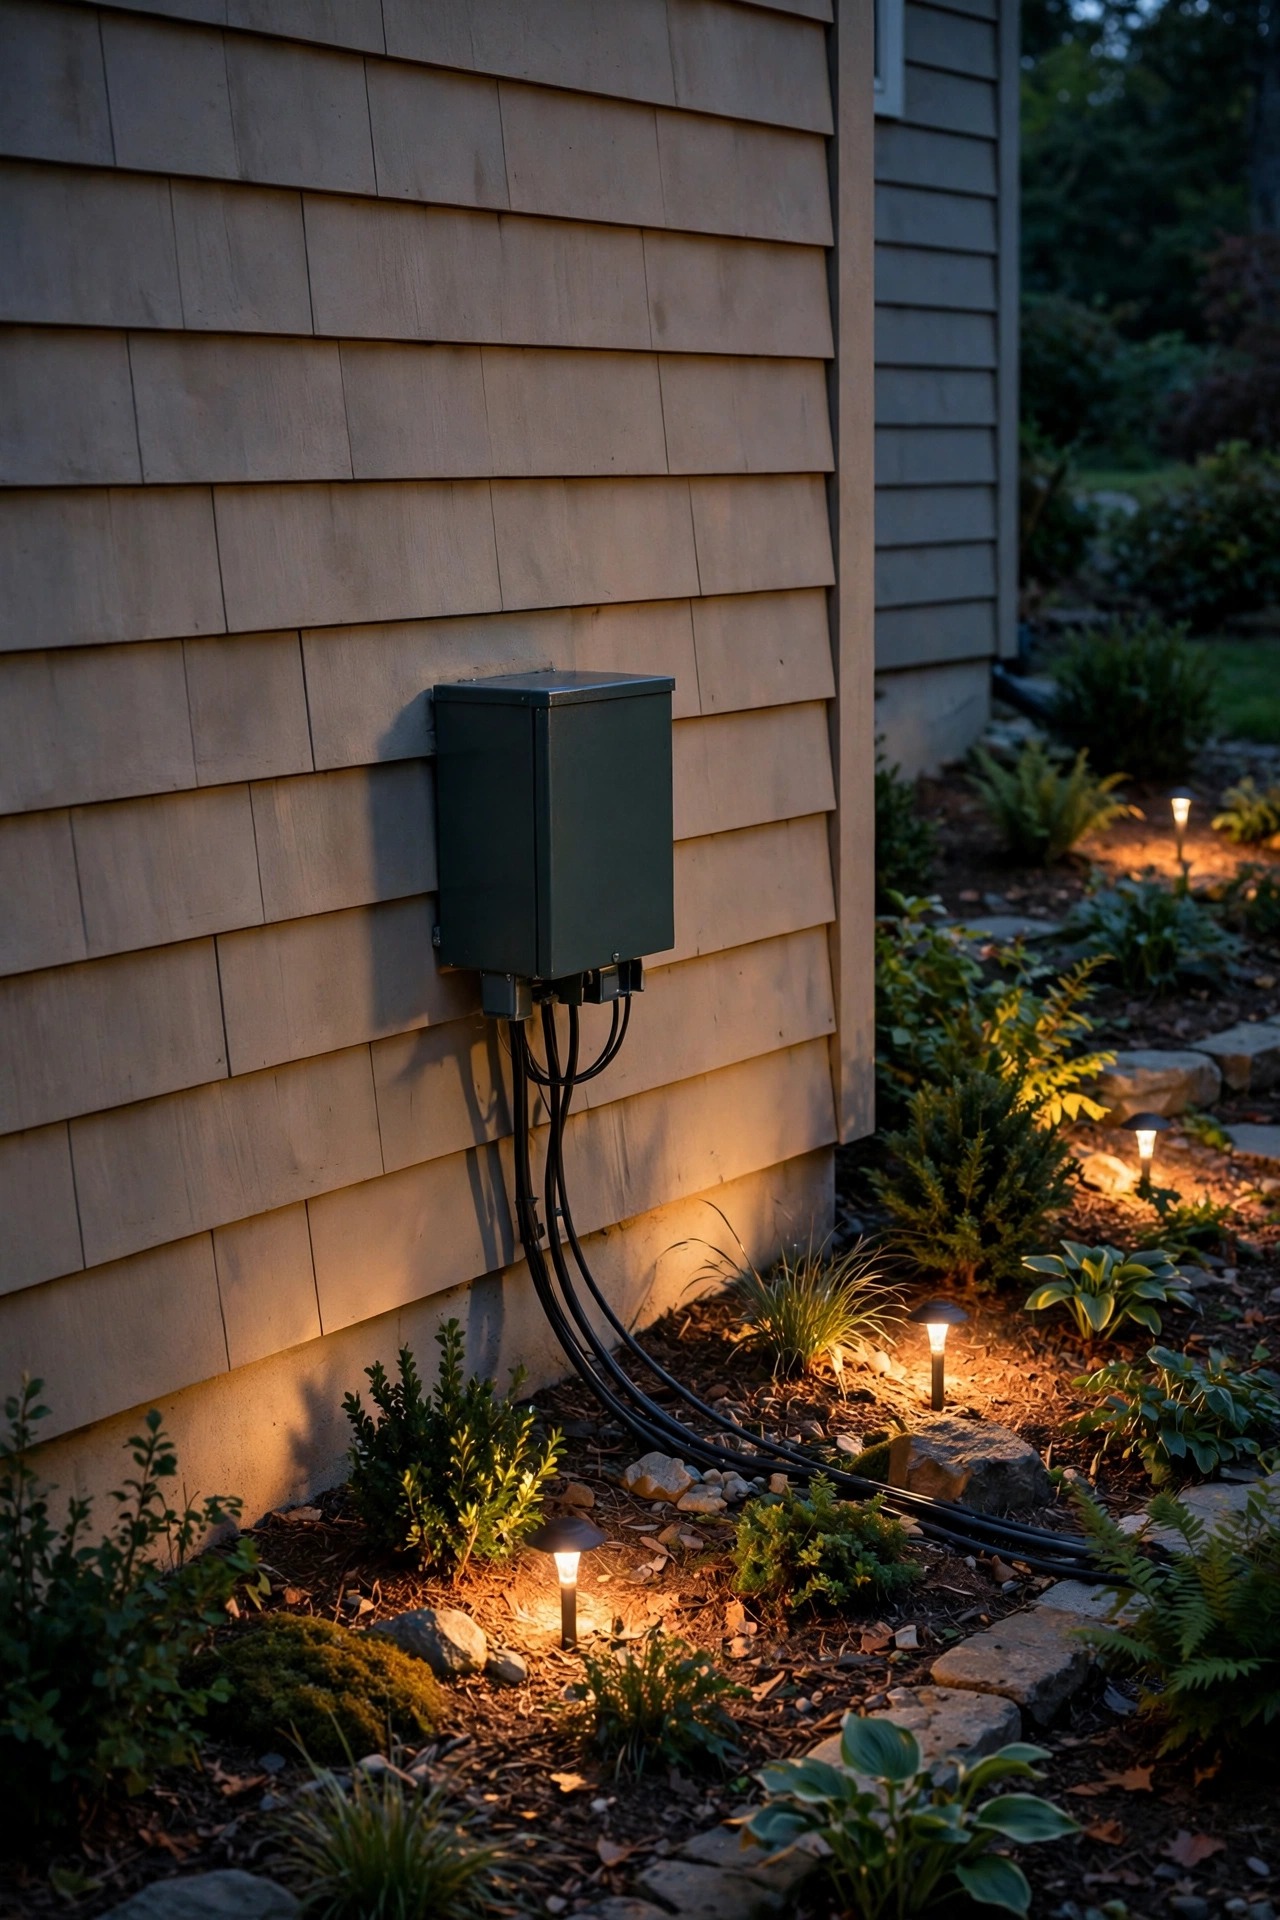
If you are going wired low-voltage, this is the single most technical decision on the list, and the easiest to get right on paper. Add up the wattage (or VA) of every planned fixture, then buy a transformer rated at least 20 to 30 percent above that total. That headroom keeps the unit cool and unstressed, holds voltage steadier at the far end of the run, and leaves room for the two fixtures you will absolutely add next spring. An overloaded transformer runs hot, dims the far lights, and dies young; an oversized one just hums along for decades. My walkthrough of how many lights per transformer does the arithmetic with real examples if you want to check your math. Also decide the extras now, because they live in the transformer: a built-in photocell or timer saves buying them separately, multiple taps (12V, 13V, 14V, 15V) let you compensate for long runs, and a second output circuit is a blessing if your yard splits into front and back zones. My default: one size up from my exact total, multi-tap, timer built in. It is the least glamorous purchase in the cart and the one everything else depends on.
Suggested budget range: $60 – $250.
12. Plan Cable Gauge and Run Lengths Before You Buy
Cable is the other invisible half of a wired system, and its gauge decides whether the last light on the run glows like the first or fades to a yellow sigh. Voltage drop is the culprit: the longer and thinner the cable, the more voltage bleeds away before it reaches the far fixtures. My explainer on landscape lighting voltage drop shows how quickly the numbers slide on a long, thin run — it surprises everyone the first time. The practical version: 12-gauge cable is the workhorse for most home runs up to about 100 feet with a typical load; drop to thicker 10-gauge for very long or heavily loaded runs; reserve thinner 14 or 16-gauge for short, light branches like a single bed or a short path spur. Plan the layout as a map before you buy a spool: measure the real route the cable will walk, including the ups, arounds and slack at each fixture, then add ten percent. Decide your wiring pattern too — a center-fed hub or a T-layout keeps far lights brighter than one long daisy chain. Buy the spool once, at the right gauge, and this decision disappears for the life of the system.
Suggested budget range: $30 – $120.

13. Sketch Placement and Spacing on Paper First
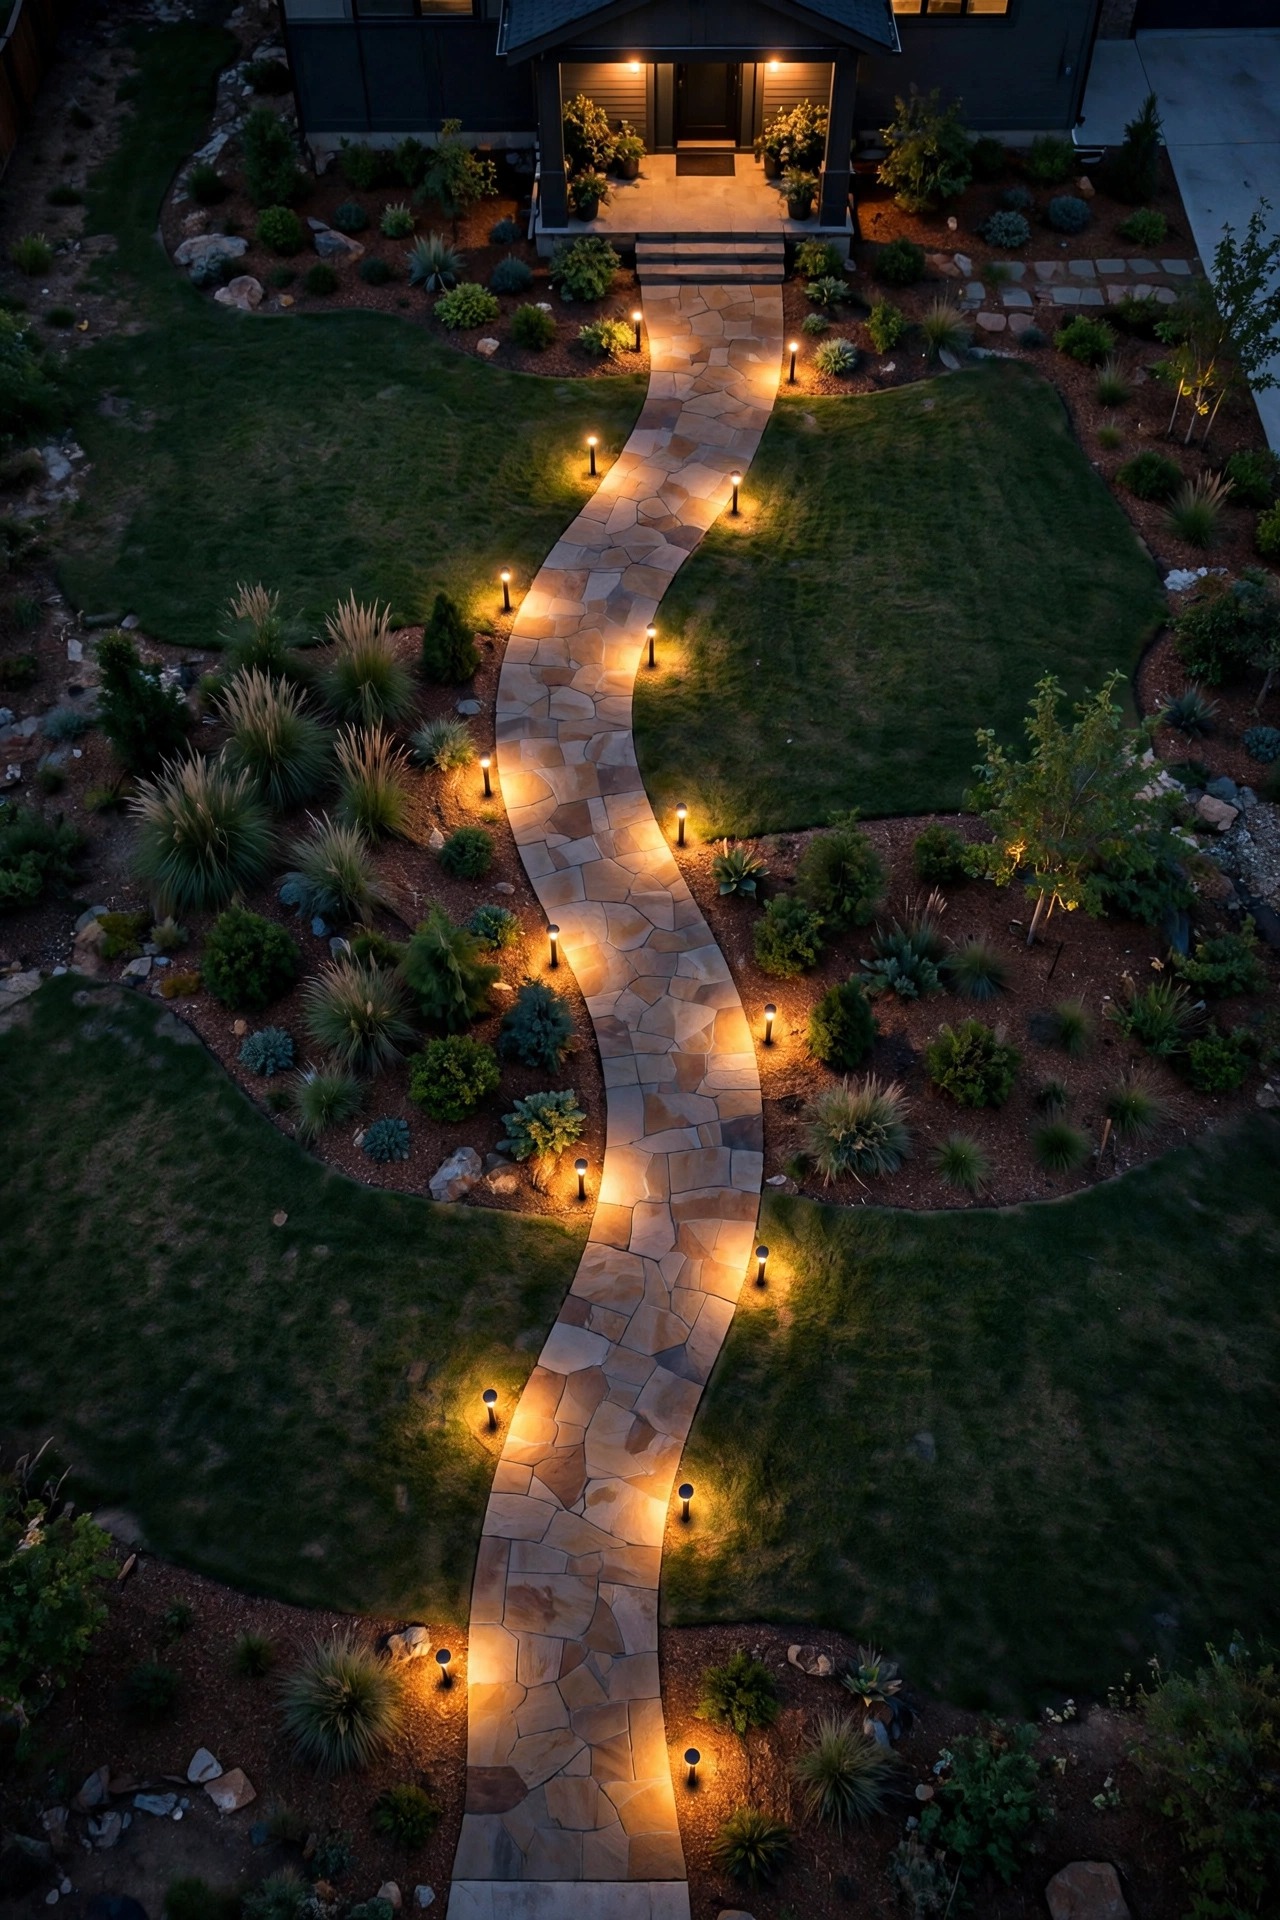
The cheapest lighting tool you will ever own is a pencil. Before buying, sketch the yard — house outline, walk, beds, trees, the patio — and mark where each fixture goes and what job it does. Suddenly the count is real: that path needs six lights, not the twelve-pack you were eyeing, and the oak needs two spots to avoid a lopsided face. Spacing rules of thumb to pencil in: path lights every 6 to 8 feet, staggered rather than paired, so the pools overlap gently without runway stripes. Step lights on every second or third tread. Accent spots pulled back far enough that the beam covers the canopy, not just the trunk. Keep fixtures out of mower lines, sprinkler arcs and the snow-shovel path, and note where cable must cross a walk (under it, in conduit, decided now — not mid-install). A sketch also reveals the dark holes you forgot: the side gate, the meter corner, the last two steps off the deck. My default: no fixture gets purchased until it exists on the sketch with a job, a lumen target and a beam. Ten minutes of drawing routinely saves me a full return trip.
Suggested budget range: $5 – $25.
14. Do the Glare Check From Every Seat and Window
More yards are ruined by glare than by darkness. A fixture can do its job perfectly and still be miserable if the bare bulb or diode stares straight into someone's eyes. So before buying, decide where the viewers are: the porch swing, the patio chairs, the kitchen window, the driver pulling in, the neighbor's bedroom. Then choose fixtures that keep the source hidden from those angles — shielded path lights that throw light down, not out; louvered or cowled spotlights; frosted lenses at the entry; recessed step lights instead of surface glare bombs. Height matters too: a path light that is perfect from the sidewalk can glare from a low lounge chair, and a deck rail light at seated eye level will end conversations. The rule I use: if you can see the bright source itself from a place people sit, stand or drive, the fixture is wrong for that spot no matter how pretty the housing is. Buy for the view from the seats, not from the store shelf. My default: shielded, downward-aimed, and dimmer than my first instinct — then judged from the chair after dark, not from the driveway at noon.
Suggested budget range: $10 – $50.
15. Read the Warranty Like It Matters (It Does)
A warranty is the manufacturer telling you, in writing, how long they honestly expect the fixture to live — learn to hear it. A one-year warranty on an outdoor fixture is a quiet confession; five years is a fair promise; ten years to lifetime on brass housings is a maker standing behind real material. Read past the headline number, because the details split fast: many warranties cover the housing for a decade but the LED module or finish for only one to three years, and finishes near salt water are often excluded entirely. Note what you must keep — receipt, model number, a photo of the rating label — and whether replacement means a part, a whole fixture, or a prorated shrug. This decision pairs with the sealed-versus-replaceable one: a sealed fixture with a two-year warranty is a two-year fixture, whatever the box implies. My default: I will pay a fair step up for a fixture whose warranty covers the light source for at least five years, and I photograph every receipt the day it comes home. When a light fails in year four, that five-minute habit turns a replacement bill into a free swap.
Suggested budget range: $40 – $120.

16. Ask Whether the System Can Grow With You
Almost nobody lights the whole yard in one season — you start with the front walk, catch the bug, and come back for the patio, the big tree, the garden wall. Decide now whether your system welcomes that growth or dead-ends at phase one. A wired low-voltage system grows gracefully if you left transformer headroom and used standard connectors: new fixtures splice in where the cable already walks. A patchwork of sealed solar singles grows too, but only by accumulation — fine for accents, limiting when you later want one switch to rule the patio. Think in phases and buy the phase-one fixtures in the same family, finish and color temperature as your phase-three dreams, because matching a discontinued style in three years is a special kind of heartbreak. Also leave physical room: an extra capped cable stub toward the back beds costs pennies during install and saves a whole re-dig later. My default: buy the backbone — transformer, cable, controls — for the yard I eventually want, and the fixtures for the yard I can afford this spring. Backbones are bought once. Fixtures can arrive birthday by birthday.
Suggested budget range: $50 – $200.

17. Finish Your Outdoor Lighting Buying Checklist With the Installer Decision
The last decision is who puts it all in the ground, because labor can cost more than the lights. Solar stakes and battery fixtures are pure DIY — an afternoon, a rubber mallet, done. A low-voltage wired system is very doable for a comfortable homeowner: the current is safe, the connections are mechanical, and the hardest part is trenching a shallow slot for cable, which a flat spade handles in an hour or two. Line-voltage work is where I happily hand over my card: permits, burial depths and code are real, and an electrician's hour is cheaper than a failed inspection or a nicked line. Get the quote before you buy fixtures if a pro is installing, because pros price by the fixture and the run, and a few plan tweaks can trim the bill. Also decide who maintains it — lenses need a wipe each season, solar batteries a swap, aim a tweak as shrubs grow. My default: DIY everything 12-volt and below, pro for anything tied to household current, and I decide it here, before the cart, so the budget I set in step three stays honest.
Suggested budget range: $0 – $500.

Frequently Asked Questions
What should I decide first when buying outdoor lighting?
Start with the job each light must do — safety, task, accent or security — because that one answer drives brightness, beam angle, placement and budget. Power source comes second: solar, battery, low-voltage wired or line voltage. Once jobs and power are settled, most of the remaining choices on the checklist nearly make themselves.
How much should I budget for a complete outdoor lighting setup?
A focused front-yard setup with quality fixtures, a properly sized transformer, cable and controls typically lands between $150 and $600, and whole-yard systems climb from there. Remember that fixtures are only about half to two-thirds of the real cost — the transformer, cable and connectors are what make the lights perform, so budget for them from the start.
Is 2700K or 3000K better for outdoor lighting?
Both are warm and residential; 2700K reads golden and cozy against brick and wood, while 3000K is slightly crisper on modern homes and gray stone. The far more important rule is consistency: pick one number and hold it across every fixture and replacement bulb, because mixed color temperatures are what make a yard look patchy.
Can I mix solar and wired lights in one yard?
Yes, and most well-lit yards do. Use wired low-voltage lighting for the backbone — entries, paths, steps and key accents where brightness and reliability matter — and let solar handle sunny accents and spots cable cannot reach. Just keep the color temperature matched at 2700K or 3000K so the two systems read as one design after dark.
Conclusion: Decide First, Then Shop Happy
That is the whole secret, really: a beautiful yard at night is decided at the kitchen table, not in the aisle. Work this outdoor lighting buying checklist before you spend — one job per light, power chosen, honest budget, lumens and beams matched to each zone, one color temperature, serviceable fixtures, controls with a plan, a transformer and cable sized for the real run, a sketch, a glare check, a warranty worth having, room to grow, and a clear installer decision — and the shopping itself becomes the easy part. Start with the front walk and the entry, live with them a few evenings, and let the yard teach you what phase two should be. When you are ready for inspiration, browse the lighting ideas here on the site and picture each one in your own yard after dark. I will be out on my porch doing exactly the same.