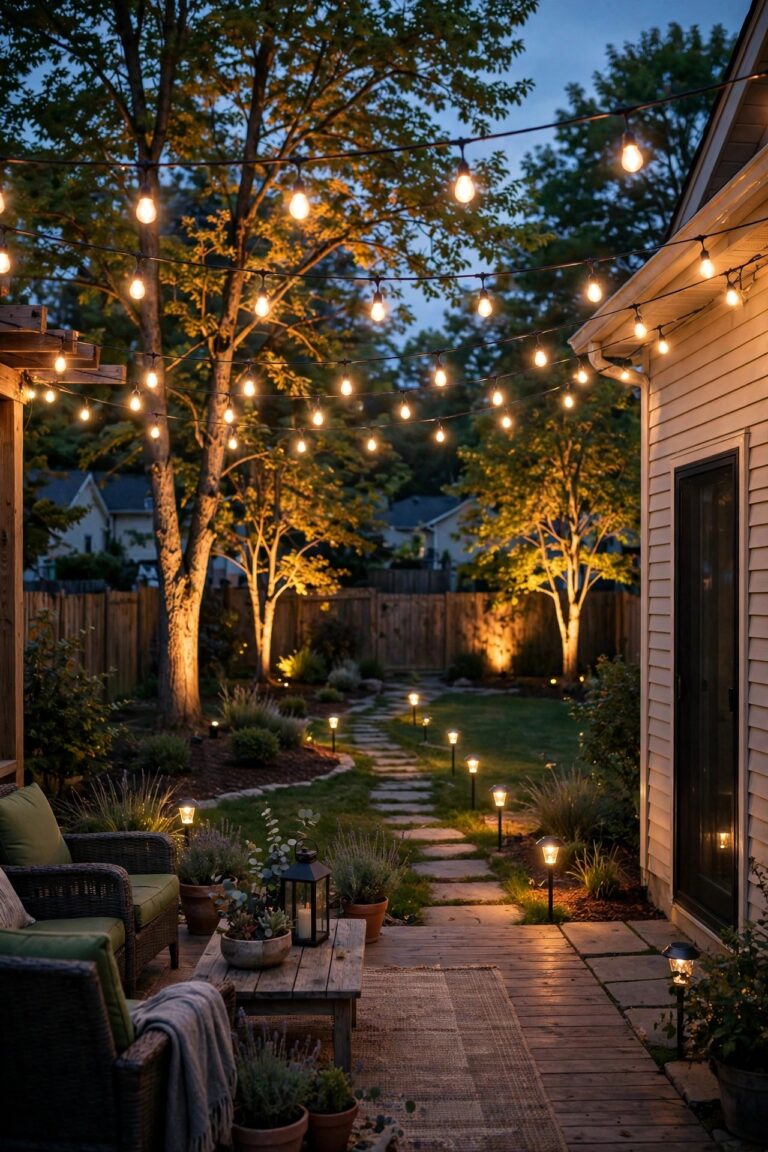
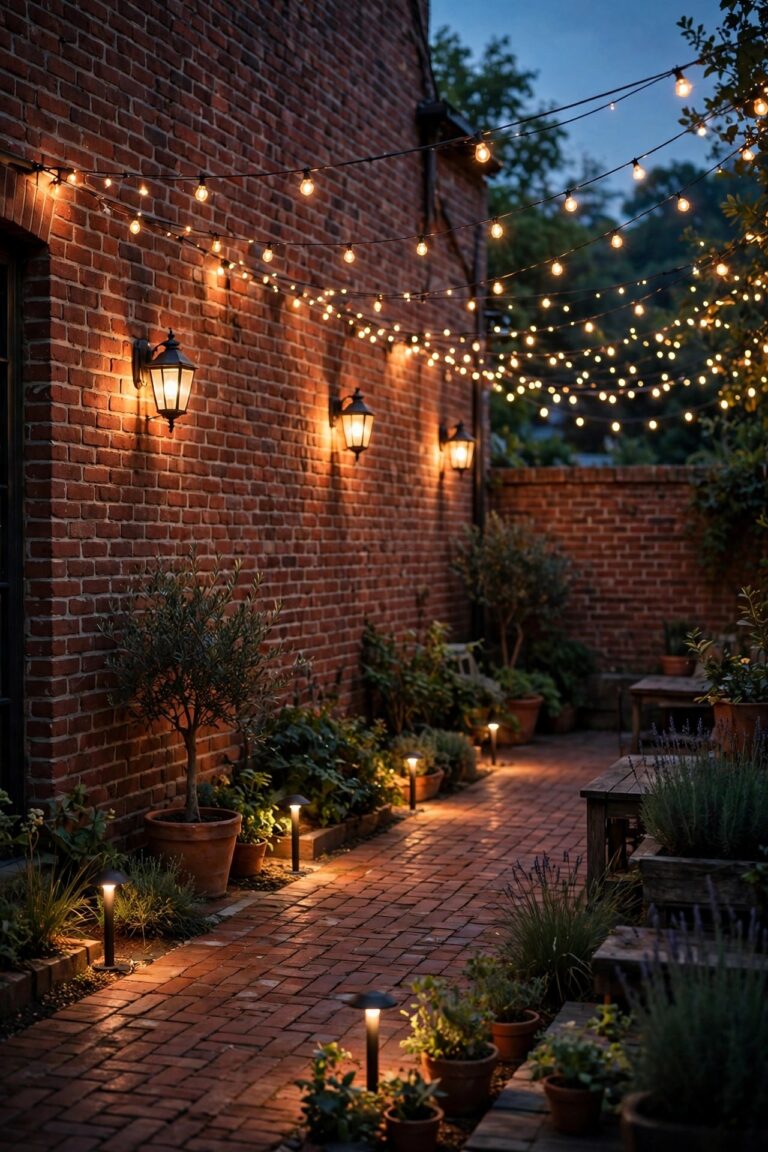
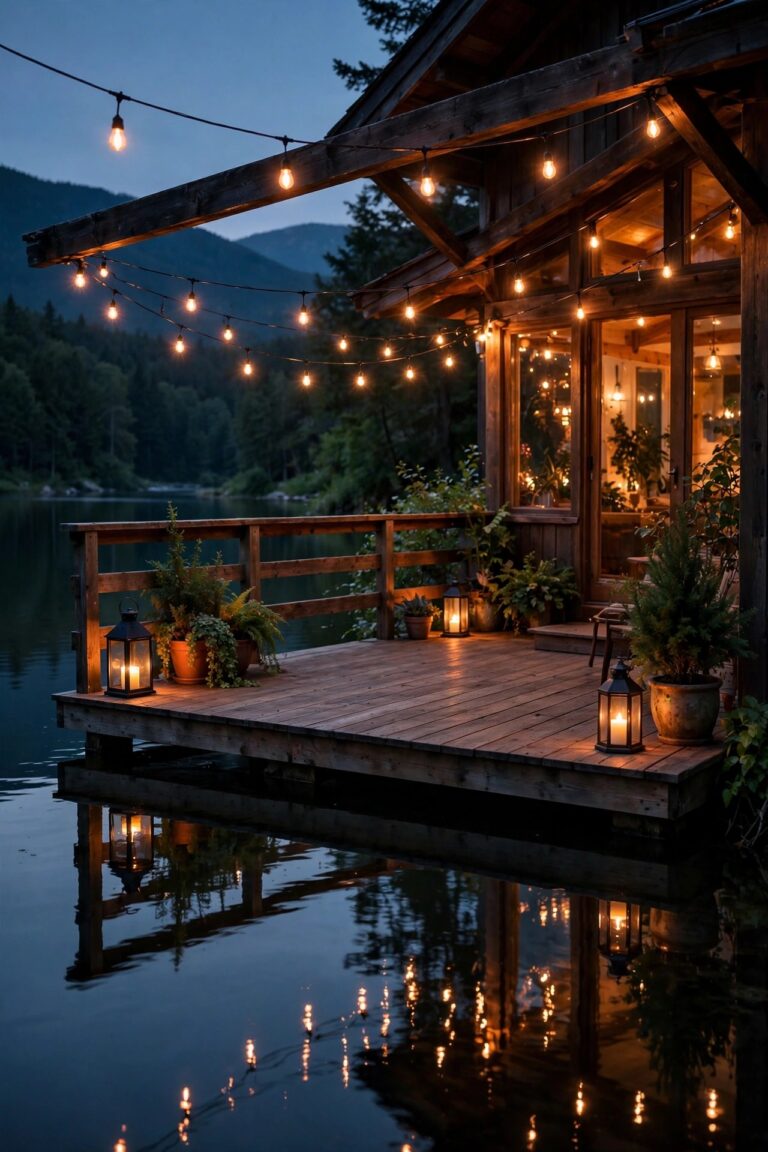
Every spring, a neighbor corners me in the driveway with the same question: "What does landscape lighting actually cost?" And honestly, the answer depends almost entirely on how you split your landscape lighting budget, not just how big it is. I have seen $500 yards that made the whole street slow down, and $5,000 yards that looked like a parking lot with better landscaping. The difference was never the total — it was knowing which parts deserve real money and which parts quietly don't. In my experience, a lighting budget falls into five buckets, and each of the three classic tiers — $500, $1,500, and $5,000 — fills those buckets very differently. In this guide, I'll walk through exactly what each tier buys in 2026 — fixture counts, quality, coverage, DIY-versus-pro math, and the running costs nobody mentions. By the end, you'll know which tier your yard needs, and how to phase a big vision into small, painless chunks.
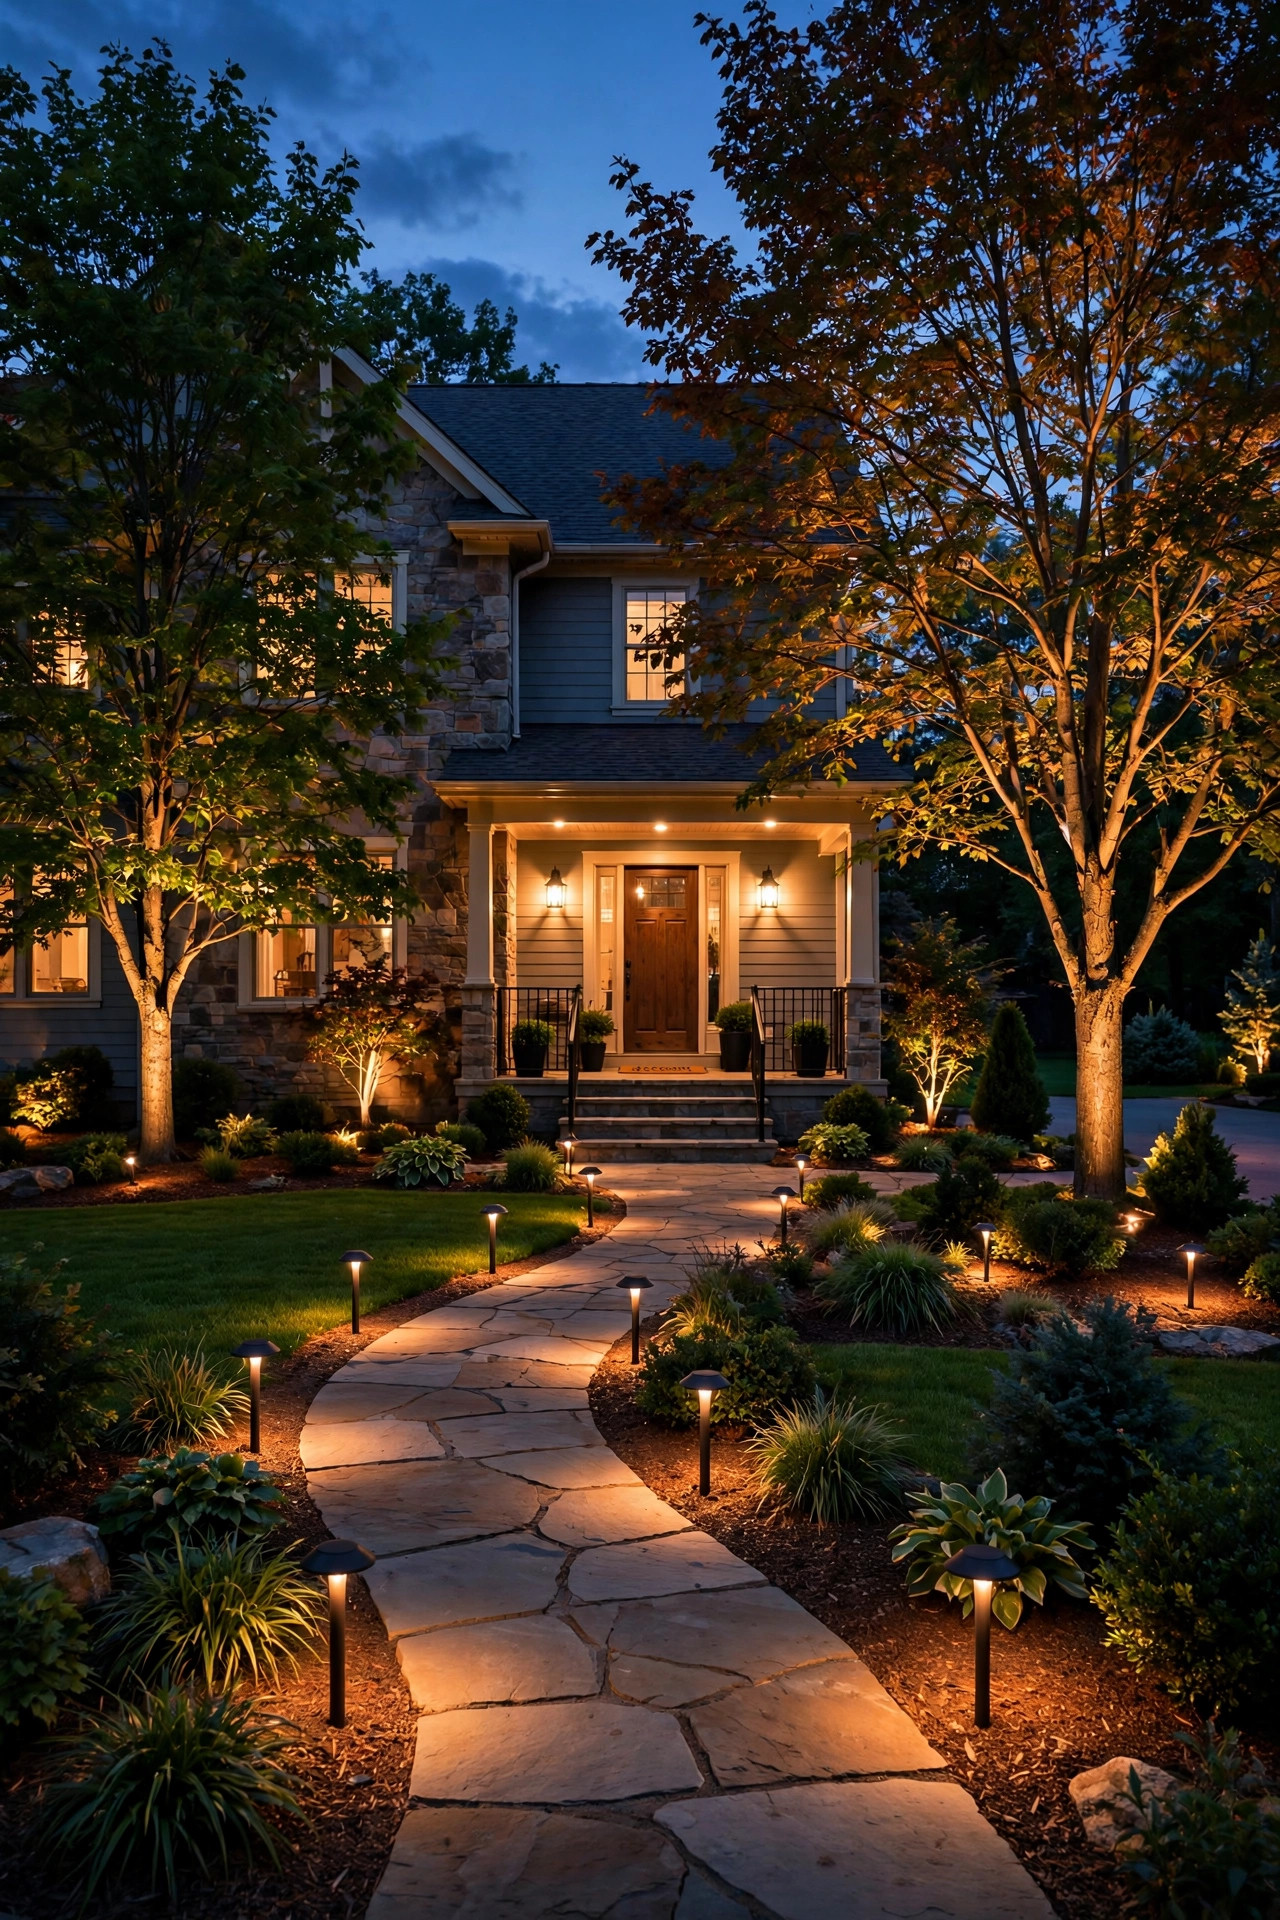
The Short Answer
A $500 landscape lighting budget buys a smart DIY starter: roughly 8–10 quality low-voltage fixtures, a small transformer, and your front walkway and entry done beautifully. At $1,500, you get the whole front yard — 16–20 fixtures, layered light, a proper transformer with room to grow, still DIY-friendly. At $5,000, you're into full front-and-back coverage with premium brass fixtures, multiple zones, and either a high-end DIY build or a professionally installed mid-size design. Every tier works. The trick is matching the tier to your yard, not your ego. Below, I'll show you exactly where the money goes at each level, what it costs to run, and the mistakes that quietly waste it.
Where the Money Actually Goes: The Five Buckets
Before the tiers make sense, you need to see the five buckets every lighting dollar falls into. First, fixtures — usually 45–60% of the total, and the bucket with the widest quality range, from $15 plastic path lights to $150 solid-brass spotlights. Second, the transformer, the system's power supply and brain: $80 for a basic 150-watt unit, $300-plus for a multi-tap smart model. Third, cable and connectors, the unglamorous bucket that determines whether your lights are still working in five years — budget $0.50–$1.00 per foot for 12-gauge cable, plus gel-filled waterproof connectors. Fourth, controls: timers, photocells, and smart plugs, $15–$150. Fifth, labor — zero if you DIY, or 40–50% of the project price if a pro installs it. Here's what I always recommend: decide your tier total first, then split it roughly 55% fixtures, 15% transformer and controls, 15% cable and connectors, and keep 15% in reserve for the surprises every yard hides. The tiers below follow that split. Here's the split in real dollars at the $1,500 tier: about $825 of fixtures, $225 of transformer and controls, $225 of cable and connectors, and $225 held back. Notice that more than a third of the money never glows at all — and that's correct. In my experience, the invisible buckets are where cheap projects go to die: a starved transformer and bargain cable will make even beautiful fixtures look dim, flickery, and temporary. Spend on the bones first, and the pretty parts actually get to show off.

The $500 Tier: A Starter Front Yard That Actually Works
Five hundred dollars is the tier I recommend most often, because it forces good decisions. Installed yourself over one weekend, it buys a 150–200 watt transformer, about 100 feet of 12-gauge cable, and 8–10 solid mid-range fixtures. The smart layout: six path lights staggered along the front walk (never in a straight runway line — see my spacing notes below), two spotlights for your best tree or the front facade, and one warm fixture washing the entry so guests aren't groping for the doorbell. What $500 does not buy is the backyard, cheap solar stakes by the dozen, or fixtures so flimsy they crack the first time the mower bumps them. Honestly, the biggest $500 mistake is spreading the money across twenty $15 fixtures instead of ten $35 ones — the cheap set looks tired by year two, while the better set just needs a lens wipe. If your front yard is small — a townhome, a cottage, a short walk — this tier can genuinely finish it. For a typical suburban lot, treat it as phase one of a bigger plan, and size the transformer for where you're headed. A quick reality check on solar at this tier: a few decent solar fixtures in a garden bed are fine as accents, but building the whole $500 plan on solar stakes means dim light by 10 p.m. in winter and a bucket of faded plastic in three years. Wired low-voltage is the backbone; solar is the garnish.

The $1,500 Tier: The Whole Front Yard, Done Properly
At $1,500, the front yard stops being a starter project and becomes a finished design. Your fixture count rises to 16–20, and — this is the real upgrade — you can afford layers: path lights for safety, spotlights for trees and architecture, a wall wash across the facade, and a couple of downlights or step lights for depth. The transformer grows to 300 watts with multiple taps, which solves most voltage-drop headaches and leaves headroom for a future phase. Cable runs get longer and thicker where they need to be. Fixtures move up a class, too — powder-coated aluminum and entry-level brass instead of plastic, with replaceable LED modules rather than sealed throwaway units. In my experience, this is the sweet spot for a typical quarter-acre suburban lot: the house looks intentionally lit from the street, the walkway is safe, and nothing feels like a compromise. If a pro installs this tier's design, expect the same scope to land closer to $3,000–$3,500, because labor roughly doubles a materials budget at this size — more on that math in the DIY section below. Two details separate this tier from the starter setup when you see it in person. First, the garage and driveway finally get their own layer: a pair of fixtures washing the garage corners and a soft pool of light where cars and guests arrive. Second, the quality of the light itself improves — consistent 2700K warmth across every fixture, narrow beams grazing the architecture, wide floods softening the foliage, instead of one-size-fits-all glare.

The $5,000 Tier: Front and Back, Designer Polish
Five thousand dollars changes the question from "what can we light?" to "what should we leave dark?" — and that restraint is exactly what makes high-end yards look expensive. This tier covers the front yard completely and wraps the backyard too: 30–45 fixtures across multiple zones, each on its own run and control. Fixtures become solid brass or copper that patinas instead of peeling. You get the specialty pieces the lower tiers skip: moonlighting fixtures mounted high in a mature tree, in-ground well lights grazing a stone wall, deck and patio task lighting, maybe a lit water feature. Controls graduate to multi-zone smart scheduling, so the security layer burns dusk-to-dawn while the pretty layer dims down at 11 p.m. Professionally designed and installed, $5,000 is actually the entry point for pro work on a mid-size lot — design fees and labor consume roughly half. As a pure DIY materials budget, though, $5,000 is lavish: it buys nearly everything on most homeowners' wish lists, with the discipline problem shifting from money to editing. My rule at this tier: every fixture must earn its place in one sentence. The other thing this tier buys is subtlety. With fixtures to spare, you light at lower intensities from more angles — three gentle sources instead of one harsh one — which is the real difference between a yard that looks lit and a yard that looks luminous. Add the outdoor kitchen or fire-pit zone most families actually live in after dark, and the $5,000 yard earns its keep every single evening, not just when guests visit.

What Each Landscape Lighting Budget Buys, Side by Side
Tables make this honest, so here's the whole comparison in one place. Notice how the fixture *count* roughly triples from the bottom tier to the top, but the fixture *quality* and the *coverage* are what really change. A $500 landscape lighting budget concentrates on the 20% of your yard people actually see from the street; a $5,000 budget lights the 100% you live in. Neither is wrong — they're just answering different questions.
| $500 tier | $1,500 tier | $5,000 tier | |
|---|---|---|---|
| Fixtures | 8–10 mid-range | 16–20 aluminum/brass | 30–45 solid brass/copper |
| Coverage | Walk + entry | Whole front yard | Front + back, zoned |
| Transformer | 150–200W basic | 300W multi-tap | 600W+ or two units, smart |
| Cable | ~100 ft, 12-gauge | 200–300 ft | 500+ ft, multiple runs |
| Controls | Timer or photocell | Timer + photocell | Multi-zone smart/app |
| Best for | Townhomes, phase one | Typical suburban front yard | Full-property designs |
One more row no table can show: resale and curb appeal. Real estate agents consistently tell me the $1,500 tier punches hardest per dollar for sellers, because the front yard is what buyers see in the listing photo at dusk. There's also a time row worth naming. The $500 tier is one honest weekend of DIY work. The $1,500 tier is two weekends, or one long one with a helper and a pizza budget. The $5,000 tier, done yourself, is a season of pleasant Saturdays — trenching, running zones, aiming at dusk — which is exactly why many people phase it over a year or hand the trenching to a crew and keep the fun parts for themselves.

DIY vs Pro: What Labor Does to Each Tier
Labor is the single biggest lever on every tier, which is why the tier numbers above assume you install it yourself. A professional crew typically charges $1,500–$2,500 as a minimum project fee before a single fixture goes in, and installed per-fixture prices commonly run $250–$450 once design, trenching, wiring, and aiming are folded in. That means the $1,500 DIY design becomes a $3,000–$3,500 pro job, and a genuine $5,000 pro project buys roughly what $2,500 of DIY materials buys. So when is the pro worth it? In my experience: when the design involves tall-tree moonlighting, any new 120-volt circuit, complex masonry drilling, or a yard big enough that voltage-drop planning gets hairy. Low-voltage DIY is genuinely safe weekend work — 12 volts won't hurt you — and my step-by-step on how to install low-voltage landscape lighting walks the whole process. If you're still torn, my honest breakdown of DIY vs pro landscape lighting compares the true costs and the results. A hybrid also works beautifully: hire a designer for a one-time plan ($300–$600), then install it yourself in phases. One more line item to weigh: paperwork. A pro's invoice and fixture schedule become tidy documentation at resale, and listing agents do ask about it. And if your design touches an existing 120-volt circuit — a new switched run to a porch light, say — that portion isn't optional DIY in most jurisdictions; it belongs to a licensed electrician, permit and all. Everything downstream of the transformer, though, is fair game for a confident homeowner with a Saturday to spare.

What Your Landscape Lighting Budget Costs to Run
Purchase price is only half the story, so let's do the running-cost math nobody does at the store. Electricity is priced per kilowatt-hour — figure about $0.17 nationally in 2026. A $500-tier system of ten 3-watt LED fixtures draws 30 watts total; running five hours a night, that's roughly $9 a year. The $1,500 tier at ~80 watts costs about $25 a year. The $5,000 tier with 40 fixtures might draw 180 watts, yet smart zoning means much of it runs fewer hours — call it $45–$55 a year. Compare that with the old halogen systems these replace, which burned five times the wattage for the same light. LED bulbs and integrated fixtures last 25,000–50,000 hours, so replacement spending over a decade is mostly a few gel connectors, a photocell, and the occasional fixture a mower wins an argument with — budget $20–$50 a year for upkeep at any tier. The honest conclusion: running costs should never scare you off a tier. Your landscape lighting budget lives and dies at the purchase, not the plug. Solar accents deserve a footnote here: their running cost is zero at the meter, but not zero overall. The rechargeable cells fade in two to three years, and a yard leaning on a dozen solar fixtures will spend $30–$60 on replacement batteries over five years — still cheap, just not free. Either way, the math lands in the same place: pick your tier by the yard you want, because the meter will barely notice any of them.
Where the Money Should Go First: My Priority Order
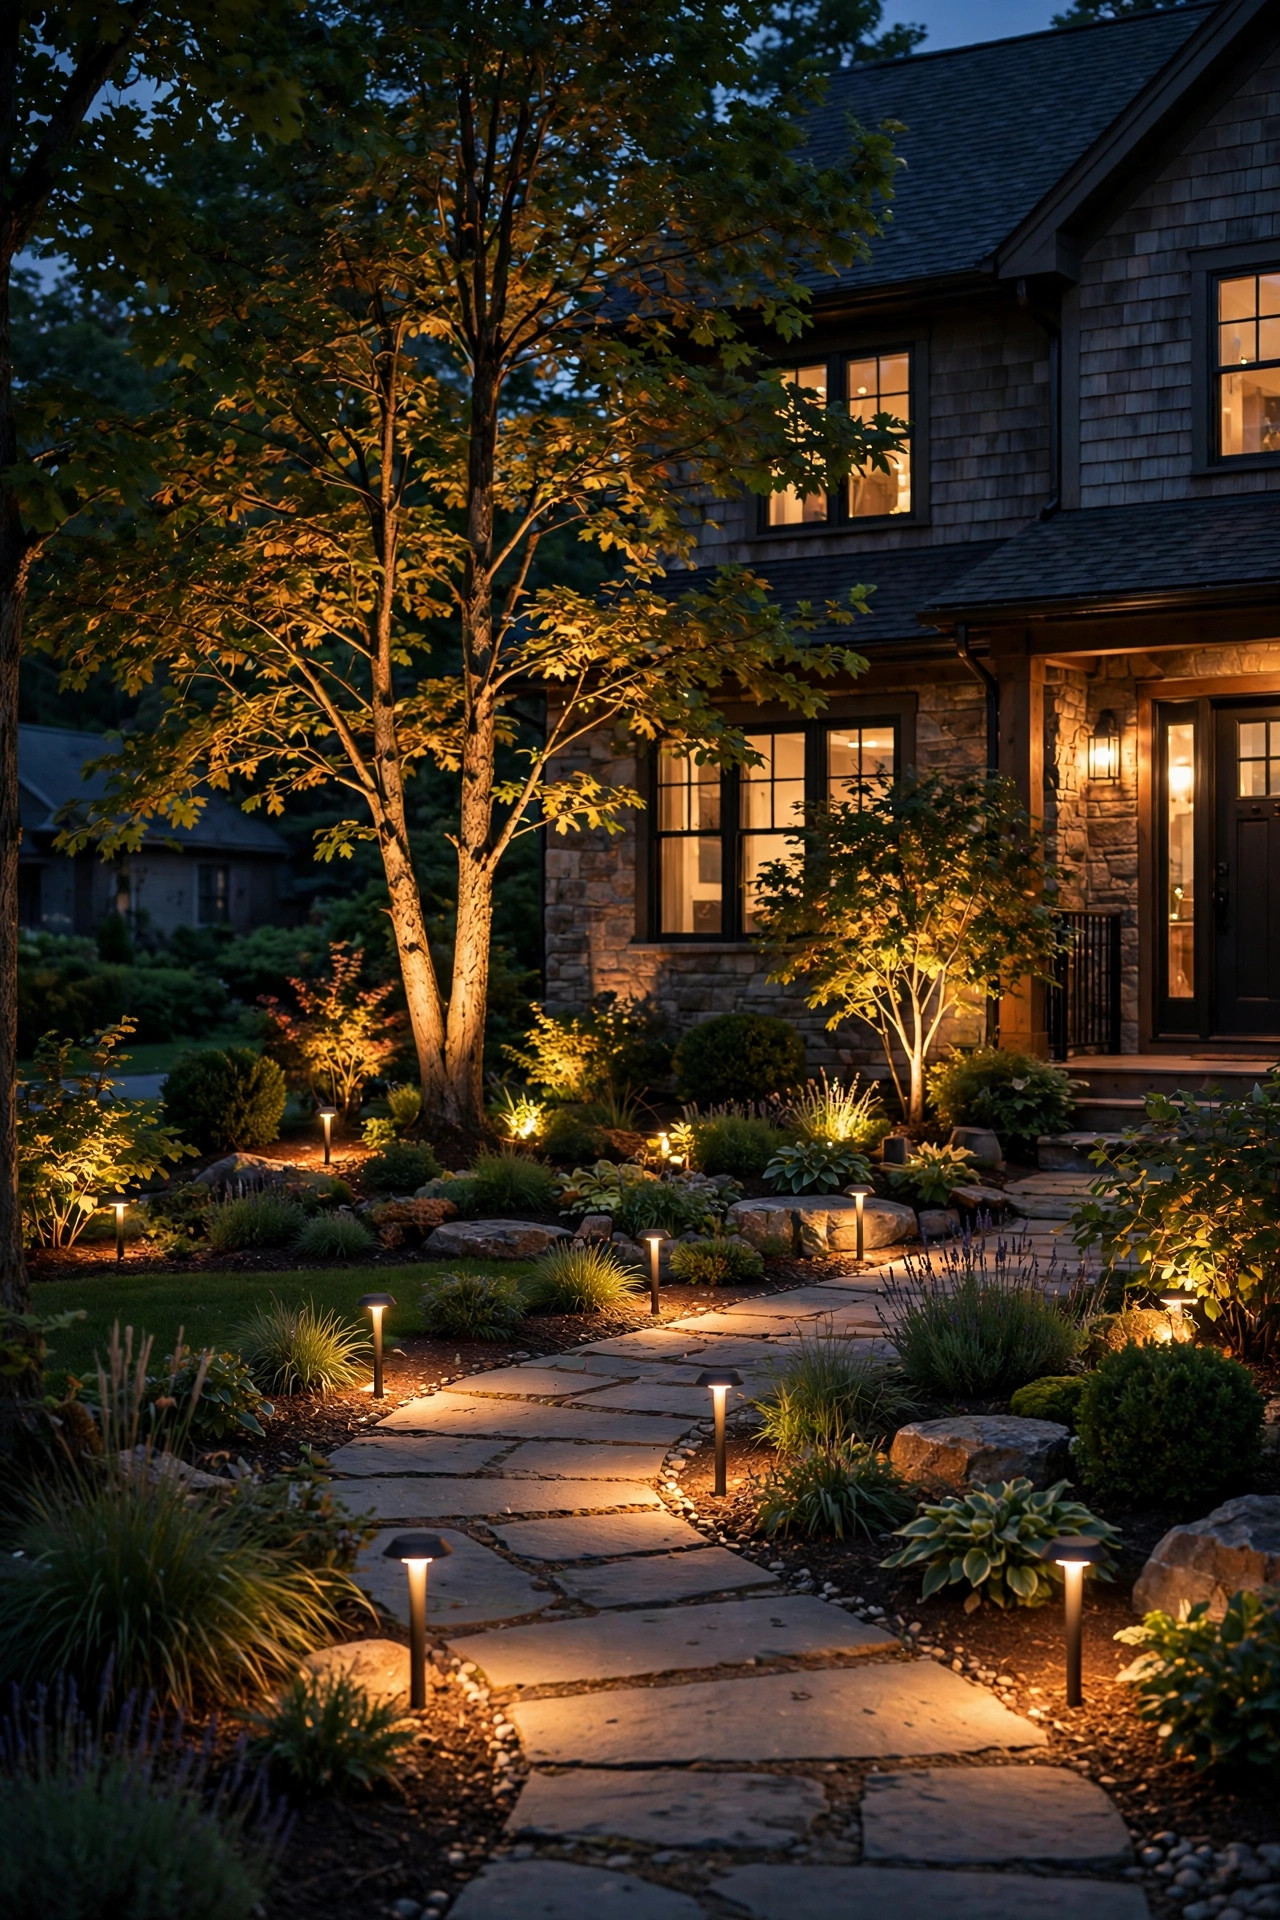
However big your tier, spend in this order and your yard will always look intentional. Priority one is safety light: the walkway, the steps, the entry. Nobody admires a tree while tripping on a dark stoop. Priority two is the transformer and cable — the bones. Oversize the transformer by at least 50% over your day-one load, because every homeowner adds fixtures later, and cheap cable is the number-one cause of dim end-of-run lights. Priority three is one hero feature: your best tree, a beautiful facade, the stone wall you love. Give it two or three quality fixtures. Priority four is the supporting layers — wall wash, garden accents, the second tree. Priority five, and only five, is decoration: color-changing novelties, string-light extras, seasonal pieces. The lower tiers simply stop earlier down this list; the $5,000 tier completes it. What never to fund at any tier: fixtures with non-replaceable LEDs in bargain housings, and solar stakes as your primary light source. Those are the two purchases I see regretted most. I learned this order the expensive way. My first big lighting purchase years ago was a gorgeous specialty fixture for a garden corner nobody walked past after dark — bought while my front steps were still completely unlit. The corner looked lovely in photos; the steps were still a hazard in real life. Bones before beauty, safety before sparkle. Every tier in this guide respects that order, and your yard will thank you for it each time you come home after dark.
What It Costs in 2026: The Price List Behind the Tiers
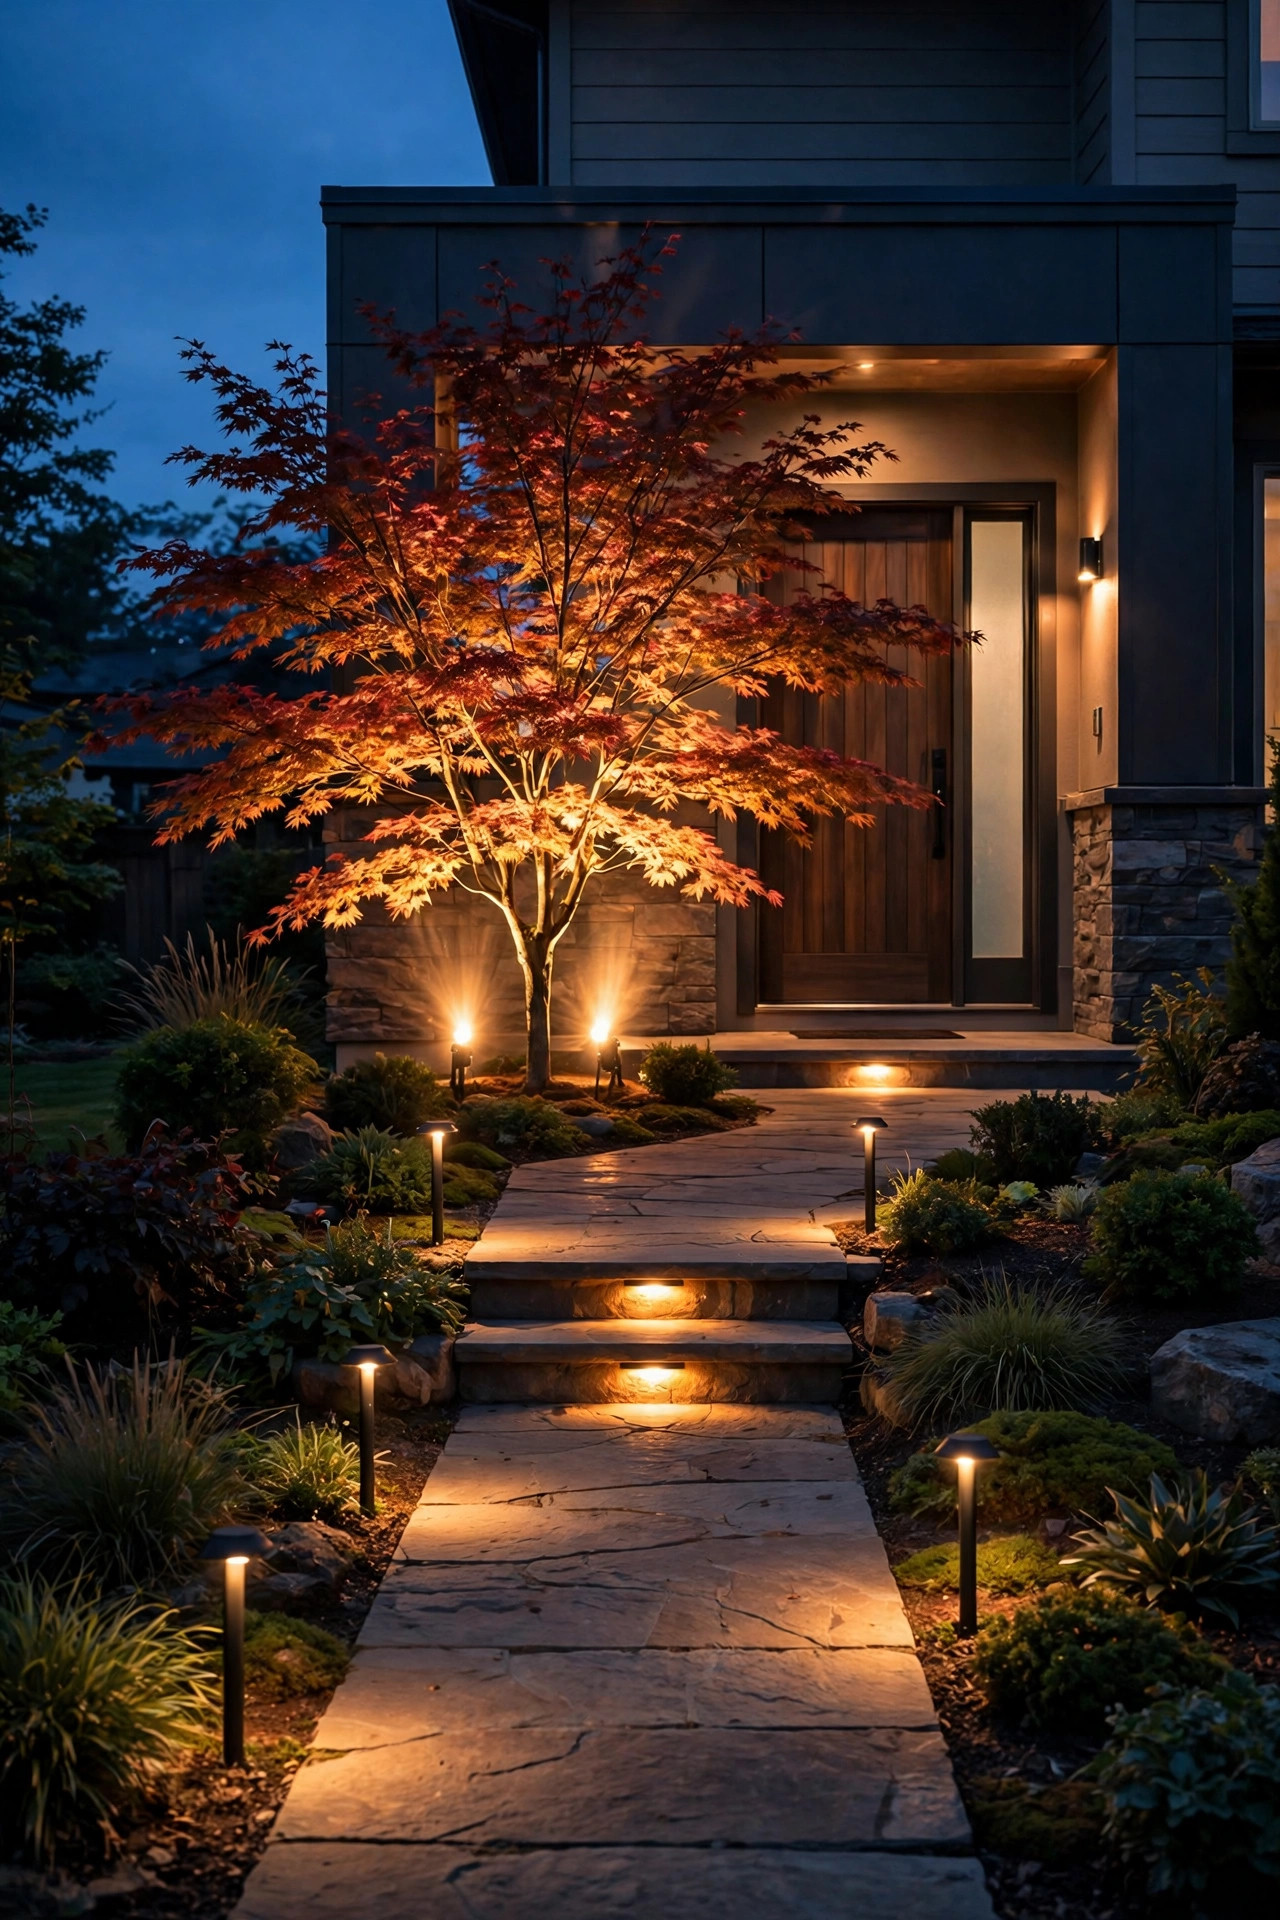
Here are the honest 2026 unit prices the tier math is built on, so you can rebuild the tiers around your own yard. Path lights: $18–$35 for decent aluminum, $50–$90 for brass. Spotlights and uplights: $25–$60 mid-range, $80–$150 premium brass. In-ground well lights: $40–$120. Transformers: $80–$130 for 150–200 watts, $180–$300 for a 300-watt multi-tap, $350–$600 for large or smart units. Cable runs $0.50–$1.00 per foot for 12-gauge; gel-filled connectors are $1–$2 each and worth every penny over the pierce-point clips that come free in kits. Timers and photocells: $15–$40; smart plugs and controllers: $40–$150. Professional design alone runs $300–$1,500 depending on property size; full pro installation averages $250–$450 per fixture in most markets. For a deeper year-by-year breakdown, see my full guide to landscape lighting cost in 2026. One shopping note: fixture prices swing 20–30% between spring sales and fall clearance — timing a phase for October can stretch a tier surprisingly far. Don't forget the small consumables when you build your own tier math: spare gel connectors, a few conduit sleeves for under-walk crossings, electrical tape, and a $15 voltage tester if you don't already own one — call it $40–$60 of unglamorous supplies on any wired project. Regional labor swings matter, too: pro per-fixture rates run noticeably higher in the Northeast and on the West Coast than in the Midwest and South, which is why two identical quotes can buy different-sized yards in different zip codes.
5 Mistakes That Waste a Landscape Lighting Budget
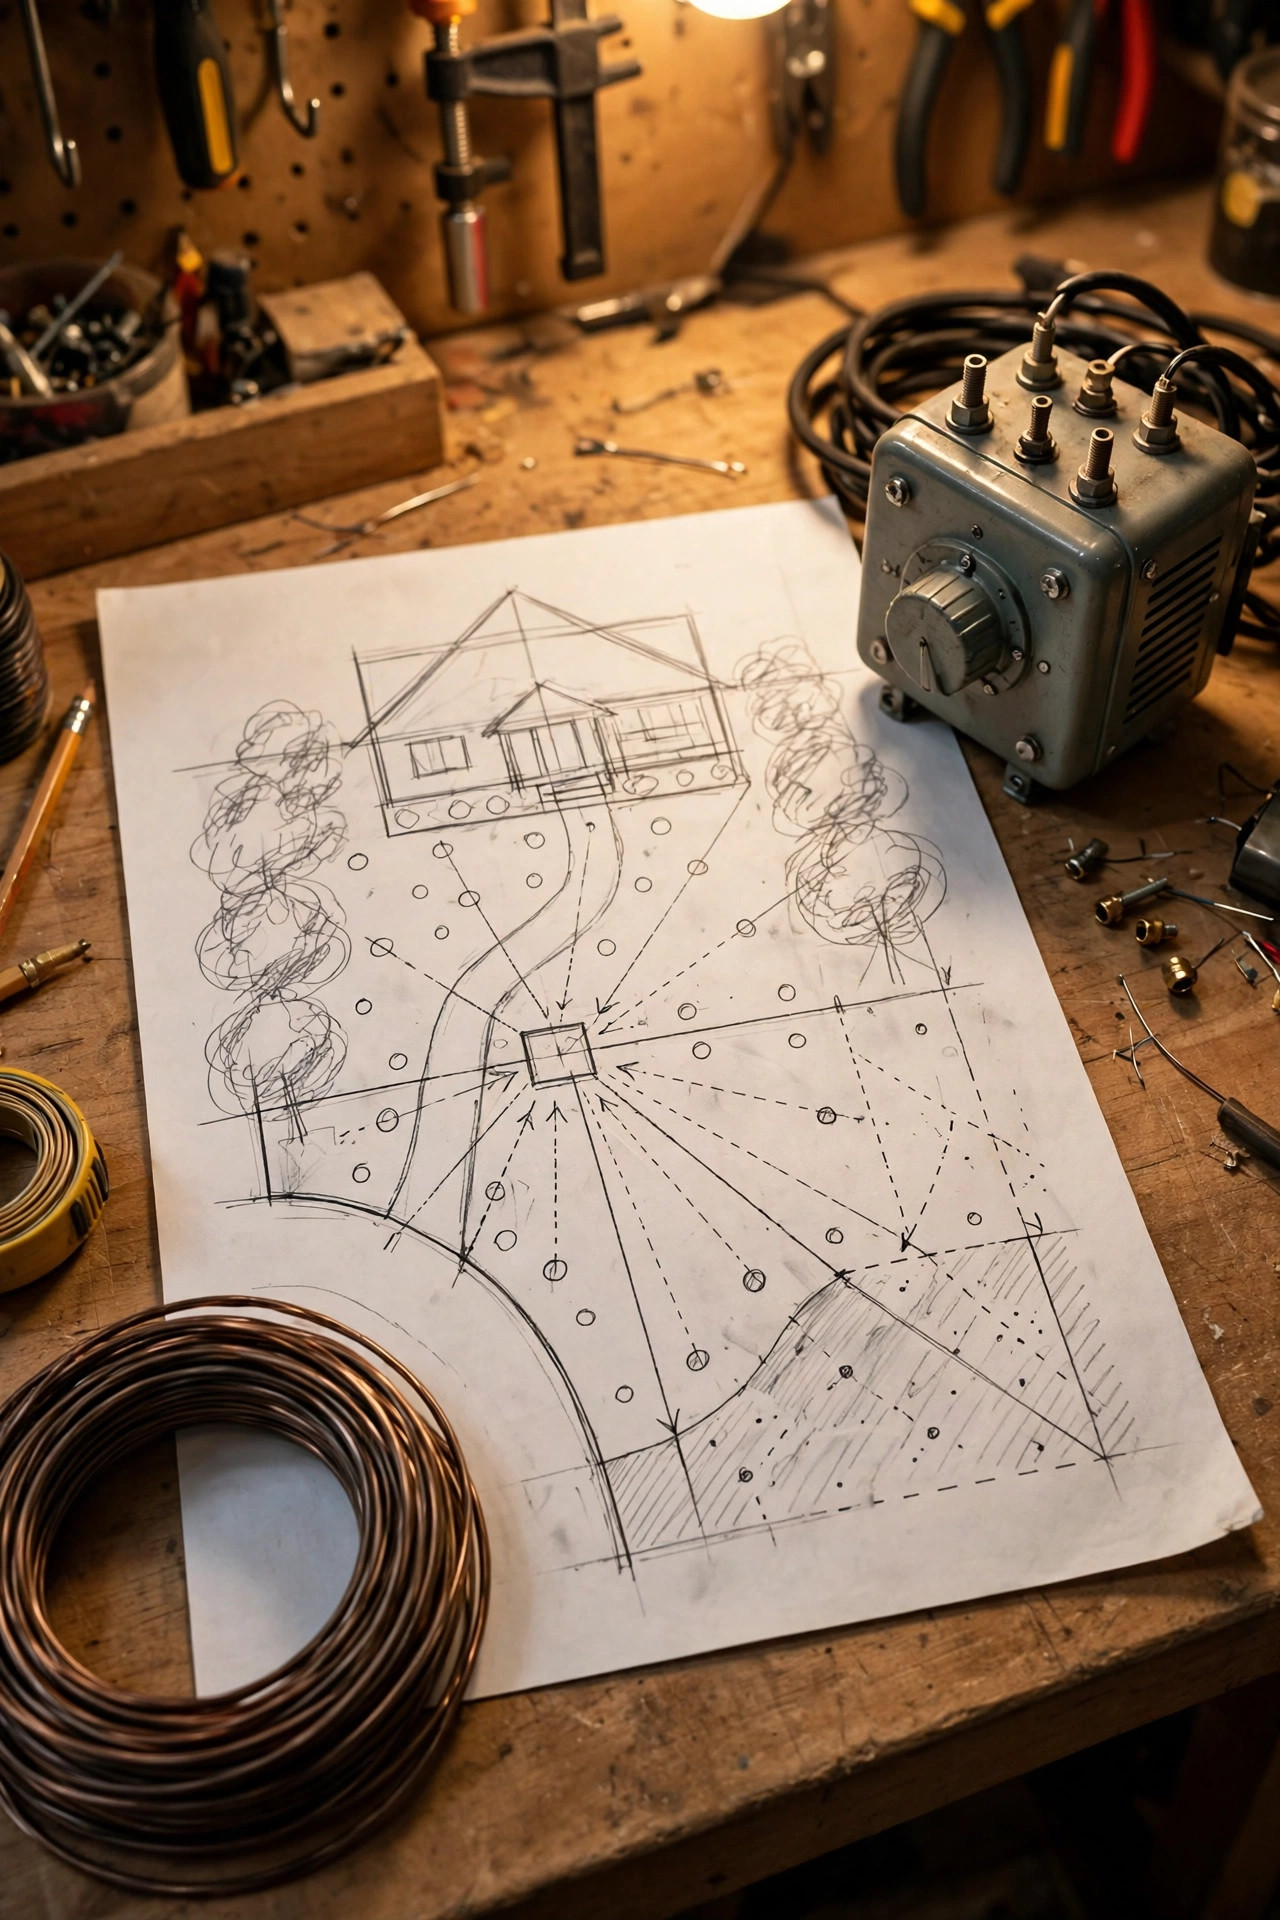
Mistake one: buying fixtures first and the transformer last, then discovering the cheap 60-watt unit can't run half the yard. Mistake two: the kit trap — those 20-lights-in-a-box bundles use thin cable and pierce connectors that corrode within two seasons, so the "savings" buy a full redo. Mistake three: spending evenly across the yard instead of layering, which produces flat, security-light glare instead of depth. Mistake four: paying for fixtures but not for aiming — a free hour at dusk with a flashlight-level patience, adjusting angles and shielding glare, is worth $300 of hardware. Mistake five: no reserve. Every project finds one surprise — a root, a sprinkler line, a run that's longer than measured. Spending 100% of the budget on the plan means the surprise gets paid for by amputating the design. Keep 10–15% back until the last fixture is aimed, then gleefully spend what's left on the fun extras. If I had to compress all five into one sentence, it's this: budgets fail at the planning table, not at the store. Twenty minutes with a tape measure, a rough sketch of your runs, and the priority order from earlier in this guide will save you more than any sale or coupon code ever will — and it's the one step the bargain-kit buyers always skip, right before they spend twice.
How to Phase It: Build $5,000 of Lighting on a $500-a-Year Plan
This is my favorite strategy, and it's how my own yard got lit. Phase one (year one, ~$500): install the big transformer — yes, the 300–600 watt one — plus the entry and walkway fixtures. Oversizing the power supply now costs maybe $120 extra and saves you from ever replacing it. Phase two (~$500–$700): the front-yard layers, facade wash and hero tree. Phase three: the backyard safety and patio zones. Phase four: the pretty stuff — moonlighting, water feature, garden accents. Each phase plugs into infrastructure that's already waiting, so nothing is ever ripped out or wasted. Two rules make phasing work: bury spare cable conduit under any new walkway or patio before the hardscape goes down (a $15 sleeve that saves a $600 trench later), and keep a simple map of every run and splice in a drawer. Five years from now, future you — troubleshooting one dark fixture with this map in hand — will be very grateful. Timing helps, too. Schedule each phase for early fall when you can: the ground is still soft, fixtures go on clearance, and you'll aim and adjust in genuinely early dusk instead of squinting at 9 p.m. in June. And photograph your yard from the street after every phase. Seeing phase one glow all on its own — before phase two even exists — is the motivation that actually gets the whole plan finished.
Frequently Asked Questions
Is $500 really enough for landscape lighting that looks good?
Yes — if it's concentrated. Ten quality fixtures on the walkway, entry, and one hero tree will outperform thirty cheap fixtures scattered everywhere. The $500 tier fails only when it's spread thin or spent on bargain kits with bad cable. Keep the scope small, the fixtures decent, and the transformer oversized, and $500 genuinely transforms a small front yard.
Which tier adds the most home value?
The $1,500 tier, in my experience and according to every agent I've asked. It completes the front yard — the view from the street and the listing photo — which is where curb appeal lives. The $5,000 tier adds lifestyle value for you (a usable, beautiful backyard) more than resale value, since appraisers rarely credit backyard lighting dollar for dollar.
Should my landscape lighting budget include professional design even if I install it myself?
Often, yes. A $300–$600 one-time design consult buys you a fixture schedule, transformer sizing, and a phasing plan — the three things DIYers get wrong most. On a $5,000 build it's cheap insurance; on a $500 build, skip it and put the money into the transformer instead. The middle tier is where I'd most recommend it.
How long do fixtures at each tier actually last?
Plastic and bargain aluminum fixtures typically last 2–4 years outdoors before housings crack or finishes peel. Mid-range aluminum and entry brass at the $1,500 tier run 7–10 years. Solid brass and copper at the $5,000 tier routinely last 15–20+ years — the LED modules get replaced, the housings essentially don't. That lifespan math is why cost-per-year often favors the higher tiers.
Conclusion
Here's the verdict I'd give my own sister: pick the tier that finishes a space, not the one that starts three. A complete $500 front walk beats a half-lit $5,000 master plan every single time, because lighting only looks expensive when it looks intentional. Size the transformer for your dreams, spend the rest on the space in front of you, and phase the rest year by year. Whatever landscape lighting budget you land on, the yard you love at dusk is closer than it looks — browse the rest of my lighting guides and ideas here, and start with the walkway this weekend.