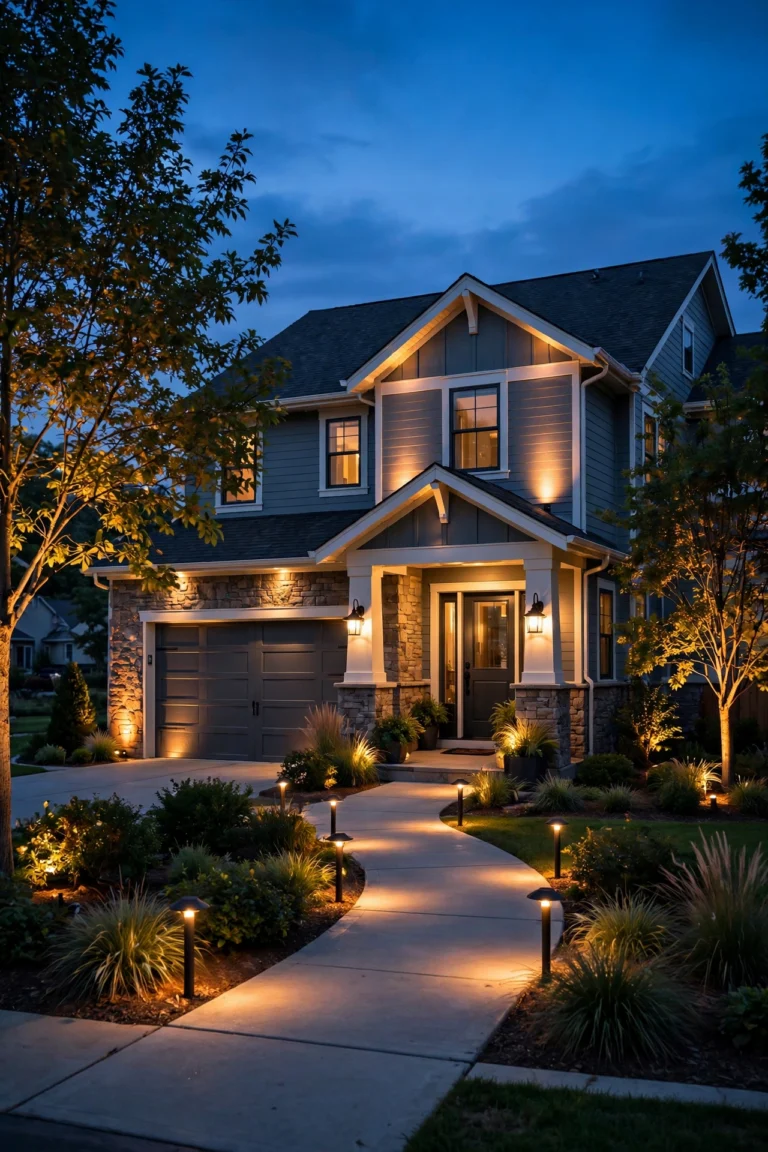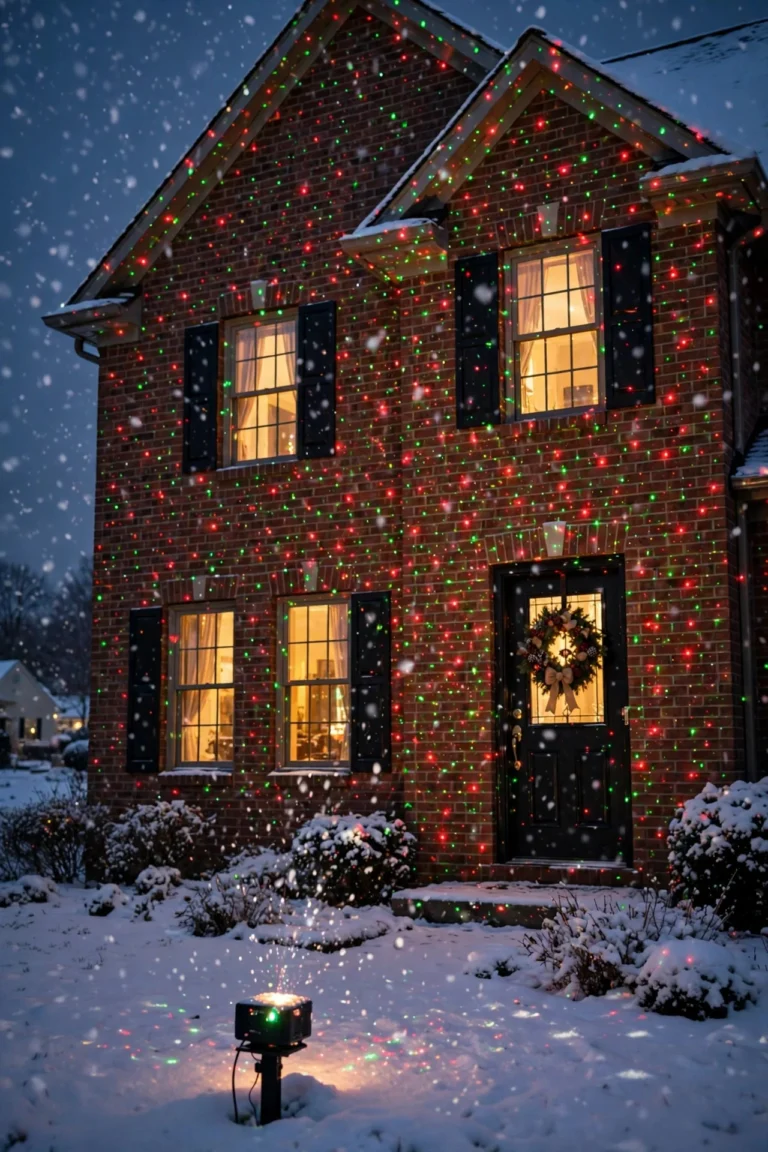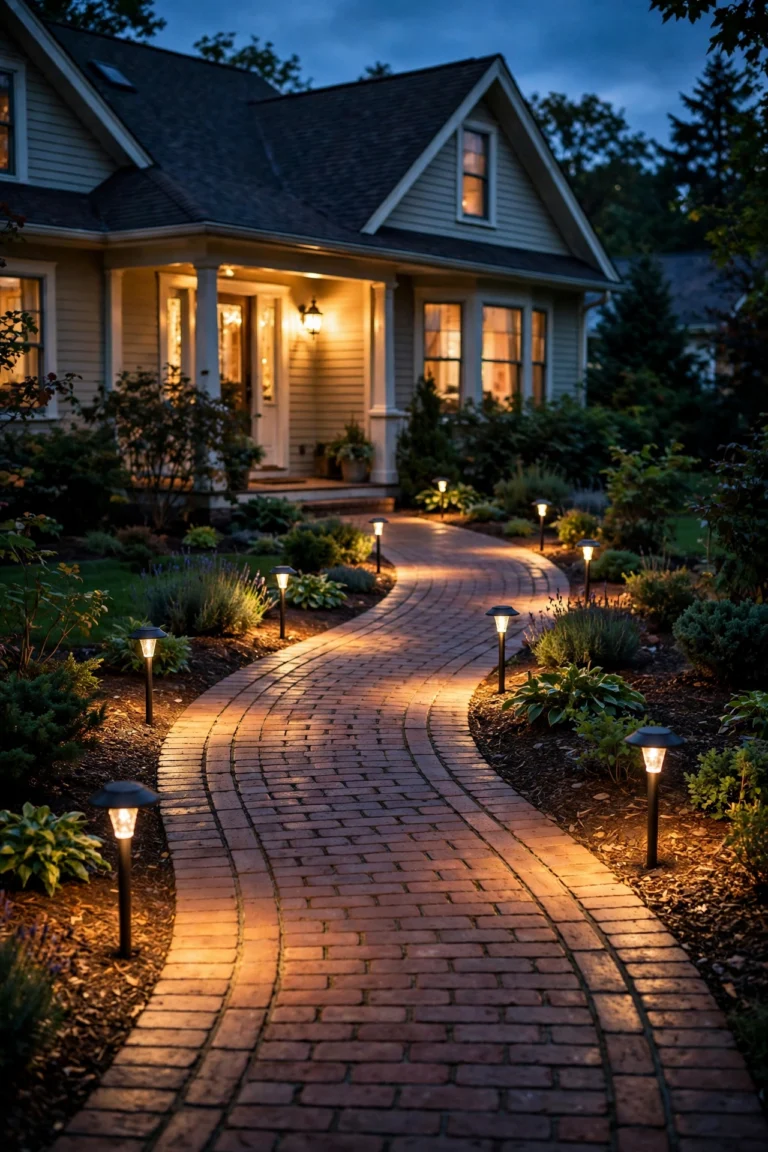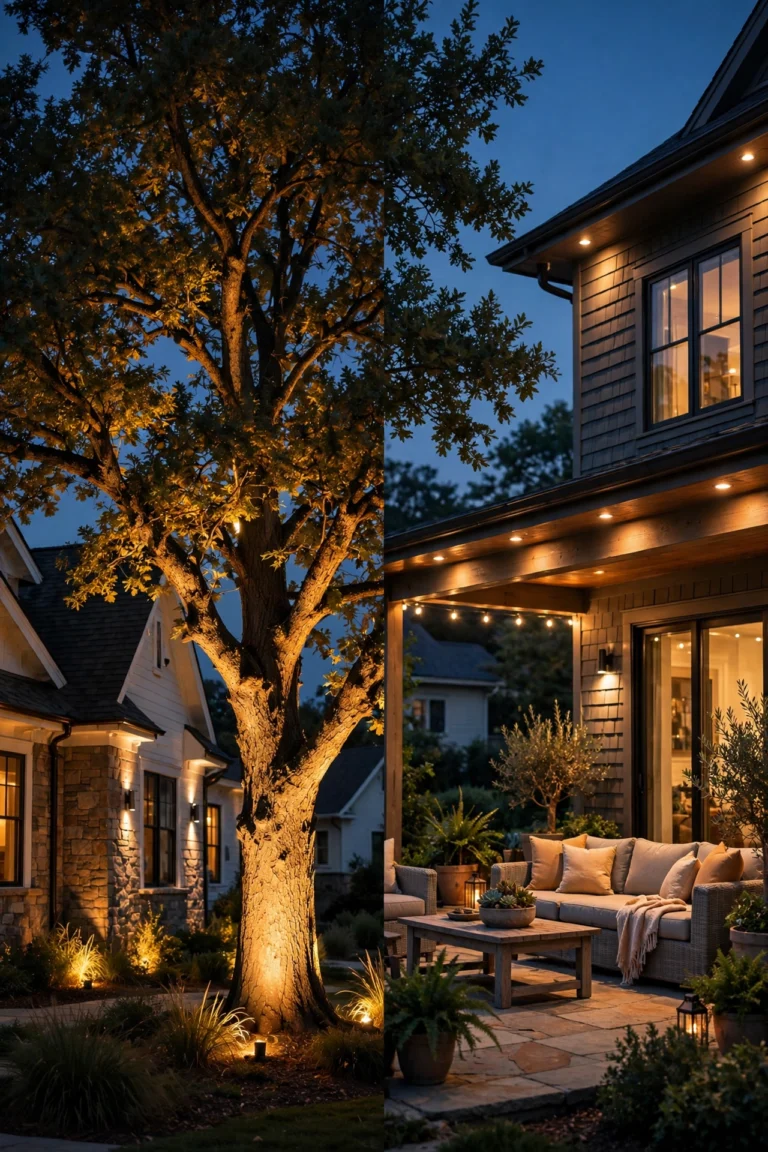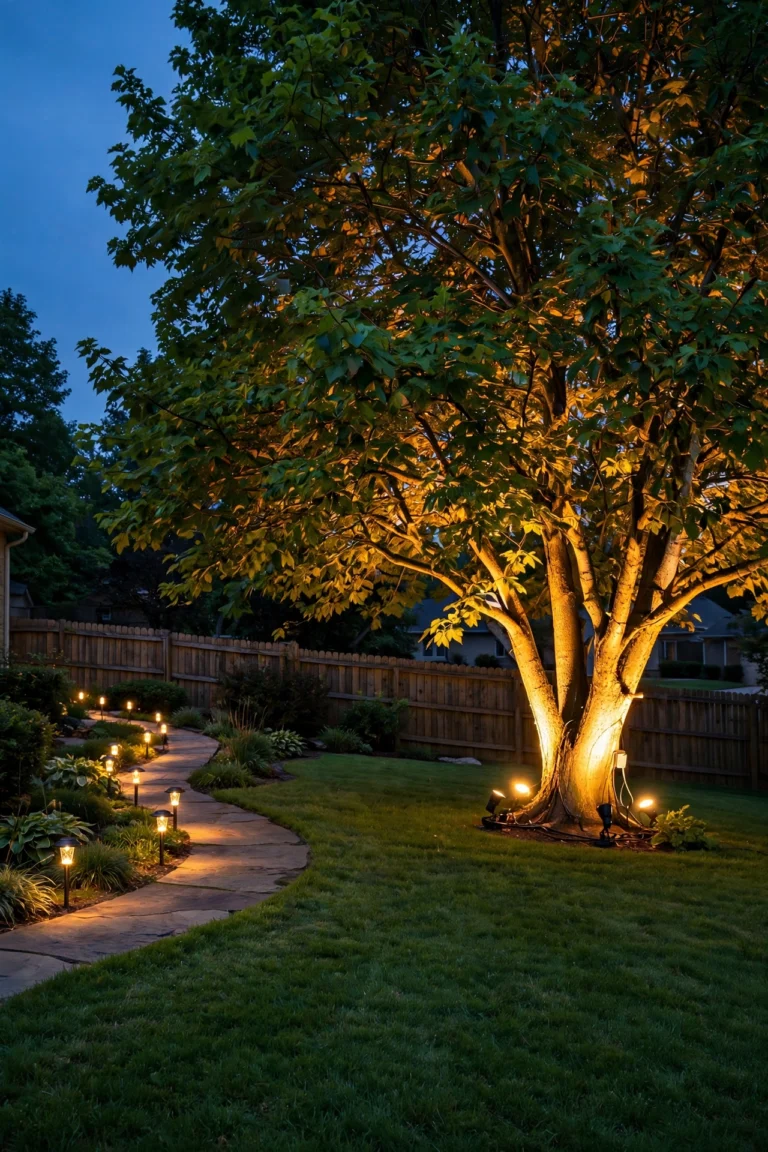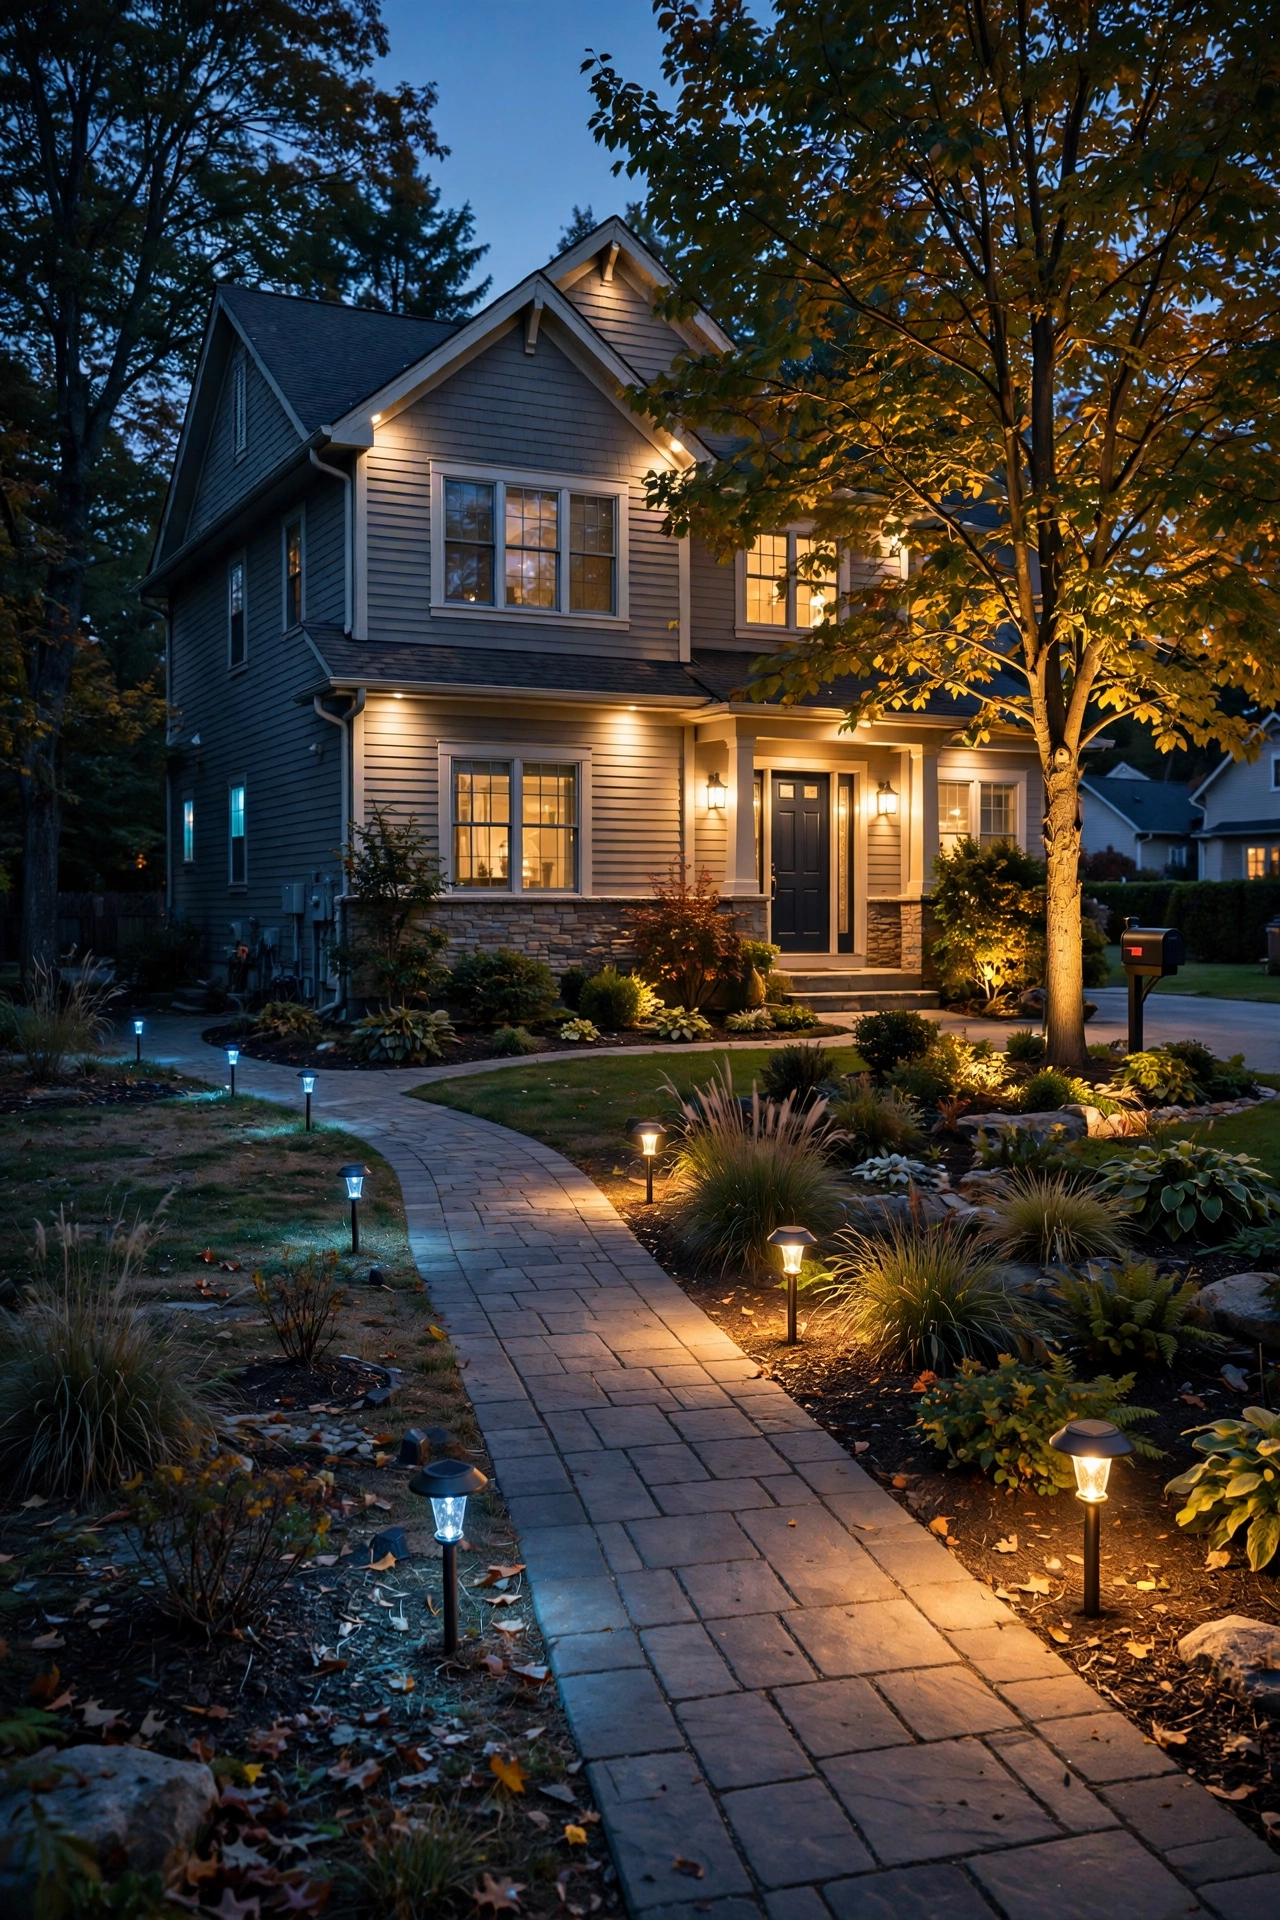
Every October, the same thing happens in my neighborhood: one yard glows like a movie set, and the yard next door has three sad solar stakes blinking out one by one. If you've ever stood on your porch at night wondering why your neighbor's trees look magical and yours look like a parking lot, you've probably asked yourself the question this guide answers — is DIY vs professional landscape lighting actually a fair fight?
Here's what I've learned after years of researching this space: the answer is both more hopeful and more honest than the big-box store kits or the contractors want you to believe. You can absolutely light a yard yourself. You can also absolutely waste $800 and three weekends doing it wrong. By the end of this guide, you'll know exactly what a DIY project really involves (skills, tools, time), what you're actually paying a pro for beyond the fixtures, and — the part most guides skip — which jobs belong in which column, with real 2026 numbers attached.
The Short Answer

Most homeowners can handle a simple low-voltage lighting project themselves — think path lights and a few uplights on a single transformer — for roughly a third of what a pro would charge. But the bigger and more complex the project gets (multiple zones, trees over 20 feet, anything hardwired to 120V, or work under decks and hardscapes), the more a professional earns their keep through design, photometrics, and warranty. In my experience, the smartest move for most people is a hybrid: DIY the simple stuff, hire out the rest.
What a DIY Landscape Lighting Install Actually Looks Like
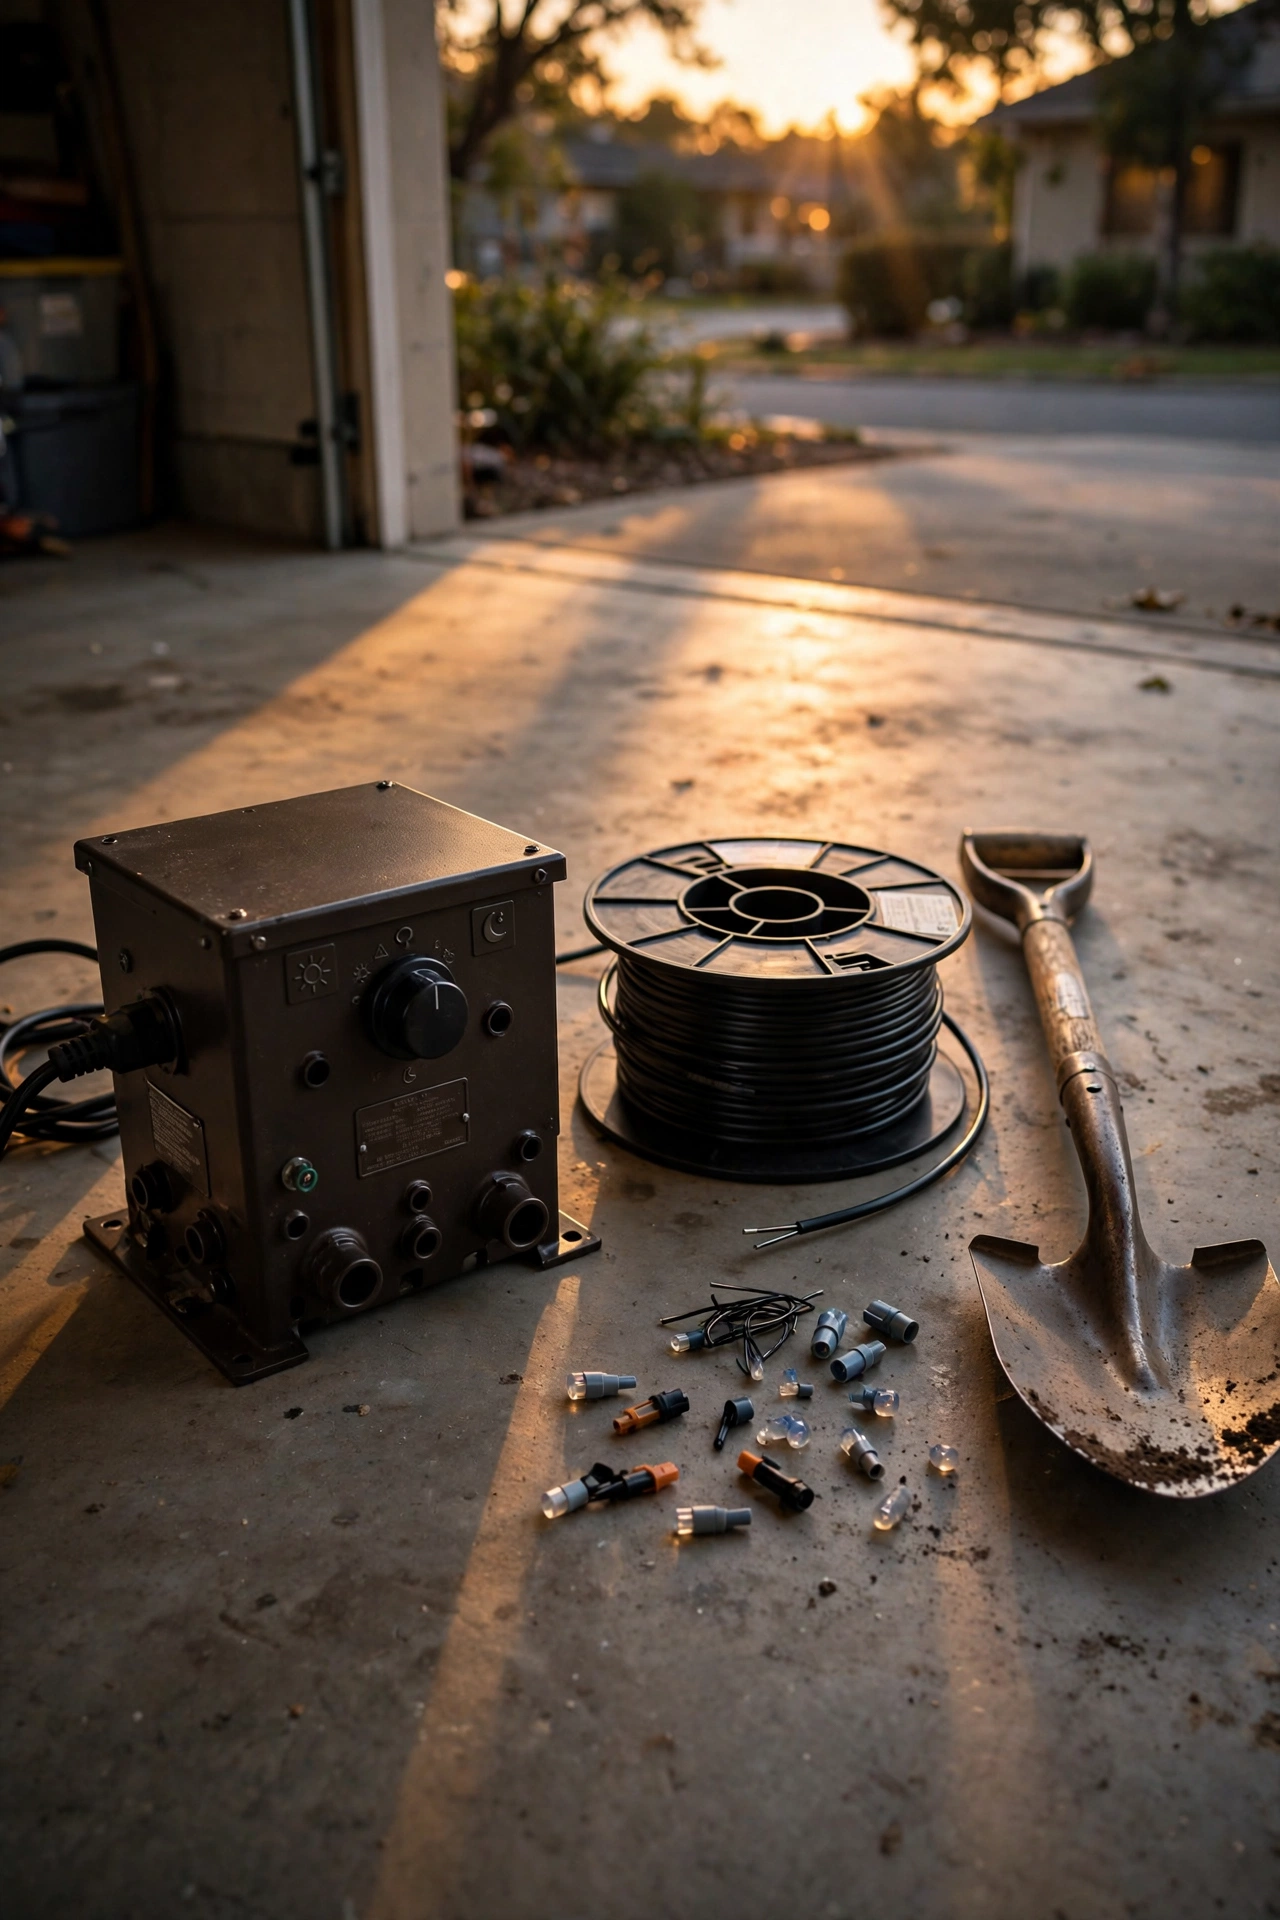
Let's be honest about what "DIY landscape lighting" really means, because the internet makes it sound like either a five-minute craft project or an electrical engineering degree. It's neither. A standard low-voltage (12-volt) project is one of the most approachable electrical upgrades a homeowner can take on — and yes, that famous "safe for beginners" claim is largely true, because 12 volts won't give you the kind of shock that 120-volt house current will.
The skills you need: basic comfort with a shovel, a screwdriver, and following a simple diagram. You need to be able to plan a layout on paper, dig a shallow trench (6 inches deep is the standard target), strip wire ends, and connect fixtures with waterproof wire connectors. If you can assemble flat-pack furniture and aren't afraid of your breaker box, you have the skills.
The tools: a flat spade or trenching shovel, wire strippers, a tape measure, and a voltage meter if you want to do it properly (about $25–$40). Many kits include the basic connectors. A nighttime walk-through — literally just walking your yard after dark with a flashlight — is your most important "tool," and it's free.
The time: for a straightforward 8–12 fixture project along a walkway and a few trees, budget one full weekend: half a day planning and shopping, one long day of trenching and laying cable, and an evening of aiming fixtures after dark (this last step is non-negotiable — more on that in the mistakes section). Add a day for every additional zone or tricky obstacle like patios and driveways you have to get wire under.
The one thing DIY requires that nobody mentions: patience with voltage drop. Long cable runs lose voltage along the way, so fixtures at the end of a daisy chain can glow dim and yellowish. The fix — hub or "T-method" wiring, where cable runs from the transformer to a central junction and branches out — is simple on paper, but it takes planning. More on this below, because it's where most DIY projects go quietly wrong.
What a Professional Brings (Besides a Bigger Bill)

I want to be fair to the pros here, because "just pay someone" is lazy advice and "pros are a scam" is wrong. A good landscape lighting designer sells you three things that fixtures alone can't provide.
Design and photometrics. This is the real product. A pro doesn't just place fixtures — they plan in foot-candles and beam angles. They know that a 35-degree spotlight from 8 feet back grazes a tree's bark beautifully while a wide flood from 3 feet creates a hot spot that blinds the neighbors. They think in layers: safety lighting along the walkway, accent lighting on the focal trees, ambient fill for the seating area. The difference between a yard that looks "lit" and a yard that looks "designed" is almost entirely this invisible planning work. When you look at that magazine-worthy neighbor's yard, you're seeing photometrics, not expensive fixtures.
Material quality and installation technique. Pros buy commercial-grade fixtures — typically solid brass or copper housings with sealed LED modules — built to survive 10–15 years in soil and sprinklers. The all-plastic kit from the home center is built to survive, honestly, about two seasons. A pro also buries cable at proper depth with drip loops, uses hub wiring to keep voltage even, and routes everything to a proper GFCI-protected transformer mounted where it's accessible for maintenance.
Warranty and accountability. A reputable pro warranties both parts and labor, usually 2–5 years. If a fixture fails, a transformer dies, or a connection corrodes, they come back and fix it. DIY warranties are manufacturer warranties on the parts — and they don't cover your labor, your trench, or the Saturday you spend troubleshooting a dead zone.
Does every project need all three? No — and that's the key insight. A simple walkway run doesn't need photometrics. But a full front-yard design with layered tree uplighting, facade grazing, and three zones absolutely does.
DIY vs Professional Landscape Lighting: Head-to-Head
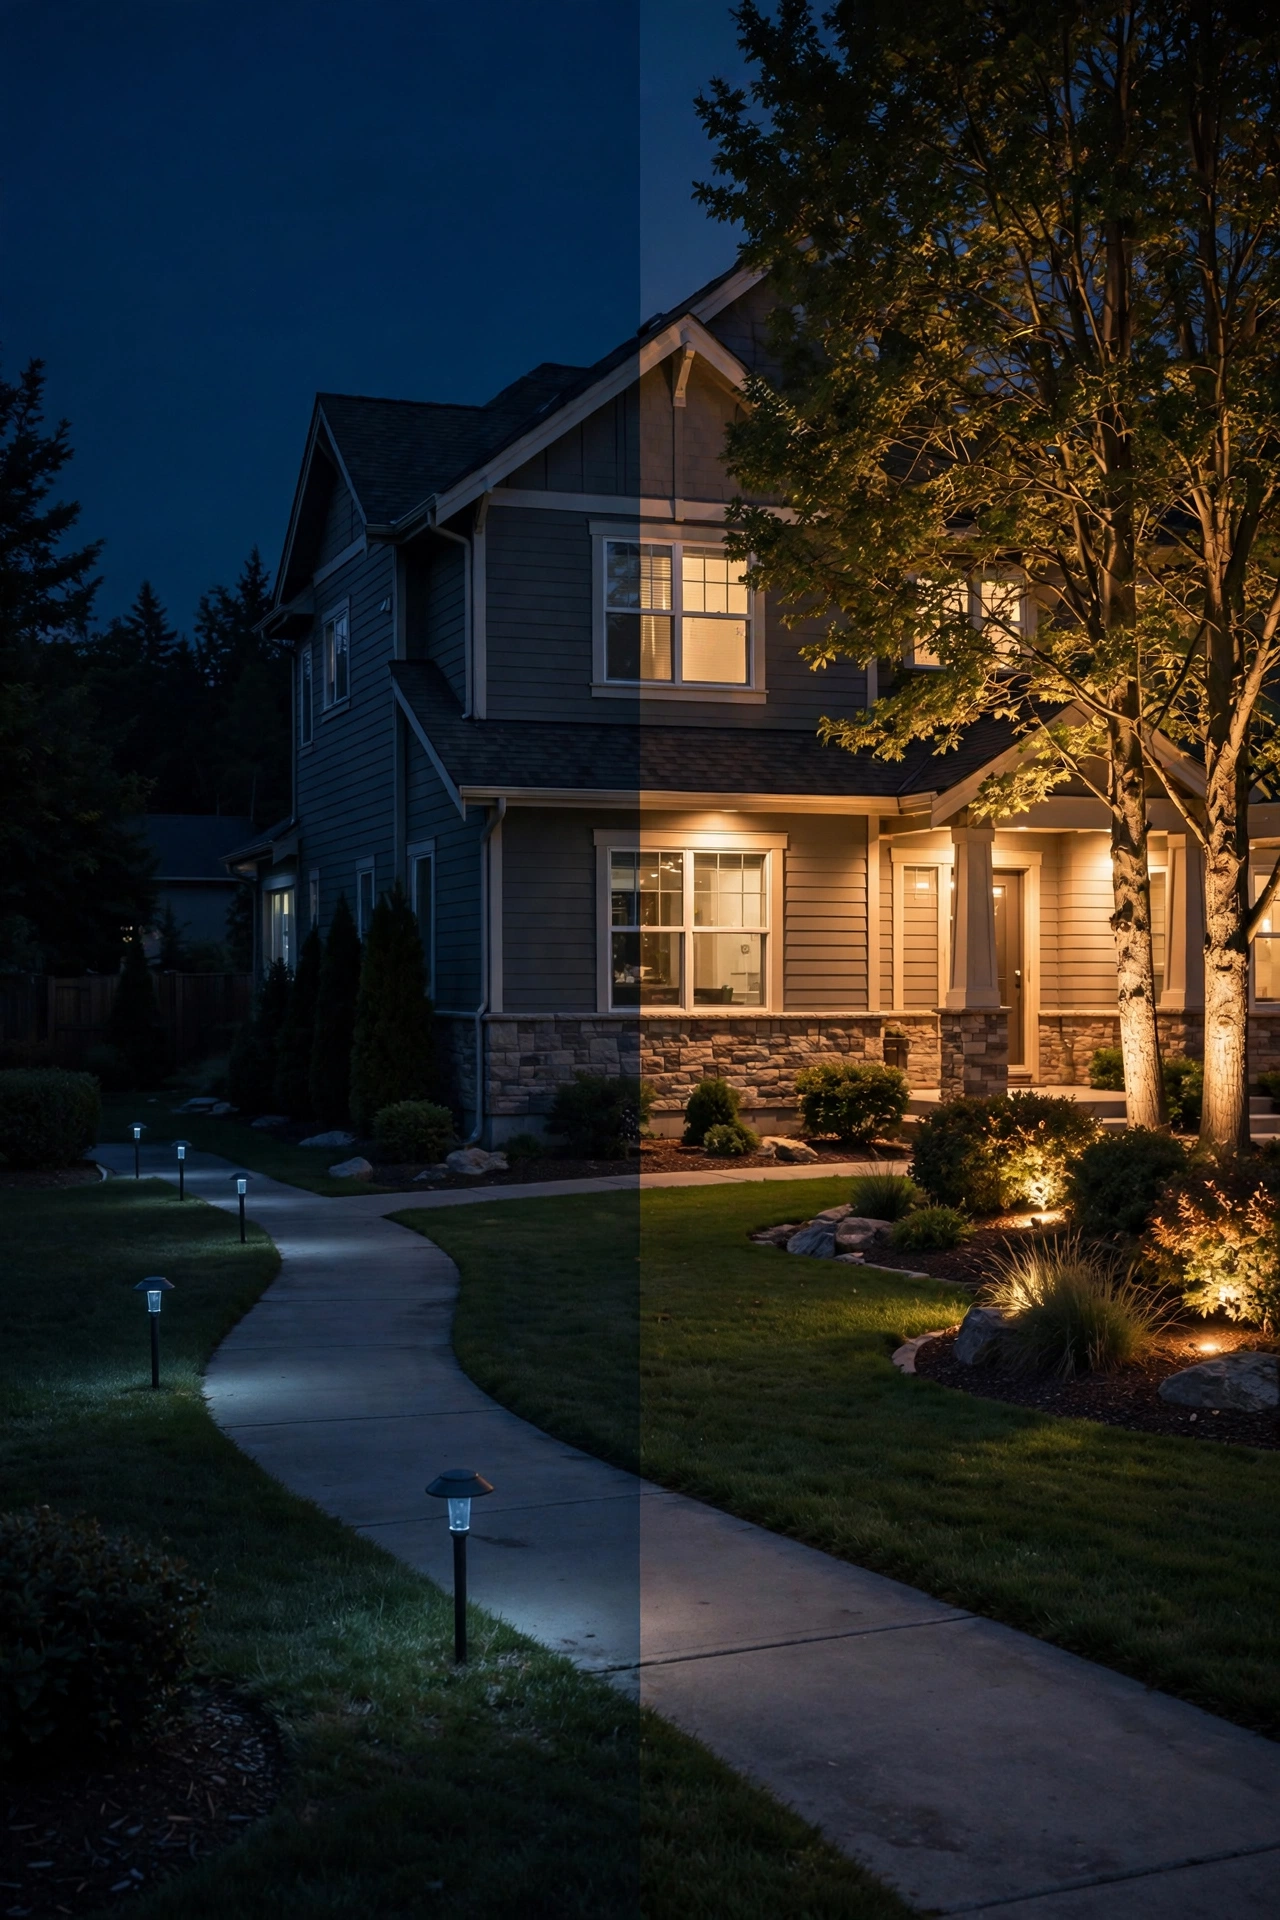
Here's the honest comparison, category by category, for a typical residential project (say, 12–20 fixtures covering a walkway, two or three trees, and a planting bed):
| DIY | Pro | |
|---|---|---|
| Cost | $600–$1,800 all-in for a typical 10–15 fixture project (fixtures, transformer, cable, connectors); you can go under $400 with a solar approach or budget kit | $200–$400 per fixture installed is the common band; a 15-fixture project typically runs $3,000–$5,000, with design-build premium work at $6,000–$12,000+ |
| Time | 1–3 weekends of your own labor (planning, shopping, trenching, wiring, night aiming); troubleshooting is on you | A few hours of your time for the consultation and walk-through; install usually 1–3 days by a crew |
| Design quality | Entirely up to you — ranges from lovely to "why is that spotlight aimed at my bedroom window"; most DIYers under-light focal points and over-light paths | Planned with photometrics, beam angles, and layering; consistent color temperature across every fixture; night-aimed during install |
| Warranty | Manufacturer warranty on parts only (often 1–3 years); your labor and troubleshooting time aren't covered | 2–5 years parts AND labor is standard from reputable contractors; one phone call gets a fix |
| Electrical complexity | Safe and simple IF you stay on 12V low-voltage with a plug-in transformer; complexity spikes fast with voltage drop, long runs, and multiple zones | Handles multi-zone systems, long runs, hardwired timers, and any 120V work (new outlets, panel tie-ins) with a licensed electrician |
One more row that doesn't fit the table but matters: pride of ownership. I'll be honest — the first time I flipped on a zone I'd wired myself and watched the oak tree light up exactly the way I'd pictured it, it felt better than anything a contractor could have given me. There's real satisfaction in DIY lighting. Just make sure the satisfaction isn't the thing blinding you to a job that's over your head.
The Jobs That Are Genuinely DIY-Friendly
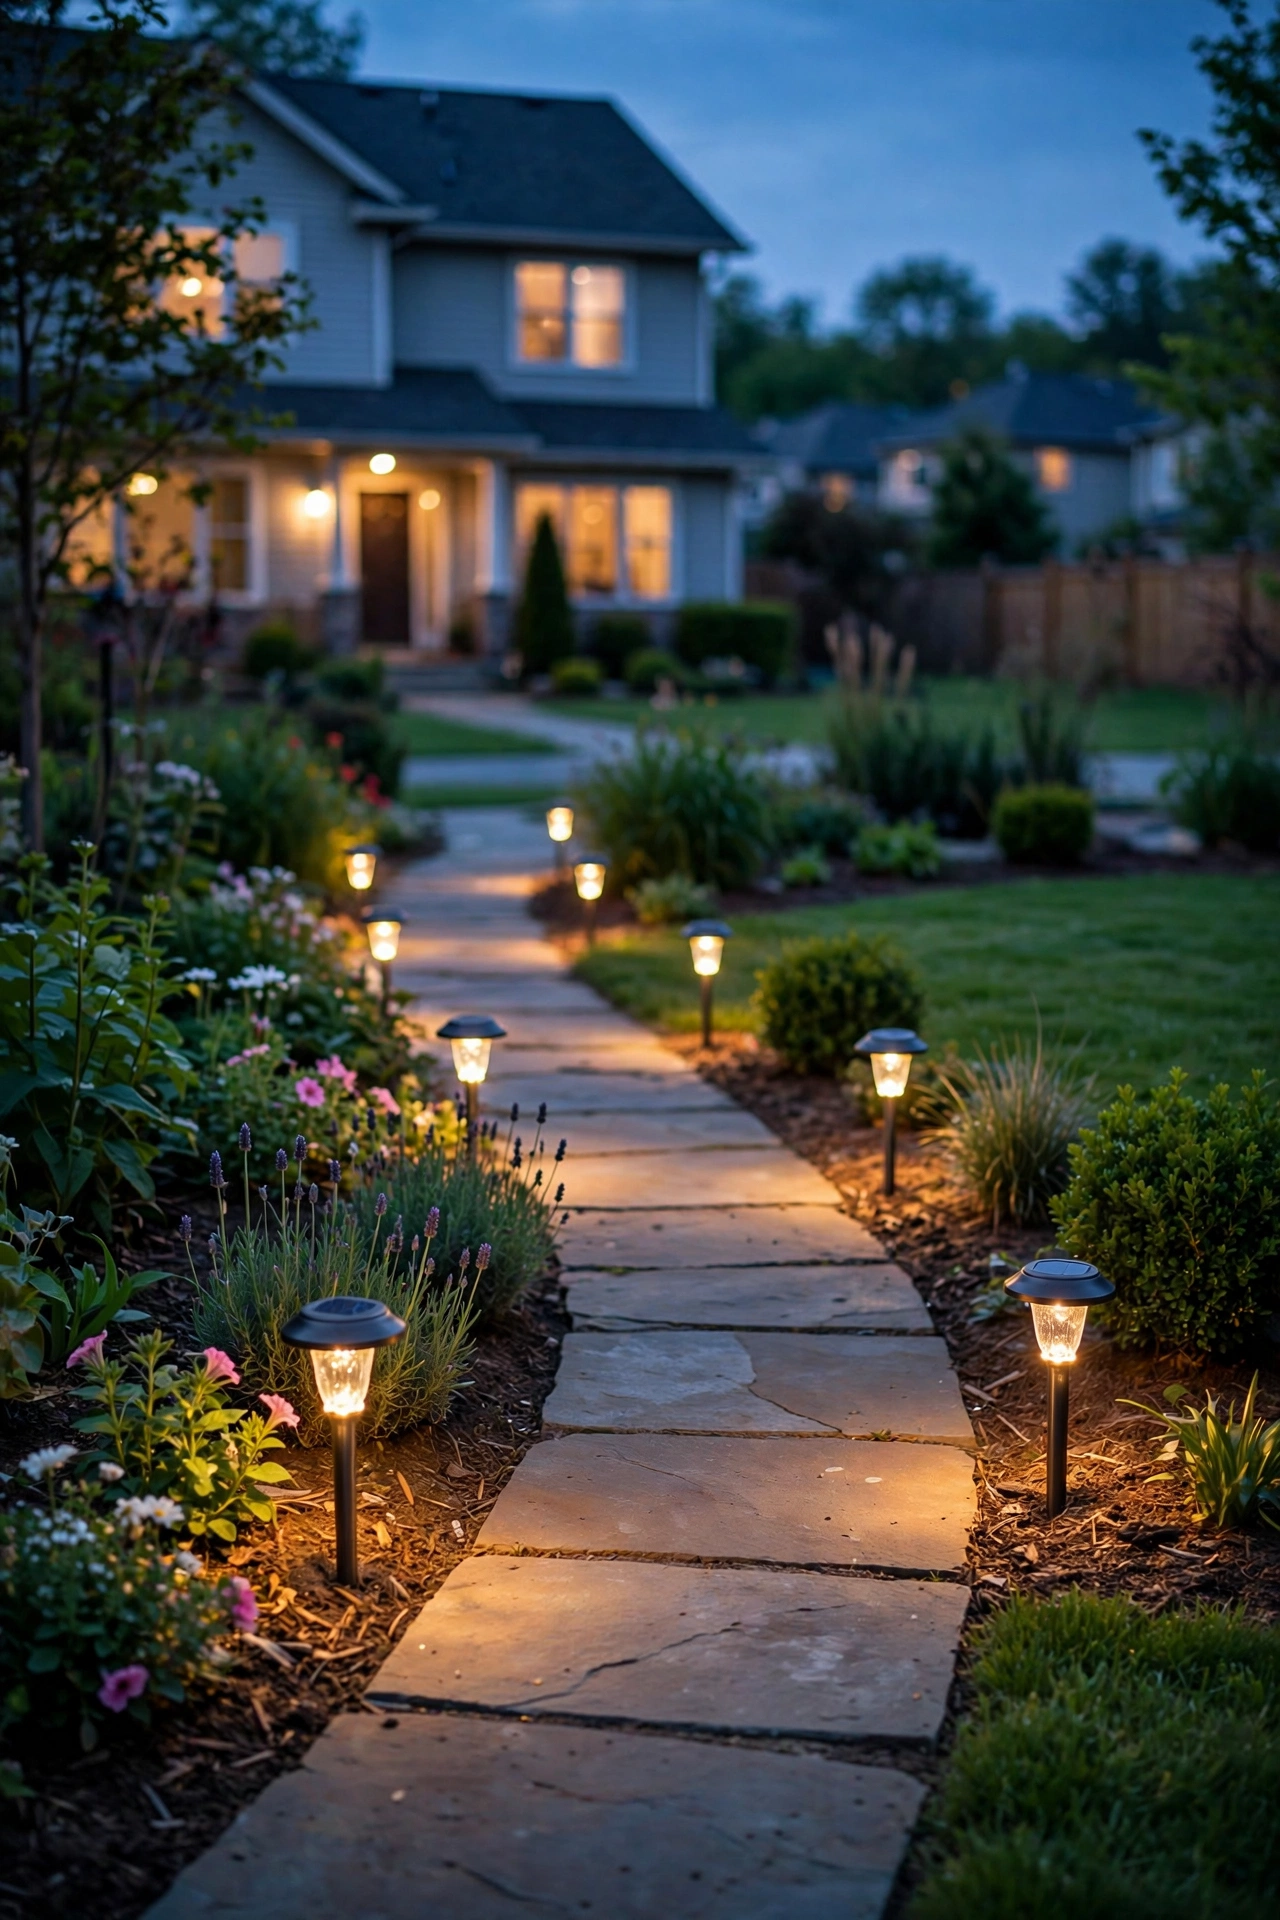
Not every lighting task needs a professional. Some are so straightforward that paying for labor is genuinely hard to justify. Here's my honest list:
Solar path lights and accents. The ultimate starter project. Push them into the ground, walk away. Modern solar fixtures have gotten dramatically better — honest ones hold a charge through the evening — though they still fade on cloudy weeks and need their panels wiped each season. Perfect for renters, dorm-style budgets, and testing whether you even like lighting before committing to wiring.
Plug-and-play low-voltage path light kits. A 6–8 fixture kit with a transformer and snap connectors is the classic weekend project. Stake the fixtures along the walkway, lay the cable on the grass surface first to test your spacing, then bury it. If you can follow the included diagram, you can do this — and the result genuinely transforms a front walk. For layout ideas before you start, browse a low-voltage path light layout guide to get spacing right the first time.
Swapping fixtures on existing wire. If your house already has low-voltage landscape lighting with dead or dated fixtures, replacing them is one of the best bang-for-buck projects in all of home improvement. The cable, transformer, and layout are already done — you're just upgrading the "light bulbs with housing." Match the connector type and wattage, and swap away.
Adding a timer, photocell, or smart control. If your transformer has a timer slot (most modern ones do), adding automation takes about ten minutes. A photocell turns lights on at dusk automatically; a smart plug or Wi-Fi timer gives you schedules and app control. This is the highest-ROI ten minutes in landscape lighting — your lights stop being a thing you forget to turn on.
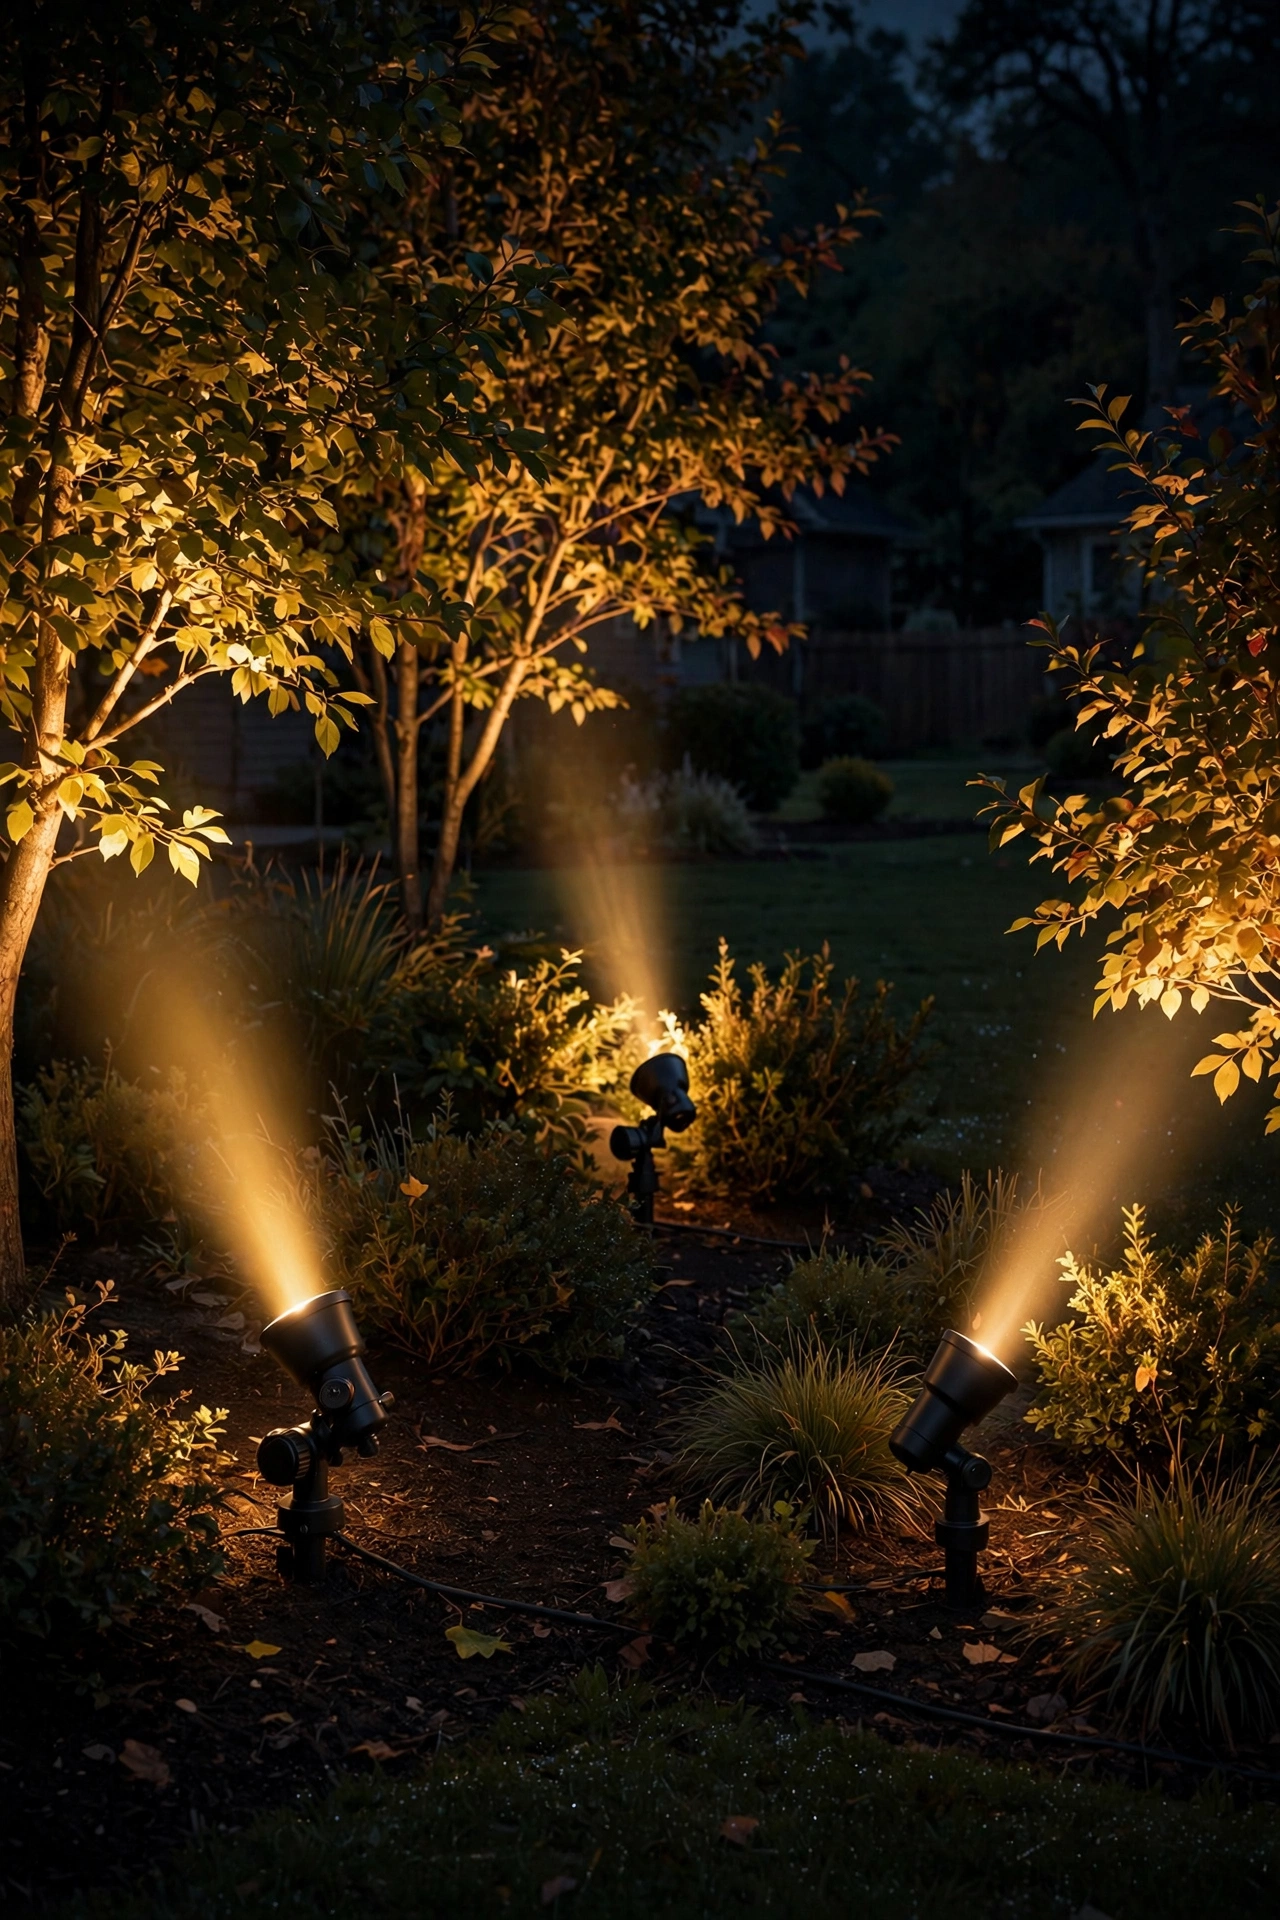
Basic tree and shrub uplighting with ground stakes. One or two well-placed spotlights aimed up into a tree canopy is a single-fixture job: push in the stake, connect to an existing or small transformer run, aim at night. This is the single technique that makes a yard look "professional" with the least effort — though if you're doing five trees with layered canopies, that's a different conversation (see the next section).
The Jobs I'd Always Hire Out
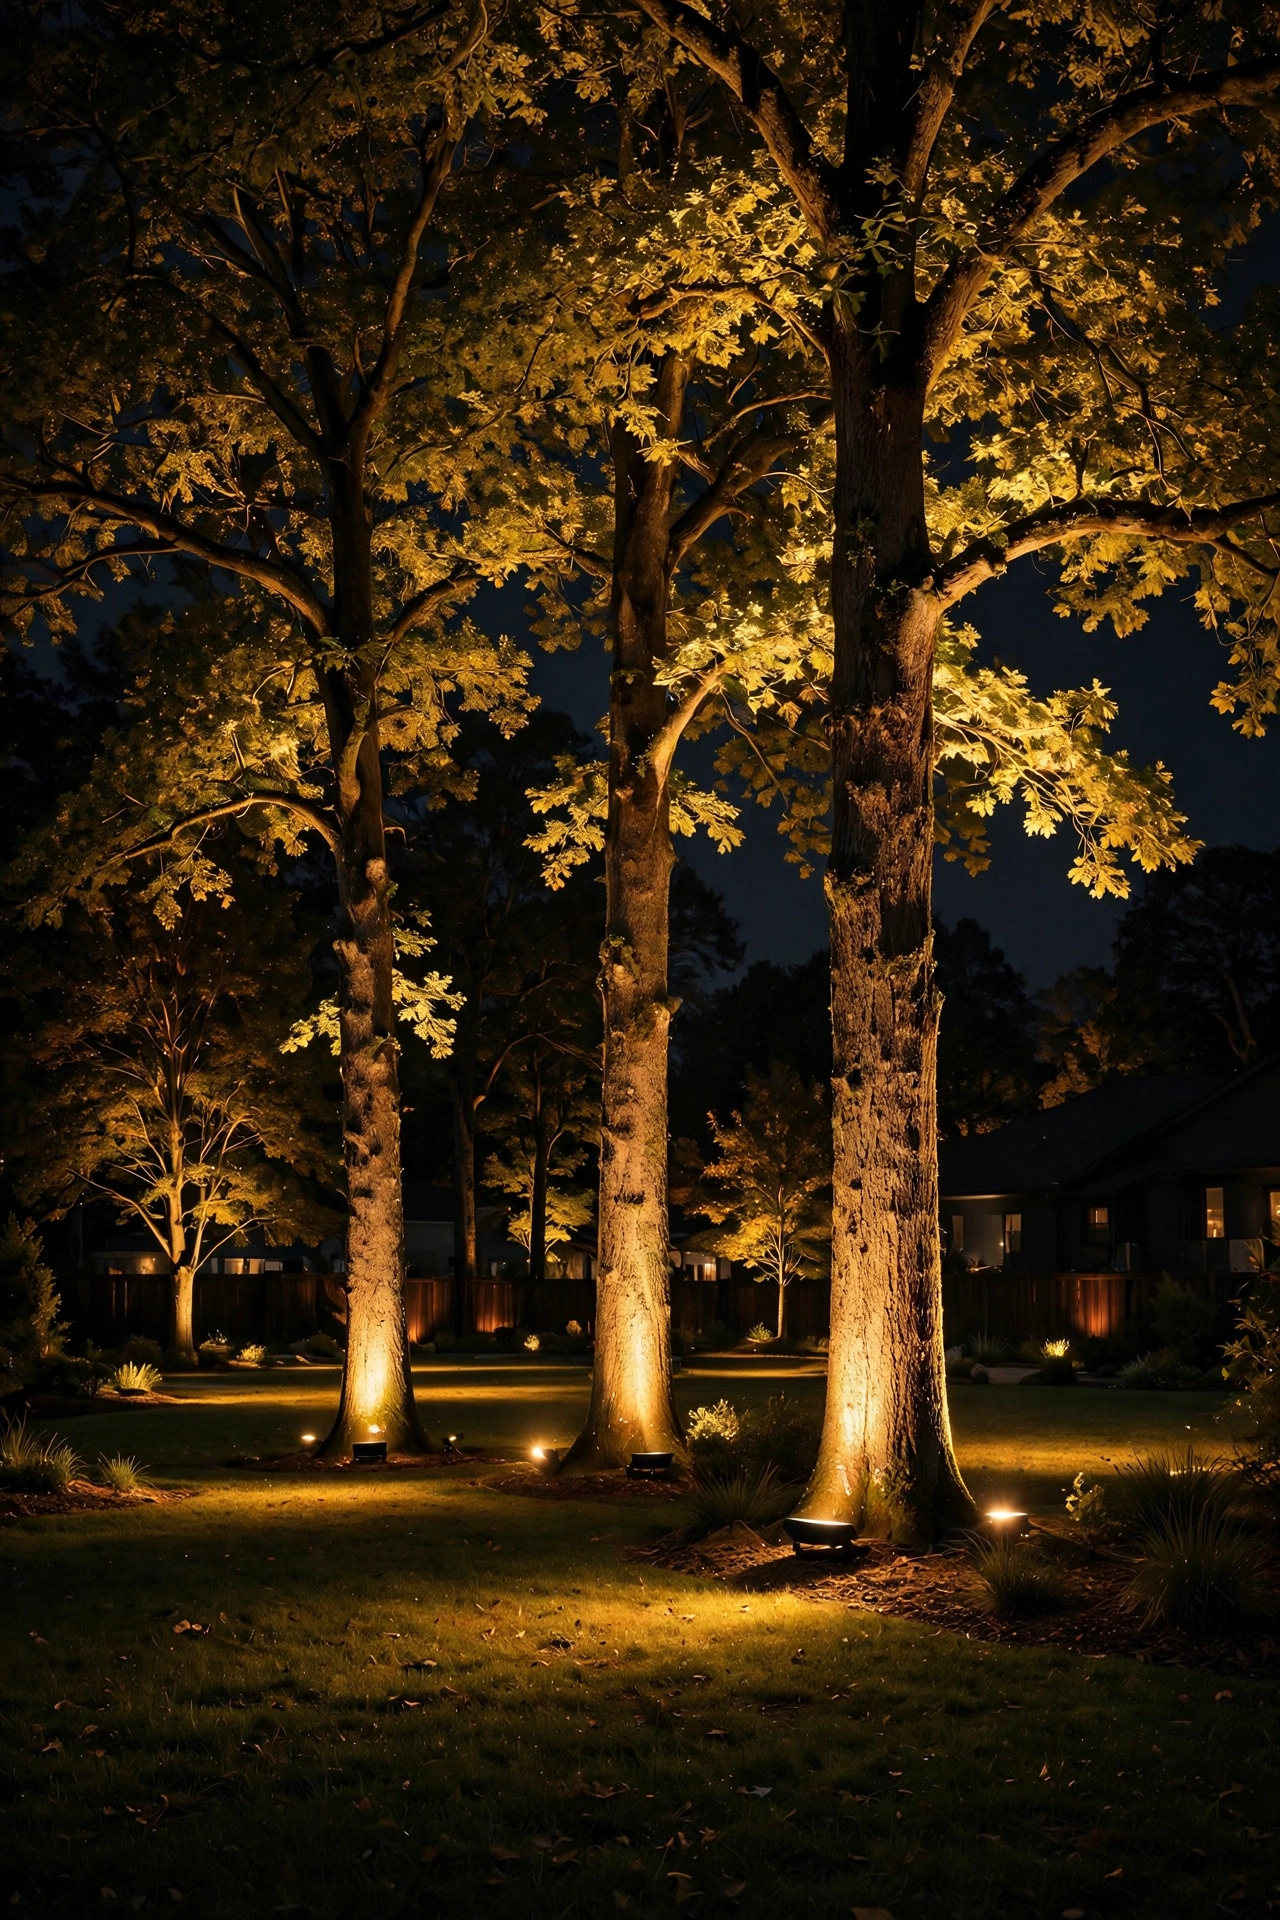
Now the other side. These are the jobs where, in my experience, DIY savings evaporate into mistakes, rework, or genuine hazard. No shame in any of them — knowing your ceiling is a skill.
Anything on 120-volt house current. Adding a new GFCI outlet, running a circuit from your panel, hardwiring fixtures into your home's electrical system — this is licensed-electrician territory, full stop. A new outdoor outlet typically costs $150–$350 installed, and it's the cheapest insurance in this entire guide. Your 12V project still needs to plug into *something*.
Multi-zone systems with layered design. Once a project involves three or more zones (walkway + trees + facade + seating area), coordination stops being intuitive. Beam angles, color temperatures, brightness balance between zones, timer programming — this is exactly what a designer's fee buys, and the difference shows after dark.
Trenching under driveways, patios, and walkways. Getting wire under hardscapes requires either cutting and patching concrete or directional boring equipment. One cracked paver or trip hazard later, and the "savings" are gone. Pros either bore under or plan routes that avoid it entirely.
Integrated fixtures in structures. Recessed step lights in deck risers, fixtures mortised into fence posts or retaining walls, soffit downlights under a covered porch — these combine carpentry, waterproofing, and wiring. Done wrong, you get water intrusion and rot. For deck stairs specifically, the deck stair lighting ideas guide shows how precise this work is; if you want it perfect, hire it.
Large or high trees (over ~20 feet). Properly uplighting a mature tree takes high-output fixtures, sometimes multiple angles, and occasionally ladder work or tree-mounting hardware. Plus, aiming a 40-foot canopy from the ground is genuinely a design skill. This is the single most dramatic thing a pro does, and it's the hardest to fake.
Anything near water features or pools. Ponds, fountains, and pool-adjacent lighting have strict electrical codes and grounding requirements that vary by state. The stakes are literal safety stakes. Hire a licensed pro — this is non-negotiable.
What It Costs in 2026: Real Numbers

Let's talk real money, because vague advice ("it depends!") is useless when you're budgeting. These are honest 2026 US ranges based on current retail pricing and what contractors are actually quoting.
The DIY budget, itemized
For a typical 10–12 fixture low-voltage project:
– Fixtures: $40–$90 each for decent aluminum or composite path/spread lights; $60–$120 each for spotlights; $90–$180 each for solid brass or copper fixtures that'll last a decade. Budget path-light kits run $120–$250 for 6 fixtures.
– Transformer: $70–$140 for a 150–300W unit with a built-in timer and photocell (oversize it by 20% — you will add fixtures later).
– Cable: 12-gauge low-voltage cable runs about $0.35–$0.55 per foot; a typical project needs 200–500 feet ($70–$275).
– Connectors and accessories: $30–$60 for waterproof wire connectors, a voltage meter ($25–$40), and miscellaneous supplies.
– All-in DIY total: $600–$1,800 for a quality 10–15 fixture system. You can come in under $400 with a basic kit, or over $2,000 if you go all-brass.
The professional budget, itemized
– Per-fixture installed price: $200–$400 is the band most reputable contractors quote, which bundles the commercial-grade fixture, cable, labor, transformer share, and design.
– Typical project totals: $3,000–$5,000 for a 12–20 fixture front-yard system; $5,000–$8,000 for full front-plus-back coverage with multiple zones; $8,000–$15,000+ for design-build premium work with integrated fixtures, hardscapes, and smart controls.
– The new-outlet wildcard: if you need an electrician to add a GFCI outlet near your transformer location, budget $150–$350.
The running costs (the part everyone forgets)
LED fixtures sip power. Fifteen fixtures at 5 watts each, running 6 hours a night, use about 164 kWh per year — at average US residential rates (~$0.17/kWh), that's roughly $28 a year. Over a decade, electricity is a rounding error compared to fixtures and labor. LED modules in quality fixtures last 30,000–50,000 hours (that's 13+ years at 6 hours a night), so replacement costs are minimal. Solar fixtures have their own hidden cost: rechargeable batteries that need replacing every 2–4 years at a few dollars each.
The hidden DIY costs nobody puts in the spreadsheet
– Your weekends. Three weekends at 8 hours each is 24 hours. Valued at even a modest rate, that's real money — and contractors' prices start looking different when you account for it.
– Rework. The daisy-chained run that needs re-wiring, the cheap fixtures that corrode and need replacing in year two, the trench that has to be re-dug because the cable was 2 inches deep when the landscaper came through.
– Tools. A voltage meter, a proper trenching spade, maybe a fish tape — $75–$150 if your garage is empty.
5 Mistakes DIYers Keep Making
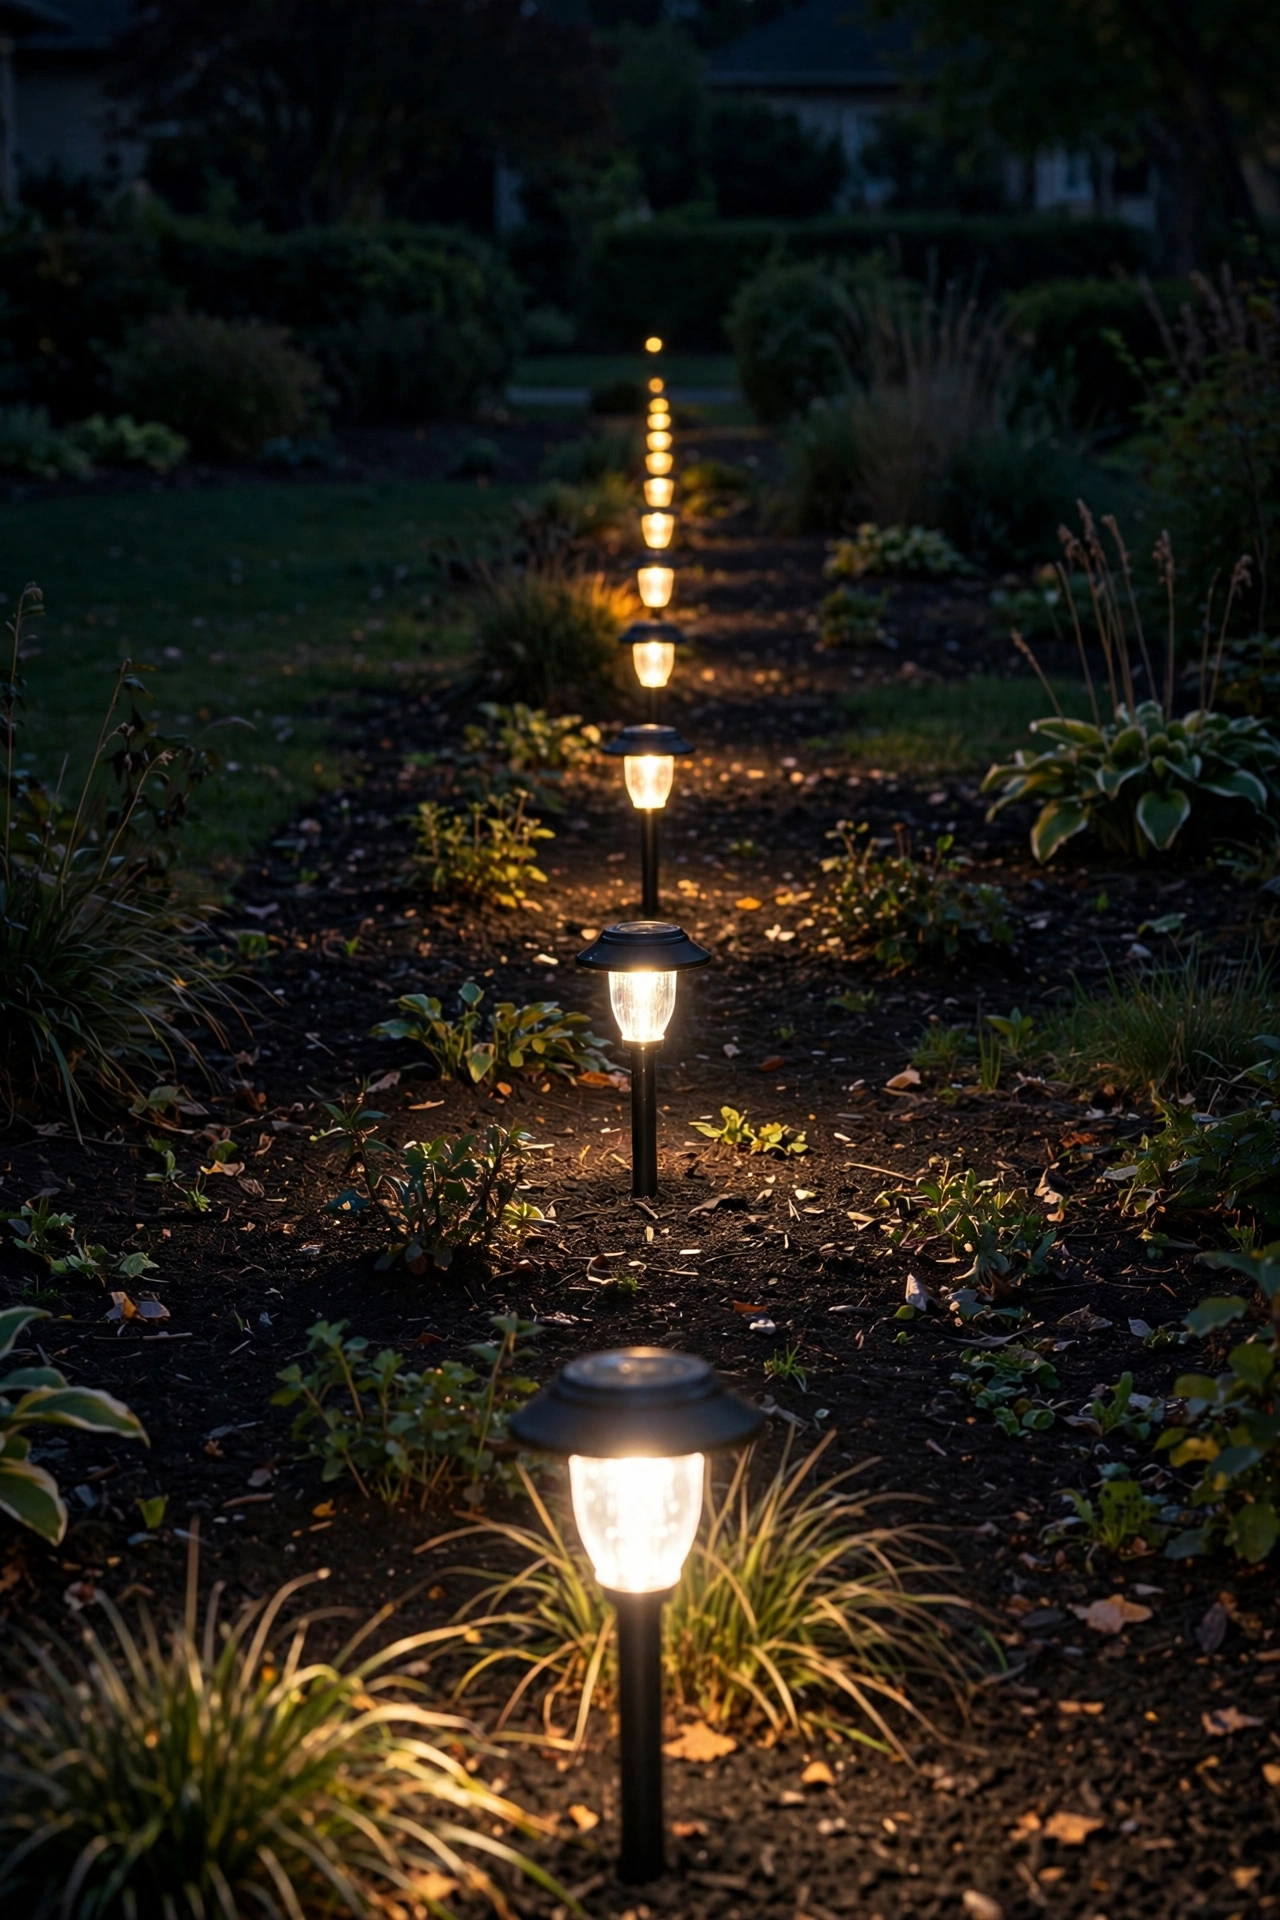
I've seen the same five failures repeat across forums, neighbor yards, and (honestly) my own early projects. Learn them here for free instead of learning them in your yard:
1. Daisy-chaining everything off one long run. This is mistake number one by a mile. Stringing fixture after fixture along a single cable means each fixture gets less voltage than the last — the ones at the end glow dim and yellowish while the first ones blaze. The fix is hub (T-method) wiring: run your main cable from the transformer to a central point, then branch individual shorter runs to groups of fixtures. Every fixture gets full voltage, and your lighting looks even. It takes an extra hour of planning and saves you from the most common DIY disappointment.
2. Buying the cheapest kit with plastic everything. The $89 all-in box store kit is tempting, and for one season it's genuinely fine. But plastic stakes snap in frozen ground, cheap connectors corrode after one rainy season, and thin aluminum fixtures pit and flake. If you're going to dig trenches and bury cable, the labor is the same whether the fixtures last 2 years or 12 — so buy mid-grade or better fixtures and cheap out on nothing structural.
3. Aiming fixtures in daylight. You cannot aim landscape lighting at 2 PM. It is physically impossible to judge beam spread, glare, and hot spots in sunlight. Every fixture must be checked and adjusted after dark — walk the property, stand where guests stand, sit where you sit, and look at your house from the street. Pros do a "night aim" walkthrough as standard practice; DIYers skip it and wonder why the spotlight is glaring into the living room window.
4. Over-lighting the yard. More fixtures does not mean better lighting — it means a yard that looks like a car dealership. The classic DIY error is lighting *everything*: every tree, every bed, every wall, all at the same brightness. Restraint is a design skill. Start with fewer fixtures than you think you need, use lower-wattage bulbs (2–4W is plenty for most accents), and keep every fixture at warm white 2700–3000K. Darkness between lit areas is what makes the lit areas beautiful — that's the layering philosophy in one sentence.
5. Burying cable too shallow (and skipping the safety basics). Two inches of mulch over your cable is not burial — it's a future encounter with a shovel, a dog, or a landscaper's edger. Get cable 6 inches down, and leave generous service loops (a foot or two of slack) at each fixture so you can re-aim or replace without splicing. And wherever your 12V system meets 120V house power, use a GFCI-protected outlet and outdoor-rated connections. If you're fuzzy on any of this, a quick read of an outdoor electrical safety primer before you dig is time well spent.
How to Vet a Lighting Contractor (Without Getting Burned)

If you've decided to hire out — all of it or part of it — the contractor you choose matters more than the fixture brand. Here's my vetting checklist, in the order I'd actually use it:
Ask to see night photos of real projects. Not renders, not daytime install shots — night photos of finished work. A contractor's portfolio of lit yards tells you everything about their design eye: even brightness, intentional focal points, no glare bombs. If all their photos are close-ups of fixtures in daylight, walk away.
Get a fixture schedule in writing. A real proposal lists every fixture: type, quantity, location, beam angle, wattage, and material. Vague quotes ("12 landscape lights, $4,200") are a red flag. The schedule also lets you compare quotes apples-to-apples — because one contractor's "$3,800 for 15 fixtures" and another's "$5,200 for 15 fixtures" mean nothing until you know what's actually being installed.
Demand parts AND labor warranty in the contract. "Lifetime fixture warranty" from a manufacturer is nice, but the question is who shows up when something dies. Two to five years of parts and labor coverage from the contractor is the standard for reputable firms. Get it in writing, not in a handshake.
Verify licensing and insurance. Any 120V electrical work requires a licensed electrician — some states require it even for low-voltage commercial installs. Ask for the license number and proof of liability insurance. Legitimate contractors produce both without blinking.
Check references, and ask one specific question. "Would you hire them again?" is good. Even better: "What went wrong, and how did they handle it?" Every project has a hiccup — the cable hit a root, a fixture was backordered. You want the contractor whose hiccups got handled gracefully.
Never pay more than 20% up front. Standard payment structure is a small deposit, a progress payment at material delivery or rough-in, and the balance at final night walkthrough. A contractor demanding half the money before touching a shovel is a contractor with cash-flow problems — which become your problems.
Do the final walkthrough at night. This is the single most important line in this entire section. The job isn't done until you've walked every zone after dark, checked every fixture's aim, confirmed the timers work, and looked at your house from the street. Hold the final payment until you have. A good contractor will insist on this themselves.
Frequently Asked Questions
Can I really install low-voltage landscape lighting myself?
Yes — with a caveat. A single-zone project (path lights along a walkway, or a few uplights connected to one transformer) is genuinely beginner-friendly: the 12-volt current is low-risk, the connectors are simple, and thousands of homeowners do it every year. Where DIY gets hard is multi-zone layouts, voltage-drop calculations on long runs, and anything involving your home's 120V wiring. Rule of thumb: if you can draw the whole system on one sheet of paper, you can probably build it. If you can't, get a designer.
How much does professional landscape lighting cost in 2026?
For a typical 12–20 fixture residential system, expect $3,000–$5,000 installed, which works out to roughly $200–$400 per fixture including design, materials, and labor. Full-property systems with multiple zones run $5,000–$8,000, and premium design-build work can exceed $12,000. DIY-ing the same 12–20 fixture project typically costs $600–$1,800 in materials. Prices vary significantly by region — metro areas and high-cost states run 20–40% above these bands.
Is 12-volt landscape lighting actually safe to DIY?
The 12V side is low-voltage and genuinely low-risk — you won't get a dangerous shock from touching the cable, which is why it's the standard for DIY kits. But "low voltage" doesn't mean "no rules": the transformer still plugs into 120V house current, so it needs a GFCI-protected outdoor outlet; cables should be buried 6 inches deep to avoid damage; and fixtures near water or pools have special code requirements. Stay on 12V with a plug-in transformer, follow the depth and GFCI rules, and you're in safe territory.
How long do professionally installed systems last compared to DIY?
A pro system built with commercial-grade brass or copper fixtures and sealed LED modules routinely lasts 12–20 years, with the LED modules rated 30,000–50,000 hours (13+ years of nightly use). DIY systems span the full range: a quality DIY build with mid-grade fixtures can last 8–12 years, while bargain plastic kits often need significant replacement within 2–3 seasons. The biggest longevity difference isn't the wiring — it's fixture material and connector quality, plus whether cable was buried properly.
Will DIY landscape lighting hurt my home's resale value?
No — done well, it helps. Tasteful outdoor lighting is consistently cited as a curb-appeal booster, and a well-executed DIY system photographs beautifully for listings. What hurts is the obvious DIY-fail stuff: visible above-ground cable, fixtures aimed into neighbors' windows, mismatched color temperatures, or cheap corroded fixtures that signal neglect. If your DIY work looks clean and intentional at night, buyers won't know or care who installed it.
The Verdict: Here's What I'd Do With My Own Money
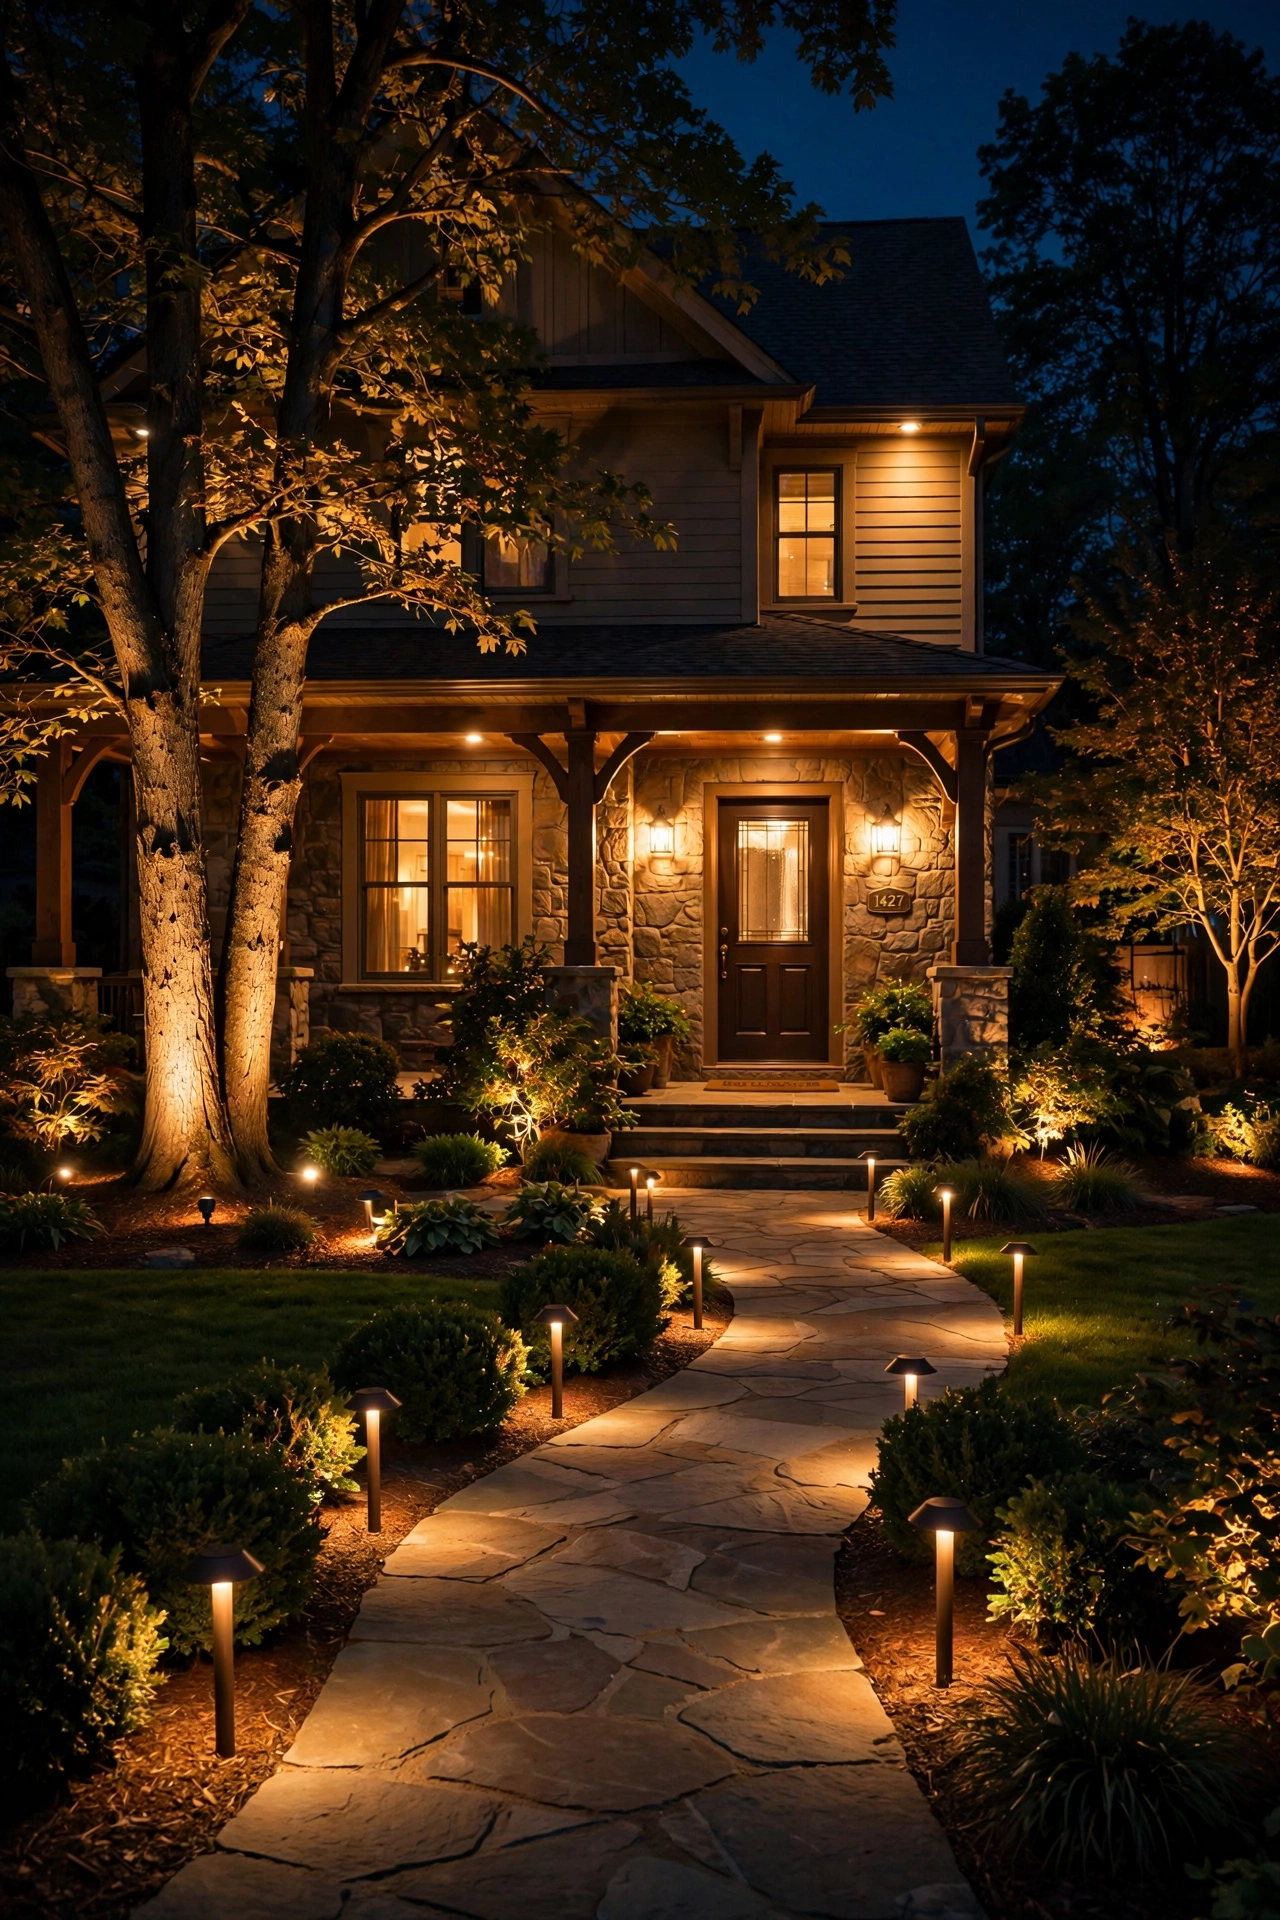
So — DIY vs professional landscape lighting. What's actually worth paying for? Here's my verdict, and it's the hybrid answer: pay a professional for the design and the hard stuff, and DIY the parts where your labor is genuinely worth more than their invoice.
If your project is a walkway, a few path lights, and a tree or two on one transformer, do it yourself. Spend your money on mid-grade fixtures instead of labor, take a full weekend, and do the night-aim walkthrough properly. You'll get 80% of the pro result for 30% of the cost, and you'll love flipping those lights on every evening.
If your project involves multiple zones, tall trees, hardscapes to cross, or anything touching 120V house wiring, hire it out — but hire smart. Get the night-portfolio, the written fixture schedule, the parts-and-labor warranty, and the nighttime walkthrough. The premium you're paying isn't for fixtures; it's for the design eye that makes your yard look like the one in the magazines instead of the one next door.
And the move most people should actually make? Pay a designer for a one-time lighting plan (a few hundred dollars for a proper plan is increasingly common), then install the simple zones yourself and hire out the rest. You get professional photometrics with DIY labor costs — the best of both worlds, and the verdict I'd stand behind with my own money. When you're ready to start planning your zones, browse more backyard lighting ideas to find the look you want before you dig a single trench.