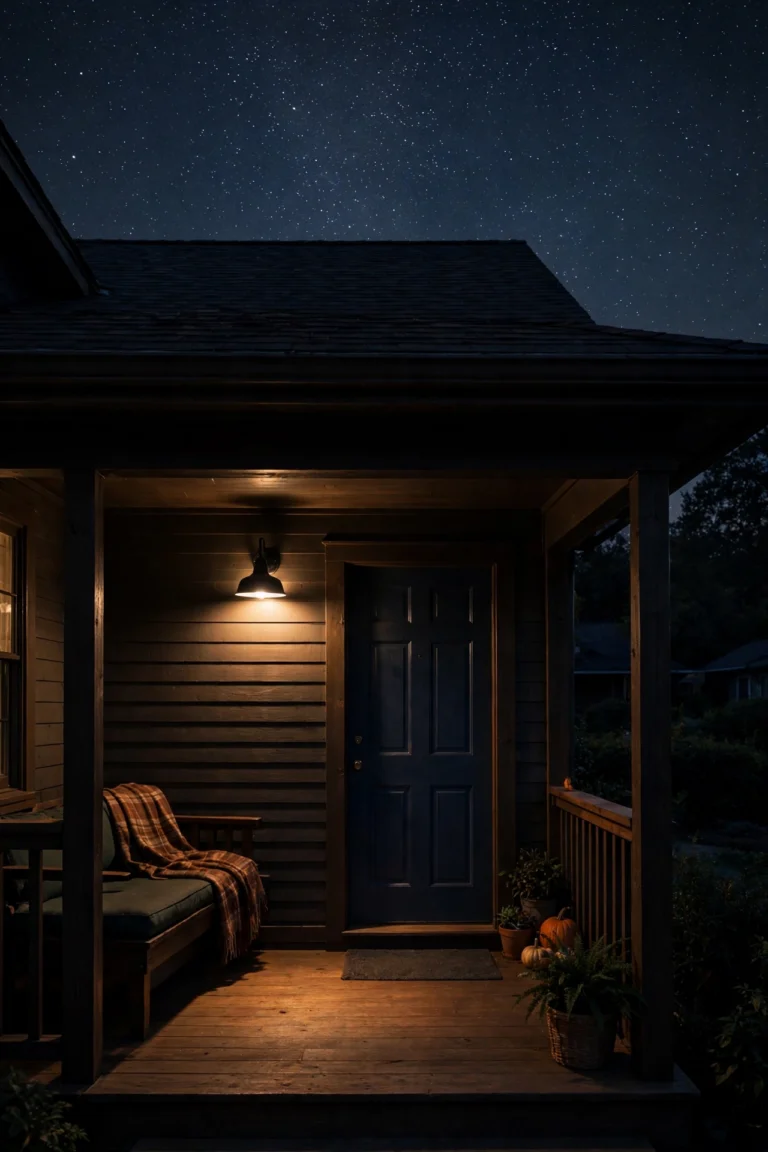
Every spring, I do the same walk around my yard at dusk: flip every switch, look at every fixture, and I find the same thing — a path light that's tilted into the mulch, a lens crusted with pollen, a spotlight that's gone dim since October. Outdoor lighting maintenance isn't glamorous, but honestly? It's the difference between a yard that looks magical at night and one that slowly goes dark, fixture by fixture, until you stop bothering to turn it on.
Here's the thing nobody tells you when you install all those beautiful lights: fixtures don't die all at once. They fade. Lenses cloud. Connections corrode. A timer drifts off schedule. Each small problem is invisible on its own, and then one evening you realize half your yard is dark and fixing everything feels like a project you don't want to start.
This guide is my complete outdoor lighting maintenance checklist, broken down season by season, plus the fixture-by-fixture tasks, wiring checks, transformer care, and timer tune-ups I do every year. By the end, you'll have a rhythm that takes maybe an hour per season — and fixtures that last their full promised life instead of dying young.
The Short Answer
Think of it as an oil change for your yard: do a full walkthrough of your outdoor lights four times a year — spring, summer, fall, and winter — cleaning lenses, tightening or straightening fixtures, checking wire connections and the transformer, replacing dim bulbs, and re-tuning timers and photocells for the season's daylight hours. Each seasonal check takes 30 to 60 minutes for a typical yard. A little consistency prevents corrosion, water damage, and dimming, and it roughly doubles the real-world lifespan of most fixtures.
Why Outdoor Lighting Maintenance Actually Matters
Let me be blunt: outdoor fixtures live the hardest life of anything you own. They sit in blazing summer sun, freeze in winter, get hit by sprinklers and lawn mowers, and spend every night heating up and cooling down. In my experience, a fixture that's never maintained lasts three to five years. The same fixture, checked four times a year, lasts eight to ten. That's the whole argument.
The failures are almost always preventable. A corroded wire connector kills a whole run of path lights — five minutes with a wrench and a fresh connector would have saved a weekend of re-trenching. A transformer that fills with condensation eventually rusts through; tipping the lid back on properly after your last adjustment costs nothing. Water in a lens housing? Nine times out of ten it's a cracked seal or a fixture sitting in a low spot where sprinkler water pools.
There's also a performance angle. Dirty lenses can cut light output by half — literally, you can lose 40 to 50 percent of your brightness to a season of pollen, dust, and bug residue. So when your yard looks dimmer than you remember, it's usually not the bulb. It's the grime. Cleaning is the single highest-leverage maintenance task there is, and it costs you nothing but ten minutes.
Safety matters too. Frayed wire exposed by a weedeater, a cracked fixture housing filling with rain, a connection that's worked loose and is arcing inside a splice box — these are real fire and shock hazards. A seasonal walkthrough catches them when they're small. I always recommend walking your whole system at dusk, not midday, because that's when you'll actually see which fixtures are misbehaving.
Finally, there's the money. Replacing a full set of path lights because the first few died and the line is discontinued is a $500 to $1,000 surprise. Catching failures one fixture at a time, keeping connectors dry, and protecting your transformer means you replace parts, not systems. Maintenance is cheap; neglect is expensive.
Spring Checklist: Wake Everything Up
Spring is my favorite maintenance session because it feels like opening night. Everything's waking up, you're already outside cleaning up the yard, and one good afternoon sets you up for the whole season. After winter's freeze-thaw cycles, this is when hidden damage shows up.
Start with a full dusk walkthrough. Turn everything on and walk the entire yard with a notepad (your phone works fine). Mark every fixture that's dead, dim, flickering, tilted, or pointing somewhere strange — tree roots heave, snow plows nudge, and dogs dig.
Next, reset your timers and photocells. Days are getting longer fast, so a timer still set for winter's 5 p.m. sunset will fire hours early. If you have a photocell, wipe its little sensor window clean — pollen crusts it over and makes lights switch on at noon. Check that motion sensors still have clean lenses and clear sightlines.
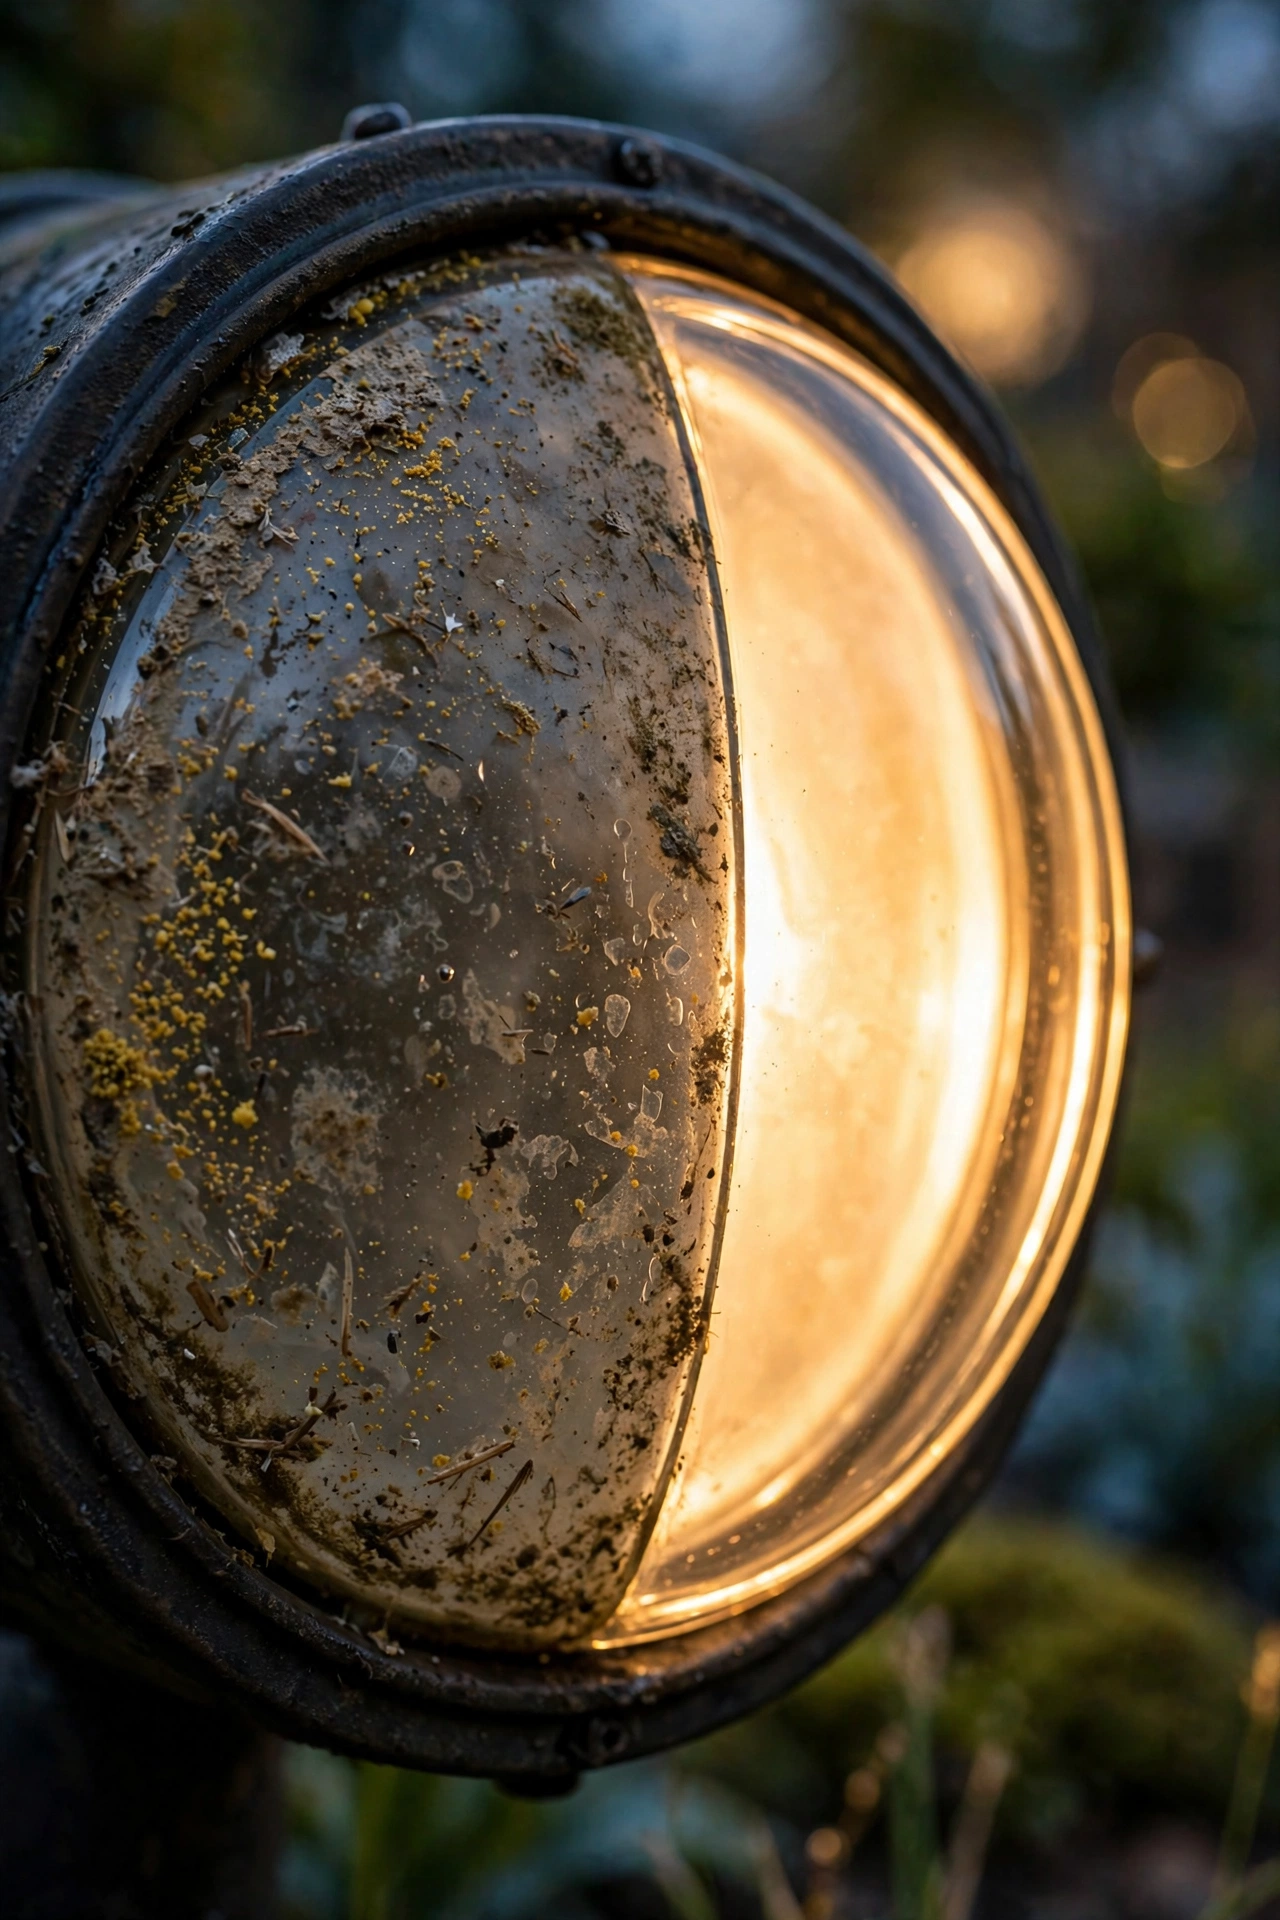
Clean every lens. Winter grit, salt spray near driveways, and a season's worth of grime all land on lenses. Warm water, a drop of dish soap, and a soft cloth handle most of it. If you see hard-water spots or mineral crust, a 50/50 white vinegar soak works wonders — then rinse and dry before re-seating.
Check fixtures that sit low to the ground. Winter mulch shifting and freeze heave can bury path light heads or tilt them at wild angles. Straighten them, firm up the stakes, and clear away mulch that's crept over the lens. While you're down there, look at wire runs that surfaced over winter — re-bury anything exposed and make sure connectors are still above grade and capped.
Finally, inspect for winter damage: cracked housings from ice, seals that have popped loose, and any standing-water evidence inside lenses. Spring is also the time to re-aim uplights, since trees have grown and your landscaping has changed since fall. Aim for the feature, not the sky — and re-check at dusk before you call it done.
Summer Checklist: Heat, Bugs, and Storms
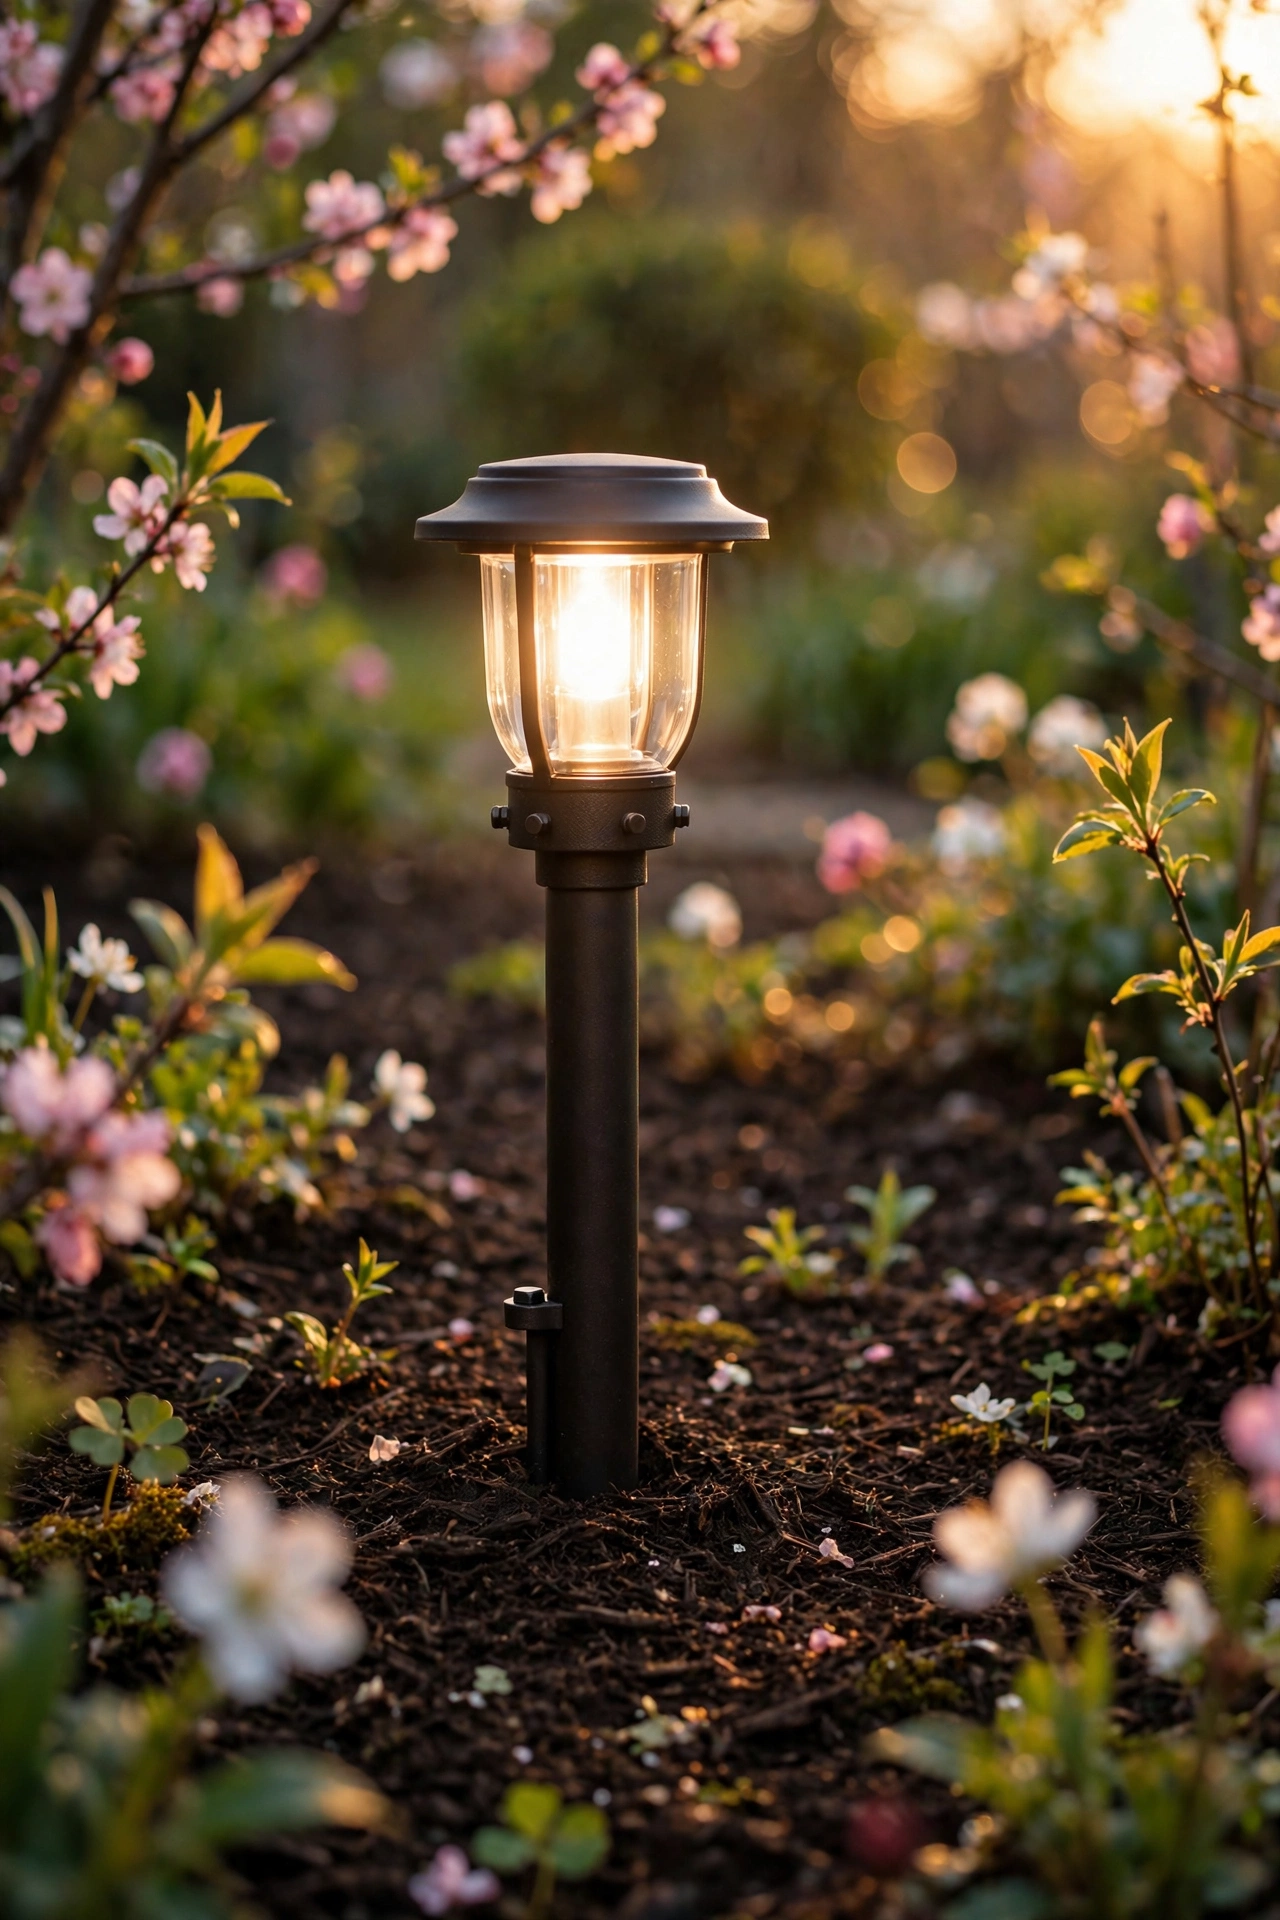
Summer maintenance is lighter but has its own flavor: heat is the enemy, bugs are the side effect, and storms test your wiring. I do my summer check in late June or early July, right when everything's running full tilt.
Heat is genuinely hard on fixtures, especially enclosed housings in full sun. Check that vents on transformers and larger flood housings aren't clogged — a transformer cooking in a sealed box with no airflow shortens its life fast. If your transformer hums louder than usual in summer, check its load and ventilation; heat plus a system running near max wattage is a bad combination. LED fixtures run cooler than old halogens, but enclosed LED housings still build up heat, so make sure nothing's nesting around them.
Bugs are the other summer story. Flying insects love light, and a season of bug traffic crusts lenses with an almost varnish-like film. I wipe lenses monthly in summer with just a damp cloth — two minutes per fixture, huge difference. Check motion sensor lenses too, because spiderwebs across a sensor will trigger it all night or block it entirely. A quick brush clears it.
After any big storm, do a damage walk. High winds tilt fixtures, knock down stakes, and throw branches into fixtures. Check for limbs hanging over uplights — a branch pressed against a hot housing is a scorch and fire risk, and even cool LEDs need airflow. Clear it back.
Also, summer is when sprinkler adjustments matter most. If your irrigation schedule changed, check that no fixture is now sitting in a daily soaking. Constant water pressure finds every weak seal. Redirect the head or raise the fixture — whichever is easier.
One last summer task: trim back anything growing into your fixtures. Bushes swallow path lights whole by August. Keep six to twelve inches of clearance around each fixture for light output and airflow.
Fall Checklist: Prep for the Dark Season
Fall is the most important maintenance window of the year, honestly. Your lights are about to do their heaviest work — long nights, holiday displays, guests arriving after dark — and once cold weather sets in, you will not want to be out there fixing things. I always recommend doing the fall check in October, before the clocks change.
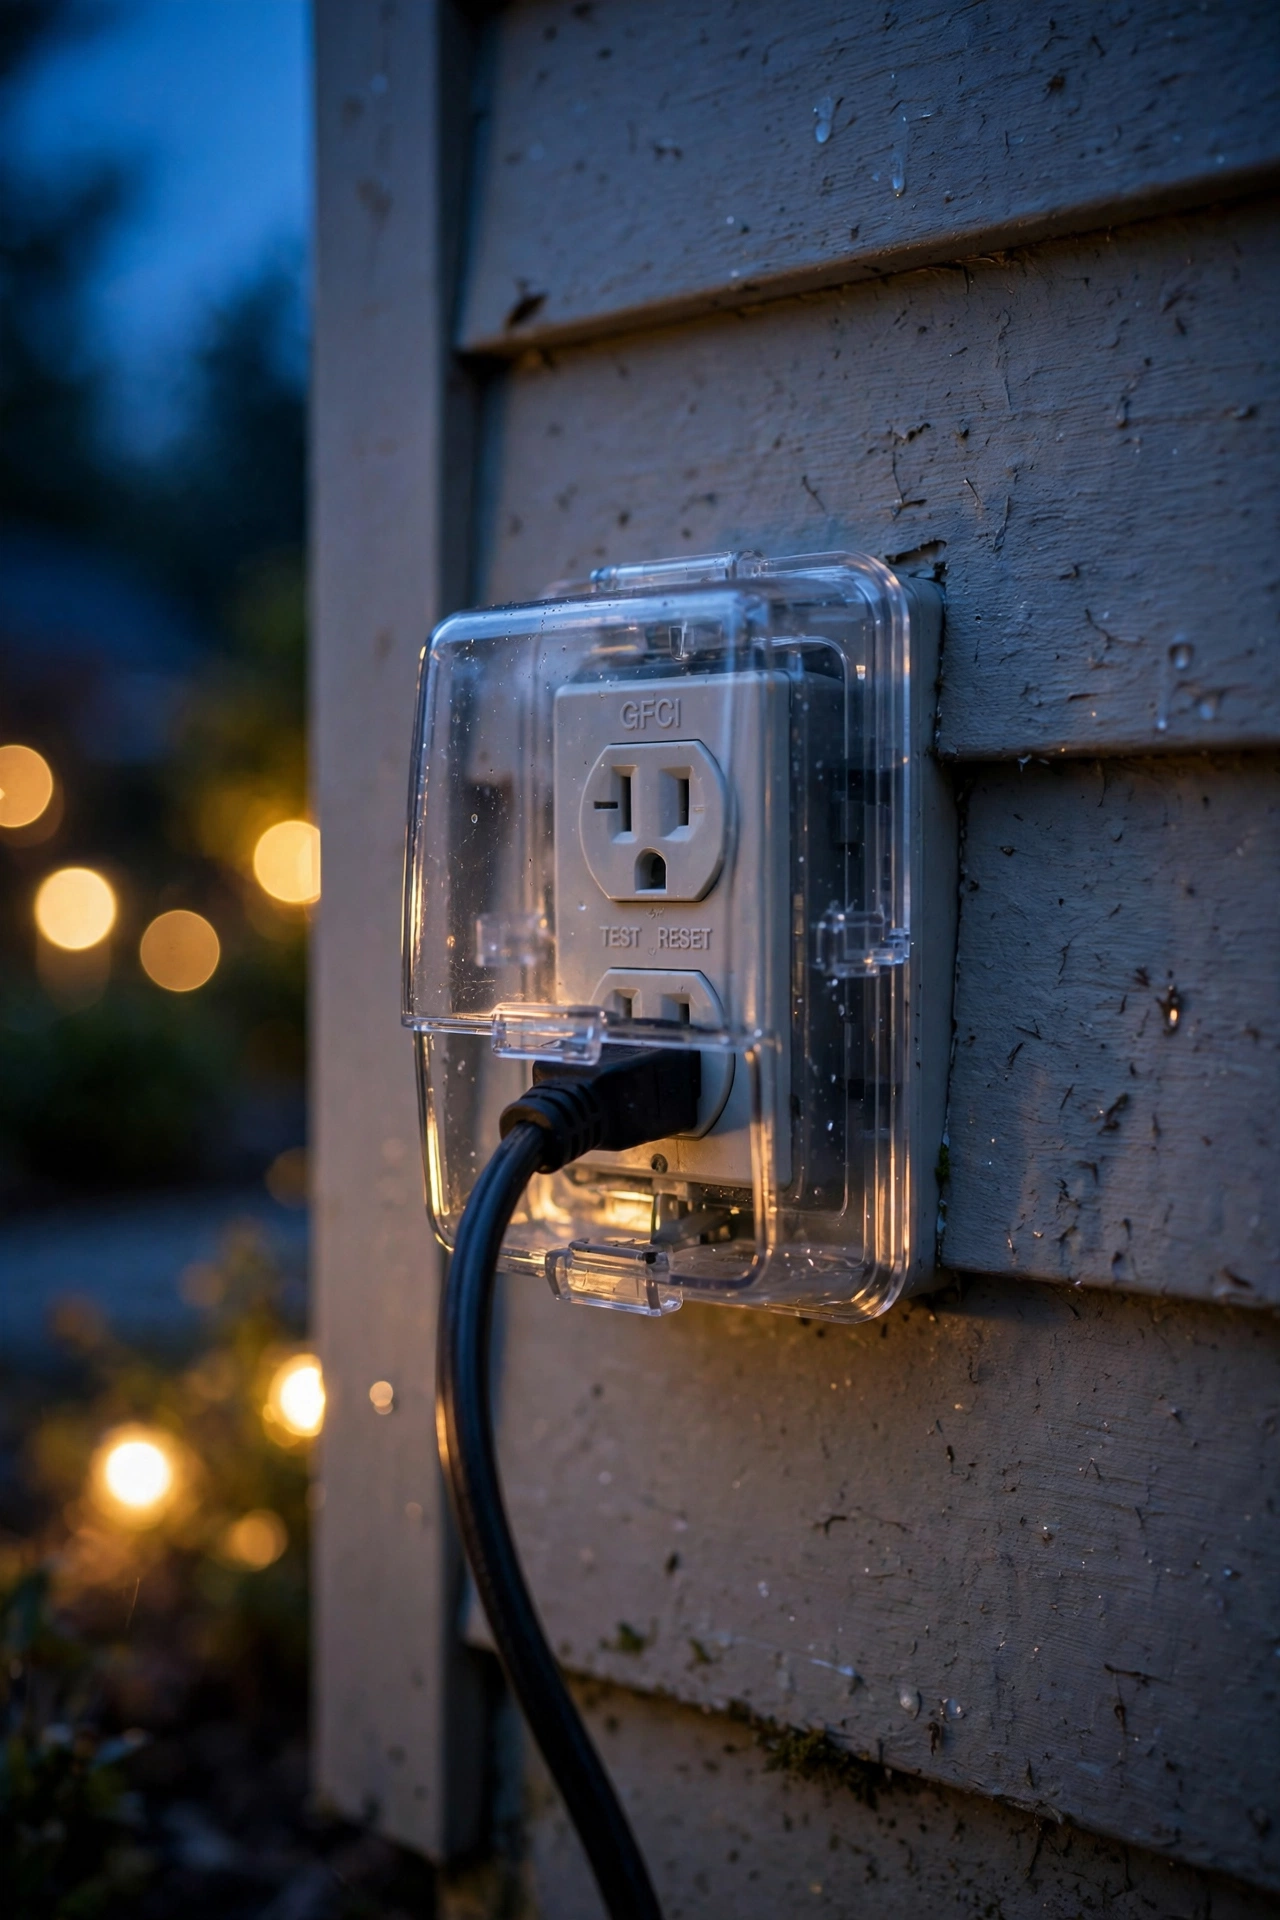
Start with the same dusk walkthrough, but with an eye toward the holidays. If you hang seasonal lights, check the outlets, extension runs, and timers they'll use now, while the weather's pleasant. Test your GFCIs — press the test button on every outdoor outlet involved in lighting. A dead GFCI you discover in December is a project you don't want.
Re-aim everything. Summer growth has changed the picture: bushes are fuller, perennials are tall, and what was a clean wash of light in May now hits a wall of leaves. Trim back growth around fixtures and re-aim uplights and spots to match the fall landscape.
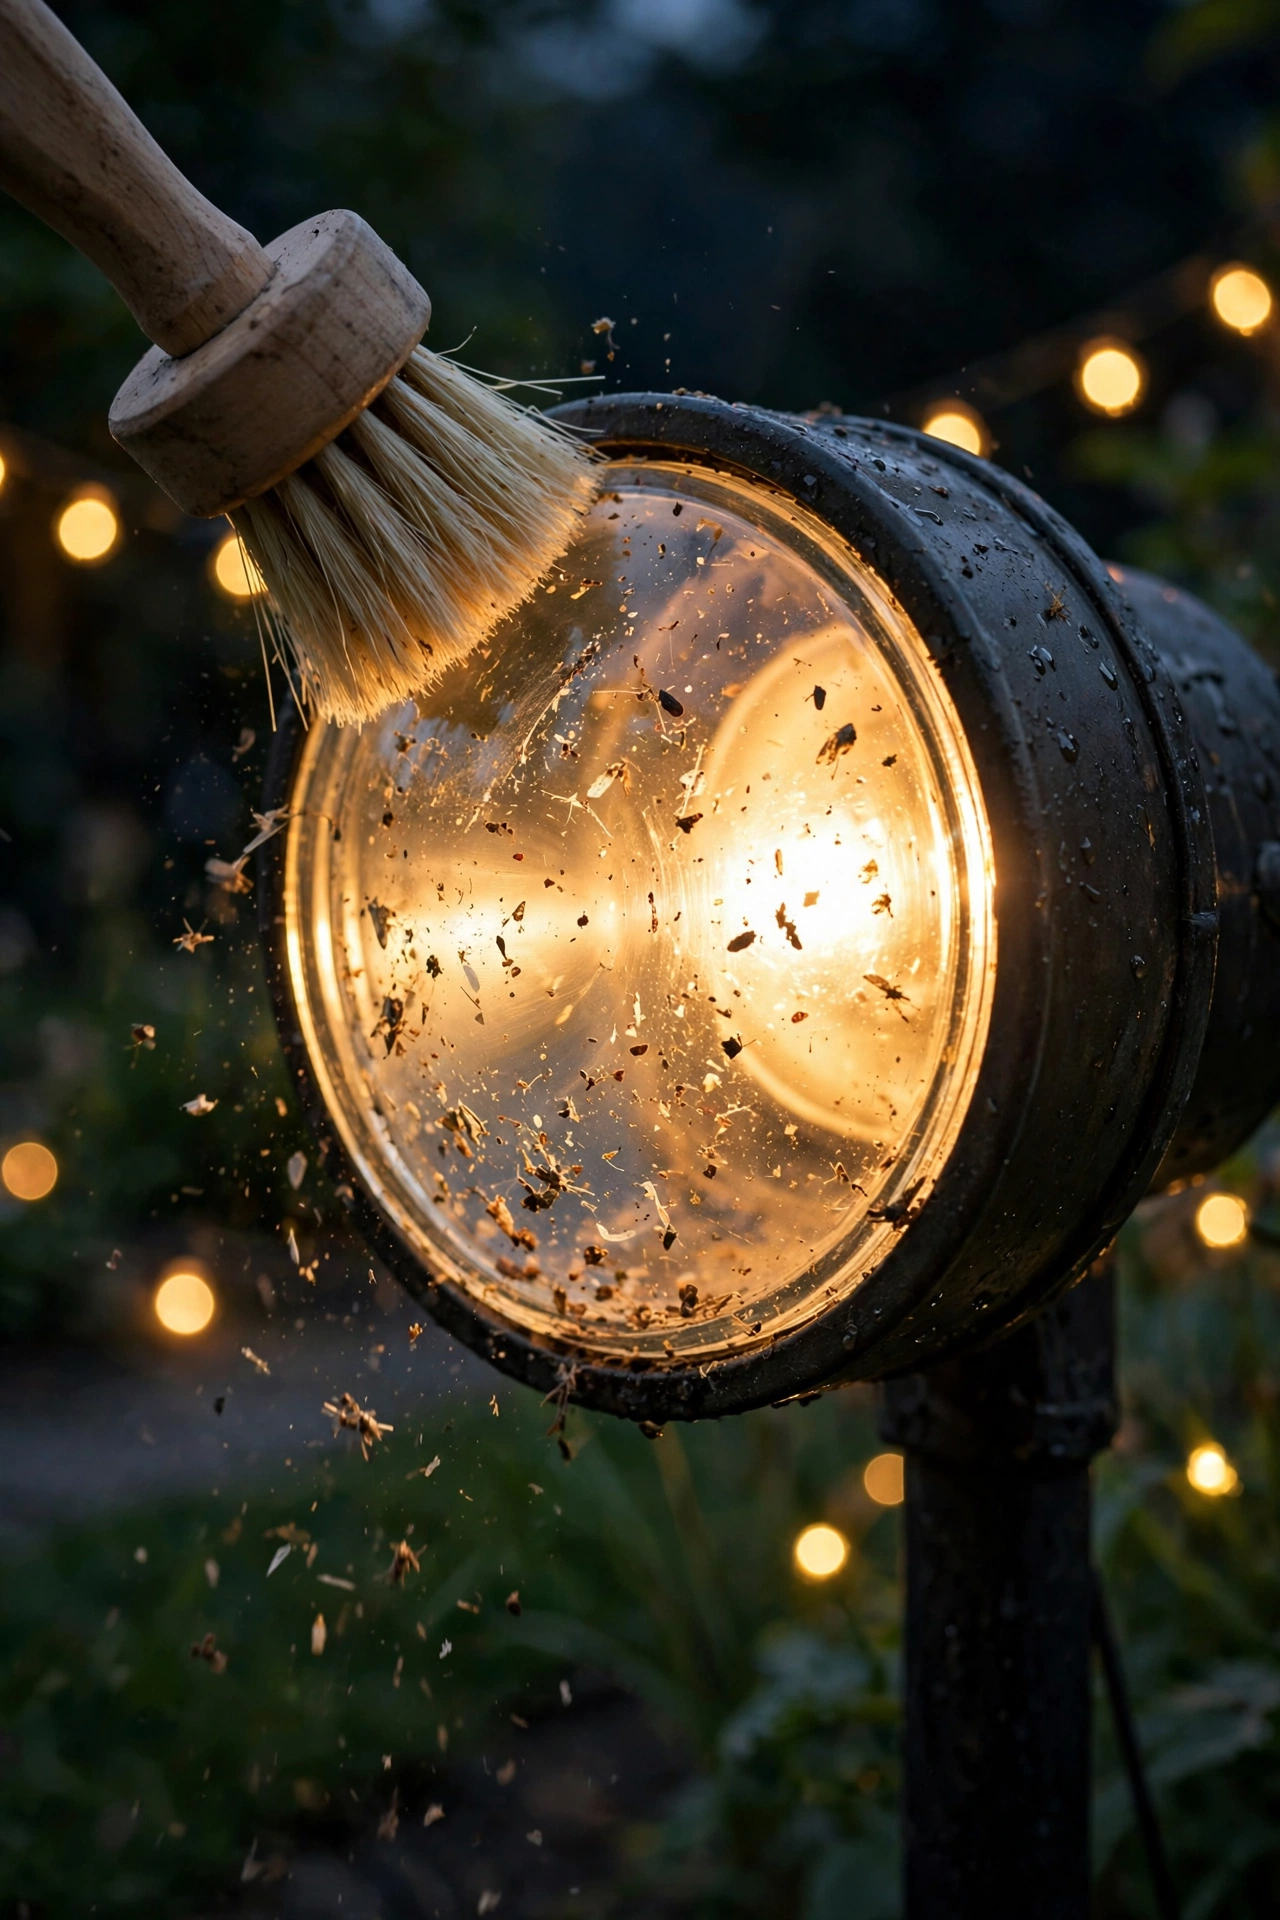
Deep-clean all lenses and housings. Fall leaves and sap are stickier than summer dust. Pay attention to fixture bases where leaves pile up and hold moisture against the housing — that trapped damp is what corrodes finishes and seals over winter. Clear the mulch and leaves away from every fixture base.
Check every seal and gasket. Before the wet season, check for cracked or flattened gaskets, loose lens rings, and housings that don't seat snugly. Re-seat anything loose and replace obviously failed gaskets — they're cheap and they keep winter rain out of your wiring.
Update your timers for shorter days. As sunset creeps earlier, shift on-times so lights actually greet you at dusk instead of firing at 4 p.m. Photocells handle this automatically, but give them a cleaning so they respond to real light levels.
Finally, winterize what won't be running. Store or wipe down solar fixtures in deep shade. Disconnect and coil any temporary summer runs — string lights across the lawn, portable spots — before the first freeze.

Winter Checklist: Cold-Weather Care
Winter maintenance is the lightest of the four — mostly observation and a few quick interventions — because nobody's doing trench work in January. But a mid-winter check catches the problems that cold creates.
After any heavy snow or ice, clear snow off and around fixtures, especially path lights and any fixture with an upward-facing lens. A buried lens does nothing, and a heavy snow load can tilt stakes. Brush snow off gently — don't chip ice off a lens with anything hard, because you'll scratch or crack it. Warm water melts ice off safely.
Watch for condensation inside lenses. Temperature swings cause fogging, and a little fog that clears by afternoon is normal. Water droplets that stay, or a lens that stays foggy all day, mean a failed seal — flag it for spring replacement, and if water is pooling in the housing, turn that fixture off at the transformer until it's fixed. Electricity and standing water are not a combination to ignore.
Check your timers and photocells again. Short days mean long run times, and this is when you notice if a transformer is struggling — dim fixtures at the far end of a run, flickering, or a breaker tripping. If the far end of a run goes dim in deep cold, voltage drop is worse in cold weather; note it for a spring fix (heavier cable or splitting the run).
Keep an eye on snowplow and shovel zones. Mark fixture locations along driveways and walkways with reflective driveway markers before the first big snow — plows eat unmarked path lights. If you have fixtures near where snow gets piled, check that the pile isn't burying a transformer vent or pushing a fixture over.
This is also a good time to plan. Notice which areas feel too dark, which fixtures are aging out, and what you'd change. I keep a running note on my phone all winter — by spring, I have a shopping list instead of vague dissatisfaction.
Fixture-by-Fixture: What Each Type Needs
Different fixtures fail in different ways, so here's my quick fixture-by-fixture rundown. If you only do one thing per type, make it the item I lead with.
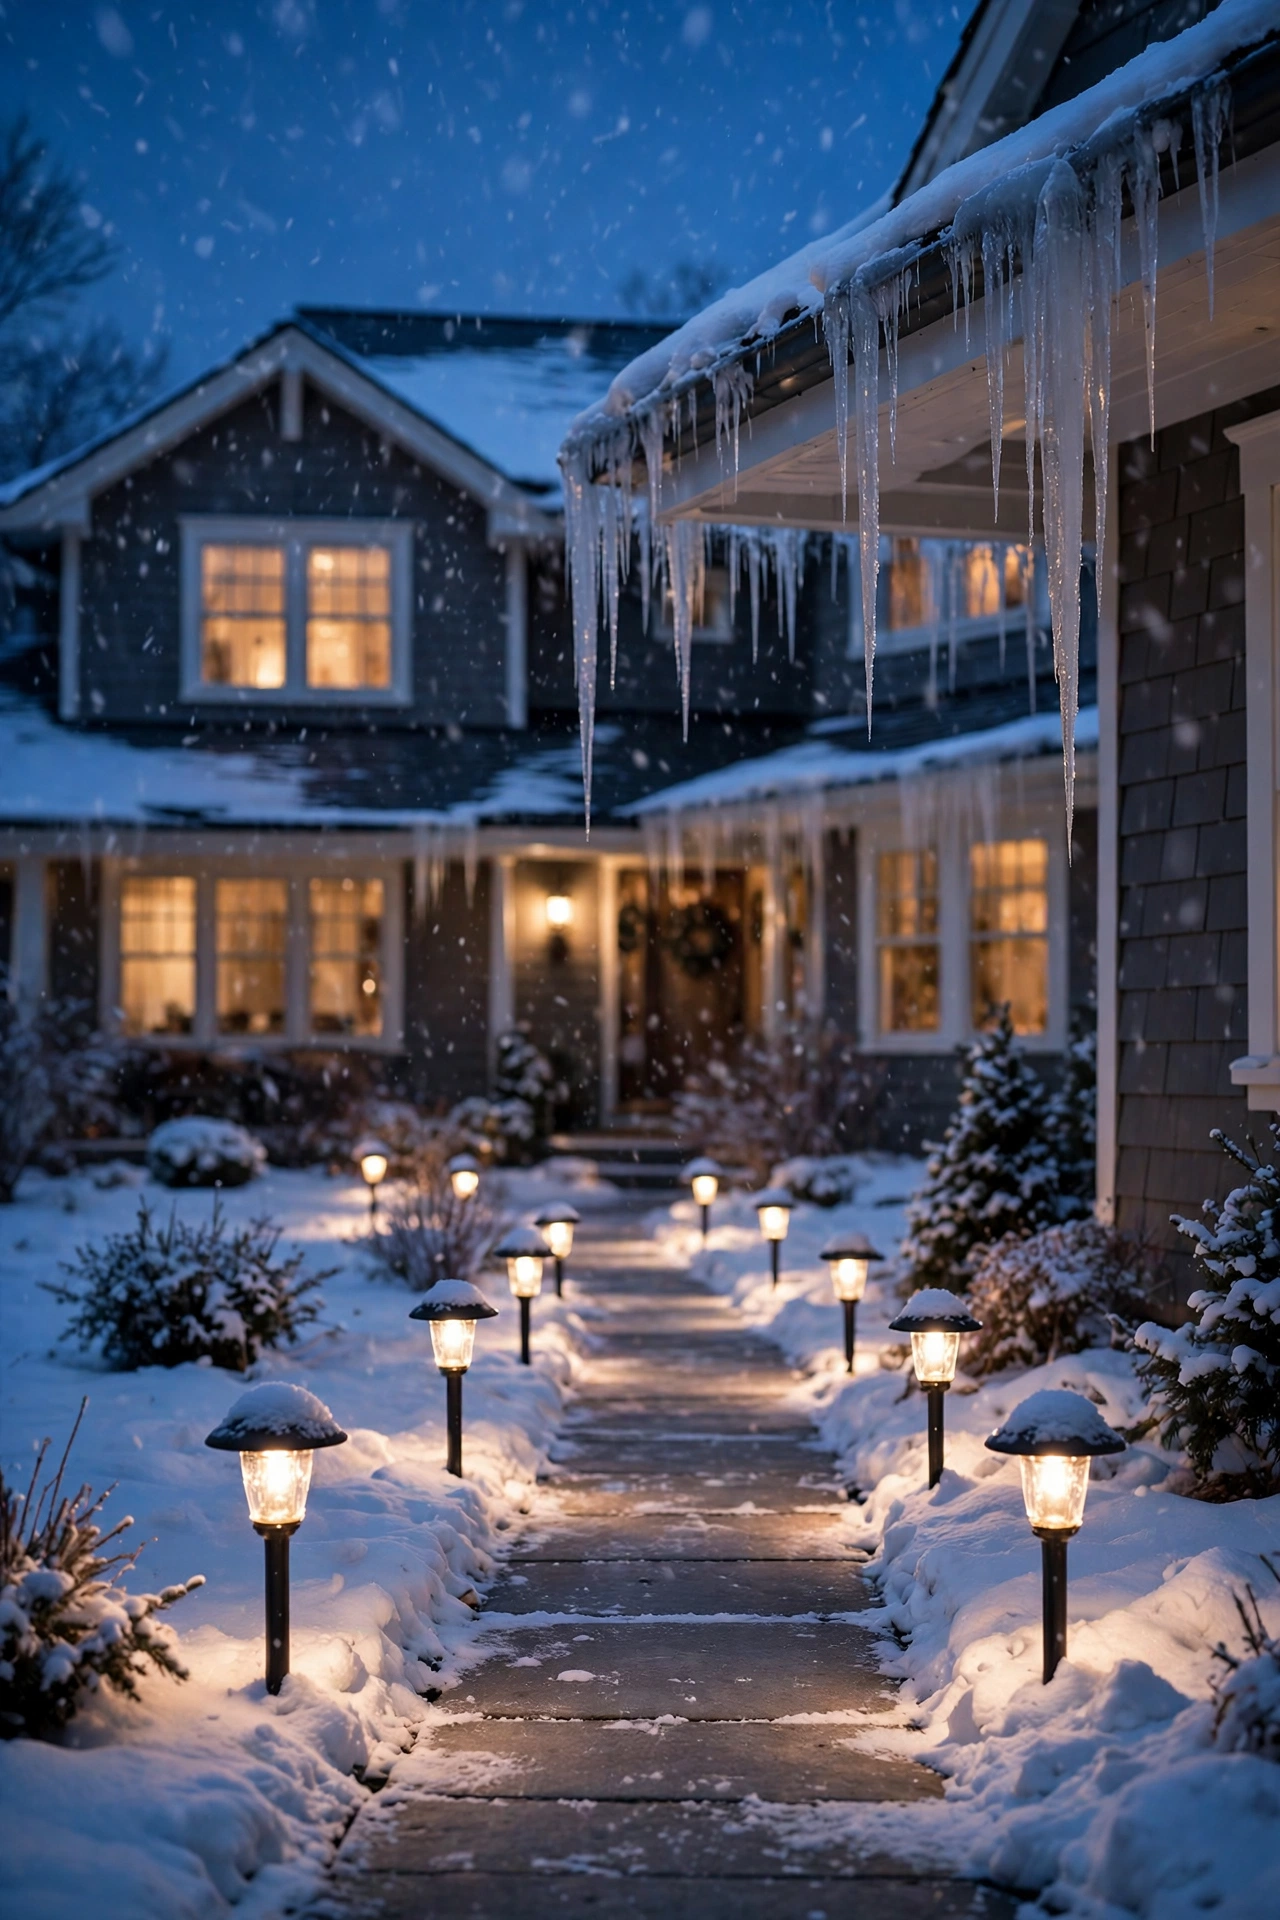
Path and stake lights are the workhorses and take the most abuse — mowers, trimmers, kids, dogs. Check each head is level and aimed at the path, not the lawn. Tighten loose heads (most have a set screw or twist-lock) and straighten tilted stakes. The low lens catches every splash, so wipe it every season.
Uplights and well lights live in the ground, so drainage is everything. Pull back mulch and confirm the fixture isn't sitting in a bowl that collects water. Clear debris from the lens — one leaf parked on an uplight lens all fall will bake onto it.
Wall sconces and porch fixtures need their mounting checked. Grab each fixture gently and see if it wobbles — mounting screws loosen with thermal cycling, and a wobbling fixture lets rain behind it. Check the caulk or gasket where the fixture meets the wall; re-caulk gaps so water doesn't run into the junction box.
Floodlights and security lights need aiming verification and motion-sensor checks. Aim floods at the area, not the neighbor's windows. Clean the sensor lens and walk-test the motion range twice a year — landscaping changes the detection zone.
String lights need a strand-by-strand look. Check for cracked sockets, frayed wire at stress points, and bulbs that are out (one dead bulb in an LED strand is fine; several means check the connection). Re-secure sagging runs and keep strands off rough bark or sharp metal edges, which wear through insulation over time.
Solar fixtures are the low-maintenance kids but not no-maintenance. Wipe the solar panel on top of each one — a dusty panel charges at half speed. Make sure summer growth hasn't shaded the panel. Replace the rechargeable batteries every one to two years; when a solar light that used to run all night dies by midnight, it's almost always the battery, not the fixture.
Cleaning Lenses and Housings the Right Way
I mentioned cleaning in every seasonal section because it matters that much, so here's the proper technique. A dirty lens is the number one cause of "my lights seem dimmer," and the fix is free.
Work at dusk or night so you can see the result — cleaning in bright daylight, you can't tell what's actually improved. Turn the fixture on first so you can see the beam, then turn it off and let it cool for a few minutes. LED fixtures run cooler than old halogens, but a fixture that's been on for hours can still be warm.
For routine cleaning, warm water with a drop of dish soap and a soft microfiber cloth handles 90 percent of it. Wipe the lens, then the housing around it, then dry everything. Don't use abrasive pads or scouring powder — scratched lenses scatter light and look worse than dirty ones.
For mineral deposits and hard-water crust (common near sprinklers and pools), soak a cloth in white vinegar and lay it on the spot for ten minutes, then wipe and rinse. Stubborn bug residue comes off with a little rubbing alcohol on a cloth. Never spray cleaner directly into an open fixture — always apply to the cloth.
While you're cleaning, inspect. Look for hairline cracks in the lens, clouding that doesn't wipe off (that's UV degradation of the plastic — the lens needs replacing), and corrosion starting on metal housings. A little surface corrosion on a cast fixture is cosmetic; flaking or pitting near seals is a replacement signal.
Clean the housing too, not just the lens. Bug nests in the crevices, spider egg sacs around the socket, mud daubers in any opening — clear it all out. And wipe the inside of the lens if your fixture opens; condensation residue films the inside over time.
One caution: if a fixture is sealed and the manufacturer says not to open it, don't. Clean the outside and move on. Forcing a sealed housing open usually breaks the seal you're trying to protect.

Checking Wiring and Connections
Wiring problems cause the most dramatic failures — a whole run of lights out at once — and they're almost always at the connections, not in the cable itself. The good news: checking connections is easy and takes no special skill.
With the system on, walk each low-voltage run and note which fixtures are out. If an entire run is dark, the problem is near the transformer or the first splice. If fixtures fade progressively along a run, that's voltage drop or a degrading connection mid-run. If a single fixture is out, it's that fixture's connection or bulb.
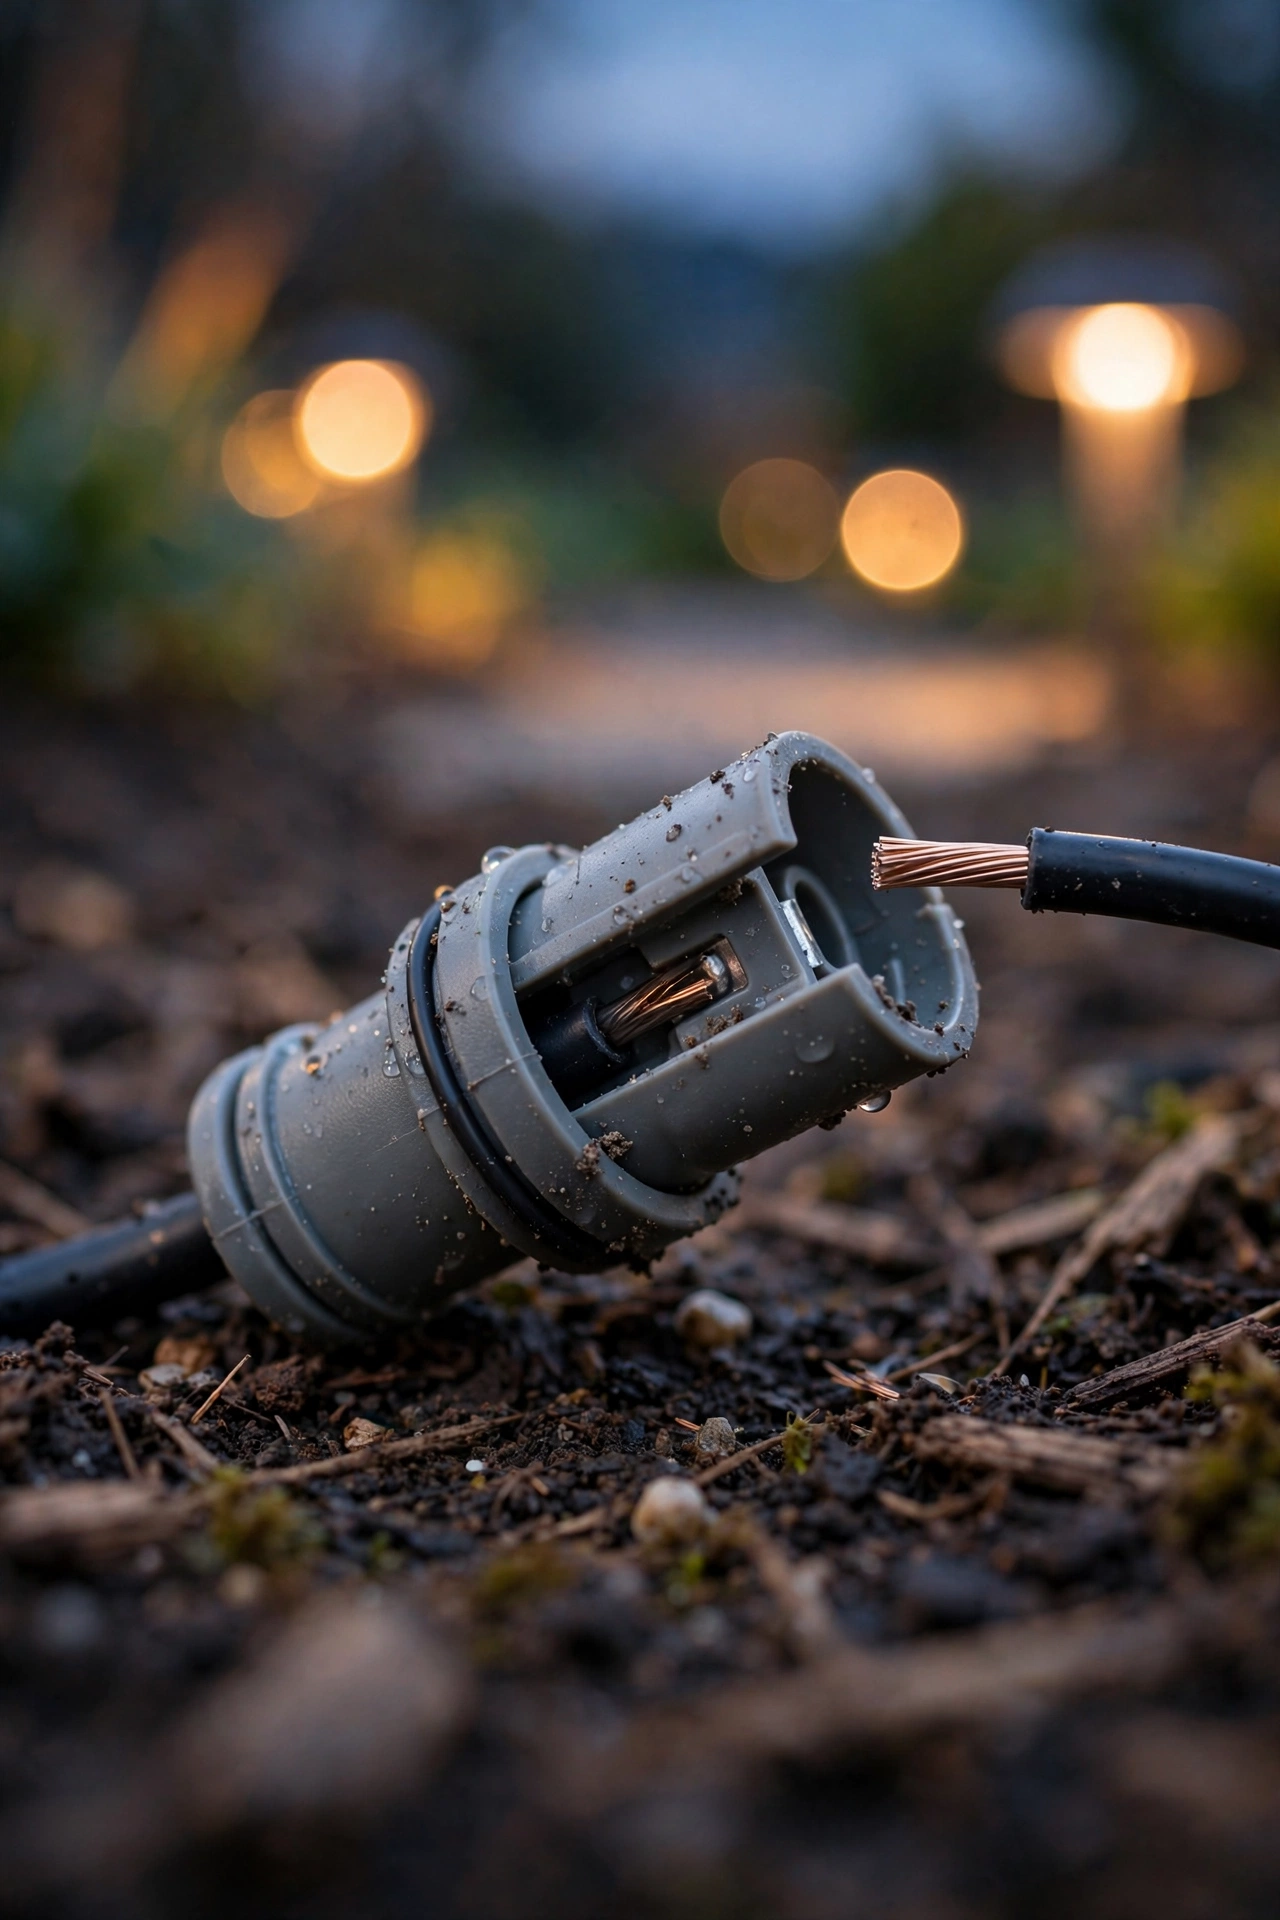
Turn the system off before touching any wiring. Then check each connection point. The classic failure is a wire connector (wire nut or clamp-style) that has loosened or corroded. Unscrew it, look at the copper — bright copper is healthy, green or black crust is corrosion. Trim back to clean copper, re-strip about three-quarters of an inch, and reconnect with a fresh waterproof connector. Always use connectors rated for direct burial and outdoor use — cheap indoor ones are the top cause of dead runs.
Look for physical damage: weedeater nicks, spots where cable has surfaced, places where roots or settling have pulled cable taut. Re-bury exposed cable a few inches — enough to protect it for low voltage. If you find a nick in the insulation, cut that section out and splice in fresh cable with waterproof connectors rather than taping over it. Electrical tape alone is not a weatherproof repair.
Check that splices sit above grade or in proper splice boxes, never in a puddle. And if you add fixtures to an existing run, check the transformer's capacity first (more on that next), because overloading is how transformers die young.
For line-voltage fixtures (porch lights, floods wired into the house), the same visual checks apply at the fixture — loose wire nuts in a junction box, cracked insulation, signs of overheating like discolored wire or a melted smell. See something wrong on line voltage? Turn off the breaker and call a pro.
Transformer Care for Low-Voltage Systems
Your transformer is the heart of a low-voltage system and the most expensive single component to replace — typically $100 to $400 depending on wattage. A little care goes a long way, and honestly, most people never touch theirs after installation day, which is exactly the problem.
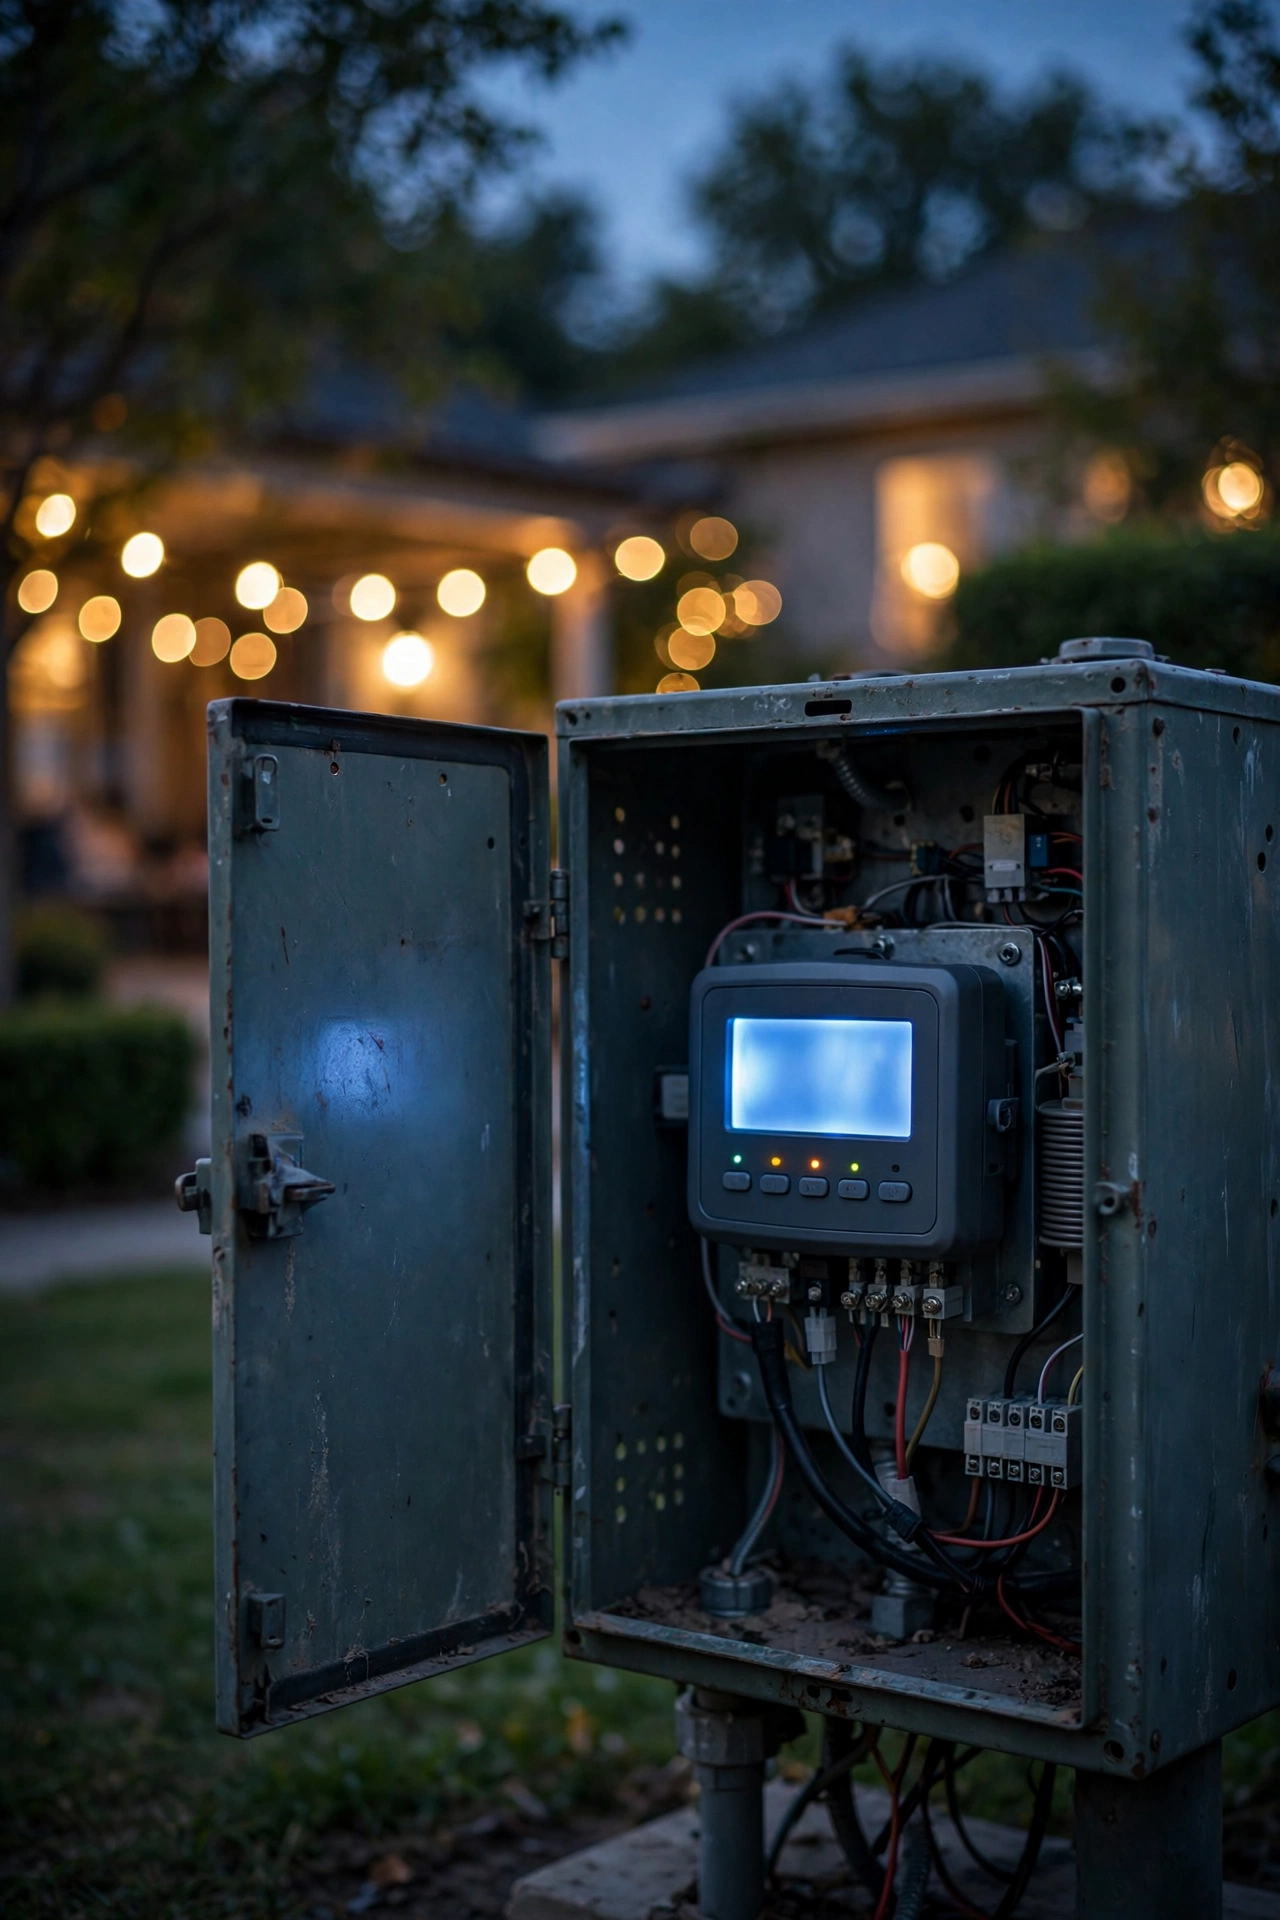
Twice a year, open the transformer box and look inside. You're checking for four things: moisture, insect nests, corrosion on terminals, and that nothing has chewed the wires. Wipe out any condensation, clear out nests (wasps love transformer boxes), and tighten every terminal screw — they loosen with vibration and thermal cycling, and a loose terminal arcs, which is both a failure point and a fire risk.
Check the load. Add up the wattage of every fixture on the transformer and compare it to the transformer's rating. The rule of thumb: stay at 80 percent of rated capacity or below. A 300-watt transformer should carry no more than about 240 watts of fixtures. Running at 95 percent all summer is how transformers overheat and die. If you've added fixtures since installation — and almost everyone has — do the math again.
Ventilation matters. Transformers need airflow, so don't bury the box in mulch, pile leaves against it, or let bushes swallow it. Keep at least a few inches of clearance on the vented sides. If your transformer lives in full afternoon sun, consider moving it to shade or rigging a small cover that shades without blocking vents — heat is the silent killer.
Check the timer and photocell settings while you're in there (full tune-up section next). And listen: a transformer that suddenly hums much louder than usual, buzzes unevenly, or smells hot is telling you something. Check the load first, then the ventilation. If both are fine and it still sounds wrong, that's a replacement conversation.
One more: after any power outage or surge, check the transformer's breaker and any GFCI upstream. Surges trip things, and a system that "mysteriously stopped working" after a storm is often just a tripped breaker waiting to be reset.
Bulb Replacement: What to Stock and When to Swap
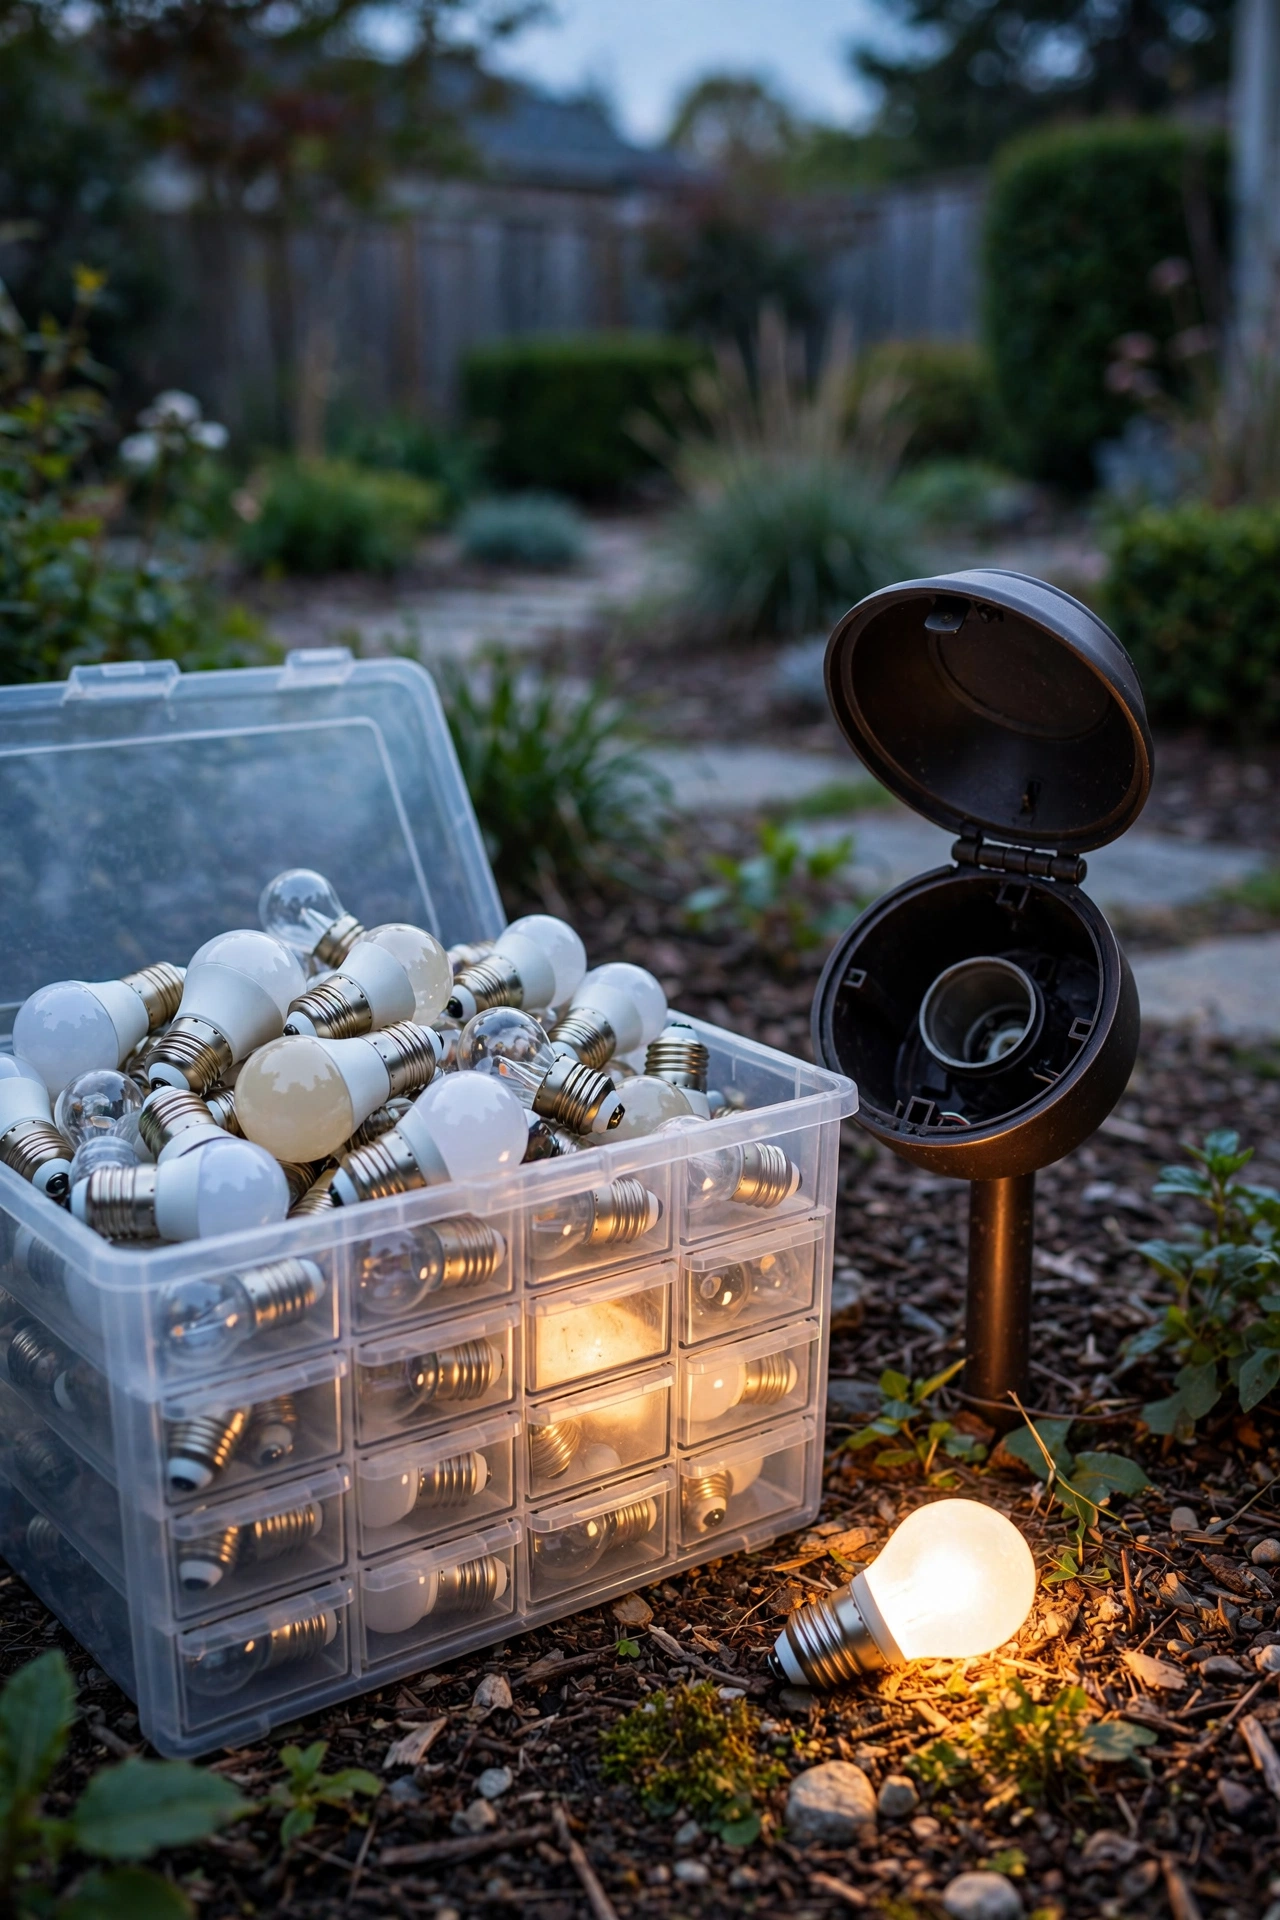
Here's a maintenance habit that saves endless annoyance: keep a small stock of replacement bulbs on hand — two or three spares of each type in a labeled bin in the garage. When a bulb dies, you want to swap it the same day, not add "buy bulbs" to a list you'll forget for a month.
For LEDs, "burnout" usually means dimming or color shift, not sudden death. If a fixture that used to be bright is noticeably dimmer than its neighbors, or the color has drifted from warm white toward pink or green, the LED module is aging out. LEDs are rated for 25,000 to 50,000 hours, which sounds like forever, but a fixture running 10 hours a night hits 25,000 hours in under seven years. Real-world, I replace LED modules or bulbs every five to eight years in heavily used fixtures.
Match the replacement to the original: same base type, same wattage or lower, same color temperature (2700K to 3000K for that warm glow most yards use). Mixing color temperatures looks terrible — one 5000K "daylight" bulb in a row of 2700K fixtures sticks out like a sore thumb at night.
When you swap a bulb, clean the socket. Corrosion on the socket contacts is a top cause of flickering — clean the contacts and add a dab of dielectric grease on outdoor sockets to keep the new bulb making solid contact.
For sealed integrated-LED fixtures, there's no bulb to swap — when the LED dies, the whole fixture gets replaced. Keep your receipts and note the fixture model — you'll want to match the look in five years.
And a safety note I always include: never put a higher-wattage bulb than the fixture is rated for, use outdoor-rated bulbs in outdoor fixtures, and never use an incandescent bulb near anything flammable. LED-only near dried florals, fabric shades, and mulch beds.
Timer, Photocell, and Sensor Tune-Ups
Controls are the part of the system everyone sets once and forgets — and then wonders why the lights come on at 3 p.m. in October. A seasonal tune-up takes five minutes and keeps everything behaving.
Mechanical and digital timers need their schedules adjusted four times a year, minimum. Sunset shifts by minutes every single day, so a timer you set in June is wrong by over an hour by September. I re-set mine at each seasonal check and nudge them once more mid-season if I notice lights firing too early or late. Replace the battery backup yearly — when it dies, one power blip wipes your schedule.
Photocells are lower maintenance but not zero. Wipe the sensor eye clean every season — a dirty photocell thinks it's darker than it is and fires early. Check that nothing has grown up to shade it; a photocell in shadow turns the lights on at noon. And test it: cover the eye with your hand at dusk and confirm the lights respond within a minute or two. A photocell that doesn't respond needs replacing — they're inexpensive.
Motion sensors need a walk-test twice a year. Walk the detection zone and confirm the light triggers where you expect. Trim back anything that's grown into the zone — waving branches trigger false alarms all night, which is both annoying and a fast way to burn out bulbs. I set sensitivity to medium and duration to five minutes for walkways.
Smart plugs and app-based controls need a different kind of check: confirm they're still on Wi-Fi and schedules survived updates — I check mine at daylight saving time changes. Chronic dropouts are usually a Wi-Fi range issue a $30 extender fixes.
Write your settings down. A little card taped inside the transformer lid with on/off times, photocell notes, and the date of the last change saves you from re-learning your own system every season.
Safety and Electrical Basics
Outdoor lighting mixes electricity and weather, so a little respect goes a long way.
First, know which system you're touching. Low-voltage systems (12 volts, the kind with a transformer) are genuinely safe to maintain yourself — that's their whole selling point. You can check connections, swap bulbs, and clean fixtures with the system on or off, though I still turn it off out of habit. Line-voltage fixtures (120 volts, wired into your house like porch lights and hardwired floods) demand more respect: always flip the breaker before opening a fixture, changing a socket, or touching any wiring. If you're unsure which you have, the transformer is the giveaway — no transformer, it's line voltage.
GFCI protection is non-negotiable for anything plugged in outdoors. Every outdoor outlet feeding lights, transformers, or holiday displays should be GFCI-protected — it'll be a GFCI outlet with test/reset buttons or a GFCI breaker. Test them monthly by pressing the test button; it should trip, then reset. If it won't reset, replace it before using that outlet. This is the single most important electrical safety device in your yard.
Outdoor ratings matter. Every fixture, bulb, connector, extension cord, and timer in the system must be rated for outdoor or wet-location use. Indoor extension cords outside are a classic hazard — the insulation isn't UV- or moisture-rated and breaks down. Check the stamp on cords and fixtures when you buy, and replace anything unrated that a previous homeowner left behind.
Water and electricity: never work on wiring in the rain or standing water. Don't run cords across walkways, and don't daisy-chain them — one properly rated cord of the right length, or better, a permanent installation.
And know your limit. Visual checks, cleaning, bulb swaps, connector replacements, timer adjustments — all fair game for a homeowner. Opening a breaker panel, running new line-voltage circuits, or anything that smells burnt or looks melted: that's an electrician's job. There's no shame in it; pros exist for a reason.
Common Maintenance Mistakes That Shorten Fixture Life
Over the years — mine and everyone else's I've helped — the same mistakes come up again and again. Most are well-intentioned. All of them are avoidable.
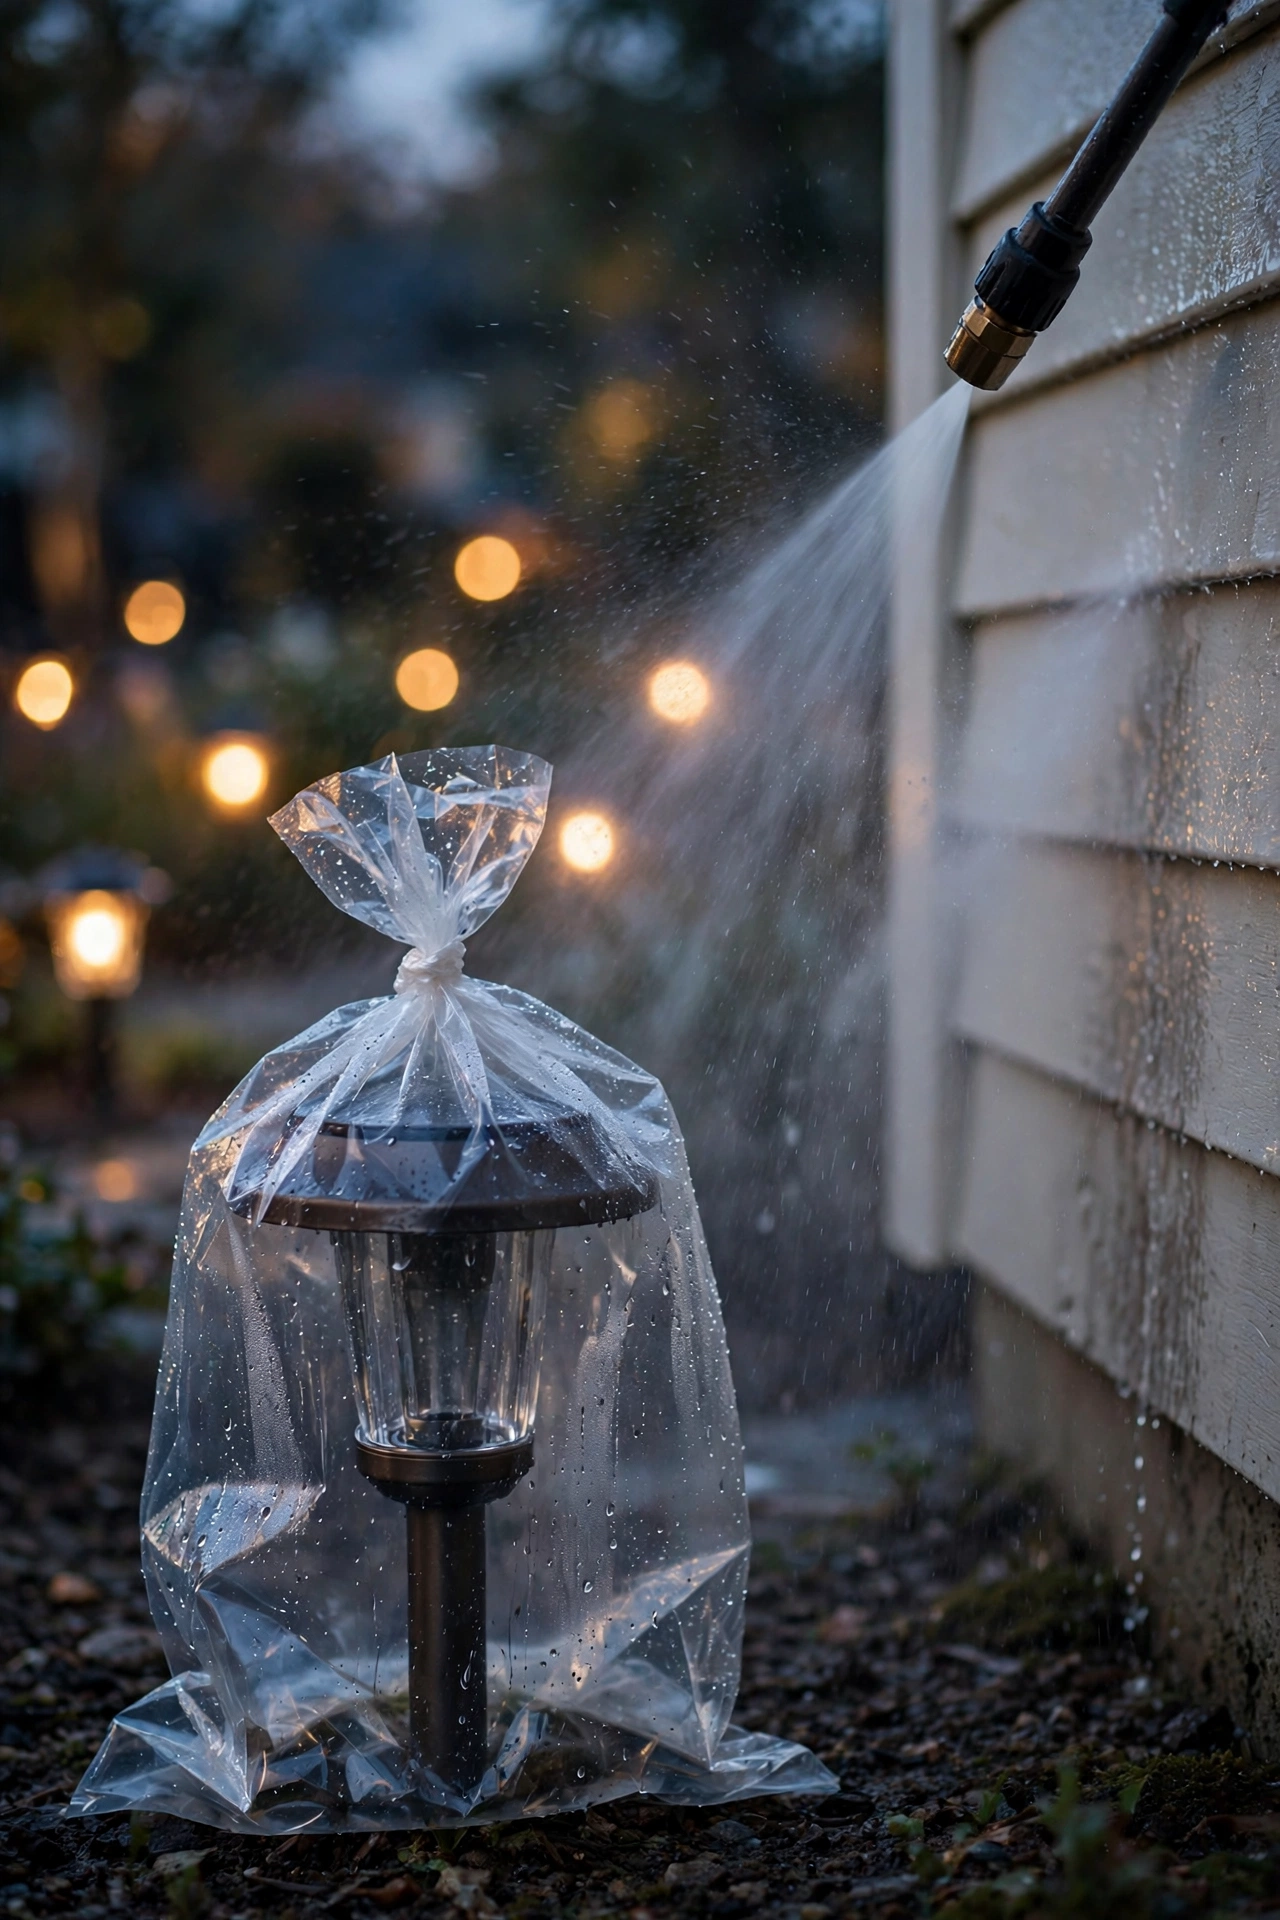
Pressure-washing fixtures. I get it, the siding needs washing and the lights are right there. But a pressure washer forces water past seals that are designed for rain, not a 2,000-PSI jet. It also strips finishes and can crack lenses. Wash around fixtures with a garden hose on a gentle setting, and cover sensitive fixtures with a plastic bag during a real pressure-washing session.
Burying fixtures in mulch. Every spring, fresh mulch goes down and path light heads disappear under two inches of it. Buried lenses can't throw light, and trapped moisture rots the fixture from the base up. After mulching, walk the beds and pull mulch back from every fixture base.
Using the wrong bulbs. Sticking a 50-watt halogen into a fixture rated for 20 watts, or a "daylight" 5000K bulb into a 2700K system, or an indoor-rated bulb into a wet fixture. Match wattage, color temperature, and outdoor rating every time. The fixture's rating sticker is usually inside the housing — check it.
Ignoring the transformer. The most expensive component gets the least attention. People add fixtures for years without checking the load, let wasps nest in the box, and never tighten a terminal. Then they're shocked when a $250 transformer dies at year four. Two minutes, twice a year.
Letting sprinklers beat up fixtures daily. A fixture that gets blasted by a sprinkler head every morning lives in a permanent salt-fog chamber. Adjust the sprinkler, move the fixture, or shield it — whichever is easiest. This one mistake probably kills more path lights than any other.
Never re-aiming. The landscape grows, but the lights stay aimed where they were on installation day. Within two years, half your uplights are lighting the insides of bushes. Re-aim seasonally; it takes seconds per fixture and it's the difference between a designed look and a random one.
What It Costs If You Hire It Out
Maybe you've read this far and thought: I'd rather pay someone. Fair enough — and honestly, for bigger systems, a pro visit once a year plus your own quick seasonal wipe-downs is a great combo. Here's what the money looks like so you can decide.
A professional maintenance visit — full walkthrough, lens cleaning, re-aiming, connection checks, transformer inspection, timer reset — typically runs $150 to $350 for an average residential system (say, 15 to 30 fixtures). Larger or more complex systems, or ones that need real troubleshooting, run $350 to $600. Most lighting contractors offer this as an annual or twice-yearly service plan, and the spring visit is the one I'd prioritize if you only do one.
Common repairs on top of the visit fee: replacing a corroded connector or splice runs $25 to $75 per spot. A replacement path light fixture installed runs $75 to $200 depending on the fixture quality. A new transformer installed runs $250 to $600 including the unit. Re-aiming and re-lamping a whole system (new bulbs everywhere) can add $100 to $300 in parts alone.
DIY costs for comparison: a season's worth of maintenance costs you almost nothing if you already own the system — maybe $20 to $40 a year in replacement connectors, bulbs, and cleaning supplies. The real cost is your time: about an hour per season for a typical yard.
The math that matters: a neglected system tends to need a partial rebuild every five to seven years ($1,000 to $3,000); a maintained one hums along for a decade-plus. Even one $250 pro visit a year beats replacing a system early.
Hire a contractor who specializes in landscape lighting, get the visit scope in writing, and ask for the transformer load math in the report. A good tech will hand you a list of what's aging and what's fine — that's worth the visit alone. And keep doing your own quick dusk walkthroughs between visits; nobody knows your yard's quirks like you do.
Frequently Asked Questions
How often should I maintain my outdoor lighting?
Do a full check four times a year — spring, summer, fall, and winter — following a season-by-season checklist. Each session takes 30 to 60 minutes for a typical yard. Between seasons, wipe lenses monthly in summer when bugs and pollen are heaviest, and do a quick visual walk after any major storm.
Why do my landscape lights keep going dim?
The most common cause is dirty lenses, which can cut light output nearly in half — clean them first. Next suspects: an aging LED module (dimming and color shift after five-plus years), a loose or corroded wire connection, or voltage drop on an overloaded or over-long wire run. Check in that order before replacing anything.
Can I do outdoor lighting maintenance myself, or do I need an electrician?
Almost all low-voltage (12V) maintenance — cleaning, bulb swaps, connector replacement, re-aiming, timer adjustments, transformer checks — is safe DIY. For line-voltage fixtures (porch lights, hardwired floods), visual checks and bulb changes are fine, but turn off the breaker before opening anything, and call an electrician for wiring work, new circuits, or anything that looks burnt or melted.
How long should outdoor light fixtures last?
With regular seasonal maintenance, quality fixtures last eight to twelve years; LED modules typically need replacement every five to eight years in heavily used spots. Without maintenance, expect three to five years before corrosion, water damage, or seal failure takes fixtures out. The transformer usually lasts ten to fifteen years if kept under 80 percent load and protected from moisture.
What's the best time of year for a full lighting overhaul?
Fall — October, before the clocks change — is ideal. Your lights are about to work their longest hours, holiday season is coming, and the weather is still pleasant for outdoor work. Spring is the second-best window, for assessing winter damage. Avoid mid-winter for anything beyond observation; frozen ground and short days make real repairs miserable.
Conclusion
Here's the truth about outdoor lighting maintenance: it's not a project, it's a rhythm. Four short seasonal checklists — spring wake-up, summer heat watch, fall prep, winter observation — plus a little fixture-by-fixture attention along the way, and your lights will look as good in year eight as they did in year one. Clean the lenses, check the connections, respect the transformer, and tune the timers. That's genuinely most of it.
If this got you thinking about your yard after dark, browse the rest of the lighting ideas here — from low-voltage path lights that make walkways glow, to winter landscape lighting that keeps the magic going through the cold months, to smart tips for storing your outdoor Christmas lights so they survive until next season. Your yard works hard to look beautiful at night — an hour a season is a pretty fair trade.