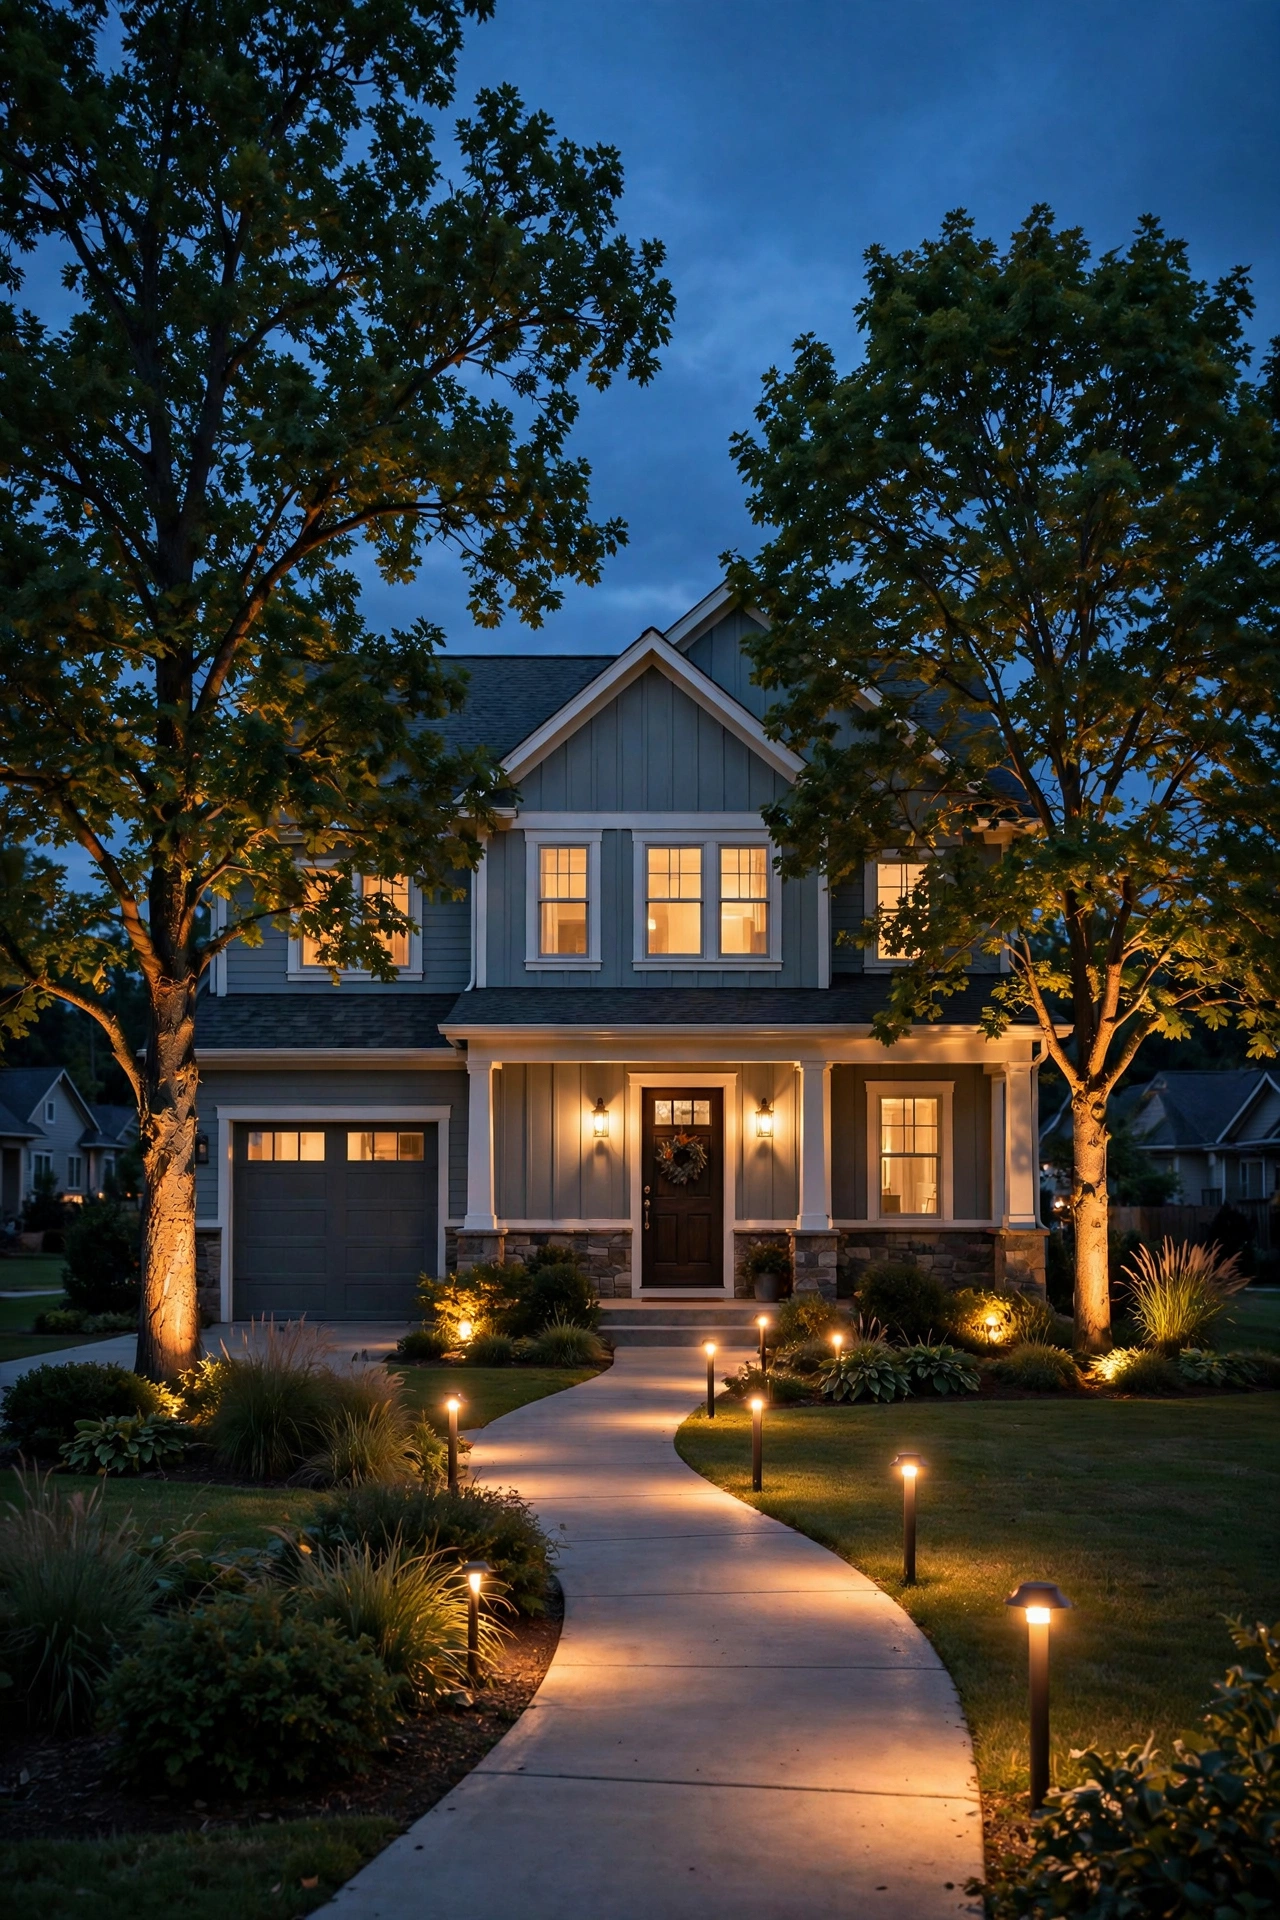
I'll never forget the first time I stood in the lighting aisle, cart full of fixtures, completely stumped. The box for one little landscape light said 300 lumens, 5 watts, 36-degree beam. Another said 500 lumens, 8 watts, 60 degrees. I wanted to light up my favorite maple tree — that's it — and somehow I needed an engineering degree to do it. Honestly? The jargon nearly scared me off the project entirely.
That's exactly why I wrote this outdoor lighting lumens guide: to be the translator I wish I'd had. Lumens, watts, beam angles, color rendering, voltage drop — none of these are complicated once someone explains them in plain English, and by the end of this post you'll be able to read a spec sheet like a pro, pick the right brightness for every job in your yard, and avoid the too-bright, too-dim, airport-runway mistakes I see everywhere. Grab a coffee. Let's make this simple.
The Short Answer
If you just want the quick takeaway: lumens measure brightness, watts measure energy use — and with LEDs, more lumens does not mean more watts. Most landscape accents need 100–300 lumens, paths need 80–150, and security floods need 1,000–3,000+. Beam angle decides how wide the light spreads: narrow (15–35°) for uplighting trees and columns, wide (60–120°) for washing walls and lighting patios. Match the brightness to the job, pick the beam angle for the effect you want, and you'll get it right 90% of the time. The rest of this guide is the *why* behind those numbers.

Lumens vs. Watts: Brightness vs. Energy, in Plain English
Here's the single biggest misconception in outdoor lighting, and I believed it for years: that watts mean brightness. They don't — at least not anymore. Watts measure how much *energy* a fixture consumes. Lumens measure how much *visible light* it produces. In the old incandescent days the two moved together, so a 60-watt porch bulb was shorthand for "pretty bright." With LEDs, that relationship is gone. A 5-watt LED can throw out 500 lumens — as much light as an old 40-watt incandescent.
In my experience, once you flip the way you shop — start with lumens, check watts second — everything gets easier. Ask "how bright do I want this to be?" and that's a lumens question. Ask "how much will it cost to run?" and that's a watts question. The two are linked by efficacy, which is just lumens divided by watts (we'll get to that in the LED section below).
One practical habit I always recommend: when comparing two fixtures, divide lumens by watts in your head. The one that gives you more light per watt of power is the more efficient choice — it'll be brighter for the same electricity bill, or equally bright for less money. And when someone at a barbecue says "I need a 100-watt security light," smile and ask them how many lumens they mean. They'll be grateful you asked.
How Many Lumens Each Outdoor Application Needs: The Outdoor Lighting Lumens Guide Cheat Sheet
Okay, the question everyone actually asks: *how many lumens do I need?* Here's my cheat sheet, built from years of lighting my own yard and helping neighbors fix theirs. These are ranges, not gospel — your tree is not my tree — but they'll put you in the right neighborhood every time.
| Application | Recommended lumens | Beam angle | Fixture type |
|---|---|---|---|
| Path and walkway lighting | 80–150 | 120° (wide spread) | Low path bollards or mushroom lights |
| Accent uplighting (trees, sculpture) | 200–600 | 15–36° (narrow spot) | Adjustable ground spot/uplight |
| Architectural wash (wall, columns) | 300–800 | 36–60° (flood) | Fixed well lights or wash fixtures |
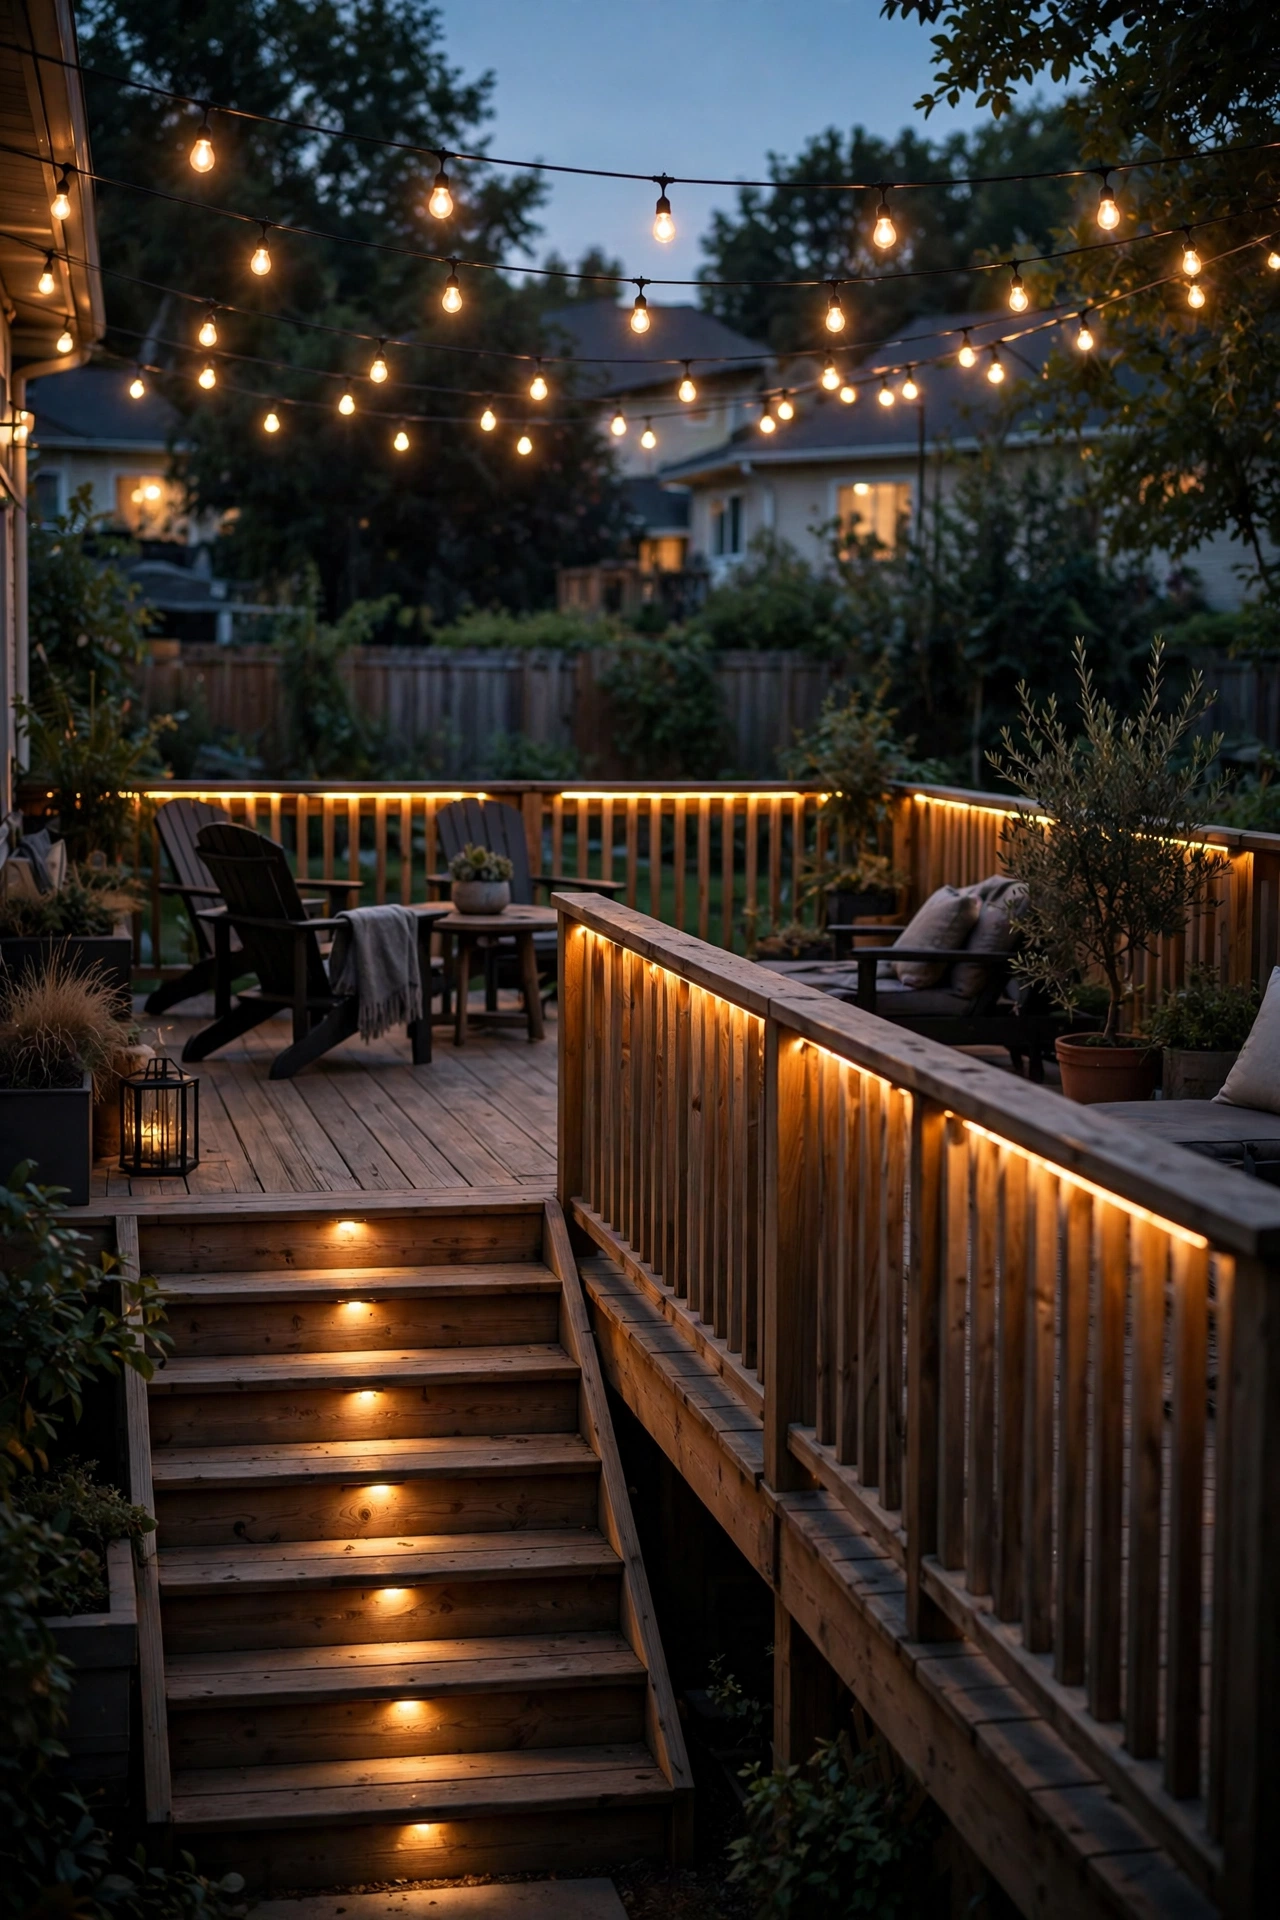
| Deck and step lighting | 50–150 | 120° or shielded | Recessed step lights, post caps |
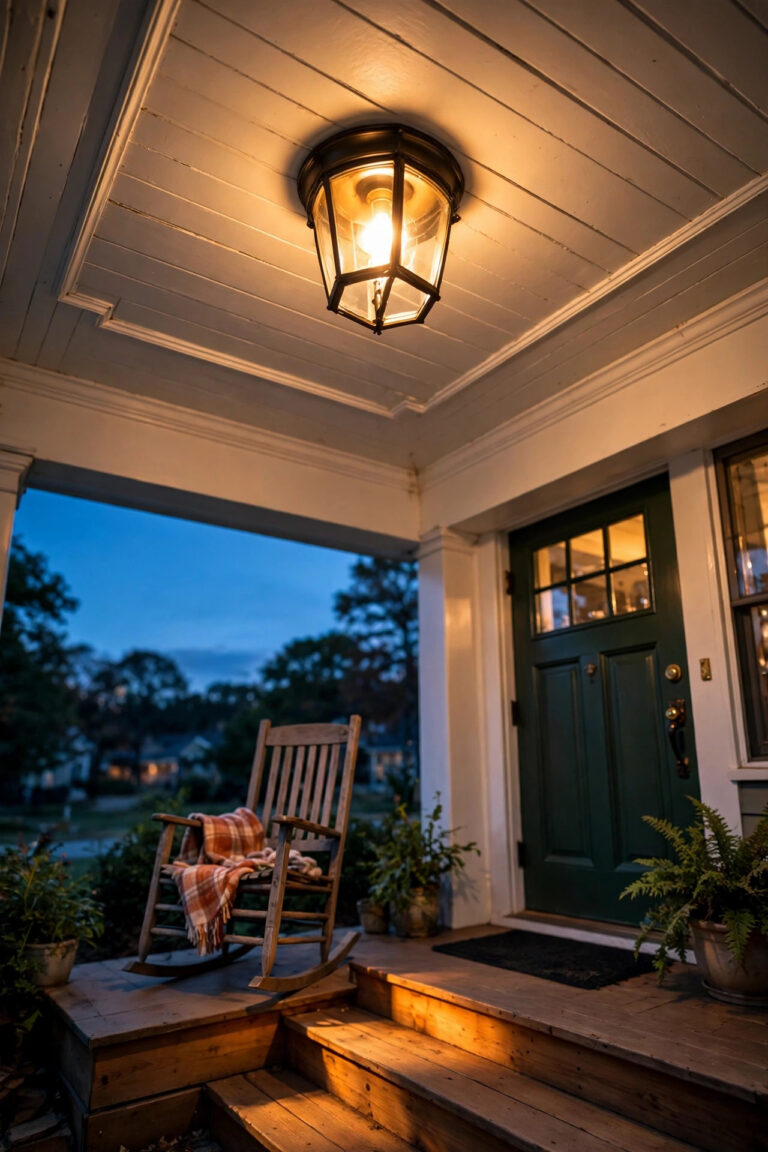
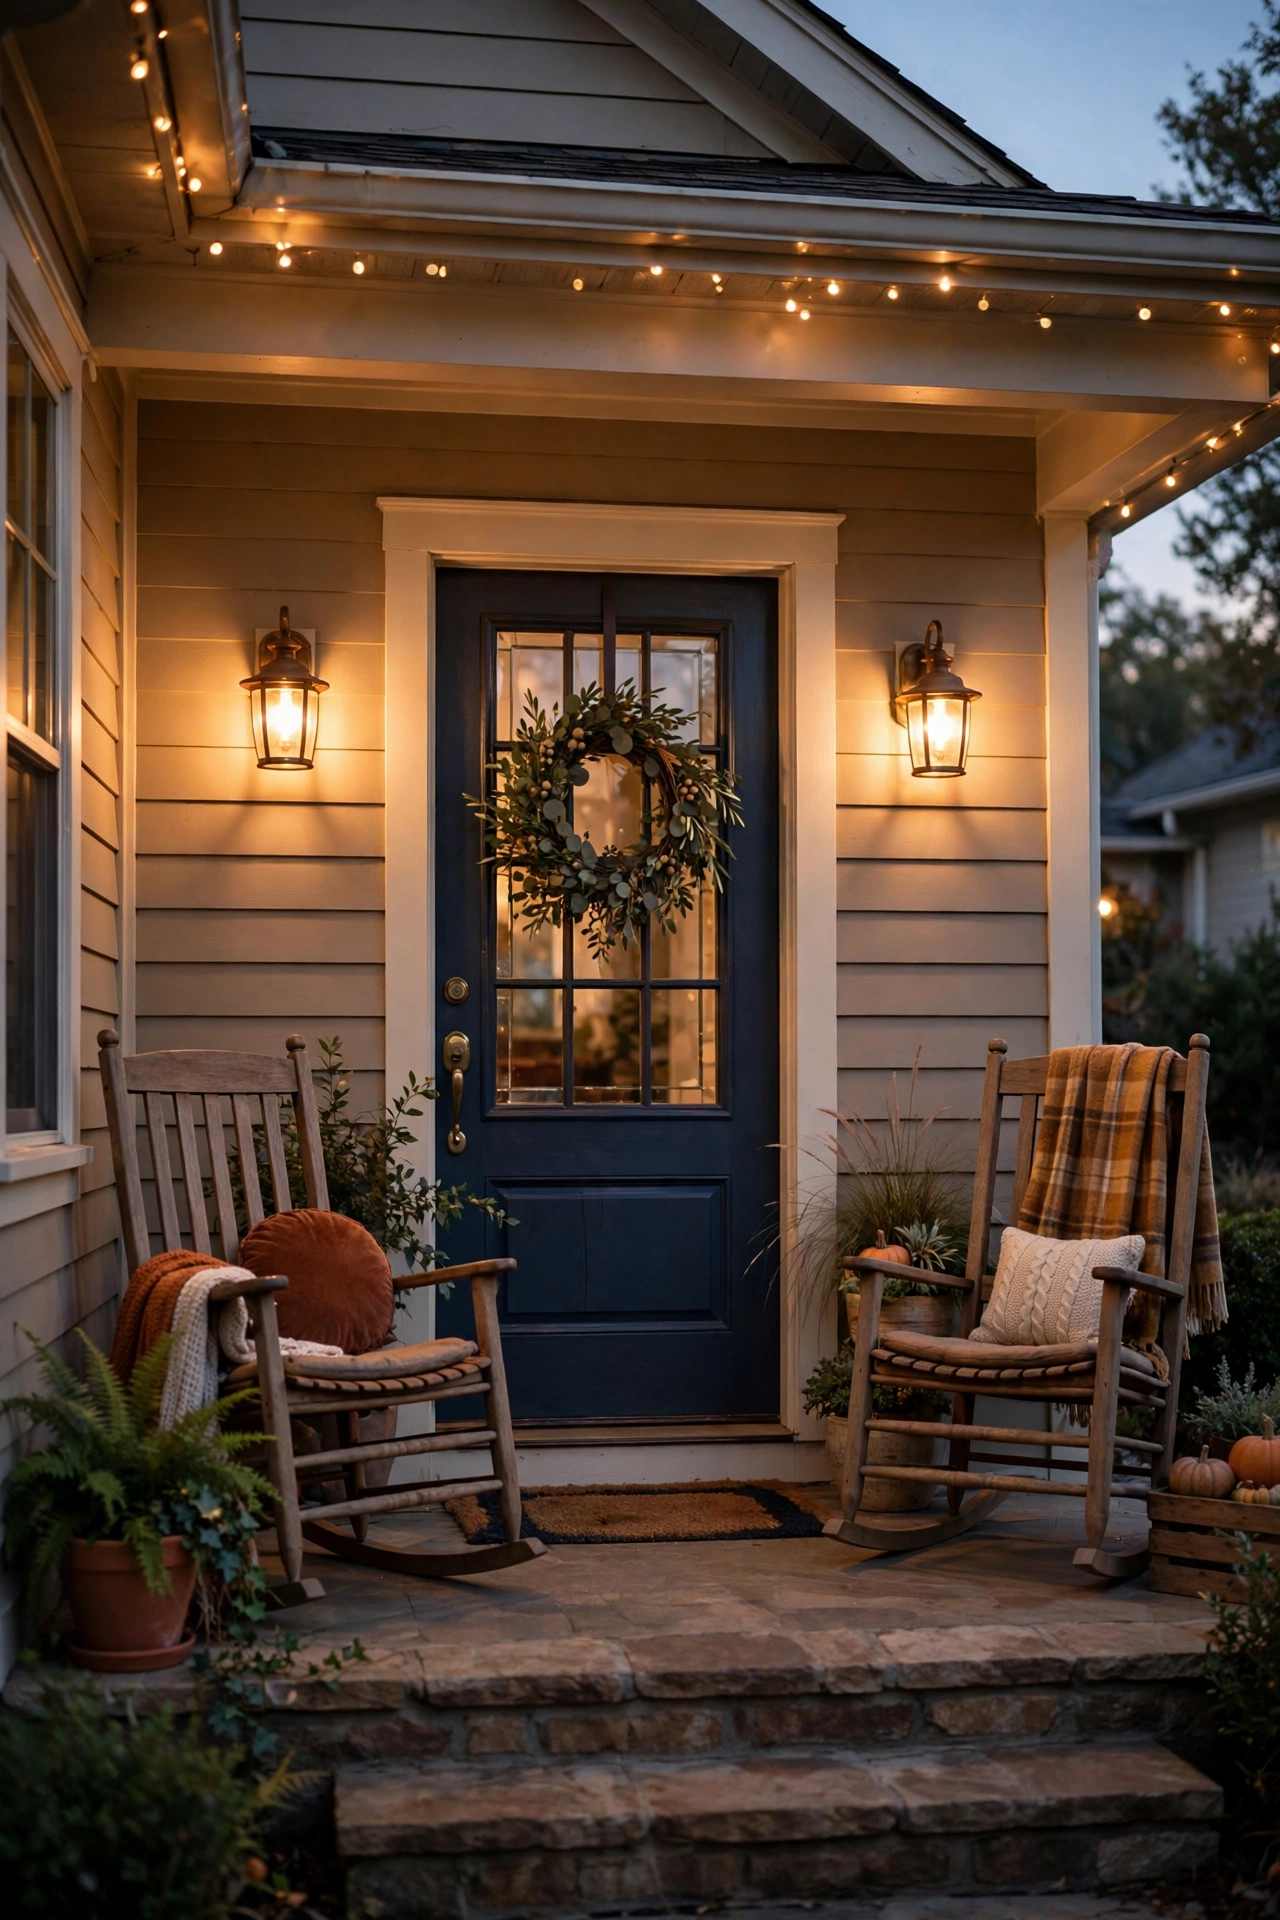
| Porch and entry sconces | 400–800 | 90–120° (wide) | Wall sconces, lanterns |
| Security flood lighting | 1,000–3,000 | 60–120° (flood) | Motion-sensor flood fixture |
| String light ambiance | 10–50 per bulb | 360° (omnidirectional) | Festoon/string lights |
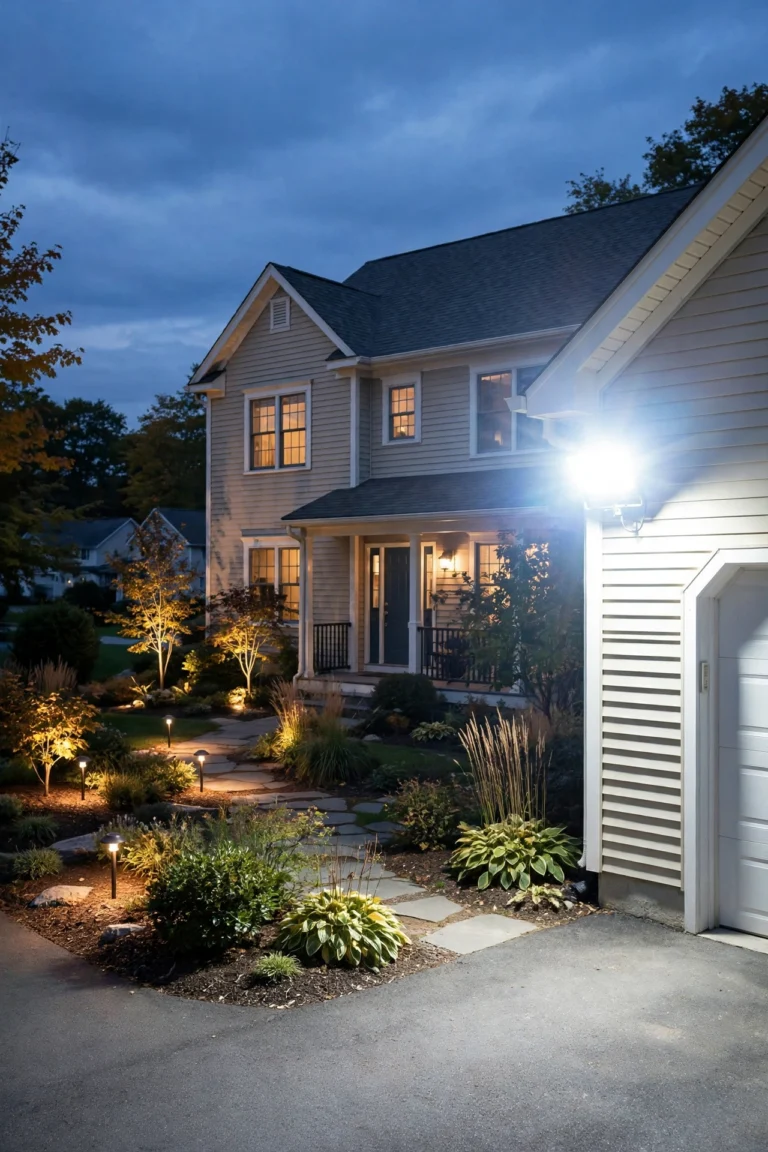
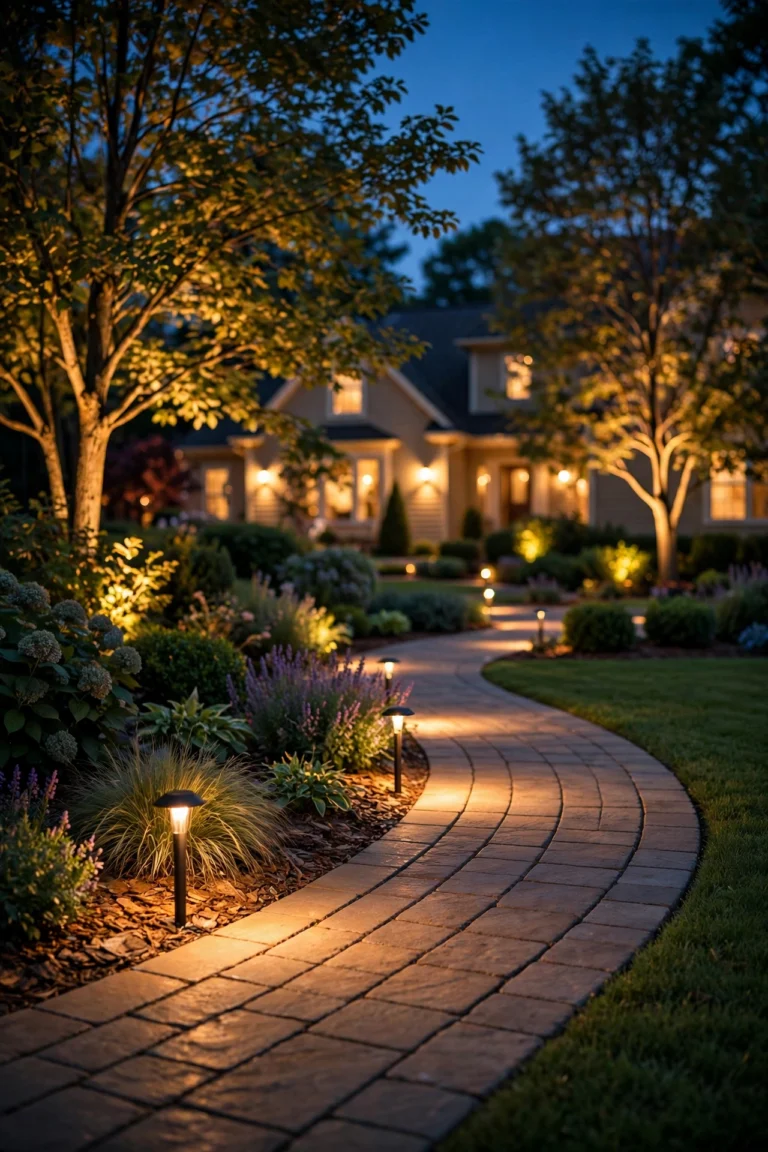
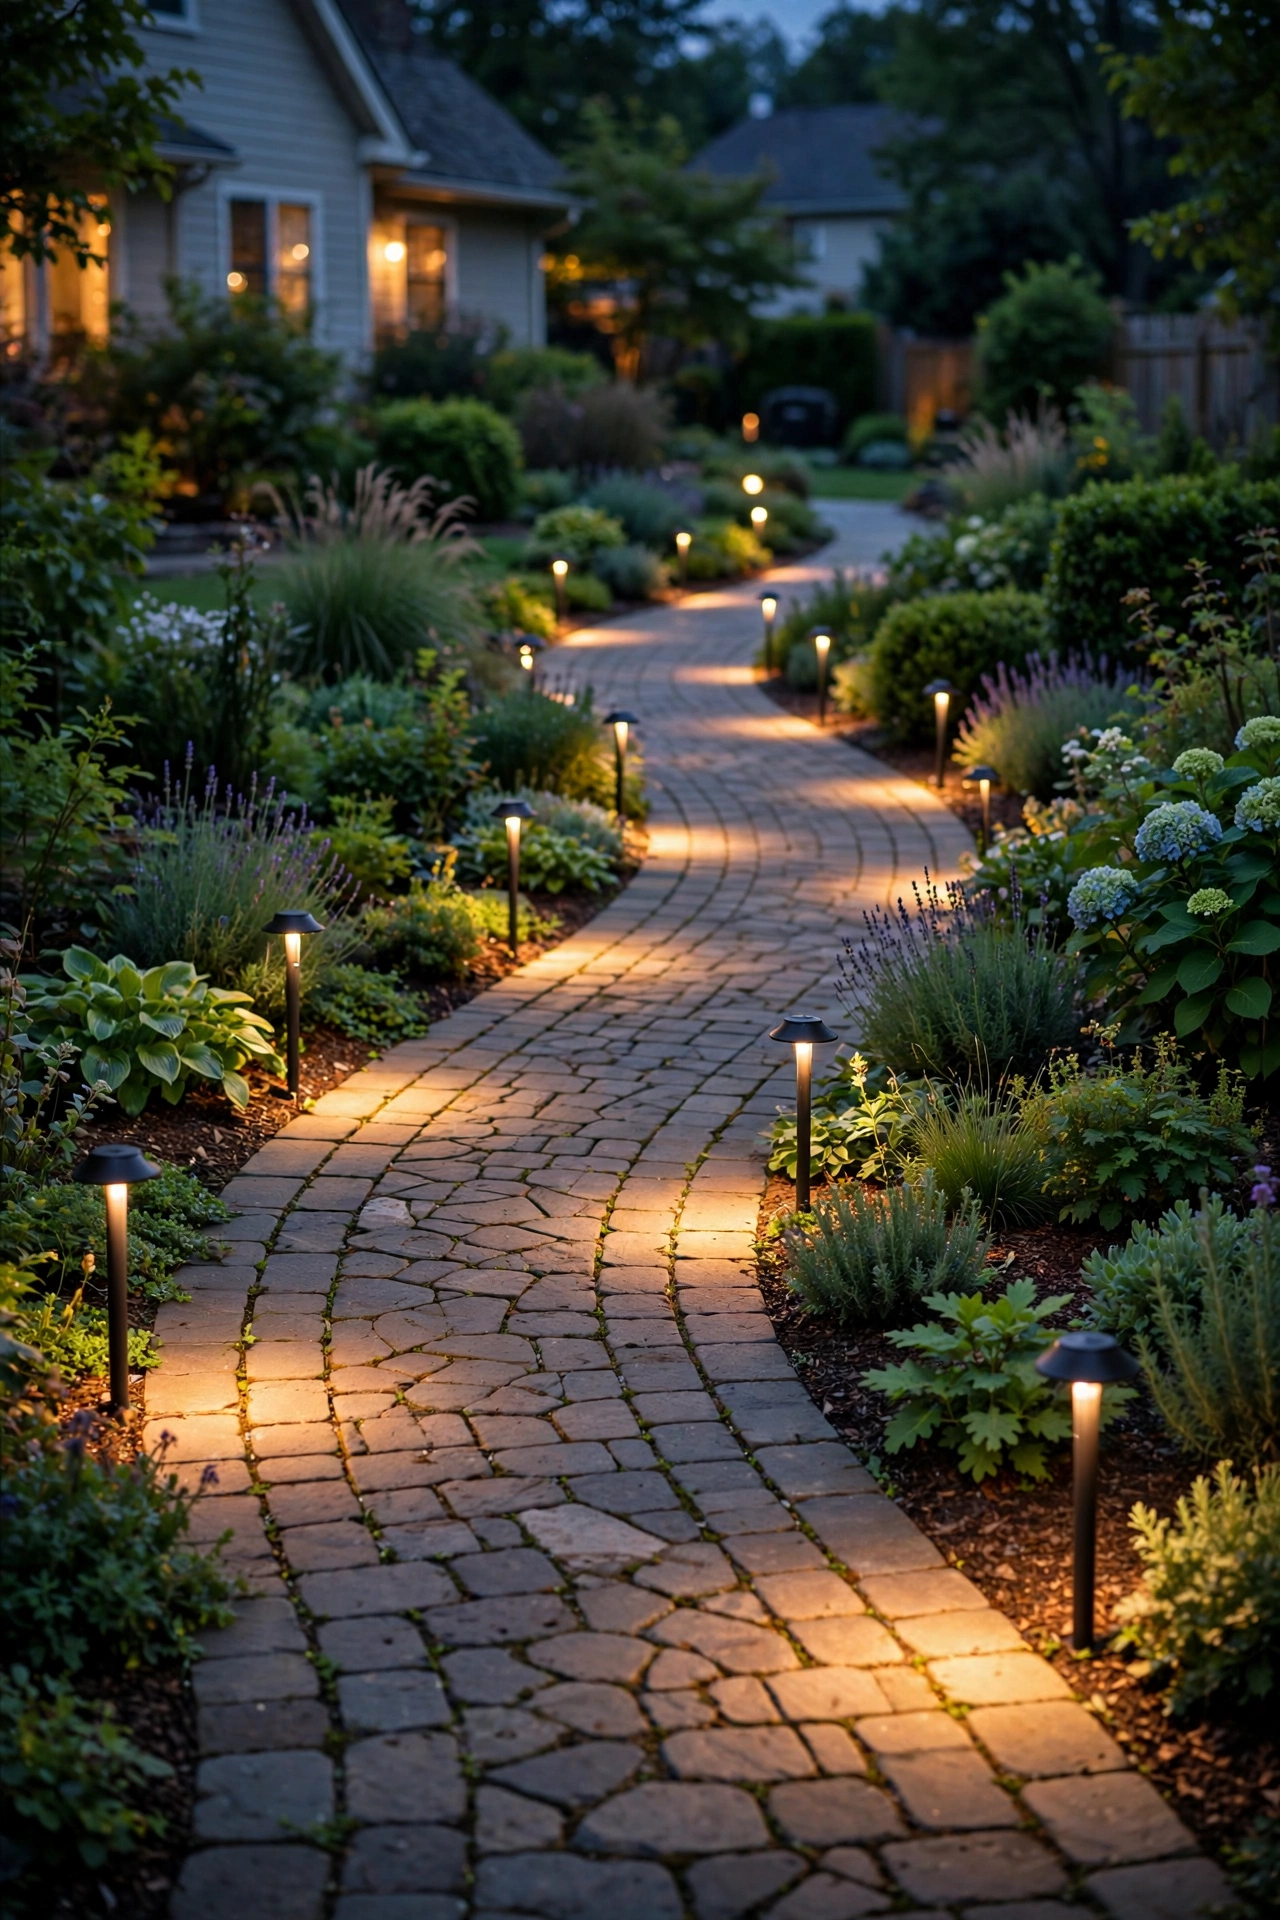
A few notes from my own trial and error. Path lights: aim for overlapping pools of light, not a bright runway — 80 to 150 lumens per fixture with spacing of 6–8 feet is the sweet spot I keep coming back to. Trees are the one place people chronically under-buy: a 200-lumen uplight on a 20-foot oak is basically a firefly. Bigger trees and taller columns need the high end of that range (or two fixtures). Security floods are the opposite story — 3,000 lumens is genuinely blinding, so I start lower and add only if shadows persist. And porch sconces benefit from matching brightness: two 600-lumen sconces flanking a door look balanced; one 400 and one 800 looks like a mistake.
One more thing worth saying about my low-voltage path light layout philosophy: paths should *guide*, not glare. If your path lights hurt to look at, they're too bright — drop to the low end of the range.
Beam Angles Explained: Narrow Spot vs. Wide Flood vs. Wall Wash
Beam angle is simply how wide the cone of light is when it leaves the fixture, measured in degrees. Picture an ice-cream cone: a 15° beam is a tall skinny cone that throws light far in one direction; a 120° beam is a wide shallow scoop that lights up everything nearby.
Narrow beams (10–35°) are "spot" beams. They concentrate all the lumens into a tight column, which means they reach far and create drama — think a single beam climbing up a tree trunk into the canopy, or a slim column of light on a flag pole. Narrow beams are the punctuation marks of landscape lighting: they're what your eye notices first.
Medium beams (36–60°) are "flood" beams. They soften the drama into a broader wash — lovely on textured stone walls, wide columns, hedges, and house facades where you want even coverage without hot spots.
Wide beams (60–120°) are your generalists: path lights, deck lights, porch sconces. They throw light everywhere nearby, which is perfect for *seeing* but terrible for *drama*. A 120° beam on a tree just makes a fuzzy bright blob around the trunk.
Here's the part that surprised me when I learned it: the same 400 lumens looks completely different at different beam angles. A 400-lumen 15° spot aimed at a tree is striking. That same 400 lumens spread across a 120° beam on a patio feels soft and ambient. That's why you can't shop by lumens alone — lumens are the *amount* of light, and beam angle is how it's *shaped*.
Matching Beam Angle to the Job
So how do you actually choose? I use one simple rule: tight targets get tight beams, big surfaces get wide beams.
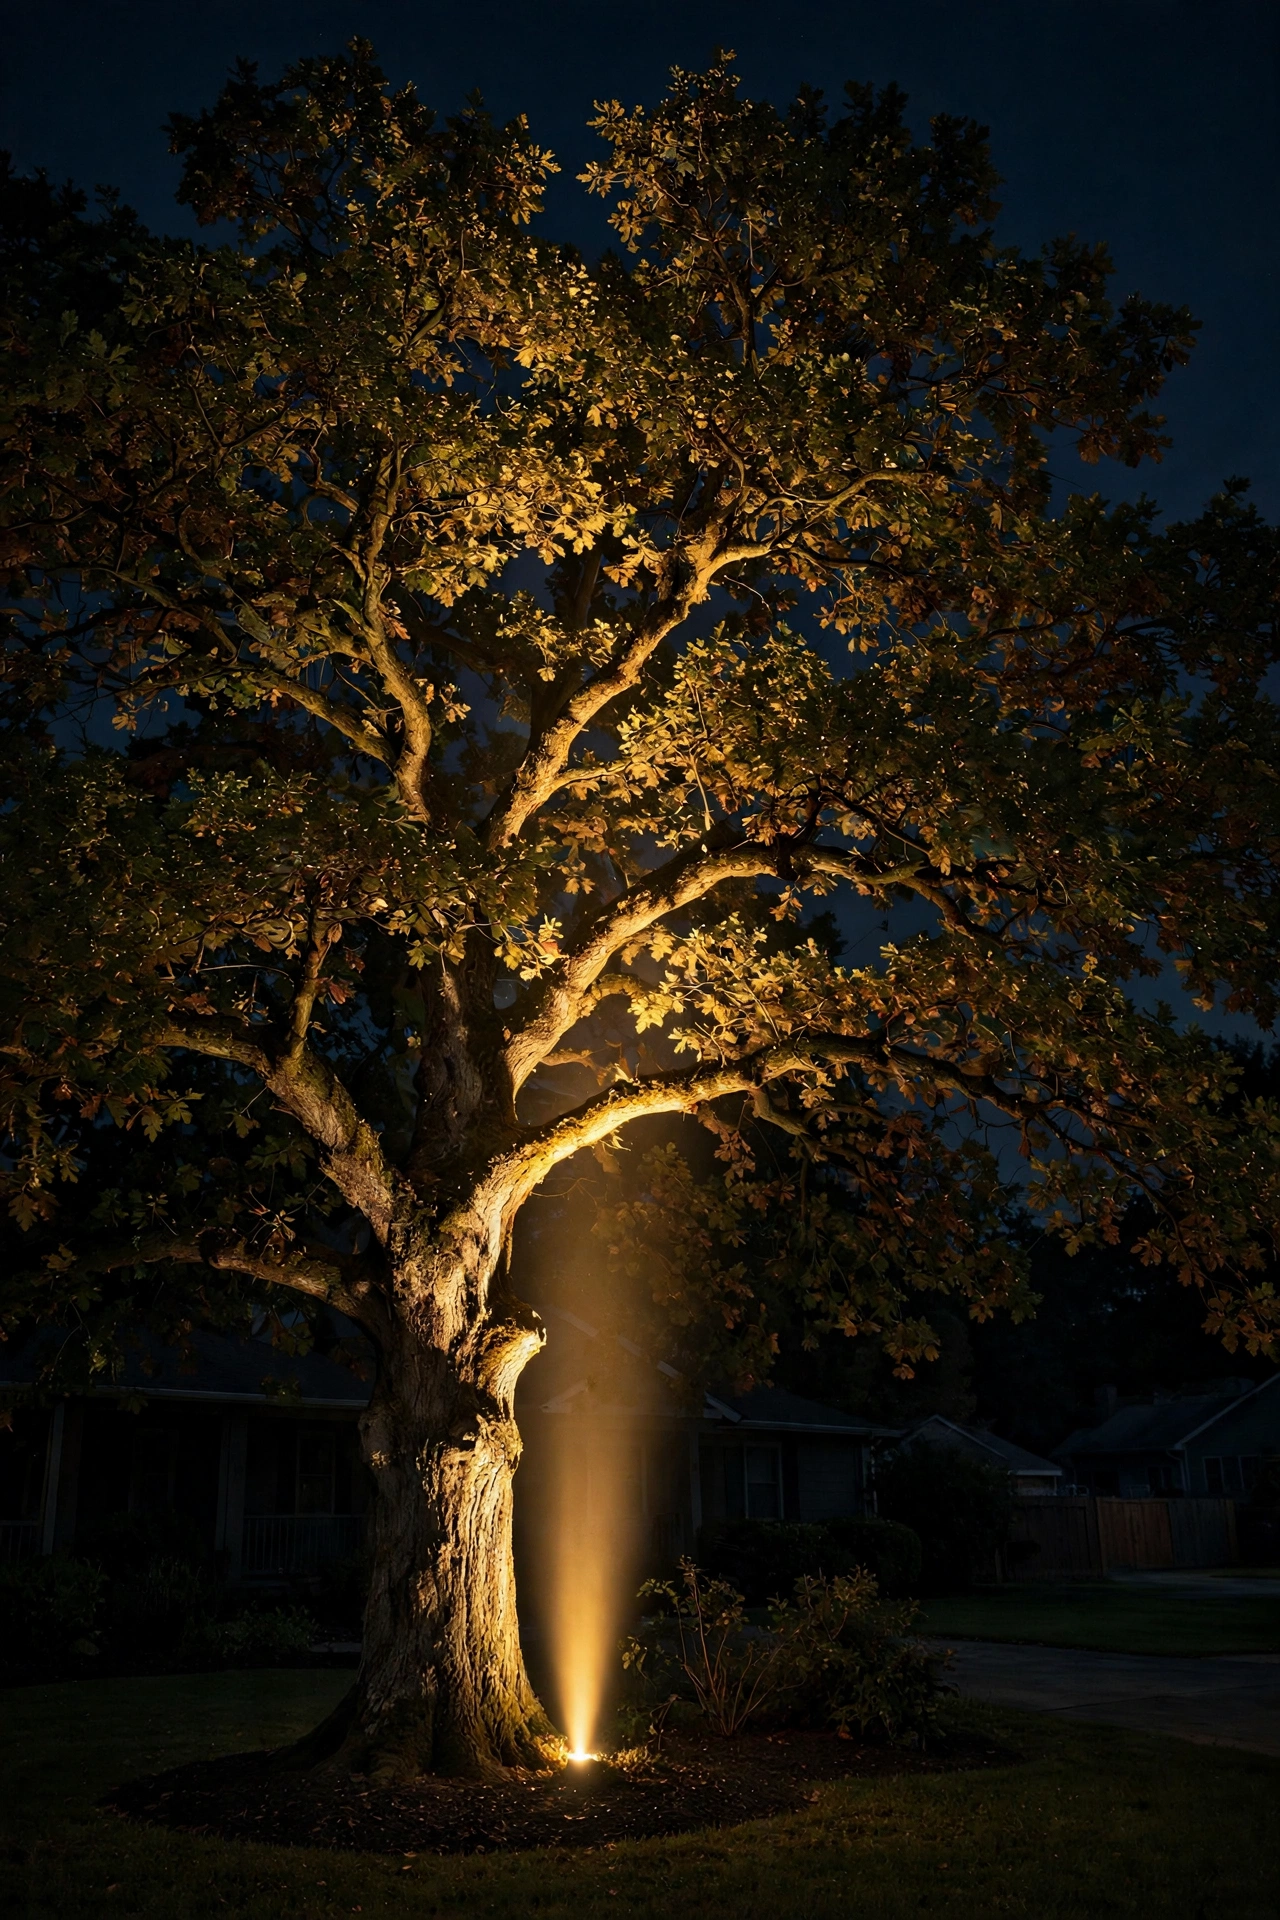
For uplighting trees — my favorite thing in all of landscape lighting — go narrow: 15° for slim trunks and tall columns, 24–36° for wide canopies. Position the fixture 12–18 inches from the base, tilted slightly, and let the canopy catch the light. If you want the full playbook, my tree uplighting guide walks through placement in detail.
For washing a wall or facade, reach for 36–60°. Mount or stake the fixture 1–2 feet from the wall and let the flood do its work. The result should be an even glow from ground to eave, with no bright "hot spot" in the middle — if you see one, move the fixture back a few inches or widen the beam.
For paths, steps, and decks, wide is right: 90–120°. The goal is gentle, even coverage you can walk by safely without glare. Shielded fixtures (where the bulb sits inside a shade) are even better here because they push light *down* where your feet are instead of into your eyes.
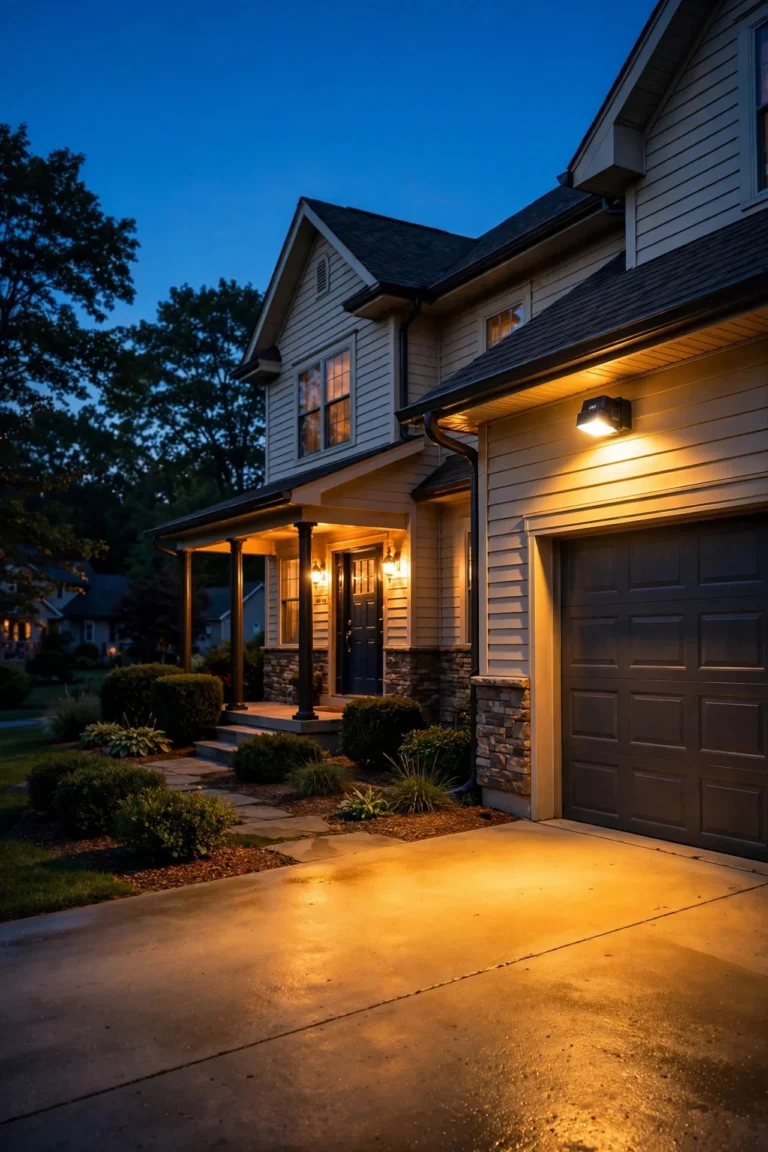
For security and task lighting — driveways, garage doors, grill stations — 60–120° floods aimed where you need them. I always recommend motion sensors on floods: you get full brightness when it matters and a dark sky the rest of the night.
The biggest mistake I see? Using the beam angle the fixture happened to come with. Many landscape lights have fixed beams, and if the box doesn't list a beam angle, assume it's wide and plan accordingly — or pick an adjustable fixture so you're in control.
Spacing Math: Beam Angle + Mounting Height = Coverage
This is the section that turns "guessing" into "knowing." The light from a fixture spreads in a cone, and you can estimate the width of that pool of light with one friendly formula:
Spread (feet) ≈ 2 × distance × tan(beam angle ÷ 2)
Don't let the math scare you — there's a simpler version. For a 60° beam, the spread is roughly equal to the distance. For a 36° beam, the spread is about two-thirds the distance. For a 15° beam, it's about one-quarter. That's really all you need in your head at the store.
Let me show you how I use it. Say I'm placing path lights with 120° beams on 18-inch-tall posts. At 18 inches of height, the pool of light is wide — roughly 3+ feet across at ground level. So I space fixtures 6–8 feet apart for overlapping, even pools. Now say I'm uplighting a tree with a 15° spot from 1 foot away: the beam is only about 3 inches wide at the trunk — a tight, dramatic column. But 20 feet up in the canopy, that same beam has spread to about 5 feet wide, washing the branches. One fixture, two effects, all from beam math.
A few rules of thumb I've settled on: path lights 6–8 feet apart (overlapping pools); wall wash fixtures spaced roughly equal to their distance from the wall; deck step lights every 3–4 feet for safe footing; flood lights mounted 8–12 feet high with 60°+ beams to cover a two-car driveway from one fixture. And honestly? Lay your fixtures out at dusk *before* you bury cable, turn them on, and walk around. The math gets you close; your eyes finish the job.
Color Rendering and Why It Matters Outdoors
Lumens and beam angles get all the attention, but color rendering is the quiet spec that determines whether your garden looks alive or washed-out. The measurement is called CRI (Color Rendering Index), and it's a score out of 100 for how accurately a light shows colors compared to sunlight.
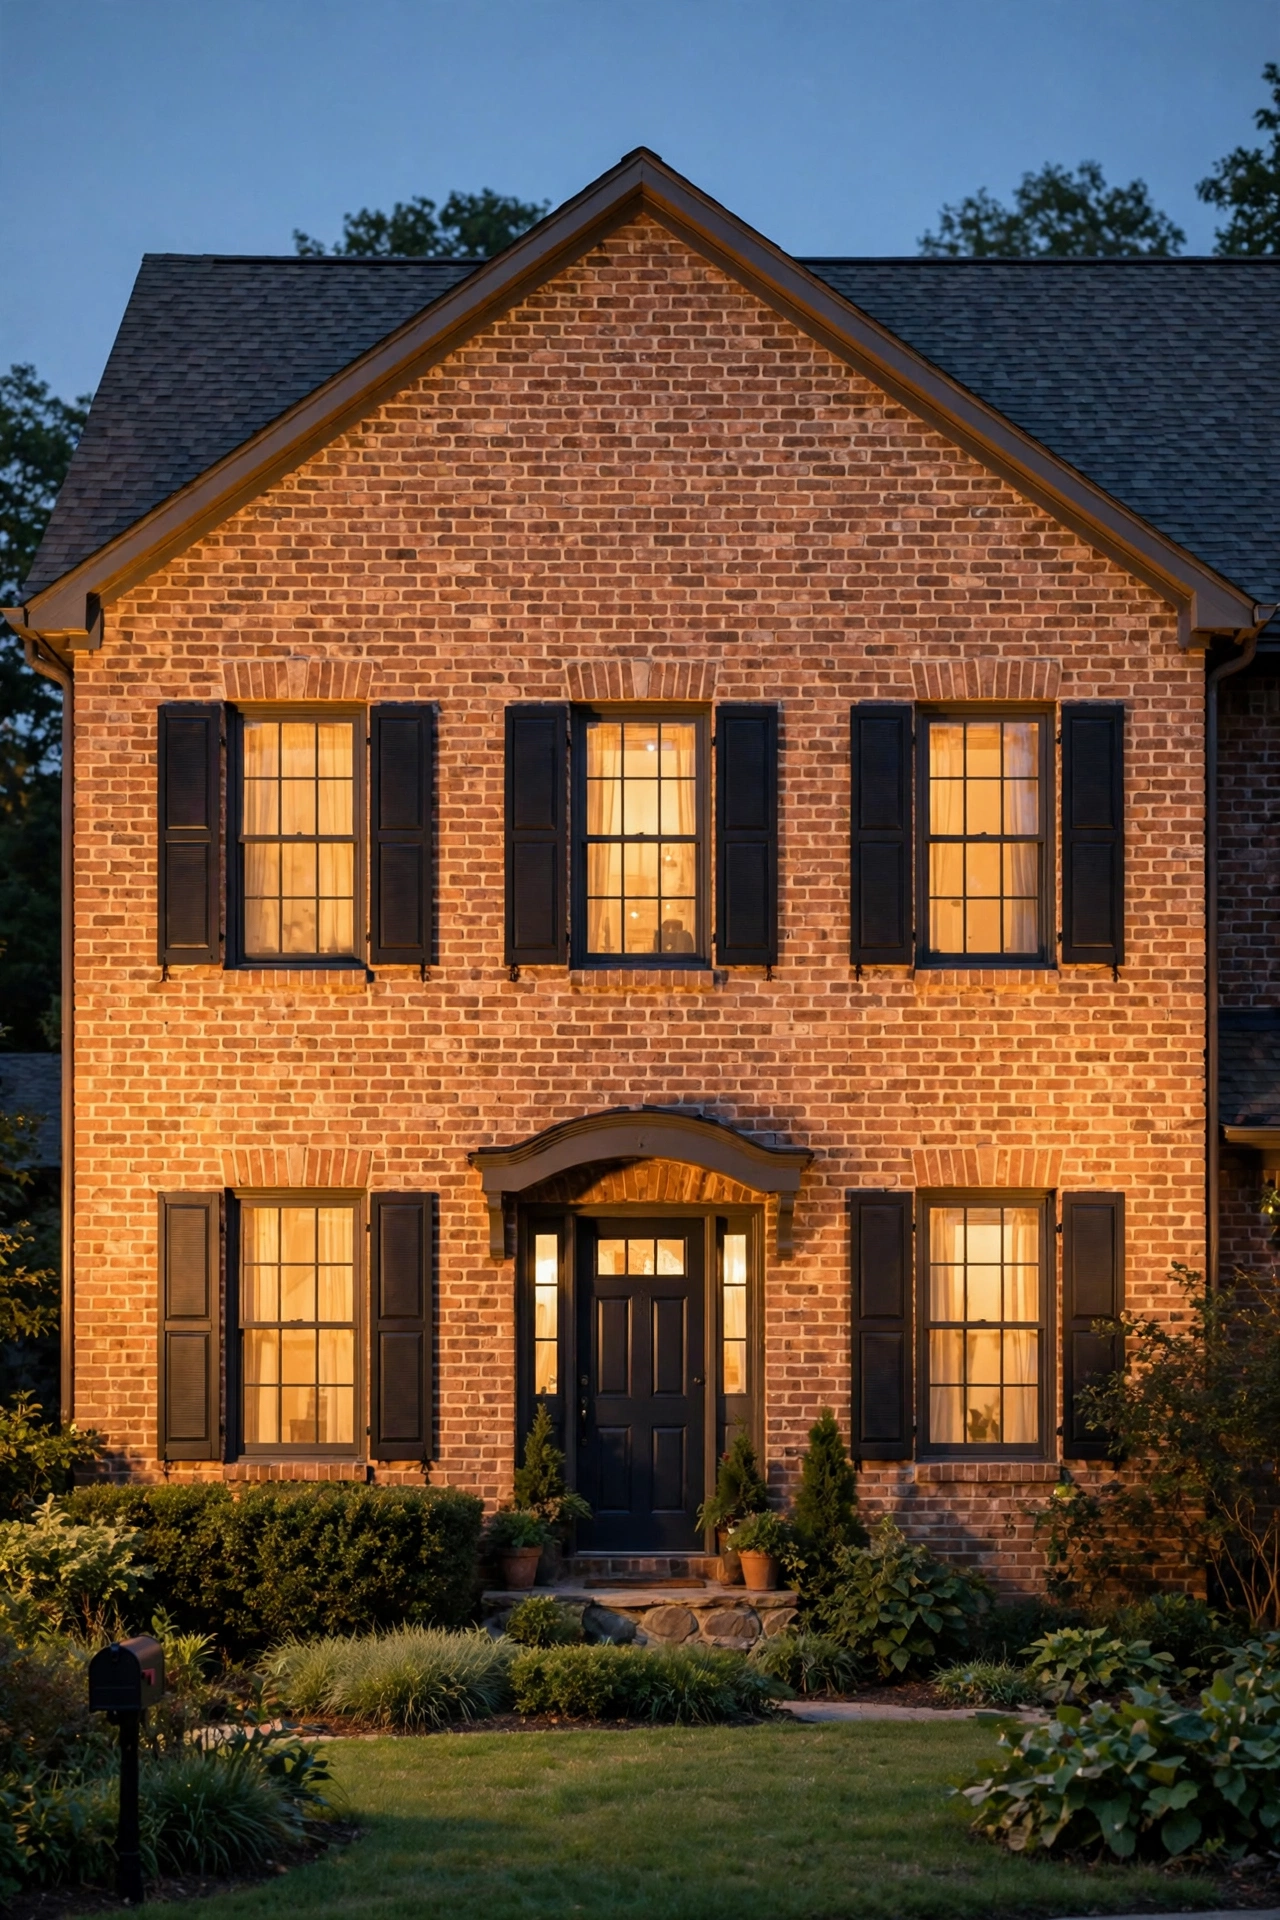
Why does it matter outside? Because your yard is full of color: the red of Japanese maples, the green of boxwood, the warm tone of brick or cedar siding. A low-CRI light (below 80) flattens all of that into muddy gray-green. A high-CRI light (90+) makes your landscaping look like it does at golden hour — rich, dimensional, alive. In my experience, CRI is the difference between lighting that looks "expensive" and lighting that looks cheap, and it often has nothing to do with how much you spent.
When shopping, look for CRI 90+ on any fixture that lights up plants, stonework, or siding. For pure path lighting, CRI 80 is fine — your eyes care more about seeing the walkway than about the exact shade of the mulch. Also keep color temperature in mind: 2700–3000K (warm white) flatters homes, wood, and foliage. Cooler temperatures (4000K+) can make brick look chalky and landscaping look clinical, and they carry a harsher glare.
My honest advice: if a box lists lumens, watts, and beam angle but says nothing about CRI, assume it's 80 or below. The manufacturers who pay for 90+ CRI bulbs brag about it on the packaging. Look for the number — it's usually on the side panel of the box in small print.
Voltage Drop: Why the Last Fixture on the Run Looks Dim
Here's a mystery that confuses so many DIYers: you install six path lights, and the first two are bright and cheerful while the last two are dim and sad — same fixtures, same bulbs, same evening. That's voltage drop, and it has nothing to do with the fixtures being defective.
Low-voltage landscape lighting runs on 12 volts. As electricity travels down the wire, resistance in the cable eats a little voltage along the way. The farther from the transformer, the less voltage each fixture gets — and with LEDs, less voltage means noticeably less light. On a long run with thin wire, the last fixture can lose 2–3 volts, which is the difference between "lovely glow" and "is that even on?"
The good news: it's easy to prevent. Use thicker wire (lower gauge number) for long runs — 12-gauge handles most residential layouts beautifully, while the skinny 16-gauge wire in some kits is only good for short runs. Keep runs short: if your yard is big, use two shorter runs from a multi-tap transformer instead of one long daisy chain. And balance the load: don't hang 200 watts of fixtures off a wire rated for the job while the other wire sits empty.
When I troubleshoot a dim run, I do a quick check: measure the voltage at the far fixture with a cheap multimeter. If it reads below about 10.5 volts, that's your answer. The fix is usually one of three things — thicker wire, a shorter run, or moving the transformer closer to the middle of the layout. If you're designing from scratch, do the transformer math *first*; it's five minutes of planning that saves a season of squinting at dim lights.
LED Efficacy in 2026: What Good Lumens-Per-Watt Looks Like
Efficacy is the fancy word for lumens per watt — how much light you get for each watt of electricity. It's the single best number for judging whether a fixture is well-engineered or a power hog, and in 2026 the bar is high.
Here's what good looks like right now: quality outdoor LEDs deliver 90–130 lumens per watt. A 5-watt path light at 100 lm/W gives you 500 lumens — more than enough for a path fixture. Budget fixtures often sit at 60–80 lm/W, which means they use more power for the same light and tend to run hotter (heat is what kills LEDs early). If you see efficacy under 70 lm/W on a 2026 product, I'd keep shopping.
Why does this matter to you practically? Three reasons. First, running costs: a 100 lm/W fixture needs fewer watts for the same brightness, and across a whole yard that adds up on your electric bill. Second, transformer sizing: low-voltage systems are sized by total watts, so efficient fixtures let you run more lights off a smaller, cheaper transformer. Third, heat and lifespan: efficient LEDs waste less energy as heat, and heat is the enemy of LED lifespan — a cooler-running fixture is a longer-lived fixture.
Quick reality check on running costs: a 5-watt fixture running 8 hours a night uses about 1.2 kWh per month — roughly 15–25 cents depending on your electricity rate. A whole 12-fixture system at 5 watts each costs you about $2–3 a month to run. When people worry that landscape lighting will spike their bill, I show them that math. Honestly, the fixtures cost more than the electricity ever will.

Reading a Spec Sheet and Bulb Label Like a Pro
Everything we've covered lives on the box — once you know where to look. Let me walk you through a typical spec label, line by line, so the jargon never bluffs you again.
Lumens — the big number, sometimes labeled "brightness" or "light output." This is what you're buying. Compare lumens between fixtures the same way you'd compare horsepower between cars.
Watts — power consumption. Lower is better for the same lumens. Also check whether this is *input* watts (what the transformer must supply) or *LED* watts (what the chip uses) — reputable brands list both, and the difference matters for sizing your transformer.
Beam angle — in degrees. If the box doesn't list one, email the manufacturer or pick a different fixture. An unknown beam angle is a gamble you don't need to take.
Color temperature (Kelvin) — 2700K–3000K for warm residential looks. The lower the number, the warmer (more amber) the light.
CRI — 90+ for landscaping and architecture, 80+ acceptable for paths. If it's missing, assume 80 or lower.
Efficacy (lm/W) — 90+ is good in 2026. Some labels show it directly; otherwise divide lumens by watts yourself.
Voltage — 12V low-voltage is the DIY standard; line voltage (120V) needs an electrician. Make sure your fixtures match your transformer.
IP rating — look for IP65 or higher for anything that lives outside permanently. IP44 handles rain but not a sprinkler blast to the face.
Lifespan — usually stated in hours (30,000–50,000 is typical for LEDs). Take this with a grain of salt; it's lab-tested, and real-world heat and power surges shorten it. But a 50,000-hour claim from a reputable maker beats a 15,000-hour claim every time.
I keep a photo of my favorite fixture's spec label on my phone. When I'm comparing options at the store, I pull it up and line up the numbers. It takes thirty seconds and has saved me from so many impulse buys that would've looked wrong in my yard.
What It Costs in 2026: Price Tiers and Running-Cost Math
Let's talk money honestly, because specs only matter if the fixture fits your budget. Outdoor lighting prices track brightness and build quality more than anything else, and here's the landscape as I see it in 2026.
Budget tier ($8–$20 per fixture): stake-style path lights, basic solar units, small accent spots in the 80–200 lumen range. Perfect for testing a layout before you commit. The trade-off is efficacy (often 60–80 lm/W) and housings that may not survive five winters.
Mid-range ($20–$50 per fixture): the sweet spot for most homeowners. Solid brass or aluminum housings, 90+ CRI options, 200–600 lumens, adjustable beam angles on uplights. This is where I tell most people to shop — the quality jump from budget is enormous, and you'll replace them far less often.
Premium ($50–$150+ per fixture): architectural-grade fixtures, 800+ lumen floods, smart controls, heavy brass that outlives the mortgage. Worth it for focal pieces like your main tree uplights or entryway fixtures; overkill for the twelfth path light.
Now the running-cost math, because this is where LEDs quietly win. Take a typical 10-fixture system averaging 6 watts each: that's 60 watts total, or about 0.5 kWh per night over 8 hours. At 15 cents per kWh, you're looking at roughly $2.25 a month. The old halogen equivalent would have been 200+ watts and nearly $8 a month — plus replacing $8 bulbs every year or two. LED fixtures cost more up front and then basically disappear into your electric bill.
Don't forget the system costs: a quality transformer ($60–$150 depending on wattage), low-voltage cable ($40–$80 for a typical yard), and connectors. A full DIY 10-fixture system usually lands between $300 and $700 all-in. Professionally installed, the same system runs $2,000–$5,000 depending on your market — and honestly, for simple path-and-accent layouts, DIY is very achievable.

6 Mistakes That Ruin the Effect
I've made every one of these myself, so consider this my confession booth — and your shortcut past the learning curve.
1. Over-lighting everything. More lumens is not more beautiful. A yard where every bush, wall, and path blazes at full brightness looks like a car dealership, not a home. I always recommend starting dimmer than you think and adding light only where your eye misses it. Dark corners are fine — shadows give lighting its depth and drama.
2. The airport runway. Path lights in a perfectly straight line, evenly spaced, all identical brightness — it guides planes, not guests. Stagger them, vary the spacing slightly, and tuck a few behind plants so the light peeks through foliage. Your walkway should feel discovered, not directed.
3. Mismatched brightness. One 800-lumen sconce next to a 100-lumen path light creates a jarring jump your eye can't ignore. Keep fixtures in the same visual zone within a similar brightness family — entries can be brightest, paths softest, accents in between.
4. Ignoring beam angle. Buying a 120° flood to uplight a tree (fuzzy blob) or a 15° spot to light a patio (a single bright dot in the dark). Match the beam to the job — this whole guide exists because of this mistake.
5. Cool white on a warm home. A 5000K "daylight" flood on a brick colonial looks like a crime scene. Stick to 2700–3000K for anything near the house. Save cooler temperatures for modern architecture where the crisp look actually suits the design.
6. Skipping the dusk test. Burying cable and staking fixtures in daylight, then discovering at 9 p.m. that the effect is all wrong. Always — *always* — lay everything out, connect it, and walk your yard at dusk before anything goes in the ground. I learned this the hard way, twice.

Safety and Electrical Basics
Lighting specs are fun, but electricity deserves respect — especially outside where water is involved. Here's the non-negotiable stuff.
Low-voltage (12V) systems are the DIY-friendly choice. The voltage is low enough that you can safely run cable yourself, bury it a few inches deep, and connect fixtures without an electrician. Most everything in this guide assumes 12V.
Line voltage (120V) needs a licensed electrician. Anything wired directly into your home's 120V circuits — hardwired sconces, floods on new circuits, junction boxes — is not a DIY project in most places. Permits and inspections exist for good reasons.
GFCI protection is mandatory outdoors. Every outdoor outlet and circuit should be GFCI-protected. If your transformer plugs into an outdoor outlet, that outlet needs GFCI. Test the reset button twice a year.
Outdoor ratings matter. Fixtures need to be rated for wet locations (look for IP65+), and anything near a pool or water feature has stricter rules — keep lighting at least 10 feet from pool edges unless it's specifically rated for it, and never mix line-voltage fixtures with water features on a DIY basis.
LED-only near flammables. If a fixture sits near mulch, dry foliage, or wooden structures, use LED only. Halogens run hot enough to be a genuine fire concern; LEDs stay cool.
Call a pro when: you're adding new 120V circuits, trenching near gas or utility lines (call 811 before you dig — it's free), or anything involves your breaker panel. For more on staying safe, my electrical safety tips post covers the full checklist. There's no shame in hiring an electrician — the best lighting design in the world isn't worth a shock or a fire.
Frequently Asked Questions
How many lumens do I need for landscape lighting?
It depends on the job, but here are the ranges I use: 80–150 lumens per path light, 200–600 for uplighting trees and accents, 300–800 for washing walls, and 400–800 for porch sconces. Security floods are the exception at 1,000–3,000. Start at the low end of each range — you can always go brighter, but an over-lit yard is much harder to fix than an under-lit one. And remember, beam angle shapes how those lumens look: 200 lumens in a narrow spot beam reads brighter than 200 lumens spread wide.
What's the difference between watts and lumens for LED lights?
Watts measure energy consumed; lumens measure light produced. With old incandescents they moved together, but LEDs broke that link — a 5-watt LED can produce 500 lumens. Shop by lumens for brightness and check watts for running costs. The ratio between them (lumens per watt, or efficacy) tells you how efficient the fixture is; 90+ lm/W is good in 2026.
What beam angle is best for uplighting trees?
Go narrow: 15° for slim trunks and tall narrow trees, 24–36° for wide-spreading canopies. Place the fixture 12–18 inches from the base and aim slightly into the canopy. A wide beam on a tree just creates a fuzzy bright blob around the trunk with no drama. If your tree is large, two narrow-beam fixtures from different angles beat one bright fixture every time.
Are lumens additive — do two 200-lumen lights equal 400 lumens?
Technically yes in total light output, but your eyes don't perceive it that way. Human vision is logarithmic, so doubling the lumens doesn't look twice as bright — it looks noticeably brighter, but not dramatically so. Practically speaking, two 200-lumen fixtures spread across a path light it far more evenly than one 400-lumen fixture, even though the total lumens are the same. Spread your lumens around rather than concentrating them.
Why do my landscape lights look dim even though the box promised plenty of lumens?
The most common culprit is voltage drop — fixtures far from the transformer get less than 12 volts and dim noticeably. Check with a multimeter; anything under about 10.5 volts at the fixture is your answer. Other suspects: dirty lenses (a film of dust and pollen can cut output dramatically — wipe them twice a season), a transformer that's undersized for the total wattage, or cheap fixtures whose "500 lumens" was measured in a lab and never in your yard. Start with the lens cleaning — it's free and fixes more problems than you'd think.
Final Verdict: Your Outdoor Lighting Lumens Guide Recap
If this outdoor lighting lumens guide leaves you with just three things, let them be these: lumens are brightness, watts are energy — shop brightness first. Beam angle shapes the light — narrow for drama, wide for coverage, and the same lumens look completely different in each. And always test at dusk before you bury a single cable — your eyes are the final spec sheet, and no number on a box beats standing in your own yard at night.
Specs stop being intimidating the moment you realize they're just answers to three questions: how bright (lumens), how much power (watts), and how wide (beam angle). Everything else — CRI, efficacy, voltage drop — is bonus knowledge that separates good lighting from great lighting. You're ready. Now go make your yard glow.
If you're hungry for more, browse the lighting ideas on the site — from flood light placement strategies to full landscape designs — and keep experimenting. The best-lit yards I know were built one dusk test at a time.