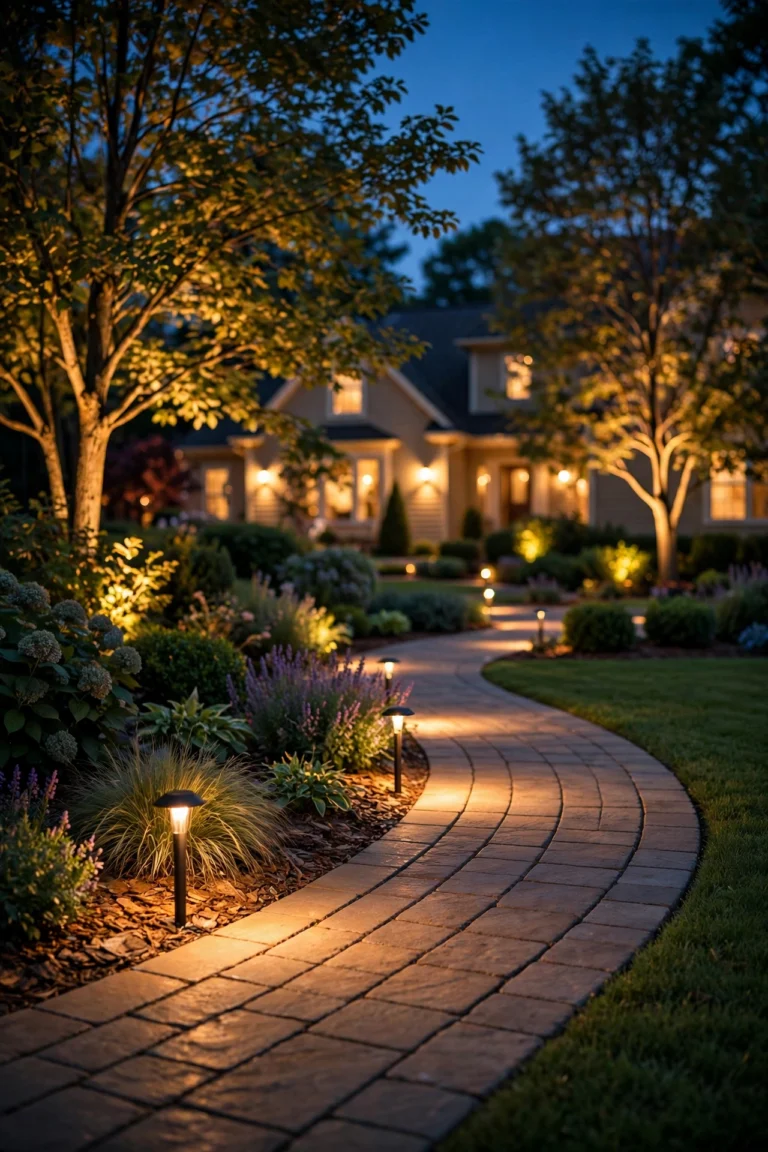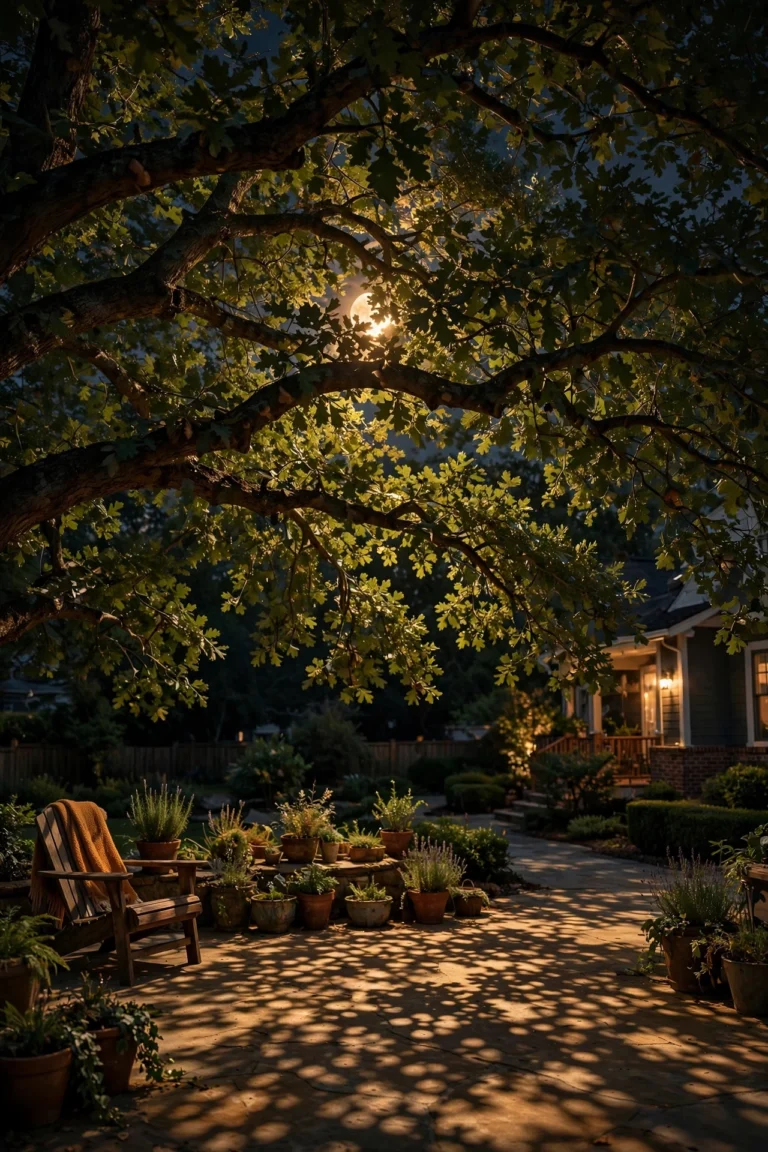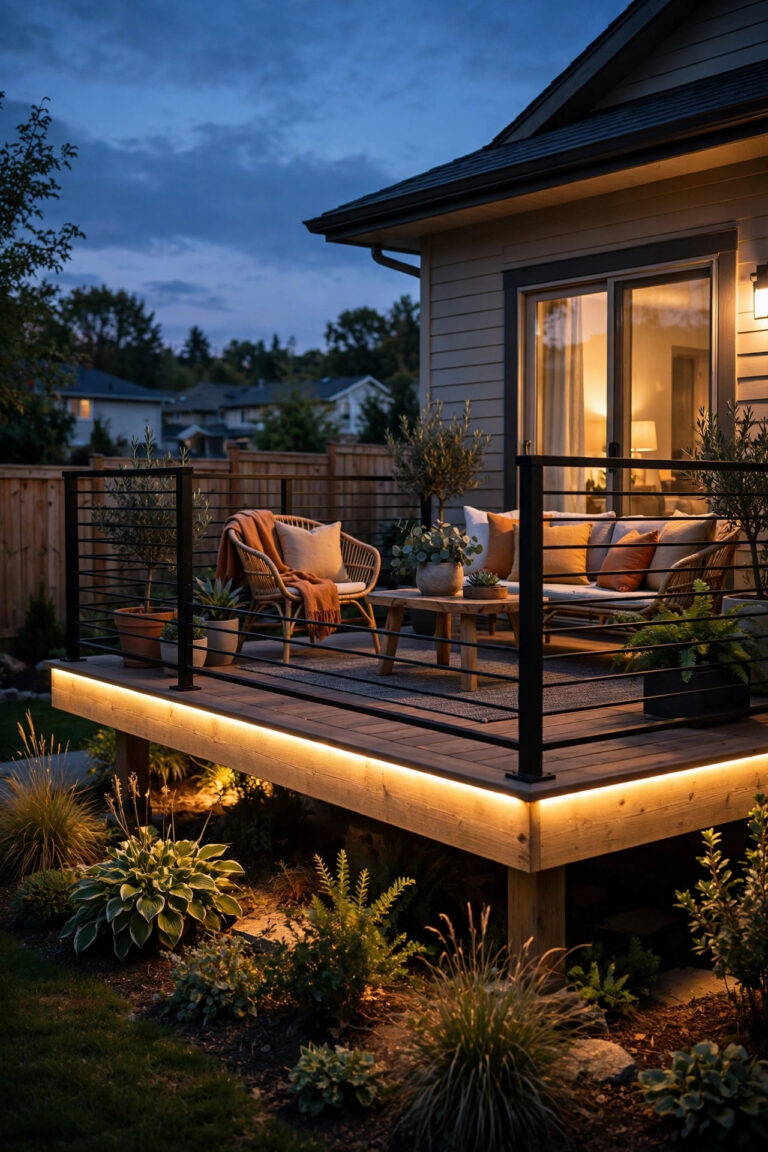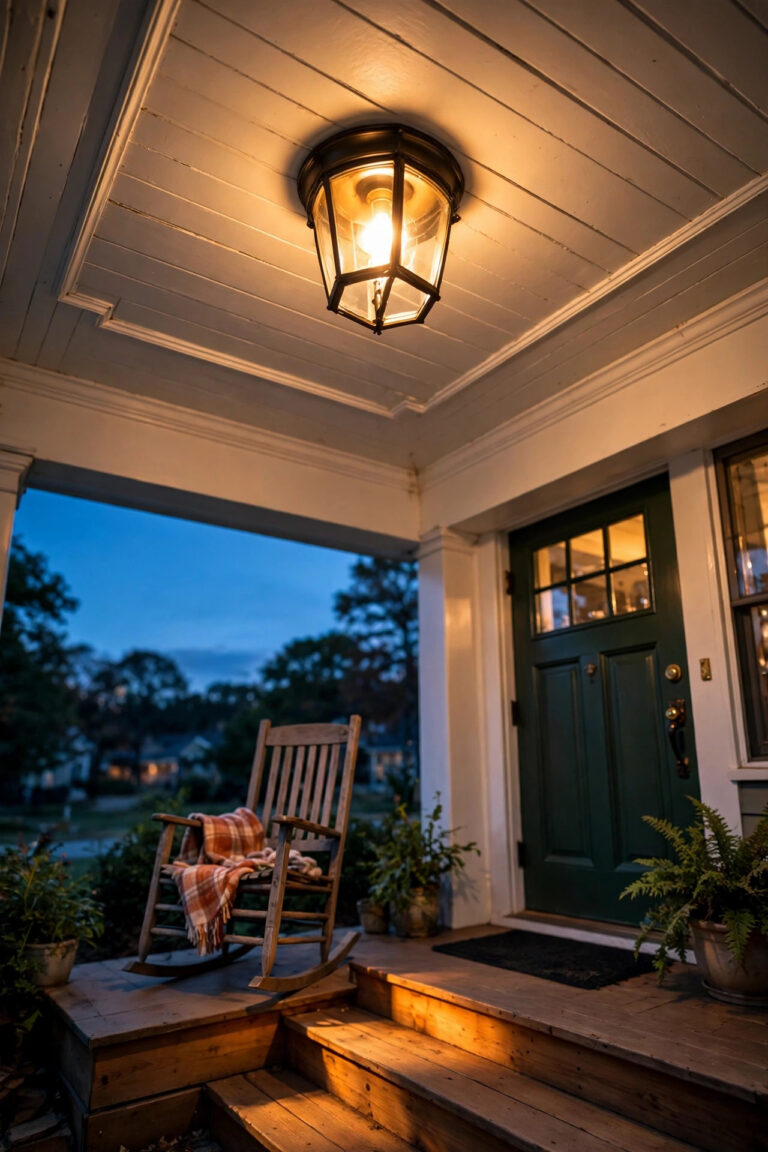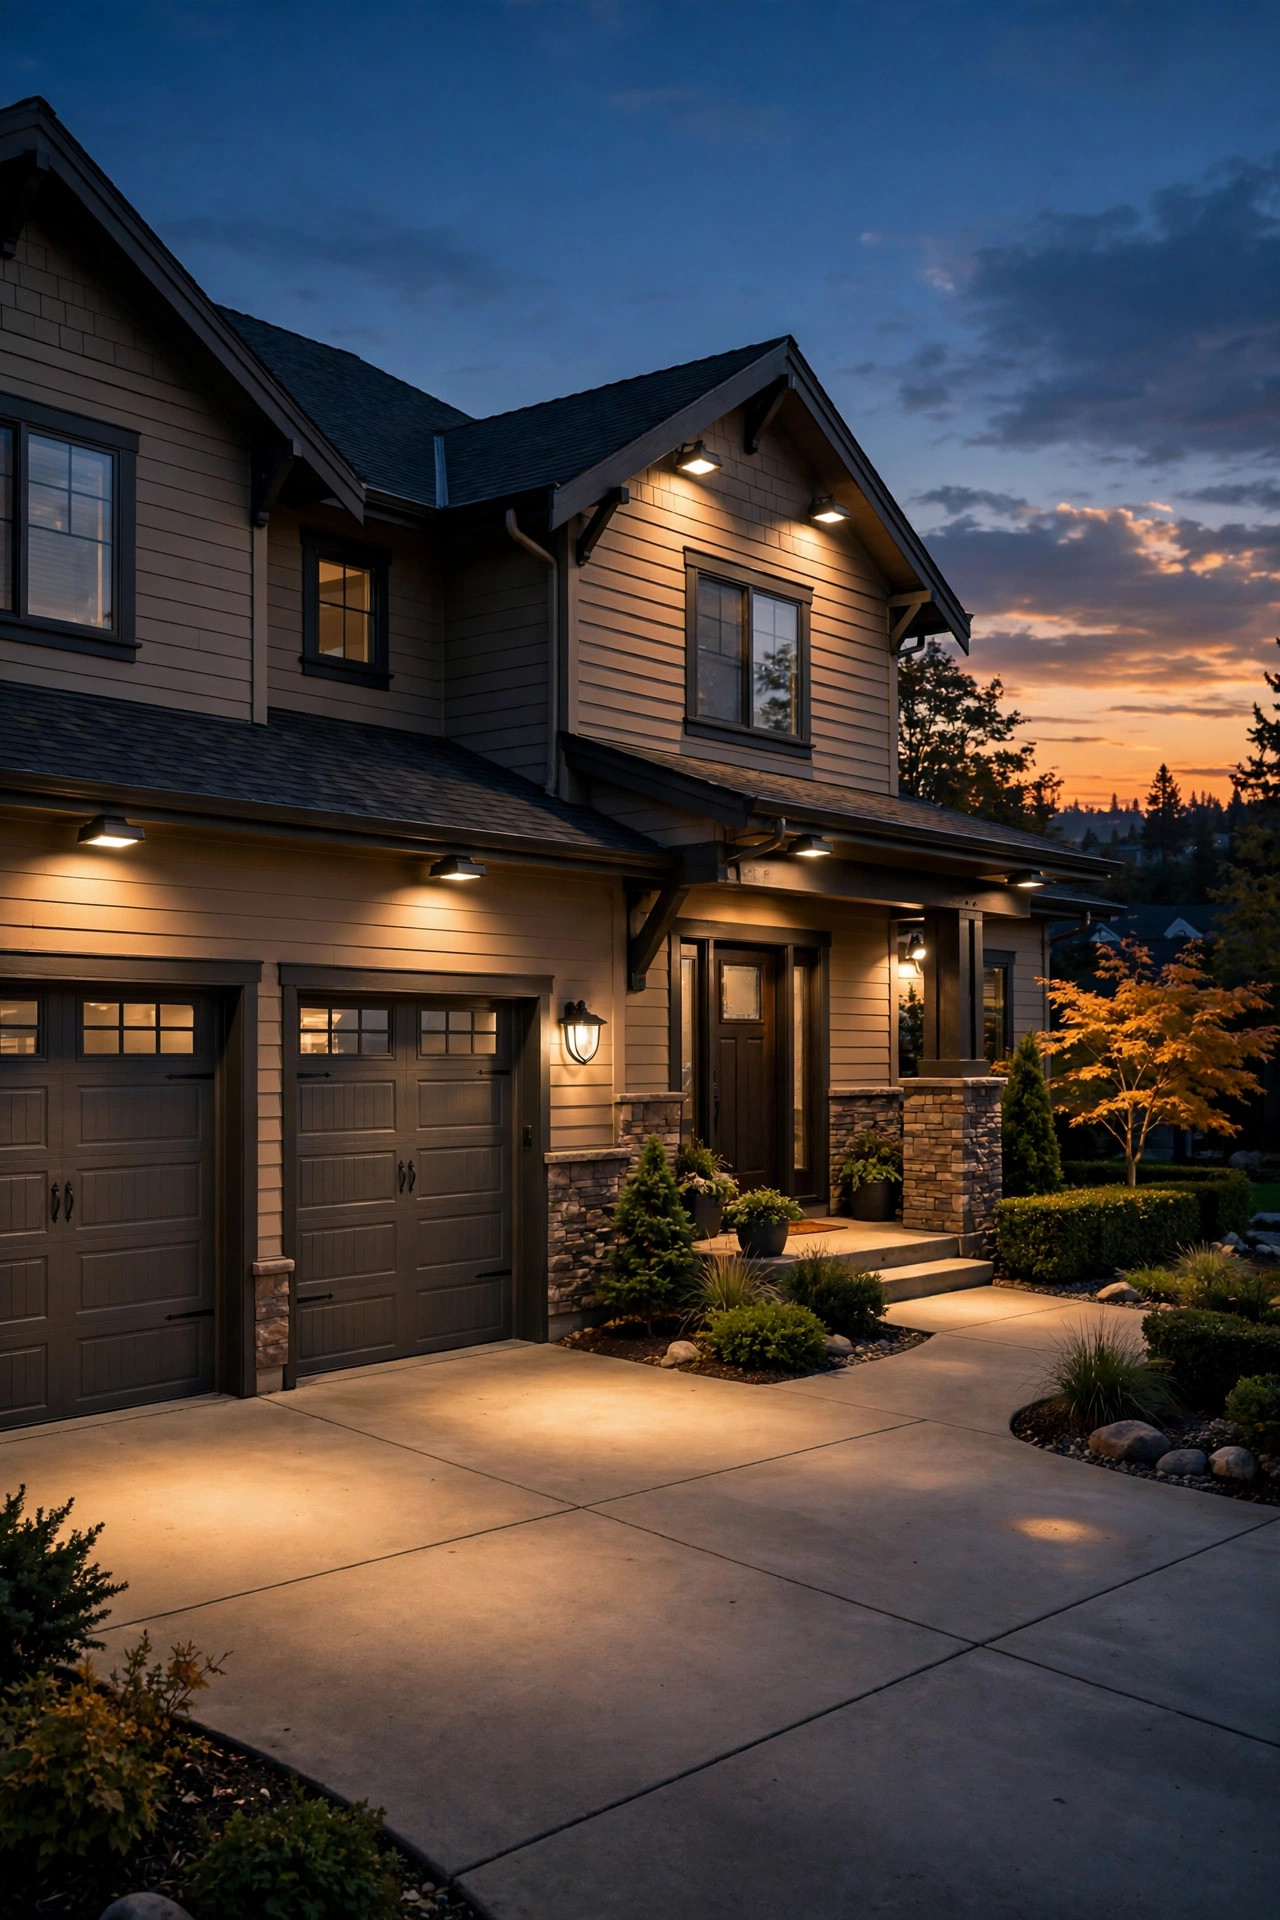
I'll be honest: most flood light installations I see look like the homeowner lost a bet. A blazing white rectangle blasting straight into the street, light spilling into the neighbors' bedroom windows, and the actual driveway stays shadowy. Flood lights are supposed to make your home *safer*, not turn it into a landing strip.
When people ask me where to place outdoor flood lights, what they mean is: "How do I light up my property so it feels secure, without looking obnoxious?" That's the real question, and it has almost nothing to do with buying the brightest fixture at the store. It comes down to placement, mounting height, aiming angles, and the right type of light for each zone of your yard.
In my experience, a well-placed 1,500-lumen motion light outperforms a badly placed 5,000-lumen monster every single time. This guide covers how flood lights actually deter intruders, the four main types compared honestly, placement rules for every zone, mounting height and aim-down angles, lumens per spot, what it costs to buy and run, the five mistakes that ruin the effect, electrical safety basics, and maintenance tips. By the end, you'll know exactly where each fixture should go — and why.
The Short Answer
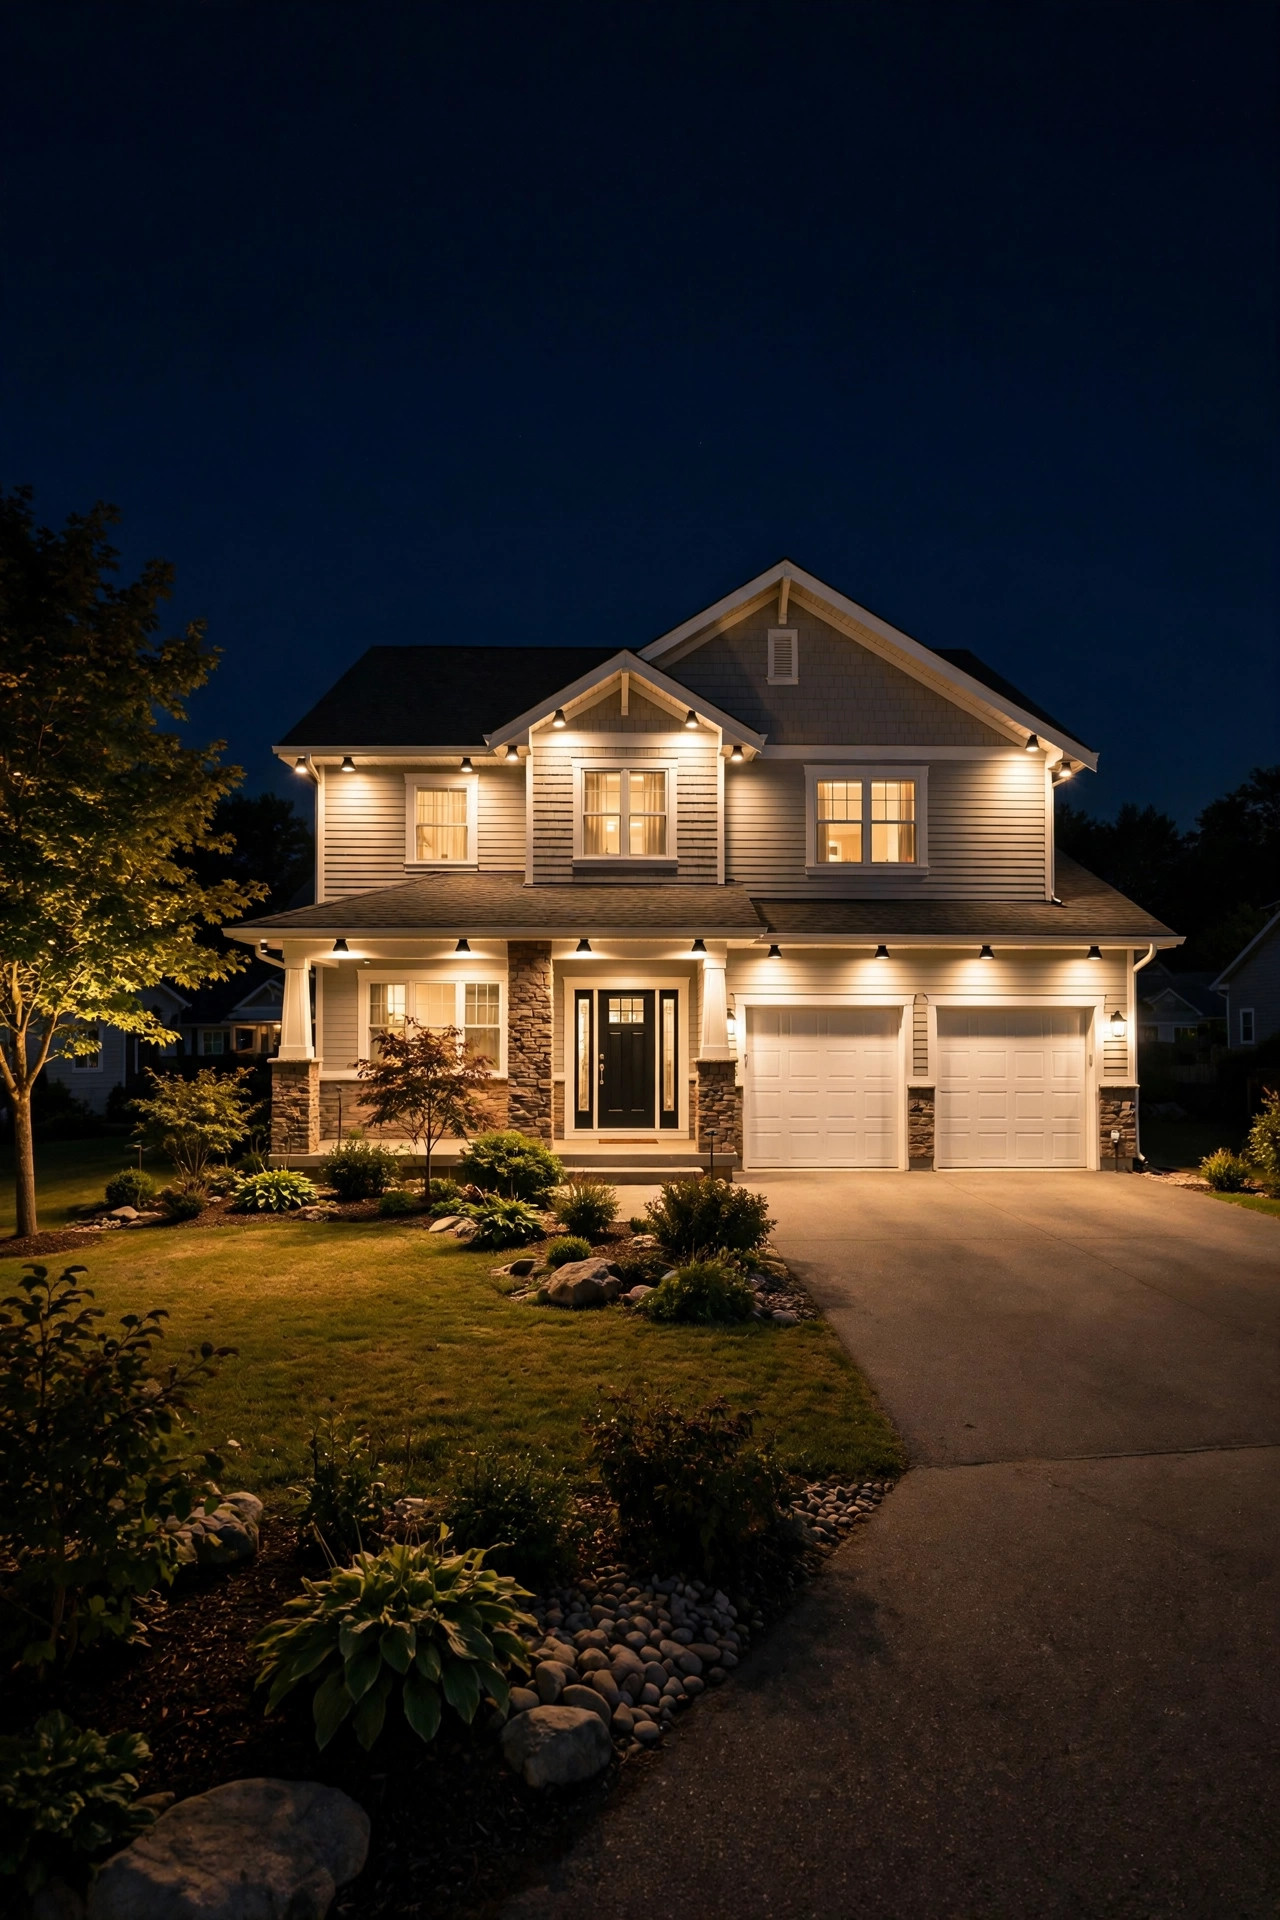
Mount outdoor flood lights 8 to 12 feet high on your home's corners and key entry points — above the garage, over the front door, at backyard corners, and along side yards — aimed *downward* at a 30 to 45-degree angle so light pools where people walk instead of blasting sideways. Choose motion-sensor fixtures for most spots (they startle intruders and save energy), dusk-to-dawn for always-on entries, and keep each fixture to 700–2,000 lumens per zone. Overlap their beams slightly so there are no dark gaps, shield the fixtures so no bare bulb is visible from the street, and never aim one at a neighbor's window.
How Flood Lights Actually Deter Intruders
Here's something most people get backwards: flood lights don't scare off burglars because they're *bright*. They work because they're *unexpected*. A motion-triggered light snapping on when someone steps into a dark side yard does two things at once — it exposes the intruder and, more importantly, it signals that this house is alert, occupied, and possibly connected to an alarm or camera system. That sudden change is the deterrent.
Always-on lighting has its place too, but it works differently. A constantly lit front entry or driveway removes the hiding spots entirely. In my experience, the most secure homes use a mix: steady, welcoming light at the entry and driveway, plus motion-sensor floods guarding the side yards and backyard corners where nobody should be wandering at night.
And here's the part people forget: flood lights are only as good as what they work *with*. A 3,000-lumen flood shining on an unlocked shed isn't security, it's a spotlight on your stuff. But paired with trimmed shrubs (no hiding spots under windows), locked gates, and visible cameras or doorbells, lighting becomes part of a system that makes your house look like too much trouble to bother with.
One more honest note: more light does not mean more safety. An over-lit house with harsh glare can actually create deep, impenetrable shadows *between* the beams — exactly where someone would crouch. Even coverage with softer, even light beats isolated blasts of brightness every time. That principle drives every placement rule in this guide.
The Main Flood Light Types, Compared Honestly
Walk down any lighting aisle and you'll see a wall of options. Honestly? There are really only four categories that matter for home security, each one suited to a different role.
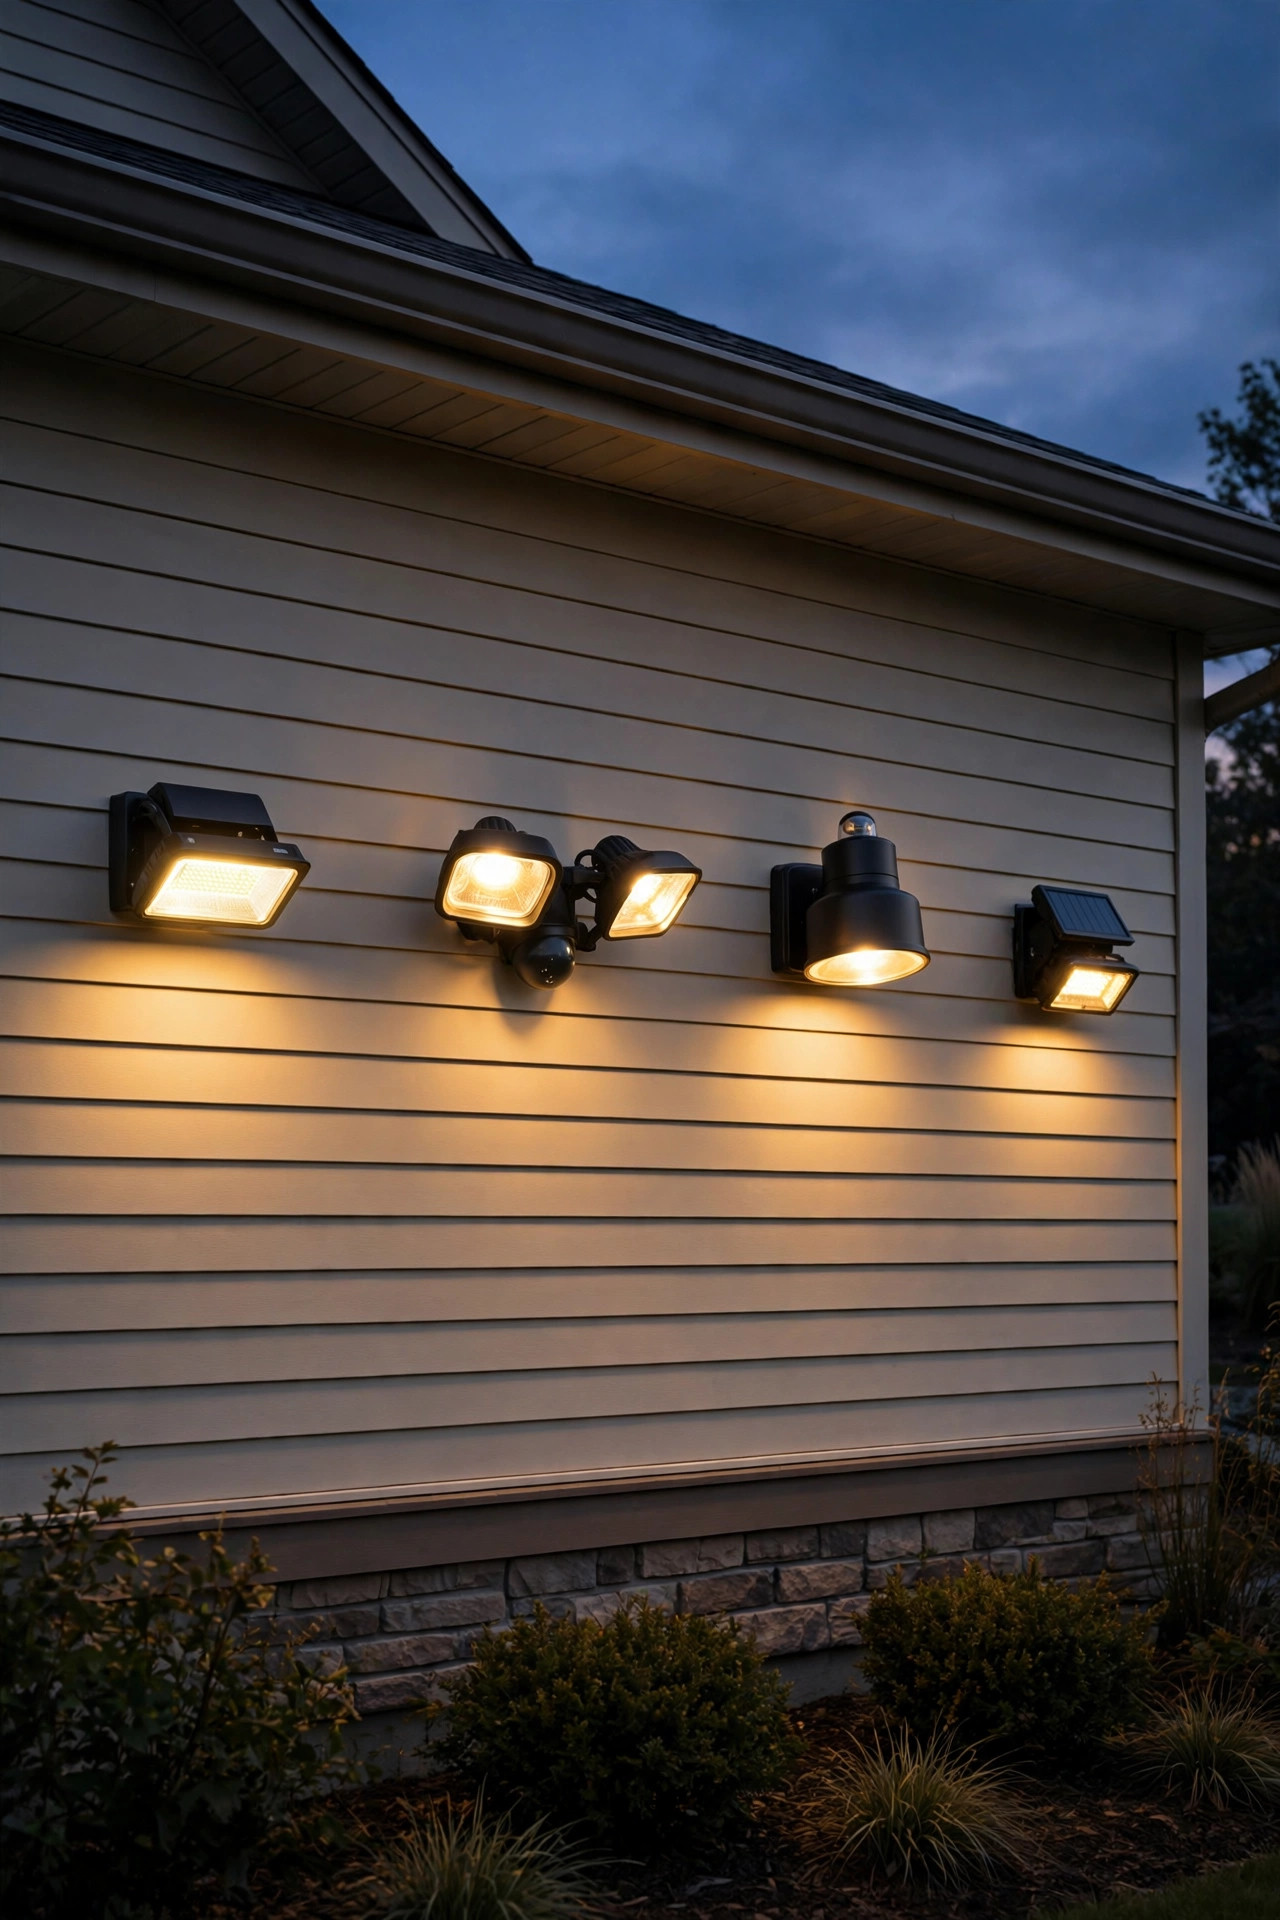
A single-head LED flood is your basic wired fixture — one broad head on an adjustable bracket, always on when you flip the switch or set it on a timer. Simple, reliable, great for entries you want lit every evening.
A dual-head motion-sensor flood is the classic security light: two independently aimable heads plus a PIR motion sensor. When the sensor trips, both heads fire up for a preset time. This is the workhorse of home security lighting, and it's what I recommend for most placements in this guide.
A dusk-to-dawn flood has a photocell that turns it on automatically at sunset and off at sunrise — always on all night. Best for the front entry and driveway where you want constant, predictable coverage.
A solar flood light needs no wiring — a panel charges a battery by day, a motion sensor triggers the head at night. The catch: brightness and battery life depend entirely on sun exposure, so they're situational, not a blanket solution.
| Type | Brightness | Cost | Effort | Best For |
|—|—|—|—|—|
| Single-head LED flood | 700–3,000 lumens | $25–$60 | Wired install, moderate | Entries, patios, decorative security |
| Dual-head motion-sensor flood | 1,500–5,000 lumens | $35–$90 | Wired install, moderate | Driveways, side yards, backyard corners |
| Dusk-to-dawn flood | 700–2,000 lumens | $30–$70 | Wired install, moderate | Front entry, garage, constant-coverage zones |
| Solar flood | 300–1,500 lumens | $20–$55 | Mount and go, easy | Fences, sheds, spots far from power |
My honest take: for a primary security setup, wire dual-head motion sensors at your vulnerable spots and a dusk-to-dawn over the front entry. Use solar floods only as fill where running wire is impractical — gates at the far end of a long lot, a shed in the back corner. They'll never match a wired fixture's reliability through a week of gray weather.
Where to Place Flood Lights: The Front Entry
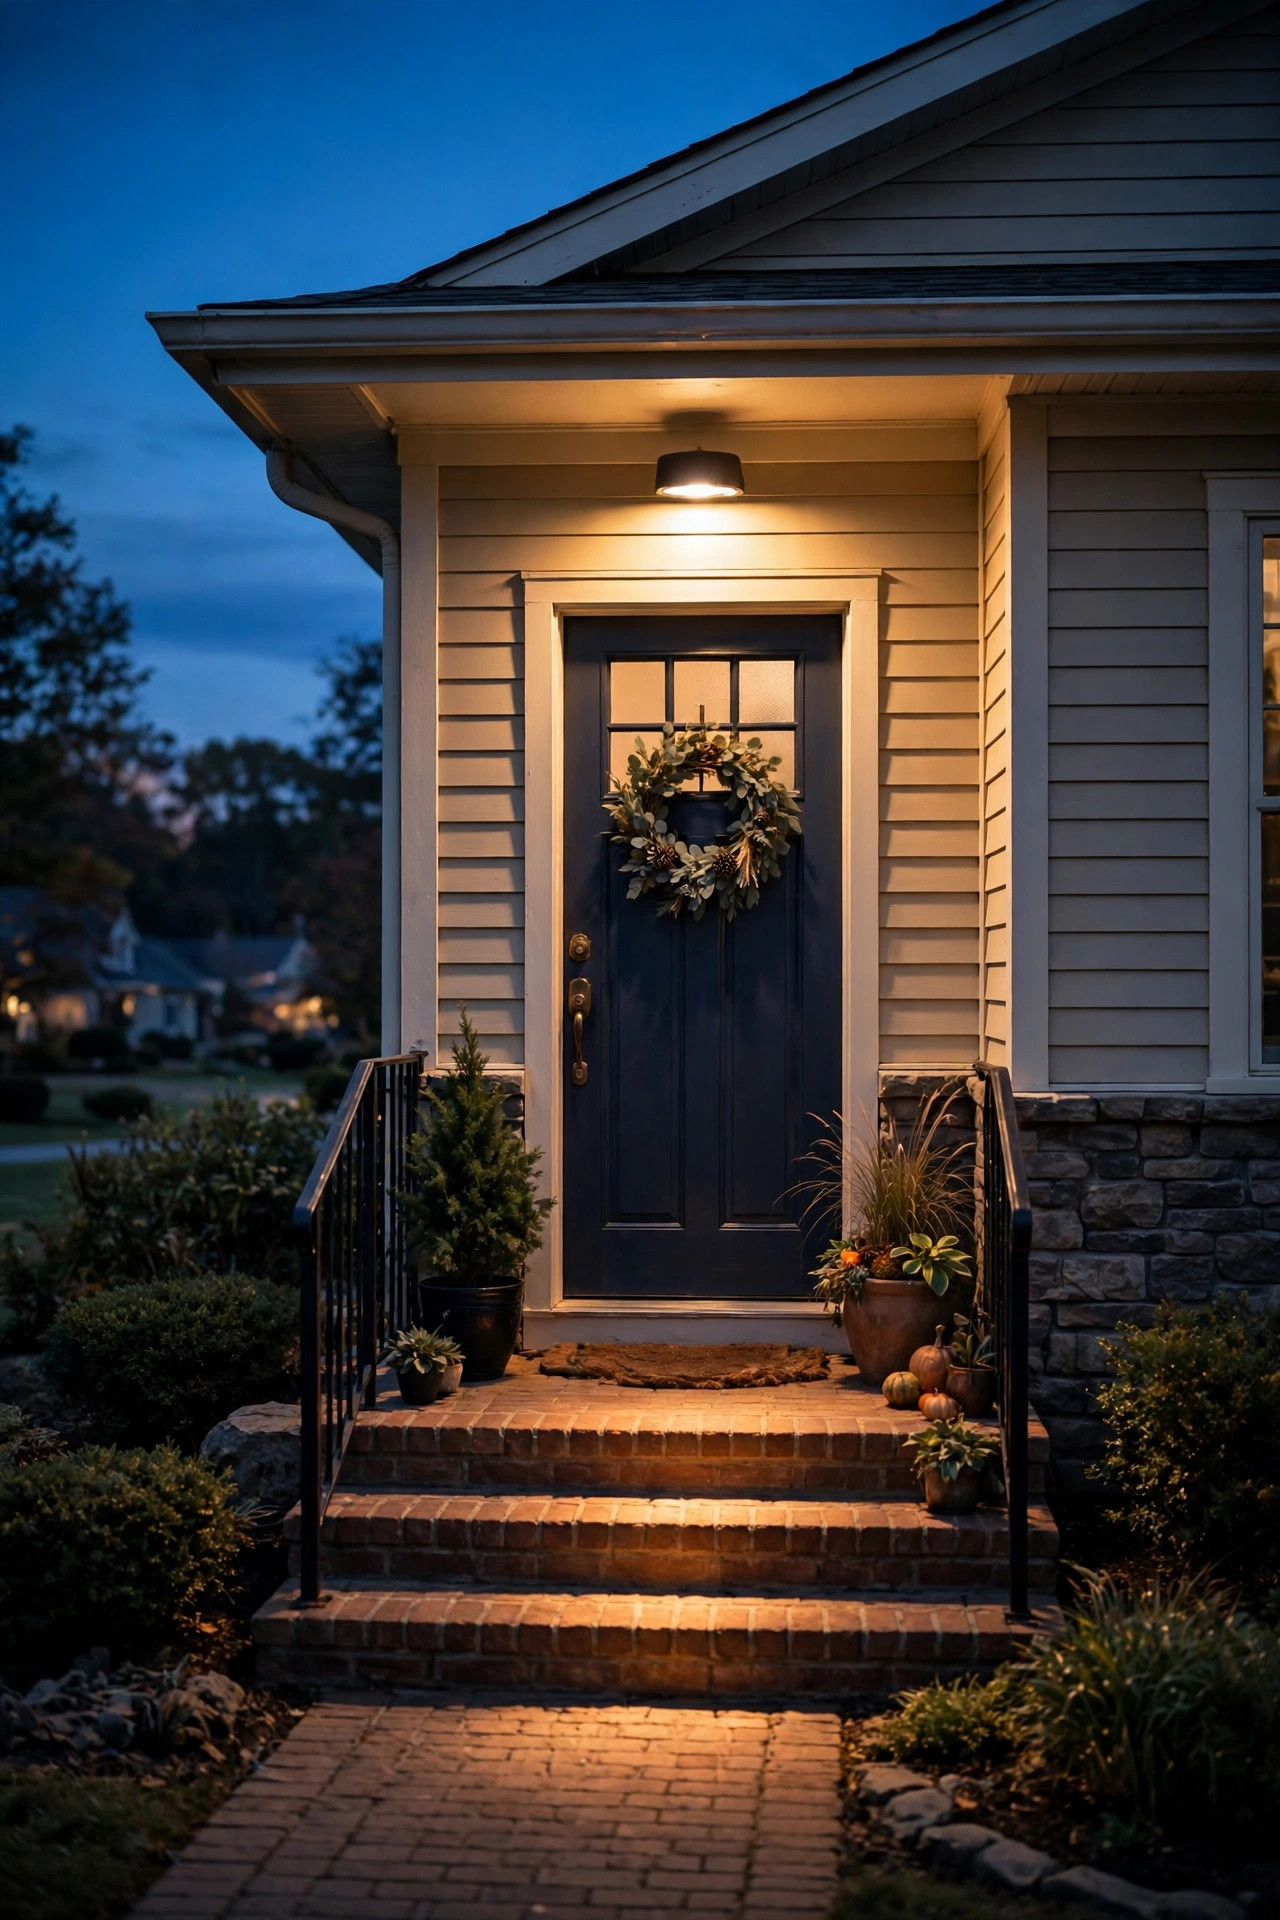
Your front entry is the one spot where lighting does double duty: it welcomes guests and it denies an intruder any shadows near your front door. The rule I always give: light the door, the steps, and the walkway approach — but make it *warm* and gentle, not a stadium beam.
Mount a single flood or pair of smaller floods on either side of the door at about 8 to 9 feet high, tucked under or beside the porch roof if you have one. Angle them down so the light pools on the walkway and steps rather than shining into visitors' eyes. Honestly, the front entry is the last place you want a harsh motion light snapping on and off — it startles guests and looks twitchy from the street. A dusk-to-dawn fixture or a modest flood on a timer is kinder here.
If you want to layer (and I always do), pair the flood with softer accent lighting — lantern-style sconces flanking the door, or small path lights along the walk. The flood handles the security side, the accents handle the mood. I've got a whole breakdown of this approach in my entryway lighting ideas guide if you want to dig deeper into styling the space.
One detail people miss: light your house numbers. First responders and delivery drivers need to find you, and a lit entry with readable numbers just looks cared-for. A small flood angled across the facade above the numbers, or a dedicated backlit fixture, does the job.
Garage and Driveway: Your Biggest Blind Spot
The garage is the most-forgotten security zone on most homes. Think about it: it's the widest opening into your house, it faces the street, and it's where people leave cars — and valuables — sitting in the open. A dark driveway is practically an invitation.
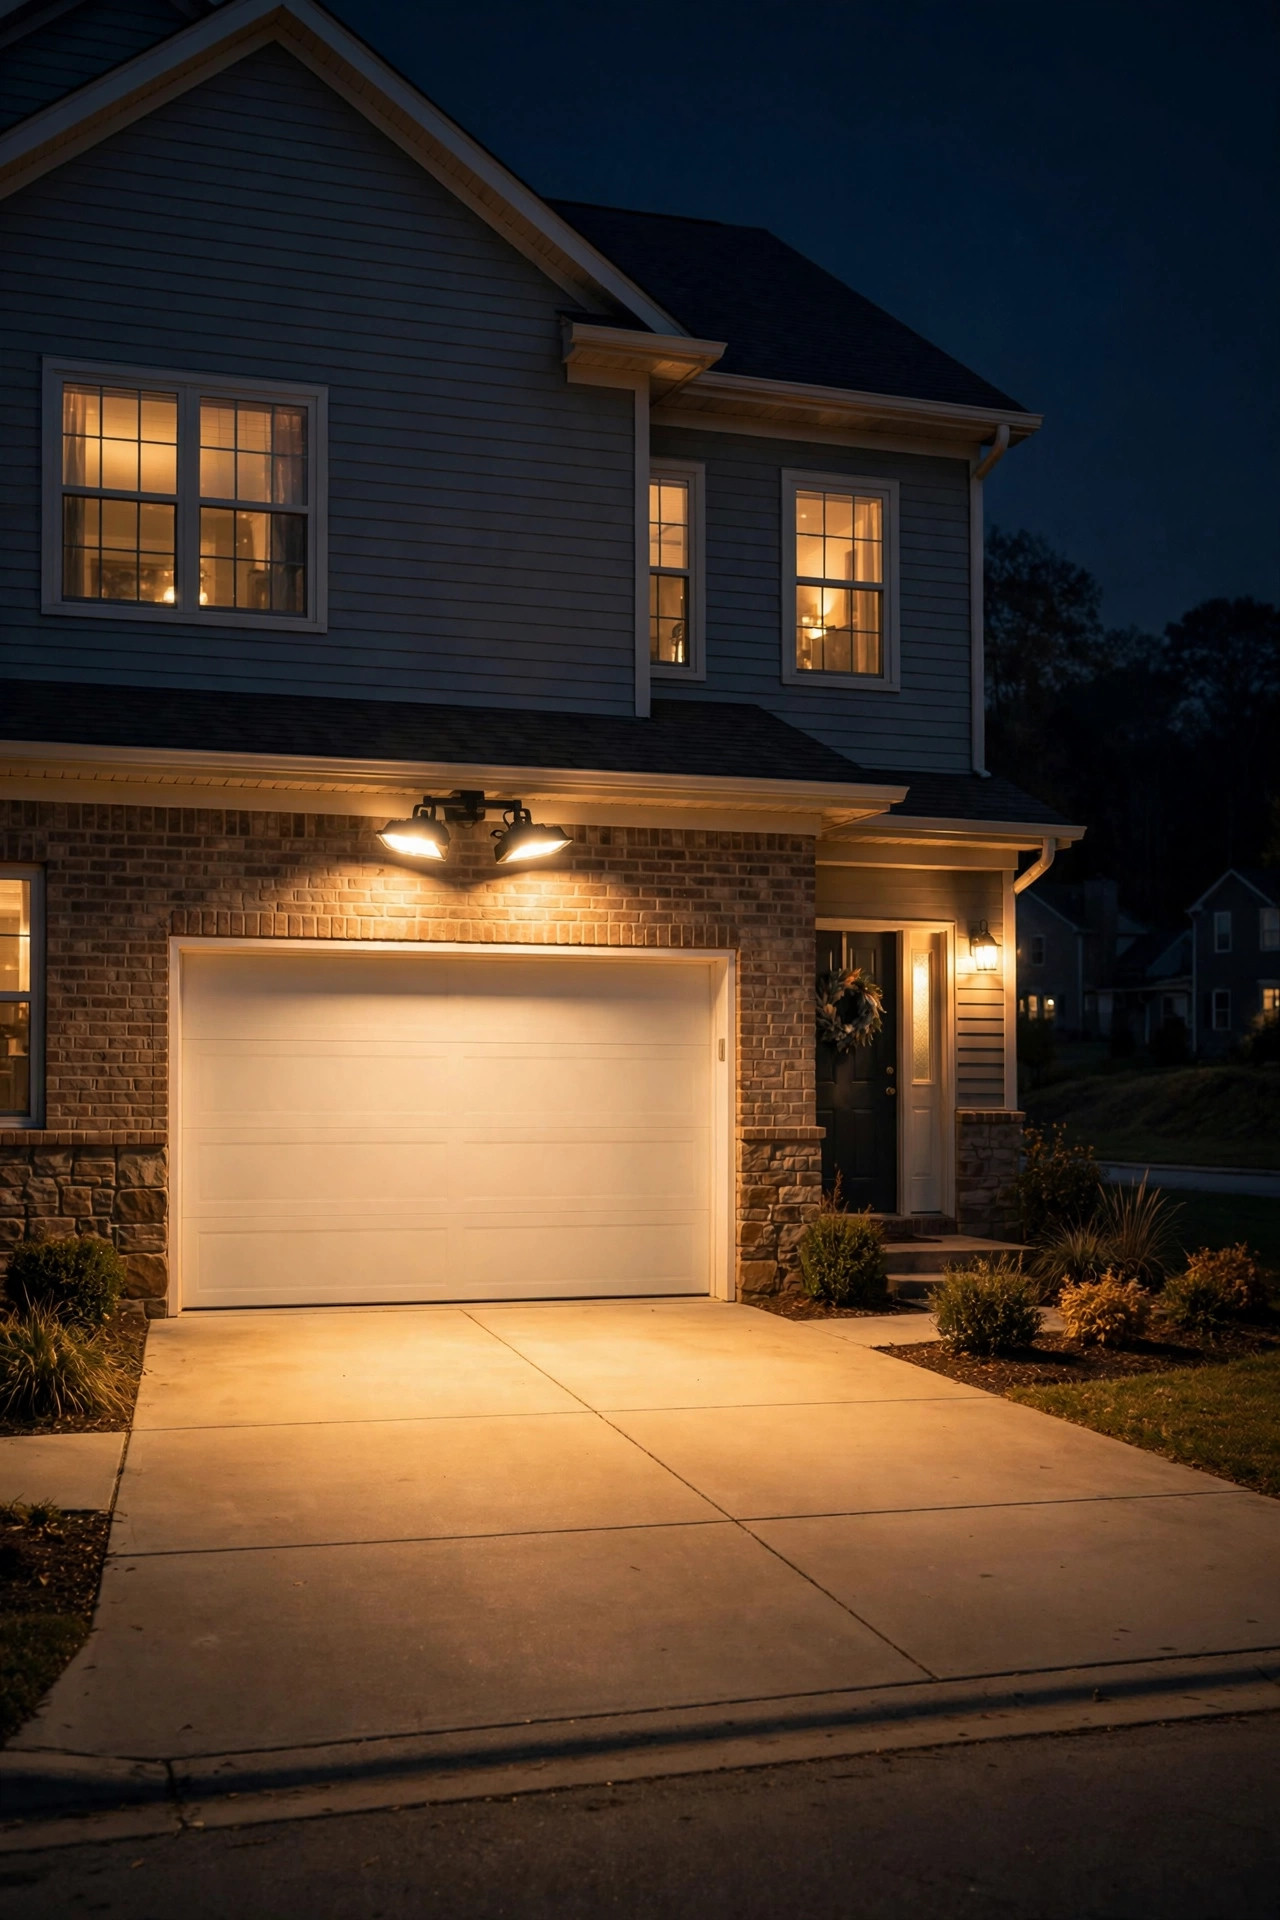
Place a dual-head motion-sensor flood above the garage door, centered, at 9 to 10 feet high. The two heads should fan out to cover the full driveway width and the sidewalk in front. For a two-car driveway, you might need the fixture slightly wider-angled or a second fixture on the garage corner — the goal is even coverage from the garage door all the way to the street, with no dark bands in the middle.
Don't forget the side of the garage. A lot of break-ins happen at the garage's side service door or window, which faces the side yard and is invisible from the street. A small motion flood above that side door, mounted 8 to 9 feet up, closes the gap. It doesn't need to be bright — 1,000 to 1,500 lumens is plenty for a single doorway.
In my experience, driveway lights trip on passing cars more than anything else, so aim the motion sensor carefully. Tilt it slightly downward and narrow its field if you can, so it reacts to movement in your driveway, not headlights sweeping across the street. Most sensors have a range of 50 to 70 feet — more than enough for a residential driveway, and worth dialing down so the light doesn't fire every time a neighbor drives by.
Side Yards: The Forgotten Flank
Side yards are, in my opinion, the number one placement mistake homeowners make — they light the front and back beautifully and leave the sides pitch black. That's exactly the route an intruder prefers: out of sight of the street, out of sight of the neighbors' windows, straight to a side window or gate.
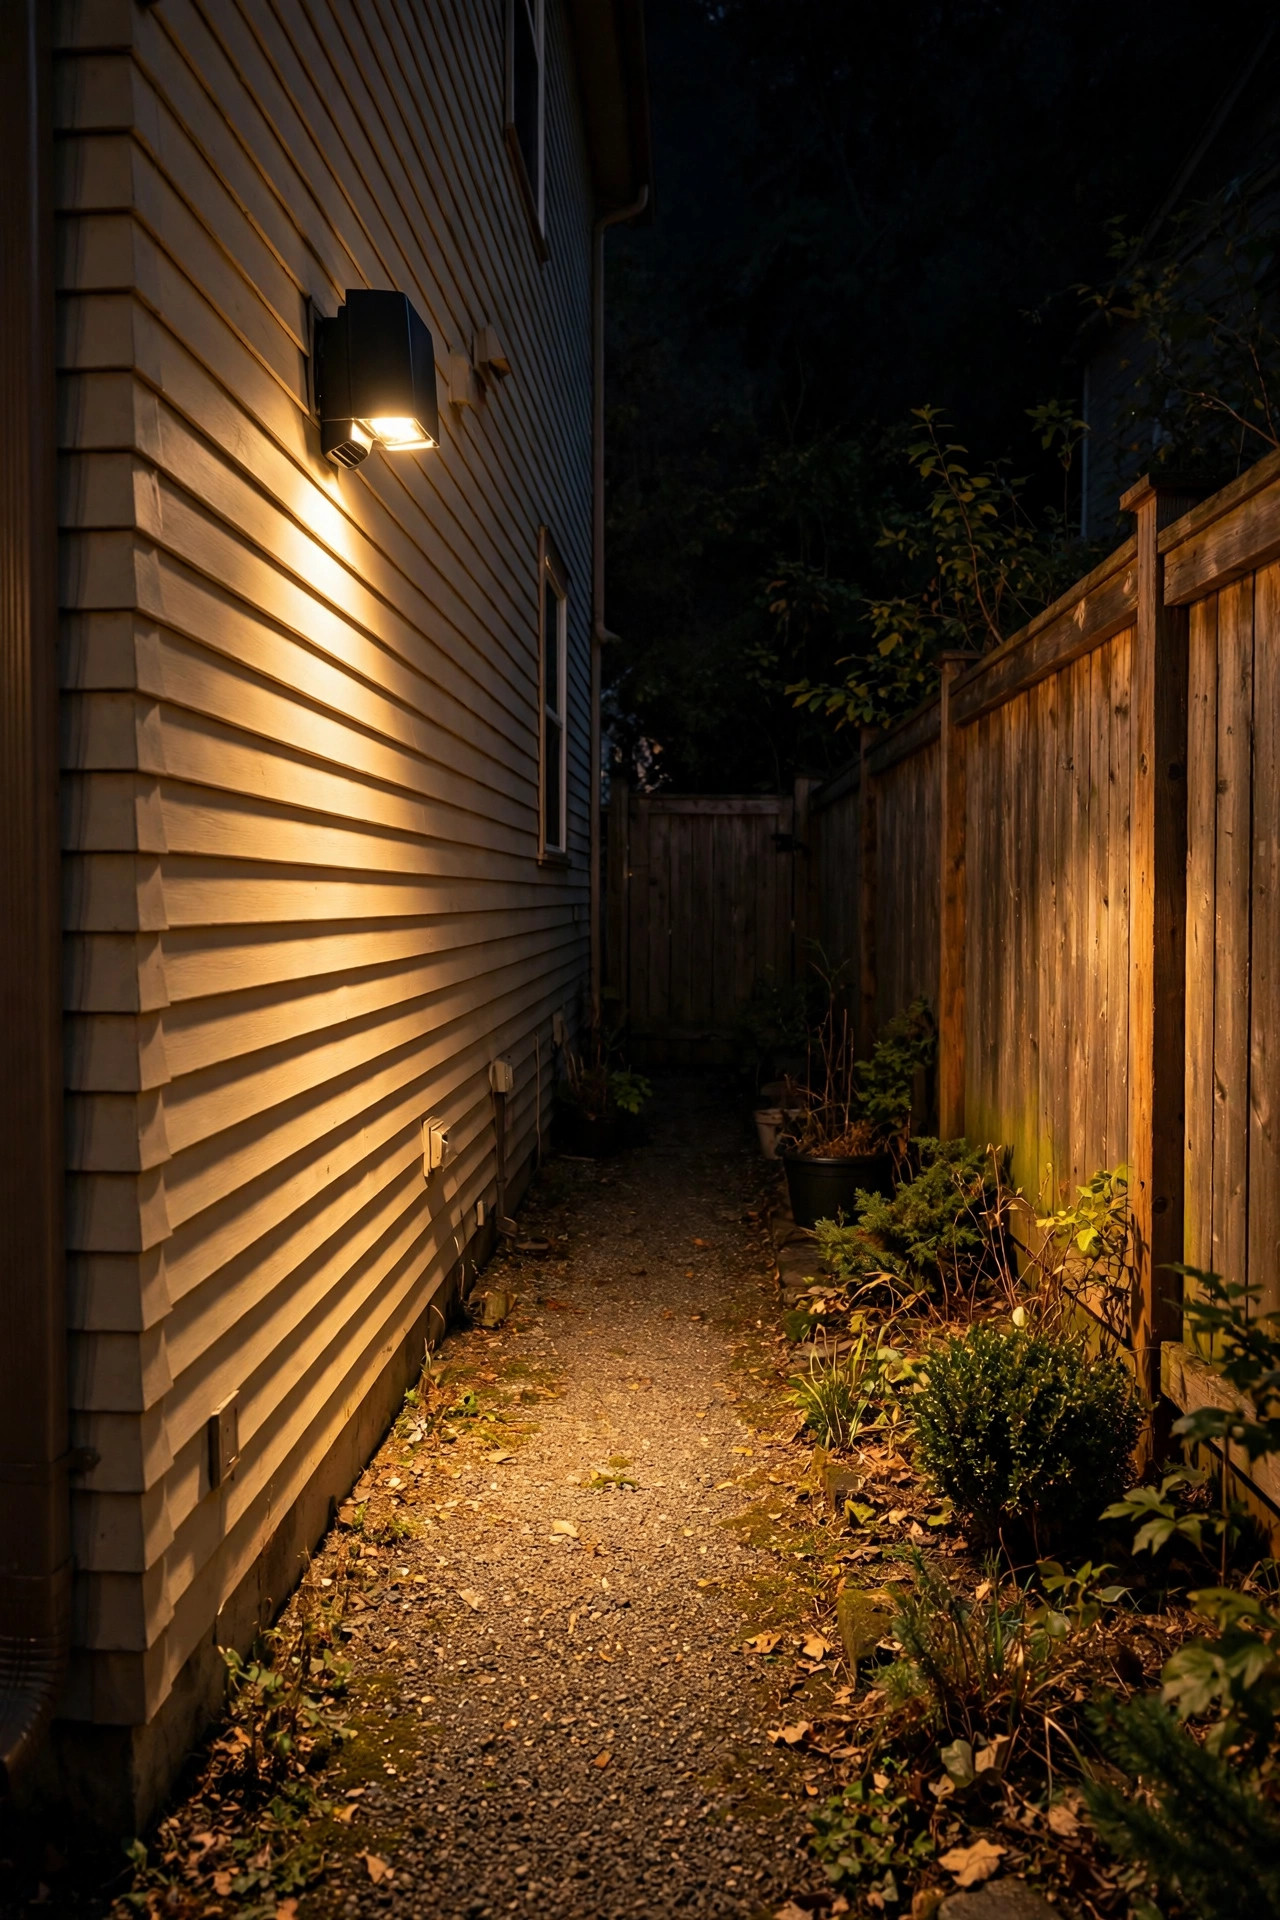
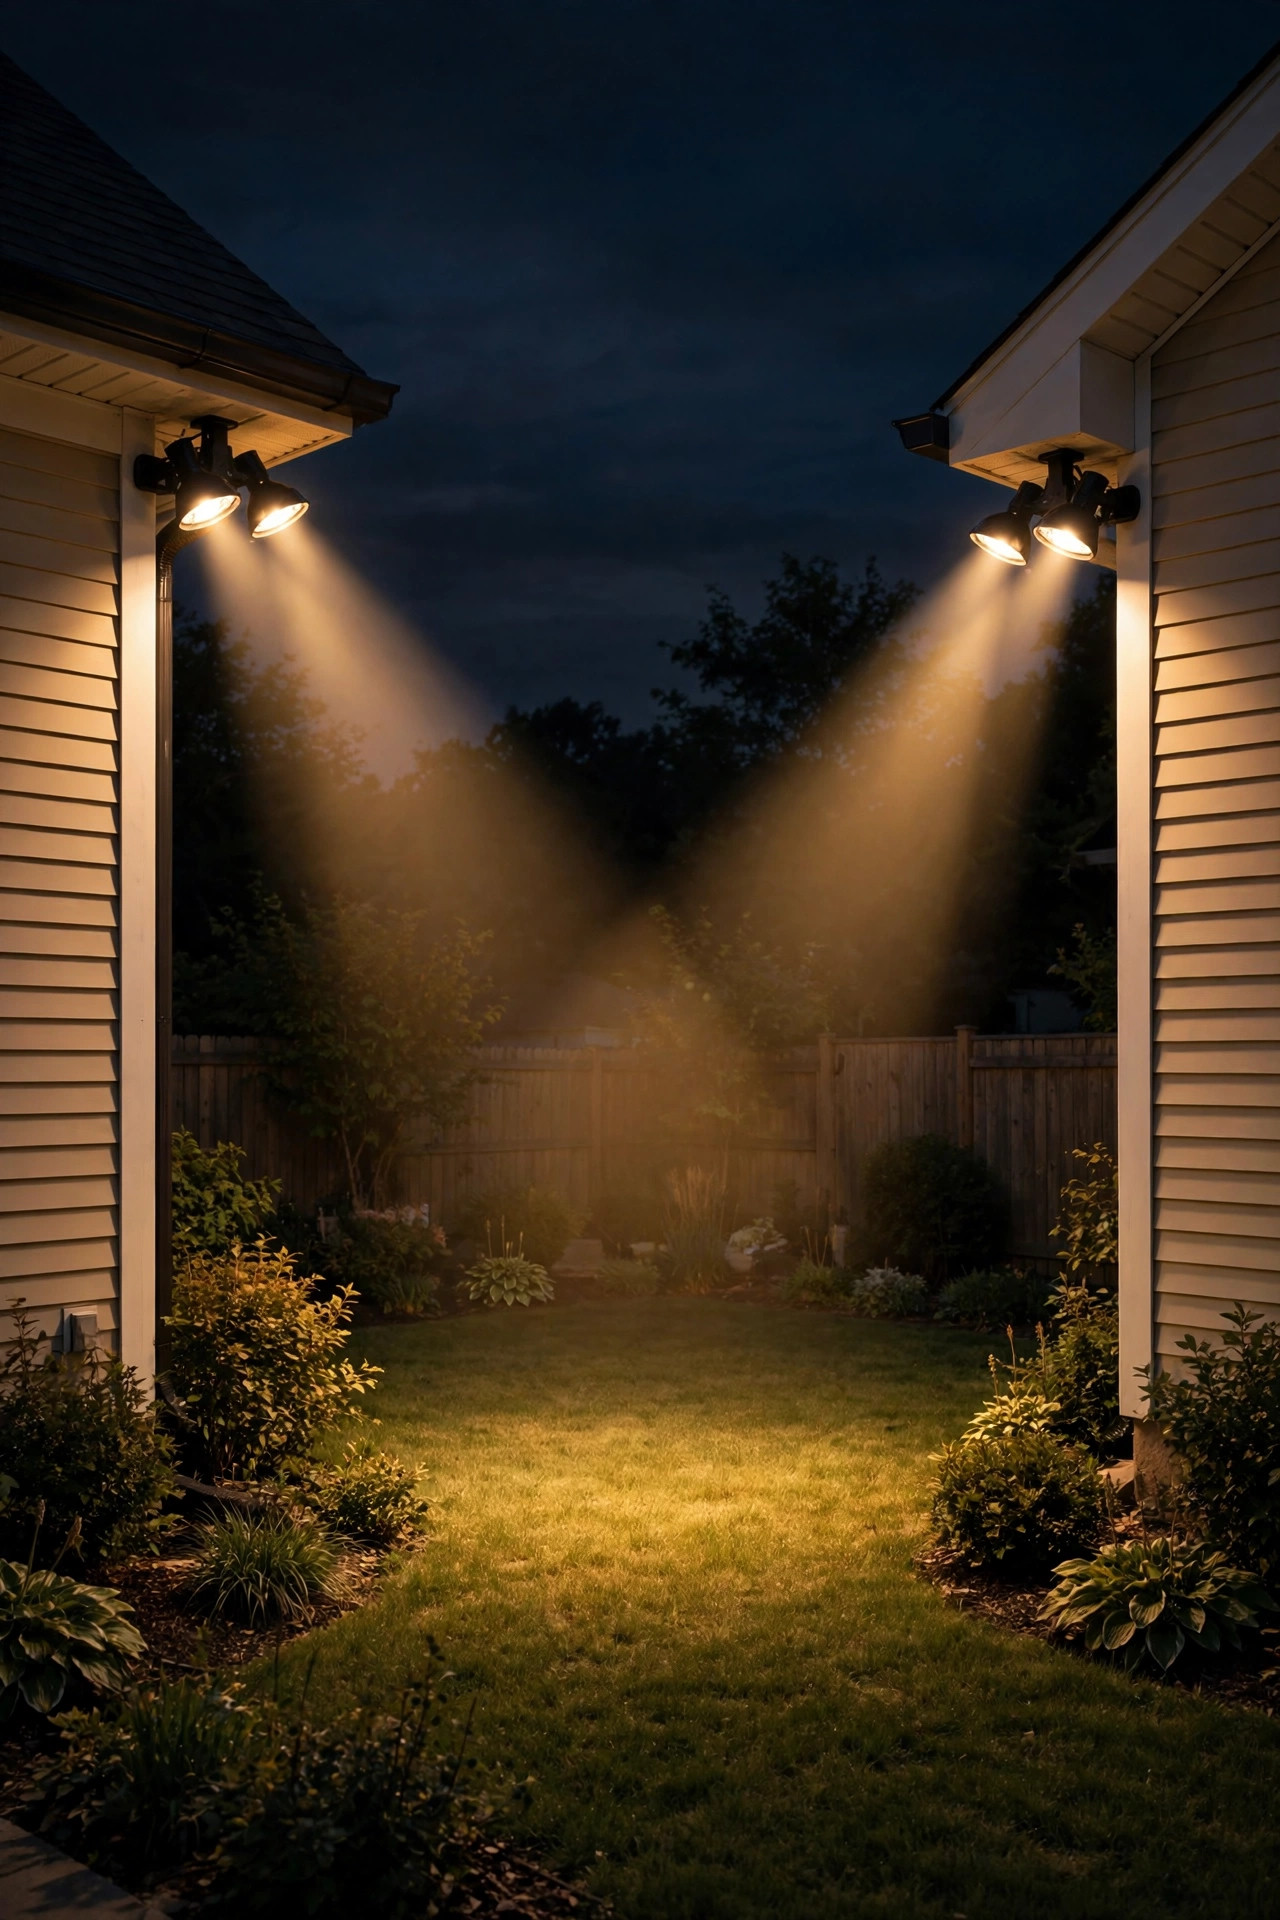
The rule for side yards is simple: at least one motion-sensor flood per side, mounted on the house wall at 8 to 10 feet, aimed down the length of the yard toward the backyard fence. For long side yards — 40 feet or more — add a second fixture so the beams overlap in the middle and there's no dark stretch to hide in.
Aim matters enormously here because side yards run along property lines. You want the light to wash *your* yard, not flood the neighbor's bedroom. Use fixtures with adjustable heads and shields, and aim the beam down and slightly inward toward your own house. Honestly, this is where those cheap fixtures with the wide, unshielded glare cause the most neighbor drama. A well-shielded head with a defined beam is worth every penny in a narrow side yard.
If you have gates on either side of the house, light them. A gate is a natural choke point — anyone coming through it has to pass the beam. Mount a small motion flood above or beside each gate at 8 feet, and suddenly those "hidden" entrances aren't hidden anymore. Bonus: you'll appreciate it yourself when you're hauling trash cans out after dark.
Backyard Corners and the Back Door
Backyards are where people relax, which means they're also where people let their guard down — and where intruders have the most time and privacy. The placement strategy for the backyard is different from the front: you want broad, overlapping coverage from the corners inward, rather than a single beam on a door.
Mount dual-head motion floods on the two back corners of the house, 9 to 11 feet up, with the heads fanned to sweep the yard in a wide arc. Done right, two corner fixtures create a web of coverage across the whole yard, with the beams overlapping in the middle. The back door and patio get covered as a side effect — which is exactly what you want, because the back door is statistically one of the most common entry points for break-ins.
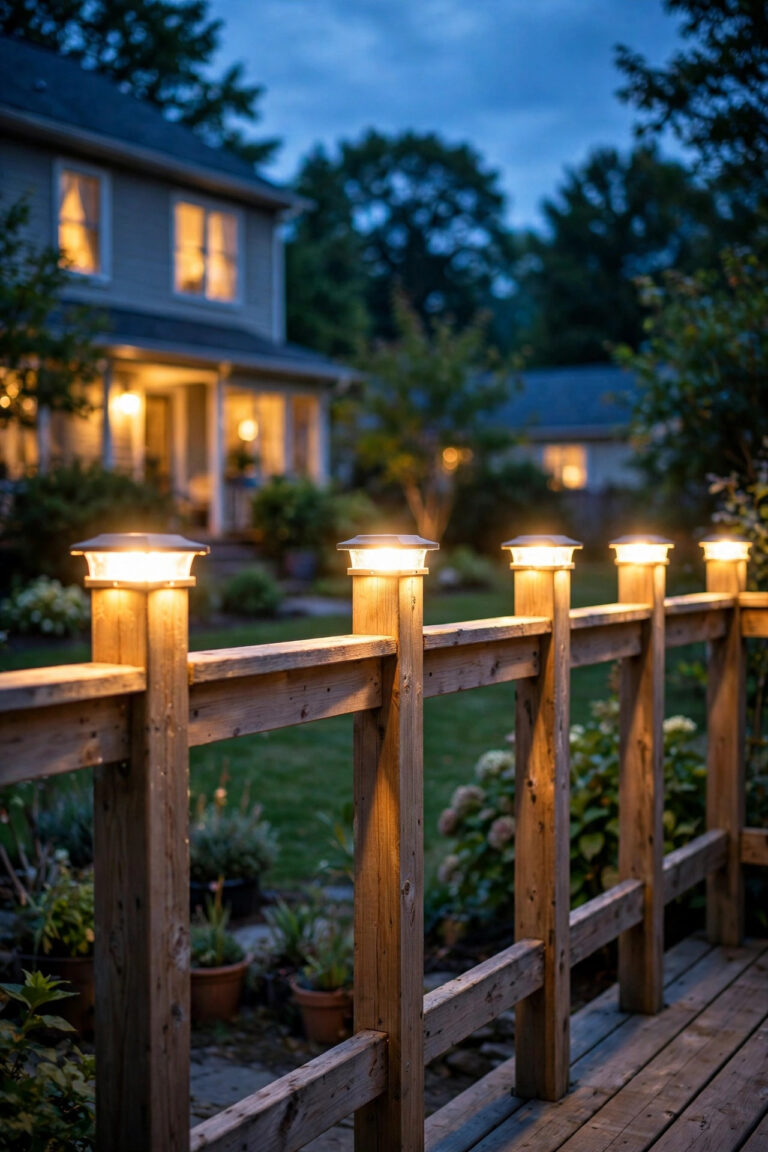
One honest caveat: backyard flood lights and backyard *enjoyment* need a little negotiation. Nobody wants to grill under a motion sensor that fires every time the dog wanders by. The trick is zoning — put the security floods on the house corners covering the perimeter, and keep your patio and seating area lit separately with softer string lights, lanterns, or low-voltage landscape lighting on its own switch. That way, your Friday evening isn't a security drill. I go deep on making backyards both cozy and well-lit in my backyard lighting guide.
Also: if you have a detached shed, pool equipment area, or a dark corner behind a detached garage, that's a prime candidate for a small solar flood or a second wired fixture. Detached structures are invisible from the house's lights, so they need their own coverage.
Mounting Height: Why 8 to 12 Feet Is the Sweet Spot
If there's one number in this whole guide, it's this: mount flood lights 8 to 12 feet off the ground. Not 6, not 15. Here's why that range works.
Below 8 feet, a flood light shines nearly horizontally — straight into eyes, straight into neighbors' windows, straight into the street. It creates maximum glare and minimum useful light on the ground. It also sits within easy reach, which means anyone can smash it, tape over it, or simply unscrew the bulb. I've seen countless fixtures mounted at 6 feet on a fence post, and they do almost nothing except annoy everyone.
Above 12 feet, you start getting diminishing returns. The light has to travel farther, so it spreads thin and loses intensity on the ground. You'd need a much brighter (and more expensive) fixture to get the same coverage, and changing a bulb becomes a ladder-and-courage exercise instead of a five-minute job.
The 8 to 12 foot range hits the golden middle: high enough that the beam spreads evenly over a wide area and stays out of direct line-of-sight, low enough to be effective with modest wattage and reachable for maintenance. My specific recommendations: 8 to 9 feet for entries, gates, and side doors (you want crisp light on a person standing there); 9 to 11 feet for driveways and backyard corners (wider spread over bigger areas); and 10 to 12 feet only for large lots or barns where you're covering serious distance.
One exception: if you're mounting on a tall two-story wall, don't go all the way to the second floor just because you can. Drop the fixture to a first-floor mounting point or add a junction box at the right height. Higher is not better with flood lights — it's just dimmer and harder to reach.
Aiming Angles: Point Them Down
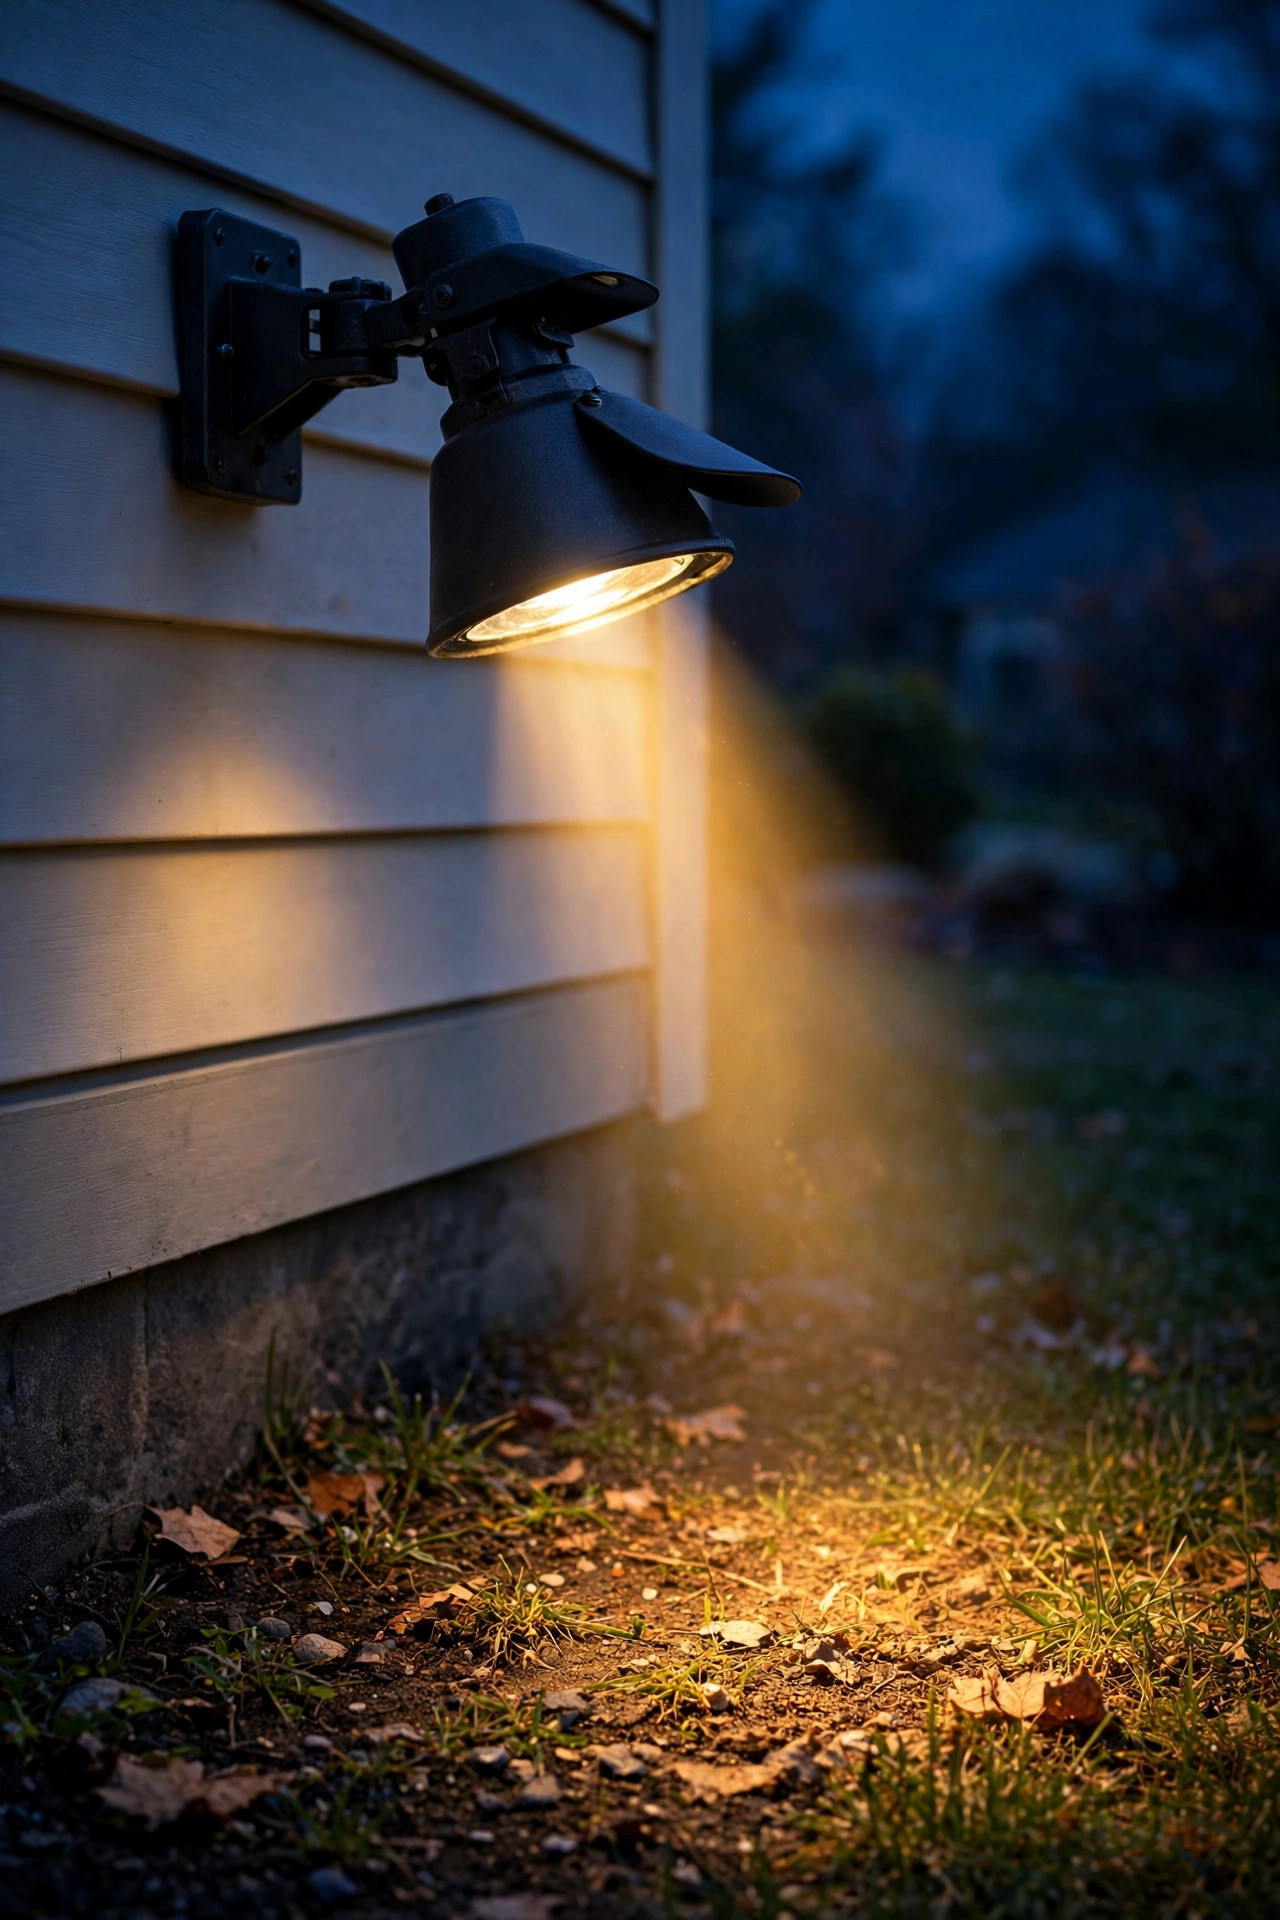
Proper aim is the difference between security lighting and a nuisance complaint. The rule is delightfully simple: every flood light should point *downward*, never level, never upward.
For general area coverage, aim each head at a 30 to 45-degree downward angle from horizontal. That puts the beam's sweet spot on the ground 15 to 25 feet out from the wall, giving you a nice pool of light where people actually walk. For tight spots like a doorway or gate, a steeper angle — closer to 60 degrees — concentrates the light in a smaller, brighter zone right at the entry.
Here's the test I always recommend: go outside at night, stand where the light *isn't* supposed to go — the sidewalk, the neighbor's yard, the street — and look back at your house. If you can see the bare bulb or the glowing face of the fixture, it's aimed wrong. You should see the *effect* of the light (a lit driveway, a glowing walkway) without ever seeing the *source*. That's the whole game: light the ground, not the eyes.
Adjustable heads are non-negotiable for this reason. A fixed fixture can only be aimed by how it's mounted, which is almost never quite right. Dual-head motion floods win here because each head pivots independently — you can fan one head wide for the driveway and aim the other tight on a walkway, all from one fixture. And if your fixture has a built-in shield or visor, use it. A two-dollar shield can be the difference between a happy neighbor and a nasty letter from the HOA.
Spacing and Overlap: No Dark Gaps
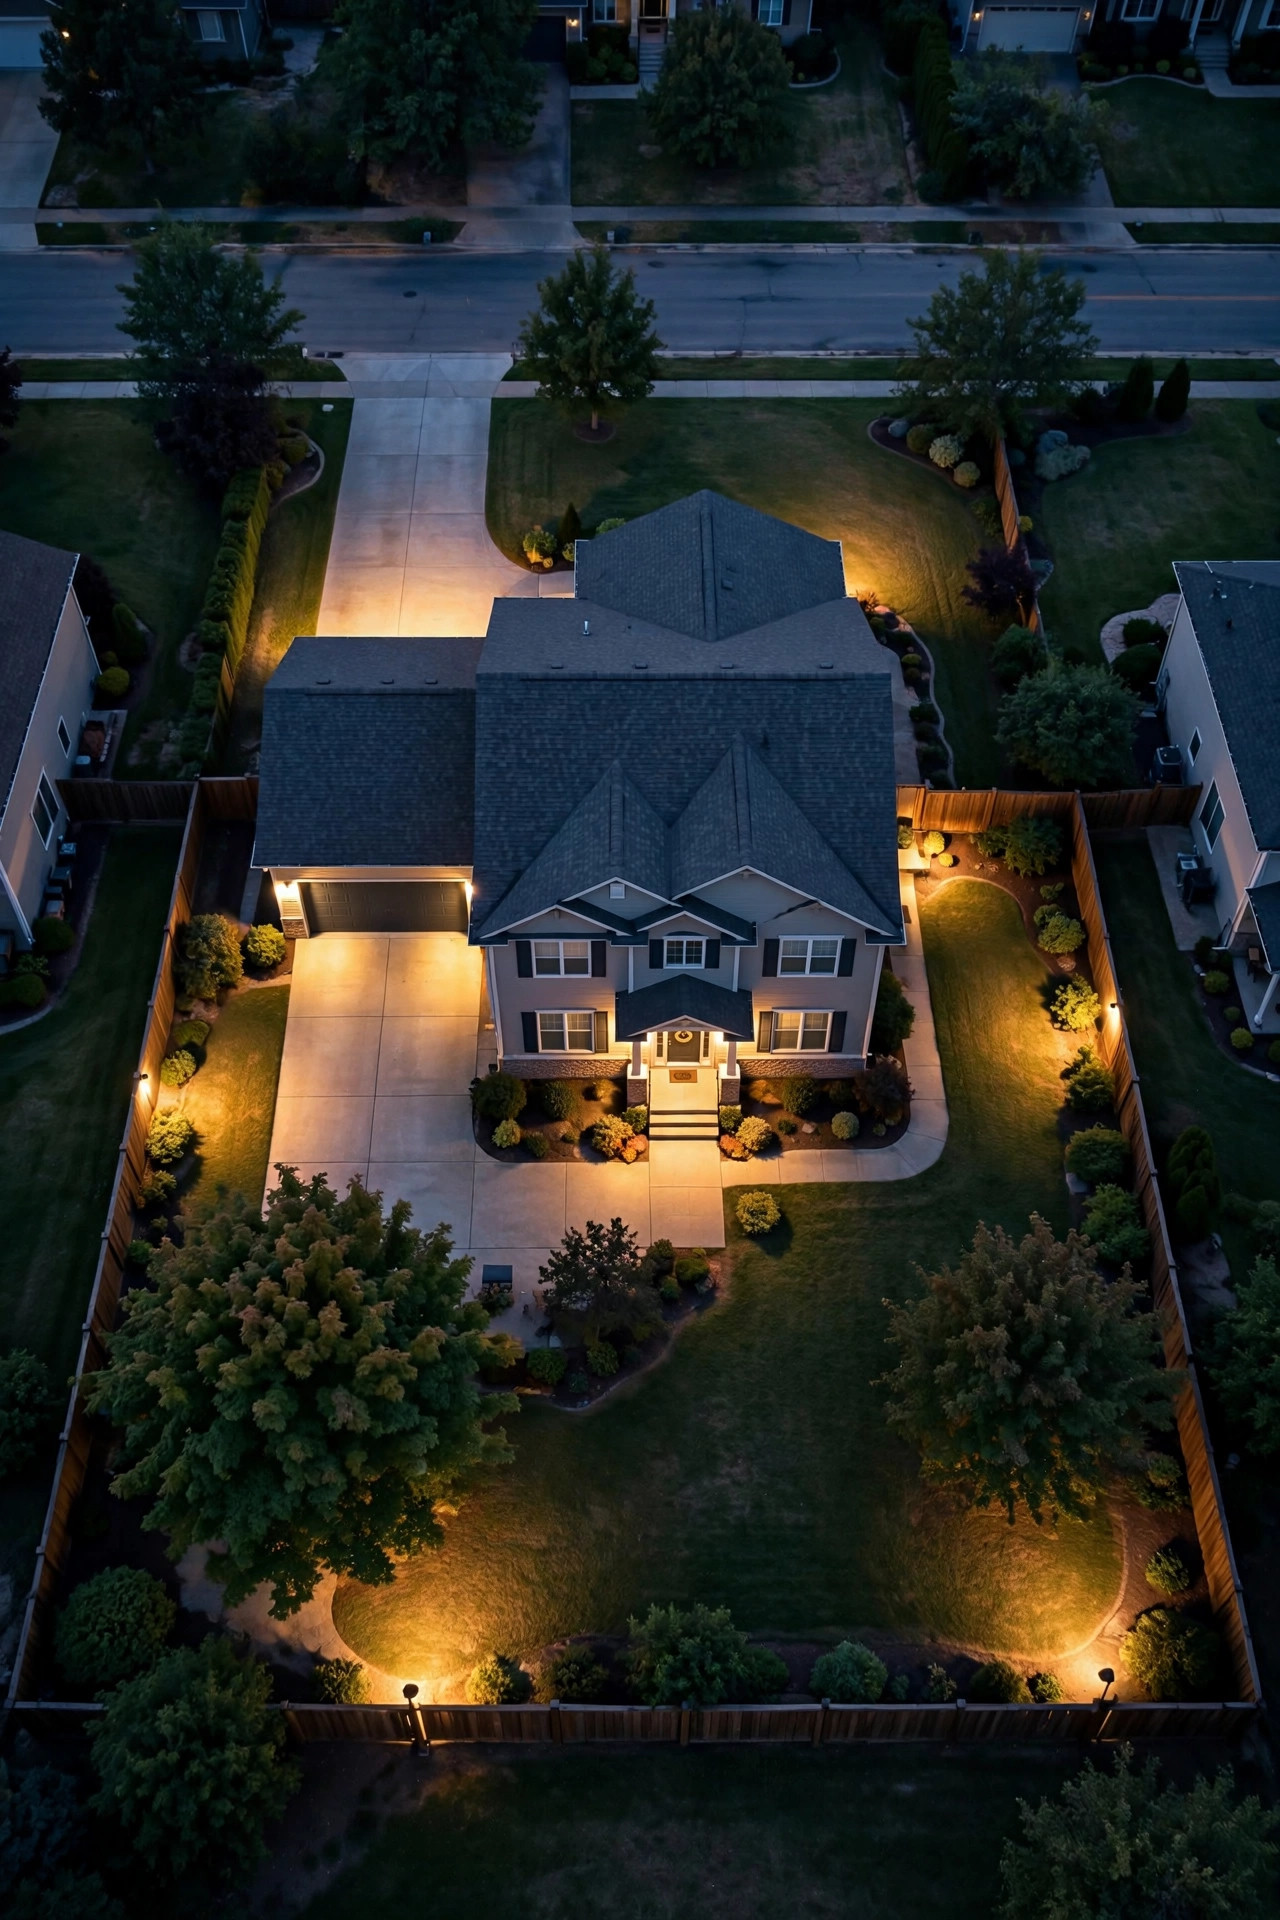
Here's where planning beats hardware. A single blazing flood light surrounded by darkness is worse than no light at all — your eyes adjust to the bright spot, and the surrounding shadows become effectively invisible. The goal is a chain of overlapping pools of light with no dark gaps between them.
Think of each flood light as throwing a cone that covers roughly 20 to 30 feet of ground in front of it (at a 9 to 10-foot mounting height with a 30 to 45-degree aim). Space your fixtures so the edges of those cones overlap by about 5 to 10 feet. Overlap is intentional redundancy: if one bulb burns out or one sensor misfires, you're not left with a dark hole in your coverage.
Walk your property line at dusk and sketch a simple plan — it doesn't have to be pretty, a rectangle for the house and dots for fixtures works. Mark the front entry, garage, side yards, and backyard corners. Then draw each fixture's approximate coverage cone and look for gaps. In my experience, the gaps almost always show up at the same places: the stretch of side yard between the garage and the backyard corner, the far corner of a big backyard, and the dark triangle behind a detached garage.
Don't overcorrect by adding too many fixtures, either. Overlapping beams are good; a dozen overlapping beams is just glare again. The sweet spot for most suburban homes is 4 to 6 well-placed floods: entry, garage/driveway, two side yards, two backyard corners. Larger lots and corner lots may need 6 to 8, with extra attention to the side that faces the second street.
How Many Lumens for Each Zone
Lumens are simply a measure of how much light a fixture puts out — and the biggest misconception in outdoor lighting is that bigger is always better. It isn't. The right brightness depends on the size of the area and what you're doing there. Here's my honest guidance by zone:
– Front entry and walkway: 700 to 1,300 lumens. You're lighting faces and footsteps, not a parking lot. Warmer color temperature (2700–3000K) keeps it welcoming.
– Driveway and garage: 1,500 to 3,000 lumens. A bigger area needs more punch, and you want license plates and movement clearly visible from the house.
– Side yards: 1,000 to 2,000 lumens per fixture. Enough to expose anyone walking the length of the yard without blasting the neighbor's windows.
– Backyard corners: 1,500 to 3,000 lumens per fixture. Backyards are large; you need reach. But remember — broad and even, not a laser beam.
– Sheds, gates, small outbuildings: 300 to 700 lumens. A little light goes a long way on a small target, and a modest solar flood handles most of these fine.
A quick reality check on wattage: with modern LEDs, you don't need the old 150-watt halogen monsters anymore. A 20 to 40-watt LED flood produces the same light as those old energy hogs while costing a fraction to run. If a box still lists "wattage equivalent" as the headline number, look past it — lumens are what matter.
And color temperature deserves a mention: stick with 2700K to 4000K. Anything above 5000K — that harsh blue-white "daylight" — looks institutional, kills the warmth of your home's exterior, and actually makes it *harder* for the human eye to see detail at night. Warm light renders faces and movement better. Honestly, I've never seen a 6000K flood light look good on a house.
What It Costs: Equipment and Running Costs
Let's talk real numbers, because budget is where a lot of flood light plans either happen or die. The good news: this is one of the most affordable home security upgrades you can make.
Equipment. A quality dual-head LED motion-sensor flood runs $35 to $90. Single-head fixtures and dusk-to-dawn models land in the $25 to $70 range. Solar floods cost $20 to $55 each. For a typical 4 to 6-fixture setup — say, one dusk-to-dawn for the entry, two dual-head motion floods for the driveway and backyard corners, and two smaller motion floods for the side yards — you're looking at roughly $150 to $350 in fixtures. Add weatherproof junction boxes, mounting hardware, and maybe an outdoor-rated timer or two, and the materials for a DIY install stay comfortably under $400.
Professional installation. If you're not comfortable working with electrical wiring (no shame in that — see the safety section), an electrician typically charges $150 to $300 per fixture to install, depending on how far the wiring run goes and whether a new circuit is needed. A full pro install of five fixtures usually lands between $500 and $1,200.
Running costs. This is where LEDs really shine. A 30-watt LED flood running 8 hours a night costs roughly $1 to $1.50 per month at average US electricity rates. A motion-sensor fixture costs even less, since it only runs when triggered — often pennies a month. Even a full setup of five wired fixtures typically adds less than $10 a month to your electric bill. The old halogen equivalents would have cost five to eight times that, which is why the upgrade pays for itself quickly if you're replacing legacy fixtures.
My honest advice: spend your budget on *placement and quality*, not raw brightness. One $80 fixture with adjustable heads, a good sensor, and a solid weather seal beats two $25 bargain fixtures that fog up, false-trigger, and die in two seasons.
5 Placement Mistakes That Ruin the Effect
I've walked past (and, in my early days, installed) every one of these mistakes. Learn from my embarrassment.
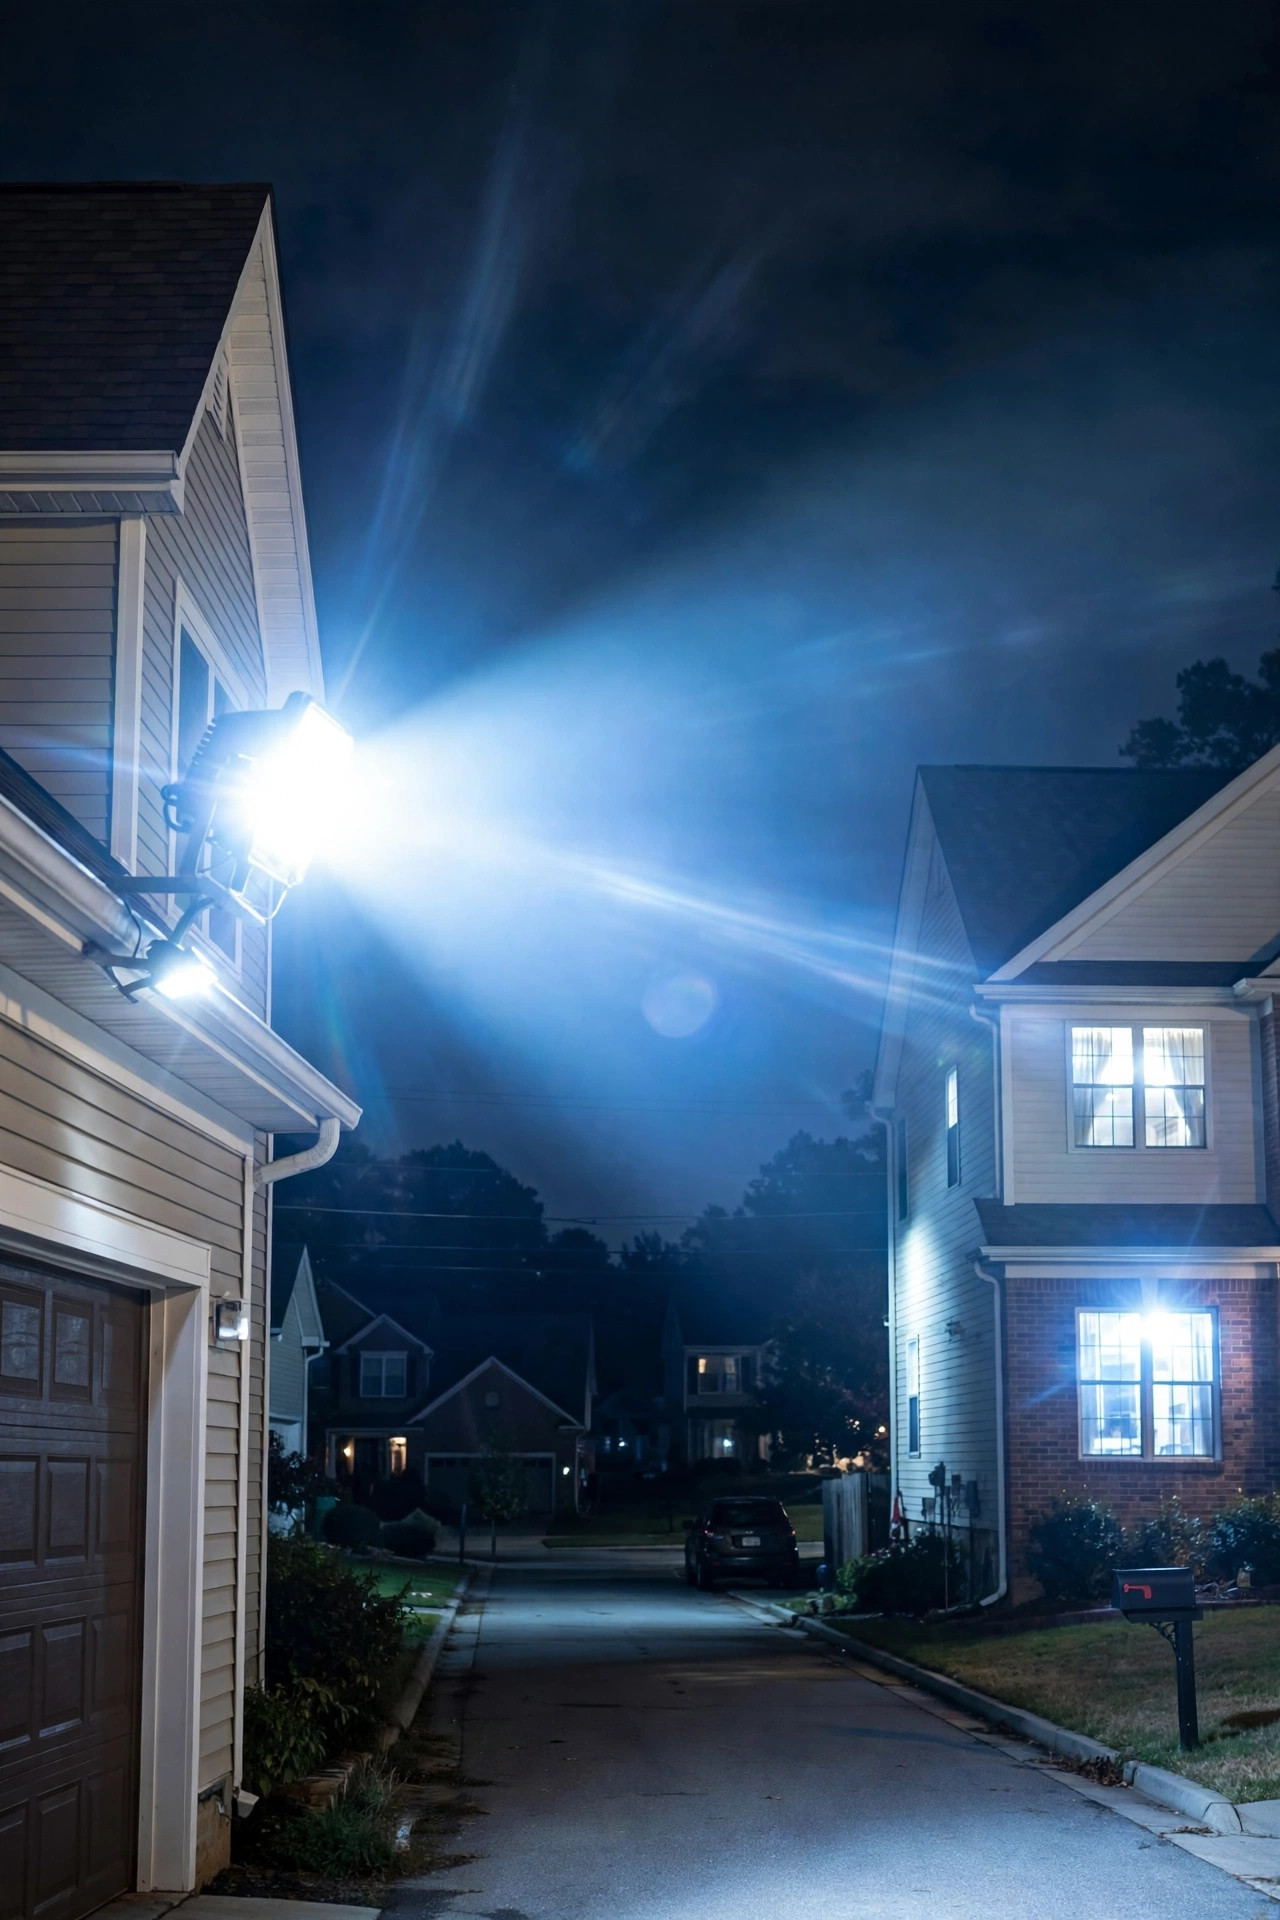
1. Aiming at the neighbor's windows. The number one cause of flood light drama. Before you finalize any aim, walk to the property line at night and check what's hitting the neighbors' house. If light is washing their windows, re-aim or add a shield. Good fences make good neighbors; good shielding makes good flood lights.
2. Going way too bright. A 5,000-lumen fixture on a small suburban lot doesn't make you safer — it makes you *that* house. Overly bright lights create harsh glare that actually reduces visibility, both for you and for anyone passing by. Match lumens to the zone (see the guidance above) and err on the lower side.
3. Mounting too high. I covered this above, but it bears repeating: a flood light at the second-story eave, 20 feet up, throws a thin, useless wash of light and creates a glare cone visible from three blocks away. Fixture height is not a status symbol. Bring it down to 8 to 12 feet.
4. Leaving dark gaps. Four bright fixtures with a pitch-black side yard between them is a failed installation. An intruder just walks the dark seam. Overlap your coverage, and physically walk the perimeter at night to verify there are no shadow corridors.
5. Ignoring light trespass and local rules. Many towns and HOAs have rules about light trespass — light crossing property lines — and some have dark-sky ordinances limiting brightness, color temperature, or requiring shielded fixtures. Check your local rules before you buy. And even where there are no rules, courtesy counts: nobody wants to be the house the whole street complains about. Shielded, downward-aimed fixtures keep you compliant almost everywhere.
Safety and Electrical Basics
Flood lights are electrical devices living outside in the weather, so this section isn't optional reading. The basics are straightforward, and following them keeps your installation safe and code-compliant.
Outdoor ratings are mandatory. Every fixture, junction box, wire nut, and connector must be rated for outdoor use — look for "wet location" ratings on fixtures and covers. Indoor-rated parts corrode, short, and fail outdoors, sometimes dangerously. If a deal looks too good to be true, check the rating first.
GFCI protection. Outdoor circuits should be GFCI-protected — that's the outlet or breaker with the little test/reset buttons that cuts power if it detects a ground fault. Most modern outdoor outlets already have this, but if your flood light ties into an older circuit, verify the protection is there. It's a genuine life-safety feature, not bureaucratic box-checking.
Junction boxes and wiring. Every wire connection must live inside a weatherproof junction box with a proper cover — never leave splices exposed to the elements. Use outdoor-rated cable (UF-B for direct burial runs, or conduit) and seal every penetration through siding or masonry with exterior caulk. Water and electricity are a bad combination; every gap is an invitation.
Ladder safety and power off. Turn off the breaker before you touch anything, and verify with a non-contact voltage tester — not just the wall switch, which someone could flip back on. Use a stable ladder on level ground, and never work with electrical in the rain or on wet surfaces.
Know when to call a pro. If you need a new circuit from the panel, if the wiring run is long or complex, or if anything about your panel feels unfamiliar — hire a licensed electrician. A $200 install fee is cheap insurance. I've got more on this in my electrical safety tips guide, which covers the outdoor-specific precautions in more detail.
Maintenance: Keep Them Working for Years
A flood light you install and forget will slowly go dark — literally and figuratively. The good news is that maintenance takes about 30 minutes twice a year.
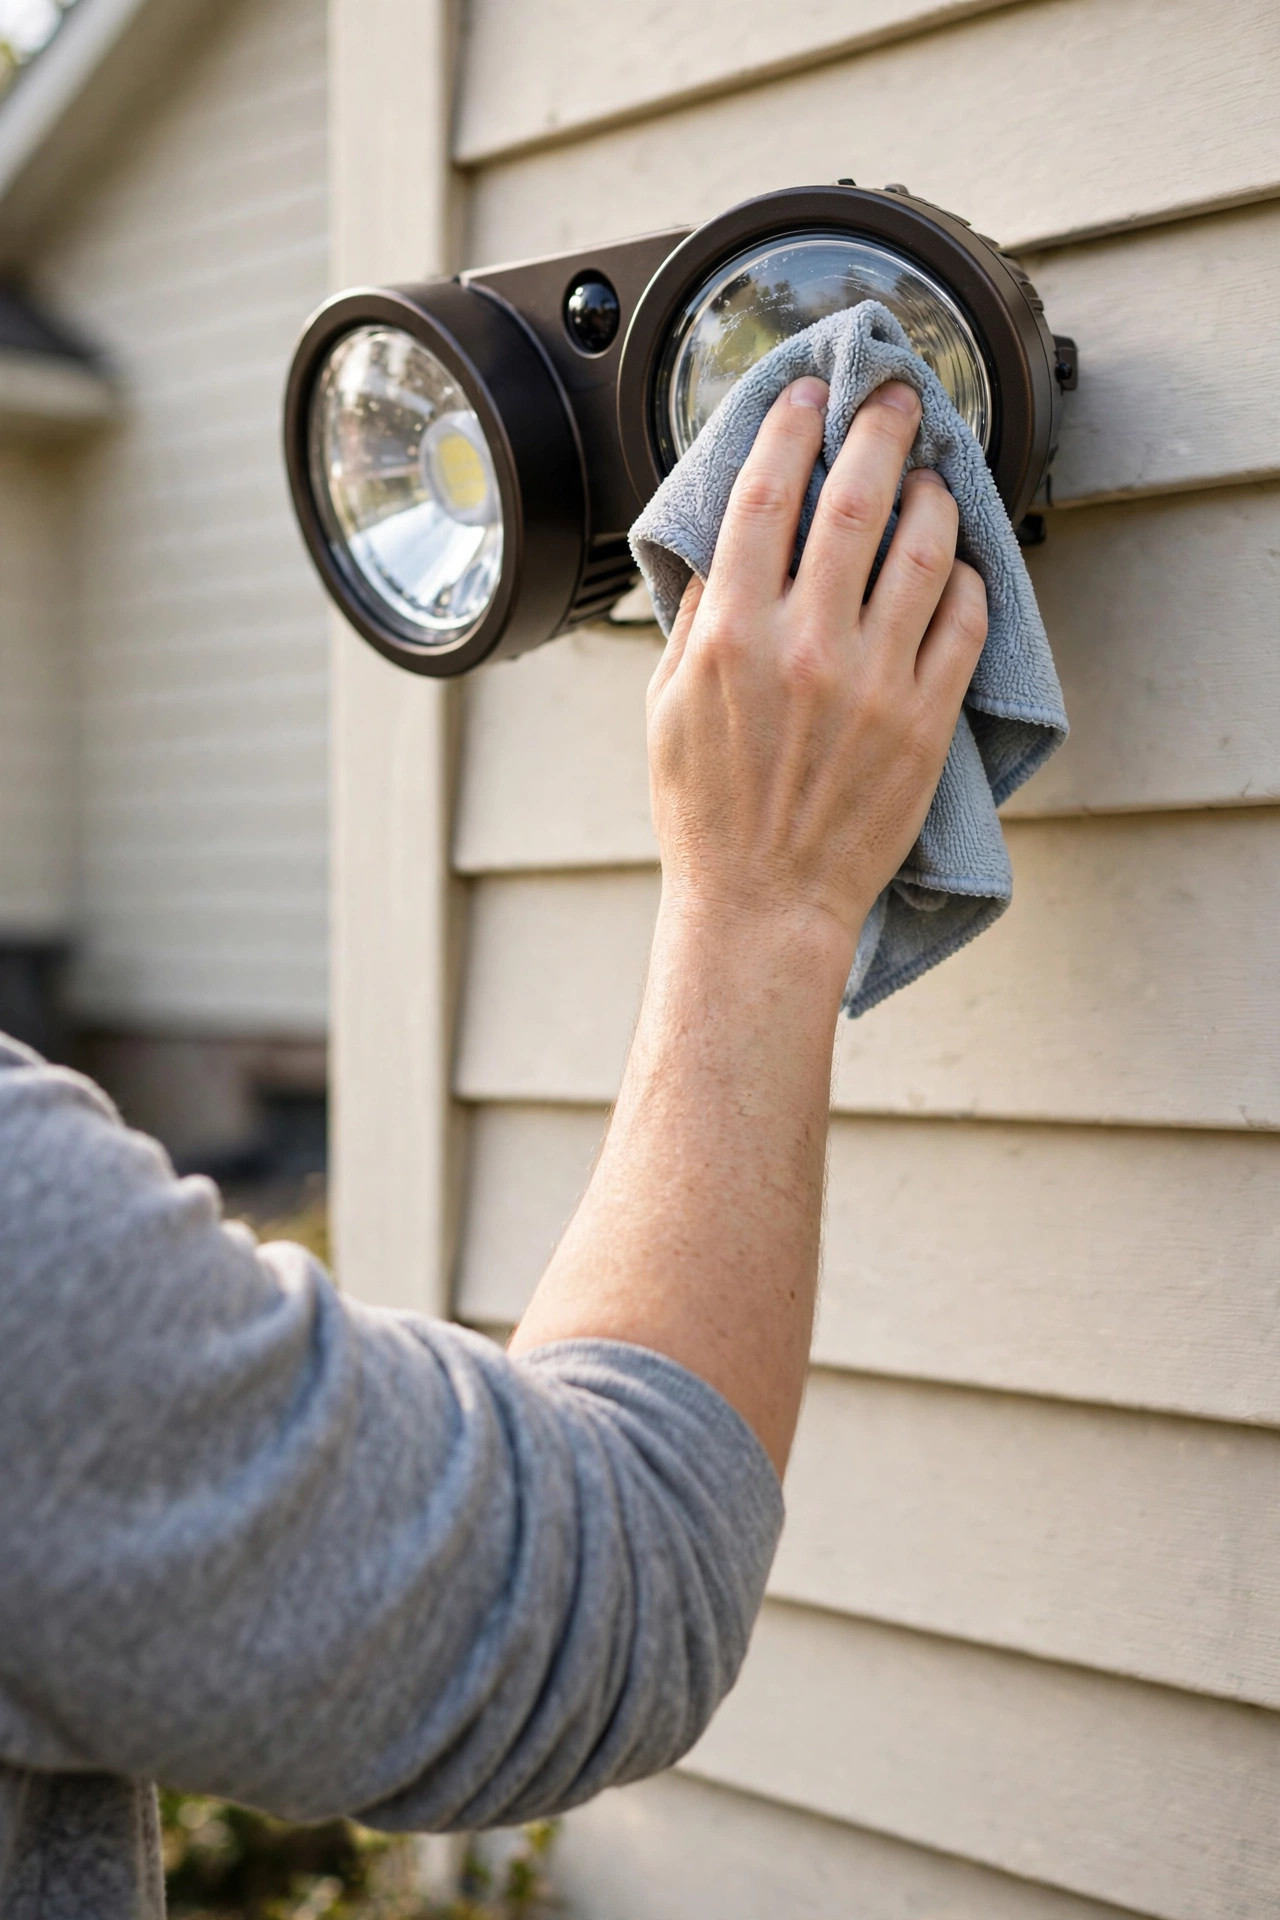
Clean the lenses and sensors. Dust, pollen, and spider webs coat lenses and motion sensors over time, dimming output and making sensors erratic. Wipe them down with a damp cloth each spring and fall. Honestly, half the "my motion light doesn't work anymore" complaints I hear are just a spider web across the sensor.
Re-aim after storms. High winds can nudge adjustable heads out of position. After any big storm, do a quick night walk and check that every fixture is still aimed at the ground, not at the sky or the neighbor's house. Tighten the adjustment screws while you're at it — they loosen over time.
Check seals and gaskets. The rubber gaskets around lenses keep moisture out. Once a year, look for cracked or compressed seals, and re-caulk around mounting plates if the caulk has pulled away. Water inside a fixture is the beginning of the end.
Test motion sensors seasonally. Vegetation grows, and a bush that wasn't in the sensor's field last spring might be triggering it every windy night by fall. Trim back anything within the sensor's range, and adjust sensitivity and timer settings as the seasons change — longer nights in winter may call for tweaks.
Replace bulbs proactively. LEDs last 25,000 to 50,000 hours, but when one head of a dual fixture dims or dies, replace both — mismatched brightness looks terrible and leaves one zone weaker. Keep a spare bulb or two in the garage; future-you will be grateful.
Frequently Asked Questions
How many lumens do I need for a driveway flood light?
For a standard one-to-two-car driveway, 1,500 to 3,000 lumens is the sweet spot. A single-car driveway is fine at the lower end (1,500 to 2,000 lumens); a wide two-car driveway or a long rural drive benefits from 2,500 to 3,000 lumens, or two fixtures aimed to overlap. More than 3,000 lumens on a typical suburban driveway usually creates glare without adding security. A dual-head motion-sensor fixture mounted 9 to 10 feet high, aimed down at a 30 to 45-degree angle, covers most driveways with even light from the garage to the street.
Should I get motion-sensor or dusk-to-dawn flood lights?
It depends on the zone. Motion-sensor floods are better for security coverage — the sudden-on effect startles intruders, and they use a fraction of the electricity since they only run when triggered. Use them for driveways, side yards, and backyard corners. Dusk-to-dawn fixtures are better for entries and walkways where you want constant, predictable light for guests — nobody likes a motion light flickering on and off during a dinner party. Many homes use both: steady light at the front entry, motion sensors everywhere else.
Will my flood lights bother the neighbors?
They will if they're aimed wrong — and that's the most common complaint about outdoor lighting. The fix is almost always aiming, not removing the lights. Mount fixtures 8 to 12 feet high, aim every head downward at 30 to 45 degrees, use shielded fixtures so no bare bulb is visible from the property line, and keep brightness matched to the zone. Before finalizing, walk to your neighbor's side of the fence at night and look back — if you can see the glowing fixture face or light is washing their windows, adjust. Many towns also have light-trespass rules, so check your local codes.
Can I install flood lights myself, or do I need an electrician?
If you're replacing an existing fixture on an existing circuit and you're comfortable working with basic wiring (with the breaker off and a voltage tester in hand), it's a reasonable DIY job. But call a licensed electrician if you need a new circuit run from the panel, if the installation requires long new wire runs through walls or underground, or if anything about your electrical panel is unfamiliar to you. Outdoor electrical work has to be weatherproof and code-compliant, and a pro install typically costs $150 to $300 per fixture — cheap insurance against a mistake.
How long do LED flood lights last?
Quality LED flood fixtures typically last 25,000 to 50,000 hours of operation — that's roughly 10 to 20 years for a motion-sensor fixture that only runs when triggered, or 5 to 10 years for a dusk-to-dawn fixture running all night. Solar floods have shorter effective lives (3 to 5 years) because their rechargeable batteries degrade. The LED chips themselves rarely fail; when a fixture dies, it's usually the sensor, the seals, or the battery. Buying fixtures with replaceable bulbs and good weather sealing extends useful life significantly.
Final Thoughts on Flood Light Placement
Figuring out where to place outdoor flood lights really comes down to a handful of principles: mount them 8 to 12 feet high, aim every head down at a 30 to 45-degree angle, overlap your coverage so there are no dark gaps, match brightness to each zone, and shield everything so the light lands on *your* property instead of your neighbor's windows. Do that, and you get real security — a house that looks alert and cared-for — without the glare, the complaints, or the runway look.
Start with your most vulnerable zones first: the driveway and side yards, then the backyard corners, then refine the front entry into something both secure and welcoming. You don't have to do it all in one weekend. Even two well-placed motion floods transform how safe a house feels after dark.
If this got you thinking about the rest of your exterior, I've got plenty more to explore — from backyard lighting ideas that balance security with atmosphere, to warm entryway lighting that makes coming home the best part of the day. Happy lighting, and here's to a home that glows without glaring.