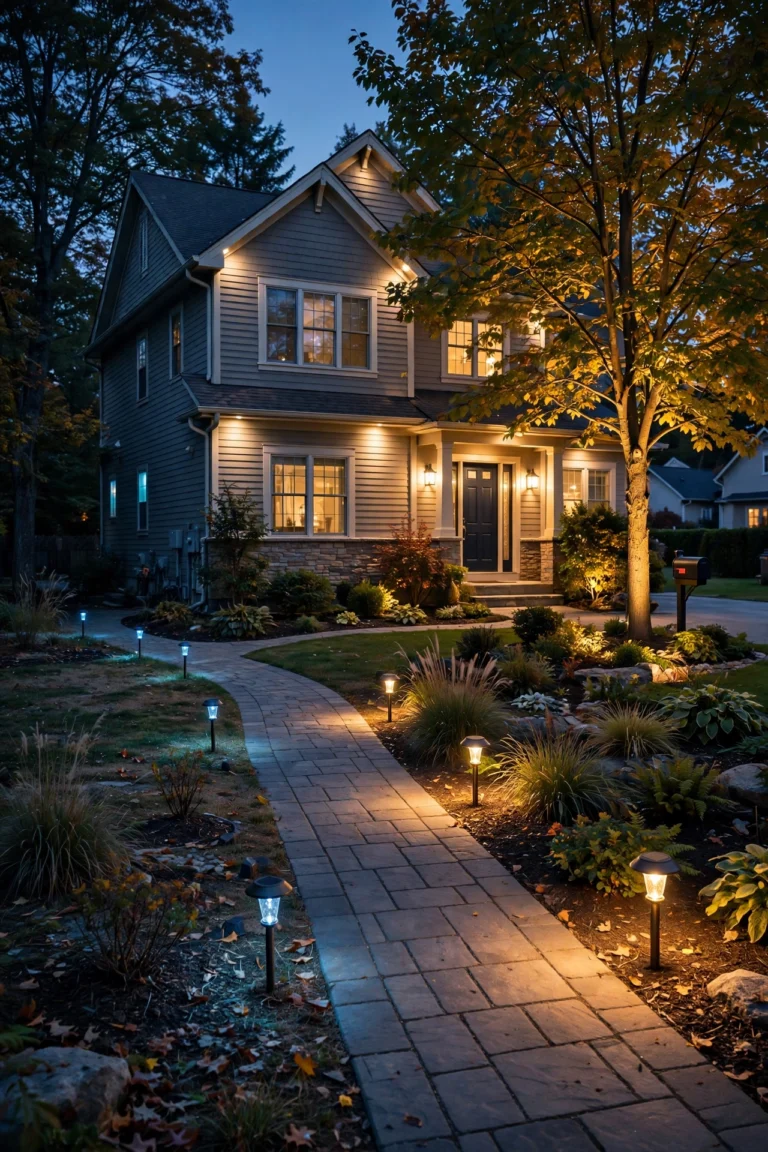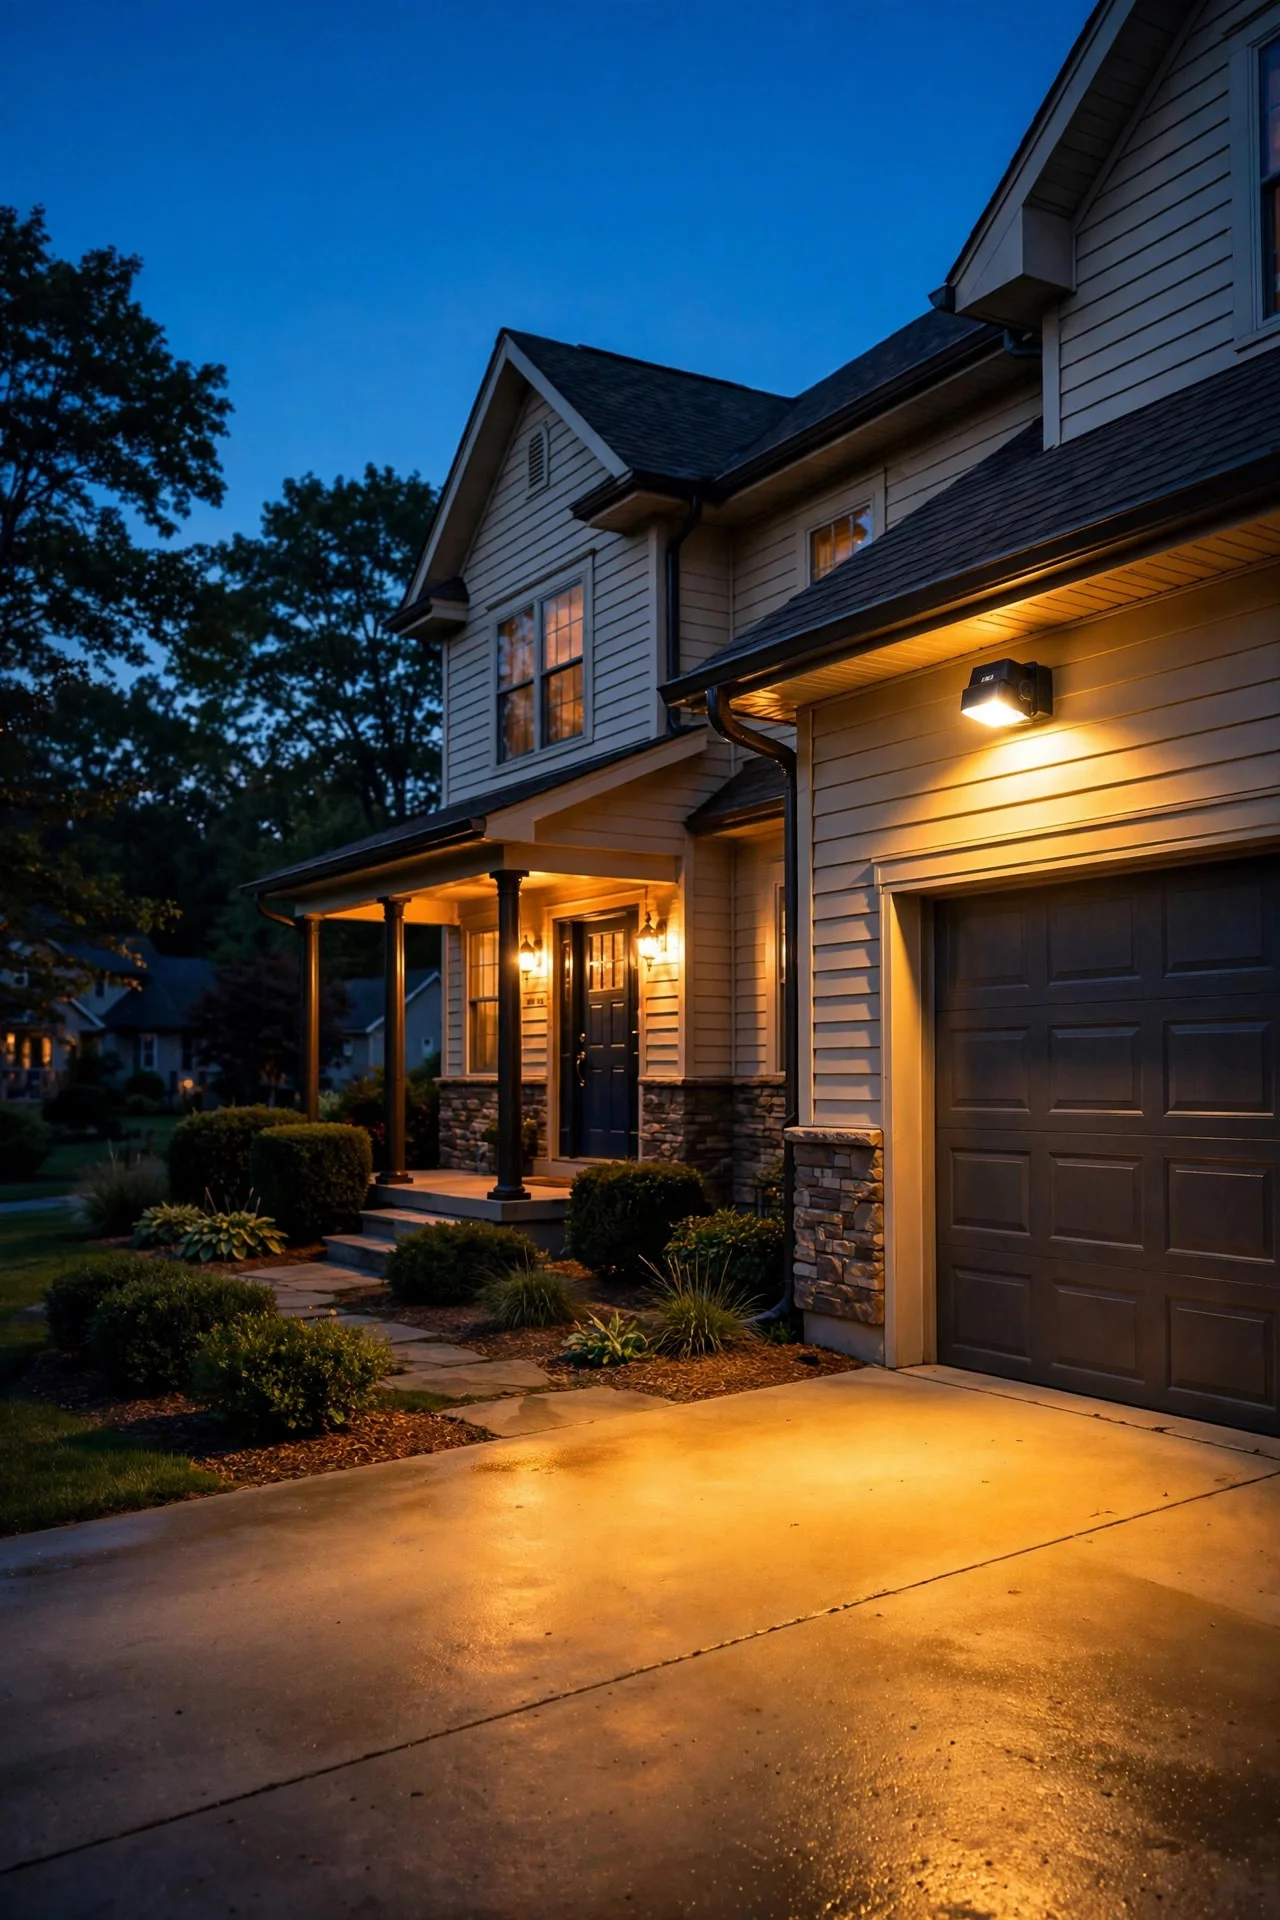
Nothing unsettles like hearing something outside at night and not seeing it. For years, my answer was leaving the porch light burning from dusk until dawn — until I did the math: I was lighting an empty driveway 3,600 hours a year. Motion sensor outdoor lights changed that equation completely. They sit dark until something moves, then snap on with a bright wash of light exactly where you need it.
The real challenge isn't choosing a light — it's the small decisions afterward. Mount it too high and it can't see visitors; too low and every cat in the neighborhood triggers it. Wrong sensitivity means false triggers all night — or a light that stays dark when someone approaches.
Honestly? When placed and tuned properly, they're one of the smartest upgrades you can make. In my experience, they cut outdoor lighting energy use by 90 percent or more, startle intruders far more effectively than a light that never changes, and greet you with light when you come home. By the end, you'll know how they work, which type fits each spot, where to mount them, how to dial in every setting, and what they cost.
The Short Answer
Motion sensor outdoor lights beat dusk-to-dawn and always-on lighting whenever you want light that *responds* — entryways, driveways, side gates, and back doors where activity is occasional. They slash energy use because the light only runs minutes per night instead of ten hours. Choose them for security and pathway visibility; skip them for curb appeal, since a dark-until-triggered house looks uninviting. The golden rule: mount 8–12 feet high, aim the sensor across (not down) the path of travel, and expect twenty minutes of tuning.
How Motion Sensor Outdoor Lights Actually Work
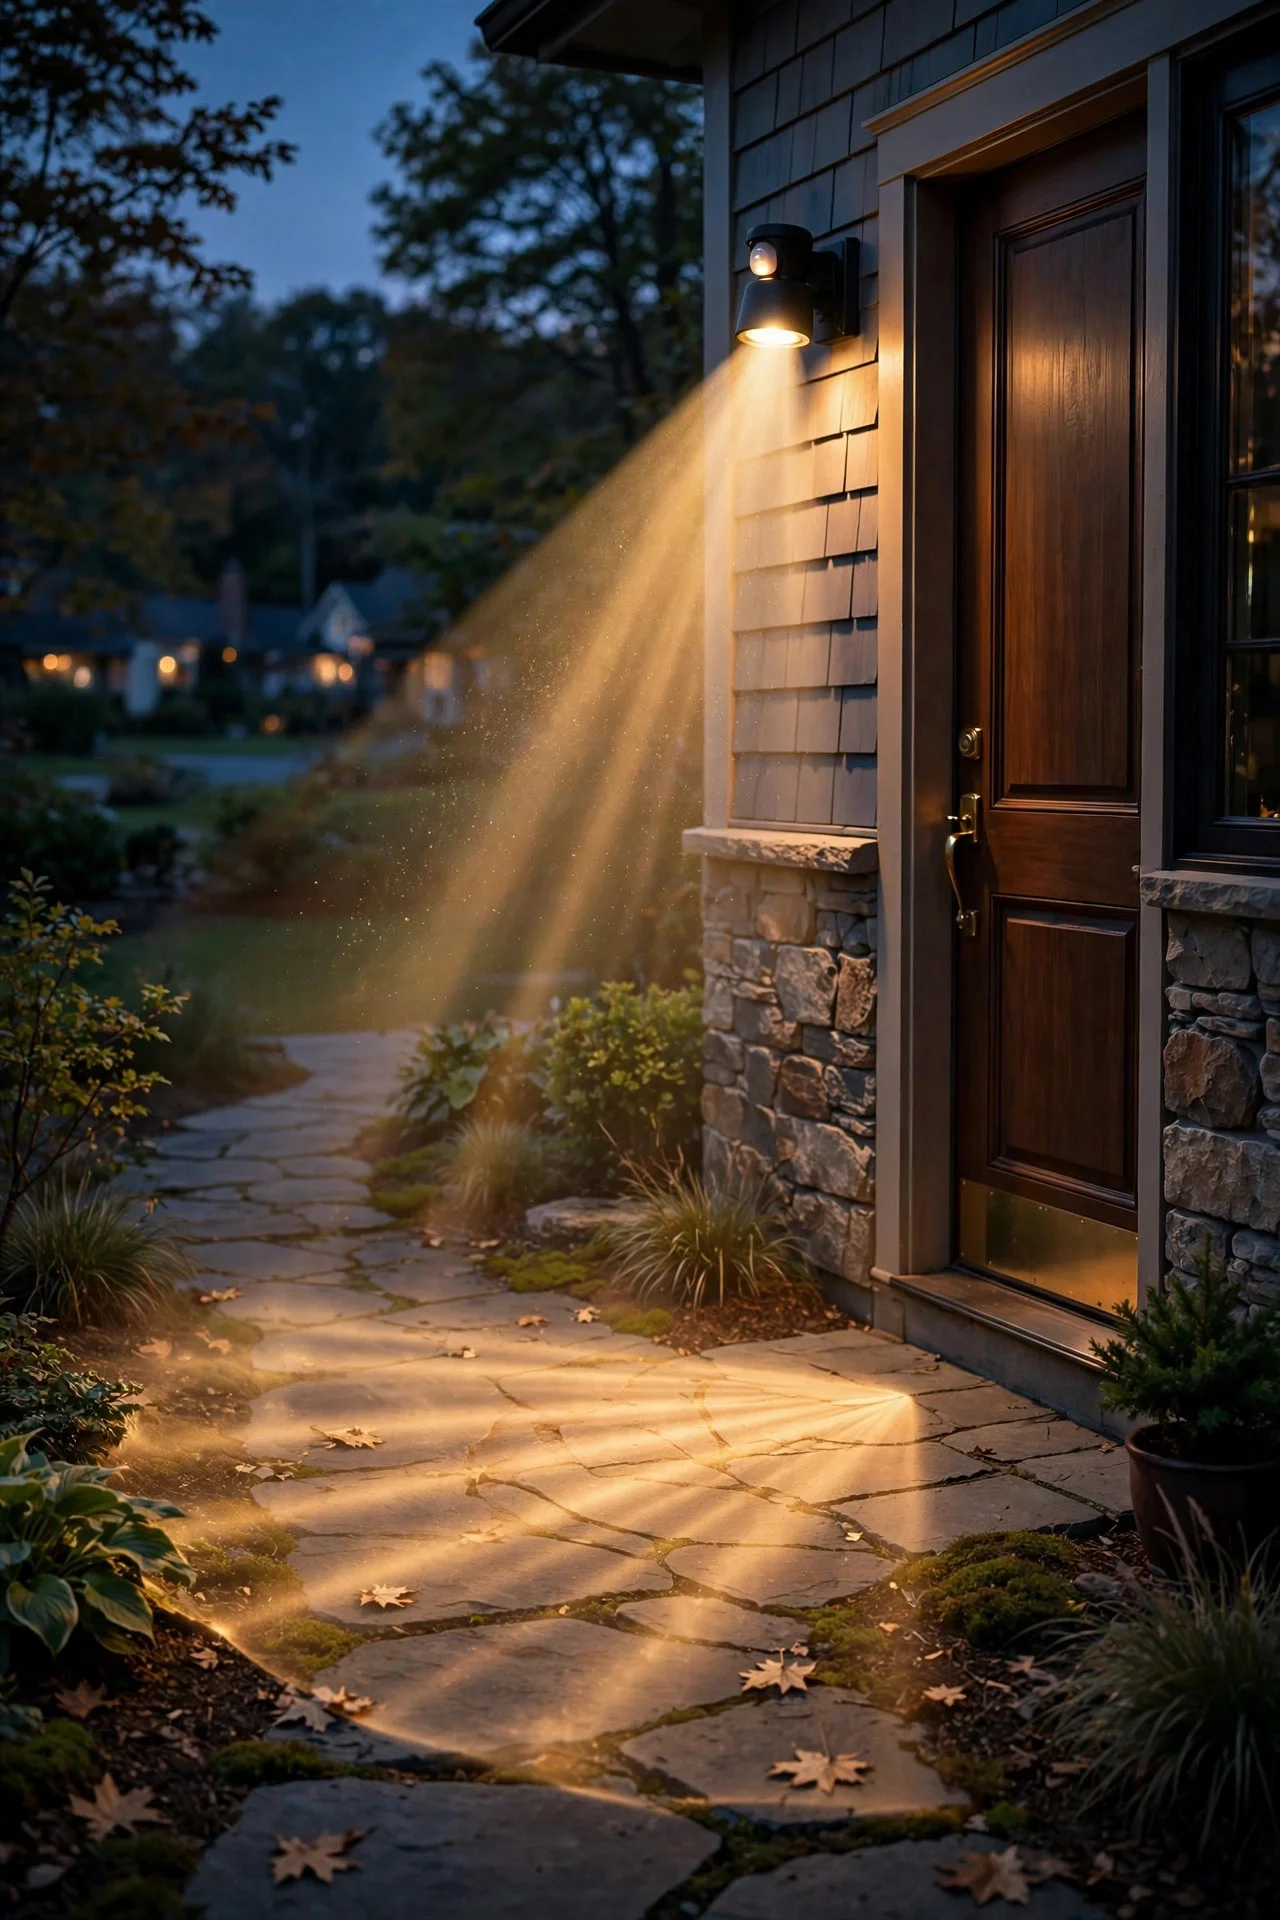
Almost every motion sensor outdoor light uses a passive infrared (PIR) sensor — a small, faceted lens, usually honey-colored or milky white, that watches for changes in heat. It doesn't emit anything. Instead it divides its field of view into dozens of wedge-shaped zones, like slices of a pie. When a warm body (you, a visitor, a delivery driver, a deer) moves from one zone into the next, the sensor registers the temperature change and fires the light.
That "moves across zones" detail is the single most important thing to understand, because it dictates how you aim the fixture. PIR sensors are exquisitely sensitive to motion *across* their field of view and nearly blind to motion moving straight *toward* them. A person walking left-to-right through the detection field triggers instantly at 30 feet; the same person walking directly at the sensor might not trip it until they're 10 feet away. I'll come back to this in the placement section, but tattoo it on your brain now: aim across the path of travel, not down it.
The little dials or buttons on the fixture (or in an app, on smart models) control three things: how sensitive the heat detection is, how long the light stays on after the last detected motion, and how dark it must be before the sensor is allowed to fire — the lux or "dusk" threshold. Some pricier models add a fourth trick: a low-level dusk-to-dawn glow that jumps to full brightness on motion. Understanding these three or four controls is 80 percent of a successful installation, and most of the frustration stories you've heard about motion lights come down to someone never touching the dials.
Detection Range and Angle, Explained
A typical PIR sensor claims a detection range of 30 to 70 feet, and I always recommend treating the manufacturer's number as optimistic by about 25 percent. In real suburban conditions — summer heat, rain, the sensor aging a little — expect reliable detection to about 25–40 feet for a person walking across the field. That's plenty for a driveway or walkway, and honestly more range than you usually want.
The detection angle is usually 110 to 240 degrees, displayed on the box as a fan-shaped diagram. A 180-degree sensor covers a generous half-circle in front of the fixture; a 240-degree sensor wraps around the sides. Here's the catch that surprises people: wider isn't always better. A 240-degree sensor mounted near a street will happily watch passing traffic all night, cycling your light on and off while your bedroom faces the glow. I often prefer a 180-degree sensor aimed precisely where I need it, or I mask off part of the lens with the little blinders some fixtures include — or plain electrical tape in a pinch.
Mounting height and range are linked. At the recommended 8–12 feet, the detection field spreads into a comfortable oval roughly 30–40 feet across. Mount at 15 feet (under an eave, say) and the same sensor's field stretches longer but gets narrower and less sensitive — small movements get missed. Mount at 6 feet and the field becomes a tight puddle right below the fixture, great for a doorstep but useless for a driveway. The sensor head on most fixtures can tilt and swivel; use that to aim the fan of zones exactly at the ground you care about, slightly downward, so the outer edge lands where feet will be.
The Main Types, Compared Honestly
You'll find four broad flavors, and they're not interchangeable.
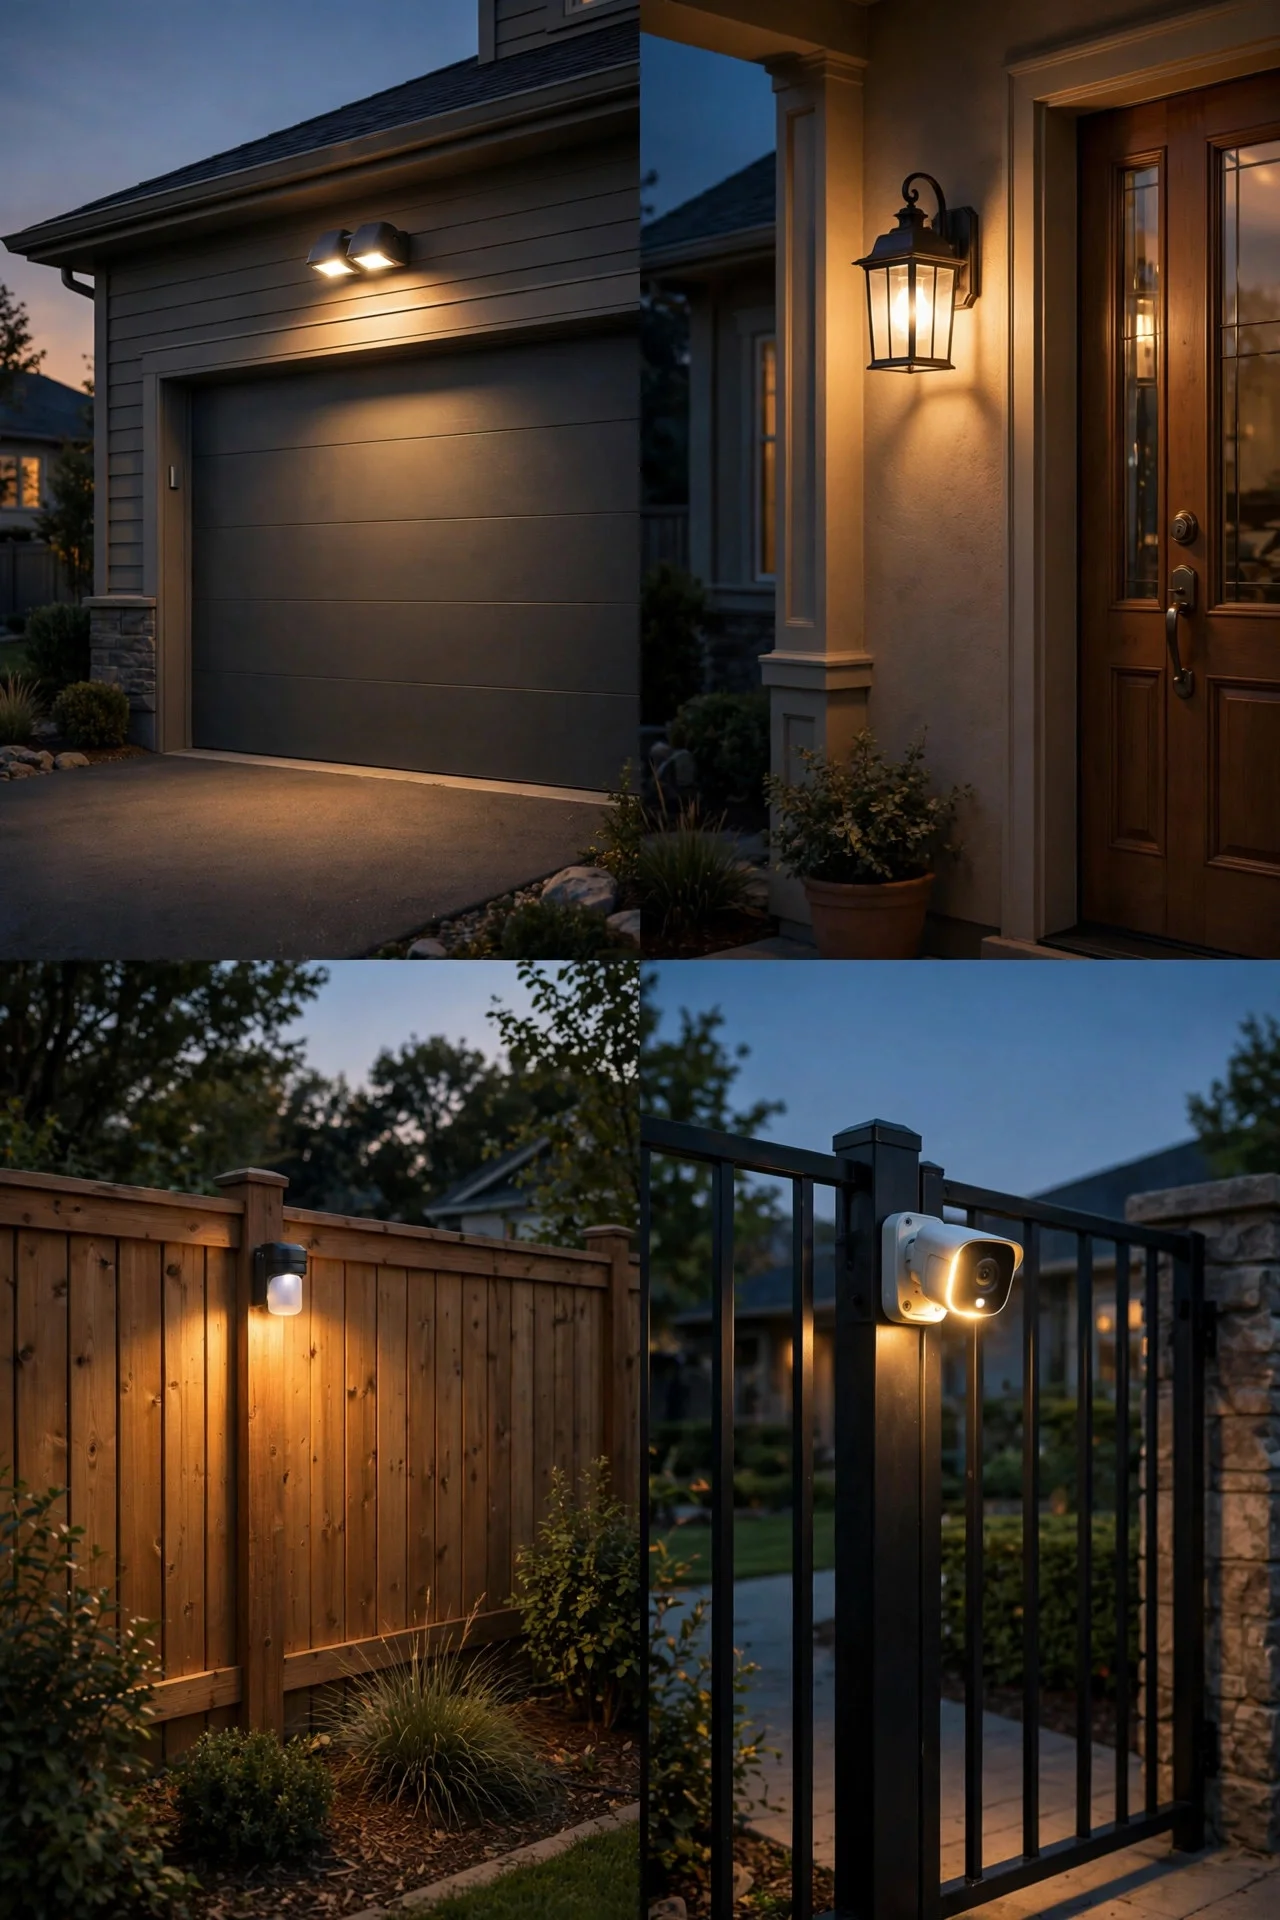
Floodlight-style fixtures are the workhorses: two adjustable heads, a chunky sensor pod, serious brightness (1,000–3,000 lumens). They throw light 30–50 feet and are the best deterrent for driveways, backyards, and dark side yards.
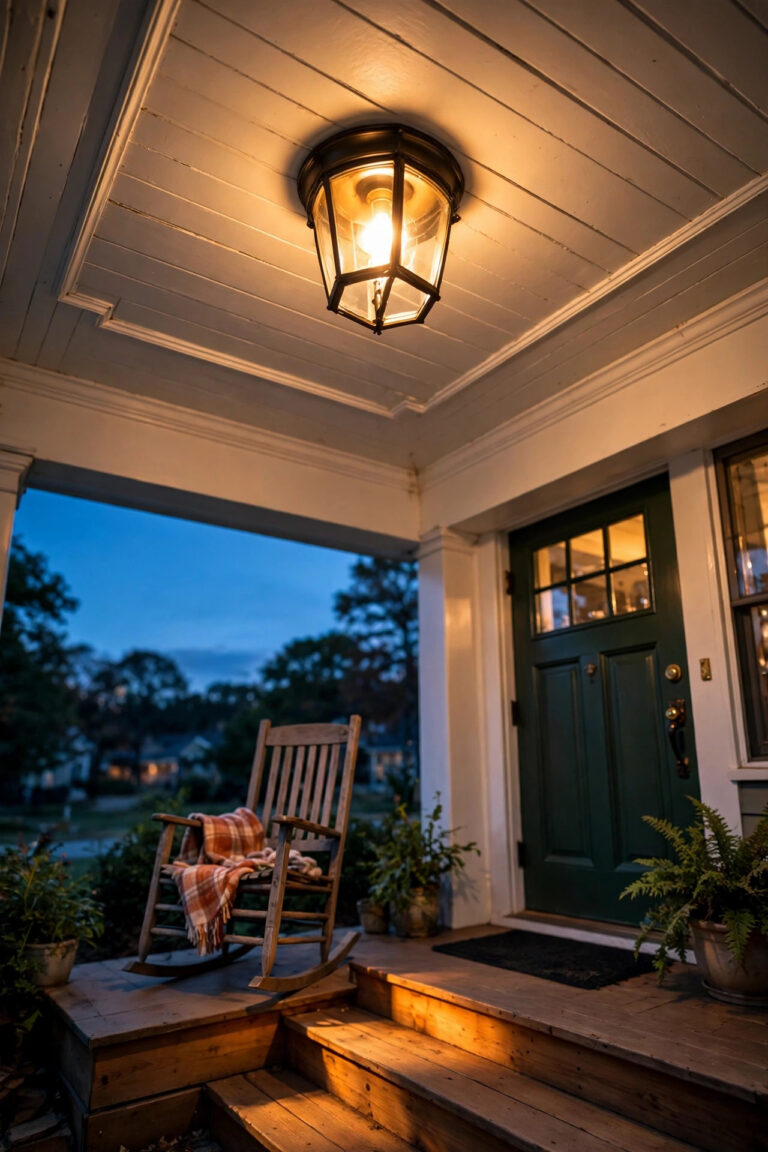
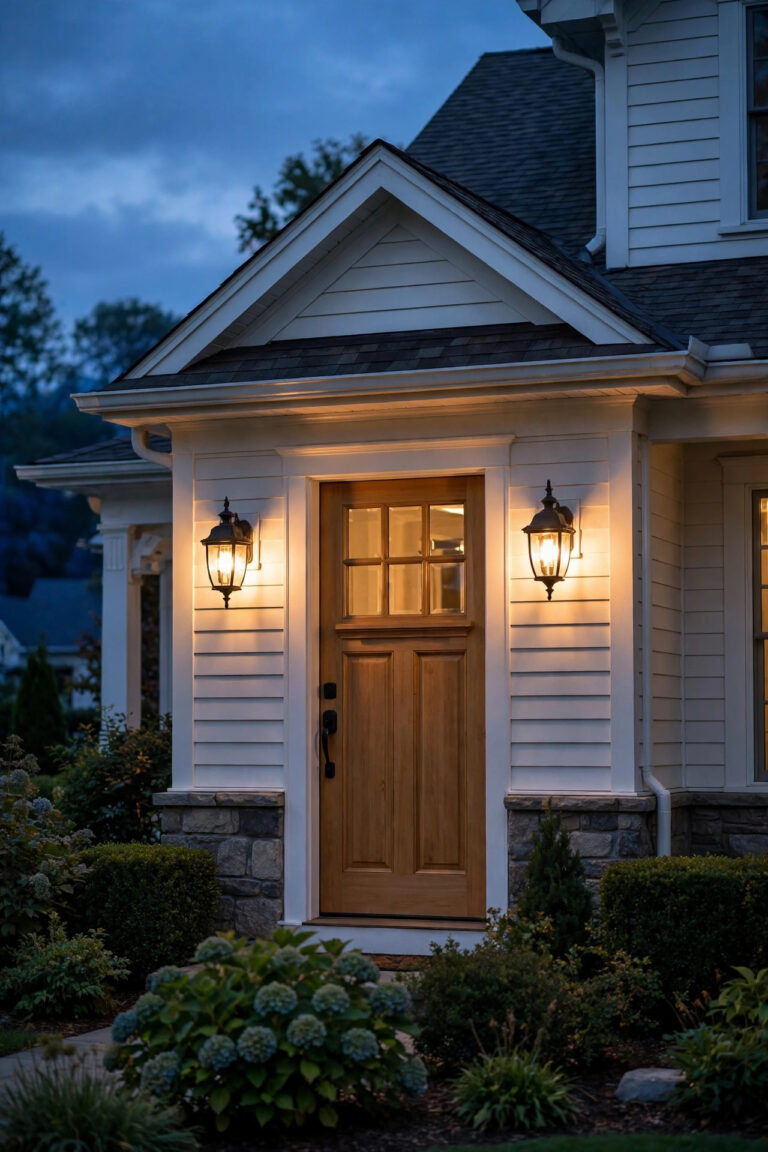
Decorative wall-mount fixtures look like regular porch sconces but hide a PIR sensor. They top out around 300–800 lumens — plenty for a doorstep, nowhere near enough for a driveway. Buy these when you care how the fixture looks in daylight too.
Solar motion fixtures skip wiring entirely, running off a small panel and rechargeable battery. Installation couldn't be easier, but light output is modest (200–800 lumens) and batteries fade on short winter days. Great for sheds, fences, and rentals — not as primary security lighting.
Smart and camera-integrated fixtures add Wi-Fi, phone alerts, video recording, and app-based tuning. They're the most capable and most expensive — with one catch: if your Wi-Fi hiccups, some get flaky.
| Type | Typical cost (2026) | Coverage | Best for | Drawbacks |
|—|—|—|—|—|
| Floodlight-style | $40–$90 | 30–70 ft detection; 30–50 ft light throw | Driveways, backyards, security | Bulky looks; needs wiring |
| Decorative wall-mount | $35–$80 | 20–35 ft detection; soft glow | Front doors, porches, patios | Low output; not for large areas |
| Solar motion | $25–$60 | 20–40 ft detection; modest beam | Sheds, fences, rentals, far corners | Weak in winter; dimmer light |
| Smart/camera-integrated | $100–$250 | 30–60 ft detection + video | Entries, package theft zones | Price; Wi-Fi dependent; subscription fees on some models |
One more honest note: for solar exterior house lights in general, motion-activated models are the smartest pick, because a light that sips battery only when triggered is exactly what a small solar battery needs to survive the night.
Where to Place Them: Heights, Distances and Angle Rules
Placement is where motion sensor projects succeed or fail, and it's almost entirely geometry. Here are the rules I follow on every install:
Mounting height: 8–12 feet. This is the manufacturer's sweet spot and my own experience agrees. At 8 feet you get sensitive, tight coverage; at 12 feet you trade a little sensitivity for a wider field. A 9–10 foot soffit mount is ideal.
Aim across the path of travel, not down it. If someone walks from the sidewalk to your front door, the sensor should sit to the side of that path, watching it sideways — mounted beside the door or under the eave corner, angled across the walkway. A sensor pointed straight down the walkway toward the street will miss approaching visitors until they're close, then catch every car that passes. Same principle for driveways: mount on the garage wall so the car and driver cross the detection fan as they enter.
Keep 15–20 feet of setback from streets and sidewalks. PIR sensors don't respect property lines. A fixture aimed too close to a public sidewalk will greet every evening dog-walker with a spotlight — annoying for them, and the constant cycling burns through the fixture's relay over time. Angle the sensor inward, mask the street-facing zones, or choose a narrower detection angle.
Mind the heat sources. Air conditioner condensers, dryer vents, barbecue grills, and even sun-baked dark pavement radiate heat that confuses PIR sensors. Keep fixtures at least 6–8 feet from AC units and dryer vents, and don't aim the sensor at a vent's exhaust plume.
Overlap coverage zones, don't isolate them. One floodlight trying to cover a 60-foot driveway leaves a dead band in the middle. Two fixtures spaced 25–35 feet apart, each aimed to cover its half, give smooth gap-free coverage with no dark pockets where someone could linger unseen.
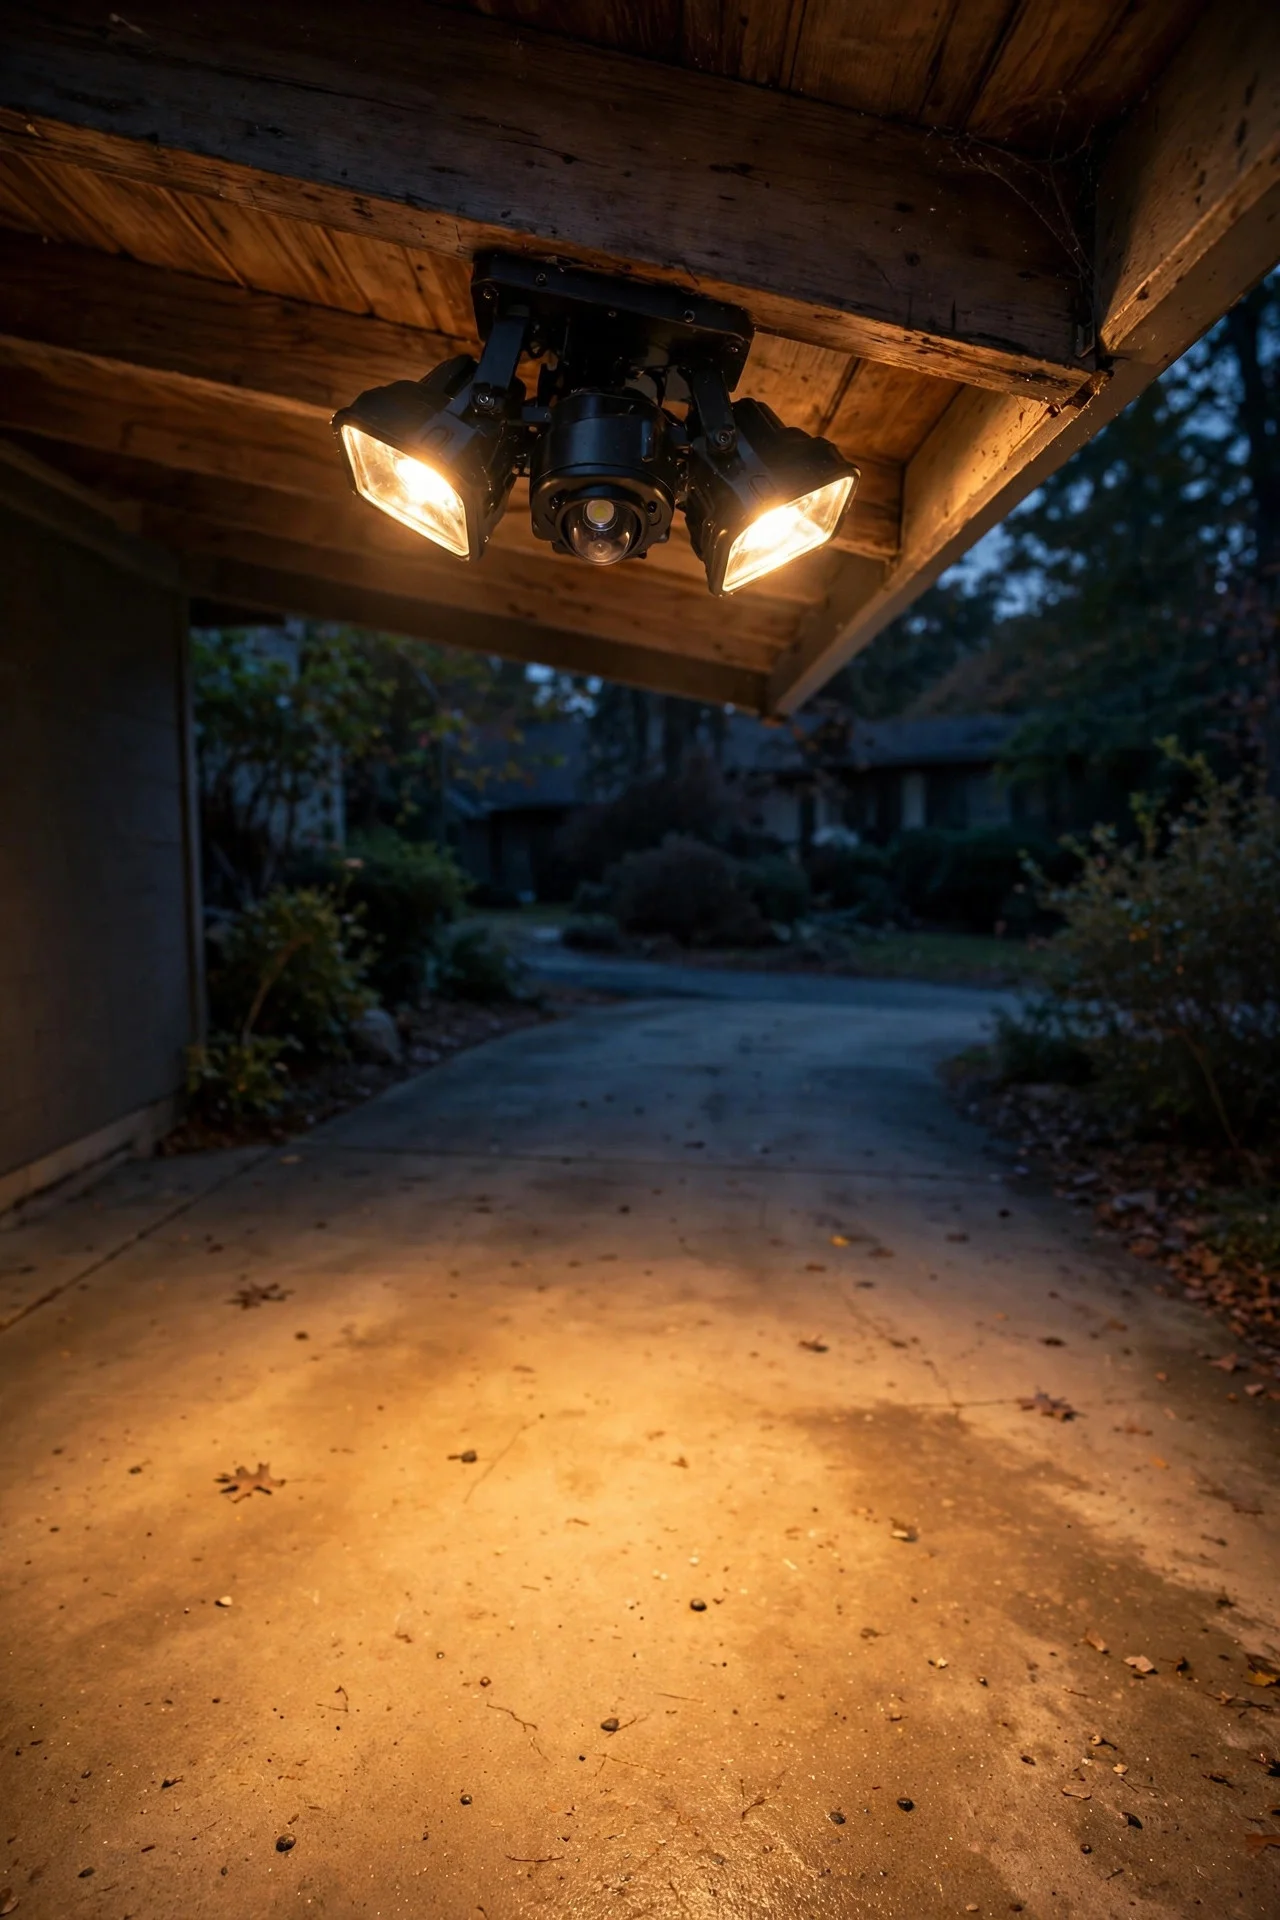
Placement by Zone: Entry, Driveway, Side Yard and Back Door
Each zone around your house wants a slightly different treatment.
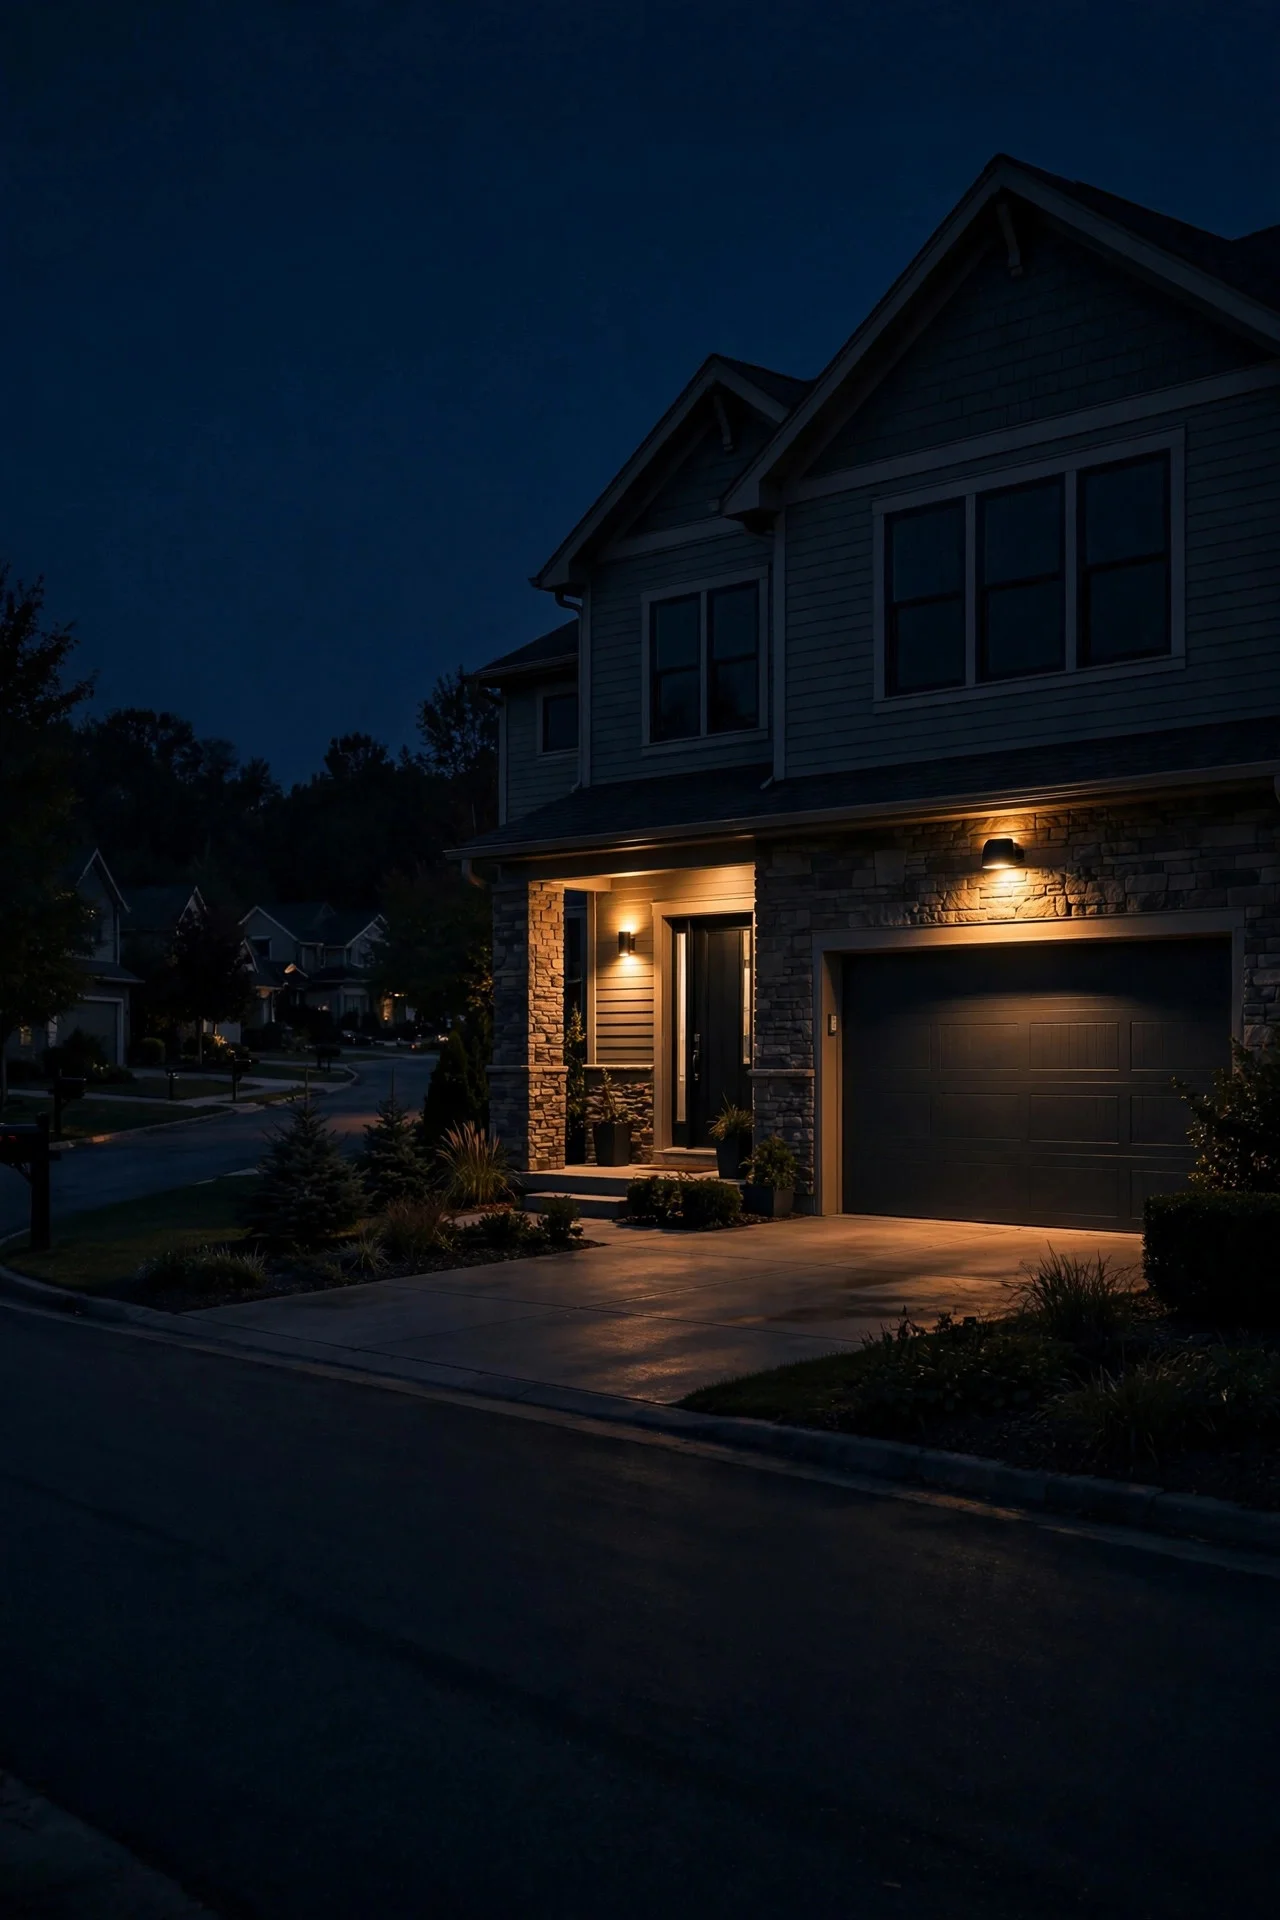
Front entry. This is decorative wall-mount territory. Mount flanking sconces 66–72 inches above the porch floor, 6–8 feet apart for a standard single door (add a third over the door on wide double-door entries). Set the lux threshold so the sensor only arms after dark, keep duration to 1–3 minutes, and angle sensors across the walkway, not at the street. Your goal is a welcoming pool of light that greets visitors but doesn't announce itself to the whole block.
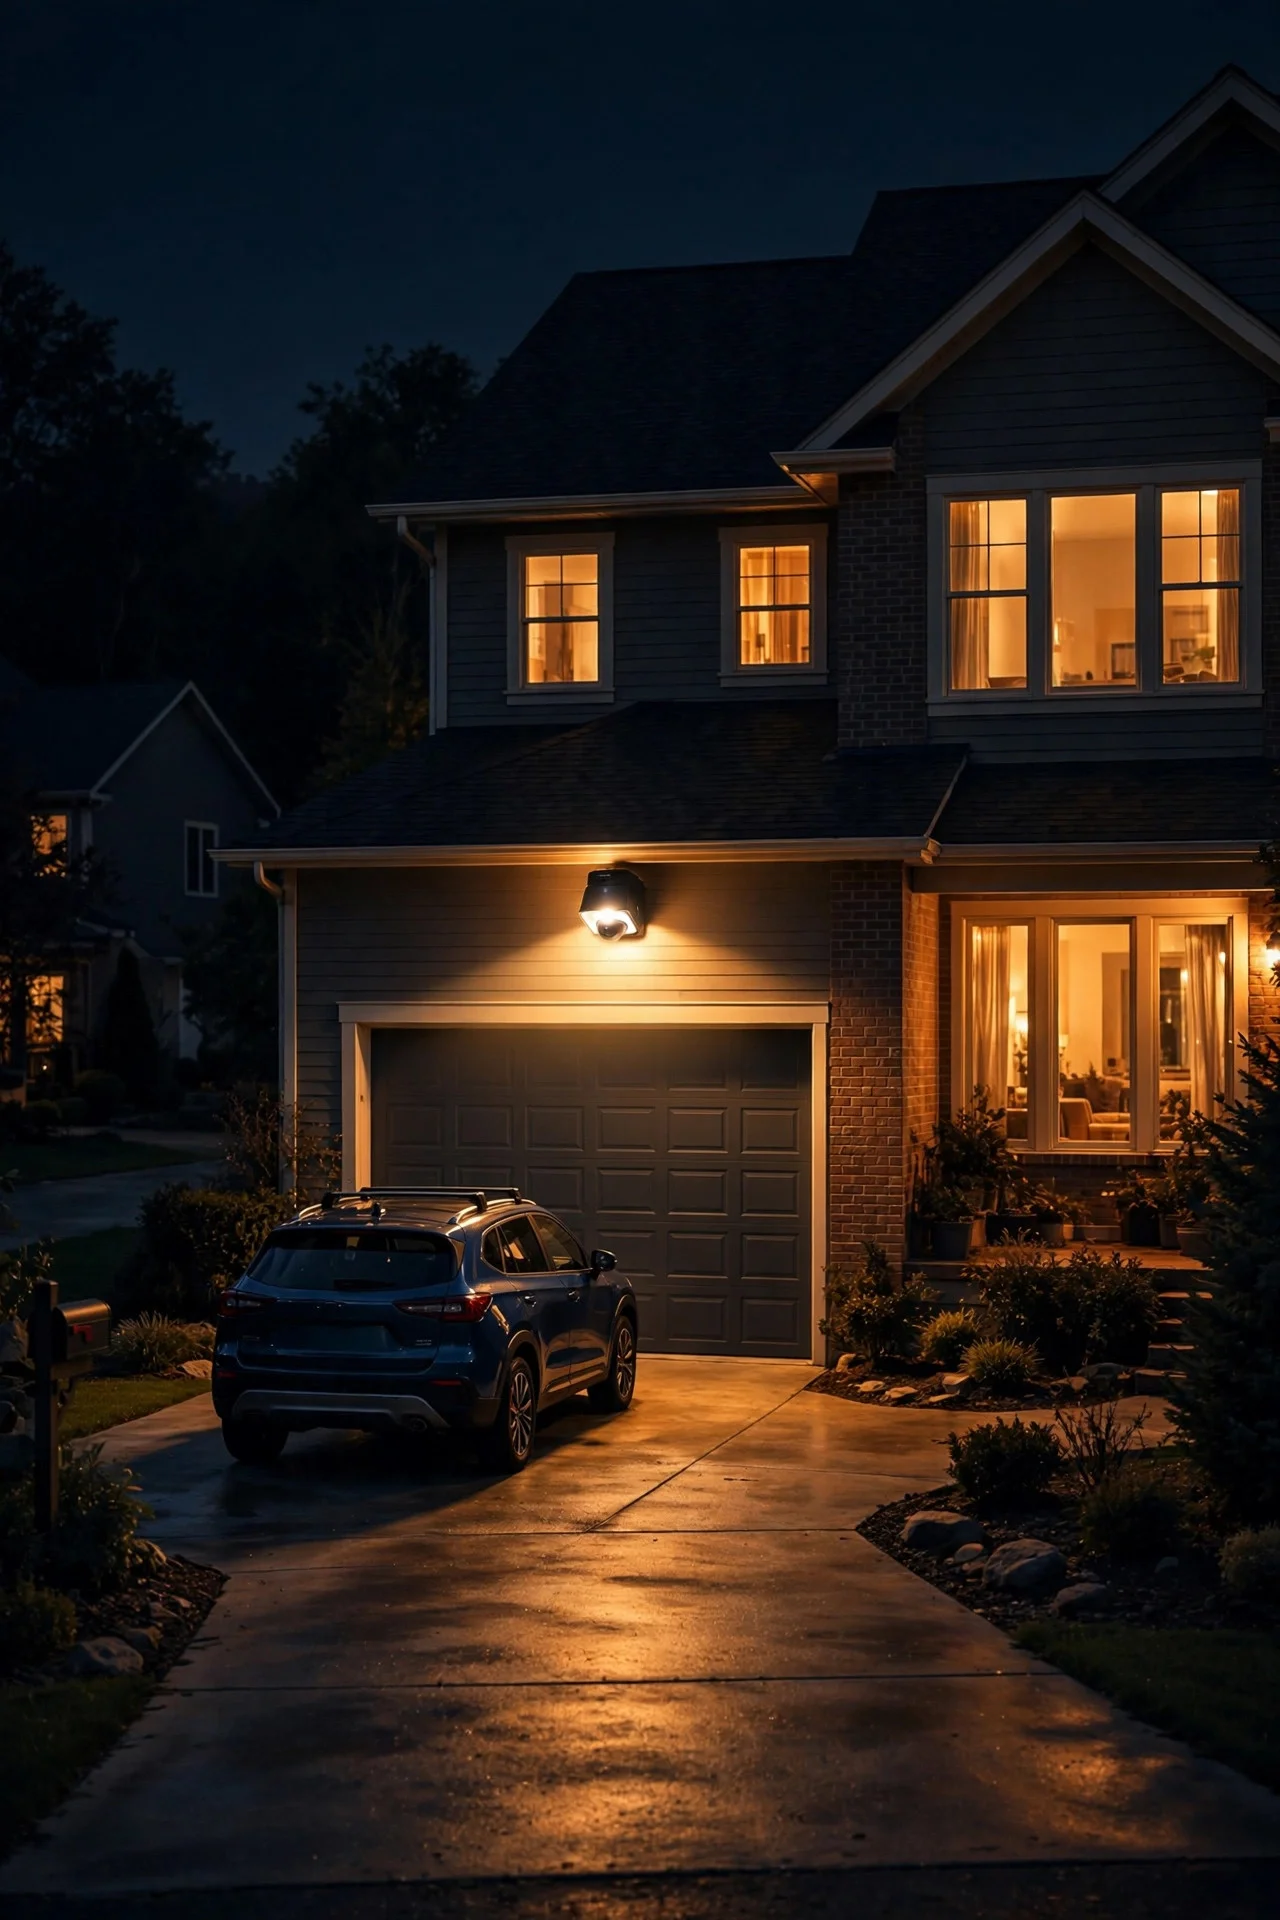
Driveway. Floodlight-style, mounted on the garage wall at 9–12 feet, aimed so entering cars cross the detection field. One fixture covers a standard two-car driveway (roughly 20 feet wide) if centered; wider or L-shaped driveways need two. Set duration to 5–10 minutes so the light stays on while you unload groceries. If your driveway faces the street, use the lens mask on the street-facing side.
Side yard and gates. Side yards are the most common blind spot, and the spot burglars prefer — dark, narrow, usually unobserved. A single floodlight at 8–10 feet, aimed across the gate path, transforms it. Solar motion fixtures earn their keep here because running wire to a side fence is often the hardest part of the job. If you've got a latch gate, aim the sensor to catch the gate swing zone.
Back door and patio. A decorative motion sconce by the back door at 66–72 inches handles the stoop; if the patio is large, add a floodlight under the eave corner at 9–10 feet aimed across the seating area. This is also where the dual-mode fixtures shine — a low all-night glow for ambiance that jumps to full brightness when the sensor fires. For a broader look at motion sensing beyond security, our motion sensor primer covers the basics in a compact form.
Step-by-Step Installation
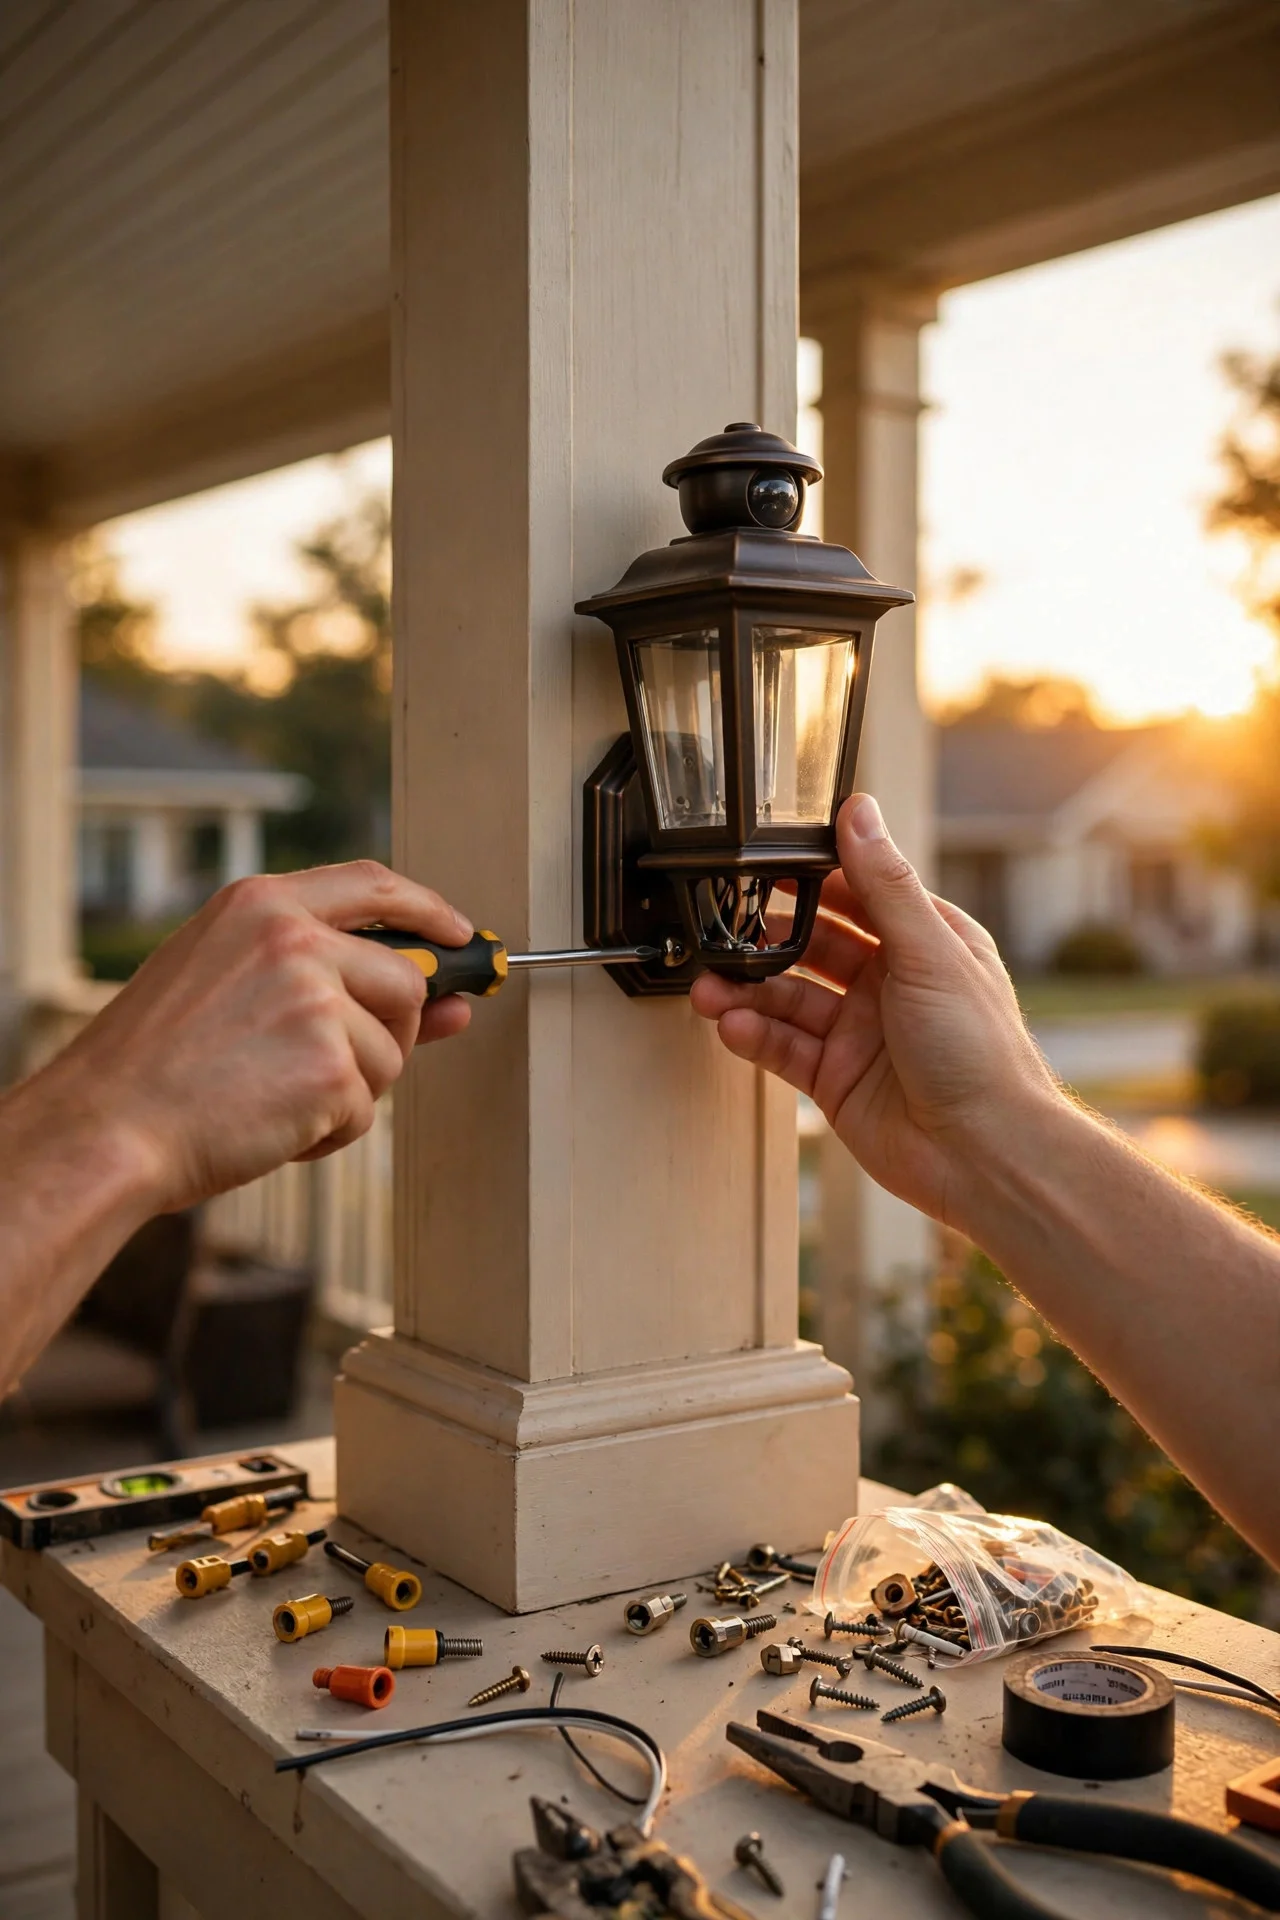
Replacing an existing porch light with a motion version is a genuinely beginner-friendly project — I always recommend it as a first electrical DIY. Installing a brand-new fixture where no wiring exists is a bigger job; that's where I'd call an electrician. Here's the replacement path:
1. Kill the power. Flip the breaker and test with a non-contact voltage tester, then flip the wall switch too. Double-check; this is the step people skip and regret.
2. Remove the old fixture. Unscrew the mounting bracket, lower the fixture, and disconnect the wire nuts — black to black (hot), white to white (neutral), green or bare copper to ground. Photograph the wiring before you touch anything.
3. Check the box. The electrical box must be outdoor-rated and securely anchored. If it's cracked, rusted, or wobbly, replace it with a weatherproof box rated for the fixture's weight and deep enough for the wiring.
4. Install the mounting bracket from the new fixture, following its template. Use the supplied gasket — it seals the fixture against the wall and keeps rain out.
5. Connect the wires — black to black, white to white, ground to ground — with the supplied wire nuts, then tuck them into the box. Tug each wire nut firmly; a loose connection is the number-one cause of flickering.
6. Mount the fixture to the bracket and tighten the center screw. Caulk the top and sides with exterior silicone, leaving the bottom open so moisture can drain.
7. Restore power and walk-test. Stand in the coverage zone and move; the light should fire within a second or two. Adjust the sensor head aim, then walk the full perimeter to find dead spots.
For new wiring runs, budget $150–$300 per fixture for an electrician unless you're comfortable running outdoor-rated cable and adding a circuit. The fixture is the cheap part; safe wiring is worth paying for.
Dialing In the Settings: Sensitivity, Duration and Lux Threshold
This is the step everyone skips and the reason most "my motion light is terrible" stories exist. Set aside twenty minutes at dusk, walk the property, and tune all three controls.
Sensitivity sets how big a heat change trips the sensor. Start at medium — roughly the 12 o'clock position on the dial. Too high and swaying branches, distant cars, and large dogs fire it; too low and it misses a person walking calmly. Adjust in small increments and walk-test after each change. In summer, you may need higher sensitivity because the warm background air narrows the temperature contrast between a person and the environment.
Duration (time-on) is how long the light stays lit after the last motion — adjustable from about 30 seconds to 10+ minutes. Entries: 1–3 minutes. Driveways: 5–10 minutes so the light outlasts unloading the car. Side yards: 2–5 minutes. Longer durations feel safer but waste the energy savings you're buying the fixture for; the light re-triggers on continued motion anyway, so short durations don't leave you stranded mid-activity.
Lux / dusk threshold decides how dark it must be before the sensor arms. Turn it to the "moon" end of the dial (most sensitive to darkness) so the fixture only fires in genuine darkness — otherwise it'll trigger on overcast afternoons and waste its purpose. If your fixture sits near a bright streetlight or a neighbor's floodlight, set this carefully: ambient light spilling onto the sensor can prevent it from ever arming, which is a common cause of "it worked in the store but not on my house."
Range control, on models that have it, narrows the detection distance. Use it to pull the field back from a sidewalk or street rather than letting the sensor watch public space. And if your fixture has a manual override (usually flipping the wall switch off-on quickly), learn it — it forces the light on for a few hours for evening parties, then resets to motion mode automatically.
Wiring and Electrical Basics
You don't need to be an electrician to understand what keeps a motion light safe — you just need to respect three things: water, grounding, and protection.
Every outdoor fixture must be rated for wet or damp locations — look for the UL or ETL listing mark and the words "suitable for wet locations" on the box. Porch ceilings under cover can use damp-rated fixtures; anything exposed to direct rain, including most floodlights, needs wet-rated. The fixture's gasket and your bead of exterior caulk are what keep driven rain out of the electrical box behind it.
Outdoor lighting circuits should be GFCI-protected. If the circuit feeding your motion light runs through a GFCI breaker or a GFCI outlet upstream, you're covered. If you're adding a brand-new circuit for a floodlight, have the electrician include GFCI protection — it's inexpensive and it's the device that saves you if water ever reaches the wiring. Nuisance GFCI tripping on a motion light almost always means moisture in a box or a nicked wire, not a bad GFCI; track down the moisture rather than bypassing the protection.
Use outdoor-rated boxes and covers, keep wire connections inside the box (never buried in a wall cavity), and use wire nuts rated for the wire gauge you're joining. For low-voltage landscape-style motion lights (12V systems), the rules relax considerably — no GFCI requirement on the low-voltage side — but keep the transformer itself indoors or in a weatherproof enclosure. When in doubt, our electrical safety tips walk through the fundamentals in more depth, and a licensed electrician is never the wrong call for new circuits.
What Motion Sensor Outdoor Lights Cost in 2026
Fixture prices first: basic floodlight-style motion lights run $40–$90, decorative motion sconces $35–$80, solar motion fixtures $25–$60, and smart or camera-integrated models $100–$250. Professional installation adds $150–$300 per fixture when new wiring is needed; a straight swap of an existing fixture is a DIY Saturday and costs nothing but the fixture.
The running-cost math is where motion sensors quietly win. Take a typical 20-watt LED floodlight. Left on all night (10 hours), it burns 200 watt-hours nightly — about 73 kWh a year. At the 2026 national average of roughly $0.18 per kWh, that's about $13 a year, per fixture. The same fixture in motion mode fires maybe 10–15 minutes total per night: roughly 5 watt-hours a night, under 2 kWh a year, about $0.35 a year. Across four fixtures, you're looking at roughly $50 a year always-on versus about $1.50 motion-activated. The fixture pays for itself in energy savings alone within the first year or two — before counting the security benefit.
Solar models cost nothing to run but plan on a battery replacement every 2–3 years ($10–$20 for the rechargeable pack). Smart camera models may carry cloud storage subscriptions of $3–$10 a month — check before you buy, because that subscription can quietly exceed the fixture's purchase price over its lifetime.
7 Mistakes That Cause False Triggers or Dead Zones
After helping friends troubleshoot these for years, I've seen the same seven errors on repeat:
1. Aiming down the path instead of across it. The classic. PIR sensors see sideways motion far better than approaching motion. Rotate the sensor head 90 degrees and half your problems vanish.
2. Mounting too high. Above 12–14 feet, sensitivity drops off and the light fires late or not at all for smaller visitors. Under-eave mounts at 15+ feet are the usual culprit.
3. Pointing at the street. Passing cars' headlights and hot exhaust trigger the sensor, and the light strobes all evening. Mask the lens or re-aim inward.
4. Ignoring the lux threshold. Left at the factory middle setting, many fixtures arm in late afternoon and burn through their purpose before real darkness. Dial it toward the dark end.
5. Heat sources in the field of view. Dryer vents, AC condensers, and grills radiate heat signatures that read as motion. Keep 6–8 feet of clearance and never aim at a vent plume.
6. Swaying vegetation. A branch swaying 15 feet from the sensor reads as a moving warm object on breezy nights. Trim back anything within the detection field, or narrow the range.
7. Never walk-testing at night. People install at noon, assume it works, and discover the dead zone at midnight. Always test after dark, walking every path a visitor would take — and the paths an intruder would take.
If your light fires constantly with no one around, work this list top to bottom; the culprit is almost always in the first four. If it never fires, check the lux threshold first, then height, then whether a nearby bright light is washing out the sensor.
Motion Sensor vs. Dusk-to-Dawn vs. Smart Scheduling
These three approaches get confused constantly, so here's the honest breakdown.
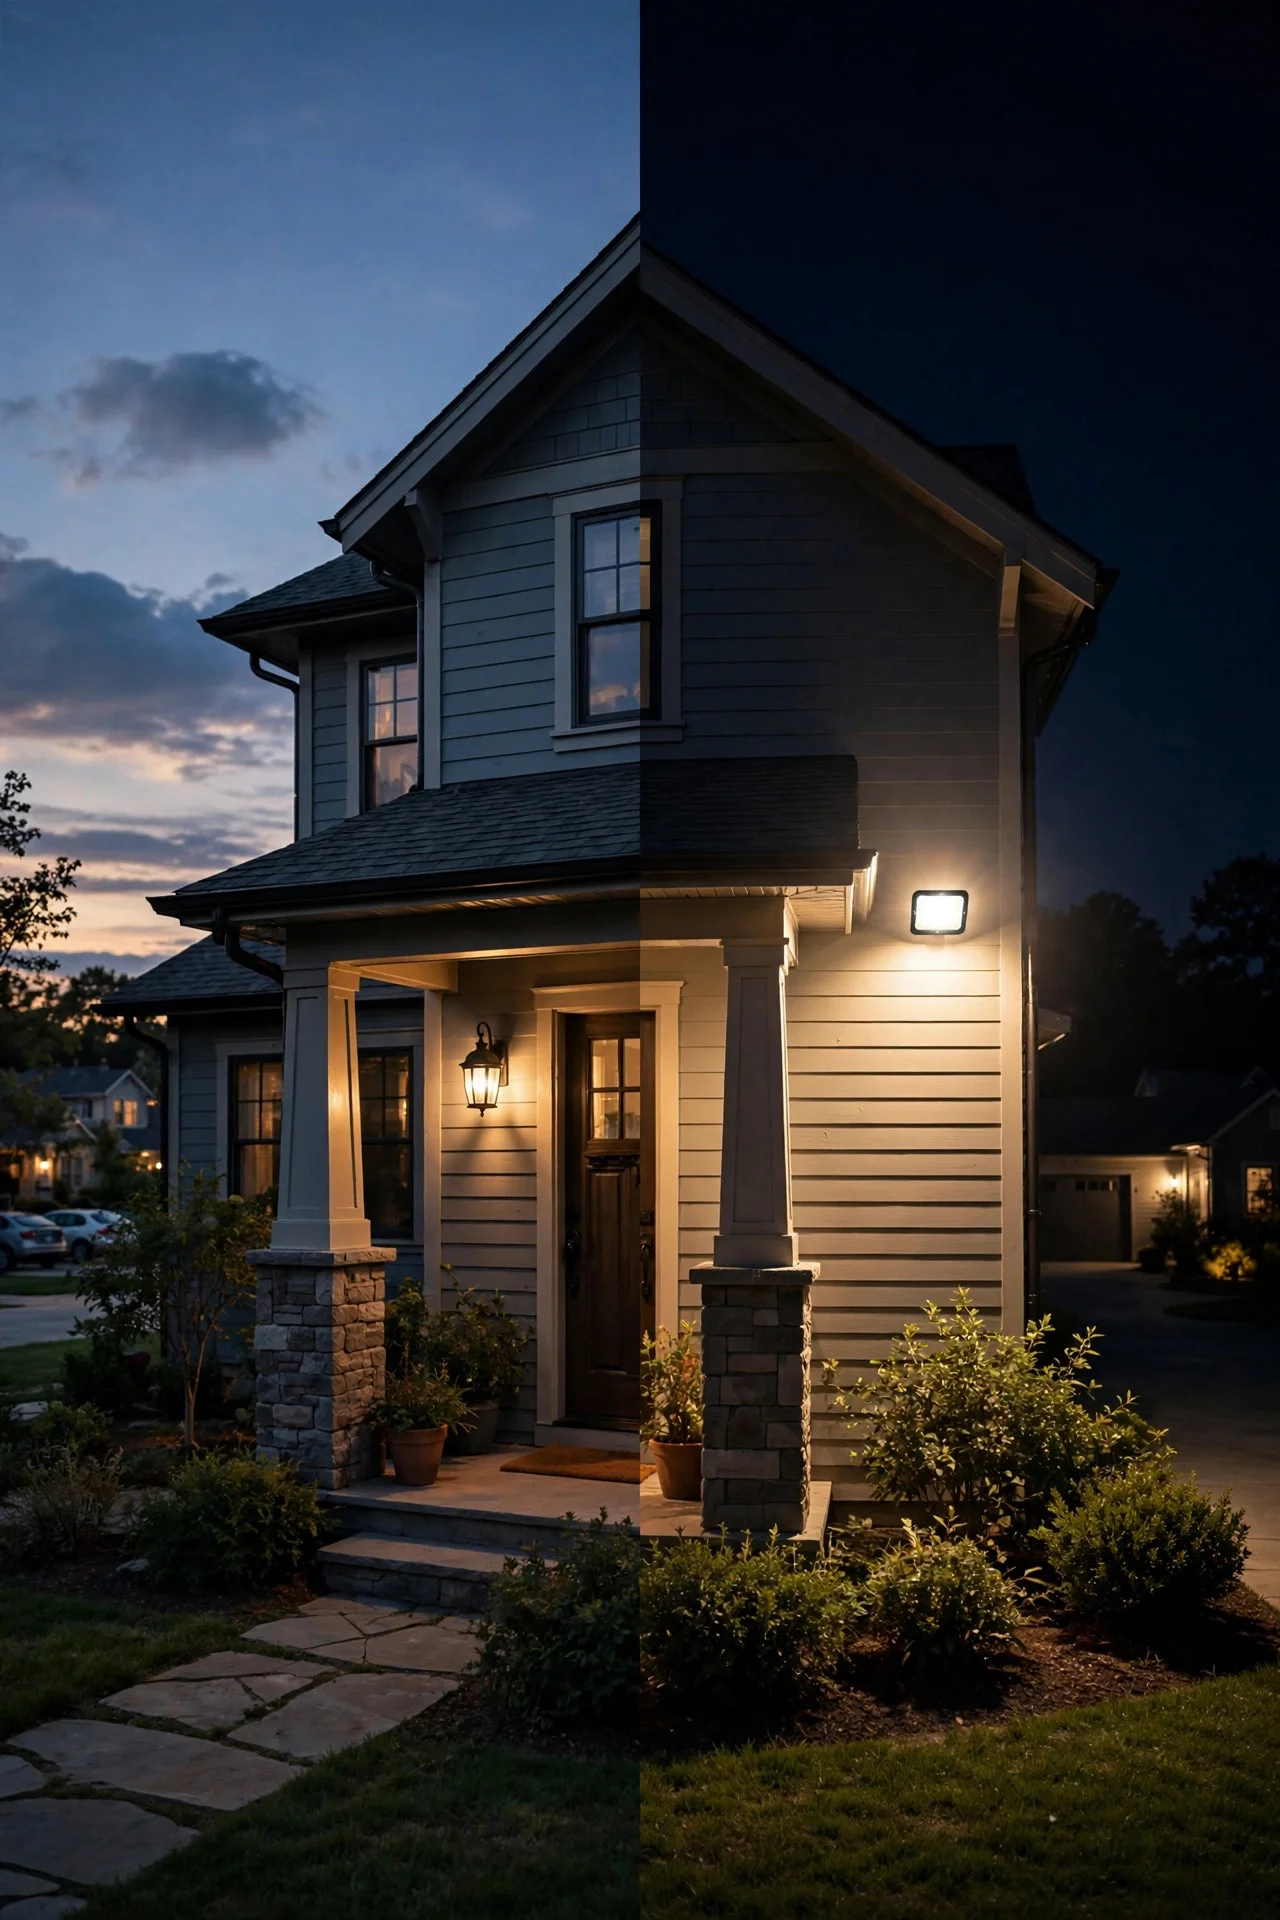
Dusk-to-dawn fixtures use a photocell to burn at low or full brightness all night. They're the set-and-forget choice: no tuning, always-lit curb appeal, great for a front porch you want glowing in every evening photo. The downside is energy — a 15-watt LED running 10 hours a night costs about $10 a year per fixture — and security experts will tell you a light that never changes is easy to ignore. Nobody looks twice at a porch that's always lit.
Motion sensor fixtures stay dark until triggered, then deliver a bright startle of light. They win on energy (pennies a year) and on deterrence — a sudden 2,000-lumen blast is far more attention-grabbing than a steady glow. The tradeoff: your house sits dark between triggers, which some homeowners find less welcoming, and a poorly tuned sensor can miss the very event you bought it for.
Smart scheduling (timers, app schedules, smart switches) runs lights on a clock — on at sunset, off at midnight, dimmed overnight. It's the best of both for curb appeal: welcoming light in the evening, savings after bedtime. But a schedule can't respond to the 2 a.m. delivery or the unexpected visitor; it lights the schedule, not the event.
My actual recommendation, and what I have on my own house: layer them. Dusk-to-dawn or scheduled low lighting on the front porch for welcome and curb appeal, motion-activated floodlights on the driveway, side yard, and back for security. The porch says "come on in"; the floodlights say "we see you." Different jobs, different tools.
Maintenance and Seasonal Adjustments
Motion sensor lights are low-maintenance, but "low" isn't "none." Twice a year — I do mine when the clocks change — give each fixture a five-minute check. Wipe the PIR lens with a soft damp cloth; dust, pollen, and spiderwebs film over it and quietly strangle sensitivity. Spiderwebs are the sneakiest culprit: a web across the lens reads as constant motion to some sensors, causing exactly the all-night cycling people blame on ghosts. A quick wipe fixes it.
Check the aim while you're up there. Fixtures drift — wind, ladder bumps, the slow settling of a mount — and a sensor that crept five degrees toward the street will start greeting traffic. Re-walk-test after any adjustment.
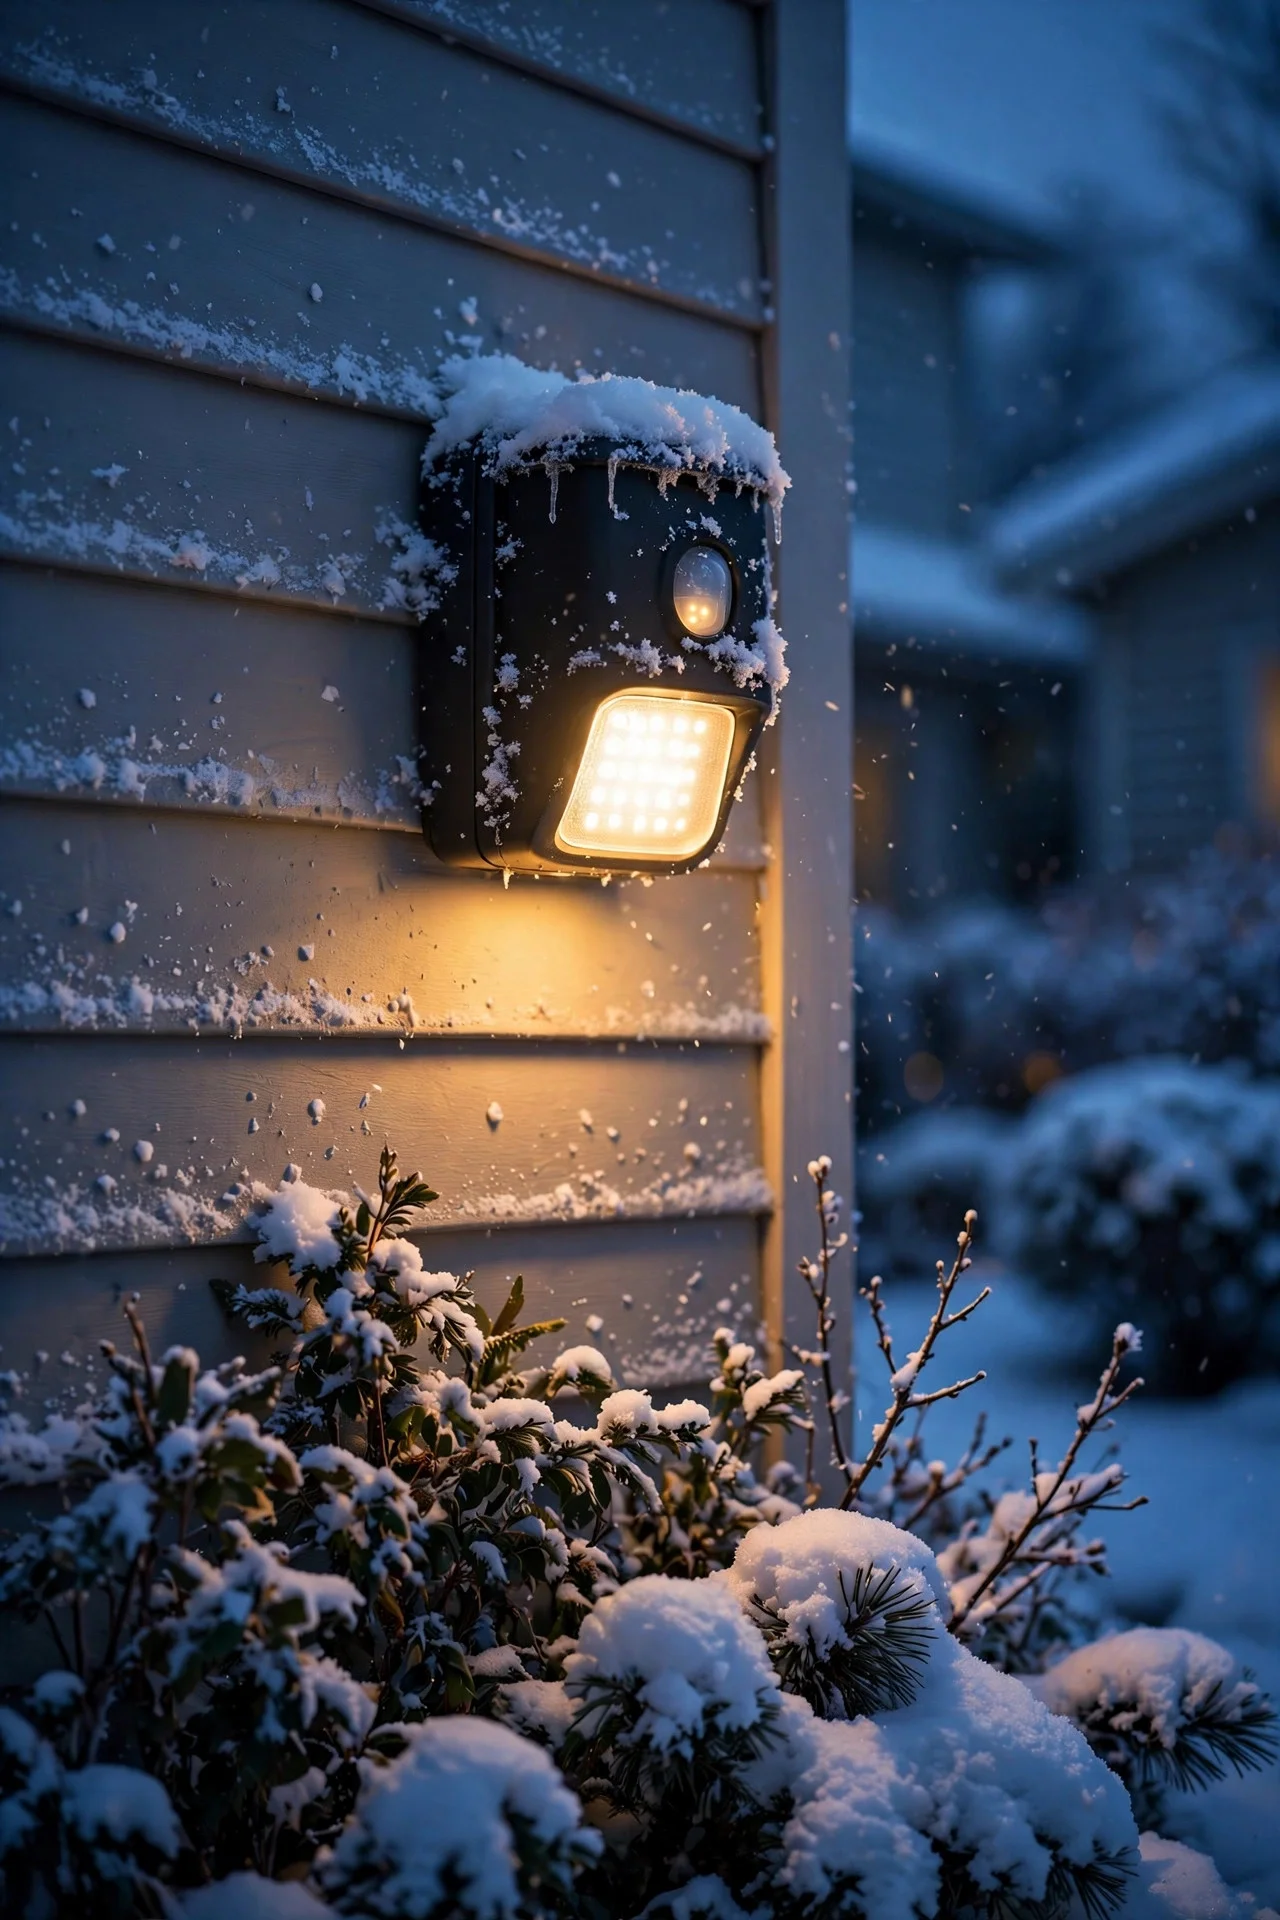
Seasonal tweaks matter more than people expect. In winter, cold air increases the temperature contrast between a person and the background, so sensors get *more* sensitive — dial sensitivity down a notch to avoid false triggers from small animals and wind-blown debris. Snow is reflective and can bounce enough ambient light onto the sensor to confuse the lux threshold; if the light stops firing after a snowfall, that's why. In summer, do the reverse: warm background air narrows contrast, so bump sensitivity up slightly. For solar models, winter's short days mean the battery may not fully charge — tilt the panel toward the low winter sun (a steeper angle, roughly your latitude plus 15 degrees) and clear snow off it promptly.
Finally, expect a sensor lifespan of 5–10 years. When a fixture starts firing erratically despite clean lenses and sane settings, the PIR element itself is usually aging out — replacement is cheaper than diagnosis.
Frequently Asked Questions
Why do my motion sensor lights keep turning on with no one there?
The top four culprits: the sensor is aimed at a street or sidewalk (passing cars and pedestrians), sensitivity is cranked too high, the lux threshold is set so it arms before full darkness, or heat sources like dryer vents and AC units sit in the detection field. Swaying branches and spiderwebs across the lens round out the list. Work through them in that order — re-aim across (not down) the path of travel, drop sensitivity to medium, dial the lux control toward the dark end, and clear 6–8 feet around heat sources. Nine times out of ten, it's one of these, not a defective fixture.
Do motion sensor lights work in winter? Can they see through glass?
They work *better* in winter in one sense: cold air increases the heat contrast between a person and the background, making detection crisper — though you may need to lower sensitivity to avoid extra false triggers. Heavy snow can confuse the lux sensor, so brush snow off the fixture. As for glass: no. PIR sensors cannot detect motion through windows or glass doors; glass blocks the infrared wavelengths they watch. A sensor mounted inside pointing out a window will never fire. Mount it outside, in the weather, where it belongs.
Are motion sensor lights compatible with LED bulbs?
Modern integrated-LED motion fixtures are designed for LEDs and that's what I recommend buying — the LED and sensor are matched at the factory. If you're adding a screw-in motion sensor adapter or a motion-sensing wall switch to an existing fixture, use dimmable-quality LED bulbs from a reputable line; cheap non-dimmable LEDs can flicker, buzz, or glow faintly when the sensor's electronics leak a trickle of standby current. And never pair a motion sensor with an old photocell timer in series — the two controls fight each other and you'll get erratic behavior.
How long do motion sensor lights last?
The LED portion typically lasts 25,000–50,000 hours — at motion-activated duty cycles, that's effectively decades. The PIR sensor itself is the limiting factor, usually 5–10 years before it gets erratic. Solar models need a battery swap every 2–3 years. In my experience, a quality wired fixture installed today will still be going strong in 2032; the failure points are almost always the sensor aging out, water intrusion from a failed gasket, or a GFCI trip from moisture — all fixable or replaceable without rewiring.
Can I make my existing outdoor lights motion-activated?
Yes, three ways. Easiest: screw a motion-sensor bulb adapter into the existing socket (about $15–$25) — it works with most standard fixtures and takes two minutes. Next: replace the wall switch with a motion-sensing switch ($25–$45), which is great when one switch controls several fixtures. Most thorough: swap the fixture for a purpose-built motion light ($35–$90), which gives you proper sensitivity, duration, and lux controls instead of the basic on/off of an adapter. Adapters are fine for a single porch light; for driveways and security zones, the purpose-built fixture is worth it.
The Bottom Line on Motion Sensor Outdoor Lights
Motion sensor outdoor lights are one of those rare upgrades that are simultaneously cheaper to run, better for security, and kinder to your neighbors' bedroom windows than the always-on alternative — *if* you respect the geometry. Mount them 8–12 feet high, aim across the path of travel, keep streets and heat sources out of the detection field, and spend twenty minutes at dusk dialing in sensitivity, duration, and the lux threshold. Do that, and you'll get a house that greets you with light when you come home, startles anyone who shouldn't be there, and sips pennies of electricity the rest of the night.
Start with the zone that bugs you most — the dark driveway, the side gate you can't see from the kitchen window, the back door you fumble with after dark — and get one fixture right before expanding. If this guide helped, browse our other outdoor lighting ideas for the porch, patio, and landscape layers that turn a well-lit house into a genuinely welcoming one.