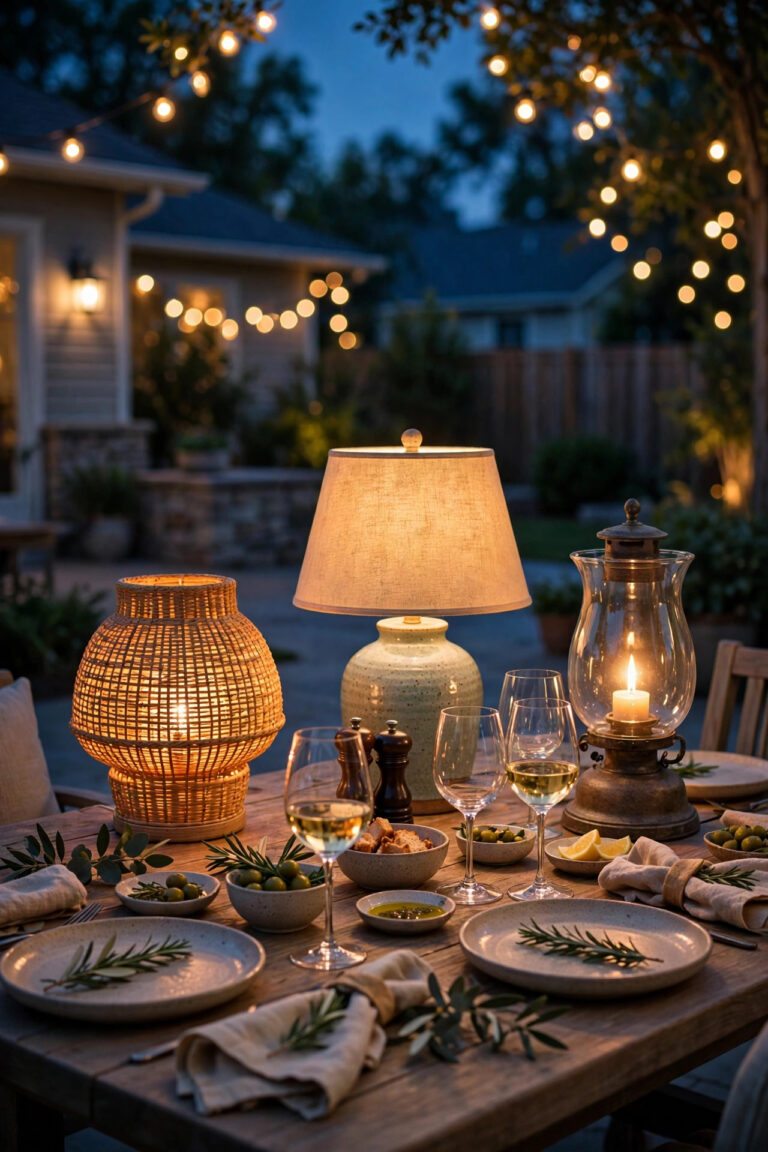
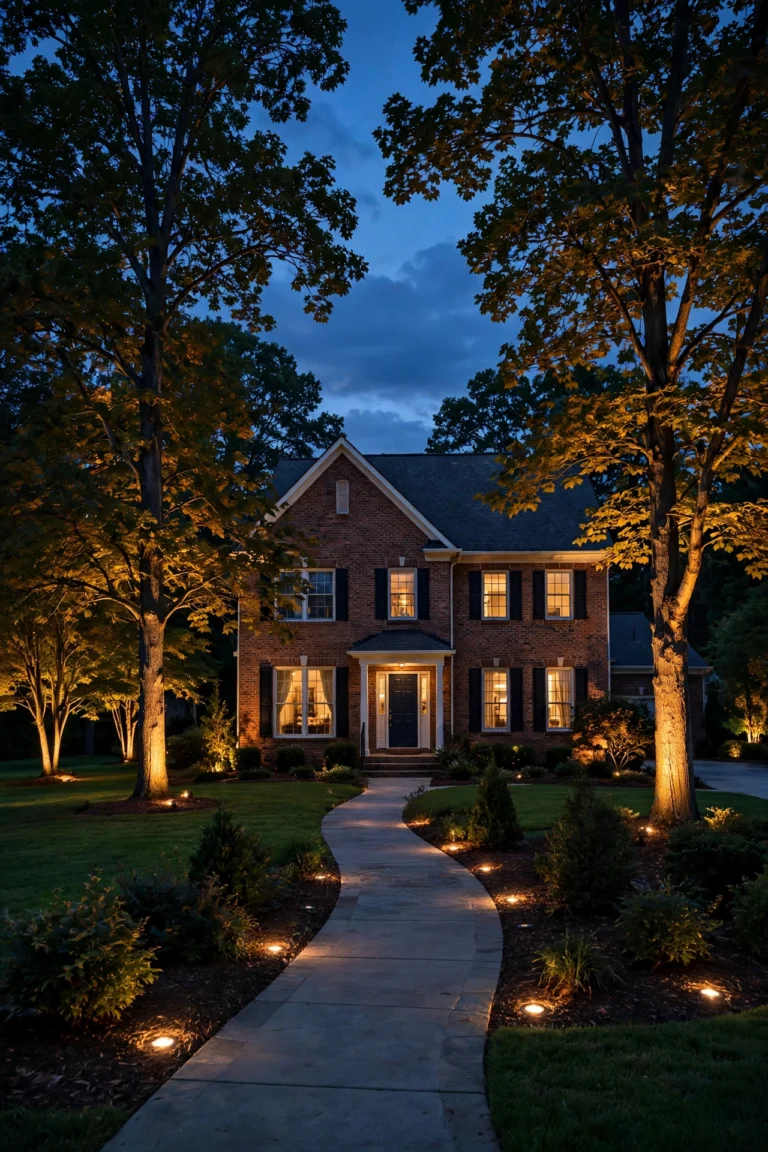
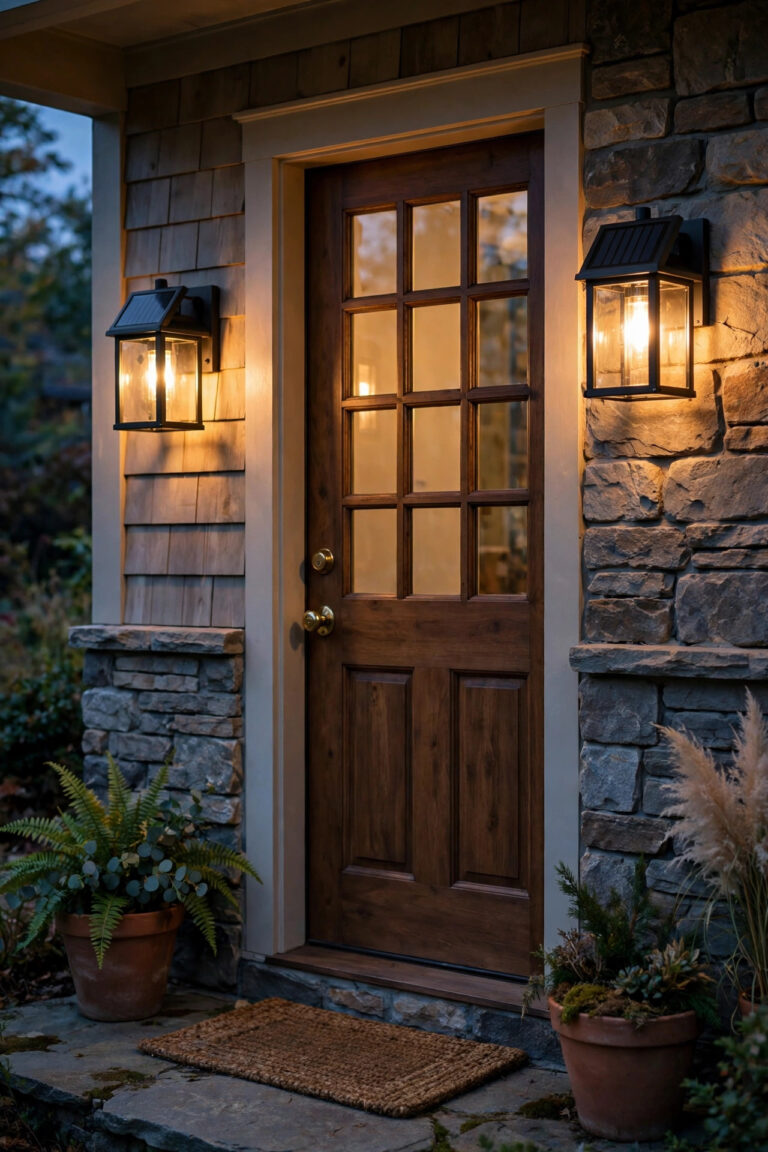
The nicest compliment my house ever got was from a neighbor who said, "Your place just glows at night — but where are the lights?" That's the whole charm of gutter mount lights and under-eave fixtures: they borrow the architecture you already have, tucking along the gutter line or up under the soffit, and pour warm light down your walls, walkways, and flower beds without a single fixture cluttering the yard. No stakes to mow around, no floods bolted crooked to the siding, nothing for the kids to trip over. If you've read my other posts, you know I'm a layering believer — path lights to guide, a porch light to welcome, and one quiet overhead layer to tie it all together. This is that overhead layer. Below are the 15 gutter and eave ideas I reach for again and again, from five-minute clip-ons to permanent tracks, with honest mounting rules (clamp, never screw into a gutter), spacing math, and a budget for each. Most need nothing more than a ladder and one free afternoon.

1. Clamp-On Gutter Mount Lights for an Instant Wall Wash
Start here if you want the look tonight. Clamp-on gutter lights grip the front lip of a standard 5- or 6-inch K-style gutter with a squeeze or screw clamp — no drilling, no sealant, nothing permanent. Each head tilts, so aim it down at roughly 45 degrees and it will wash a soft scallop of light down your siding or onto the walkway below. Space them 8 to 10 feet apart; a typical 40-foot front gutter takes four or five heads at 800 to 1,200 lumens each for a gentle wash rather than a stadium effect. Two rules I will not bend on: keep each fixture under about a pound so the gutter lip isn't stressed, and never, ever run a screw through the gutter itself — it voids most gutter warranties and invites leaks exactly where you least want them. Power them from a GFCI-protected outdoor outlet and put the whole run on a plug-in timer so it clicks on at dusk without you thinking about it. In my experience this is the highest ratio of glow to effort in all of outdoor lighting: twenty minutes on a ladder, and the house looks professionally lit.
Suggested budget range: $40 – $110.

2. Solar Gutter Clip Lights With Zero Wiring
These little clip-ons are the gateway drug of eave lighting. Each unit carries its own small solar panel on top, a battery inside, and a clip that hooks over the gutter edge, so a whole run installs from a ladder with no wire, no transformer, and no outlet at all. Be honest with yourself about output, though: most give 30 to 80 lumens, which is an accent glow, not security lighting. Used as a rhythm — one every 2 to 4 feet — they draw a pretty dotted line along the roofline and softly mark the edge of a porch or patio below. South- and west-facing gutters charge best; a north-facing run under a big tree will sulk by midwinter, in which case space them closer to compensate. Wipe the panels when you clean the gutters twice a year, and plan on swapping rechargeable batteries every year or two. Honestly? For a rental, a first apartment house, or a back porch you just want to feel finished, these are nearly impossible to beat for the money.
Suggested budget range: $25 – $60.

3. Recessed Soffit Downlights for the Built-In Look
If clip-ons are the rental solution, recessed soffit lights are the forever one. Slim 4- or 6-inch LED pucks set into the soffit — the flat underside of your eave — disappear completely by day and at night throw clean cones of light that graze brick, stone, and siding texture beautifully. Space them 4 to 6 feet apart, or align one over each window and door for a rhythm that looks like the builder planned it. Choose damp- or wet-location-rated fixtures, 2700K to 3000K, and around 600 to 900 lumens each; the light pools on the ground and reflects softly instead of glaring. Wiring is the catch: if your soffits have no existing circuit, this is an electrician job, full stop. Where a porch ceiling light or attic access already exists, a handy homeowner can often extend the run in a weekend. This is the single most "expensive hotel" look on the whole list, and the one guests most often assume cost a fortune. It didn't — it just looks like it did.
Suggested budget range: $150 – $450.

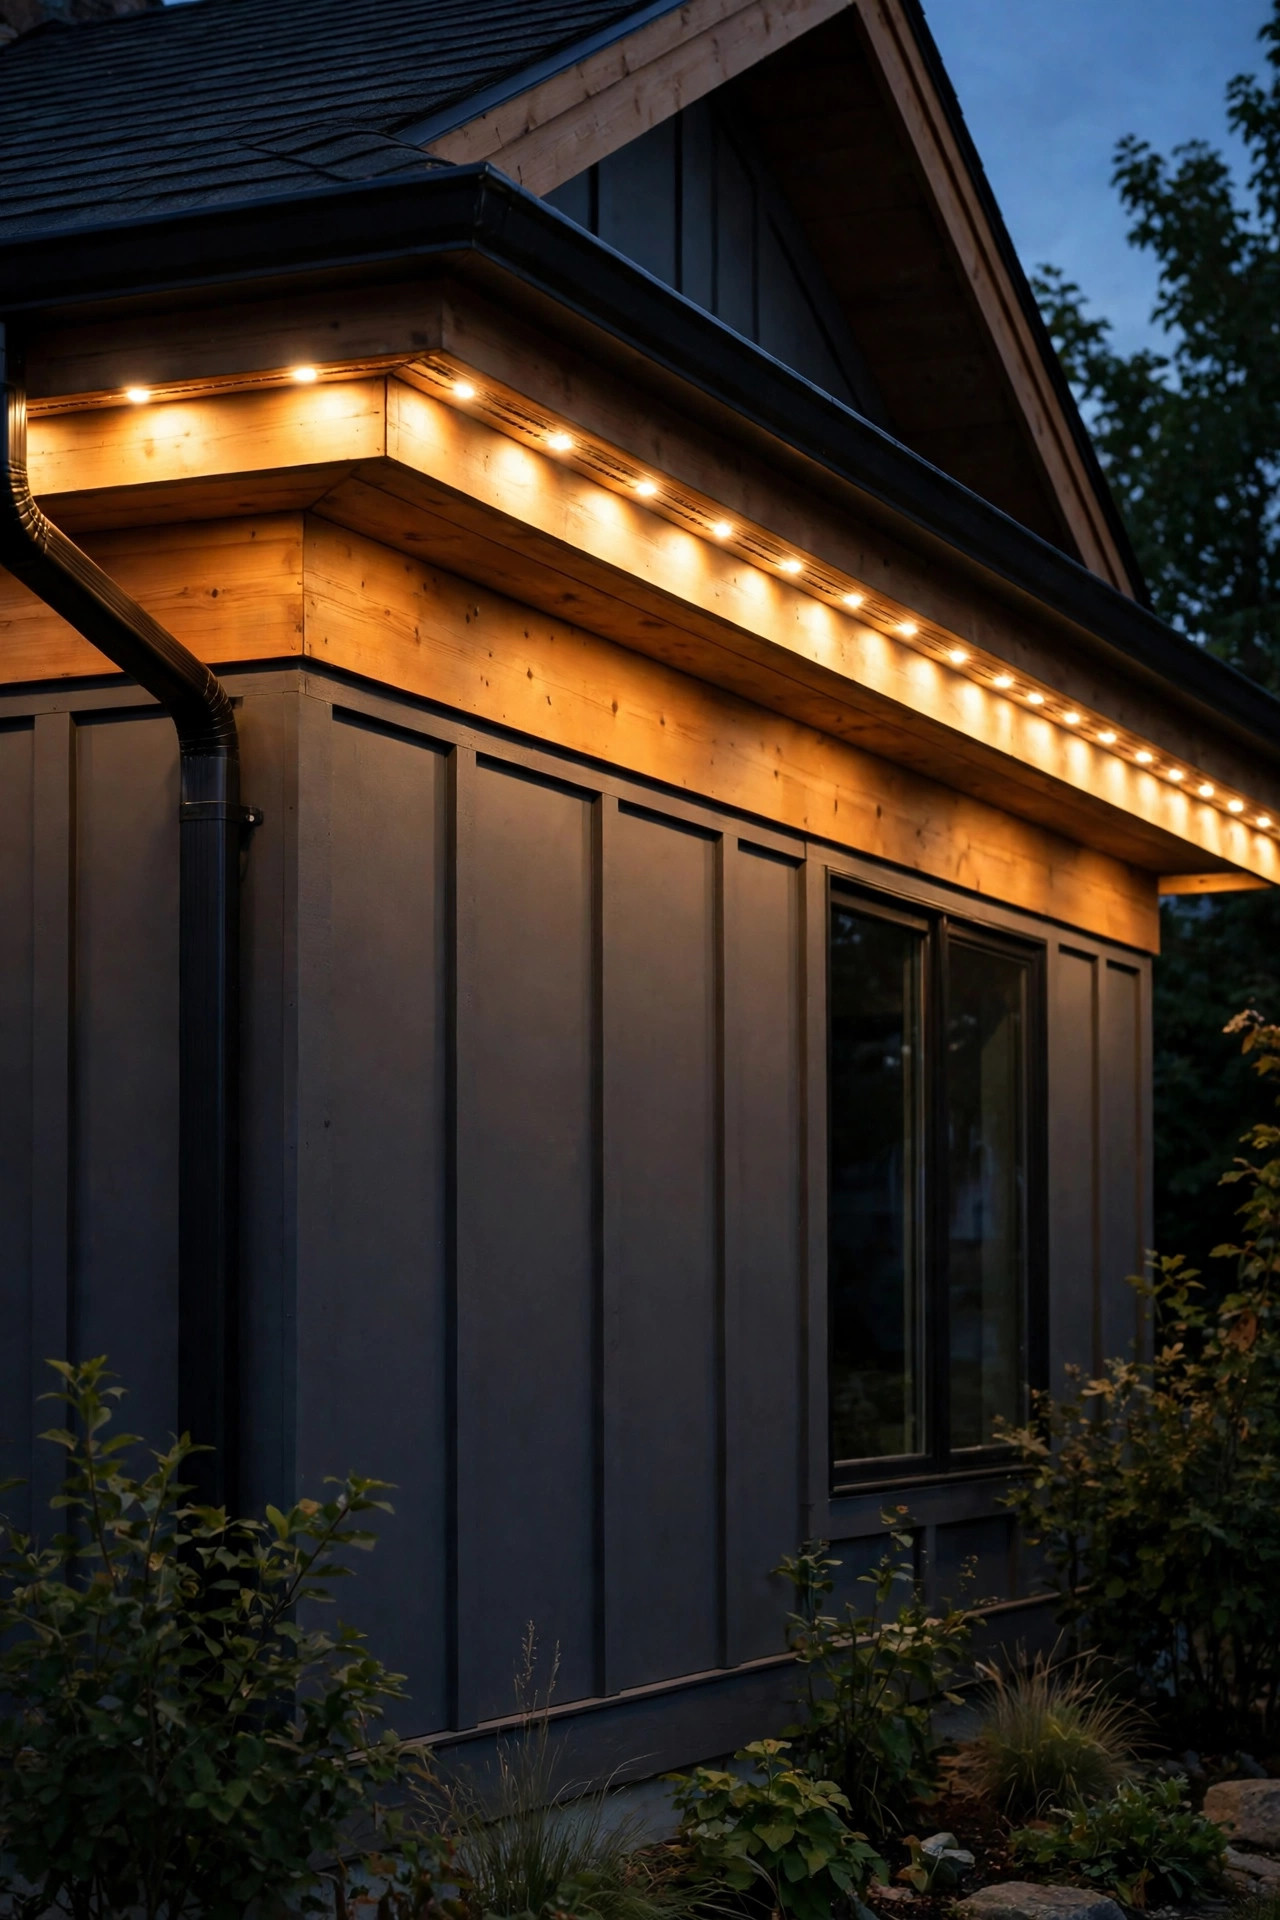
4. LED Strip Lights Tucked in a Channel Along the Fascia
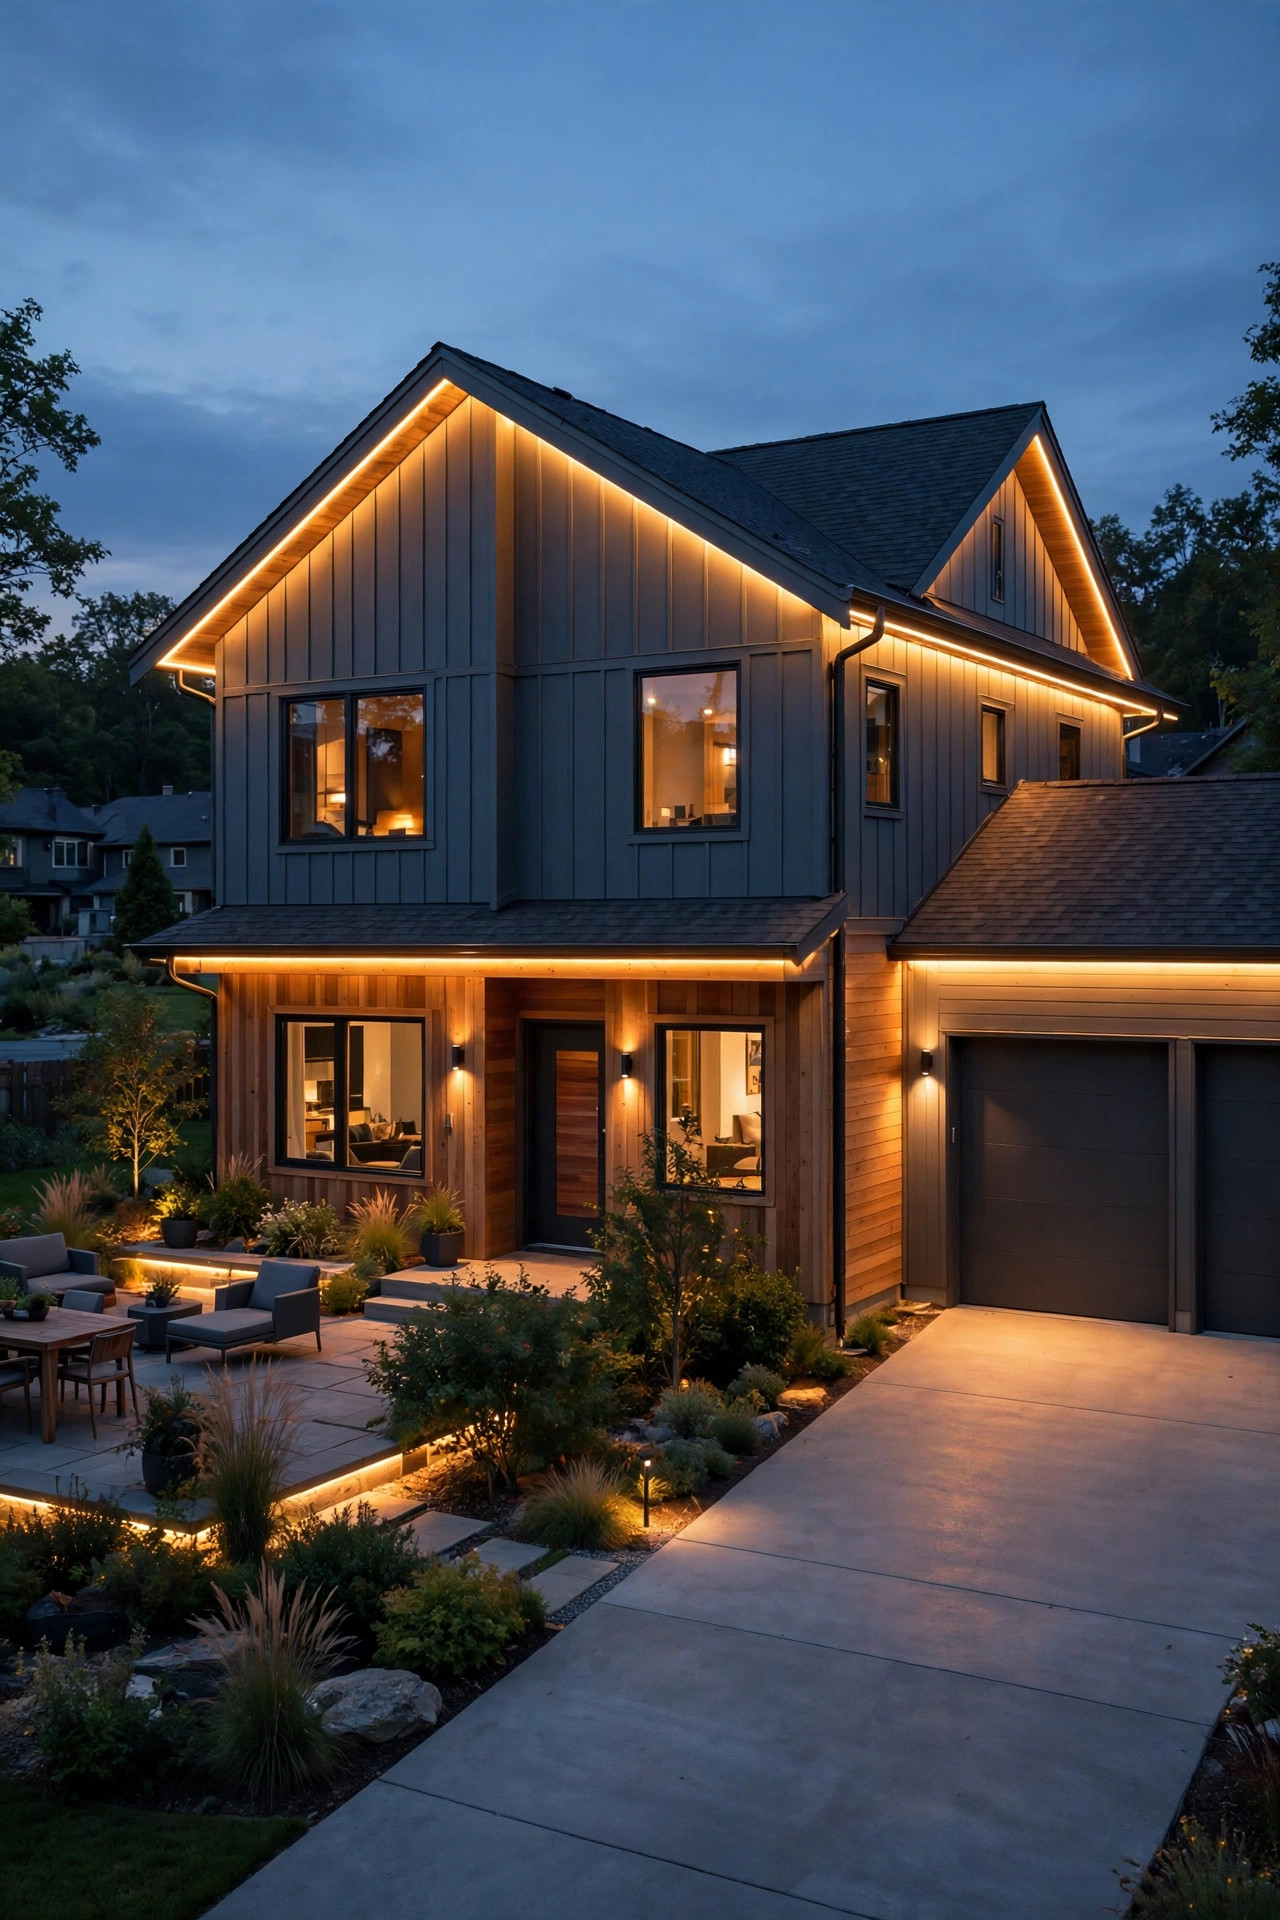
For a continuous line of light with no scallops and no visible dots, mount an outdoor LED strip in an aluminum channel with a frosted diffuser, screwed to the fascia board or the underside of the eave. The channel does three jobs: it hides the strip's individual diodes, it protects them from weather, and it gives the whole run a clean, finished edge. Aim the channel facing straight down for a wall wash, or at 45 degrees to throw light further into the yard. Use an IP65-rated strip and a 24-volt low-voltage driver tucked in the garage or attic, which keeps everything after the driver touch-safe. One 16-foot strip covers a garage door beautifully; longer runs just daisy-chain with waterproof connectors, minding the manufacturer's maximum run length so the far end doesn't dim. The effect over a patio or along a side eave is pure upscale-restaurant terrace — an even ribbon of light that makes everything under it look deliberate. It's also my favorite partner for string lights, because the strip handles the base glow and the strings just get to be the sparkle.
Suggested budget range: $60 – $160.

5. Permanent Track Lights Under the Eave for Every Season
This is where I sent my own money last year, and I'd do it again. A slim track mounts permanently along the fascia or under the eave, with small LED pucks every 9 to 12 inches that you control from an app — warm white for everyday evenings, color for holidays, all from fixtures nobody notices in daylight because the track paints to match your trim. If you've weighed this option before, my guide to permanent outdoor Christmas lights walks through the costs and styles in detail. The nightly setting matters more than the holiday one: a 2700K downwash at 30 percent brightness makes the house look occupied, welcoming, and quietly high-end 365 days a year. Installation is a ladder-and-drill afternoon for a one-story home; two-story peaks are where I hand it to a pro without a shred of guilt. Measure your roofline carefully before ordering, buy the kit with a few spare pucks, and route the controller somewhere weather-sheltered near an outlet.
Suggested budget range: $200 – $600.
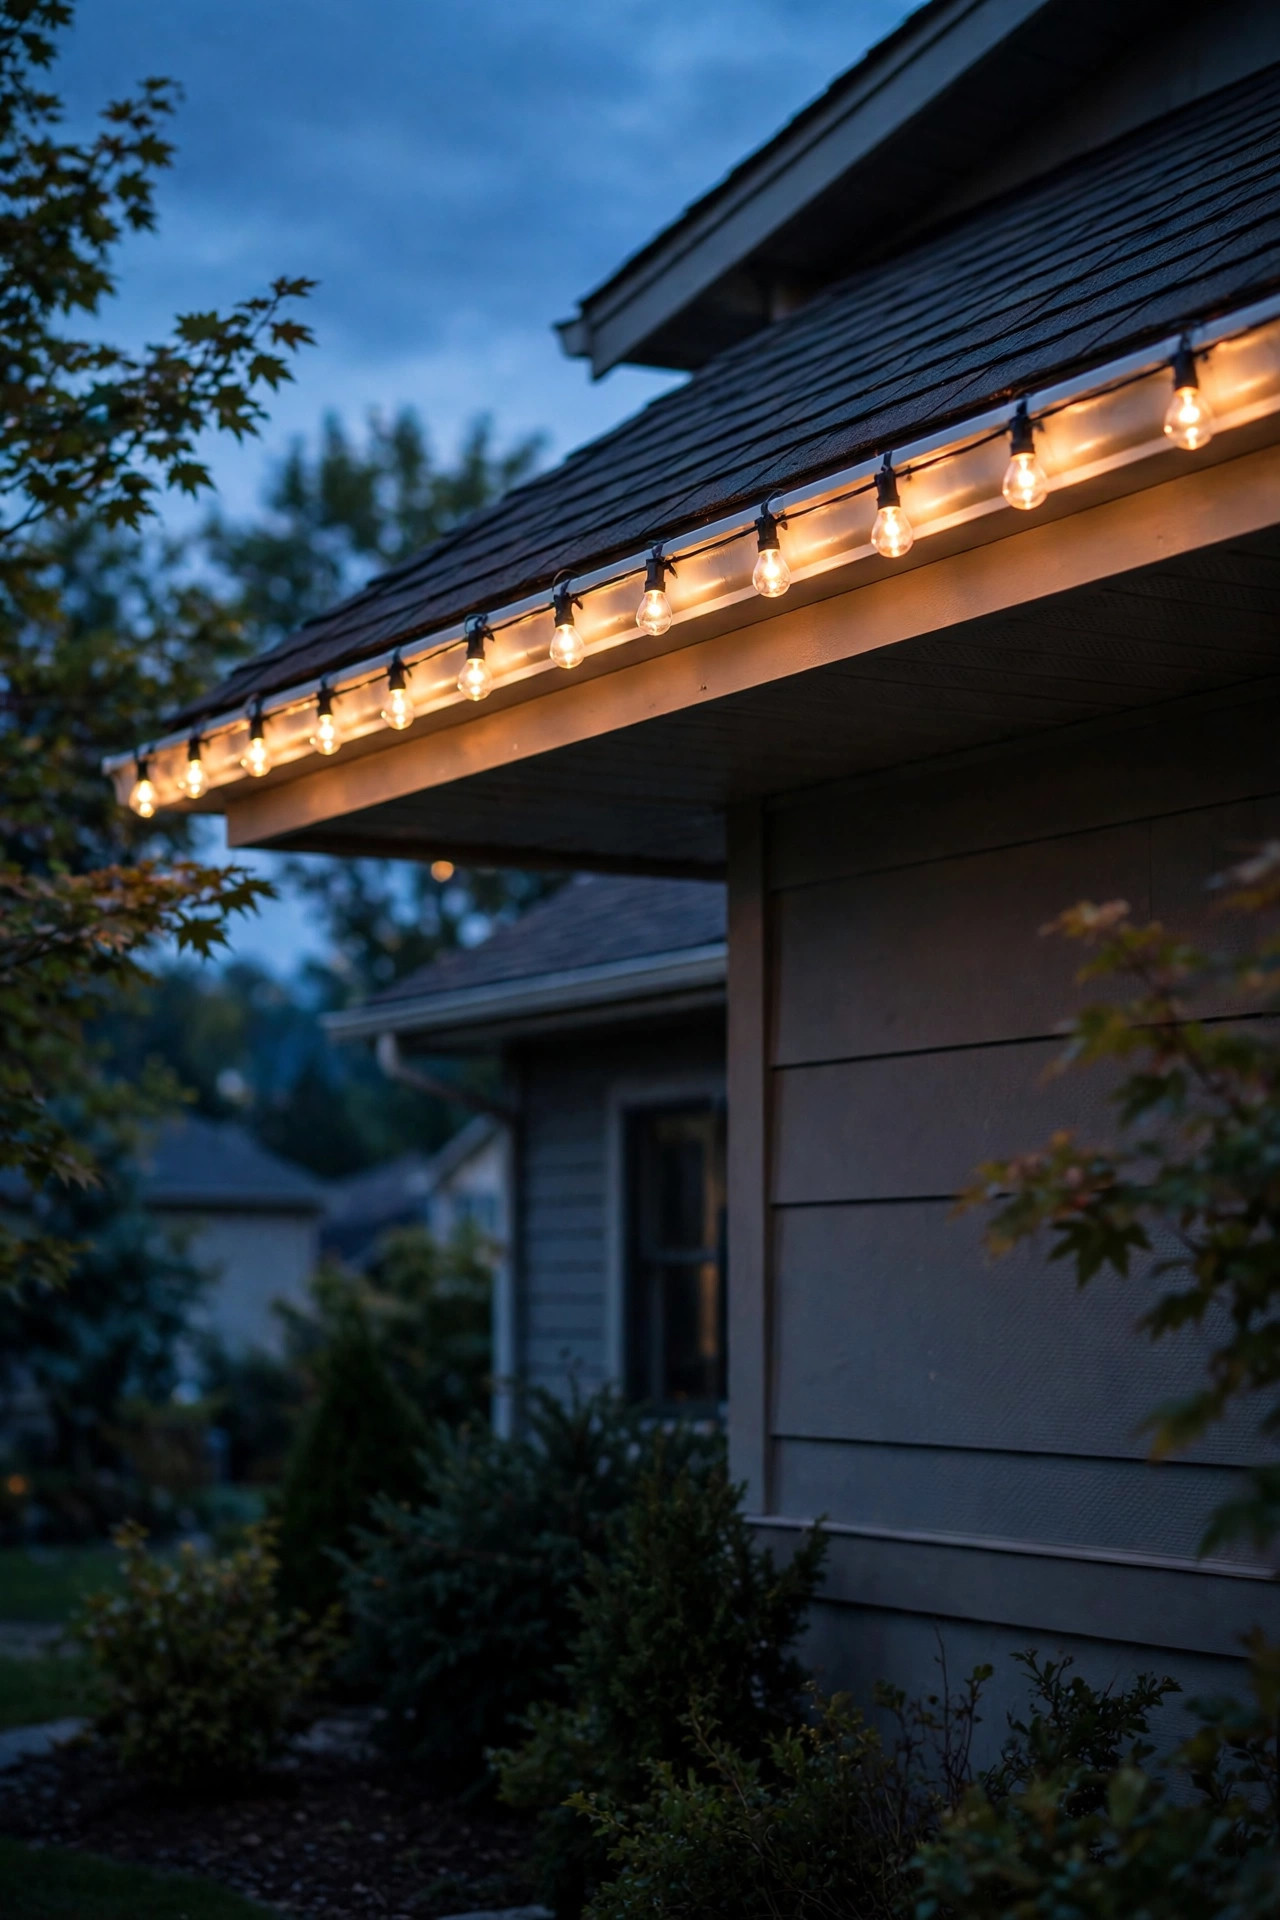
6. A Gutter-Line Bulb String for That Classic Roofline Glow
Some nights you don't want invisible — you want the postcard roofline. All-in-one gutter clips solve the yearly ladder wrestling match: each clip hooks over the gutter lip and holds one socket of a commercial-grade string, so a C9 or G40 run follows the roofline in a clean, even line. Use LED bulbs, always — a 25-bulb LED string sips what one old incandescent bulb used to drink, and cool bulbs near gutters and dry leaves are simply the safer choice. Clip every bulb rather than every other one; sagging spans are what make rooflines look tired instead of charming. My rhythm is to put the string up in November, enjoy it through the holidays, and then — here's the part people forget — you can absolutely leave a soft warm-white run up into January and February when the yard needs cheer most. Take it down by spring so UV doesn't chalk the sockets. Paired with the clamp-on washes from earlier in this list, the roofline becomes the frame and the wall wash becomes the picture.
Suggested budget range: $35 – $90.
7. Motion-Sensor Lights Mounted Under the Eave
The under-eave spot above the garage is the hardest-working light position on a house, and mounting the sensor fixture up under the soffit instead of on the wall keeps it discreet and weather-sheltered. A dual-head LED unit at 1,500 to 2,500 lumens lights the whole driveway apron when it triggers, then drops to a dim standby glow — or off entirely — so your neighbors aren't blasted all night. Aiming is everything here: angle the heads down and inward so the beam lands on your concrete, not across the street, and walk the sensor's detection zone at night to tune out passing cars. If you want the full geometry, my notes on outdoor flood light placement cover heights and angles in depth. Set the timer to one or two minutes — long enough to get groceries in, short enough to stay polite. In my experience, one well-aimed eave sensor replaces three badly aimed wall floods, and it never once shows up in daytime photos of the house.
Suggested budget range: $45 – $120.

8. Why Gutter Mount Lights Should Aim Down, Not Out
Here is the rule that quietly separates lovely eave lighting from the stuff people complain about: light from gutters and eaves should travel down, never out or up. Downward light mimics moonlight, pools where people actually walk, and keeps glare out of drivers' eyes and your neighbors' bedroom windows. The moment an eave fixture tilts outward, it stops lighting your home and starts lighting the street's opinion of you. There's a real design debate here, and I laid out both sides in my comparison of uplighting vs. downlighting — but for anything mounted at the roofline, down wins almost every time. Practically, this means choosing fixtures with adjustable heads and shields, aiming for a spot roughly 6 to 10 feet out from the foundation for floods, and standing across the street at night to check your work. If you can see the bare bulb from the sidewalk, it's aimed wrong. Fix the angle before you fix anything else — it costs nothing and changes everything.
Suggested budget range: $30 – $90.

9. Mini Gutter-Clip Spotlights for Numbers, Flags, and Wreaths
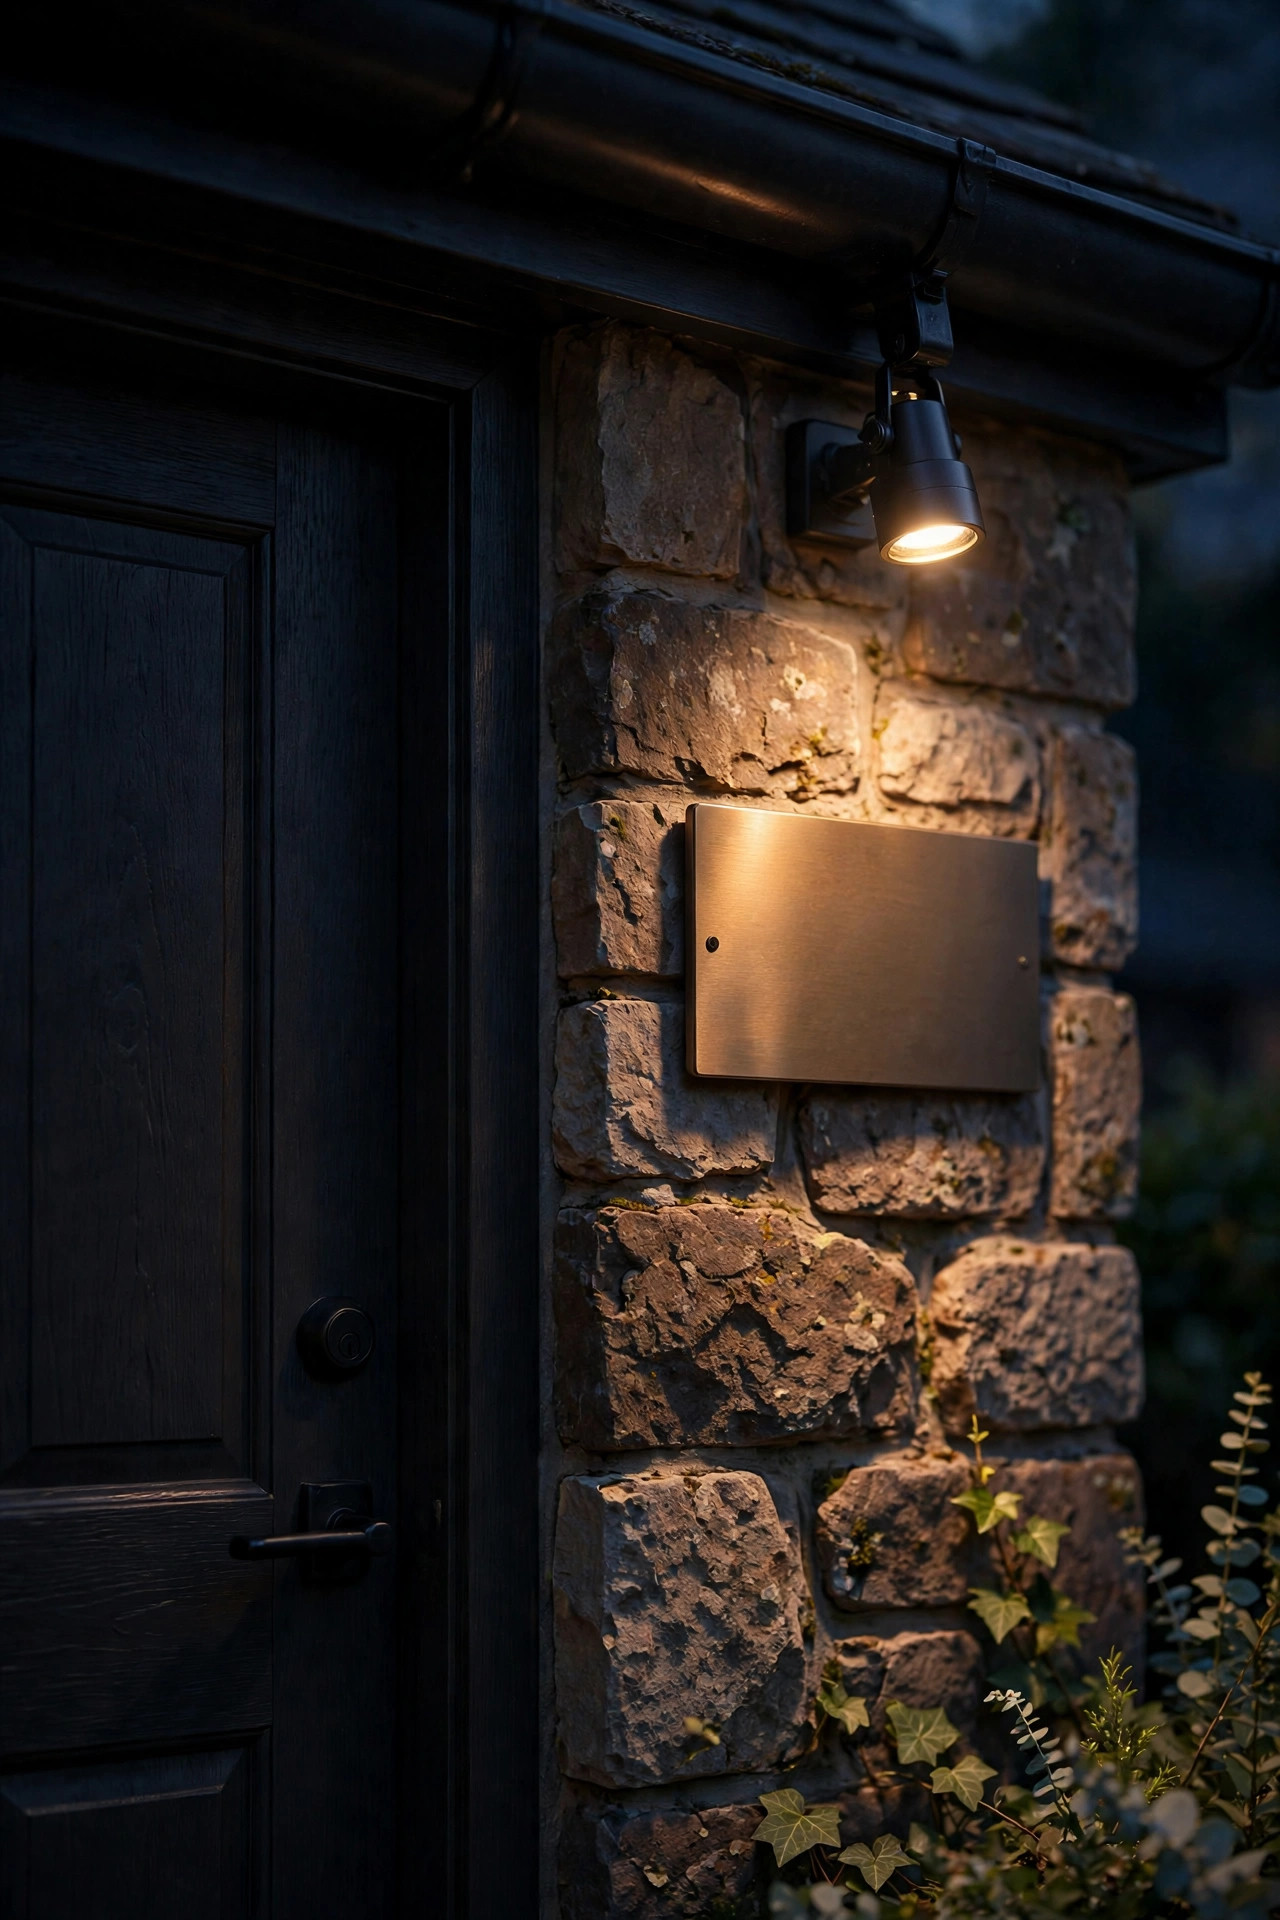
Not every eave light needs to wash a whole wall. Small clip-on spotlights — the 100- to 300-lumen kind, solar or low-voltage — are perfect for the little targets that make a house look cared for: the address numbers guests squint for, the flag that deserves its glow if it flies after dark, a wreath at the holidays, or one specimen shrub below the eave that earns a highlight. Clip the spot to the gutter, run the head on its little gooseneck or swivel, and dial in a narrow beam. This is detail lighting, so restraint is the skill: one accent per view is elegant, five is a yard sale. I run a single spot on our house numbers year-round and add the wreath spot in December, and those two tiny lights get more comments than fixtures ten times their size. Solar versions with the panel angled up toward the sky work fine at this scale; just keep the panel out from under the gutter's shadow line at midday.
Suggested budget range: $20 – $70.
10. Pick 2700K to 3000K and Match Every Layer
Color temperature is where good gutter lighting quietly goes wrong. The fixtures themselves can be identical, but hang a 5000K daylight unit in the eave above your warm 2700K porch light and the house looks like two buildings arguing. Daylight bulbs read blue and harsh against siding, wash out brick, and make warm landscaping look muddy by comparison. My rule: 2700K for anything near the porch, path, and living spaces, 3000K as the absolute ceiling for driveway and security zones where you want a touch more clarity. Before committing to a full run, buy one fixture, mount it at dusk, and stand at the street with your existing layers on — your eye will tell you in five seconds whether it belongs. If your house layers were installed over several years, tunable-white fixtures are the peace treaty: dial each one to match its neighbors and lock the setting. Consistency is what makes lighting look designed rather than accumulated, and at the roofline, where the whole street can see it, consistency matters most.
Suggested budget range: $25 – $80.

11. Adjustable-Bracket Lights for Guards, Half-Rounds, and Steep Pitches
Real houses complicate the catalog photos. If you have gutter guards, half-round gutters, copper gutters you refuse to clamp hard, or a steep roof pitch that puts the gutter at an odd angle, look for fixtures on multi-angle bracket arms with ball-joint heads. The bracket grips the fascia or slips under the first shingle course instead of squeezing the gutter, and the jointed head still lands its beam straight down where you want it. Some mounts hook the guard itself — fine for featherweight solar accents, not for anything with real heft, so distribute weight across several brackets on longer fixtures. Test one position through a rainstorm before committing to the full run; a mount that's sturdy on a dry Saturday can creep in wind-driven rain. Honestly, this is the idea that rescues the houses the simple clips can't serve, and the finished result looks identical to the easy houses. Nobody standing at the curb can tell your brackets were the complicated kind — they just see the glow.
Suggested budget range: $35 – $100.

12. Solar Eave Lights for the Side Yard With No Outlet
Every house has that forgotten side — the gate, the bins, the utility run — with no outdoor outlet and no light except what spills from a neighbor's yard. Gutter-mounted solar fixtures were made for this. The better designs separate the panel from the head on a few feet of cord, so the light can sit under the side eave while the panel rides up to the sunny roof edge; that's the difference between a light that works in December and one that gives up by Thanksgiving. Pick motion-activated models at 400 to 800 lumens for these runs — full brightness when you're hauling the trash out, darkness the rest of the night, and the battery easily survives on winter sun. Mount one over the gate latch and one mid-run, and a trip down that side stops being a phone-flashlight expedition. It's the least glamorous idea on this list and the one my household thanks me for most often, usually while carrying something with both hands.
Suggested budget range: $30 – $85.

13. Layer the Gutter Run With Path and Porch Lights
A gutter run on its own can look like a runway; layered with the rest of your lighting, it looks like a home. Think of the layers by height: eave lights wash down from 9 to 12 feet, sconces and porch fixtures glow at eye level, and path lights pool at ankle height. The magic is in the overlap — each layer should hand the eye to the next with no dark gaps and no single layer shouting over the others. Practically, that means your eave floods dim a notch once the path lights are in, and fixtures stagger rather than stack: don't park a gutter light directly above a path light, or you get one hot column instead of a gentle rhythm. Stand at the street and squint. If your eye travels smoothly from roofline to front door to walkway, the layering is right. If it snags on one bright spot, dim or re-aim that one fixture. This is the same principle I use on every front yard I touch, and the roofline layer is always the last one I adjust — it sets the ceiling for everything below it.
Suggested budget range: $80 – $250.

14. Put It All on Timers, Photocells, or Smart Control
Eave lights you have to remember are eave lights that stay off. Every idea on this list earns an automatic control: a photocell for simple dusk-to-dawn fixtures, an astronomical timer that tracks sunset through the seasons for plug-in runs, or smart control for the track and tunable systems so you can dim from the couch. My own schedule is boring on purpose — on at dusk, down to a low glow or off at 11 p.m., motion sensors taking the night shift after that. Vacation mode randomizes the pattern slightly, which, layered over a lit porch, reads convincingly like someone's home. One caution: if a fixture has its own built-in photocell, don't stack a smart plug in front of it and expect them to cooperate; pick one boss per circuit. Set it up once in October when the evenings draw in, and the roofline will simply take care of itself until you change your mind in spring.
Suggested budget range: $15 – $60.

15. Your Whole-House Gutter Mount Light Plan, Front to Back
Here's how I'd plan it as one project. Walk the house at dusk with your phone and note the zones: the front facade wants a wash (ideas 1, 3, or 4), the driveway wants a sensor (idea 7), the sides want accents and utility light (ideas 9 and 12), and the back eave over the patio wants whatever makes dinner outside feel good. Choose one fixture family per zone, keep every bulb between 2700K and 3000K, and install the front first — it's the view that sells you on finishing the rest. Phase the budget across a season if you like; the clamp-on and solar pieces can hold the fort while you save for recessed or track work. Then fold the roofline into your existing gutter routine: twice a year, when the gutters get cleaned, wipe the lenses, check the clamps, and re-aim anything the ladders bumped. Do that, and gutter mount lights become the easiest layer you own — set into the architecture, running themselves, and still making the neighbors ask where the lights are.
Suggested budget range: $250 – $700.
Frequently Asked Questions
Will gutter mount lights damage my gutters?
Clamp-on and clip-on styles won't, as long as you respect two limits: keep each fixture light (about a pound or less per clamp) and never drill or screw through the gutter, which can void its warranty and start leaks. Spread fixtures along the run rather than clustering weight in one span, and check clamps when you clean the gutters twice a year. Fascia- and soffit-mounted fixtures avoid the gutter entirely.
Are gutter and eave lights bright enough to light a whole yard?
They're a wash and accent layer, not task lighting. A clamp-on flood at 800 to 1,200 lumens nicely covers the wall and the 6 to 10 feet of ground below it; small solar clips at 30 to 80 lumens are pure accent. For a big yard you'll still want path lights at ground level and a stronger sensor flood over the driveway — the eave layer's job is the even glow that ties them together.
Solar or wired gutter lights — which should I choose?
Wired and low-voltage fixtures win on brightness, consistency, and winter performance, and they're the right call for front facades and security zones. Solar wins on installation: no outlet, no wire, five minutes per fixture, which makes it perfect for side yards, fences, rentals, and accent spots. Many good-looking houses, mine included, run wired in front and solar on the sides.
Can I install eave lights myself, or do I need an electrician?
Clip-on solar, clamp-on floods, and plug-in strings are all comfortable DIY from a ladder. Low-voltage strips and spots are DIY-friendly too, since everything past the driver is touch-safe. Hardwired recessed soffit lights are different: if a suitable circuit already exists nearby, a confident homeowner can extend it, but new circuits, new switches, or anything inside the panel should go to a licensed electrician. Either way, work from a stable ladder and never mount in the rain.
Conclusion
Gutter mount lights work because they ask so little of you: they borrow the roofline you already own, aim down like moonlight, and run themselves on timers while staying nearly invisible by day. Start with a clamp-on wash or a row of solar clips on the front gutter, keep everything in that warm 2700K to 3000K family, and layer the roofline glow over your porch and path lights until the whole house reads as one calm, deliberate picture. Then browse more of our outdoor lighting ideas here on the site — your porch, paths, and garden beds deserve the same treatment.