The sun goes down, but nobody at our house is ready to go in — least of all the kids orbiting the swing set. That nightly negotiation is exactly why I fell down the rabbit hole of backyard playset lighting ideas, and honestly, it changed how our whole yard feels after dark. Done right, playset lighting is equal parts safety and magic: kids can see the ladder rungs and the trampoline edge, you can see them from the patio, and the play zone glows like a little backyard carnival instead of disappearing into the dark. My approach is the same layering I use everywhere — soft ambient light up high, gentle pools of light at ground level, and zero glare in small eyes. Below are the fifteen setups that have worked for us and for the friends I've helped, mixing solar quick wins with low-voltage staples. Every idea keeps cords out of the fall zone, uses cool-to-touch LEDs, and comes with an honest budget, so you can start with one weekend project and build from there.
1. String Lights Over the Play Zone: Where Backyard Playset Lighting Ideas Begin
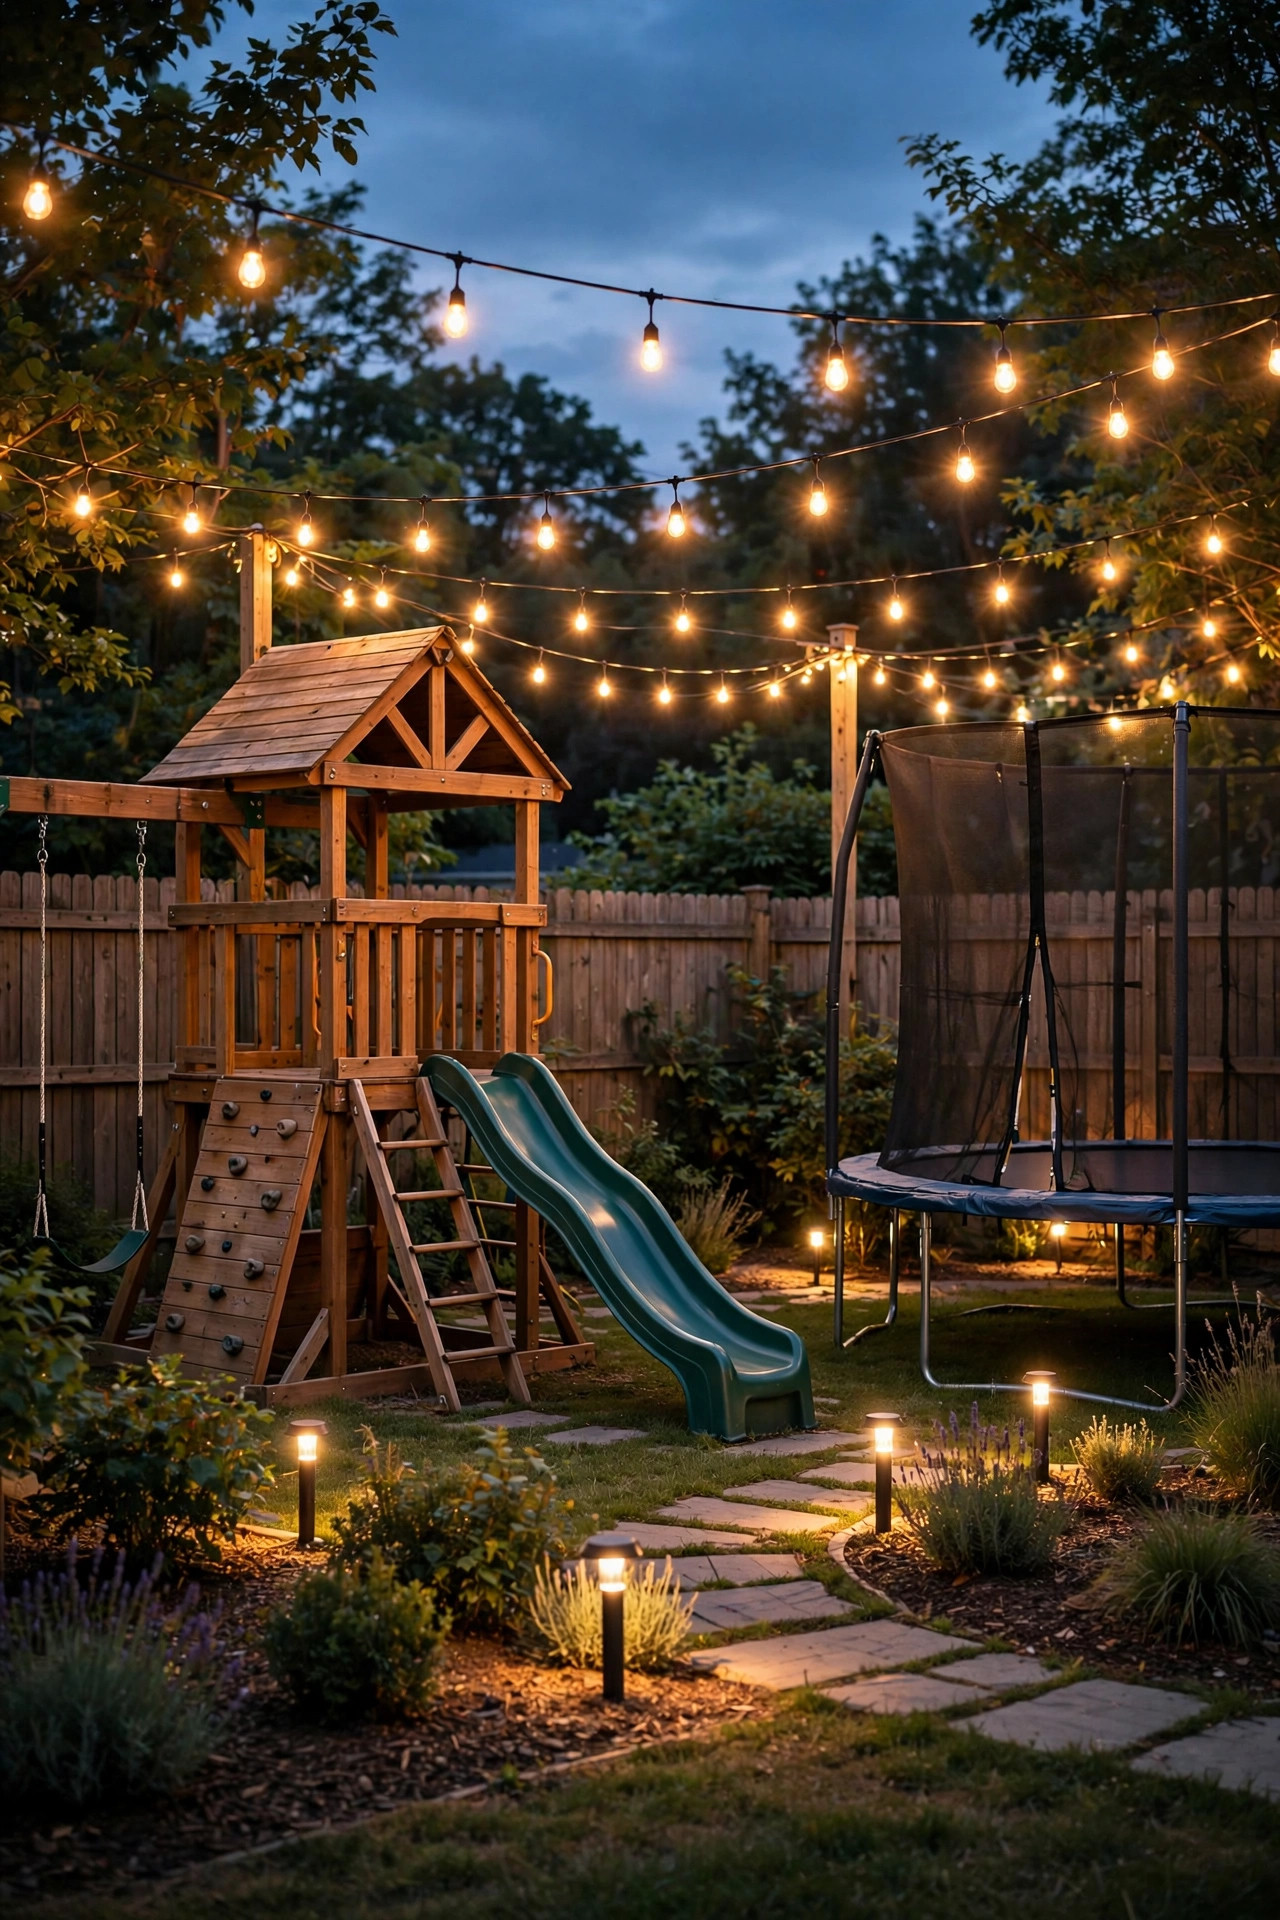
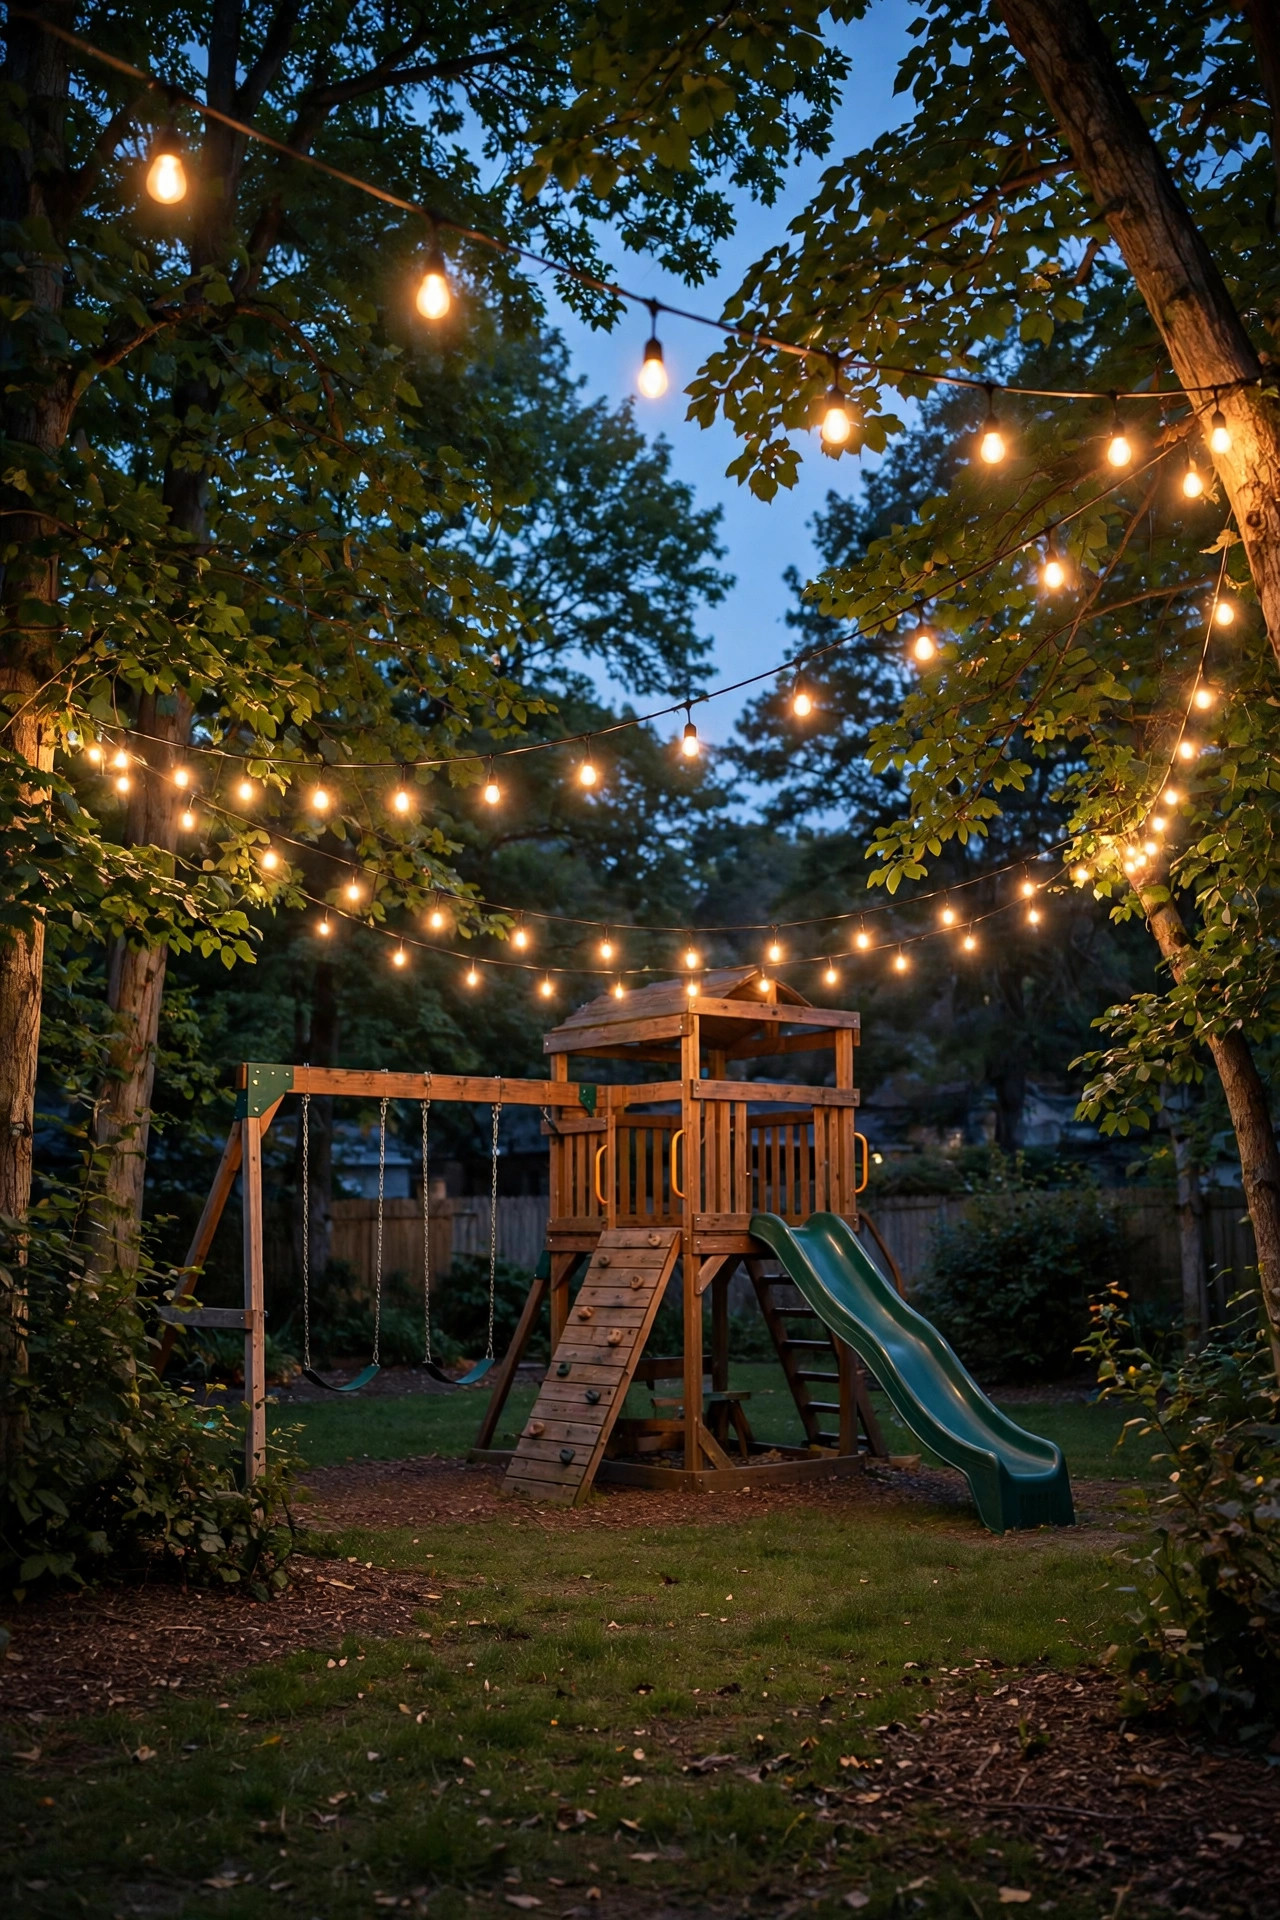
If I could only pick one idea on this list, it would be string lights swagged around — never directly over — the play zone. Run two or three strands between trees, fence posts or sturdy guide poles so they frame the playset like a ceiling without hanging in the swing arc; a swinging kid plus a low strand is a combination nobody needs. Keep the lowest point of every swag at least 8 feet above the ground, and use commercial-grade outdoor strands with shatterproof LED filament-style bulbs, so a stray soccer ball can't rain glass into the mulch. Hang the strands from a steel guide wire rather than letting the cord bear the weight, and give each swag a gentle sag of about a foot per 10 feet of run. Warm 2700K bulbs keep it cozy rather than carnival-harsh, and a dimmer takes it from "soccer game" down to "bedtime story" in one slide. I rounded up more bistro string light ideas in a separate post if you want hanging patterns and pole plans. At our house, these strands are the layer everything else supports — the glow that makes the whole play zone feel like a destination.
Suggested budget range: $90 – $240.
2. Path Lights From the Patio to the Playset
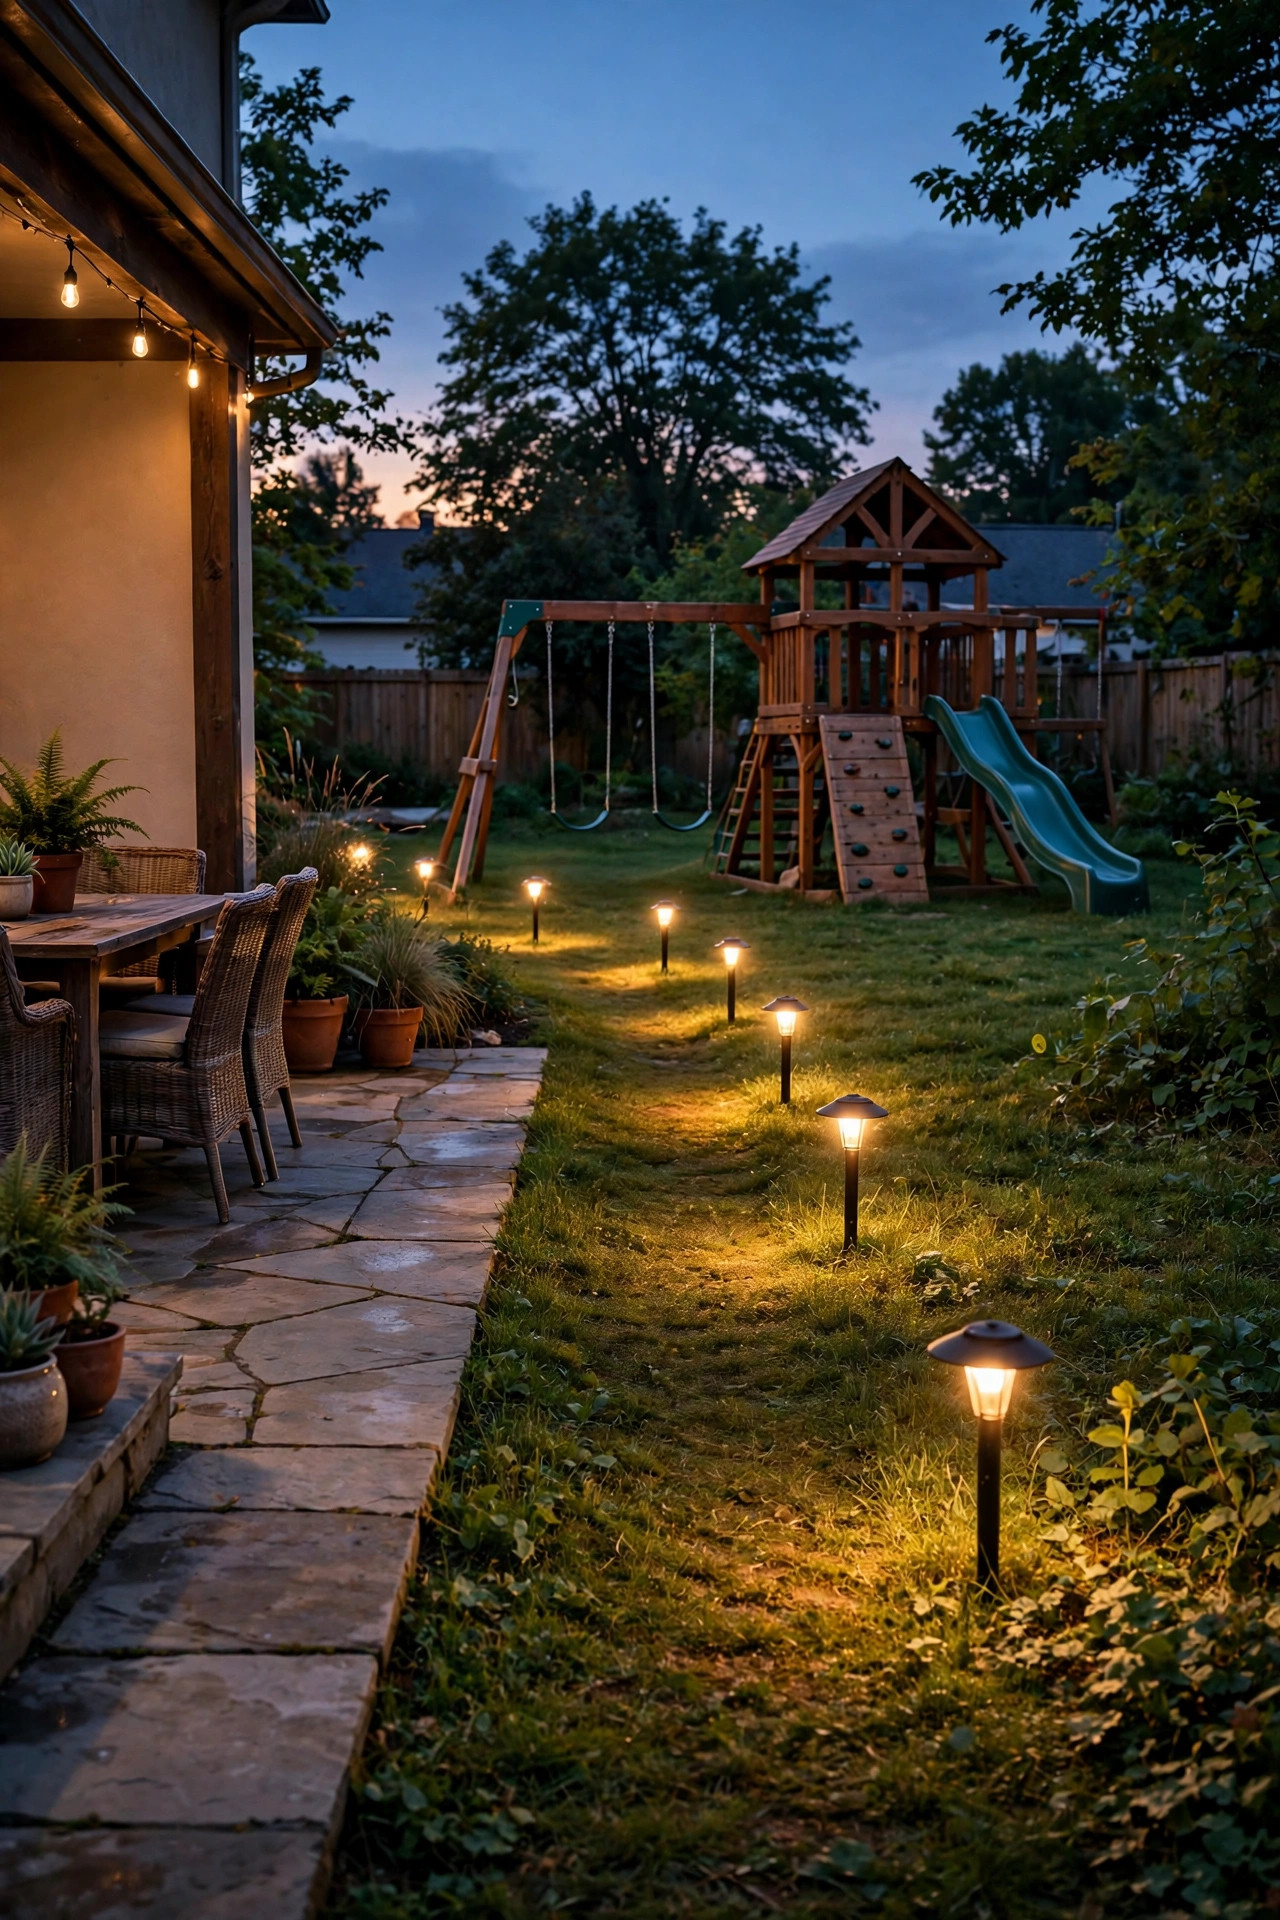
Every play zone needs a lit route home, and a simple line of low-voltage path lights from the patio or deck steps to the playset is the workhorse layer nobody regrets. Space them every 6 to 8 feet along the natural walking line — not in a rigid runway, just where small feet actually travel — and alternate sides slightly so the path reads as pools of light instead of an airport strip. Choose low, shielded fixtures 12 to 18 inches tall that throw light down onto the grass or mulch edge; unshielded globes at toddler eye height are glare machines. Push the stakes a few inches back from the traffic lane so they survive scooters and the mower, and bury the cable 6 inches deep in a shallow trench along the route, because a surface cord across a play path is a trip hazard with a plug. At 2700K and 1 to 3 watts per fixture, you'll see every step, sprinkler head and abandoned toy on the walk back for a flashlight or a forgotten stuffed animal. Put this run on the same transformer zone as your other yard lights so the whole route home lights up together at dusk.
Suggested budget range: $120 – $320.
3. Moonlighting From a Nearby Tree
Moonlighting is the softest, prettiest way to light a whole play area: mount shielded downlight fixtures high in a tree near the playset and let the light filter down through the leaves, dappling the swings and trampoline in gentle patches that mimic real moonlight. Because the light comes from 15 to 25 feet up, it covers a big footprint without a single fixture at ground level for kids to kick, climb or trip over — a genuine safety win in a fall zone. Use 3000K LEDs here; the slightly cooler tone reads as moonlit rather than amber, and keep the wattage modest, since dappled shade means you need less light than you think. Have the fixtures hung with tree-friendly straps instead of screws, and honestly, hire an arborist or a confident pro for the mounting — ladders and tree work are where DIY lighting projects go wrong. Aim one fixture toward the swing side and one toward open lawn so the whole zone gets an even wash, then stand at the patio at dusk and adjust. Kids playing in "moonlight" at 8 p.m. is the single most complimented effect in our yard, every single summer.
Suggested budget range: $250 – $600.
4. LED Strip Lights Under the Playset Platform
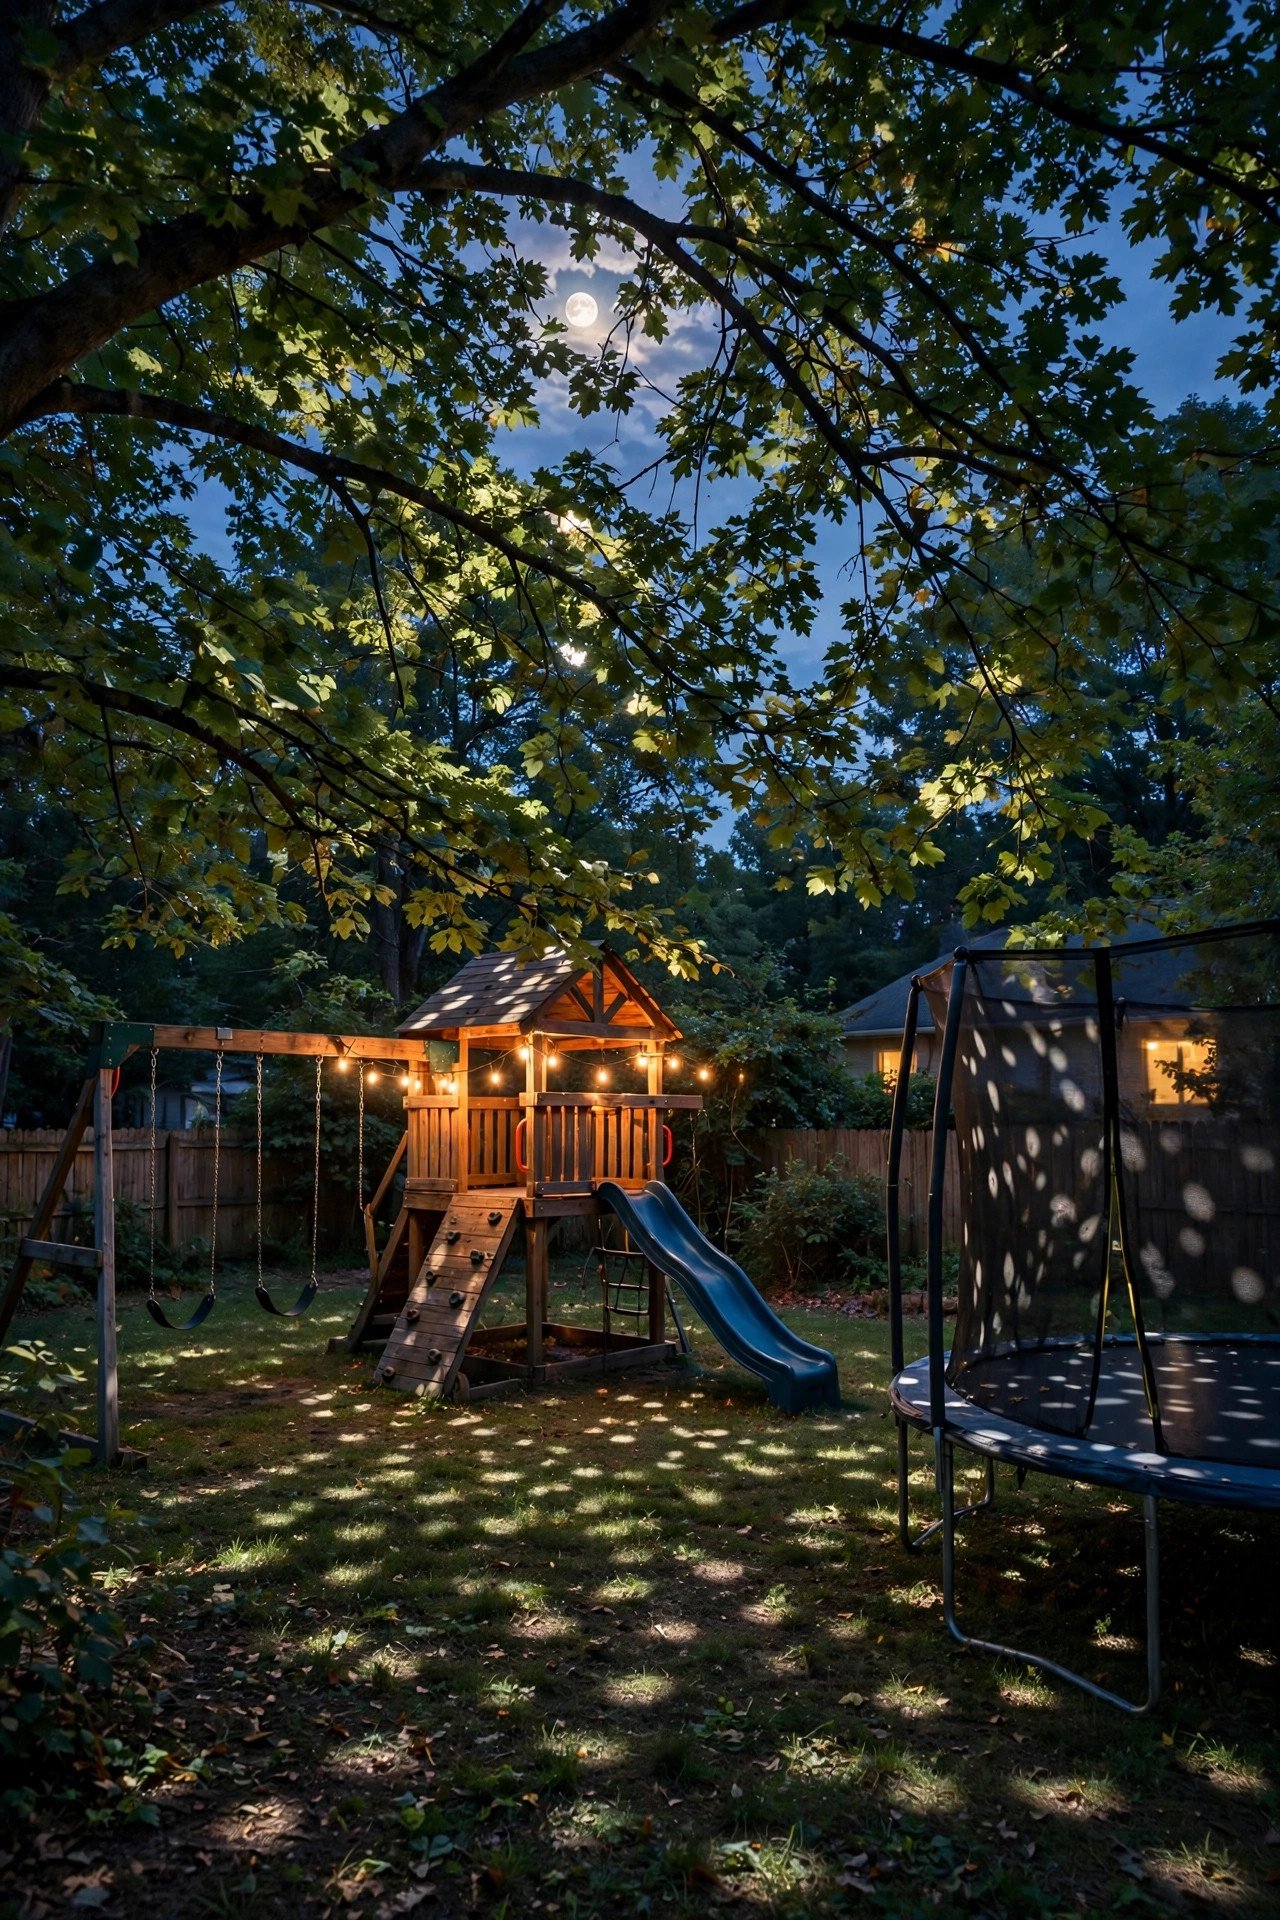
The underside of a playset platform or fort deck is dead space by day and a shadow cave by night — until you run a strip of outdoor LED strip lights under its edge. The fixture disappears completely; all you see is a floating line of warm light washing the ground beneath, which turns the under-deck into a "secret base" kids adore and lets you spot the sandbox toys and shoes hiding under there. Use IP65 or IP67 silicone-sleeved strips in 2700K, mounted in an aluminum channel with a diffuser so the individual diodes blur into one smooth line and the channel sheds the heat that shortens strip life. Power it from the same low-voltage transformer as your landscape lights, and route every inch of cable in split-loom tubing stapled up under the deck boards — nothing dangling, nothing within reach of curious fingers, nothing crossing the ground where feet land. Seal every cut end with the manufacturer's caps and a dab of silicone, since under-deck corners collect drips. Add a strip under the fort's roofline too, aimed down the interior wall, and the clubhouse gets reading light for secret meetings. Cool to the touch, cheap to run, endlessly impressive to the under-ten crowd.
Suggested budget range: $60 – $180.
5. In-Ground Well Lights Around the Trampoline
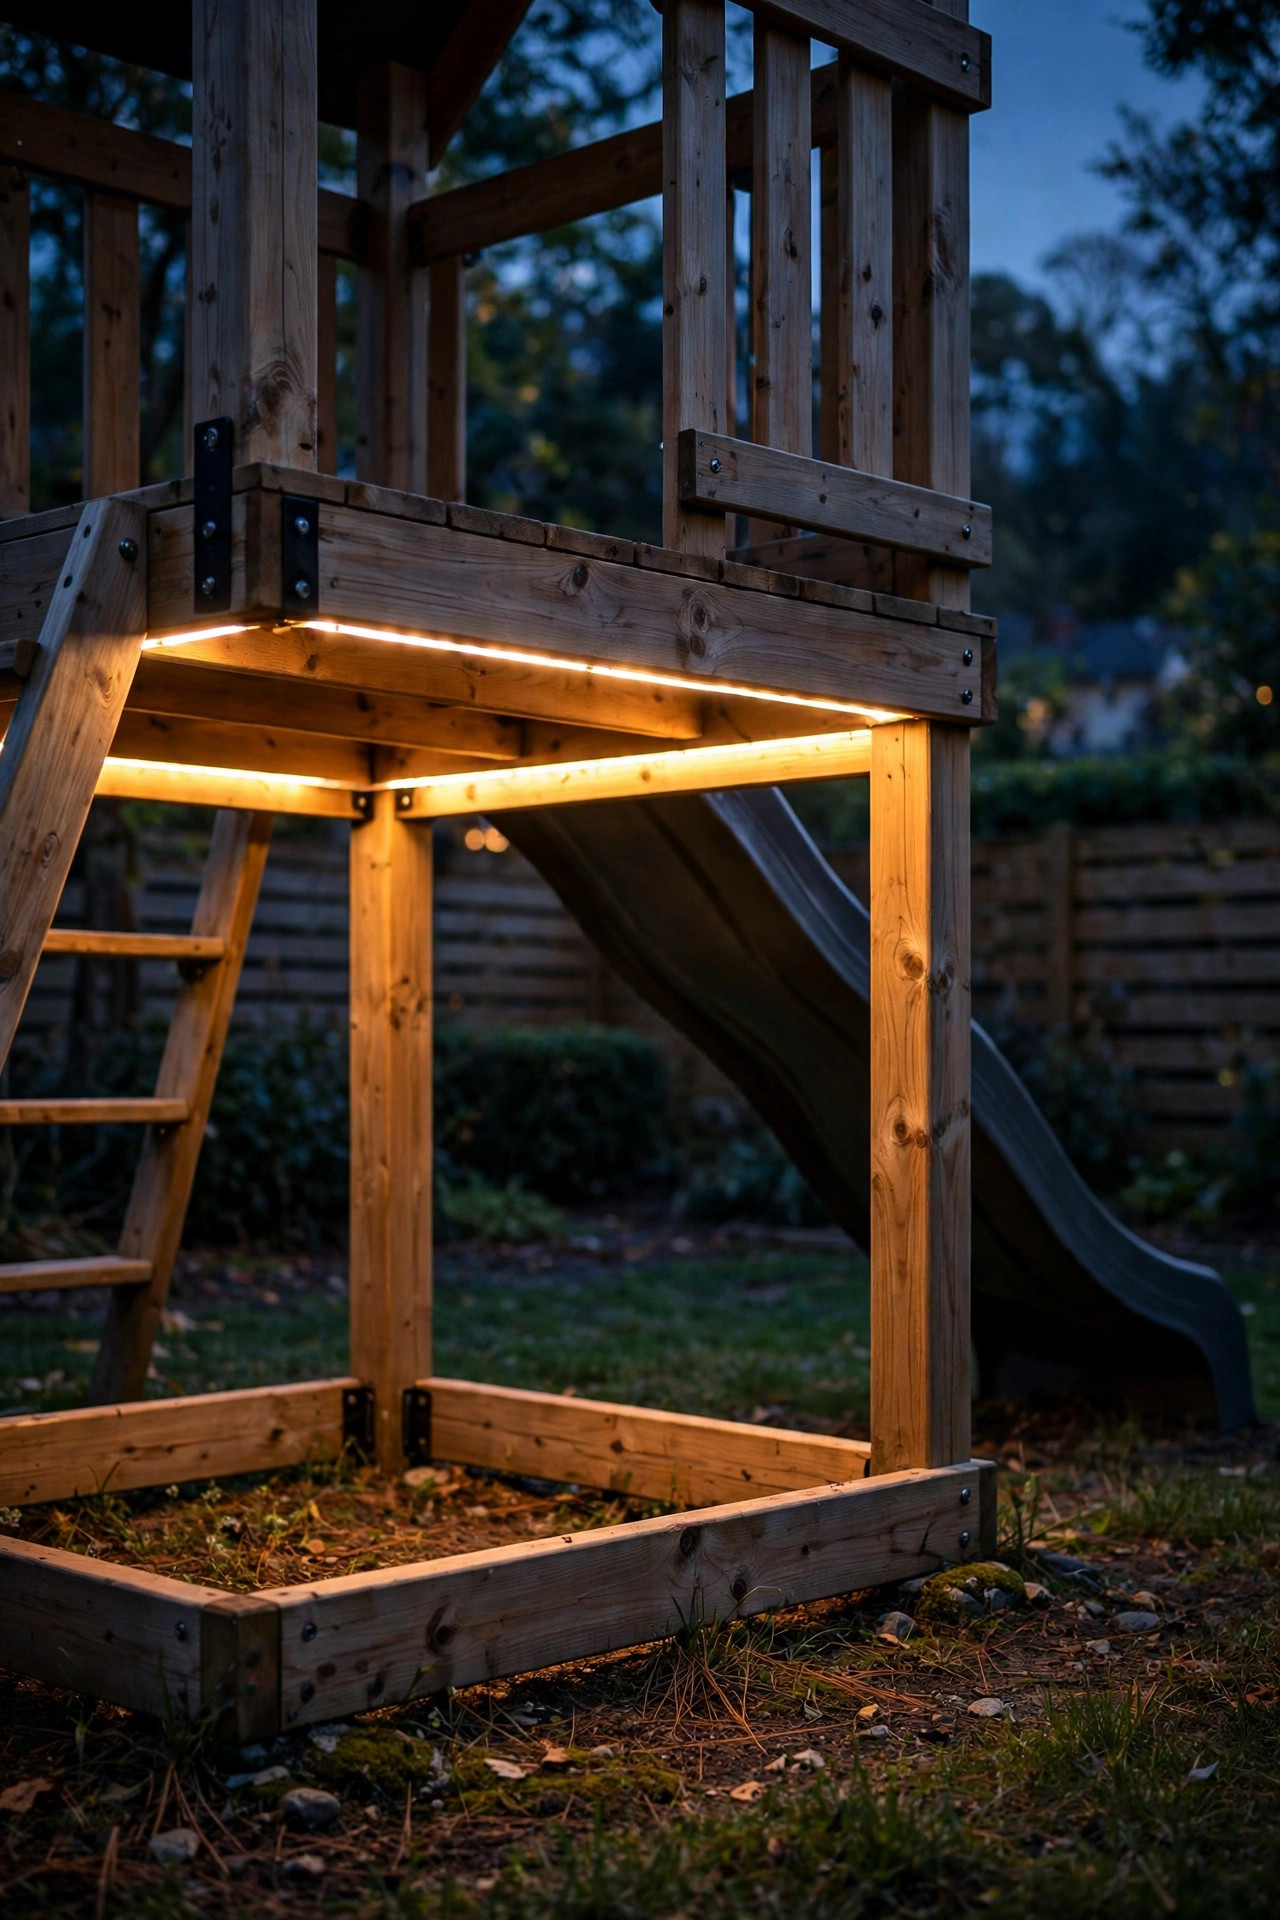
A trampoline at night is basically a dark disc with legs — an outline hazard for anyone crossing the yard. Flush in-ground well lights set 2 to 3 feet outside the frame solve it beautifully: the fixtures sit level with the turf, lens up, washing the frame and safety net in a soft circle of light that reads as "something is here" from every angle. Because nothing sticks above grade, there's nothing to trip on, nothing for the mower to eat, and nothing a landing kid can hit. Choose fixtures with tempered glass lenses rated for walk-over loads and IP67 sealing, and bed each one in a gravel sump so sprinkler water drains instead of fogging the lens. Keep beams narrow and wattage low — 3 to 5 watts per fixture is plenty, since you're marking an outline, not spotlighting a stage. I use four: one at each "corner" of a round trampoline's footprint. Run the cable in a circle just outside the fixture line and bury it a full 6 inches down, well clear of the anchor stakes. From the house, the glowing circle makes the trampoline look like a little landing pad, and kids think it's the coolest thing in the yard.
Suggested budget range: $140 – $380.
6. A Motion-Sensor Light for the Gate and the Walk Back
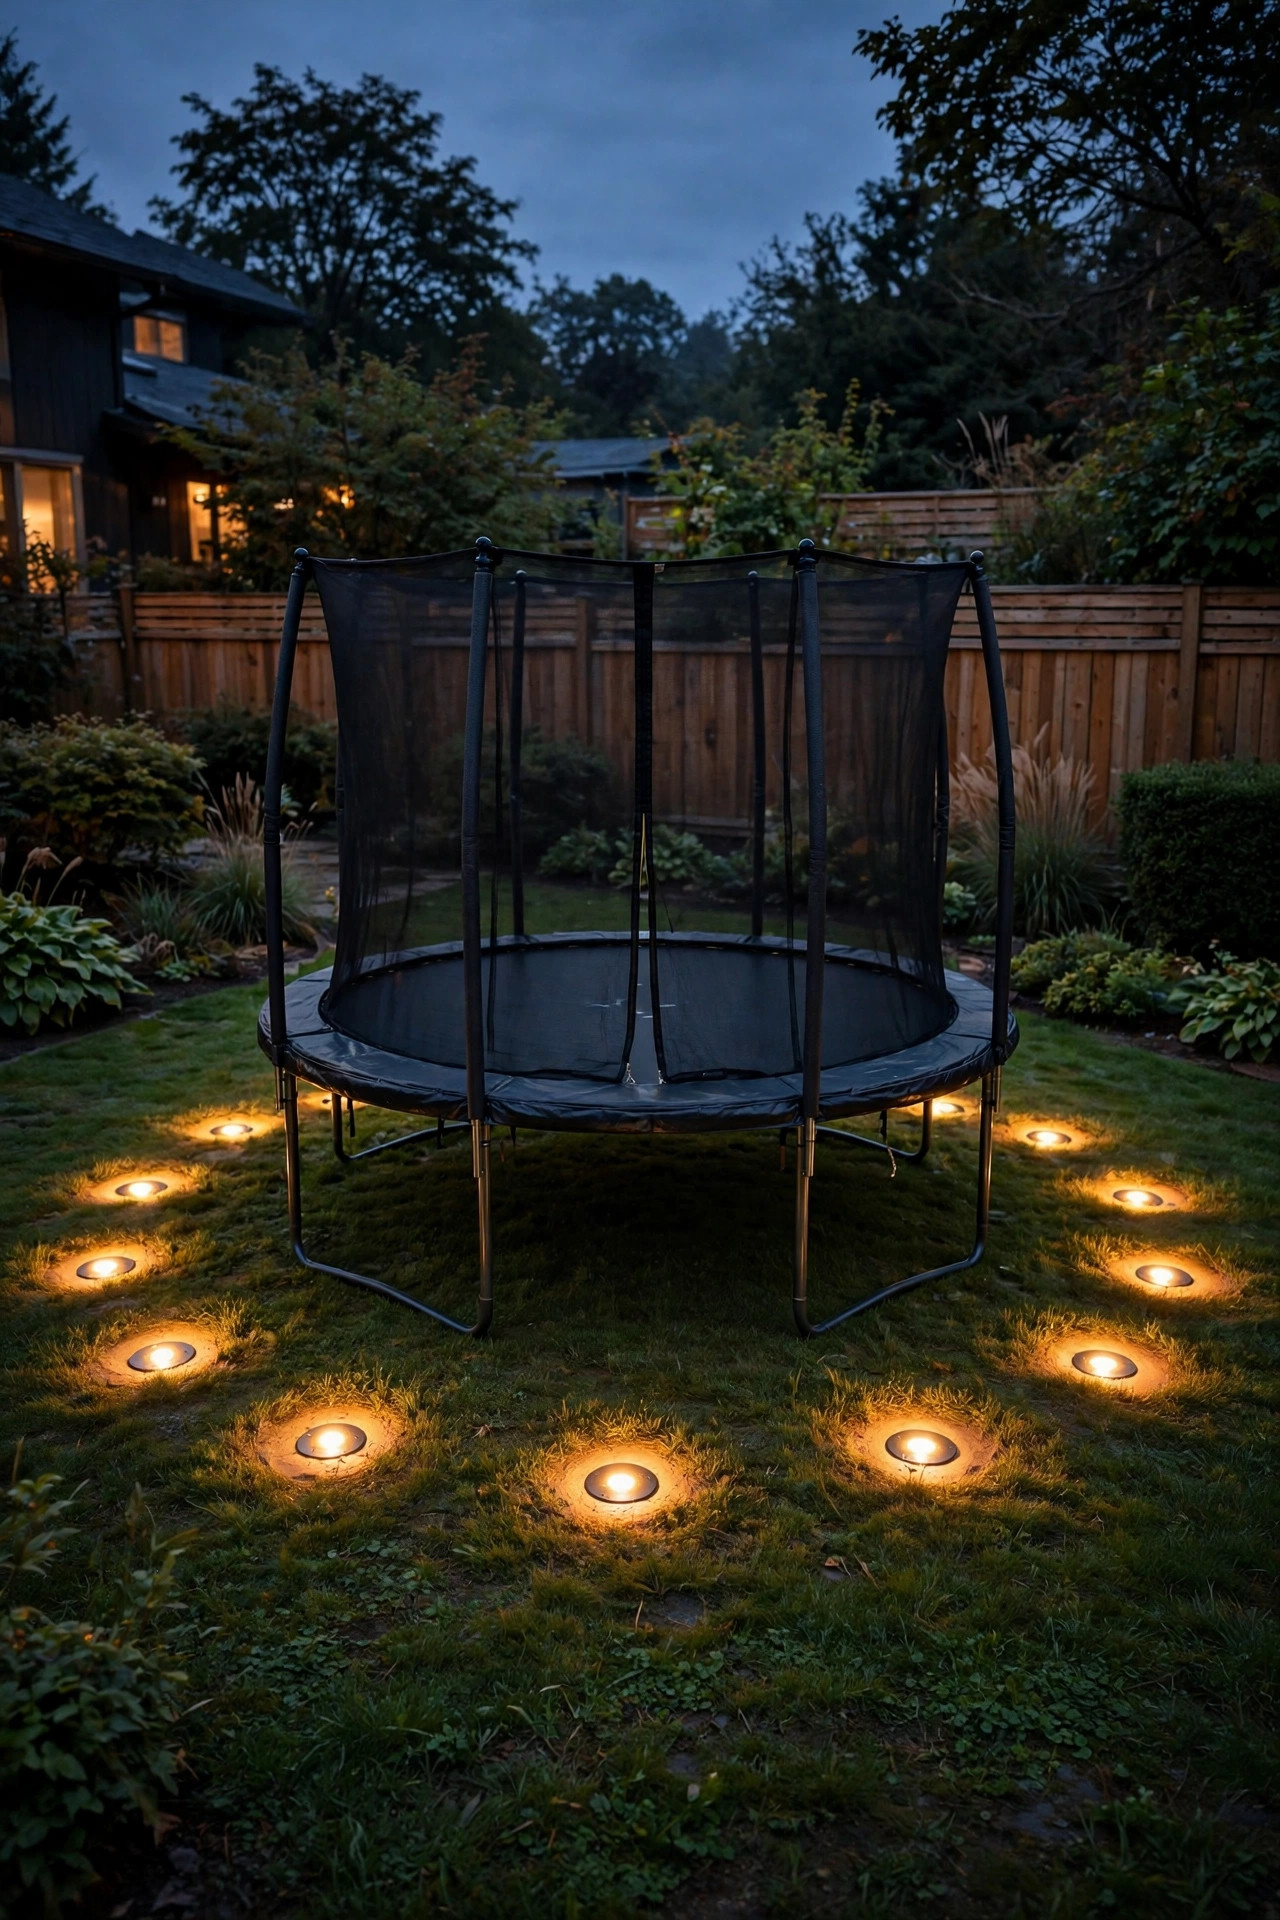
Not every play-area light needs to be on all evening. A motion-sensor light mounted on the fence gate, the shed, or the house wall near the play zone earns its keep in the in-between moments: the trip back inside for a Band-Aid, the parent crossing the dark yard to call everyone in, the dog needing one last patrol. Solar motion lights are the easy install here — no wiring at all, just pick a spot that gets real sun by day — but a low-voltage or hardwired fixture is brighter and more reliable if you have power nearby. Aim the beam along the walking route, never into the play zone or a neighbor's window, and set the sensitivity so it ignores the cat but catches a person at 15 to 20 feet. I keep ours on a short 30-second timer so it doesn't strobe every time the swings sway into its edge — angle it away from moving play equipment for exactly that reason. Look for an IP65 rating and a warm 3000K tone so the sudden light feels helpful rather than interrogational. It's the least glamorous idea here and the one my husband thanks me for most.
Suggested budget range: $30 – $120.
7. Solar Step Lights on the Ladder and Fort Stairs
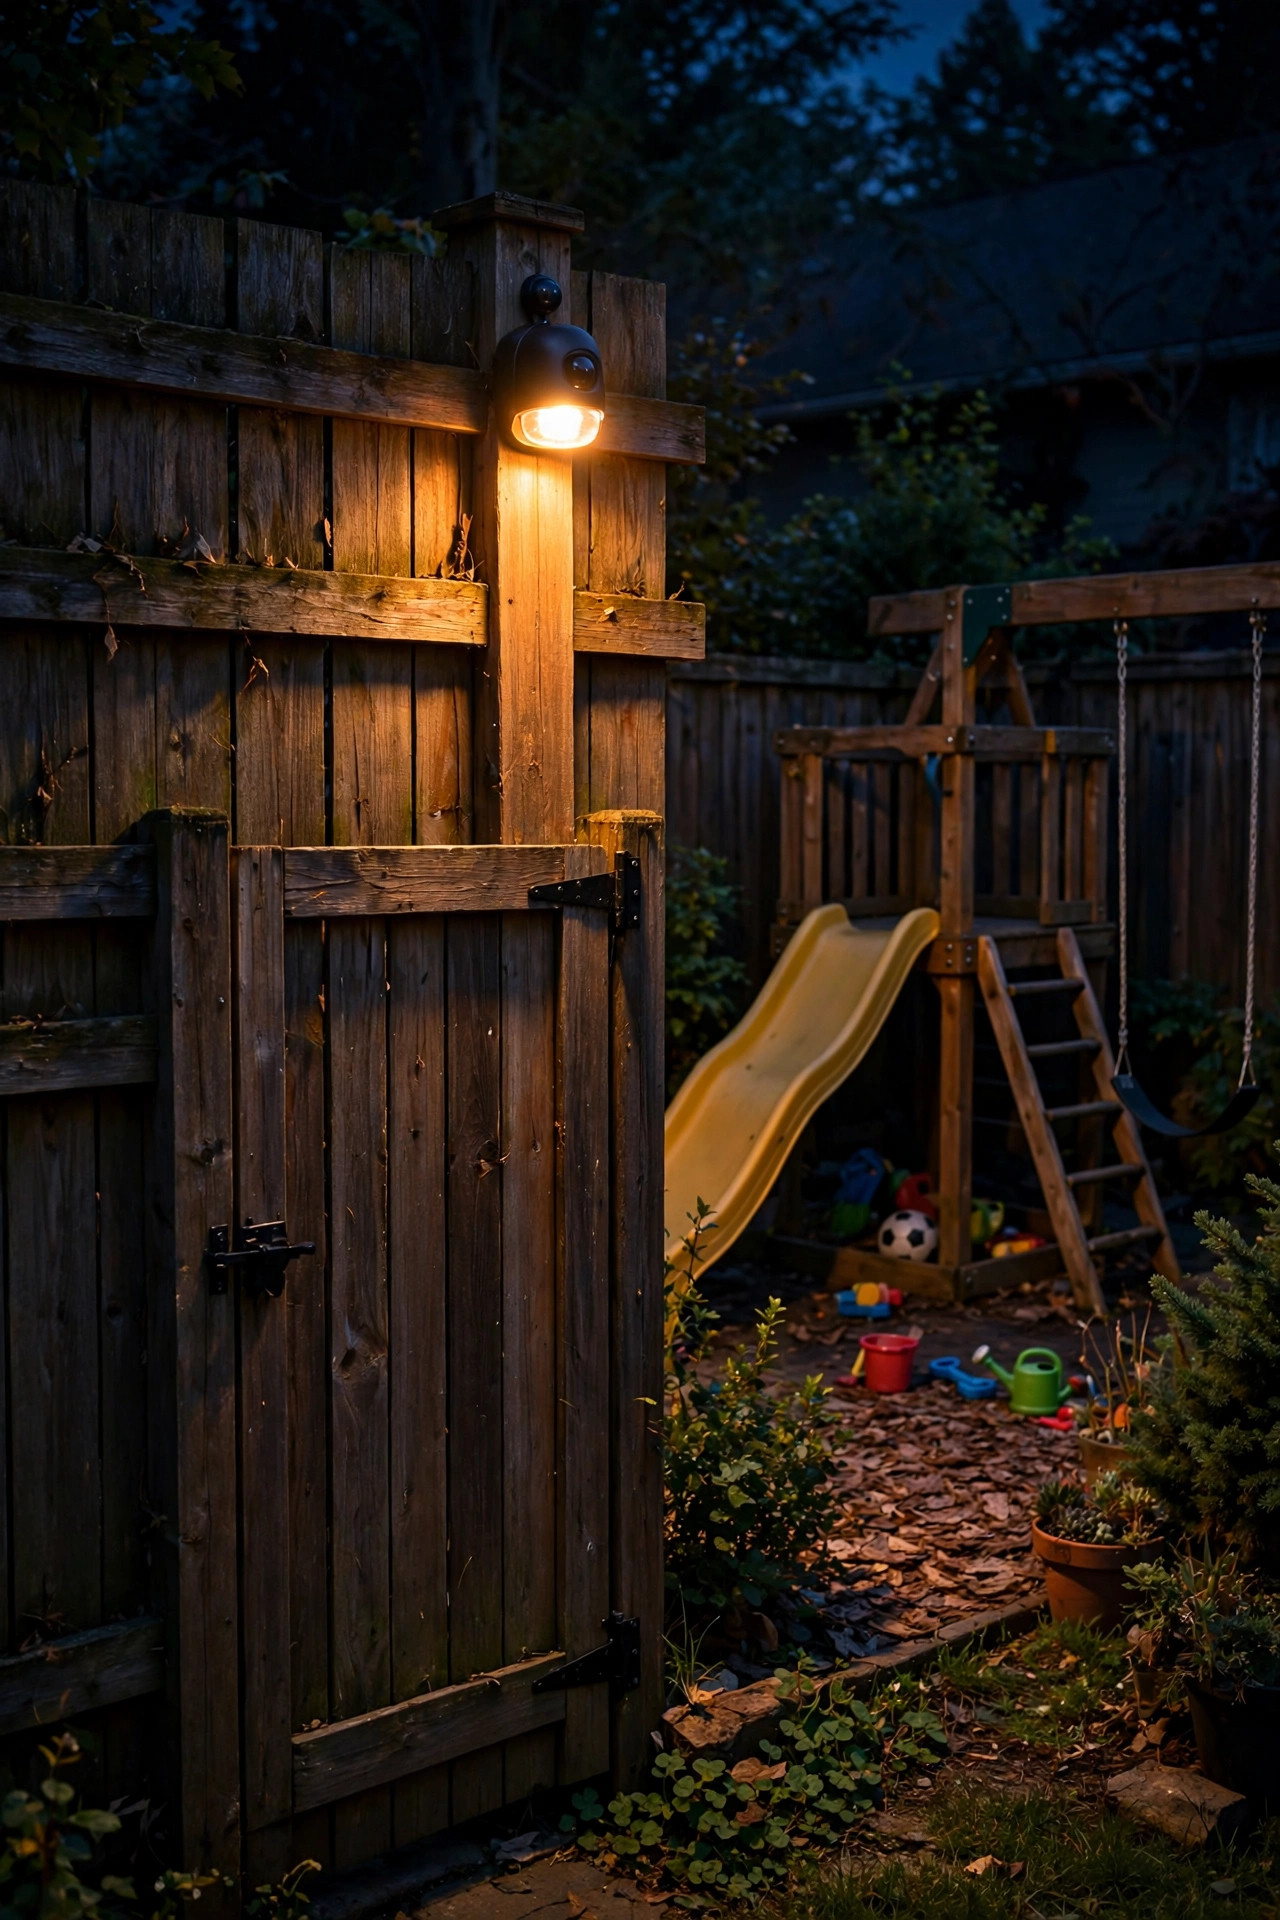
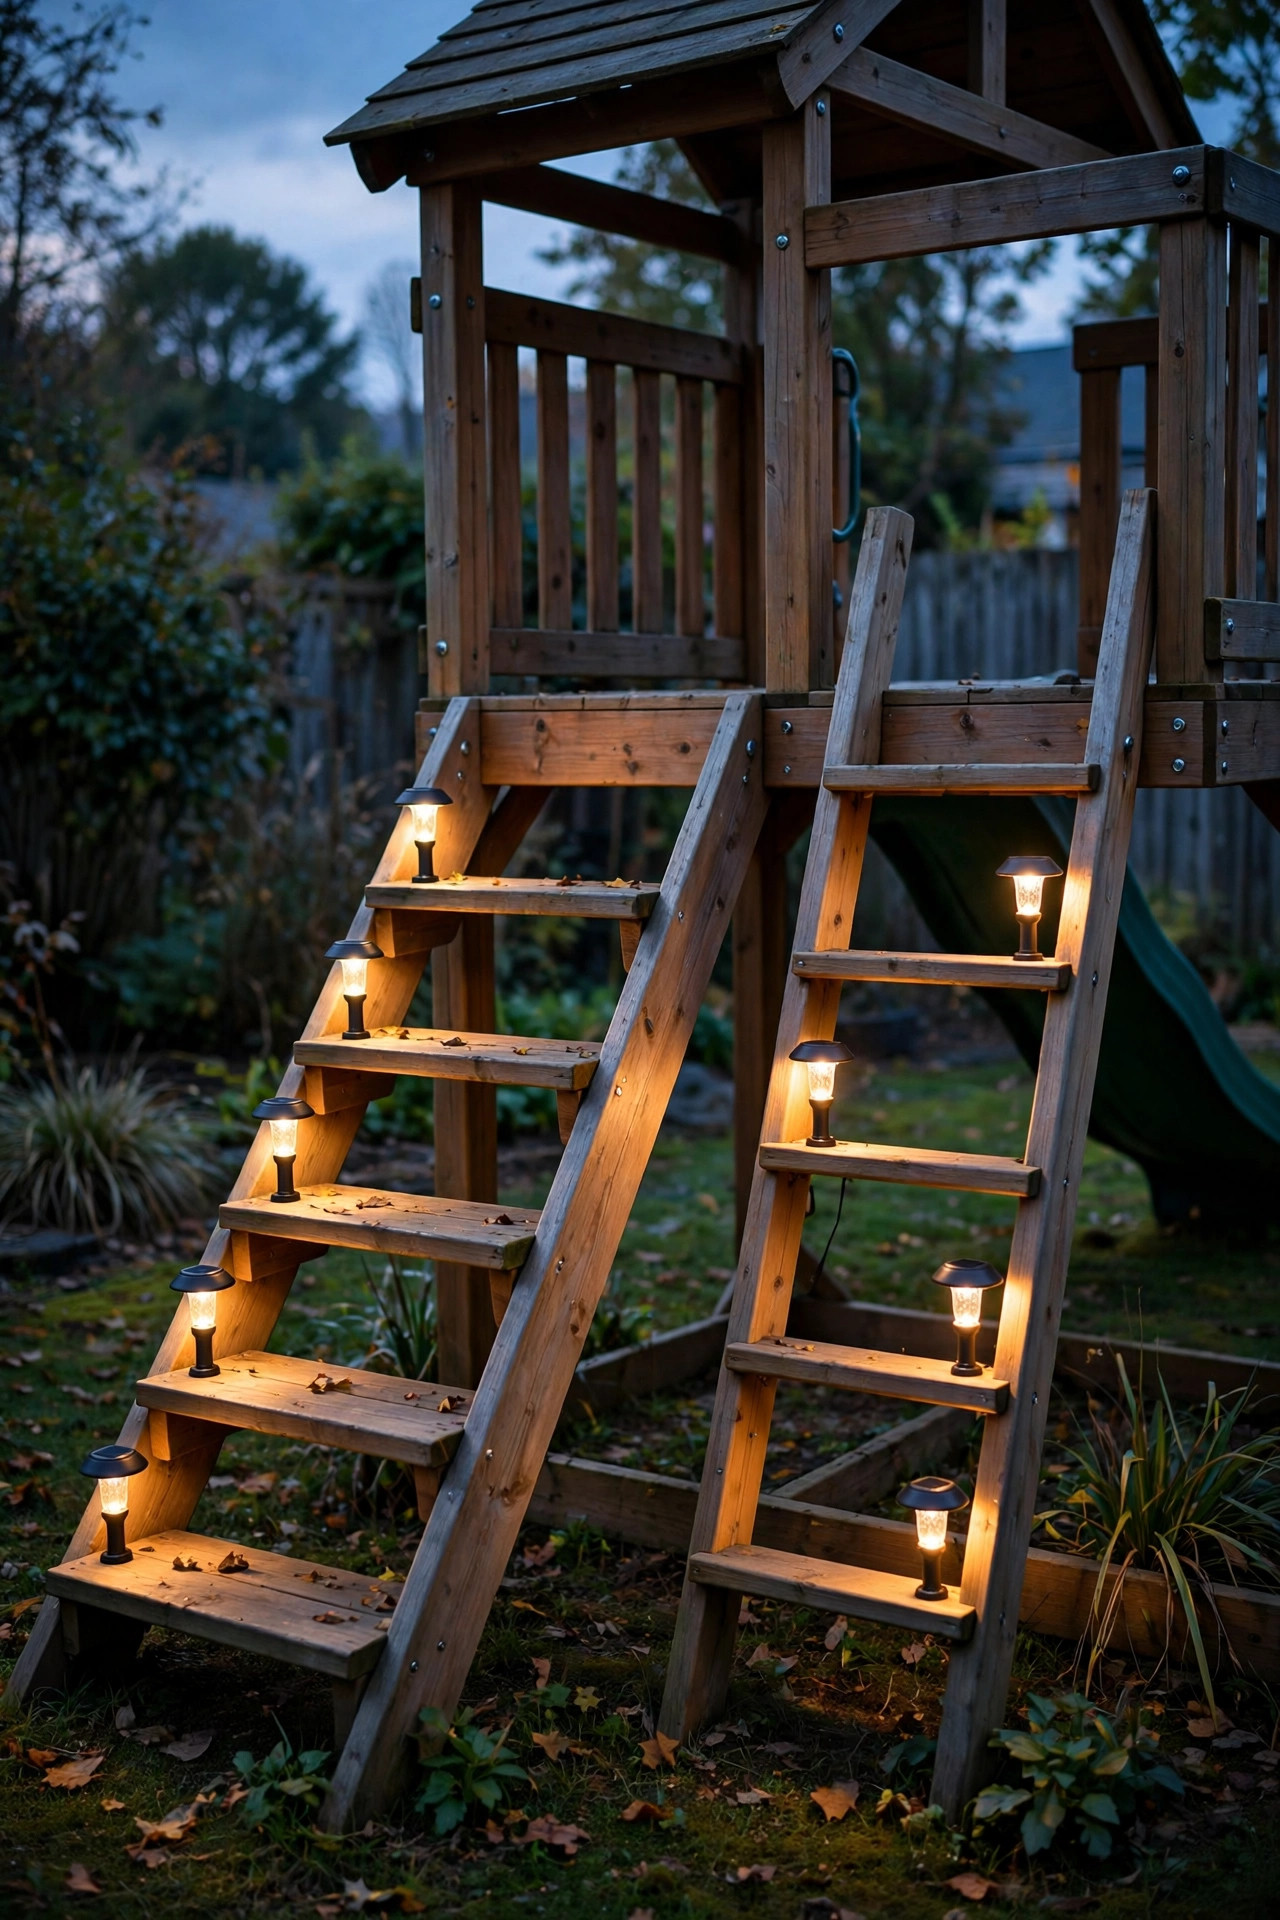
Playset ladders, rock walls and fort stairs are where the close calls happen after dark, so mark every climb with light. Small solar step lights — the kind that mount flat with two screws or heavy-duty outdoor tape — tuck onto stair risers, ladder side rails and the platform edge, washing each rung and tread in a gentle pool exactly where hands and feet need to judge distance. Battery-powered puck-style lights with dusk-to-dawn sensors work just as well in shady yards where solar panels starve. Choose warm-white versions around 2700K to 3000K; the icy blue solar lights that come in bargain multipacks make a playset look like a parking lot and get ignored by kids precisely because they're unpleasant. Keep fixtures flush and out of the slide's exit path and the swing arc, and check the mounting screws each spring — climbing kids are basically small earthquakes with opinions. Expect a modest 10 to 30 lumens per light; you're marking edges, not lighting a stadium, and that's the point. We have six on our fort stairs and ladder, and the kids now race up them at dusk with a confidence that honestly made me a little nervous until I watched how well they can actually see.
Suggested budget range: $25 – $80.
8. Uplighting the Fort Tower: A Storybook Take on Backyard Playset Lighting Ideas
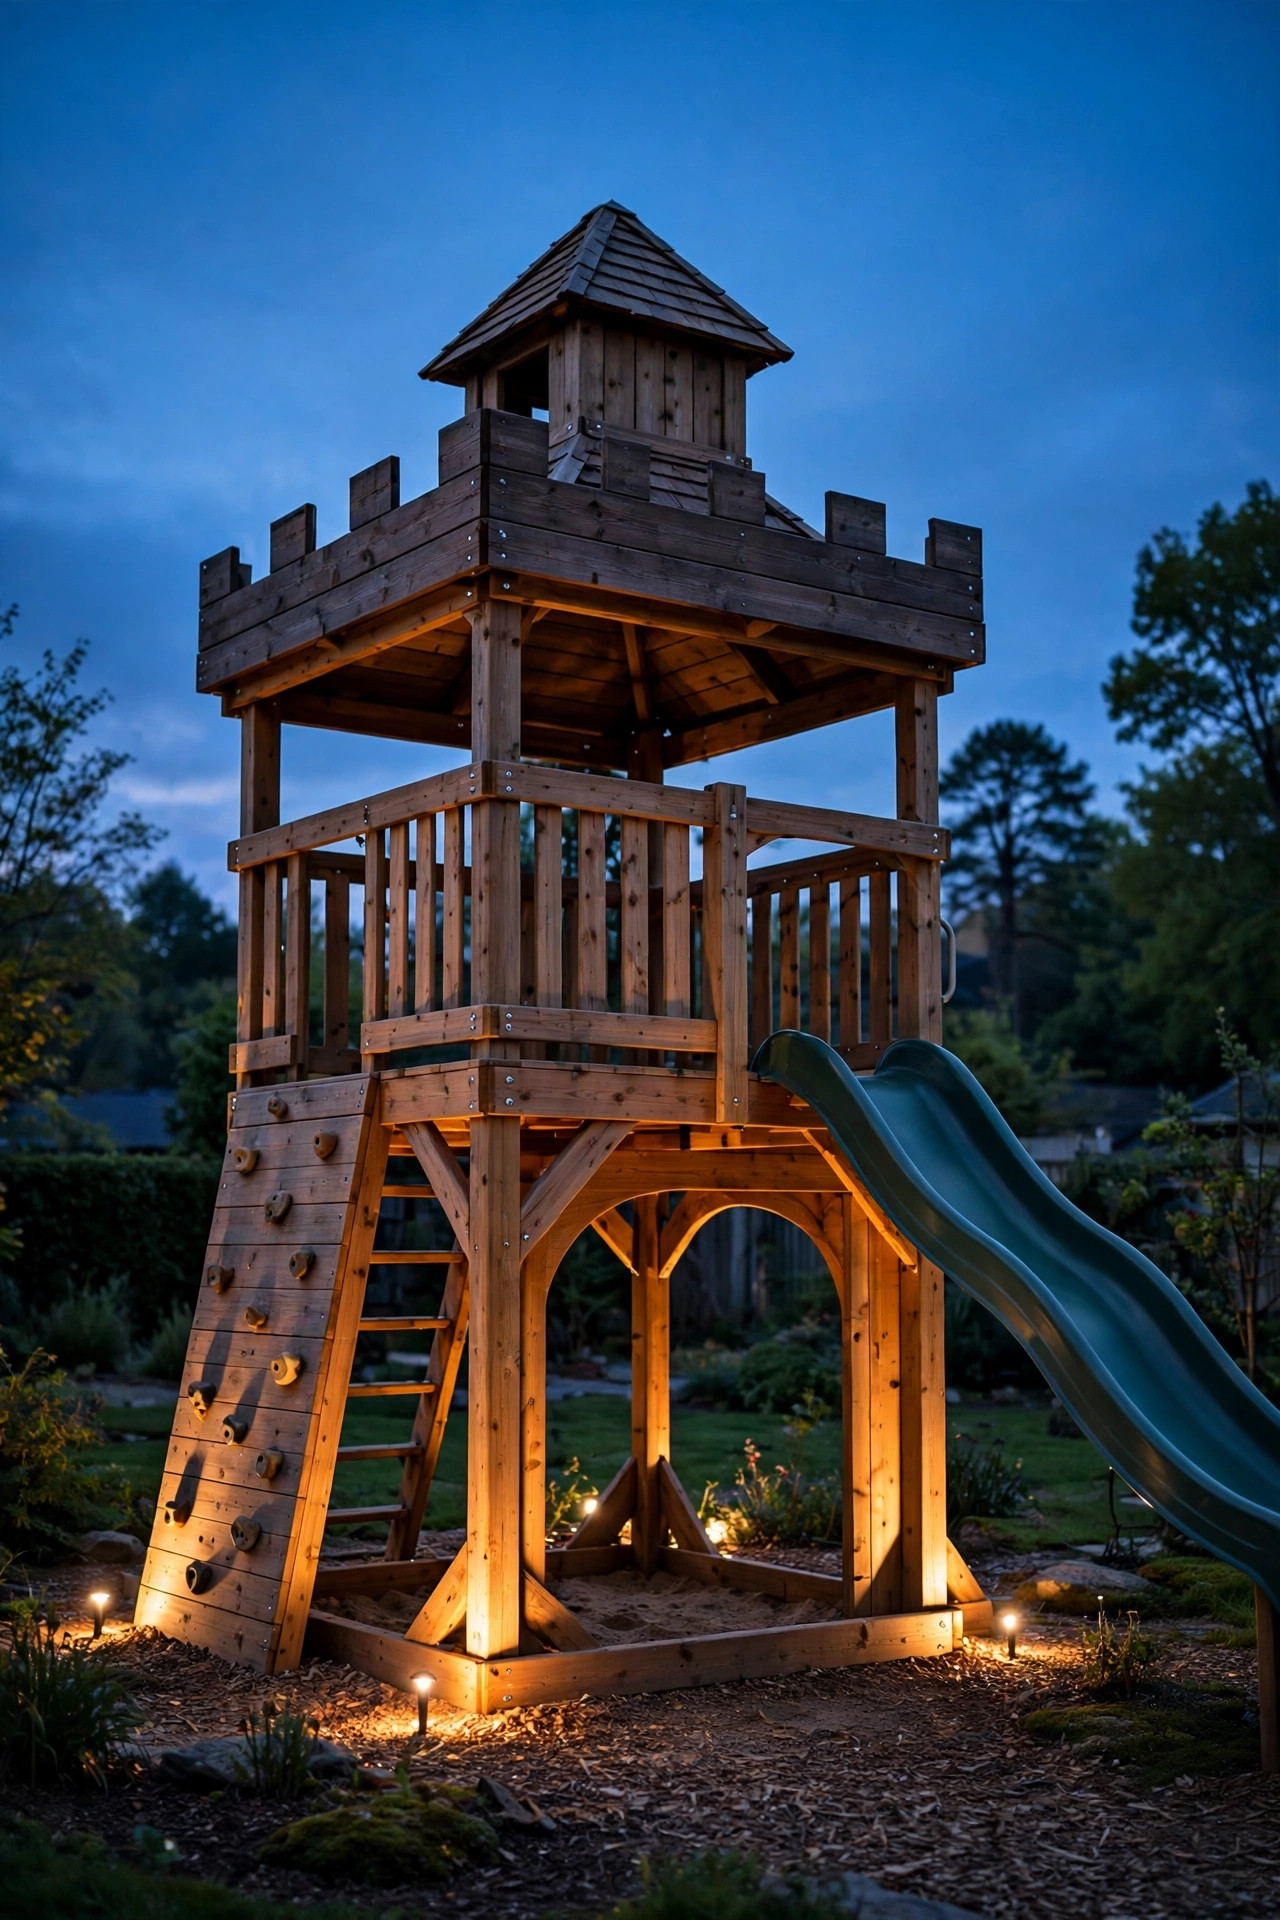
Every playset fort deserves its castle moment. One or two low-voltage uplights placed at the base of the tower, aimed up the wall and roofline, turn a plain wooden fort into a storybook keep that glows against the night sky — and give kids a landmark they can orient by from anywhere in the yard. Set the fixtures 1 to 2 feet out from the wall on short stakes, tilted so the beam grazes the boards rather than blasting straight up; a 36-degree wash at 4 to 7 watts in 2700K is the sweet spot for warm wood tones. Keep the beam aimed at the tower itself, not across the slide or swing beam, so nobody plays through a face full of glare, and tuck the fixtures slightly behind the tower legs where they're out of the kick zone. If your set has a rock wall, grazing light across the handholds doubles as genuine safety lighting for evening climbs. Bury the cable run along the playset's back edge where feet rarely land. From the patio, our uplit fort looks like a tiny lighthouse, and on campout nights the kids orient the whole backyard by it. Pure theater, tiny electric bill.
Suggested budget range: $80 – $220.
9. Solar Lanterns on Shepherd's Hooks Around the Zone
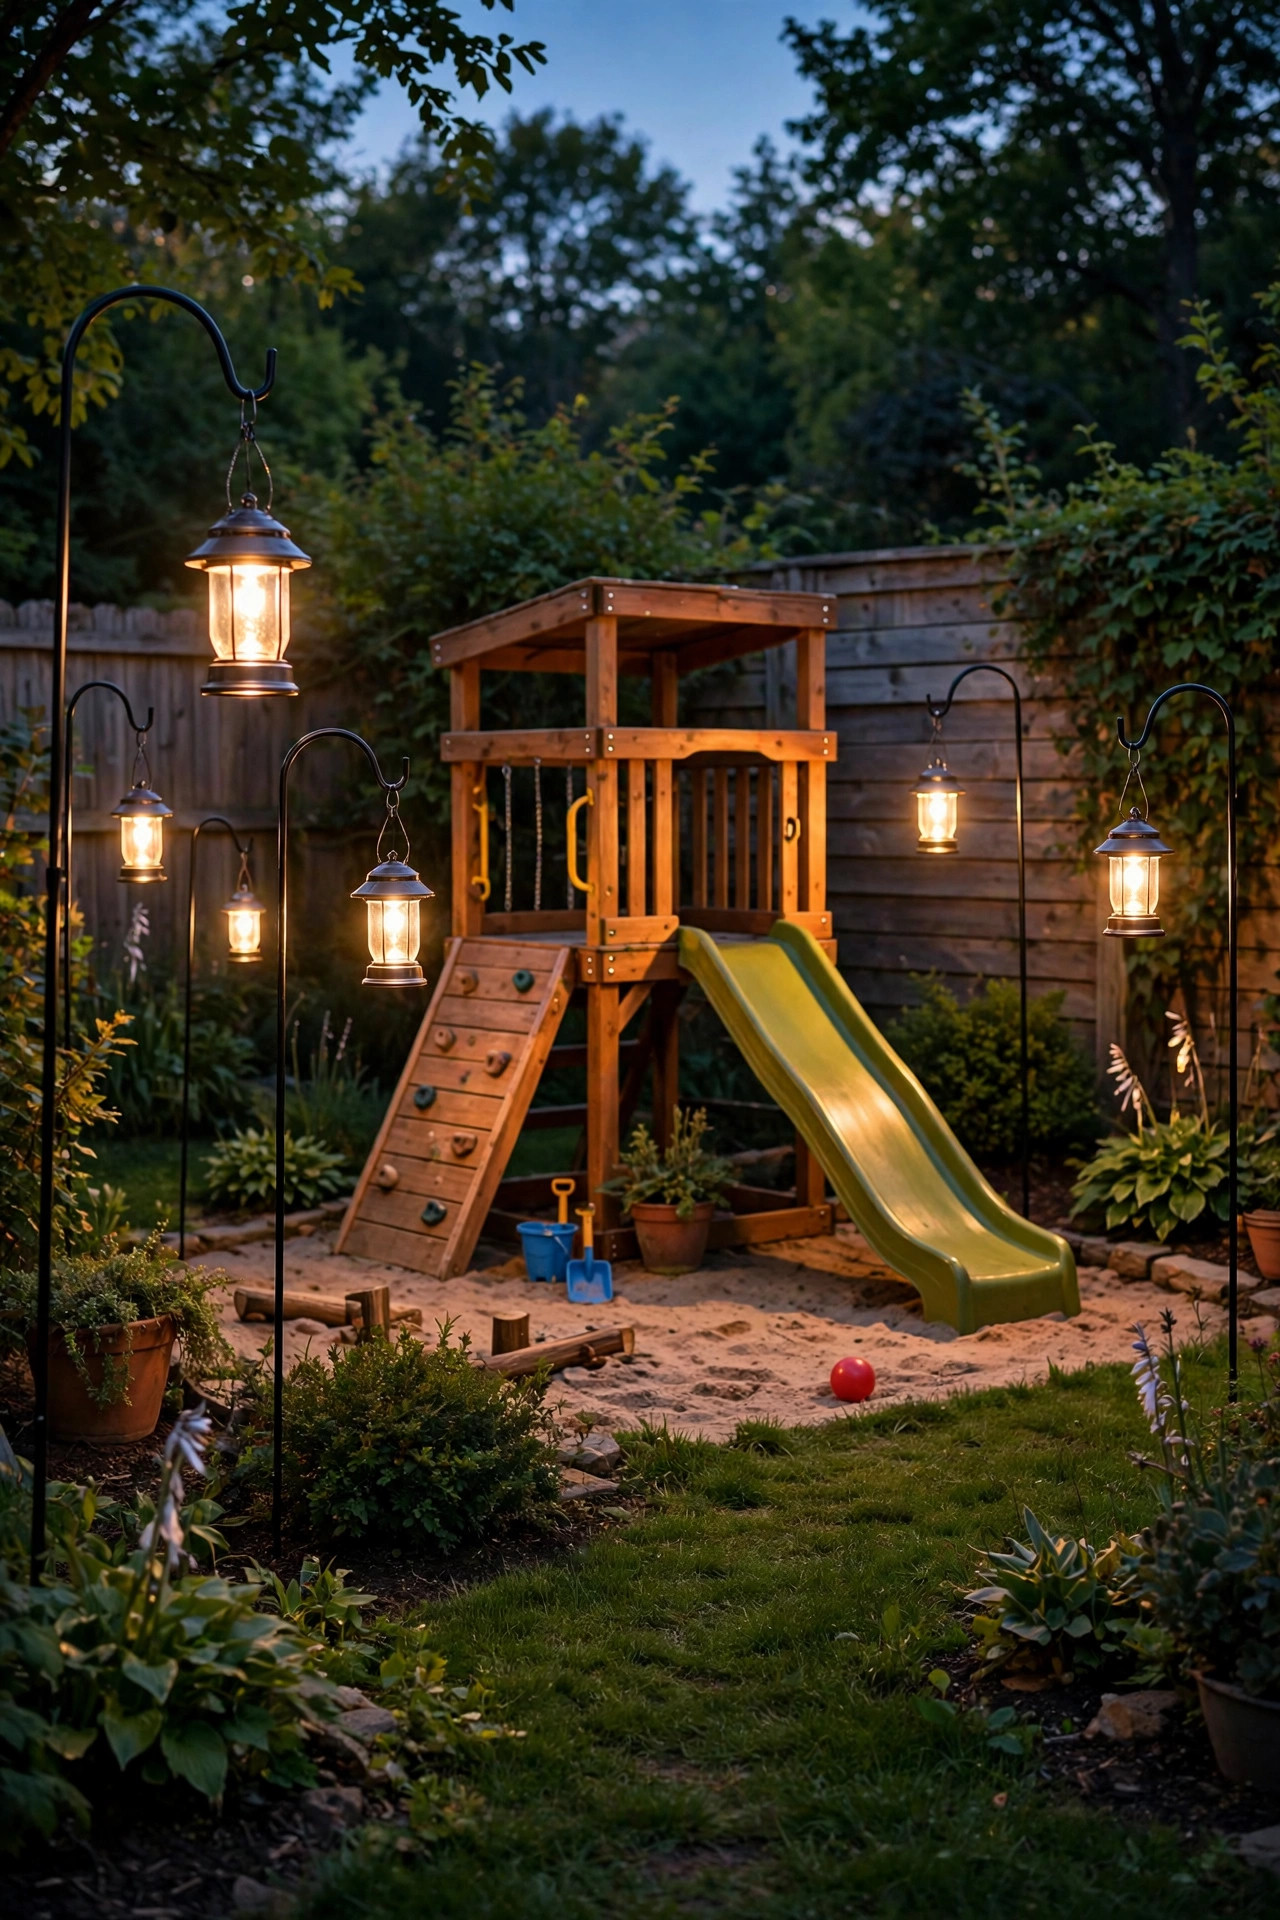
For renters, solar skeptics and anyone who wants light tonight with zero wiring, solar lanterns hung on shepherd's hooks are my favorite shortcut. Push three or four hooks into the ground around the play zone's perimeter — outside the swing arc and the trampoline's landing area — and hang a warm-white solar lantern from each. The light sits at adult chest height, glows softly downward, and can be lifted off and moved to the patio table when the party migrates. Look for lanterns with real glass or quality acrylic, an IP44 or better rating, and replaceable batteries, because the sealed throwaway kind dim to a sad ember by August. Flickering flame-effect solar lanterns are a huge hit with kids and read as cozy rather than spooky; use them on the hooks farthest from the slide exit so nobody lands near a hanging object. Expect each lantern to run 6 to 8 hours on a good day's charge, fading gently toward midnight like a campfire winding down. Group two hooks near the fort door and two near the gate, and the whole play zone gets a dotted outline of golden pools that looks deliberate, charming and completely temporary — in the best way.
Suggested budget range: $50 – $150.
10. Low Bollards and Mushroom Lights Defining the Play Zone Edge
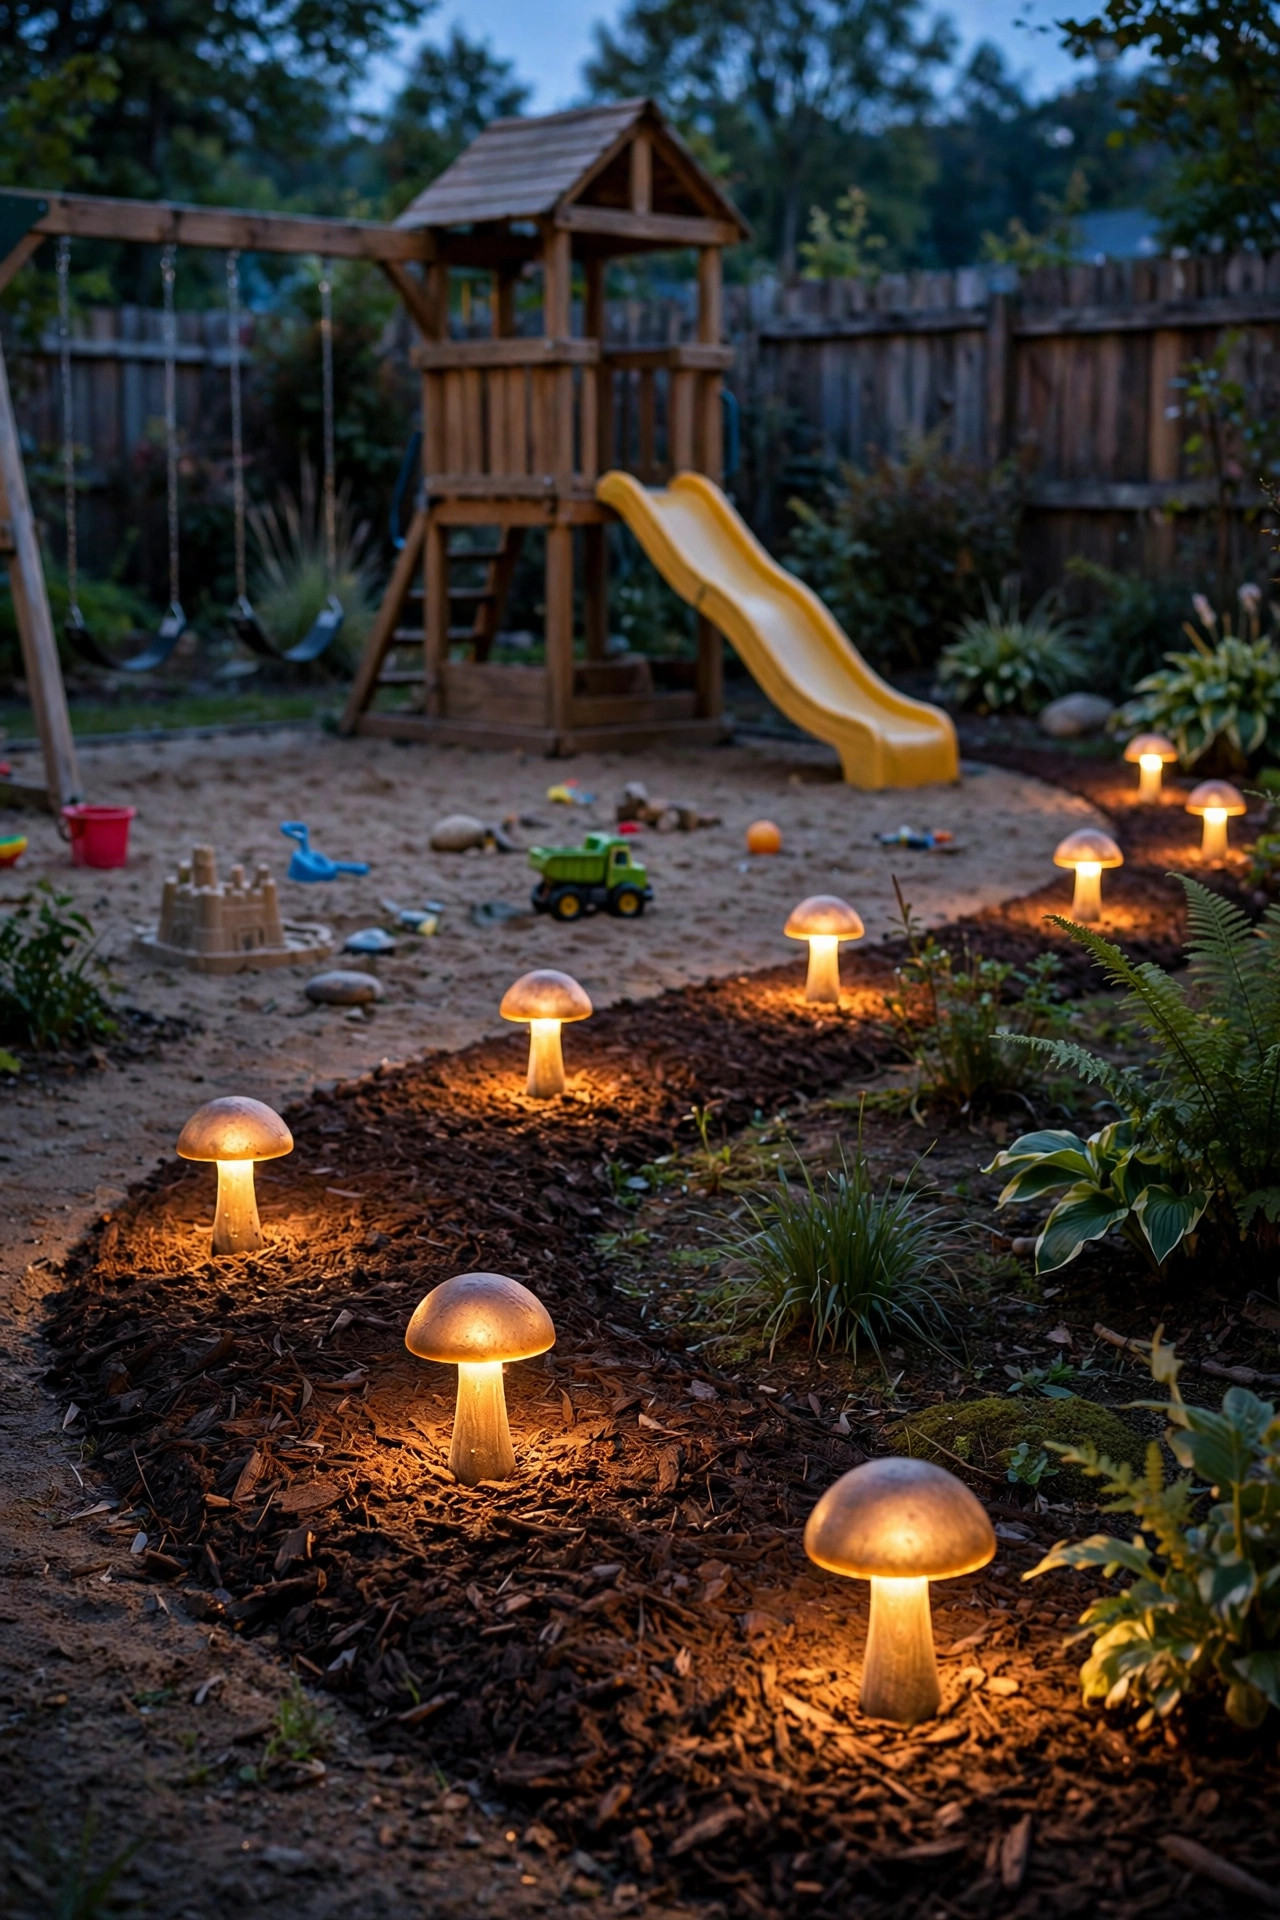
Play zones have edges — where lawn meets mulch, where the good grass starts, where Dad mows — and a row of low bollard or mushroom-style path lights along that border does three jobs at once: it marks the boundary for kids, keeps fixture-eating mower passes honest, and gives the whole area a finished, designed look. Mushroom lights are my pick here because the cap throws all the light downward in a tidy circle, so there's zero glare at kid height and the beam lands exactly on the edge strip where feet transition from grass to mulch. Space them 6 to 10 feet apart along the border, skipping the swing arc's front and back — light the sides of the play zone, not the landing strips. Low-voltage wired fixtures will outlast and outshine solar at this job, but solar mushrooms are a fine one-season test before you commit to trenching a cable. Keep heights between 12 and 20 inches so they read as garden furniture, not runway markers, and choose dark bronze or black finishes that disappear by day. In our yard, this border row is what makes the play area look like a "room" instead of equipment parked on grass.
Suggested budget range: $100 – $300.
11. Trampoline Under-Glow With an LED Rope Light
This is the idea teenagers request by name: an LED rope light clipped around the underside of the trampoline frame, so a pool of colored or warm light spills out from beneath while the jumping surface stays in softer shadow. It looks incredible, it makes the trampoline's footprint impossible to walk into, and — done right — it adds no hazard at all. The rules matter here. Use a battery-powered or low-voltage LED rope light, never a line-voltage one, and mount it to the frame's underside with the included clips, well away from the springs and the pad's edge where feet land. Route the battery pack into a small weatherproof box strapped to a leg at ground level, and inspect the rope every few weeks for rub wear where it meets metal. Warm white is the classy default; a soft color for parties is fine, but skip strobe and flashing modes entirely — bouncing kids plus flashing light plus dusk is a disorientation cocktail. Keep the glow dim, honestly: you're edging the frame, not lighting the jump, and a jumper's eyes should stay adjusted to the general yard light from your other layers. Twenty minutes to install, and the trampoline goes from black hole to floating halo.
Suggested budget range: $25 – $70.

12. Fairy Lights Woven on the Net Poles and Fort Railings
Copper-wire fairy lights are the pixie dust of this whole list — battery-powered, bendable, and subtle enough to weave anywhere. My favorite placements: spiraled up the trampoline's net poles on the outside of the enclosure, where they outline the structure without entering the jump space, and threaded along the fort's railing and roof edge, where they turn the clubhouse into a treehouse from a storybook. The battery packs are the only part to plan: tuck each one into a small zippered pouch or weatherproof box screwed to a pole or railing post, up out of toddler reach, and choose packs with a built-in timer so the lights run six hours on, eighteen off, all by themselves. Warm white fairy lights on the copper wire read as fireflies; keep them out of the swing arc and off any surface kids grip to climb, since even tiny wire can snag a sleeve mid-swing. Because they're battery LED, they stay cool and cost pennies a month in batteries — rechargeable AAs make it nearly free. One strand per structure is plenty; you're outlining shapes, not wrapping a Christmas tree. The effect at dusk, especially paired with the string lights overhead, is pure enchantment for about the price of a pizza.
Suggested budget range: $15 – $45.

13. Put Your Backyard Playset Lighting Ideas on a Timer and Set a Bedtime
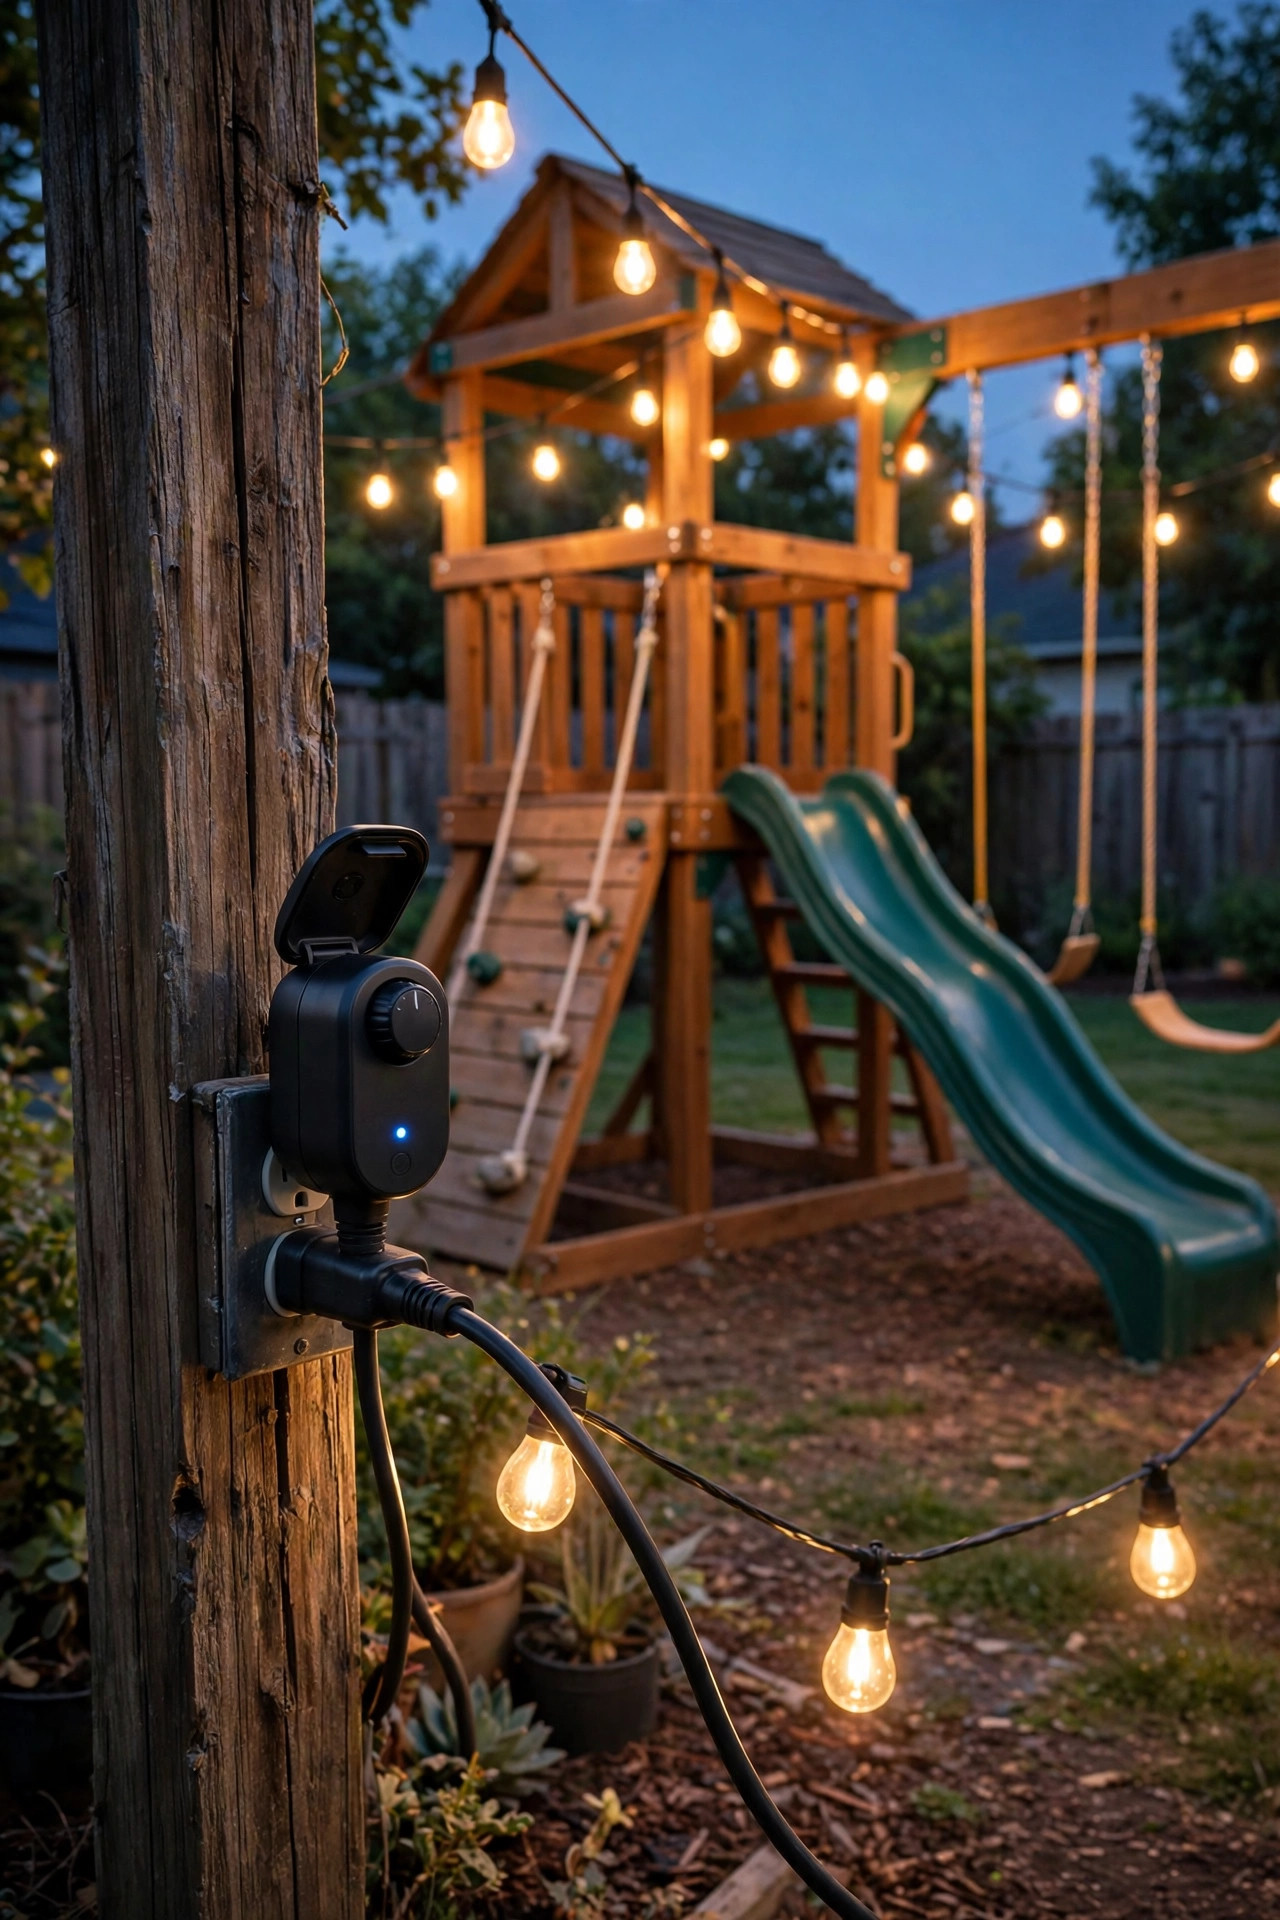
The smartest upgrade isn't another fixture — it's control. Putting the play zone's lights on a timer or smart plug means they come on at dusk without you, glow through the evening, and — my favorite part — switch off at bedtime, which ends the "five more minutes" negotiation more effectively than any parent voice. I cover the hardware options in my post on outdoor lighting timers and automation, but the play-zone version is simple: one outdoor smart plug or a transformer with a built-in timer runs the whole wired layer, while battery fairy lights with their own timers handle themselves. Program a gentle sequence — full light at dusk, off at 8:30 on school nights, a little later on weekends — and consider letting the path lights stay on an extra hour as the route home. Photocell-plus-timer combos are perfect here because they track sunset through the seasons without reprogramming. Warn the kids once that lights-out means play's over, and let the yard enforce it; ours genuinely treat the click-off as the dinner bell. As a bonus, your electric bill and your neighbors both notice the difference when nothing blazes until 2 a.m. by accident.
Suggested budget range: $20 – $80.
14. Color-Changing Smart Bulbs for Party Mode
Ninety percent of the time, play-zone light should be warm, calm and consistent — and then there's a birthday party. Swapping two or three of your play-area fixtures to color-changing smart bulbs gives you a party mode on demand: soft teal and coral for a mermaid birthday, team colors for a sleepover game night, gentle rainbow cycling for the last Friday of school. Keep the color bulbs in fixtures kids don't touch — the wall sconce by the patio door, a lantern on the fort's exterior, the lamp over the gate — and control everything from an app, so returning to warm white at 9 p.m. is one tap. Choose outdoor-rated smart bulbs or put standard smart bulbs only in fully enclosed, weather-protected fixtures; raw evening damp kills indoor bulbs fast. One caution from experience: set the fun colors for parties, but keep everyday dusk lighting warm and steady, because constantly shifting hues make it harder for kids to judge steps and edges — and honestly, harder for everyone to wind down. Even the color itself should stay dim-ish over the play zone; saturation is festive, brightness is blinding. It's the cheapest "wow" on this list, reusable at every celebration all summer long.
Suggested budget range: $30 – $110.

15. Shielded, Dark-Sky Friendly Fixtures to Keep the Peace
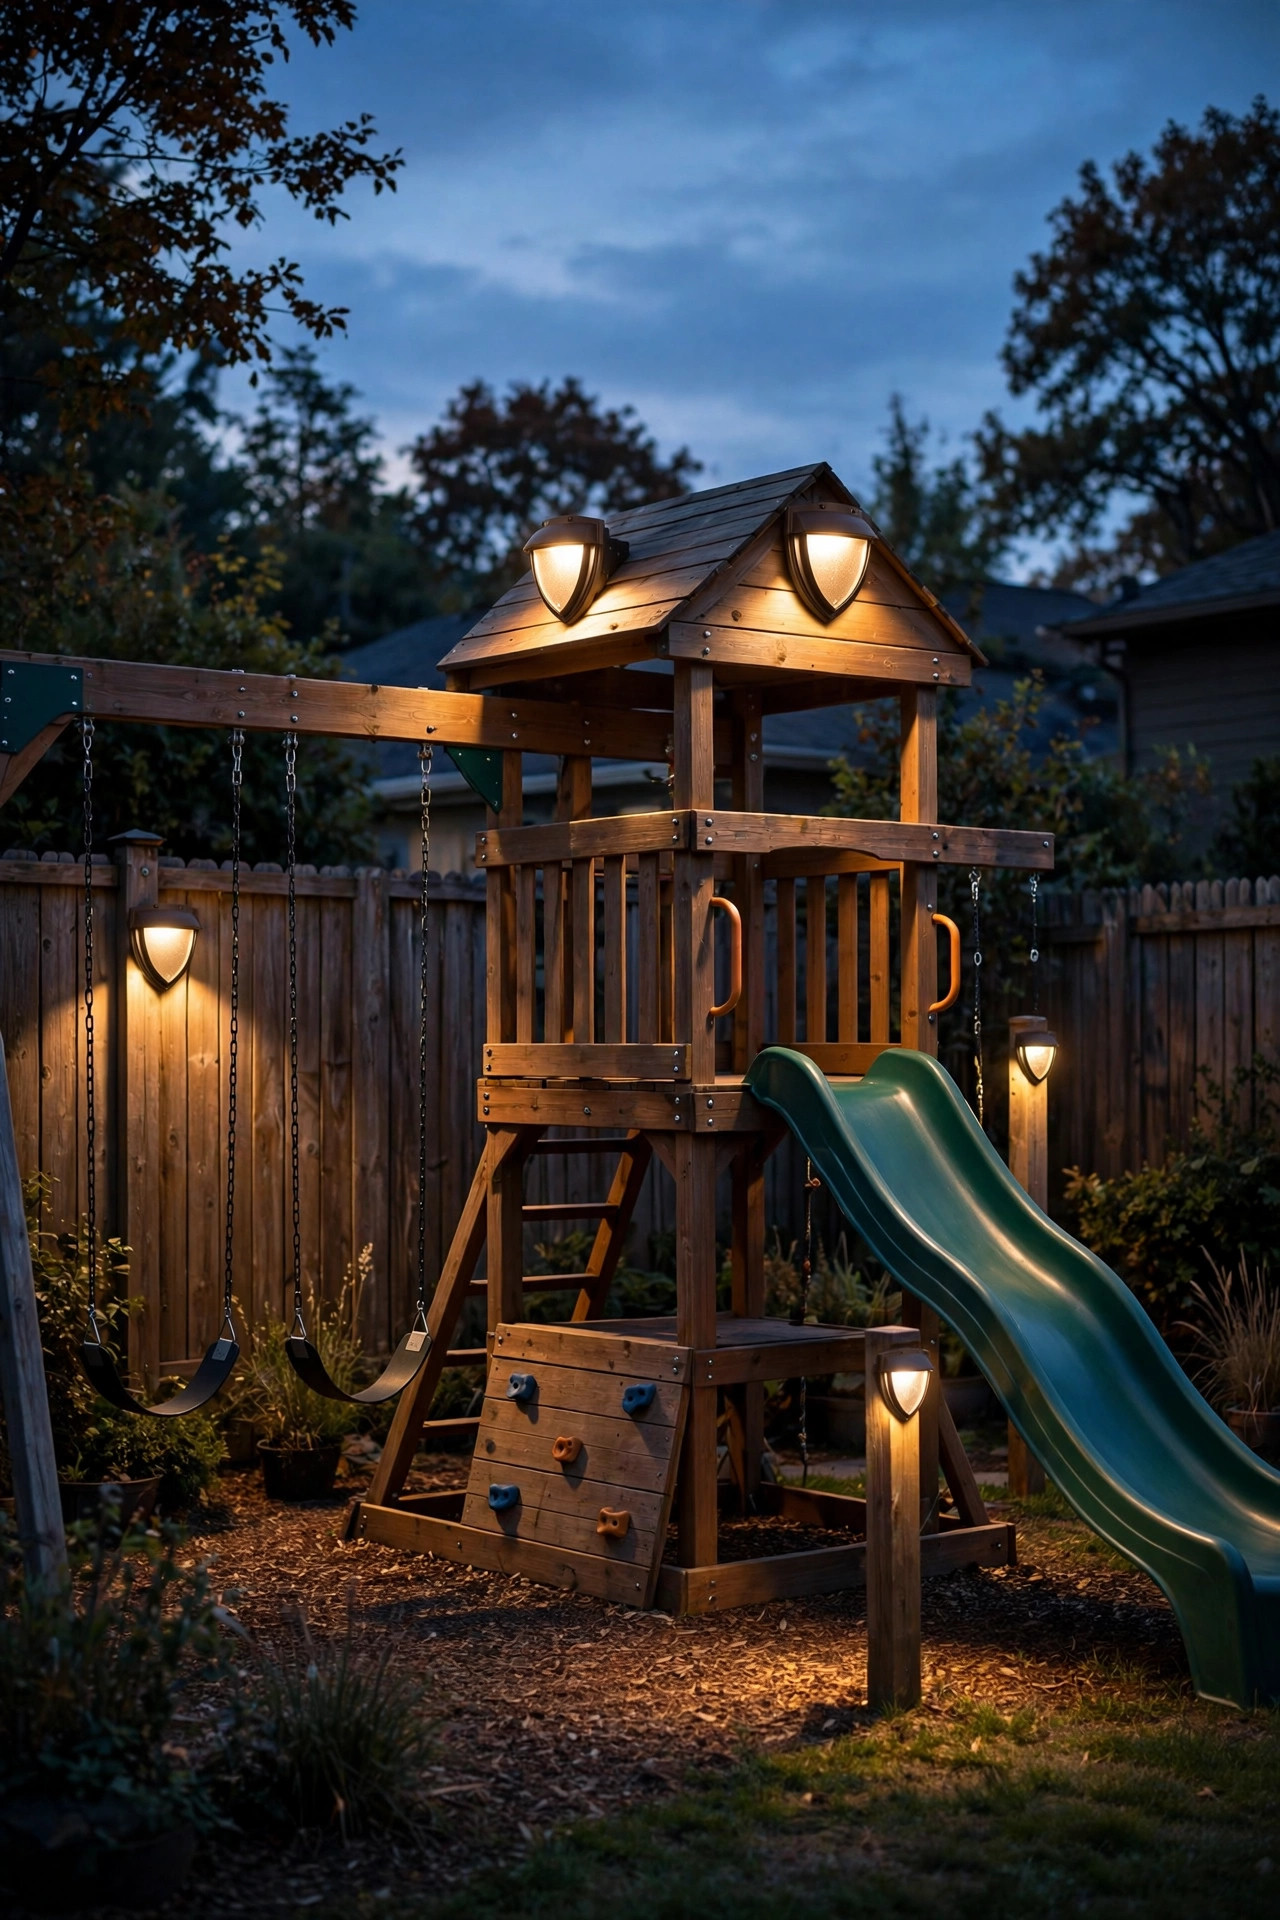
The final layer is the one your neighbors (and your own kids' sleep schedule) will thank you for: shielded fixtures that put light on the play zone and nowhere else. Full-cutoff and louvered fixtures aim every lumen downward, so nothing spills into the bedroom window next door or blasts the sky — and as I explain in my dark-sky outdoor lighting guide, downlight is also simply better light for play, because kids look down at rungs, steps and landing zones, not up at bulbs. Audit your play area at dusk from the sidewalk and from the property line: any fixture whose bare bulb you can see from outside the zone needs a shield, a lower wattage, or a new angle. Keep total brightness modest — a play zone lit like a stadium keeps kids wired and washes out the cozy layers you built in ideas one through fourteen. Warm 2700K light, timers from idea thirteen, and shields on everything is my whole philosophy in one sentence. The result is a yard that glows like a lantern from inside and barely registers from the street: magical for your family, invisible to everyone else. That's the grown-up version of play lighting, and it's the one I'd rebuild first.
Suggested budget range: $70 – $250.
Frequently Asked Questions
What kind of lighting is safest around a playset?
Low-voltage (12V) landscape lighting and battery or solar LEDs are the safest choices, because there's no line-voltage power in the play zone and LED bulbs stay cool to the touch. Keep all fixtures and cables outside the swing arc and landing areas, bury wired cable at least 6 inches deep, and choose shatterproof bulbs anywhere a ball or a falling kid could reach.
Can I put lights on a trampoline?
Yes, with care. An LED rope light clipped under the frame and battery fairy lights woven on the outside of the net poles are both safe, popular options. Never run line-voltage lights on a trampoline, keep every wire away from the springs and jumping surface, and inspect mounts regularly, since a trampoline flexes constantly. If any light or cable works loose, take it down until it's secure again.
Solar or low-voltage wired: which is better for a play area?
Solar wins on easy installation and zero wiring, and it's perfect for lanterns, step lights and accents in sunny yards. Low-voltage wired lighting is brighter, more consistent on cloudy weeks, and better for path lights, uplights and anything on a timer. Most yards I help with end up with a mix: wired for the safety-critical layers, solar and battery for the fun, movable ones.
How bright should lighting around a playset be?
Brighter than a garden accent, dimmer than a security floodlight. Aim for gentle pools of light where kids can clearly see ladder rungs, steps and the ground — roughly what you'd get from 100 to 300 lumens per fixture, in warm 2700K to 3000K tones. If kids are squinting or you can see the lit yard from three houses away, it's too much.
Conclusion
Lighting a play zone well is just layering with a purpose: a lit route in, soft glow overhead, marked edges at the ground, and a timer that calls the evening to a close. Start with the string lights and two or three ideas that fit your yard, stand back at dusk, and adjust like you would anywhere else. The best backyard playset lighting ideas are the ones that disappear into the evening — until a small voice asks to stay out just a little longer, and you can honestly say yes. Browse the rest of my outdoor lighting ideas here on the site for the grown-up zones, too.